I’m going to go out on a limb and say no one ever plans to make banana bread. I mean, no one ever goes to the grocery store to pick the brownest, most-speckled bananas on the display for the sole purpose of baking moist, delicious breakfast bread . . . Right?
Wrong!
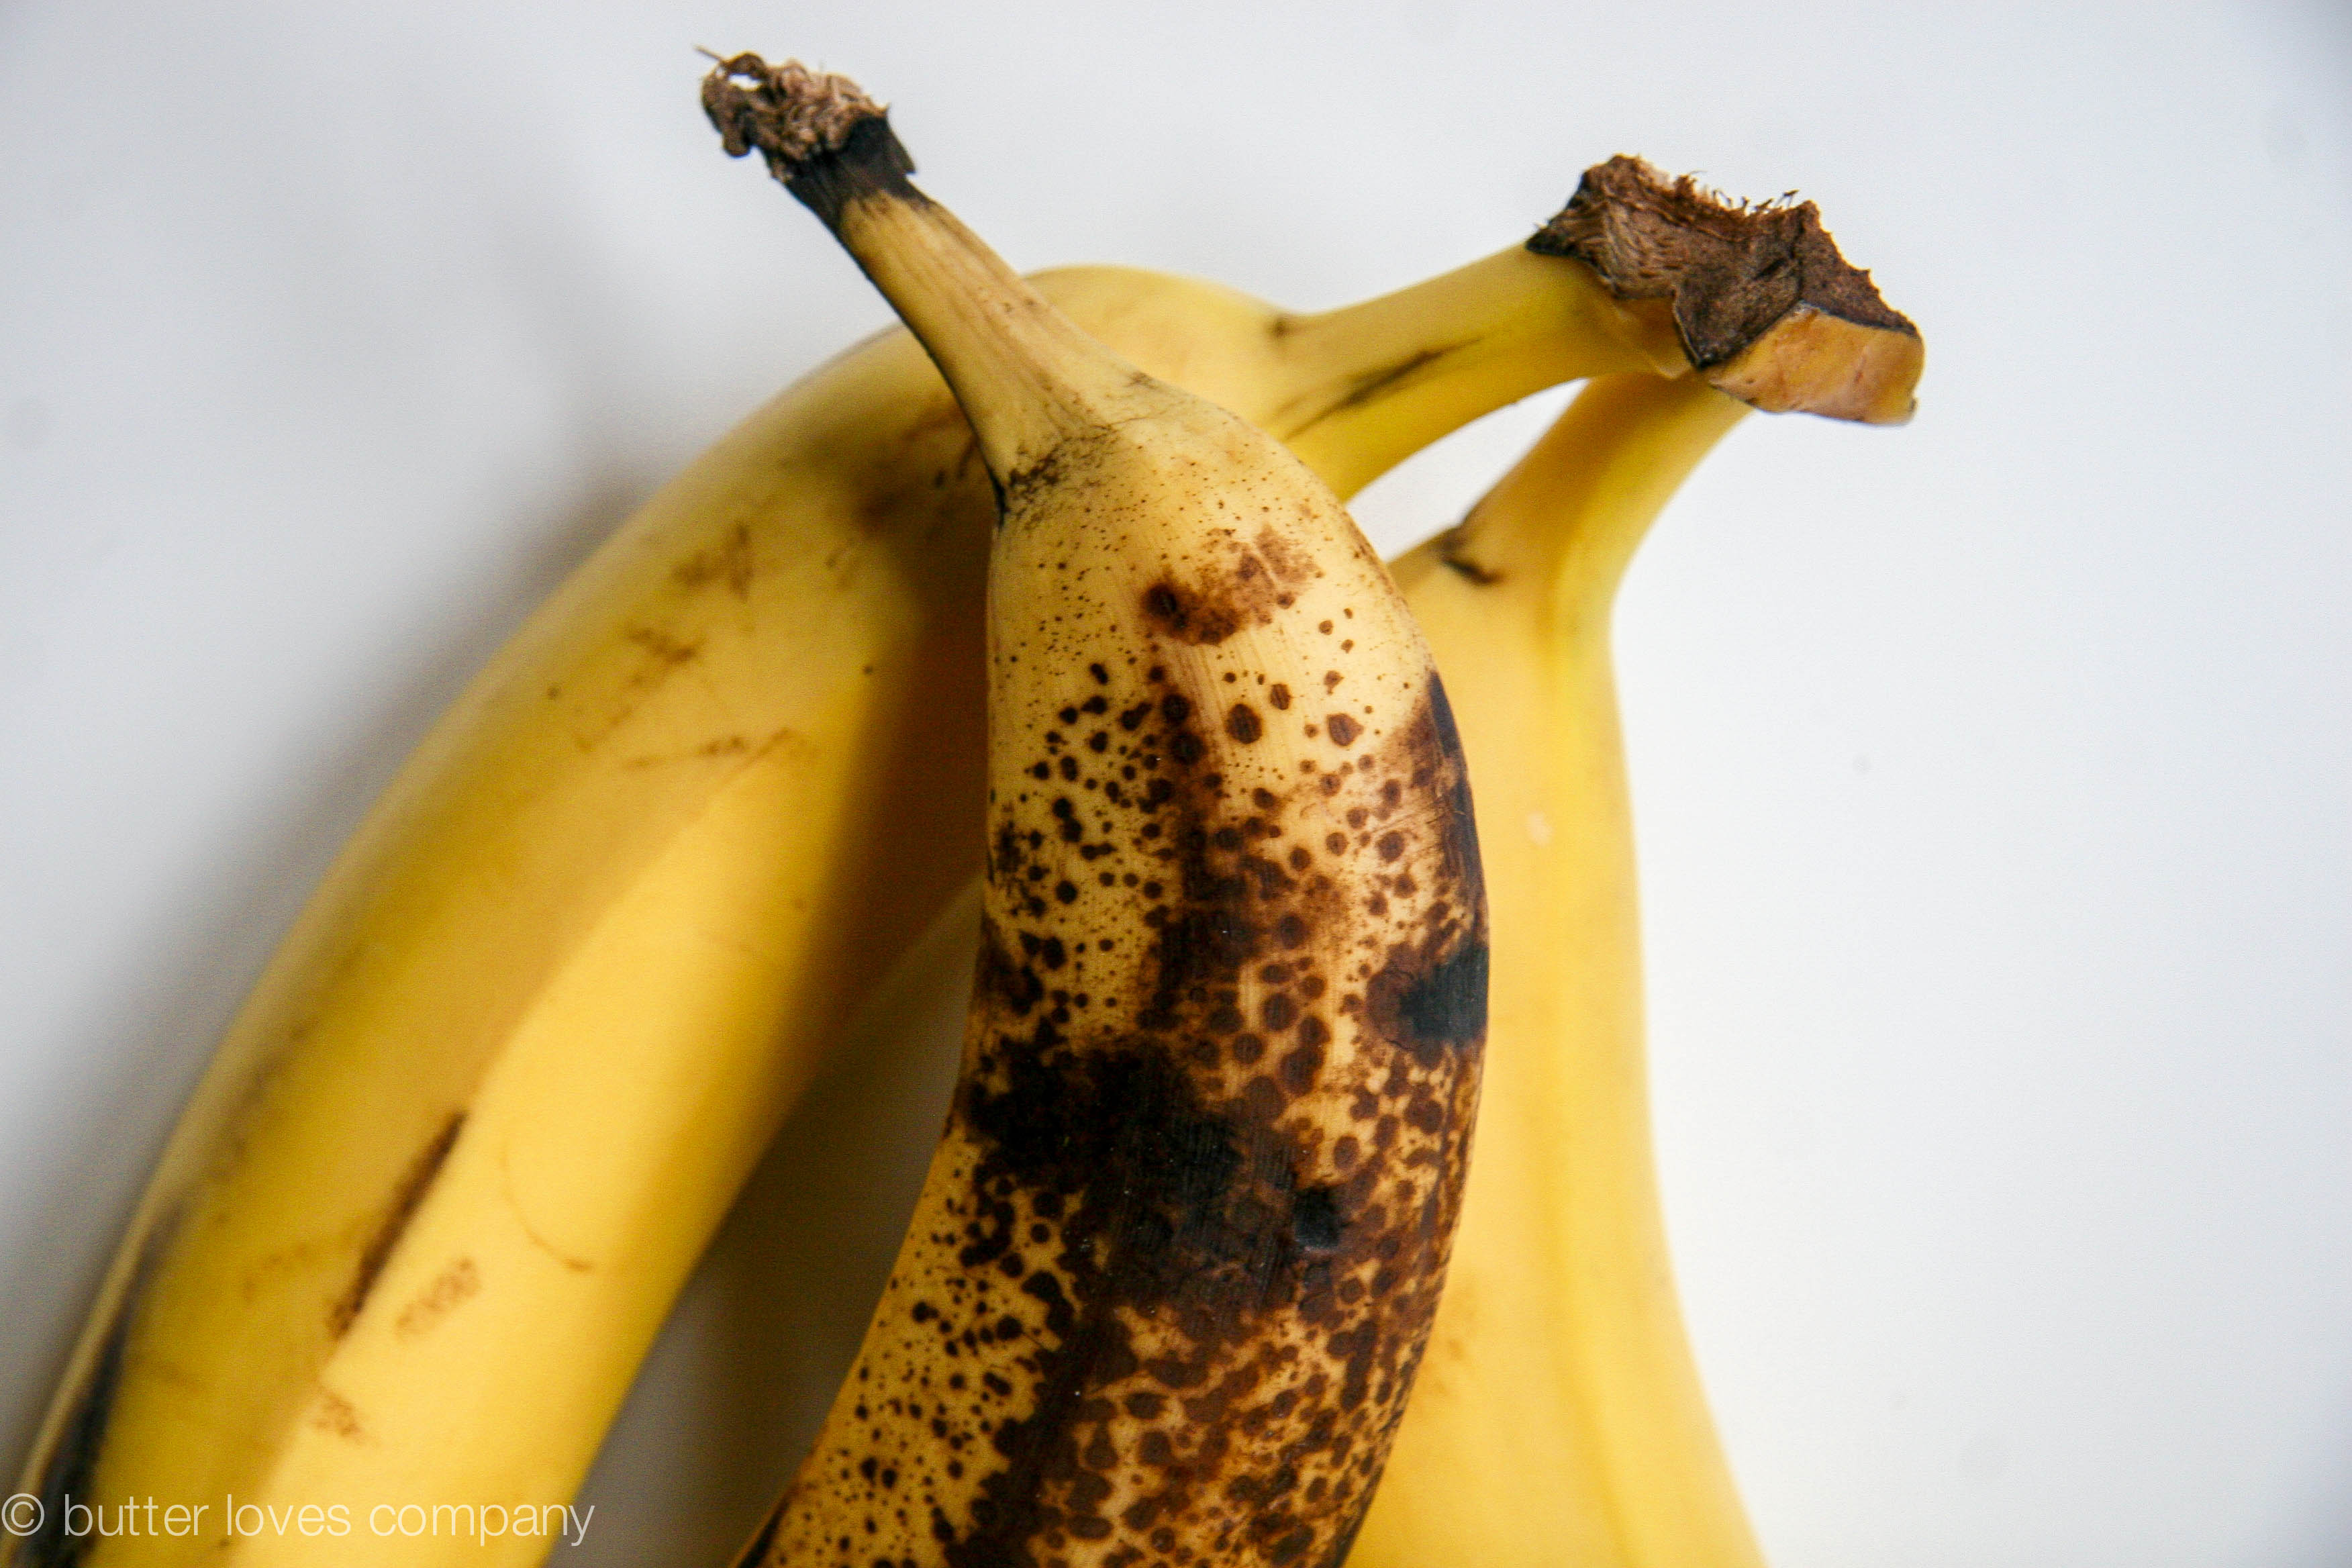
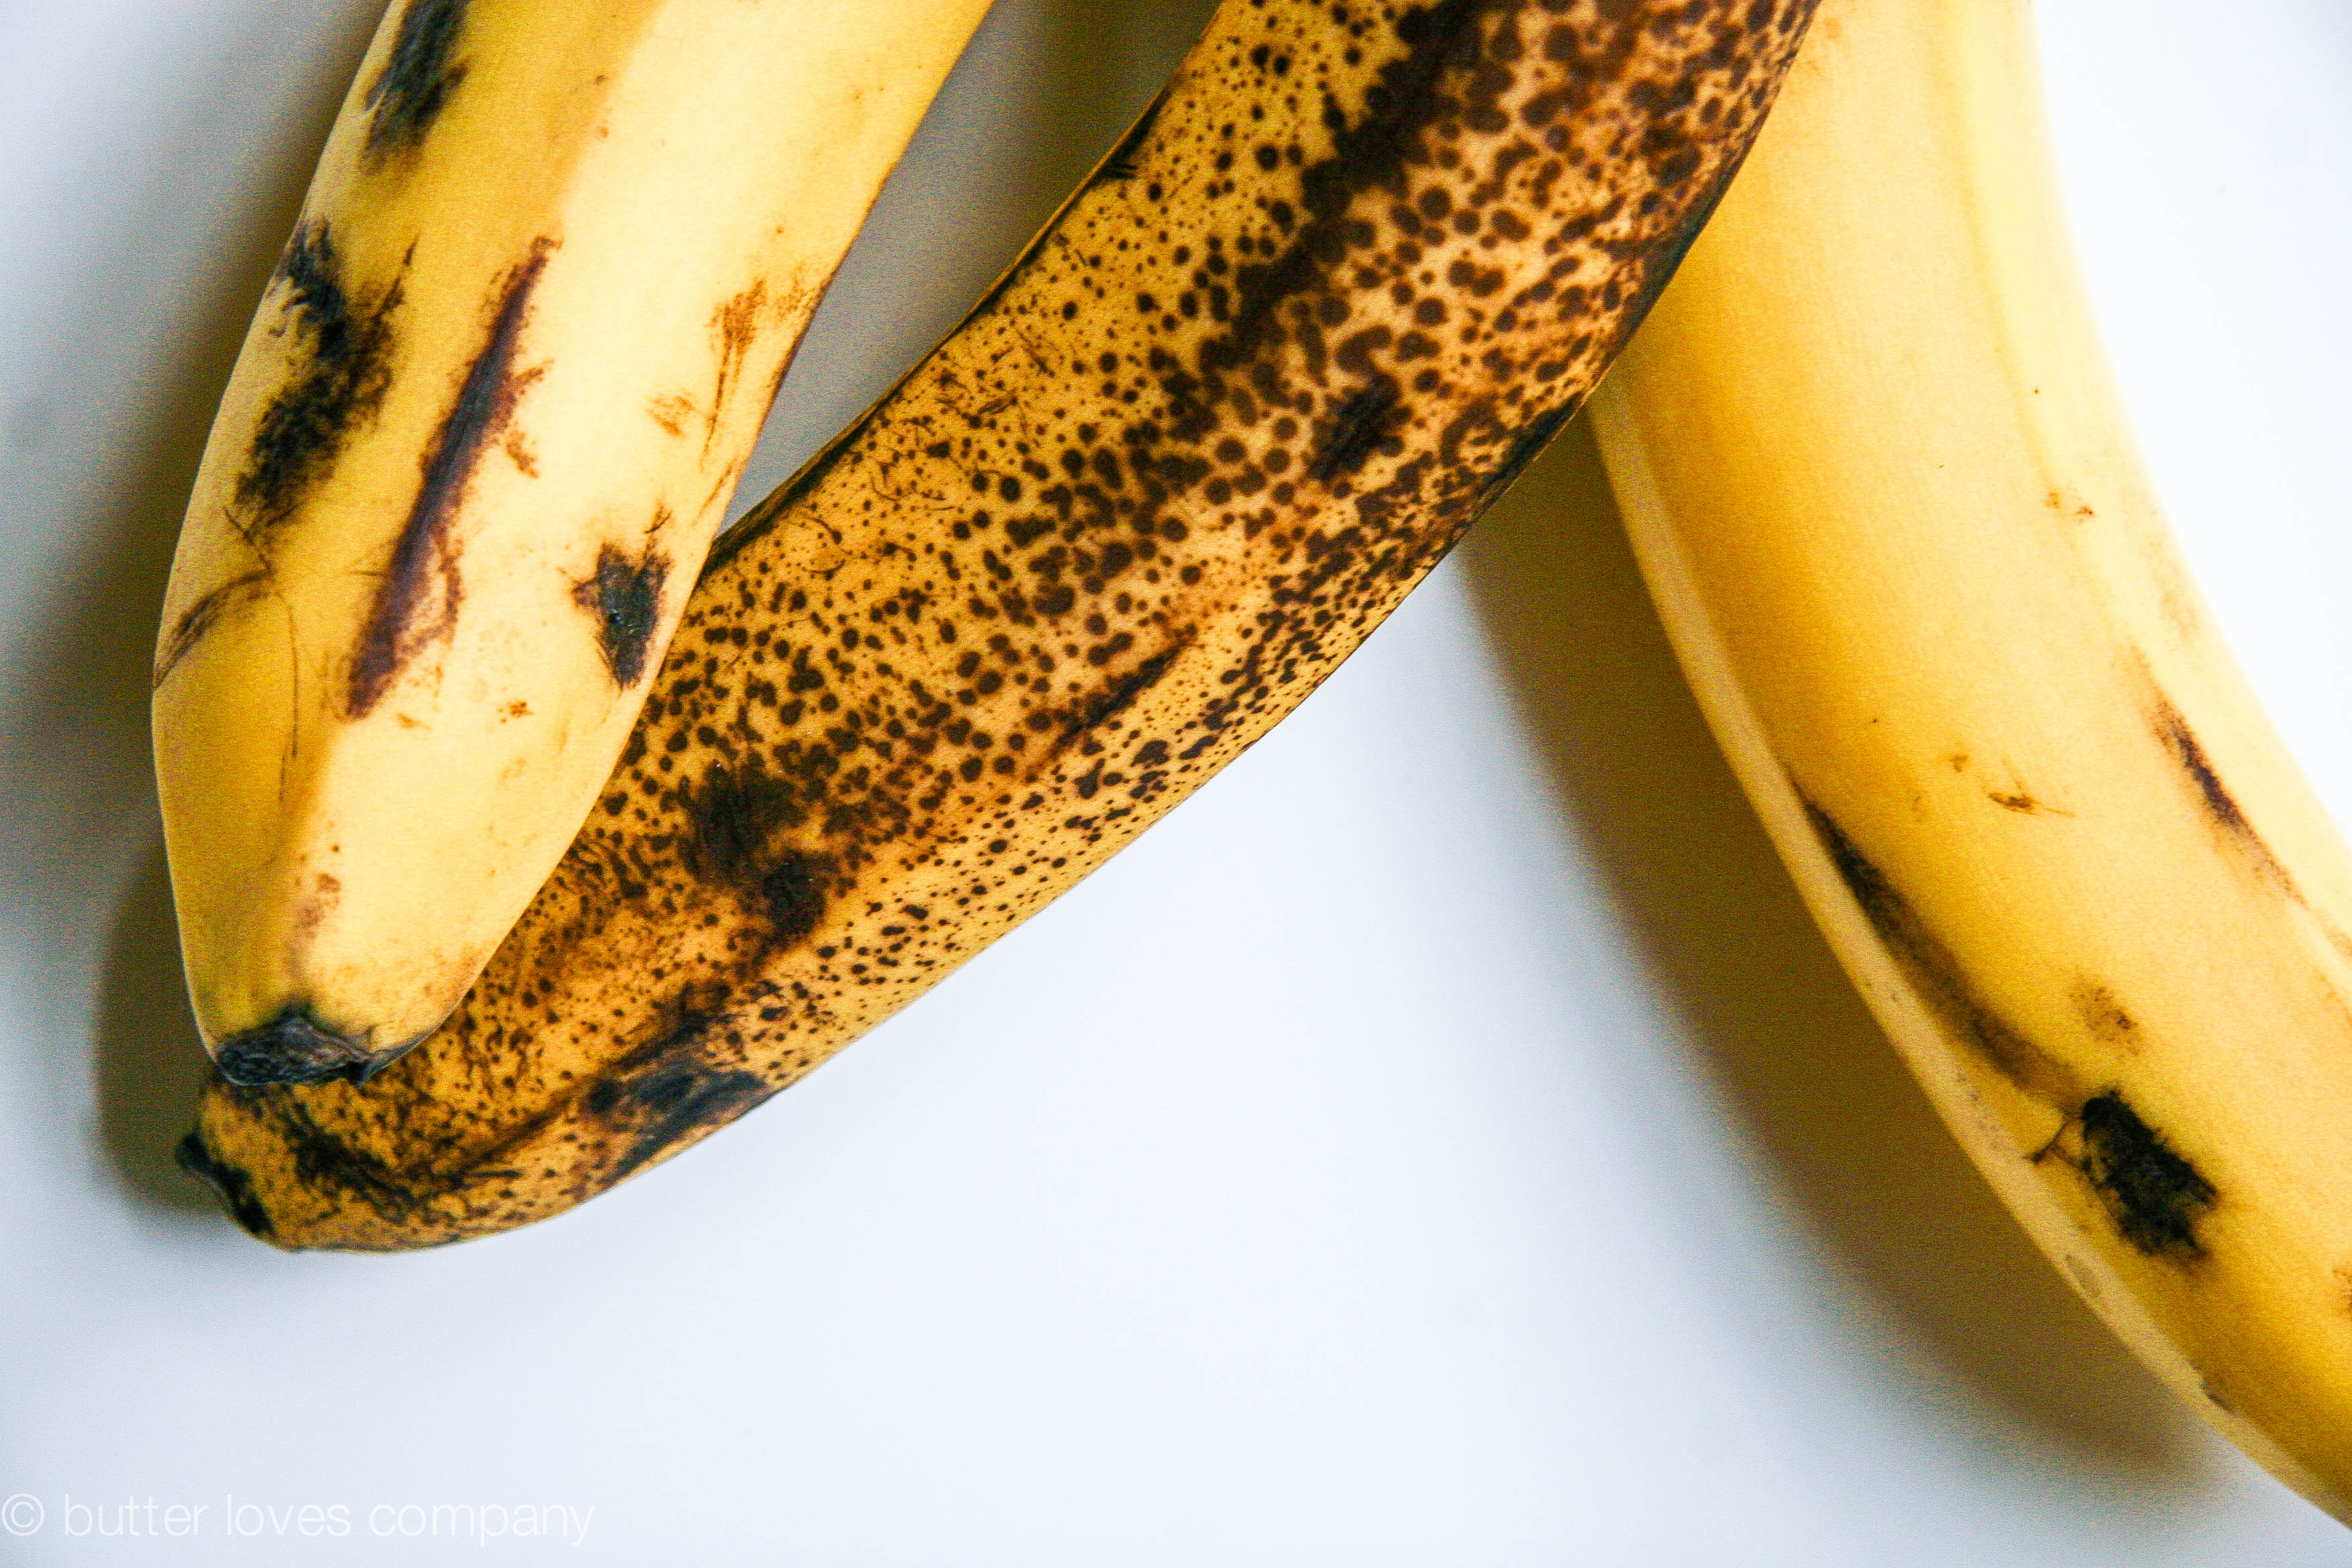
Yesterday I found myself digging through the mounds of bananas at the grocery store, trying to find the most over-ripe, dumpster-bound ’nanners they had. You see, I’ve recently been stockpiling smoothie supplies, which has left me with lots of browning bananas—the byproduct of which has been excessive amounts of banana bread. So when I noticed I had one of these Dalmation-spotted bananas left in the fruit bowl this week, I didn’t want it to go to waste. And that brings us back to yesterday and the aforementioned produce section scavenge. (Disregard the fact that I didn’t want one thing to go to waste, so I went out and bought TWO MORE THINGS. My logic is sensational.)
When I got home, I thought about how—despite having made lots of banana breads in the past—I had never really found the one. Each result was pretty typical: moist, slightly sweet, lightly spiced, even-crumbed banana-y cake. Not sweet enough, too sweet, too dull, too crazy, clingy, not clingy enough . . . wait, ugh, oh right, the bread! This time I wanted to up the banana bread ante so my natural thought process looked a little like free association:
Bananas (duh)! Banana Bread (keep)! Bread! Bread and Butter! Butter! Brown Butter (ohh, yeaahh)! Butter on Pancakes! Banana Pancakes (Jack Johnson?)! Breakfast! Coffee cake (interesting . . .)! Streusel (of course)!
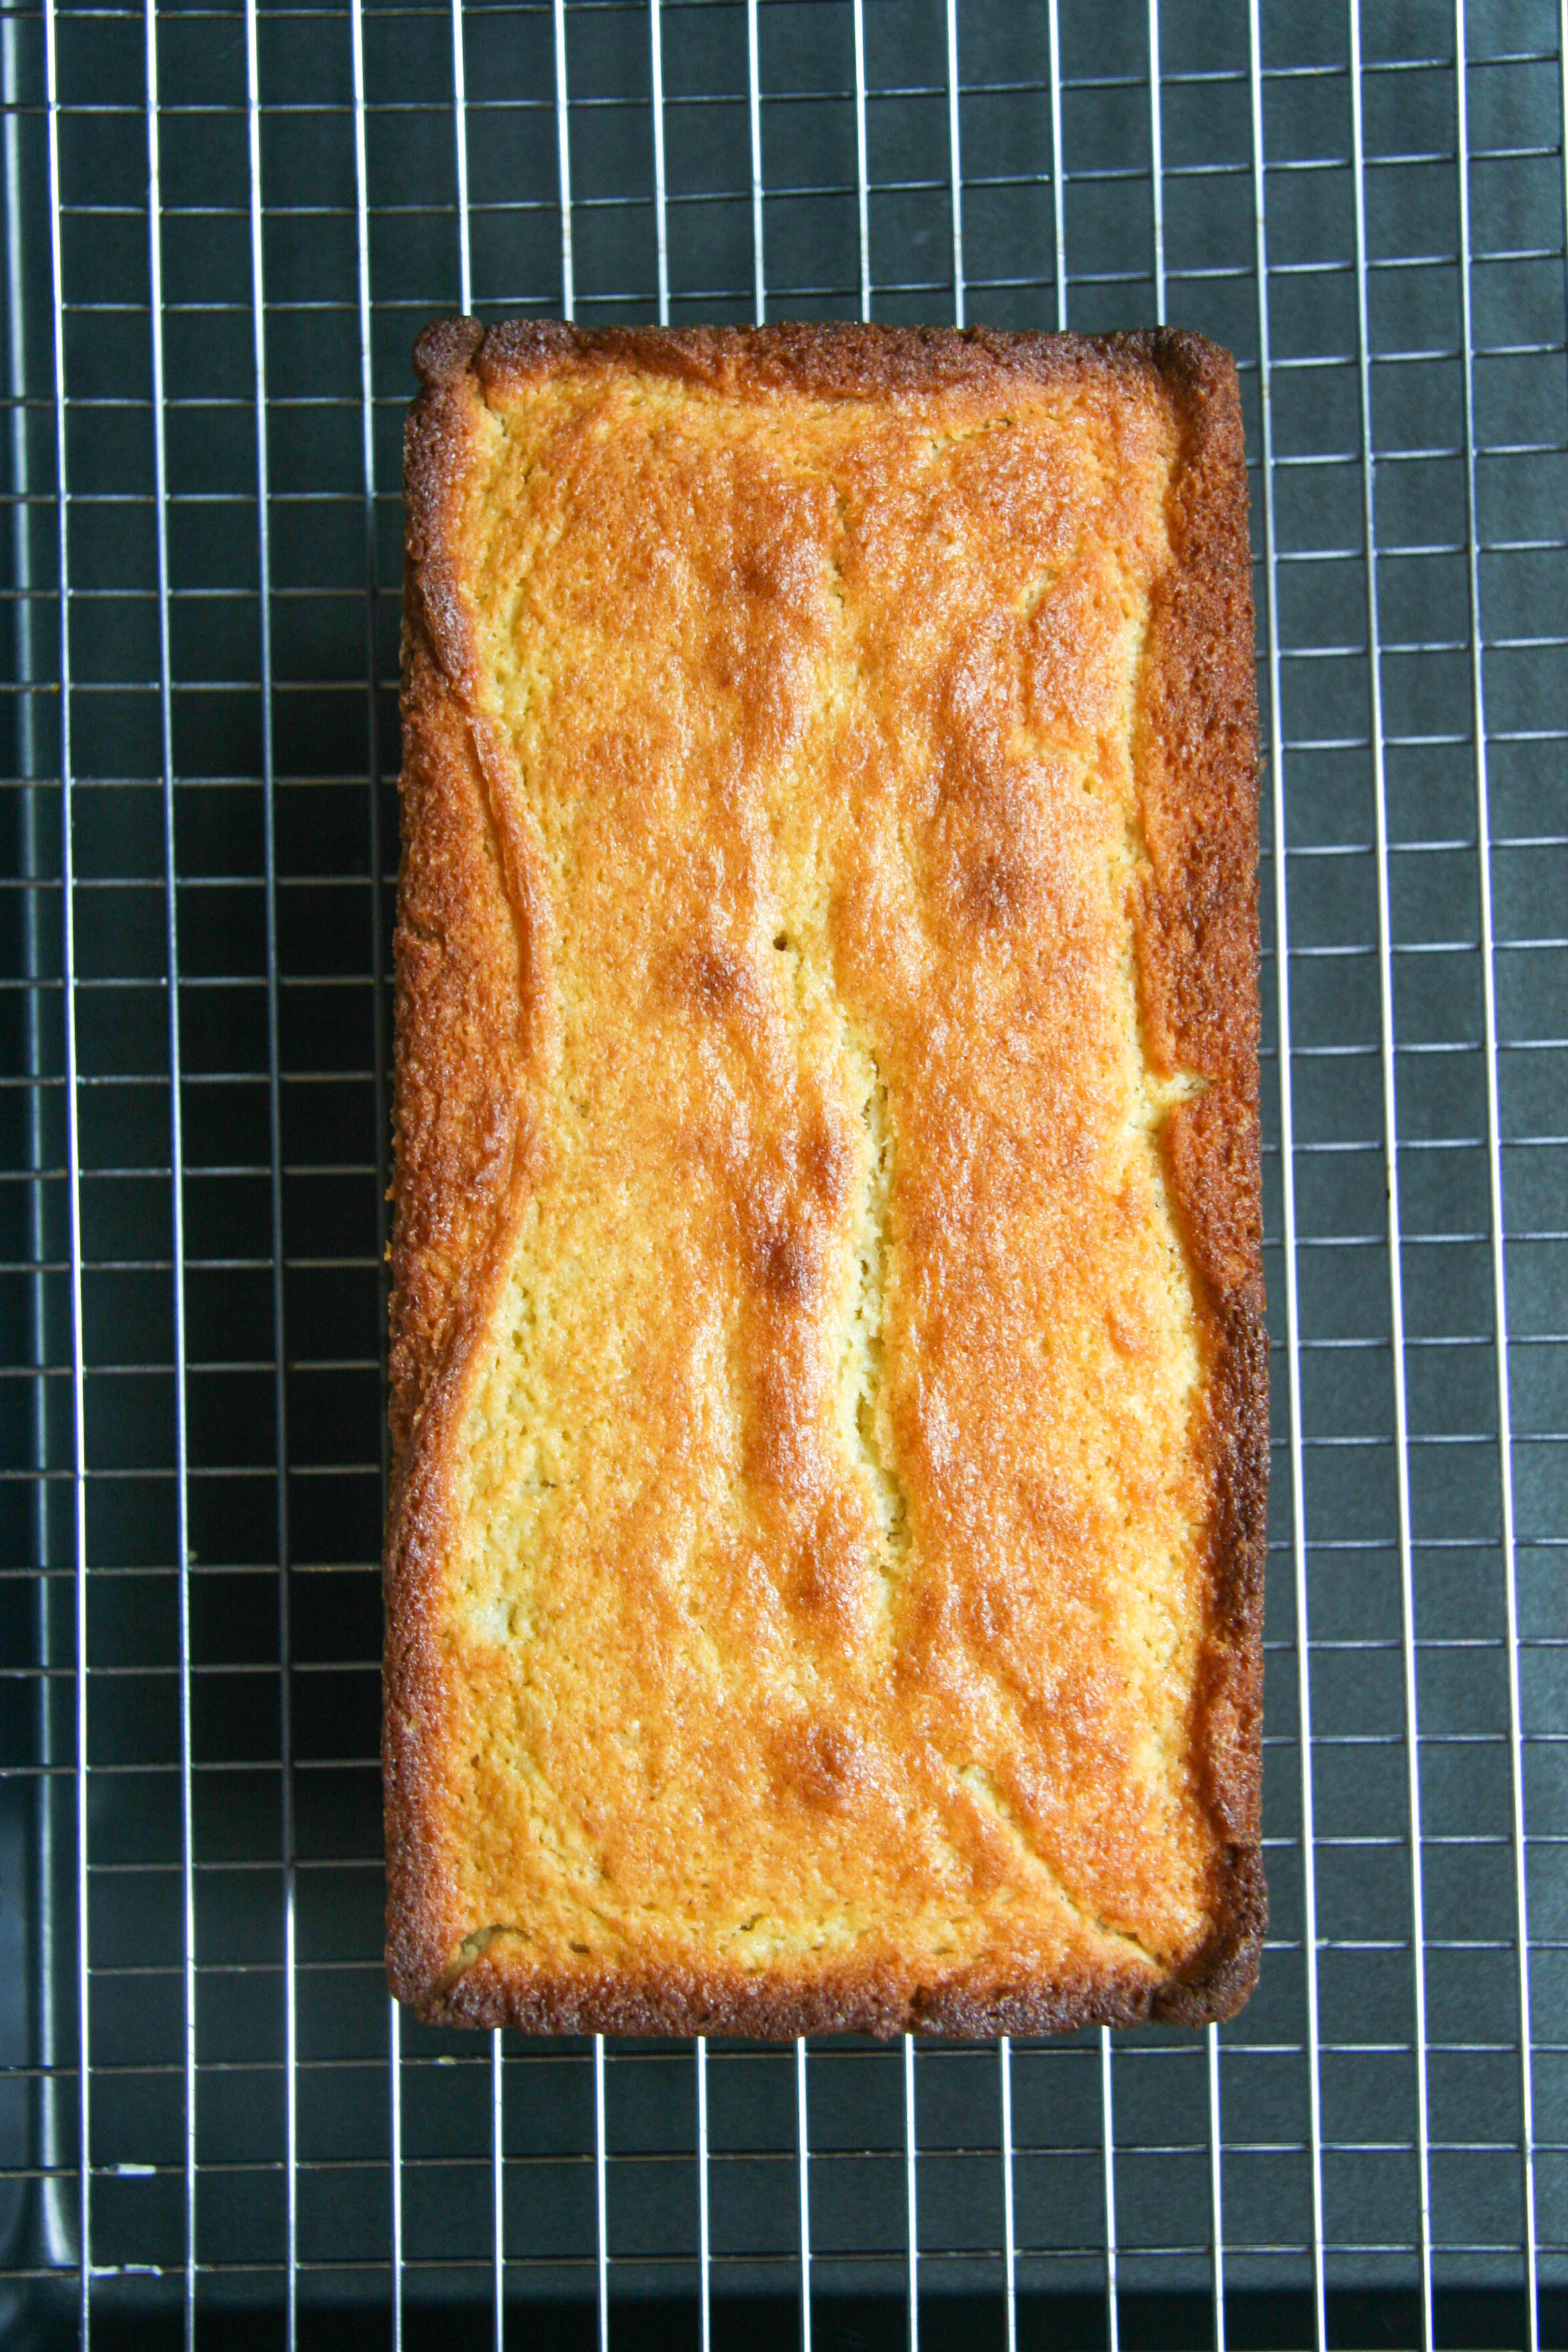
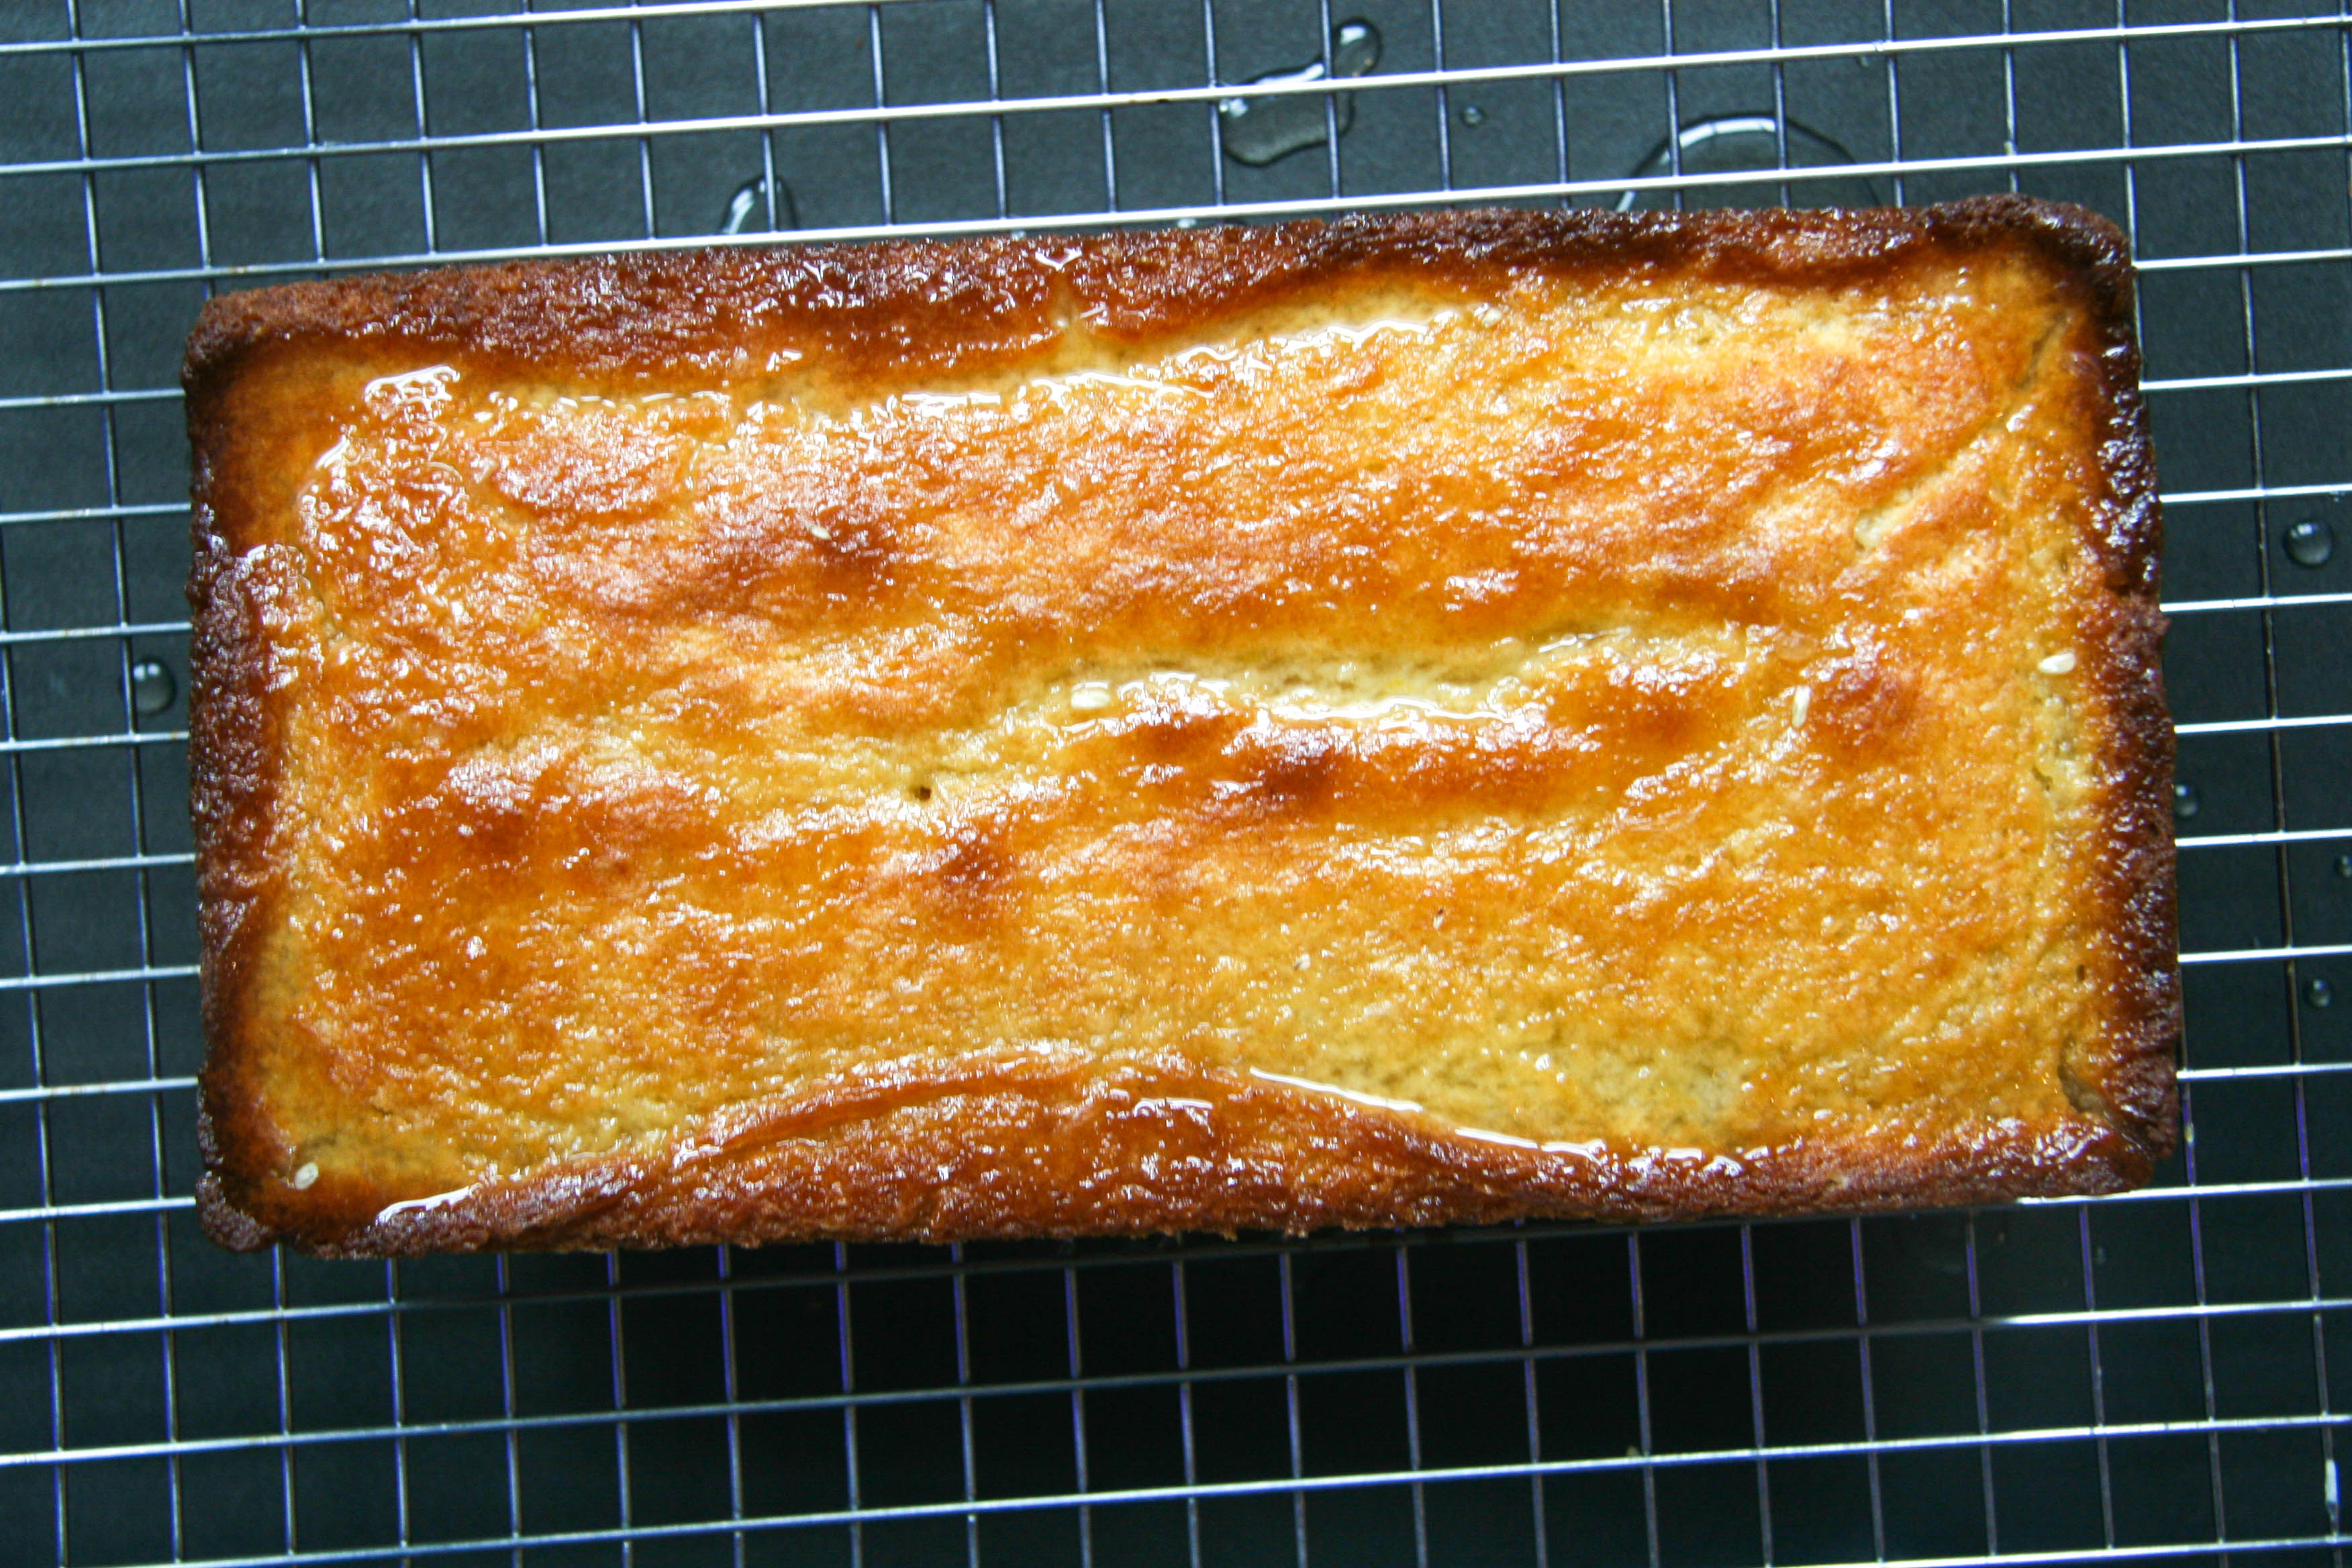
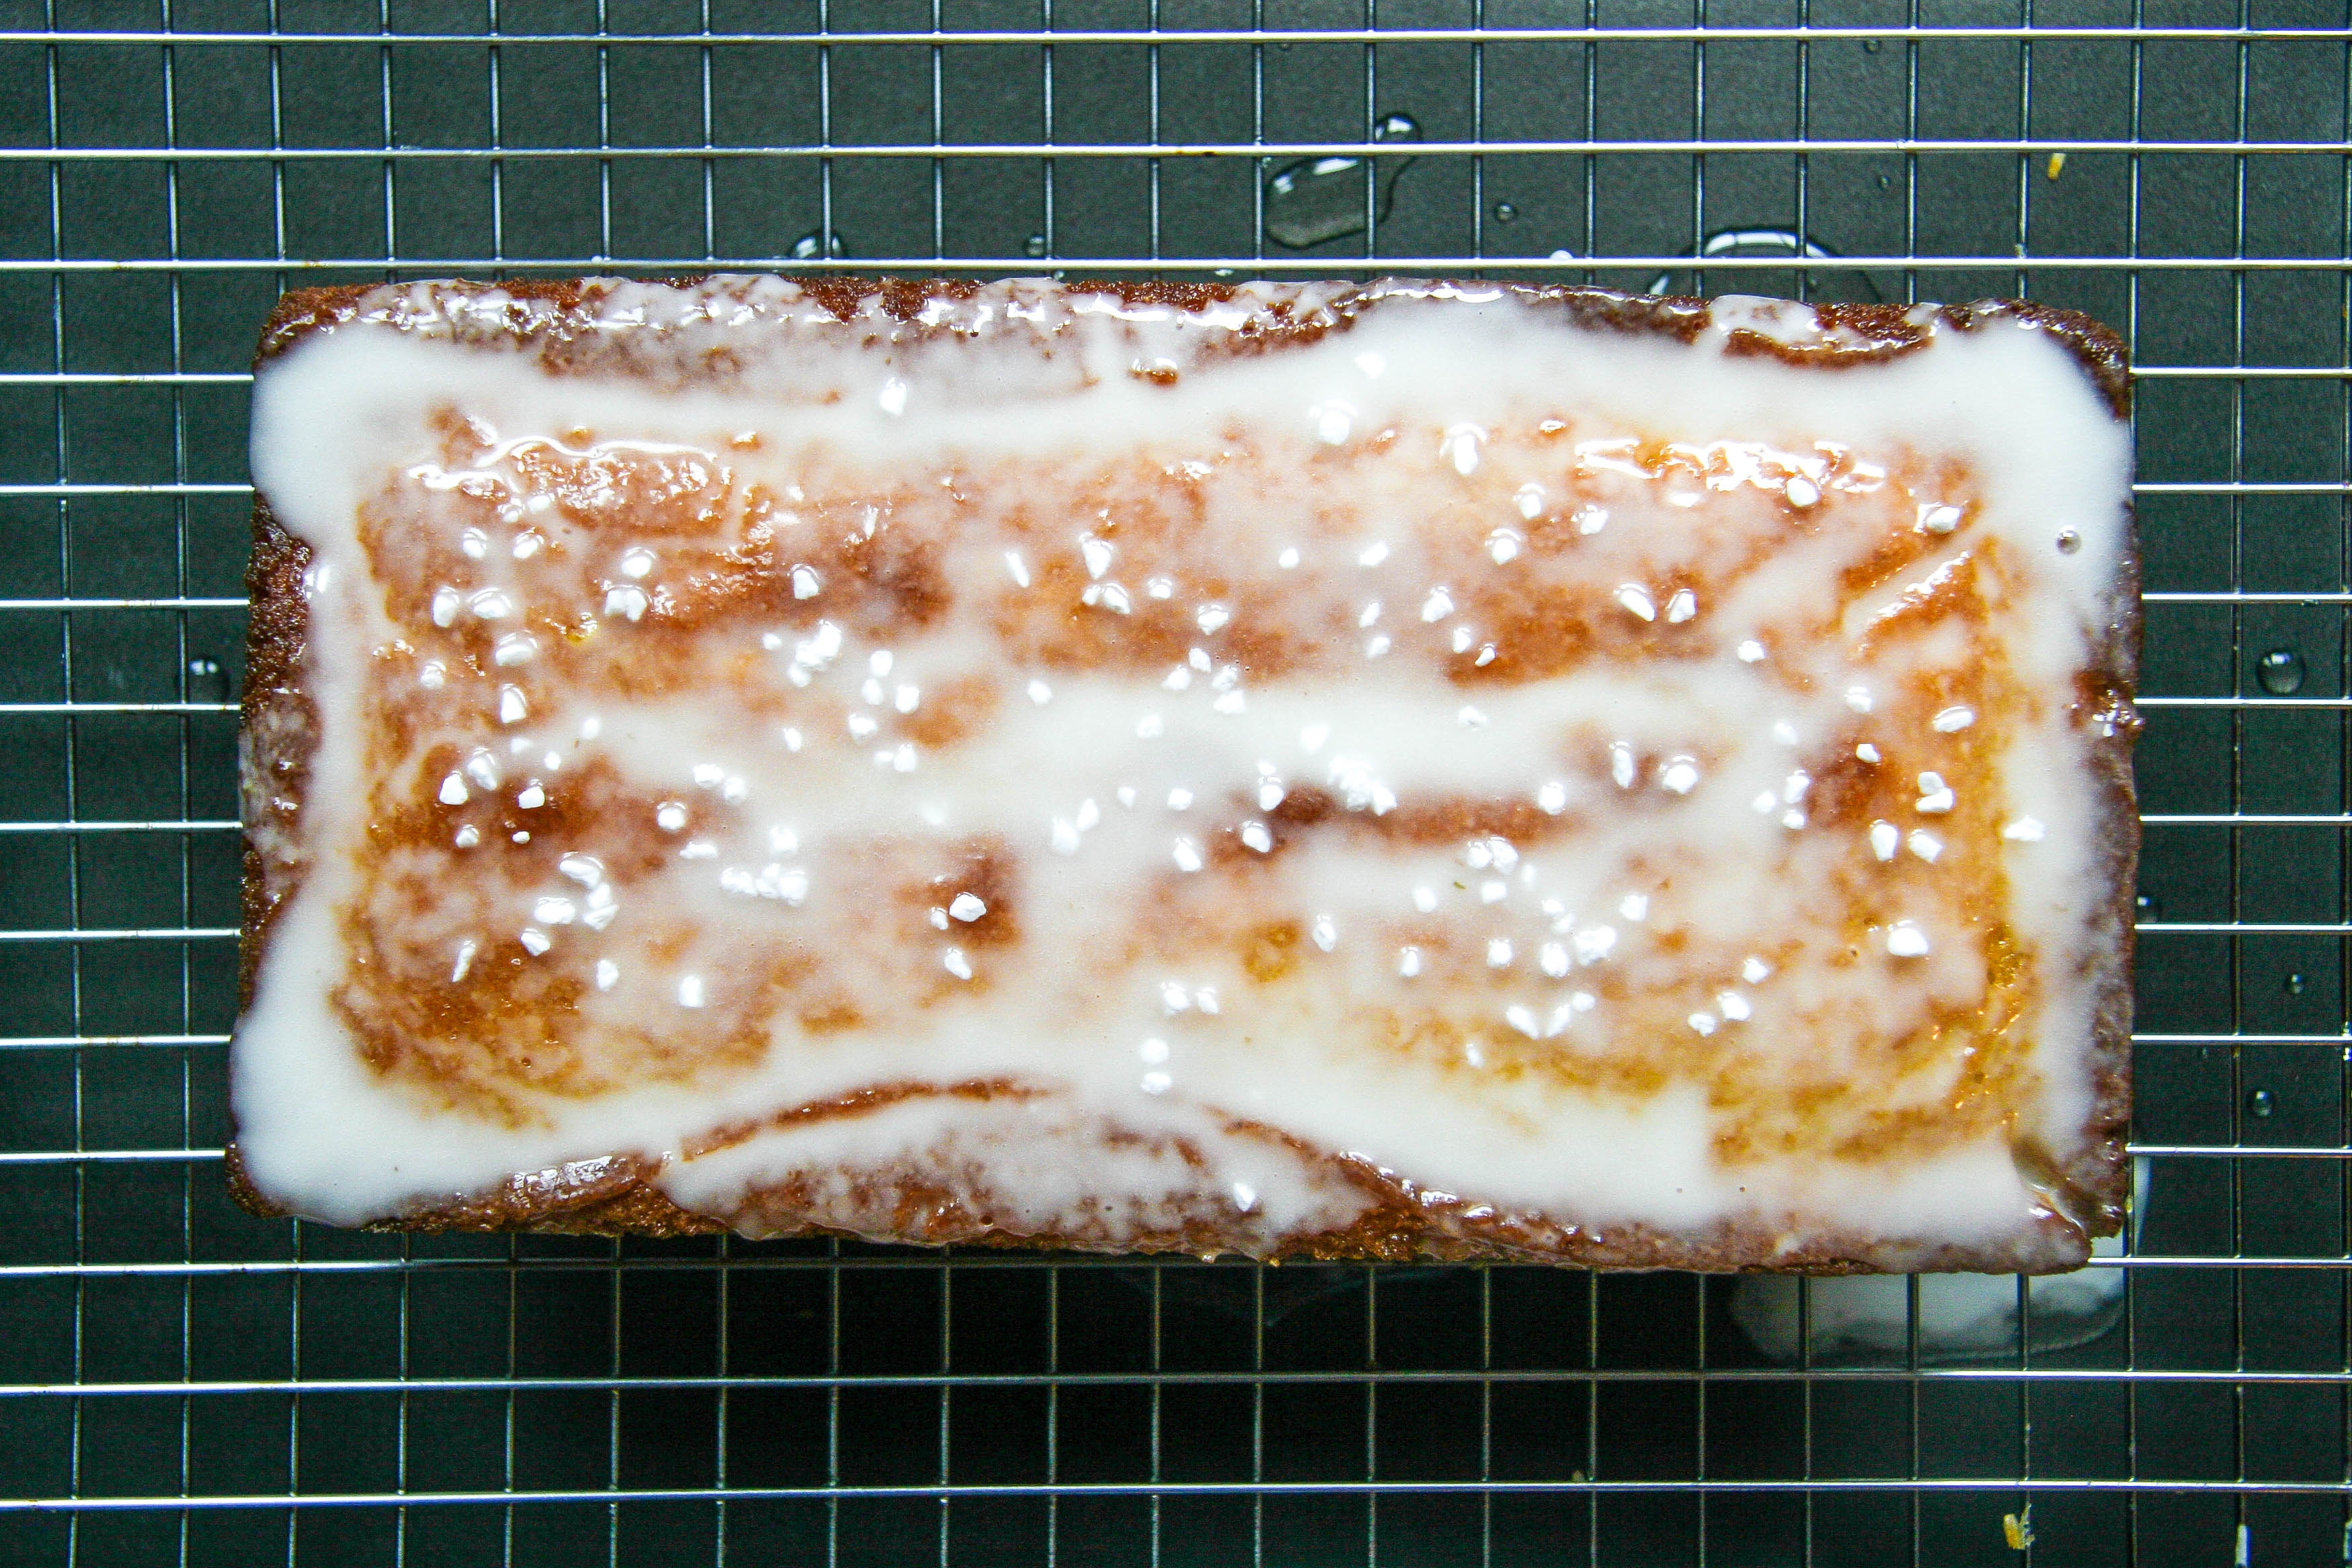
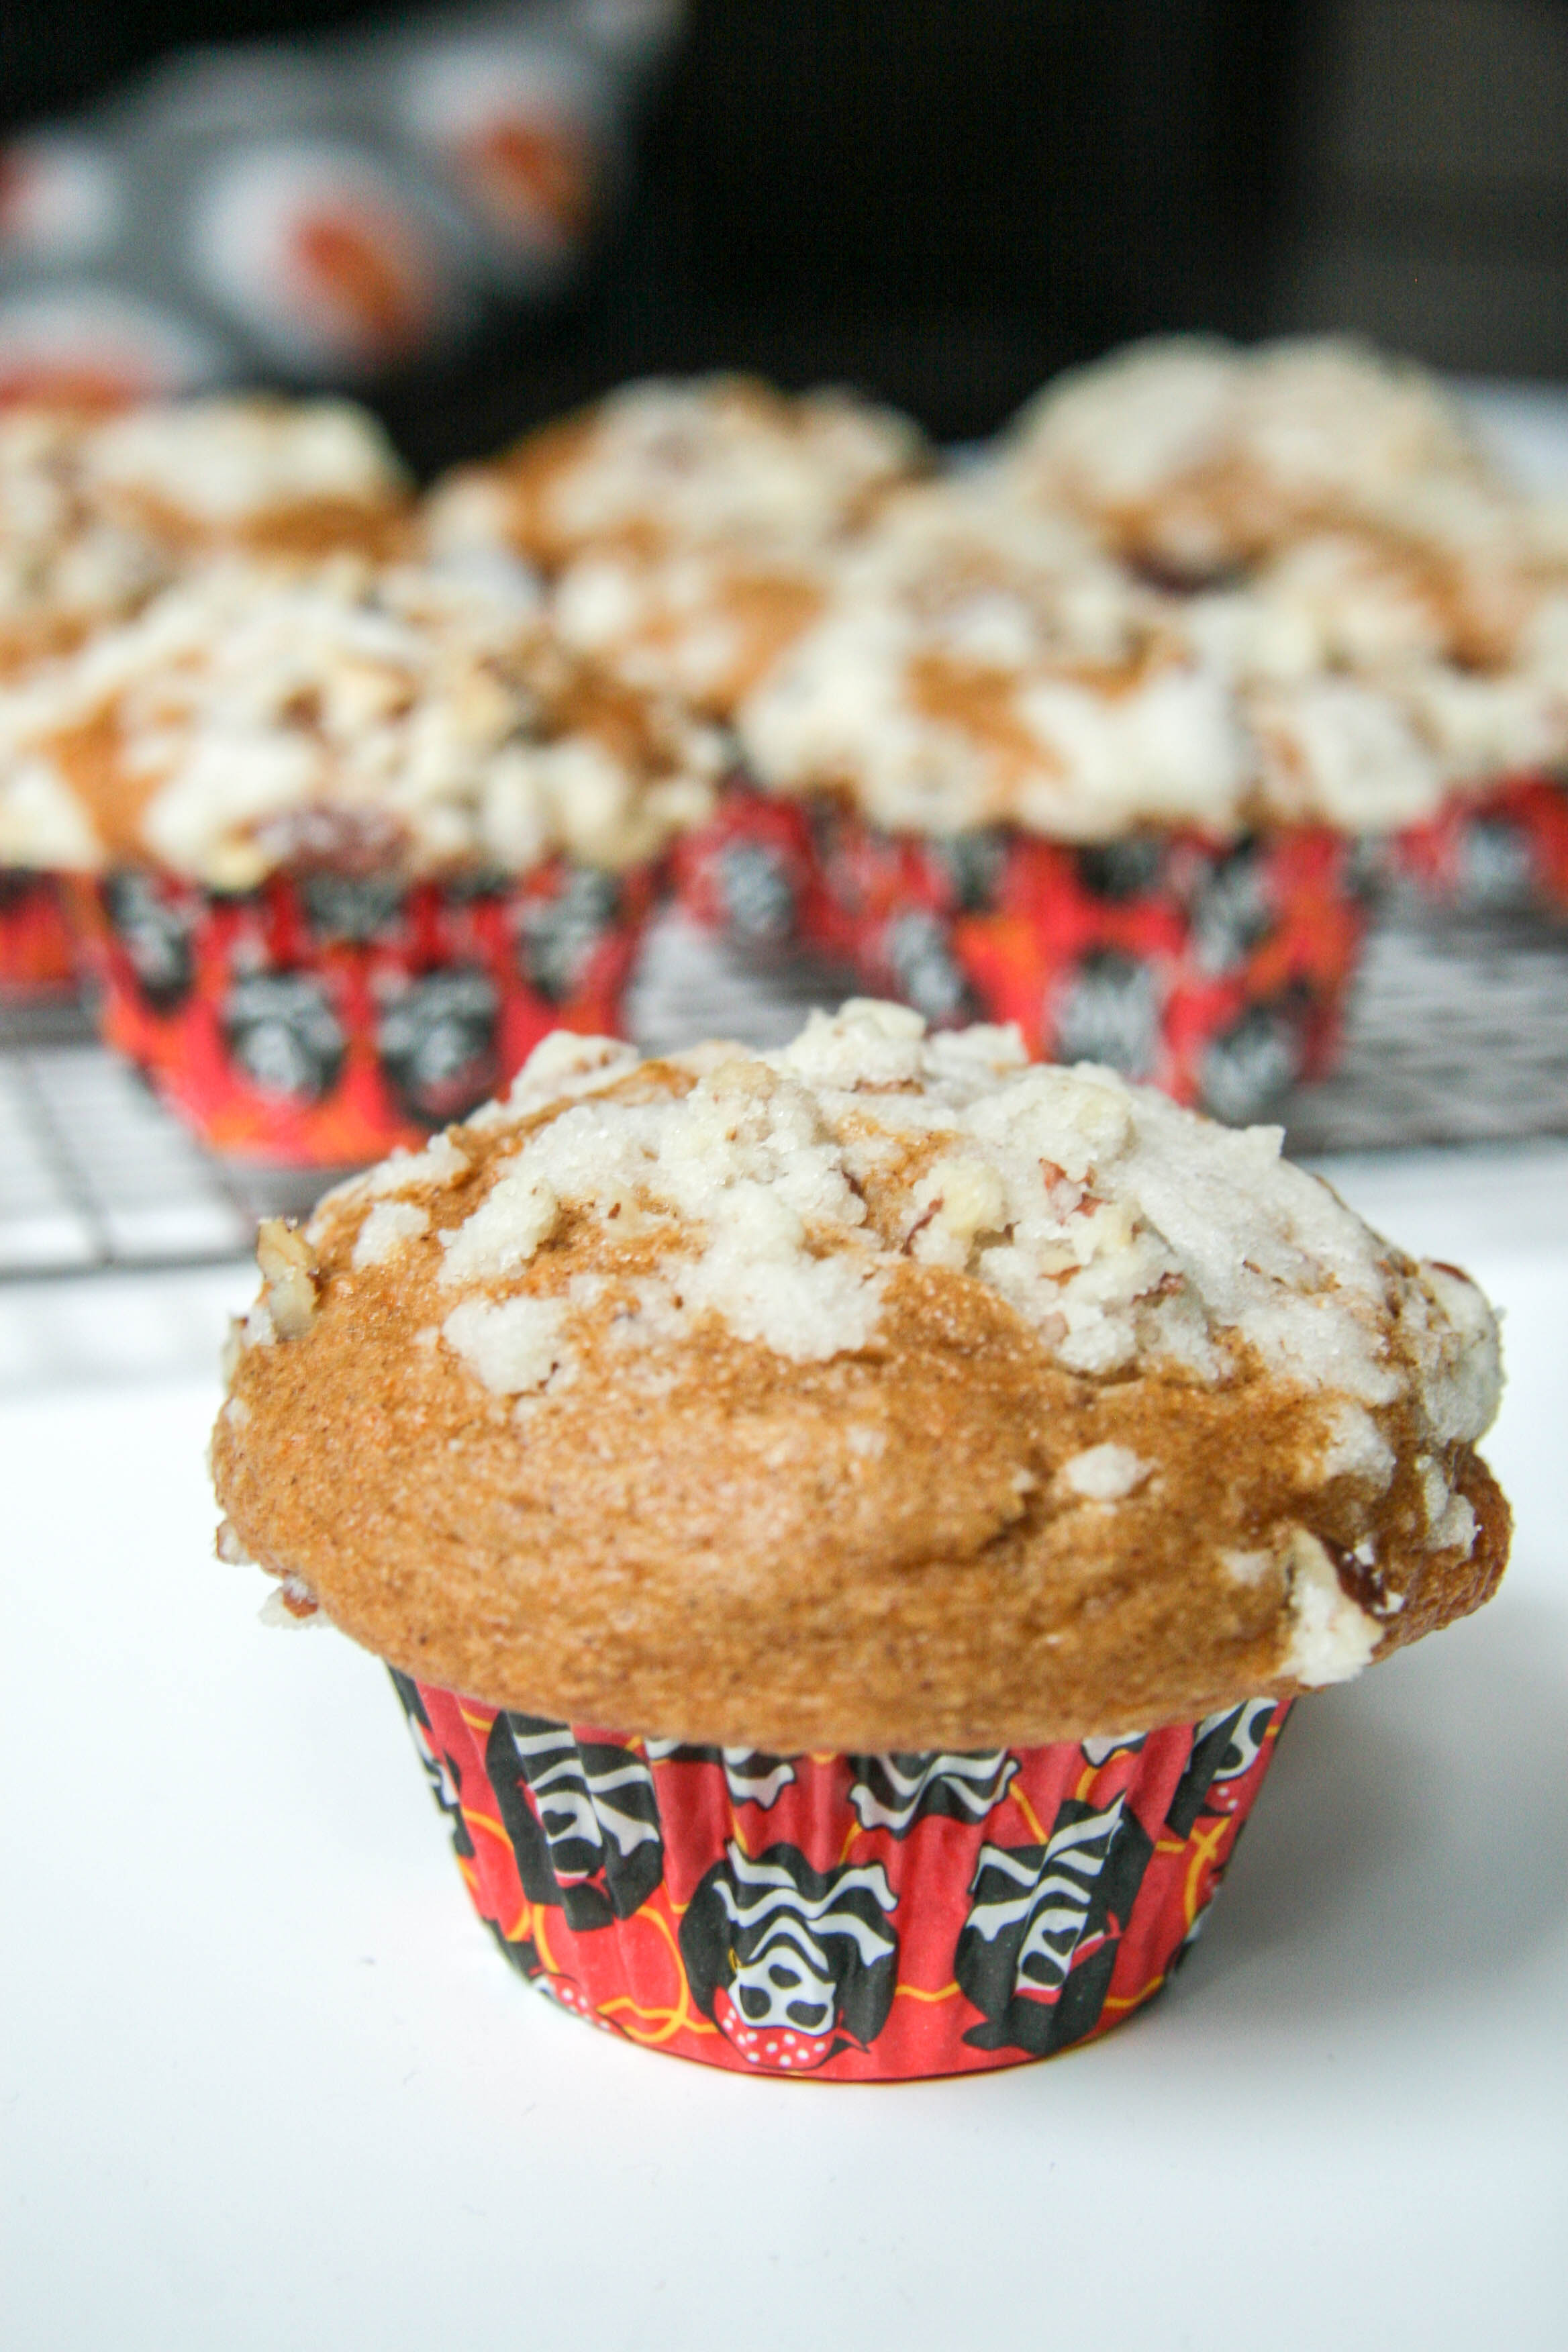
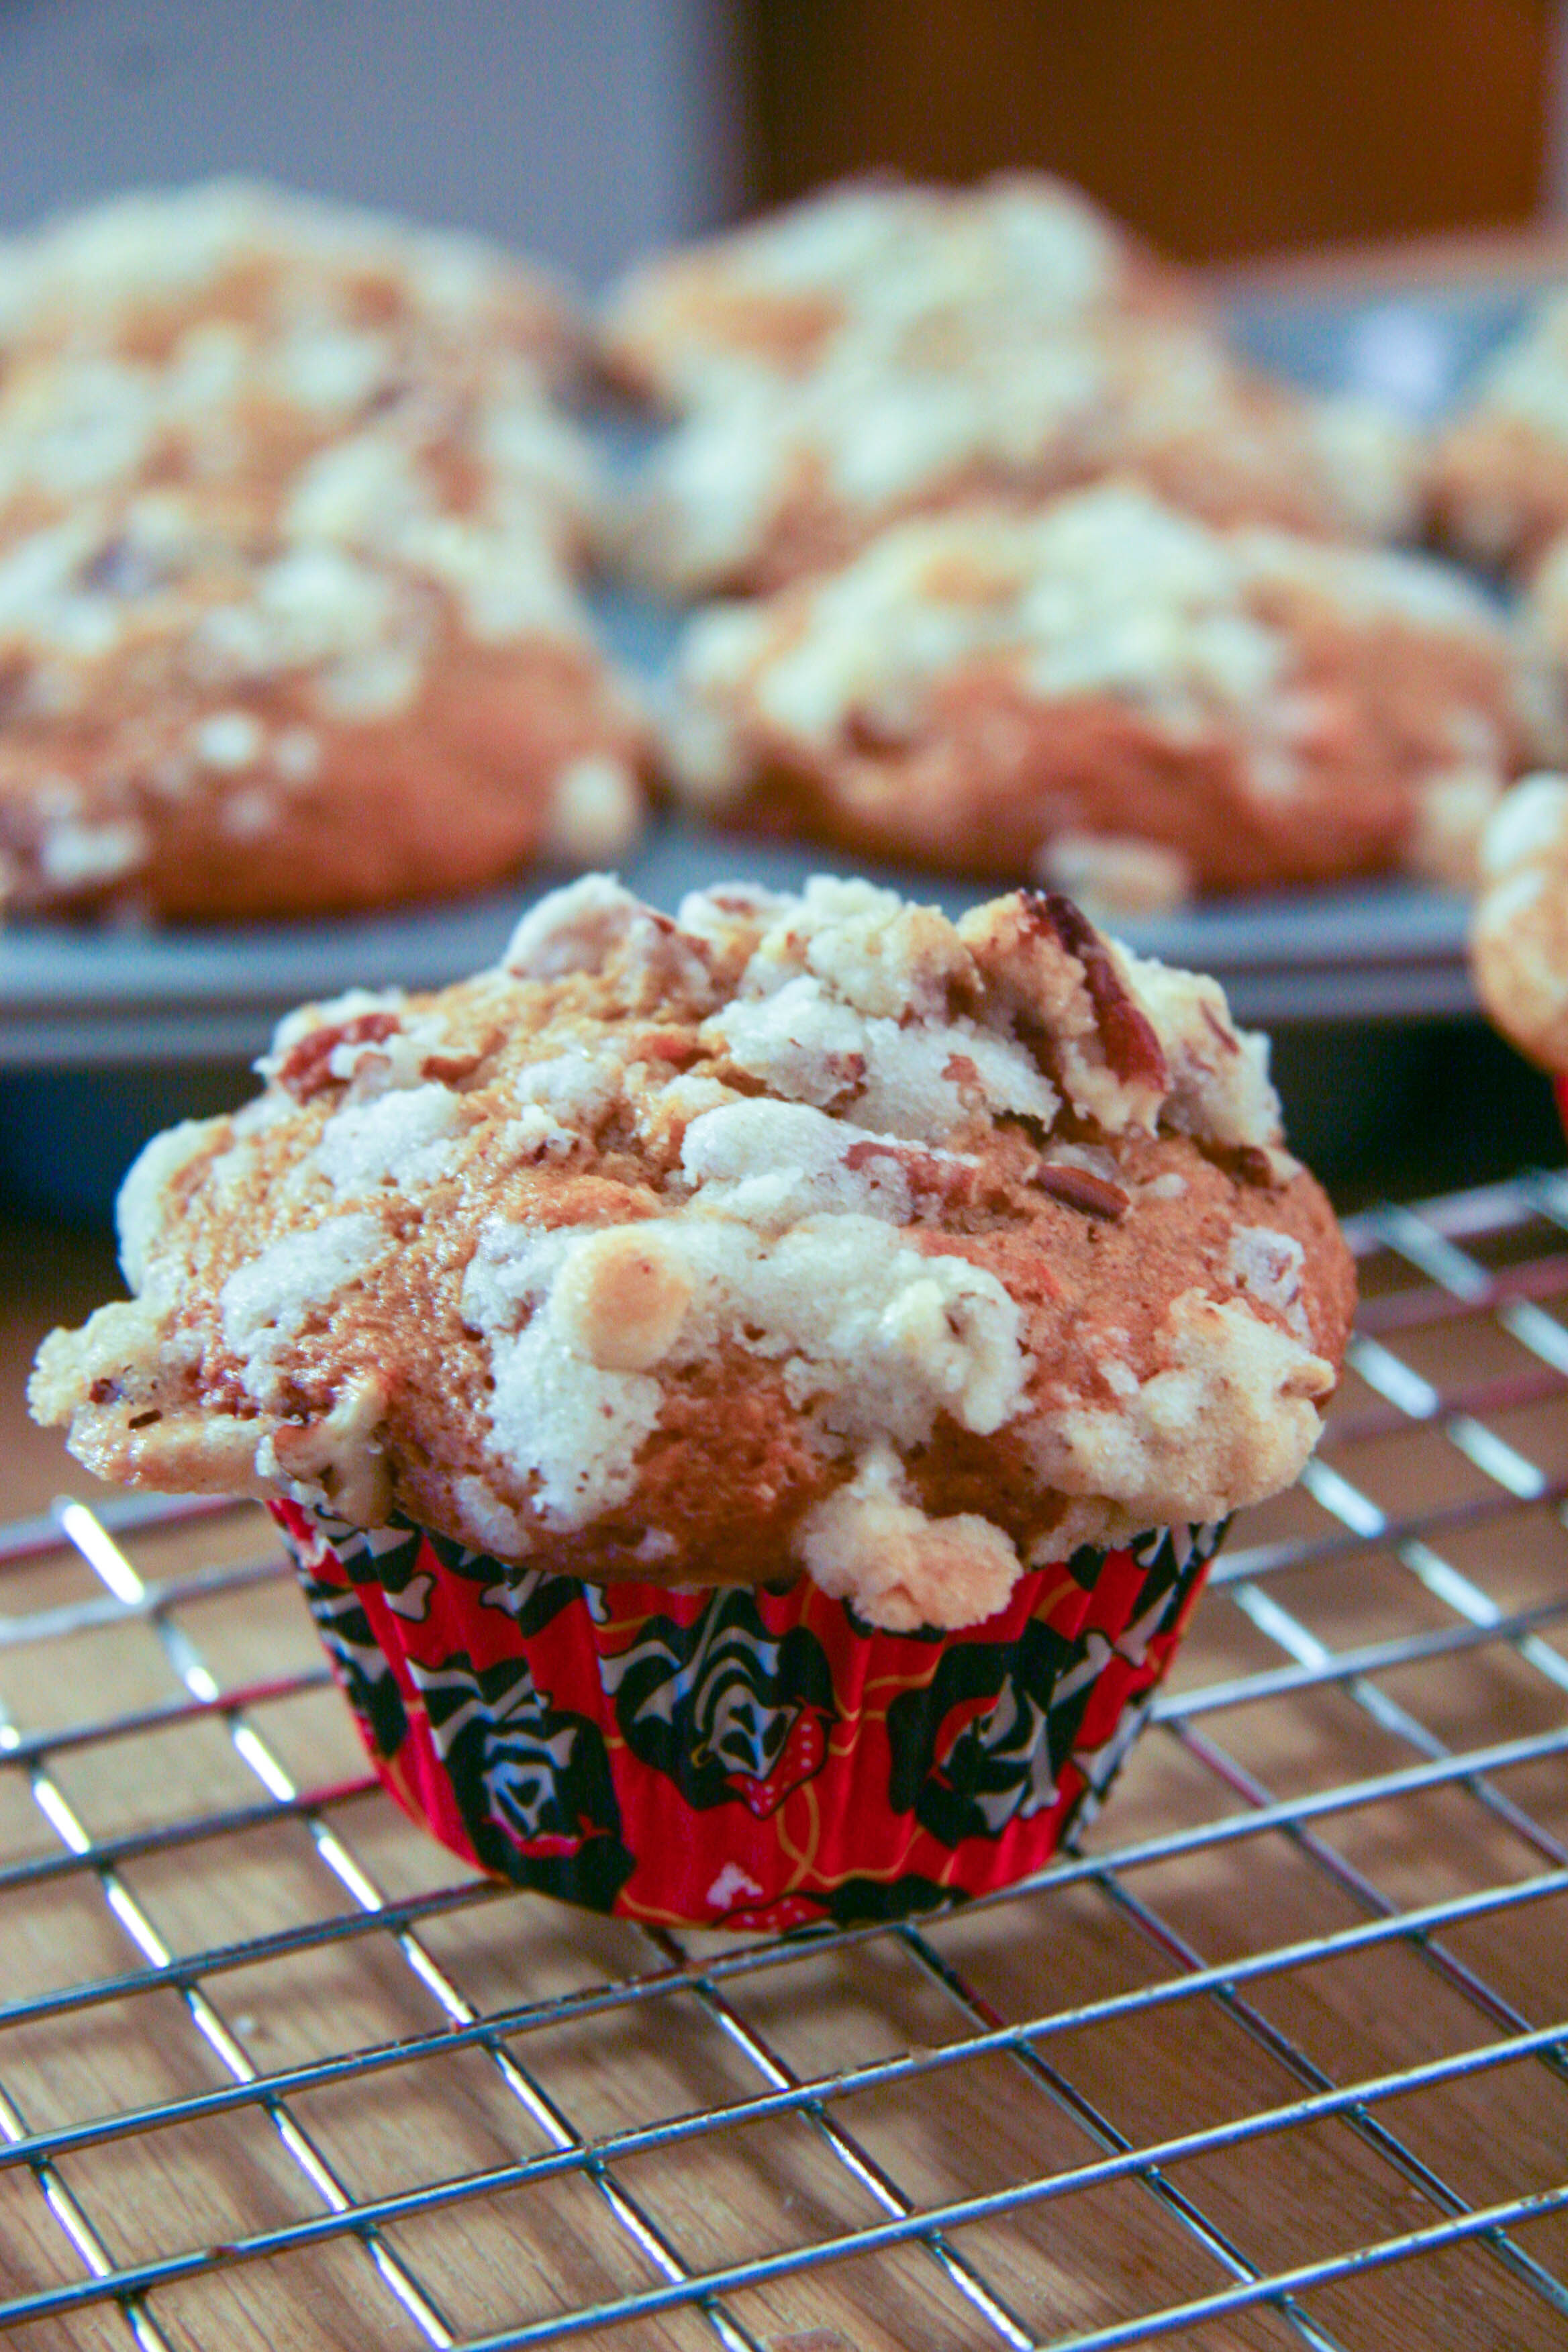
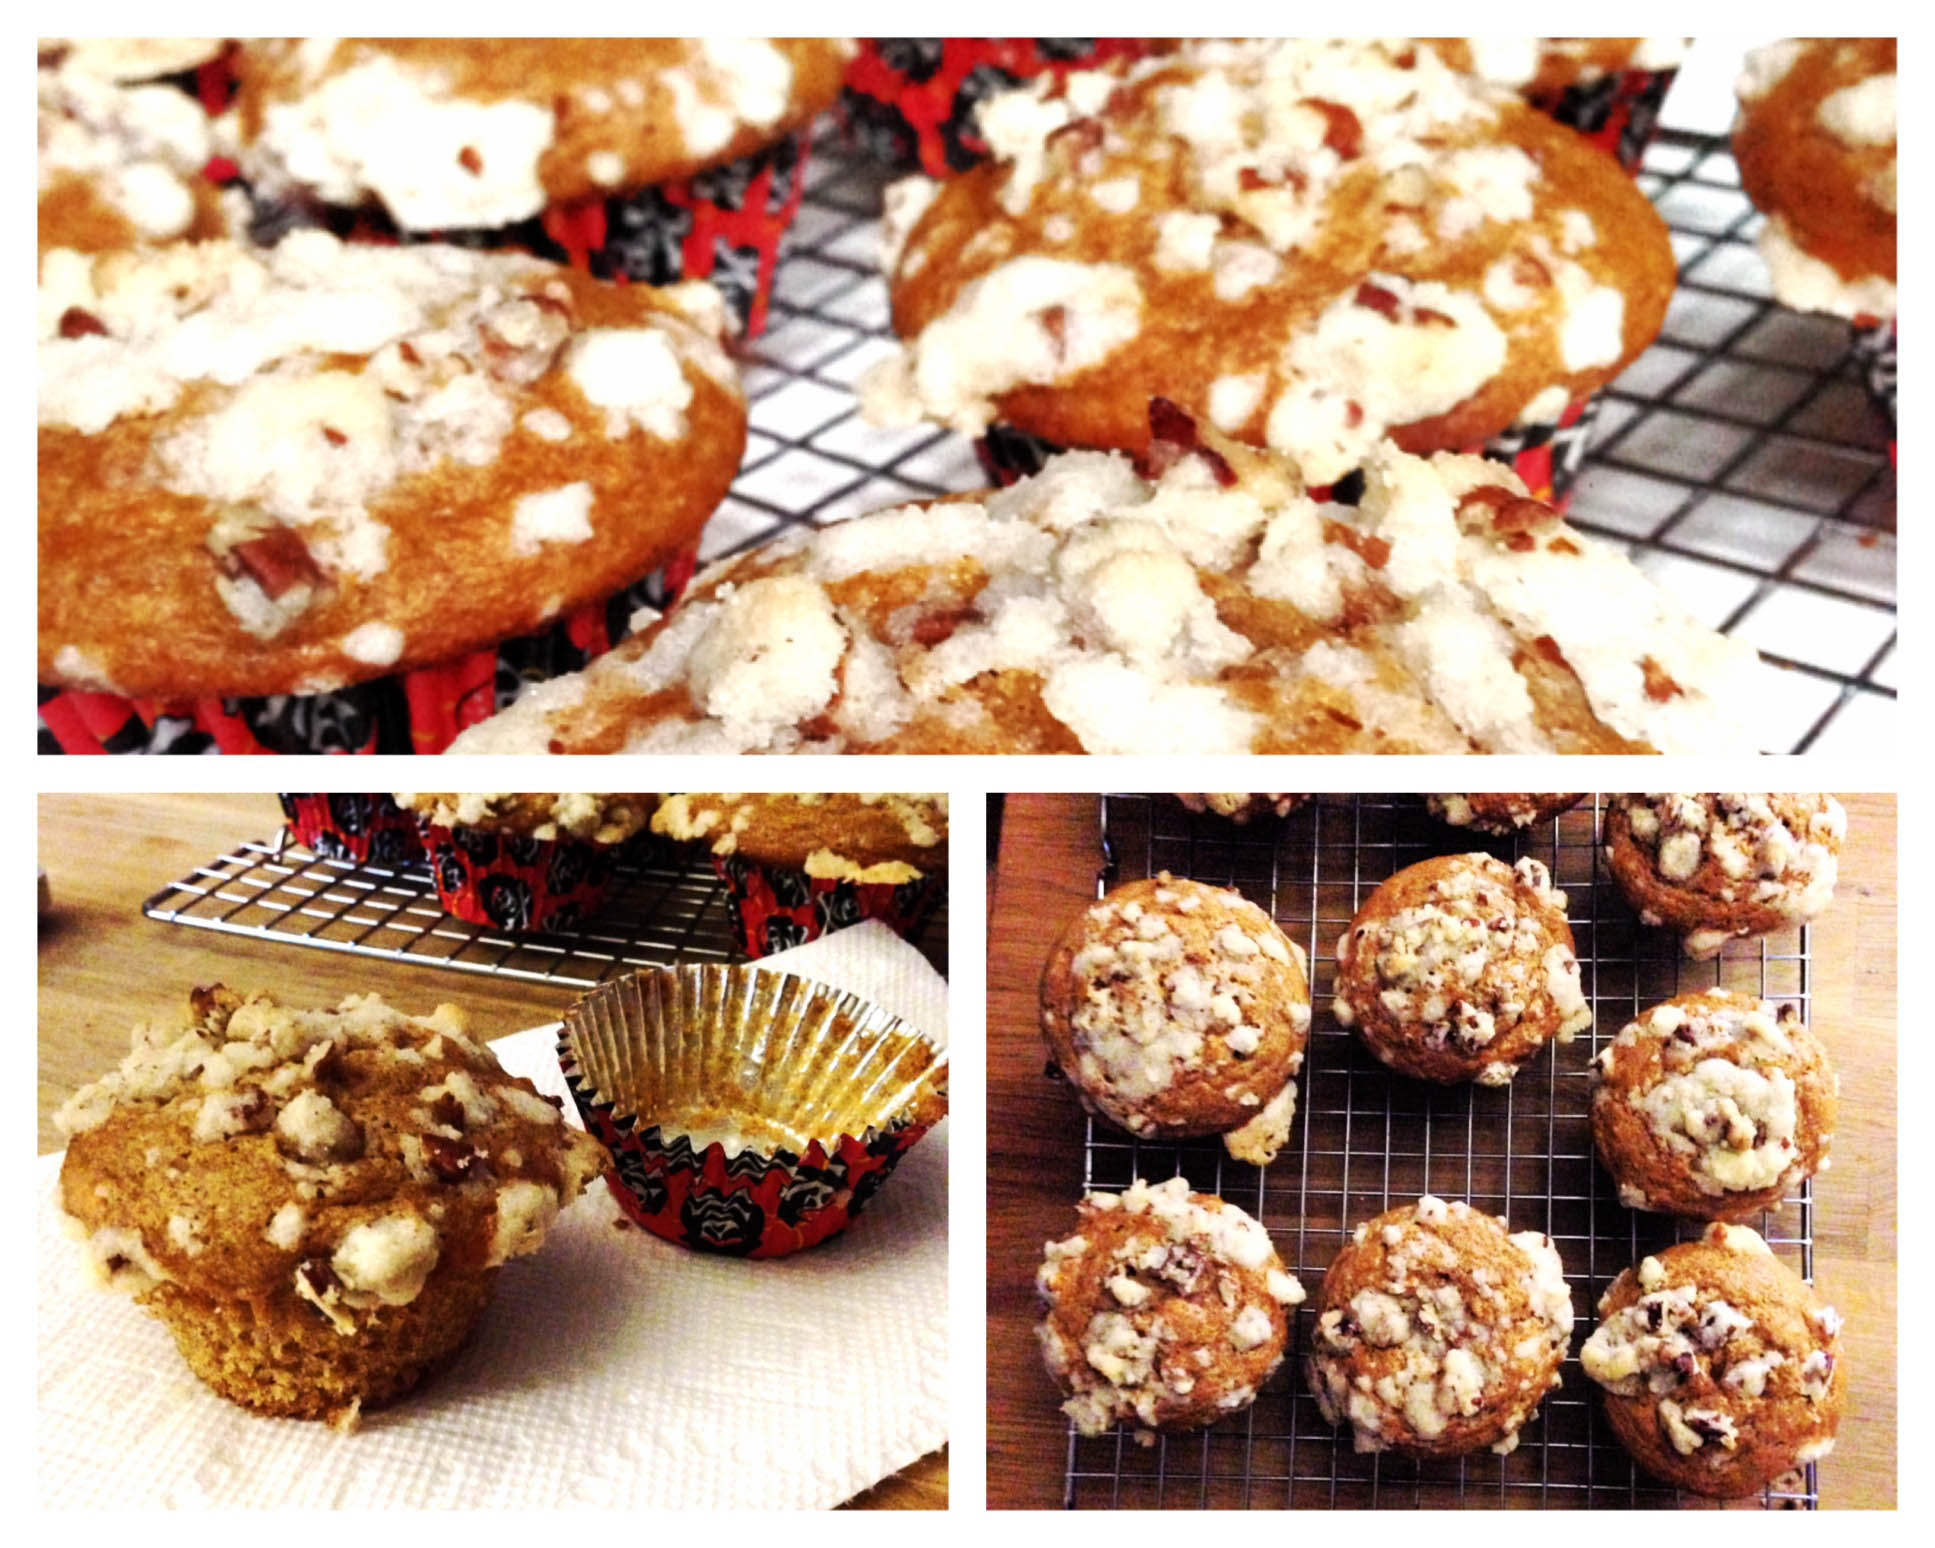
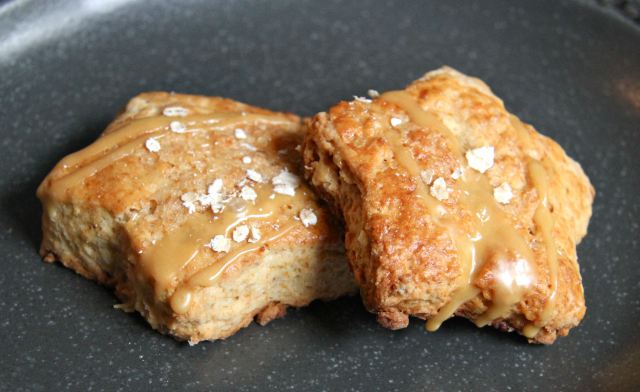
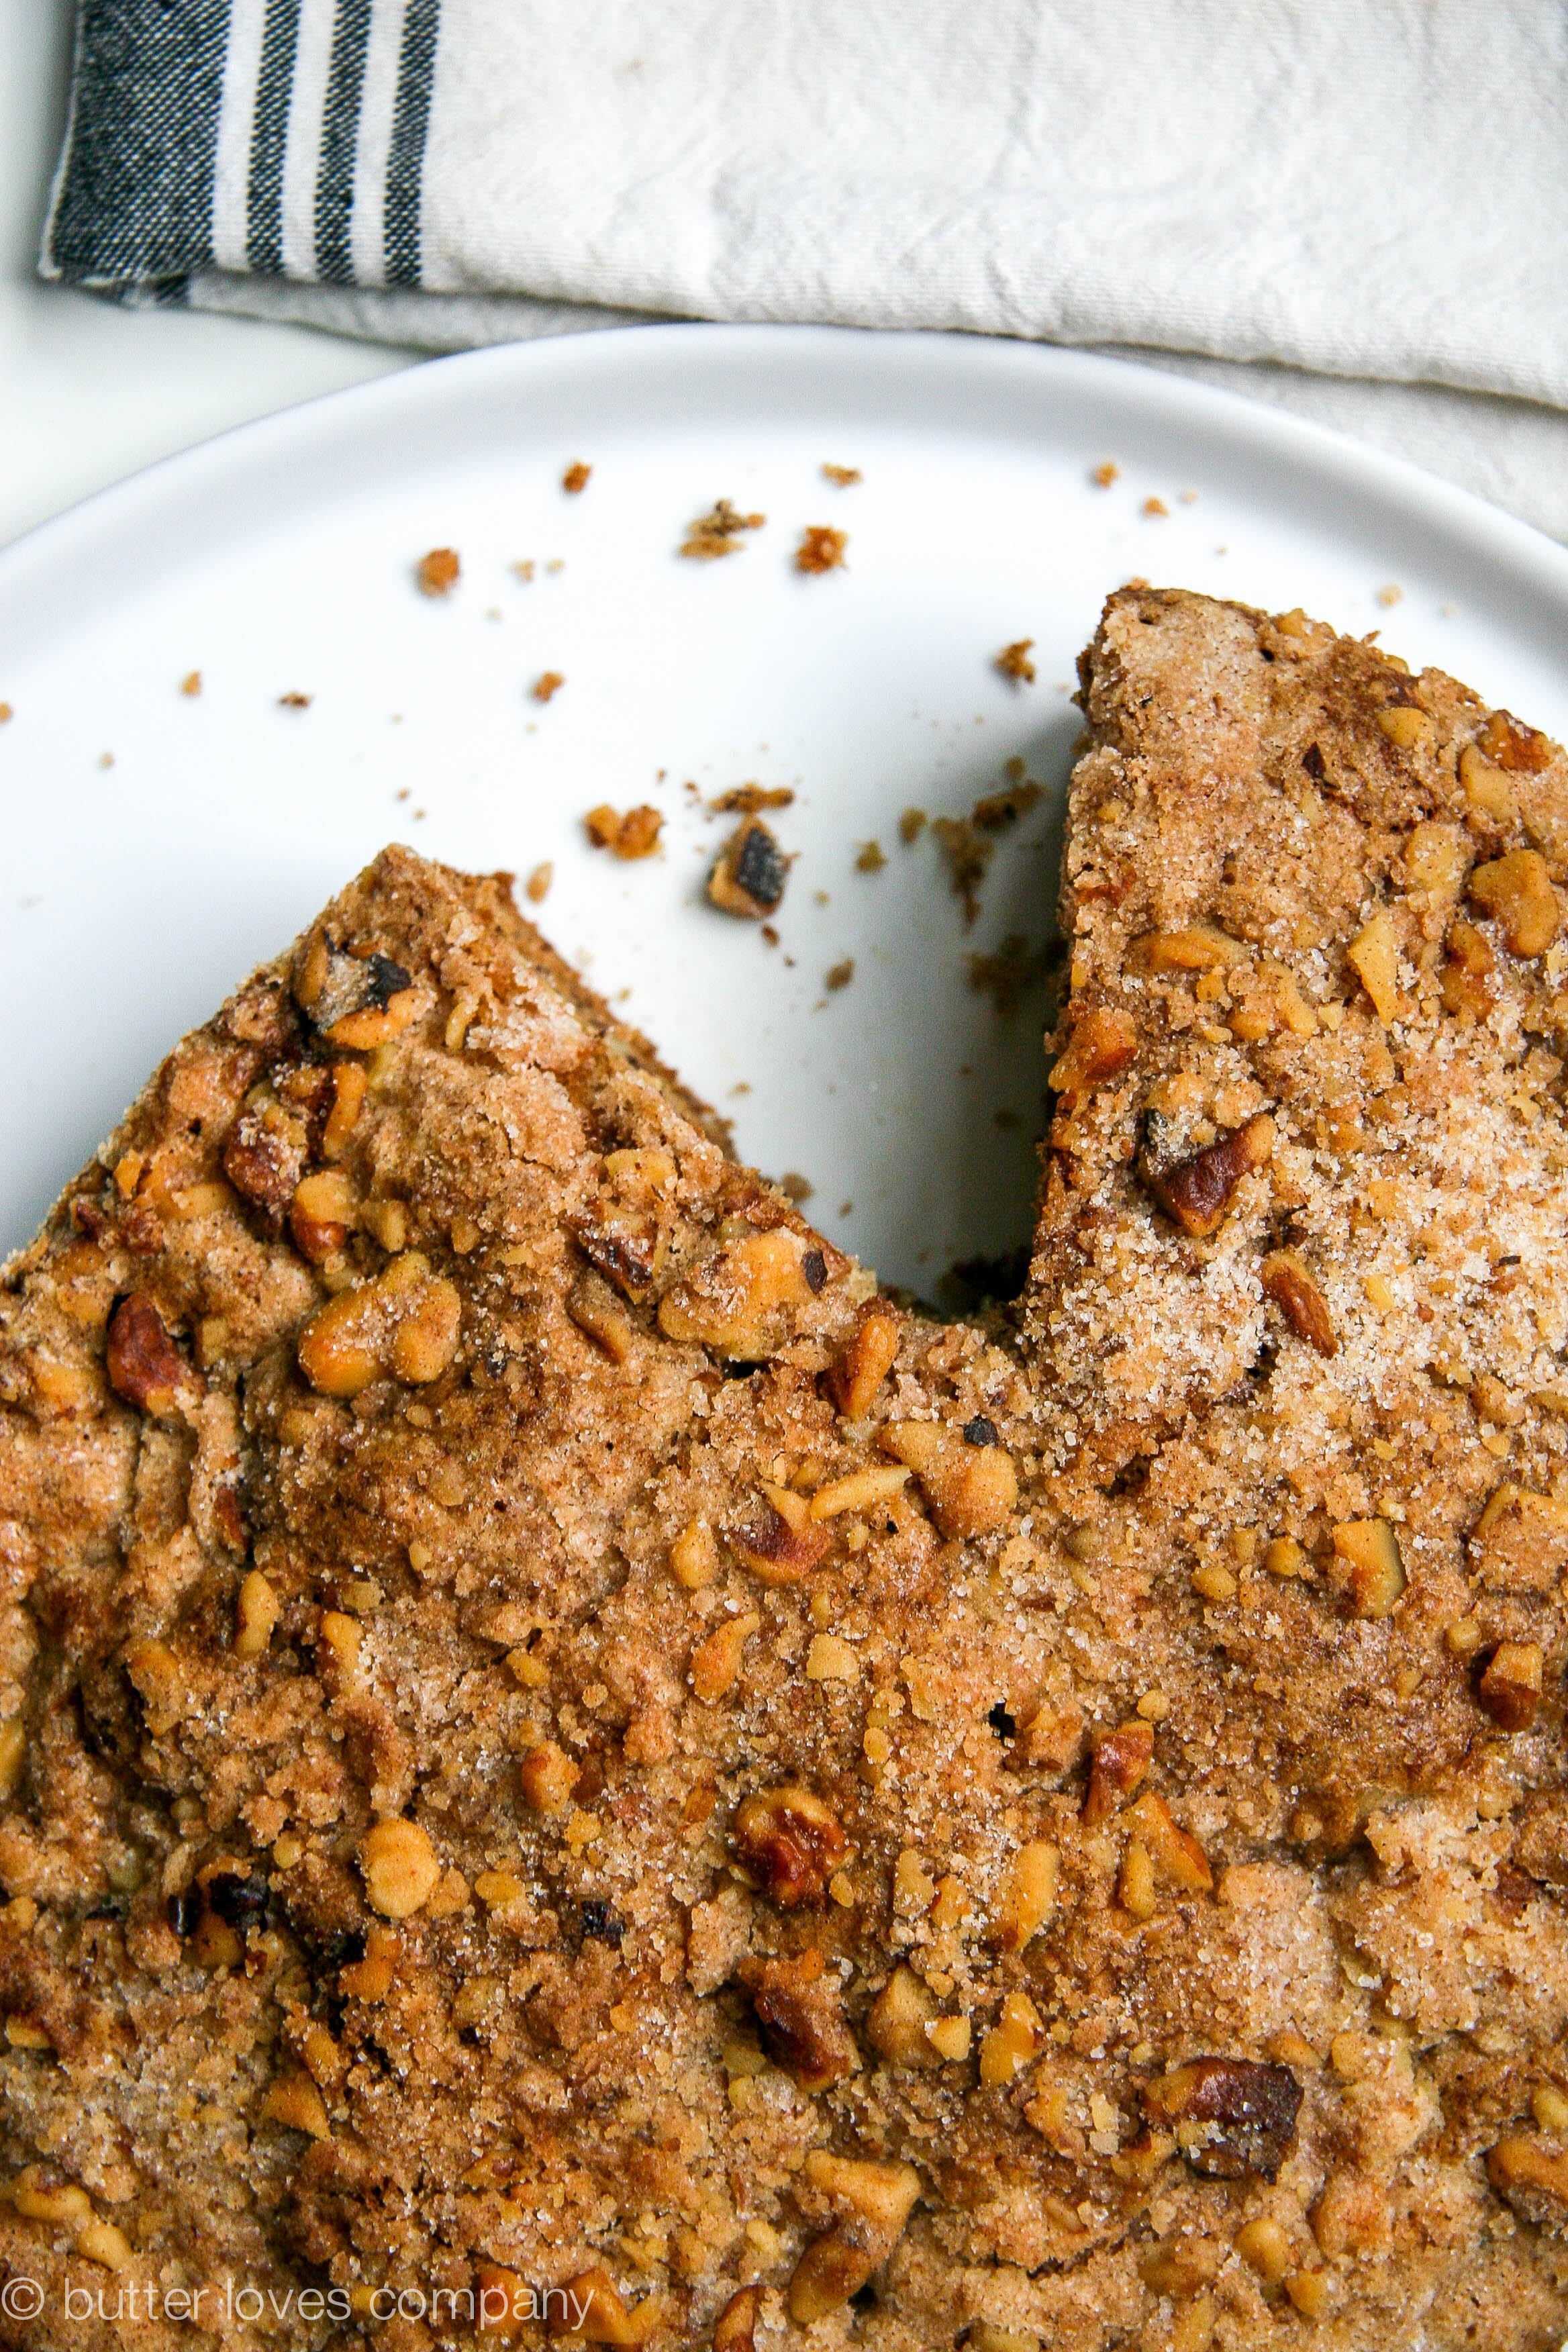
Sweet banana bread with a nutty depth from brown butter and a crunchy cinnamon sugar topping sounded like exactly what I needed and, I would argue, you need it too. If you’re intimidated by the sound of brown butter, stop that. You can do it. You’ll literally just heat the butter until it starts to crackle and foam. Once the crackling subsides, it will start turning golden and you’re in business! So . . . Run! Get to the store, before all the brown bananas run out!!

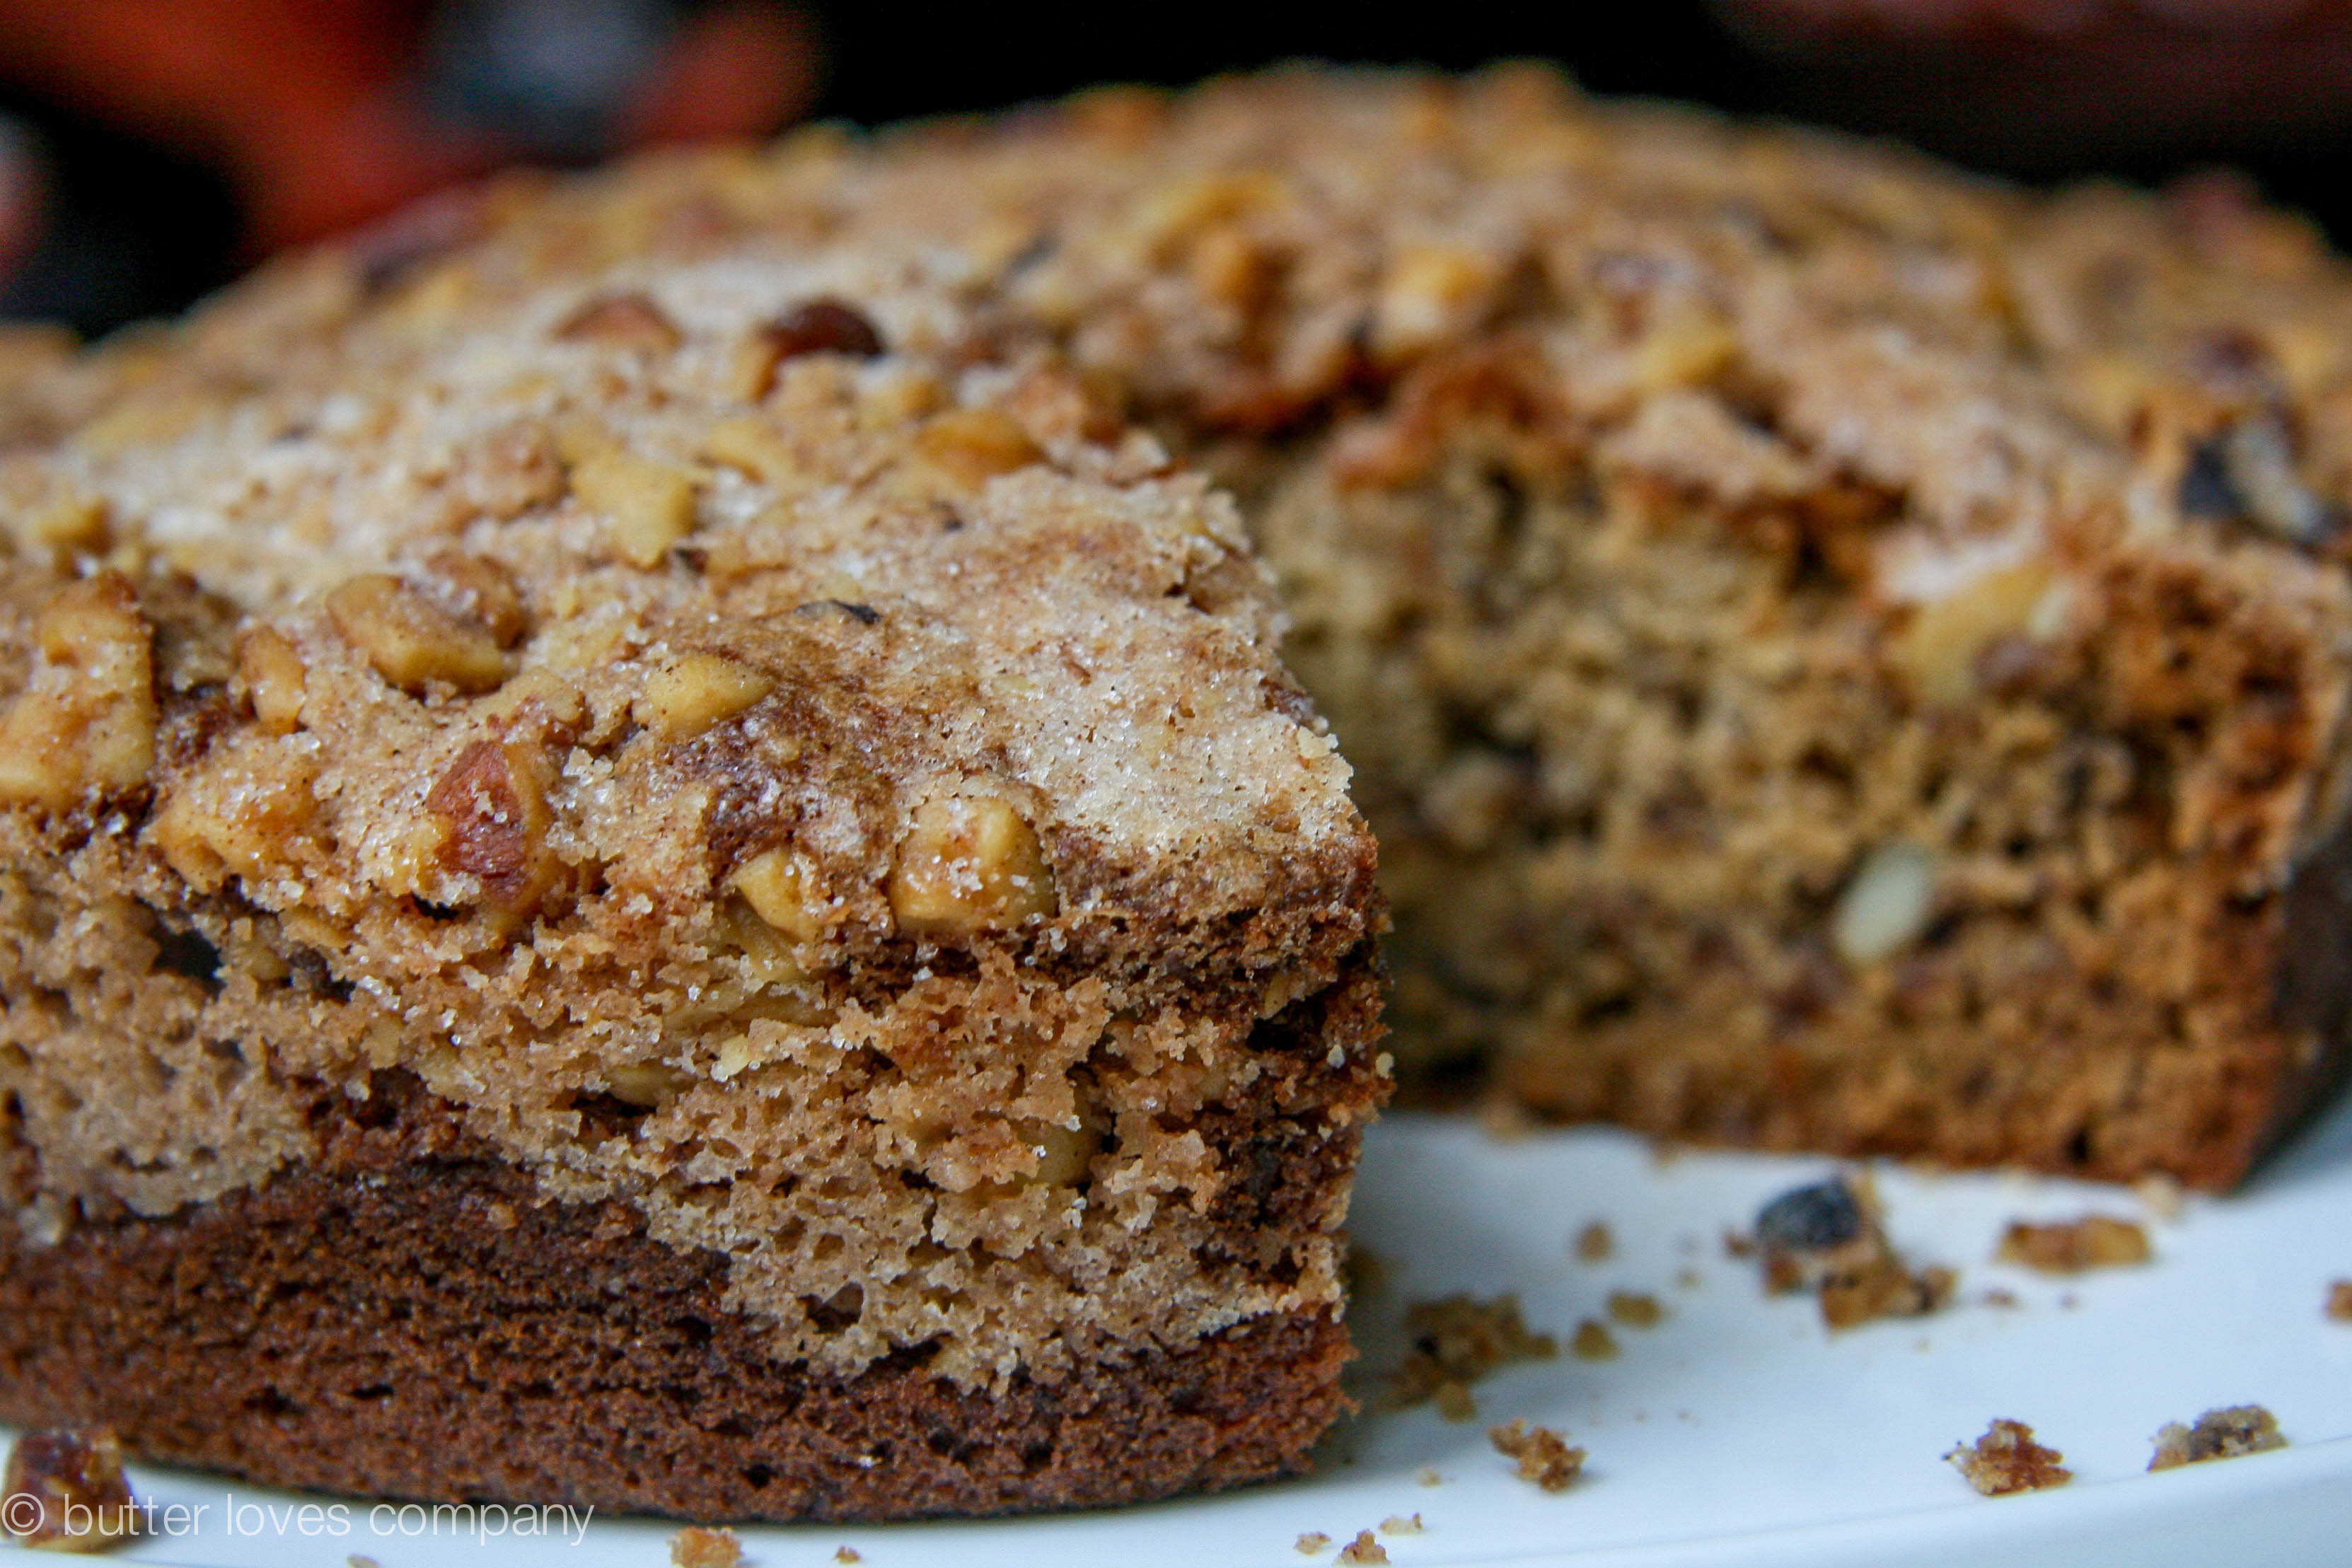
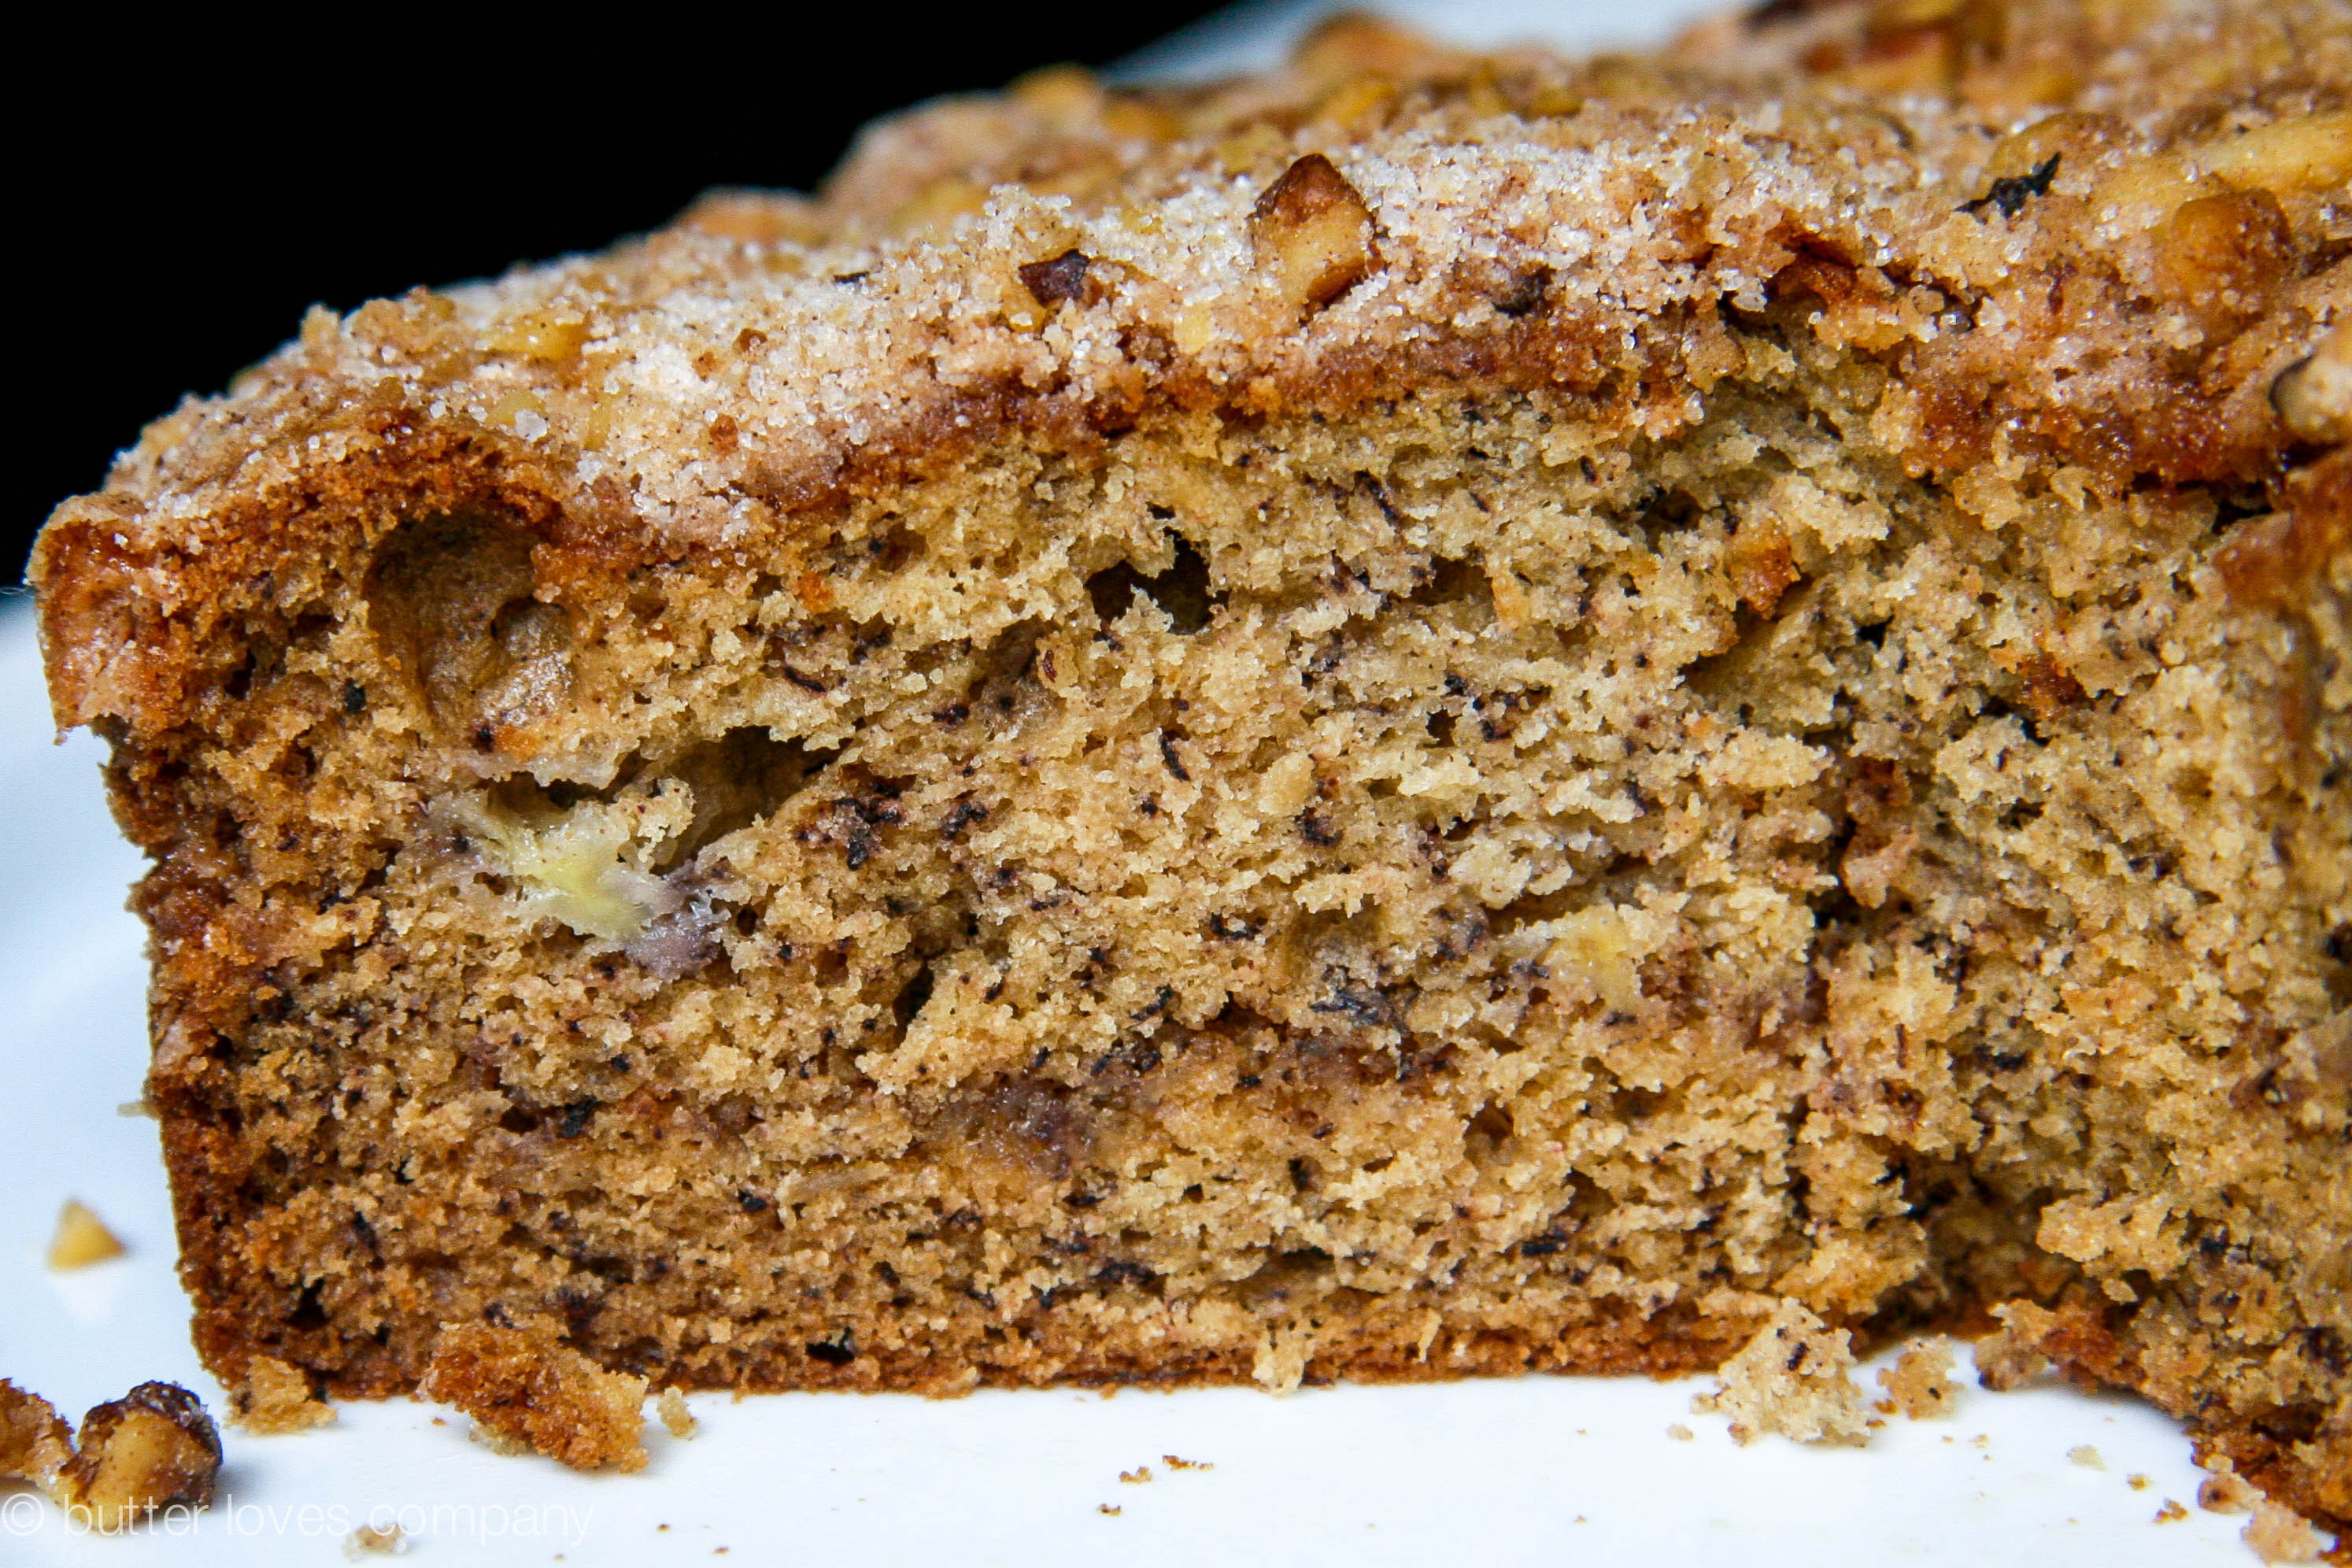
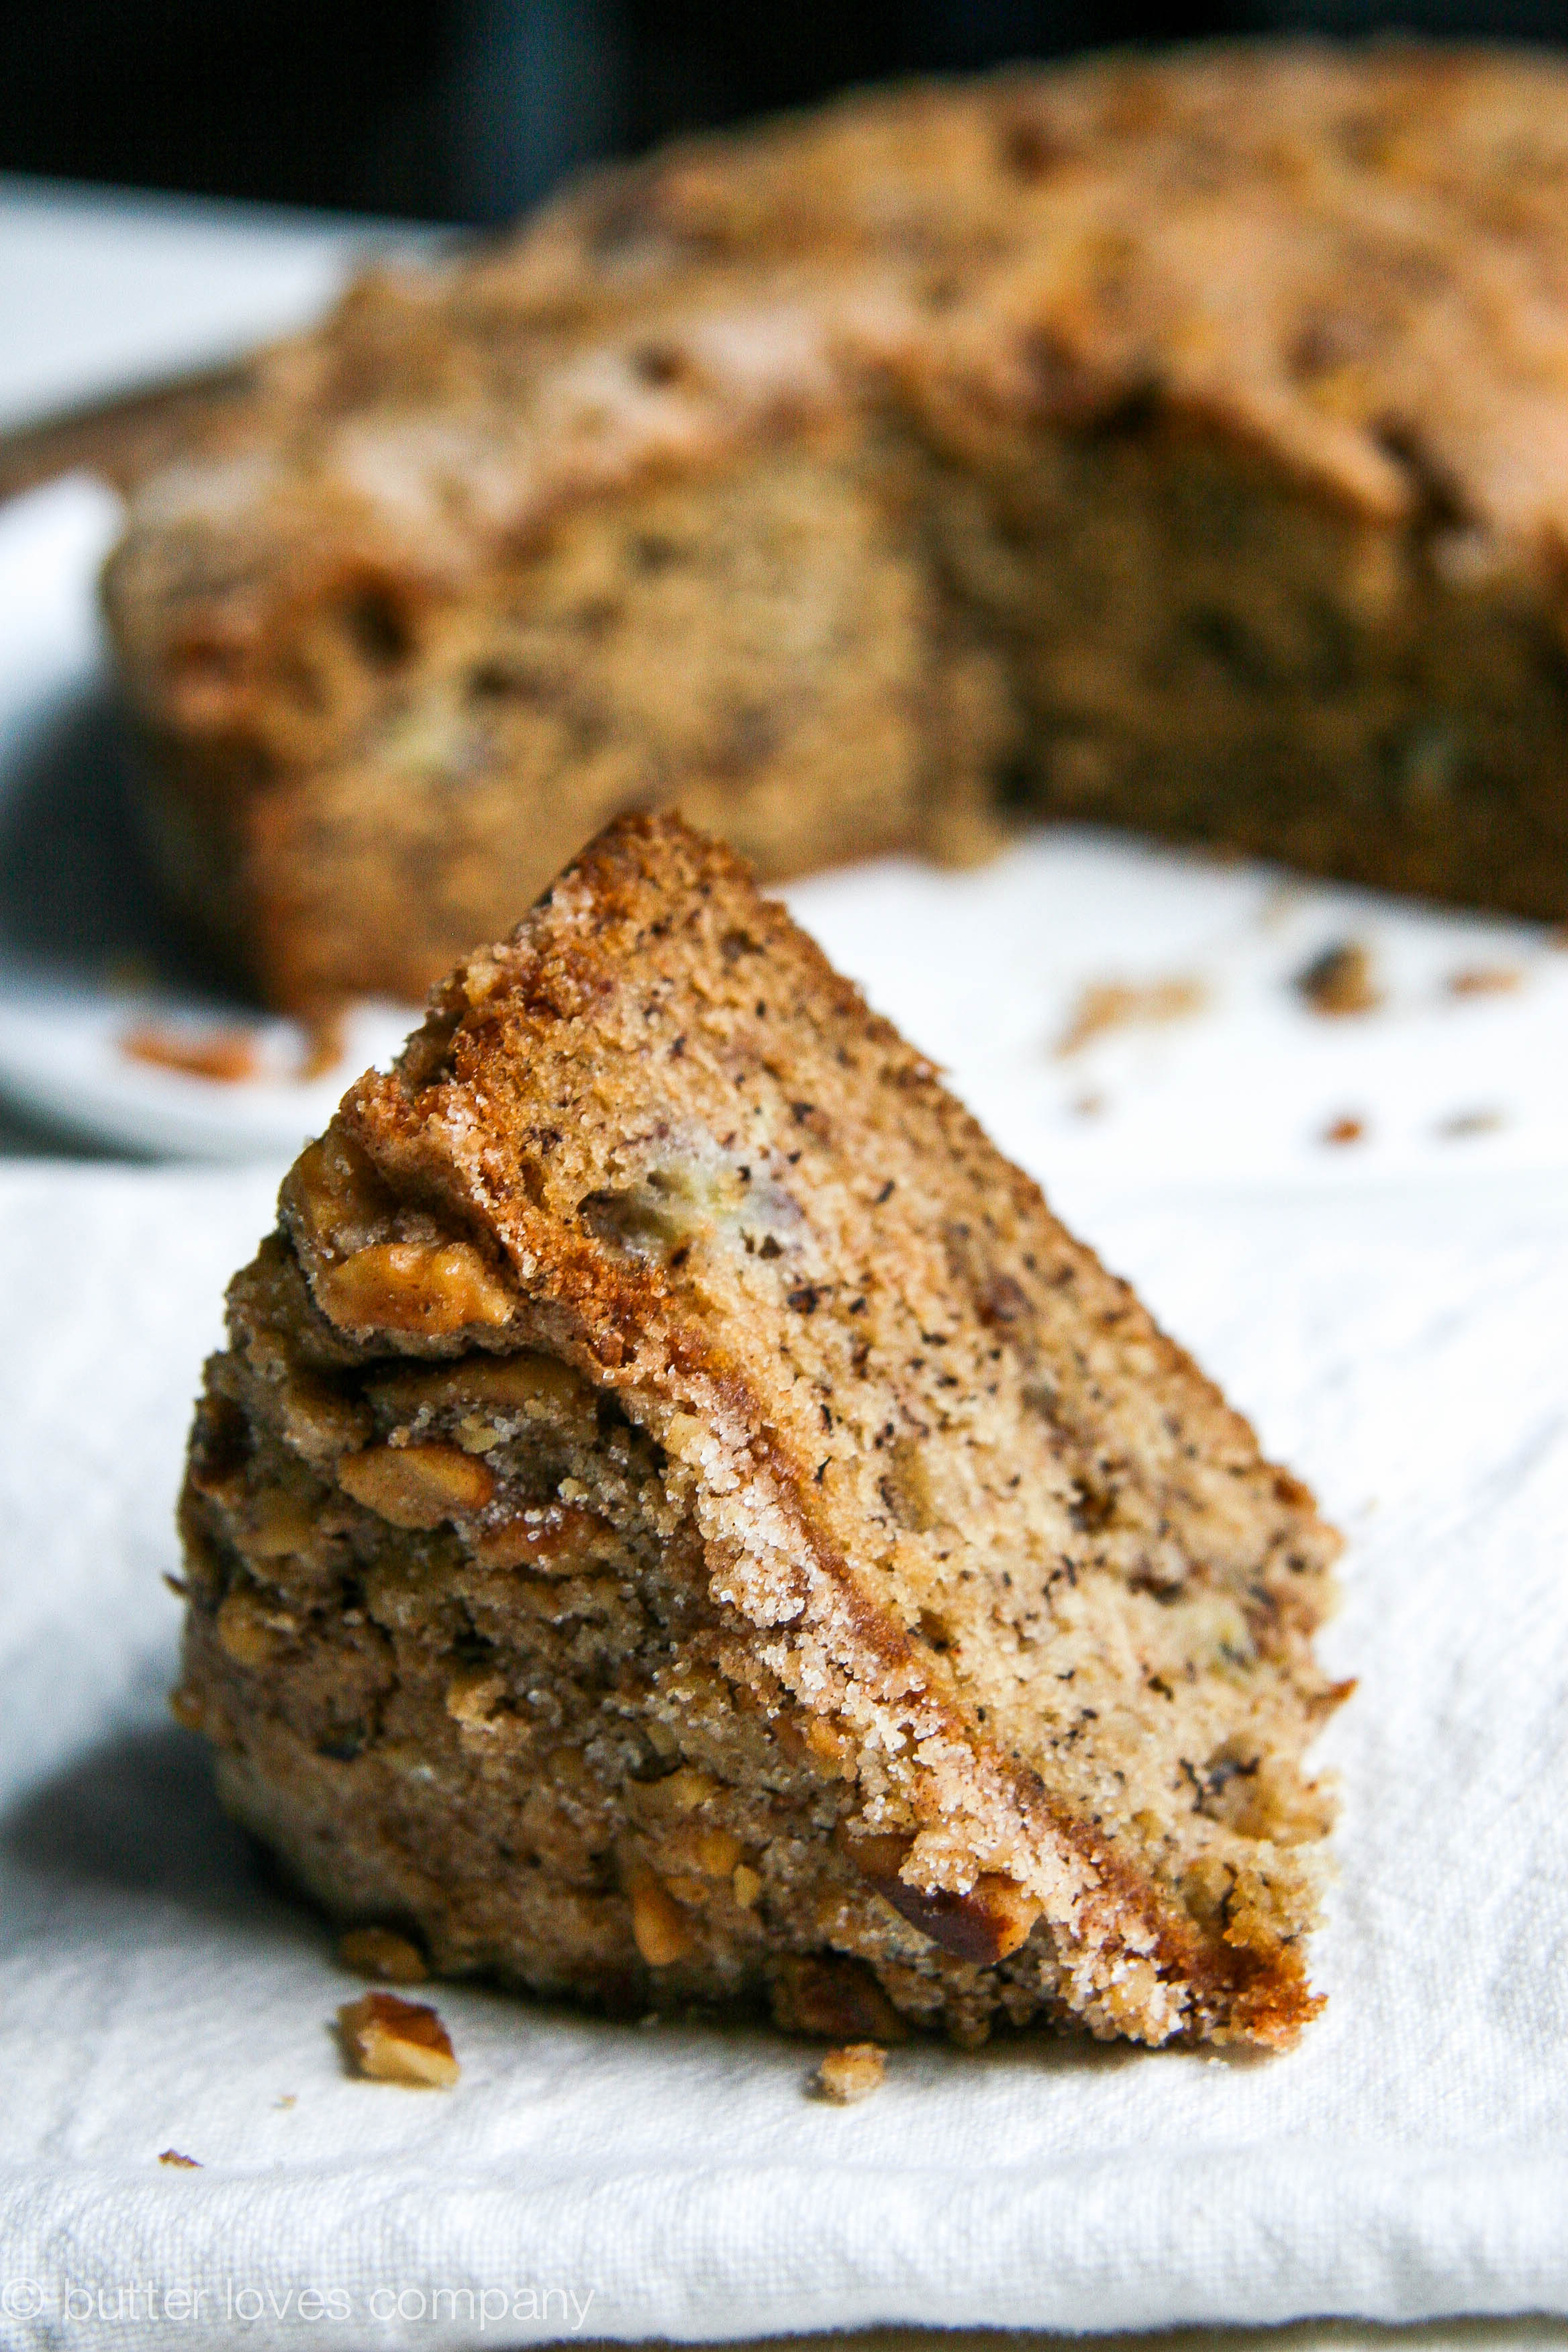
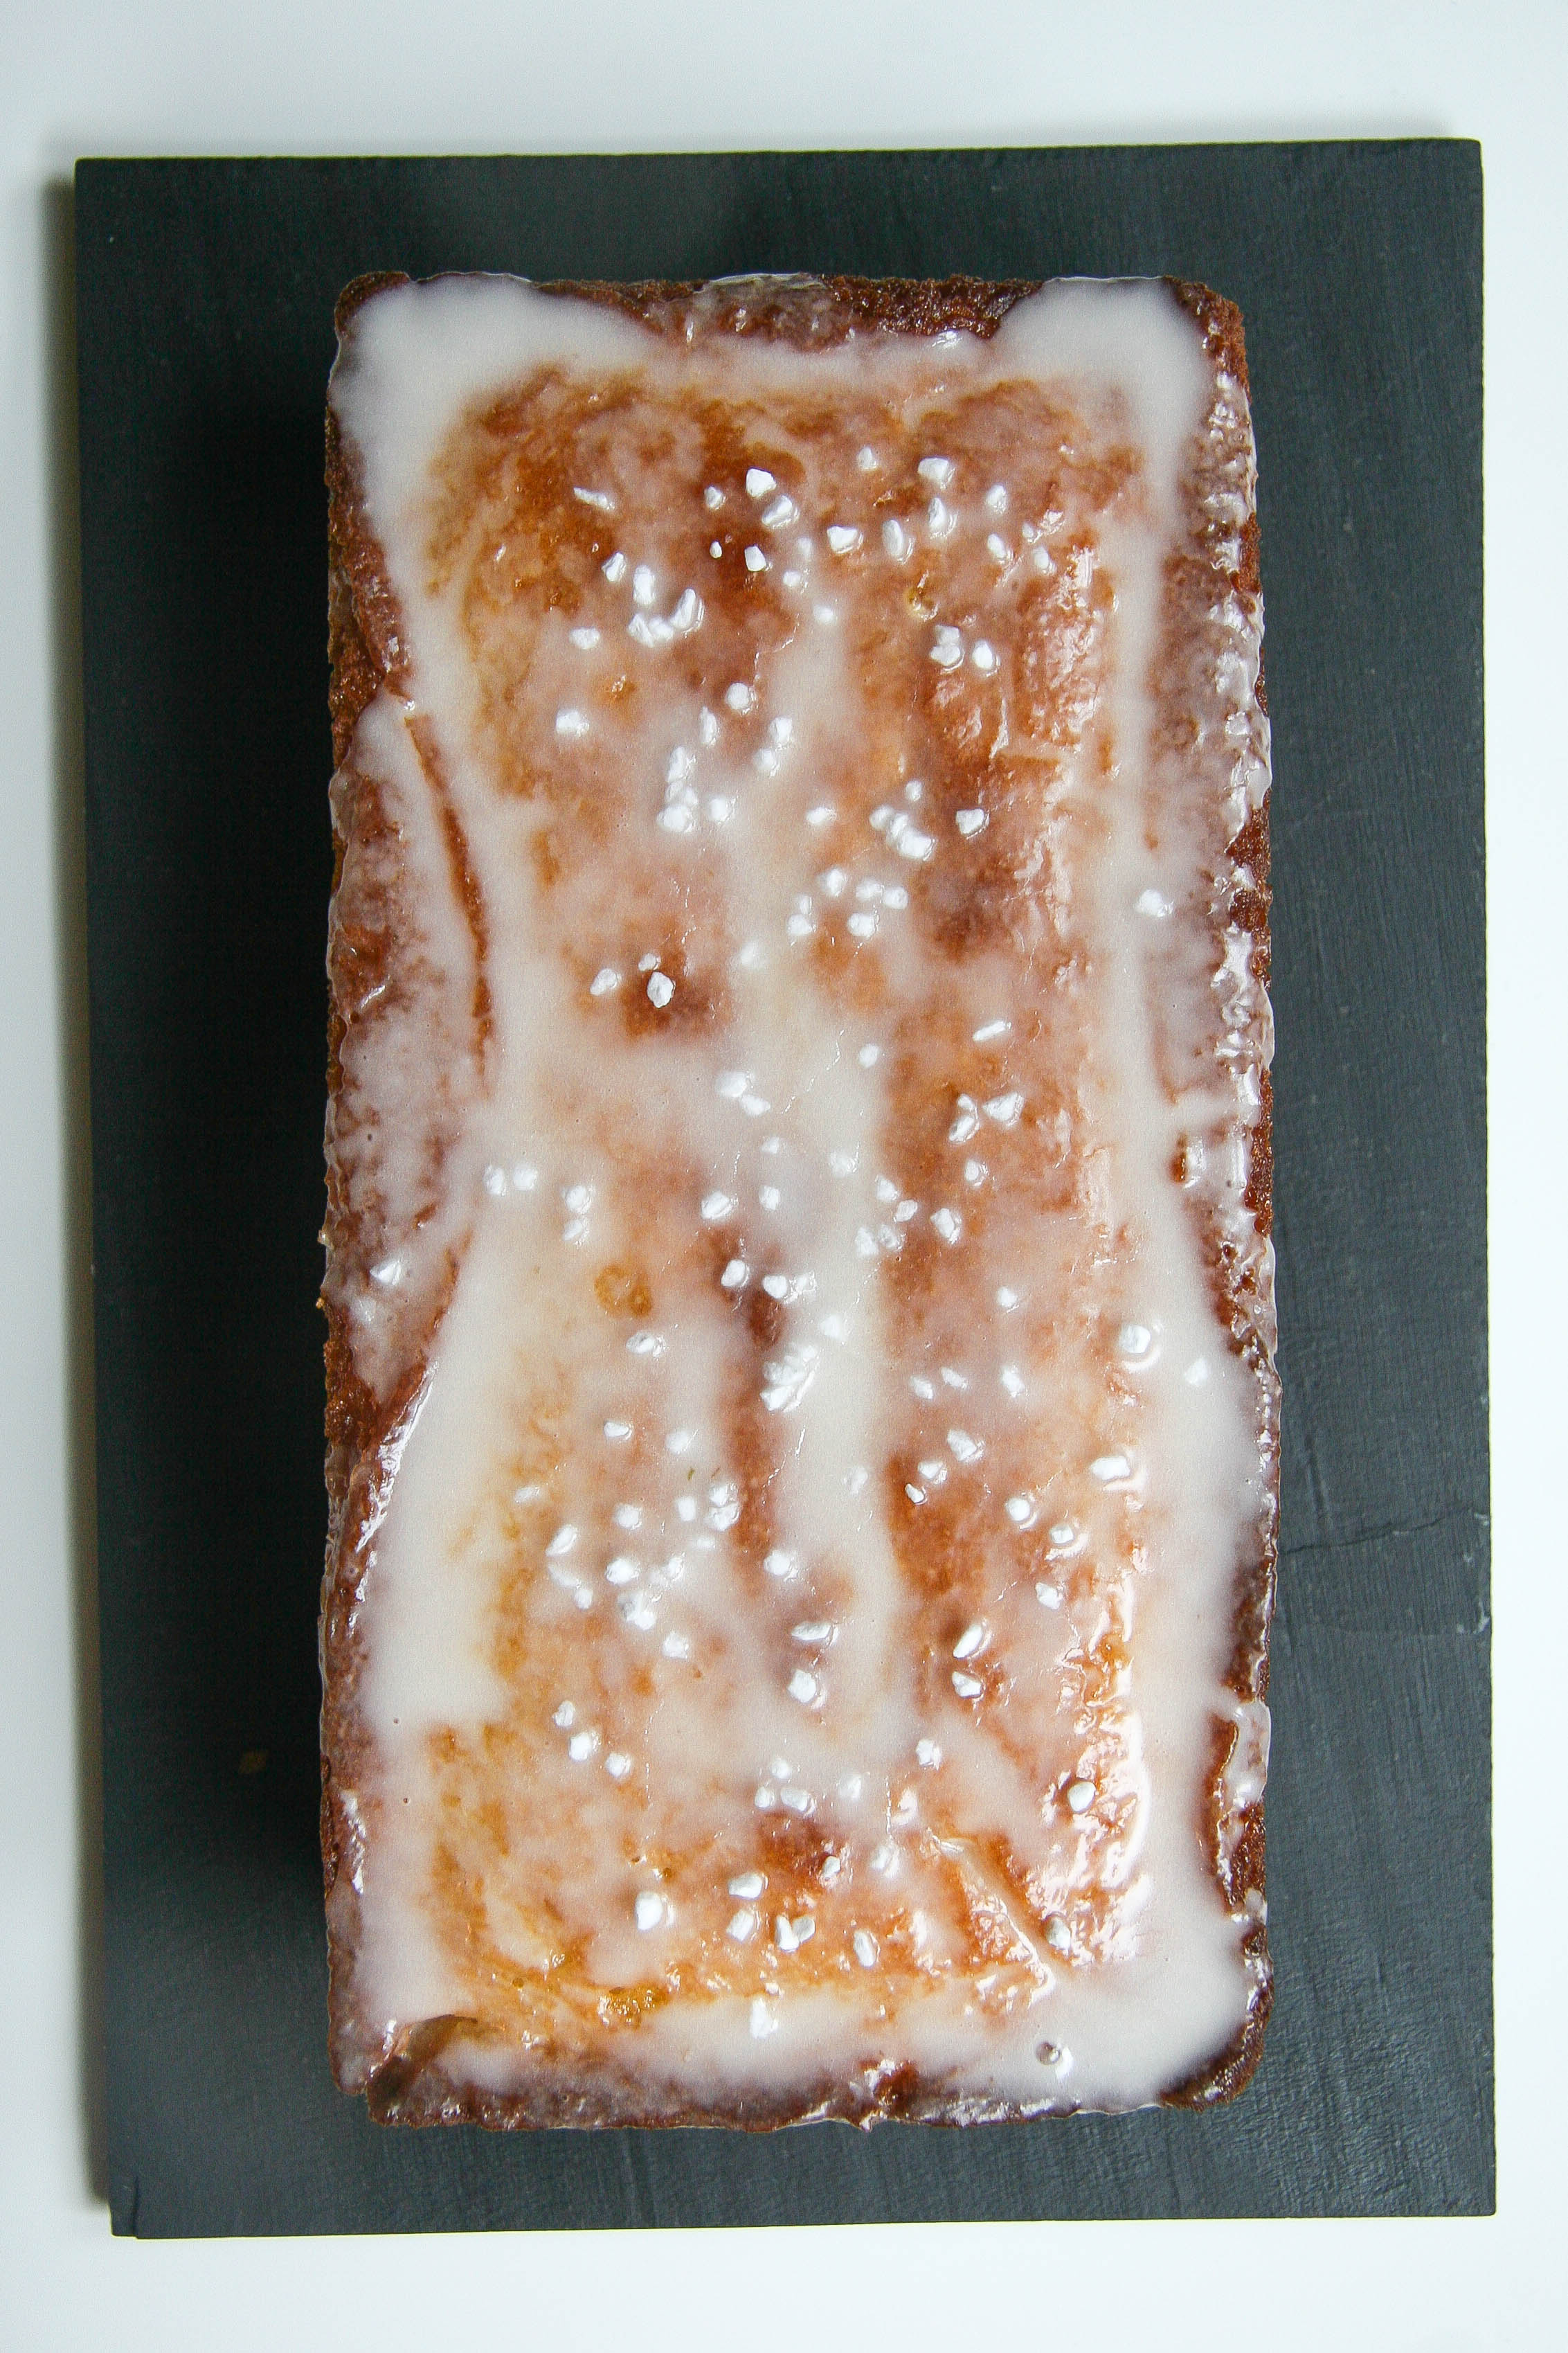
brown butter banana bread, with crumble
adapted from Joy the Baker
Prep Time: 30 minutes (includes browning and cooling butter)
Cook Time: 45–55 minutes
Total Time: about 1 hour 25 minutes
Makes 1 9 x 5 loaf
Ingredients:
1½ sticks (6 oz.) unsalted butter, cut into tablespoon-sized pieces (we will brown this in step one; it will result in a little over ½ cup brown butter)
2 cups all-purpose flour
½ cup granulated sugar
¼ cup light brown sugar, packed
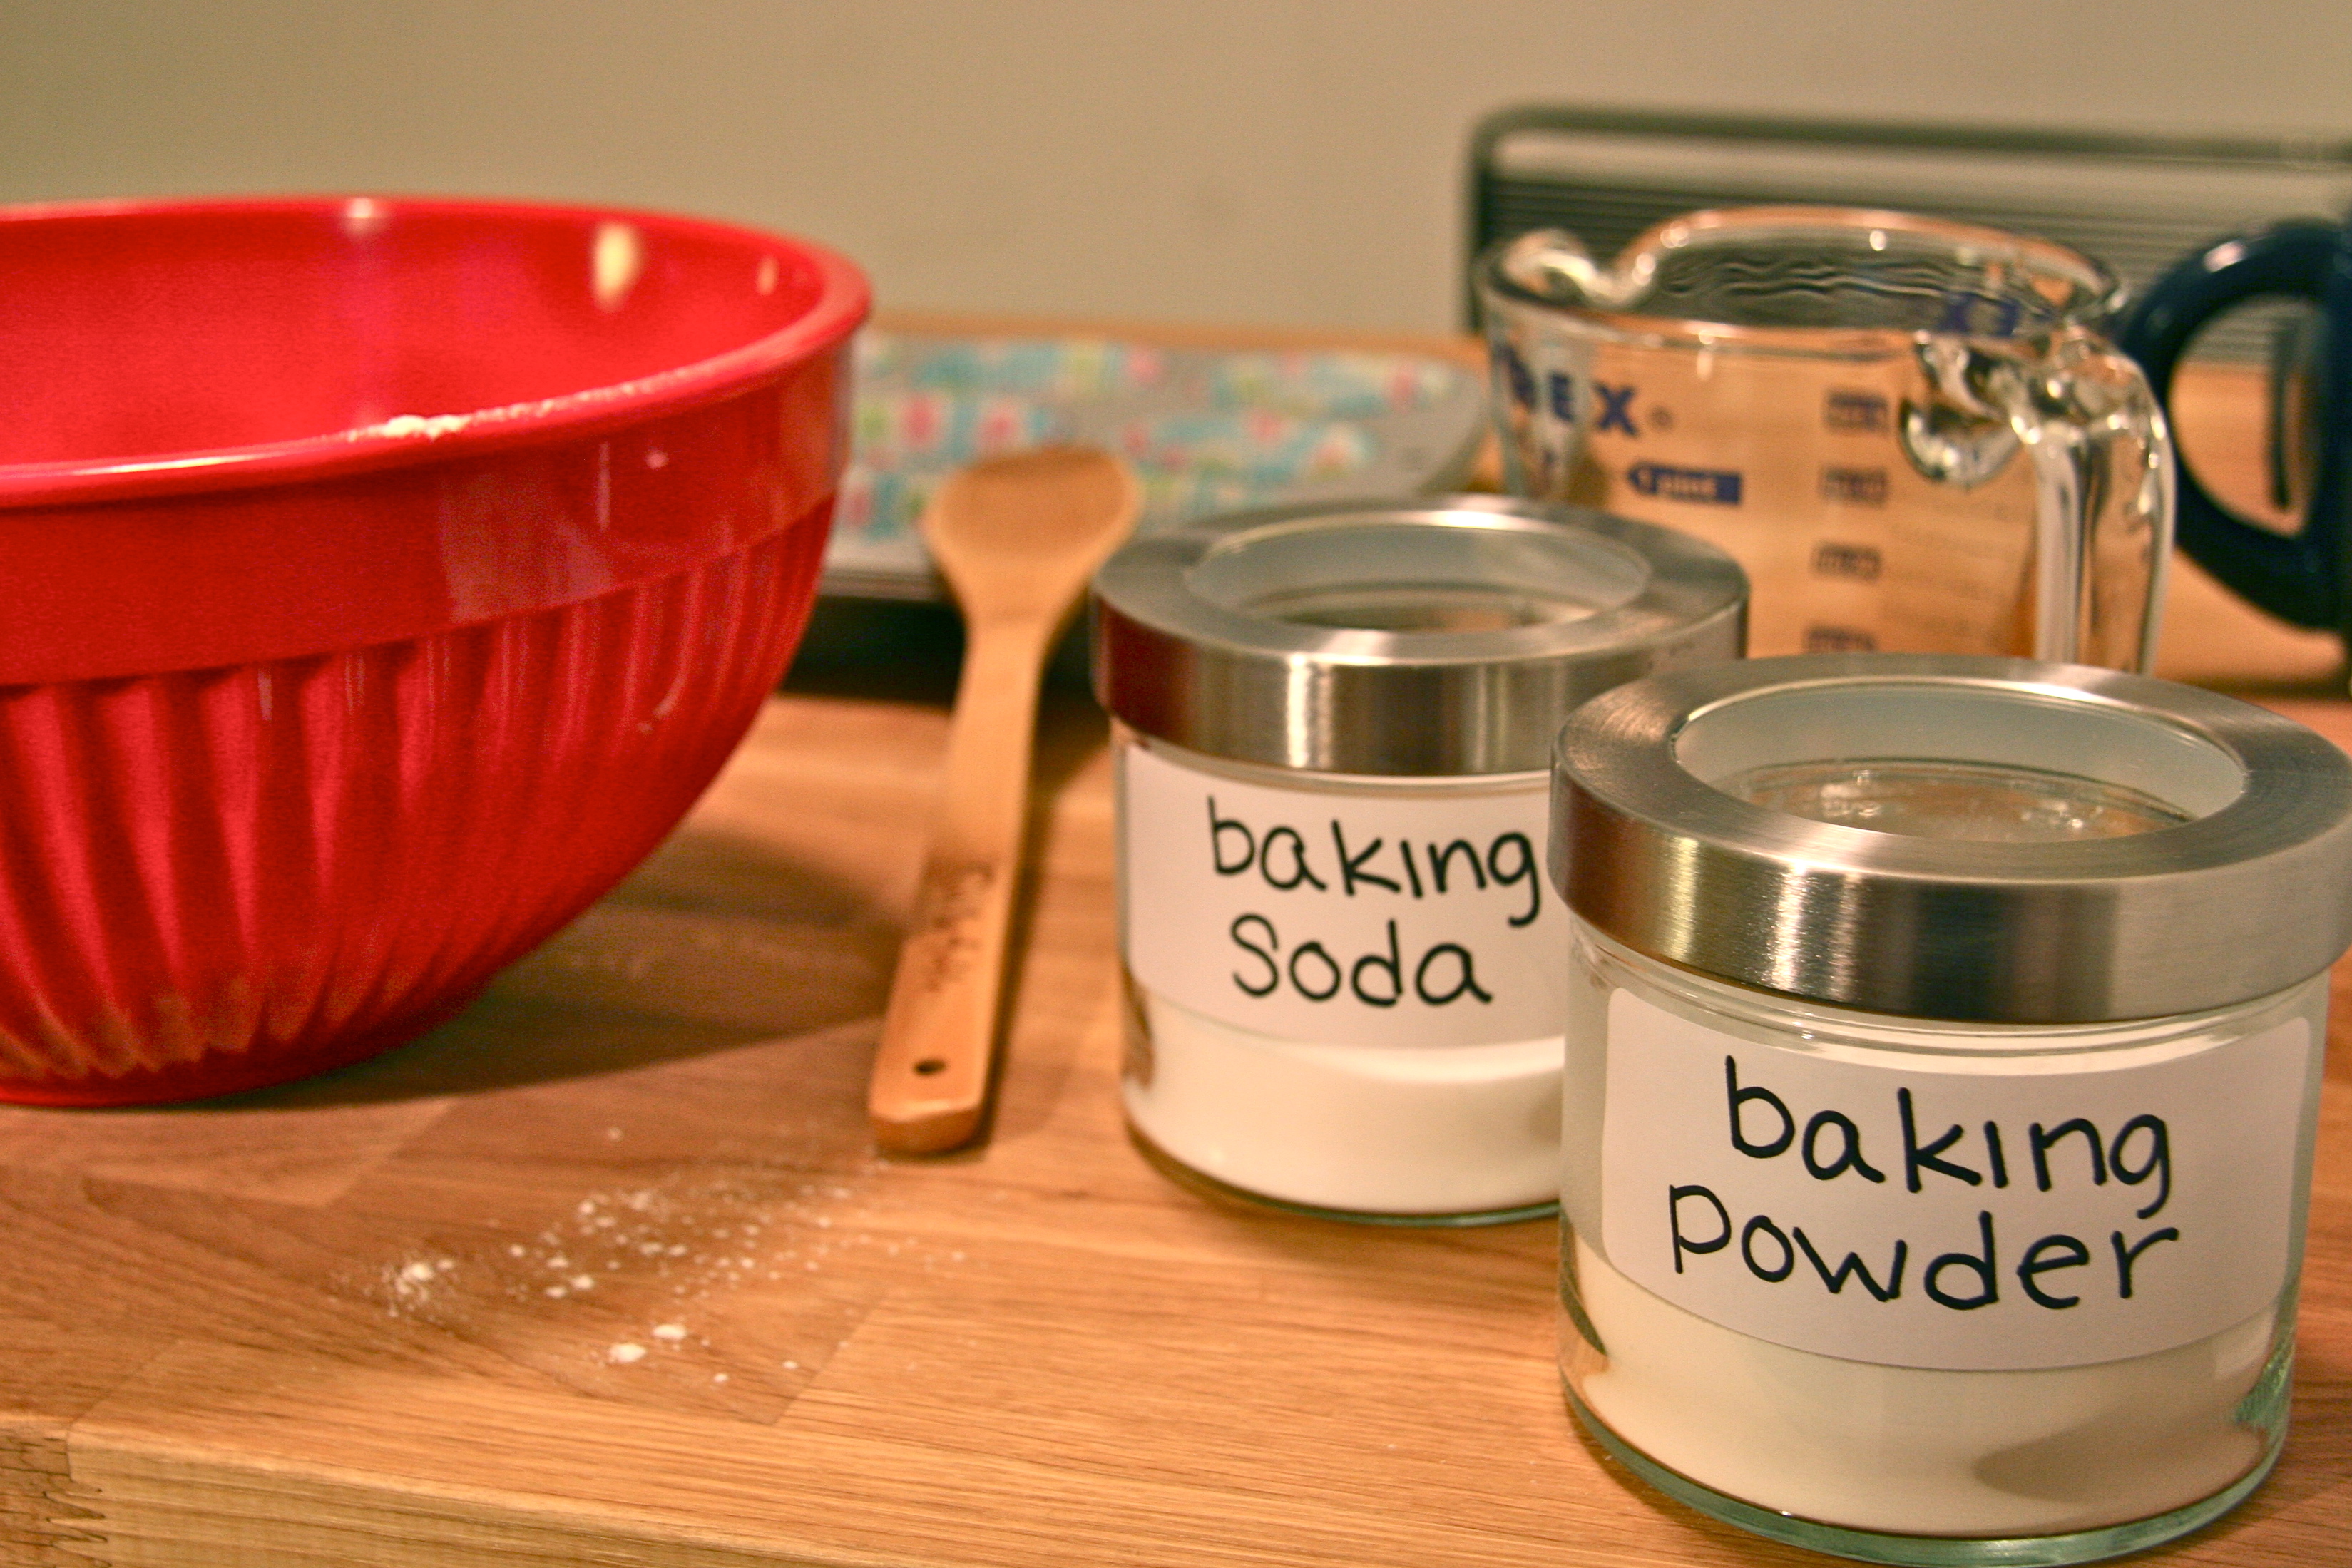
1 teaspoon baking soda
½ teaspoon salt
½ teaspoon ground cinnamon
¼ teaspoon ground nutmeg
2 large eggs, room temperature
1½ teaspoons vanilla extract
¼ cup well shaken buttermilk (mine was straight from the fridge cold)
1½ cups very ripe bananas, mashed (about 3 medium bananas)
Topping:
½ cup granulated sugar
¼ cup all-purpose flour
¾ cups roughly chopped walnuts (optional)
2 tablespoons (¼ stick) unsalted butter, cold and cut into ½ pieces
1 teaspoon ground cinnamon
Pinch of salt
Instructions:
- In a small saucepan with a small heatproof bowl nearby, melt the butter—stirring constantly until all of the pieces have melted. About 30 seconds after the butter melts completely, it will begin to bubble and foam. You will hear crackling sounds. Continue to stir constantly. As the foam and crackling begins to subside stir constantly while paying attention to the color and smell of the butter. As soon as it gives off a nutty smell and starts turning light brown take it off the heat to prevent it from burning. Then, quickly, but carefully, pour into the small heatproof bowl. Allow the brown butter to cool at room temp (or in the fridge if you’re in a pinch) while you prepare the rest of the bread.
- Preheat the oven to 350 degrees F with a rack in the center. Grease a 9 x 5 inch bread pan or similar sized baking dish.
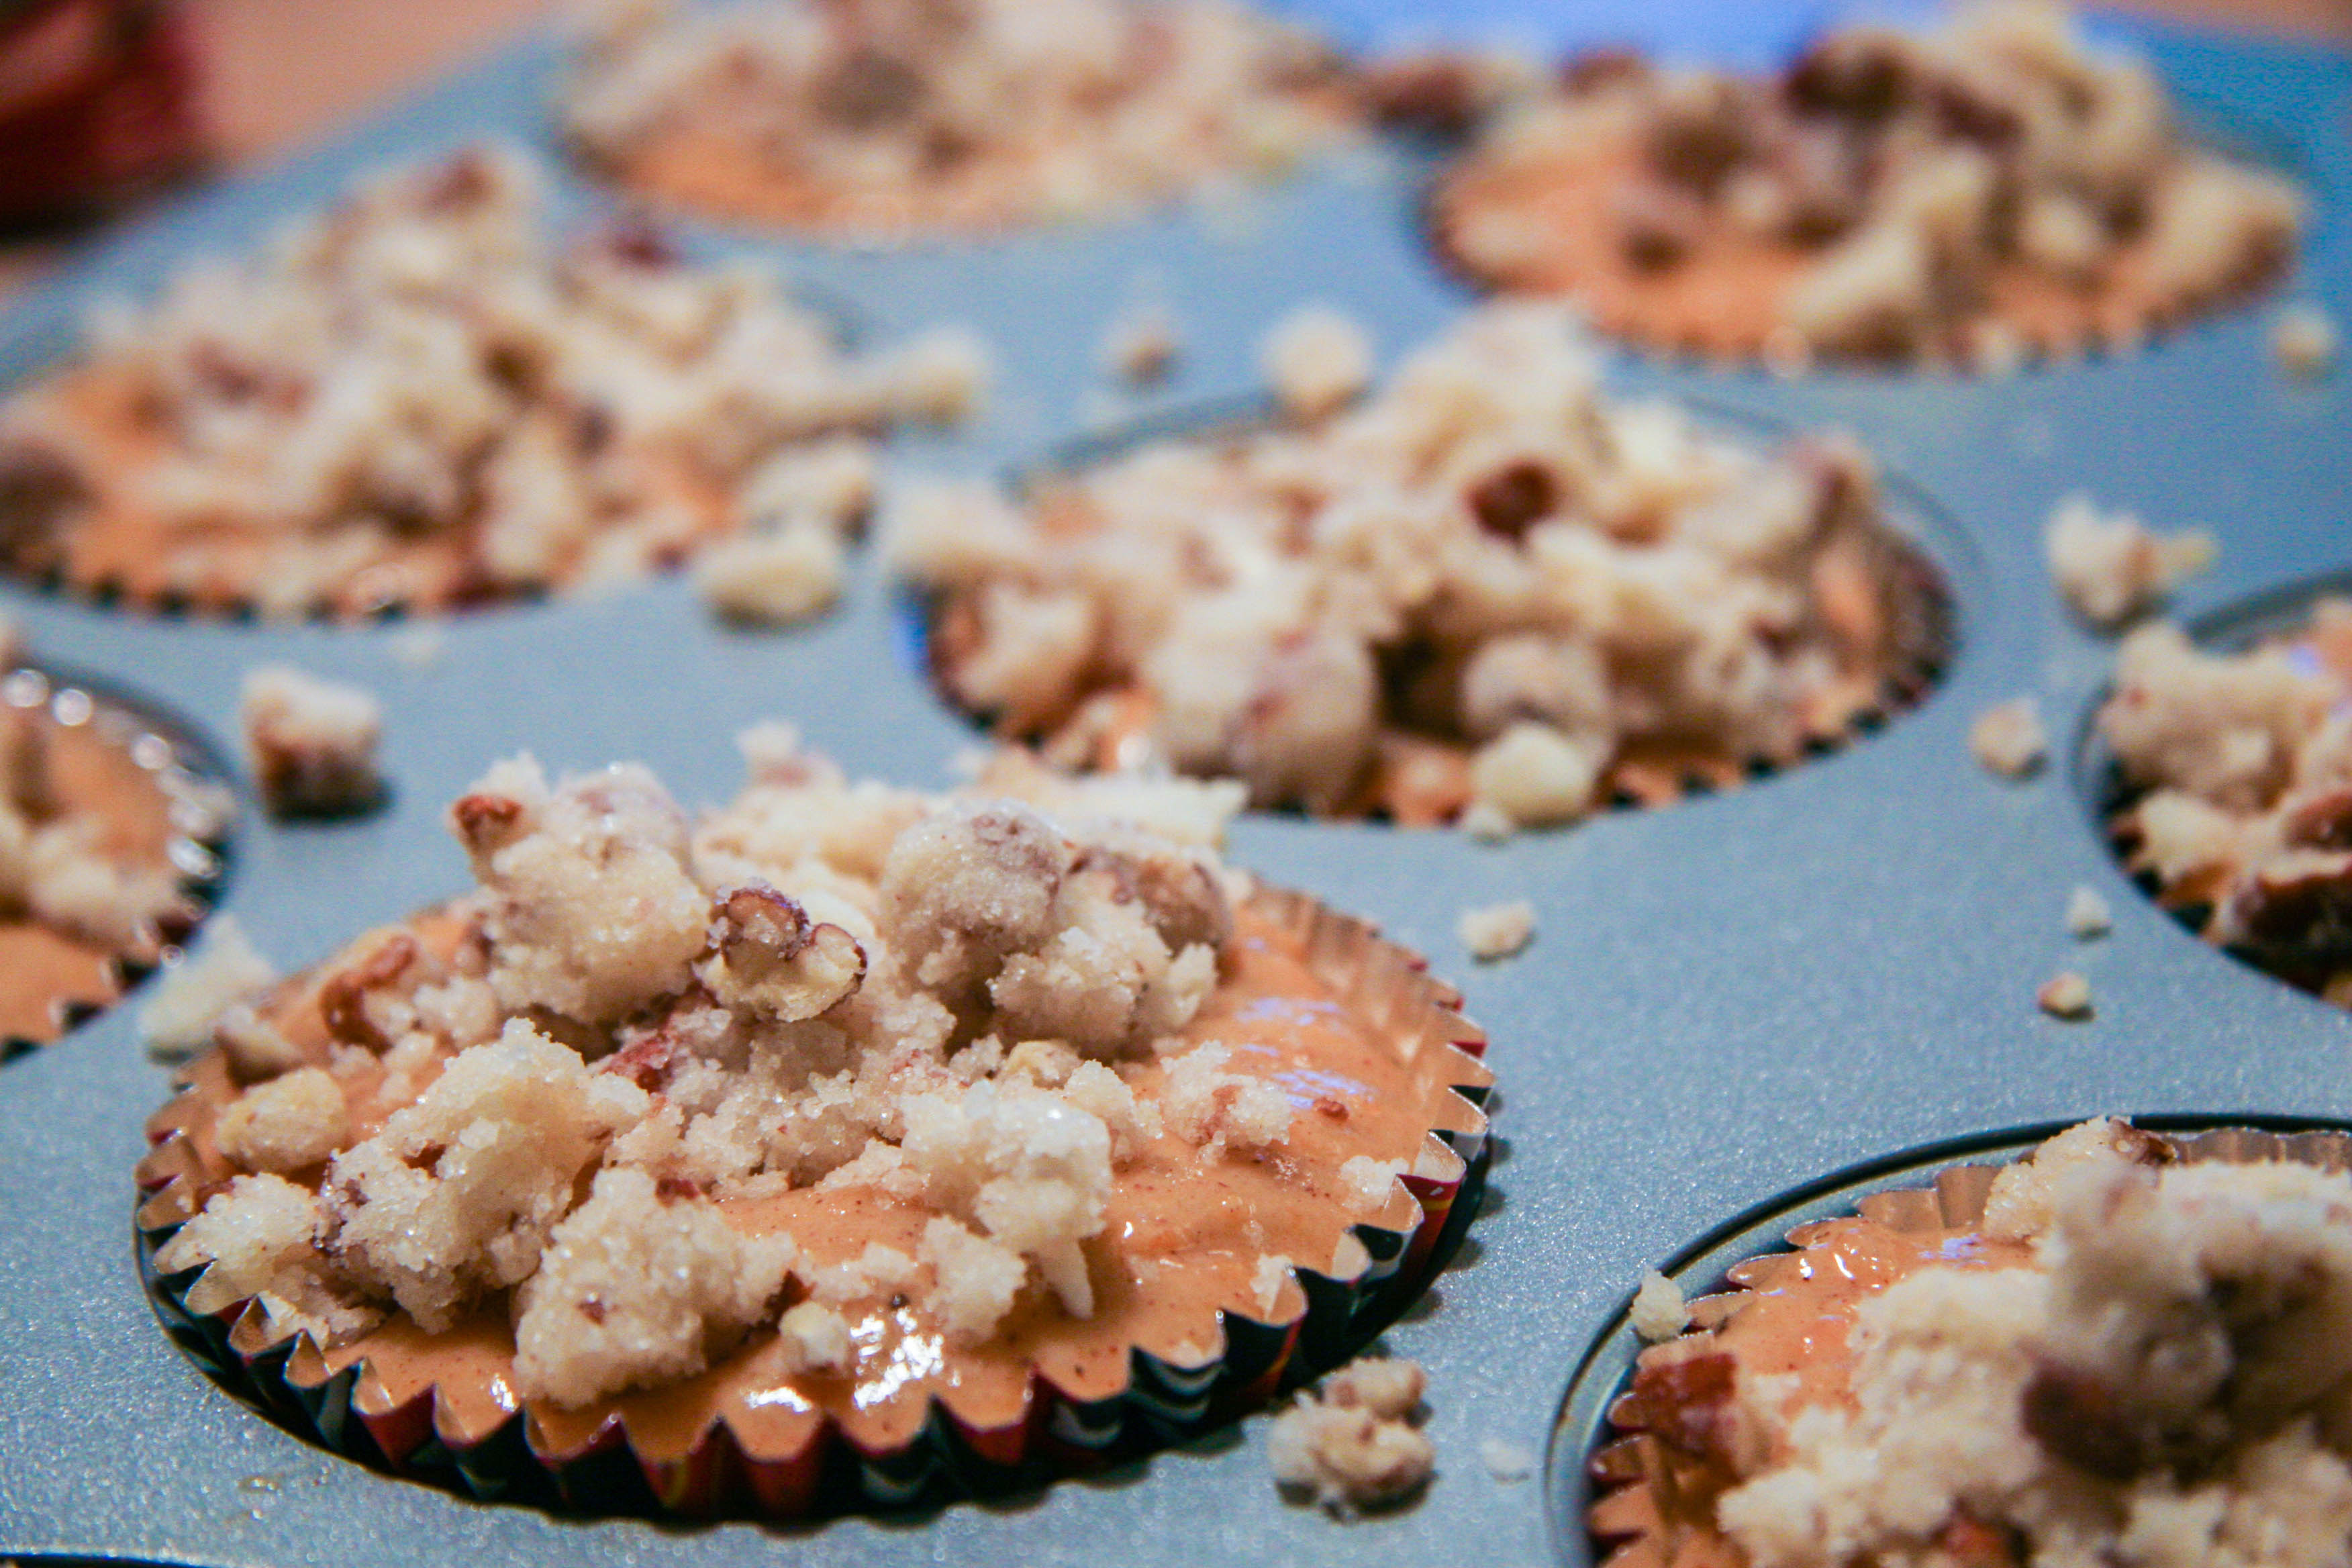
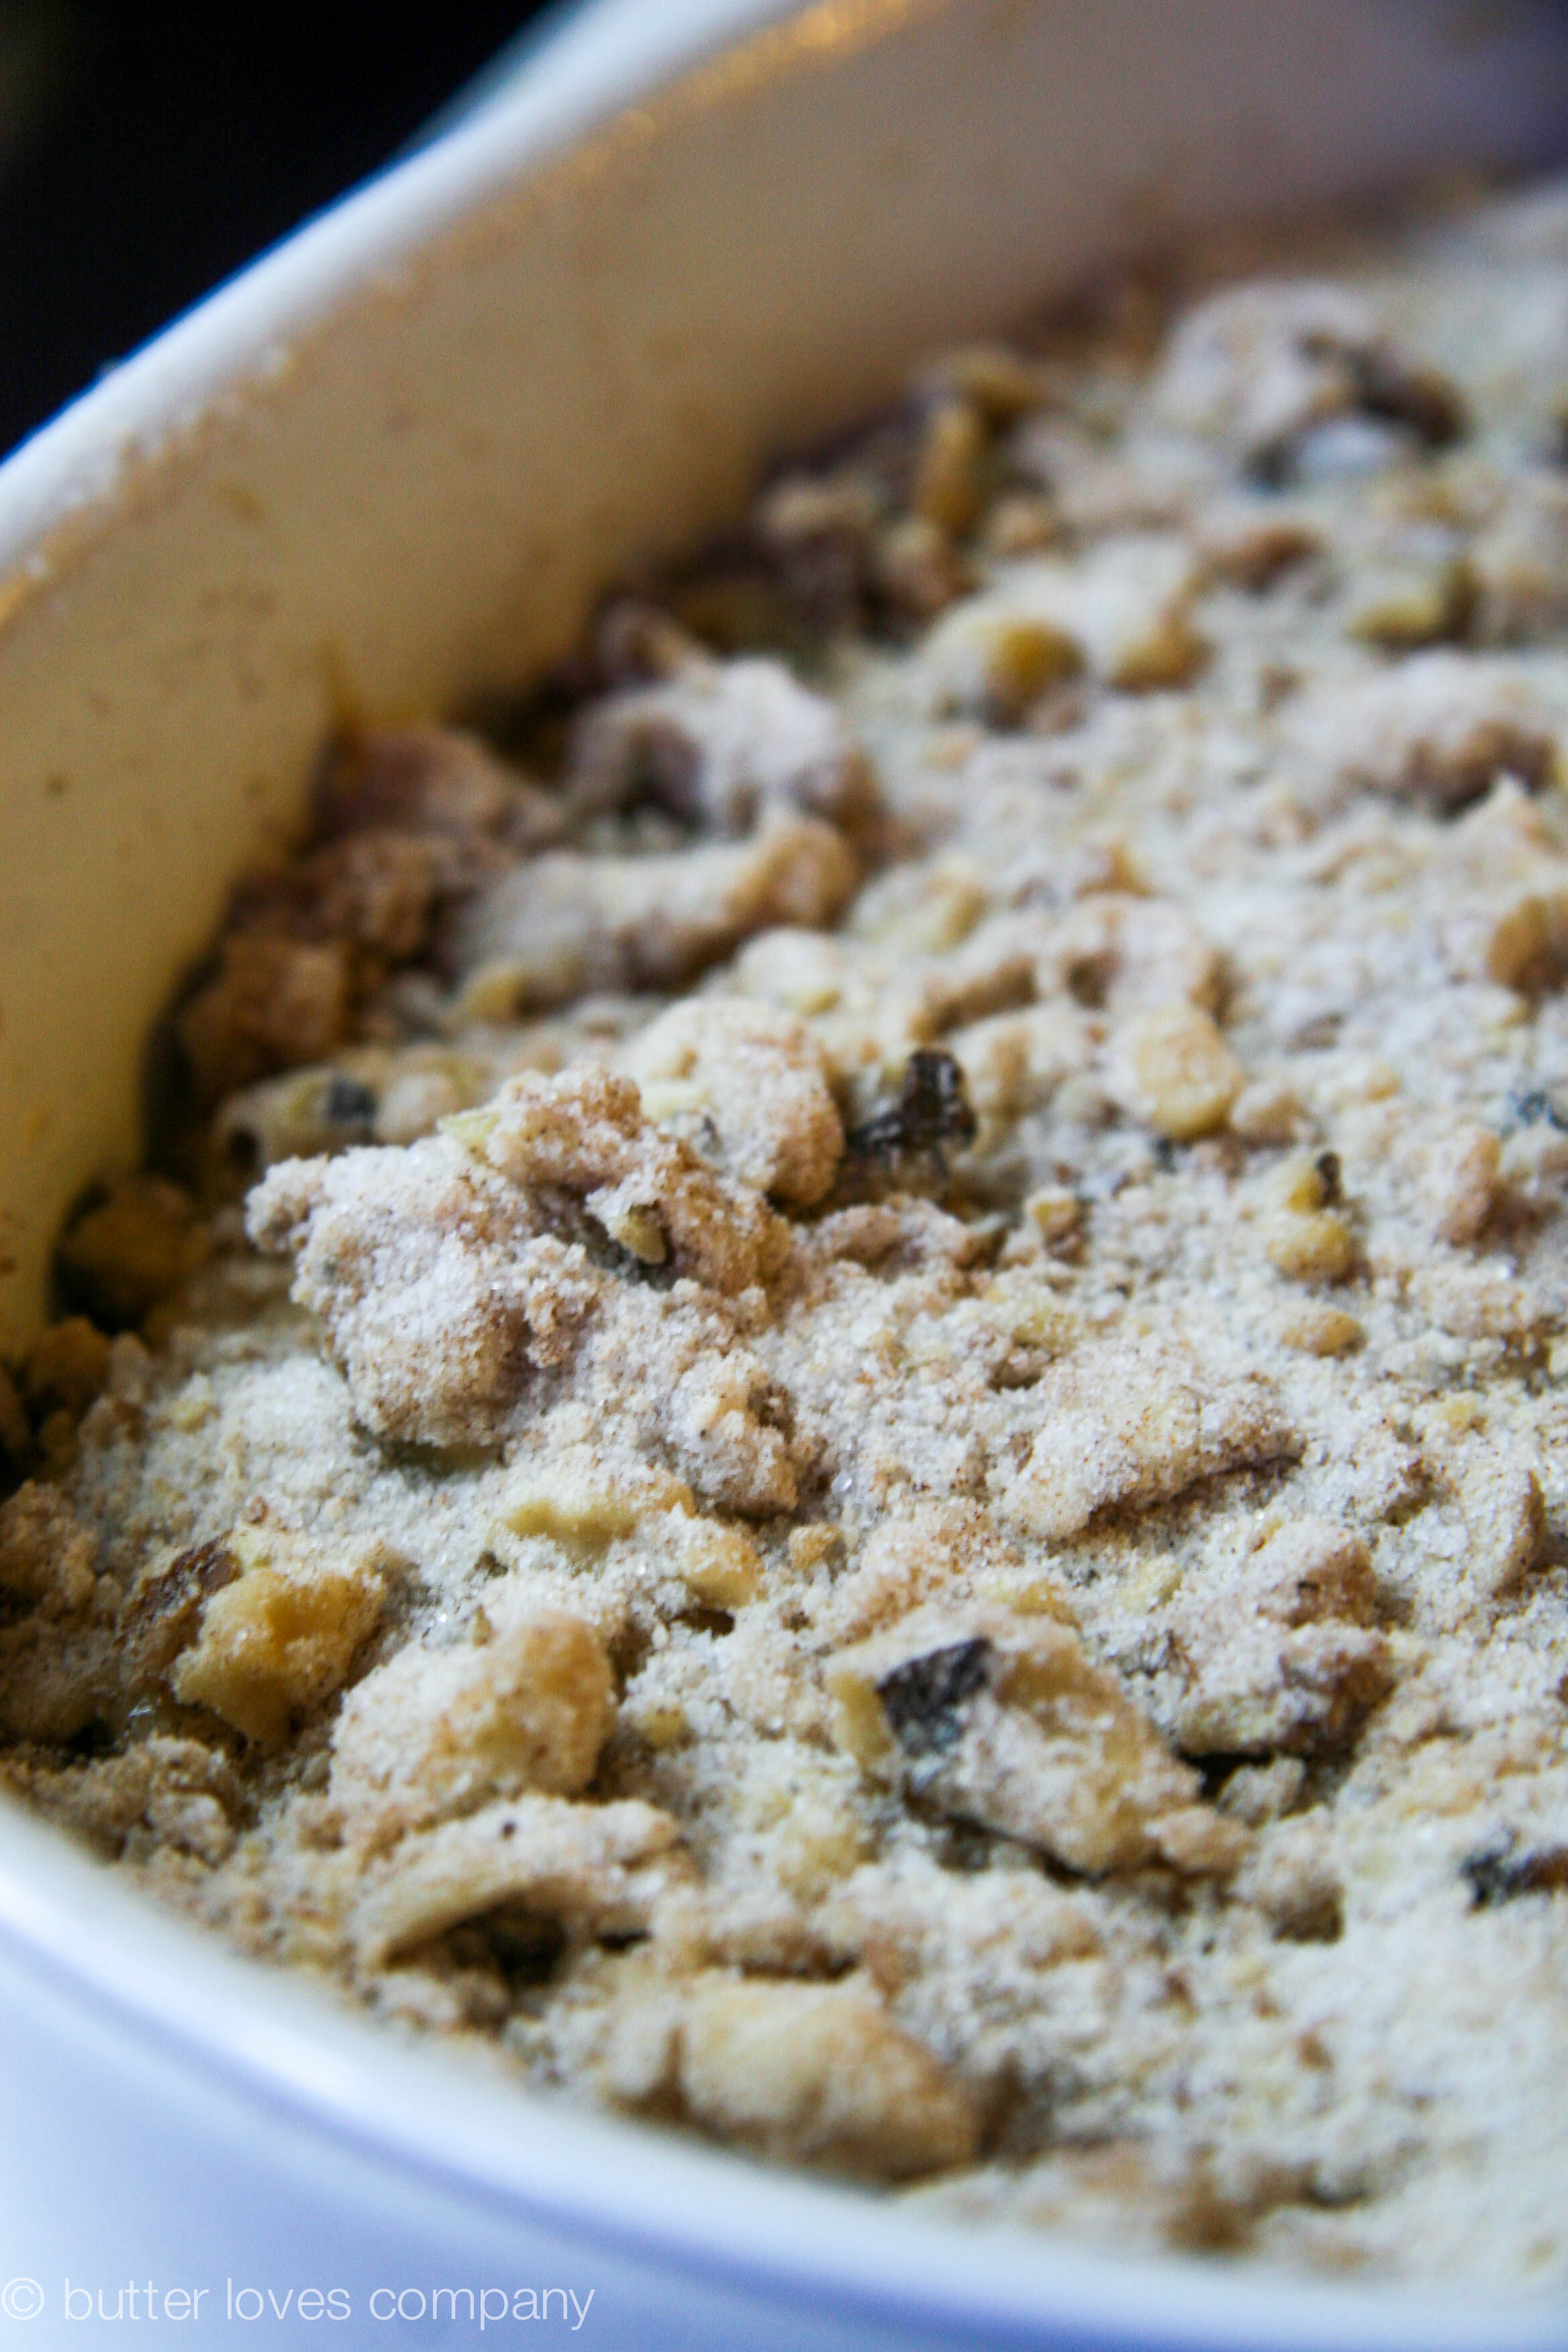
- Prepare the crumble: In a small bowl combine the sugar, flour, walnuts (if using), butter, cinnamon and salt. Use your hands to mix together until the butter begins to stick to the other ingredients to make chunks. Some of the mixture will stay powdery, and that’s okay. Set aside.
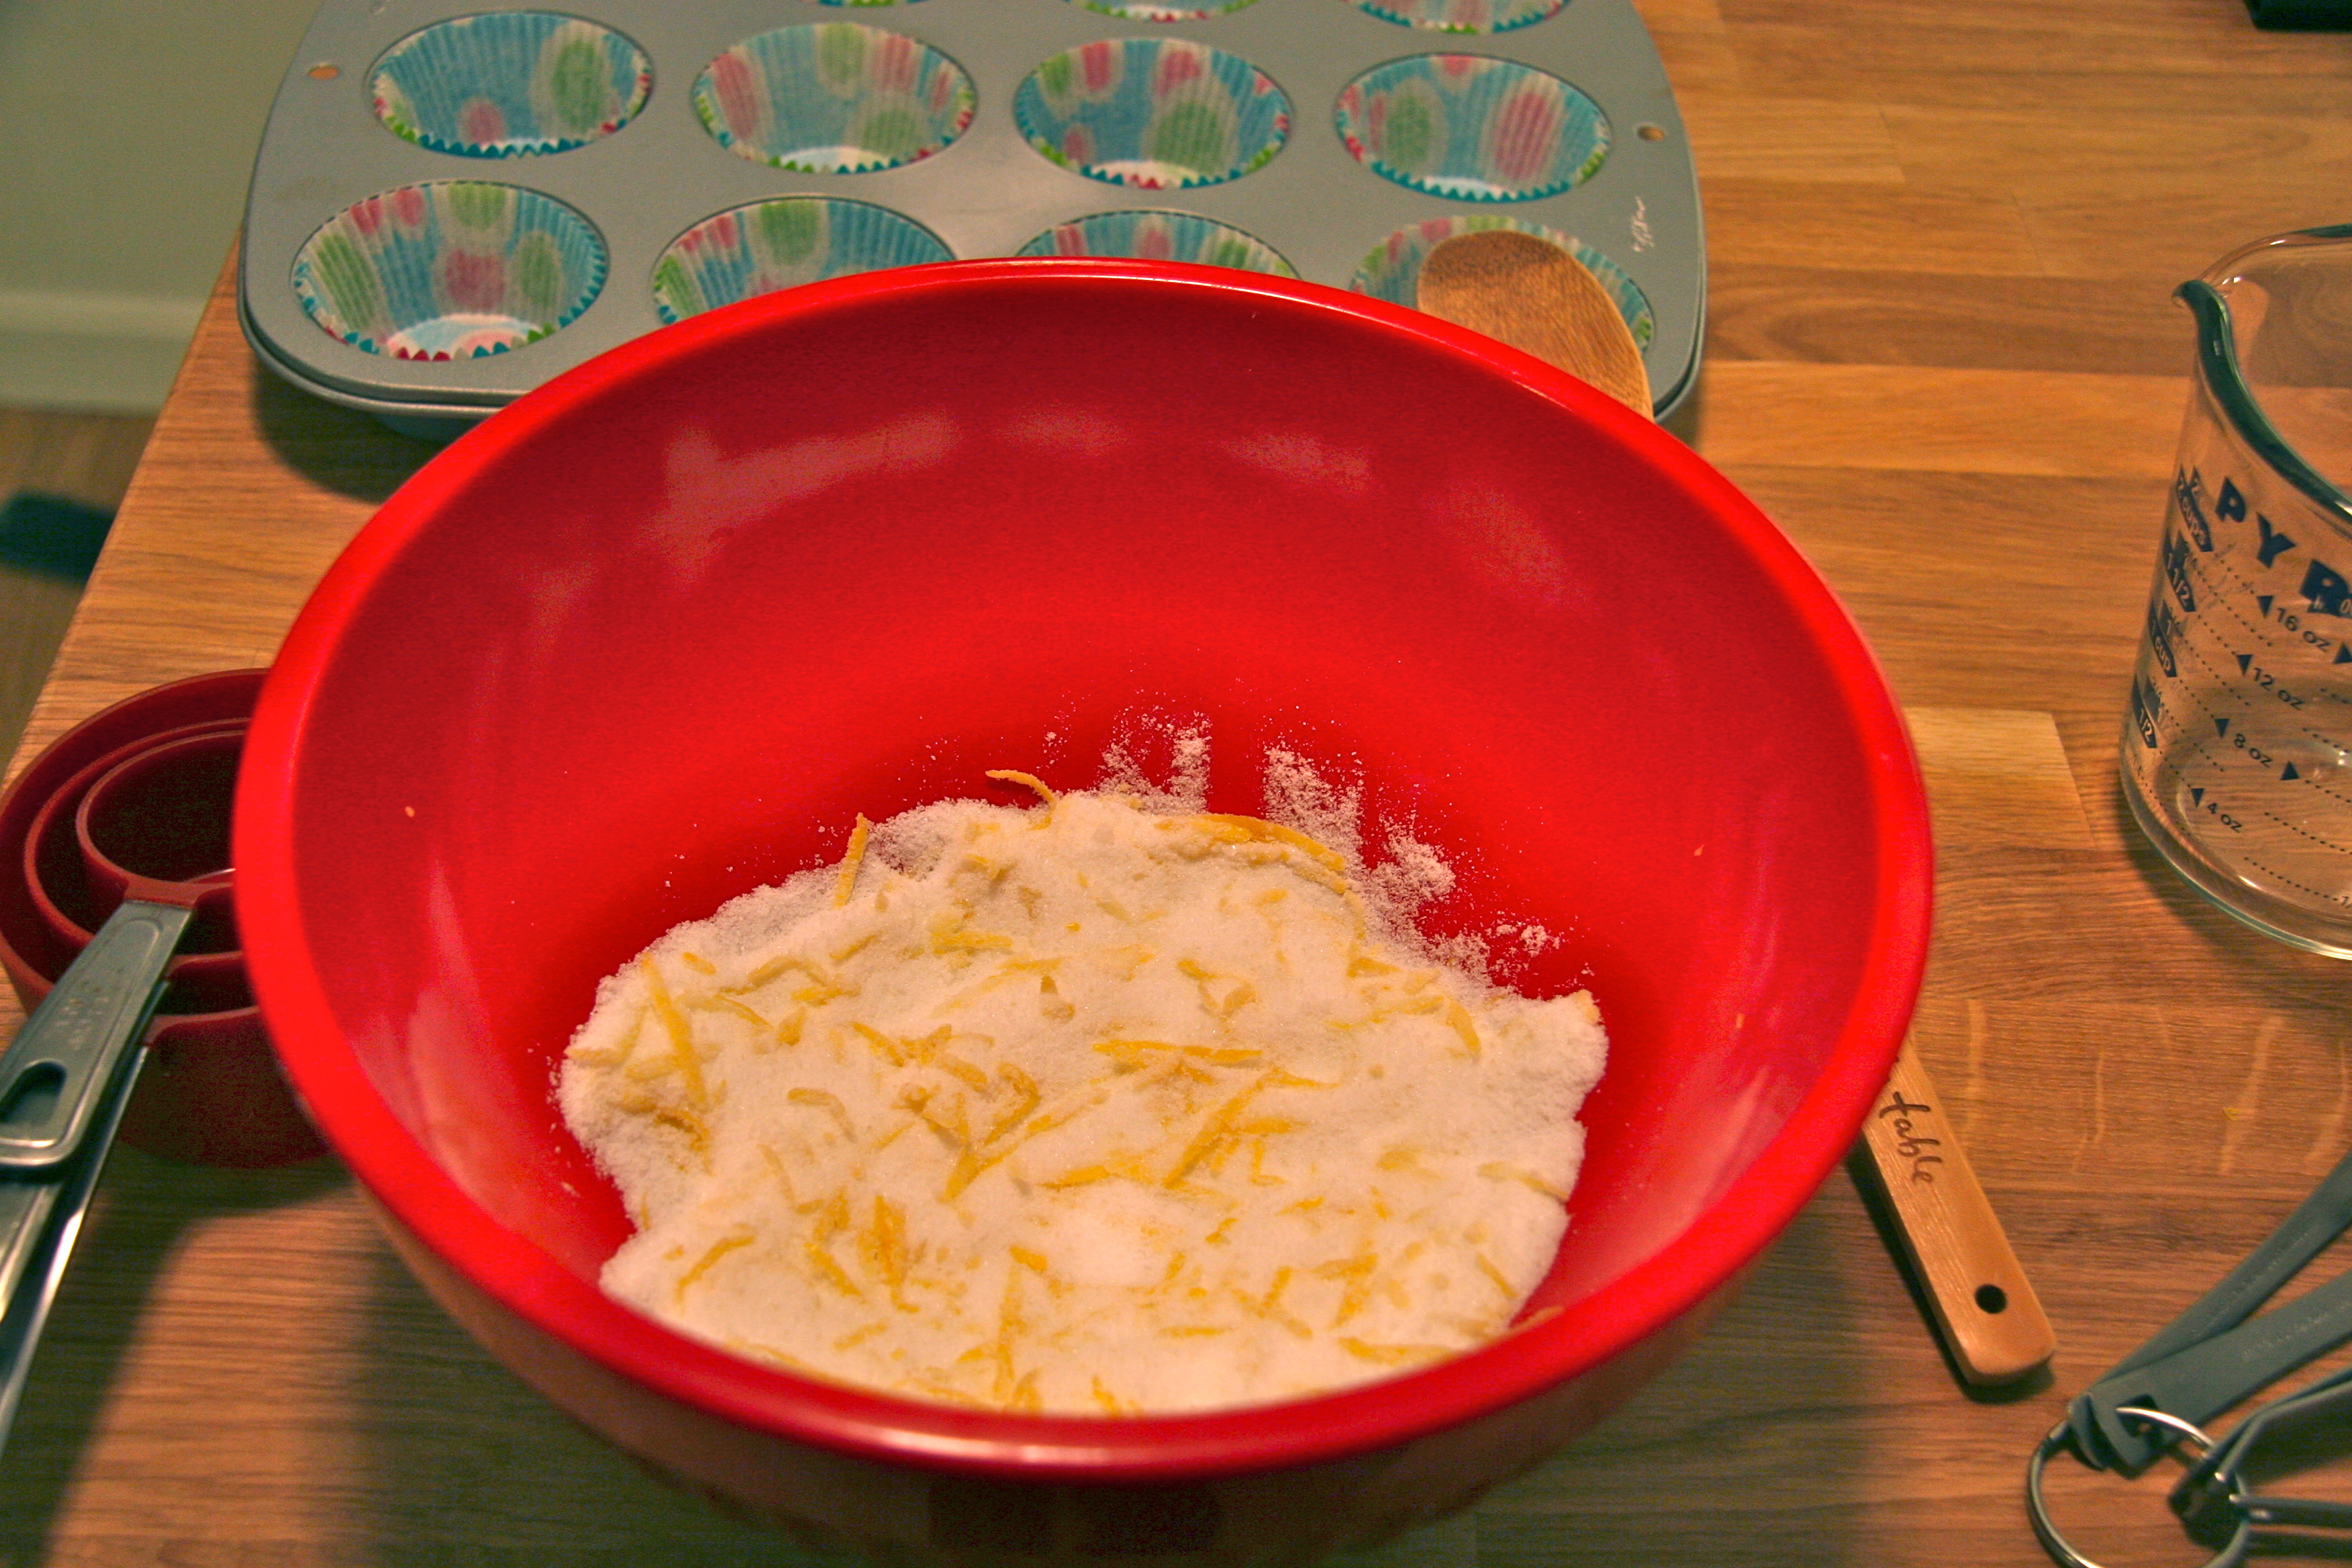
- Prepare the bread: In a large bowl—or the bowl of an electric mixer fitted with the paddle attachment—whisk together flour, white and brown sugars, baking soda, salt, cinnamon and nutmeg.
- In a medium bowl, whisk together eggs, vanilla extract and buttermilk. Add the mashed bananas and then the cooled brown butter.
- With the mixer on low speed, add half of the egg mixture into the flour mixture and mix until combined. Add the second half of the egg mixture and mix on low until just combined. Be careful not to over mix.
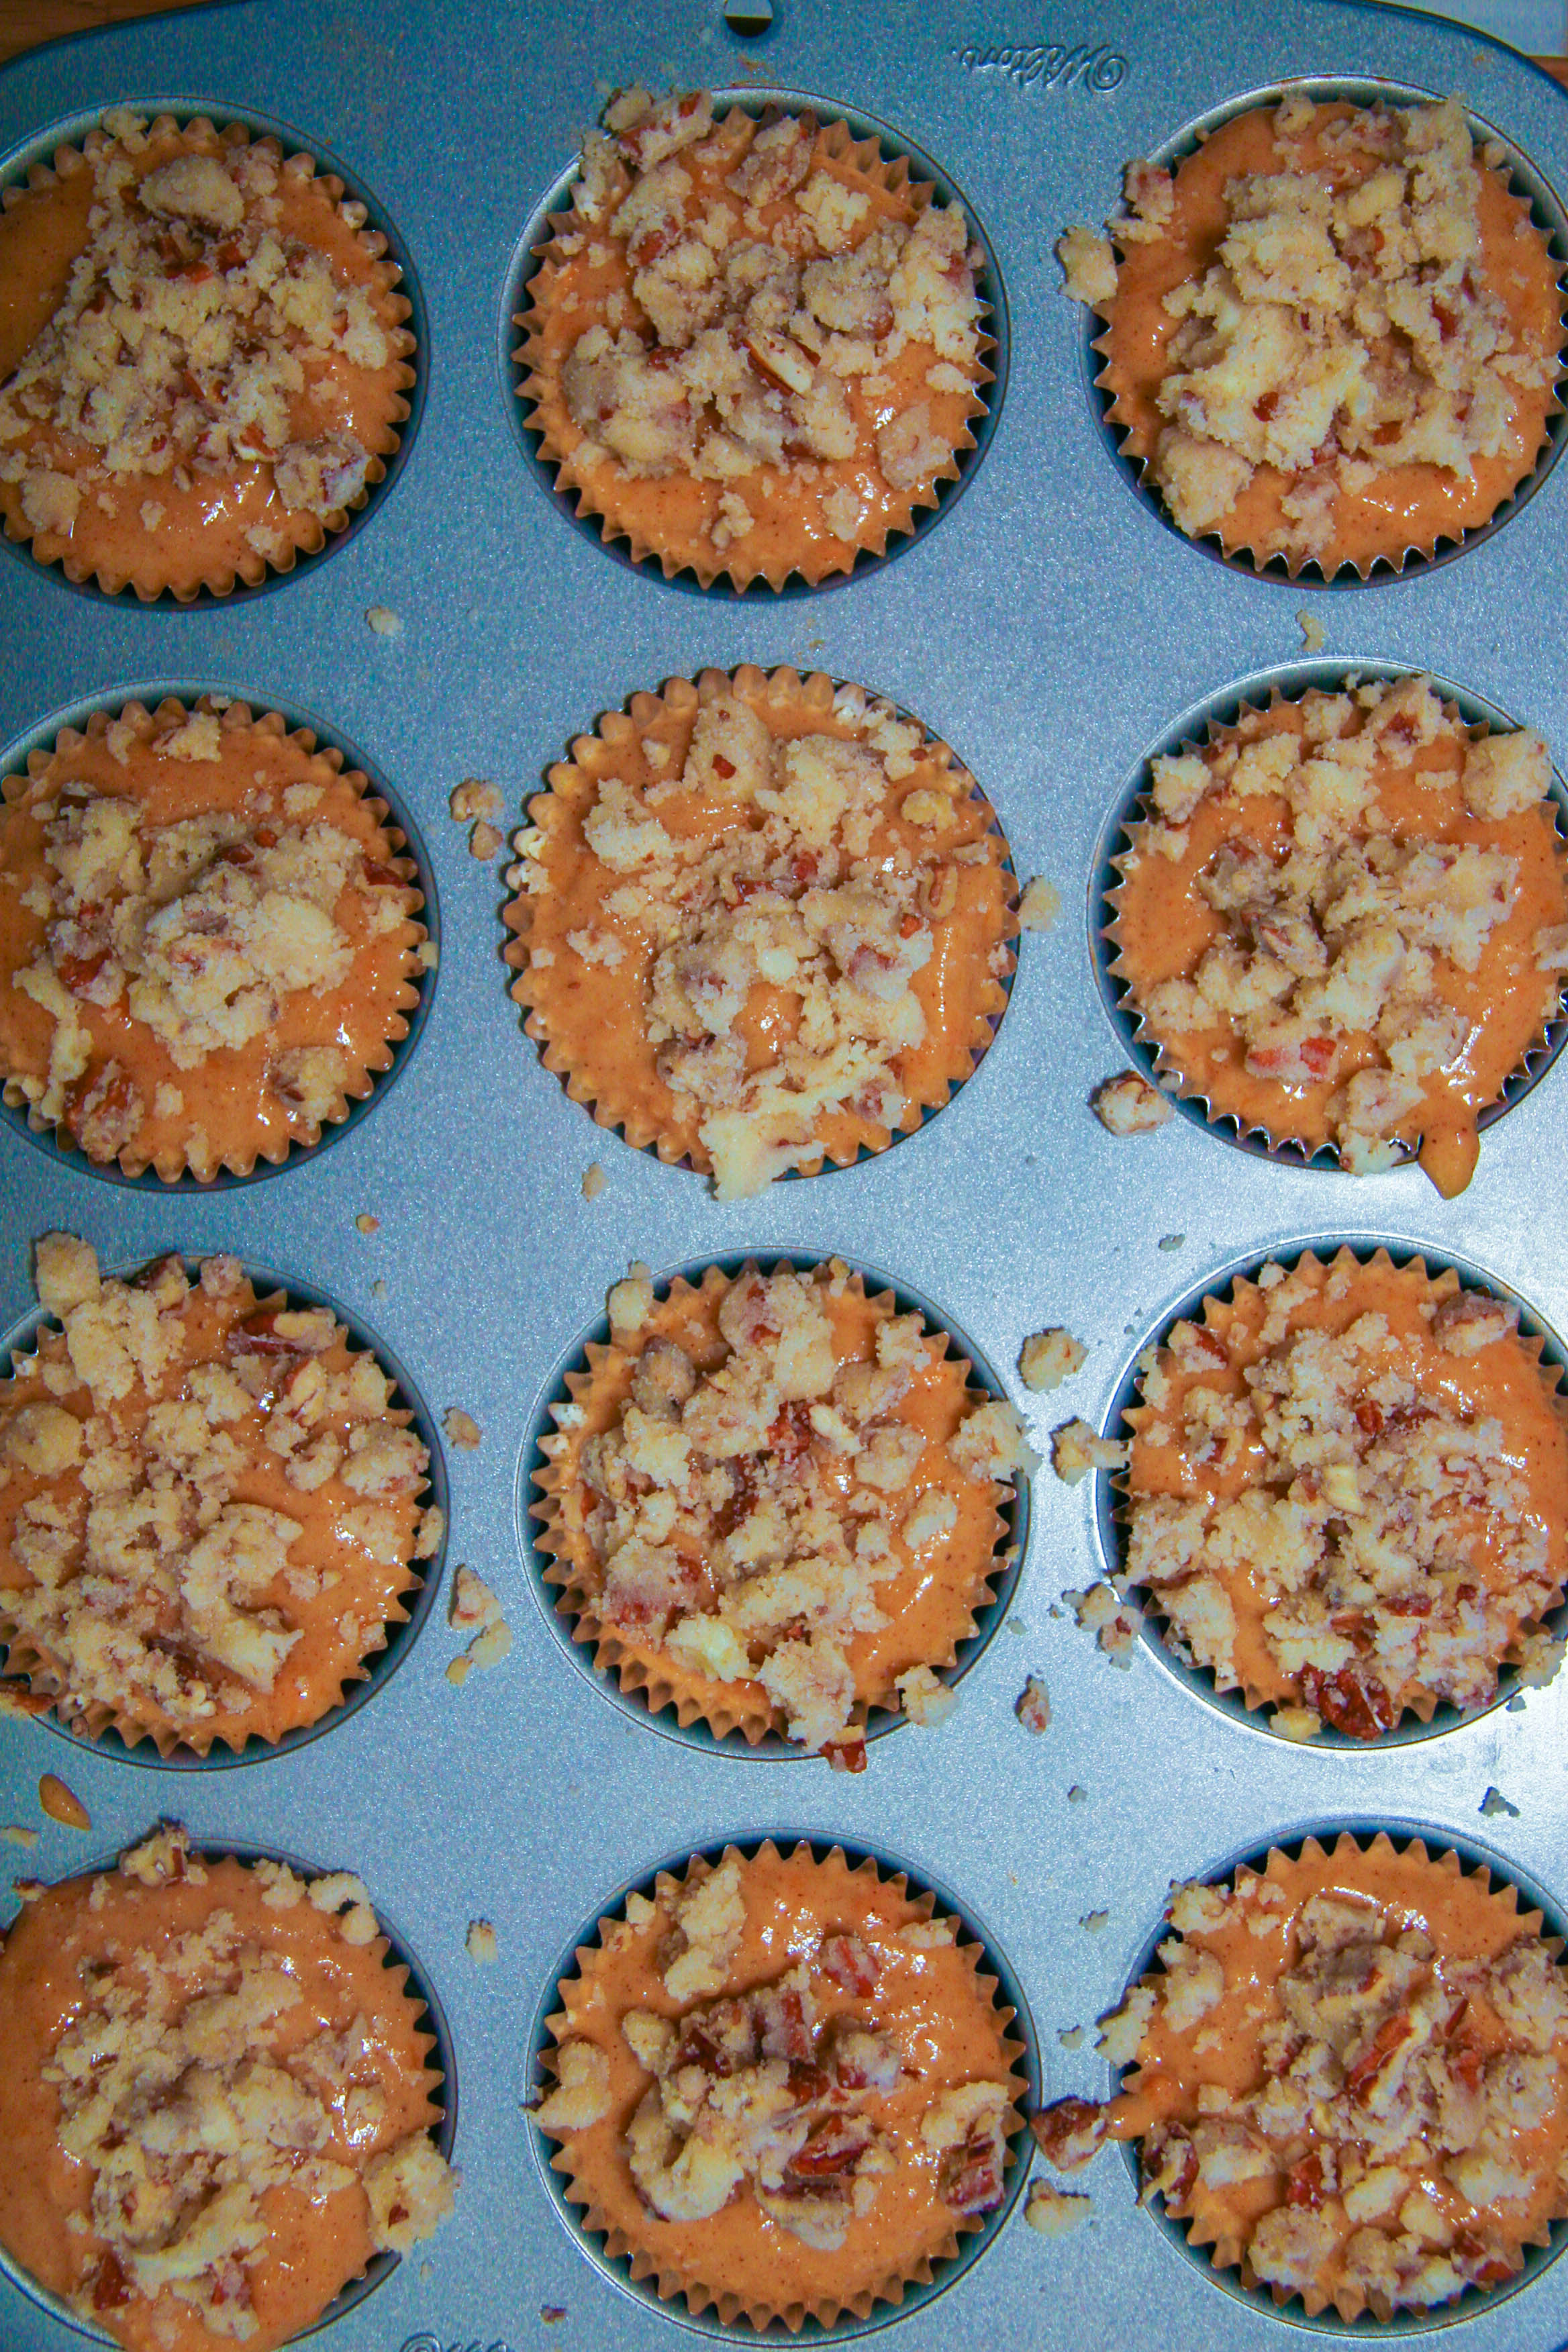
- Spread half of the bread batter into the prepared baking pan. Sprinkle ⅓ of the crumble on top of the batter. Top with remaining half of bread batter, using a knife or spoon to spread if needed. Top evenly with the rest of the crumb topping.
- Bake bread for 45–55 minutes, or until a toothpick inserted into the center of the bread comes out clean. Remove from the oven and allow to rest in the pan for 15 minutes before inverting onto a wire rack to cool completely. Enjoy warm or at room temperature for up to 4 days.