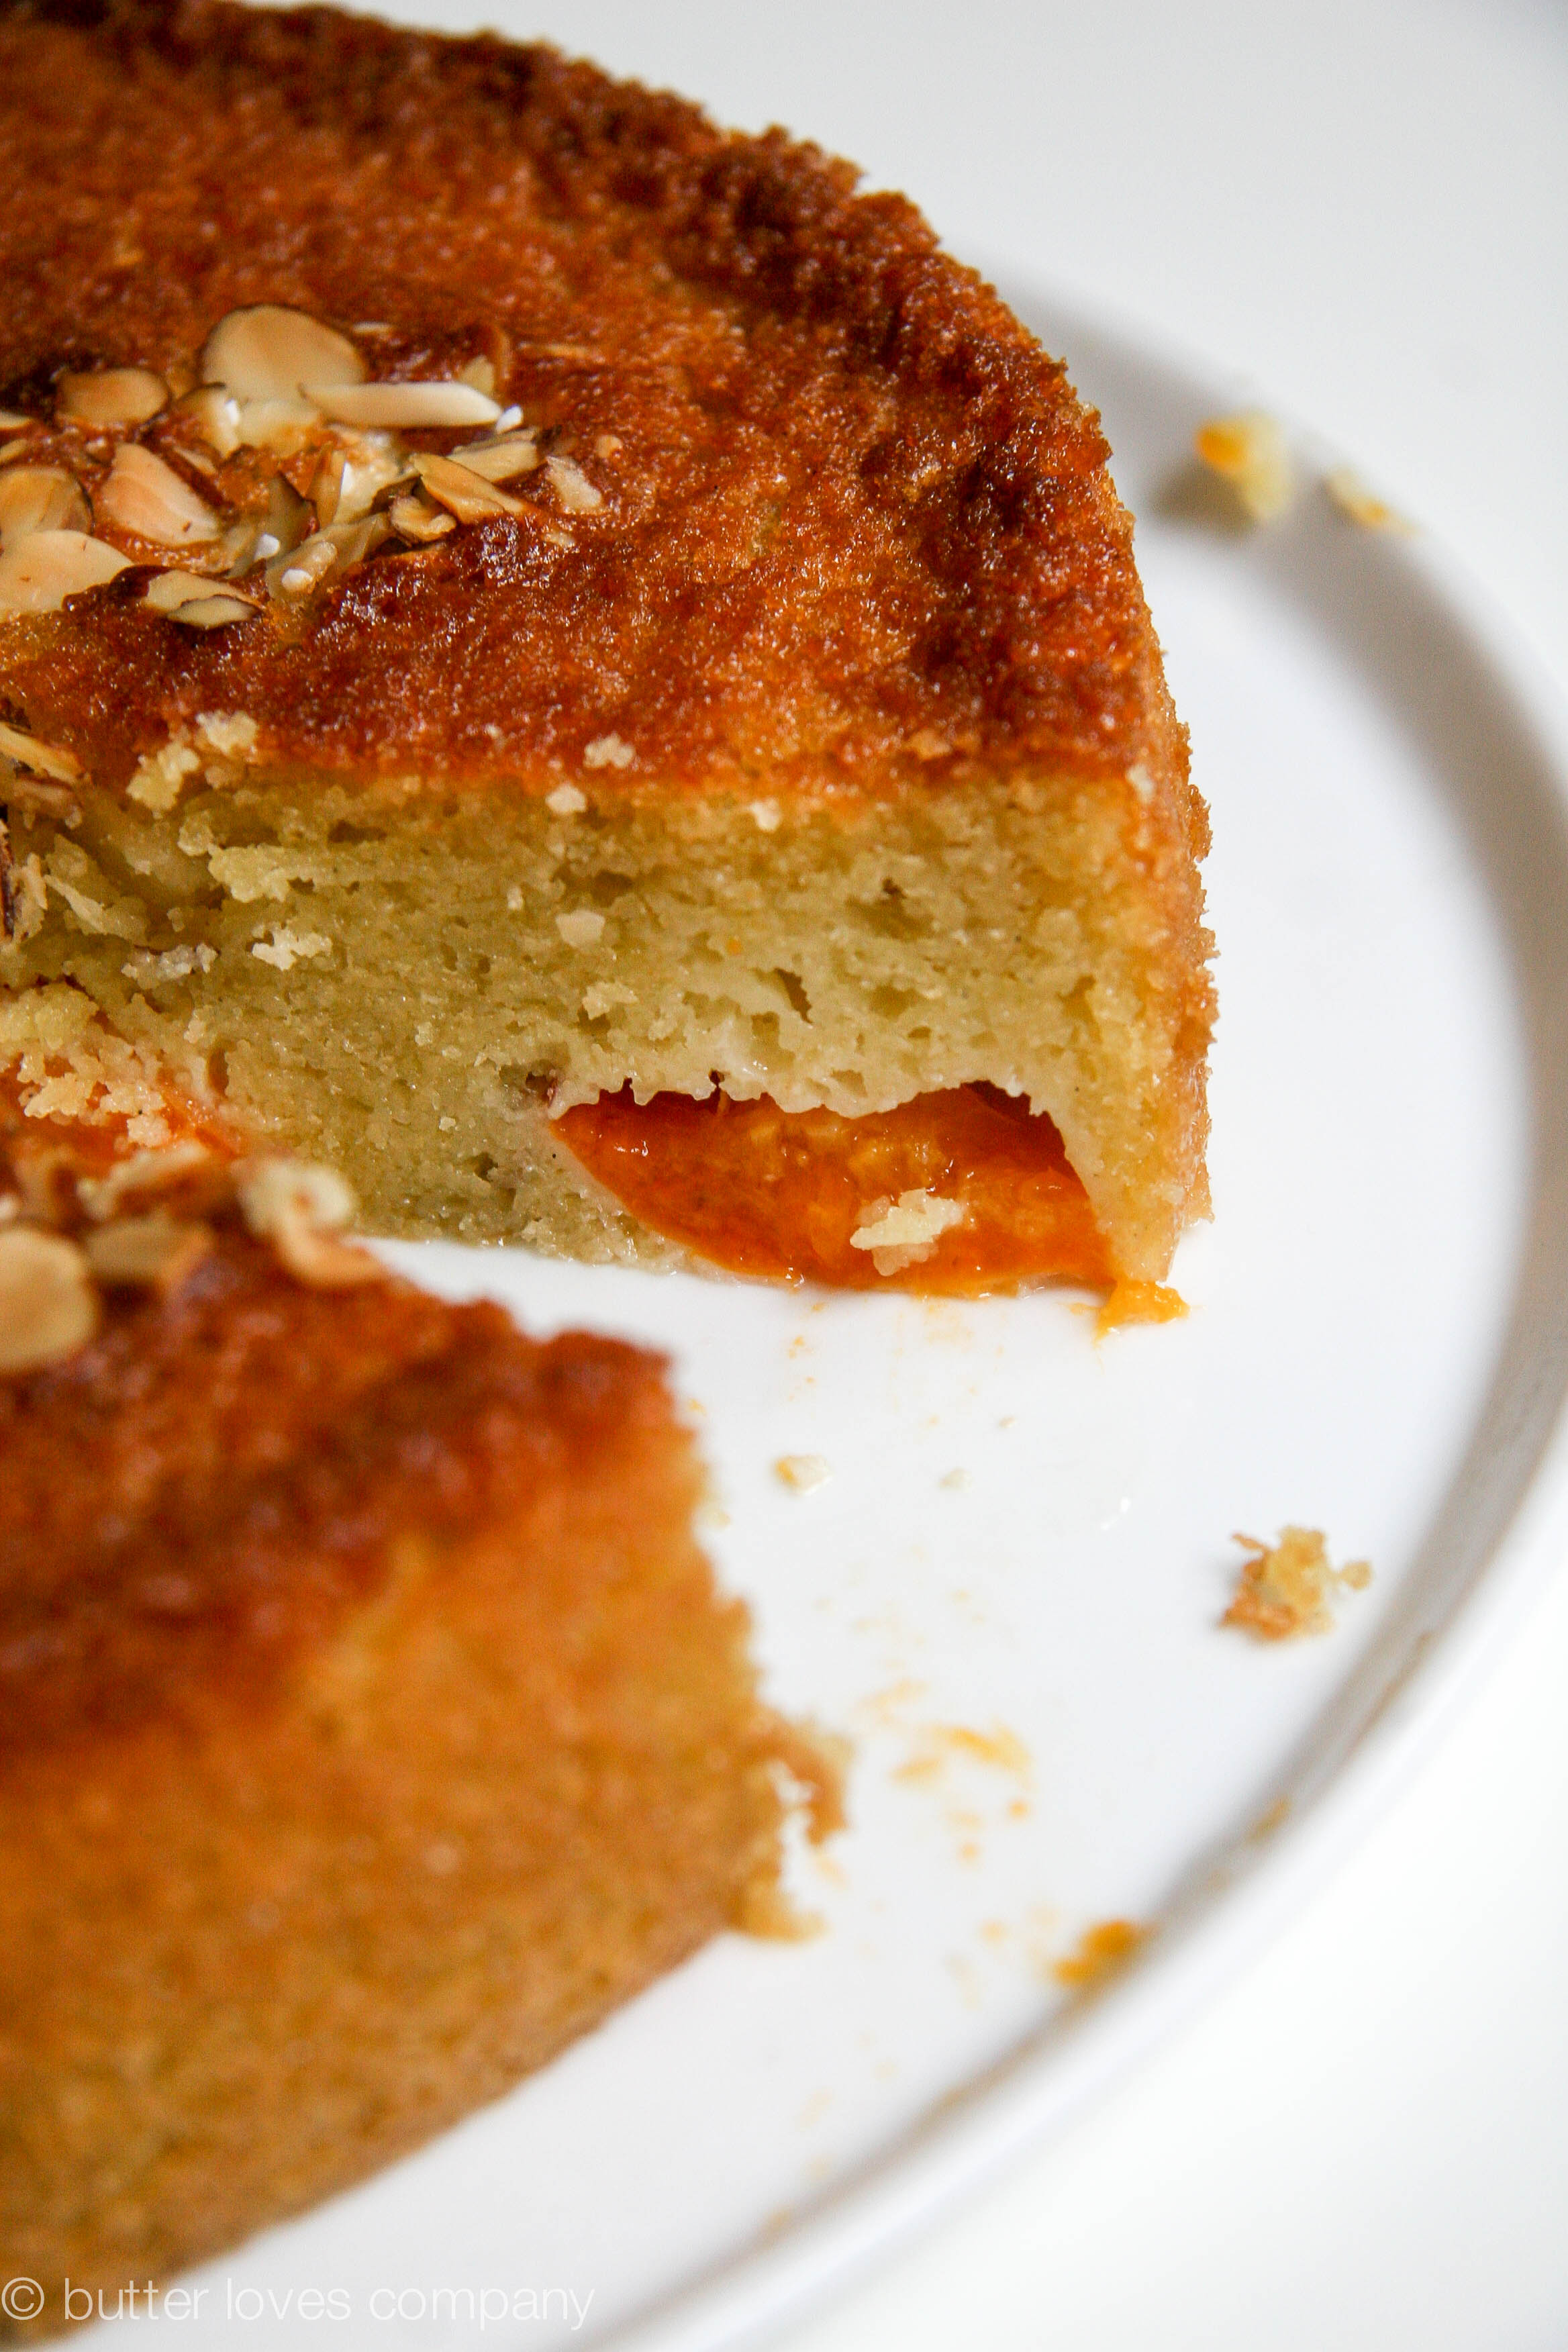
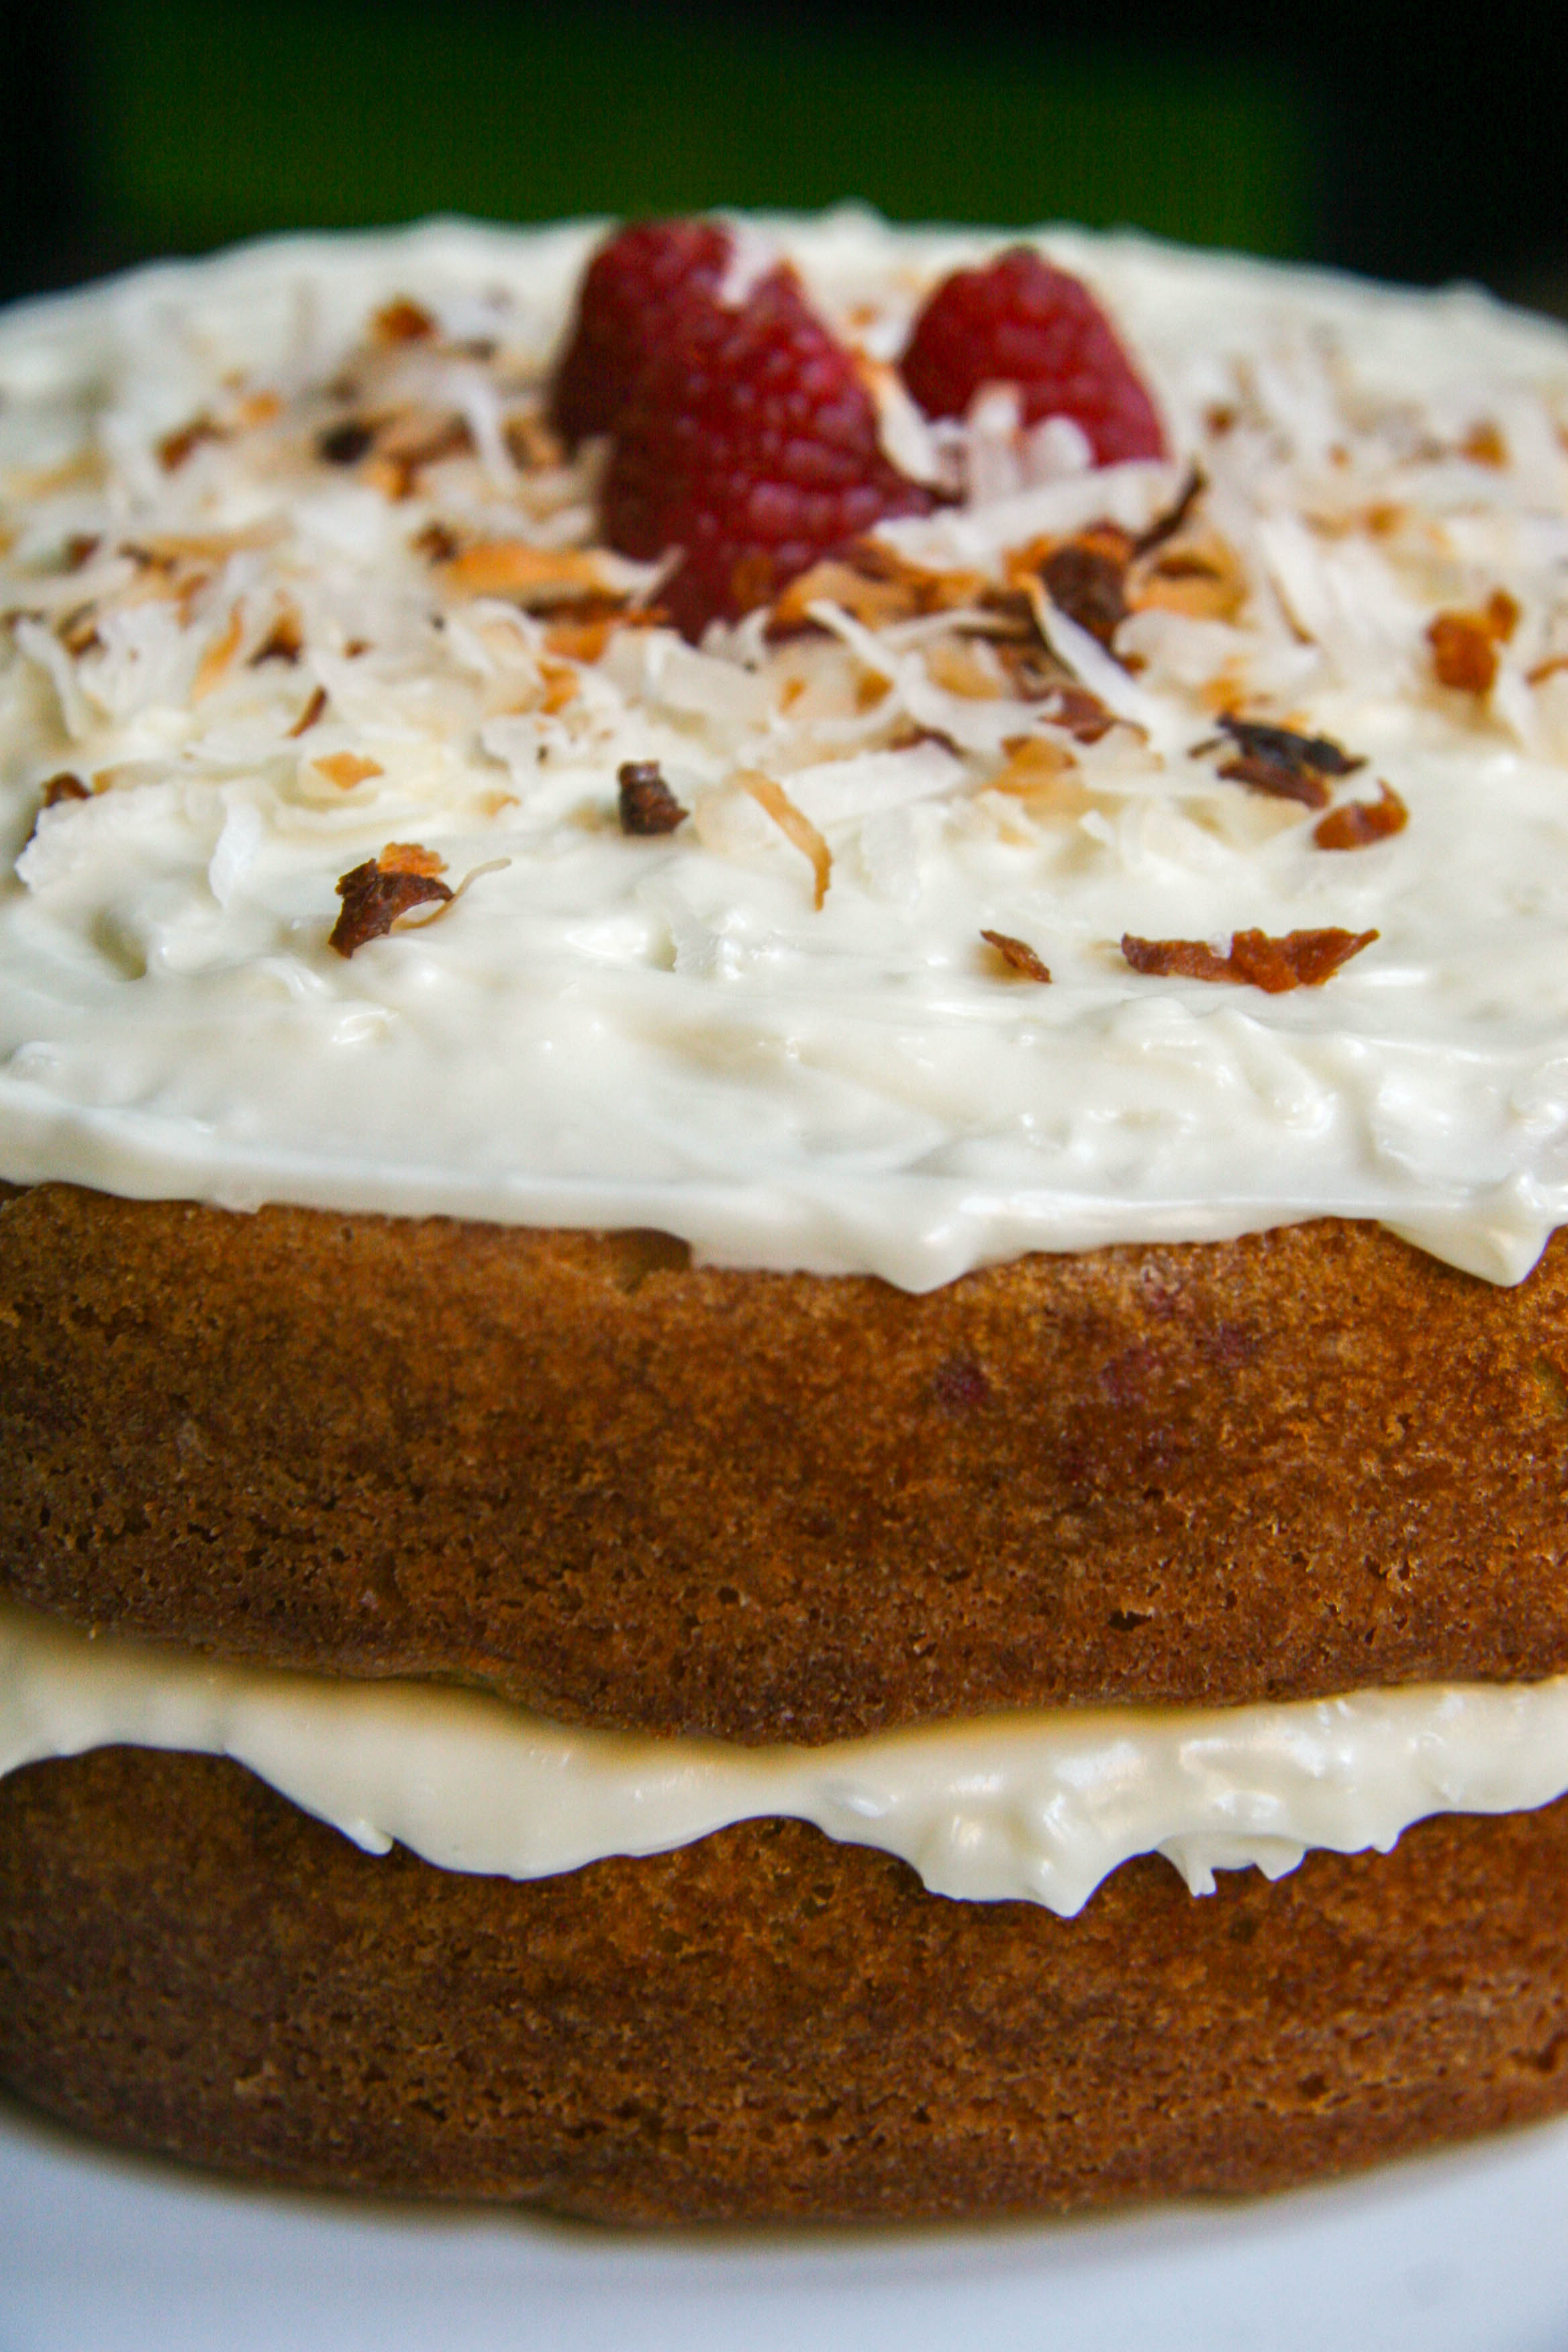
This cake was inspired by a recent trip to Italy. Not by me (Wah!), but by a dear friend of mine. After returning to the States, she told me about an apricot cake that she and her fiancé had loved during their time in Tuscany and was hoping I knew how to make it. I didn’t, but since I’m always up for a challenge I figured, why not give it a shot!
I scoured the Internet for the best olive oil cakes and one kept coming up over and over again—the famous olive oil cake from Maialino NYC. Since this is such a well-respected Italian eatery, I figured it couldn’t be a bad start. Instead of the orange juice and zest accents they add to their cake, I decided I would use apricots and pair them with a flavor I thought would complement their tartness: almond. Three cake trials, a handful of tweaks and a bottle of olive oil later, I had my winner.
I can totally picture you and I ordering a piece of this cake from a tiny family-owned bakery as we stroll the quaint, winding streets of Venice on a bright morning. We’d stop in a Café for a morning cappuccino and talk to the cute Italian grandma behind the counter. She’d tell us that the almond apricot olive oil cake has been in her family for years because of her grandmother’s love of apricots. She’d explain how every time she makes it she cuts each apricot into exactly eight pieces. She’d emphasize how important the quality of the olive oil is to the almost pudding-like texture of the cake and how the best comes from her great-great uncle’s olive oil vineyard. We’d understand maybe half of what she said because of her adorable accent. We’d laugh and hug and she would invite us over for dinner after our romantic gondola ride through the canals. To cap things off we’d sip on Italian table wine and eat cheese and more delicious almond apricot olive oil cake.
I can totally picture it and it would be perfect. Let’s go!

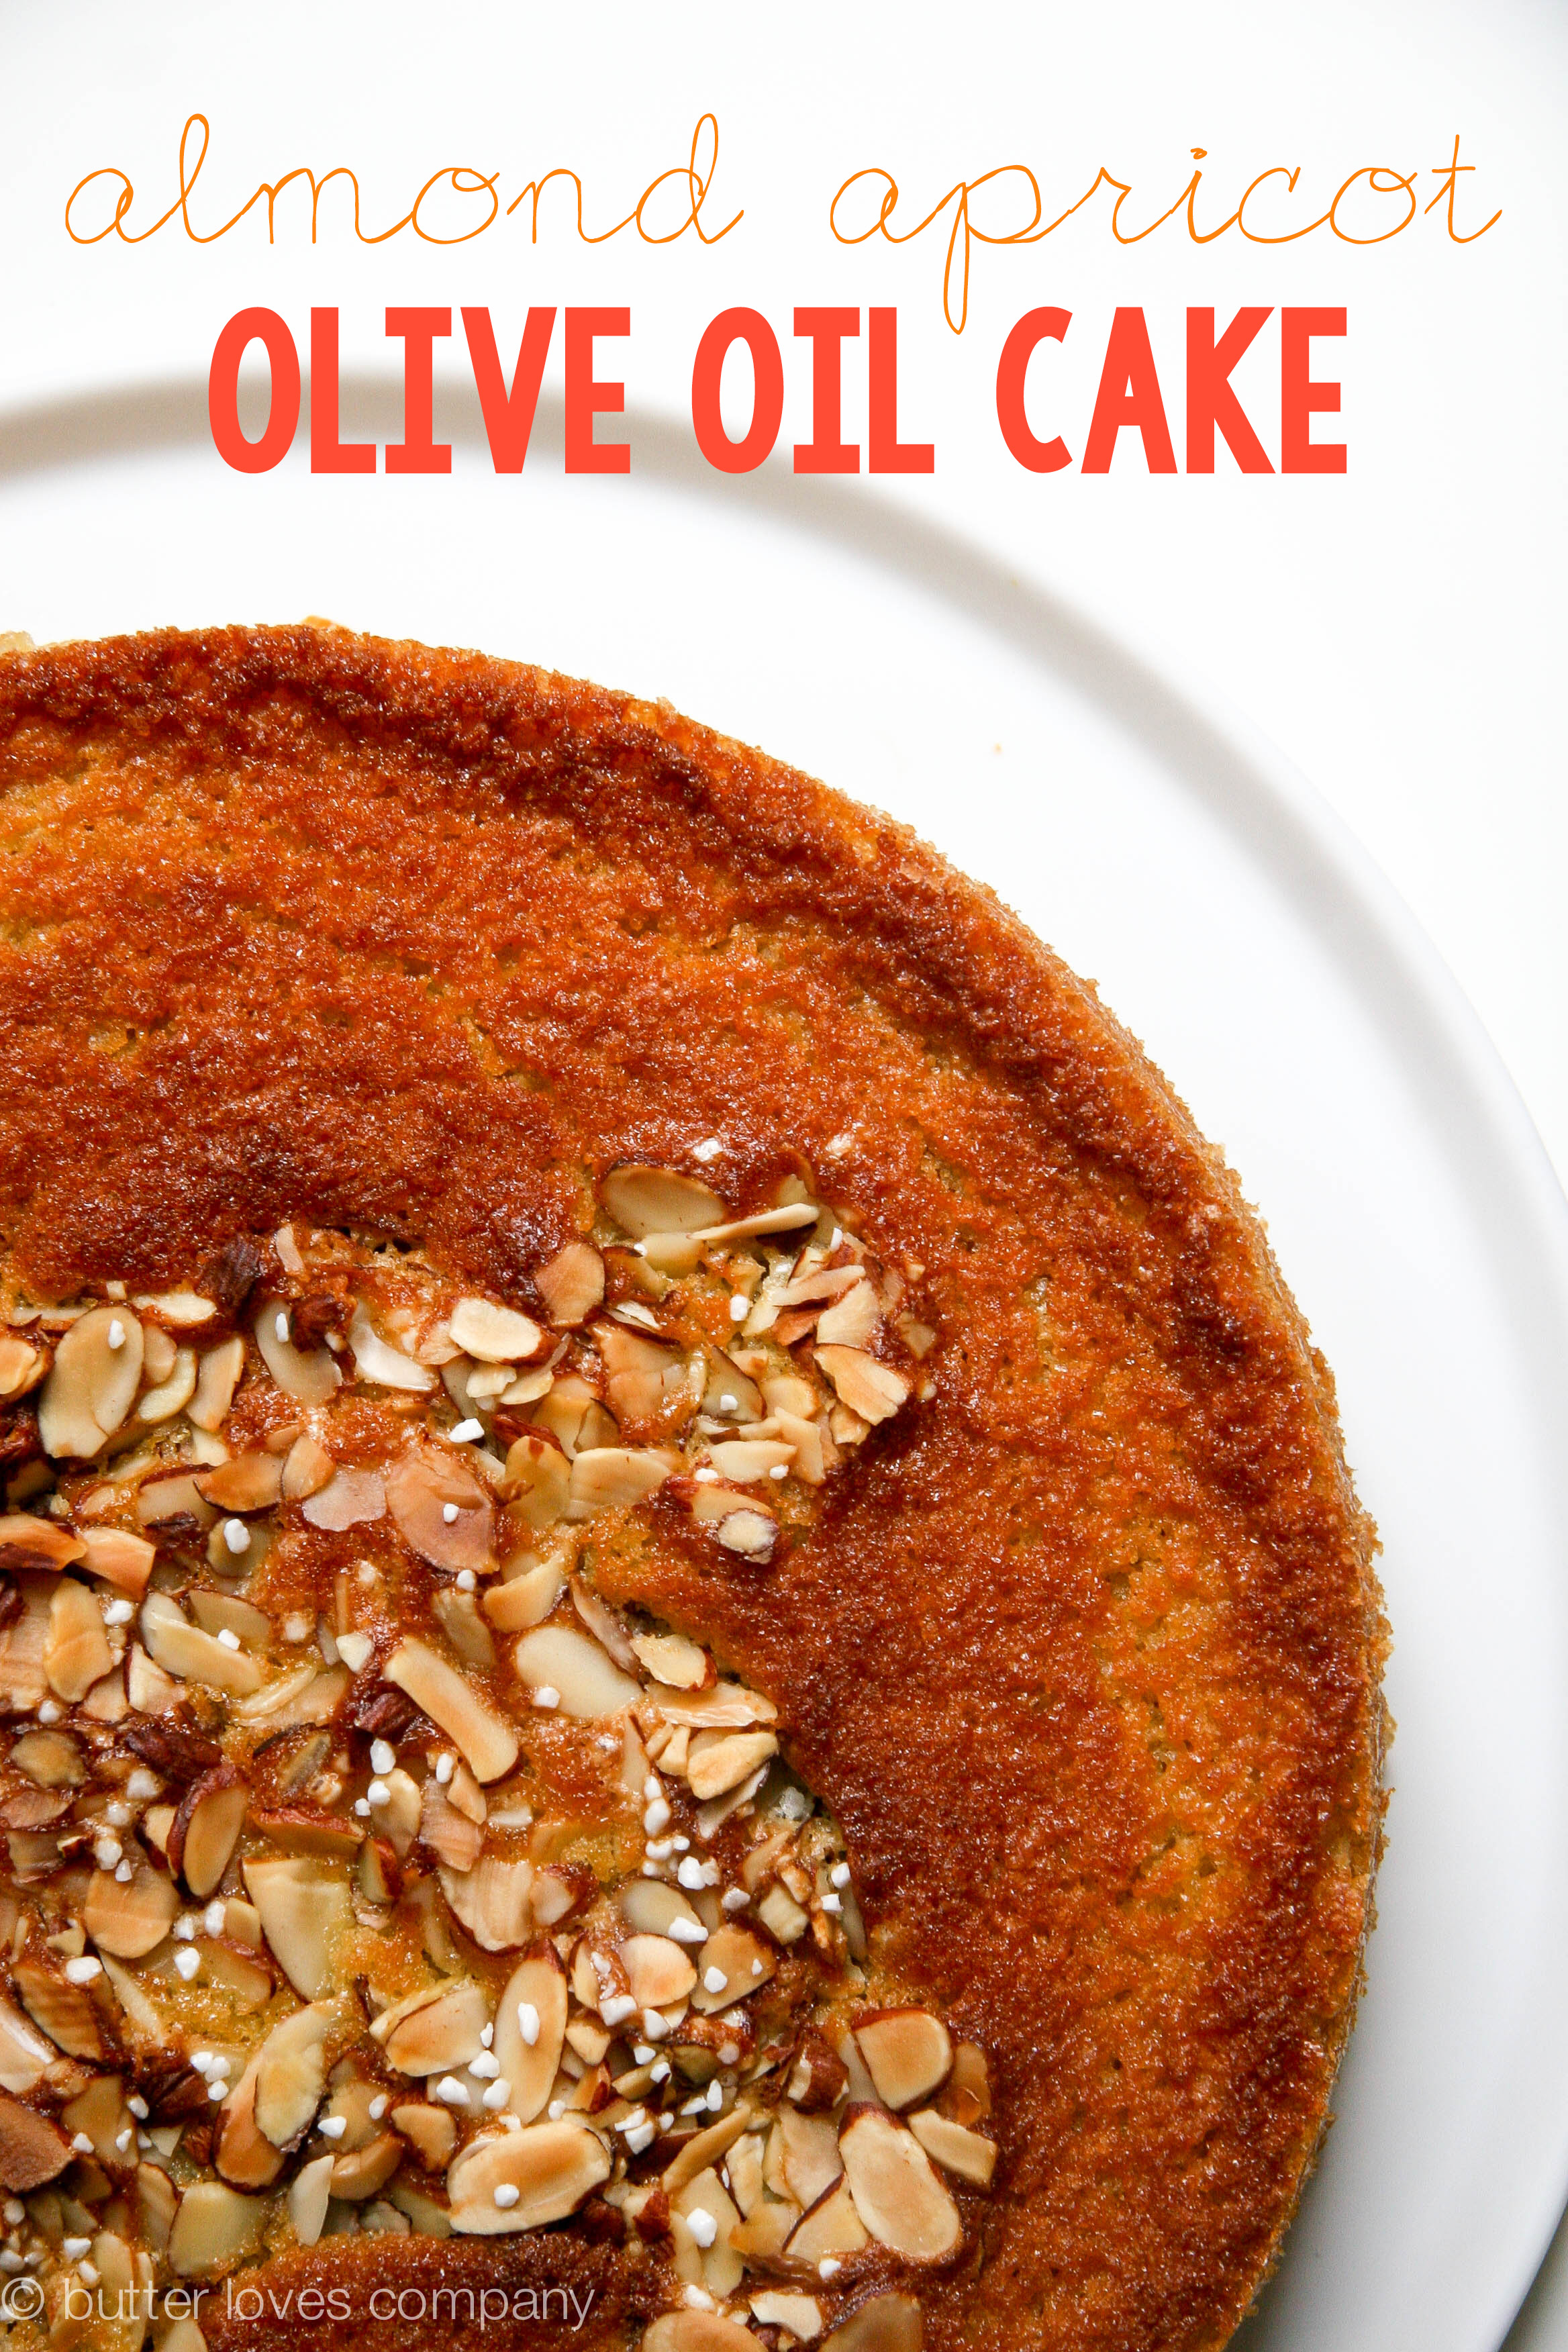
almond apricot olive oil cake
adapted from Maialino NYC’s famous olive oil cake
prep time: 20 minutes
cook time: 1 hour
total time: 1 hour 20 minutes (does not include 2 hours cool time)
makes a 9-inch round cake
Ingredients:
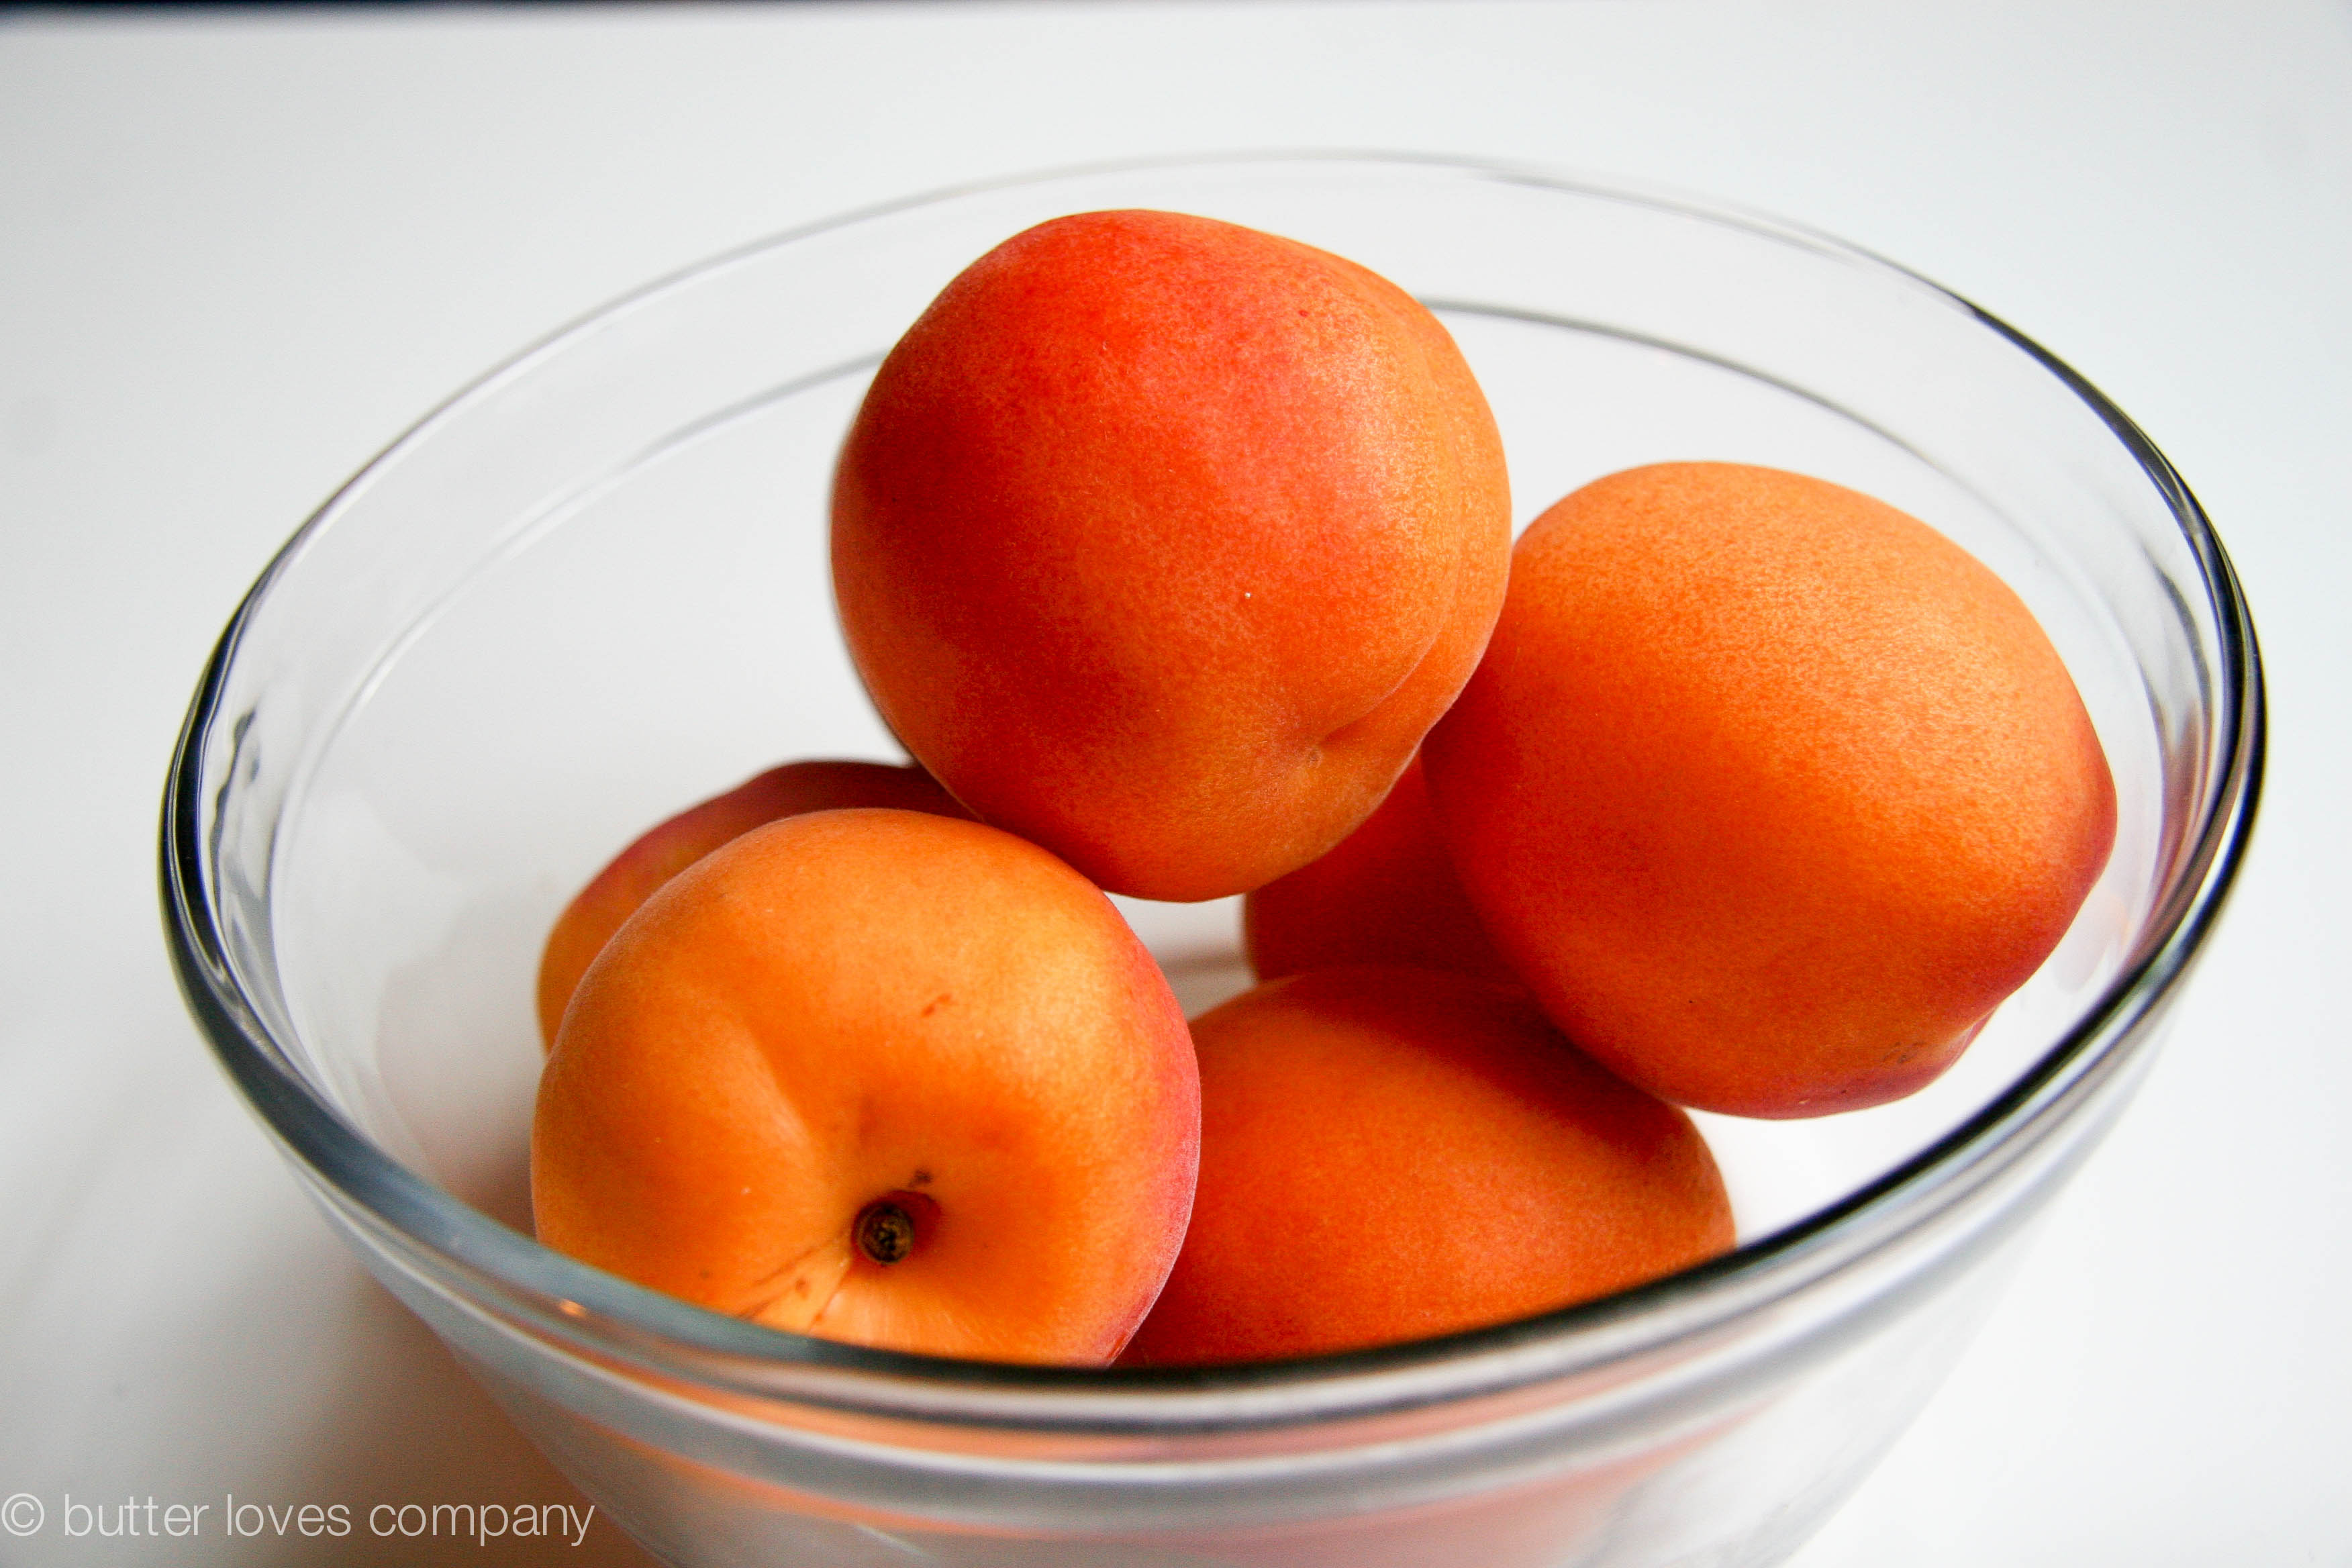
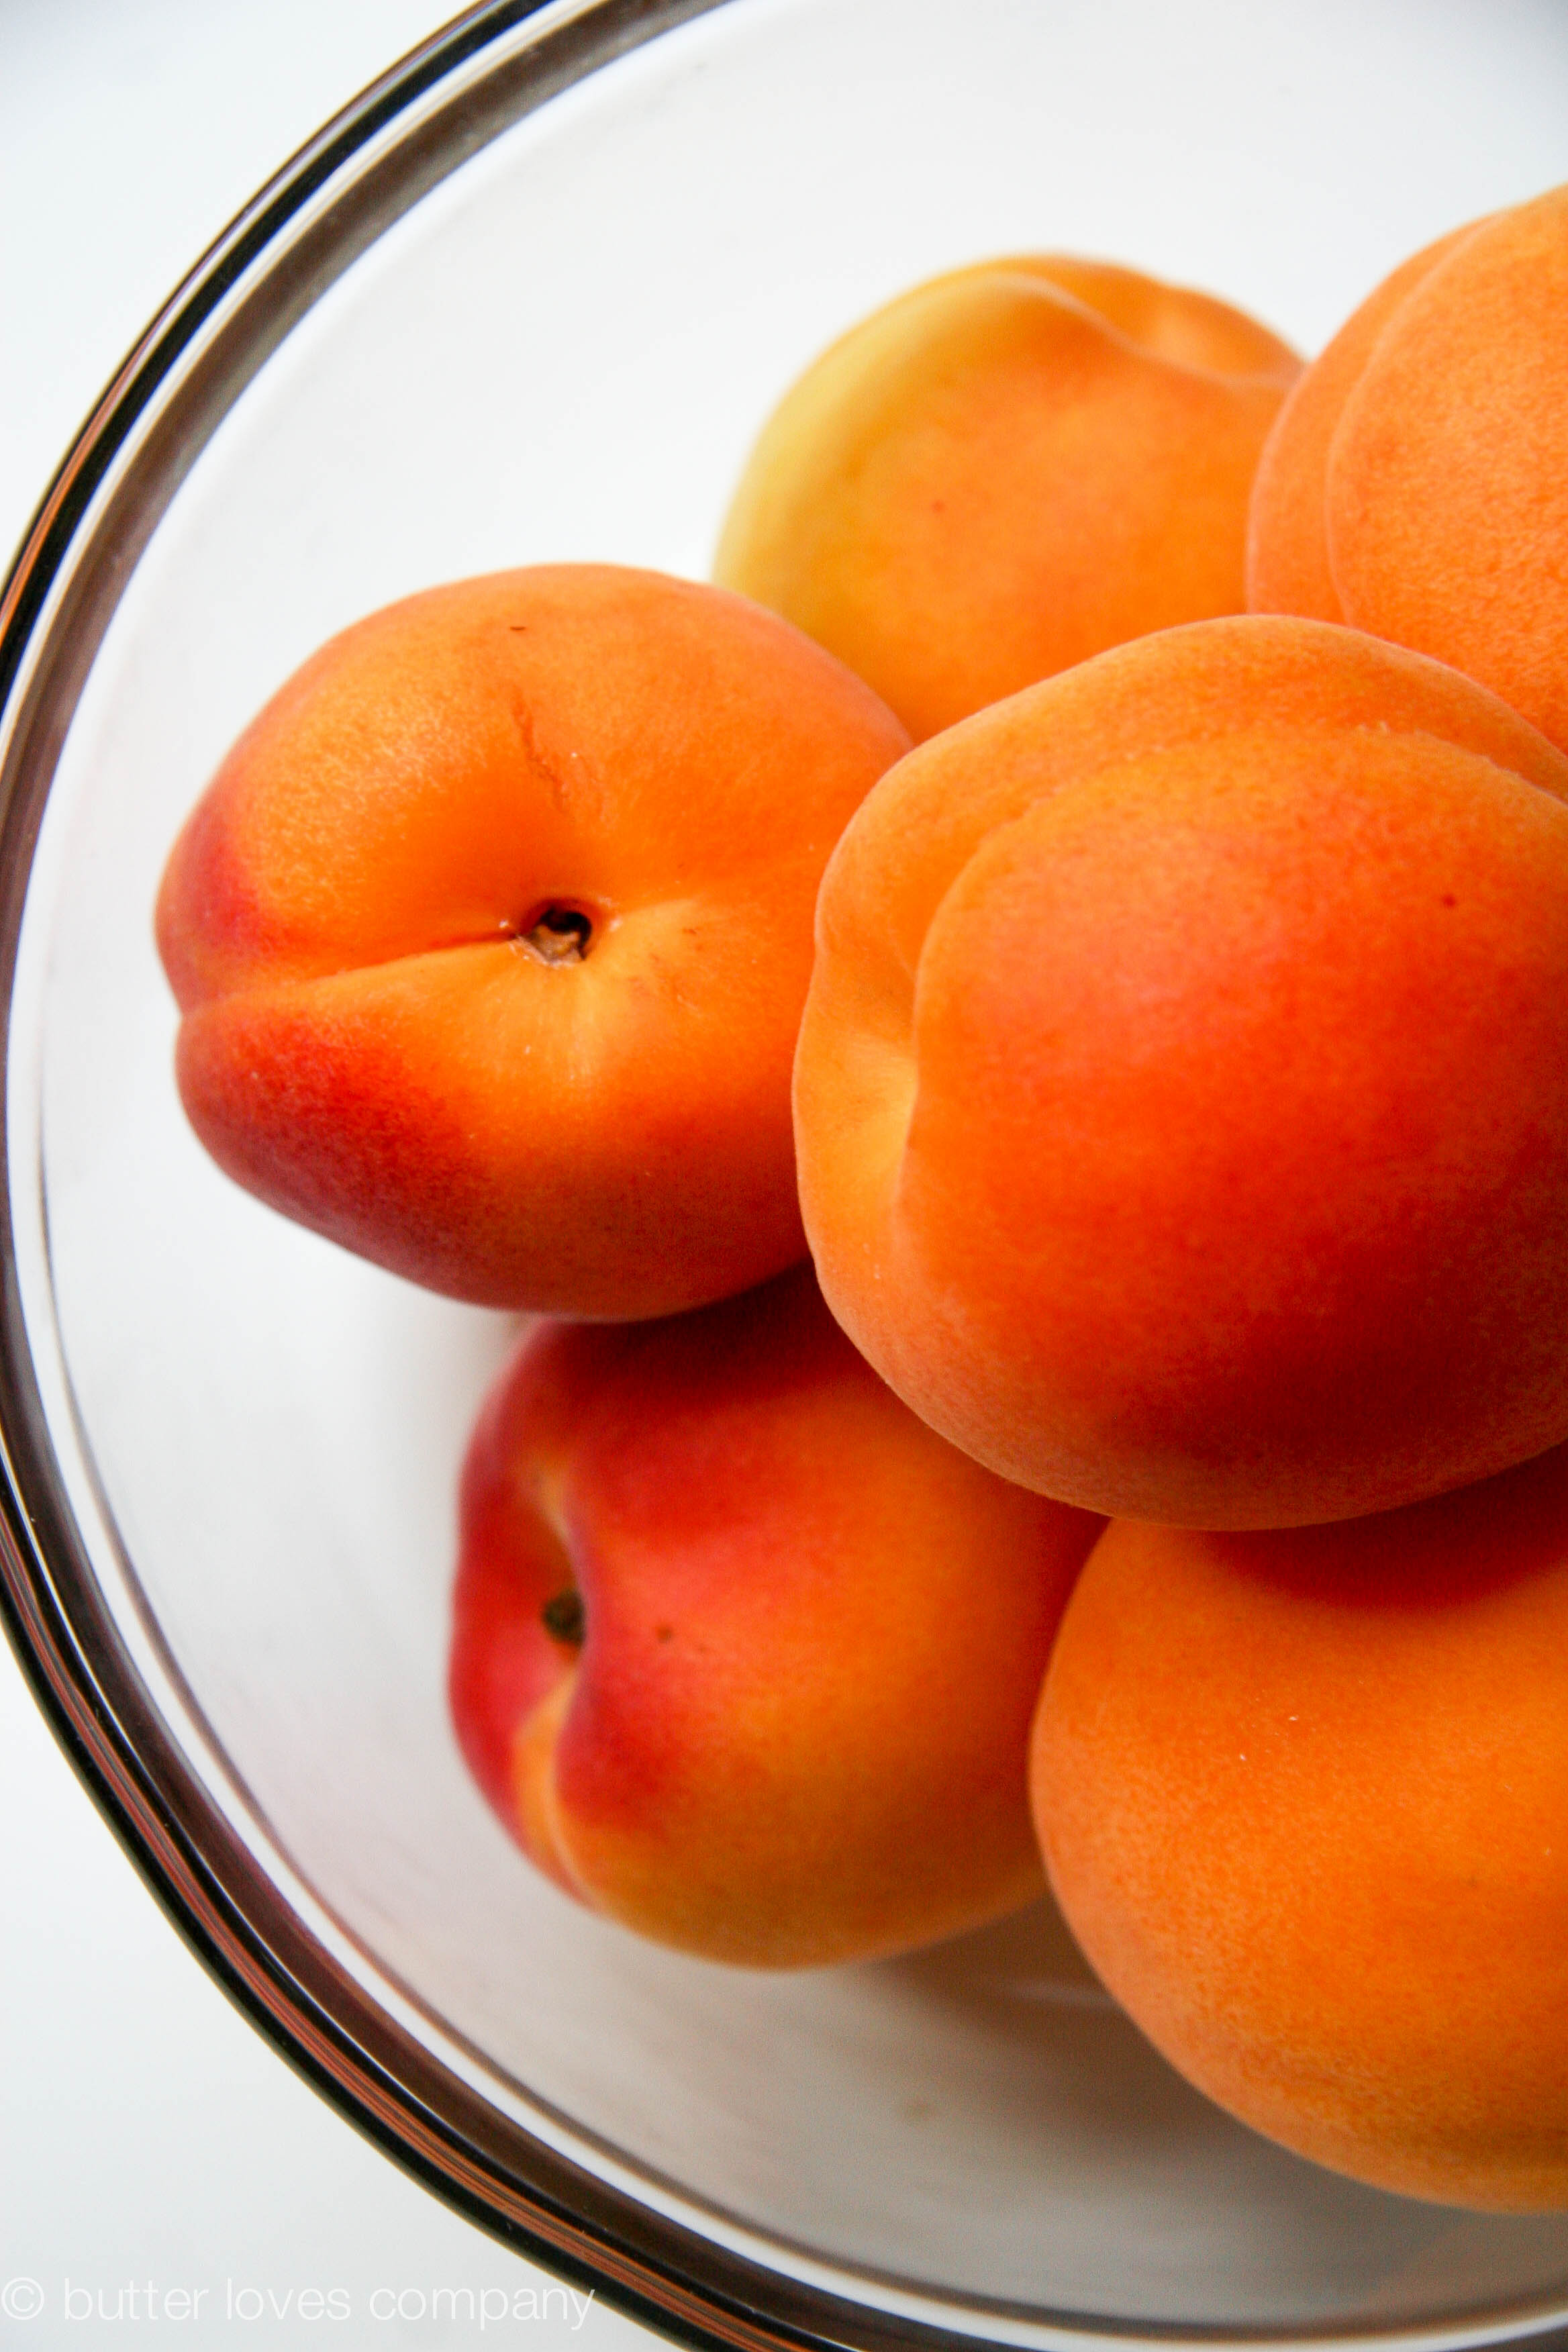
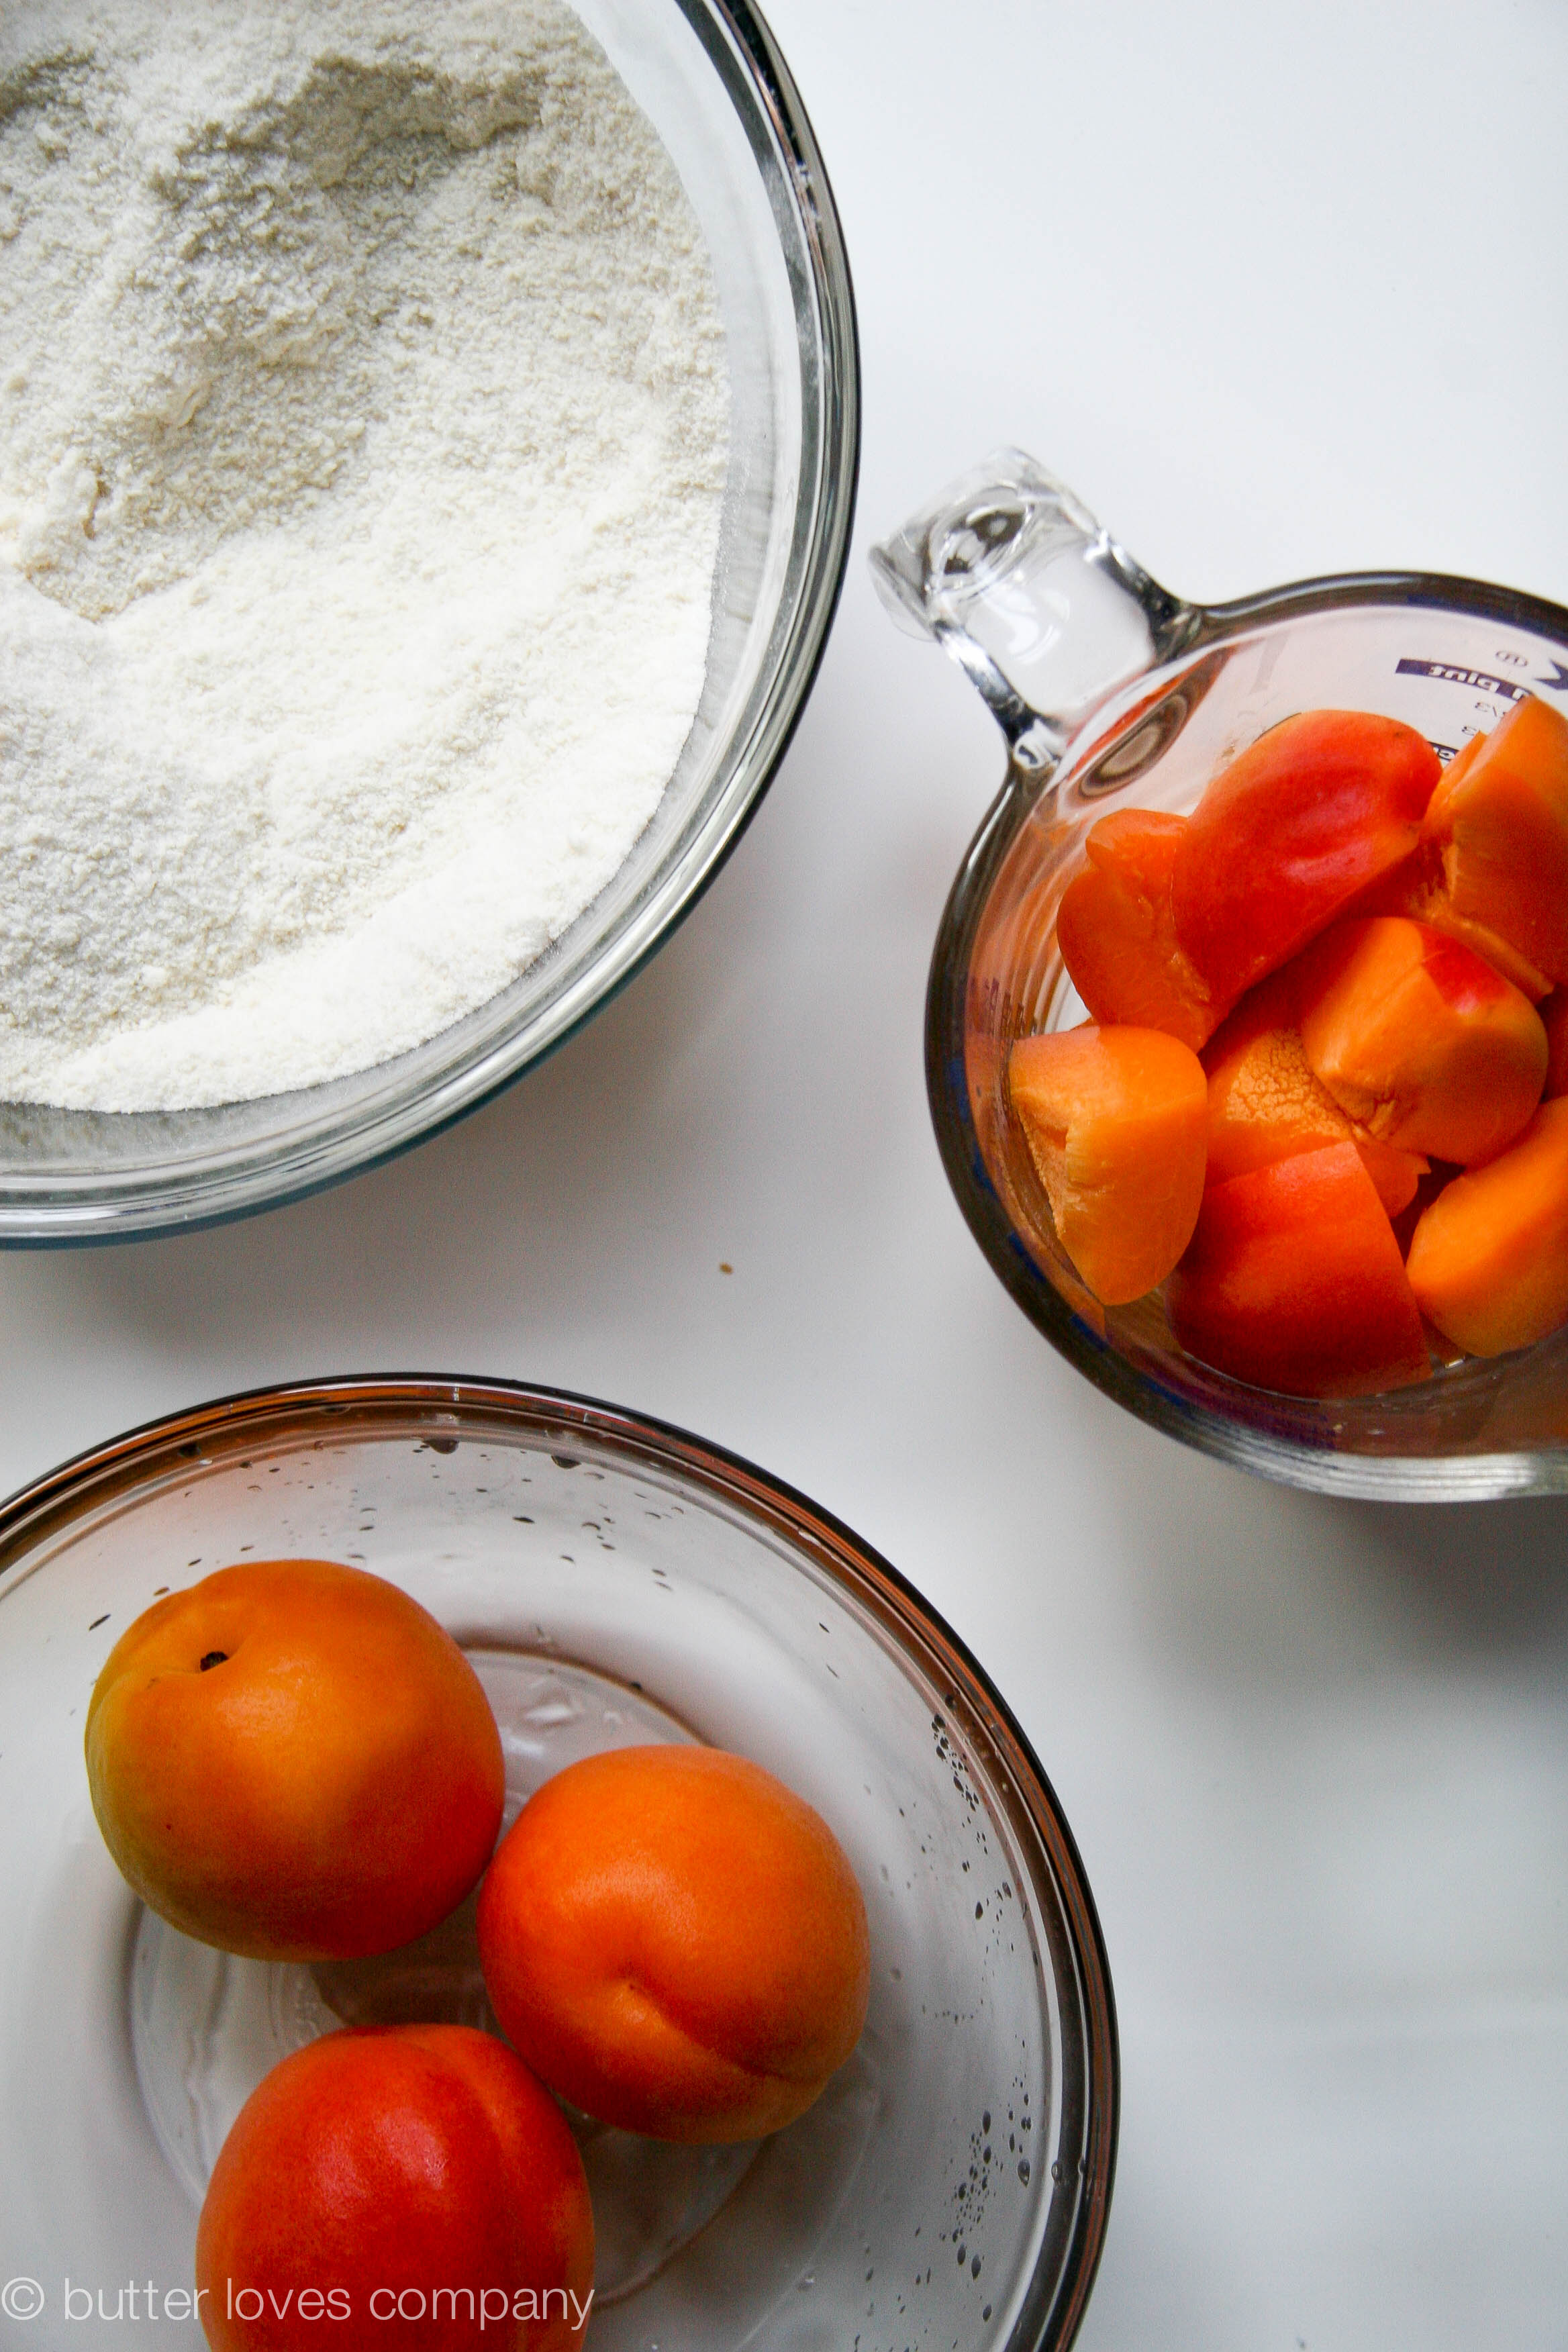
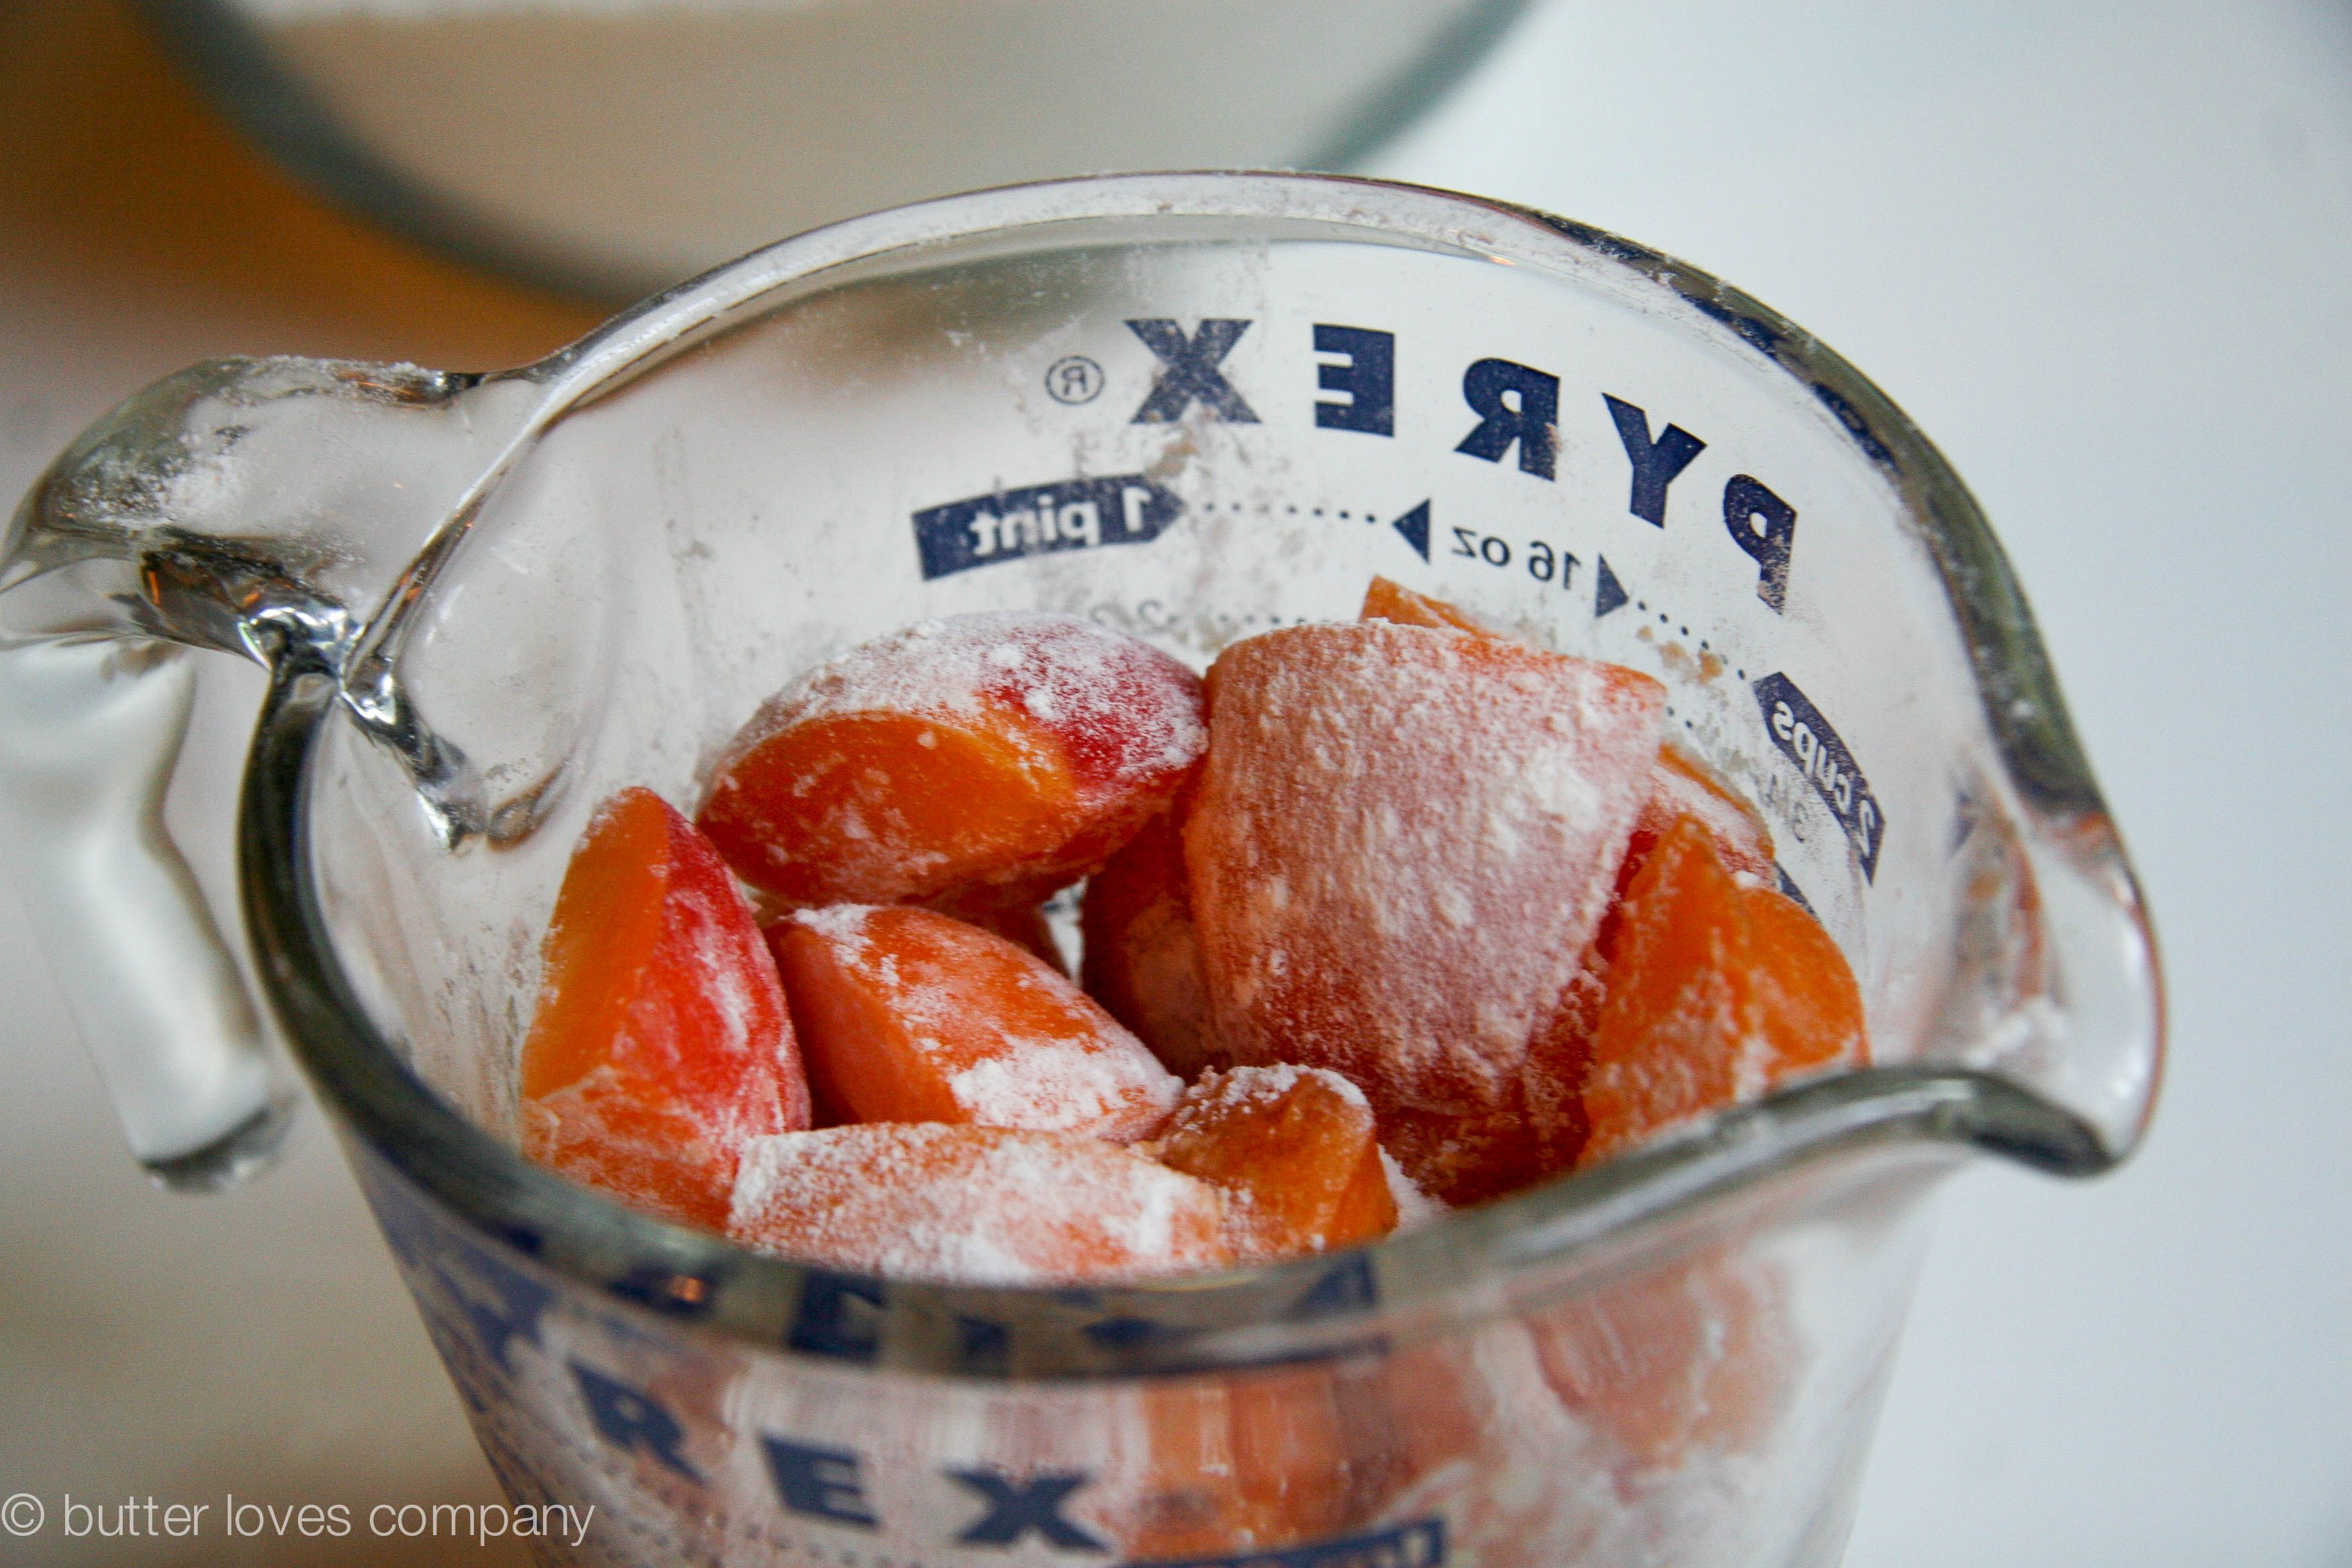
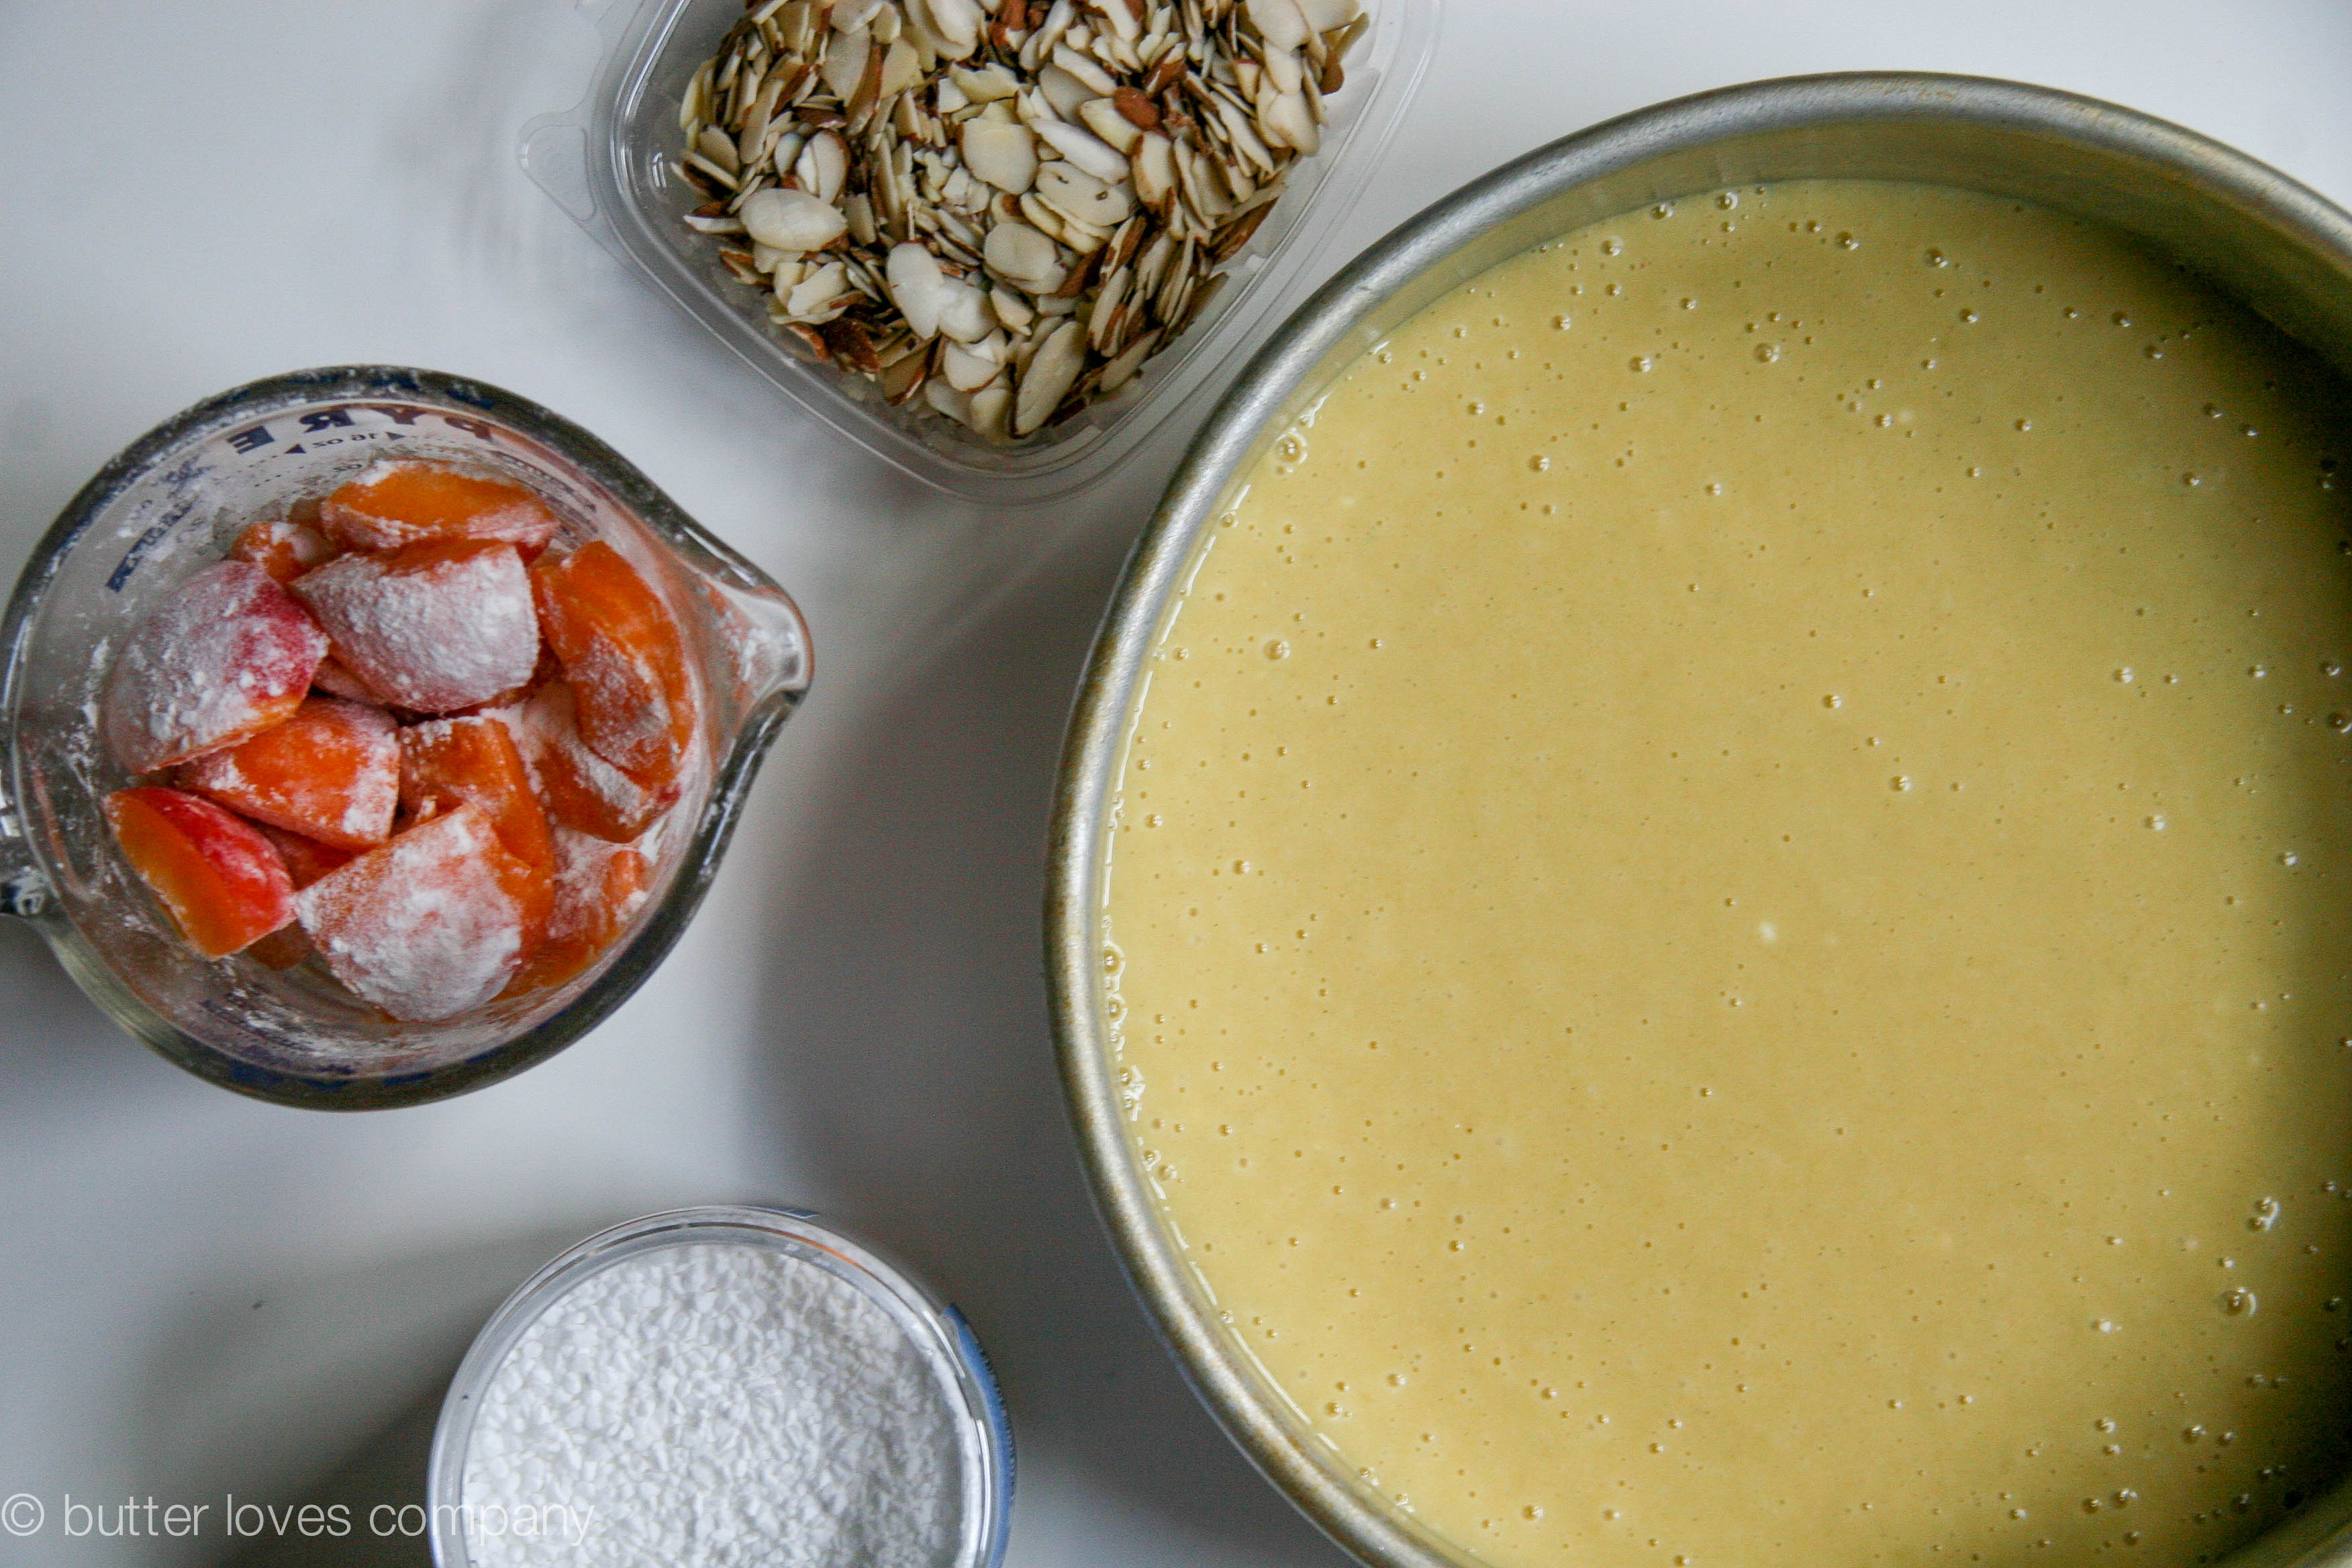
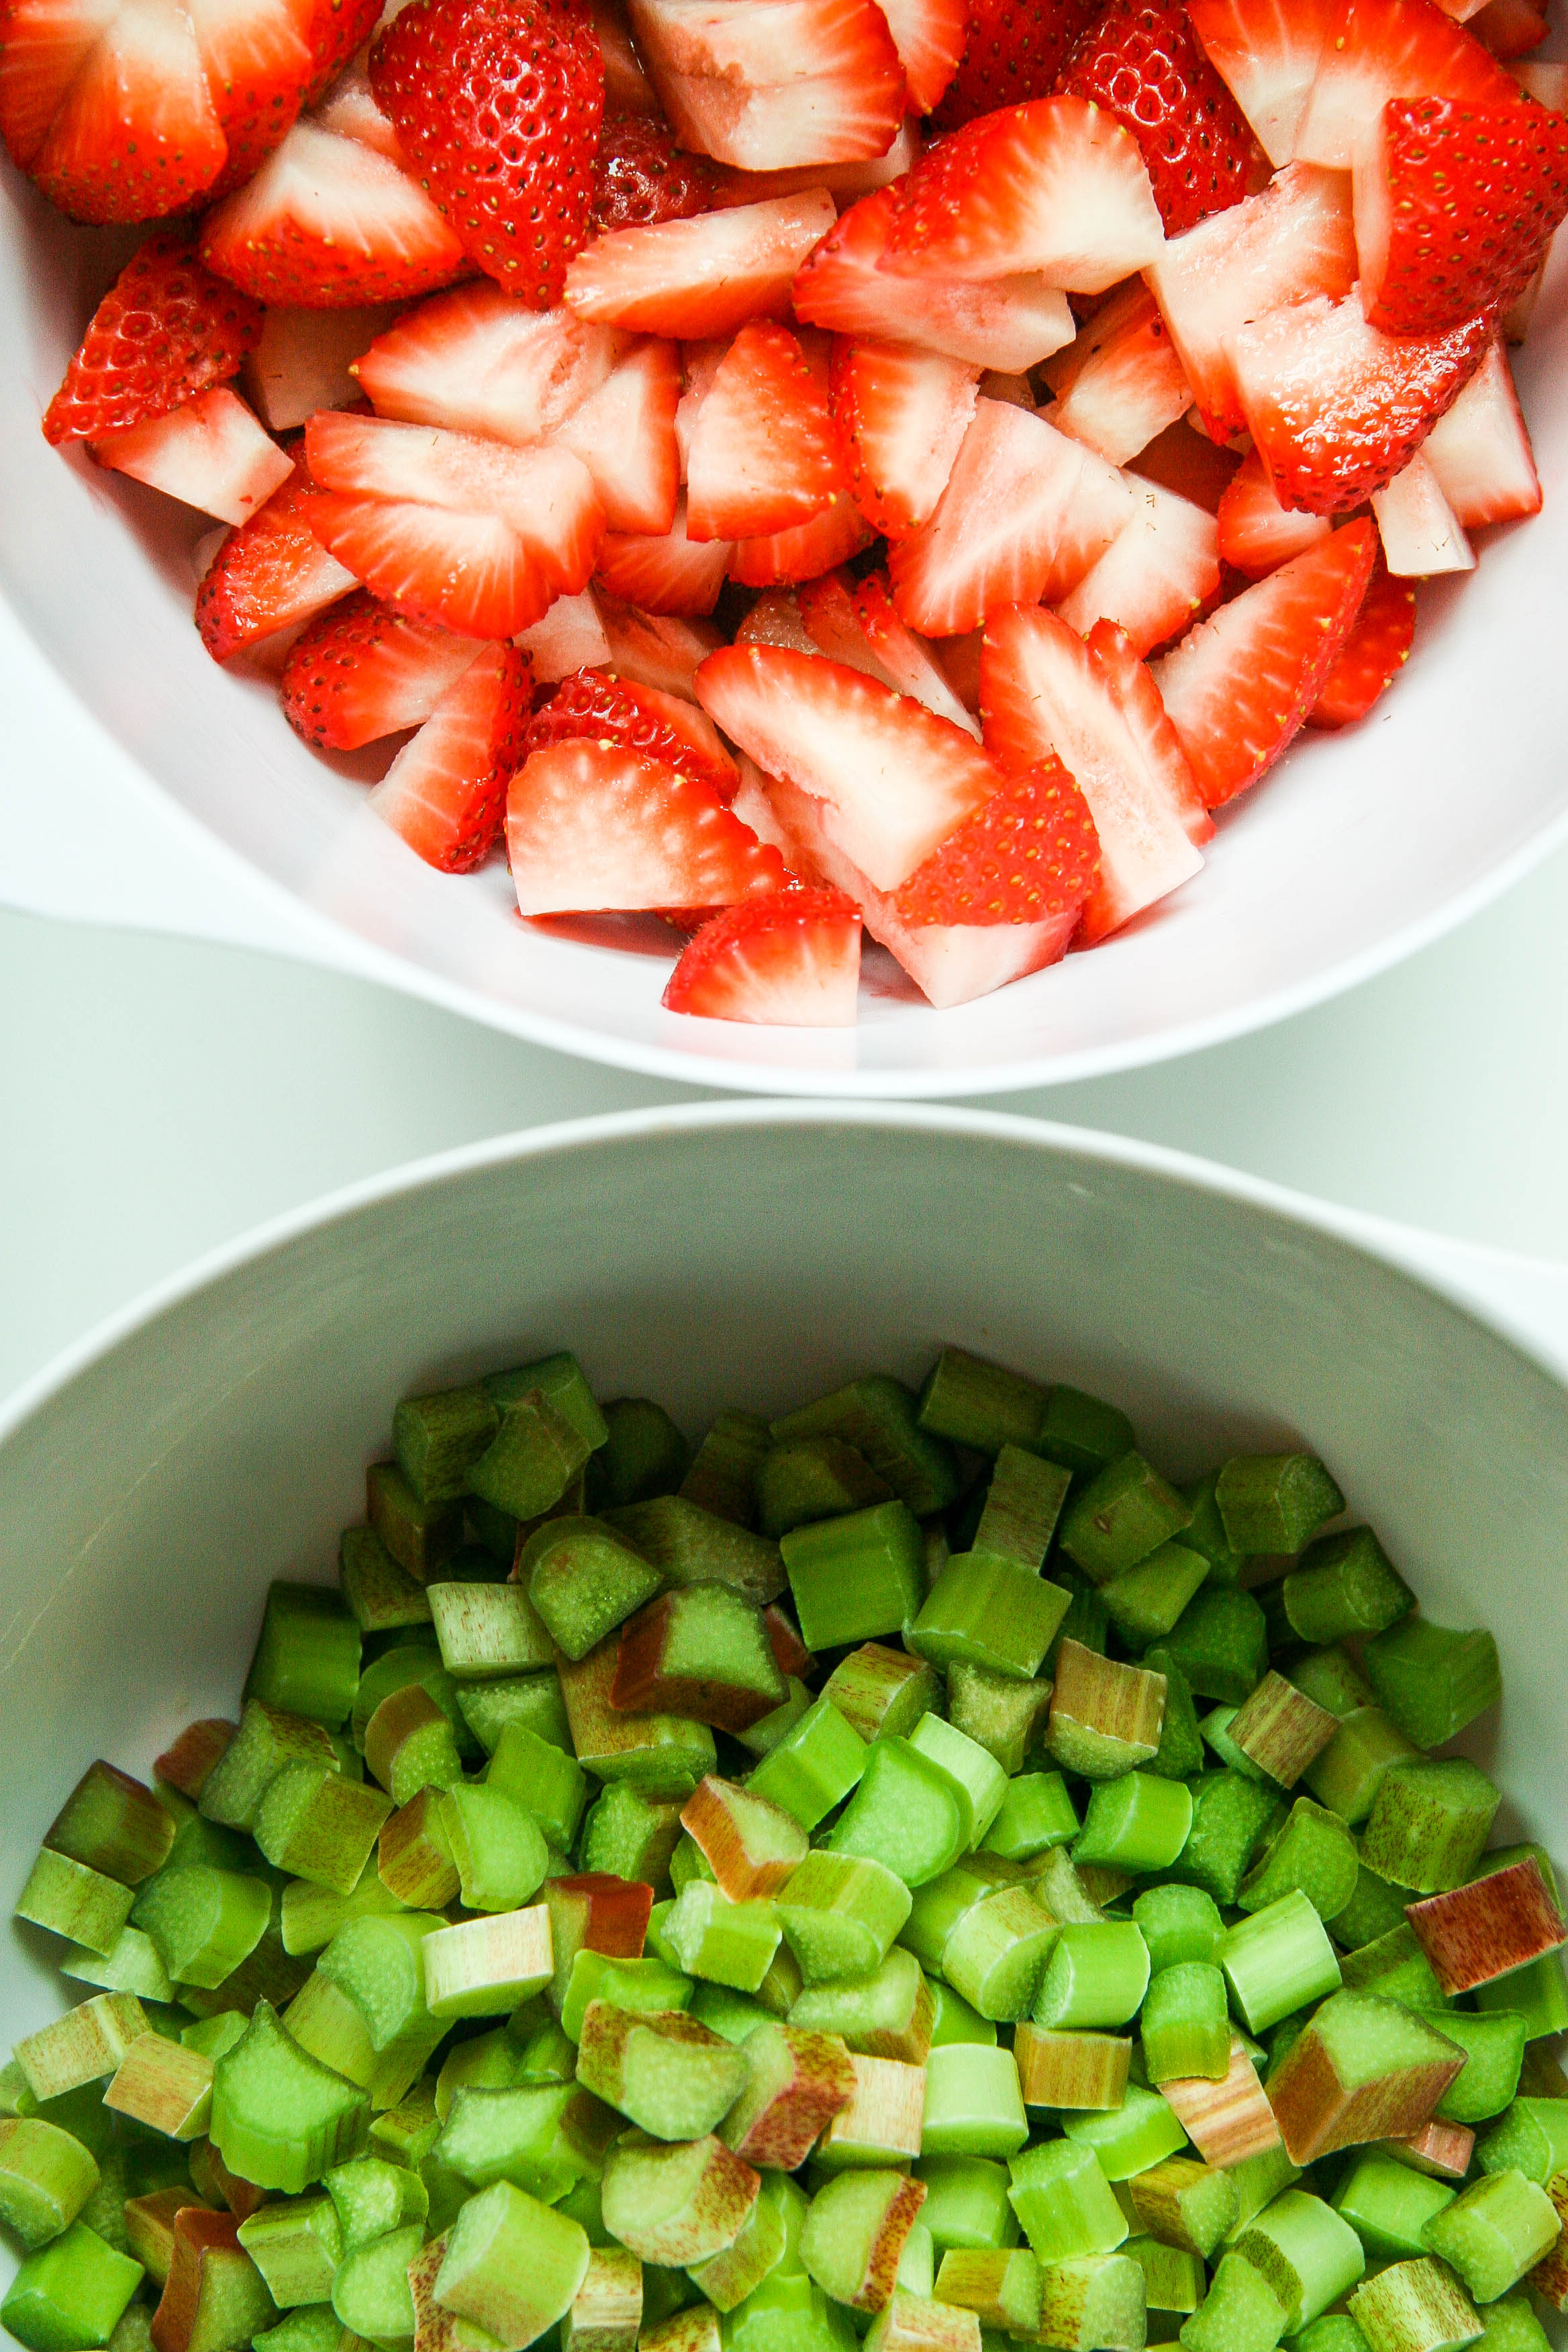
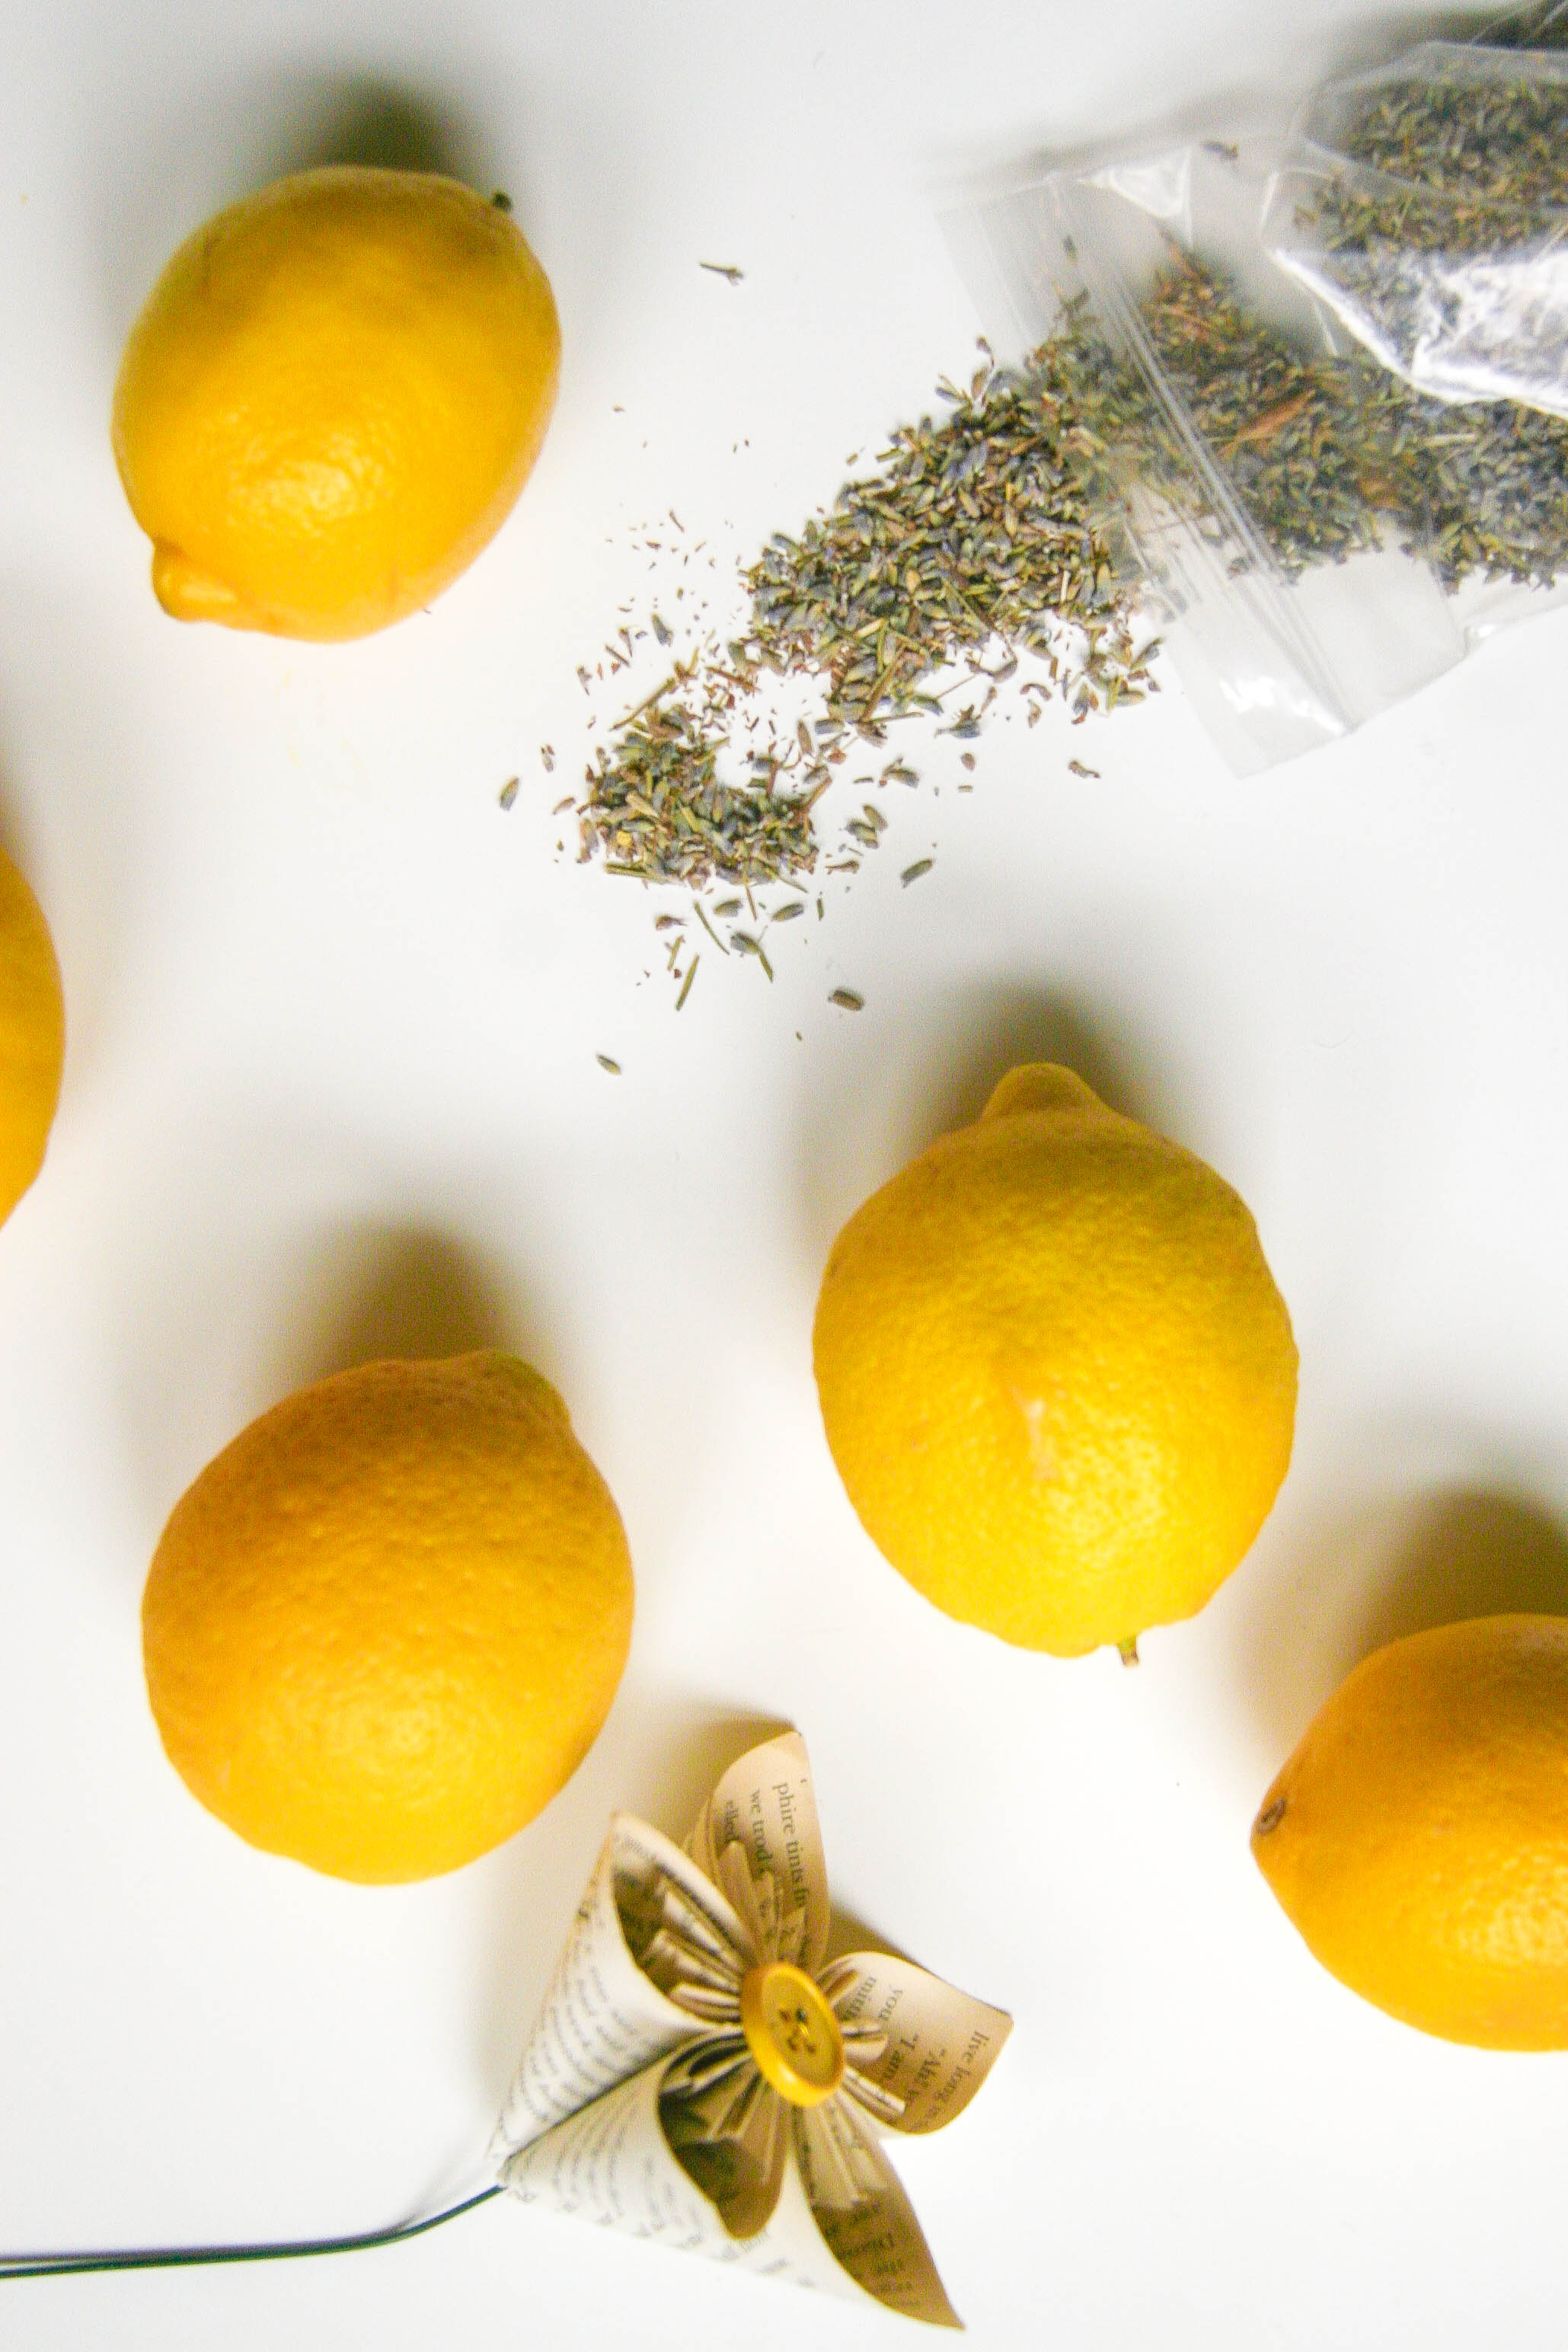
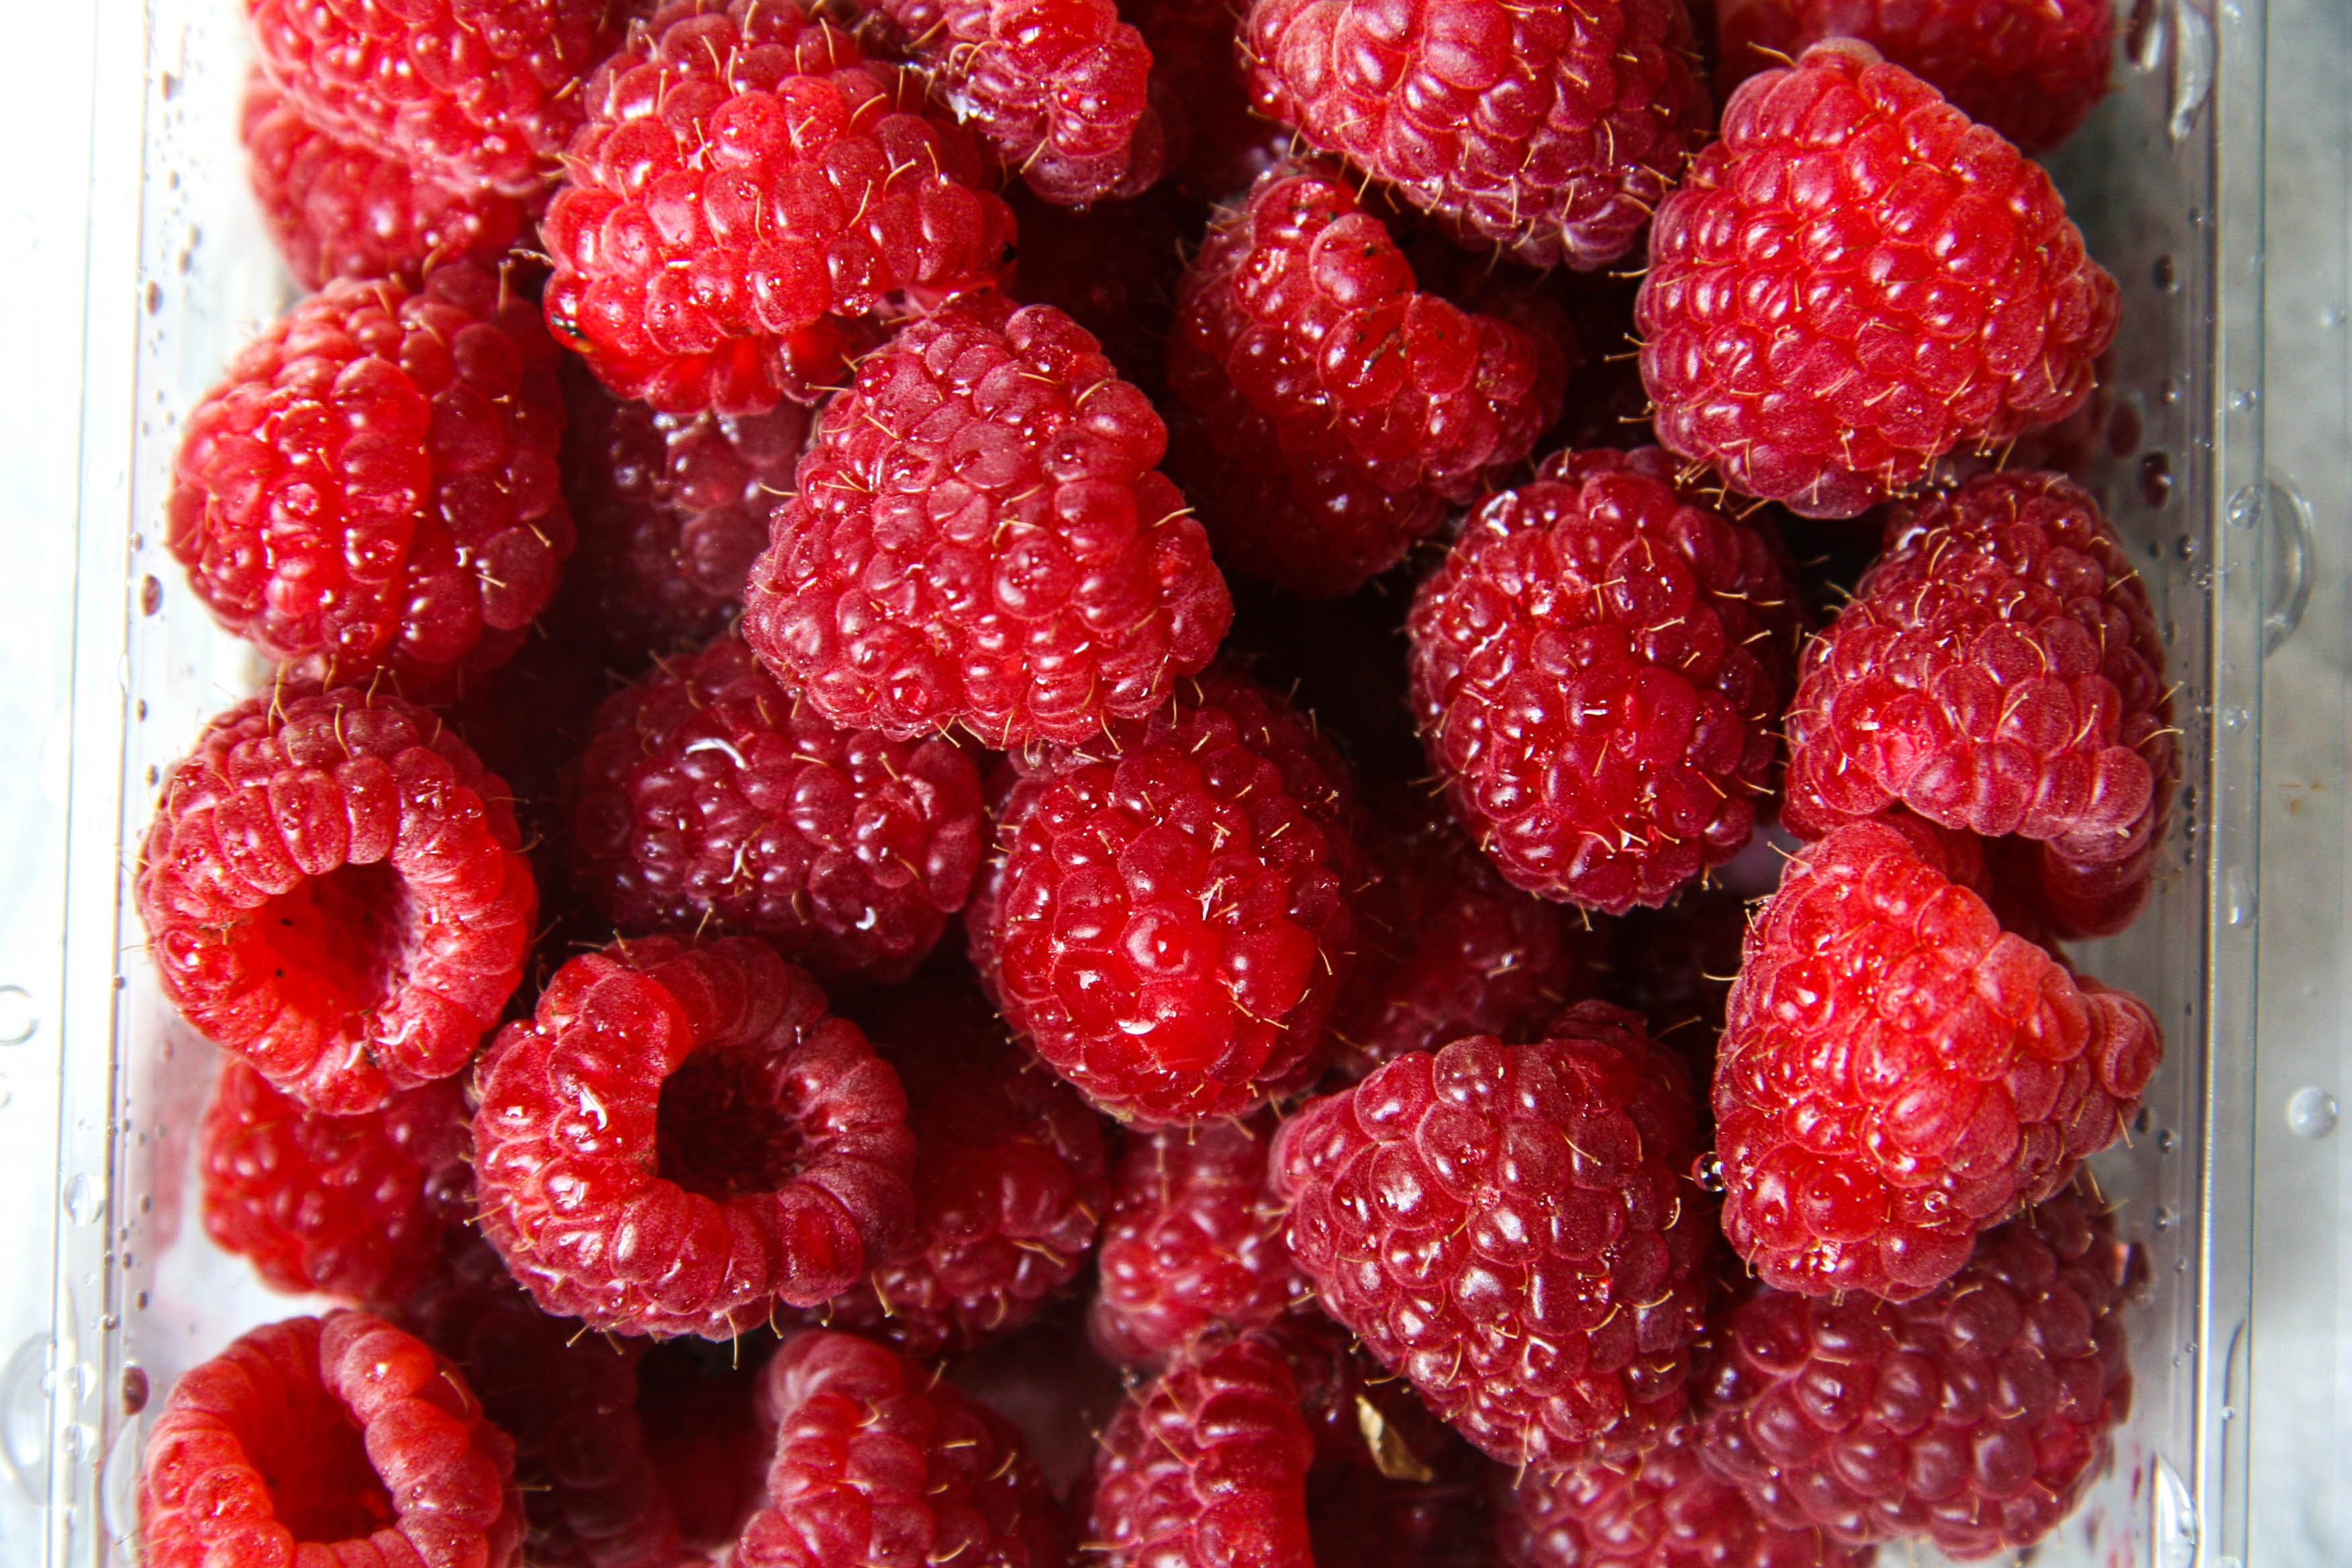
1 1/2–2 cups fresh apricots (about 3, pitted and cut into 8 pieces each)
1 1/2 cups all-purpose flour, plus a little more to coat the apricots
3/4 cup fine almond meal or almond flour (this is best for flavor but if you don’t have it, you can use another 1/2 cup all-purpose flour)
1 3/4 cup sugar
1 1/2 teaspoon salt
1/2 teaspoon baking soda
1/2 teaspoon baking powder
1 cup olive oil (extra virgin preferred)
1 1/4 cup unsweetened vanilla almond milk
1/2 cup plain Greek yogurt
3 large eggs
1 teaspoon vanilla extract or paste
1/2 teaspoon almond extract
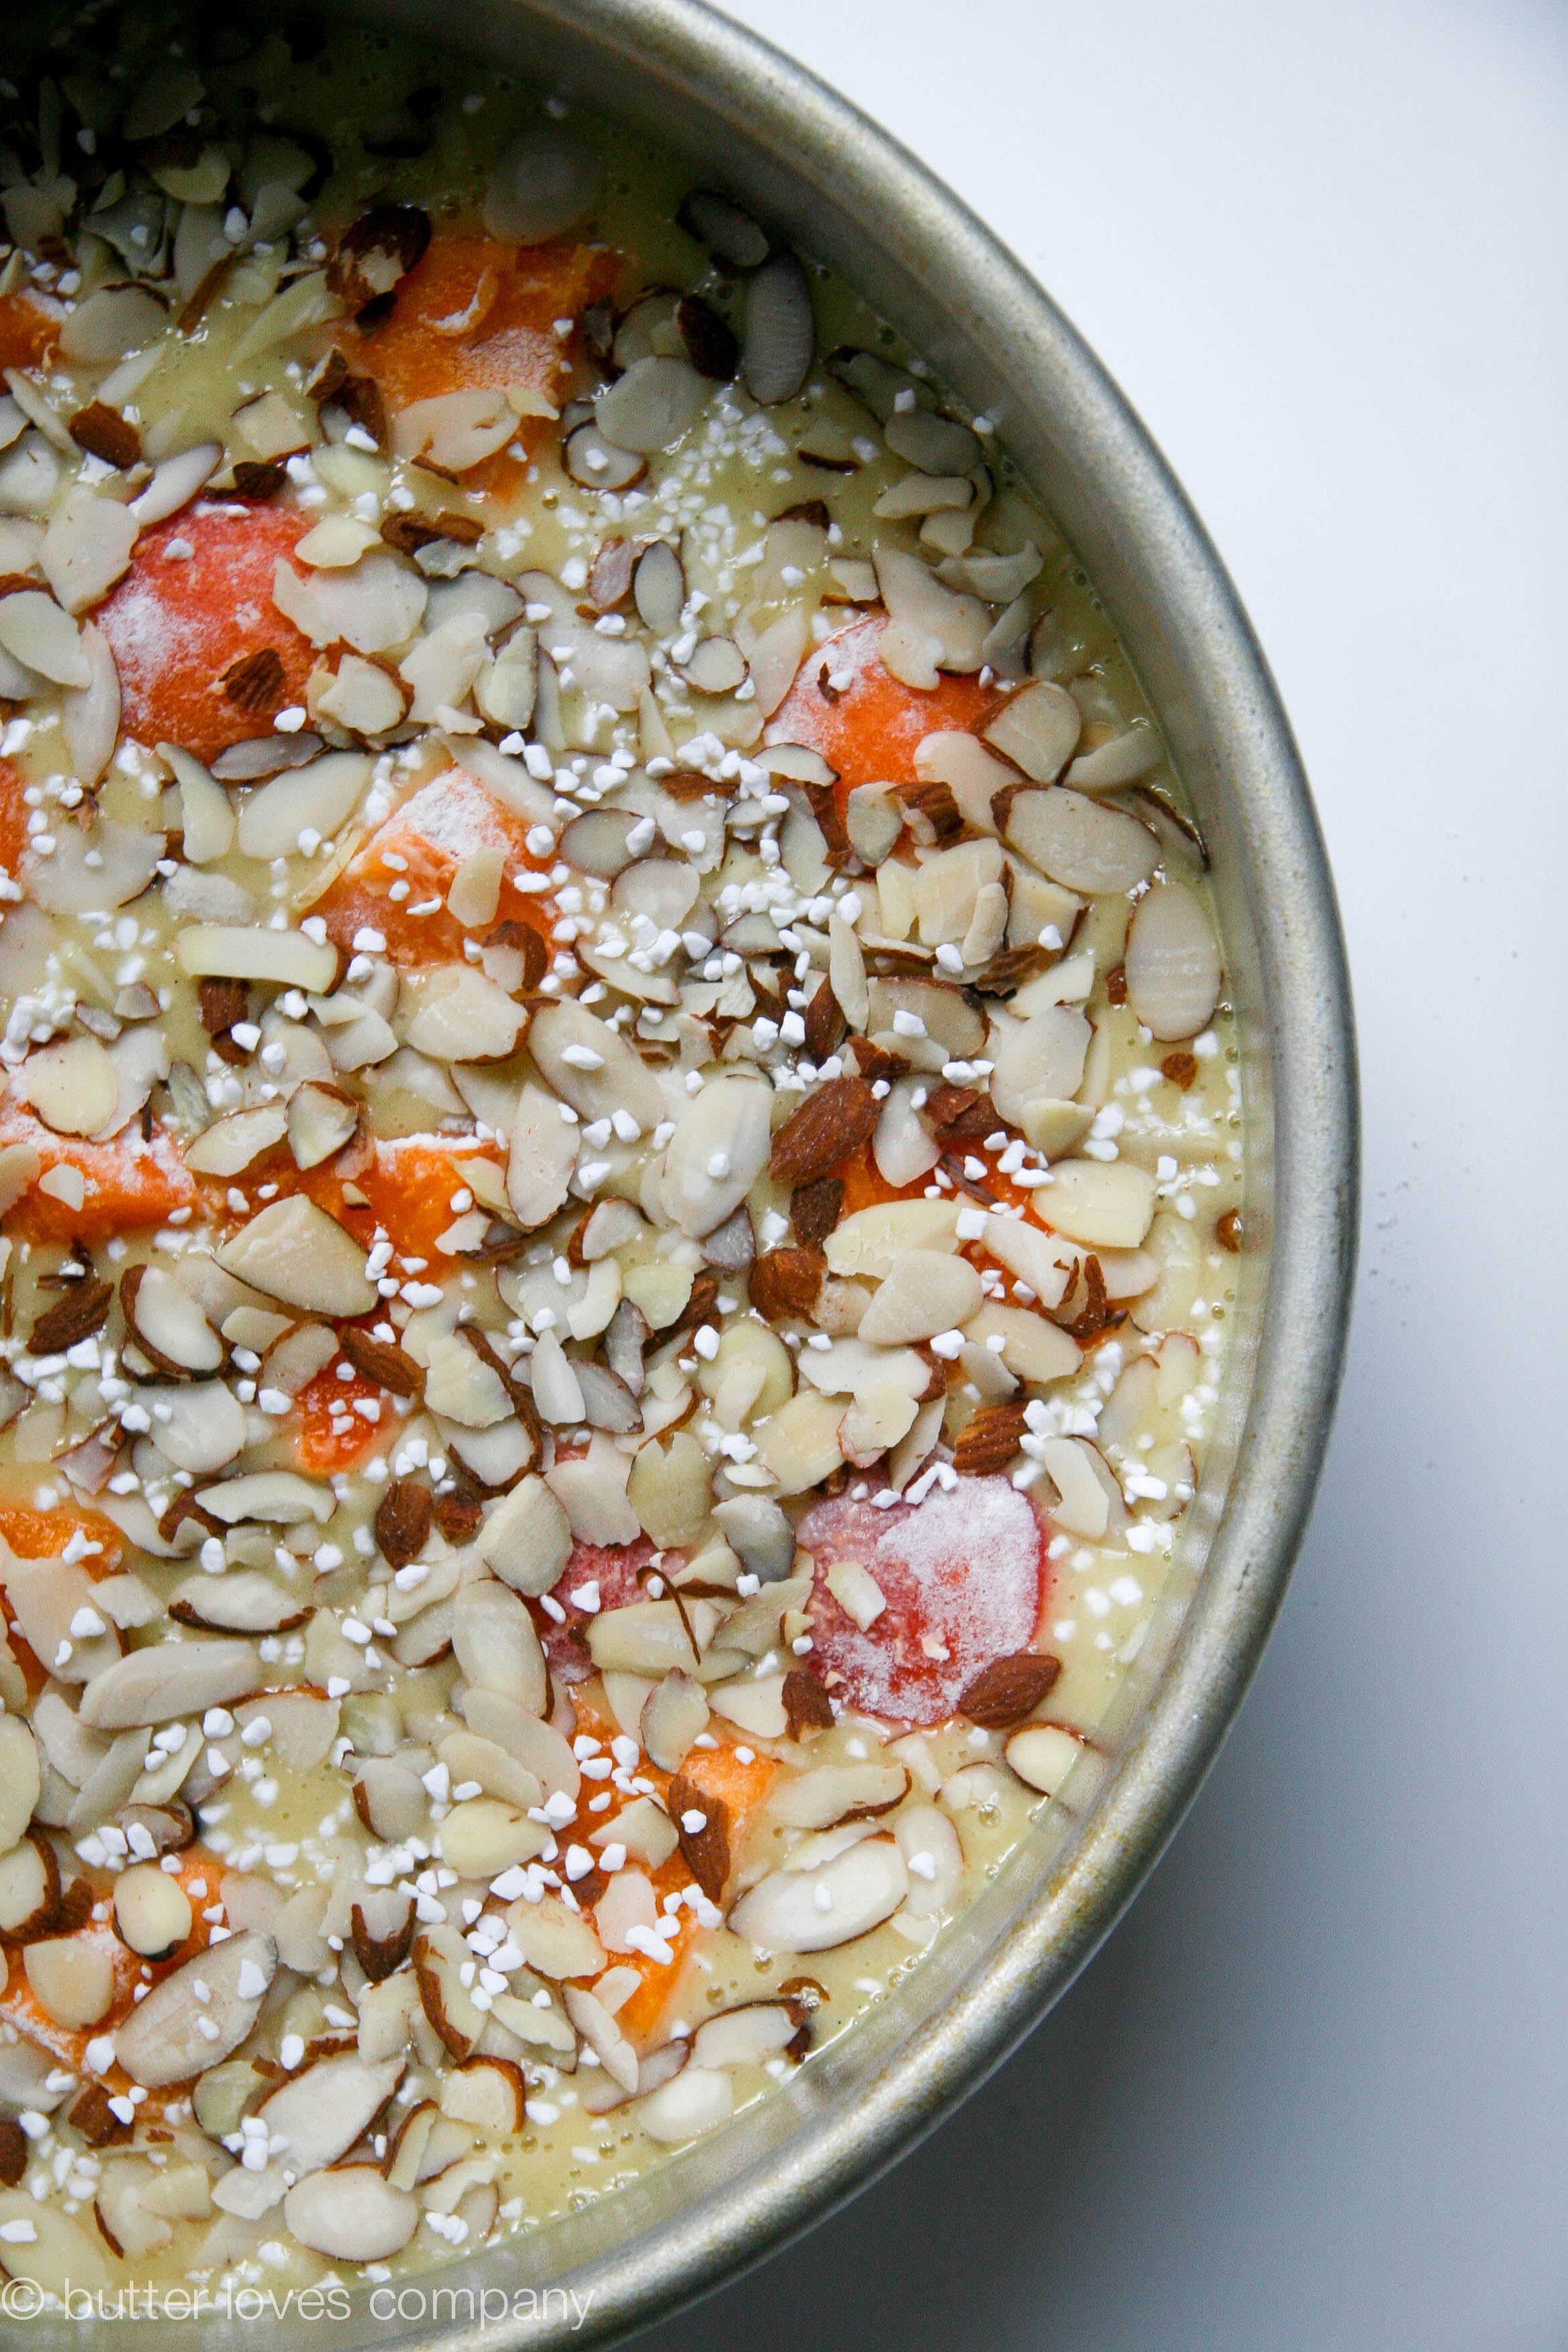
1/2 cup sliced almonds, for topping
Instructions:
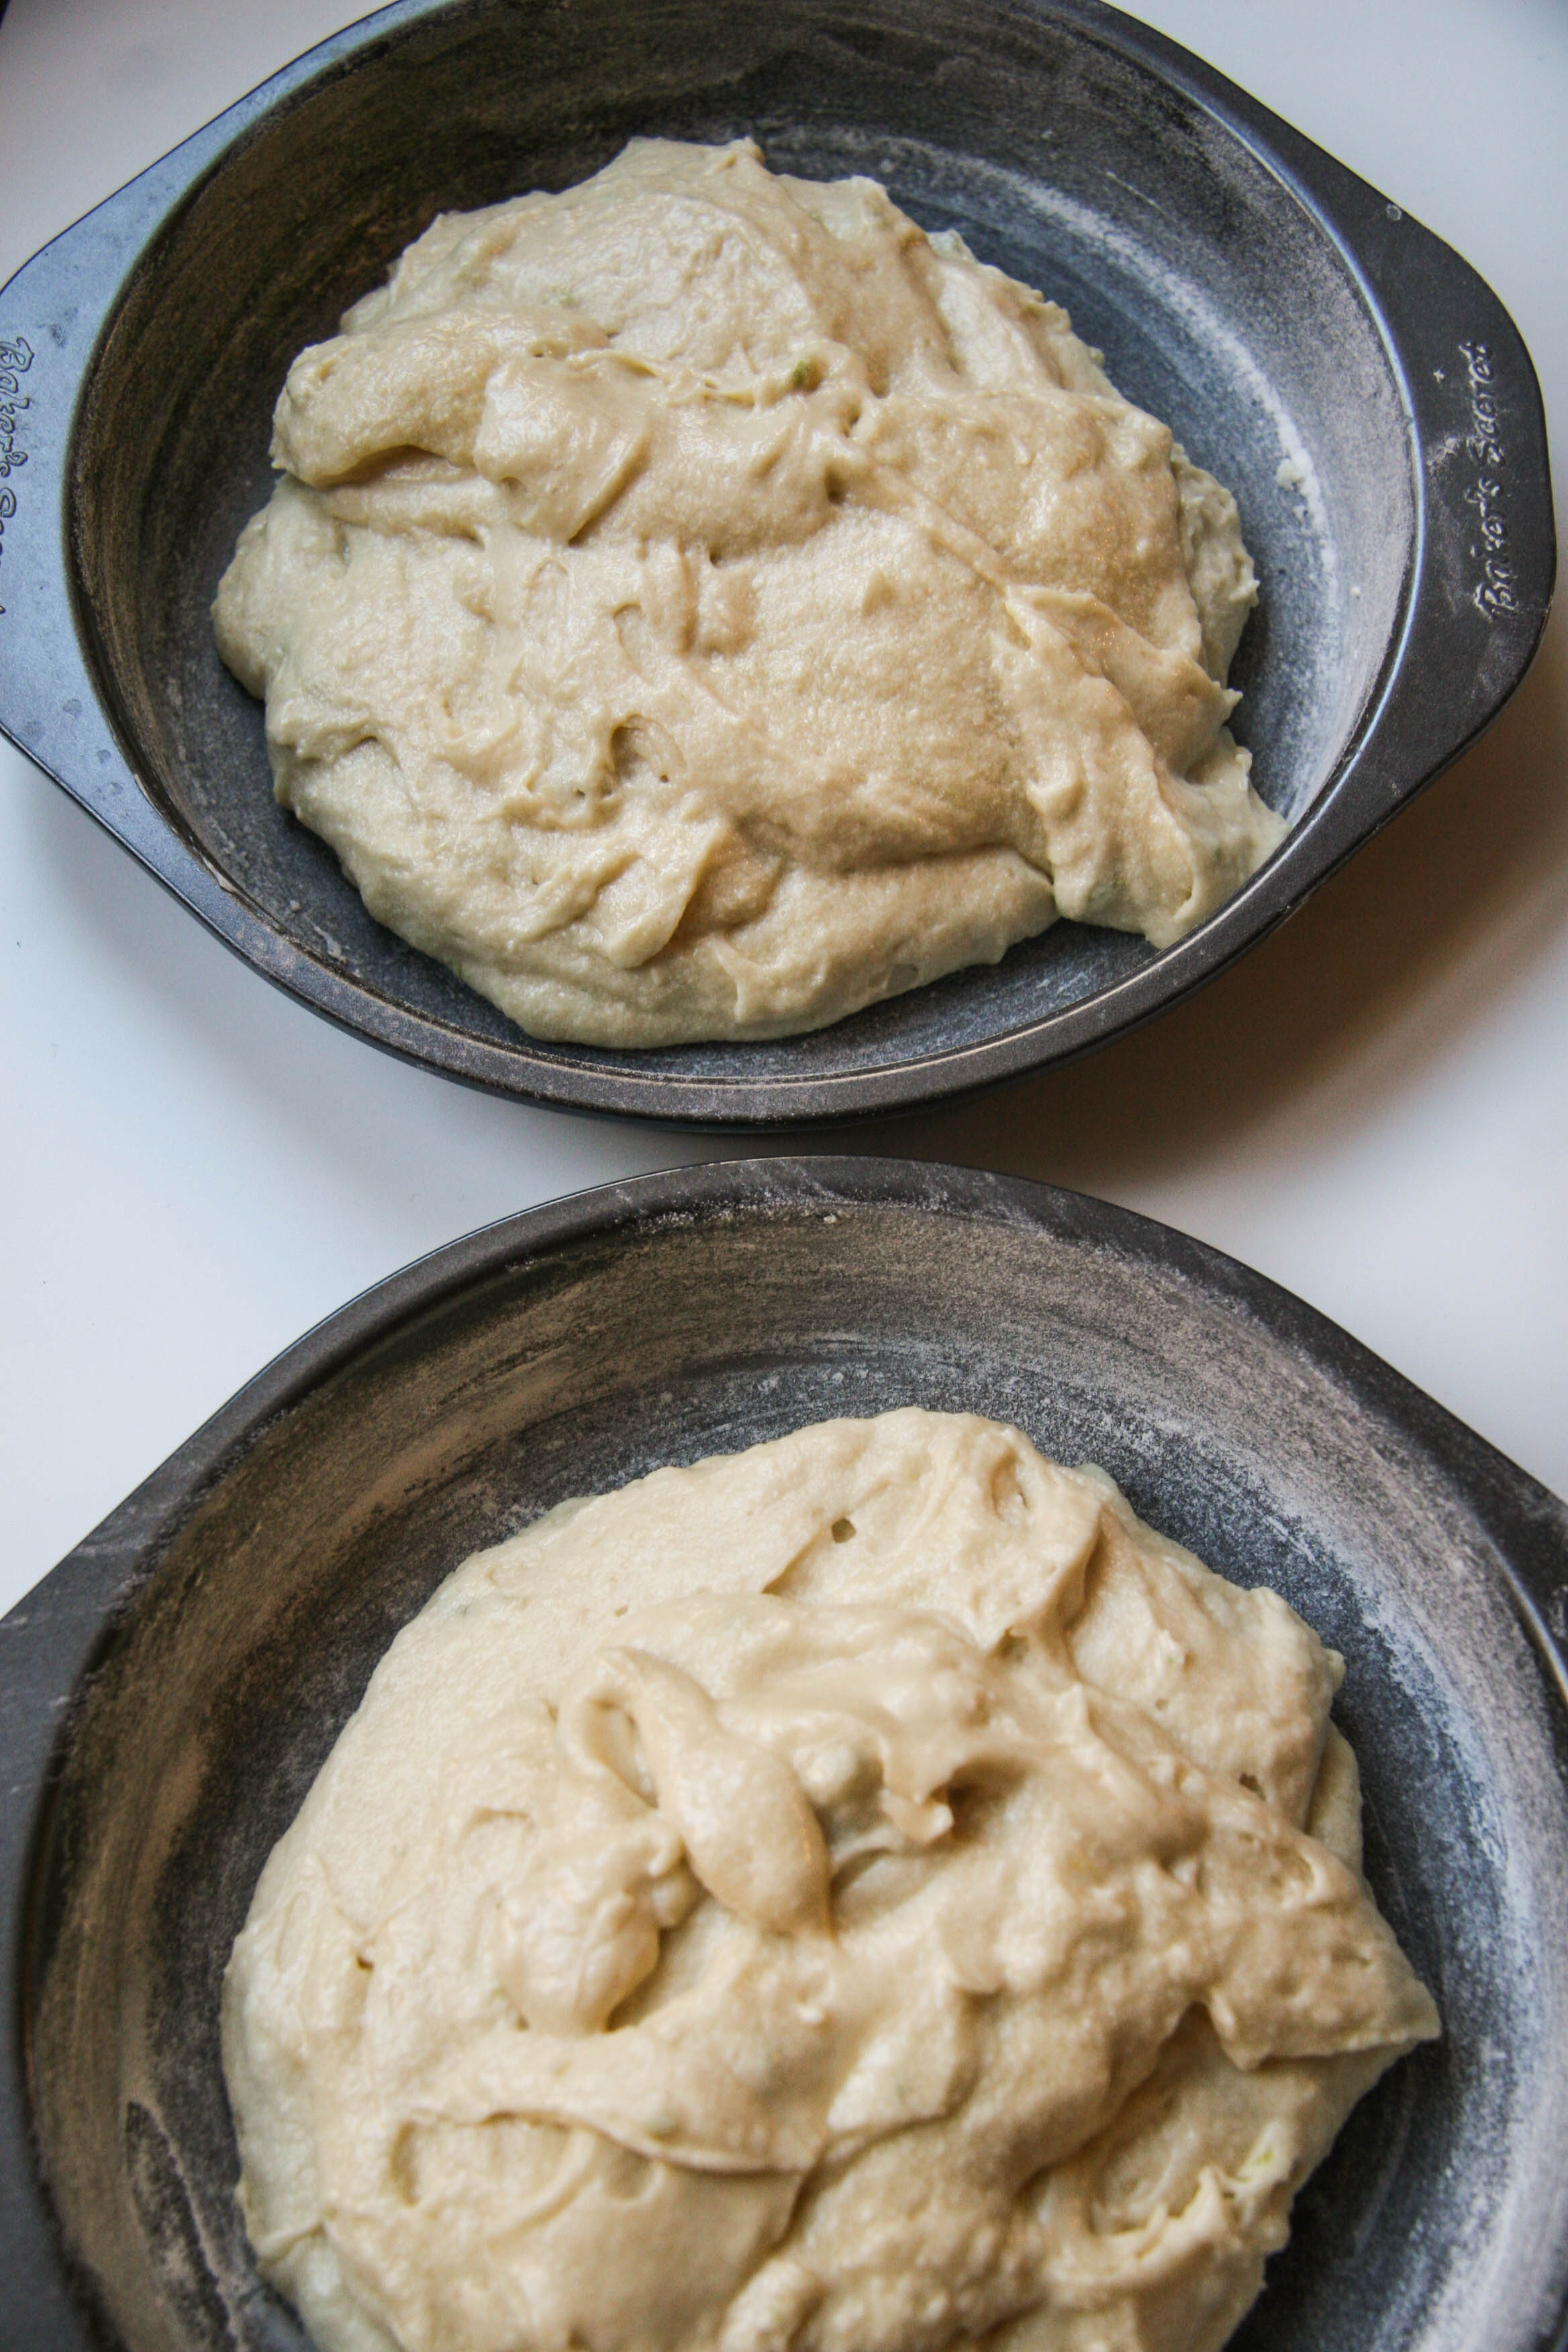
- Heat the oven to 350°F. Oil, butter or coat with cooking spray a 9-inch cake pan that is at least 2 inches deep. Line the bottom with parchment paper and then spray the paper. If your cake pan is less than 2 inches deep, divide between 2 pans and start checking for doneness at 30 minutes.
- In a small bowl, toss the chopped apricots with a little flour—about 1/4 cup—to coat the outsides. In a medium bowl, whisk the flour, almond flour, sugar, salt, baking soda and baking powder until combined. In another large bowl—or the bowl of an electric mixer fitted with the paddle attachment—mix the olive oil, almond milk, yogurt, eggs, vanilla and almond extracts until completely combined. Add the dry ingredients to the wet ingredients; mix until just combined.
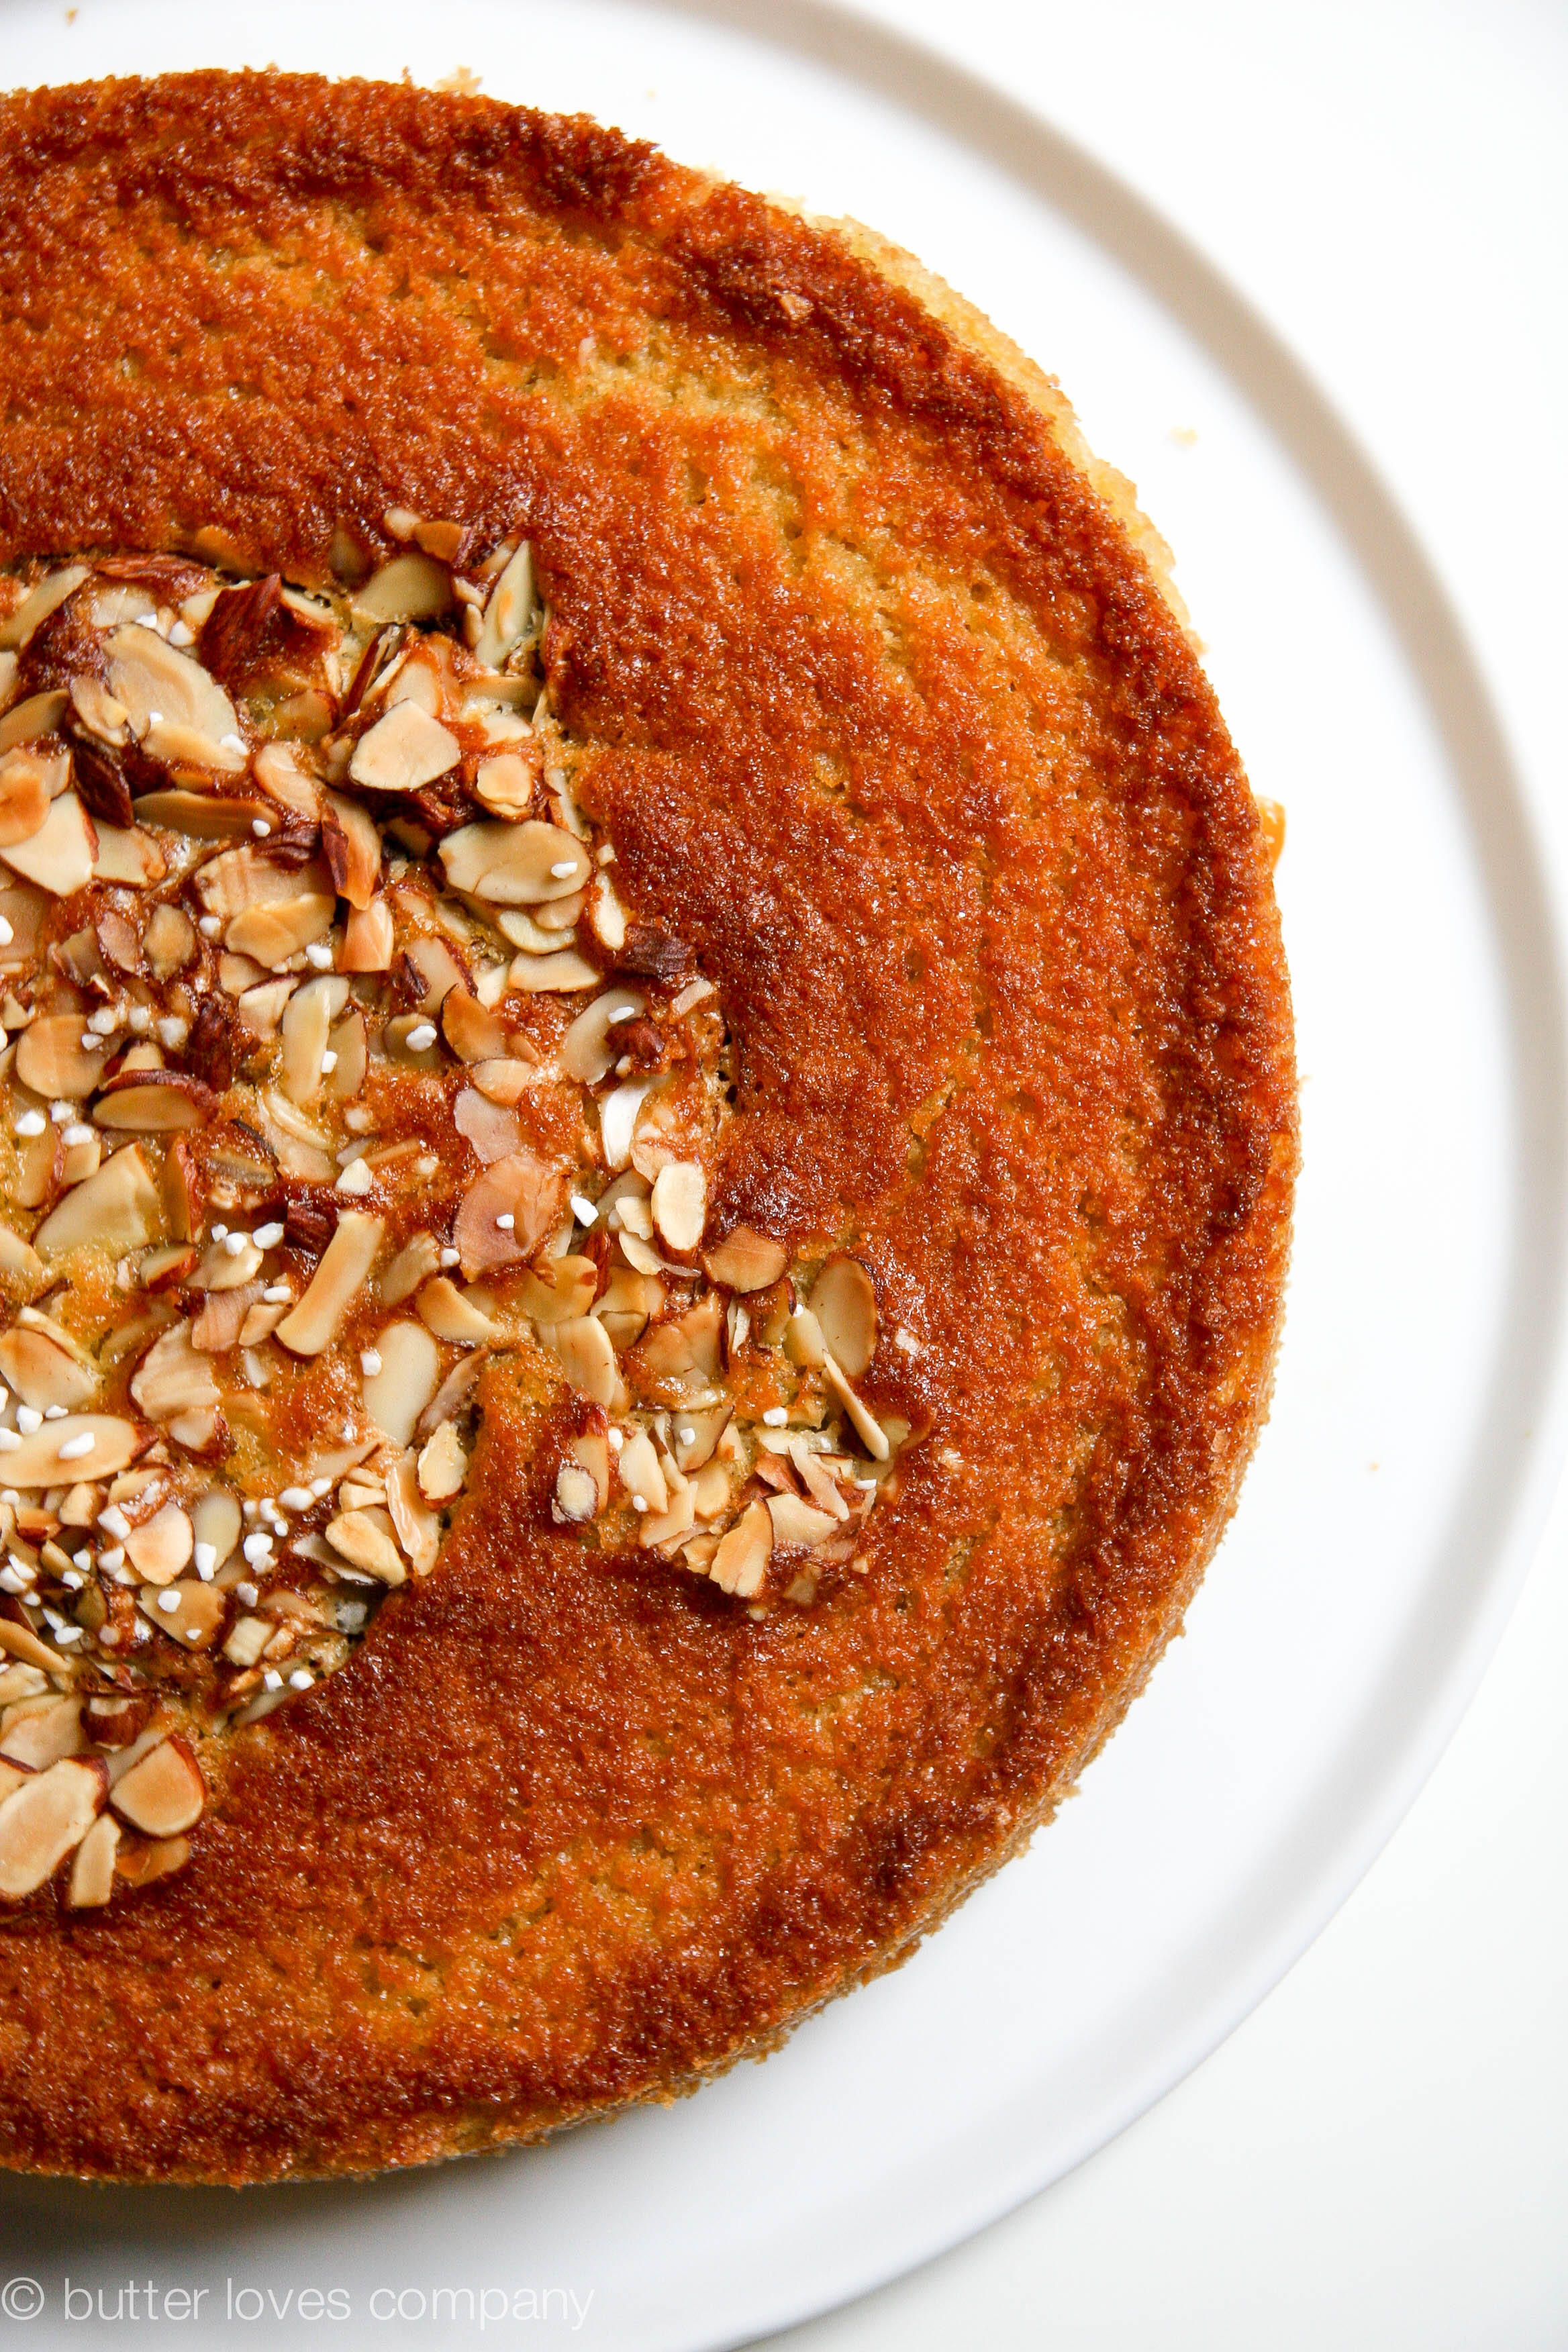
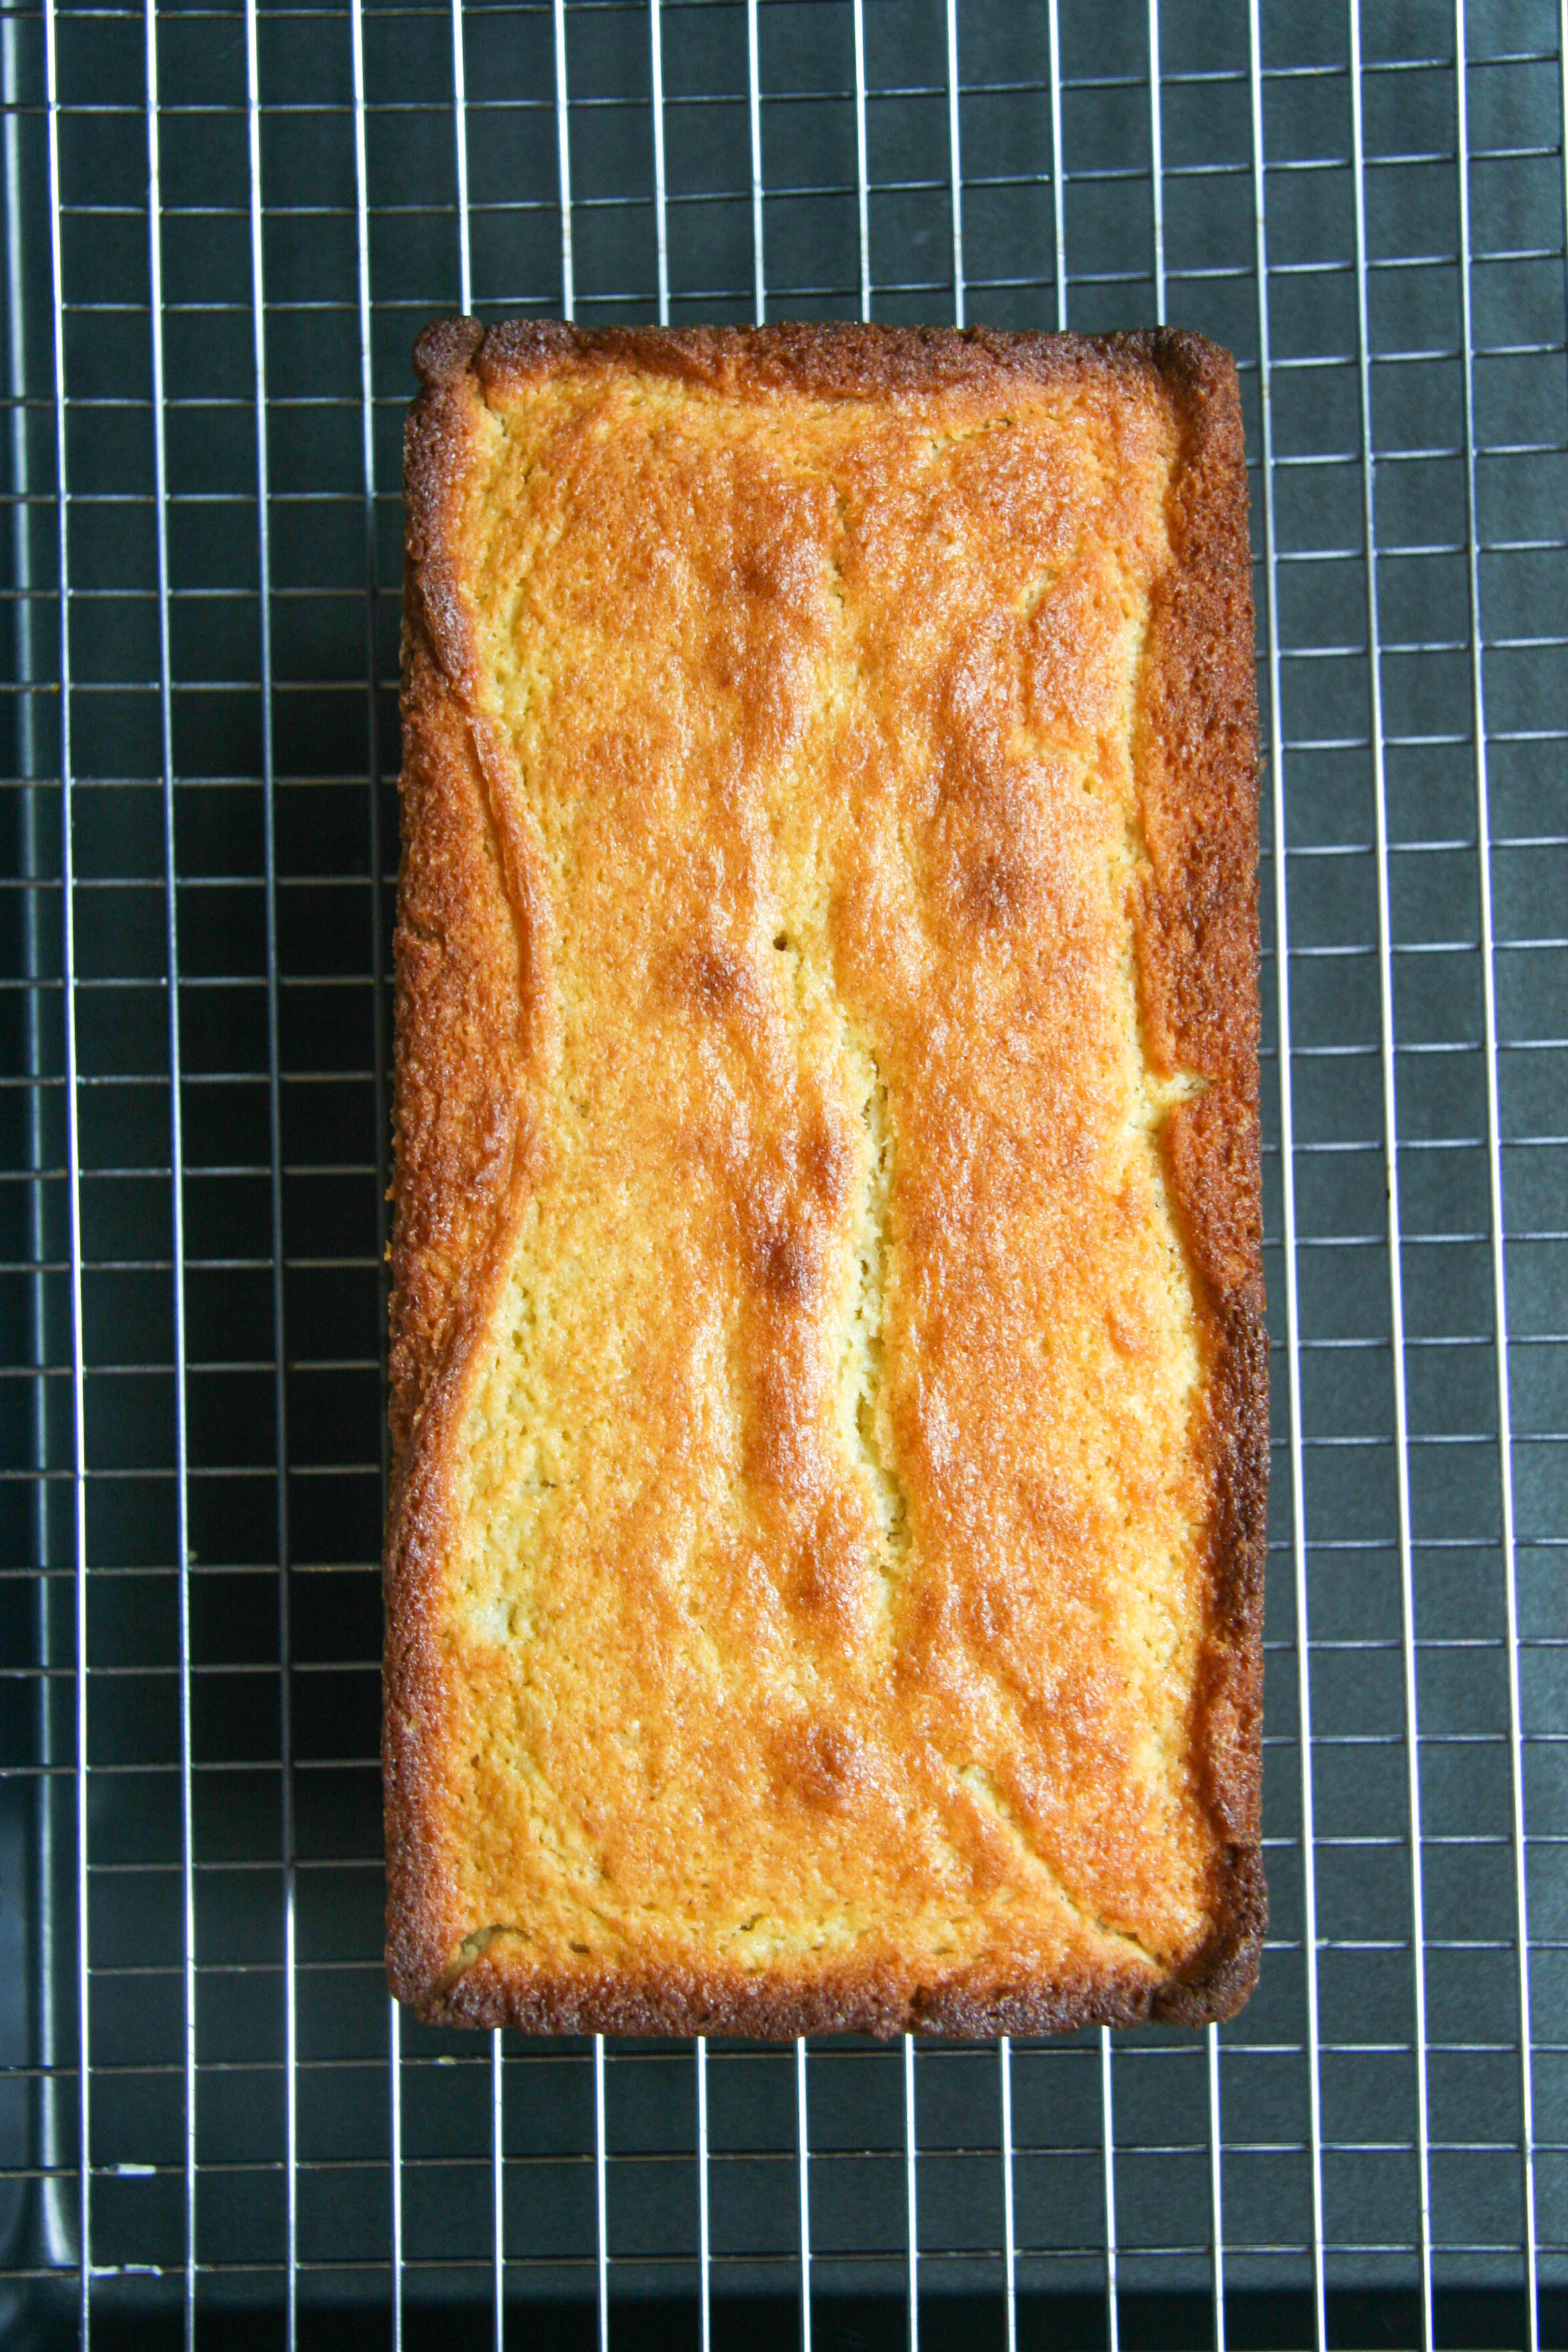
- Pour the batter into the prepared pan and then scatter the floured apricots across the top of the cake. Sprinkle the cake evenly with sliced almonds. Bake the cake for 1 hour, until the top is golden and a cake tester or toothpick inserted into the center of the cake comes out clean. Transfer the cake in its pan to a wire rack and let cool for 30 minutes.
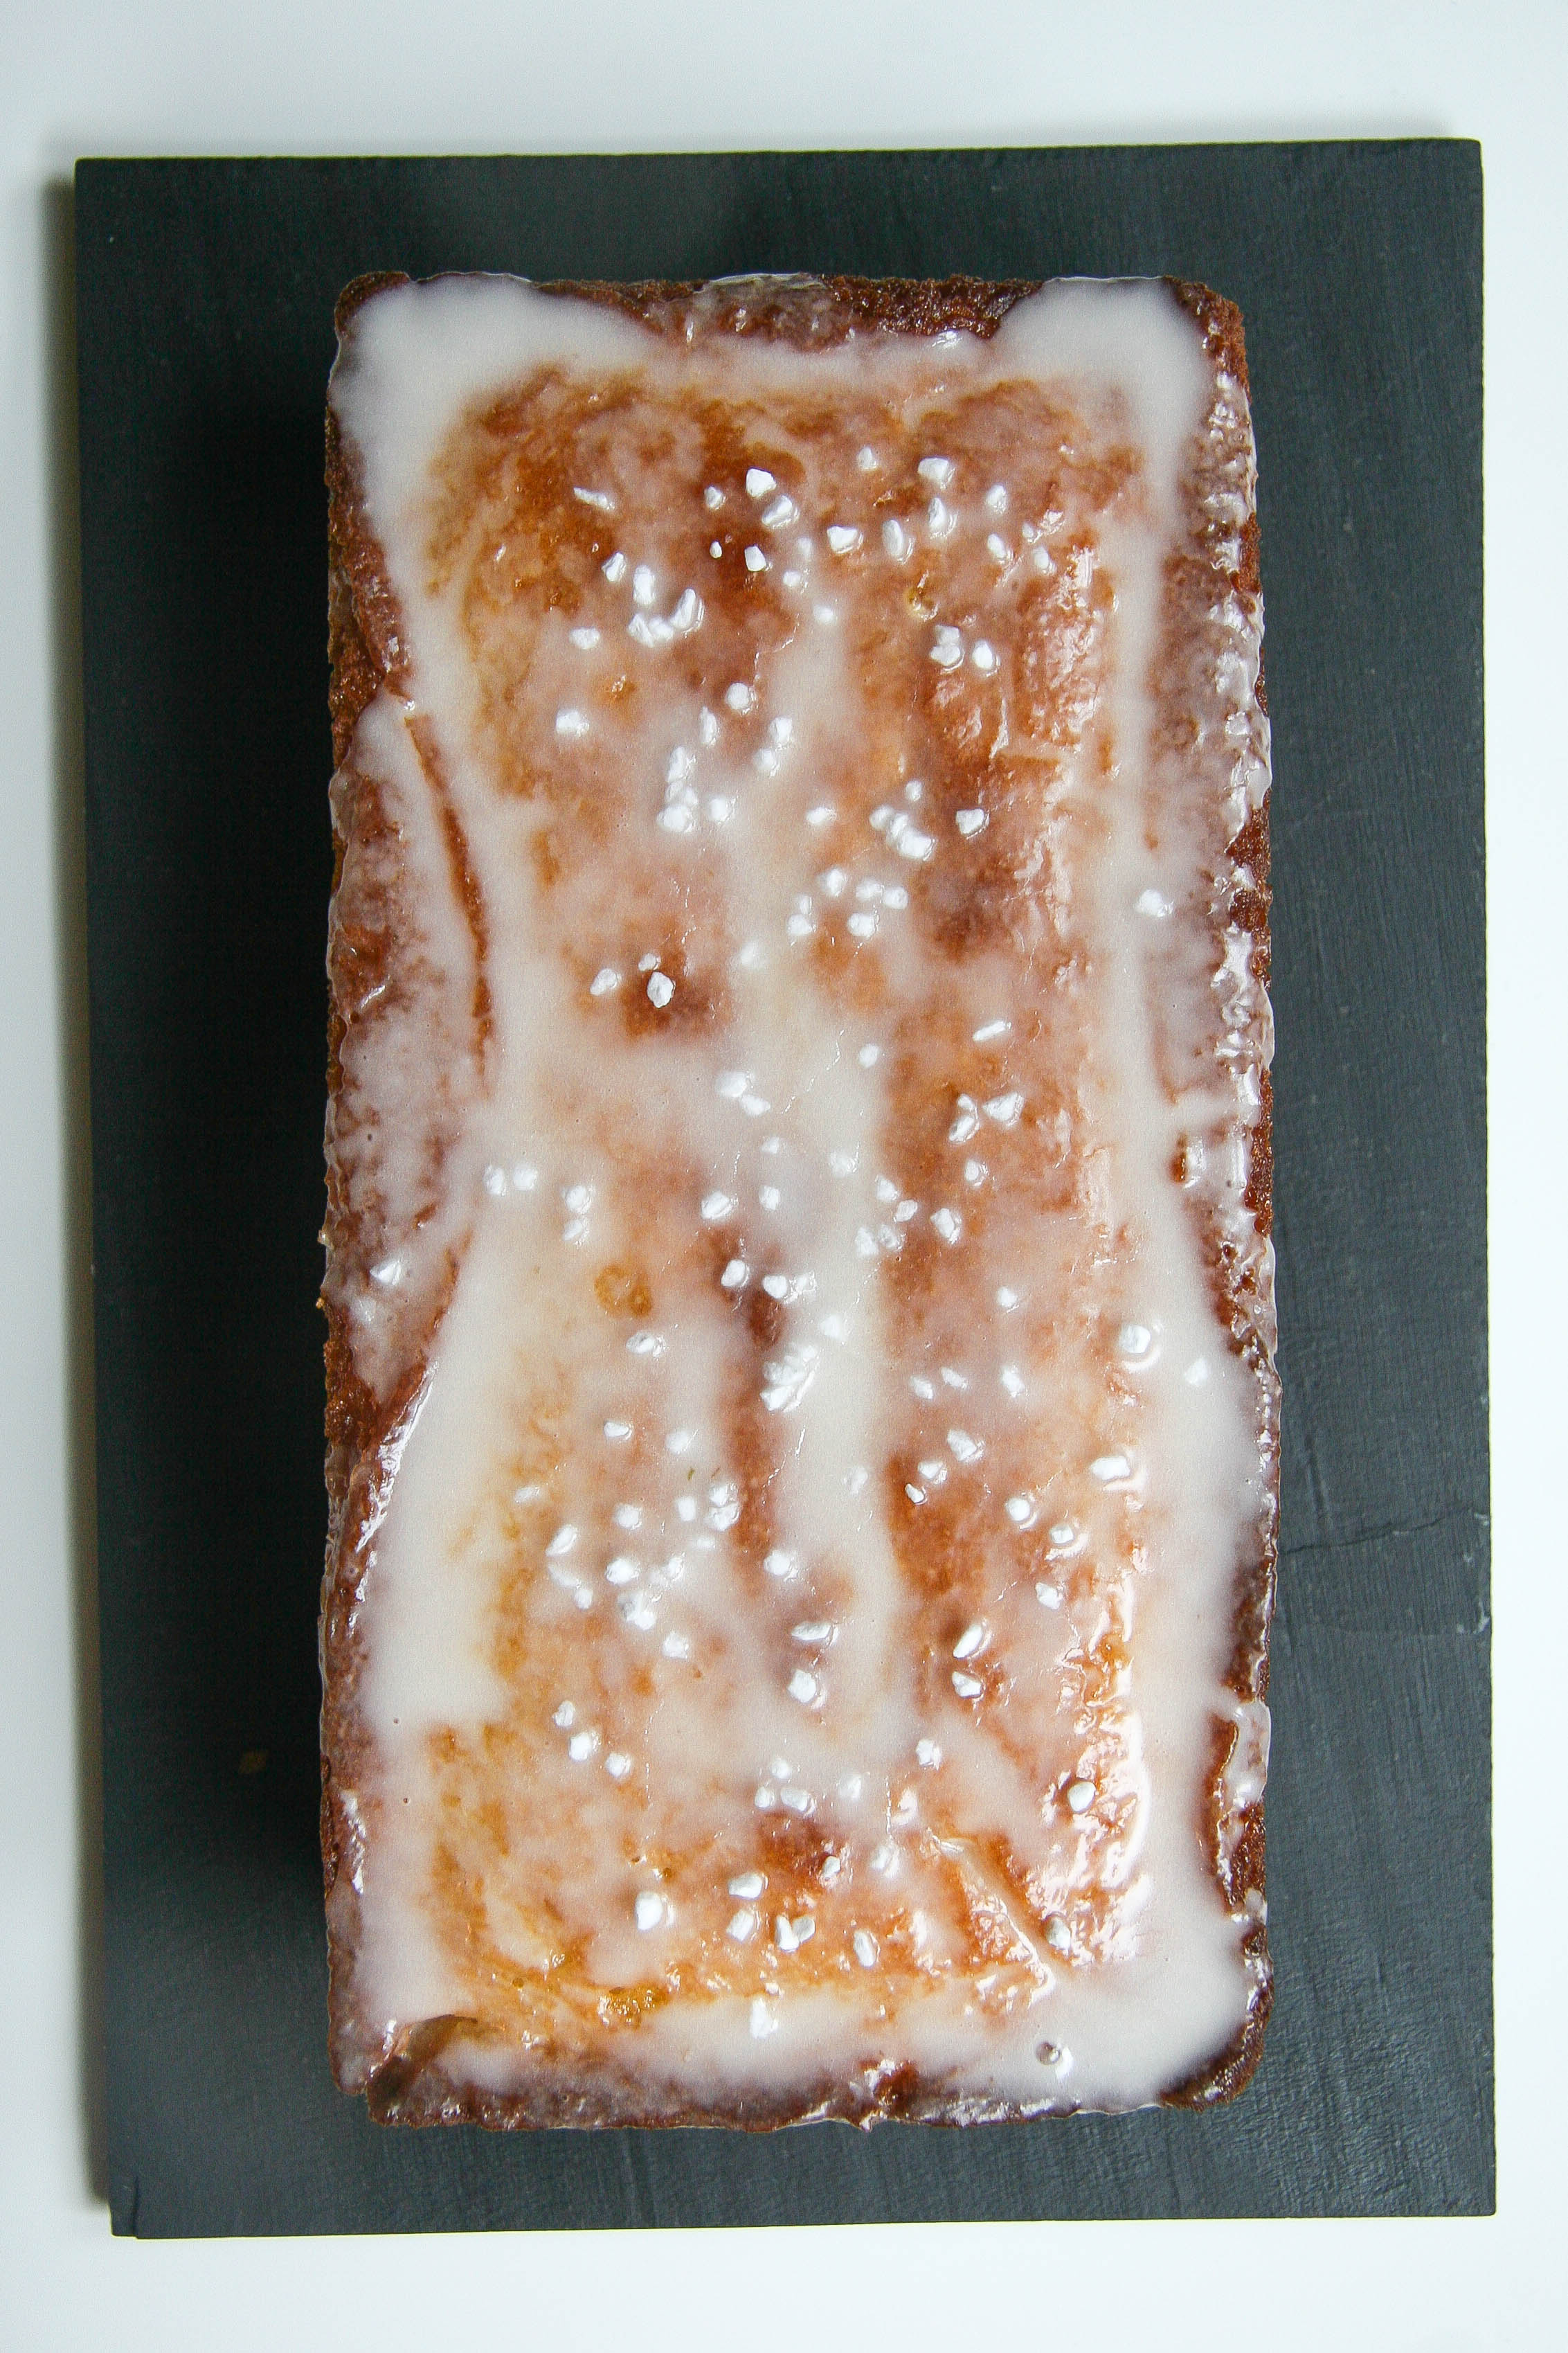
- Run a knife around the edge of the pan, invert the cake onto the rack and then flip it back onto a serving plate. Let the cake cool completely before cutting, about 2 hours. Store at room temperature or in the fridge.


