This post has been sponsored by Eagle Brand Sweetened Condensed Milk. All thoughts and opinions are my own.
The stay-at-home orders continue and so do the baking adventures—this time we’re having Maple Coconut Cookies! We’re so excited to now have our good news public—after months of secret-keeping we are thrilled to be able to share we’re having a baby boy! While it is a strange time to be pregnant and things have not been as I would have imagined (or any of us could have, for that matter), we are so grateful to be growing our family and to have another sweet mouth to feed in the coming months.
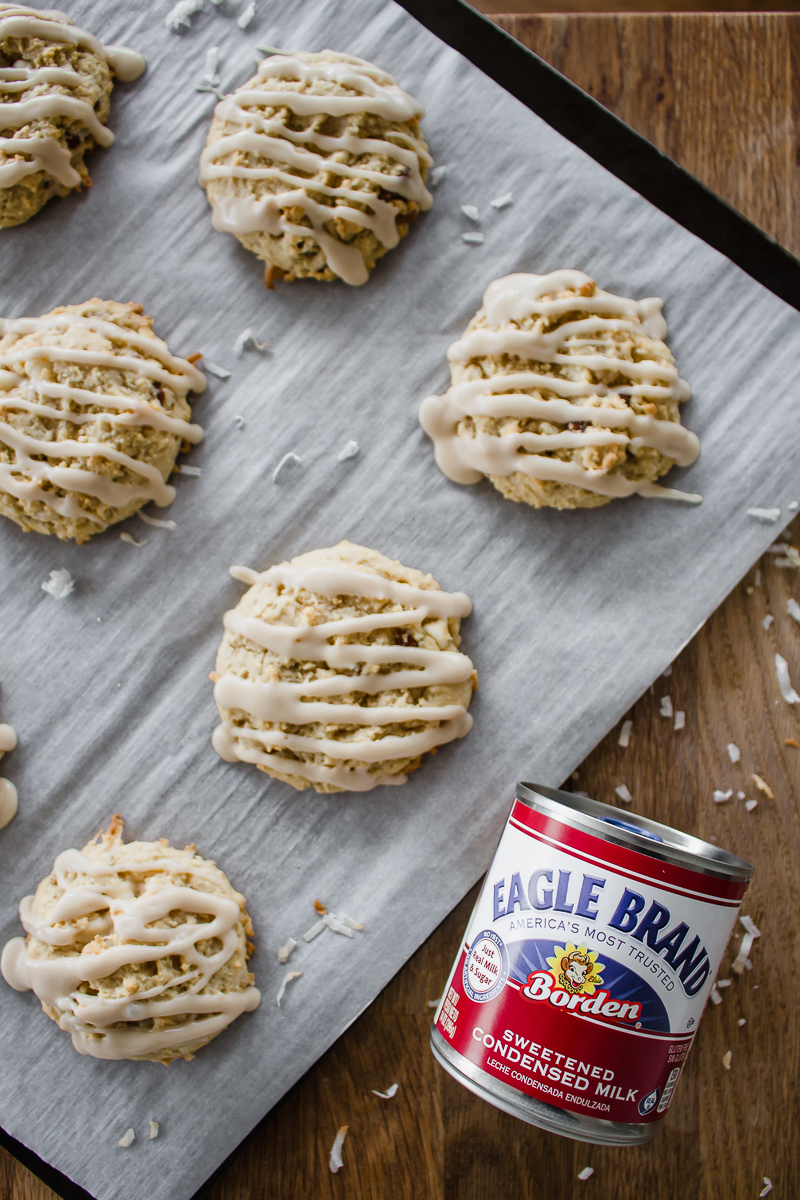
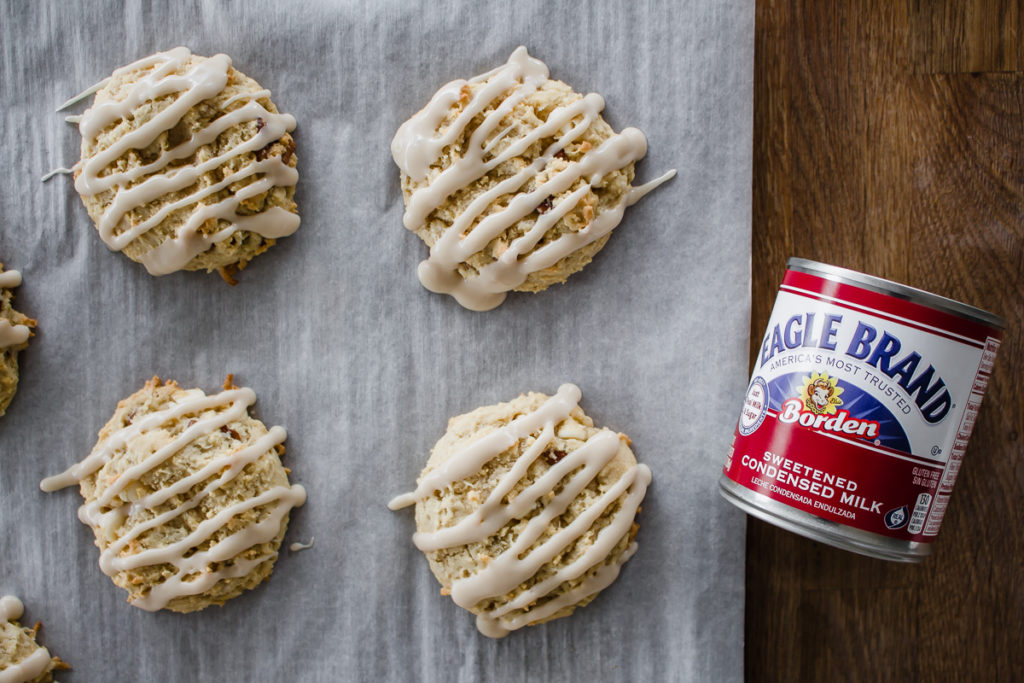
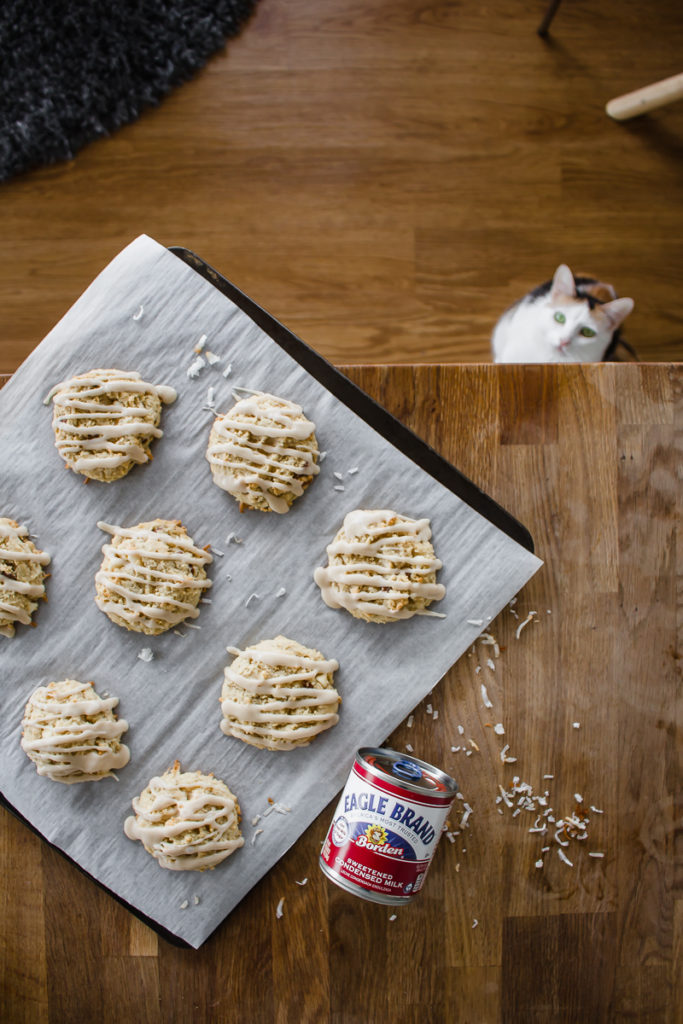
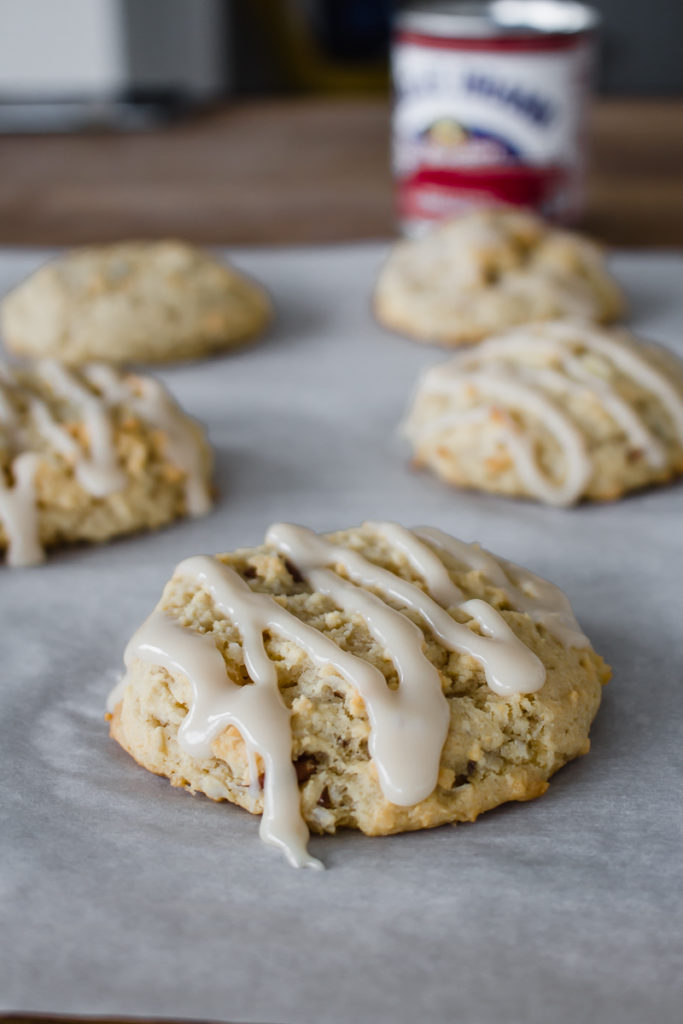
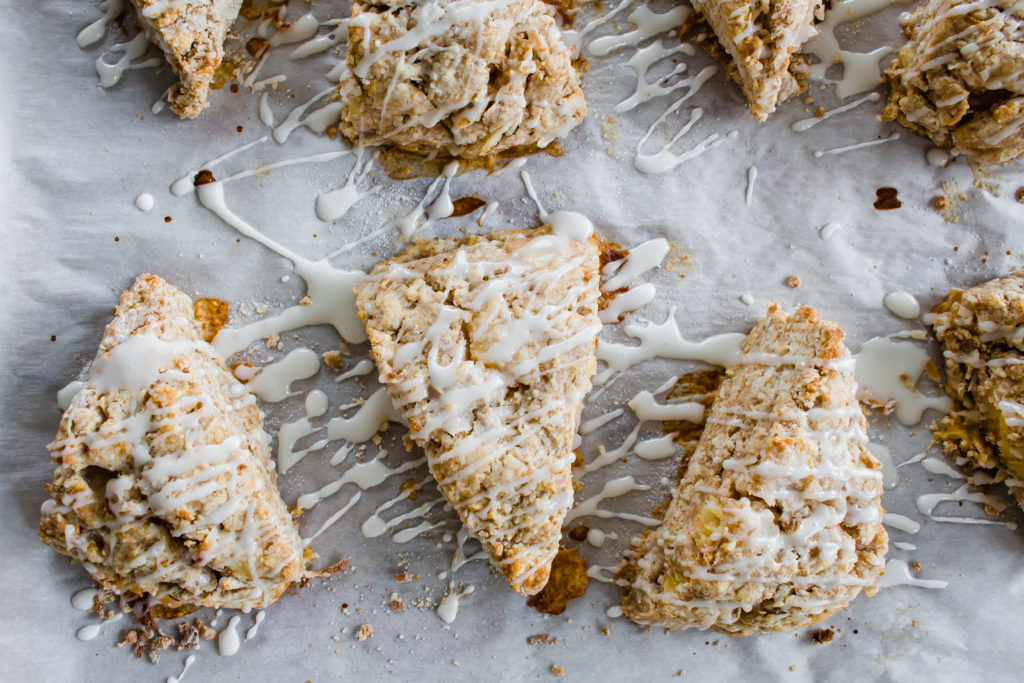
One of the things I am most excited to do when our little babe arrives is to bake together. I know it’ll be some time before his little hands can stir but it makes me smile so hard thinking about it! This Maple Coconut Cookie recipe is perfect for getting kids involved. They are easy to mix together—just 5 steps, no stand mixer required, no dough chilling—and they taste super comforting. They come out really thick and stay moist and chewy inside thanks to Eagle Brand Sweetened Condensed Milk, maple syrup, and sweetened shredded coconut (which also gives them some texture). I also drizzled them with a maple glaze because it really ups the maple flavor. If you happen to have maple or coconut extracts you could also add in a teeny bit to enhance the flavor even further.
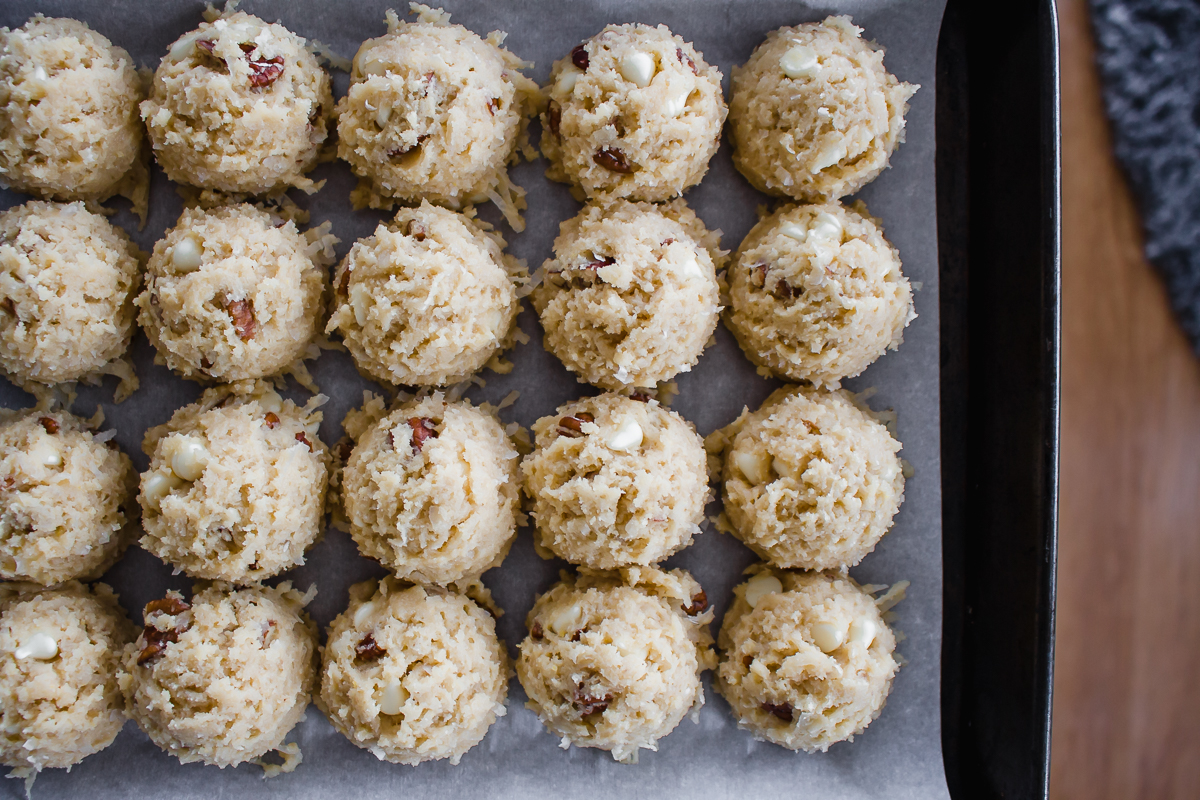
You can customize the extra mix-ins to whatever you have on hand right now. We added pecans and white chocolate because I love the combination of pecan and maple, and the white chocolate sounded delicious for extra pops of sweetness. You could omit both or substitute in chocolate chips, sprinkles, dried cranberries, other nuts, whatever your heart desires!
These cookies remind me of a combination of breakfast cookies and maple candy. Something about the maple flavor makes me think of a plate of pancakes and the sweet glaze transports you to a Vermont ski lodge gift shop (For me, at least, that is where I used to buy maple candy! Ha!).
Love, and be well.
Jenna

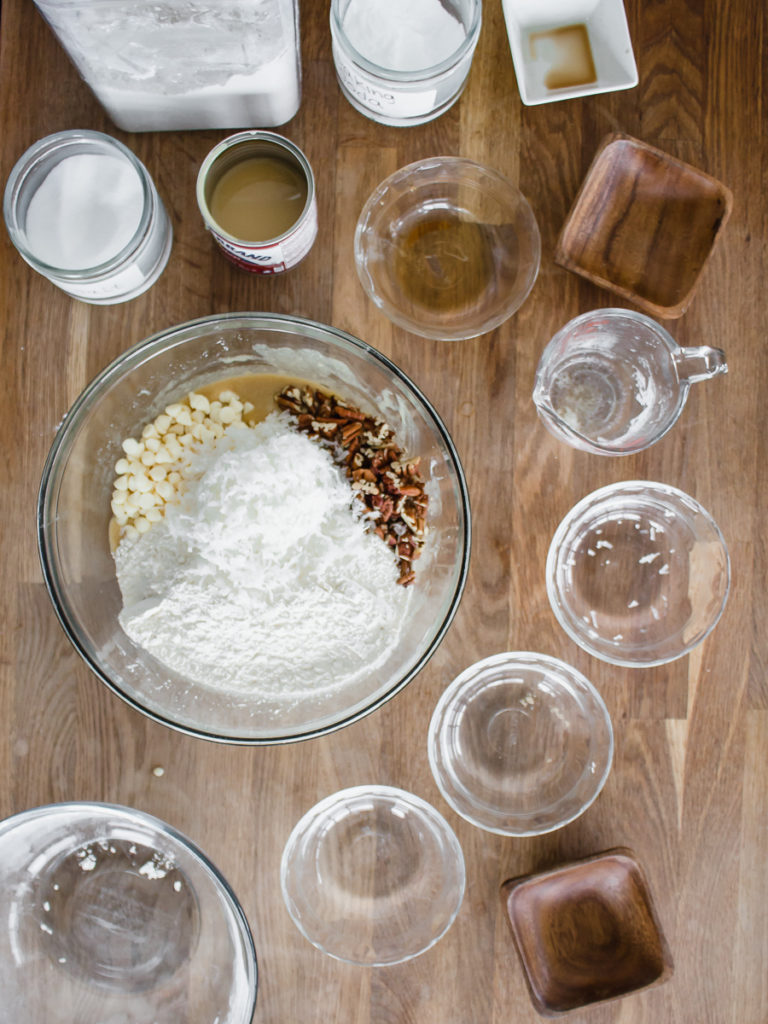
Ingredients
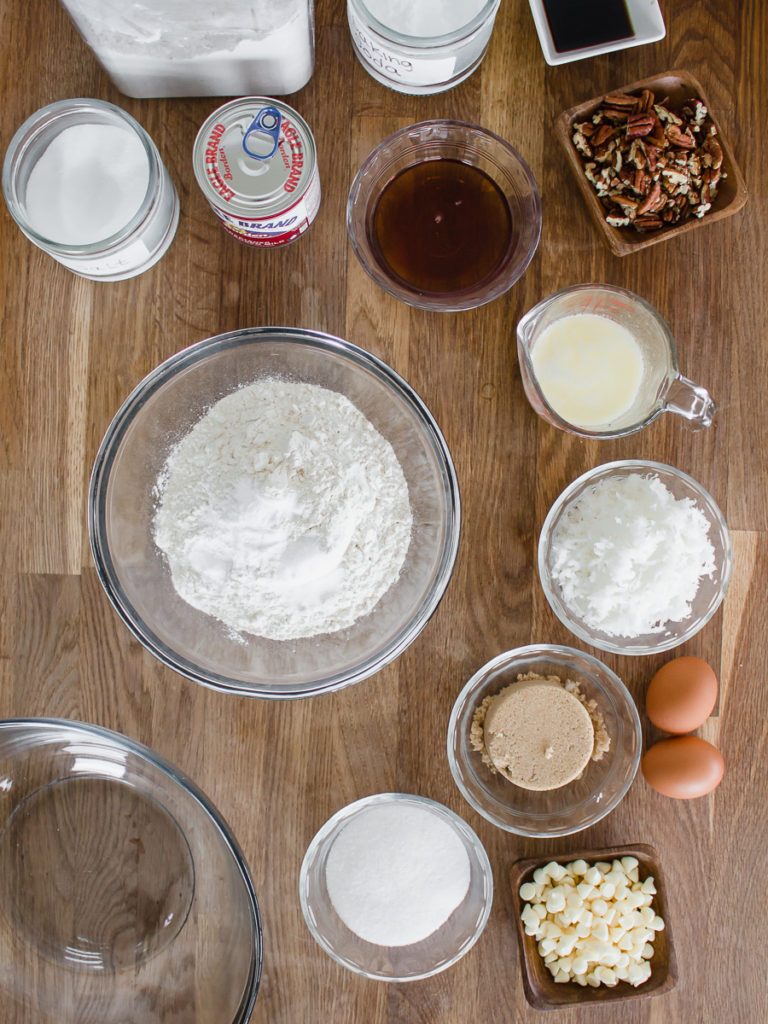
- 2 1/2 cups all-purpose flour
- 1 teaspoon baking soda
- 1/2 teaspoon salt
- 1/2 cup (1 stick) unsalted butter, melted and cooled slightly
- 1/2 cup light brown sugar
- 1/2 cup granulated sugar
- 1 large egg, plus 1 egg yolk, at room temperature
- 1/3 cup pure maple syrup, plus 2 tablespoons more for glaze
- 1/3 cup Eagle Brand Sweetened Condensed Milk
- 1 teaspoon pure vanilla extract
- 1 cup sweetened shredded coconut
- 1/2 cup chopped pecans (optional)
- 1/2 cup white chocolate chips (optional)
- 1 cup confectioners’ sugar, for glaze
Instructions
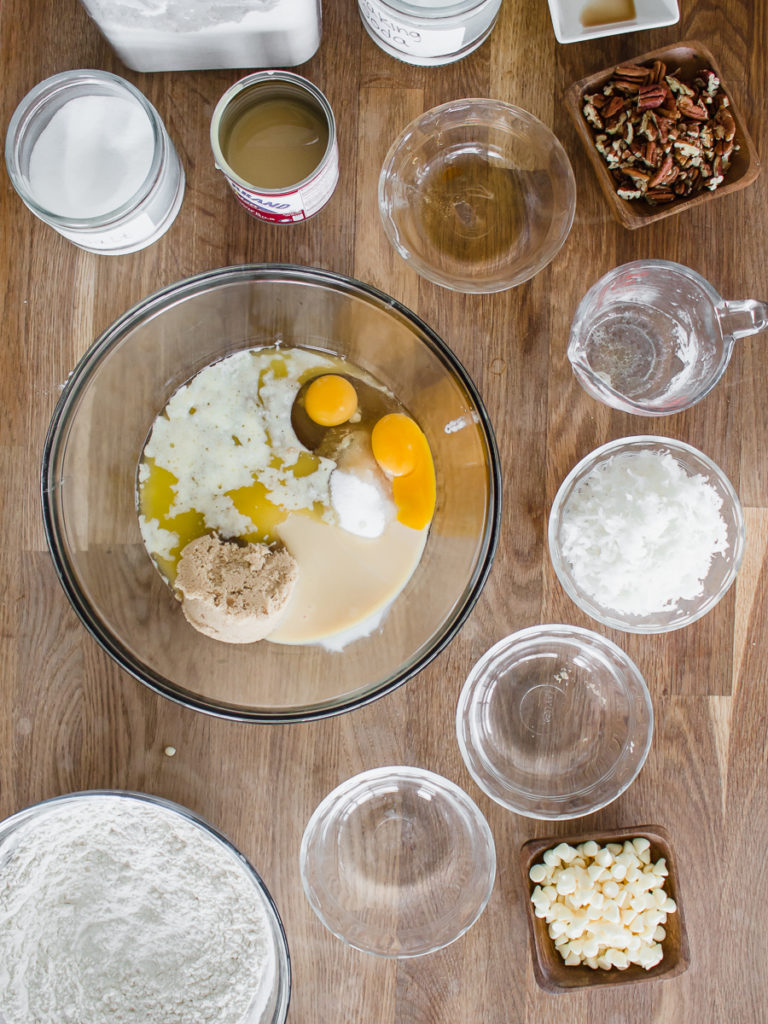
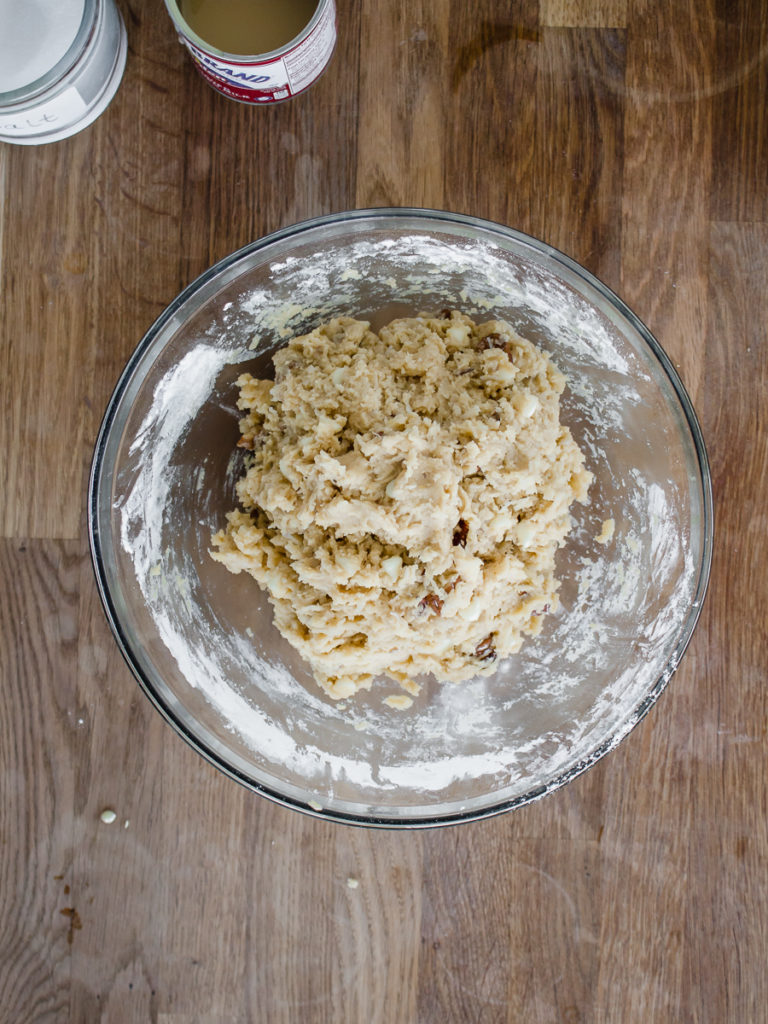
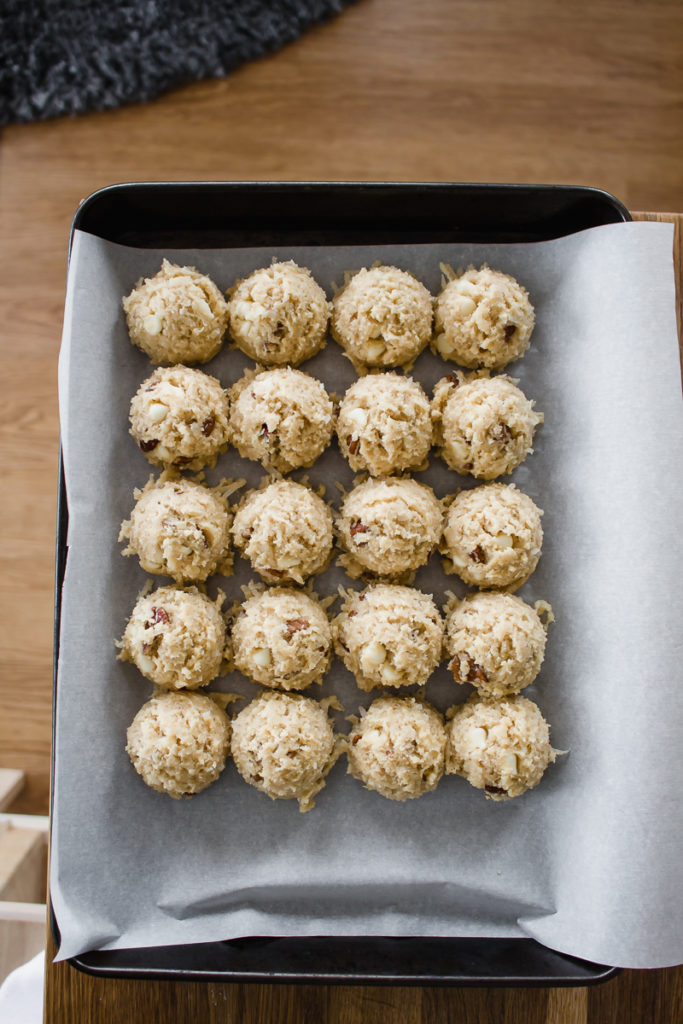
- Preheat the oven to 350°F and line two cookie sheets with parchment paper. In a medium bowl, whisk together the flour, baking soda, and salt. Set aside.
- In a large bowl or the bowl of an electric mixer, stir together the butter, both sugars, eggs, maple syrup, sweetened condensed milk, and vanilla extract until combined.
- Add the flour mixture to the butter mixture along with the shredded coconut, pecans, and white chocolate chips (if using) and stir until the flour is incorporated. Scoop the dough into balls onto the prepared cookie sheets, leaving 3 inches between each scoop.
- Bake the cookies until the edges are golden brown, about 12–14 minutes.
- Glaze the cookies: Prepare the maple glaze by mixing the confectioners’ sugar and a tablespoon or two of maple syrup in a small bowl. Add just enough maple syrup so the confectioners’ sugar absorbs and the glaze drips slowly but smoothly off the tips of a fork. Drizzle over the slightly cooled cookies and allow the glaze to set before eating.


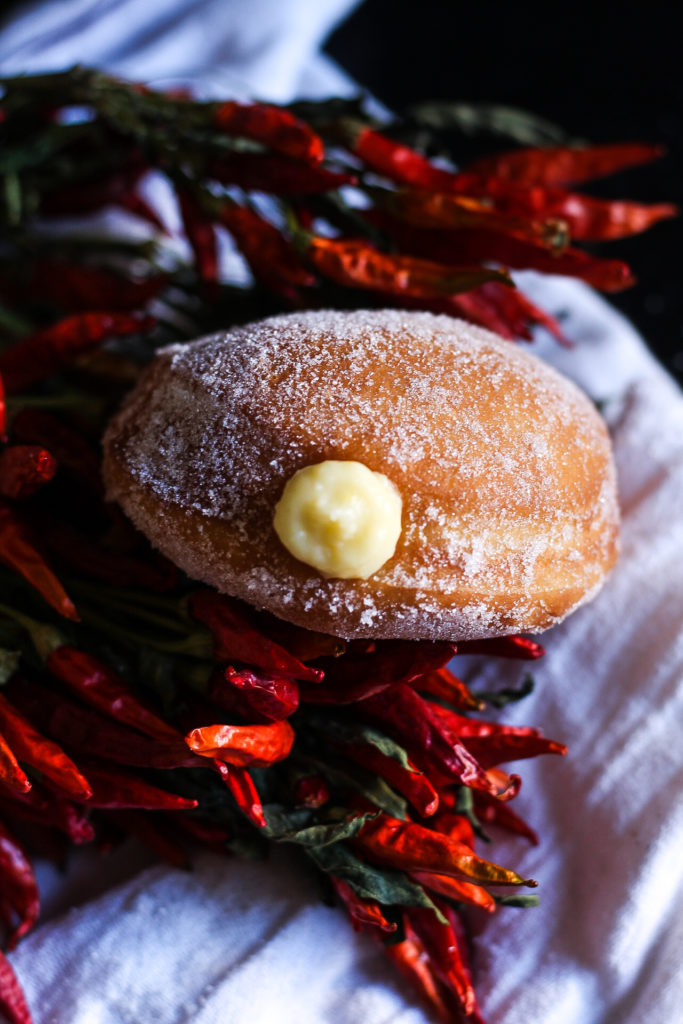
 Sometimes you start the day with a nourishing smoothie, and end it with a doughnut. It’s all about that balance.
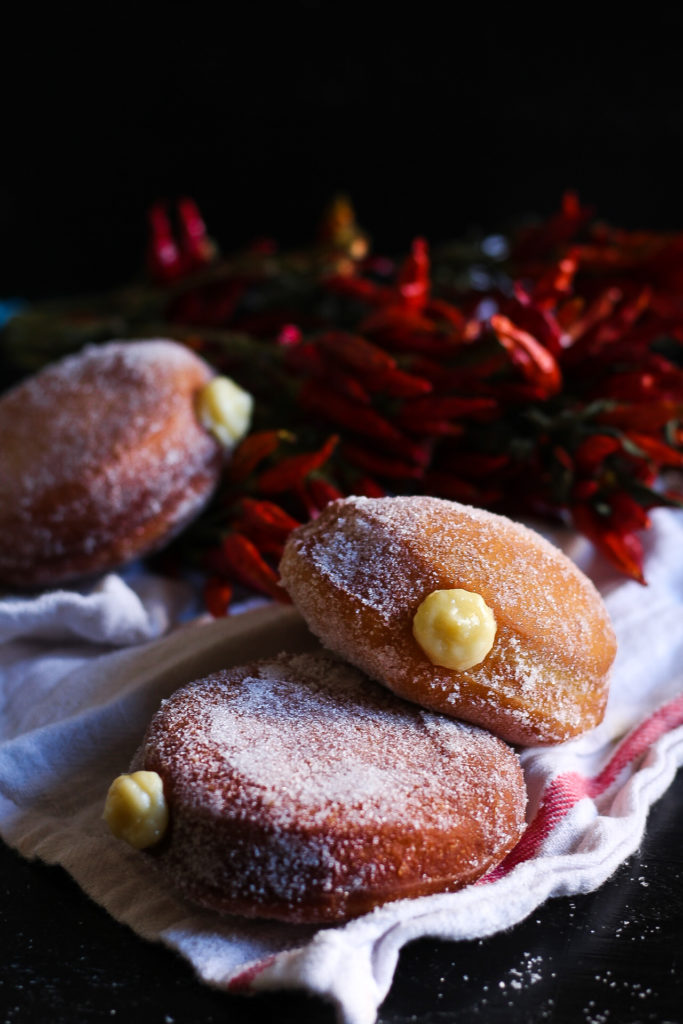