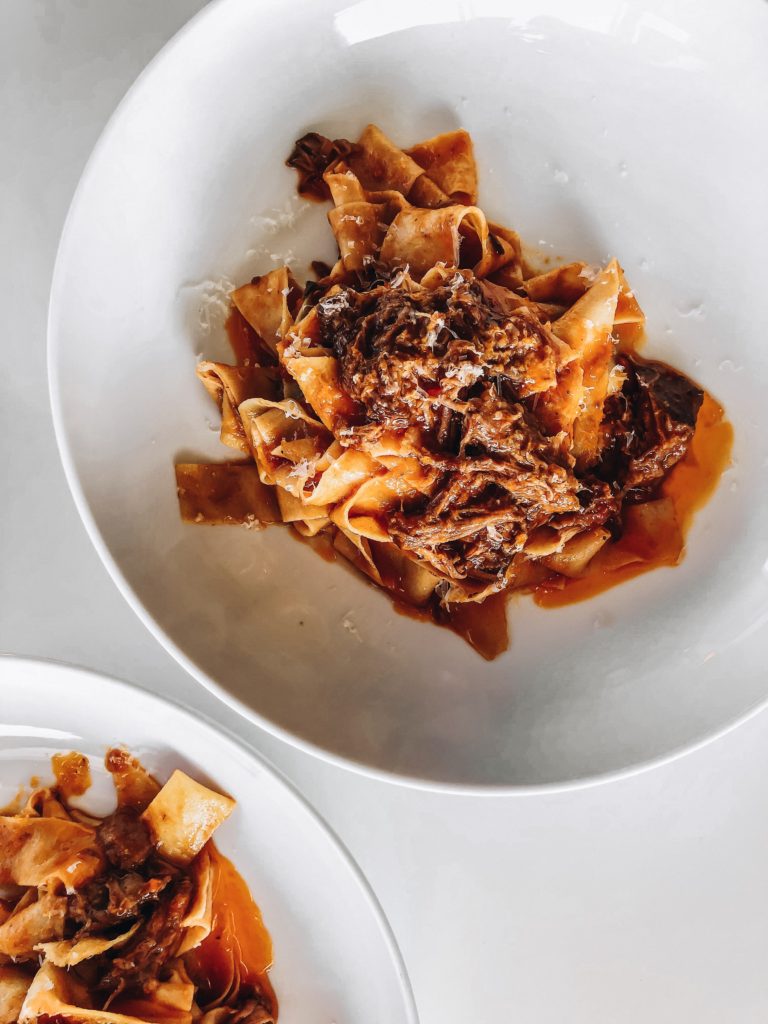
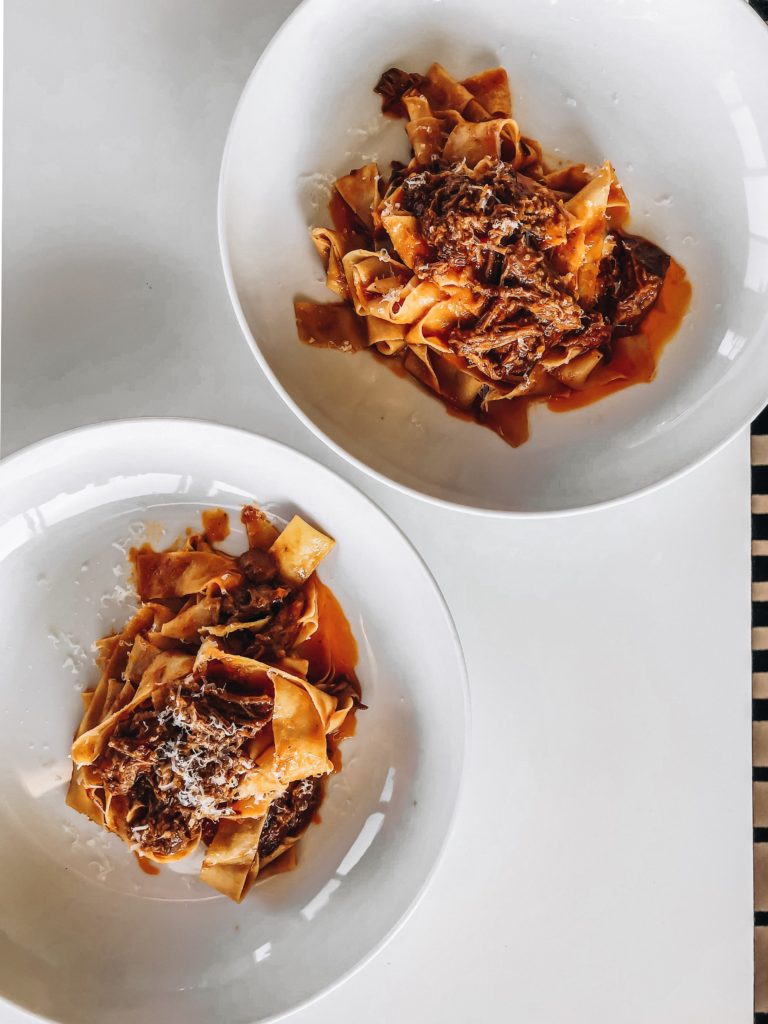
This braised short rib pasta sauce is made with hearty fresh veggies and rich red wine. The ribs are slow-cooked until they fall off the bone. The cooking liquid is strained to create a deeply decadent and silky sauce. Toss it with some pasta (homemade, if you have it) and hunker down on the couch.
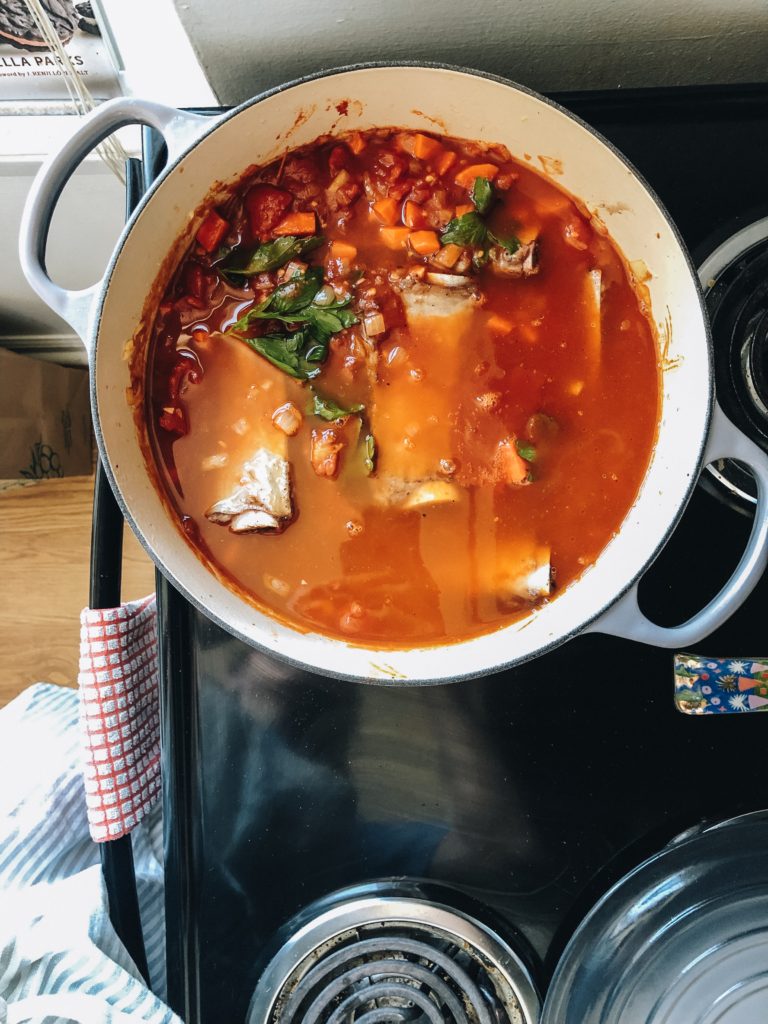
By popular demand, I’m sharing one of my favorite meals I’ve made in a while: braised short rib pasta sauce. Save this for heartwarming, soul-satisfying weekend cooking throughout the Fall and Winter months. Meaty and rich short ribs cook down in a flavor-packed combination of veggies and red wine. The veggies and wine (along with some parsley) will be the base of the sauce, and we’ll strain it so there is no need to be meticulous with chopping.
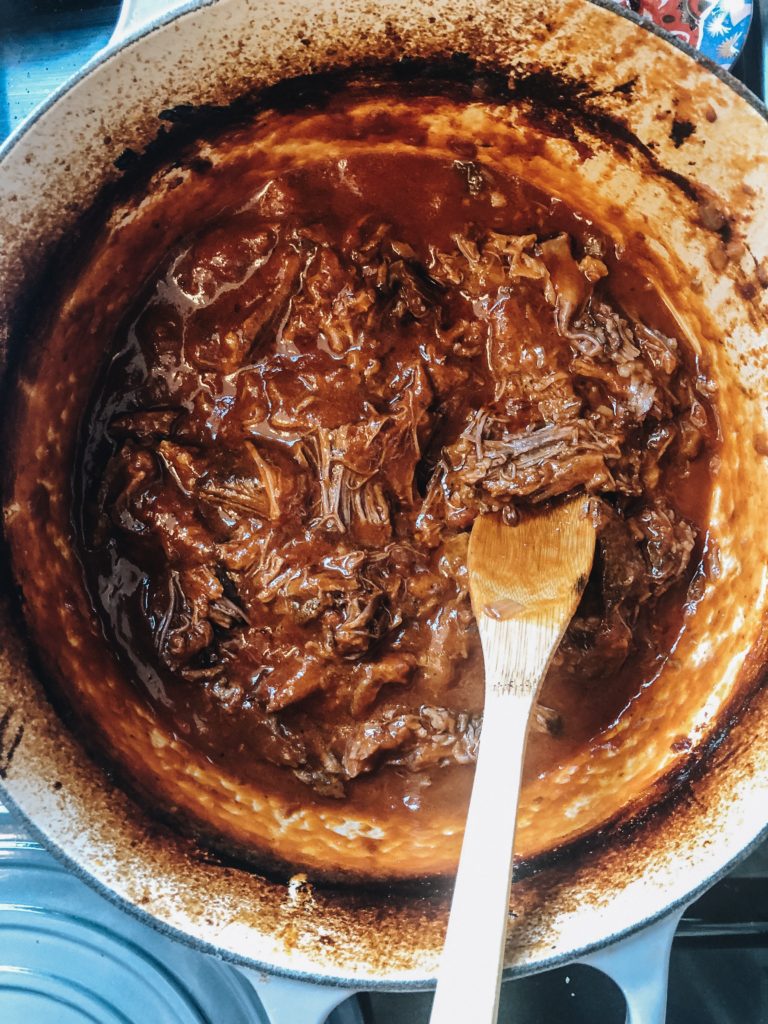
After hours in the oven, the short rib meat is fall-off-the-bone fork tender and the braising liquid has reduced to concentrate the flavors even further. We’ll remove the meat from the pot and then strain the liquid into a separate pot where you’ll finish the dish. The strained liquid is your silky, meaty, tomato-y sauce. Into that goes all of our short rib meat, deboned and shredded.

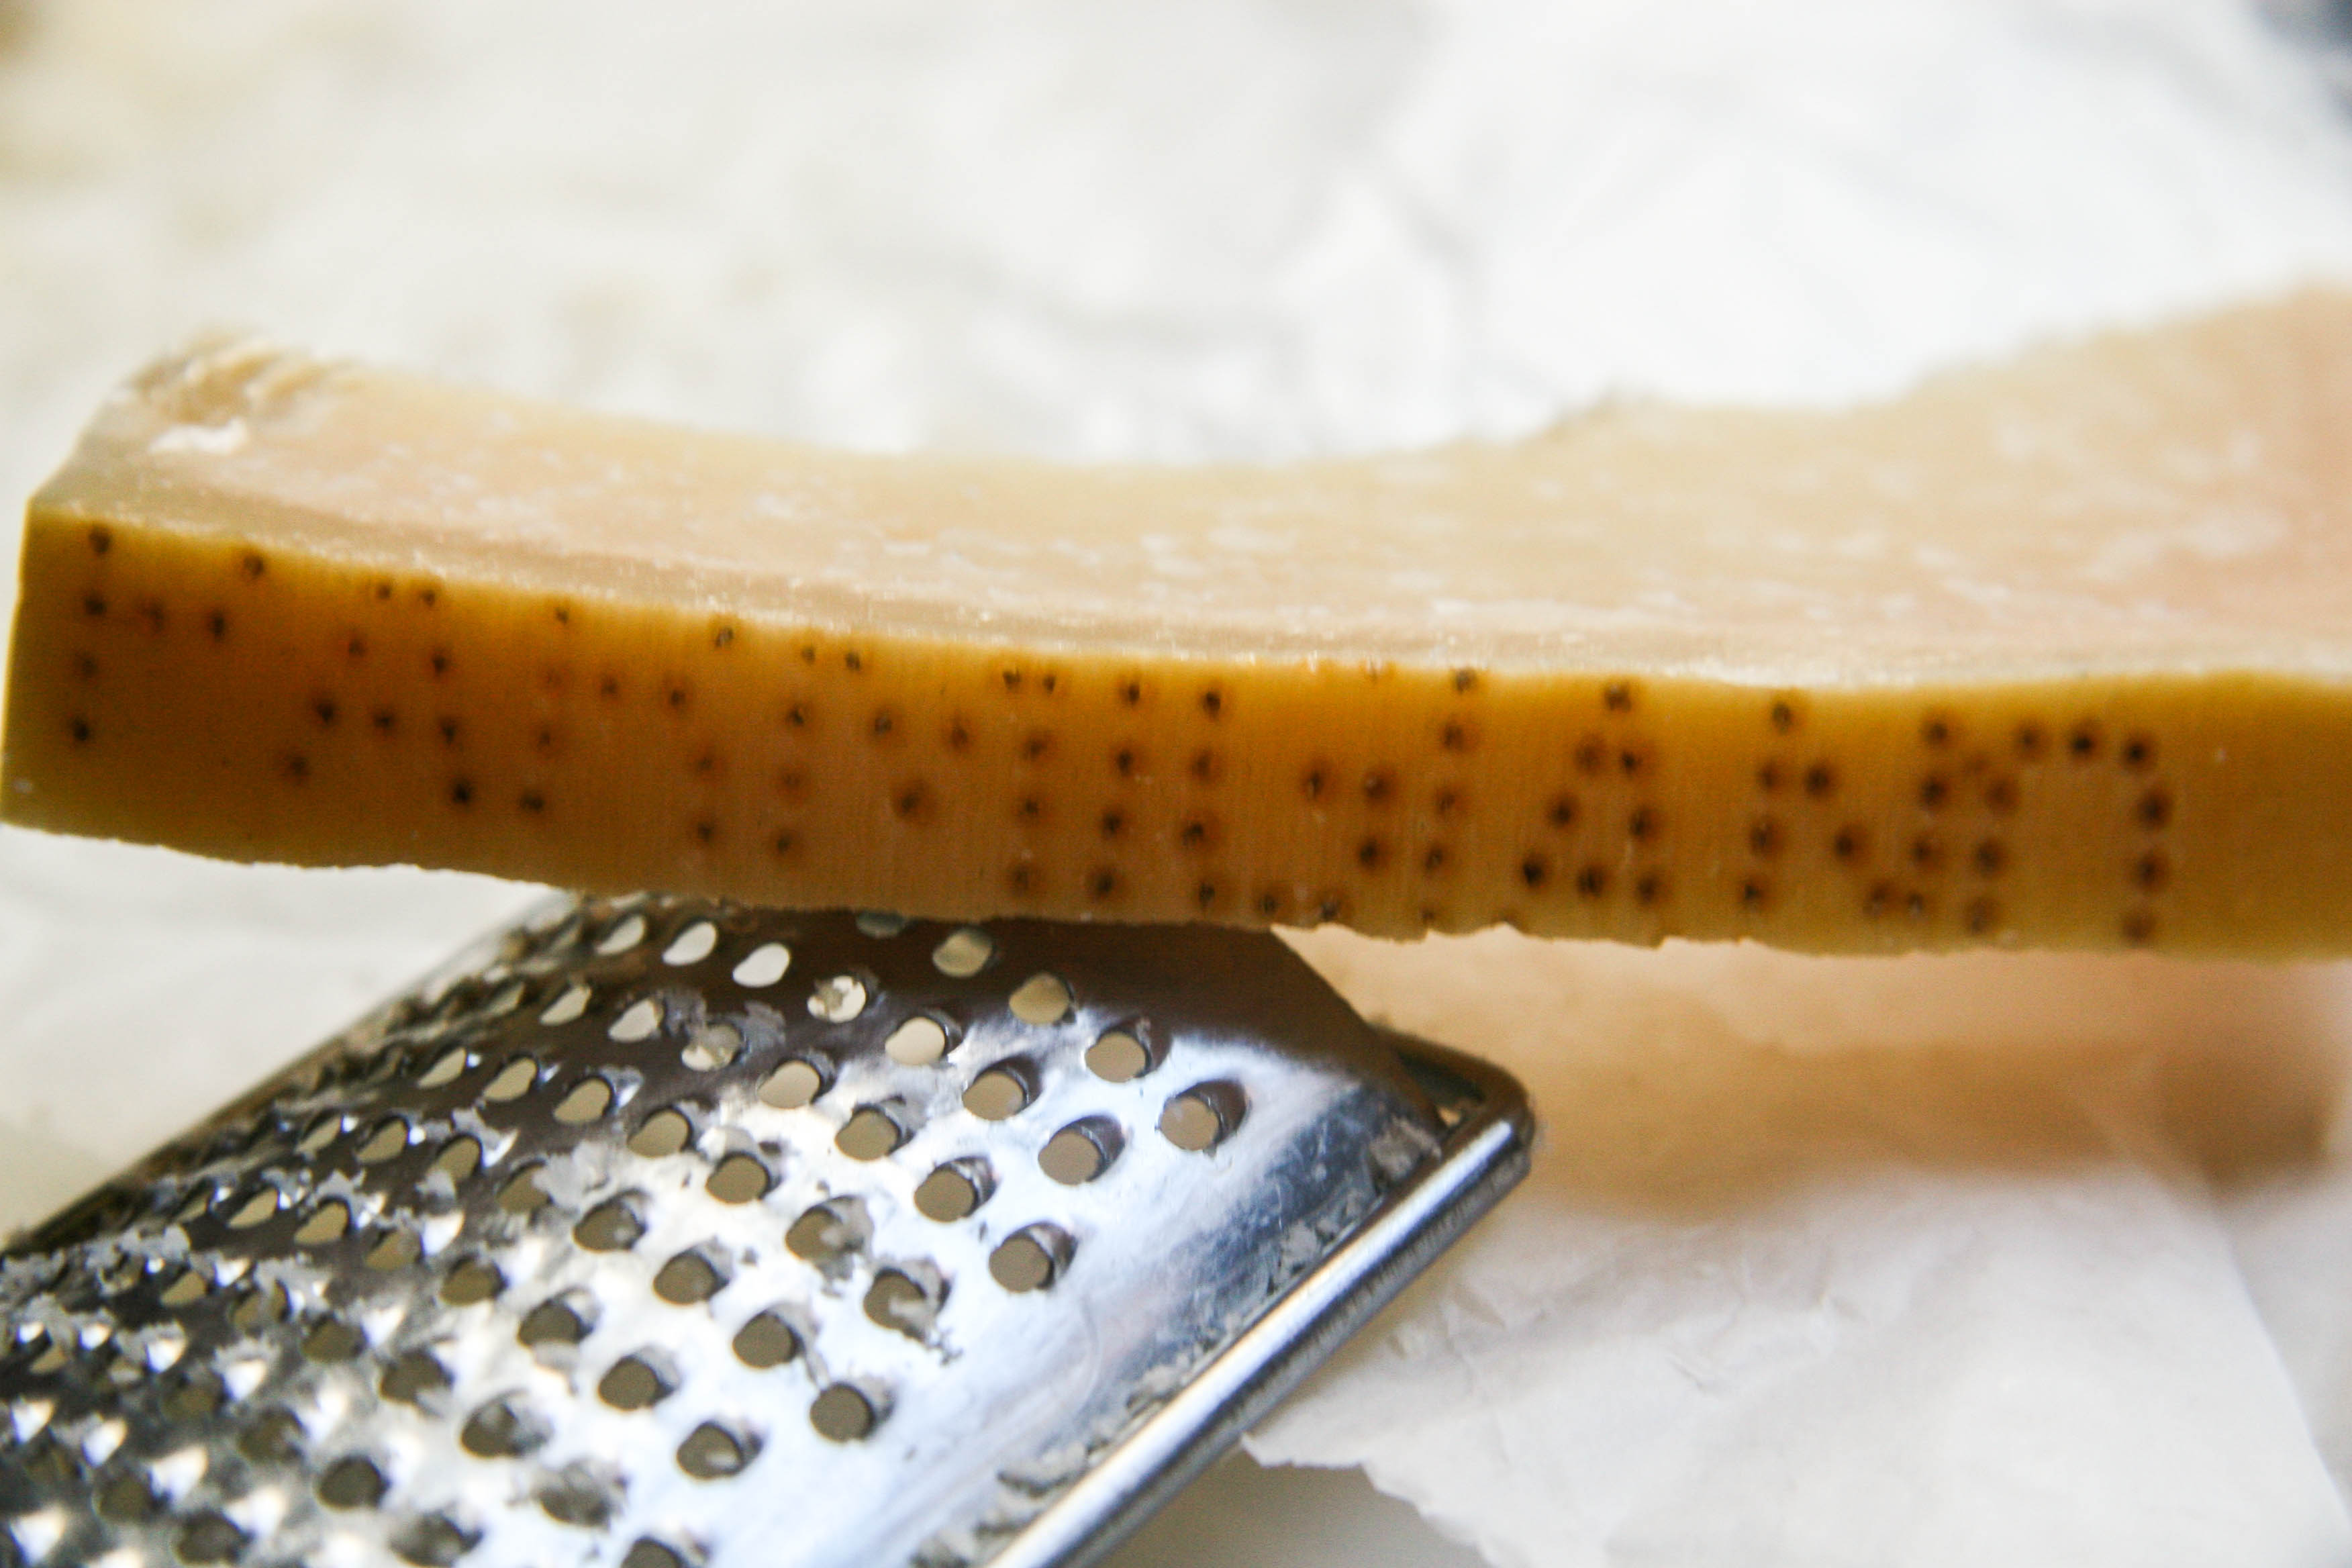
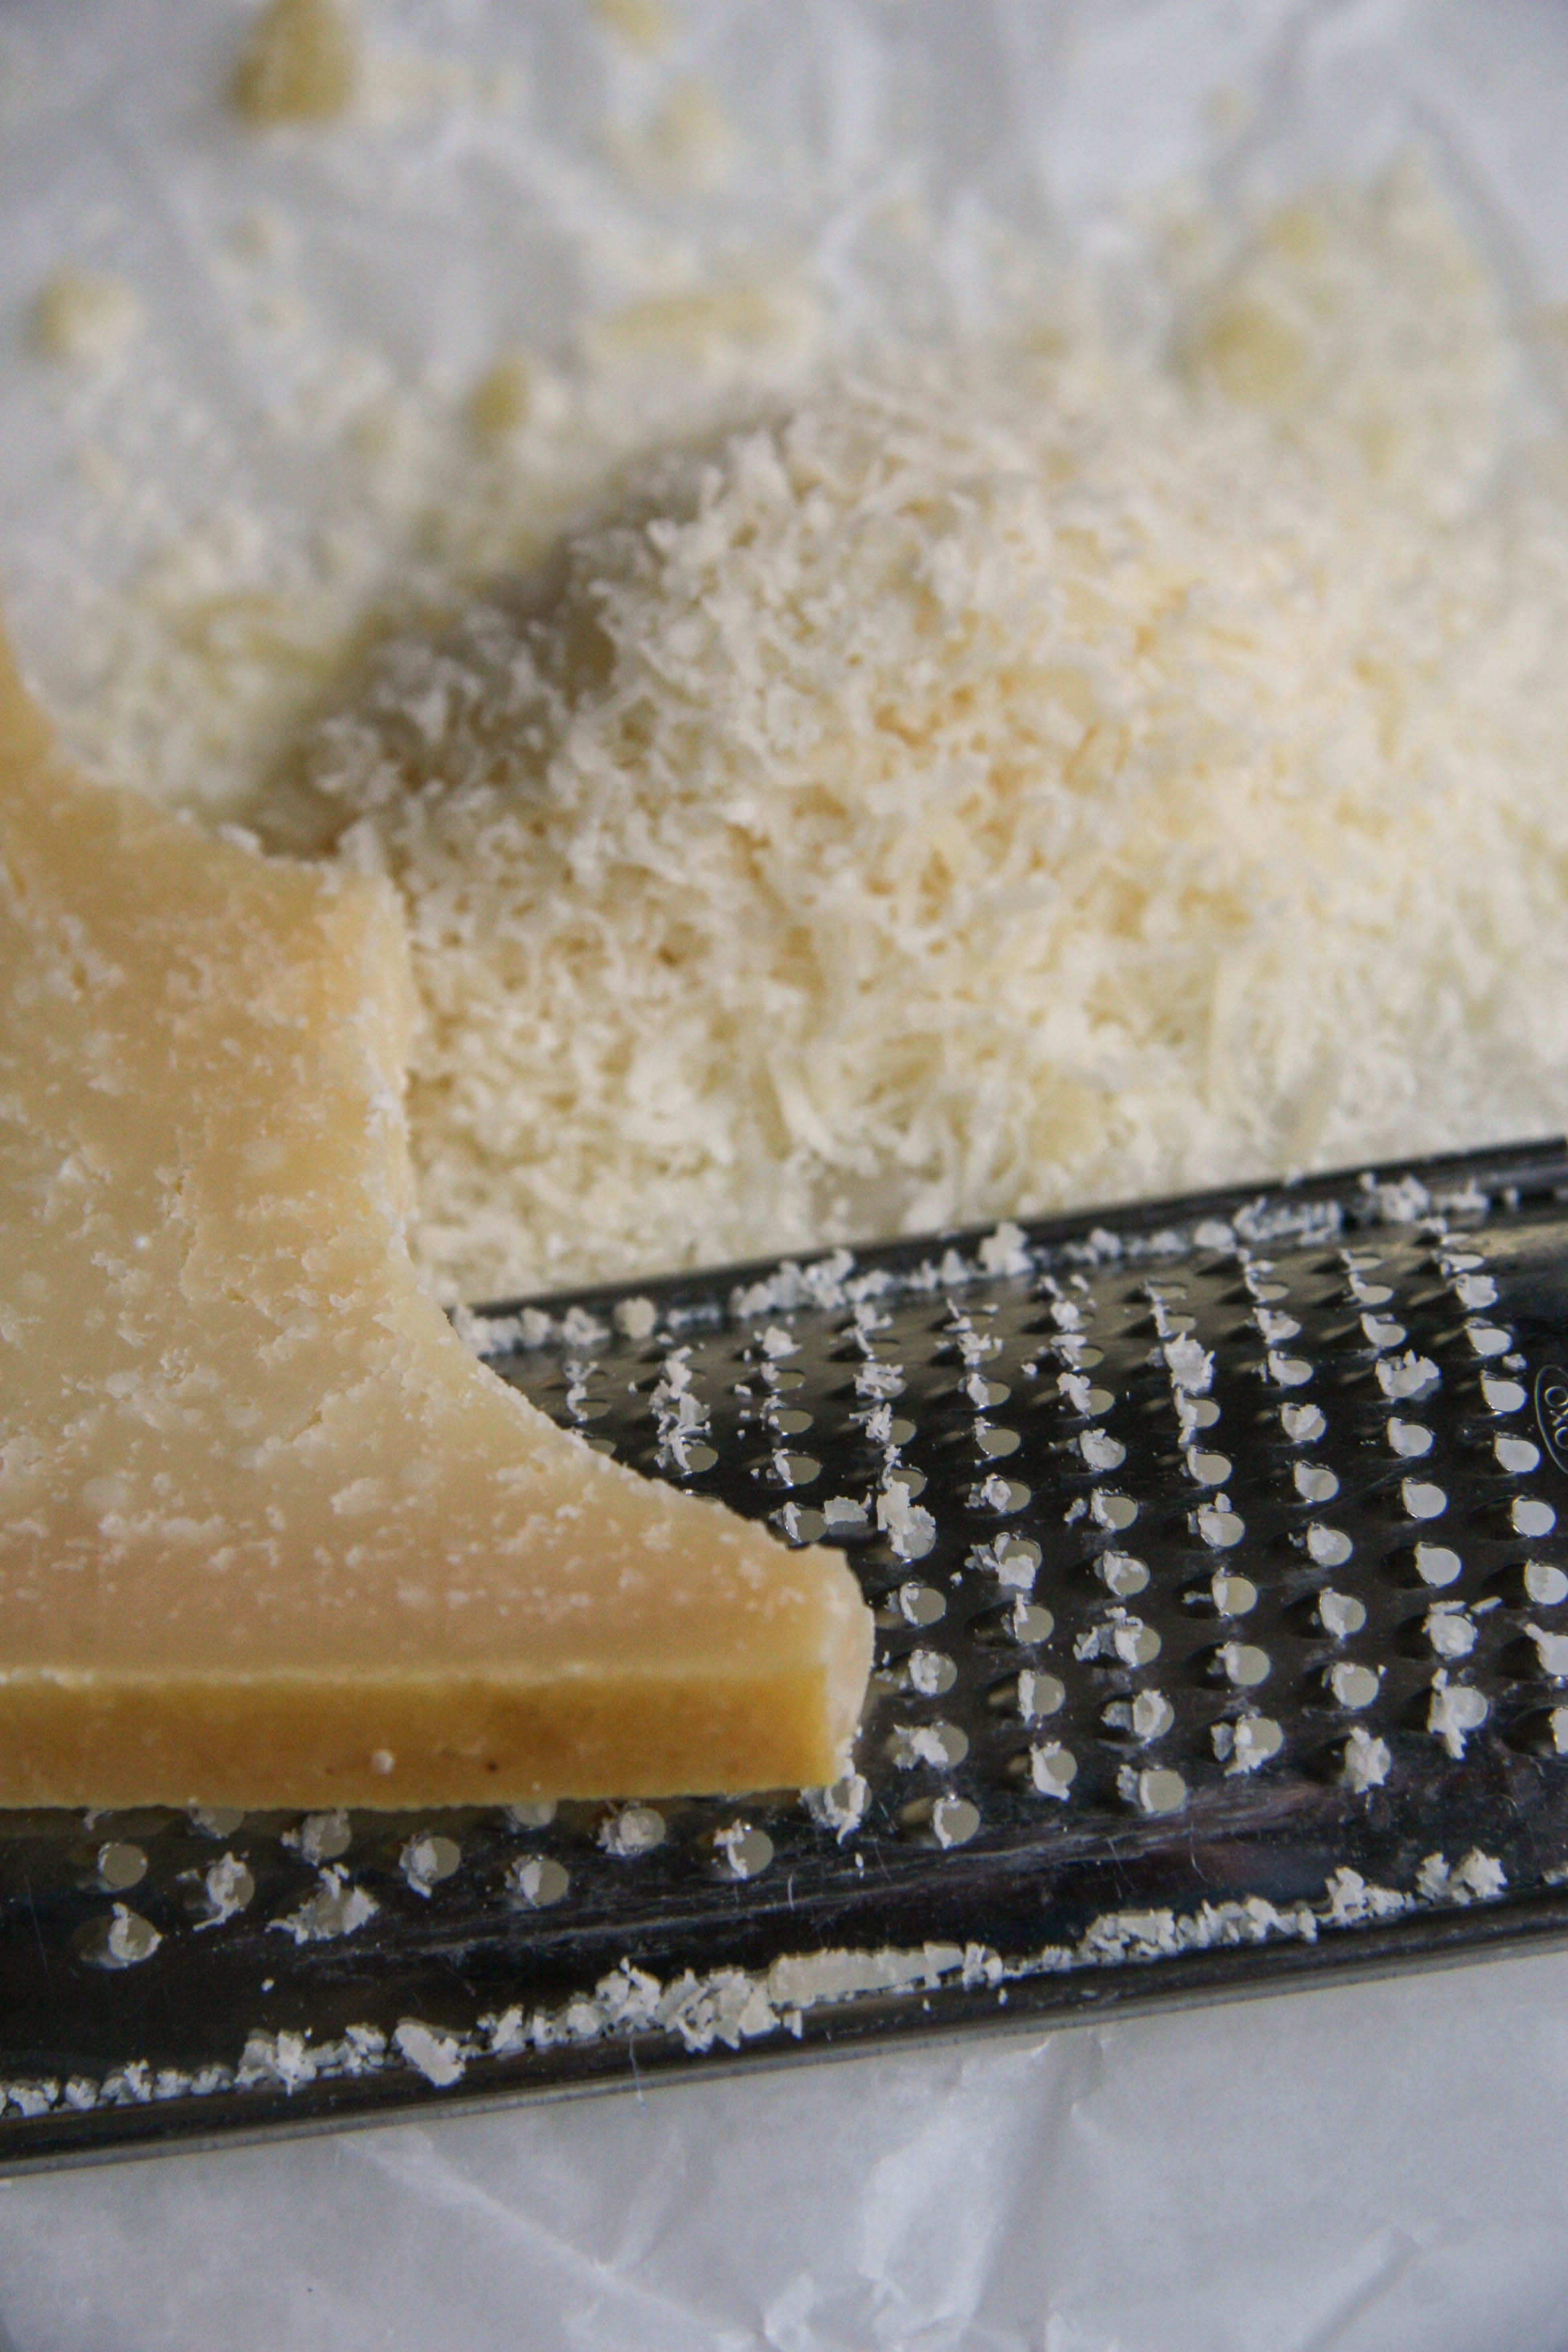
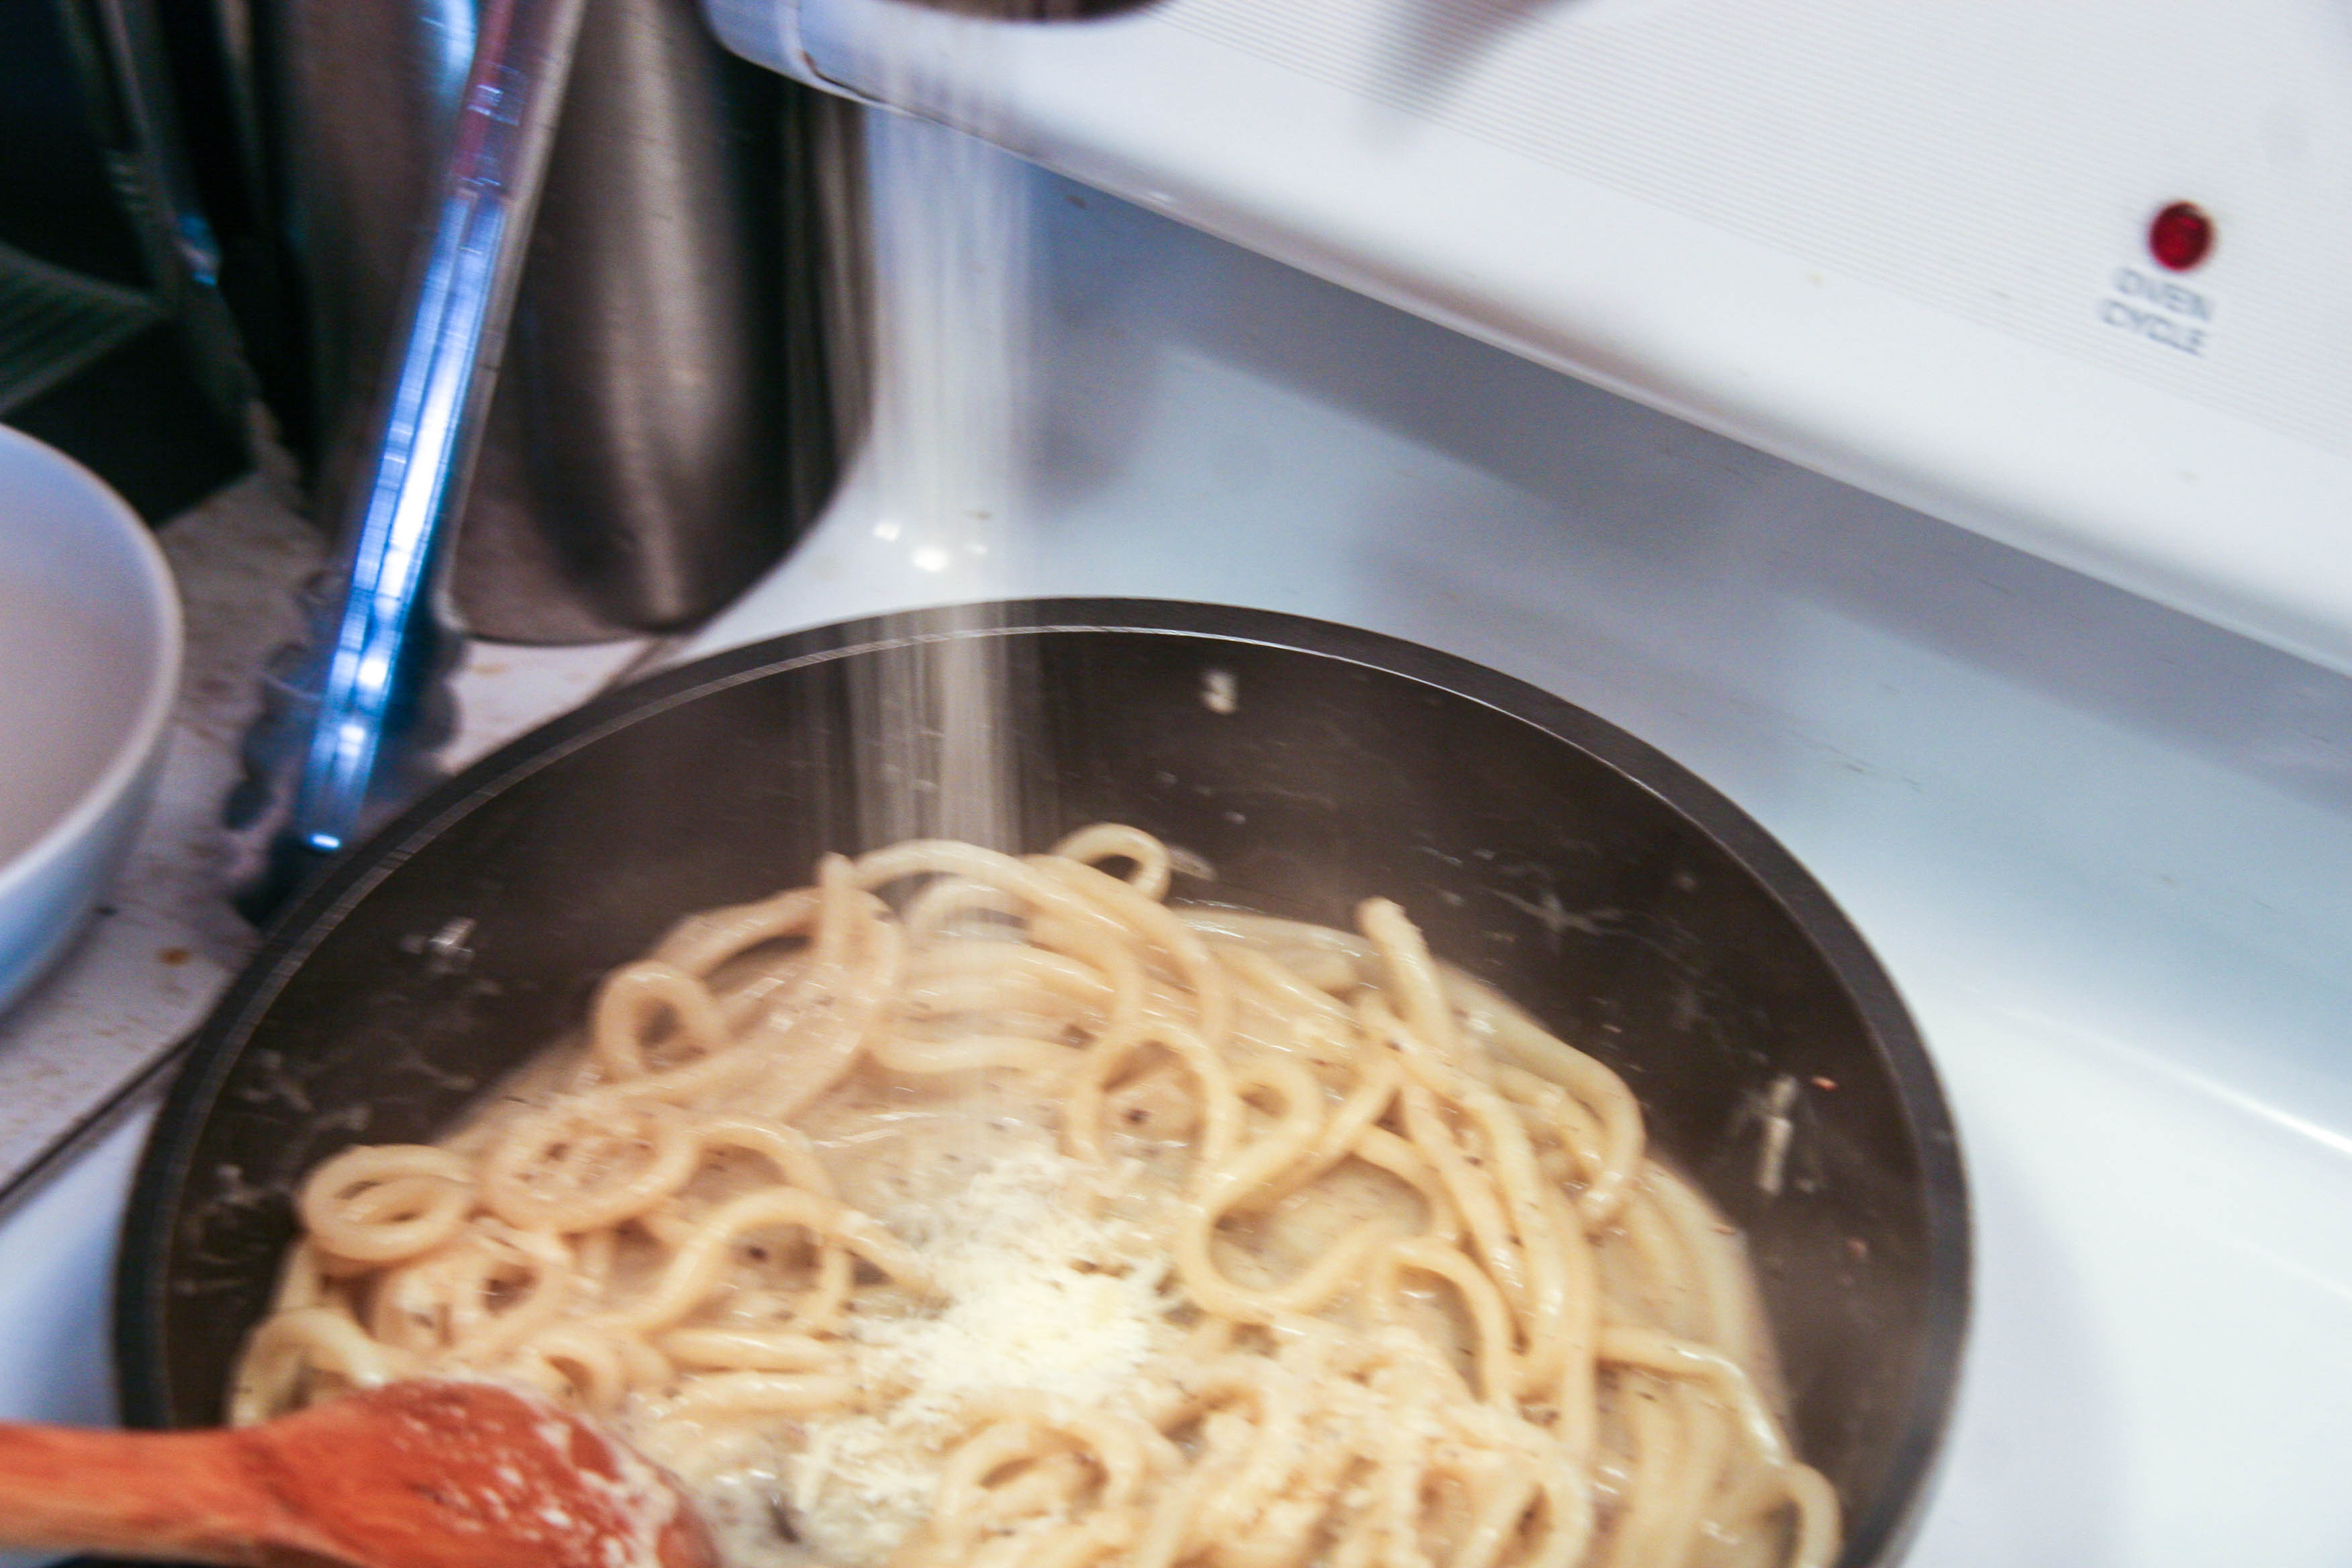
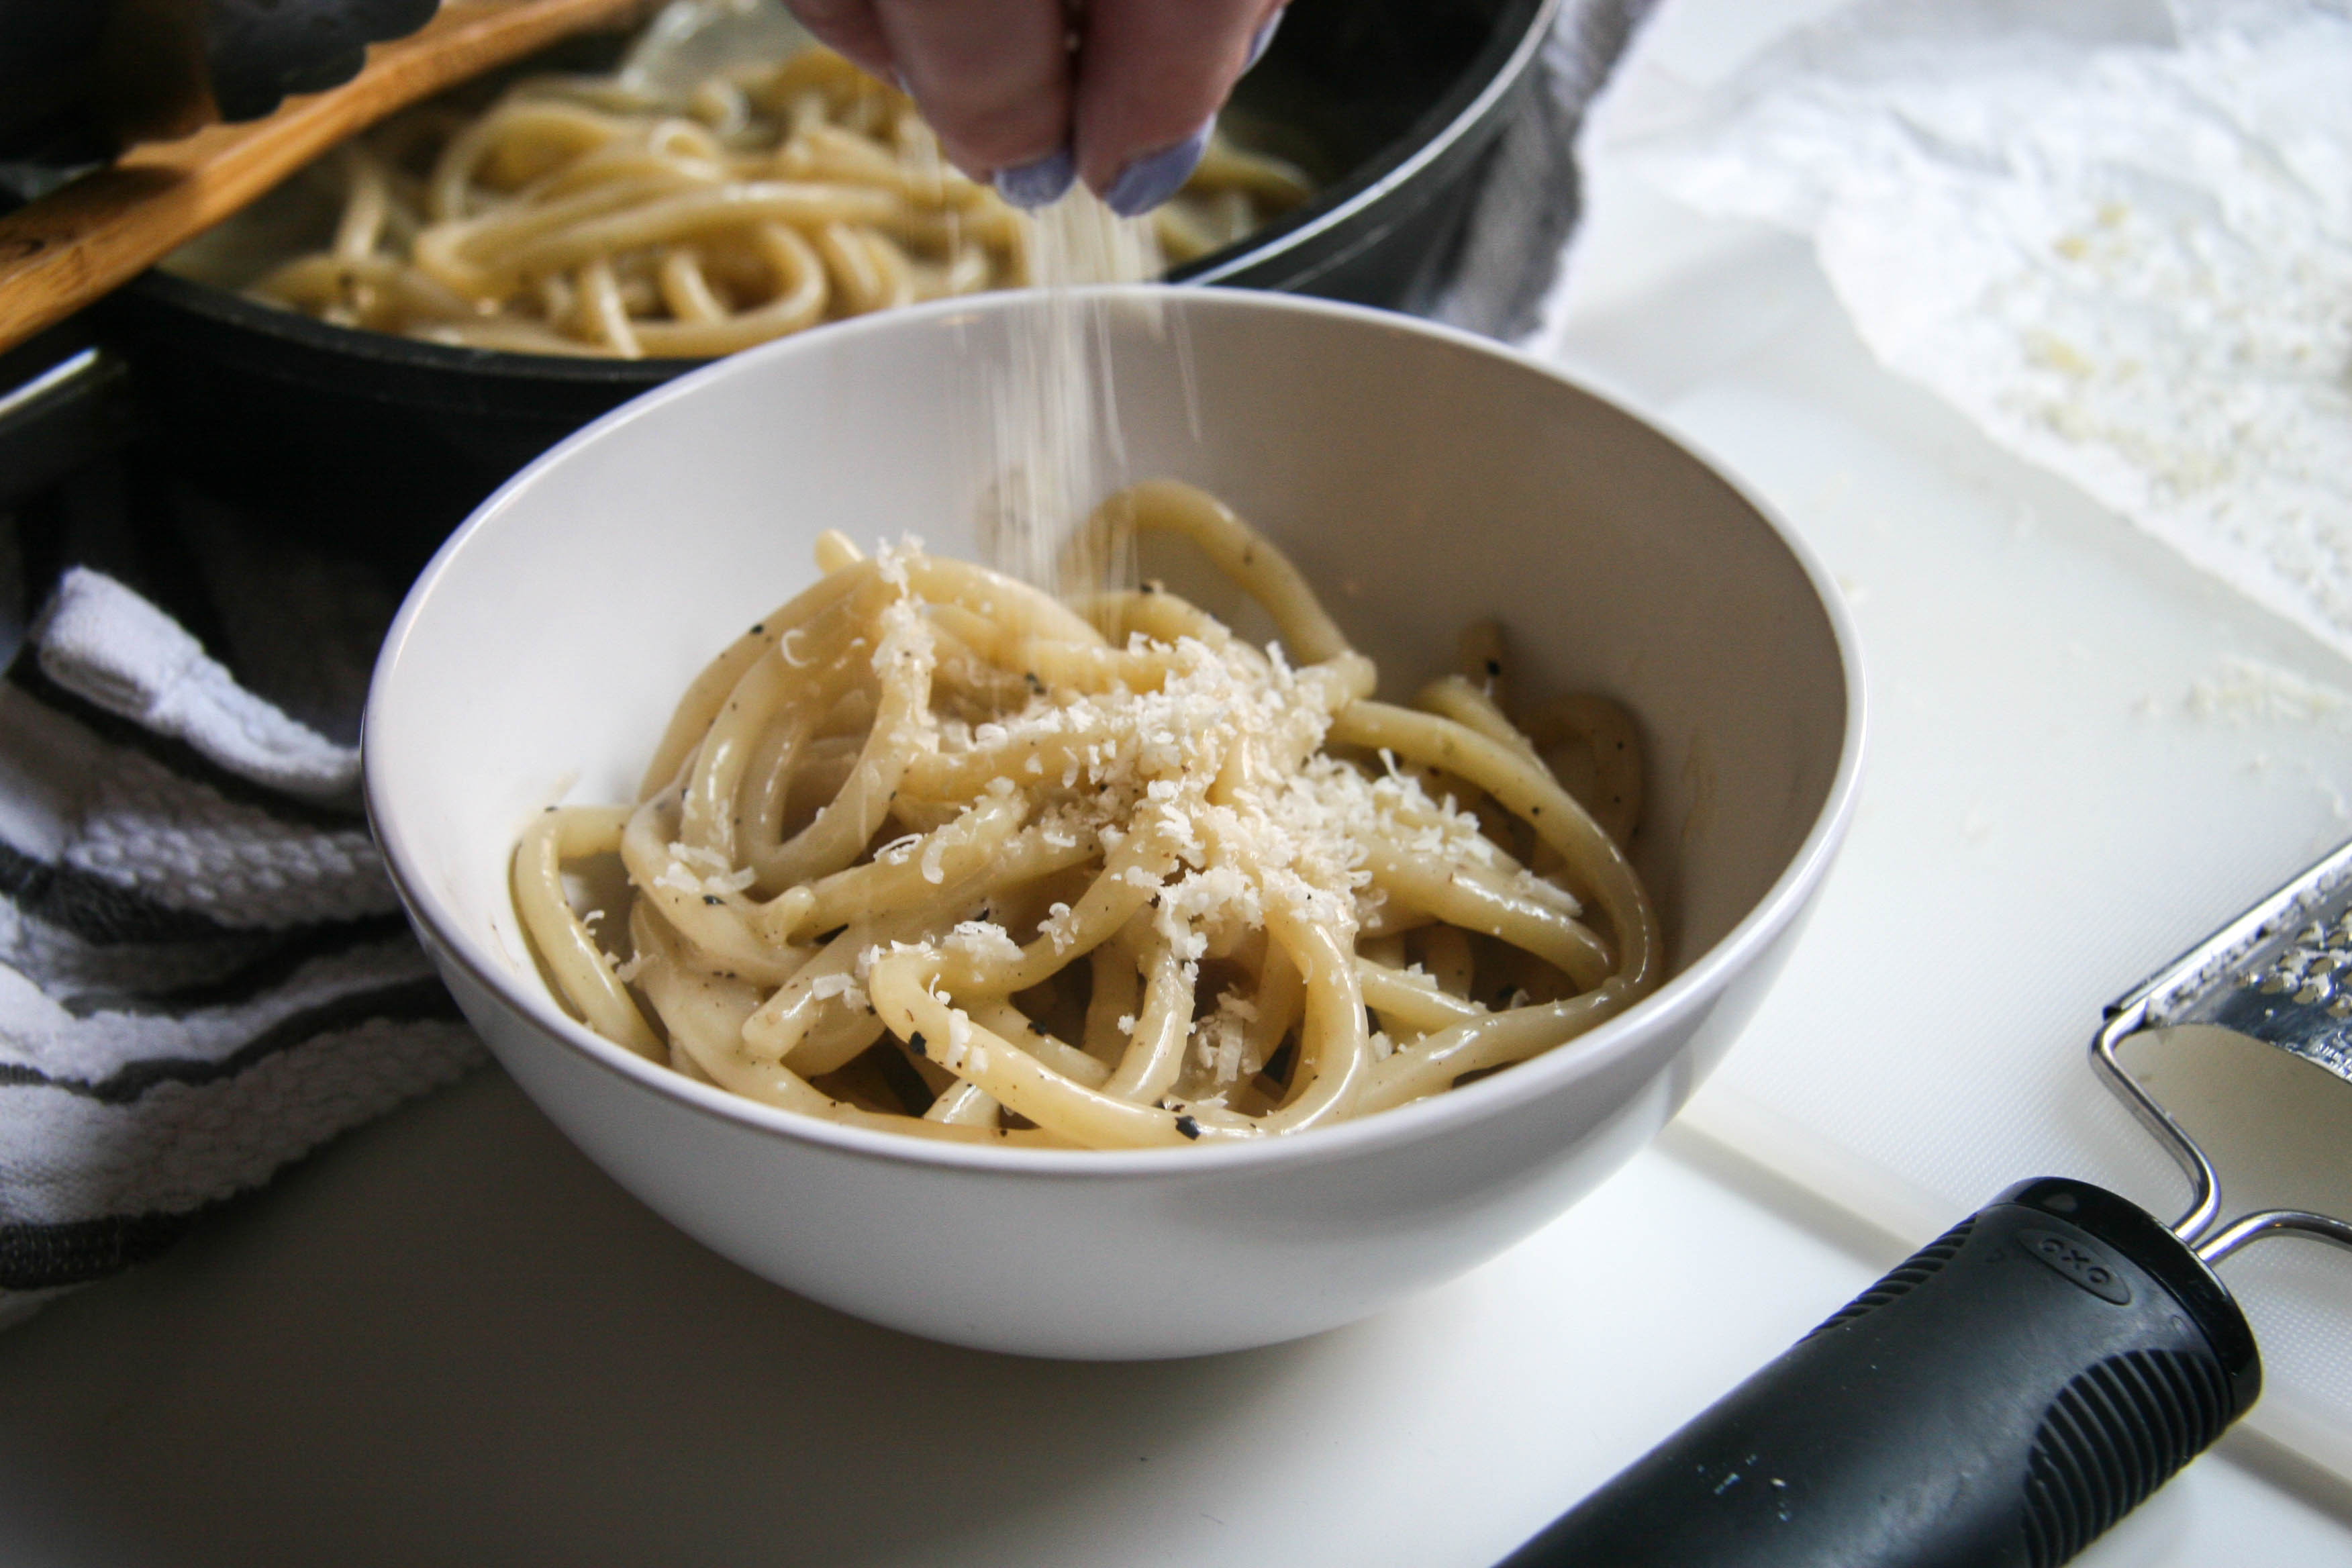
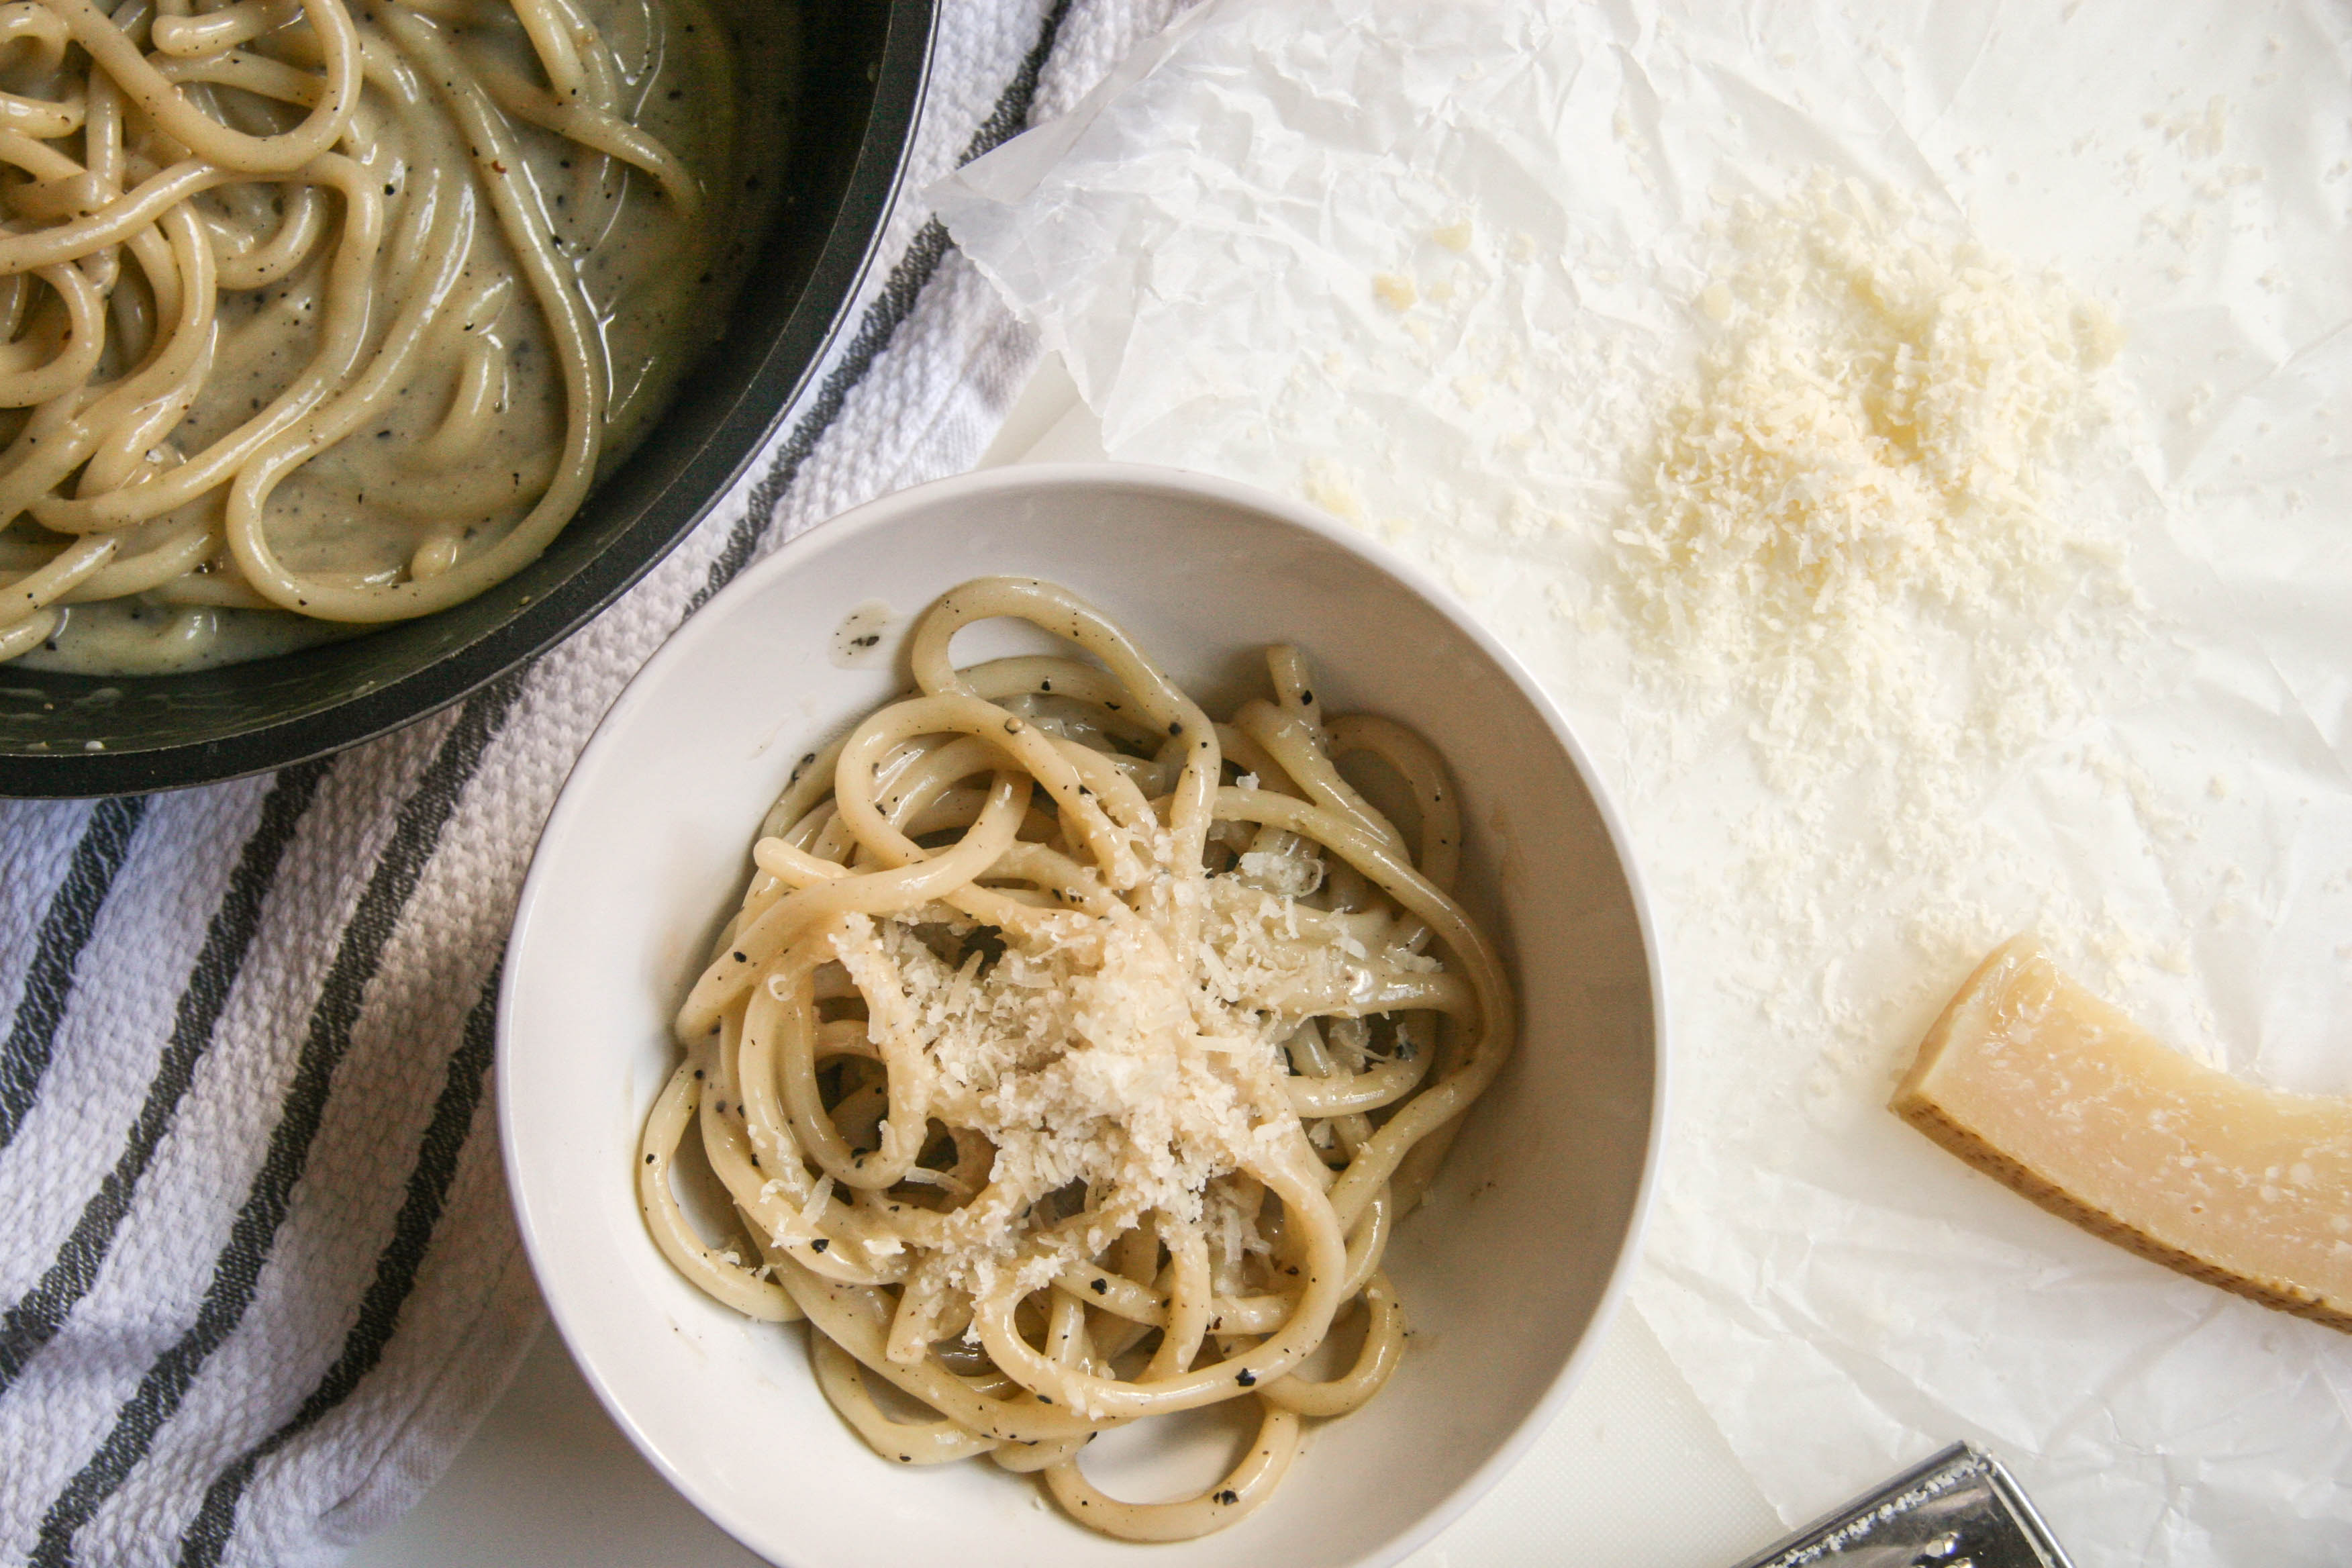
Finally, toss all of that goodness with some al dente pasta and you have a short rib ragu that will feel like a hug. Do not skip grated Parmesan to finish it off! So luxurious. I can’t wait to make this short rib pasta for the rest of the winter.
Braising Short Ribs for Pasta
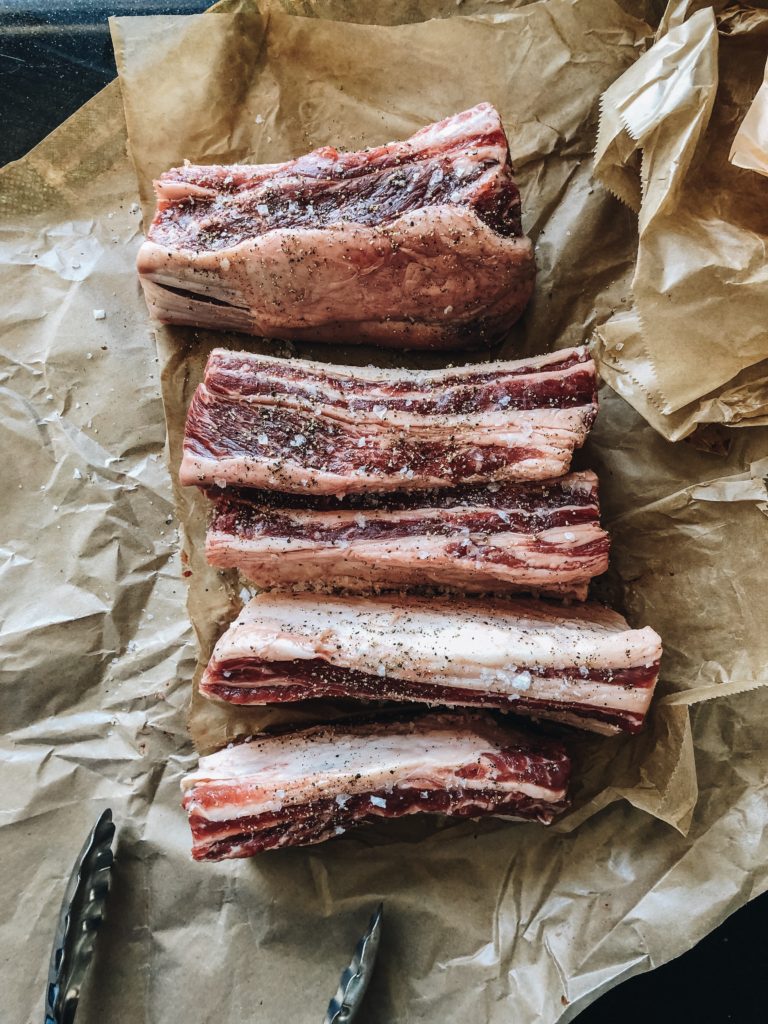
You can find short ribs at the grocery store more often during the Winter months. They may have boneless or bone-in. Bone-in is preferred for this as it helps generate a thicker sauce and keeps the meat together-ish while it is cooking in the oven. It is important to brown the short ribs first as it helps to seal in the fat.
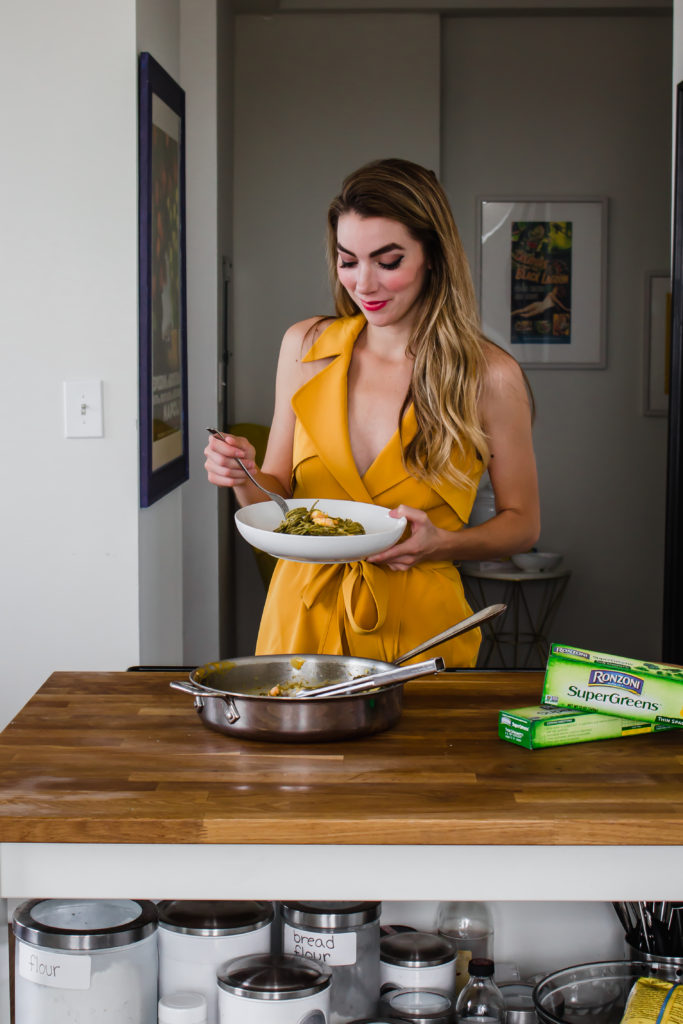
If you make this recipe, please let me know by sharing on Instagram and tagging me @butterlovescompany! I would love to see what you think, and drool over it!
Xo,
Jenna
If you’re looking for other good winter meals, might I suggest:
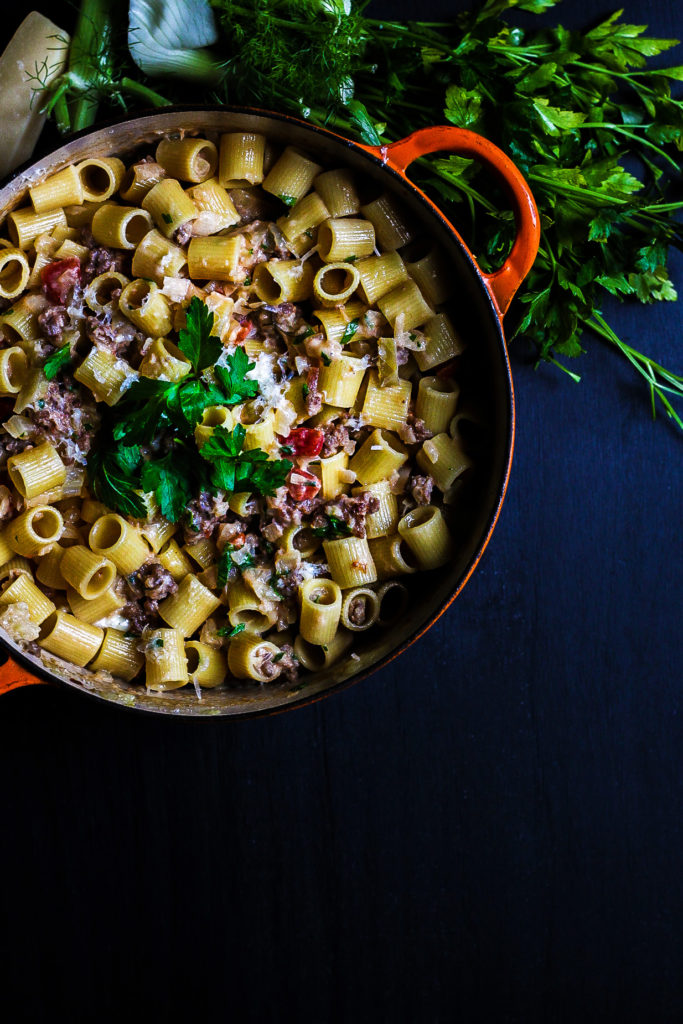
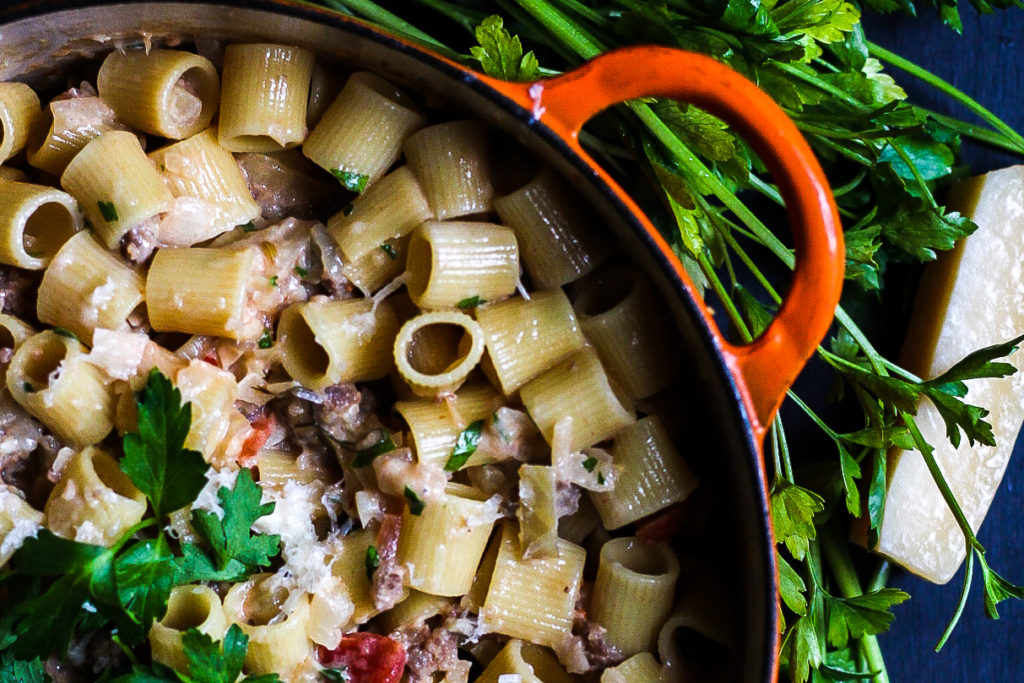
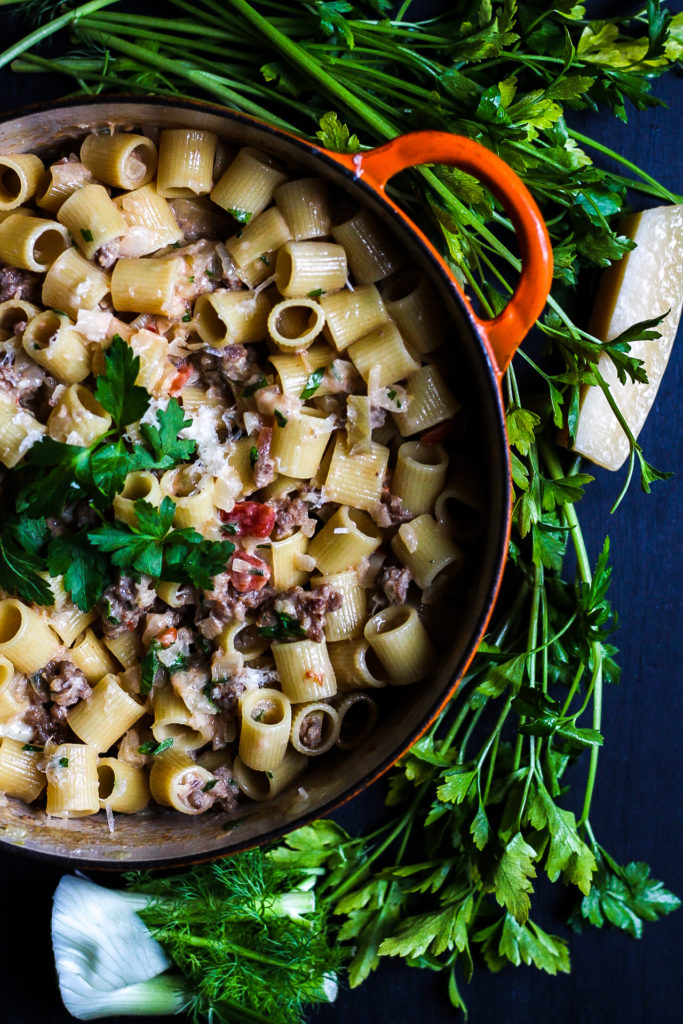
Rigatoni with Sausage and Fennel
Baked Pasta with Broccoli Rabe and Sweet Potato