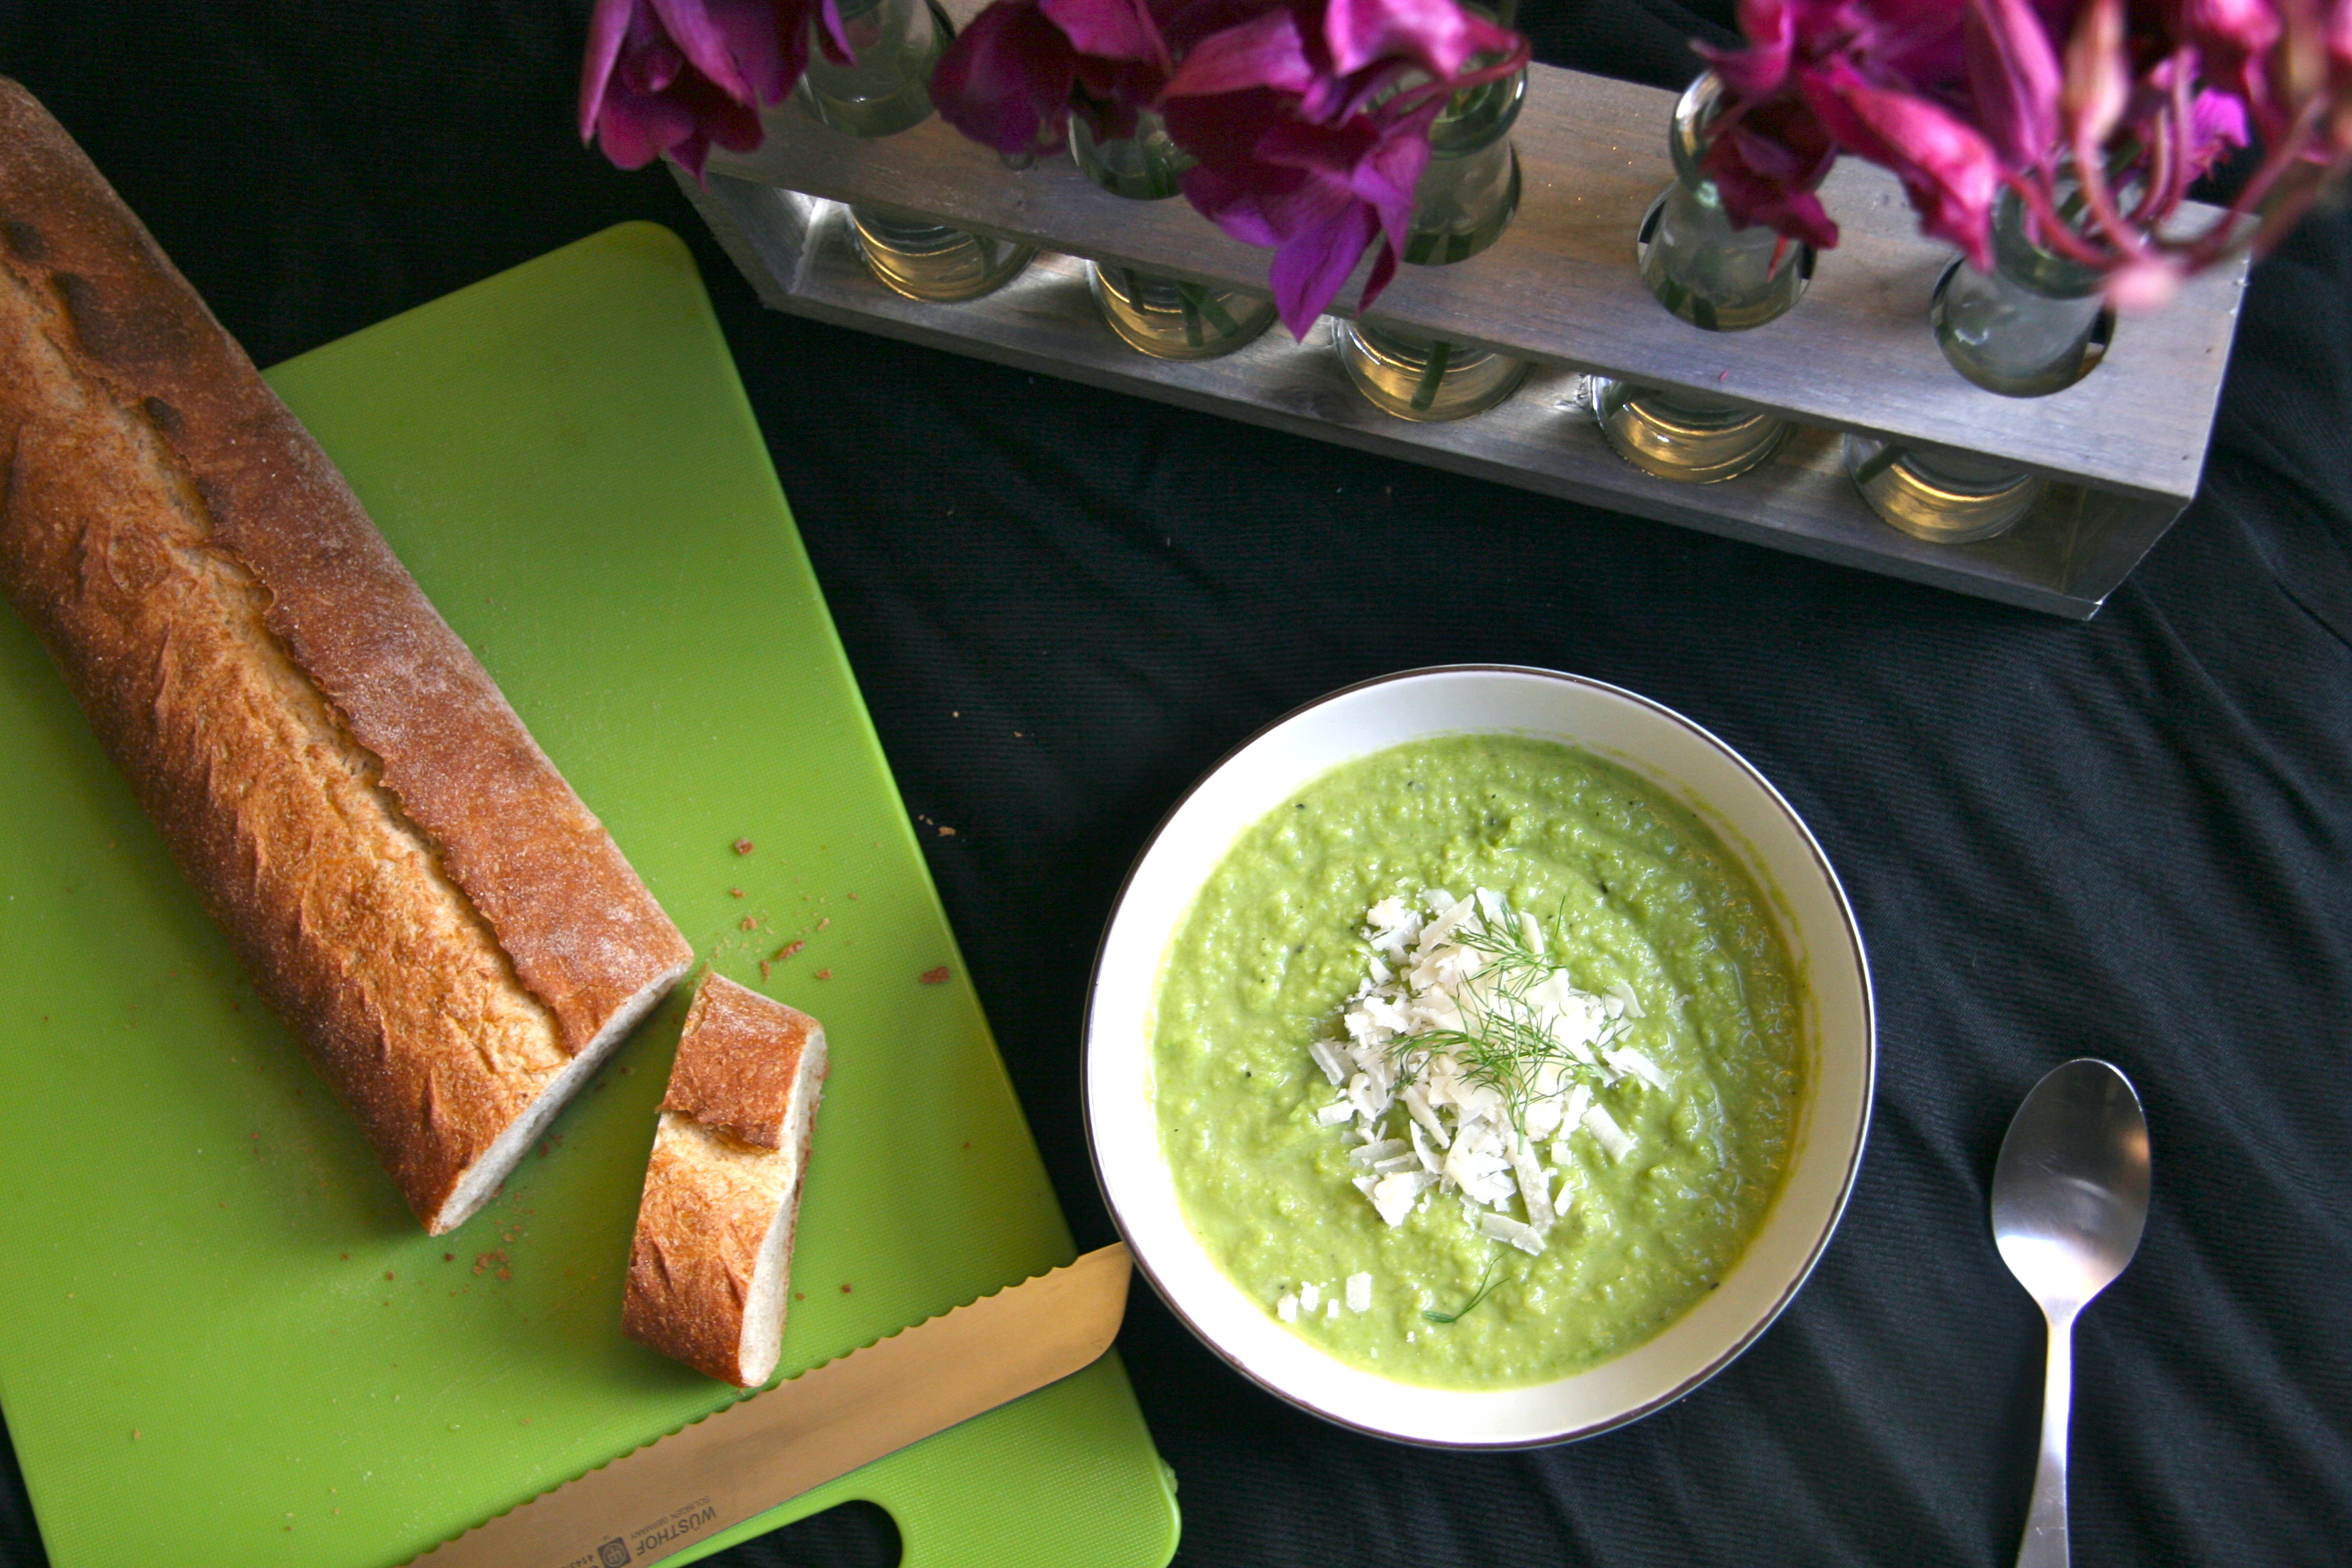
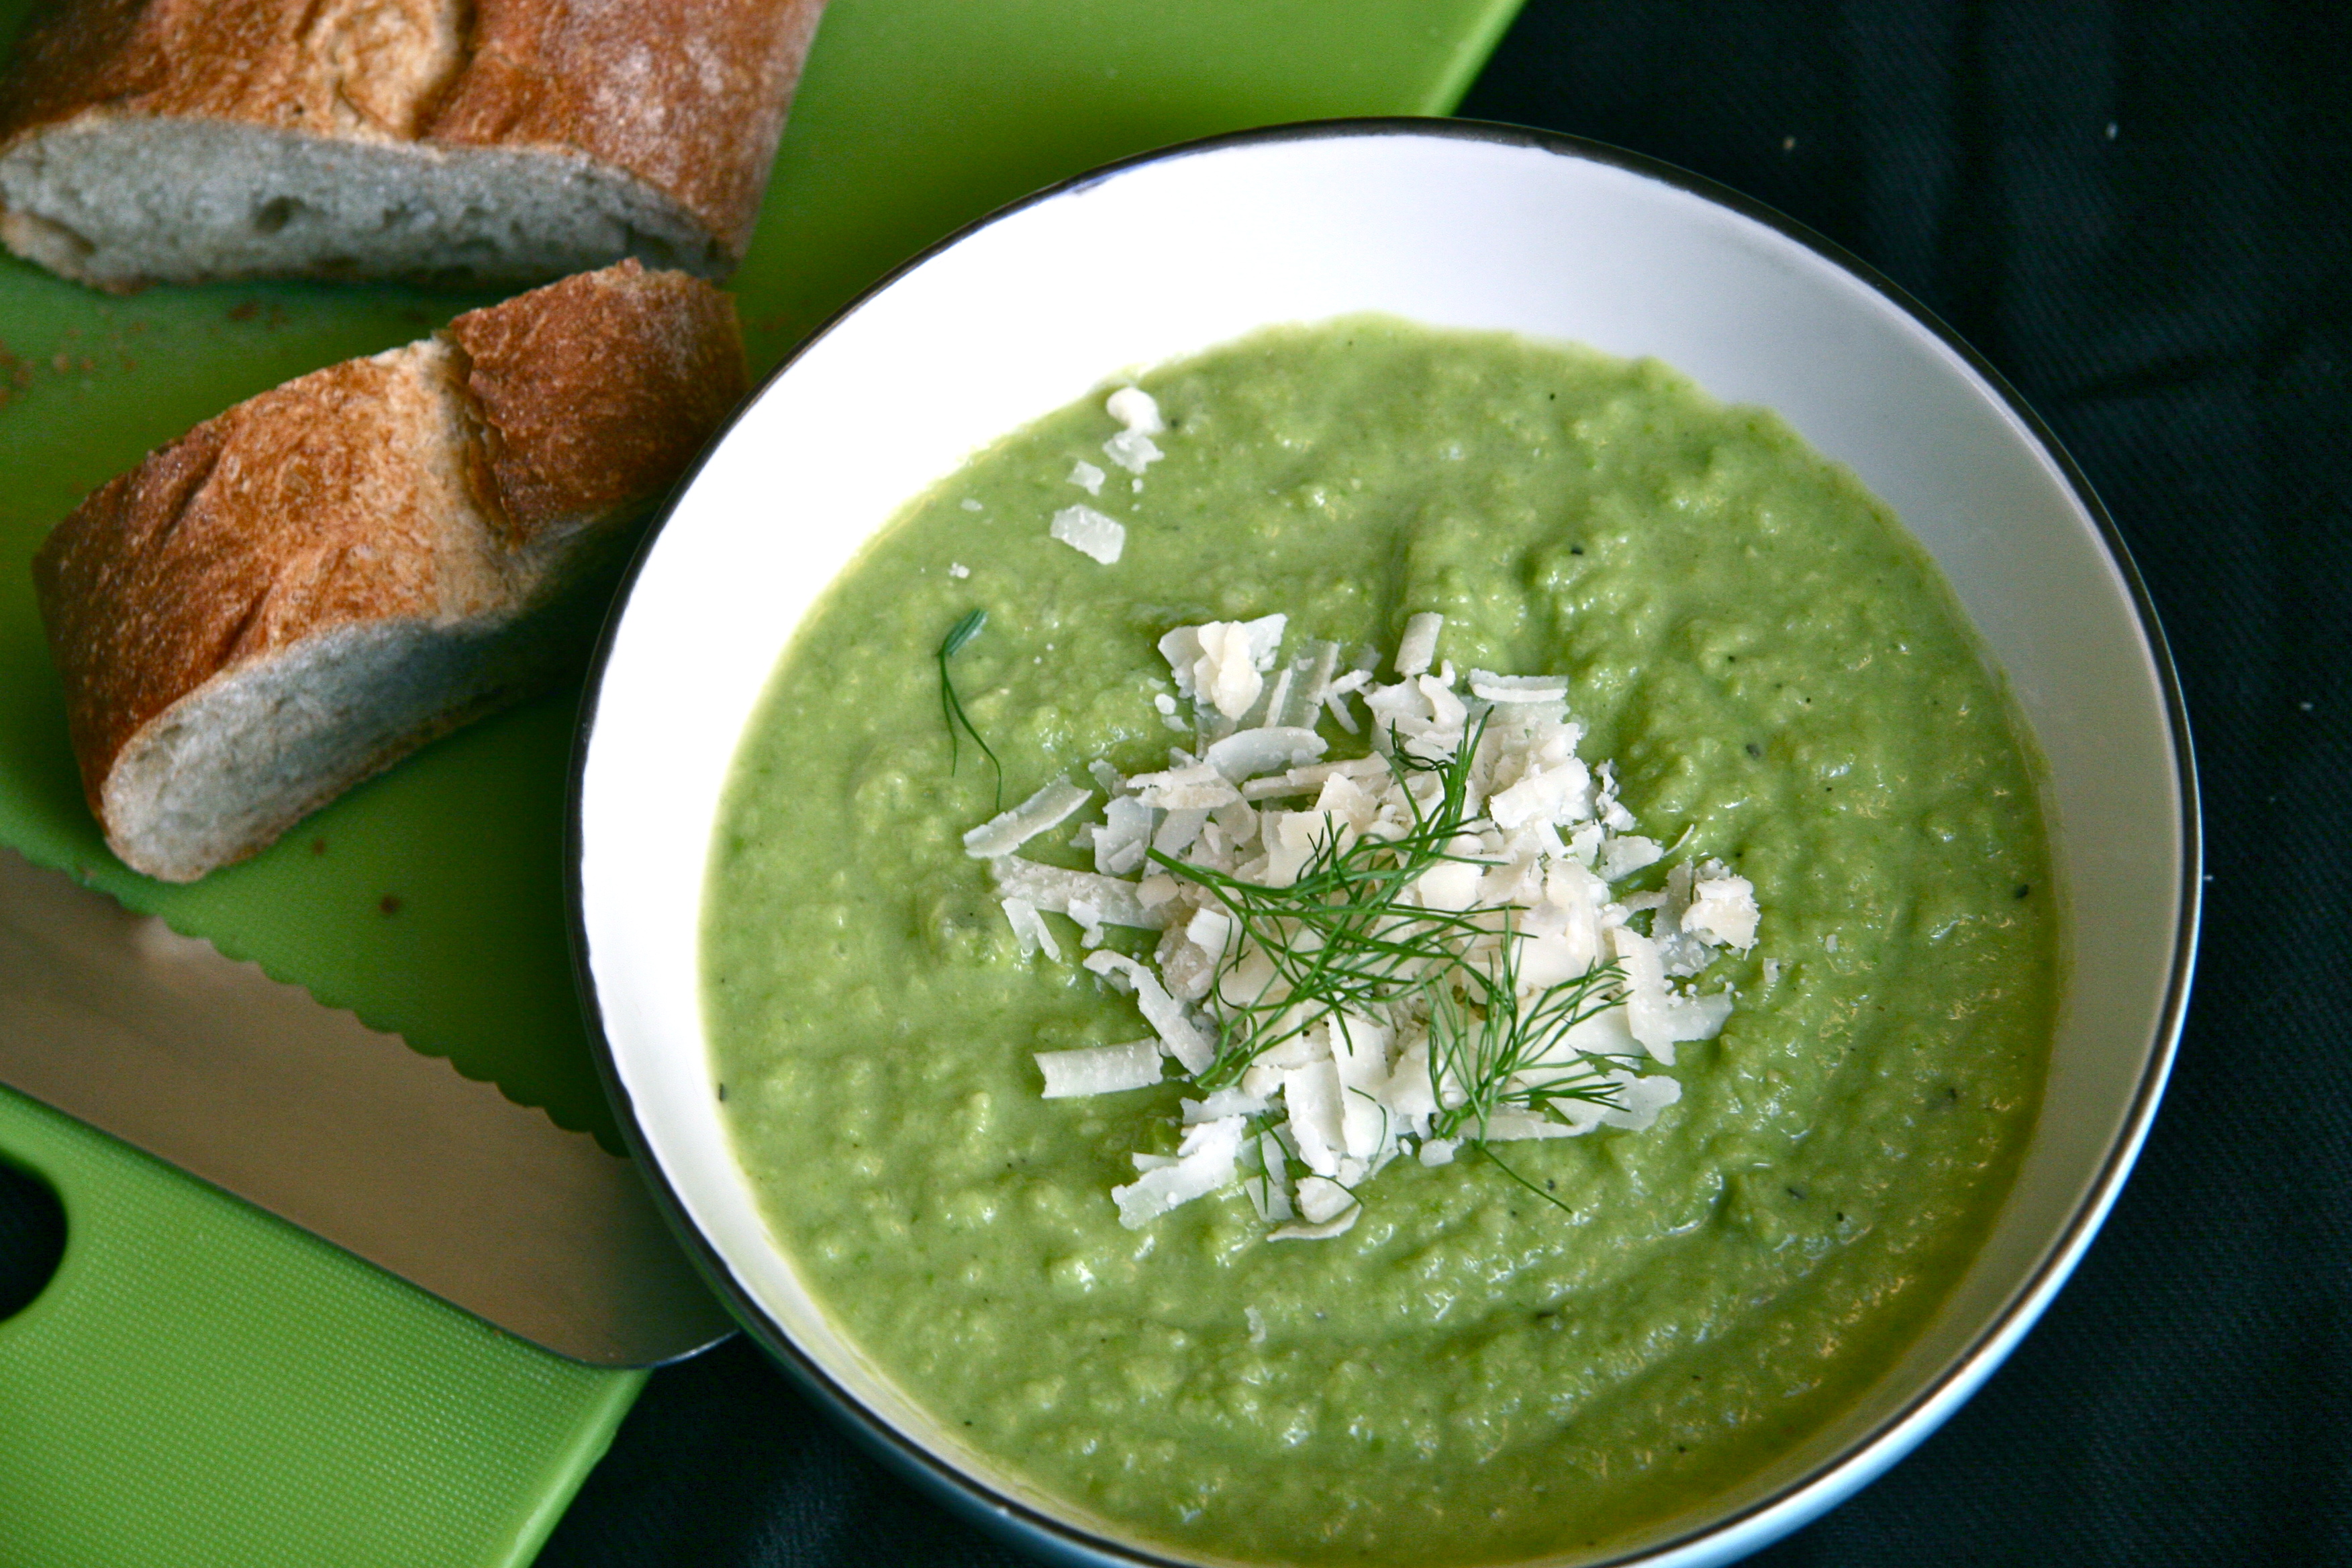
 A recipe for a light, healthy, pea, fennel and leek soup. Fennel adds a subtle anise flavor to the sweet leek and pea puree; completed with sharp, salty, shaved Parmesan.
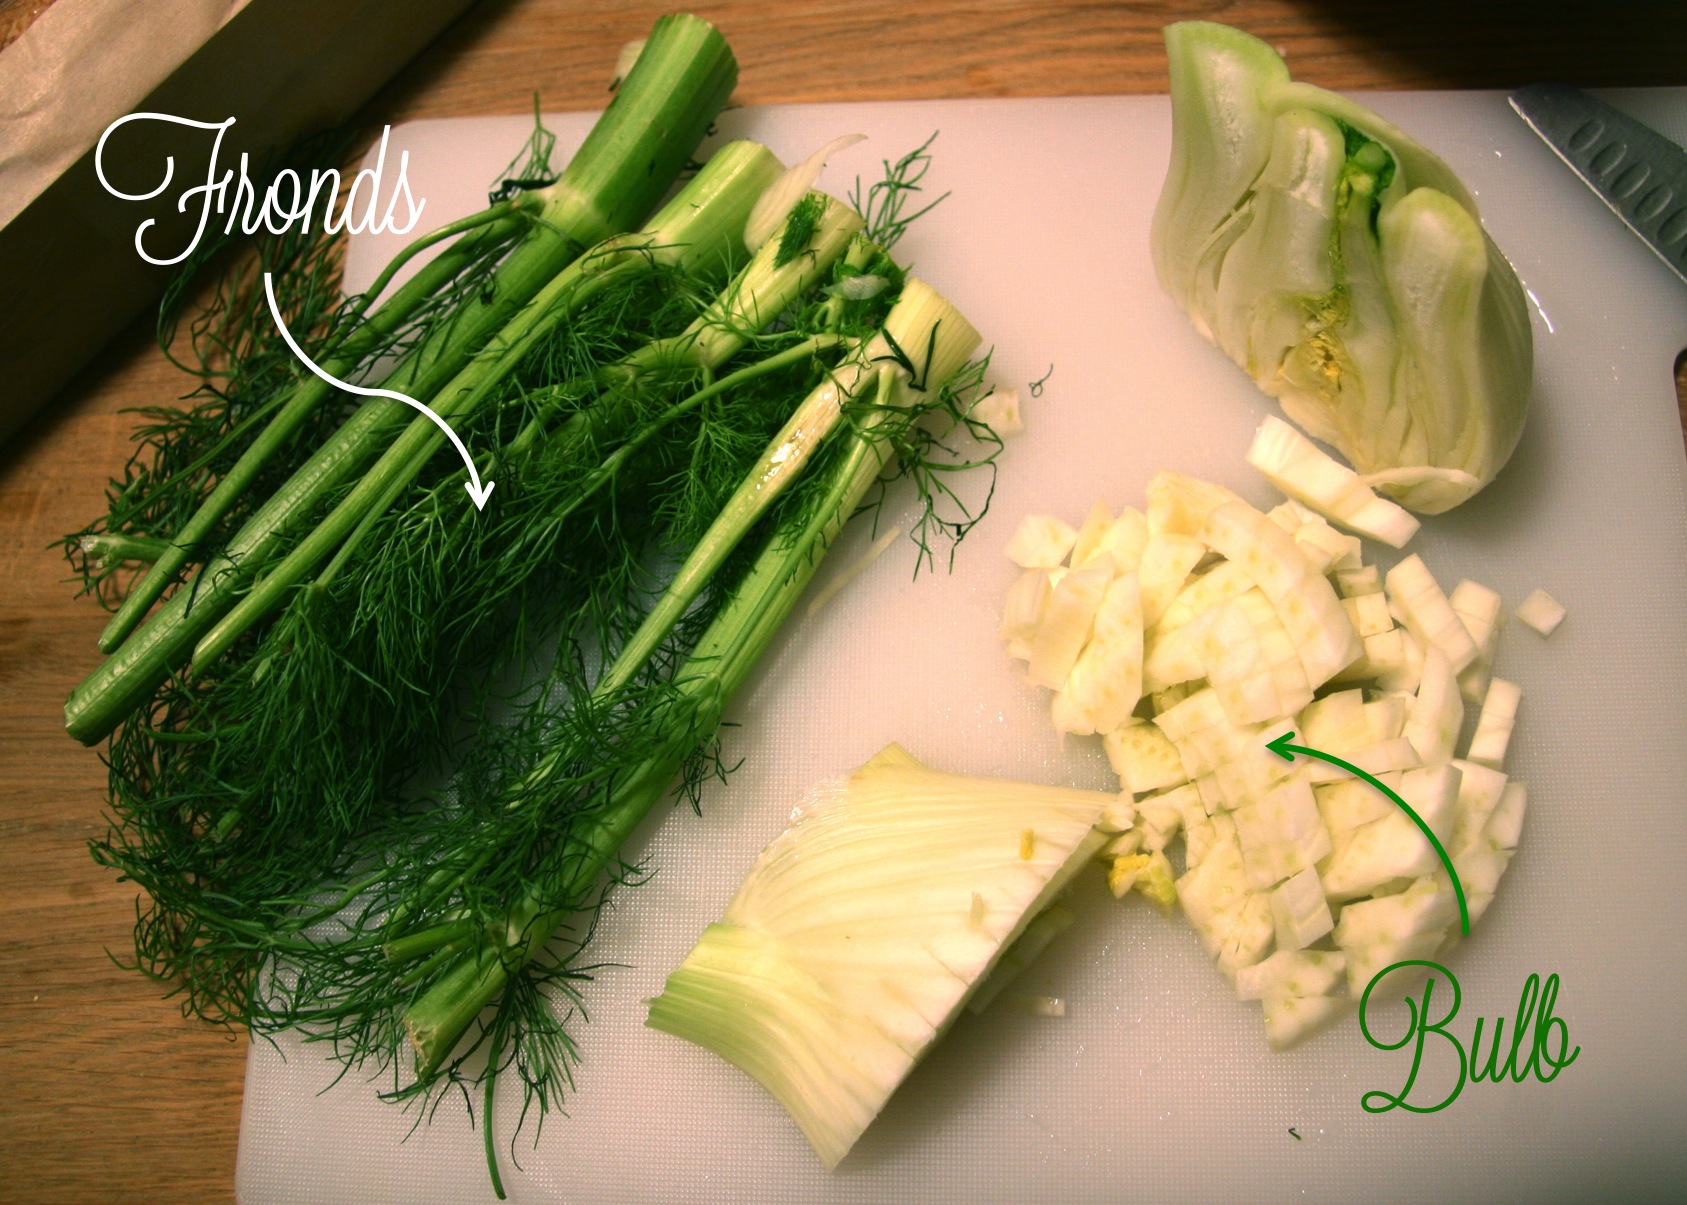
Sometimes it scares me how similar my mom and I think: I buy lots of fennel on Saturday, and she has the family over for a fennel filled, porchetta on Sunday (wrapped in prosciutto, no less). The bright green, feathered tips of the fennel—the fronds—were generously rolled into the meat, like cinnamon in cinnamon buns. While I like fennel, the thought of making another heavily fennel flavored dish seemed like it could be overload for one week. I needed to use my fennel in a more subtle way (call me a fennel-phobe, I can take it).
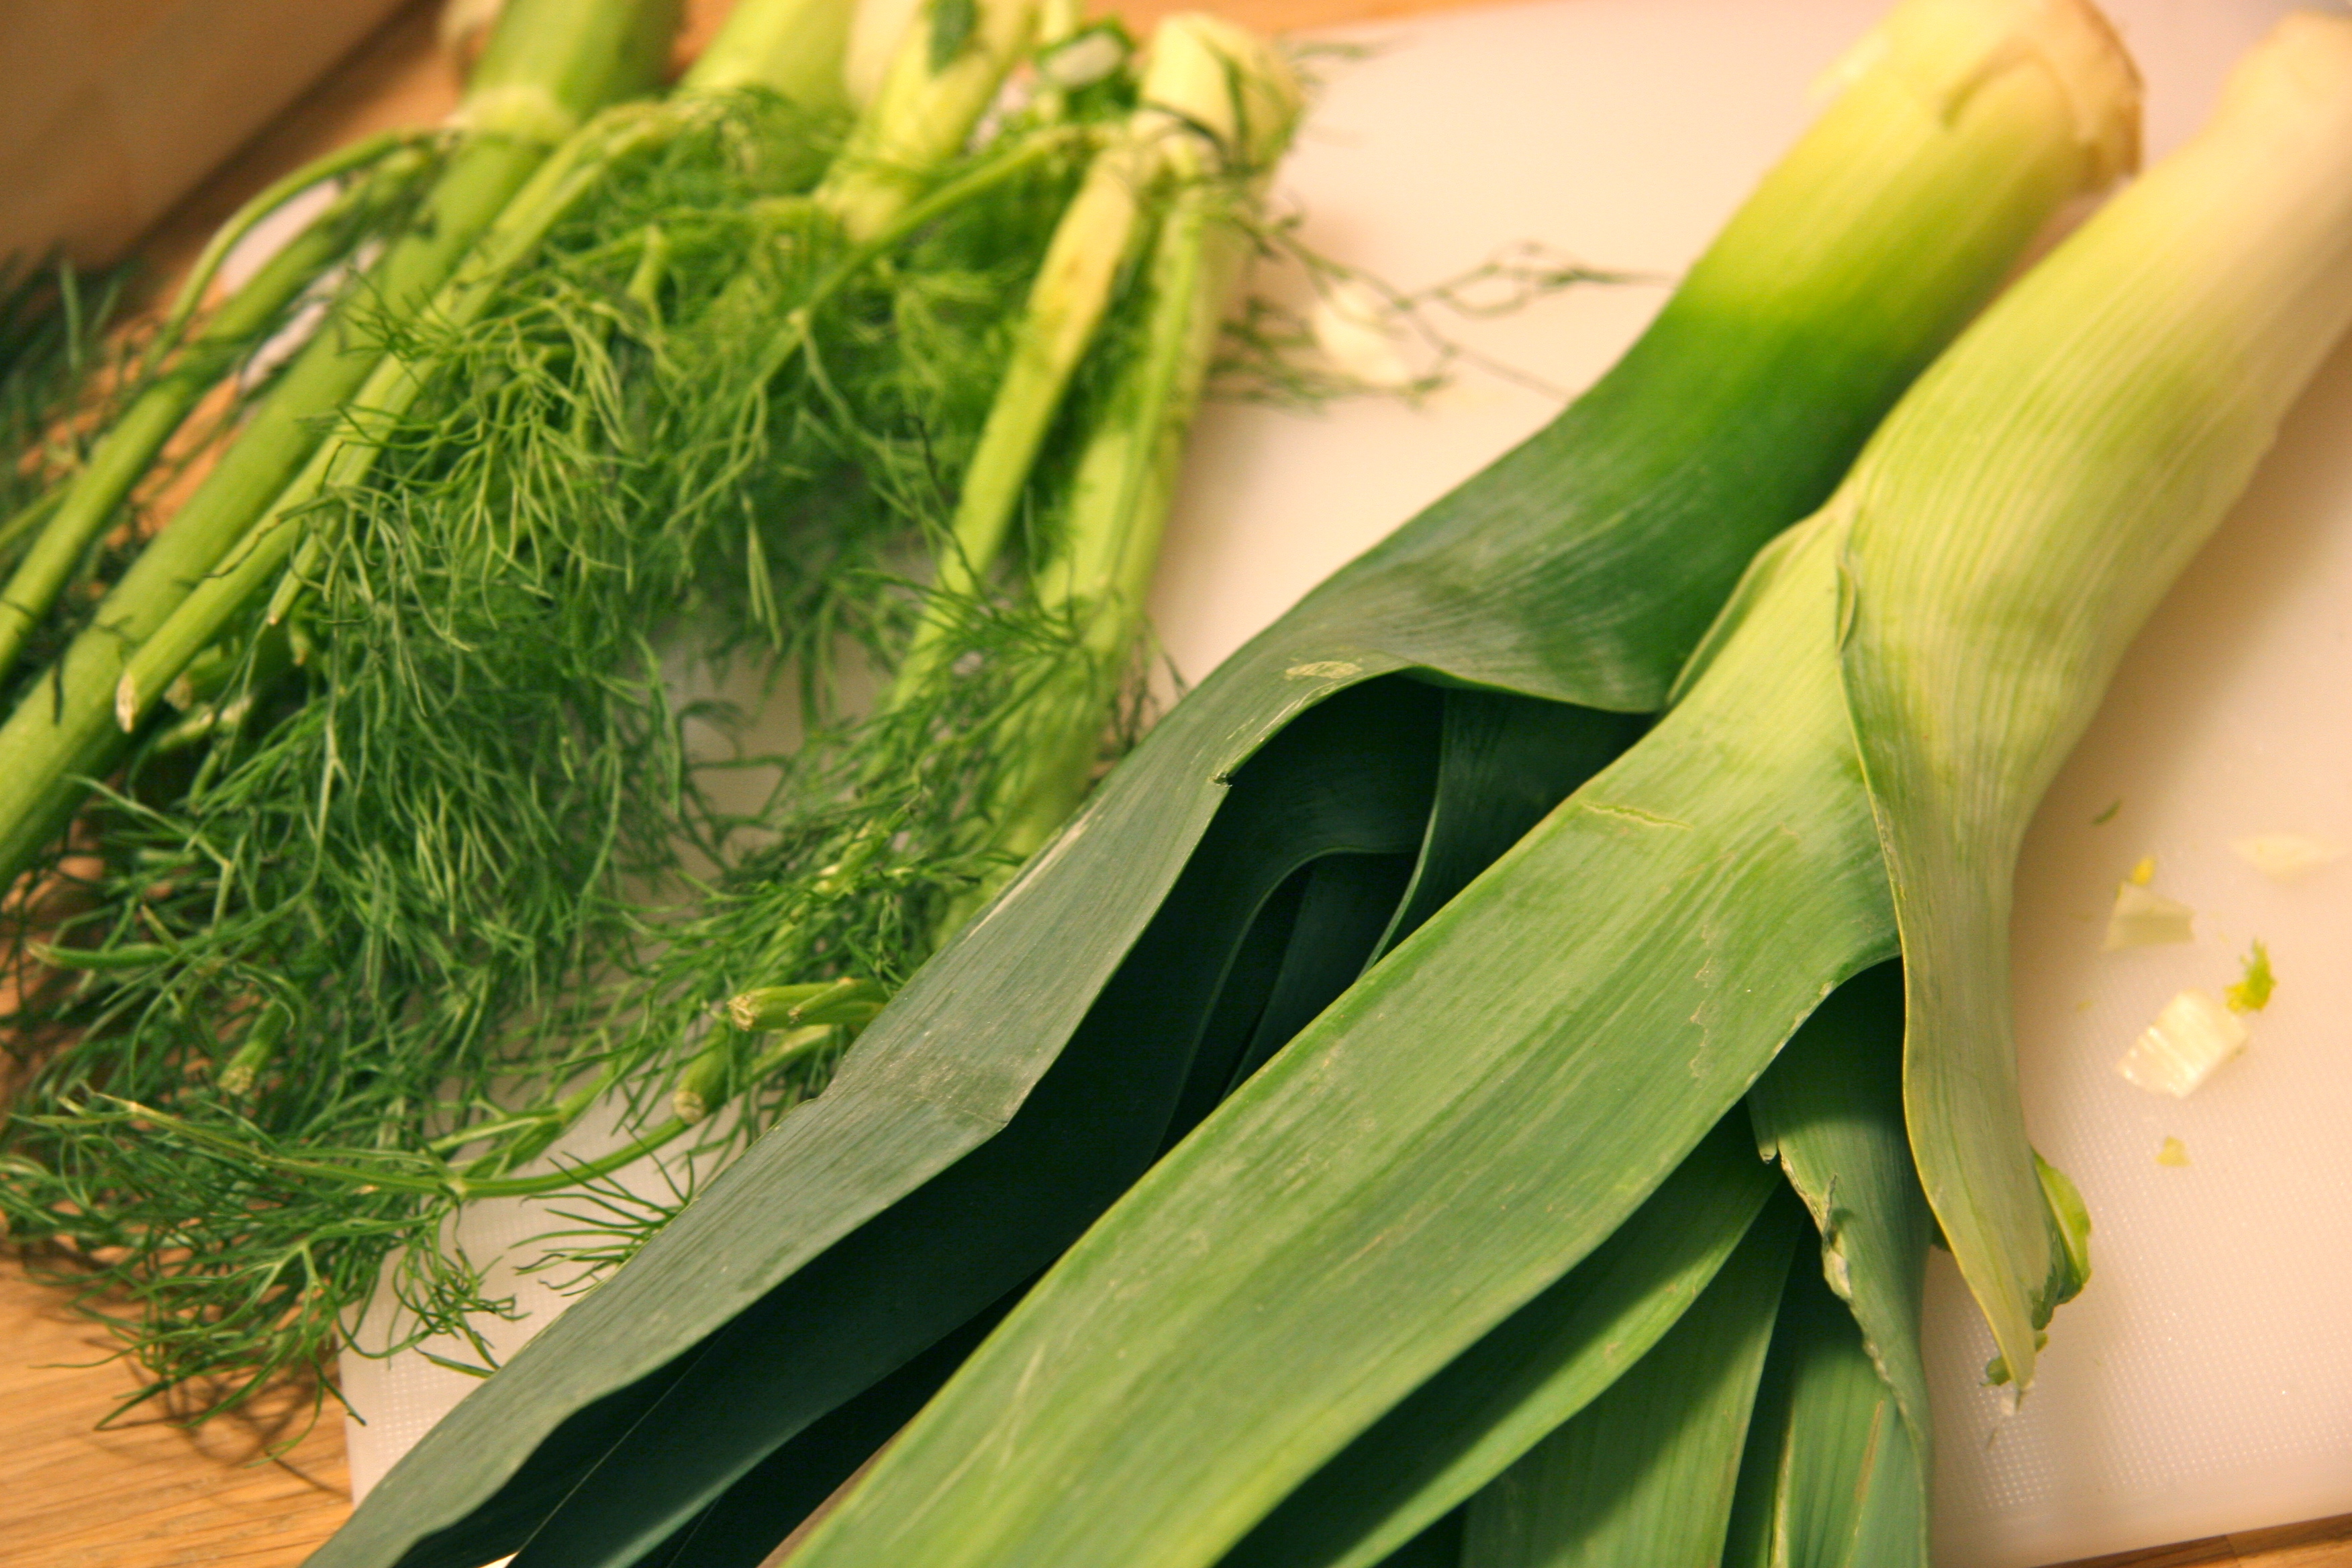
What resulted was an adaptation of the Fennel, Lettuce, and Pea soup recipe from Giada de Laurentiis’ Feel Good Food. I had no lettuce, so I subbed with leftover leeks that didn’t make it into my boyfriend’s St. Patrick’s Day boiled dinner. To keep the fennel light in the soup, I omitted the fennel seeds she had called for, instead adding a bay leaf for flavor during the cook time. The result was a creamy, nourishing soup with a gorgeous sea foam green color. You’ll love this recipe if you’re looking for a friendly introduction to this licorice-flavored vegetable. The bright, sweet pea soup balances the anise flavor enough to please both sides of the fennel divide; the lovers and the skeptics. Of course, feel free to add another ½ or full fennel bulb if you’re entertaining a group of fennel fans.
- 3 tablespoons unsalted butter
- 2 small shallots, diced
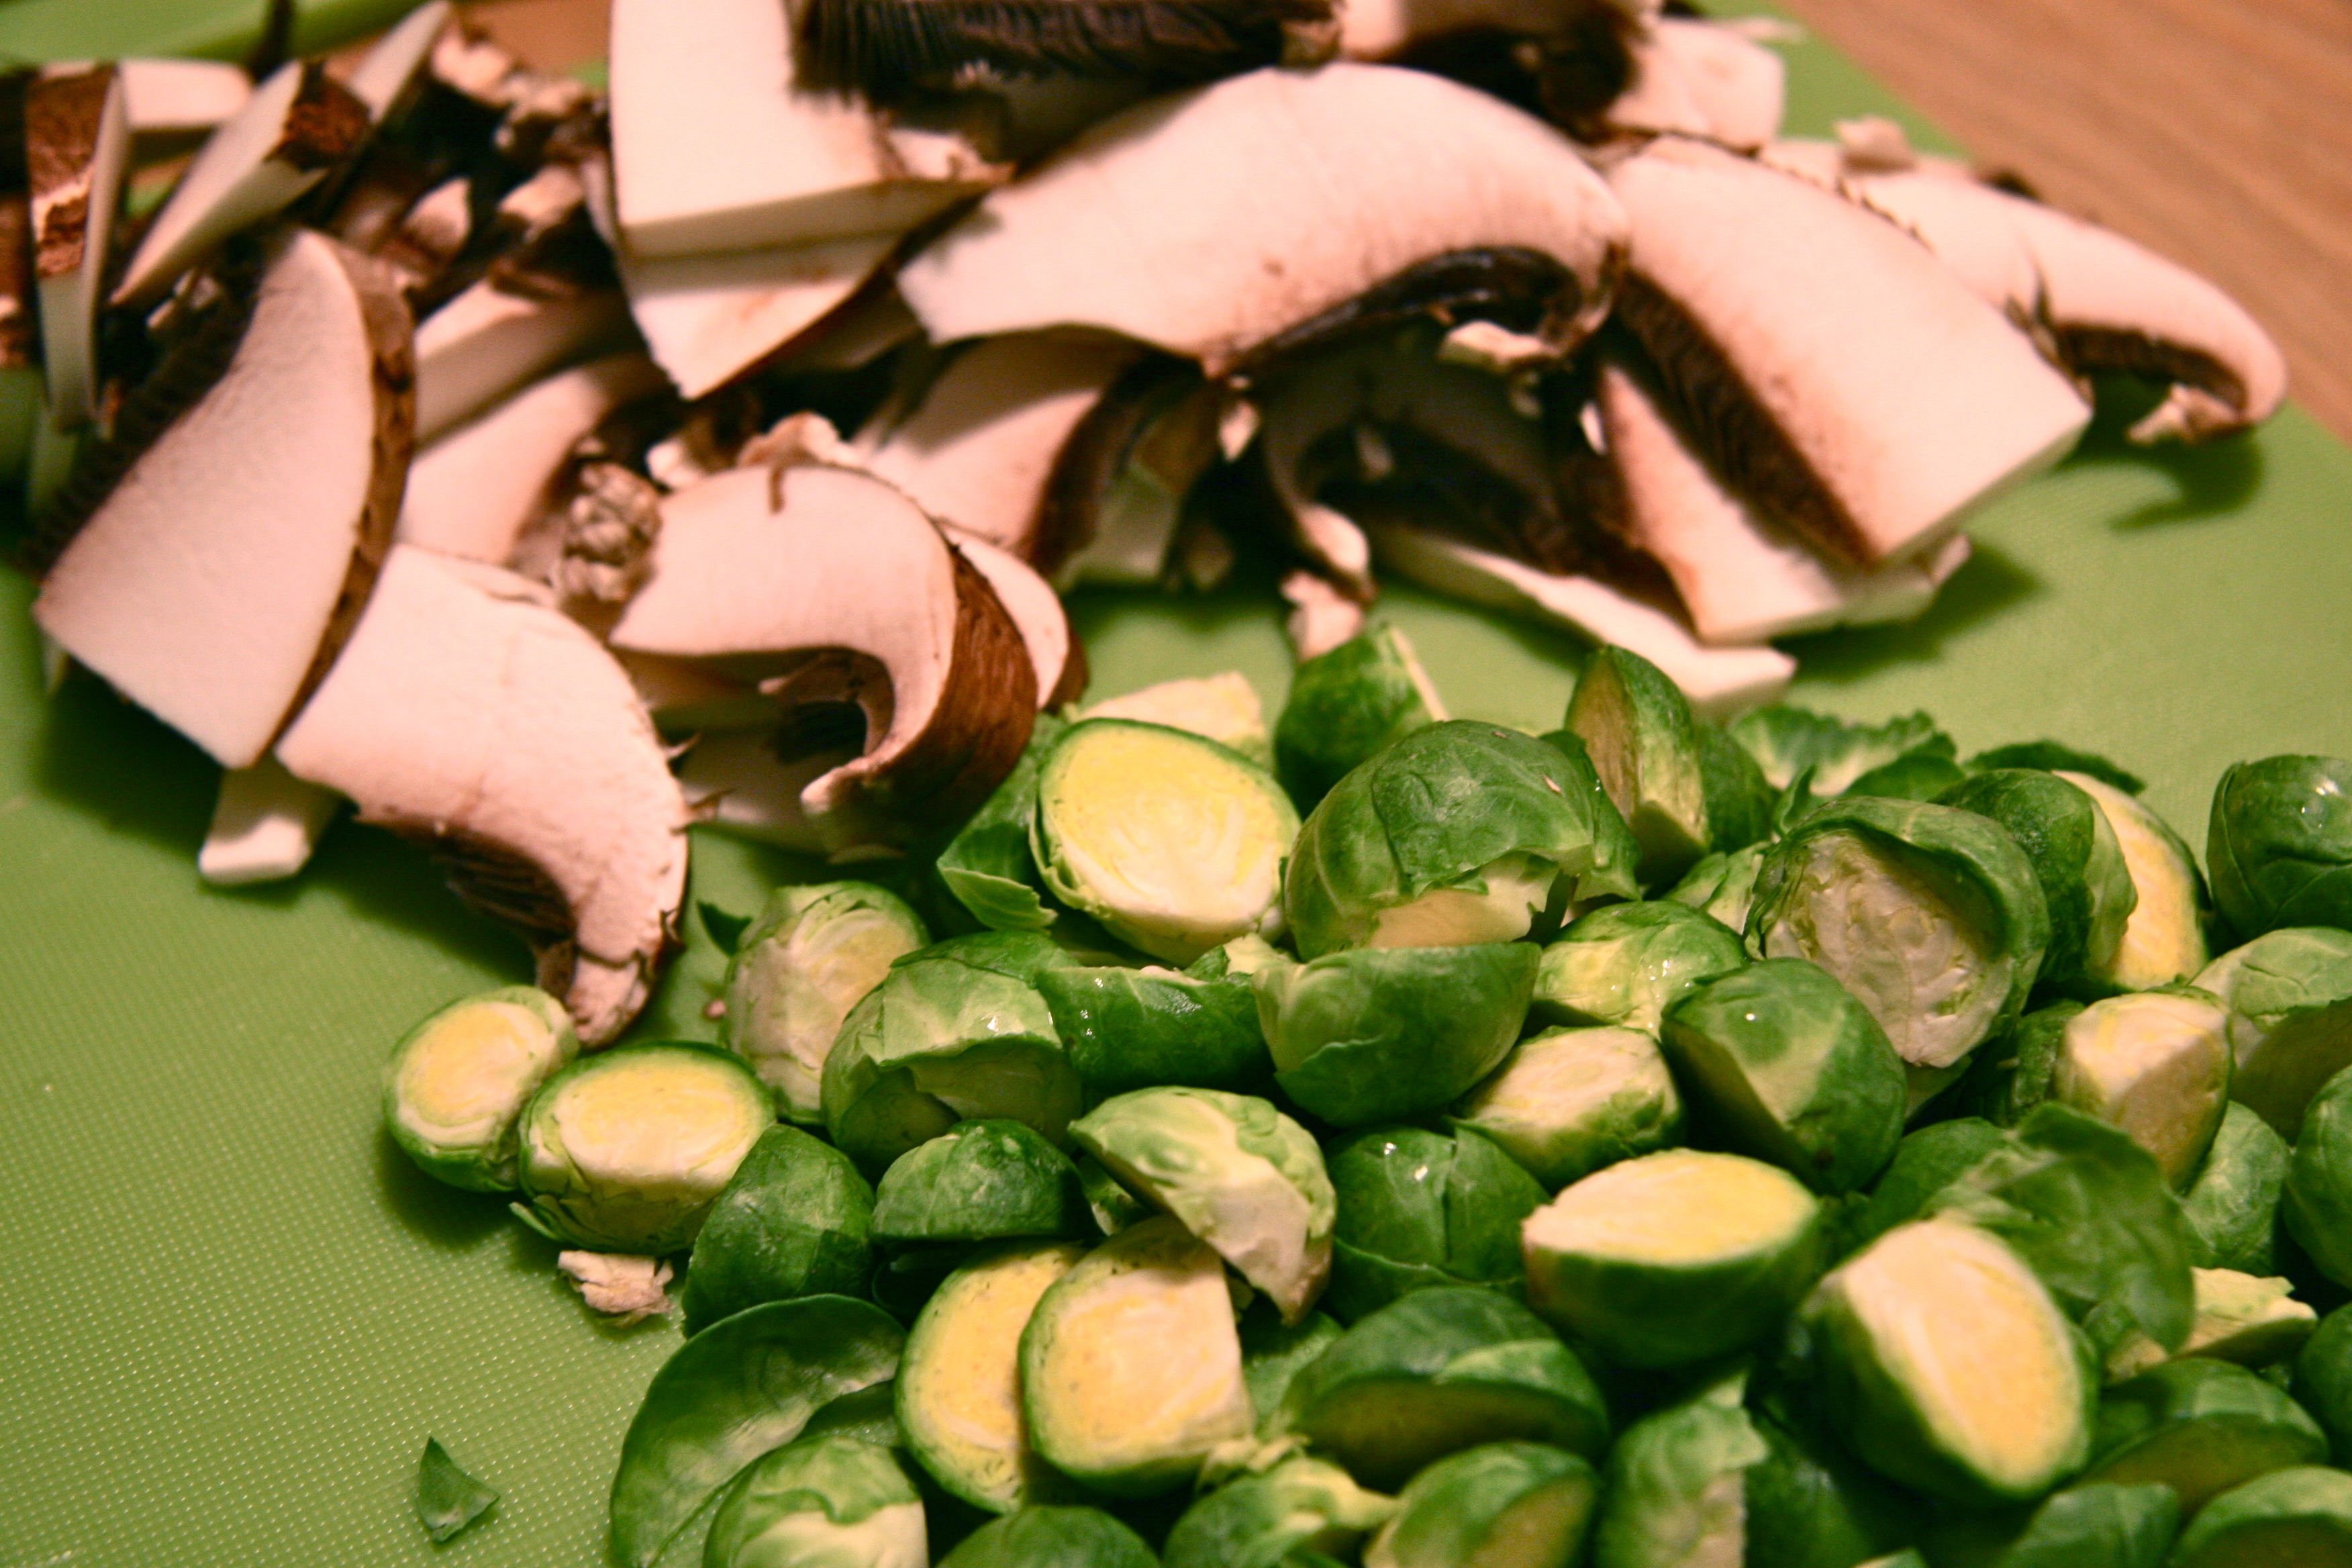
- 1 medium fennel bulb, chopped (about 2 cups)
- 1 teaspoon salt
- ½ teaspoon freshly ground black pepper
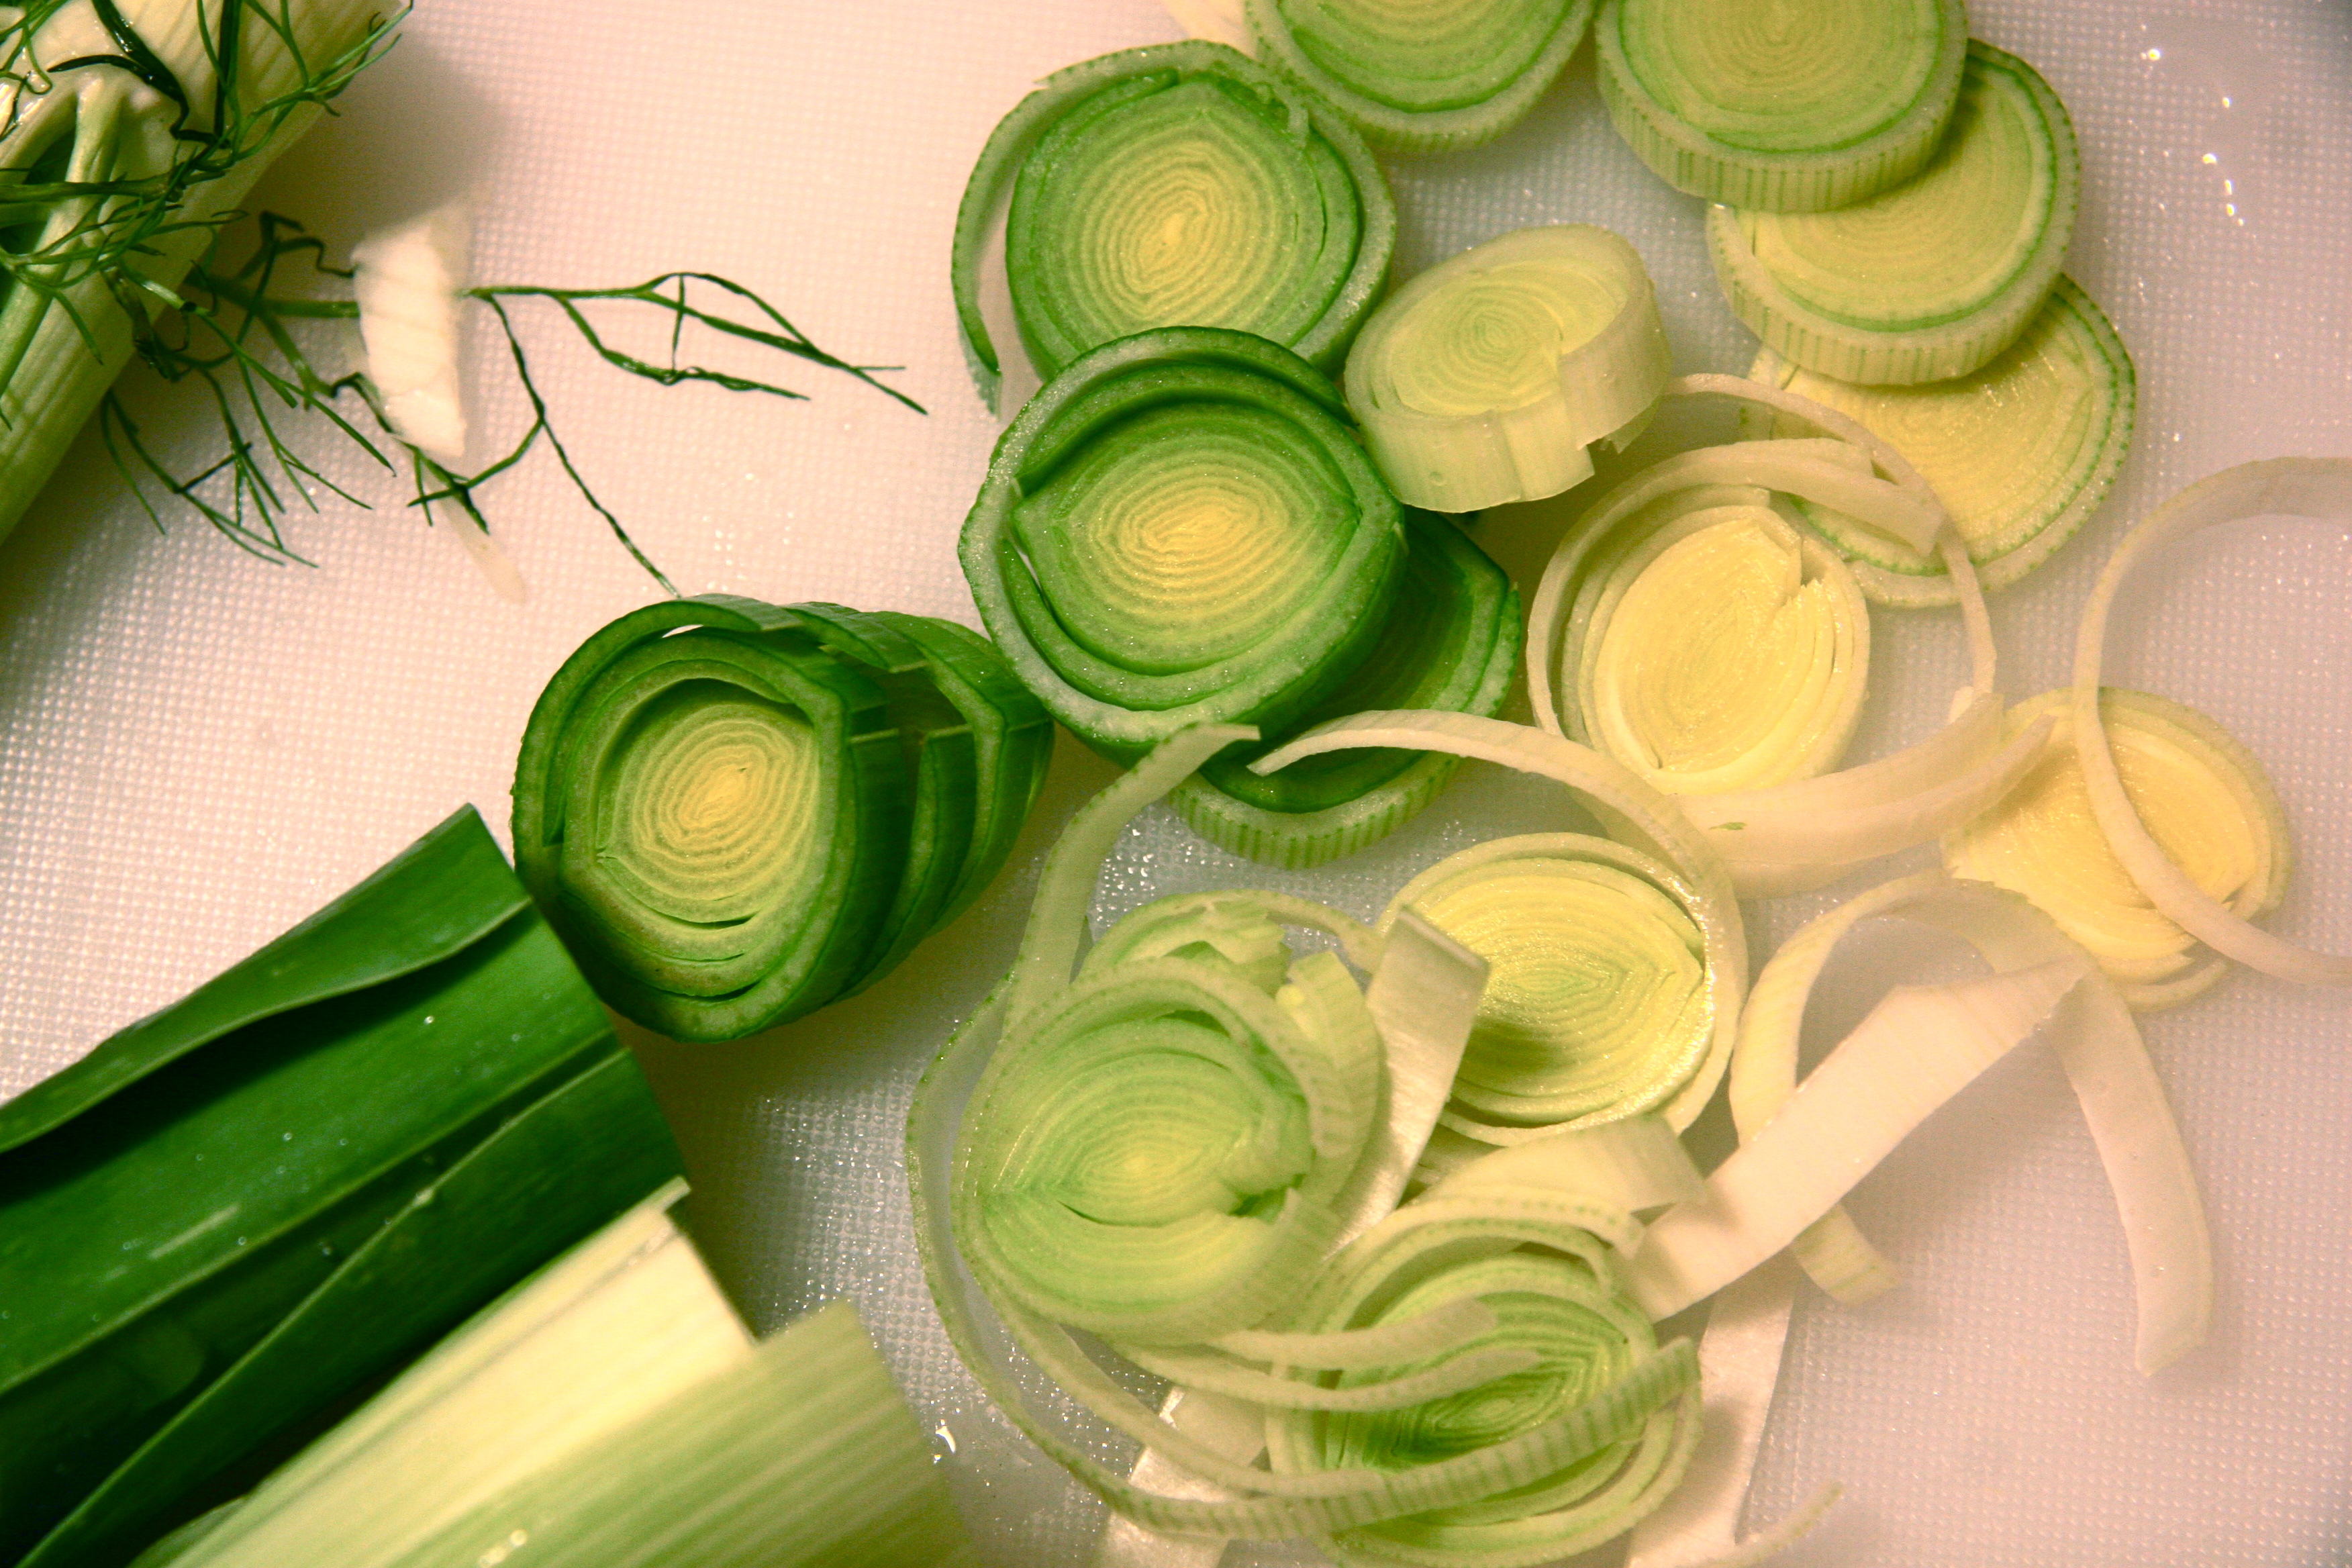
- 2 medium leeks, white and light green parts only, cut into ¼ inch slices
- One 10-ounce package frozen petite peas (about 2 ¼ cups)
- 2 cups low-salt chicken broth, plus extra, as needed
- 1 bay leaf
- shredded parmesan, for garnishing (optional, only, not really)
- fennel fronds, for garnishing (optional)
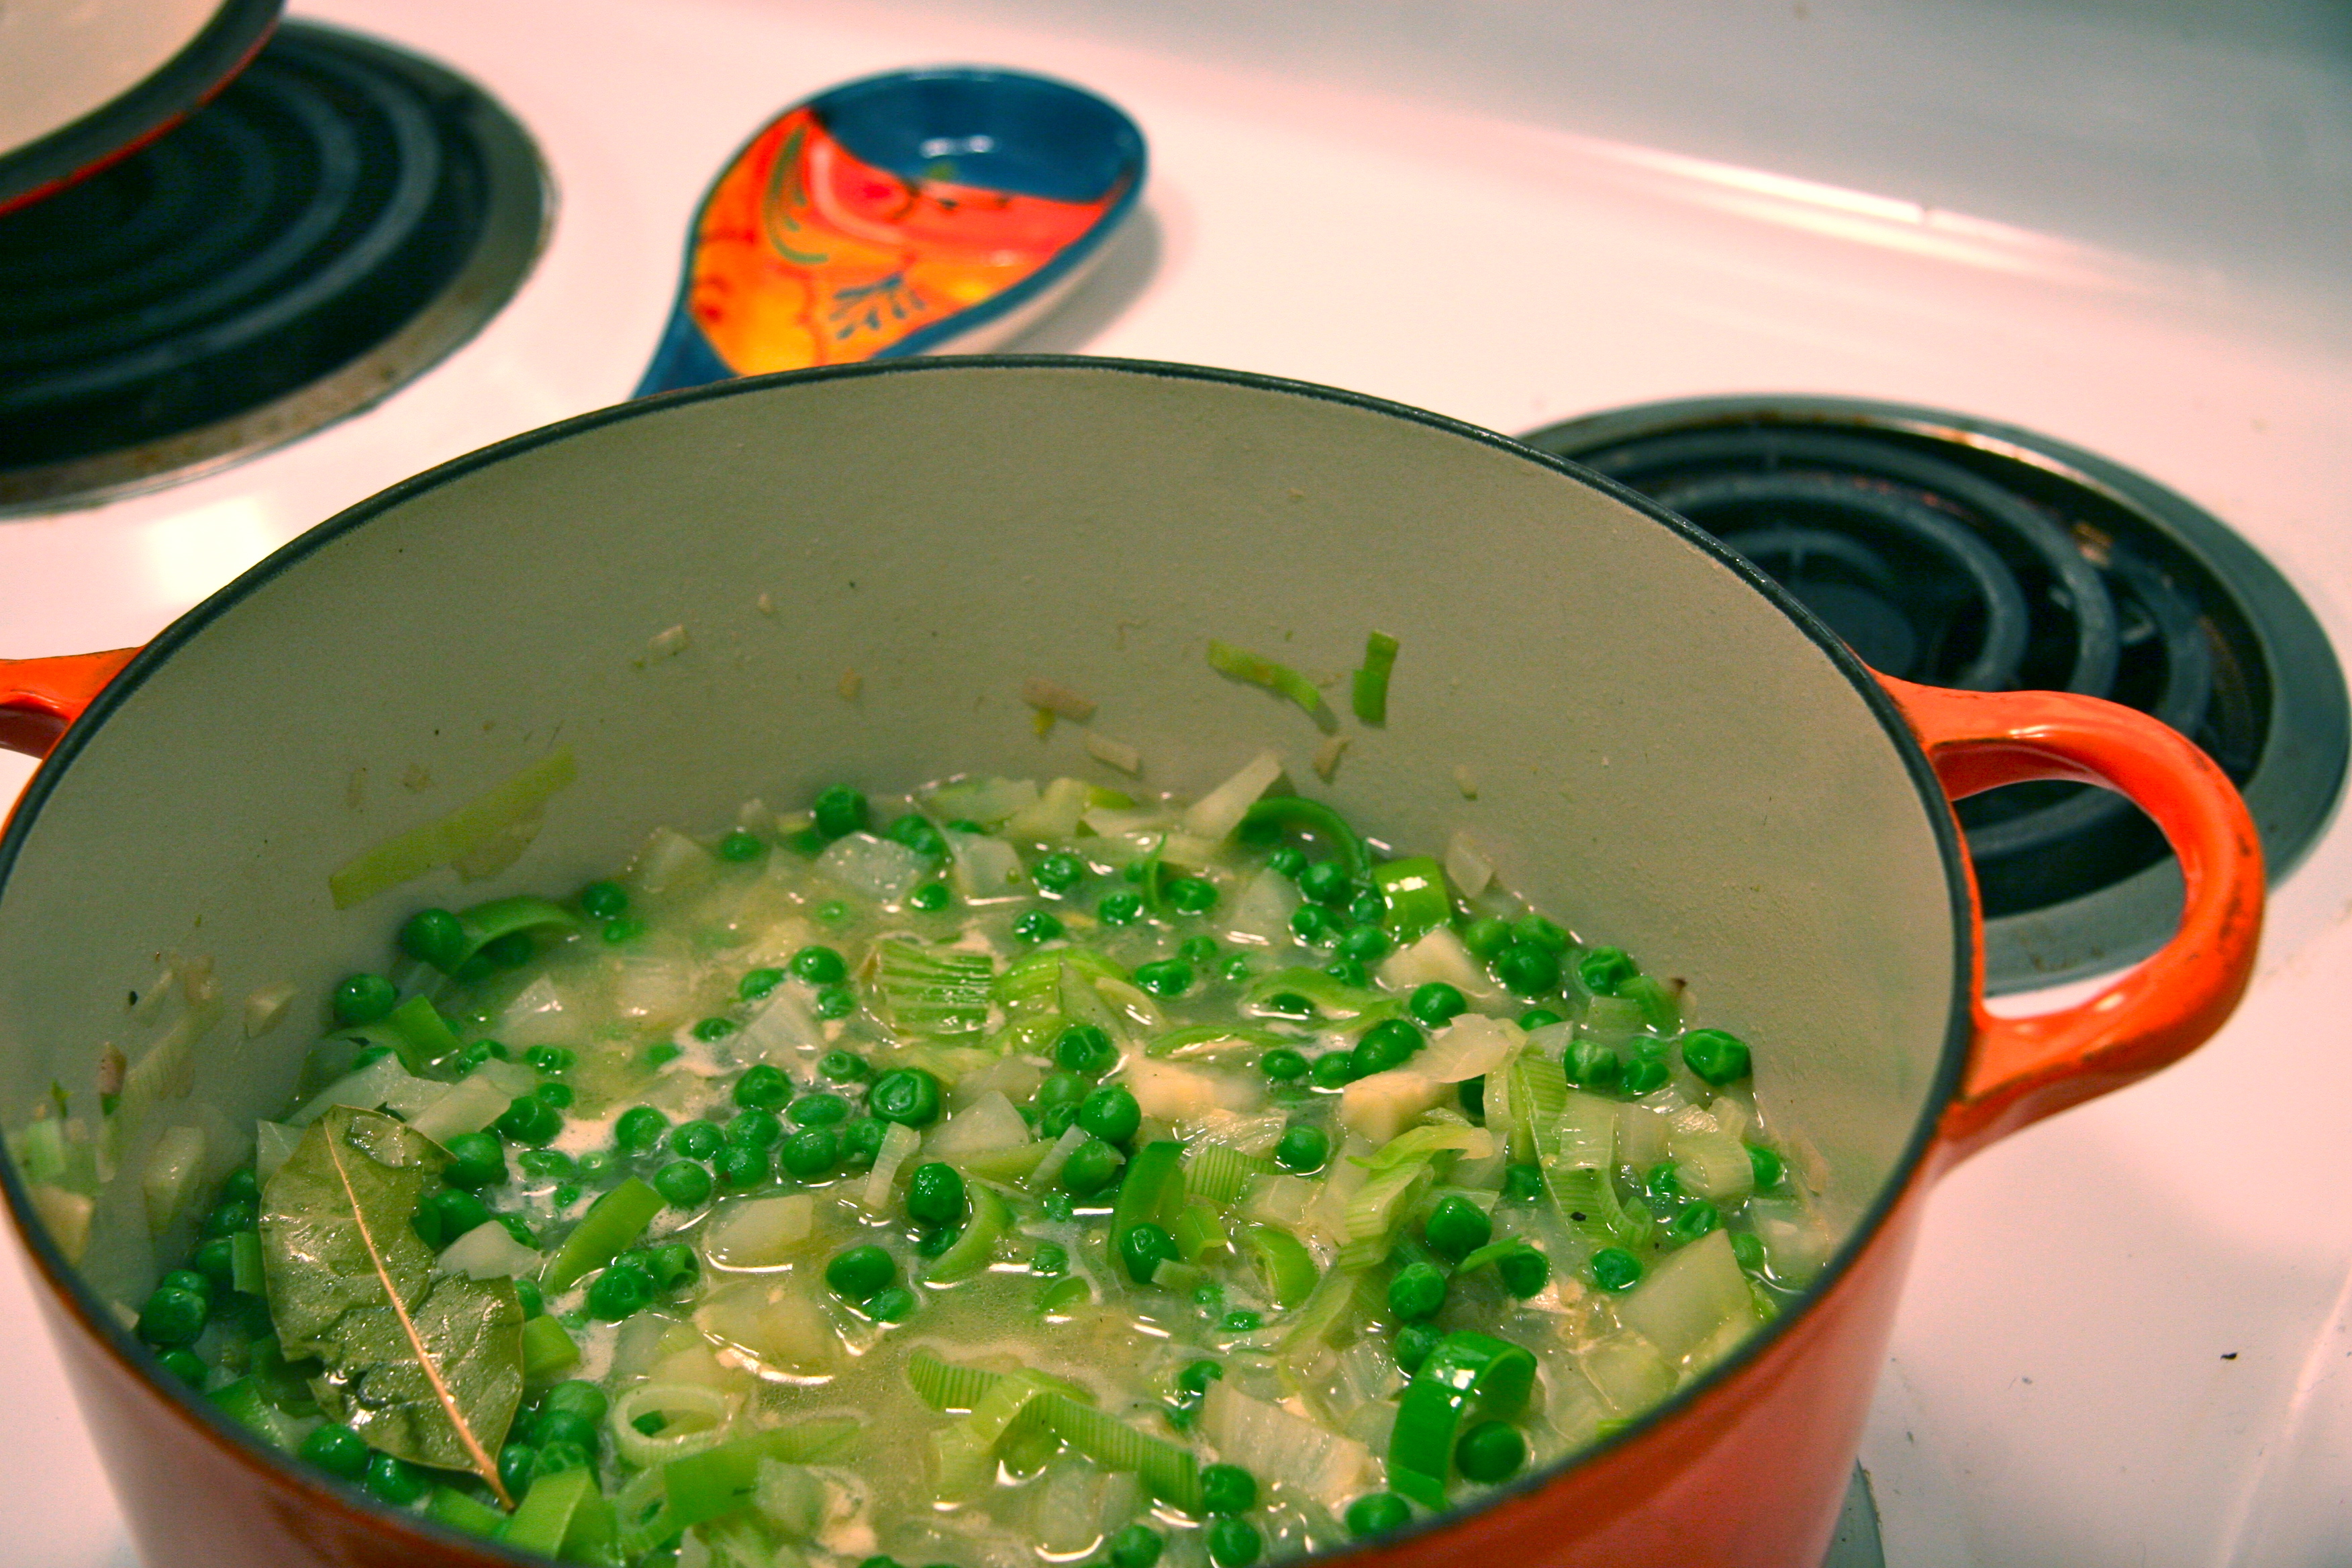
- Melt the butter in a heavy, large saucepan over medium heat. Add the shallots and fennel. Season with the salt and pepper. Cover the pan and cook 5 minutes, stirring occasionally. Stir in the leeks and continue to cook until all the vegetables are almost tender, another 3 to 5 minutes. Mix in the peas, broth, and bay leaf. Bring the soup to a boil. Cover; reduce the heat to medium-low and simmer until the vegetables are just tender, 5 to 6 minutes. Remove the bay leaf from the saucepan and discard.
- Using a blender, or immersion blender, blend the soup until smooth. If using a standing blender, take the saucepan off of the heat for 5 minutes and then blend just 1 cup at a time. Pour the soup back into the saucepan and keep warm over low heat. Season with additional salt and pepper to taste. Thin out the soup by adding 1 tablespoon of extra broth at a time, if needed.
- Ladle the soup into bowls and serve with a sprinkle of parmesan and a pinch of fennel fronds.