 Odds are you’ve had at least one corn dish so far this summer. Grilled on the cobb, boiled on the cob, off the cobb on a salad, in a salsa, in a pasta dish, Mexican-style smothered in cojita cheese, cayenne and lime (one of my favorite ways)—the options are nearly endless through corn’s summer season. But have you had a plate of warm, sweet, fresh corn polenta yet? Did you know you could make fresh corn polenta? Did you know you could make it very easily? I certainly didn’t.
My polenta experiences, like many of yours perhaps, have been that of sometimes gummy, sometimes watery, cornmeal porridge. But seeing as cornmeal is just coarse flour made from dried corn, it does seem logical that you could make a fresher version.
The thought first crossed my mind when I stumbled upon a recipe for sweet corn polenta in Yotam Ottolenghi’s gorgeous vegetarian cookbook, Plenty. As a side note, I’ve spent the past few years flirting with this cookbook from the acclaimed British restaurateur each time I’ve walked into a bookstore. Seeing as I’m dating a former English major who works in publishing, I’ve found myself in bookstores quite often. I rarely read novels or your typical nonfiction books (a pain point for half of those in our relationship 🙂 ), but I do read cookbooks. A lot. And this was one I’ve been wanting to get my hands on.
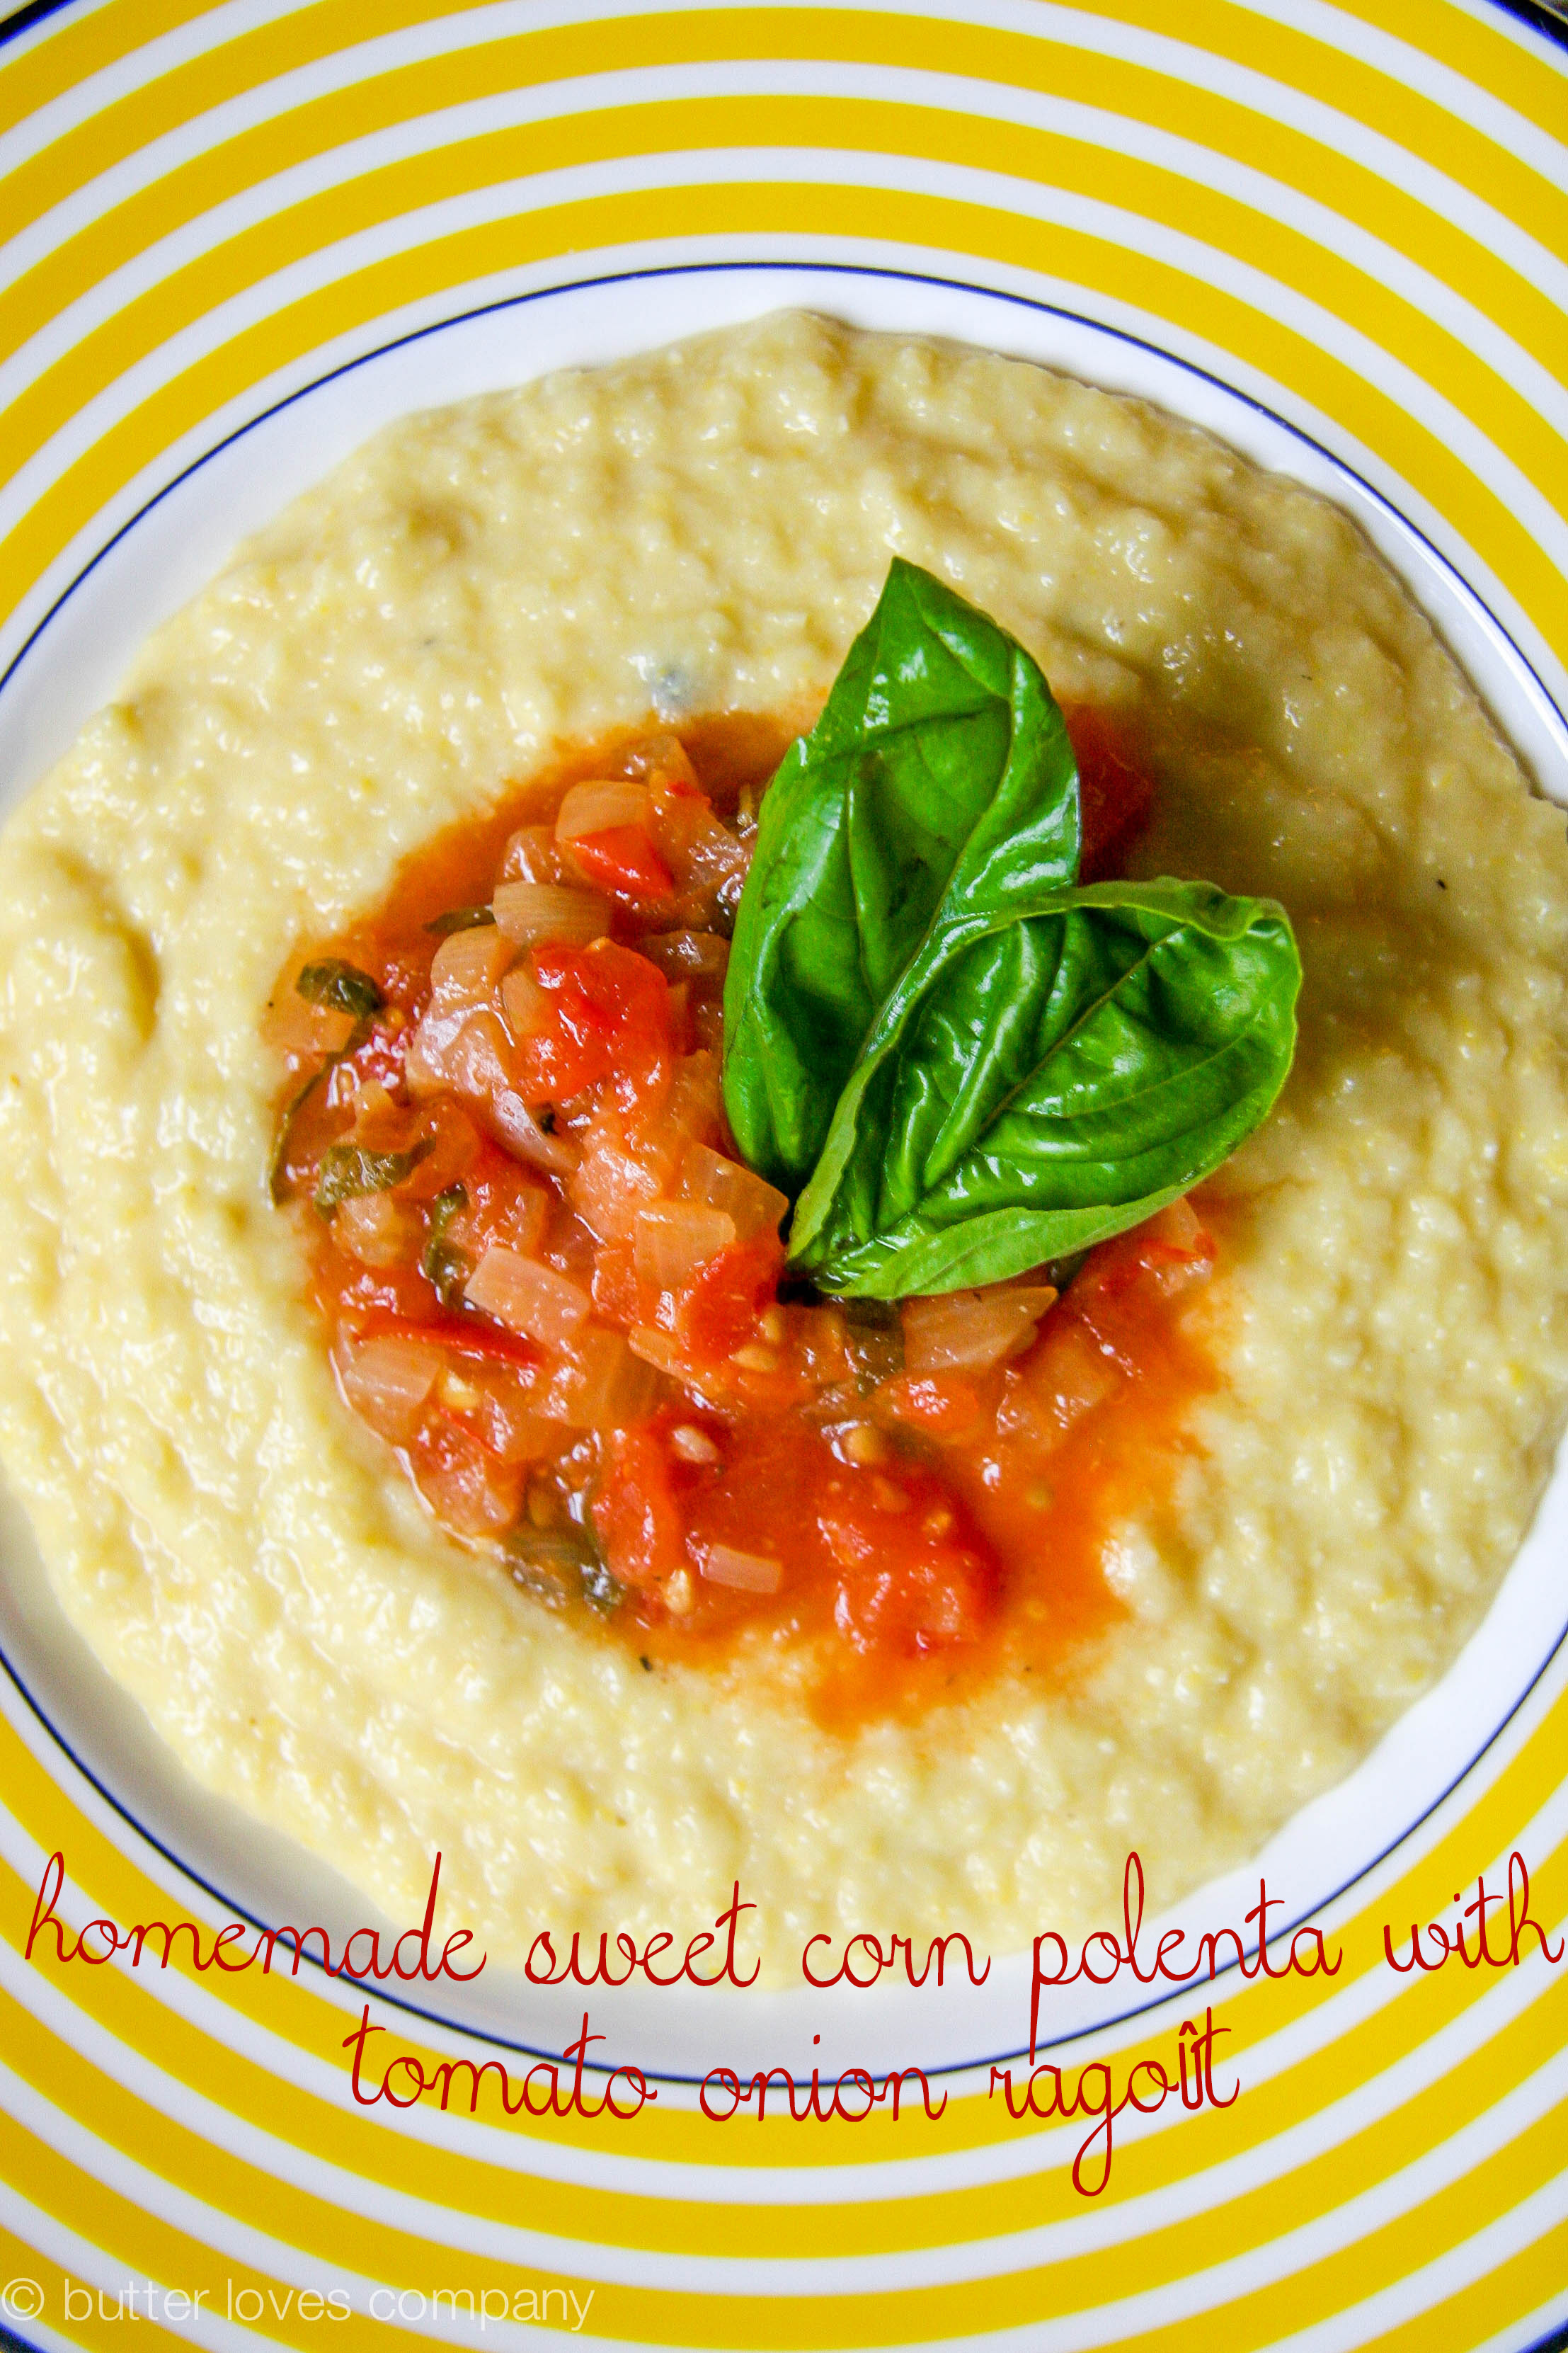
As I read more and more of my favorite bloggers confirming the excellence of Ottolenghi’s unique recipes (see here, here, or here, for example) it became clear it was time for me to take the plunge. We had our first date the other night and it was glorious. Greg declared the result of my rendezvous hands down the best polenta he had eaten in his life. I agreed. After a very simple cook, blend, reduce process, the result was a remarkably creamy, cheesy and sweet polenta unlike any polenta made from dried cornmeal. I completed the meal with a quick, slightly spicy, slightly acidic vegetable ragoût. As a bonus, it reheated well, which is also a quality that dried polenta doesn’t always possess.
The original recipe called for mixing feta into the ground corn and eggplant into the ragoût but I didn’t have either on hand so I substituted with Parmesan and extra tomato and onions. I encourage you to top with any veggie sauce you enjoy since this polenta is a great vehicle for yummy sauce. Or you can top it with meat. Whatever you top it with, please let me know in the comments section how it comes out!
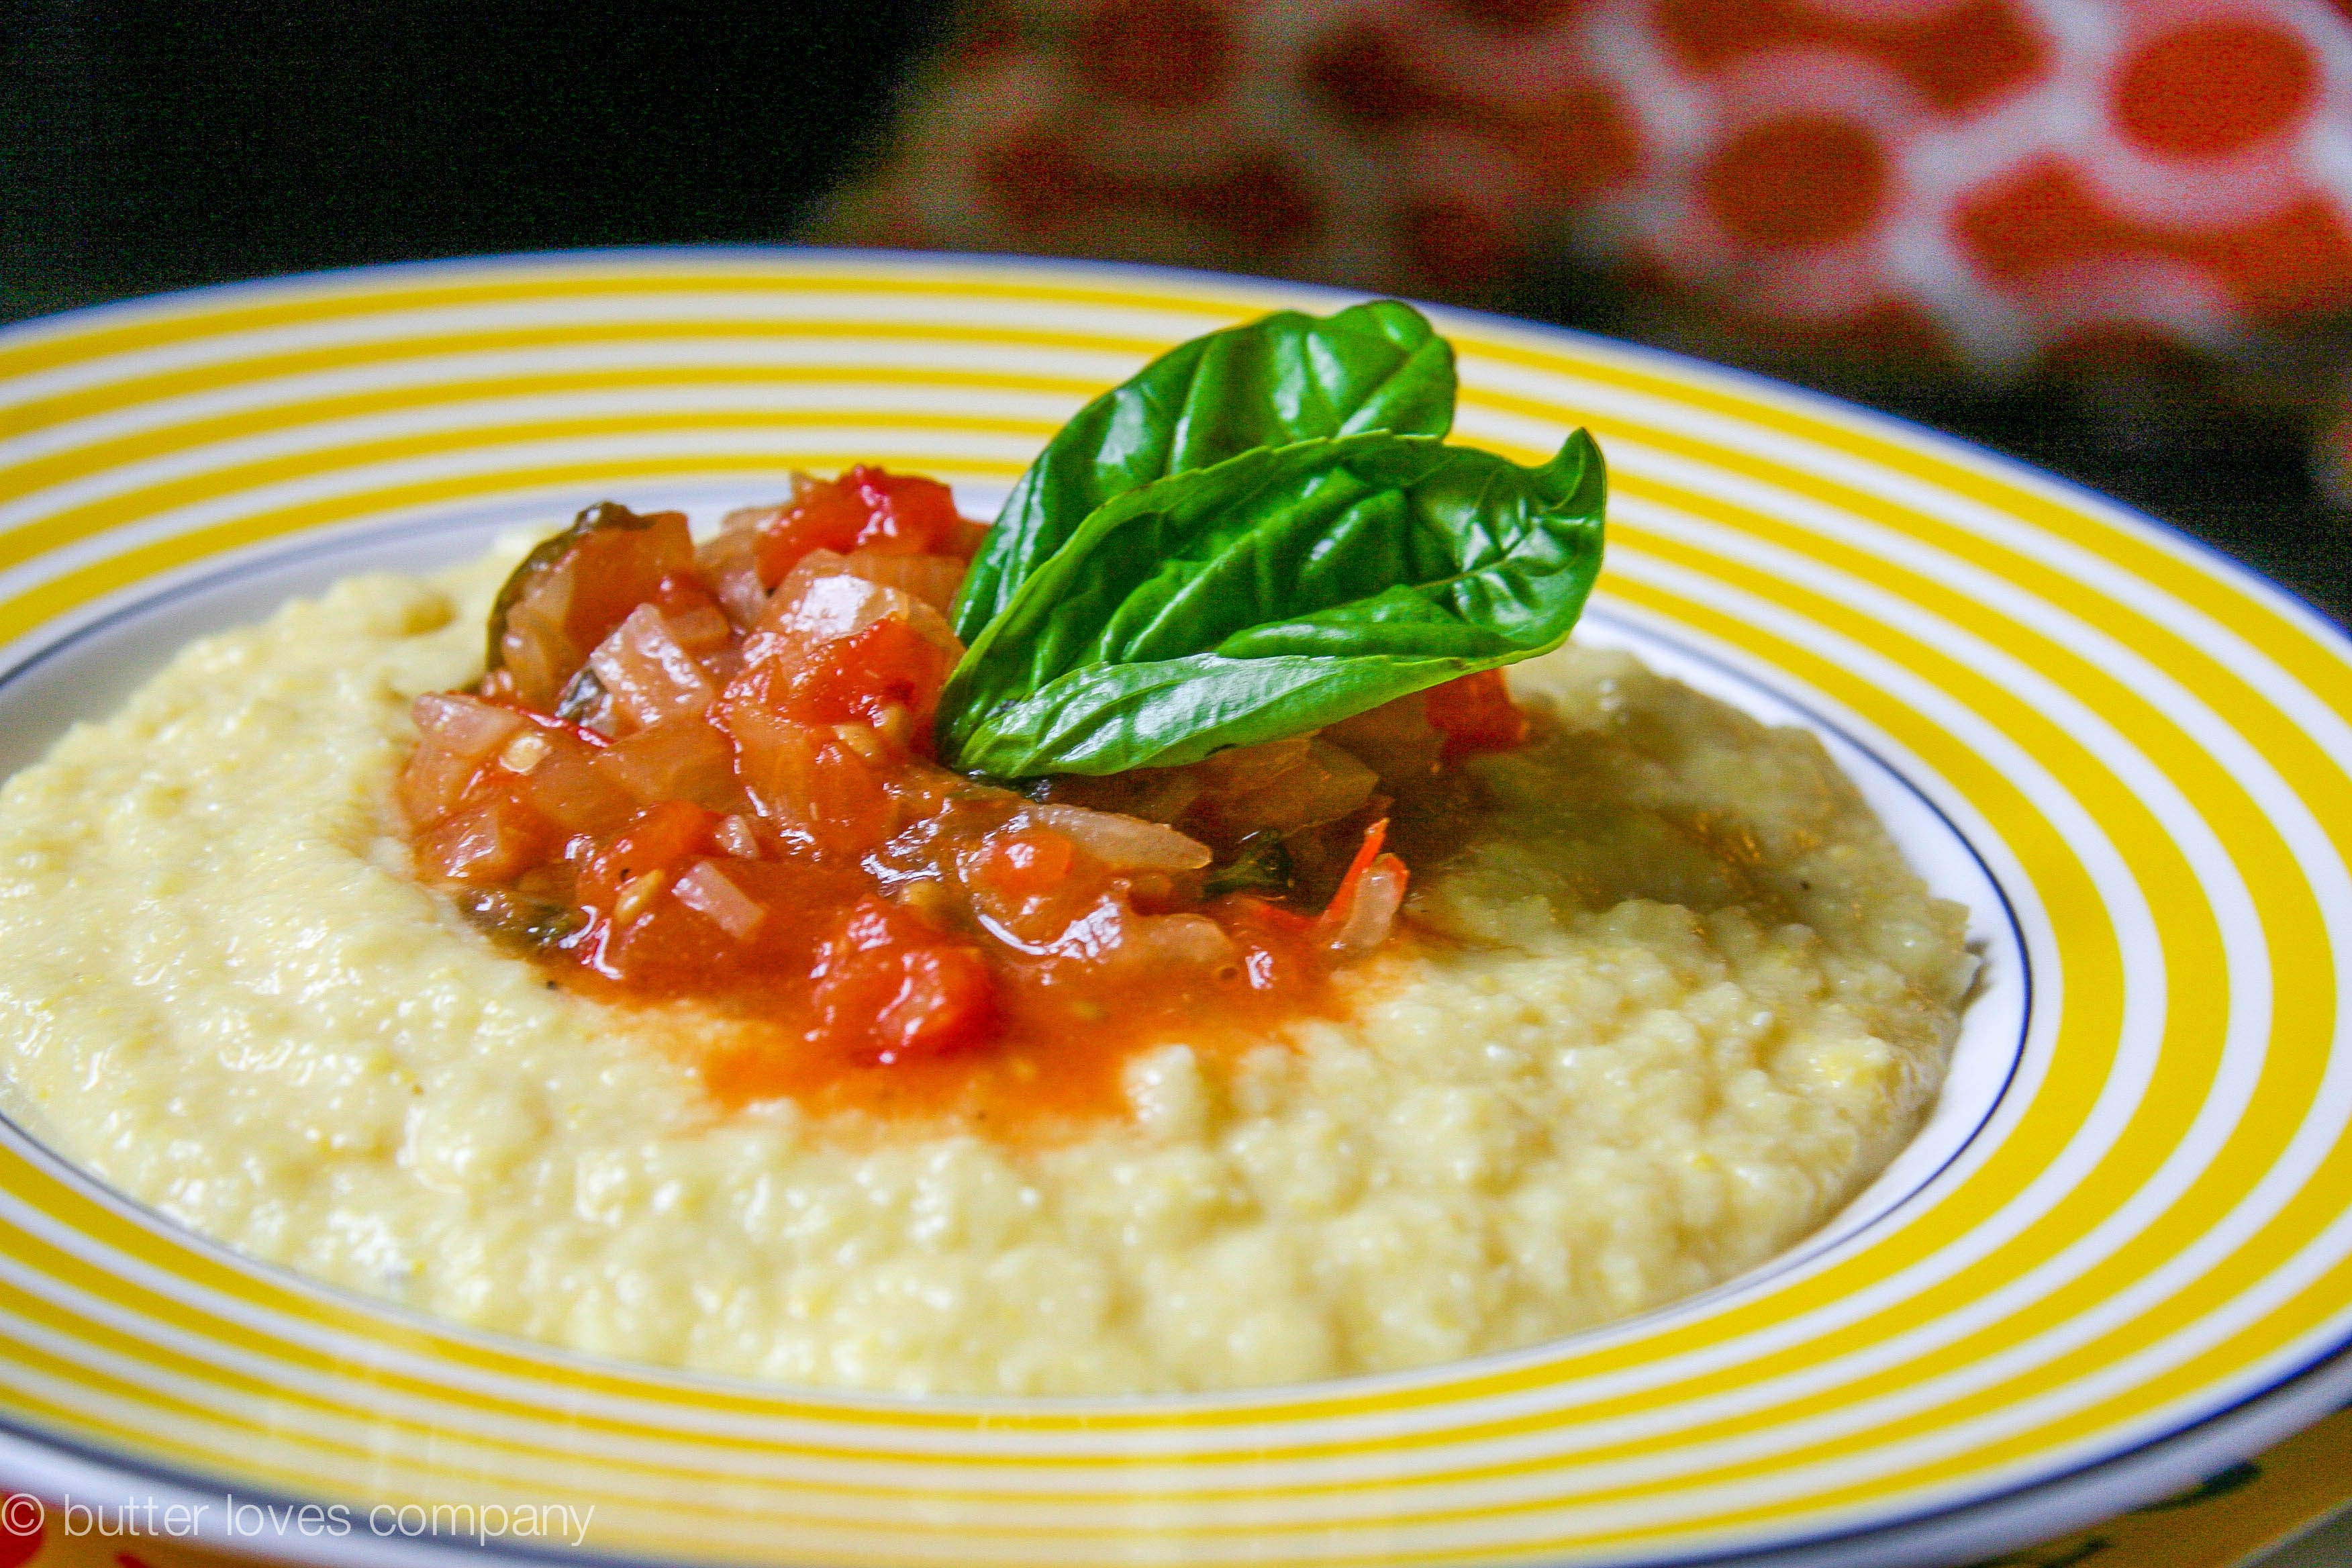
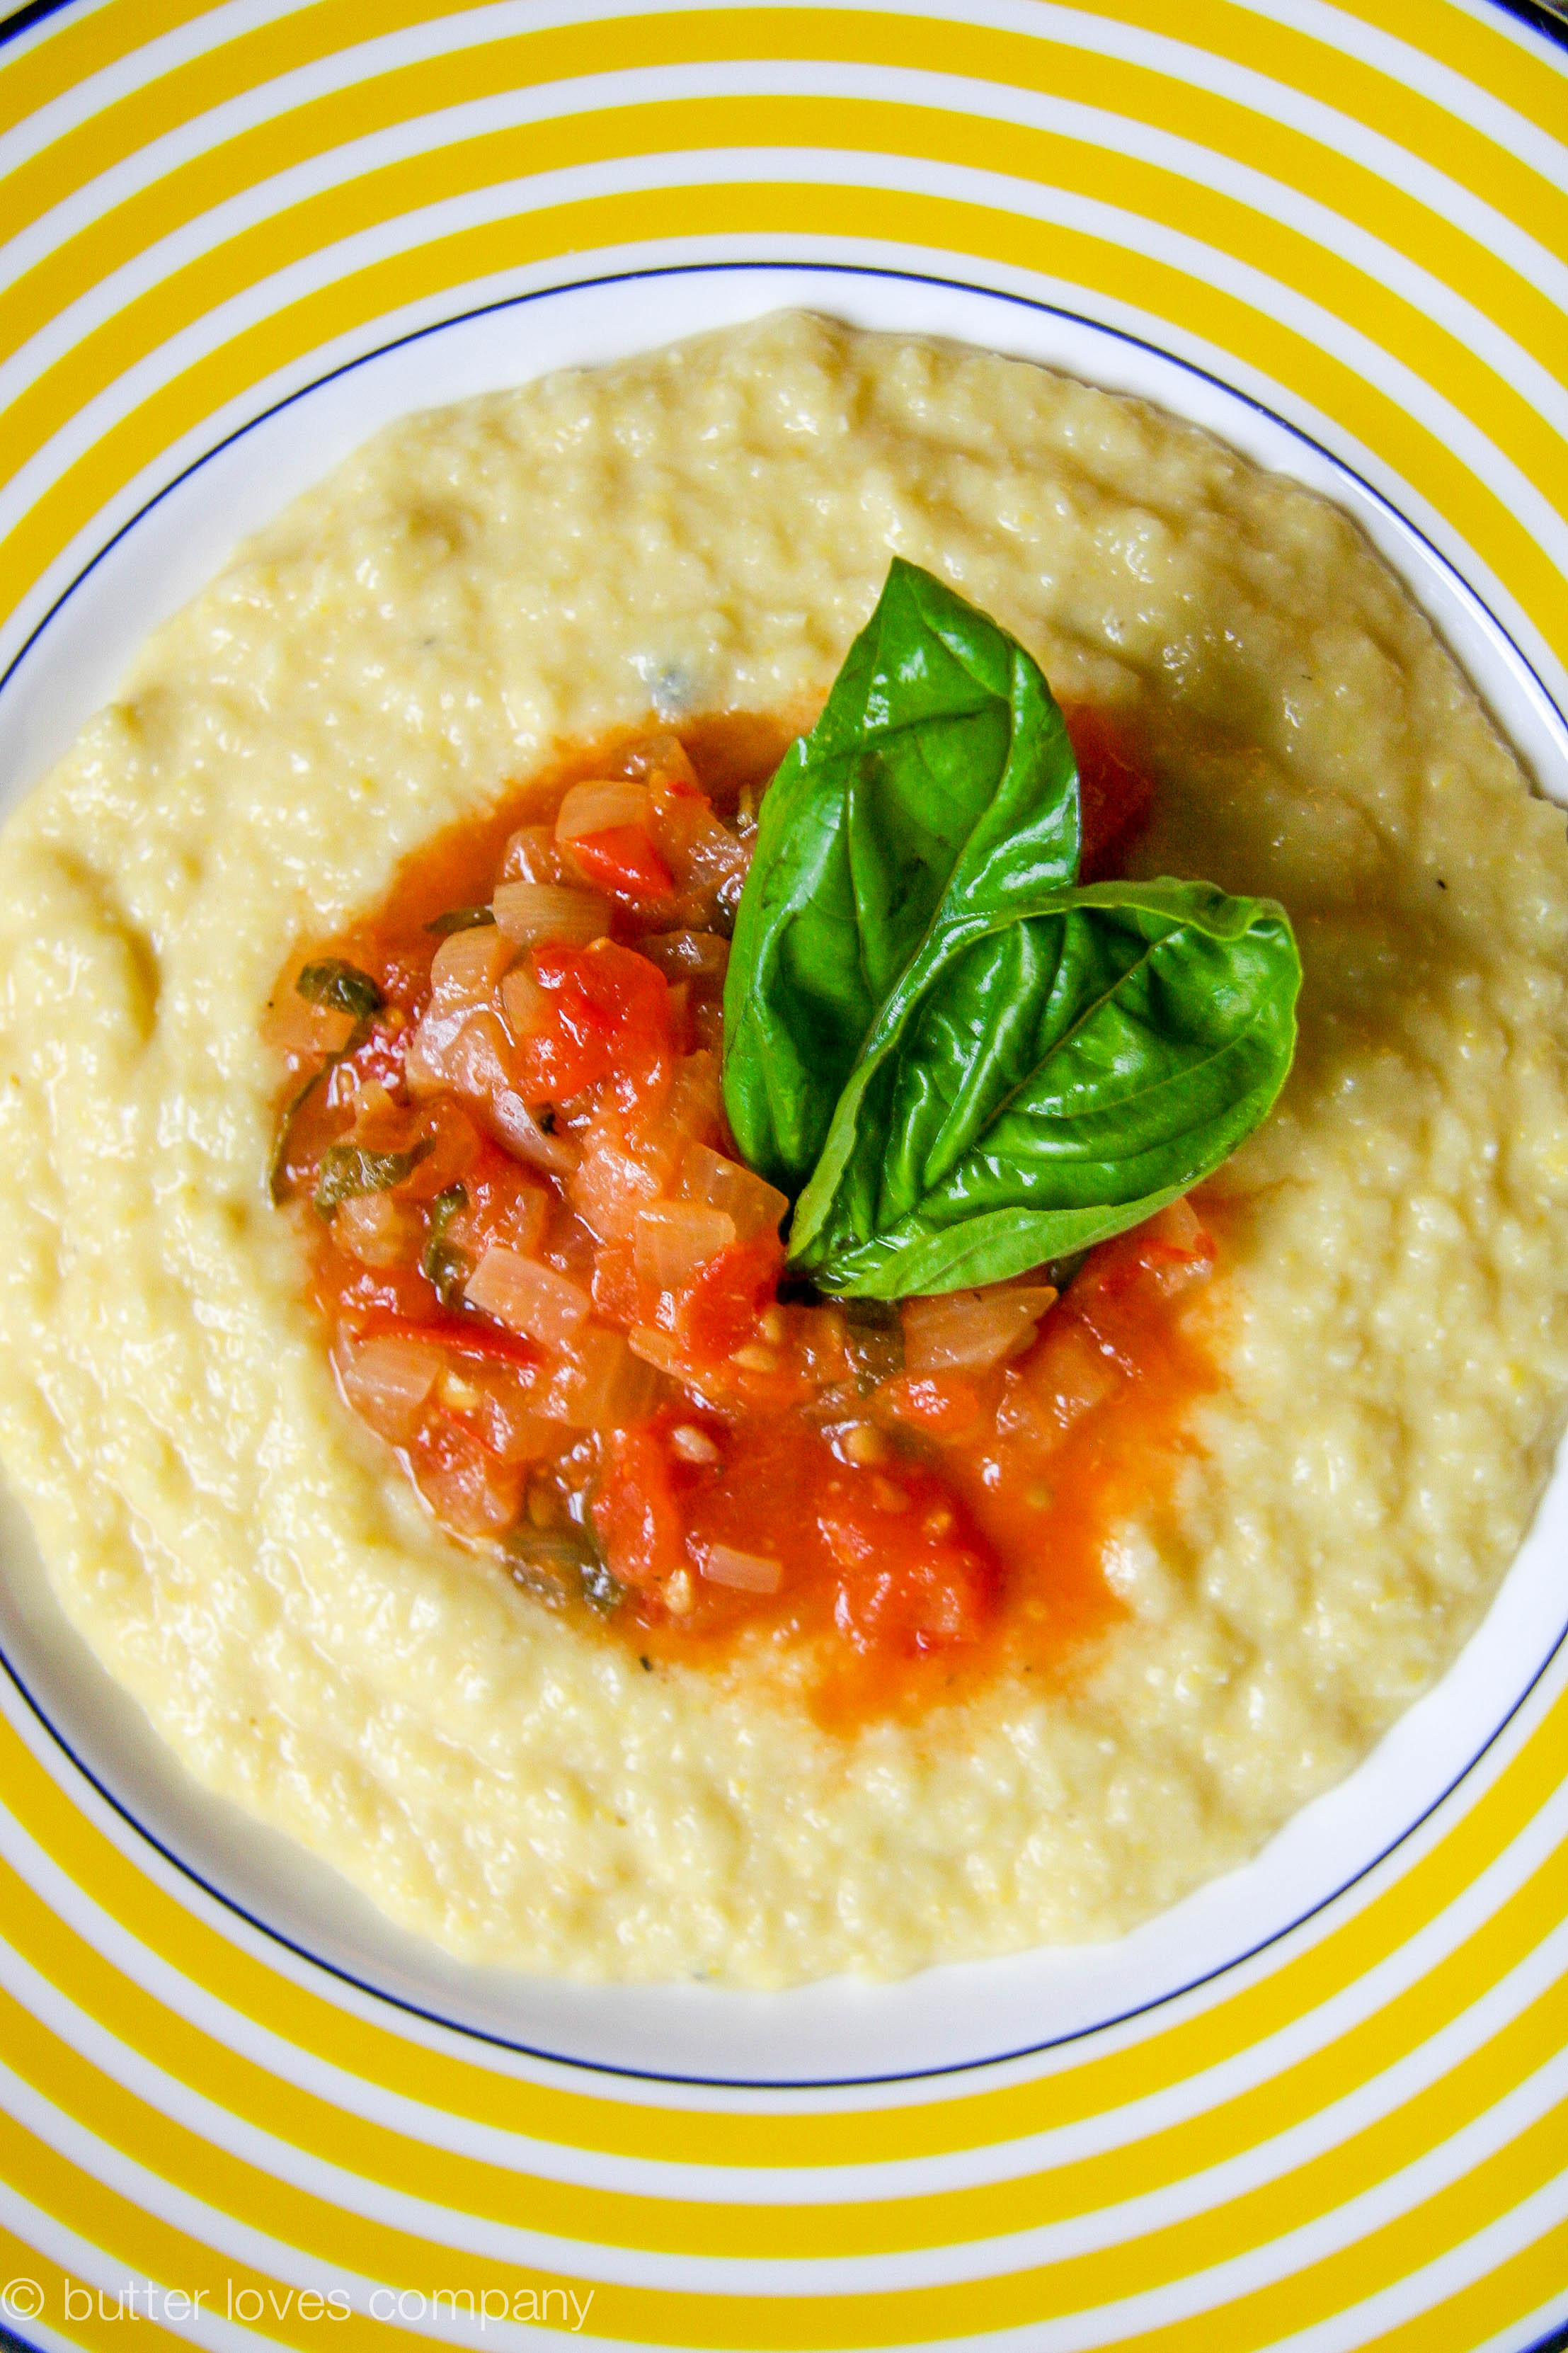
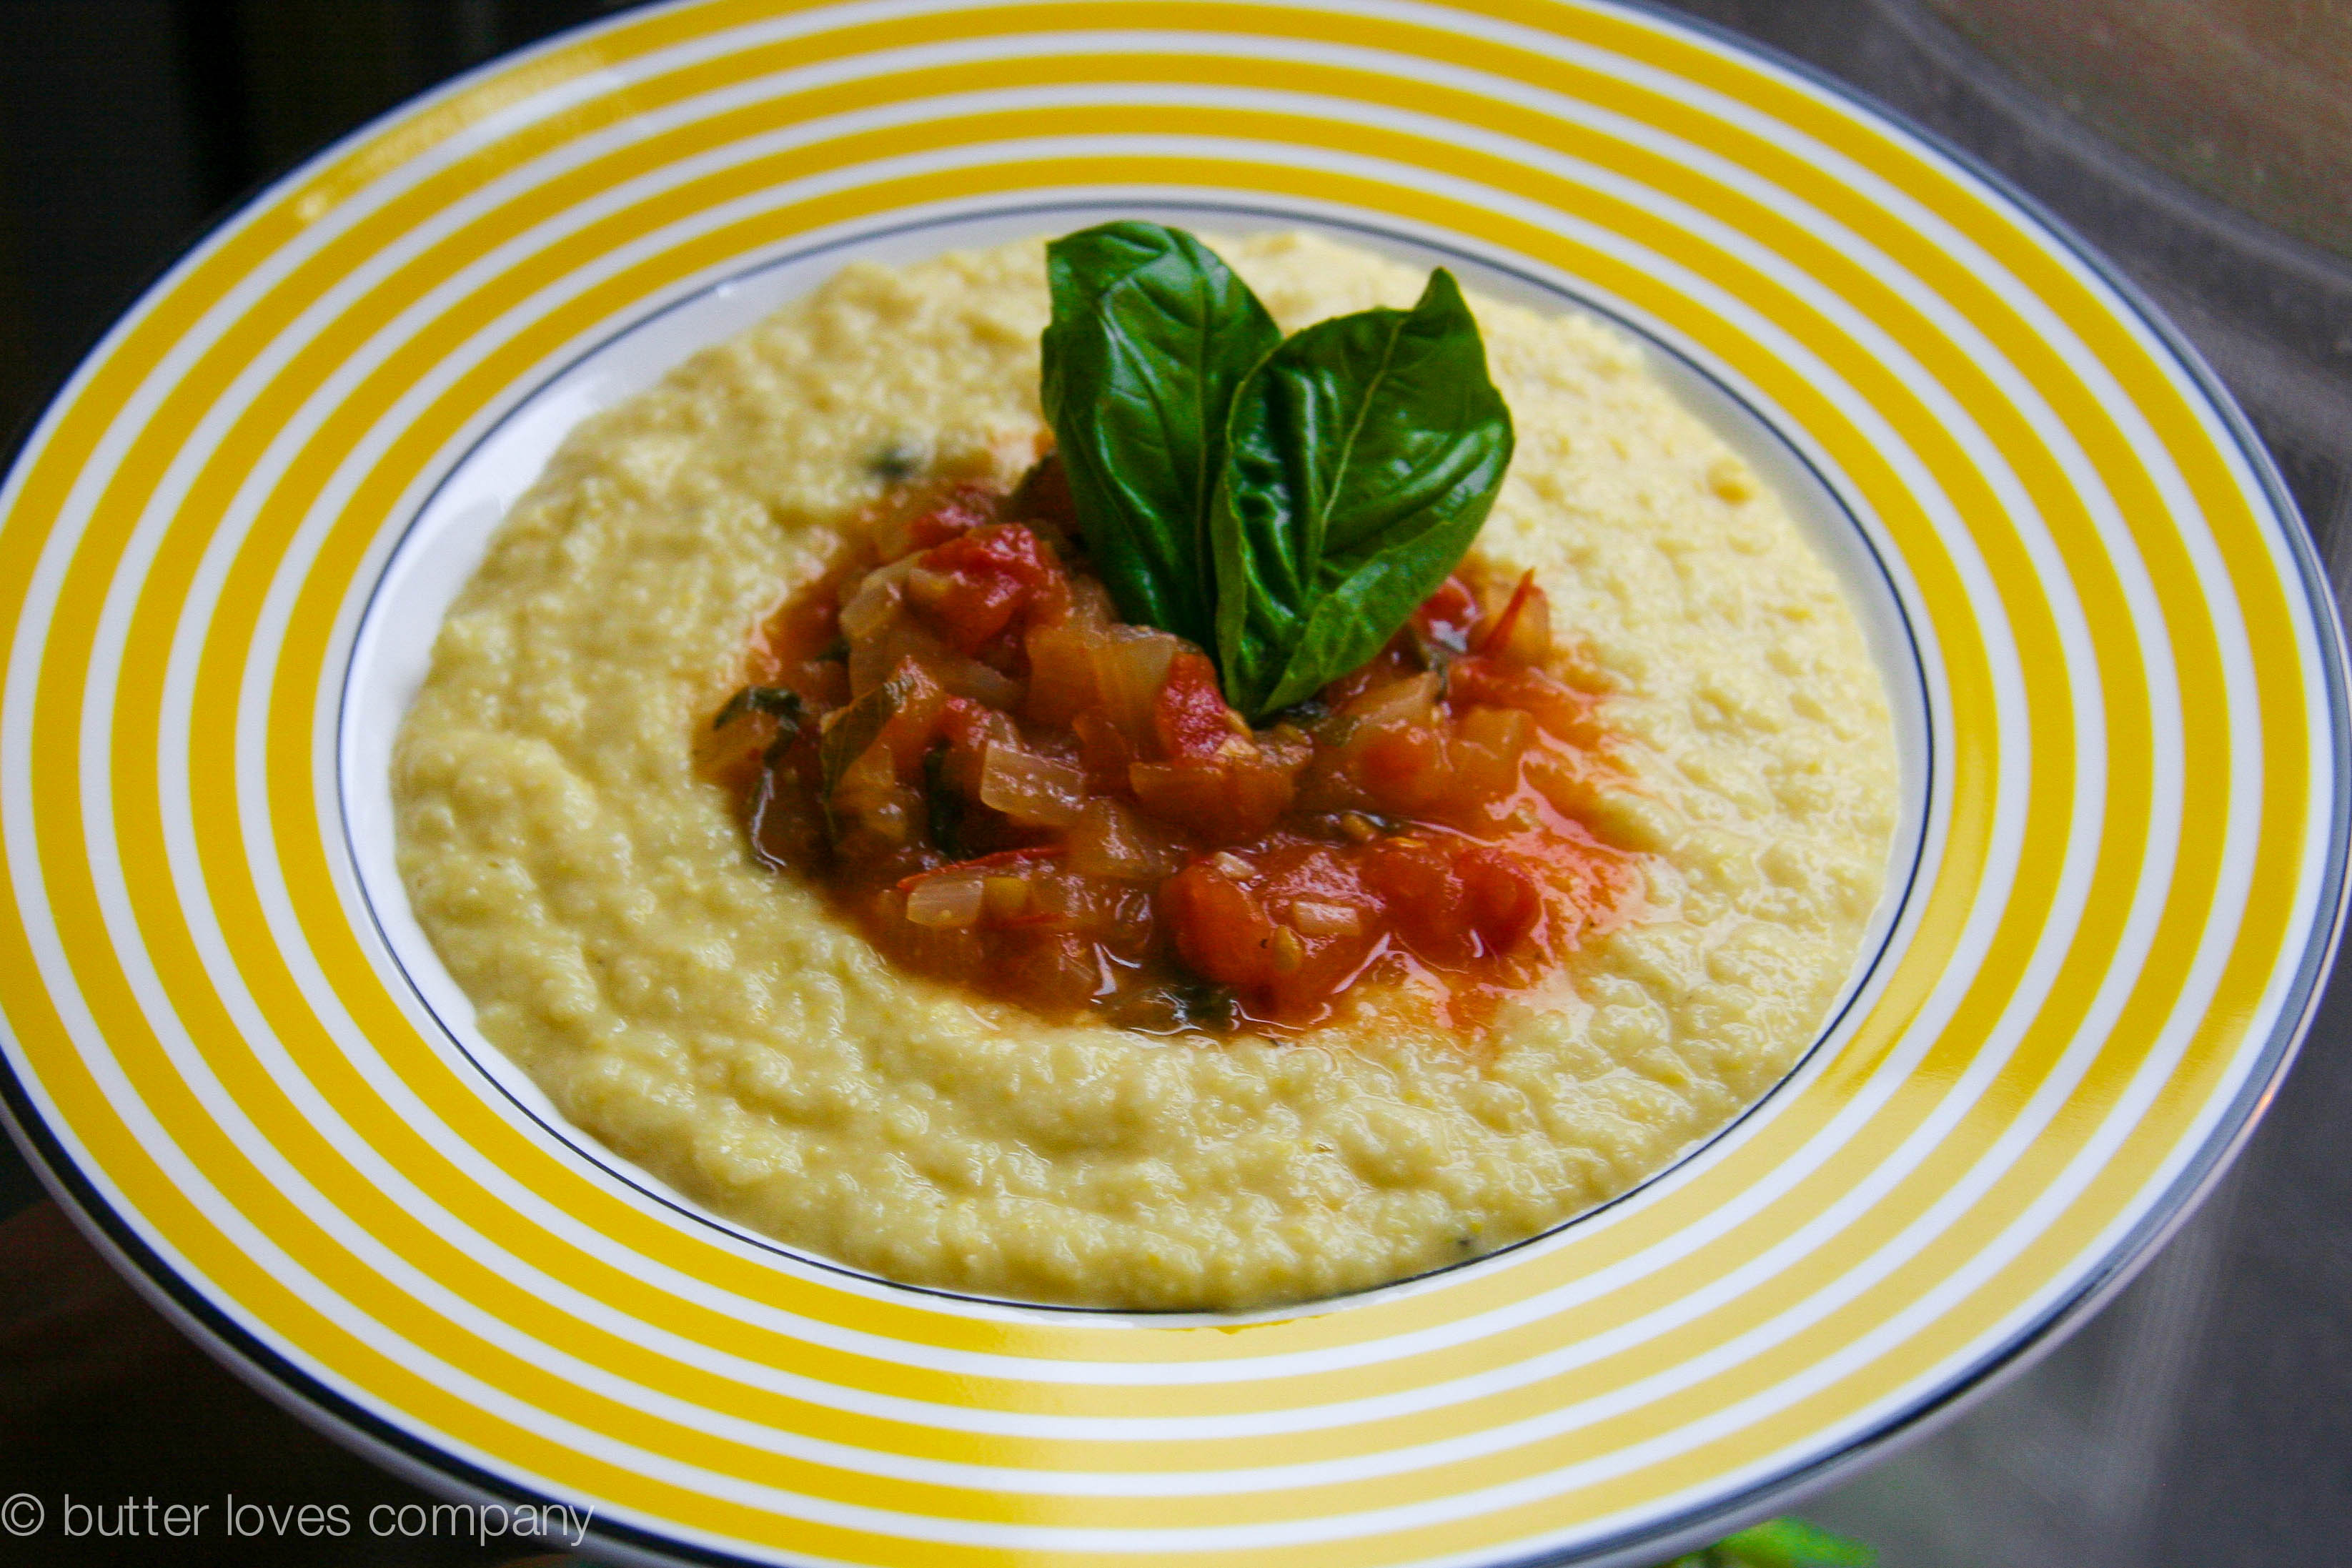
homemade sweet corn polenta with tomato onion ragoût
adapted from Plenty, by Yotam Ottolenghi
prep time: 20 minutes
cook time: 40 minutes
makes 4 entrée servings
tomato and onion ragoût
Ingredients:
2 tablespoons olive oil
2 cloves garlic, minced
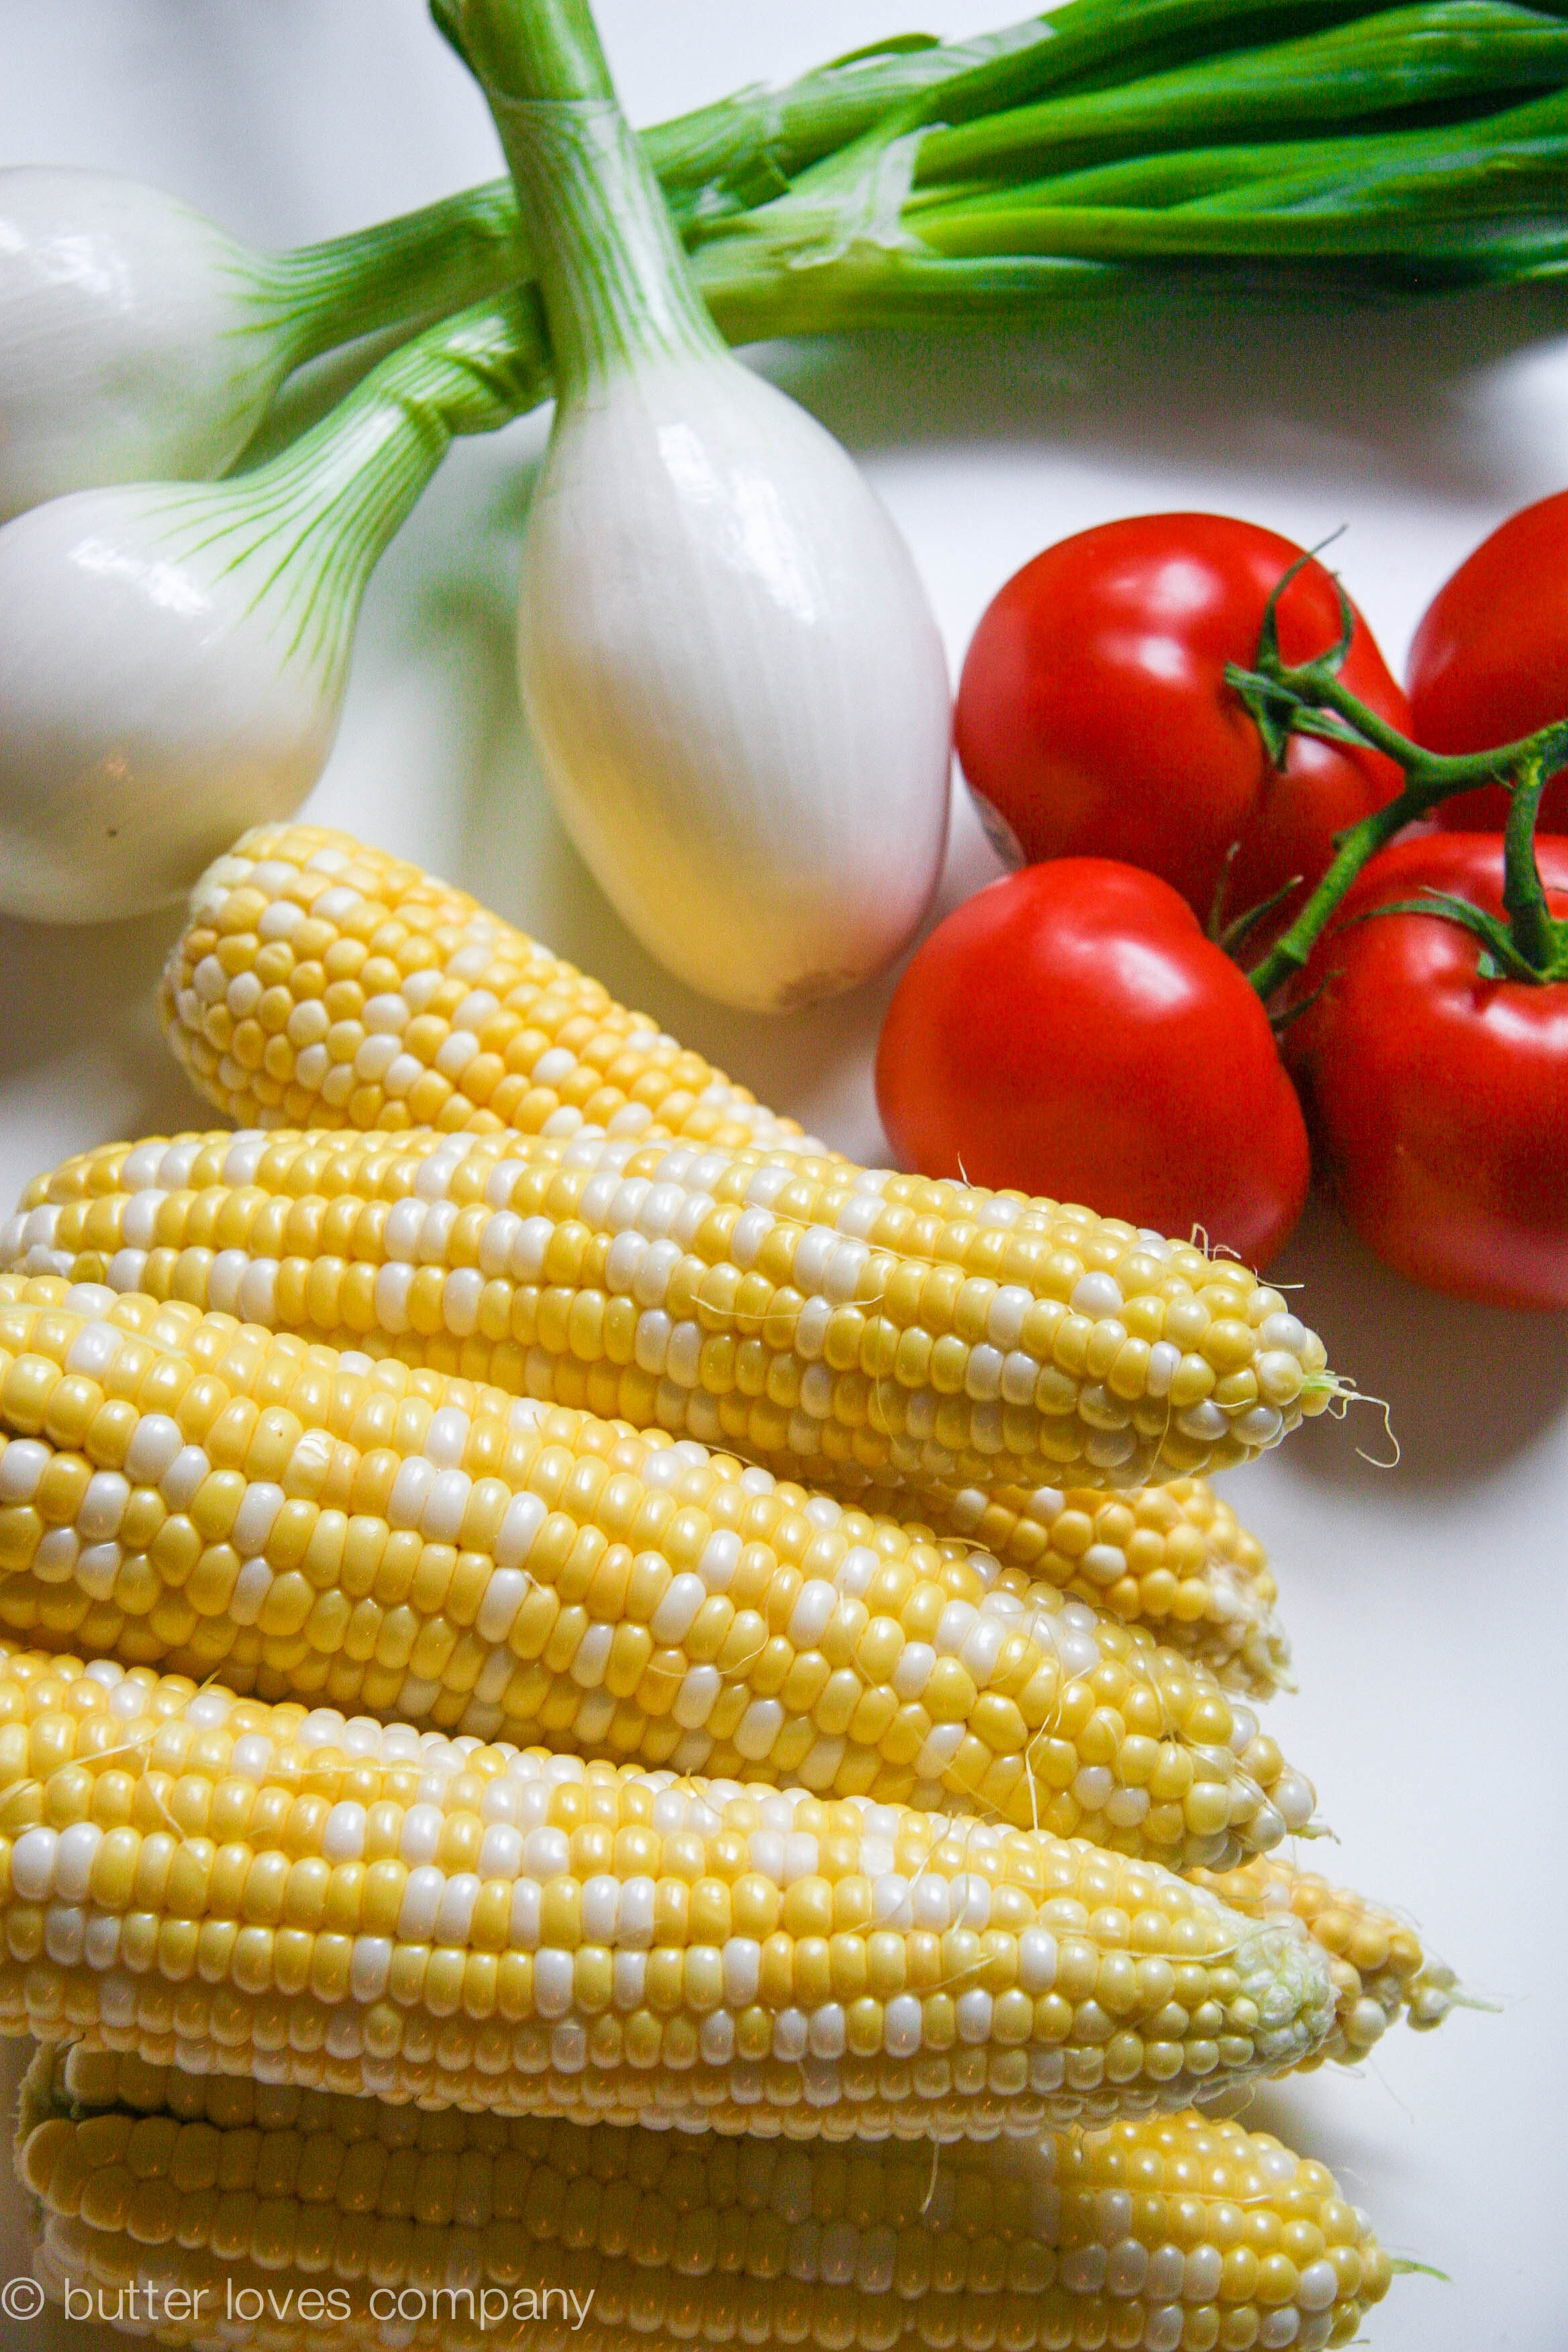
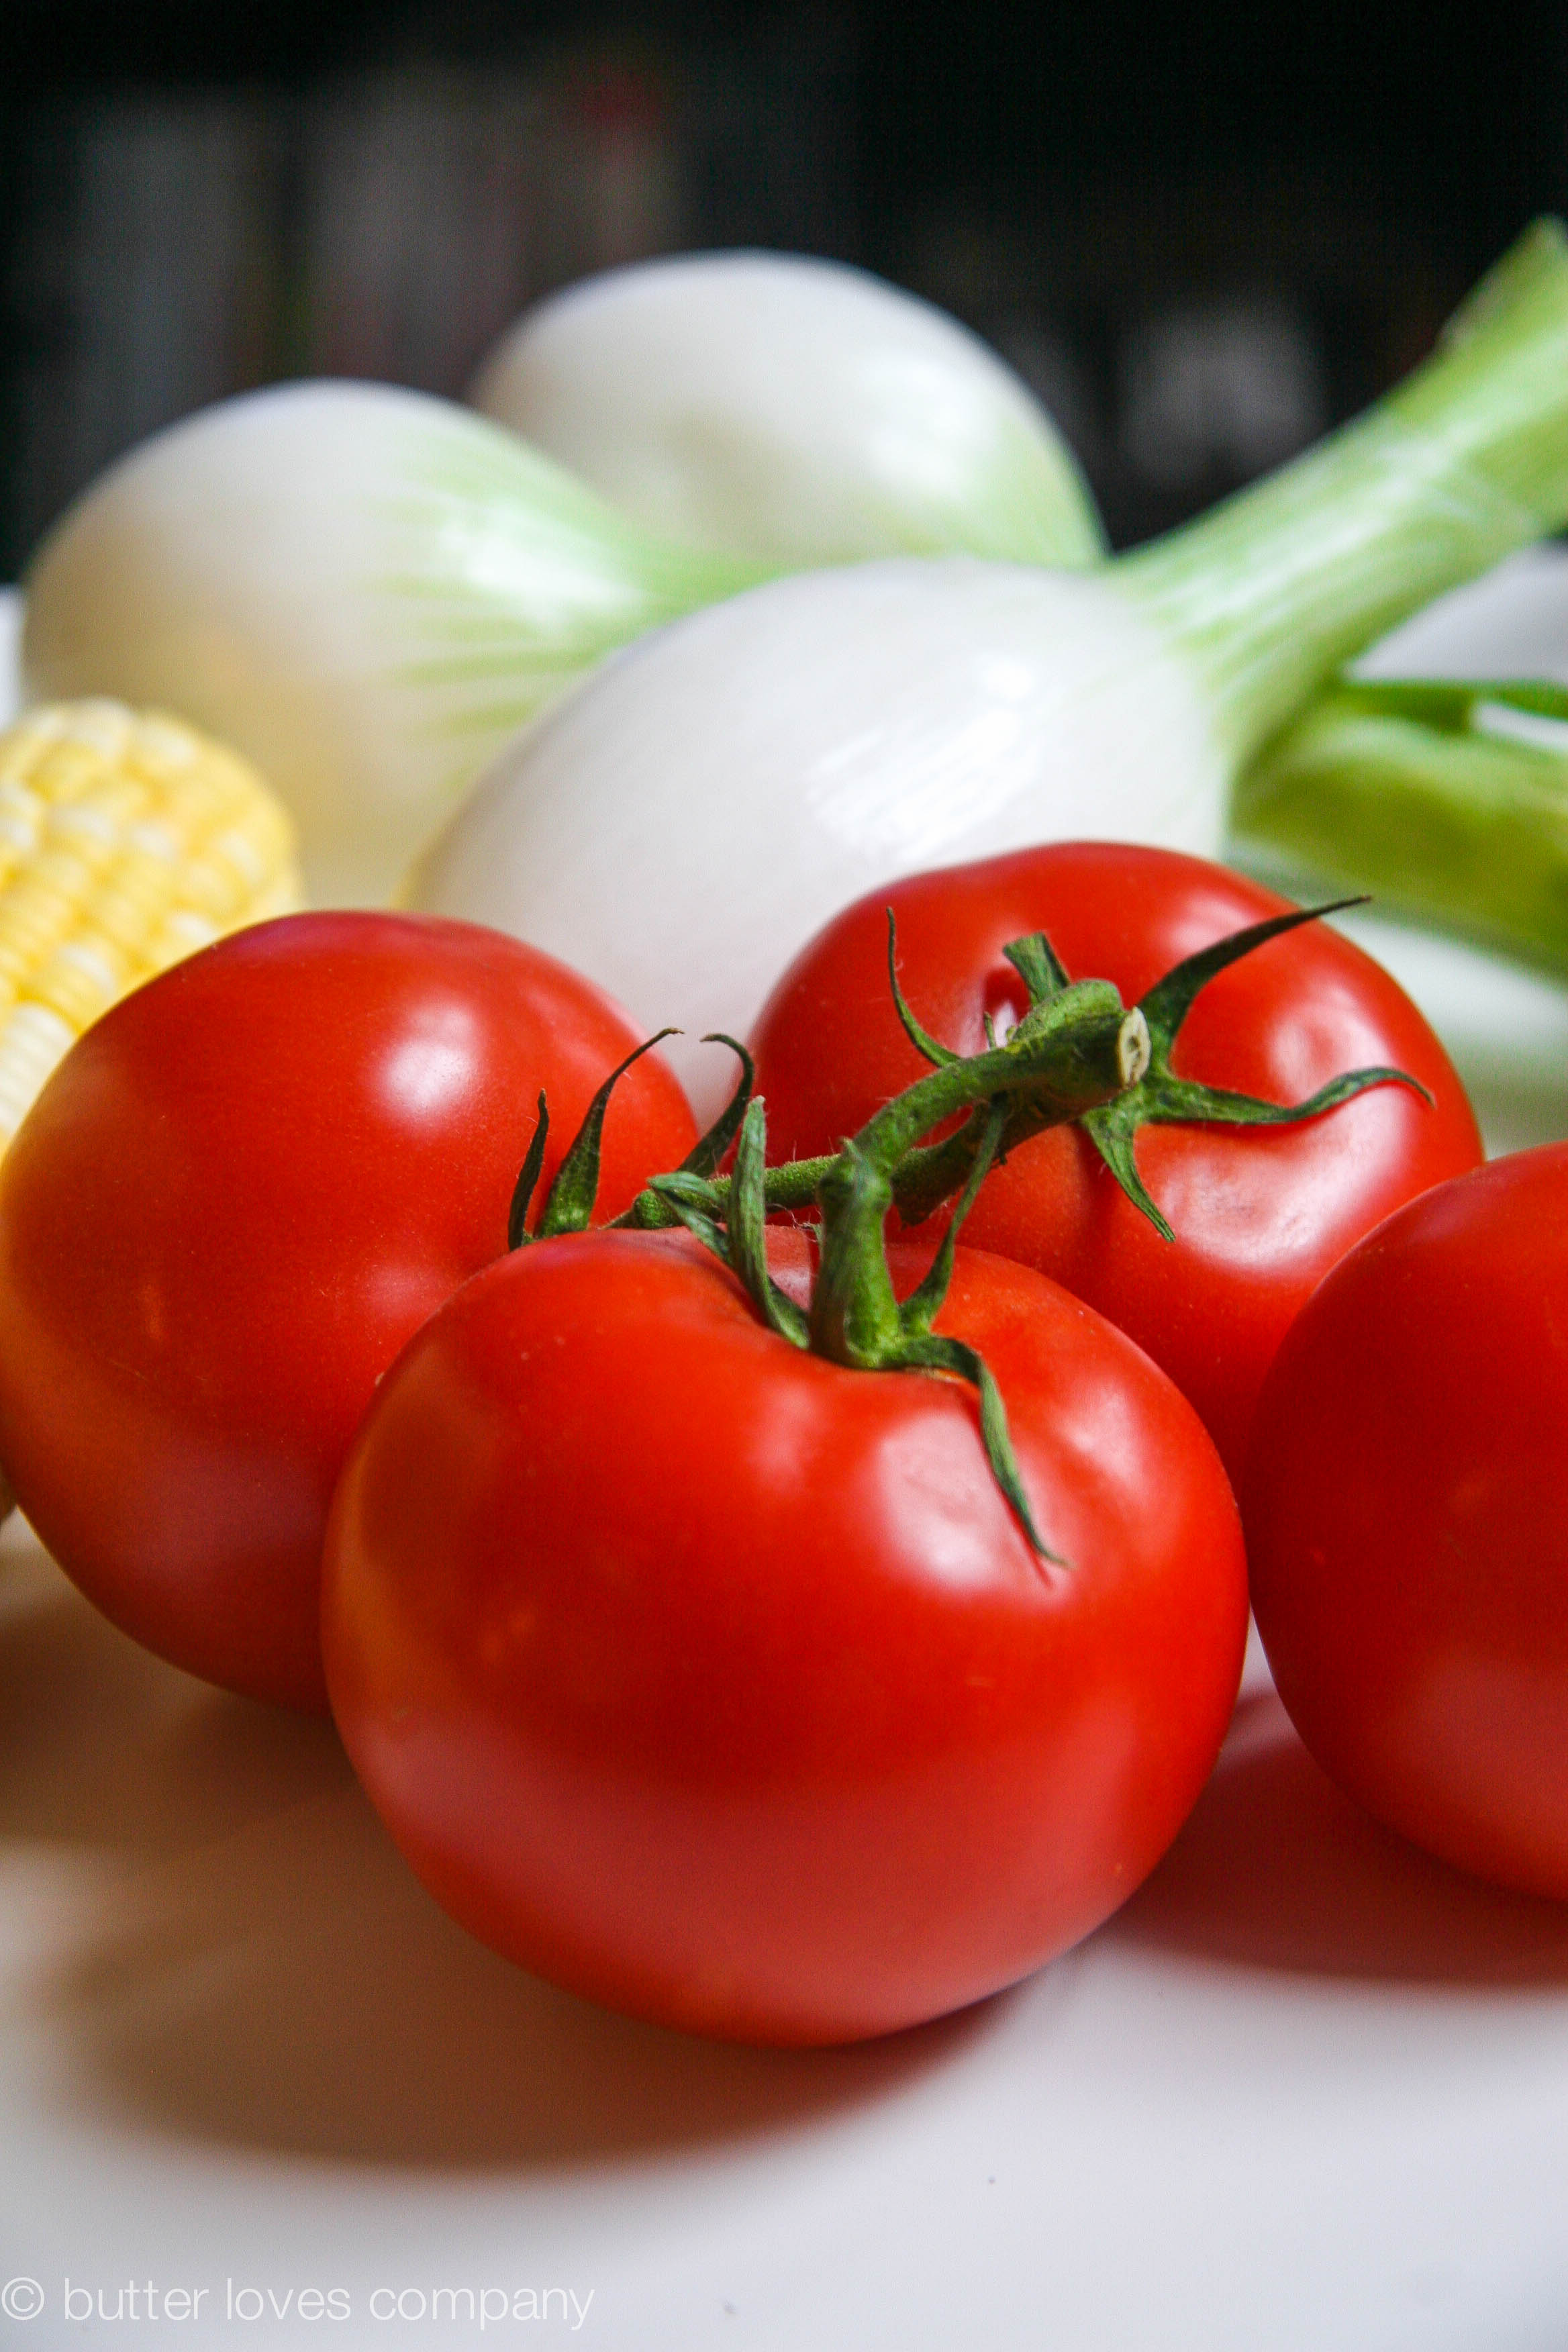
2 cups sweet white onions, diced
4 cups diced tomatoes (fresh or canned, if fresh it will be about 5 small tomatoes)
1/4 cup dry white wine
1/2 teaspoon salt
1/2 teaspoon sugar
1/4–1/2 teaspoon red pepper flakes (depending on your spice tolerance)
1 teaspoon chicken bouillon, if you have it
1/3 cup fresh basil, sliced into 1/4 inch ribbons
Instructions:
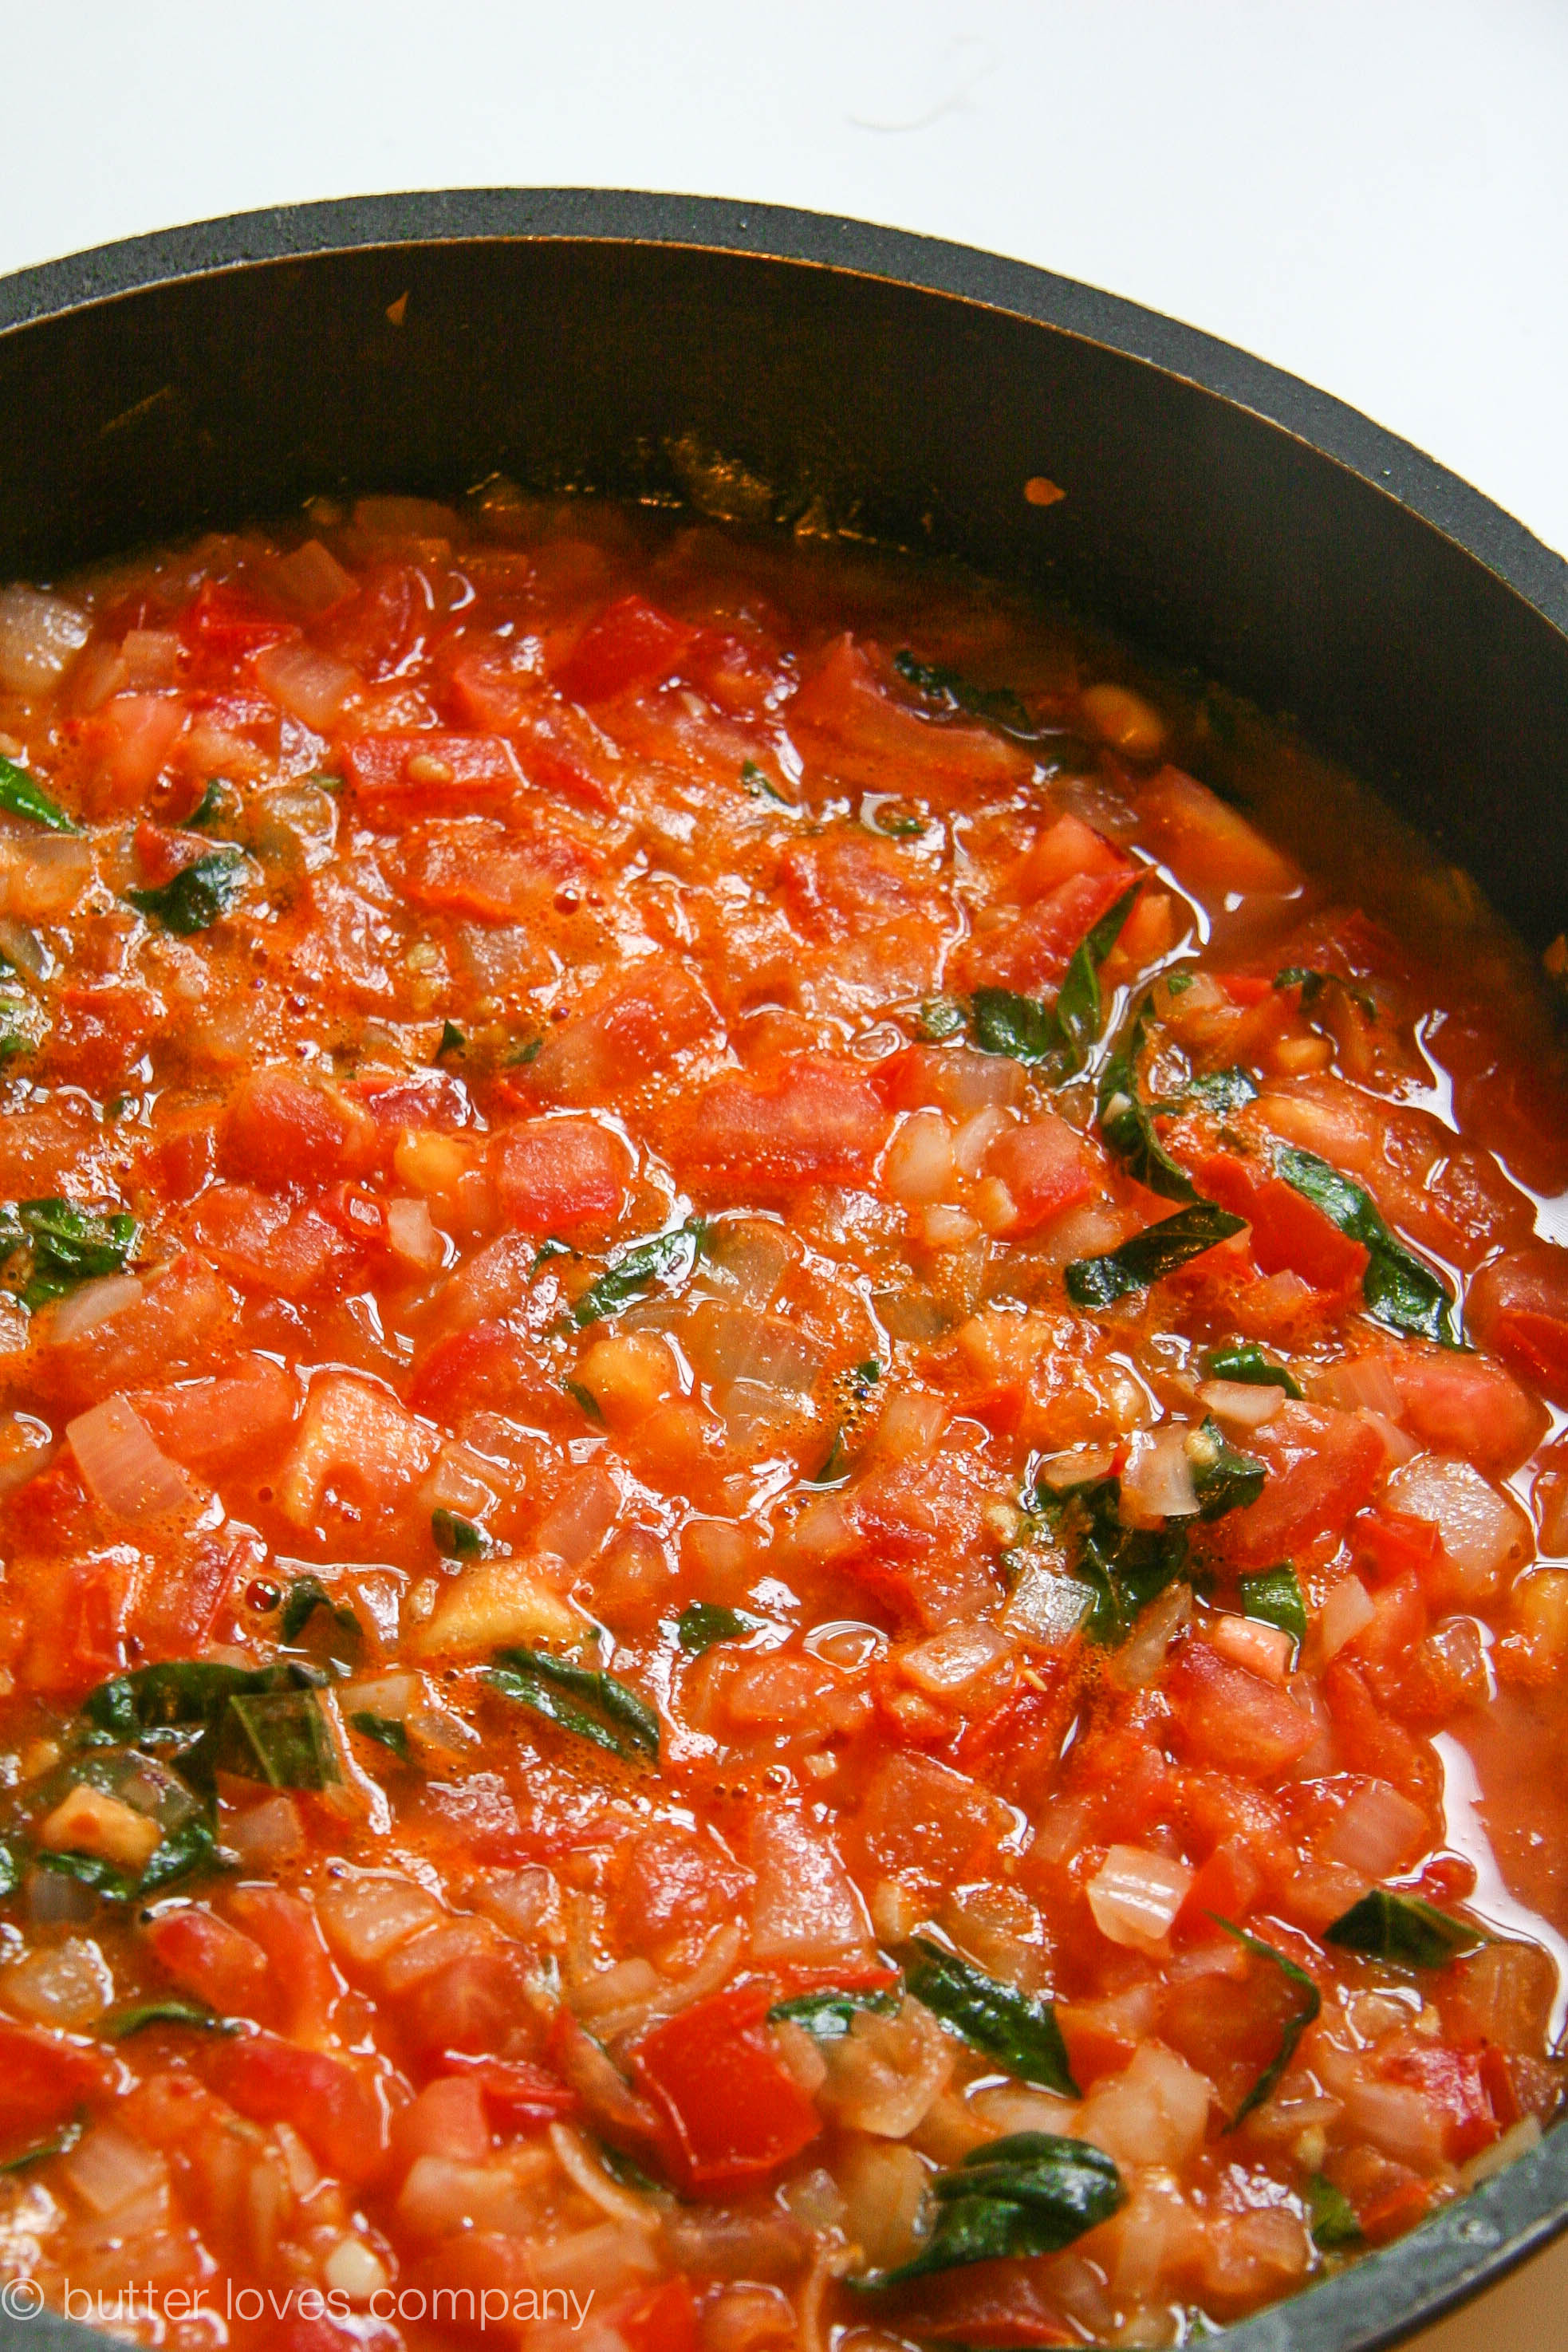
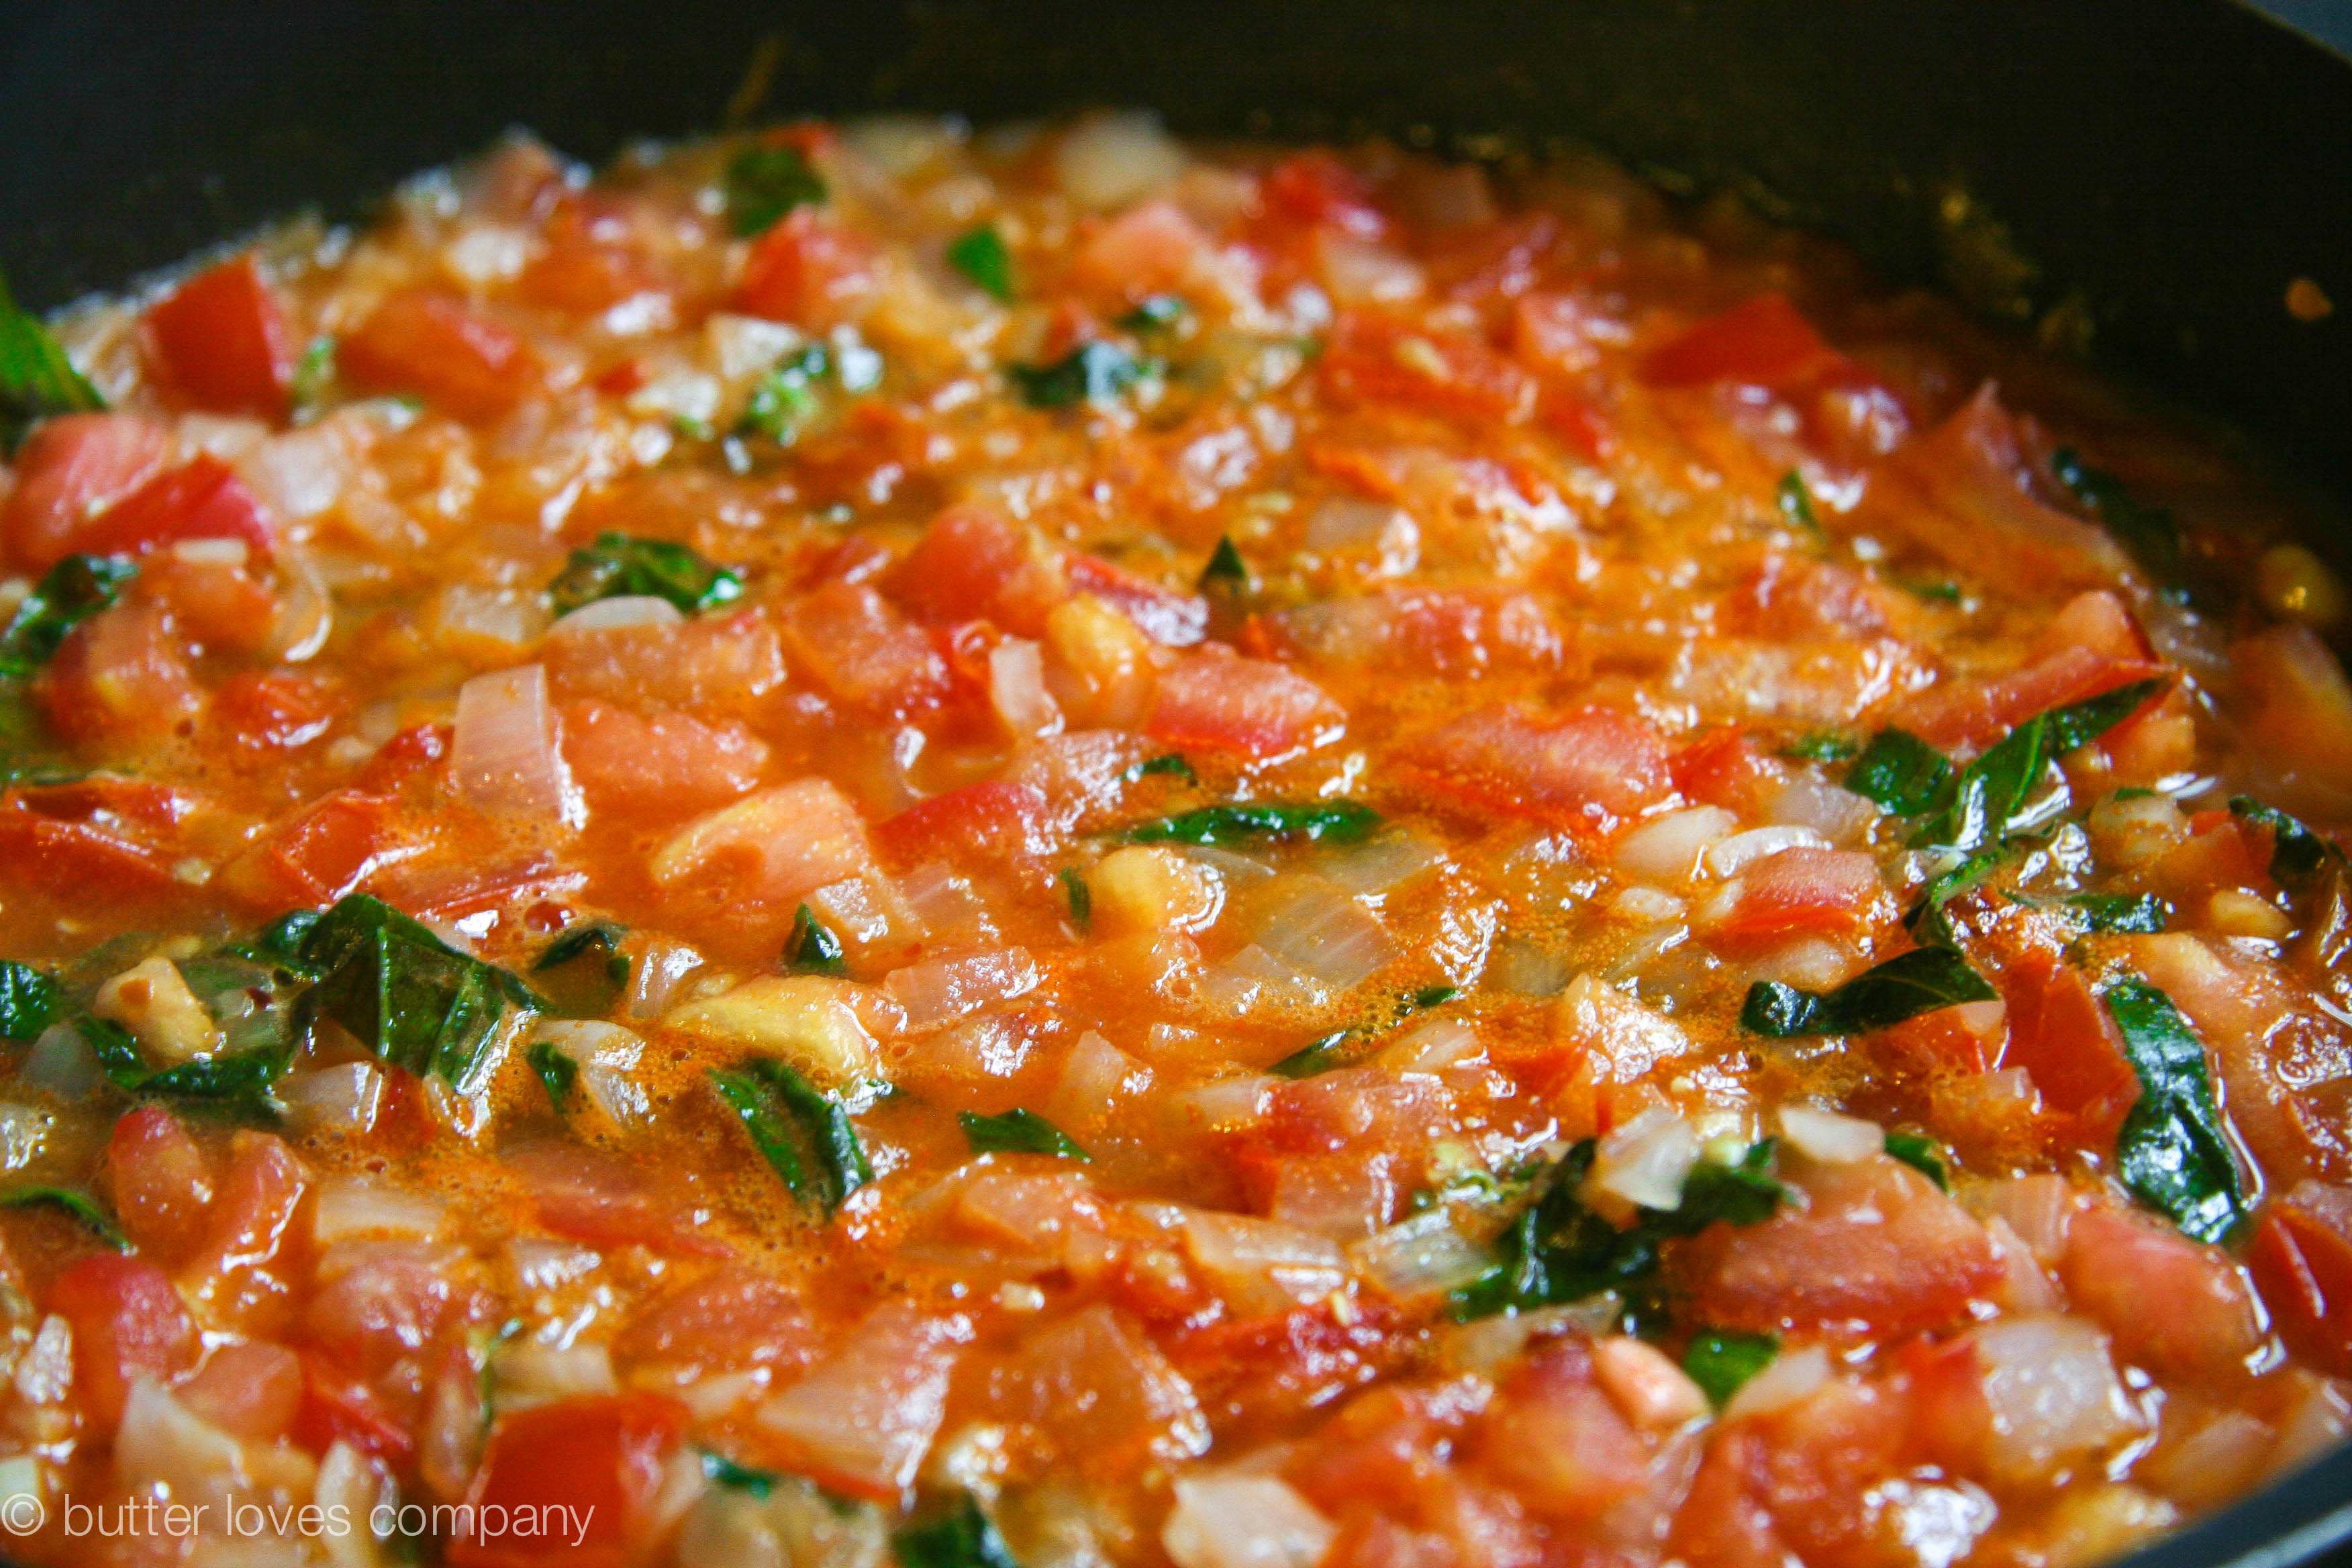
- Heat the oil in a medium saucepan on medium-low heat. Add garlic and onions and cook until the onions begin to become tender and translucent, about 6-7 minutes. Add the tomatoes to the pan and stir to combine. Cook for 2 minutes, then add the wine and cook for 1 minute. Add the salt, sugar, red pepper flakes, bouillion, if using, and basil and cook for a further 5 minutes. Reduce heat and simmer for 20 minutes. You can set the sauce aside and warm it up when needed.
homemade sweet corn polenta
Ingredients:
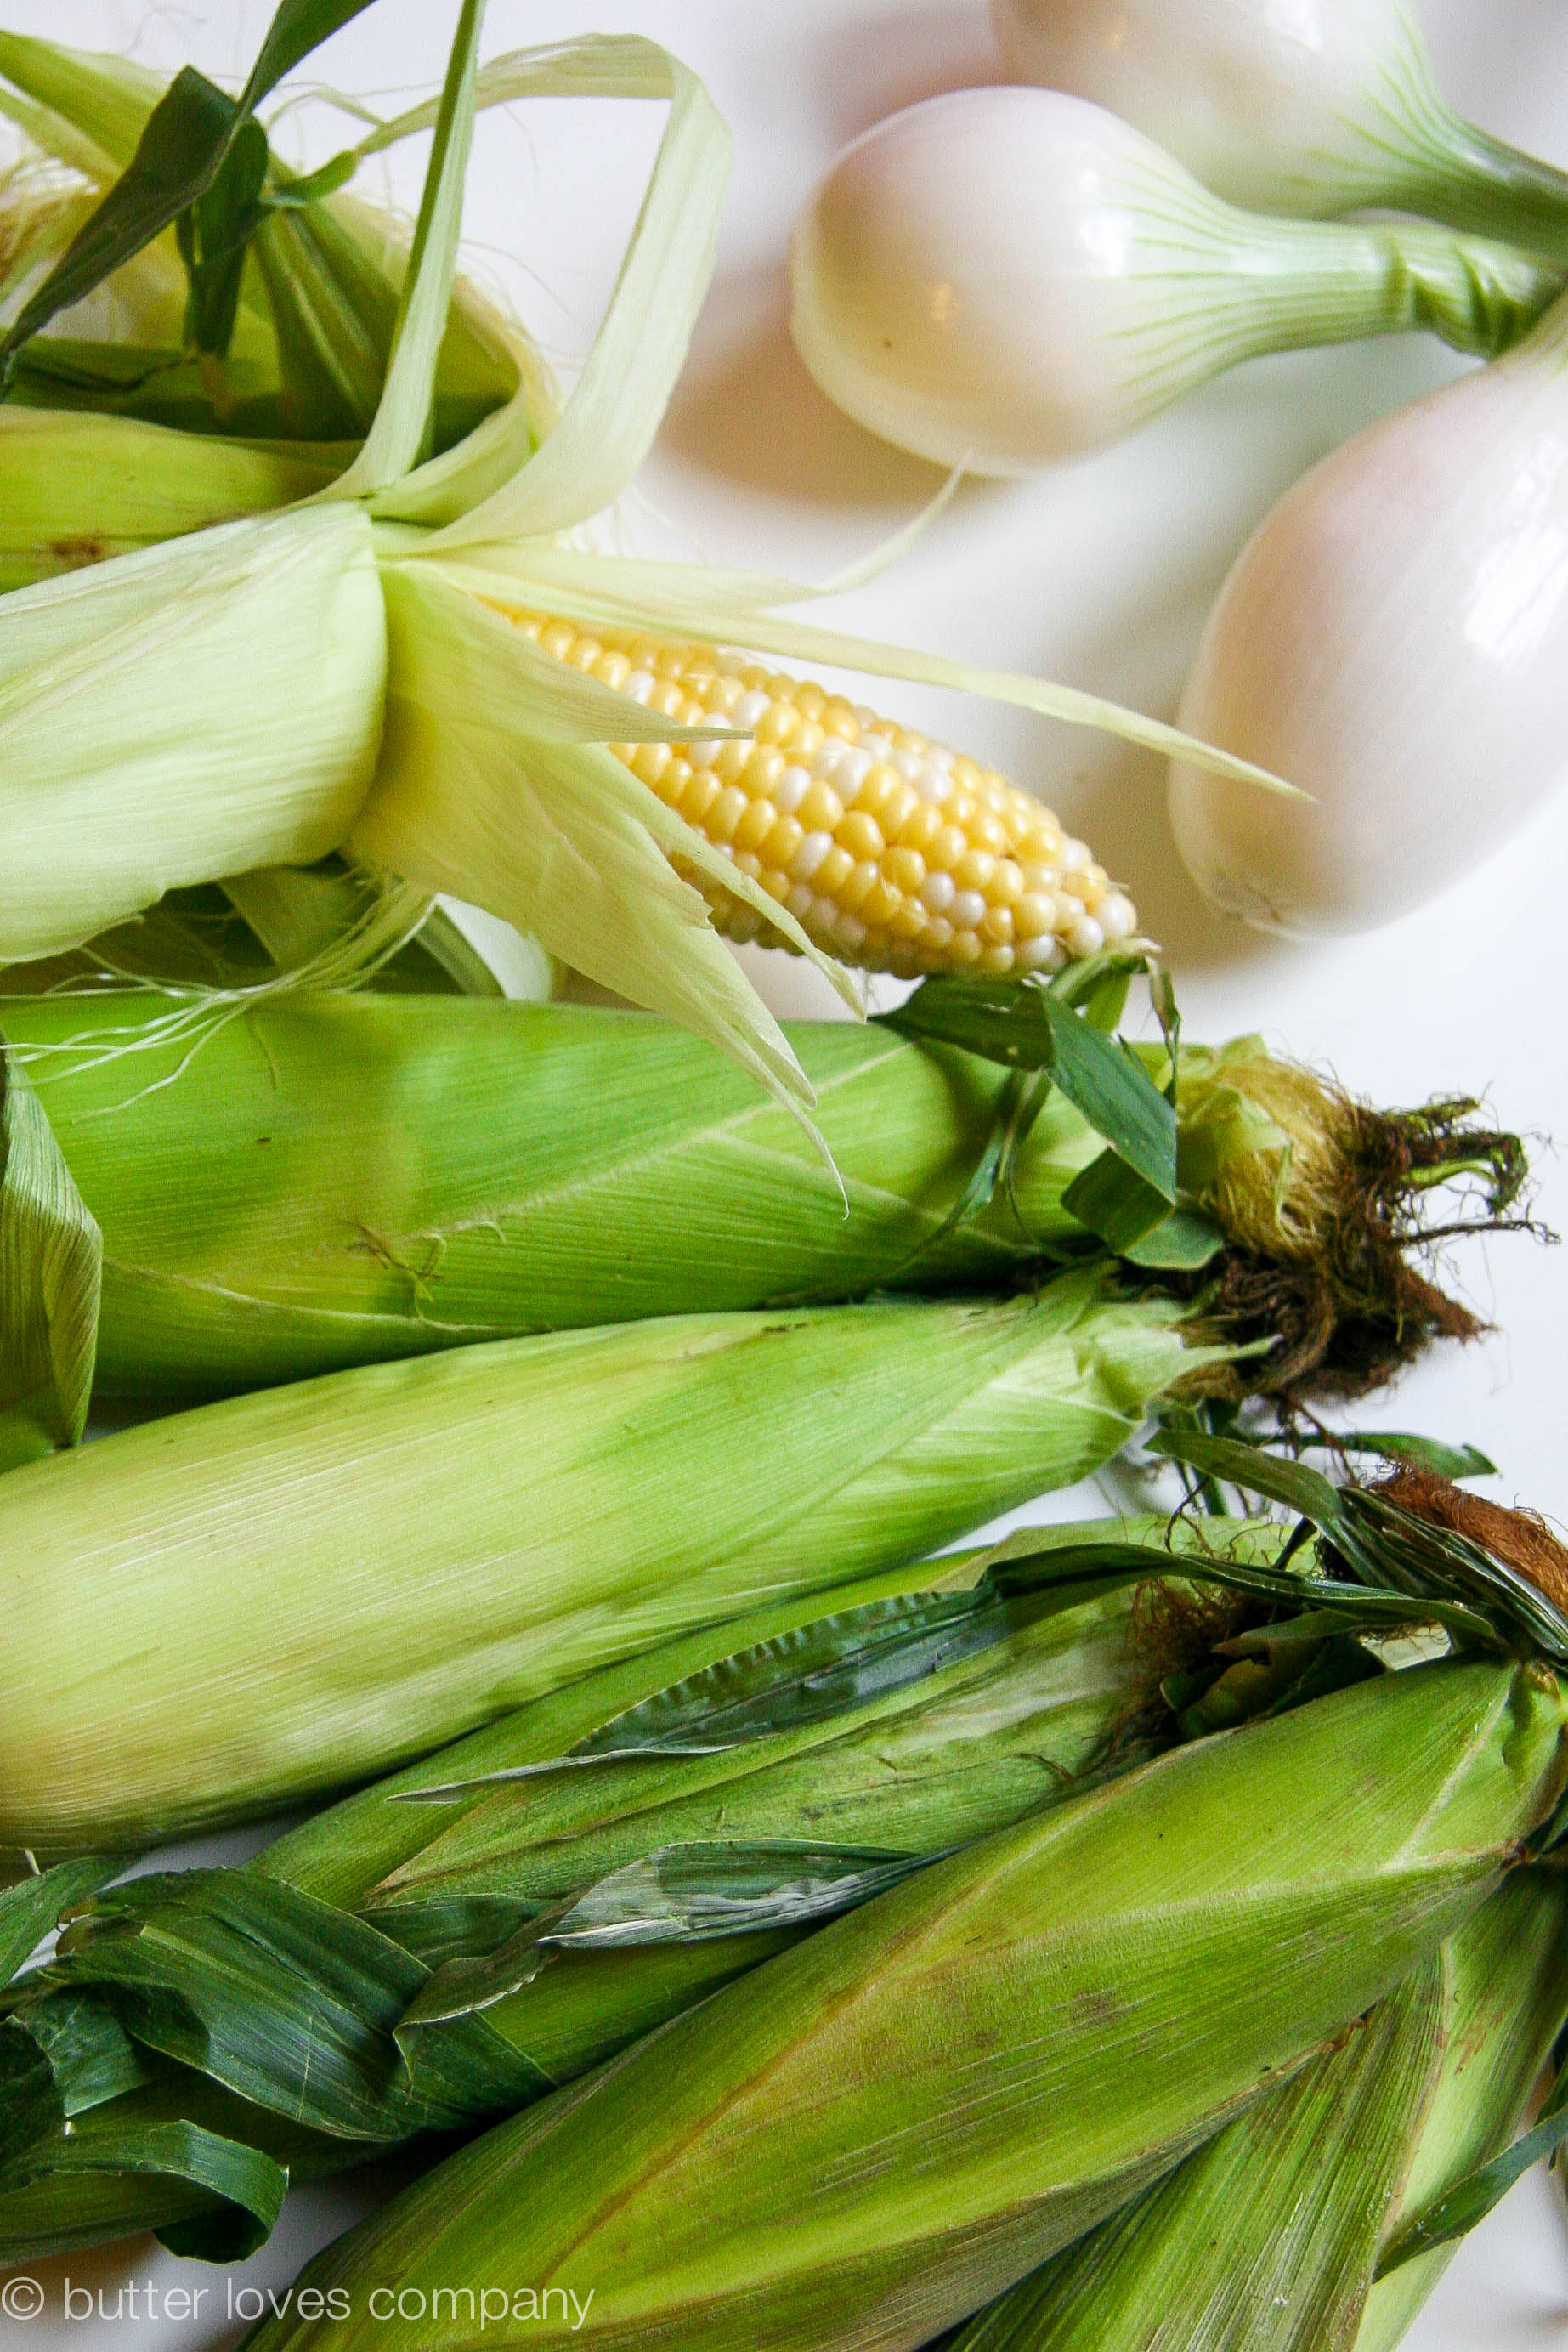
6 ears of corn, shucked
2 1/4 cups water, approximately
3 tablespoons butter, diced
7 ounces Parmesan or Feta cheese, grated or crumbled if using the latter
1/4 teaspoon salt
Black pepper
Instructions:
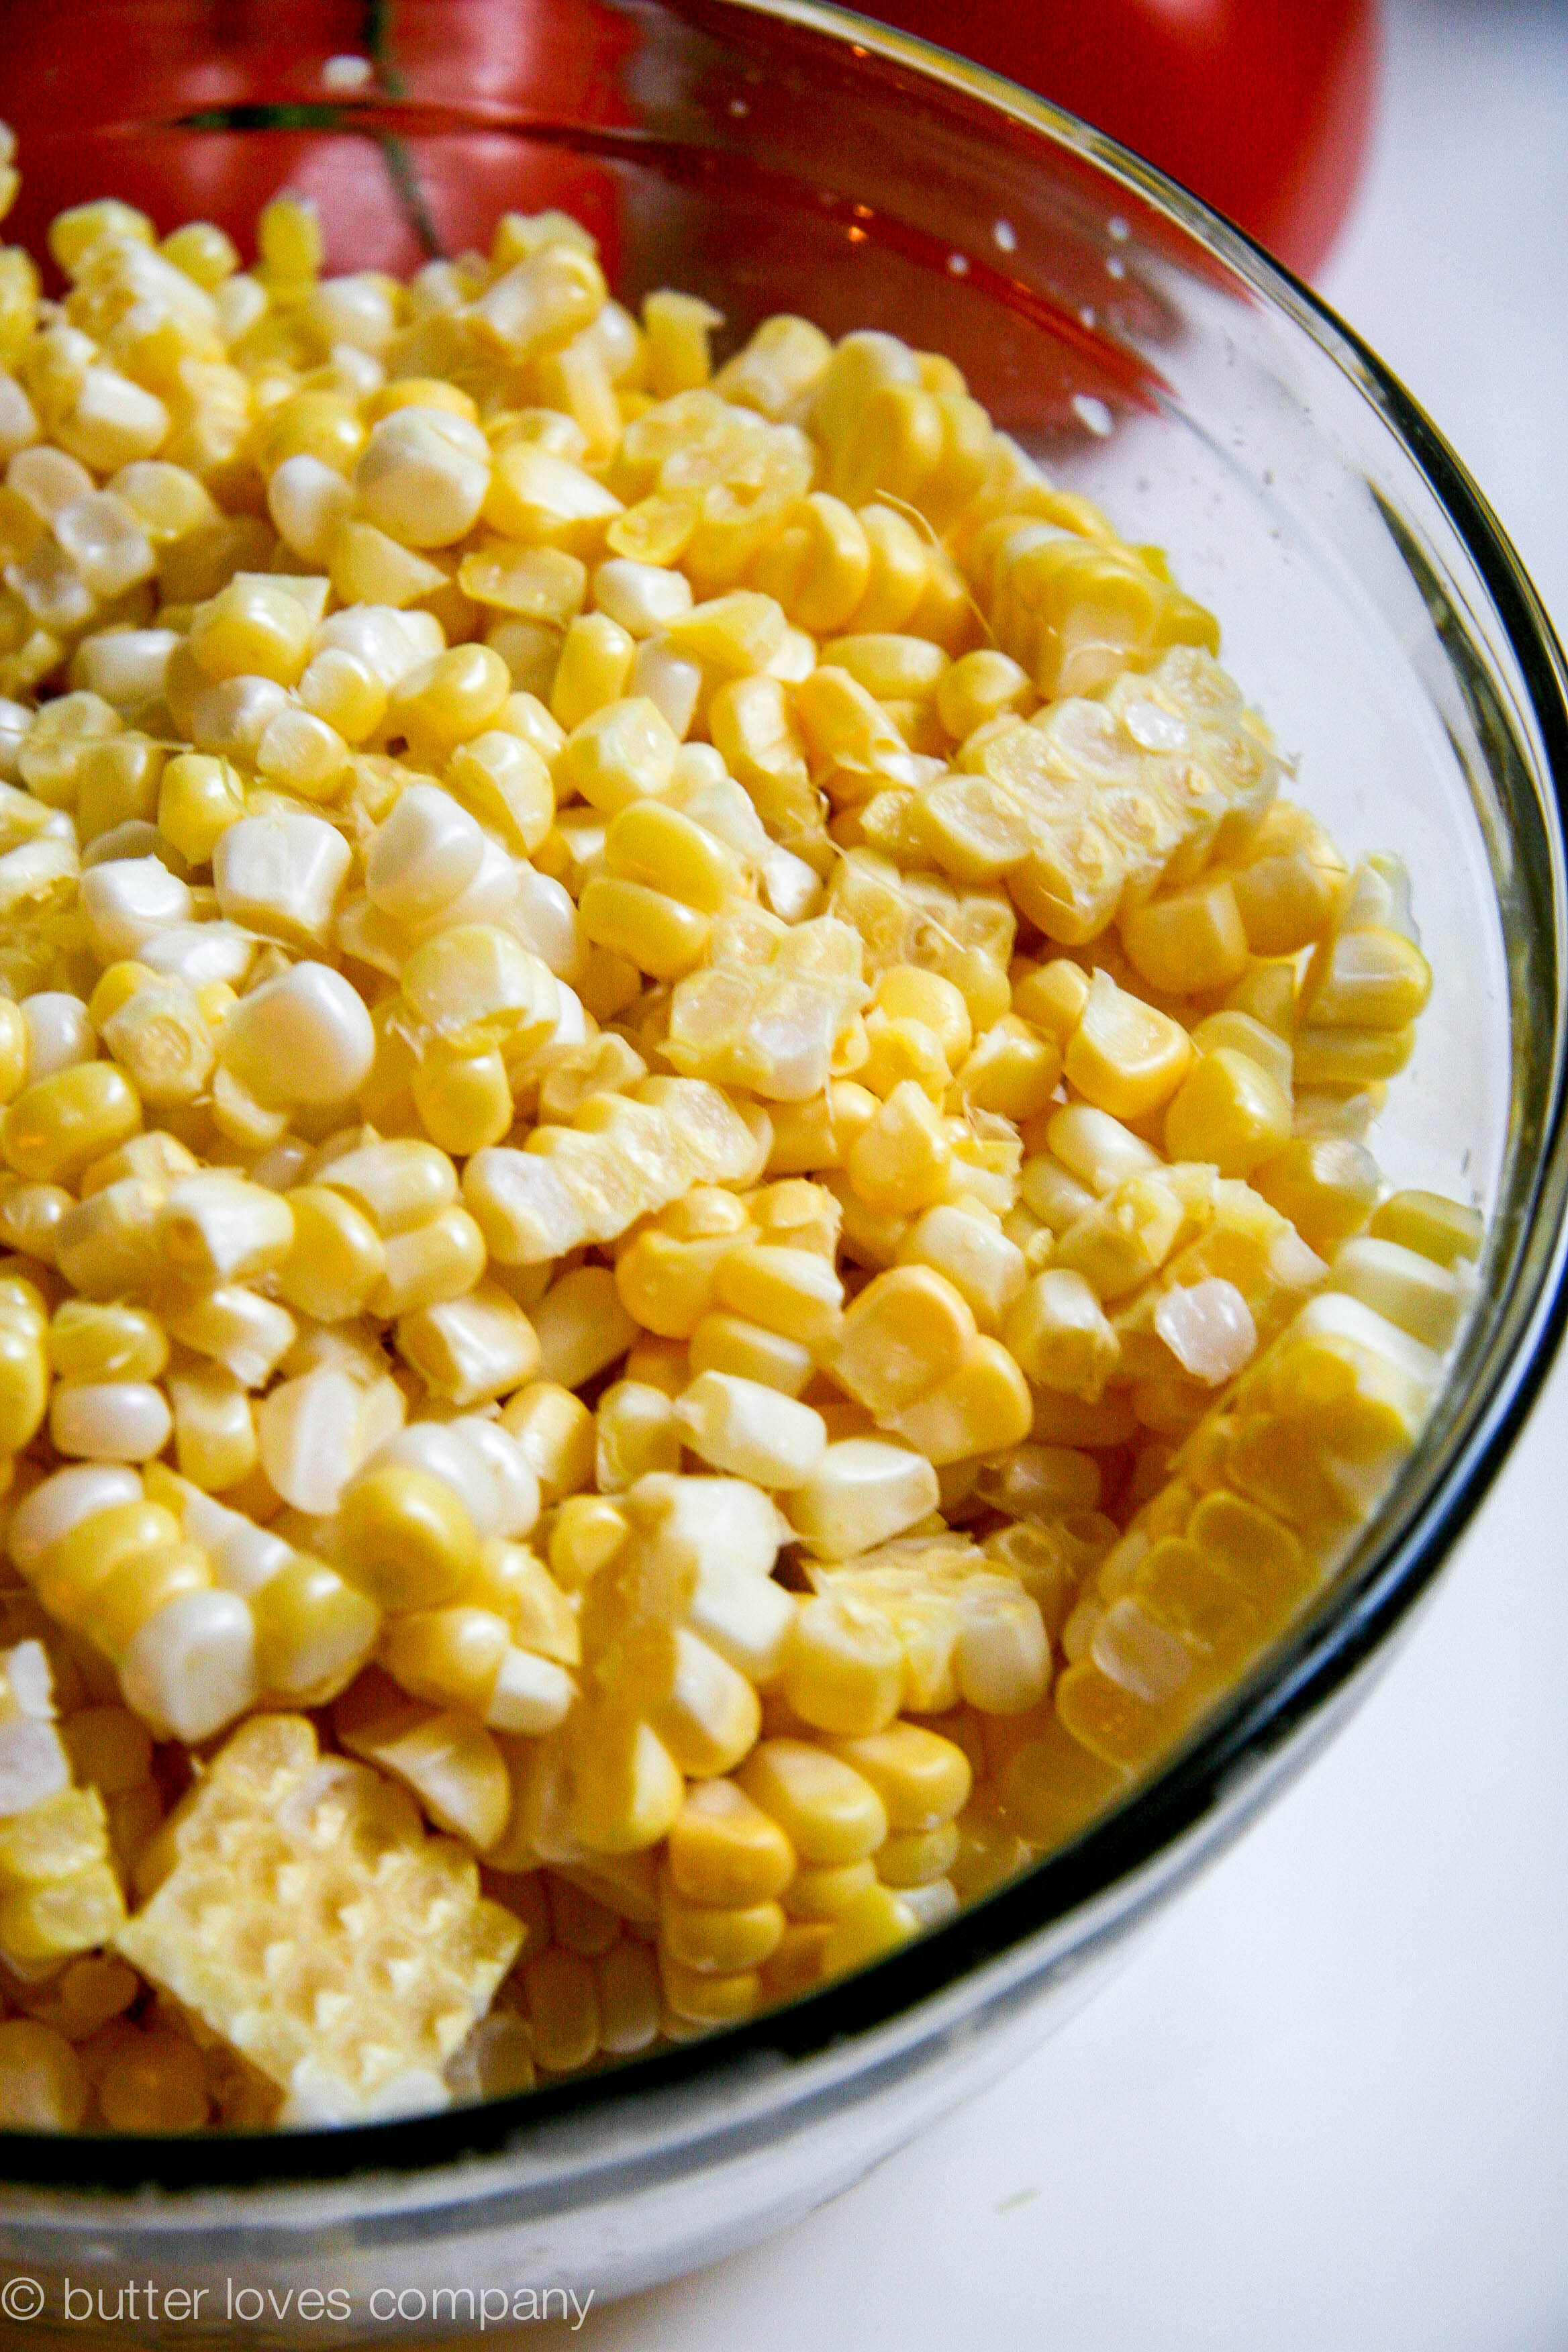
- Using a sharp knife, cut the kernels off each ear of corn. I find it easiest to do this with the ear standing up inside of a short wide bowl, which will catch any stray flying kernels. You can also just do it on a cutting board. You should end up with around 1 1/4 pounds kernels.
- Place the kernels in a medium saucepan and pour in water until you just barely cover them (you may not need the entire 2 1/4 cups. Cook for 12 minutes on a low simmer. Using a slotted spoon, lift the kernels from the water and transfer into a food processor; reserve the cooking liquid. I like to leave a handful of kernels in the saucepan with the liquid so the polenta will have some SURPRISE full corn kernel pops. You can choose to leave some or put them all in the food processor.
- Process the corn kernels in the food process until smooth. It will take a few minutes as you are trying to break up the kernel cases as much as possible. Add some of the cooking liquid if the mixture becomes too dry to process.
- Please read full step before beginning: Pour the cooking liquid you reserved in step 2 from the saucepan into a small bowl (you can leave any full kernels you decided not to puree in the saucepan). Scoop the corn paste from the food processor into the saucepan and cook, on low heat for 10 to 15 minutes, stirring in the cooking liquid in small increments until it reaches your desired consistency (many like it the consistency of thick mashed potatoes). NOTE: If you add too much of the cooking liquid to the pan, it can take a while to cook down the polenta, and it will splatter about. This is why I recommend beginning with no liquid and subtly adding in more. You may even like the consistency of the corn after processing in step 3, in which case you can skip directly from step 3 to step 5.
- Fold in the butter, the cheese, salt and some pepper and optionally cook for a further 2 minutes. Taste and add more salt if needed.