butter loves company

new york food blogger and lifestyle influencer

  • home
  • Recipes
  • travel
  • lifestyle
  • cookie orders
  • about
  • contact

quick peach compote

September 10, 2016 by Butter Loves Company

stewed-peaches-3

Growing up in New England, the first few weeks of fall kicked off my favorite time of year. The sweep of crisp air pushes out the summer humidity as colorful leaves crinkle beneath your boots. This meant soccer season, cider doughnuts, apple picking, and holiday events with friends and family. If you’re a holiday season nut like I am, you surely understand the stomach butterflies of excitement that arrive around this time of year.

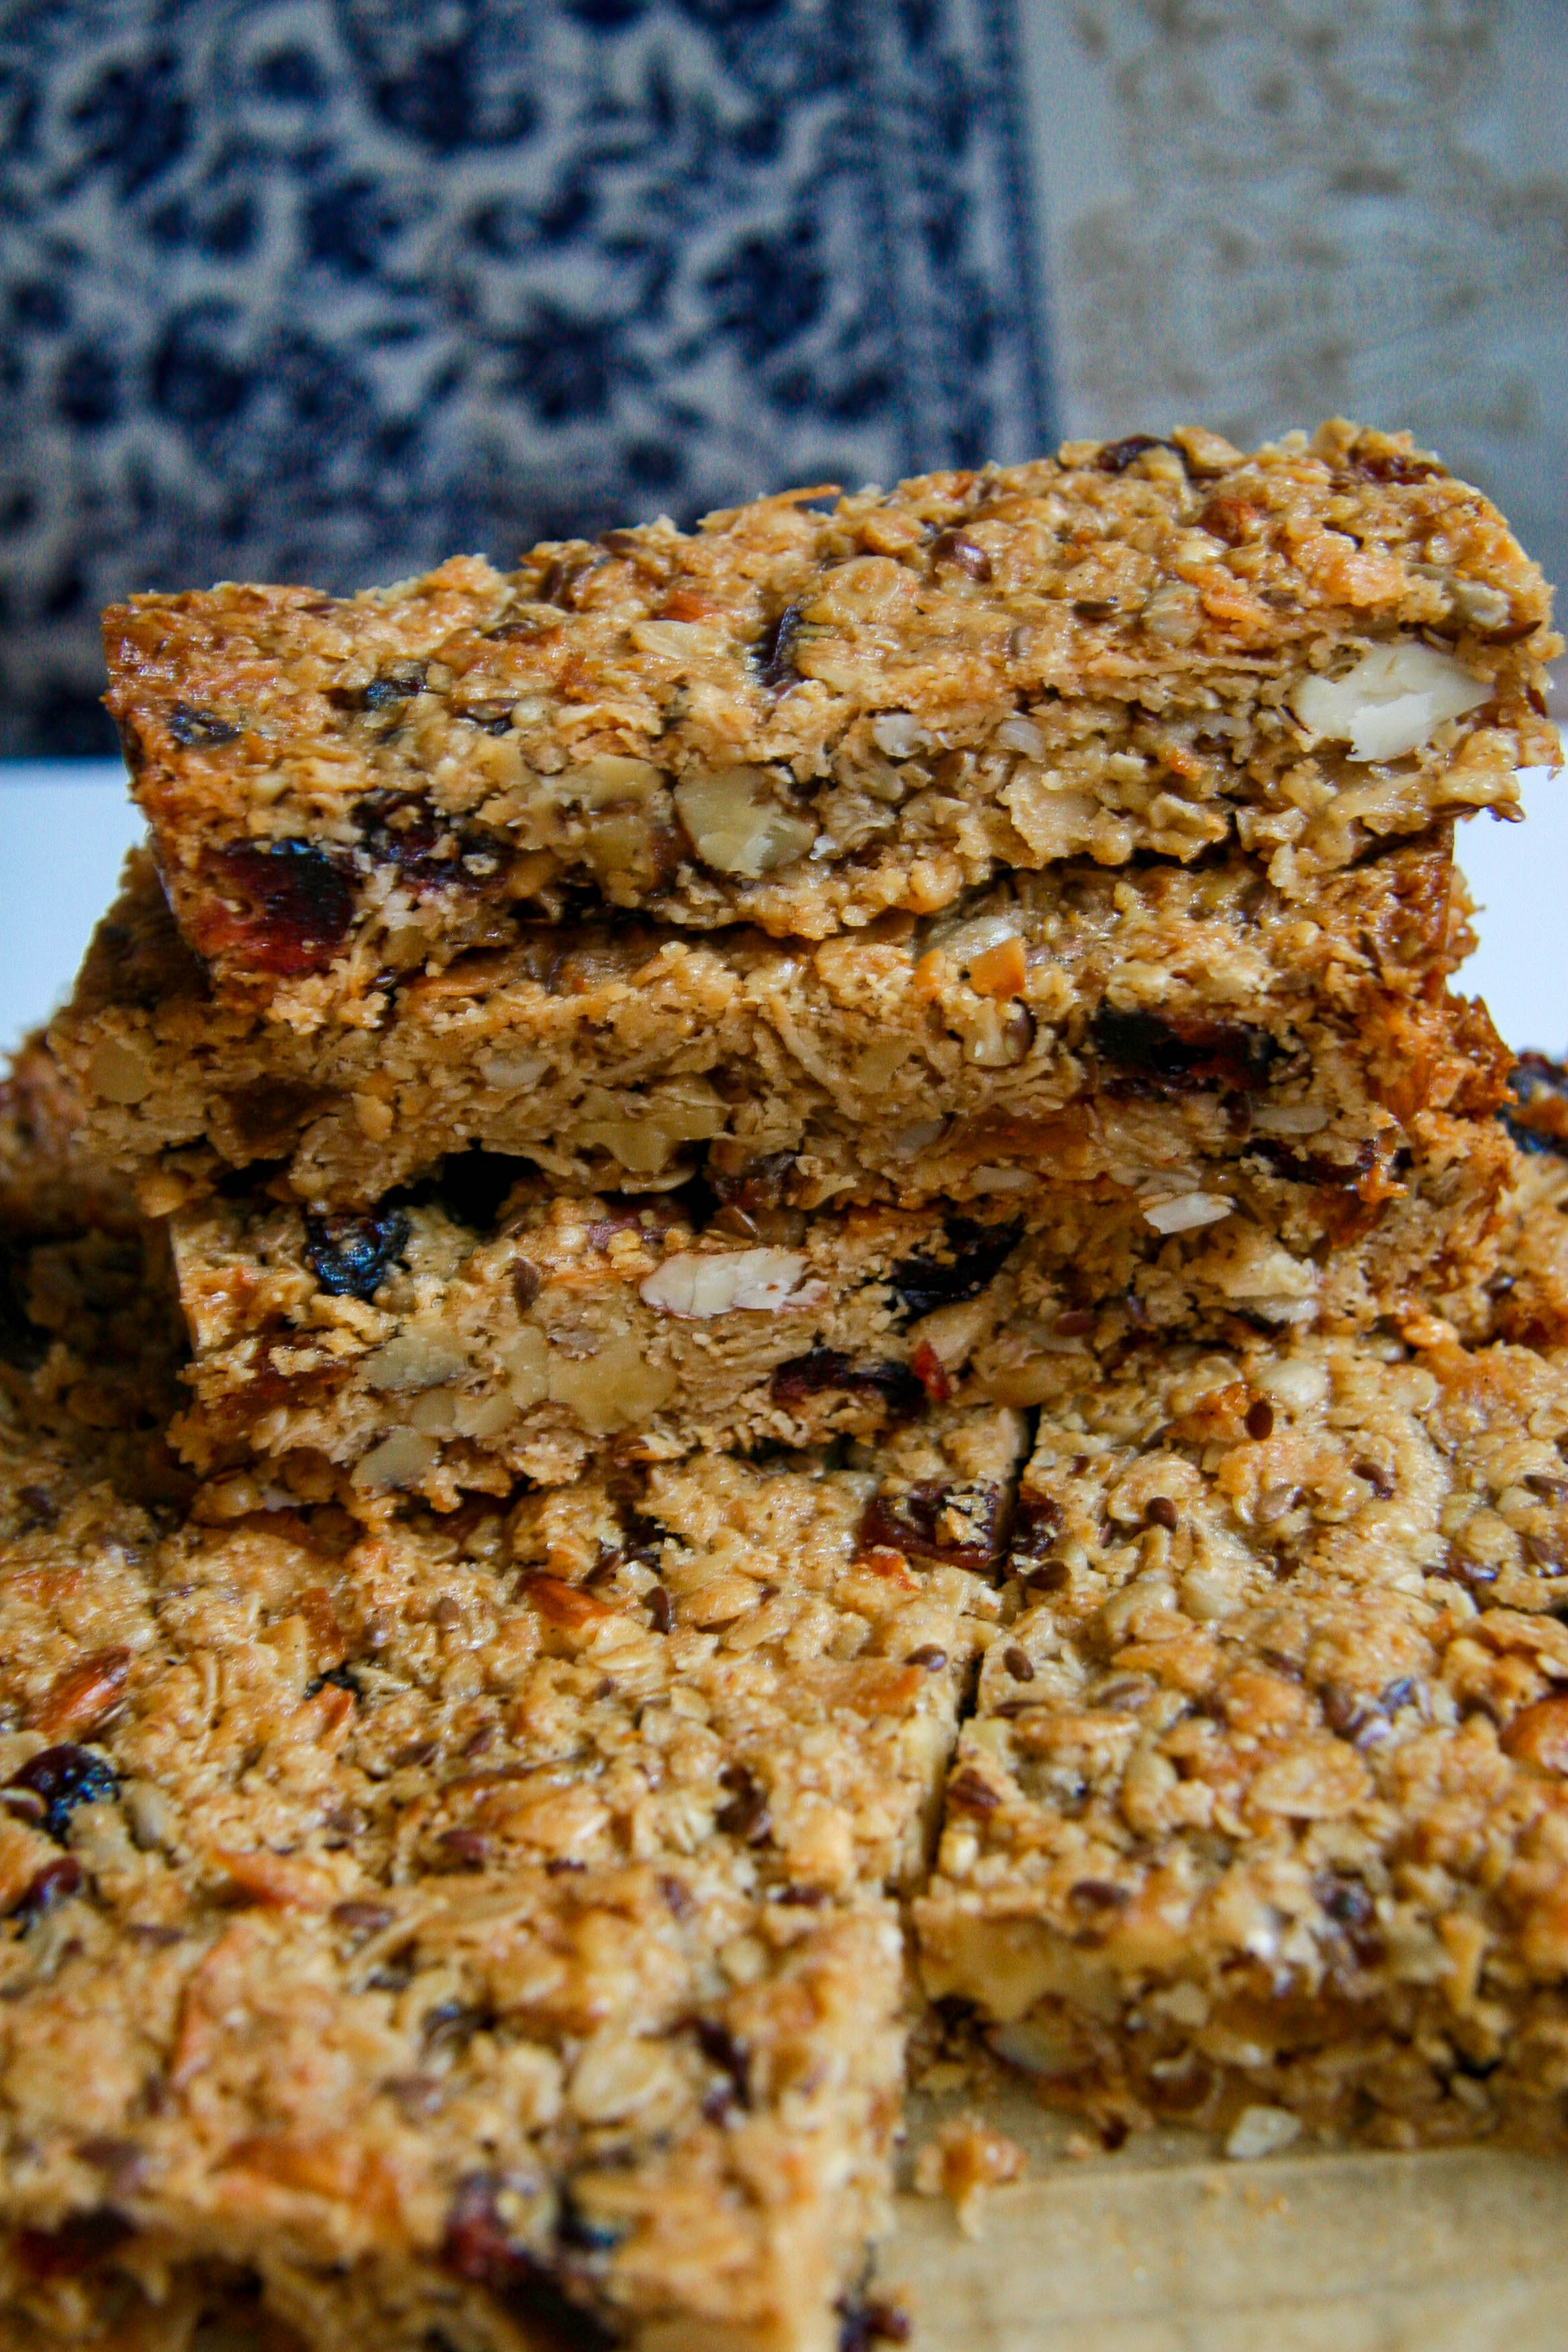
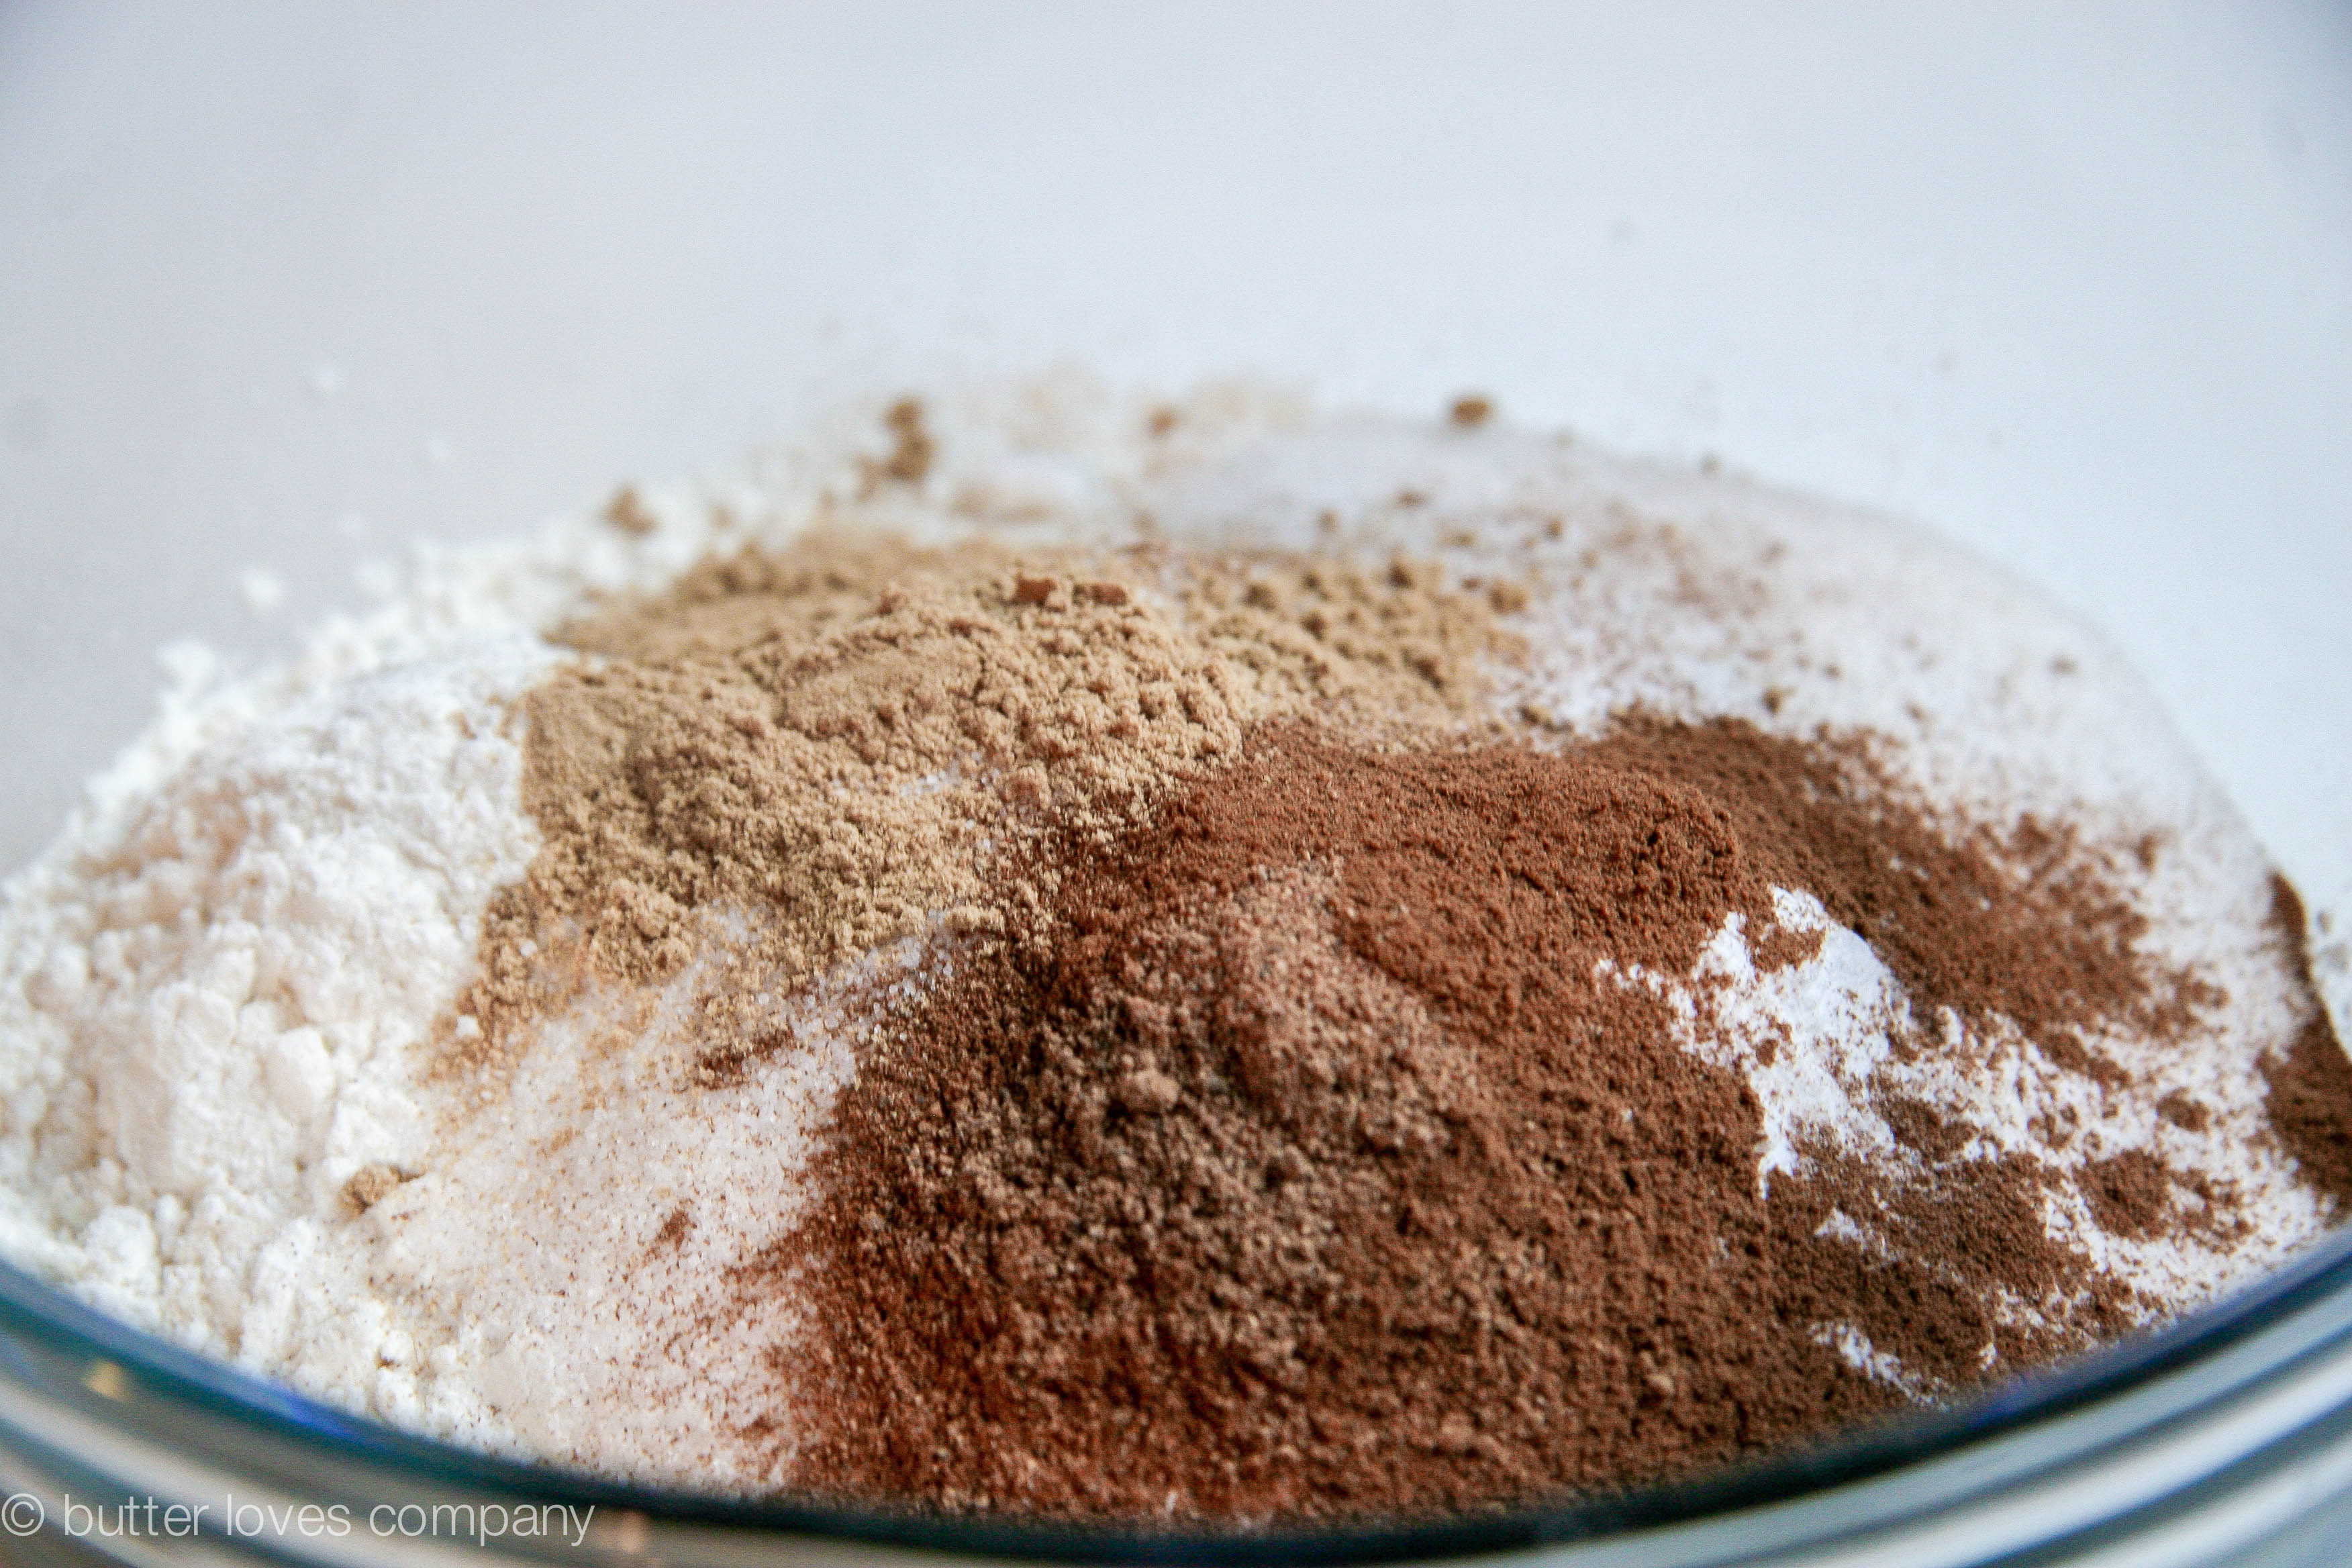
While autumn in Los Angeles doesn’t quite compare to the fall back east—the summer heat seems to stick around through October here—there is one constant of the fall season no matter where you are: fall baking. The warm spices of cinnamon and nutmeg rush in. Apple pie and pumpkin bread are begging to be in your oven, filling your kitchen with an almost tangible comfort and calmness.

stewed-peaches-5

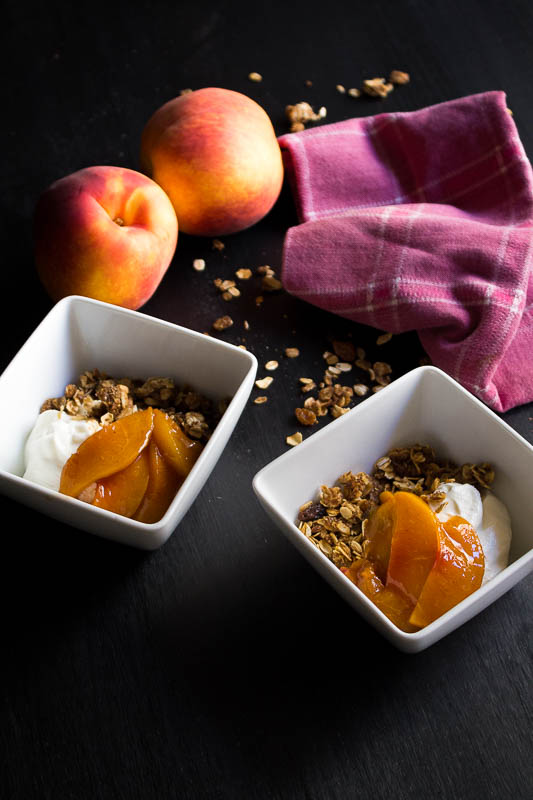
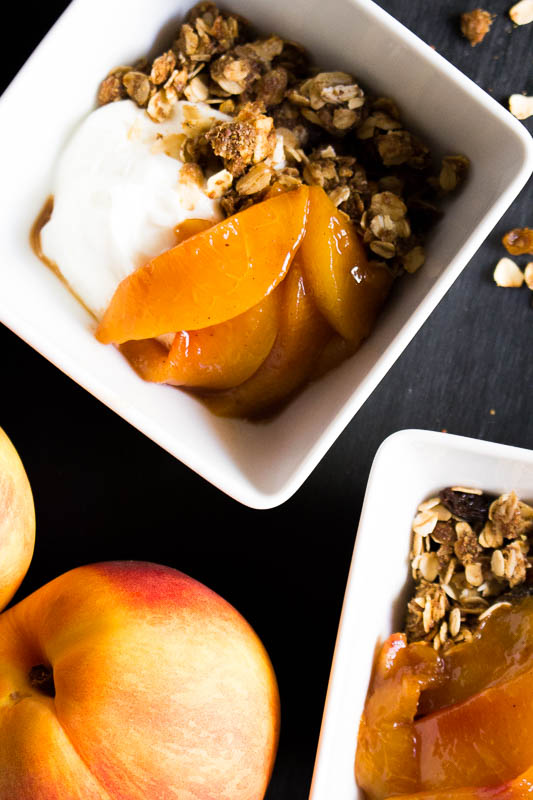
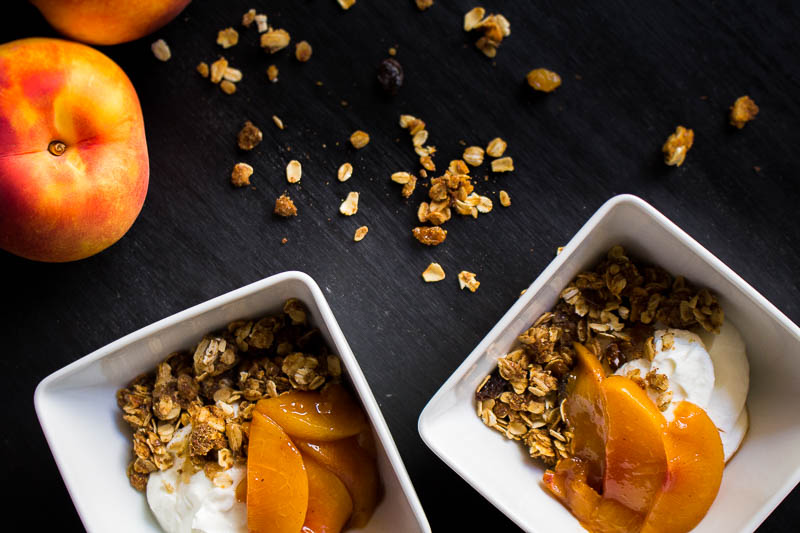
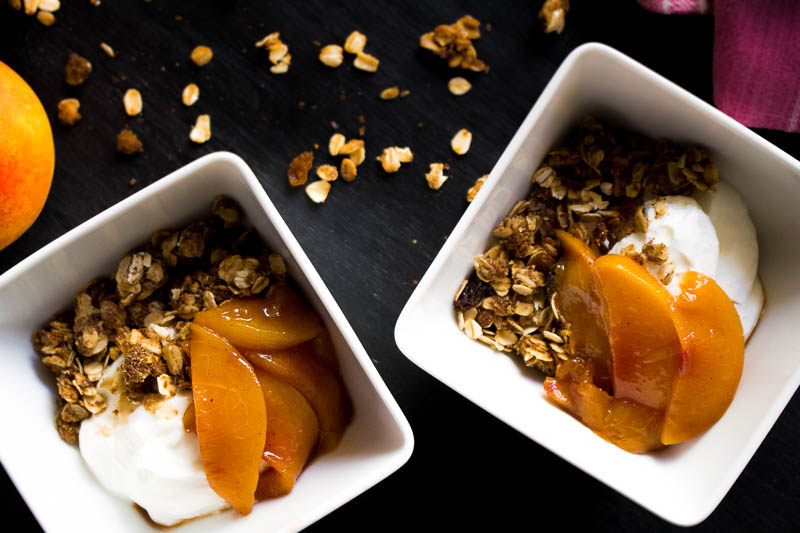
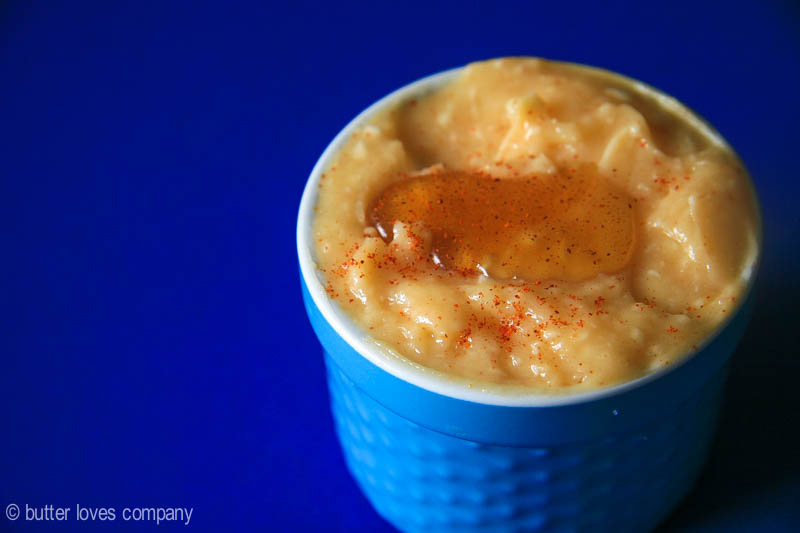
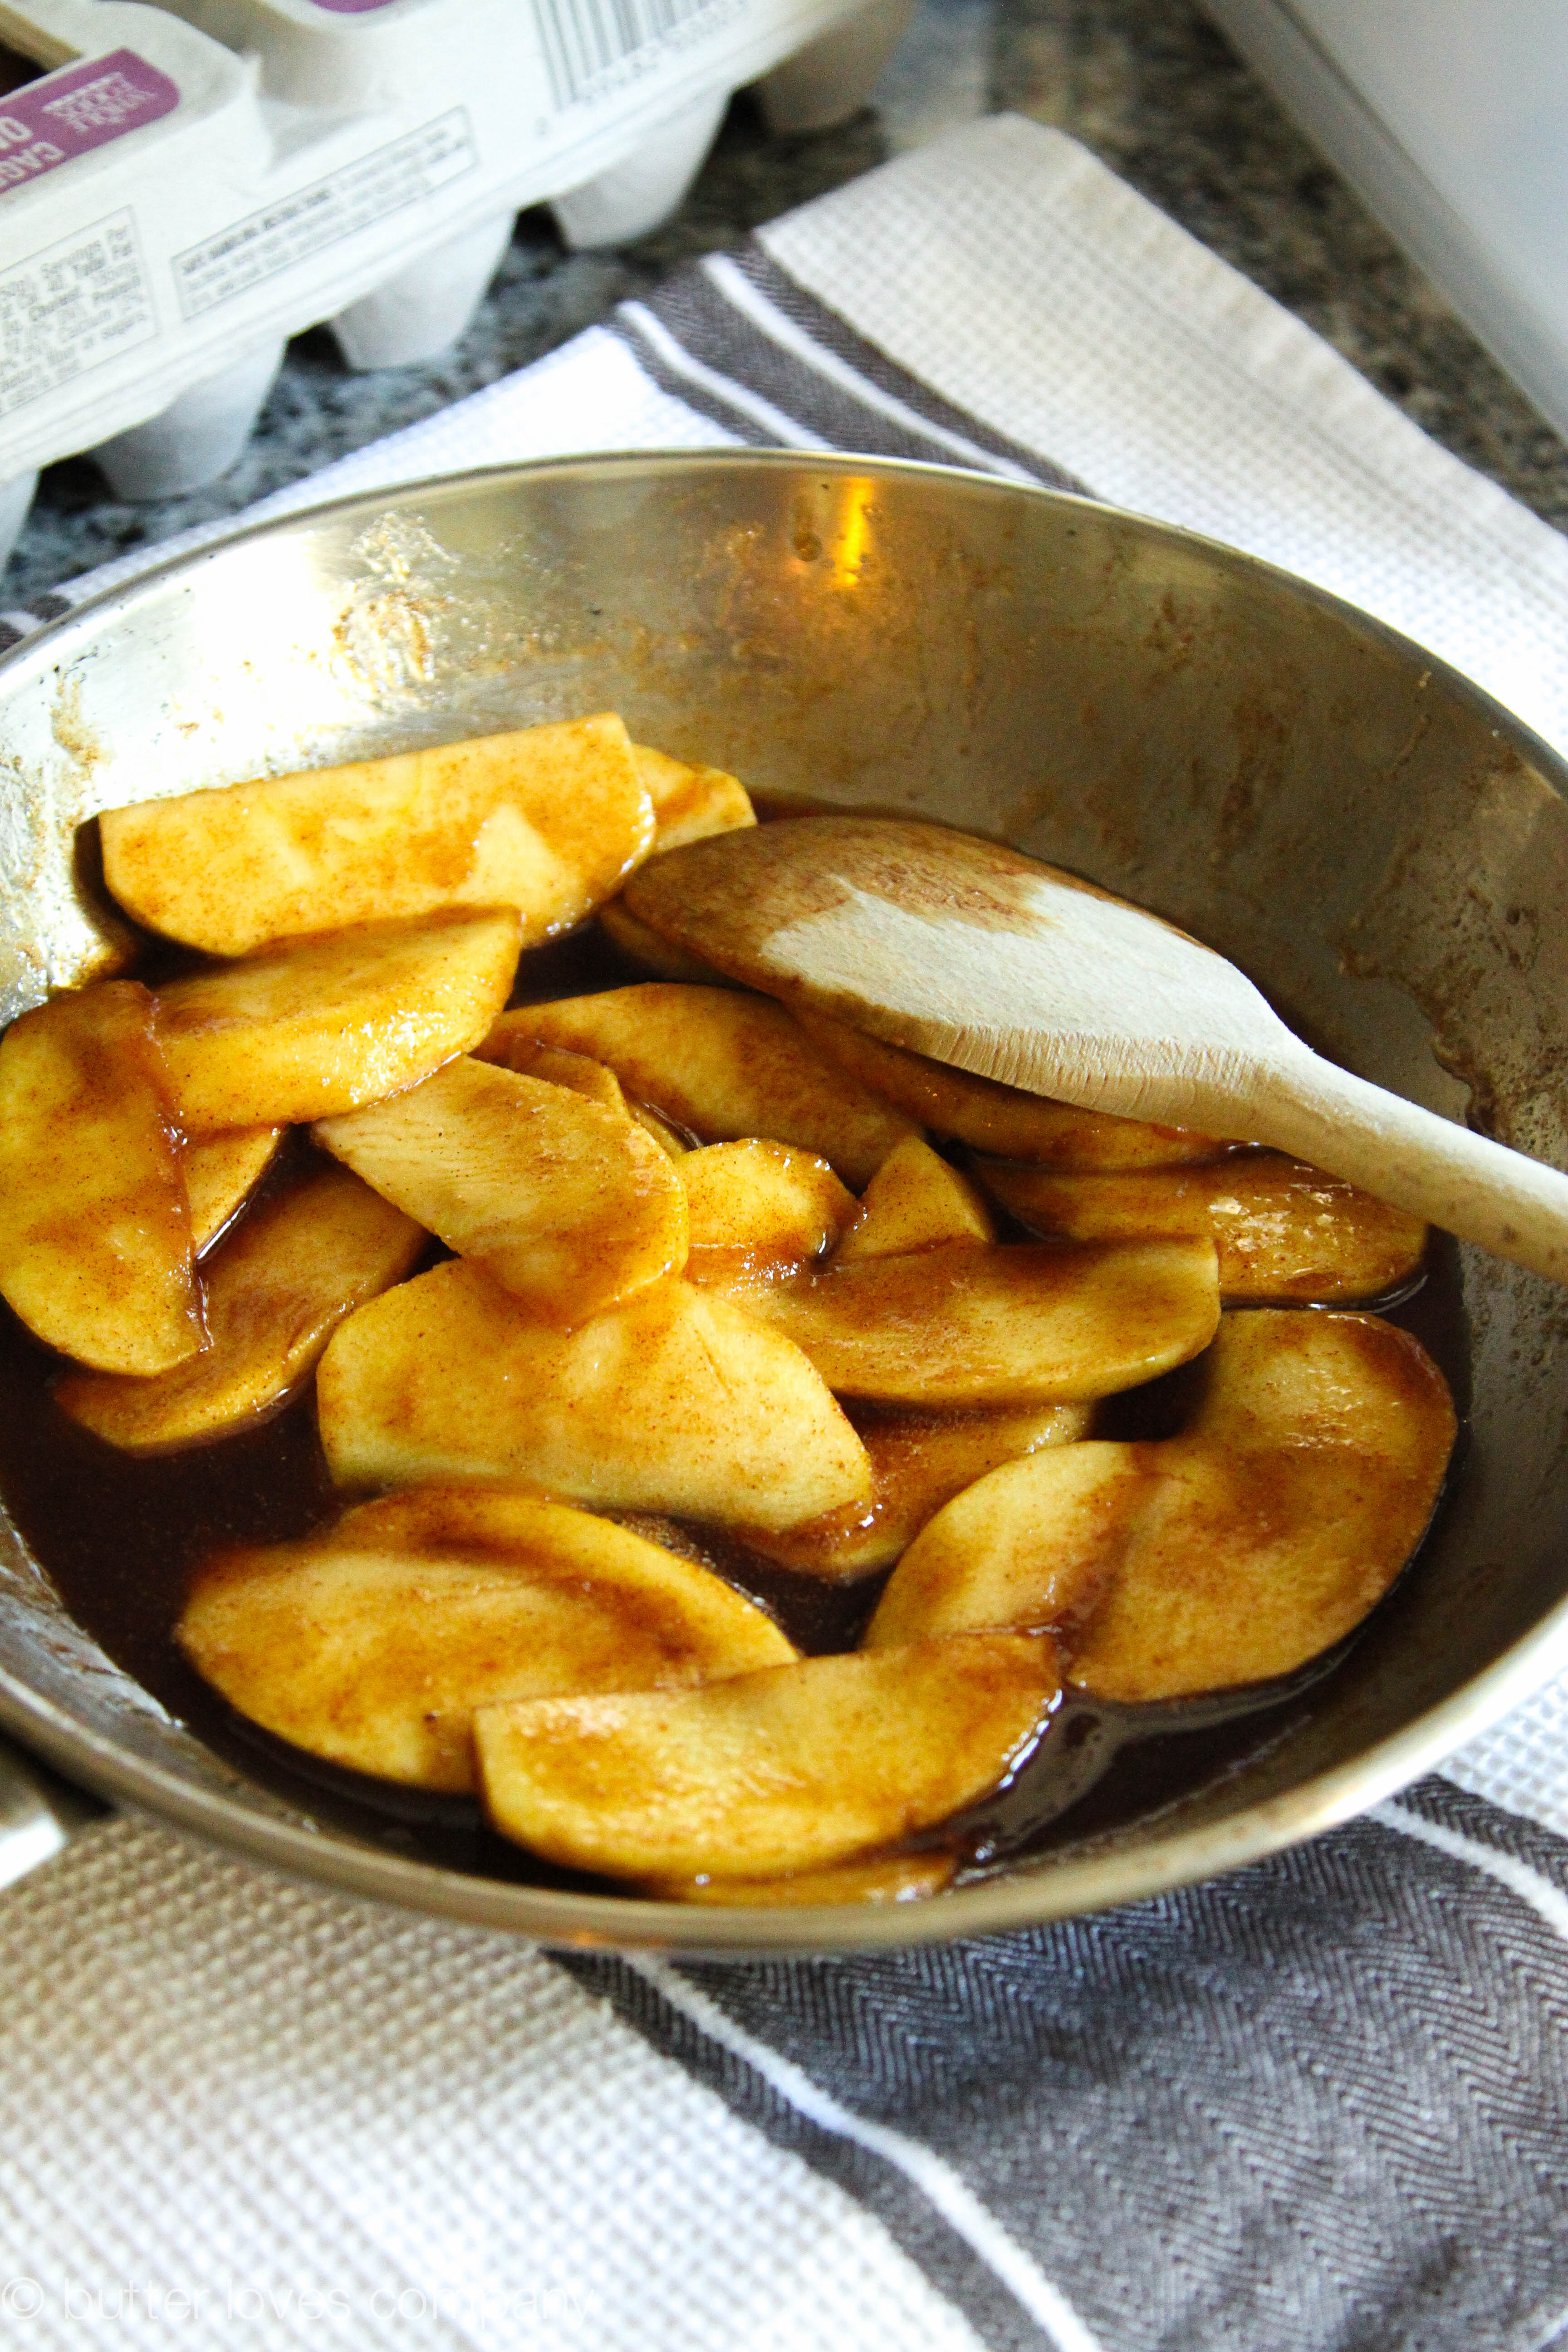
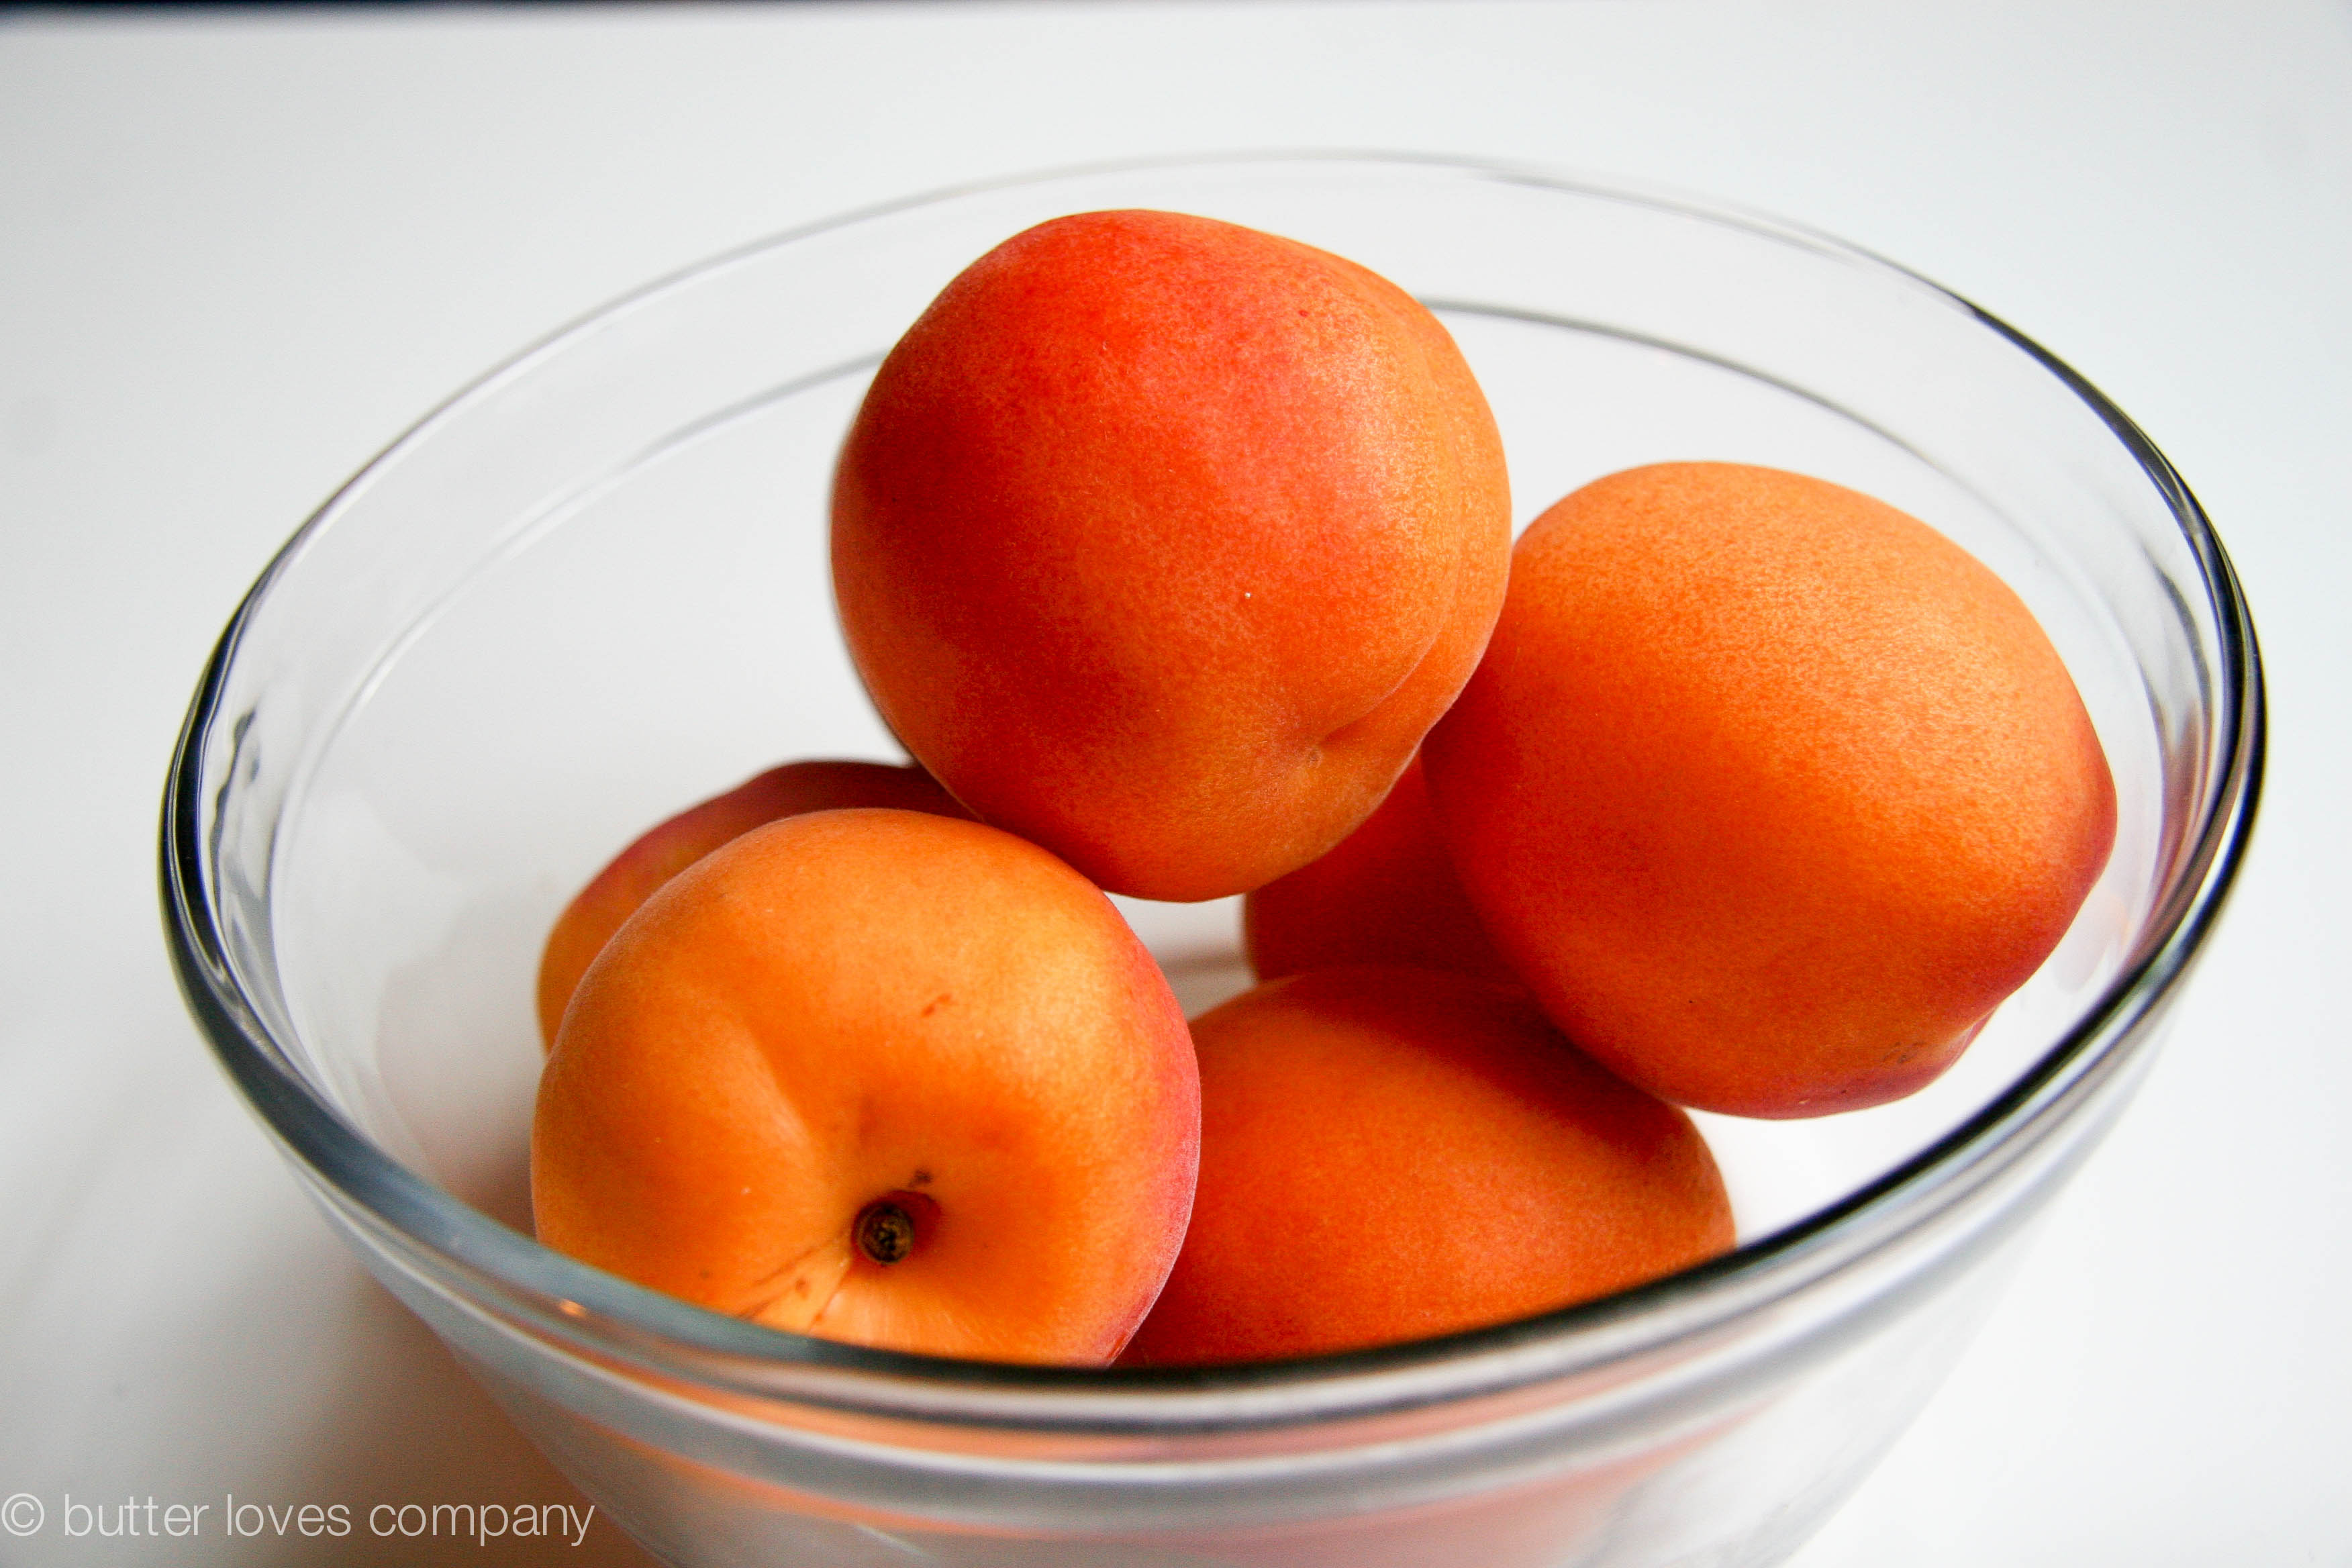
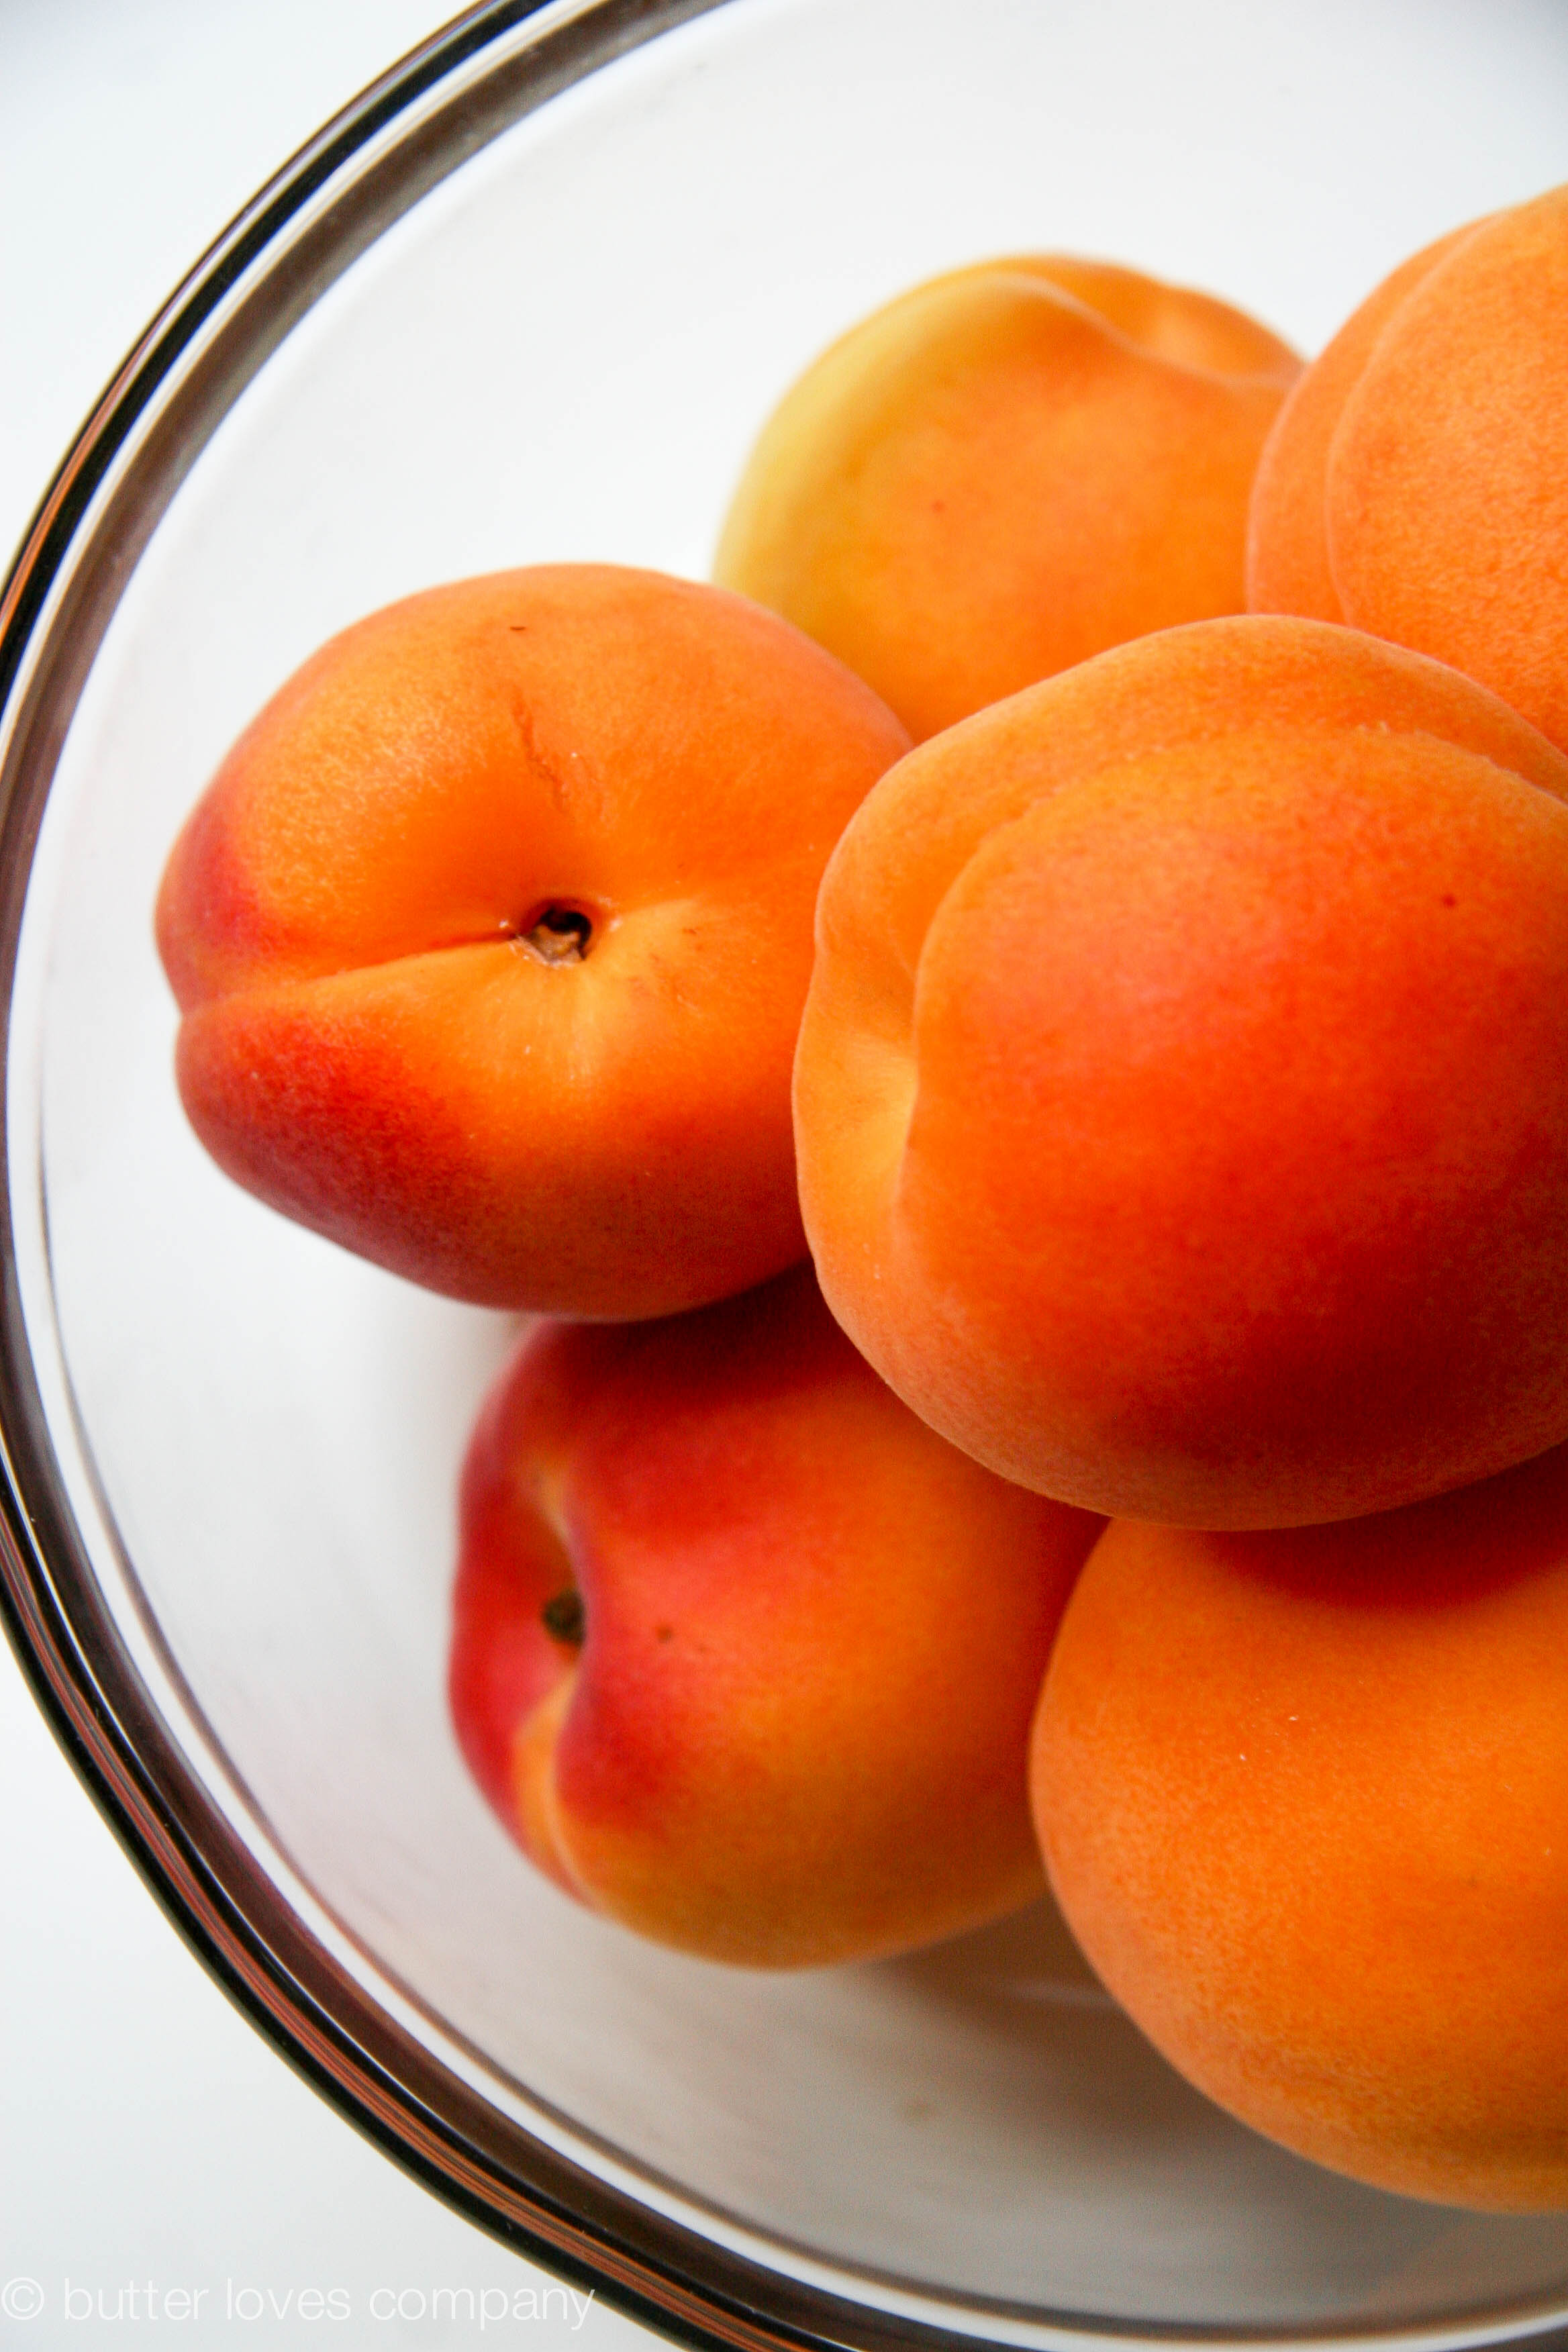
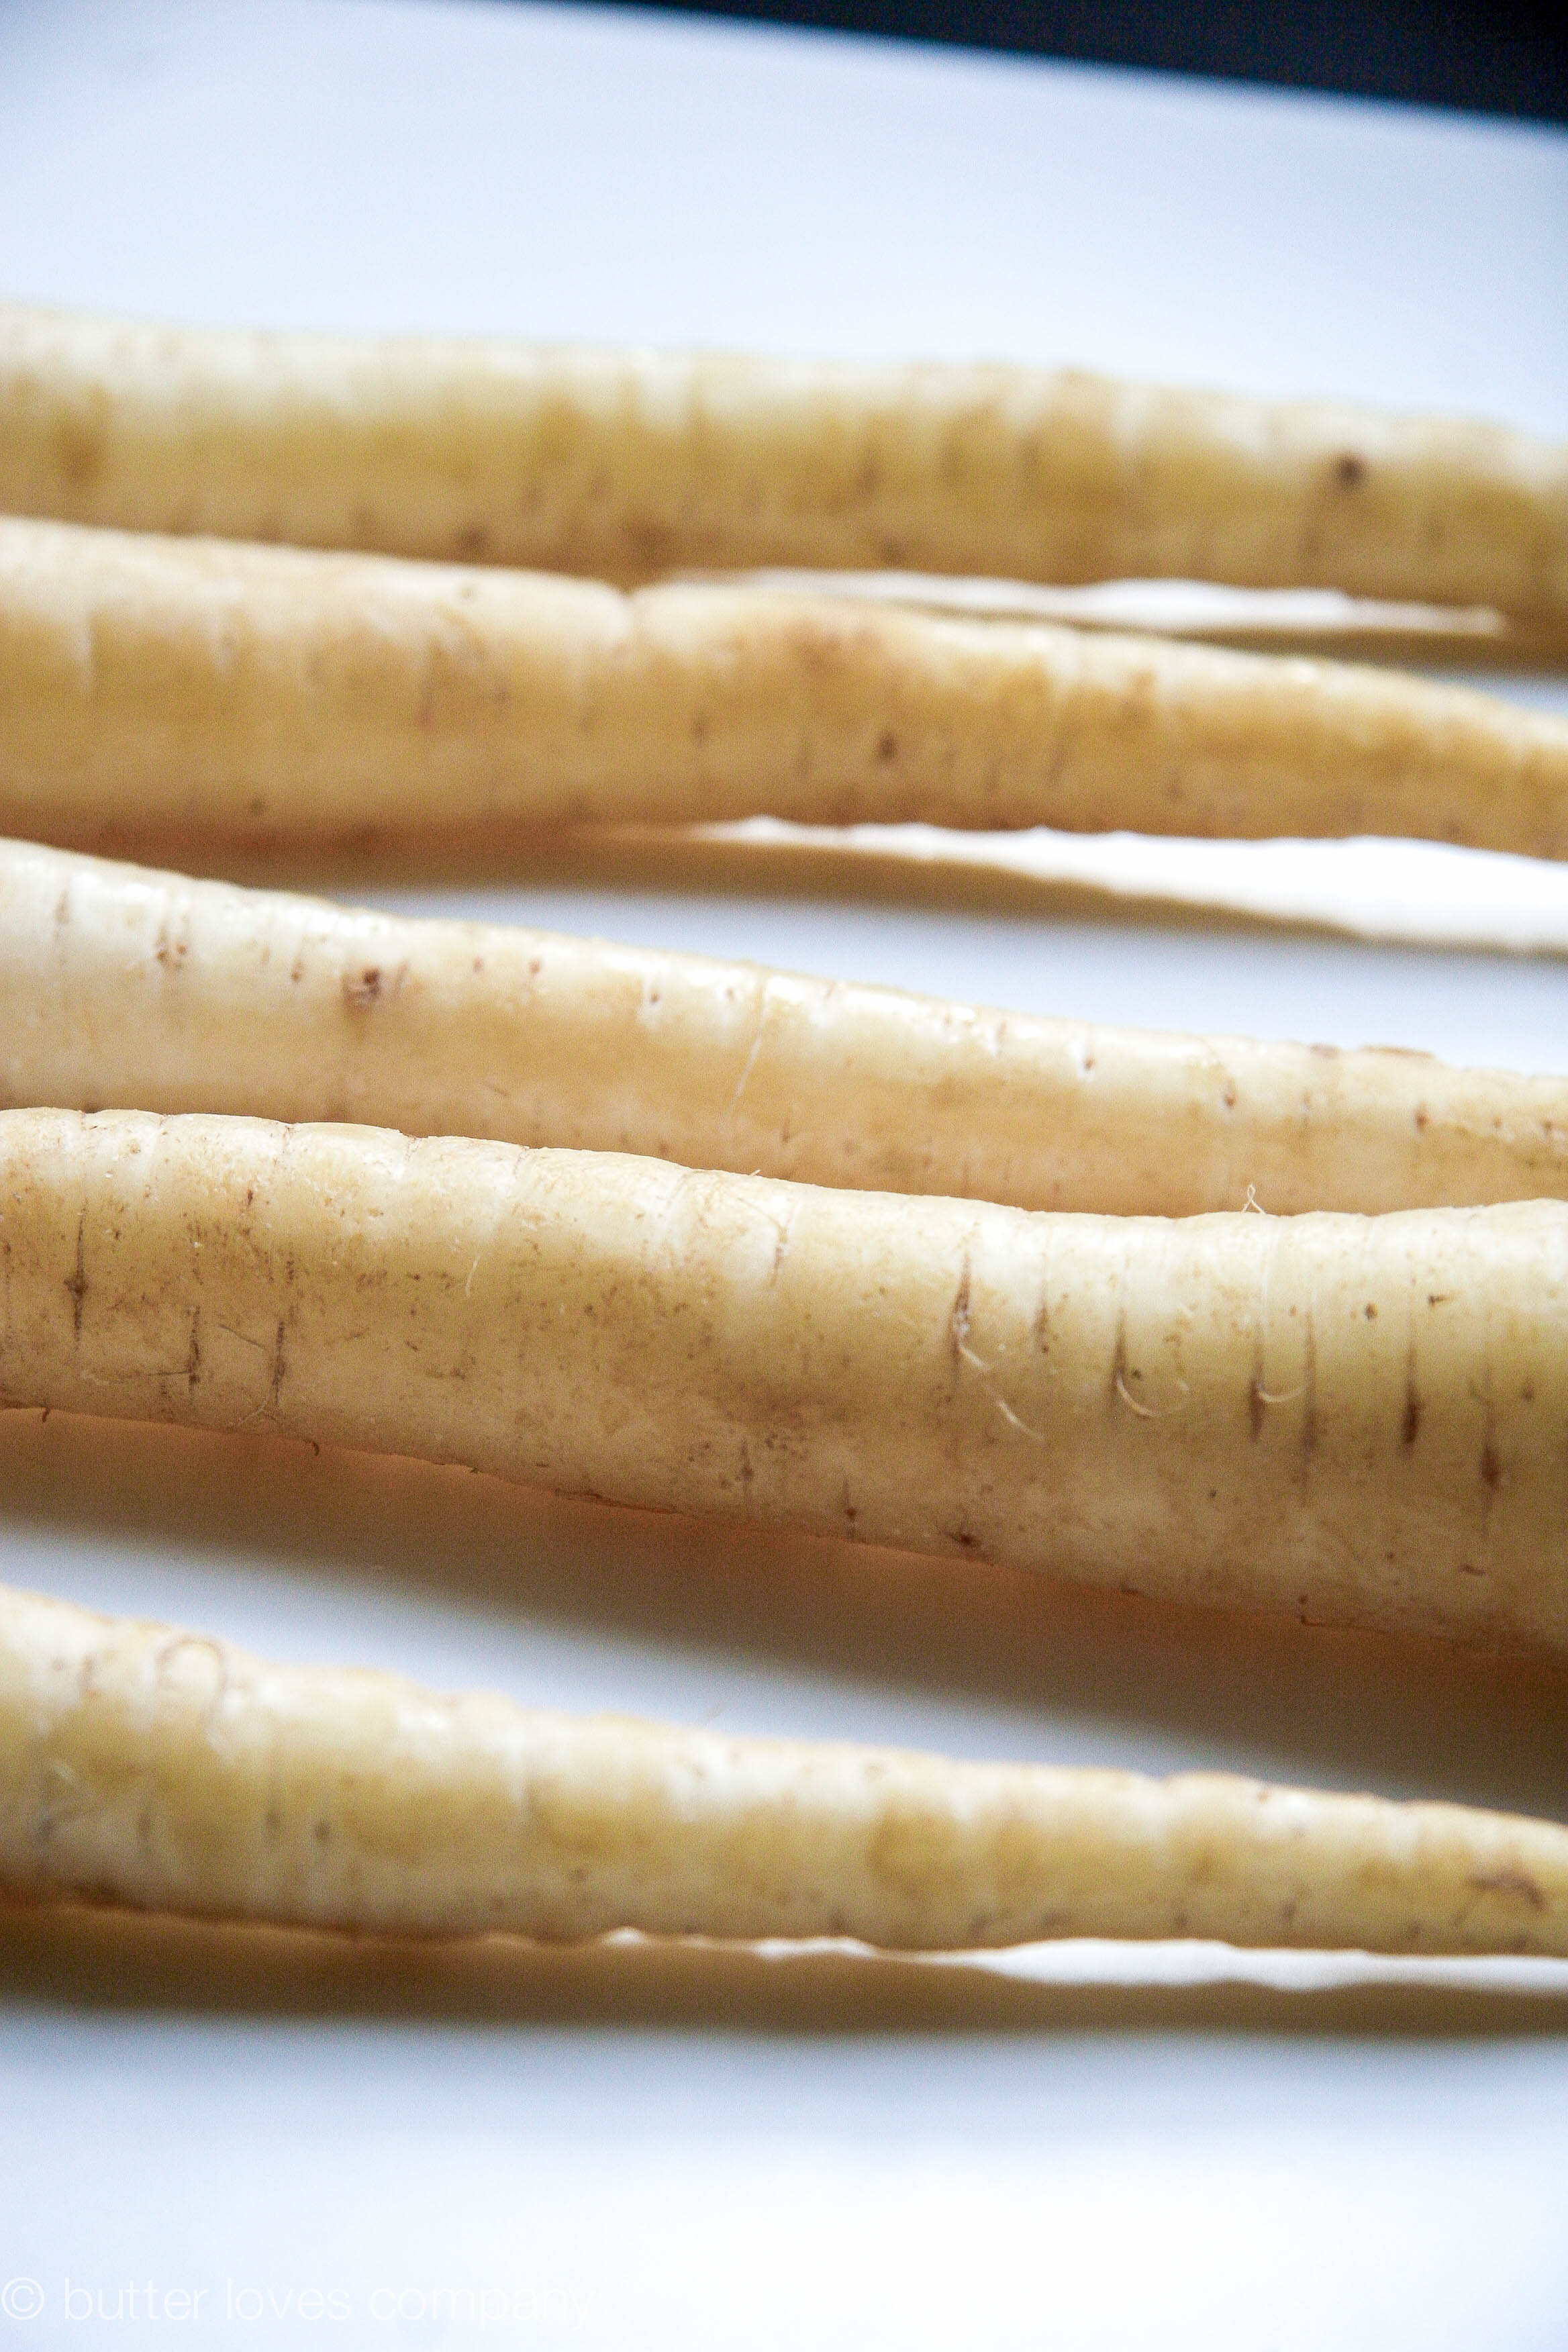
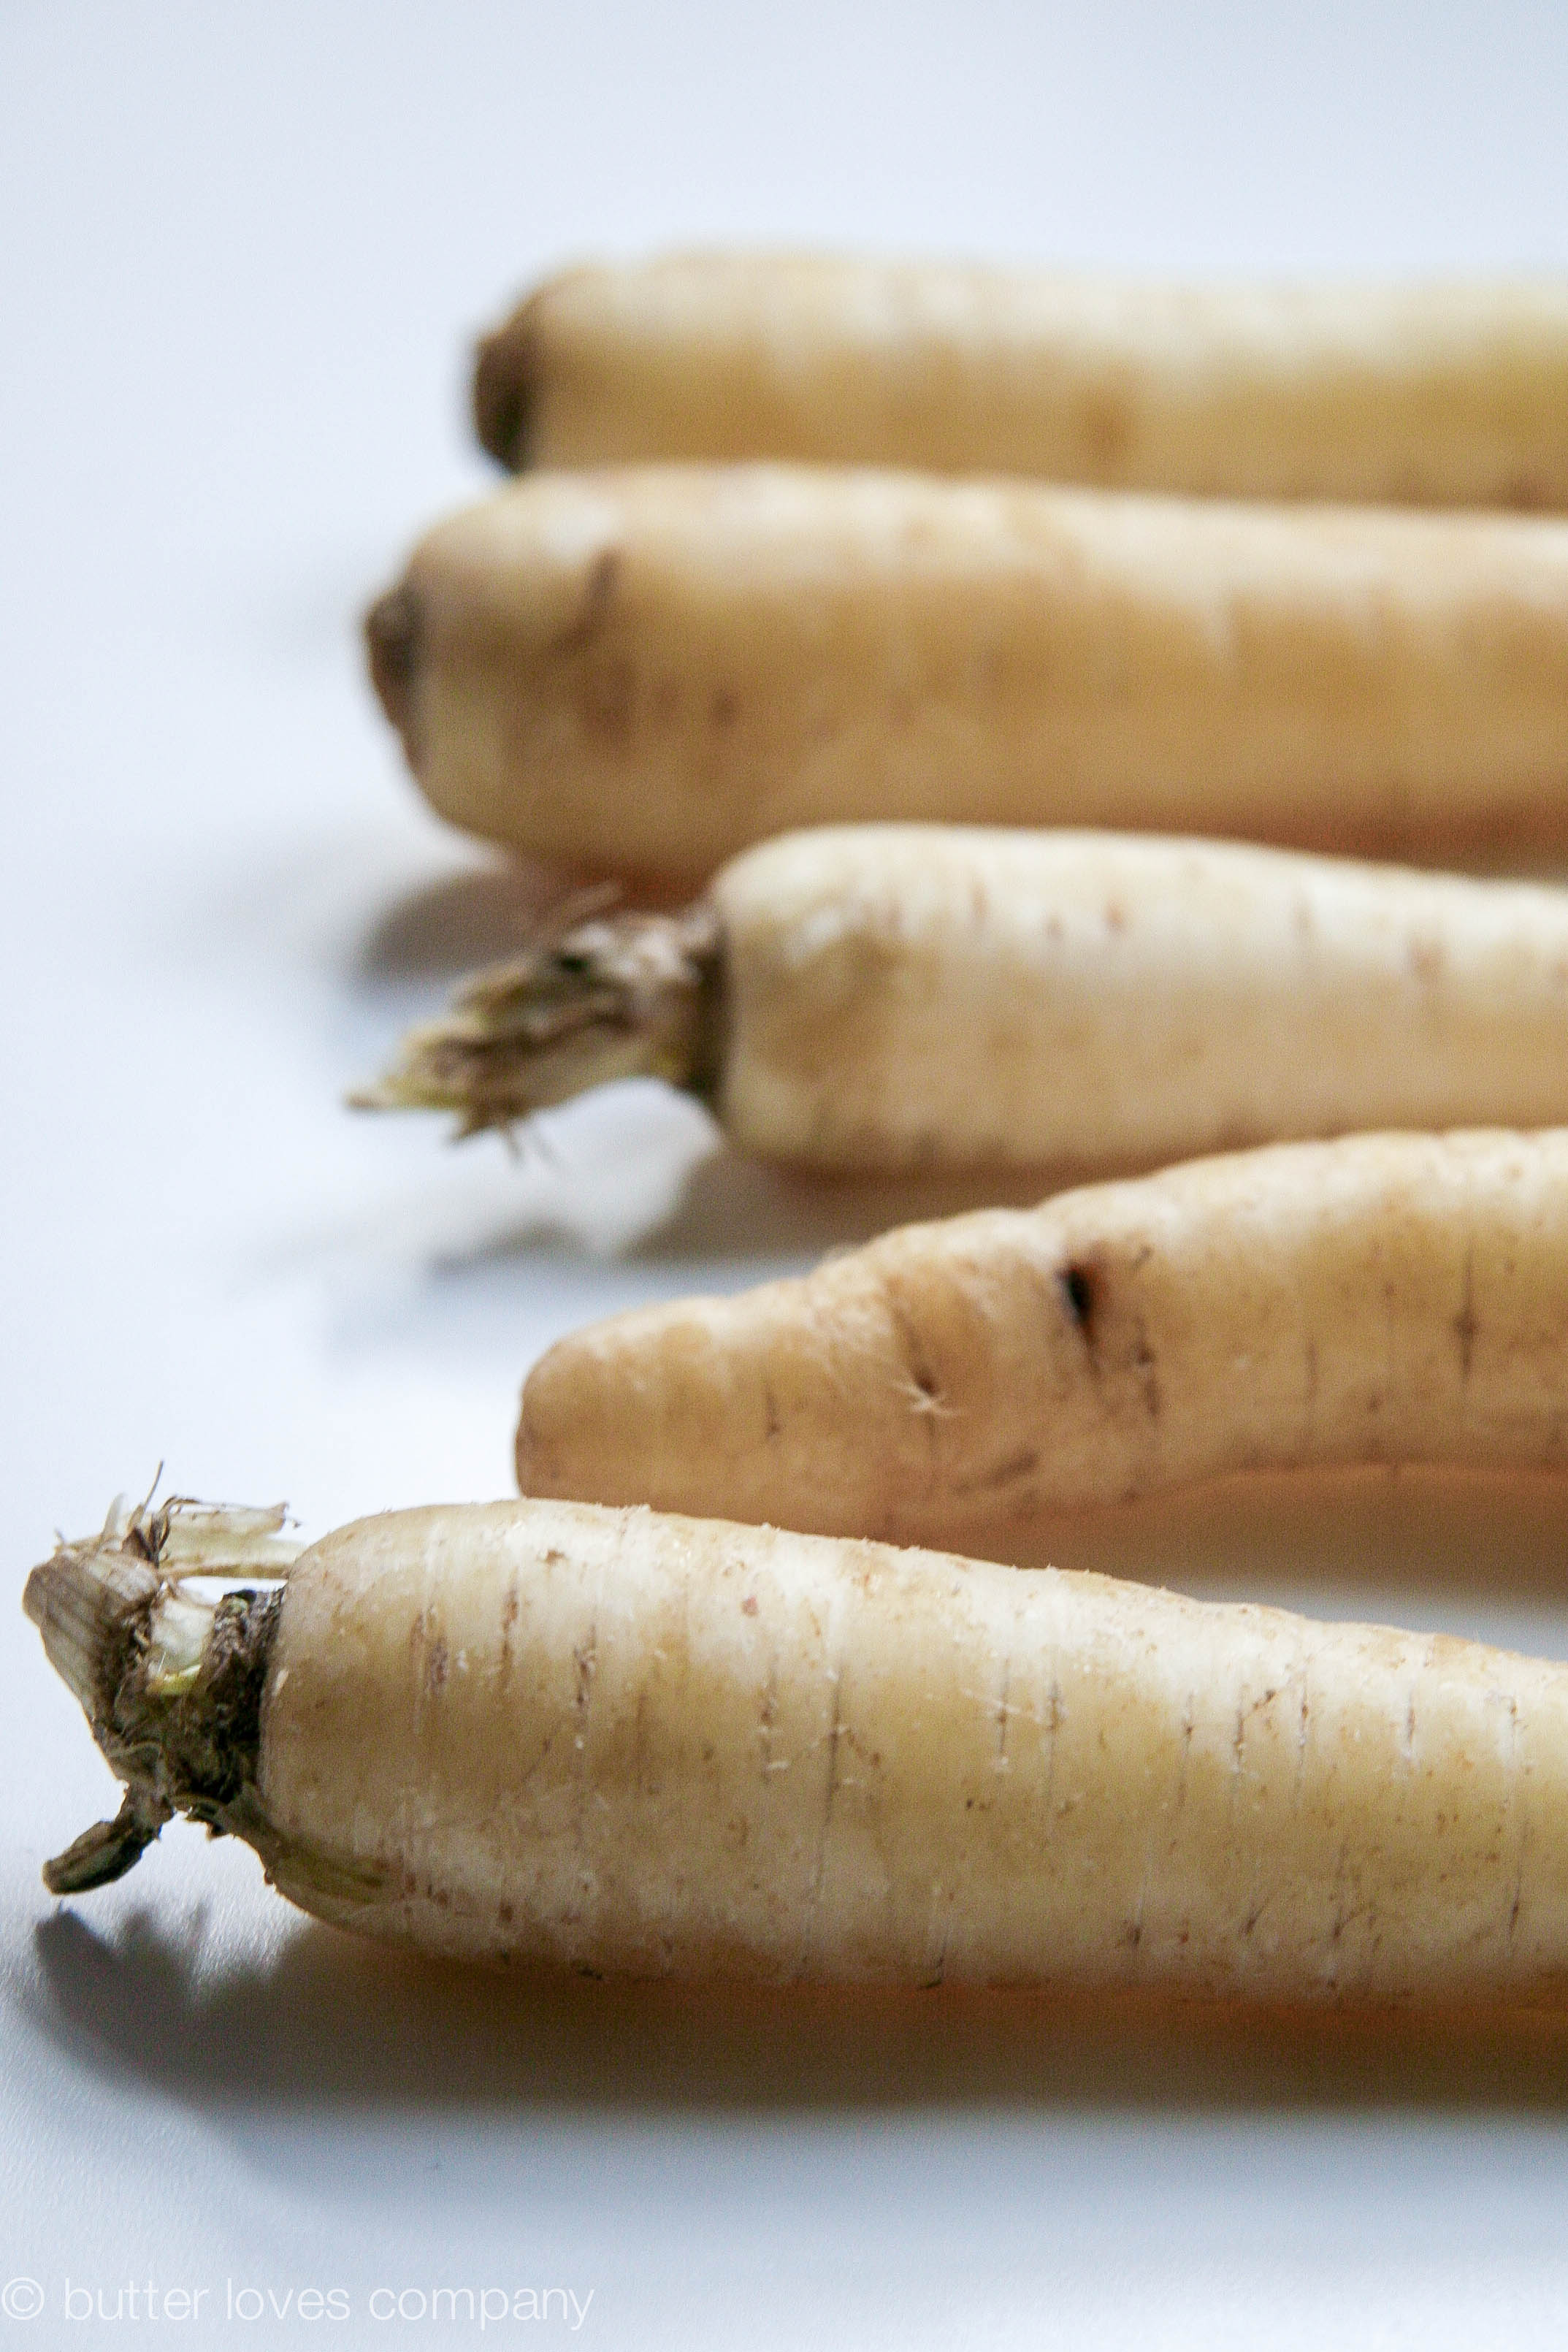
While we hold onto the final official moments of summer (and summer produce) and anticipate the beauty of fall, let’s grab a few last peaches from the market and celebrate the two seasons together with this quick peach compote.

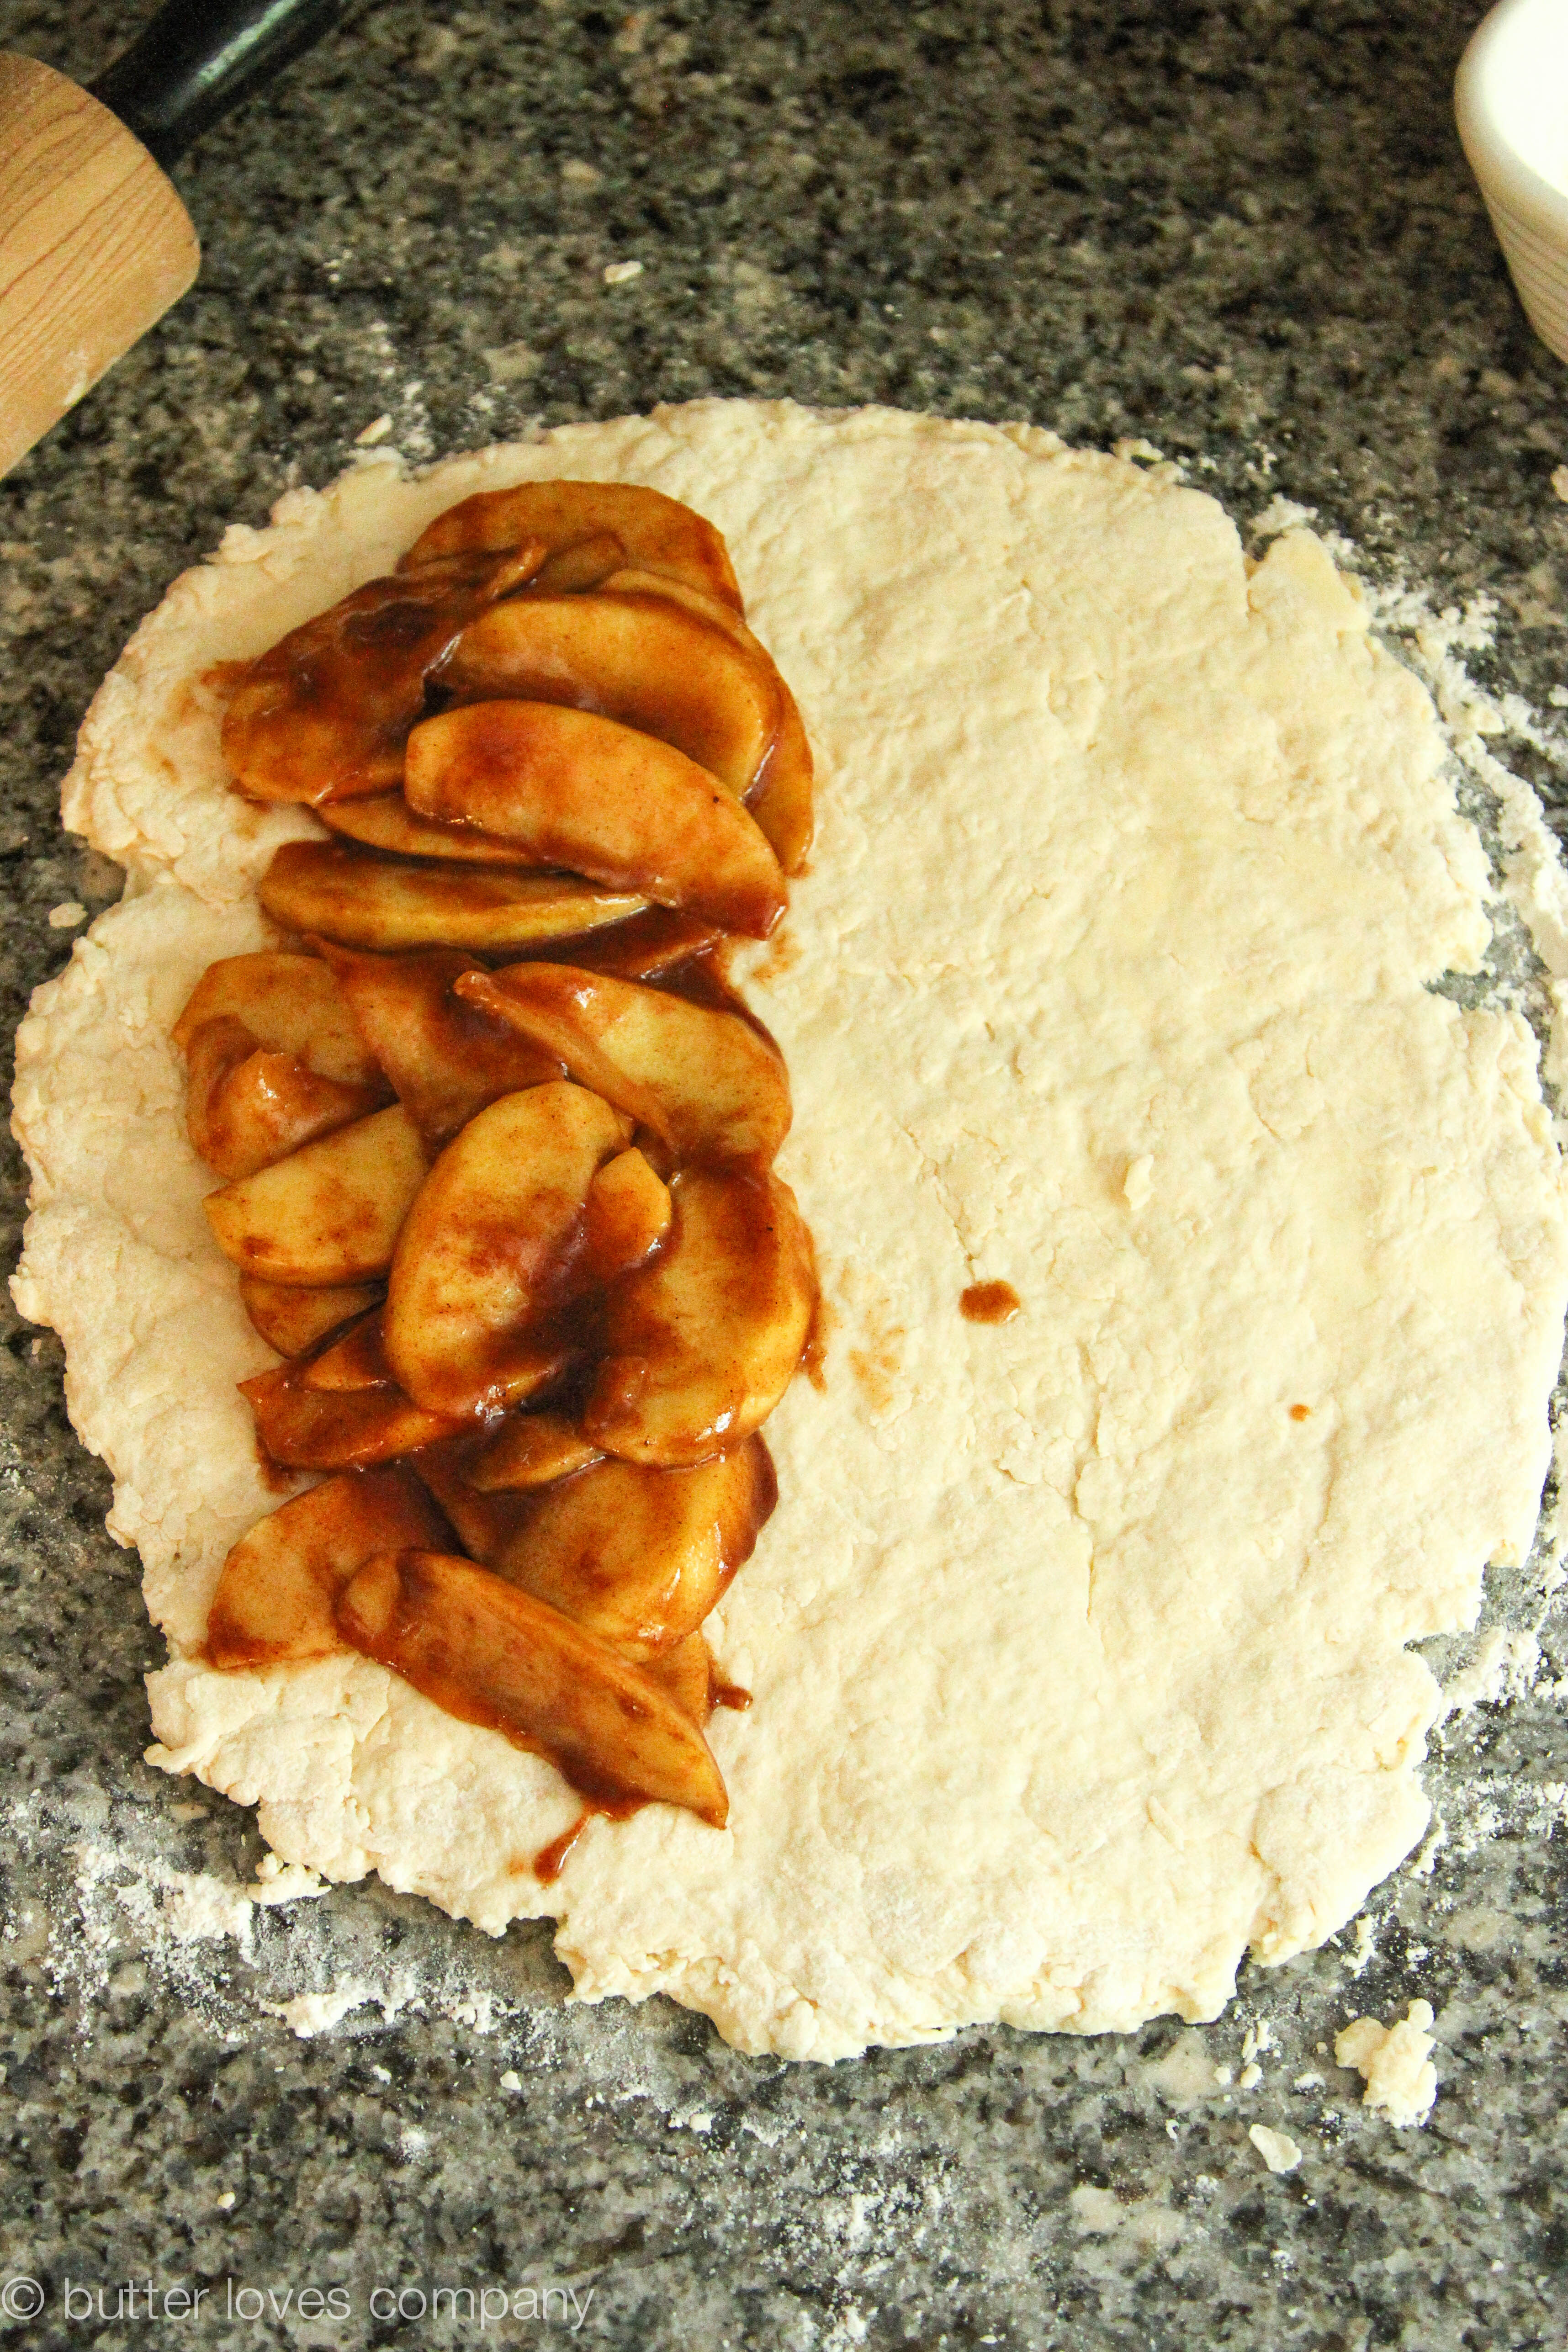
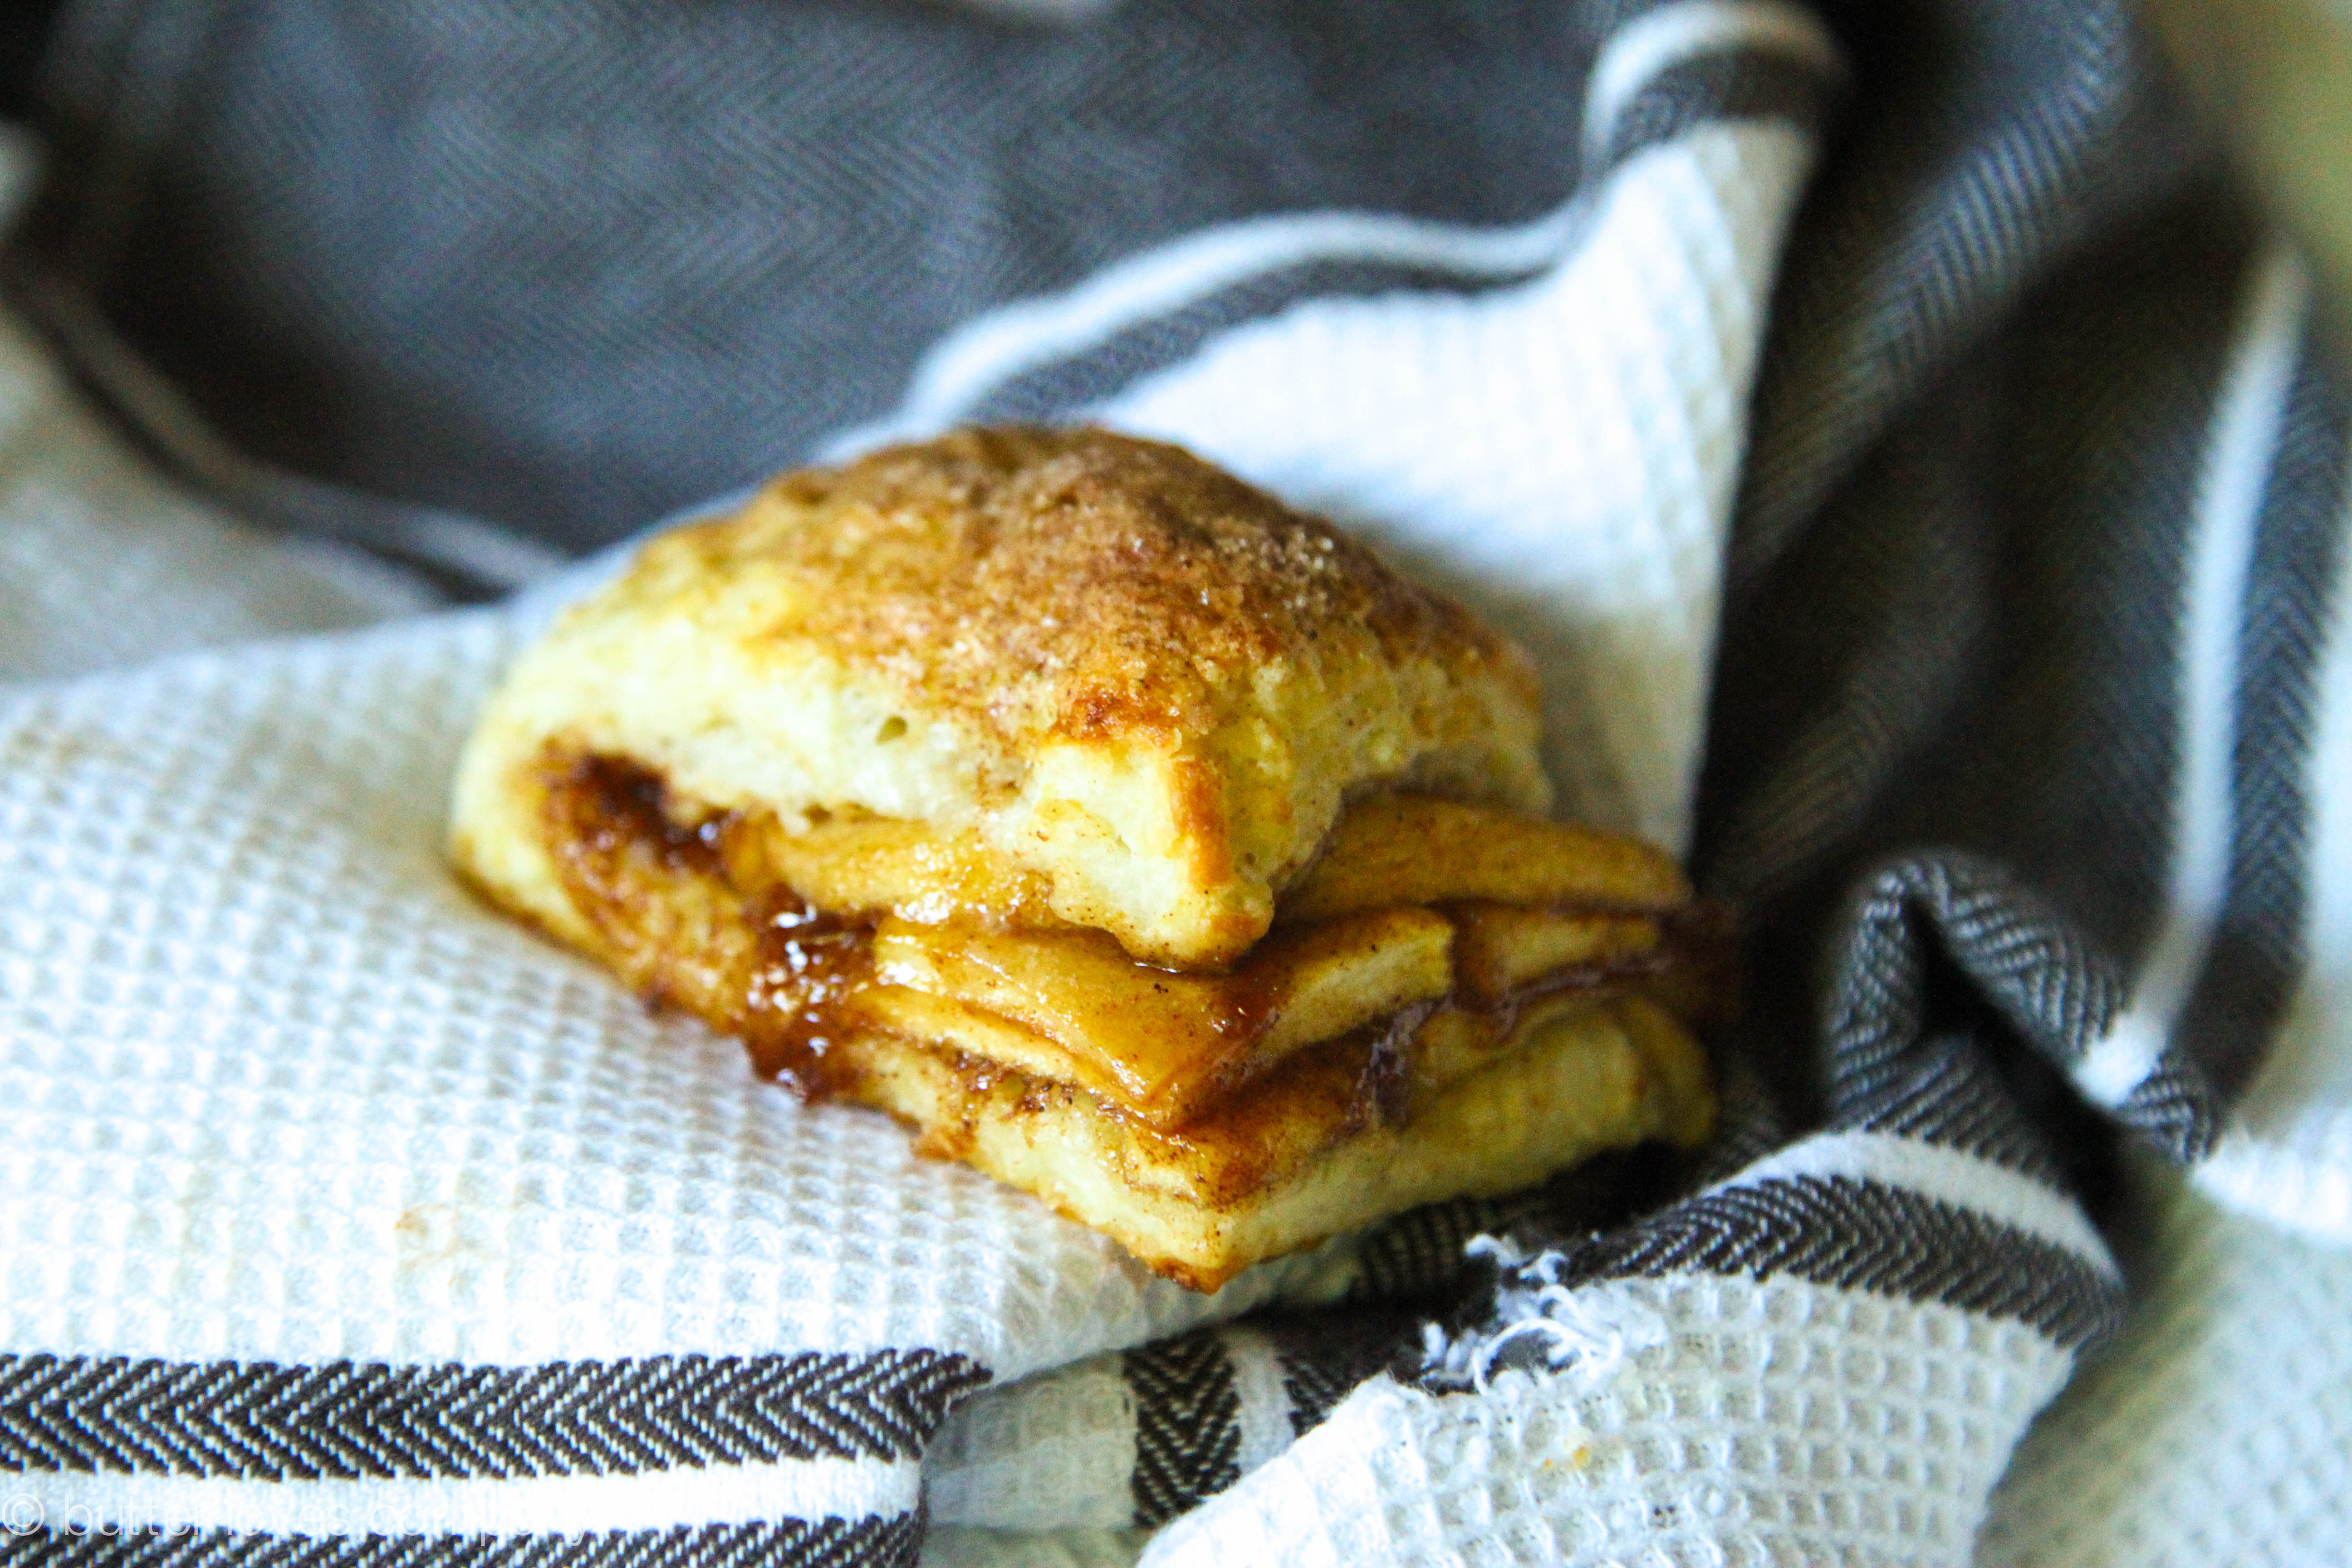
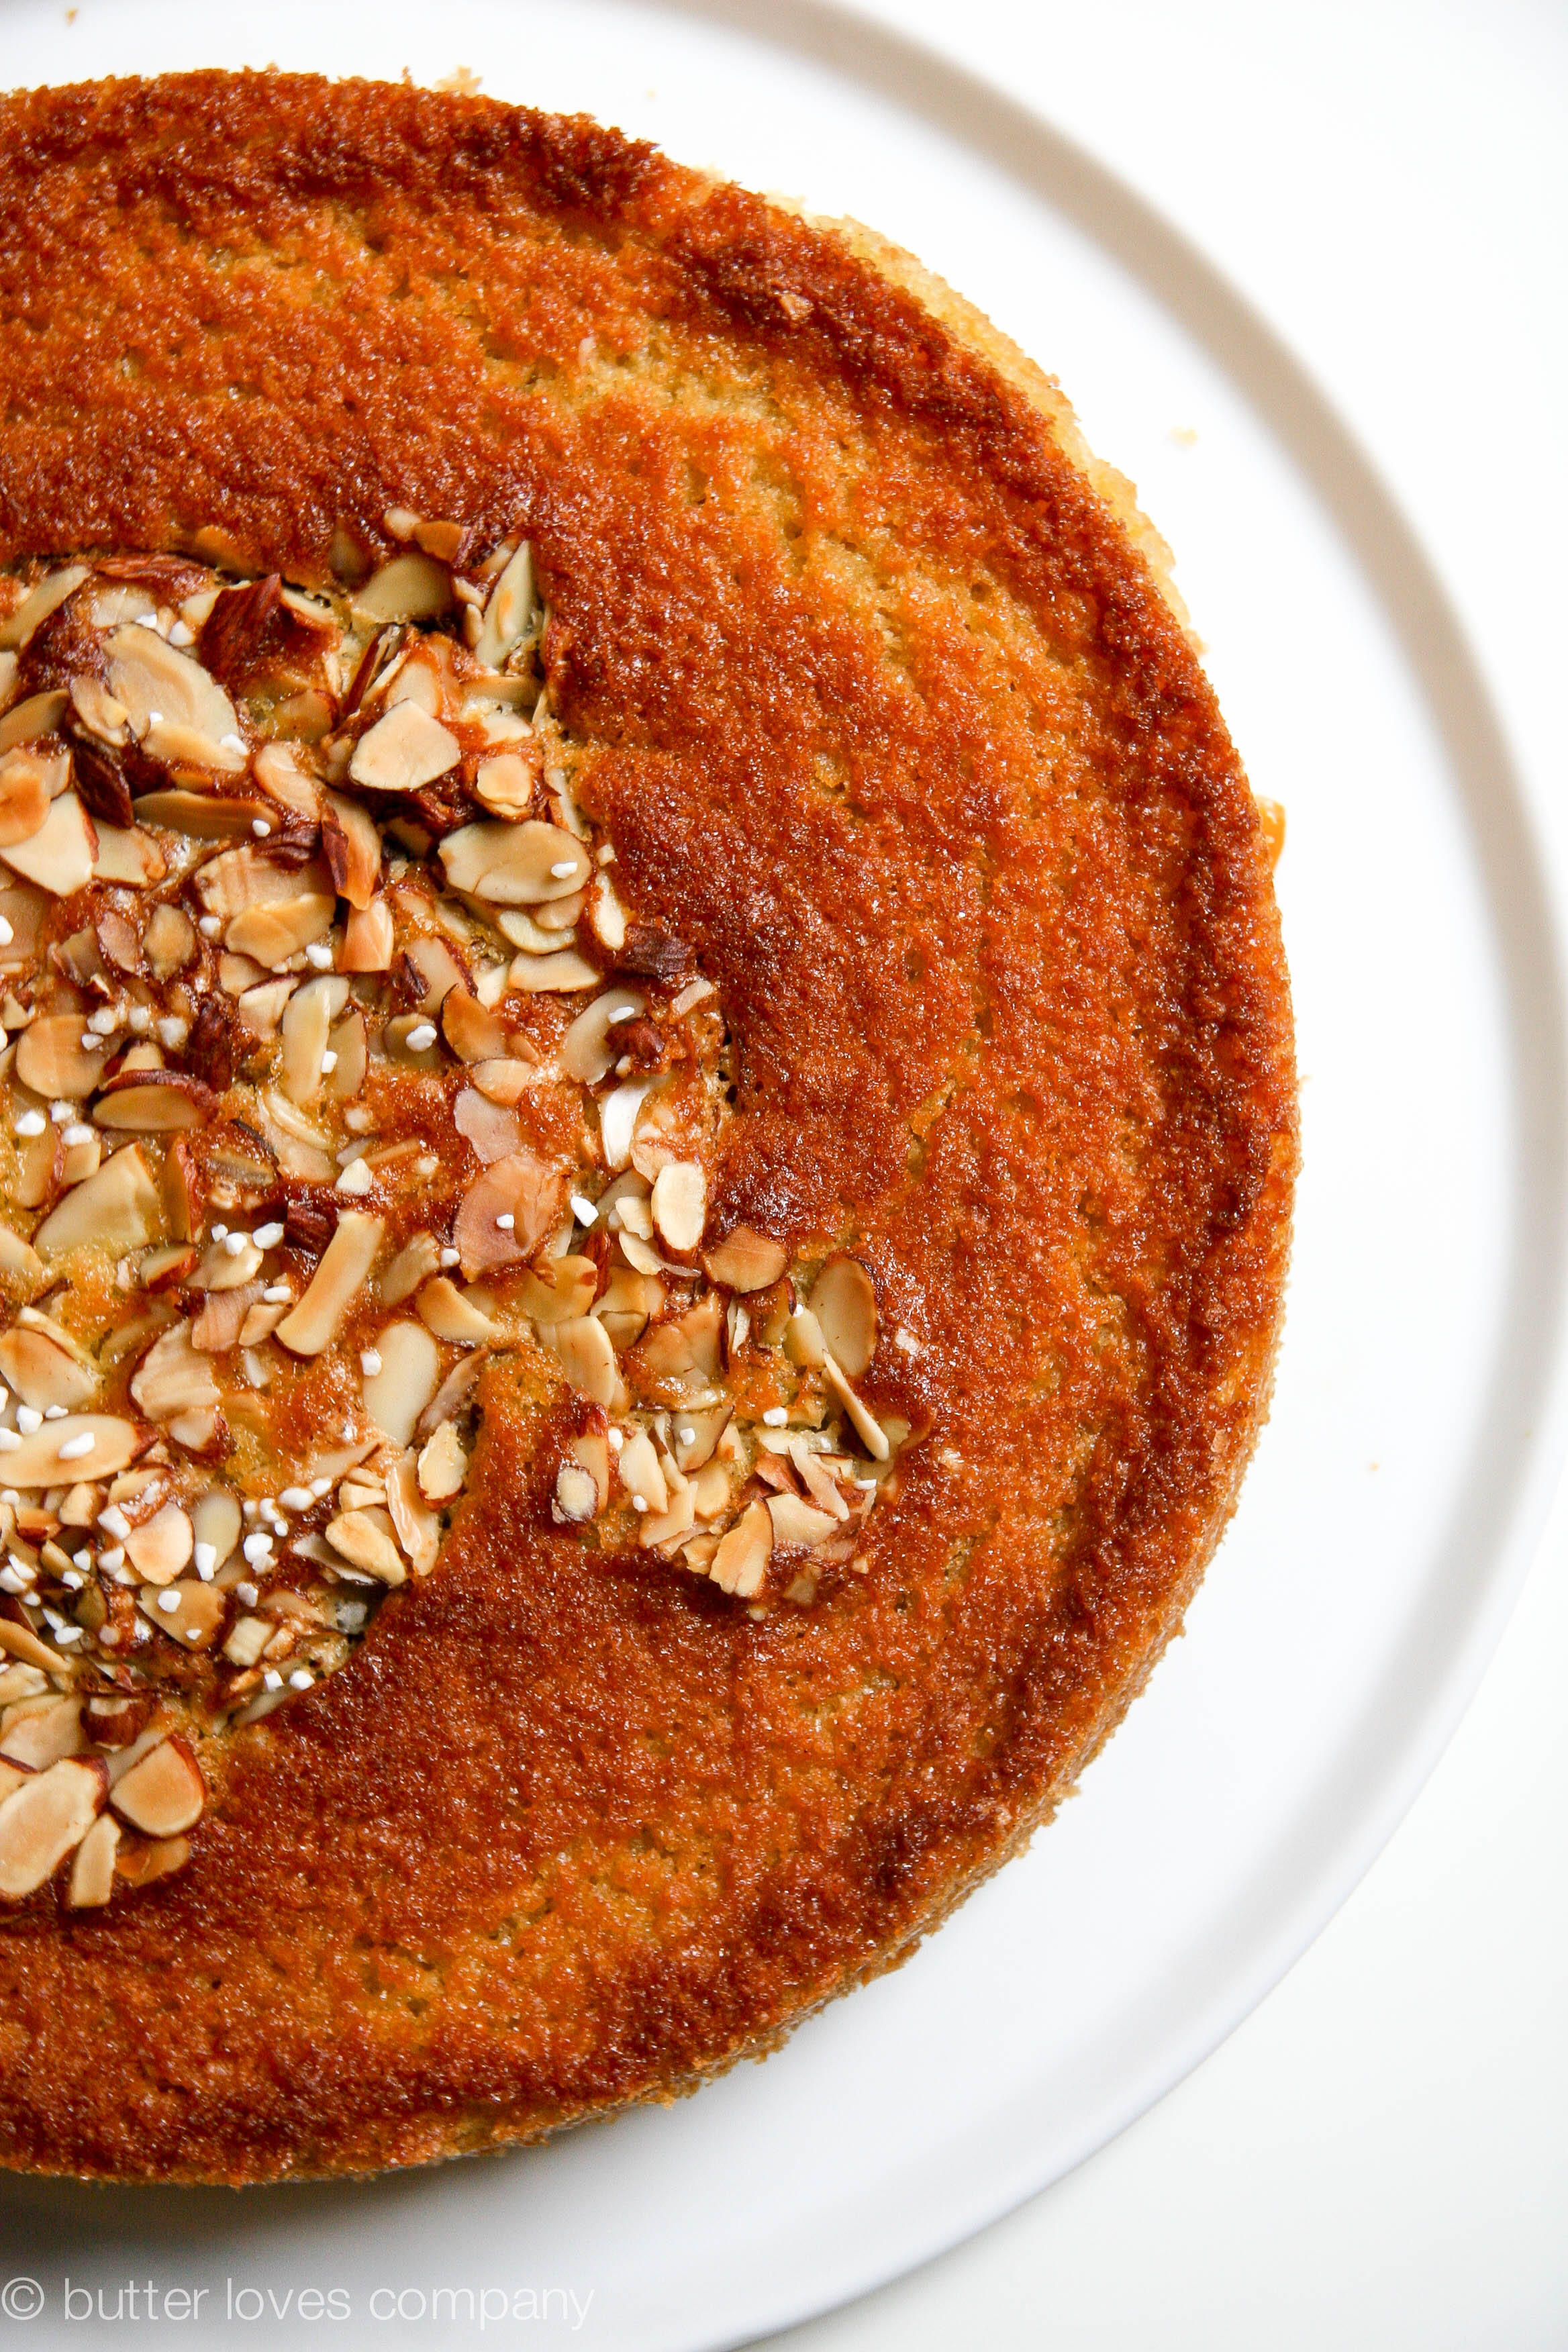
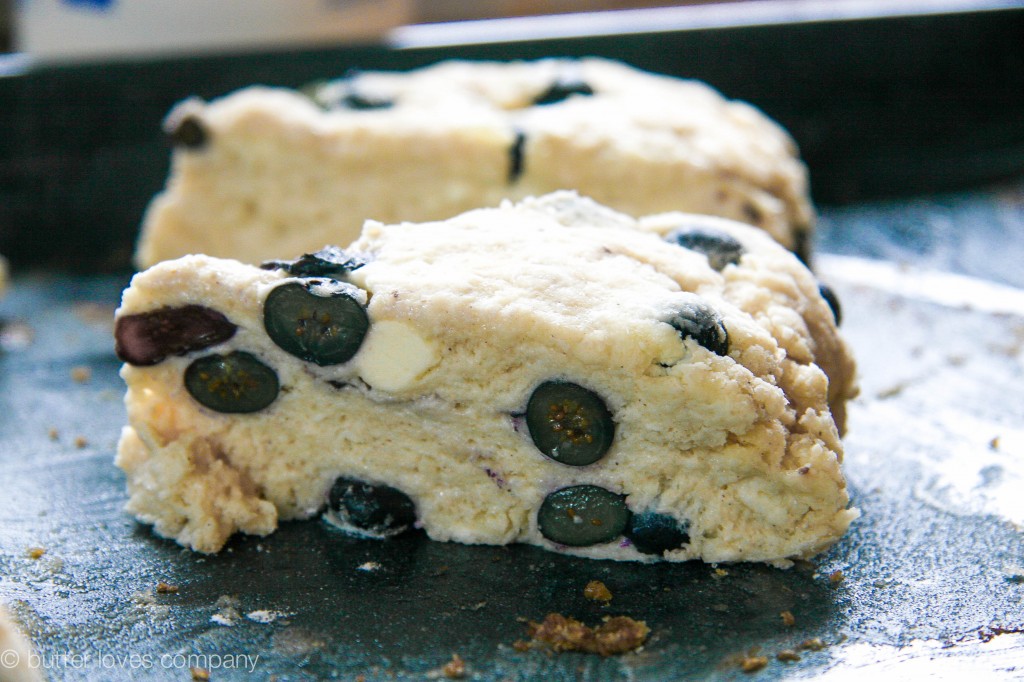
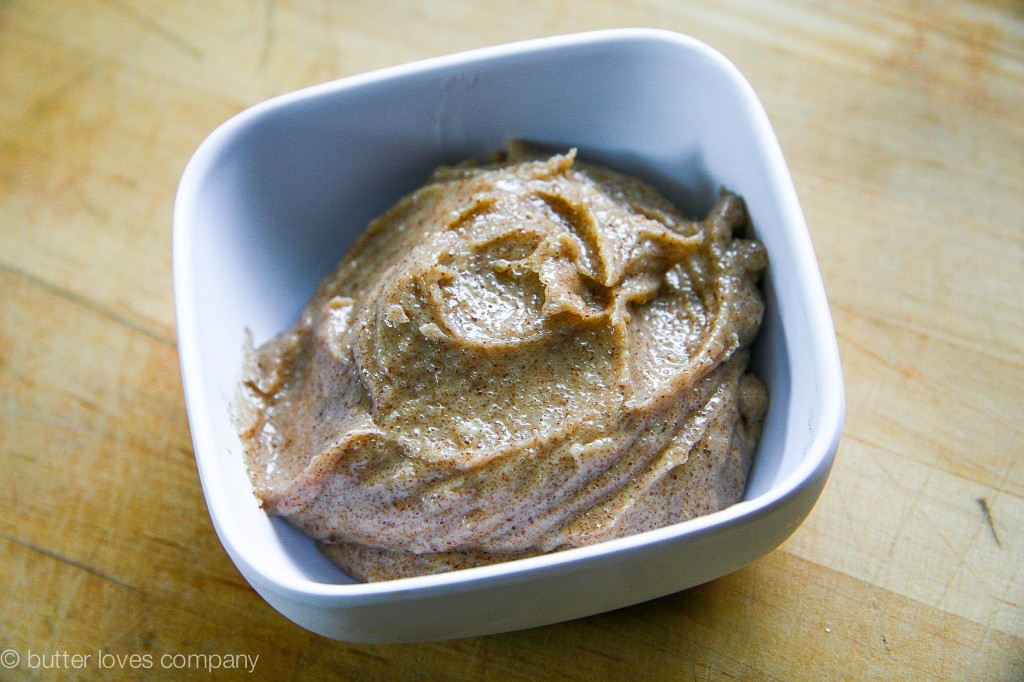
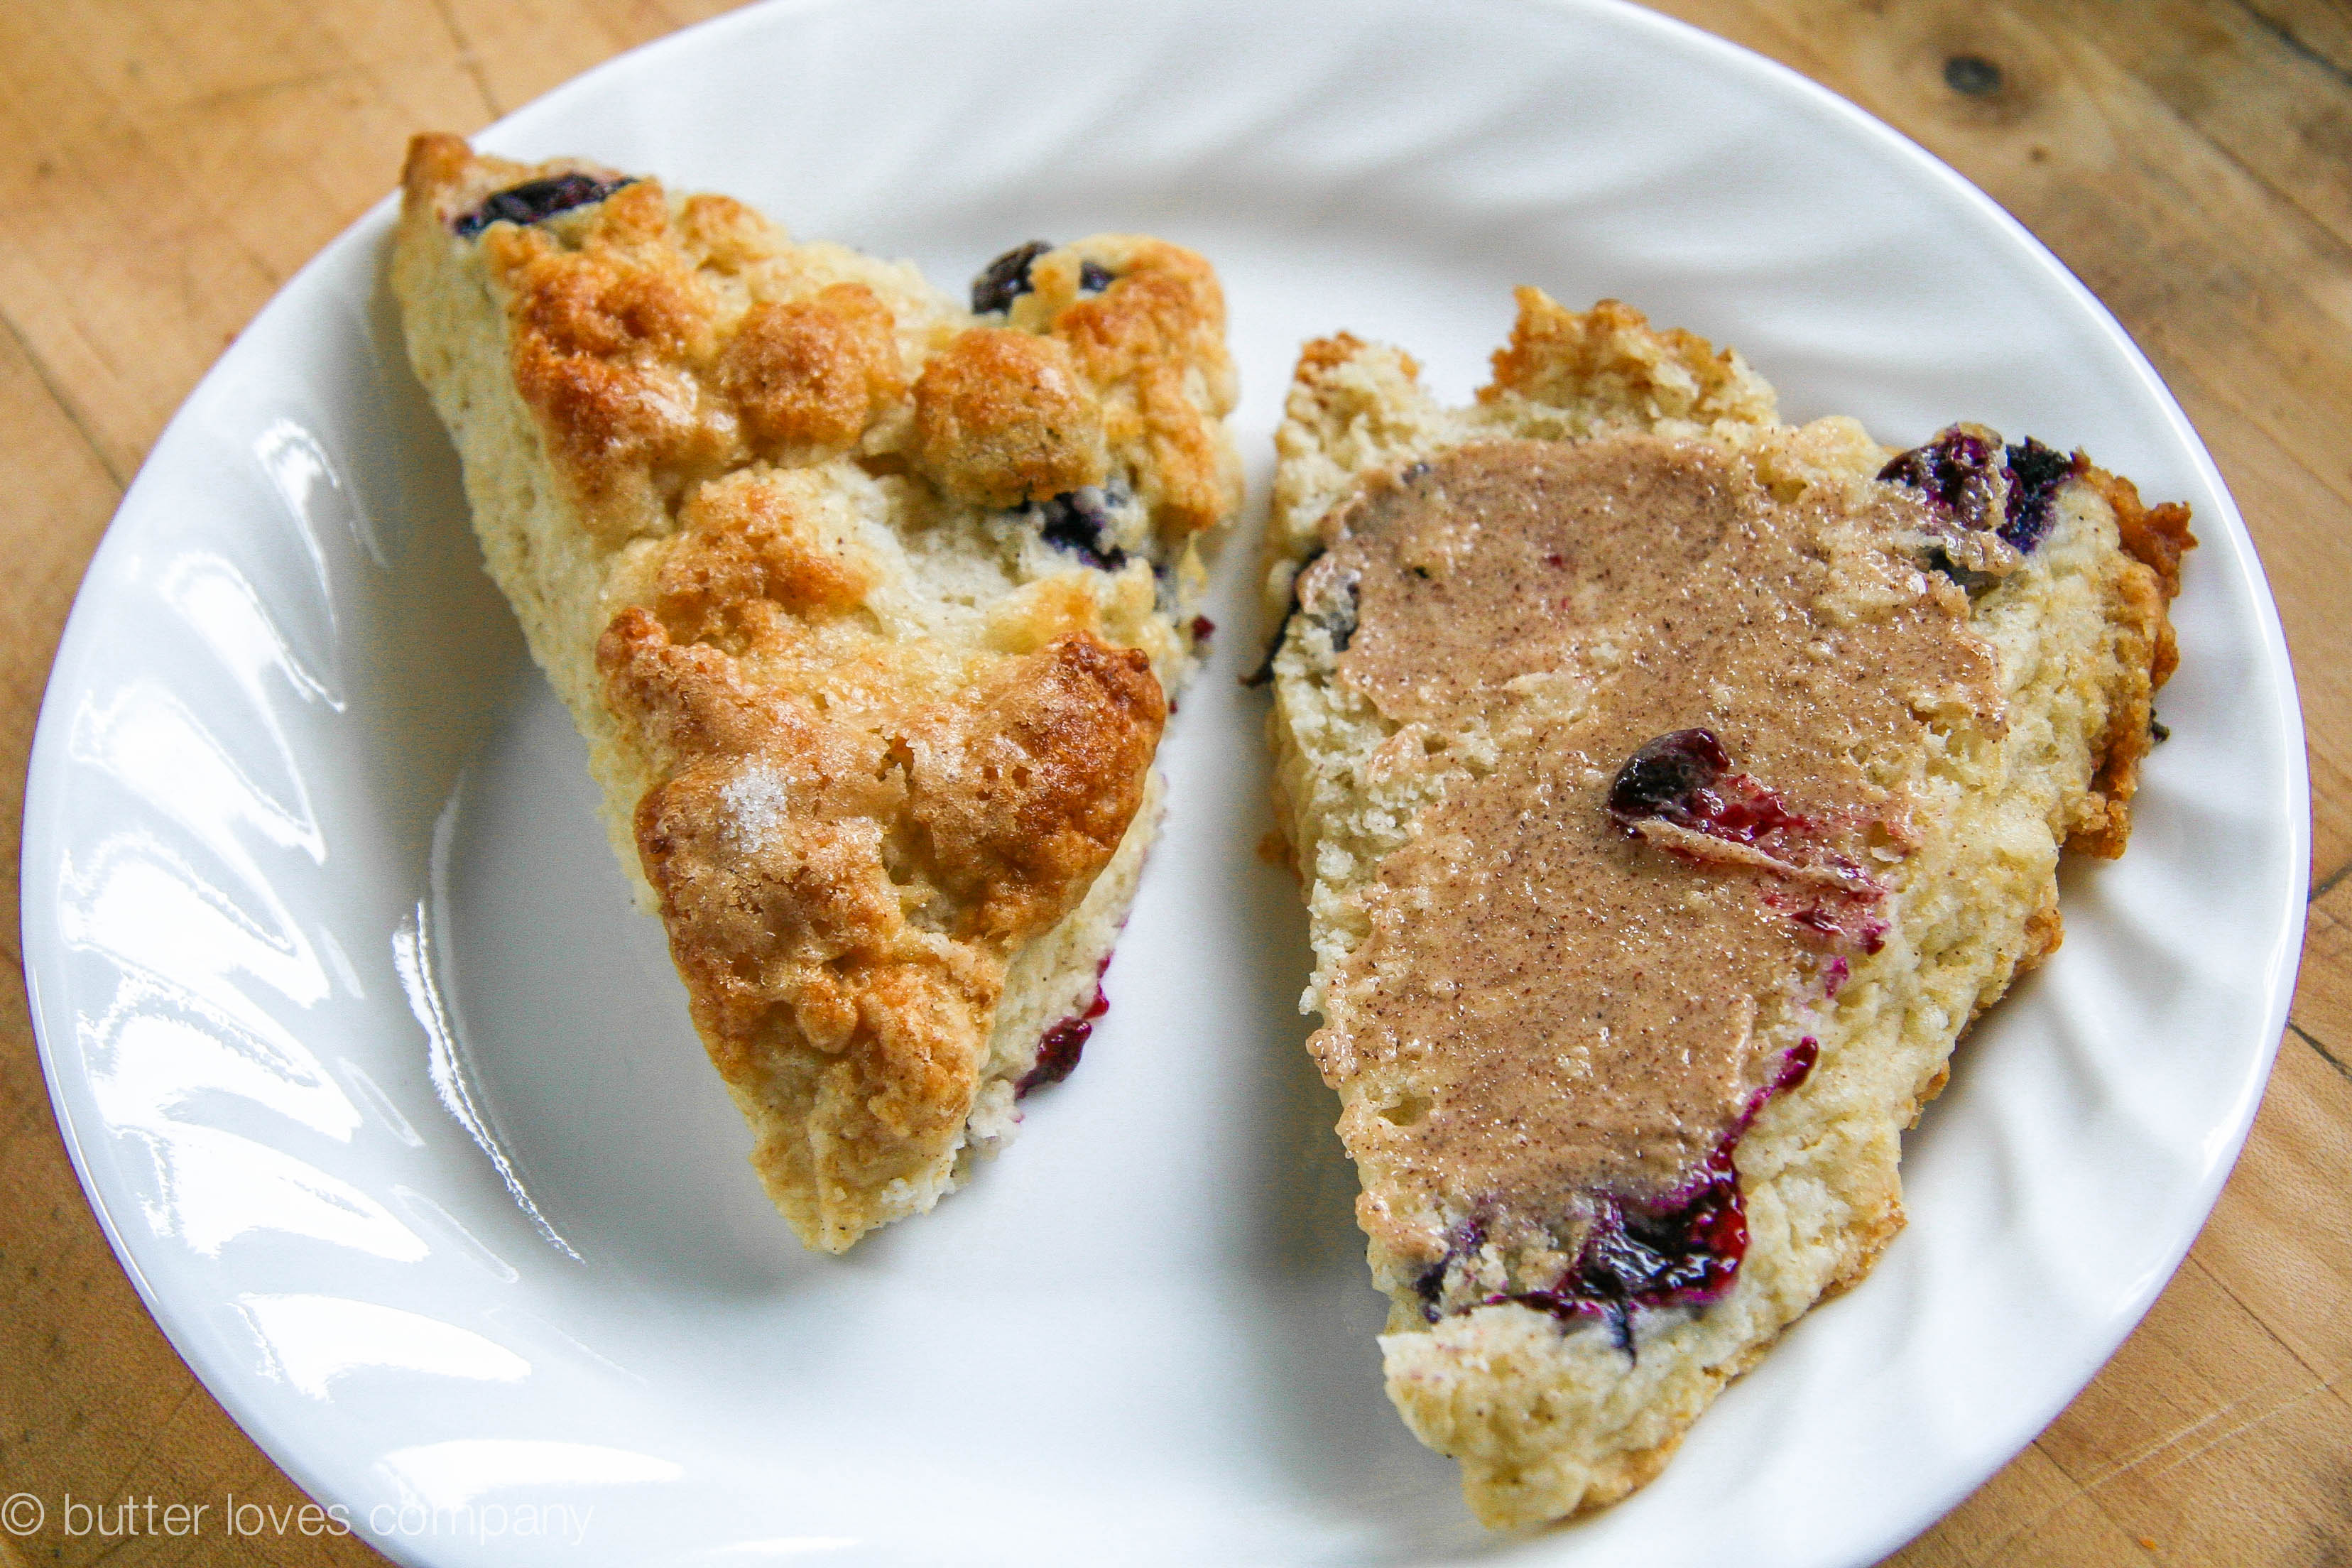
This easy recipe uses juicy fresh summer peaches and borrows warm scents of cinnamon and nutmeg from the impending fall to ease you seamlessly from beach days to sweater weather. Simply slice or dice the peaches, simmer, and fifteen minutes later your compote is ready. The result is a terrific sweet, tangy, and spiced topping for morning yogurt bowls or evening ice cream. You could also spread atop toast, perhaps along with some ricotta cheese.

stewed-peaches-1

stewed-peaches-2

Filed Under: breakfast and breads, condiments, bases and sauces, desserts and sweets Tagged With: breakfast, fall, peach, summer

mini challah loaves

August 22, 2016 by Butter Loves Company

Chewy, eggy, braided mini challah loaves—perfect with butter, for sandwiches or treat them like bagels and smear them with cream cheese. Be sure to use the extras for challah french toast—dreamy!

mini-challah-loaves

From my plane ride to Boston, something a little different…

—–

She settles deep into her window seat for the six-hour flight and pops open her book to where she left off. She’s barely a chapter in but she leafs back a few pages—another vivid daydream had taken her away from the words her eyes scanned for the past fifteen minutes. Or, had she fallen asleep? Tough to tell these days.

It takes only a few moments for the lids to weigh down over her brown eyes. Her thoughts drift away to the sounds of twin toddlers giggling in the row in front of her. They’re bouncing in their seats beaming with excitement to be flying across the country, “Mom, look! We’re in the CLOUDS!”

They each wore French braids, just like she had nearly every day of her childhood. In this moment, they epitomize pure happiness. She sighs.

mini-challah-loaves

She drifts further into memories and transports back to the day she made challah bread for the first time. She had woken early from a nightmare and began to braid the challah dough she had prepared the night before to get her mind off things. It was profoundly therapeutic; rolling and twisting the eggy dough.

mini-challah-loaves

The buns had barely hit the cooling rack before she ripped into the puffy loaves, spreading their soft centers with butter and sprinkling with flaky salt. Her boyfriend, now awake to the smell of freshly baked bread, hurried over to grab a bite of his own. Their eyes locked and they both smiled. It was so good. In this moment, she imagined herself as one of those giggling toddlers: she was purely happy. This time trading those braids in the hair for another, much more delicious, braid she could share with everyone around her.

mini-challah-loaves

mini-challah-loaves

Filed Under: breakfast and breads, eat, sides, soups and salads Tagged With: bread, breakfast, brunch, challah

sugared brioche doughnuts

August 11, 2016 by Butter Loves Company

brioche-doughnut-recipe-6

Check. Check 1-2. Check 1-2-3-4.

Hello…

it’s me!

I am (honestly) in California dreaming about who we used to be. That is, food friends! Life has been quite busy lately and I’m going to blame my temporary break on the new doughnut in my life. No, I’m not talking about these sugared brioche doughnuts that I hope you’re grabbing for on the screen (they are that good, I promise). I’m referring to the newest member of the Butter Loves Company family, our precious calico kitten—say hello to Nori! She is my new kitchen assistant, contributing mostly by sleeping curled into an adorable doughnut shape. I couldn’t be happier to be her mama.

nori2

Cute cats aside, I am bursting with excitement to share this recipe with you. Imagine biting into a sweet, buttery cloud with egg-y richness and a kiss of vanilla. Sounds pretty amazing, right? That’s what you’ll get with this perfect sugared brioche doughnut recipe. As soon as I tried Thomas Keller’s recipe from Bouchon Bakery, it was game over.

brioche-doughnut-recipe-1

If you’re thinking, “Homemade doughnuts? That seems difficult,” let’s take it step-by-step. You’ll prepare a simple dough, which is a mostly hands-off process, allowing your stand mixer to do the heavy lifting. You’ll let the dough proof for an hour and then again overnight in the fridge. You’ll roll out and cut the dough into your doughnut shapes. You’ll heat the oil and fry those pretties for just a couple minutes. Remove from the oil, let cool and toss them in vanilla sugar. Give one to everyone you see around you—well, maybe not the cats!

blc signature

brioche-doughnut-recipe-4

brioche-doughnut-recipe-2

Filed Under: breakfast and breads, desserts and sweets, eat Tagged With: breakfast, breakfast bread, brioche, donuts, doughnuts

cornmeal pancakes with honey cayenne butter

August 20, 2015 by Butter Loves Company

cornmeal-pancakes-9These delicious little pancakes have a natural sweetness and slightly grainy texture from the addition of cornmeal. They are crisp on the outside and fluffy on the inside and taste a bit like seared cornbread you may find at a neighborhood BBQ joint. Don’t skip slathering with a generous smear of creamy honey cayenne butter. The sweet heat pulls it all together.

Pancakes have always been tough for me. Even though they aren’t my favorite breakfast carb (Hello, things like bagels and sticky buns EXIST.), I actually make them fairly often because they are quick for a weekday morning breakfast and because I’ve yet to master the flip and I like the challenge.

Honestly, my pancake flipping ability is an embarrassment. Greg says I’m not flipping fast enough. Okay, sure. Then, I try flipping fast and basically invent pancake batter wallpaper and inevitably find that the half-cooked pancake landed perfectly on the pan’s edge as if trying to escape from the impending breakfast disaster. If you follow me on snapchat (butterlc), you may have seen my first attempt at these cornmeal pancakes with honey cayenne butter. The flavor was great but it was NOT PRETTY. Obviously, I had to try again. I’m so glad I did!

cornmeal-pancakes-2

cornmeal-pancakes-3

We have your flour cornmeal mixture, your yogurt milk mixture and your butter honey mixture. Time to make some batter!

cornmeal-pancakes-1

cornmeal-pancakes-7

Look at that butter sliding right across the hot pancakes, yum!

cornmeal-pancakes-4

This honey cayenne butter is luscious. Make some extra to have on toast!

cornmeal-pancakes-6

You can see some of the cayenne flecks from when the butter melted right off of this stack of pancakes…..

cornmeal-pancakes-10

These cornmeal pancakes have a natural sweetness and slightly grainy texture from the addition of cornmeal. They are crisp on the outside and fluffy on the inside and taste a bit like seared cornbread you may find at a BBQ joint. Don’t skip slathering with a generous smear of the creamy honey cayenne butter. The sweet heat pulls it all together!

cornmeal-pancakes-5

Filed Under: breakfast and breads, eat Tagged With: breakfast, butter, cornmeal, pancakes

brown butter cinnamon sugar pull-apart bread

March 10, 2015 by Butter Loves Company

brown-butter-cinnamon-sugar-pull-apart-bread-10-text

WARNING: This is the kind of bread you can easily polish off in a single sitting. The second you peel the first layer of this buttery sweet dough off the loaf and smell the warm cinnamon sugar filling, your other hand will already be reaching for your next piece. Maybe it’s best if you keep some friends around to share. Or, be greedy and have it all—I would. You won’t even need to waste time slicing because this is homemade PULL-APART bread. Hands-on food is fun. Nothing like instant gratification.

I love making breads and things with yeasted dough. It makes me feel like a superwoman because I used to think only professional bakers could work bread magic (for one of my favorite yeasted dough recipes, see here). Just take a look at the layers completely transform before and after baking. It’s amazing! It’s like a science experiment in the kitchen and, man, it makes me just love science. I hope you will too.

While there are few combinations better than the simple cinnamon and sugar, you can get as weird as you want with this pull-apart bread recipe. Maybe toss in some chocolate chips … or raspberries … or even go savory and swap out the cinnamon sugar for olives and cheese. Whatever you do, you’d better get ready for carb satisfaction!

P.S. This bread pairs excellently with a Bloody Mary. We had to test, you know, to be sure. 🙂

brown-butter-cinnamon-sugar-pull-apart-bread-2

brown-butter-cinnamon-sugar-pull-apart-bread-3

brown-butter-cinnamon-sugar-pull-apart-bread-4

brown-butter-cinnamon-sugar-pull-apart-bread-5

brown-butter-cinnamon-sugar-pull-apart-bread-6

brown-butter-cinnamon-sugar-pull-apart-bread-8

brown-butter-cinnamon-sugar-pull-apart-bread-12

brown-butter-cinnamon-sugar-pull-apart-bread-9

brown-butter-cinnamon-sugar-pull-apart-bread-13

brown butter cinnamon sugar pull-apart bread
recipe adapted from joy the baker

prep time: 30 minutes
cook time: 35 minutes
total time: about 3 hours (includes time for dough to rise)
makes: one 9x5x3-inch loaf

Ingredients:

For the Dough:
2 1/4 teaspoons (1 envelope) active dry yeast
3 tablespoons warm water (between 105°F and 115°F)
3 cups all-purpose flour
1/4 cup granulated sugar, plus a pinch (divided)
1/2 teaspoon salt
2 ounces unsalted butter
1/3 cup whole milk
1/4 cup water
2 large eggs, lightly beaten
1 teaspoon pure vanilla extract

For the Filling:
1 cup granulated sugar
2 teaspoons ground cinnamon
1/2 teaspoon fresh ground nutmeg
2 ounces unsalted butter, melted until browned

Instructions:

  1. Activate your yeast: In a small bowl, sprinkle the yeast over 3 tablespoons of warm water. Stir until the yeast begins to dissolve. Add the pinch of granulated sugar and allow the mixture to sit for about 5 minutes, until the mixture is foamy and frothy.
  2. Prepare the dough: In the bowl of a stand mixer fitted with a paddle attachment, whisk together 2 cups flour, 1/4 cup sugar and salt. Set aside.
  3. In a small saucepan, melt together milk and butter until butter has just melted. Remove from the heat and add water and vanilla extract. Let mixture stand for a minute or two, or until the mixture registers 115°F to 125°F.
  4. Pour the milk mixture into the dry ingredients and mix on low until combined. Add the yeast mixture, followed by the eggs and stir until the eggs are incorporated into the batter. It may take a little while to come together. Add 3/4 cup of the remaining flour and mix on low for about 2 minutes. The mixture will be sticky.
  5. Place the dough in a large, greased bowl. Cover with plastic wrap and place in a warm space to rest until doubled in size, about 1 hour. Make ahead: After you let the dough rise to double its size, it can be refrigerated overnight to use in the morning. If you’re using this method, let the dough rest at room temperature for 30 minutes before continuing the recipe.
  6. Prepare the filling: While the dough rises, whisk together the sugar, cinnamon, and nutmeg. Set aside. Melt 2 ounces of butter until browned. Set aside. Grease and flour a 9x5x3-inch loaf pan. Set aside.
  7. Assemble and bake: Deflate the risen dough and knead about 2 tablespoons of flour into the dough. Cover with a clean kitchen towel and let rest for 5 minutes. On a lightly floured work surface, use a rolling pin to roll out the dough. The dough should be about 12-inches tall and about 20-inches long. Use a pastry brush to spread the melted brown butter across all of the dough. Sprinkle with all of the cinnamon and sugar mixture.
  8. Slice the dough vertically, into six equal-sized strips. Stack the strips on top of one another and slice the stack into six equal slices once again so you are left with six stacks of six squares. Layer the dough squares on their sides in the loaf pan. Place a kitchen towel over the loaf pan and allow to rest in a warm place for 30 to 45 minutes or until almost doubled in size.
  9. Place a rack in the center of the oven and preheat to 350°F. Place loaf in the oven and bake for 30 to 35 minutes, until the top is very golden brown. You will want to make sure the dough in the center is cooked so don’t be nervous if the top reaches a deep golden brown. That’s what you’re looking for.
  10. Remove from the oven and allow the loaf to cool for 20 to 30 minutes before running a knife around the edges of the pan to loosen the bread and invert onto a platter. Serve warm.

brown-butter-cinnamon-sugar-pull-apart-bread-14

Filed Under: breakfast and breads, eat Tagged With: bloody mary, bread, breakfast, brown butter, cinnamon sugar, pull apart bread, pull-apart

apple pie buttermilk biscuits

September 17, 2014 by Butter Loves Company

apple-pie-biscuits-joy-the-baker-bootcamp-14 copy

If you’ve ever found yourself craving apple pie for breakfast, these biscuits are for you. These fluffy treats are portable, completely 8am acceptable versions of apple pie with a sweet cinnamon apple filling folded into two fluffy, buttery buttermilk biscuit layers. Shopping for and making this recipe is extremely easy as it requires just one apple, one spice and no electric mixer of any sort. Let’s consider this our simple stepping stone into the various apple-ly pies and treats we make in the coming months. Prepare to have a super awesome smelling kitchen!

apple-pie-biscuits-joy-the-baker-bootcamp-1

I made these last Sunday as part two of the Joy the Baker and King Arthur Flour Baking Boot Camp series. The concept of the series is simple: four recipe challenges using four different King Arthur Flours + photos + Instagram #bakingbootcamp = a chance to win awesome baking prizes. If you’re interested in participating you can find out more details on Joy’s blog. Also, if you have an Instagram account, I would love to see your results. I’m @butterlc. Let’s be web buds!

apple-pie-biscuits-joy-the-baker-bootcamp-2

This challenge featured self-rising flour, which I learned is made using soft wheat flour rather than the hard wheat flour that goes into all-purpose flour. This causes it to have a lower protein content (8.5%) than all-purpose flour (11.7%) which aids in making the flour light, and resulting tender and fluffy biscuits. Apparently, this type of flour also already contains non-aluminum baking powder and a dash of salt. Whoop, whoop! Cheers to learning! Love this stuff.

apple-pie-biscuits-joy-the-baker-bootcamp-4

I don’t know about you but I had five types of flour on hand, but self-rising was not one of them. Luckily, you can make your own using this easy formula: 1 cup all-purpose flour + 1 1/2 teaspoons baking powder + 1/4 teaspoon salt. Whisk this mixture together until thoroughly combined. You will need a double batch of this for the recipe below.

Aside from having these on a casual Sunday, I can picture serving them with brunch on a crisp fall day, or even into the Thanksgiving holiday season.

*Truthfully, if you find yourself craving apple pie for breakfast, please also feel free to eat the stinkin’ pie. I know I have. That’s the beauty of being an “adult.”

apple-pie-biscuits-joy-the-baker-bootcamp-5

buttermilk lava!

apple-pie-biscuits-joy-the-baker-bootcamp-6

your dough will start coming together.

apple-pie-biscuits-joy-the-baker-bootcamp-7

roll out the dough

apple-pie-biscuits-joy-the-baker-bootcamp-8

add your sweet apple filling

apple-pie-biscuits-joy-the-baker-bootcamp-9

cut and place on a cookie sheet pan

apple-pie-biscuits-joy-the-baker-bootcamp-12

sprinkle tops with cinnamon sugar, because that can only make things better

apple-pie-biscuits-joy-the-baker-bootcamp-11

apple-pie-biscuits-joy-the-baker-bootcamp-13

biscuits.

apple-pie-biscuits-joy-the-baker-bootcamp-16

I love how the apple peeks out!

apple pie buttermilk biscuits
Joy the Baker

prep time: 15 minutes
cook time: 12–14 minutes
total time: 30–40 minutes
makes 12 biscuits

Ingredients:

For the Apples:
1 Fuji or other baking apple of choice, peeled, cored and sliced very thin
2 tablespoons unsalted butter
1 teaspoon ground cinnamon
2 tablespoons packed brown sugar (I was generous with this)
For the Biscuits:
2 cups King Arthur Unbleached Self-Rising Flour, or your own self-rising flour mixture (directions above)
1/4 cup cold unsalted butter, cut into small cubes
2 tablespoons granulated sugar
2/3 to 3/4 cup cold buttermilk
For the Topping:
1 large egg, beaten
2 tablespoons granulated sugar
1/2 teaspoon ground cinnamon
pinch of salt

Instructions:

  1. Place a rack in the center of the oven and preheat to 425°F. Line a baking sheet with parchment paper and set aside.
  2. Prepare the apples: Melt butter in a medium skillet over medium heat. Add the apples, cinnamon and brown sugar. Toss the apples until the sugar is melted and the mixture on the apples is warm and glossy. The apples will be coated but won’t be cooked through. Remove from the heat and set aside to cool.
  3. Prepare the biscuit dough: Place flour in a medium bowl. I used a baking dish with a nice flat bottom and wide top so I could get my hands in easily. Add the cold butter cubes and use your fingers to quickly break the butter down into the flour until some of the butter bits are oat-sized and others pea-sized. Stir in the granulated sugar.
  4. Create a well in the center of the flour mixture and pour in 2/3 cup buttermilk. Stir the mixture together until it is well moistened and holds together if you gently gather it together into a ball. Add the remaining buttermilk as needed. If you’re using your own homemade self-rising flour, you’ll want to add the full 3/4 cup of buttermilk.
  5. Lightly dust a work surface with all-purpose flour. Gently gather the dough into a ball and transfer it to the floured surface. Pat it into a small rectangle.
  6. Assemble: Use a rolling pin to gently roll the dough into a rectangle 1/2-inch thick, about 7-inches x 10-inches. Arrange the cooled apples in a single layer over one half of the rolled-out biscuit dough. Fold the empty side of the dough over the apples and gently seal in the apples by pressing the edges of the dough together. You can use your hands to pat the dough into a 6-inch x 8-inch rectangle and smooth the edges.
  7. Use a sharp knife to slice the dough into 12 squares. Use a spatula to place each biscuit onto the prepared baking sheet, about 2-inches apart.
  8. In a small bowl, whisk together sugar for topping, cinnamon and salt.
  9. Brush each biscuit top with beaten egg and sprinkle generously with the cinnamon sugar mixture.
  10. Bake for 12 to 14 minutes until the biscuits are risen and golden brown. Remove from the oven and serve warm, or cool completely before storing in an airtight container. Biscuits are best enjoyed within two days of baking.

apple-pie-biscuits-joy-the-baker-bootcamp-17

Filed Under: breakfast and breads, eat Tagged With: apple pie, apples, autumn, baking bootcamp, biscuits, breakfast, buttermilk, fall, king arthur flour

almond apricot olive oil cake

August 10, 2014 by Butter Loves Company

almond-apricot-olive-oil-cake-recipe-9

This cake was inspired by a recent trip to Italy. Not by me (Wah!), but by a dear friend of mine. After returning to the States, she told me about an apricot cake that she and her fiancé had loved during their time in Tuscany and was hoping I knew how to make it. I didn’t, but since I’m always up for a challenge I figured, why not give it a shot!

almond-apricot-olive-oil-cake-recipe-1

I scoured the Internet for the best olive oil cakes and one kept coming up over and over again—the famous olive oil cake from Maialino NYC. Since this is such a well-respected Italian eatery, I figured it couldn’t be a bad start. Instead of the orange juice and zest accents they add to their cake, I decided I would use apricots and pair them with a flavor I thought would complement their tartness: almond. Three cake trials, a handful of tweaks and a bottle of olive oil later, I had my winner.

almond-apricot-olive-oil-cake-recipe-2

I can totally picture you and I ordering a piece of this cake from a tiny family-owned bakery as we stroll the quaint, winding streets of Venice on a bright morning. We’d stop in a Café for a morning cappuccino and talk to the cute Italian grandma behind the counter. She’d tell us that the almond apricot olive oil cake has been in her family for years because of her grandmother’s love of apricots. She’d explain how every time she makes it she cuts each apricot into exactly eight pieces. She’d emphasize how important the quality of the olive oil is to the almost pudding-like texture of the cake and how the best comes from her great-great uncle’s olive oil vineyard. We’d understand maybe half of what she said because of her adorable accent. We’d laugh and hug and she would invite us over for dinner after our romantic gondola ride through the canals. To cap things off we’d sip on Italian table wine and eat cheese and more delicious almond apricot olive oil cake.

I can totally picture it and it would be perfect. Let’s go!

almond-apricot-olive-oil-cake-recipe-3

almond-apricot-olive-oil-cake-recipe-4

almond-apricot-olive-oil-cake-recipe-5

almond-apricot-olive-oil-cake-recipe-6

almond-apricot-olive-oil-cake-recipe-7

almond-apricot-olive-oil-cake-recipe-8

almond-apricot-olive-oil-cake-recipe-12

almond apricot olive oil cake

adapted from Maialino NYC’s famous olive oil cake

prep time: 20 minutes
cook time: 1 hour
total time: 1 hour 20 minutes (does not include 2 hours cool time)
makes a 9-inch round cake

Ingredients:

1 1/2–2 cups fresh apricots (about 3, pitted and cut into 8 pieces each)
1 1/2 cups all-purpose flour, plus a little more to coat the apricots
3/4 cup fine almond meal or almond flour (this is best for flavor but if you don’t have it, you can use another 1/2 cup all-purpose flour)
1 3/4 cup sugar
1 1/2 teaspoon salt
1/2 teaspoon baking soda
1/2 teaspoon baking powder
1 cup olive oil (extra virgin preferred)
1 1/4 cup unsweetened vanilla almond milk
1/2 cup plain Greek yogurt
3 large eggs
1 teaspoon vanilla extract or paste
1/2 teaspoon almond extract
1/2 cup sliced almonds, for topping

Instructions:

  1. Heat the oven to 350°F. Oil, butter or coat with cooking spray a 9-inch cake pan that is at least 2 inches deep. Line the bottom with parchment paper and then spray the paper. If your cake pan is less than 2 inches deep, divide between 2 pans and start checking for doneness at 30 minutes.
  2. In a small bowl, toss the chopped apricots with a little flour—about 1/4 cup—to coat the outsides. In a medium bowl, whisk the flour, almond flour, sugar, salt, baking soda and baking powder until combined. In another large bowl—or the bowl of an electric mixer fitted with the paddle attachment—mix the olive oil, almond milk, yogurt, eggs, vanilla and almond extracts until completely combined. Add the dry ingredients to the wet ingredients; mix until just combined.
  3. Pour the batter into the prepared pan and then scatter the floured apricots across the top of the cake. Sprinkle the cake evenly with sliced almonds. Bake the cake for 1 hour, until the top is golden and a cake tester or toothpick inserted into the center of the cake comes out clean. Transfer the cake in its pan to a wire rack and let cool for 30 minutes.
  4. Run a knife around the edge of the pan, invert the cake onto the rack and then flip it back onto a serving plate. Let the cake cool completely before cutting, about 2 hours. Store at room temperature or in the fridge.

Filed Under: breakfast and breads, desserts and sweets, eat Tagged With: apricot, breakfast, cake, fresh apricot, italian cake, italy, olive oil, tuscany

chewy homemade granola bars

July 29, 2014 by Butter Loves Company

chewy-homemade-granola-nature-bars-recipe-13

Raise your hand if you’re the sleep in until the last minute, get ready quick, eat a grab-and-go breakfast type. Like the “if I wear that thing that needs no ironing, I can stay in bed for exactly 7 minutes more” type. Or even the “eh, shower schmower…I’ll skip for the extra 10 minutes of rest” type. If you’re hand is up, take that hand and go ahead, hit that snooze button one more time. I’ve got you covered with this homemade granola bars recipe.

Granola bar for you, and you, and you, and you! Granola bar for me, for sure!

These chewy, wholesome, customizable, homemade breakfast bars are dreamy. Not only because they’re a cinch to make and also freeze and store well to save you precious Zs for weeks to come. But also, on top of that, they’re delicious and can be studded with any combination of your favorite nuts, fruits, chocolate chips, seeds, sprinkles or candies!

chewy-homemade-granola-nature-bars-recipe-1

After spending too much money—on my walk to work—on granola bars to satisfy my ‘I-didn’t-have-time-to-eat-breakfast’ appetite—and only half enjoying their taste, no less—I decided I needed to tackle making my own. I was so excited—as I hope you’ll be too—when I realized how easy they were to make and how many different flavor combinations could result from one basic recipe. Think of this more as a guide than a recipe. 

chewy-homemade-granola-nature-bars-recipe-3

As a heads up, these bars do call for butter, but when you think about the amount of butter in the recipe divided across an entire tray, the butter content in one bar is really not that bad. A super-healthy version will come your way soon. Promise.

chewy-homemade-granola-nature-bars-recipe-2

For this batch, I chose to use dried cranberries, golden raisins, lightly chopped walnuts, sunflower seeds, flax seeds and shredded coconut.

chewy-homemade-granola-nature-bars-recipe-4

chewy-homemade-granola-nature-bars-recipe-5

chewy-homemade-granola-nature-bars-recipe-7

chewy-homemade-granola-nature-bars-recipe-8

chewy-homemade-granola-nature-bars-recipe-11

chewy-homemade-granola-nature-bars-recipe-12

chewy-homemade-granola-nature-bars-recipe-9

chewy homemade granola bars
adapted from the smitten kitchen recipe which is adapted from king arthur flour

prep time: 10 minutes
cook time: 35 minutes
total time: 45 minutes (not including cool time after baking)
makes 12 to 16 bars

Ingredients:

1 2/3 cups 1-minute rolled oats (aka instant oats; I used old fashion oats for 1/3 cup of this because I had them on hand and was interested in the texture. Feel free to try that combination or use all instant.)
1/2 to 3/4 cup granulated sugar (less for mild sweetness, more for sweeter bars)
1/3 cup oat flour (or 1/3 cup oats, ground into a powdery texture in a food processor or blender)
1/2 teaspoon salt
1/4 teaspoon ground cinnamon
2 to 3 cups assorted dried fruits, nuts, seeds, chocolate chips, sprinkles or candies (pick any of your favorites until they total 10 to 15 ounces)
1/3 cup peanut butter or another nut butter (optional)
1 tablespoon vanilla extract (optional)
6 tablespoons melted butter
1/4 cup honey or maple syrup
2 tablespoons light corn syrup
1 tablespoon water

Instruction:

  1. Preheat the oven to 350°F. Line an 8″ x 8″ x 2″ baking pan with a piece of parchment paper to cover the bottom and two opposite sides (you are creating “handles” that will help you remove the granola bars later). Lightly grease, with butter or a non-stick spray, the parchment paper and the exposed pan.
  2. In a large bowl, stir together the rolled oats, sugar, oat flour, salt, cinnamon and desired fruits and nuts. Set aside.
  3. In a small bowl, whisk together the vanilla, melted butter, honey or syrup, corn syrup and water. If using peanut butter, toss that in with the wet ingredients now.
  4. Pour the wet ingredients into the bowl with the dry and stir until all of the oats have been coated with the wet ingredients and the mixture starts coming together in chunks. Spread mixture into the prepared pan and press firmly across the top and into all corners and edges. Smooth down the top for a flat, even final product.
  5. Bake the bars for 25 to 35 minutes until they’re brown around the edges and a deep golden color on top. They may seem soft and almost under-baked in the center, but they’ll set completely once fully cooled.
  6. Cool the bars—in the pan—completely on a cooling rack. Once cool, lift the bars out of the pan using the parchment paper “handles” and then double check that they are totally cool in the middle. If yes, use a serrated knife to cut the bars into squares or rectangles—or triangles if you’re so inclined. To store, wrap the bars individually in plastic or stack them in an airtight container and leave at room temperature or in the refrigerator. The bars will seem hard when you take them right out of the fridge, but they come back to their chewy state in about 10 minutes. Remember, they also freeze well.

Filed Under: breakfast and breads, eat Tagged With: breakfast, dried fruit, easy, granola, make ahead, nature bars, nuts, oats, on the go

blueberry buttermilk scones with cinnamon sugar butter

July 10, 2014 by Butter Loves Company

blueberry buttermilk scones with cinnamon sugar butter 20 copy

When spending your vacation at a house on the water, you’d better not forget to pack your bathing suit, sunscreen, aloe vera for when you inevitably get burned regardless of the sunscreen, boogie board, frisbee, Stephen King or Emily Griffin novel (pick your poison), kitchen tongs and measuring cups/spoons. You’re probably thinking those last two don’t scream ‘sand between the toes,’ but if you have access to a kitchen, these tools will make life much easier and breakfast much more delicious.

I learned from my mom that you should always travel with tongs.* The reason being, she told me, you never know what the kitchen supply situation will be. With this in mind, I decided that because of my baking obsession I should also always travel with measuring tools. You see, some vacation rentals are equipped for a chef, while others are equipped for a stack of take-out pizzas (no knock there, love me some take-out pizza). Luckily, even if you’re staying in the latter, you can make delicious homemade treats because, with just your hands, you can be quite the little bakeshop.

blueberry buttermilk scones with cinnamon sugar butter 1

You’ll already be all sandy after the beach; why not also get a little flour on your hands while making some blueberry buttermilk scones with cinnamon sugar butter? The butter—oh the butter—may be my new little obsession. It is SO easy to make, and with just just three ingredients, you can have this addictive sweet spiced spread at your disposal in no time. I’m going to start making it by the pound.

blueberry buttermilk scones with cinnamon sugar butter 2

Your cohorts will thank you when they’re slicing through the sweet, juicy blueberries in the light, buttery scone and smearing it with the cinnamon sugar butter. They may actually volunteer to make you a piña colada for your hard work. (Our little secret will be how easy the ‘work’ was, but go on, accept that island drink reward ;-))

* For clarification: this applies when you have a kitchen to work with. I did not, for example, bring tongs to Las Vegas for a girl’s weekend. That would be strange. Probably not all that surprising, but definitely strange.

blueberry buttermilk scones with cinnamon sugar butter 4

blueberry buttermilk scones with cinnamon sugar butter 5

blueberry buttermilk scones with cinnamon sugar butter 9

blueberry buttermilk scones with cinnamon sugar butter 8

blueberry buttermilk scones with cinnamon sugar butter 17

blueberry buttermilk scones with cinnamon sugar butter 15

blueberry buttermilk scones with cinnamon sugar butter 16

blueberry buttermilk scones with cinnamon sugar butter 19

blueberry buttermilk scones with cinnamon sugar butter
Adapted from M.S. Milliken & S. Feniger, 2007

Prep Time: 15 minutes
Cook Time: 16–18 minutes
Total Time: 30–35 minutes
Makes 8 large or 16 medium-sized scones

Ingredients:

3 cups all-purpose flour
1/3 cup granulated sugar
1 teaspoon salt
2 1/2 teaspoons baking powder
1/2 teaspoon baking soda
1/2 teaspoon ground cinnamon
3/4 cup (1 1/2 sticks) unsalted butter
1 cup buttermilk
1 cup fresh blueberries
1 egg lightly whipped with 1 tablespoon water (for brushing)
A dash more granulated sugar for sprinkling
Cinnamon sugar butter (recipe follows)

Instructions:

  1. Preheat oven to 400 degrees F and lightly grease a cookie sheet or line with parchment paper. Combine the flour, sugar, salt, baking powder, baking soda and ground cinnamon in a large bowl. Add butter and mix with your fingertips or with a pastry blender until it reaches a coarse meal and the butter is in pea-sized pieces or just smaller. Add buttermilk and mix until almost combined. Mix in blueberries until everything is just combined.
  2. Transfer dough to a floured board (divide into two parts if you’d like smaller scones). Roll into 1-inch thick rounds for larger scones or into 3/4-inch thick rounds if you divided the dough and are making smaller scones. Cut each round into 8 wedges and place slightly separated onto the prepared baking sheet. Brush the tops of the scones with the egg mixture, sprinkle each lightly with sugar and bake for 16–18 minutes, or until lightly browned. Serve warm, split in half with a smear cinnamon sugar butter.

cinnamon sugar butter

makes 1/4 cup

Ingredients:

1/4 cup butter, softened at room temperature (I use salted, but if you use unsalted, add a dash of salt)
2 tablespoons light brown sugar
3/4 teaspoon ground cinnamon

Instructions:

  1. In a small bowl, stir together butter, light brown sugar and ground cinnamon until completely combined and fluffy. Chill and serve.

Filed Under: breakfast and breads, eat Tagged With: blueberry, breakfast, butter, buttermilk, cinnamon, easy, scones, sugar

white carrot muffins

June 25, 2014 by Butter Loves Company

white carrot muffins recipe 9 text

I’m fairly convinced New York City is home to about every food option you could ever hope for. 4:00 am waffles? No problem! Questionable street meat? You got it! Ten course tasting menu from a world-renowned chef? Well, it’s definitely there if you have a bulky wallet.

Even with no farm in sight, this past weekend we stumbled upon a market with some of the freshest produce I’ve seen outside of suburban nurseries. The Union Square market was chock full of some of the most vibrant, most reasonably priced fresh fruits, veggies, meats and eggs. One of the stands attracting a flock of photographers consisted of piles and piles of assorted, beautifully colored carrots: sunny yellow, deep purple swirled with orange and bright, bright white.

white carrot muffins recipe 2

I started wondering how these multicolored carrots might work in baked goods that are generally rich with traditional carrots (e.g. carrot cake, carrot muffins, carrot soufflé). I knew that once we got back to Boston I had to find out the answer. Here is the result of my exploration.

white carrot muffins recipe 3

In my opinion the white carrots have a softer flavor than the other varieties, but are perfectly delicate and sweet when kissed with a little spice. If you’re looking for a morning muffin that is ultra-light and fluffy, and not one bit too crumbly, you’ve found it. Of course, because the white carrots can be hard to come by, you can make these with orange carrots just as easily. I haven’t tried making them with the purple variety yet, but if you do, I am dying to know how they come out!

white carrot muffins recipe 4

white carrot muffins recipe 5

white carrot muffins recipe 8

white carrot muffins recipe 6

white carrot muffins recipe 7

white carrot muffins recipe 10

white carrot muffins recipe 12

white carrot muffins
adapted from Dorie Greenspan in “Baking with Julia”

Prep Time: 15 minutes
Cook Time: 20 minutes
Total Time: about 35–40 minutes
Makes 12 muffins

Ingredients:
2 cups all purpose flour
1/2 white granulated sugar
1/3 cup packed light brown sugar
1 tablespoon baking powder
2 teaspoons ground cinnamon
1 teaspoon ground ginger
1/4 teaspoon ground nutmeg
1/4 teaspoon table salt
2/3 cup canola or vegetable oil
3/4 cup whole milk
2 large eggs
1 1/2 teaspoon vanilla extract
1 cup shredded white or orange carrots (from about 3 medium)
1/2 cup sweetened shredded coconut
1/3 cup dried cranberries
1/3 cup roughly chopped walnuts (optional)

Instructions:

  1. Place a rack in the center row of the oven and preheat to 425 degrees F. Grease or line a 12 mold, standard size muffin pan with paper liners and set aside.
  2. In a large bowl, whisk together the flour and both sugars until combined and free of lumps. Add the baking powder, cinnamon, ginger, nutmeg and salt and combine.
  3. In a large glass measuring cup, or a separate small bowl, whisk together the oil, milk, eggs and vanilla extract until well combined.
  4. Pour this liquid mixture over the dry flour mixture. With a whisk, rubber spatula or spoon, gently but quickly stir ingredients to blend, being cautious not to over mix (better to have some lumps than to over mix in this case). Gently stir in the shredded carrots, coconut, cranberries and walnuts—if using. Divide the batter evenly among the muffin cups.
  5. Bake at 425 degrees F for 8 minutes, then reduce heat to 375 degrees F to cook an additional 8–10 minutes, or until a tooth pick inserted into the center of a muffin comes out clean. Remove and let muffin pan cool on a wire rack for 5 minutes. Remove the muffins and let cool. Enjoy warm or at room temperature. Best if eaten on the day they are made. These last a few days but their texture becomes a bit more dense the longer you wait to eat them.

Filed Under: breakfast and breads, eat Tagged With: breakfast, breakfast bread, carrot, muffins, summer

Next Page »

Welcome!

jenna of butterlovescompany

Pull up a chair

Hi! I’m Jenna. Story seeker, food lover, recipe developer based in NYC. Firm believer in making every day delicious! Read more…

looking for something?

  • Email
  • Facebook
  • Instagram
  • Pinterest
  • RSS
  • Twitter

Latest Posts

  • Freezer Meals to Make Before Baby: How We Meal Prepped Before Baby
  • mom’s famous spiced pecans
  • funfetti cookie dough truffles (no-bake)
  • maple coconut cookies
  • snickerdoodle blondies

popular now

tourte milanese
crunchy chewy bakery-style sugar cookies
pecan sticky bun babka recipe
brown butter banana bread, with crumble
dutch-processed vs. natural cocoa powder
chocolate pecan torte with strawberry buttercream

grammin’

Hi! I'm Jenna, founder of butter loves company. From holidays to Tuesdays, let's find a way to make every meal special.
  • Email
  • Facebook
  • Instagram
  • Pinterest
  • RSS
  • Twitter
a2f54ba1dcf0635e58c8be4aa2035ce84863a9d9606a428ab3

© 2013-2019 BUTTER LOVES COMPANY, LLC.

Copyright © 2026 · Foodie Pro Theme by Shay Bocks · Built on the Genesis Framework · Powered by WordPress