Raise your hand if you’re the sleep in until the last minute, get ready quick, eat a grab-and-go breakfast type. Like the “if I wear that thing that needs no ironing, I can stay in bed for exactly 7 minutes more” type. Or even the “eh, shower schmower…I’ll skip for the extra 10 minutes of rest” type. If you’re hand is up, take that hand and go ahead, hit that snooze button one more time. I’ve got you covered with this homemade granola bars recipe.
Granola bar for you, and you, and you, and you! Granola bar for me, for sure!
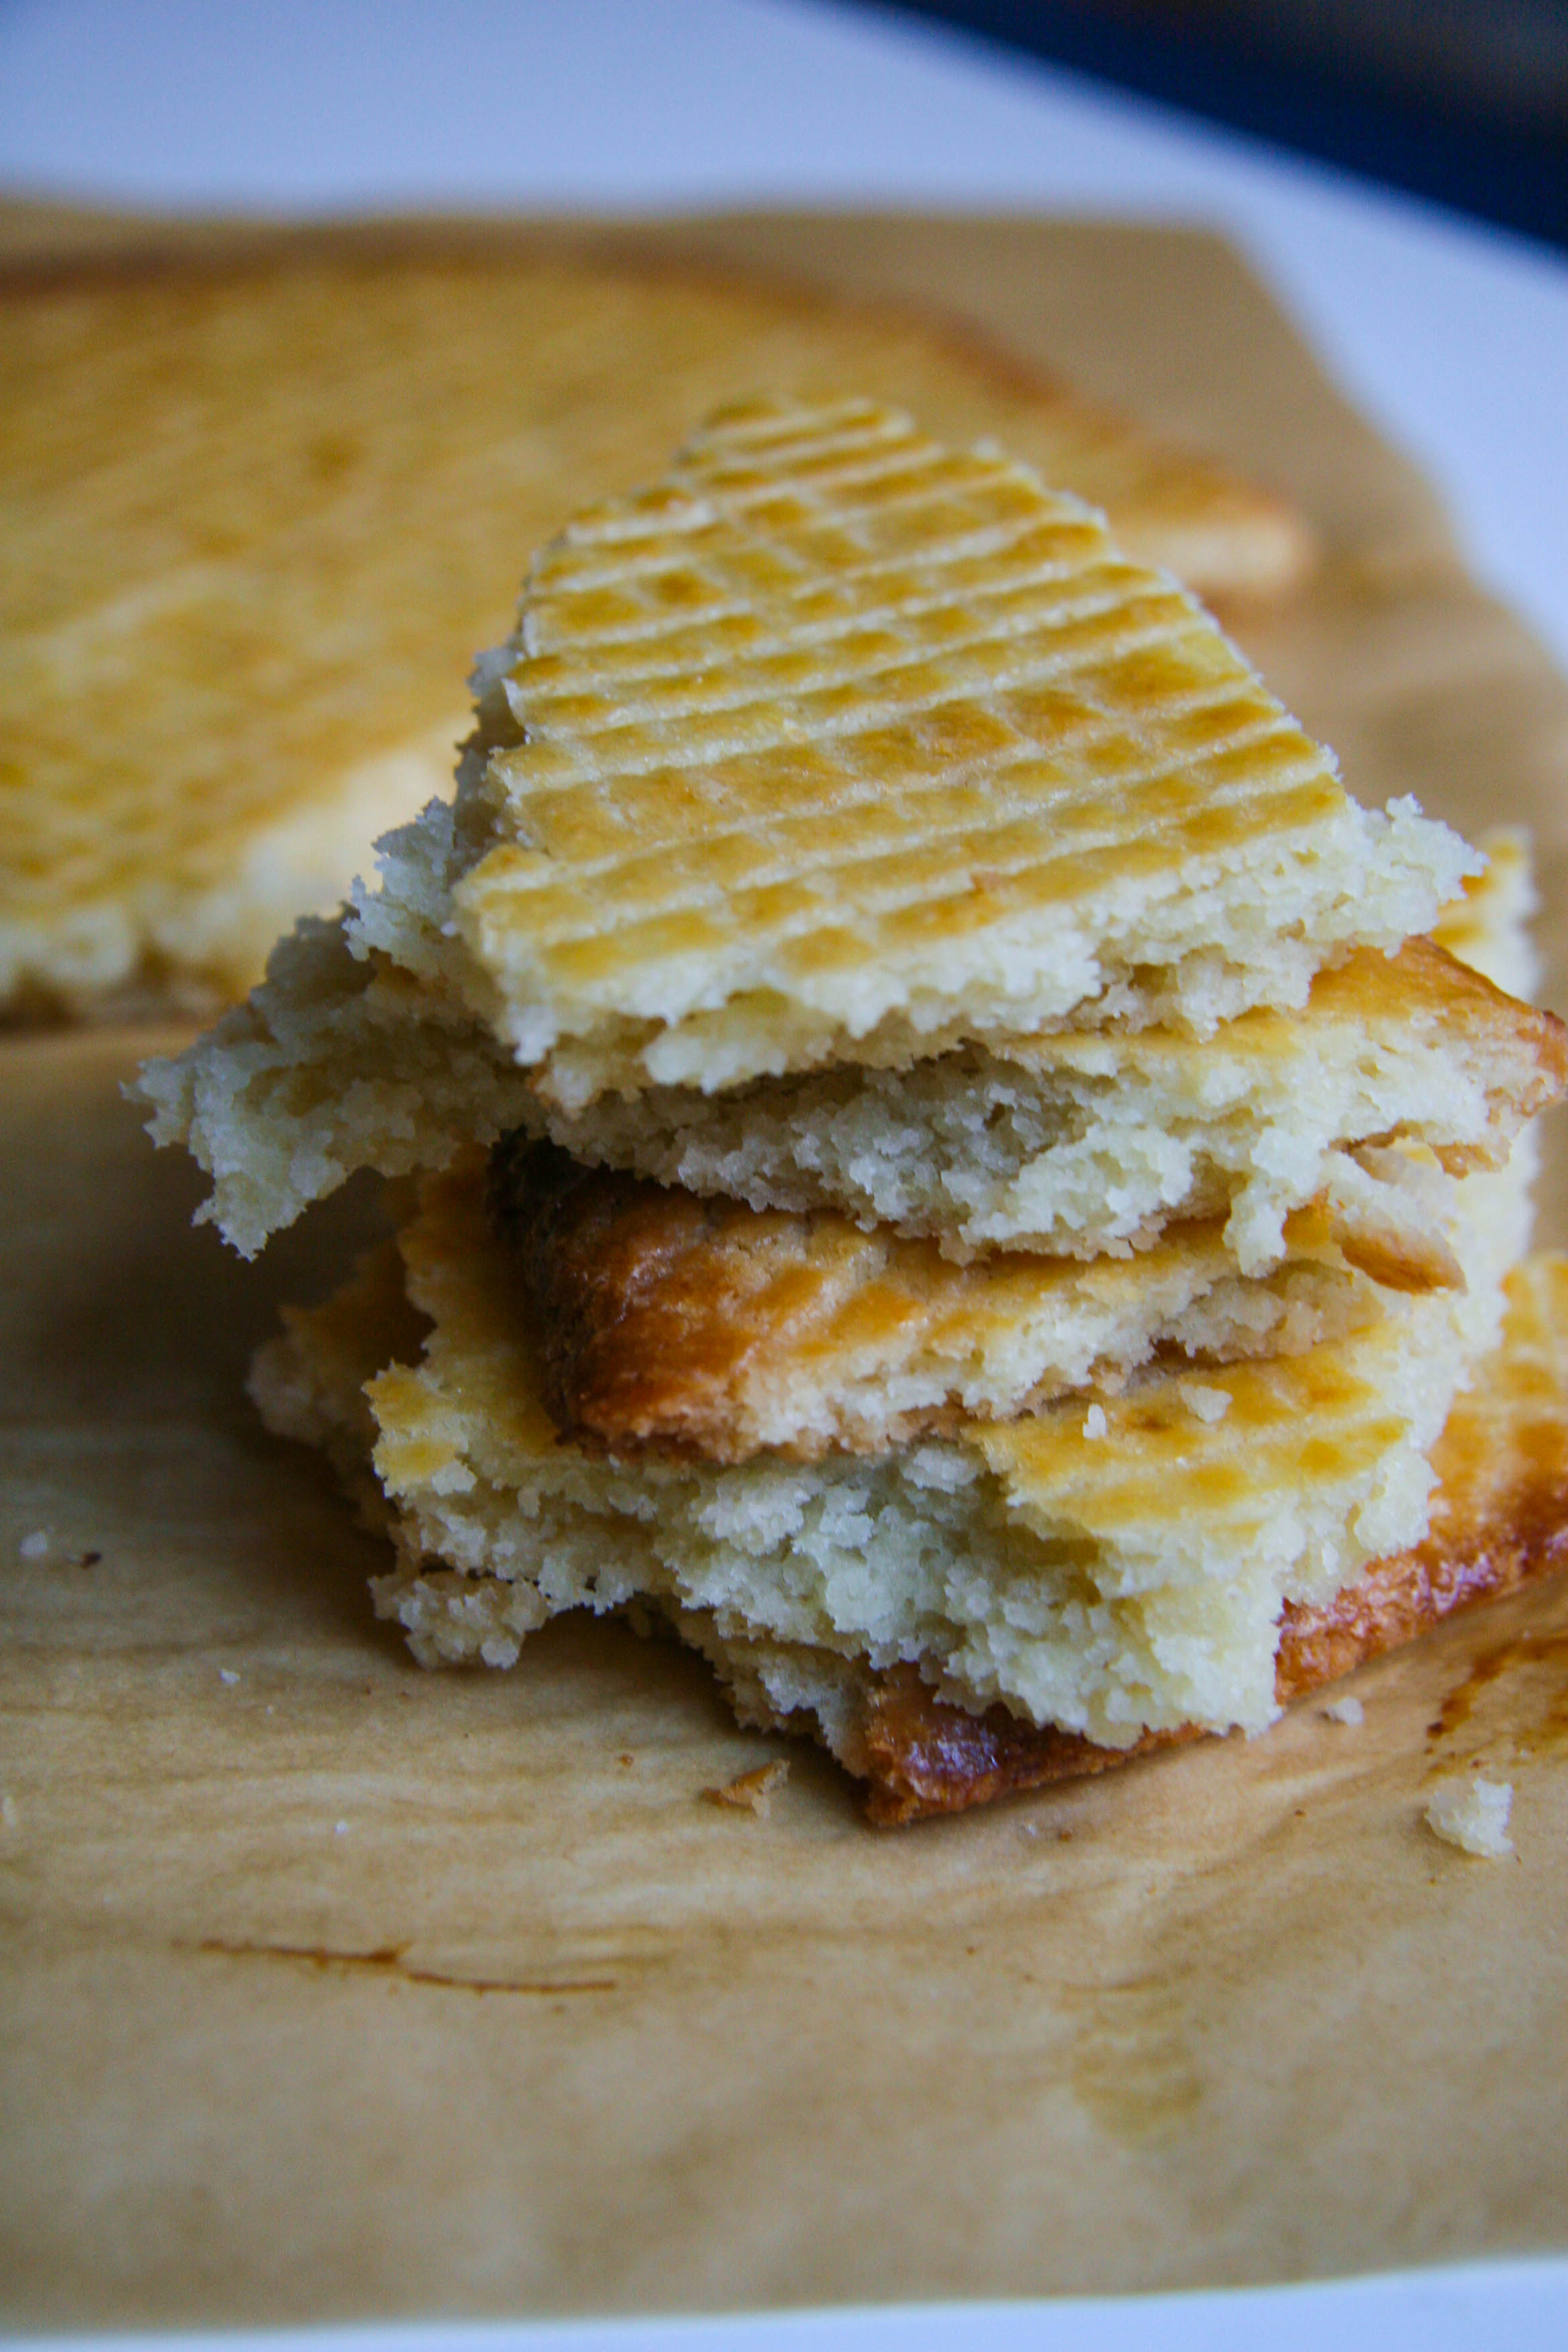
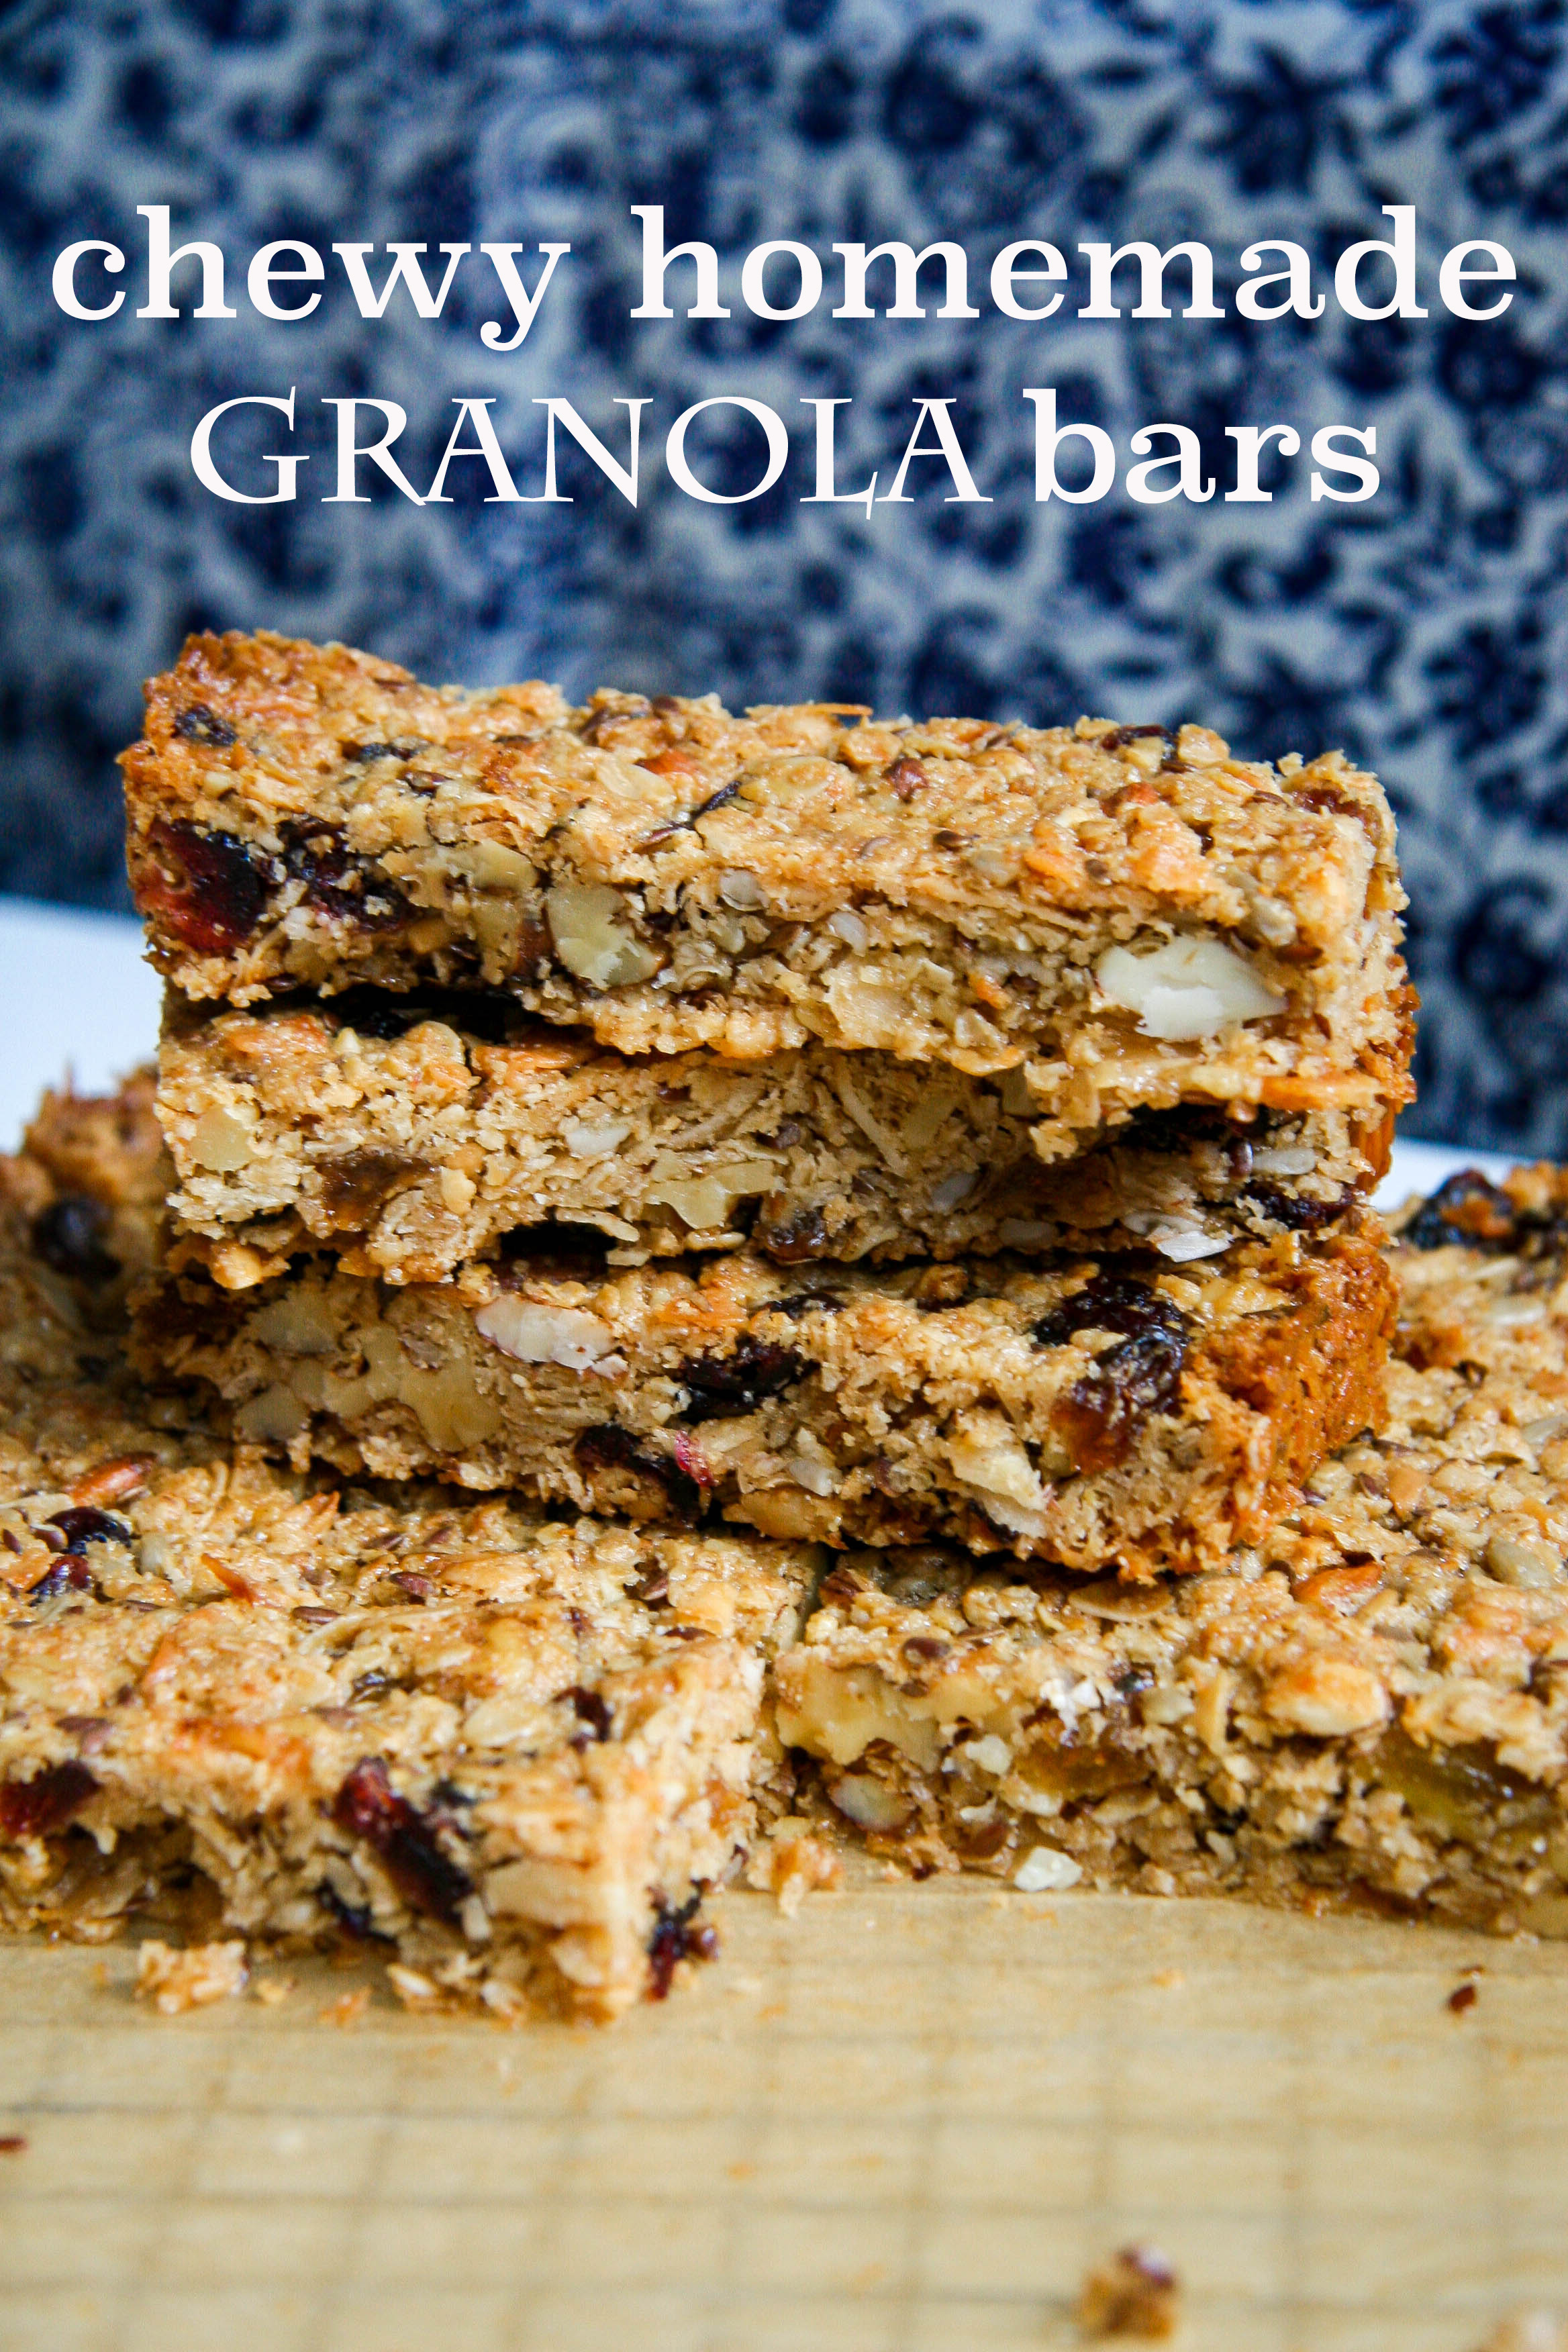
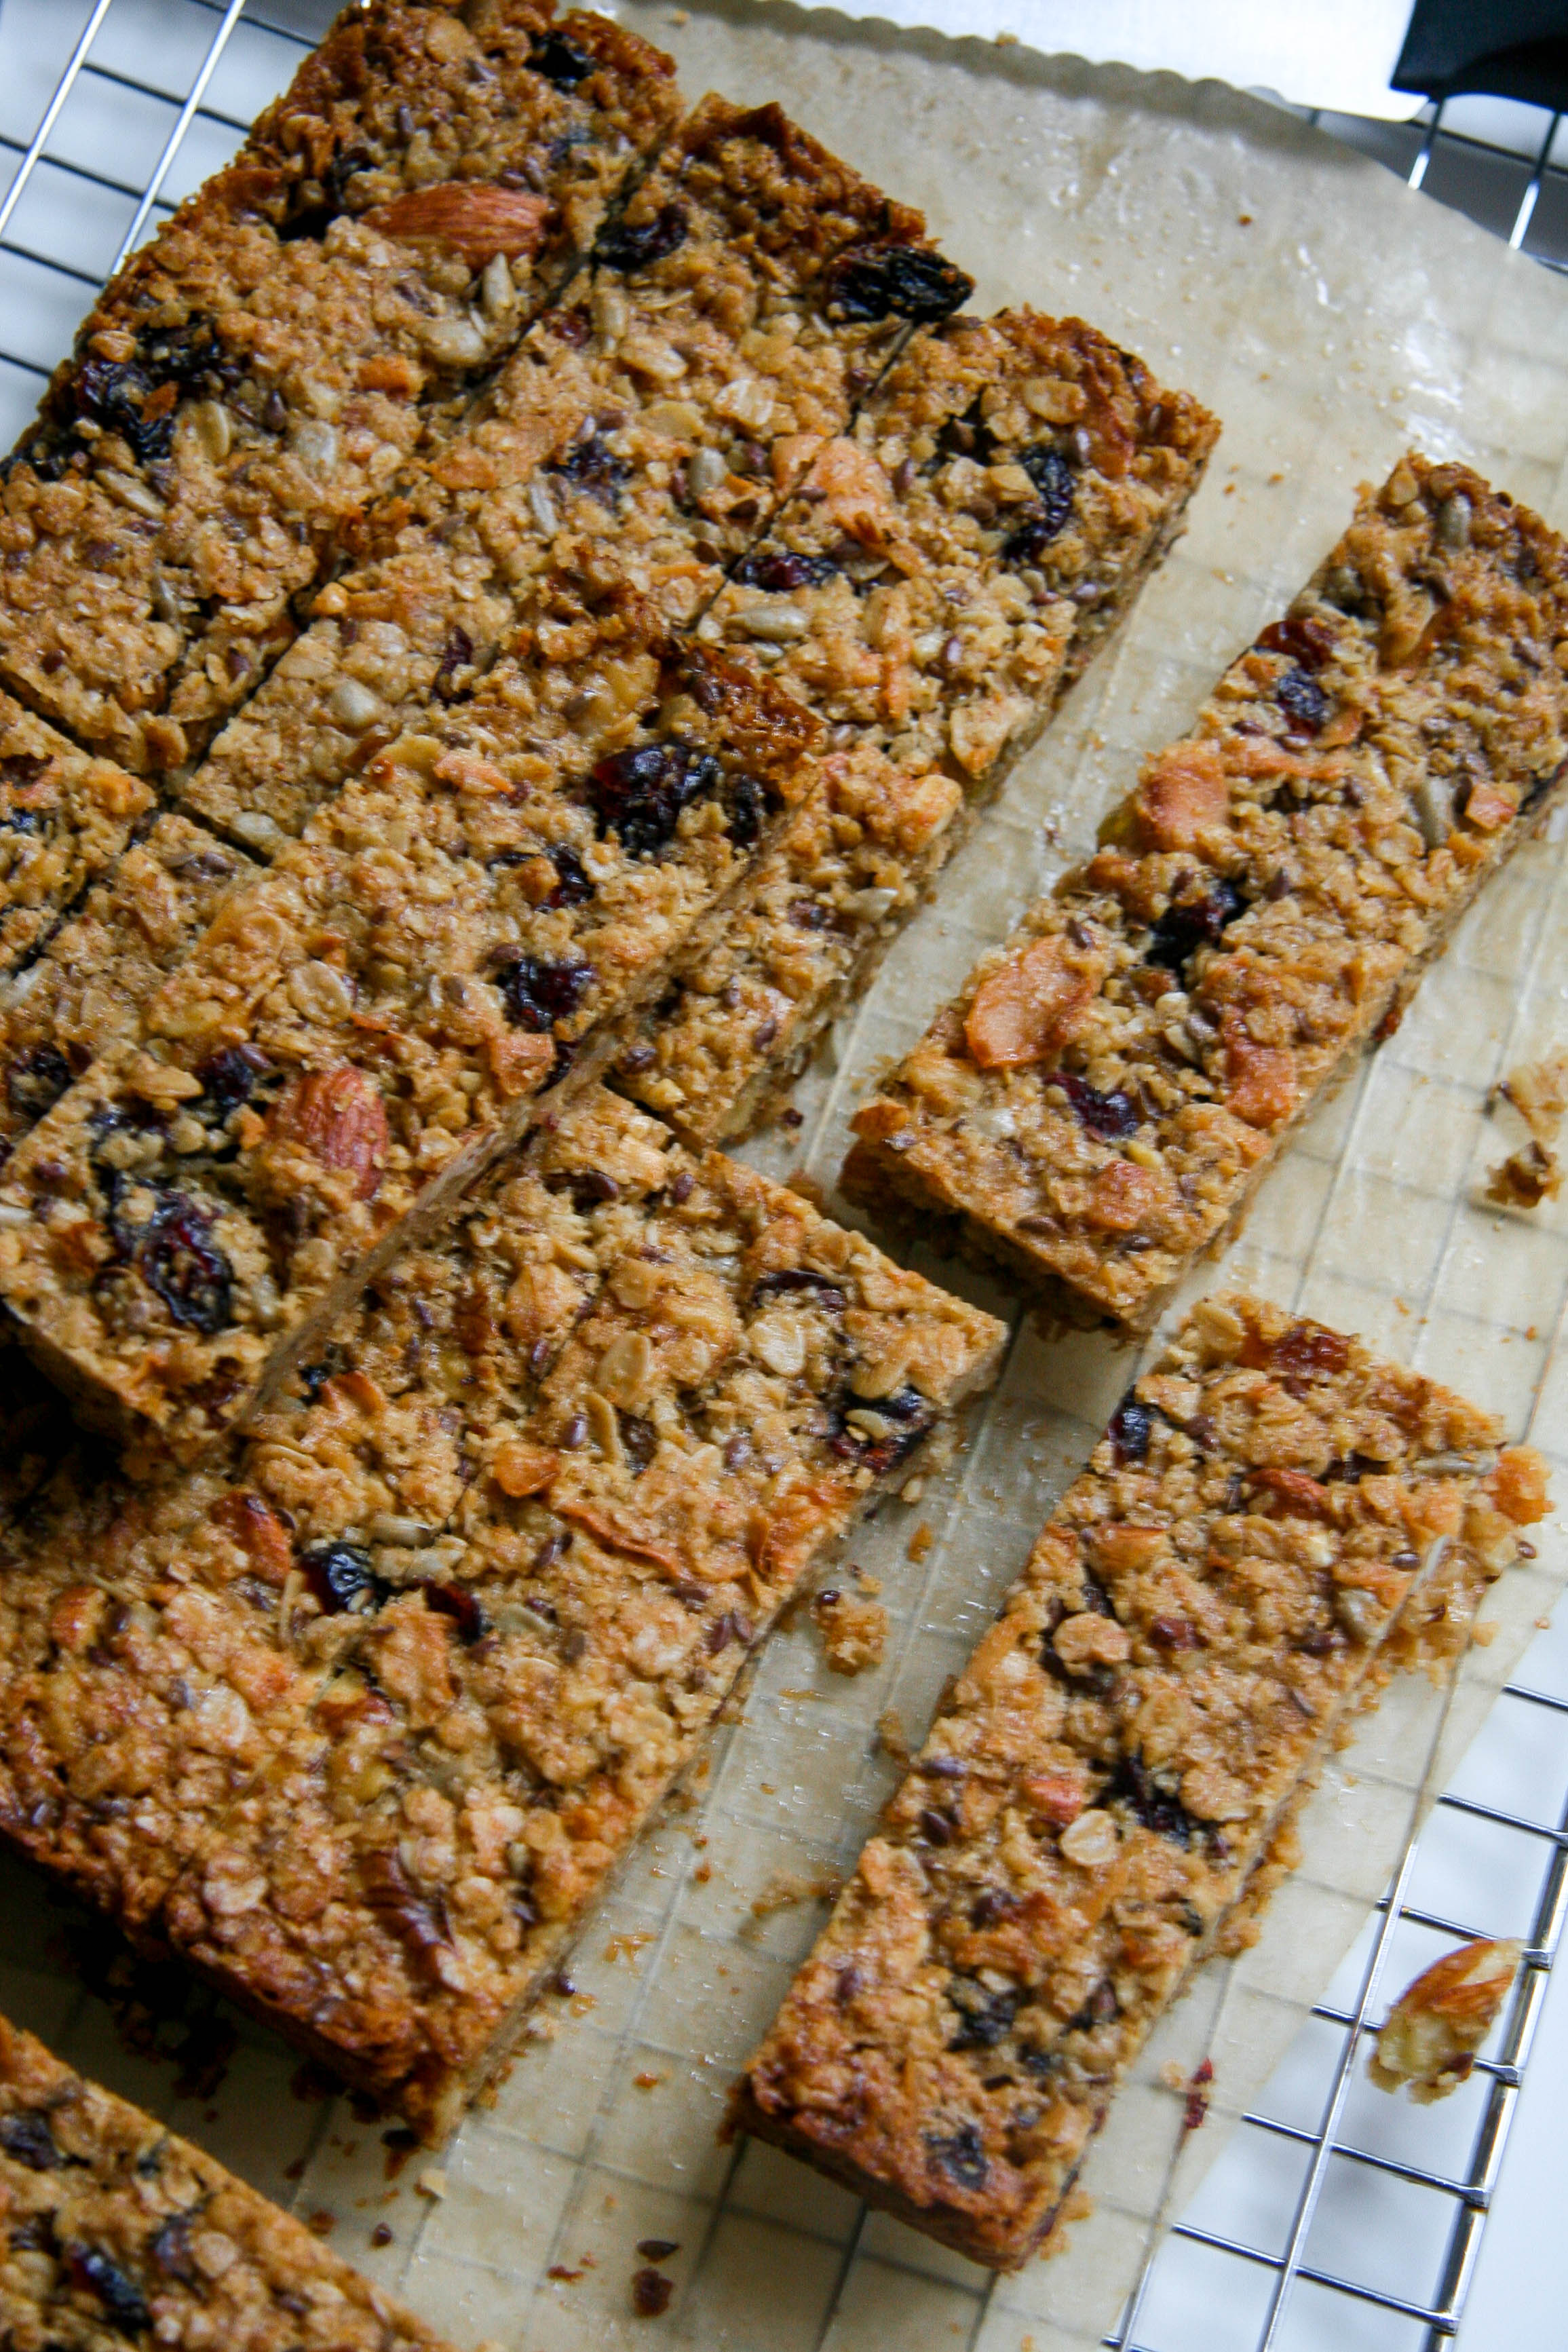
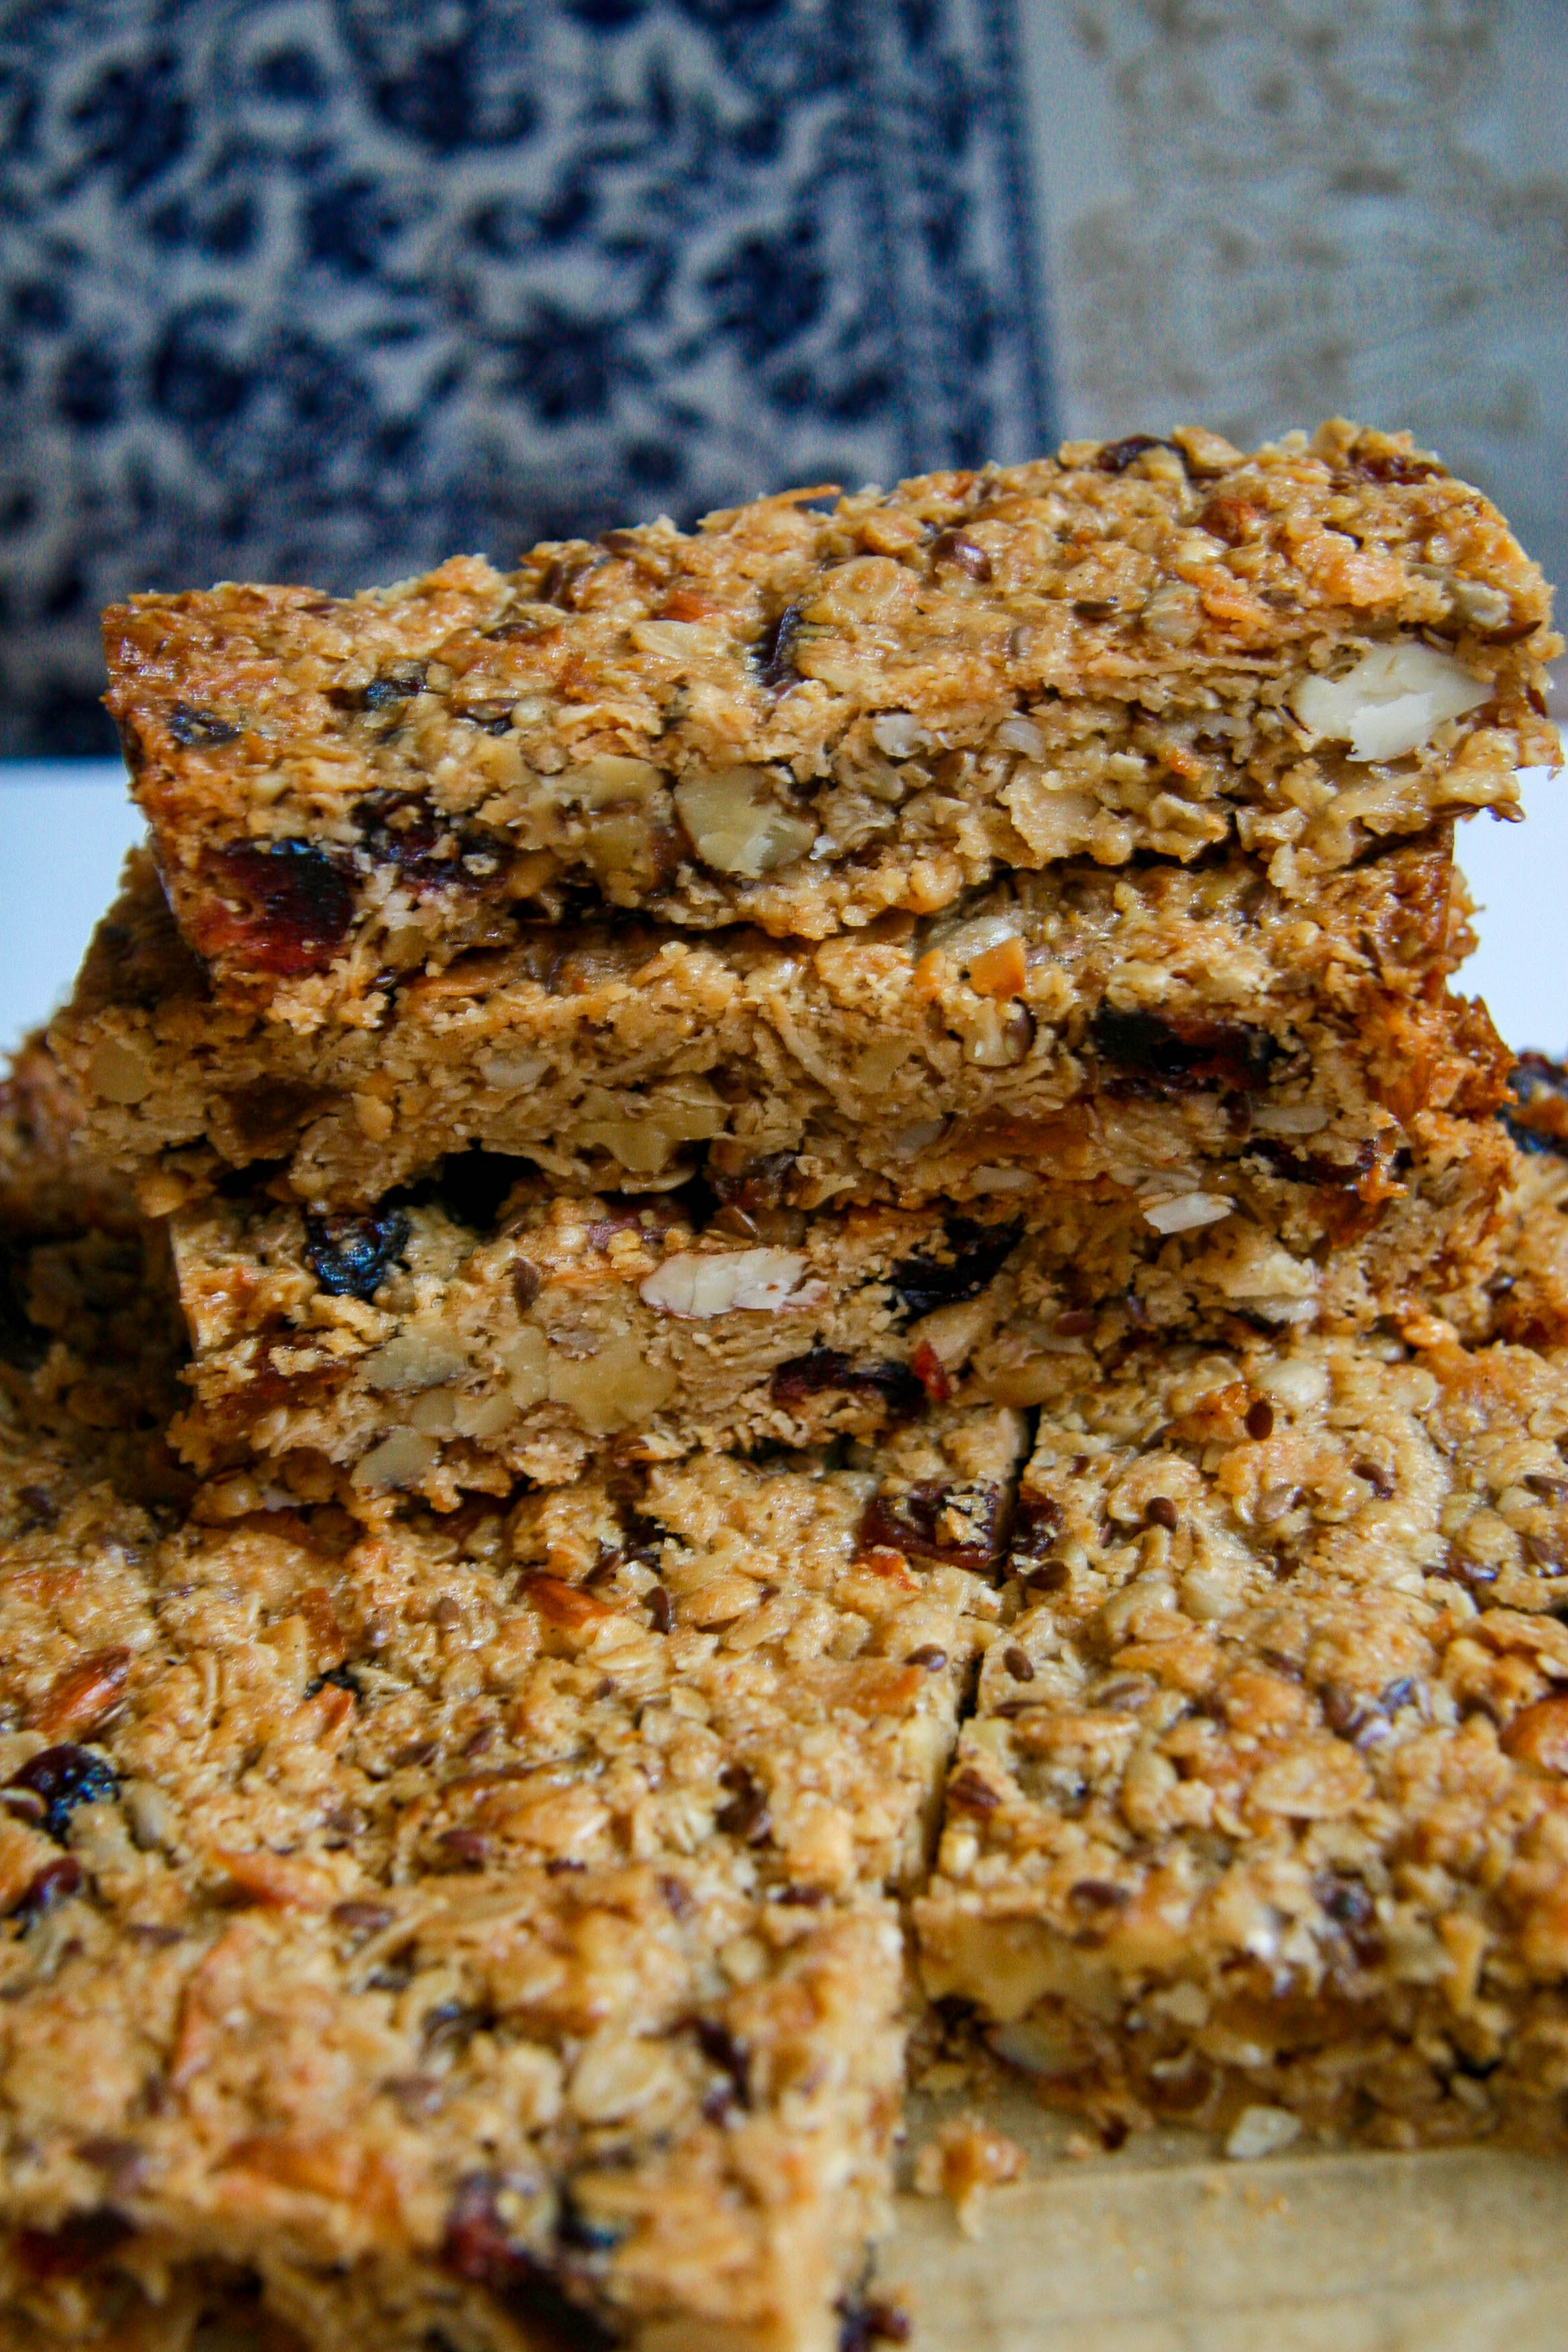
These chewy, wholesome, customizable, homemade breakfast bars are dreamy. Not only because they’re a cinch to make and also freeze and store well to save you precious Zs for weeks to come. But also, on top of that, they’re delicious and can be studded with any combination of your favorite nuts, fruits, chocolate chips, seeds, sprinkles or candies!
After spending too much money—on my walk to work—on granola bars to satisfy my ‘I-didn’t-have-time-to-eat-breakfast’ appetite—and only half enjoying their taste, no less—I decided I needed to tackle making my own. I was so excited—as I hope you’ll be too—when I realized how easy they were to make and how many different flavor combinations could result from one basic recipe. Think of this more as a guide than a recipe.
As a heads up, these bars do call for butter, but when you think about the amount of butter in the recipe divided across an entire tray, the butter content in one bar is really not that bad. A super-healthy version will come your way soon. Promise.
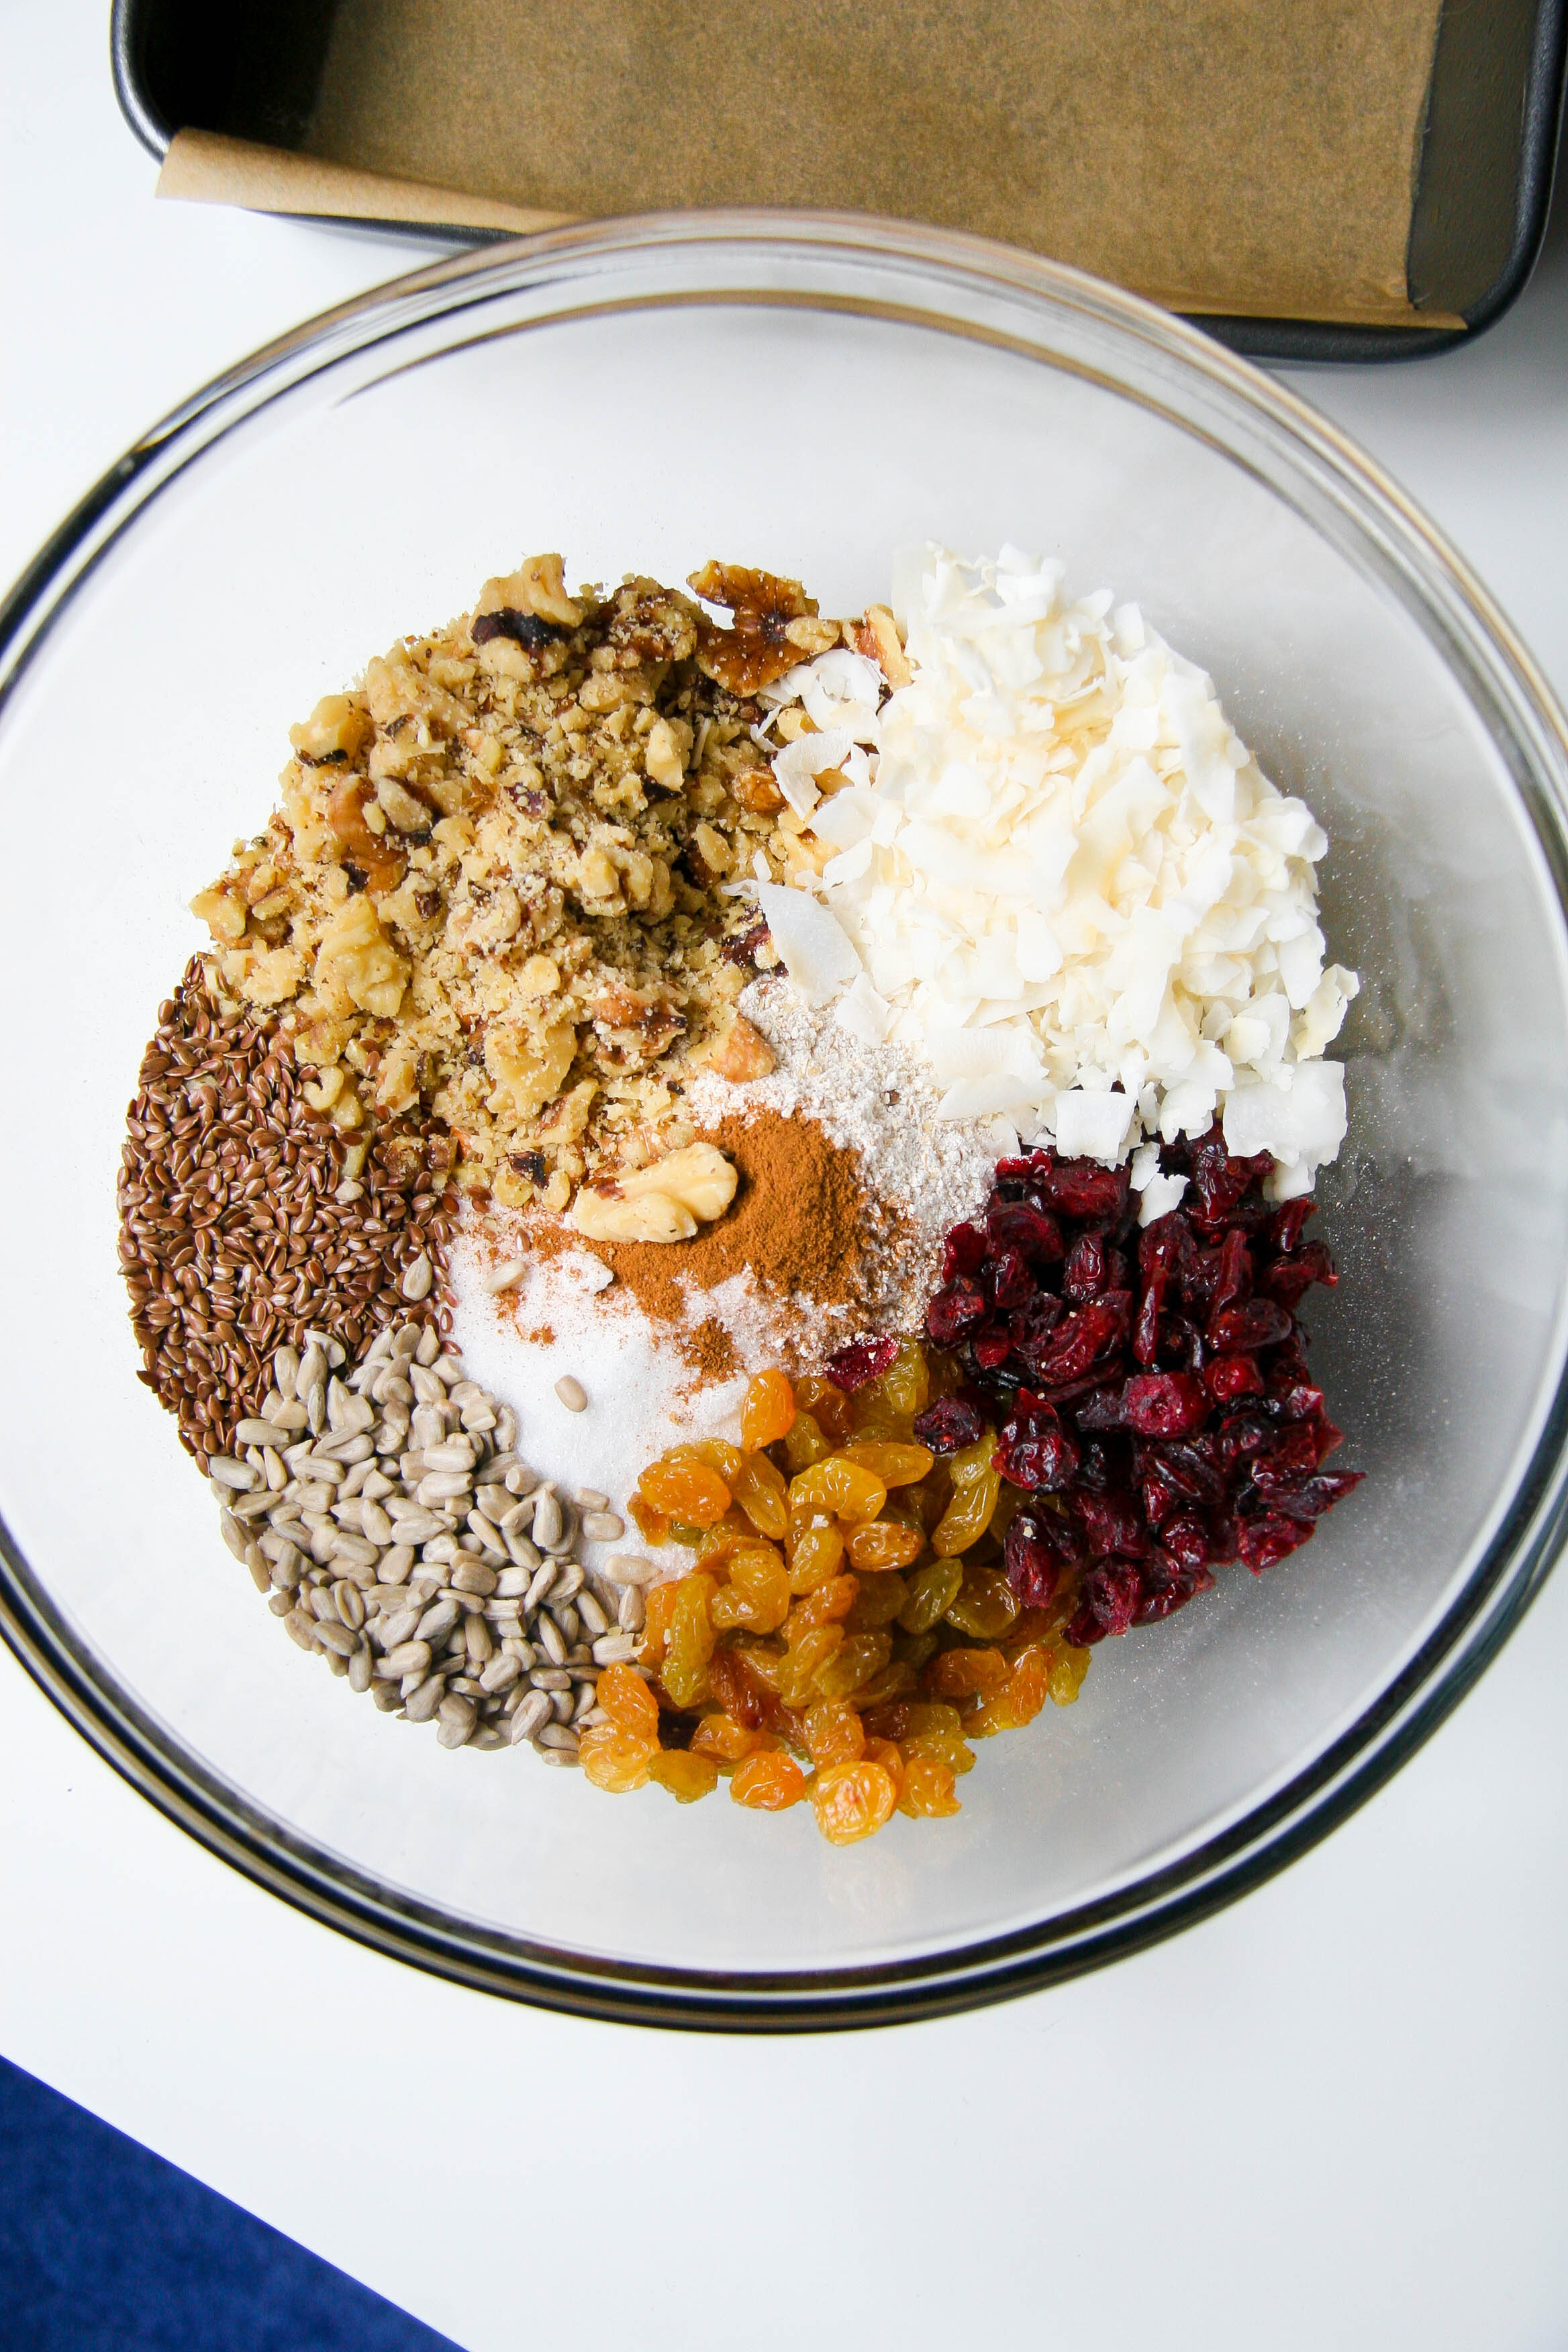
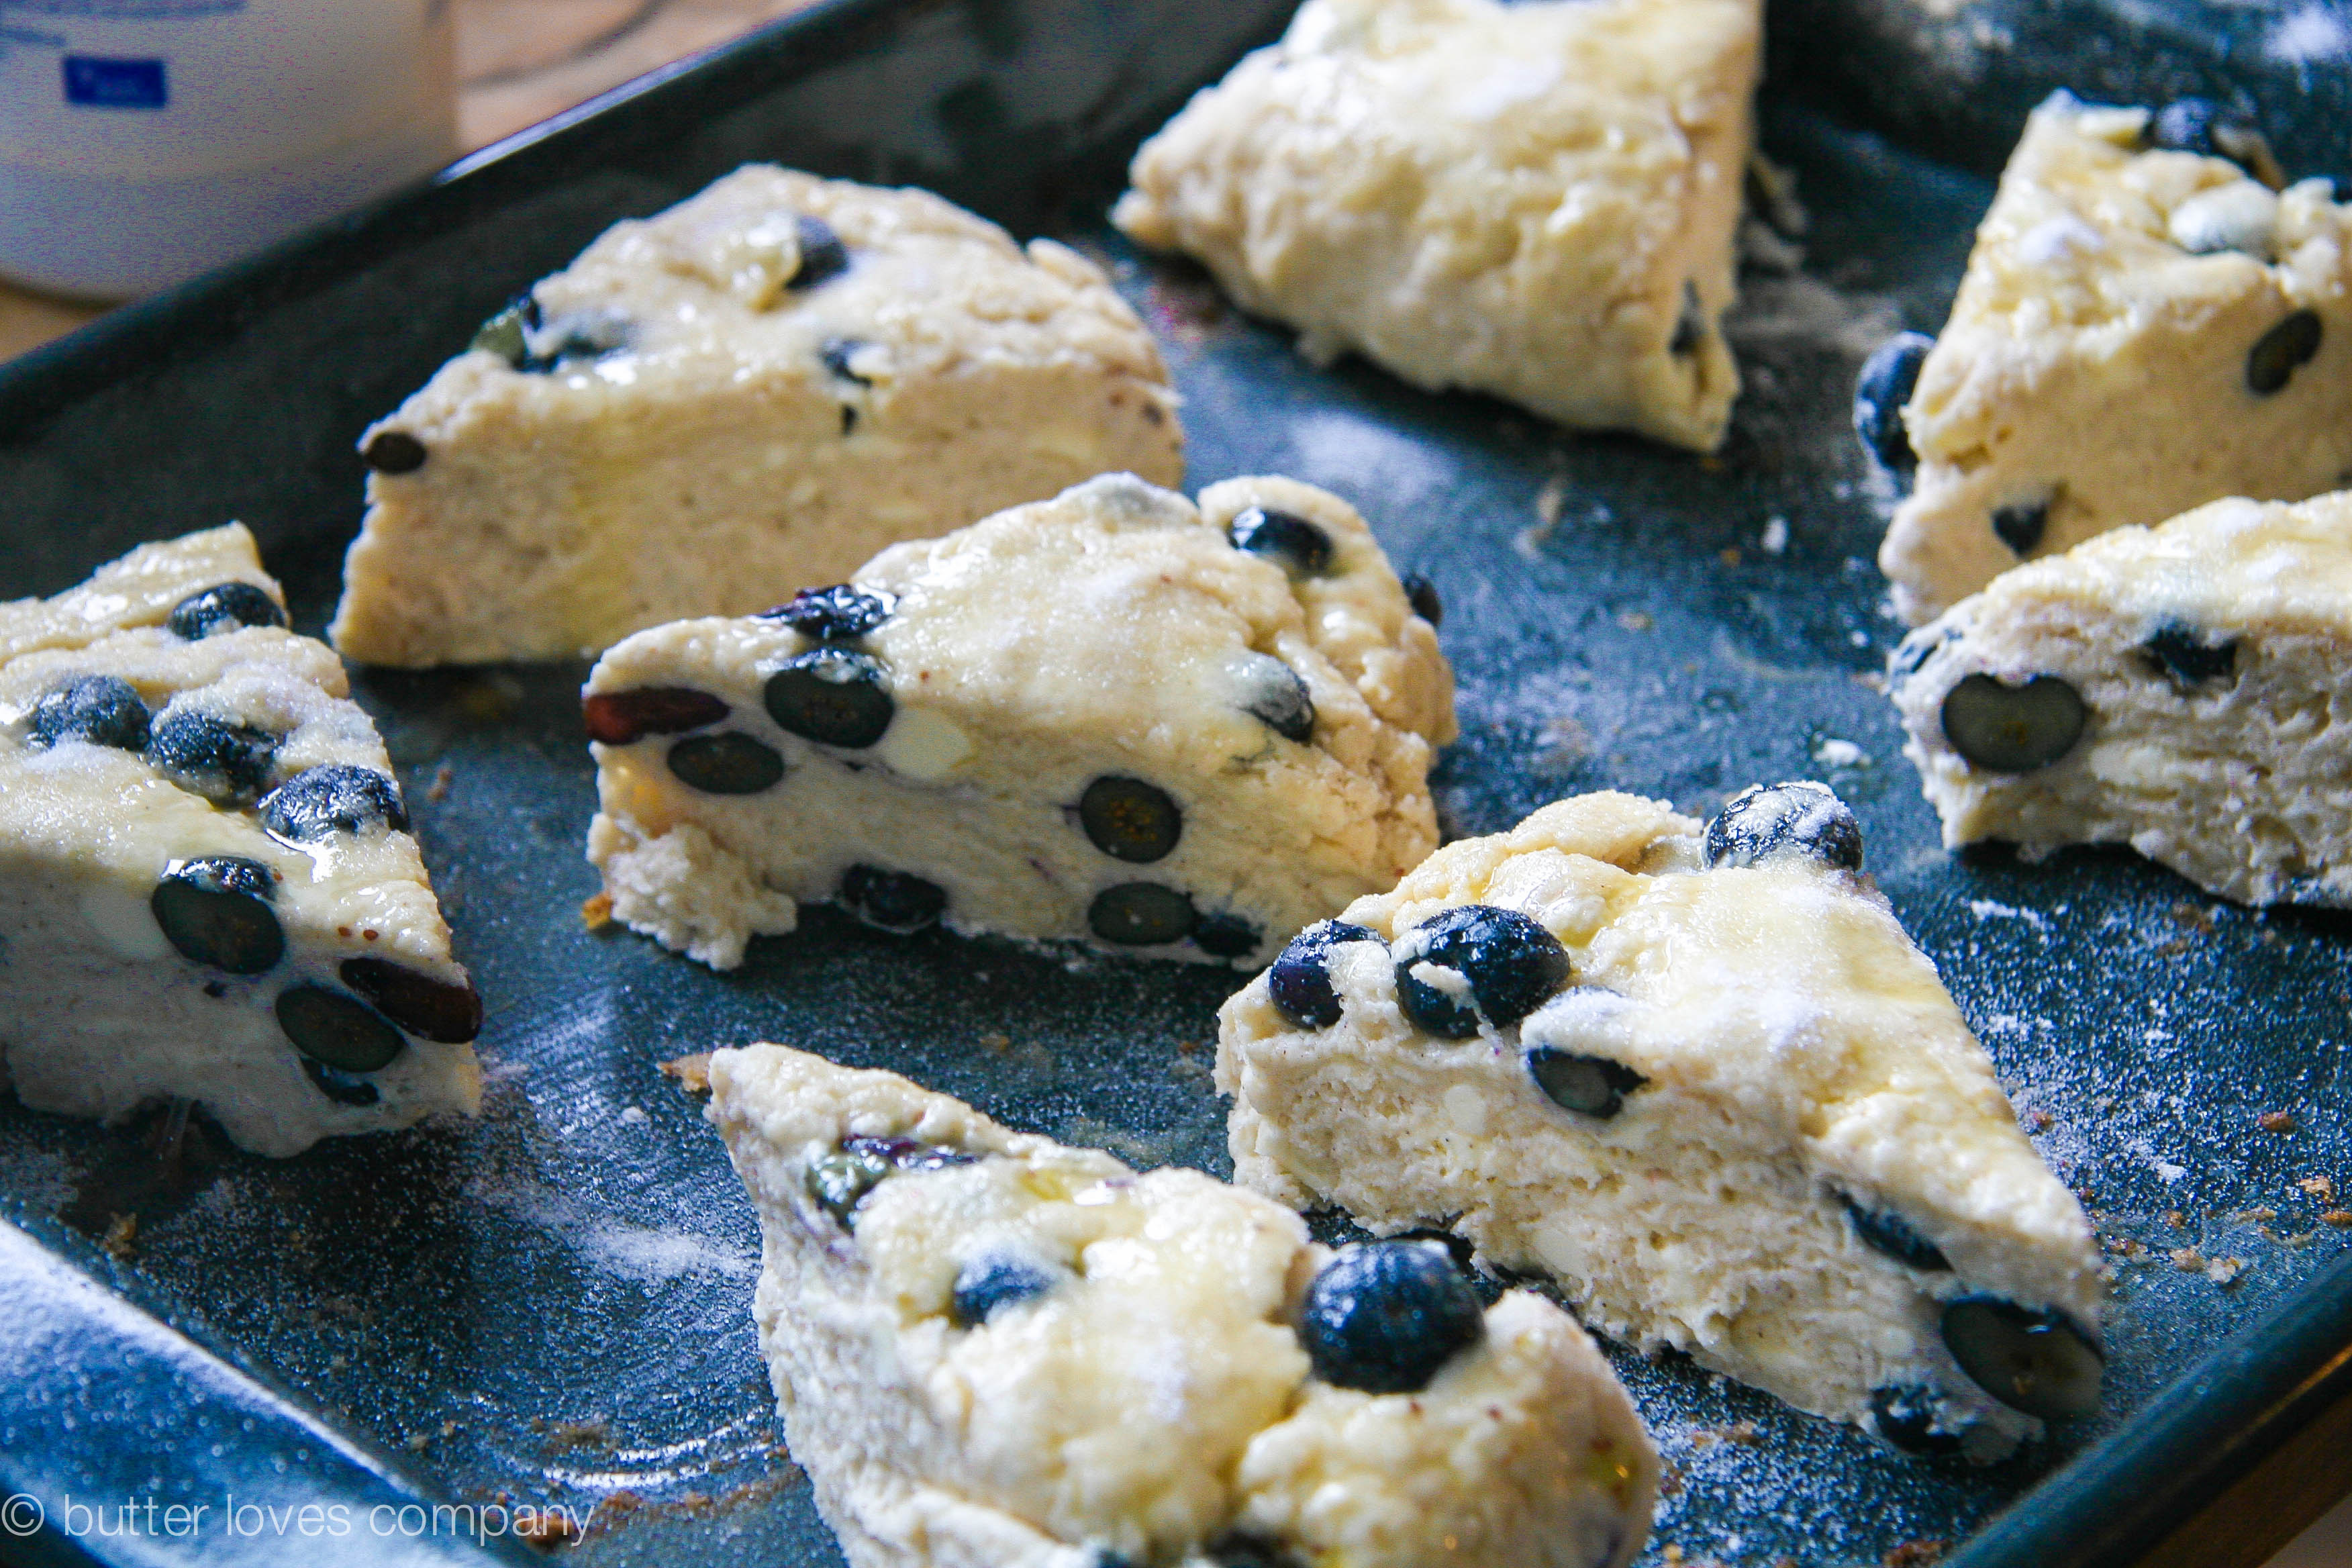
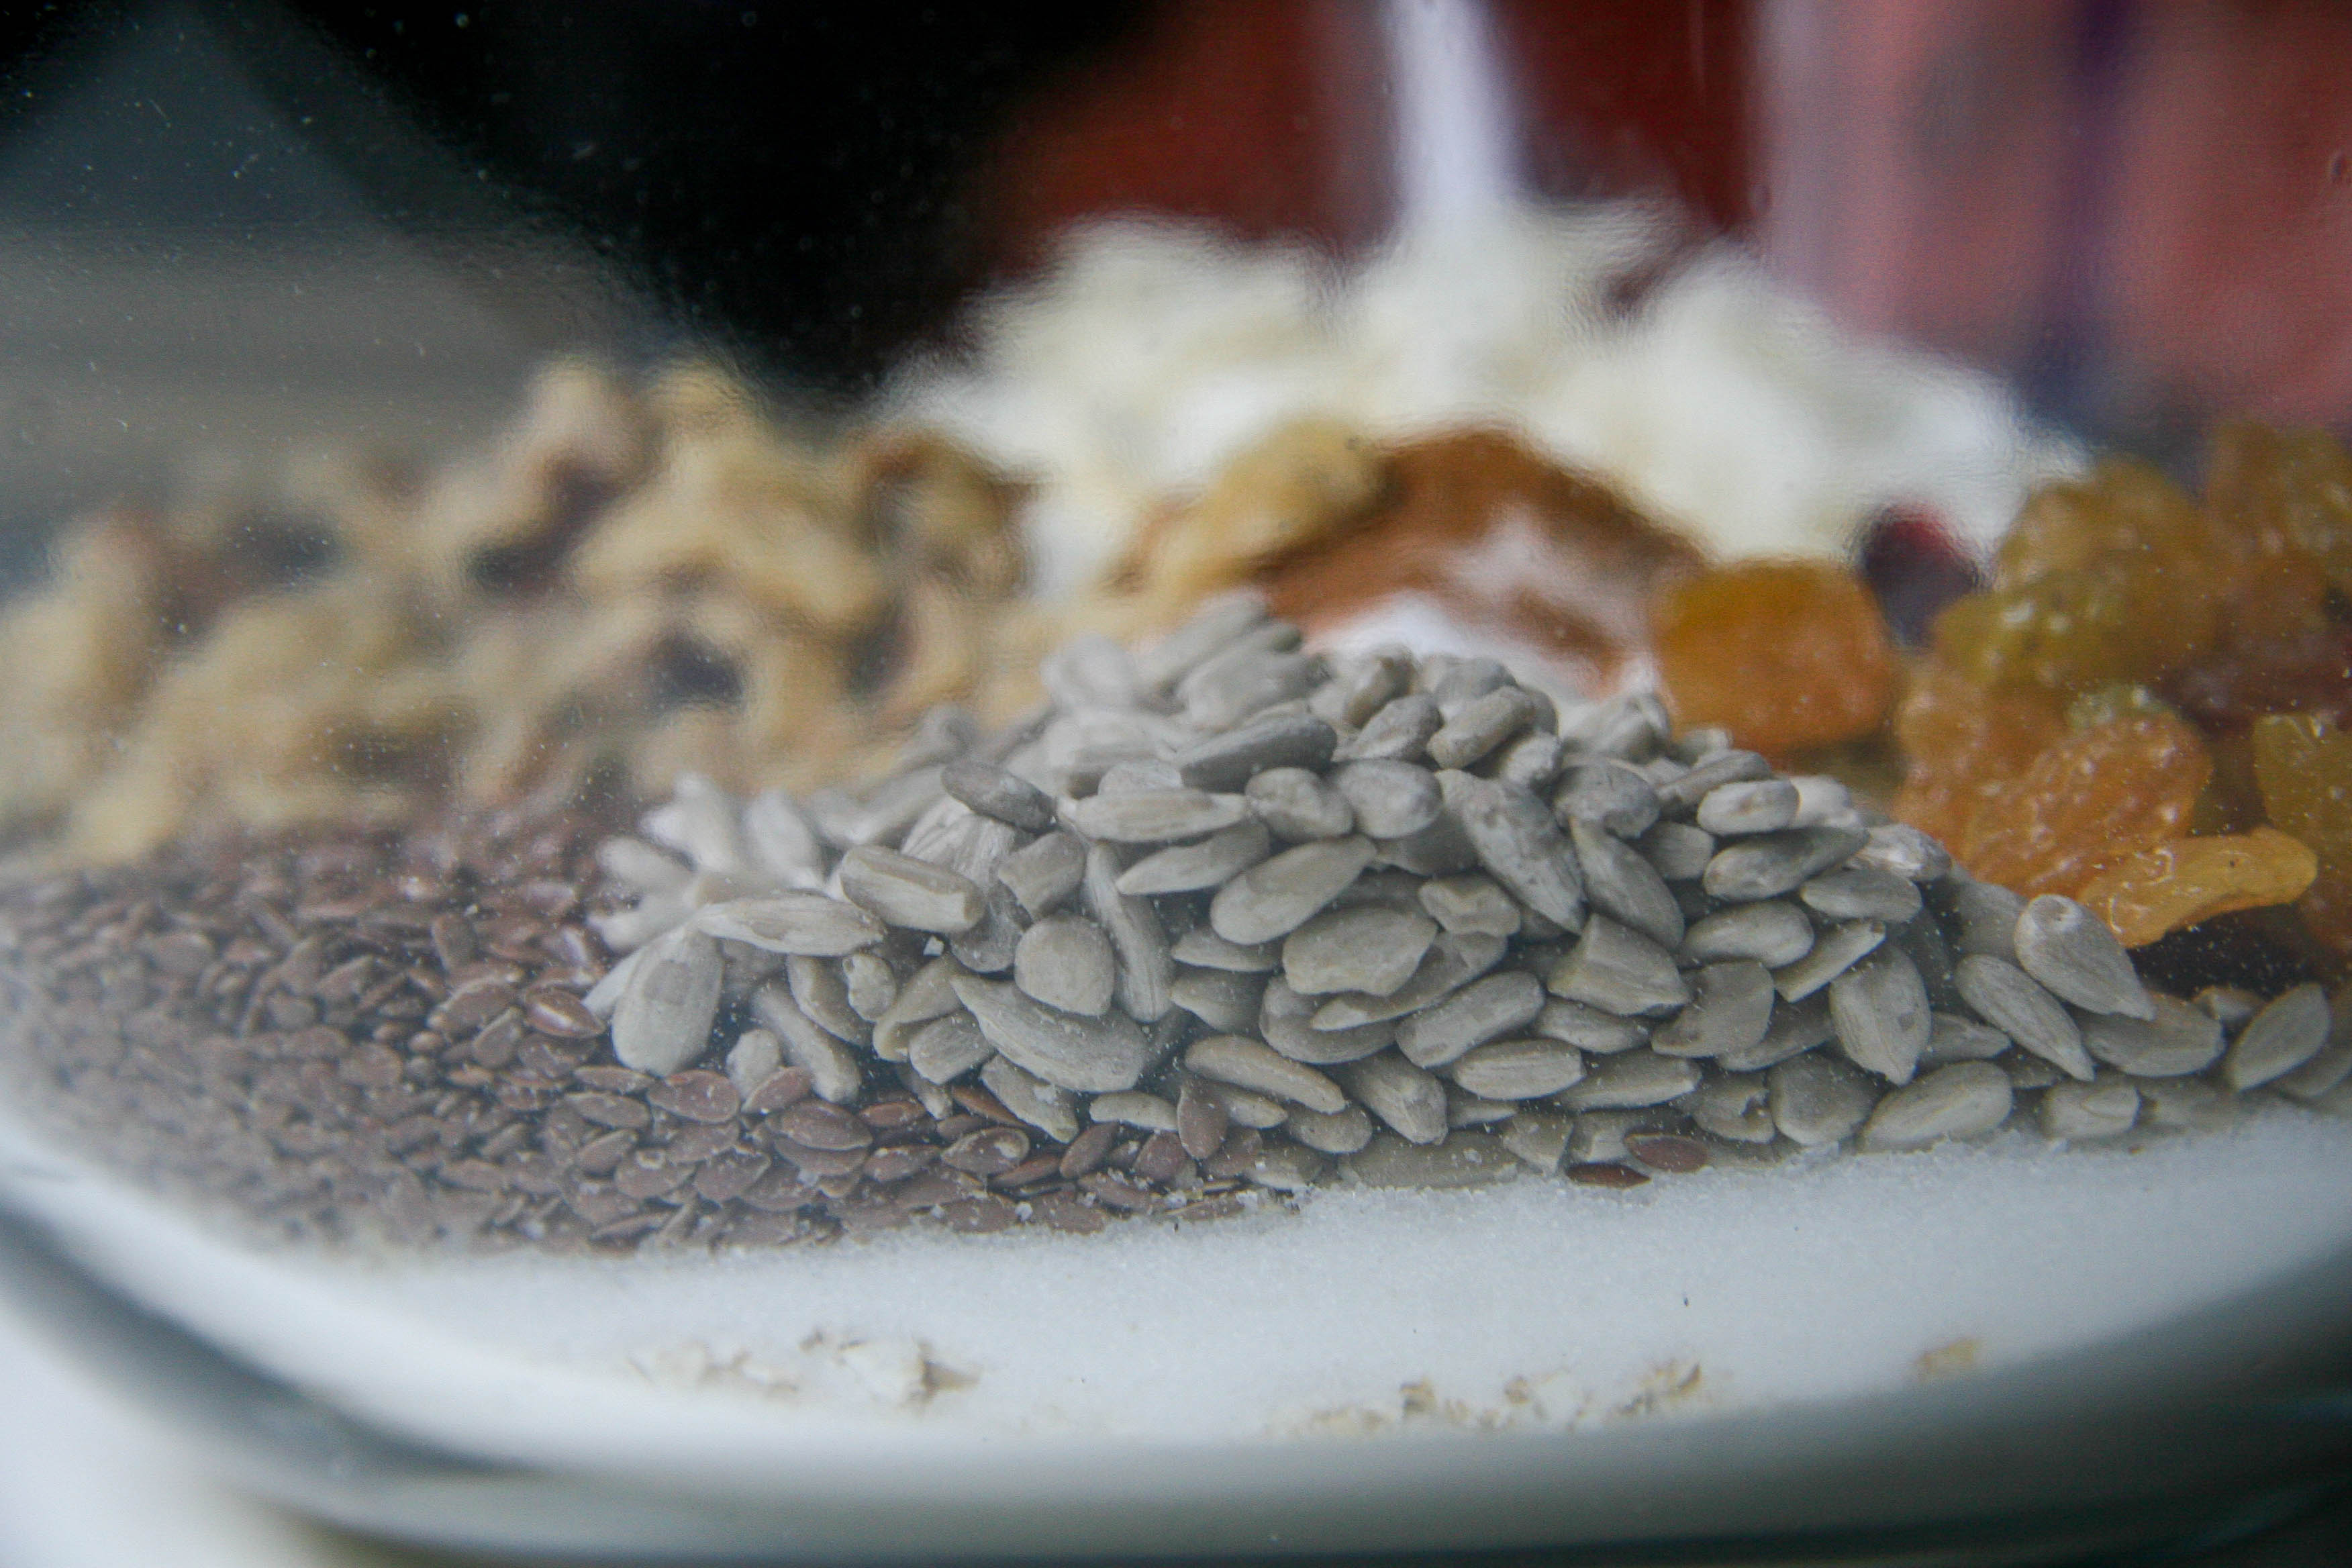
For this batch, I chose to use dried cranberries, golden raisins, lightly chopped walnuts, sunflower seeds, flax seeds and shredded coconut.

chewy homemade granola bars
adapted from the smitten kitchen recipe which is adapted from king arthur flour
prep time: 10 minutes
cook time: 35 minutes
total time: 45 minutes (not including cool time after baking)
makes 12 to 16 bars
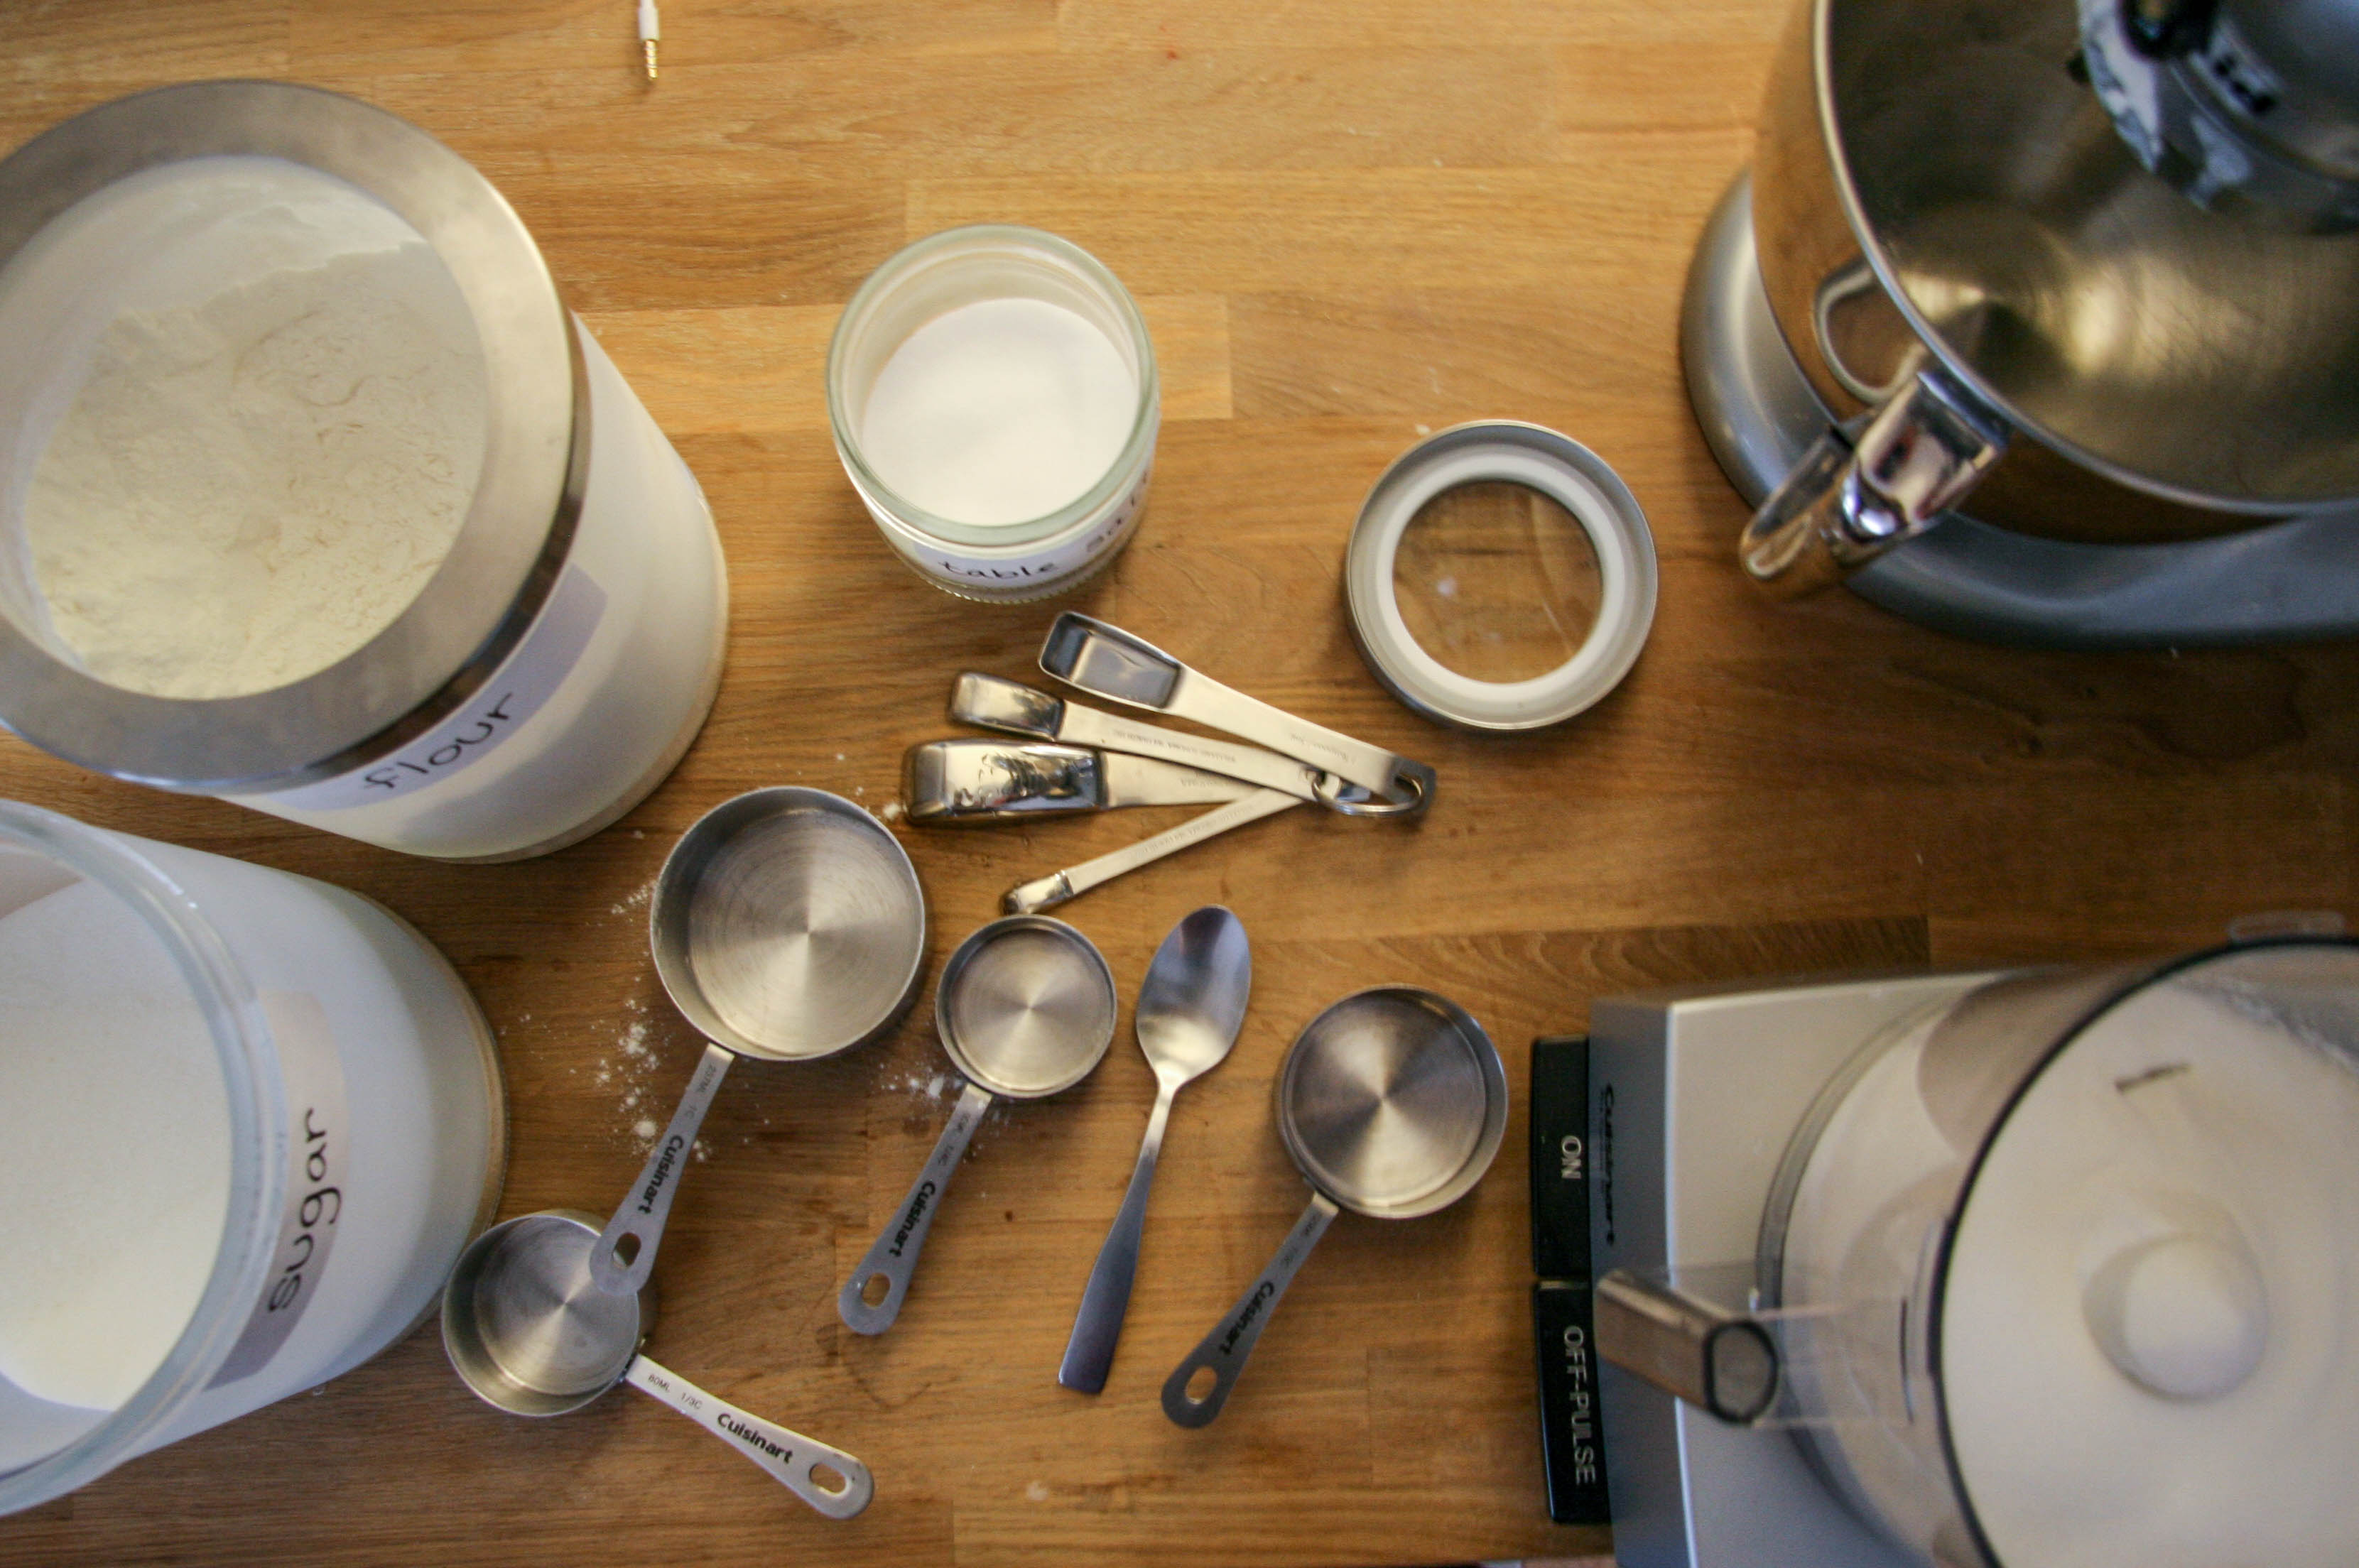
Ingredients:
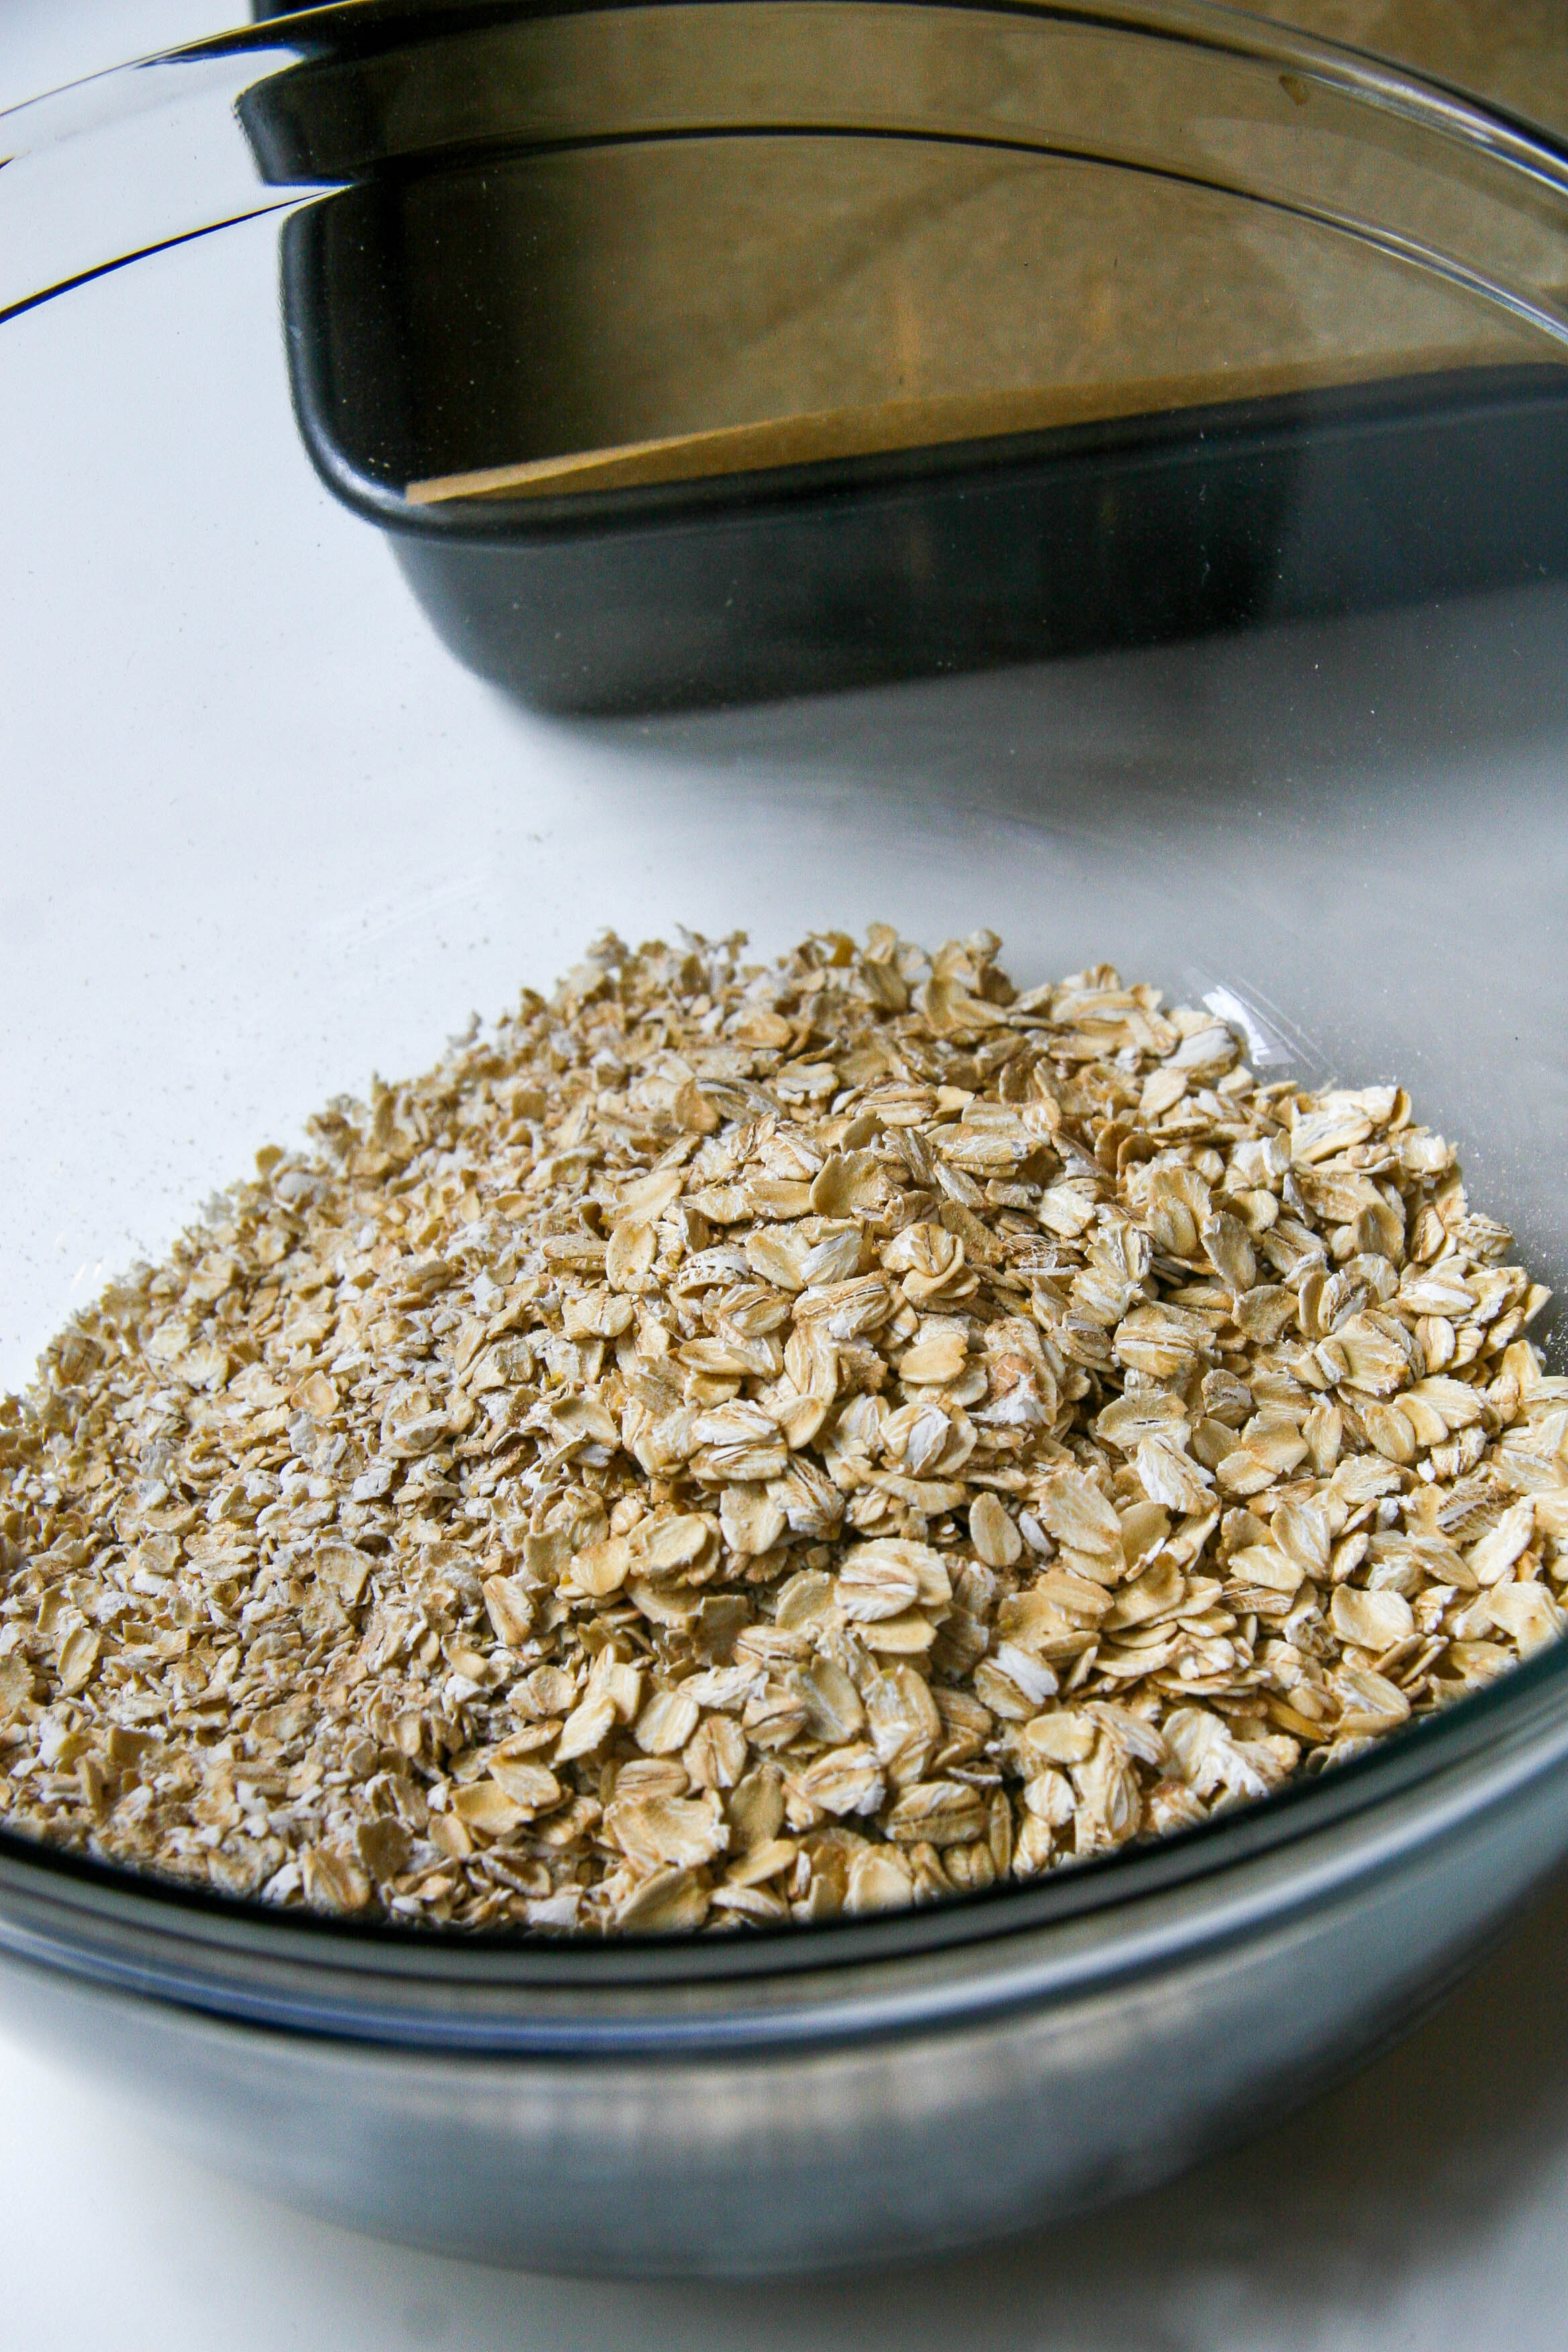
1 2/3 cups 1-minute rolled oats (aka instant oats; I used old fashion oats for 1/3 cup of this because I had them on hand and was interested in the texture. Feel free to try that combination or use all instant.)
1/2 to 3/4 cup granulated sugar (less for mild sweetness, more for sweeter bars)
1/3 cup oat flour (or 1/3 cup oats, ground into a powdery texture in a food processor or blender)
1/2 teaspoon salt
1/4 teaspoon ground cinnamon
2 to 3 cups assorted dried fruits, nuts, seeds, chocolate chips, sprinkles or candies (pick any of your favorites until they total 10 to 15 ounces)
1/3 cup peanut butter or another nut butter (optional)
1 tablespoon vanilla extract (optional)
6 tablespoons melted butter
1/4 cup honey or maple syrup
2 tablespoons light corn syrup
1 tablespoon water
Instruction:
- Preheat the oven to 350°F. Line an 8″ x 8″ x 2″ baking pan with a piece of parchment paper to cover the bottom and two opposite sides (you are creating “handles” that will help you remove the granola bars later). Lightly grease, with butter or a non-stick spray, the parchment paper and the exposed pan.
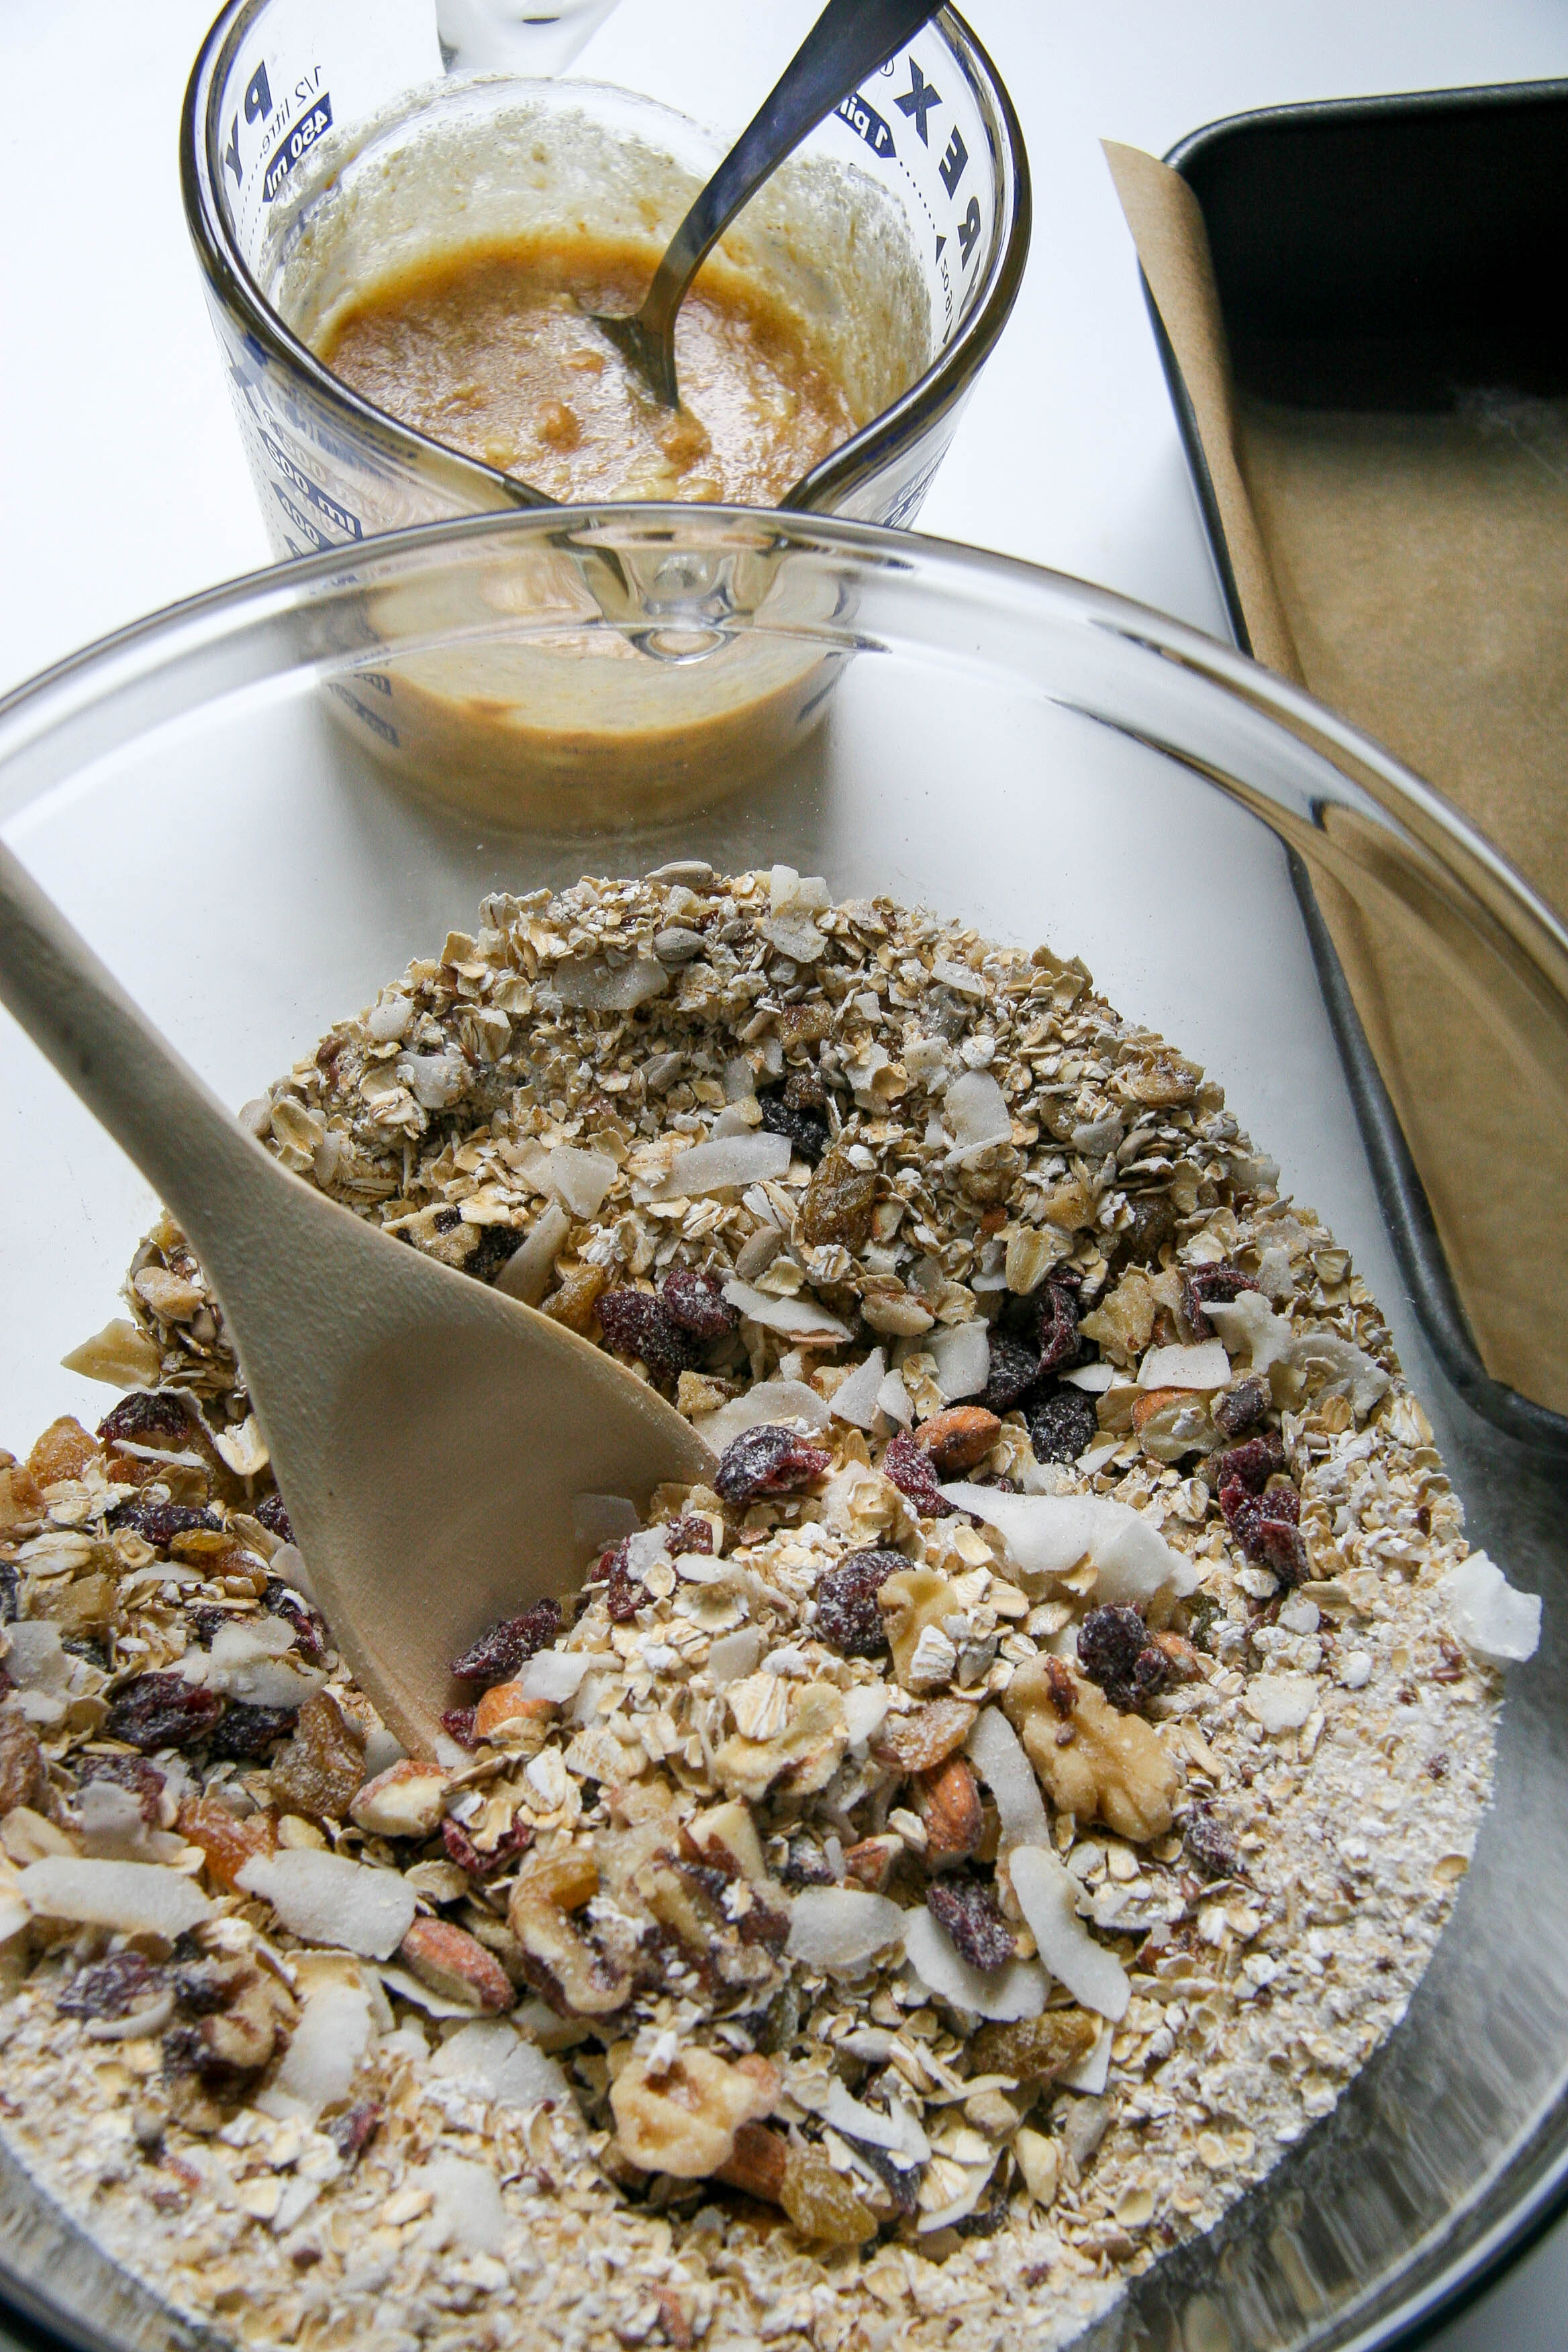
- In a large bowl, stir together the rolled oats, sugar, oat flour, salt, cinnamon and desired fruits and nuts. Set aside.
- In a small bowl, whisk together the vanilla, melted butter, honey or syrup, corn syrup and water. If using peanut butter, toss that in with the wet ingredients now.
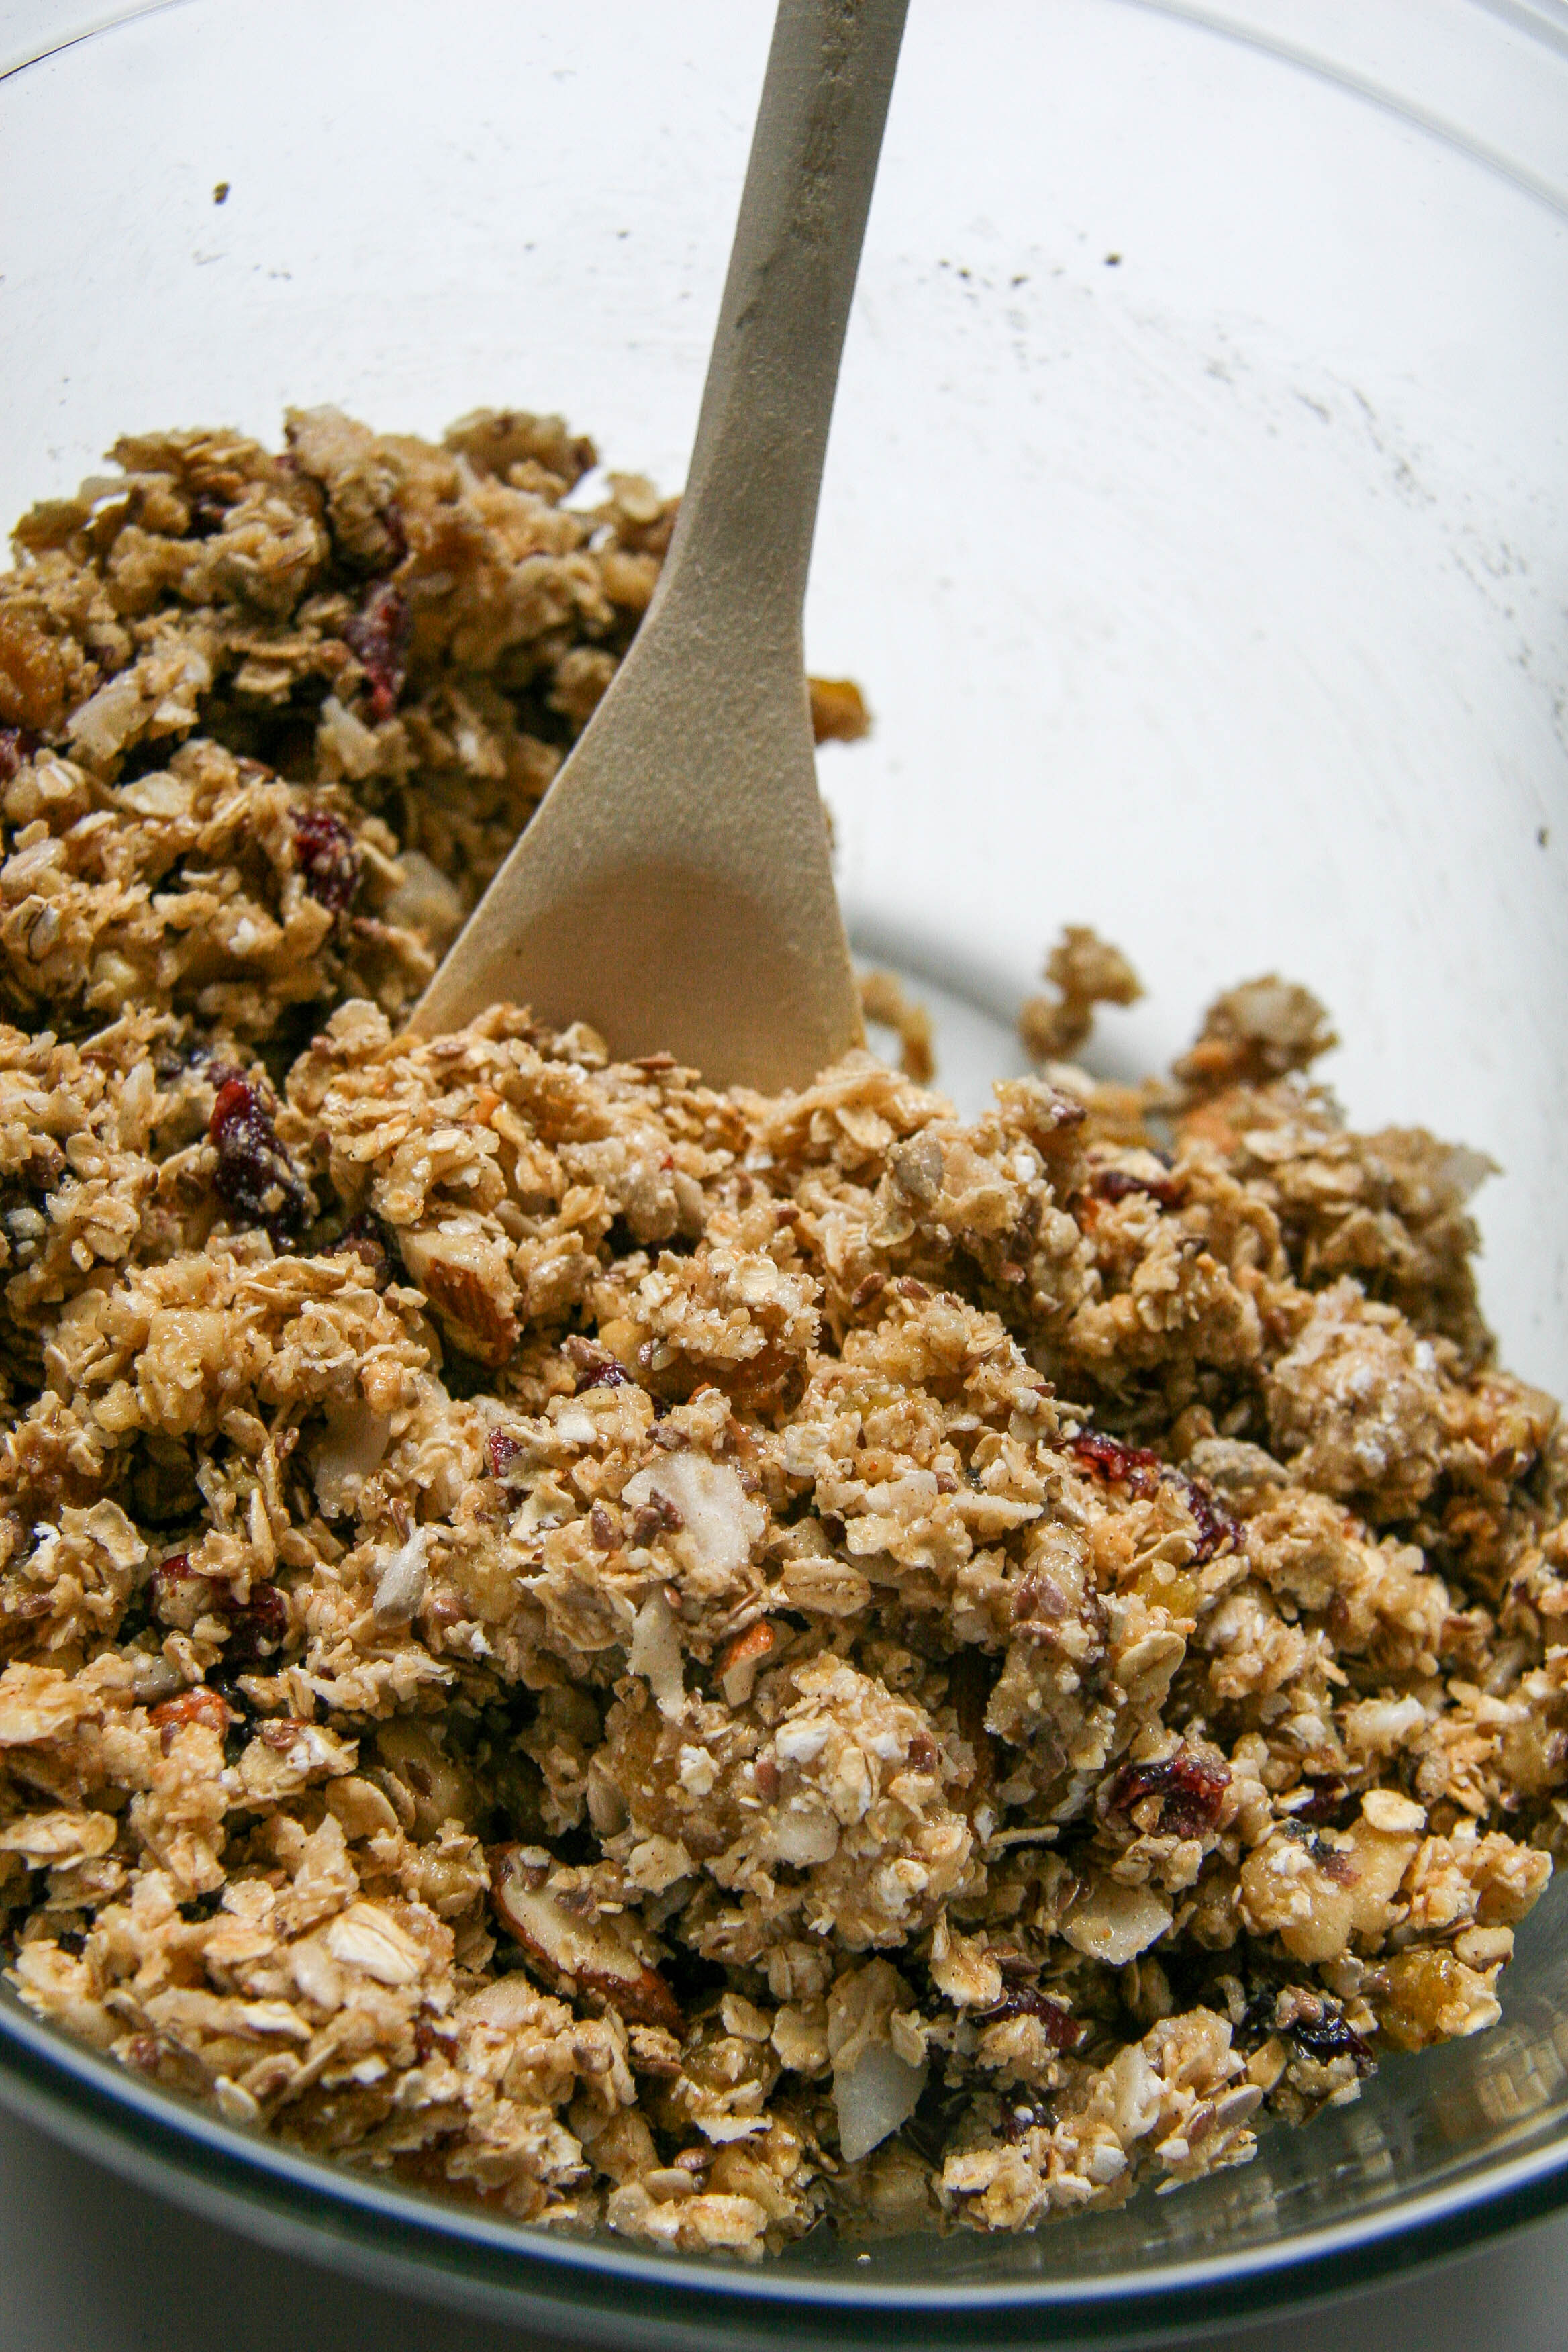
- Pour the wet ingredients into the bowl with the dry and stir until all of the oats have been coated with the wet ingredients and the mixture starts coming together in chunks. Spread mixture into the prepared pan and press firmly across the top and into all corners and edges. Smooth down the top for a flat, even final product.
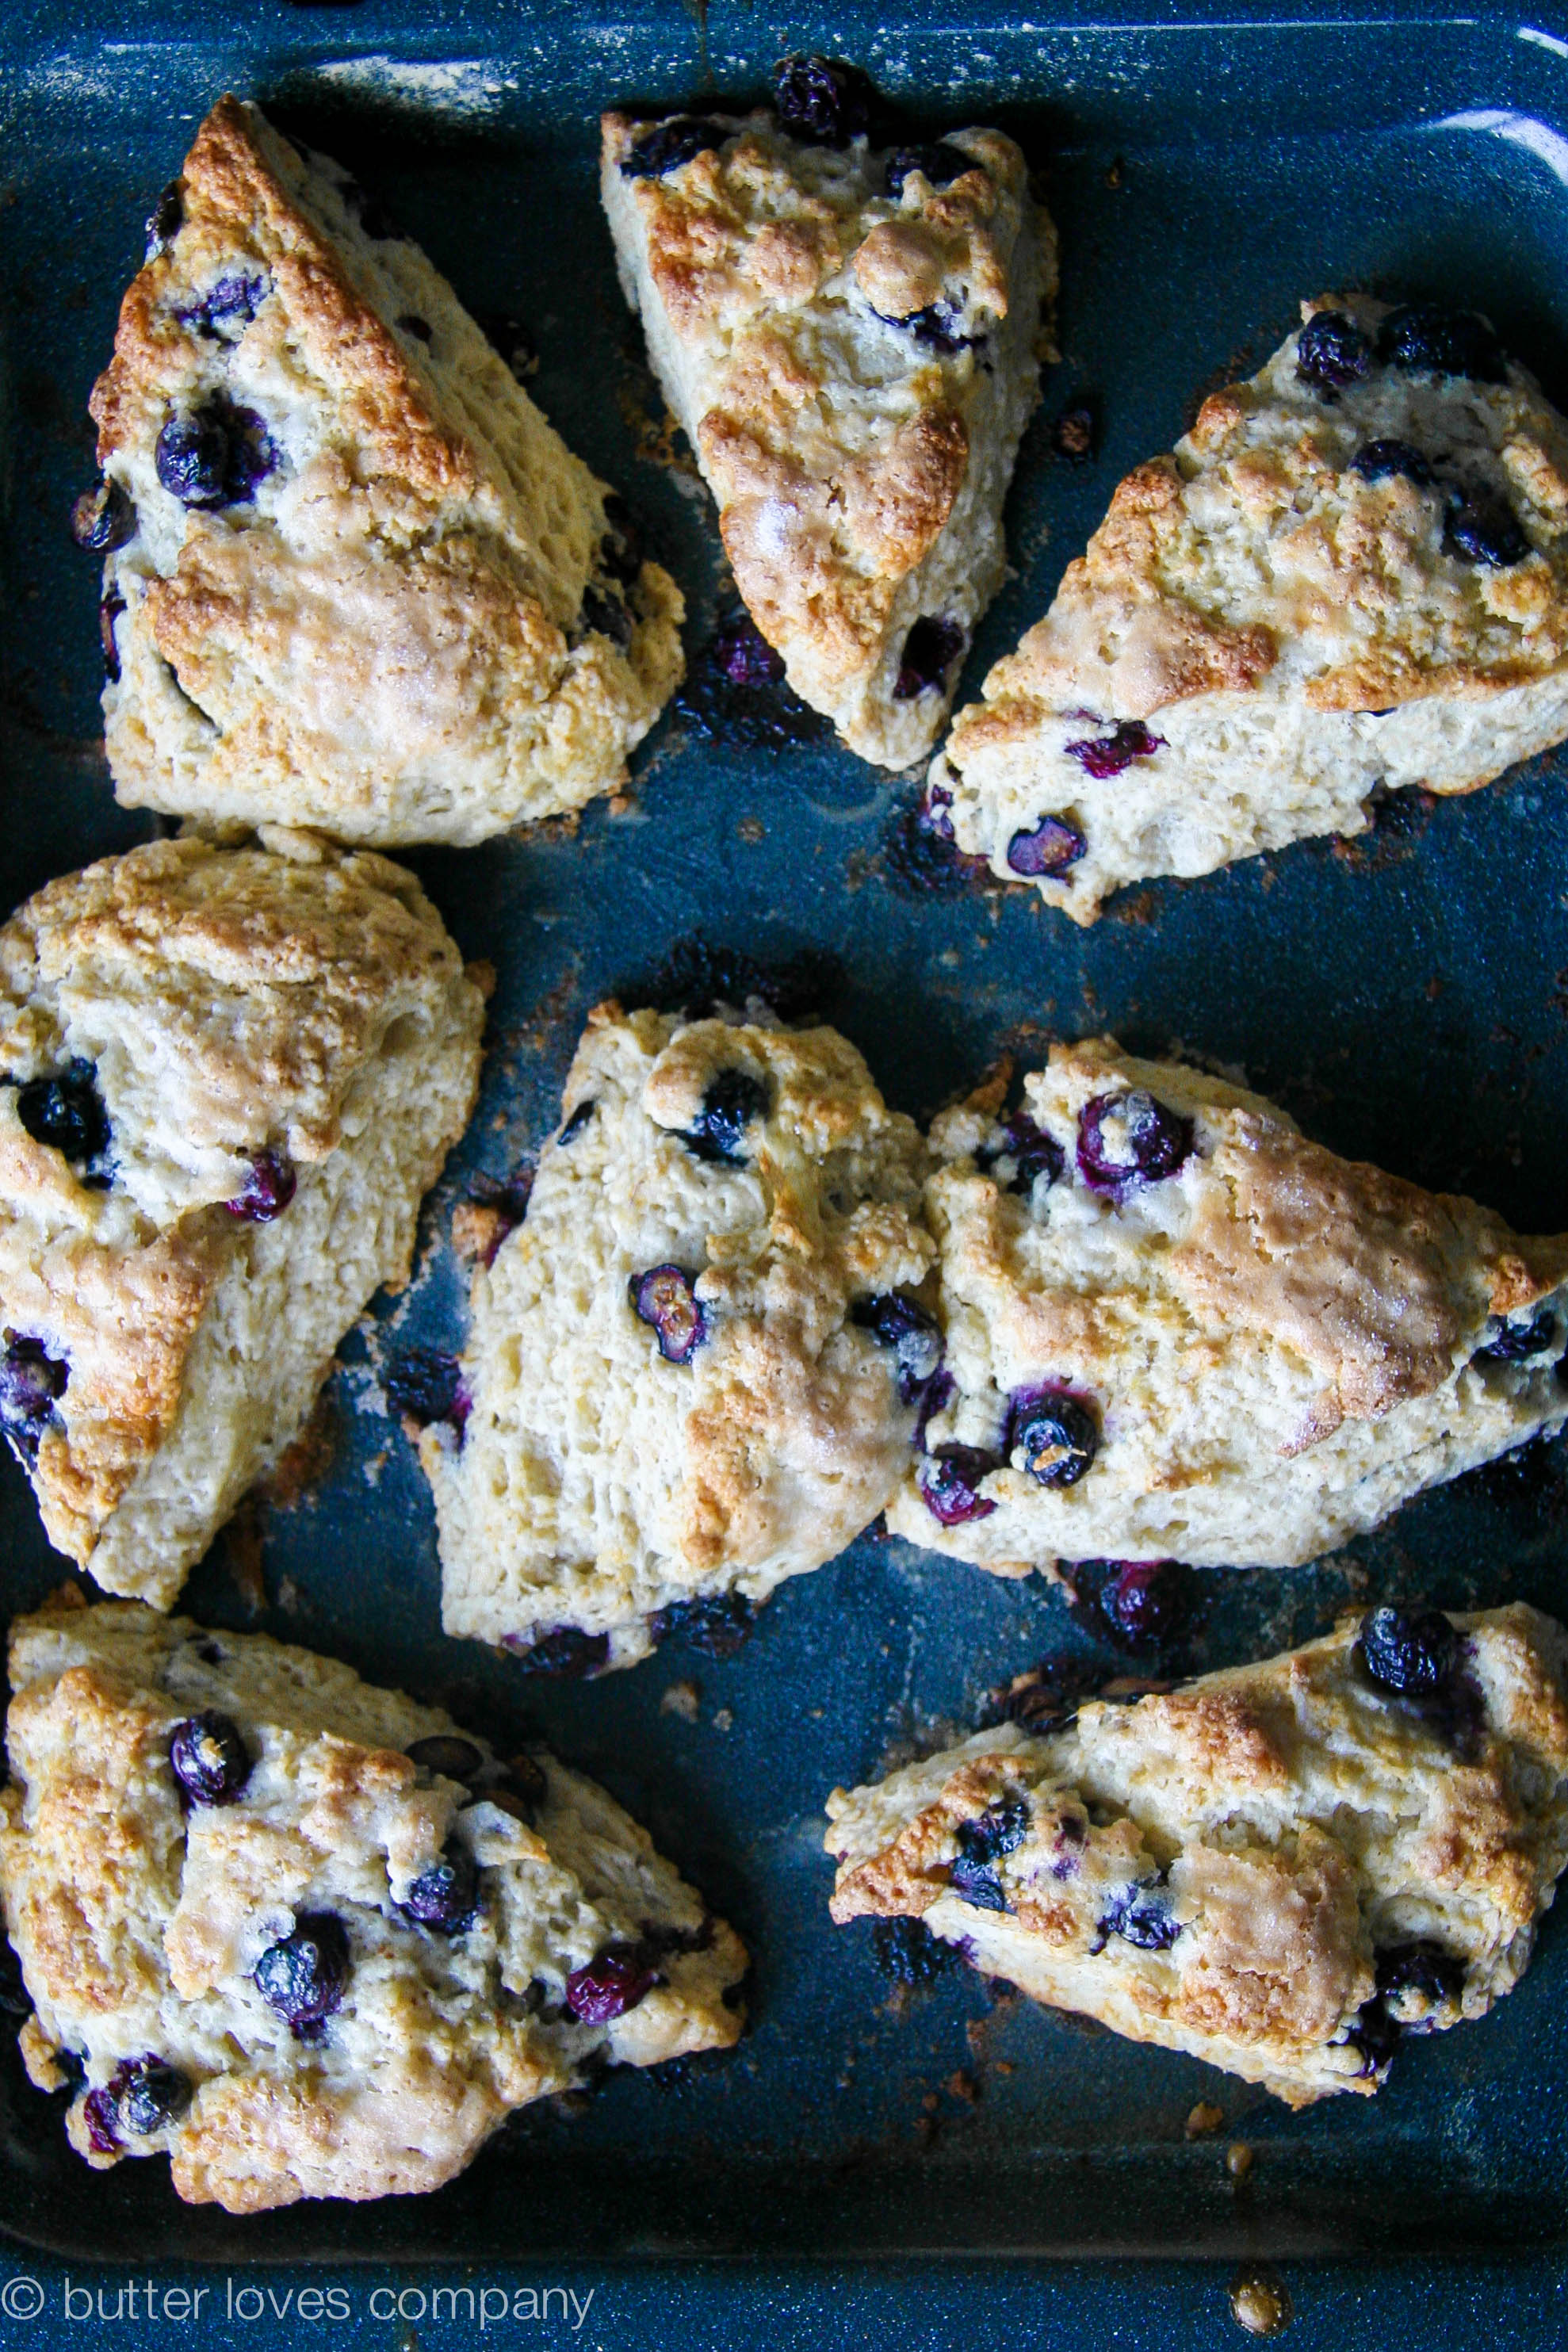
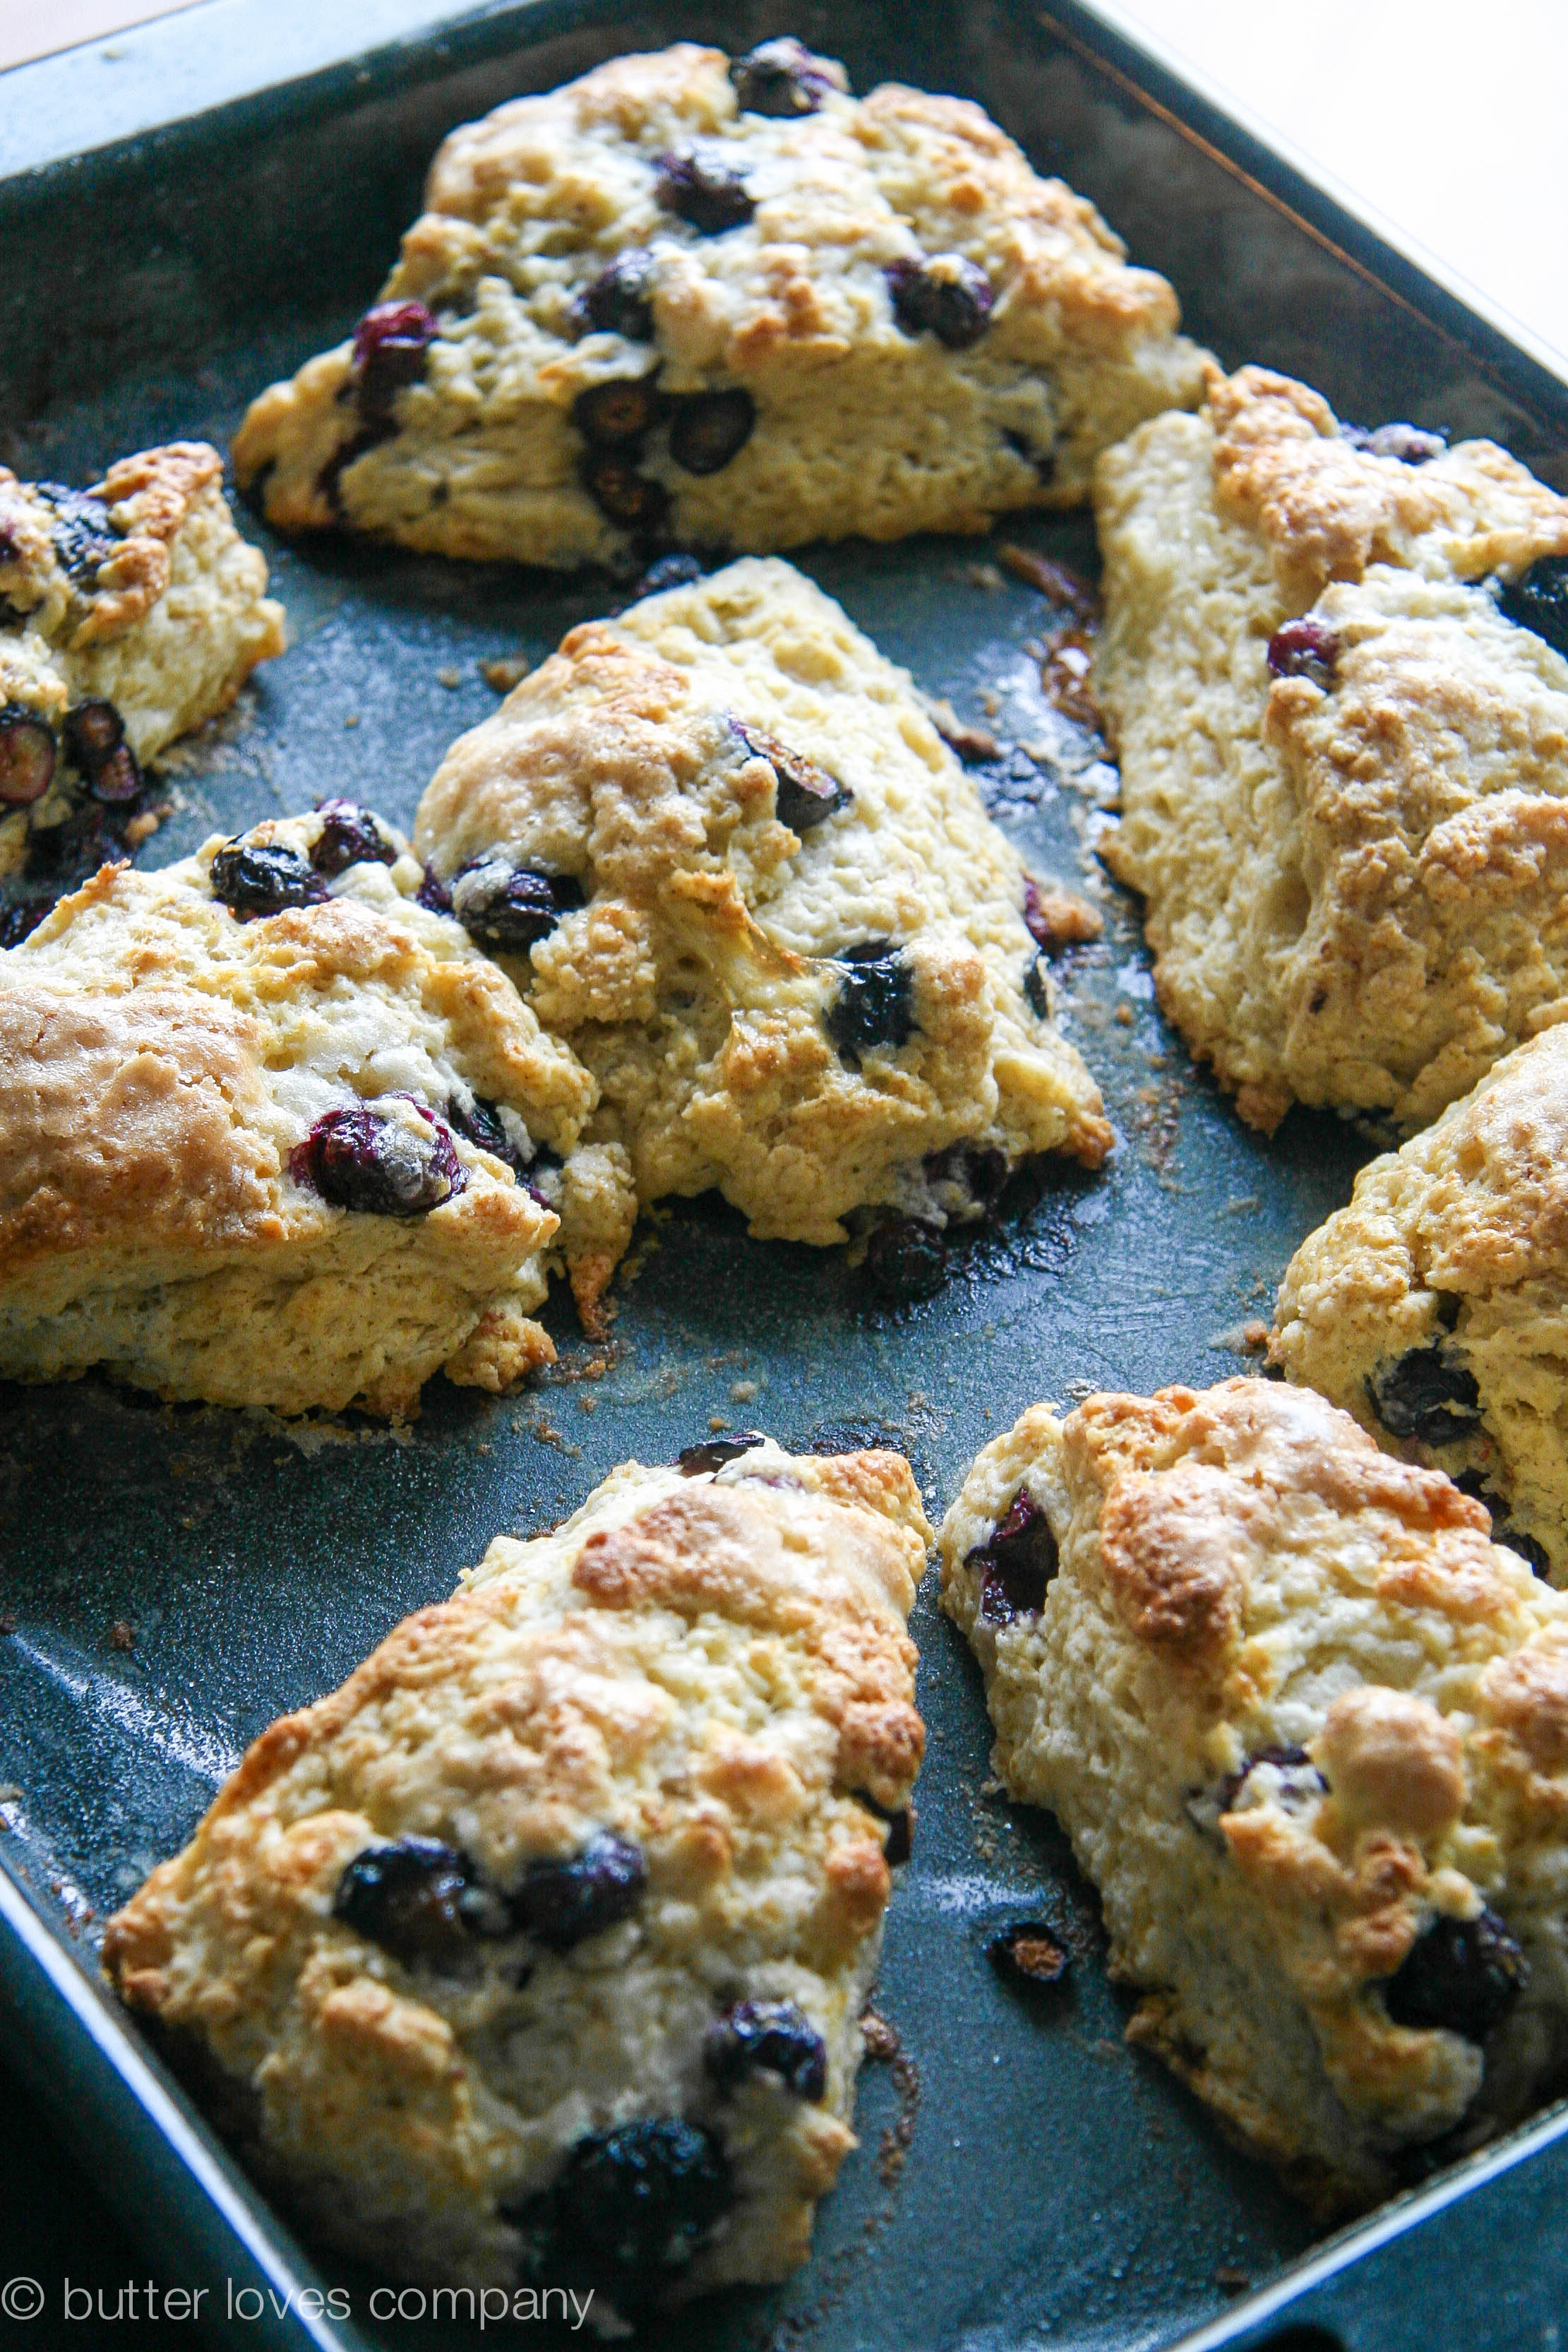
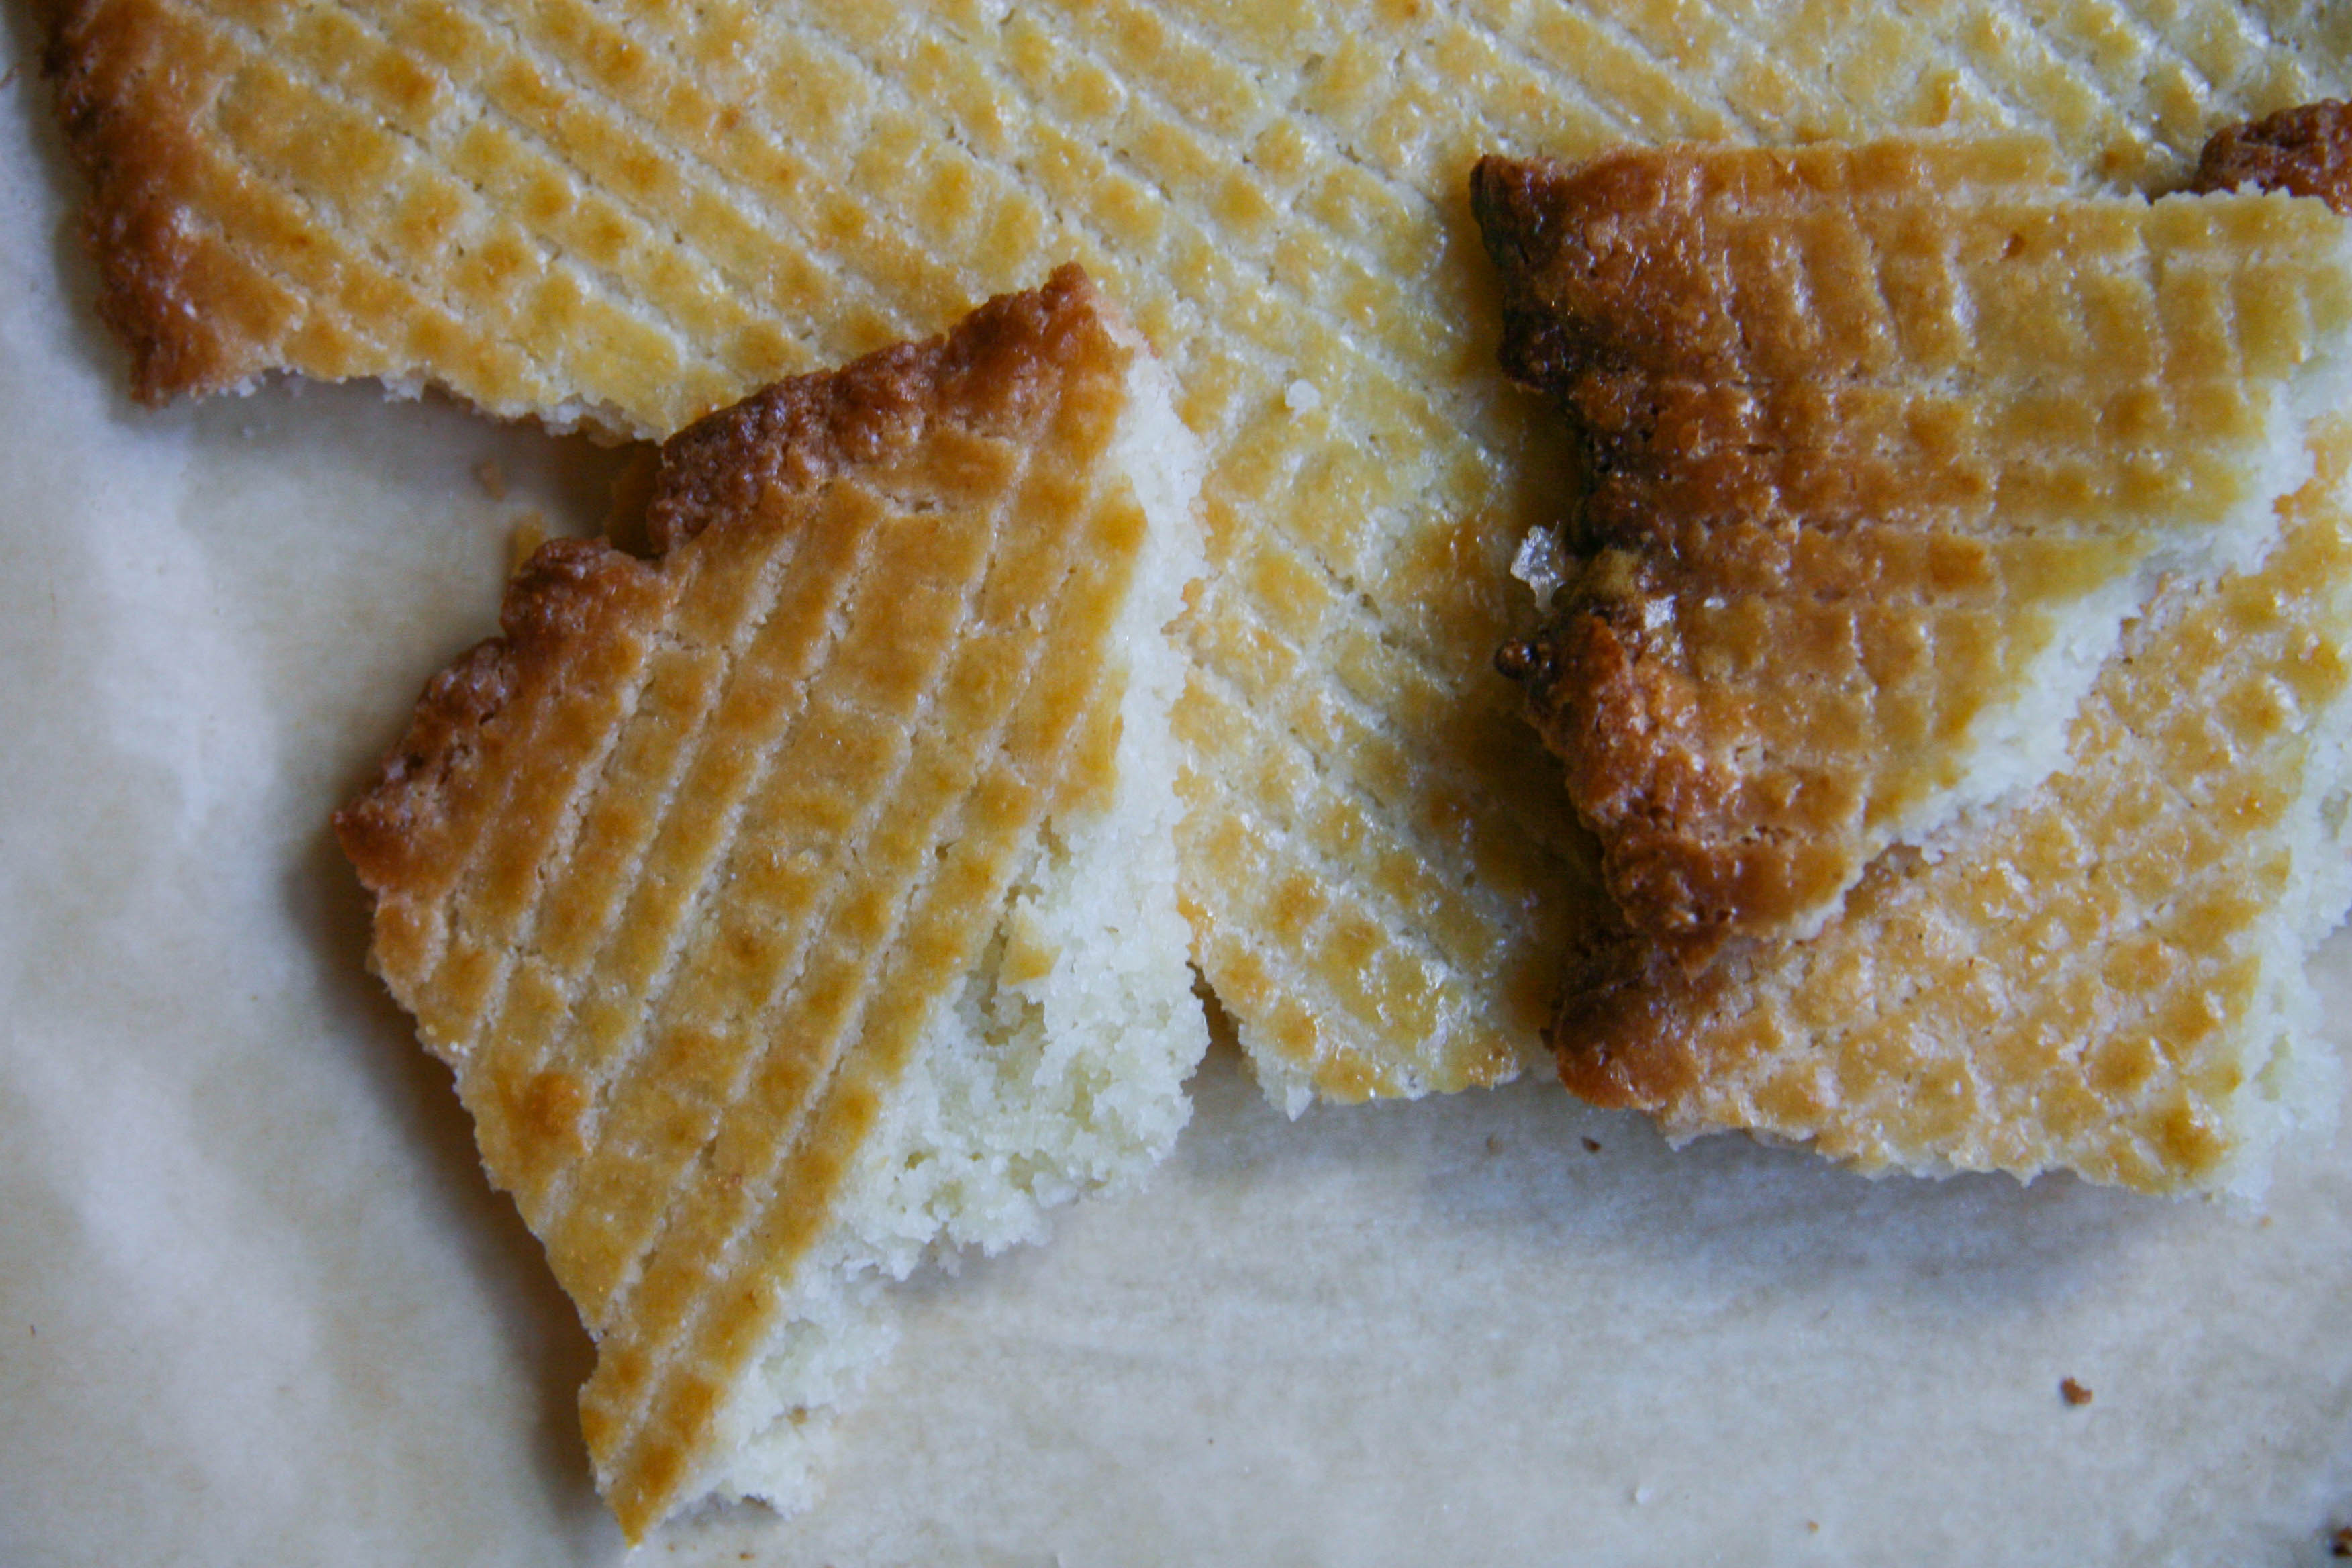
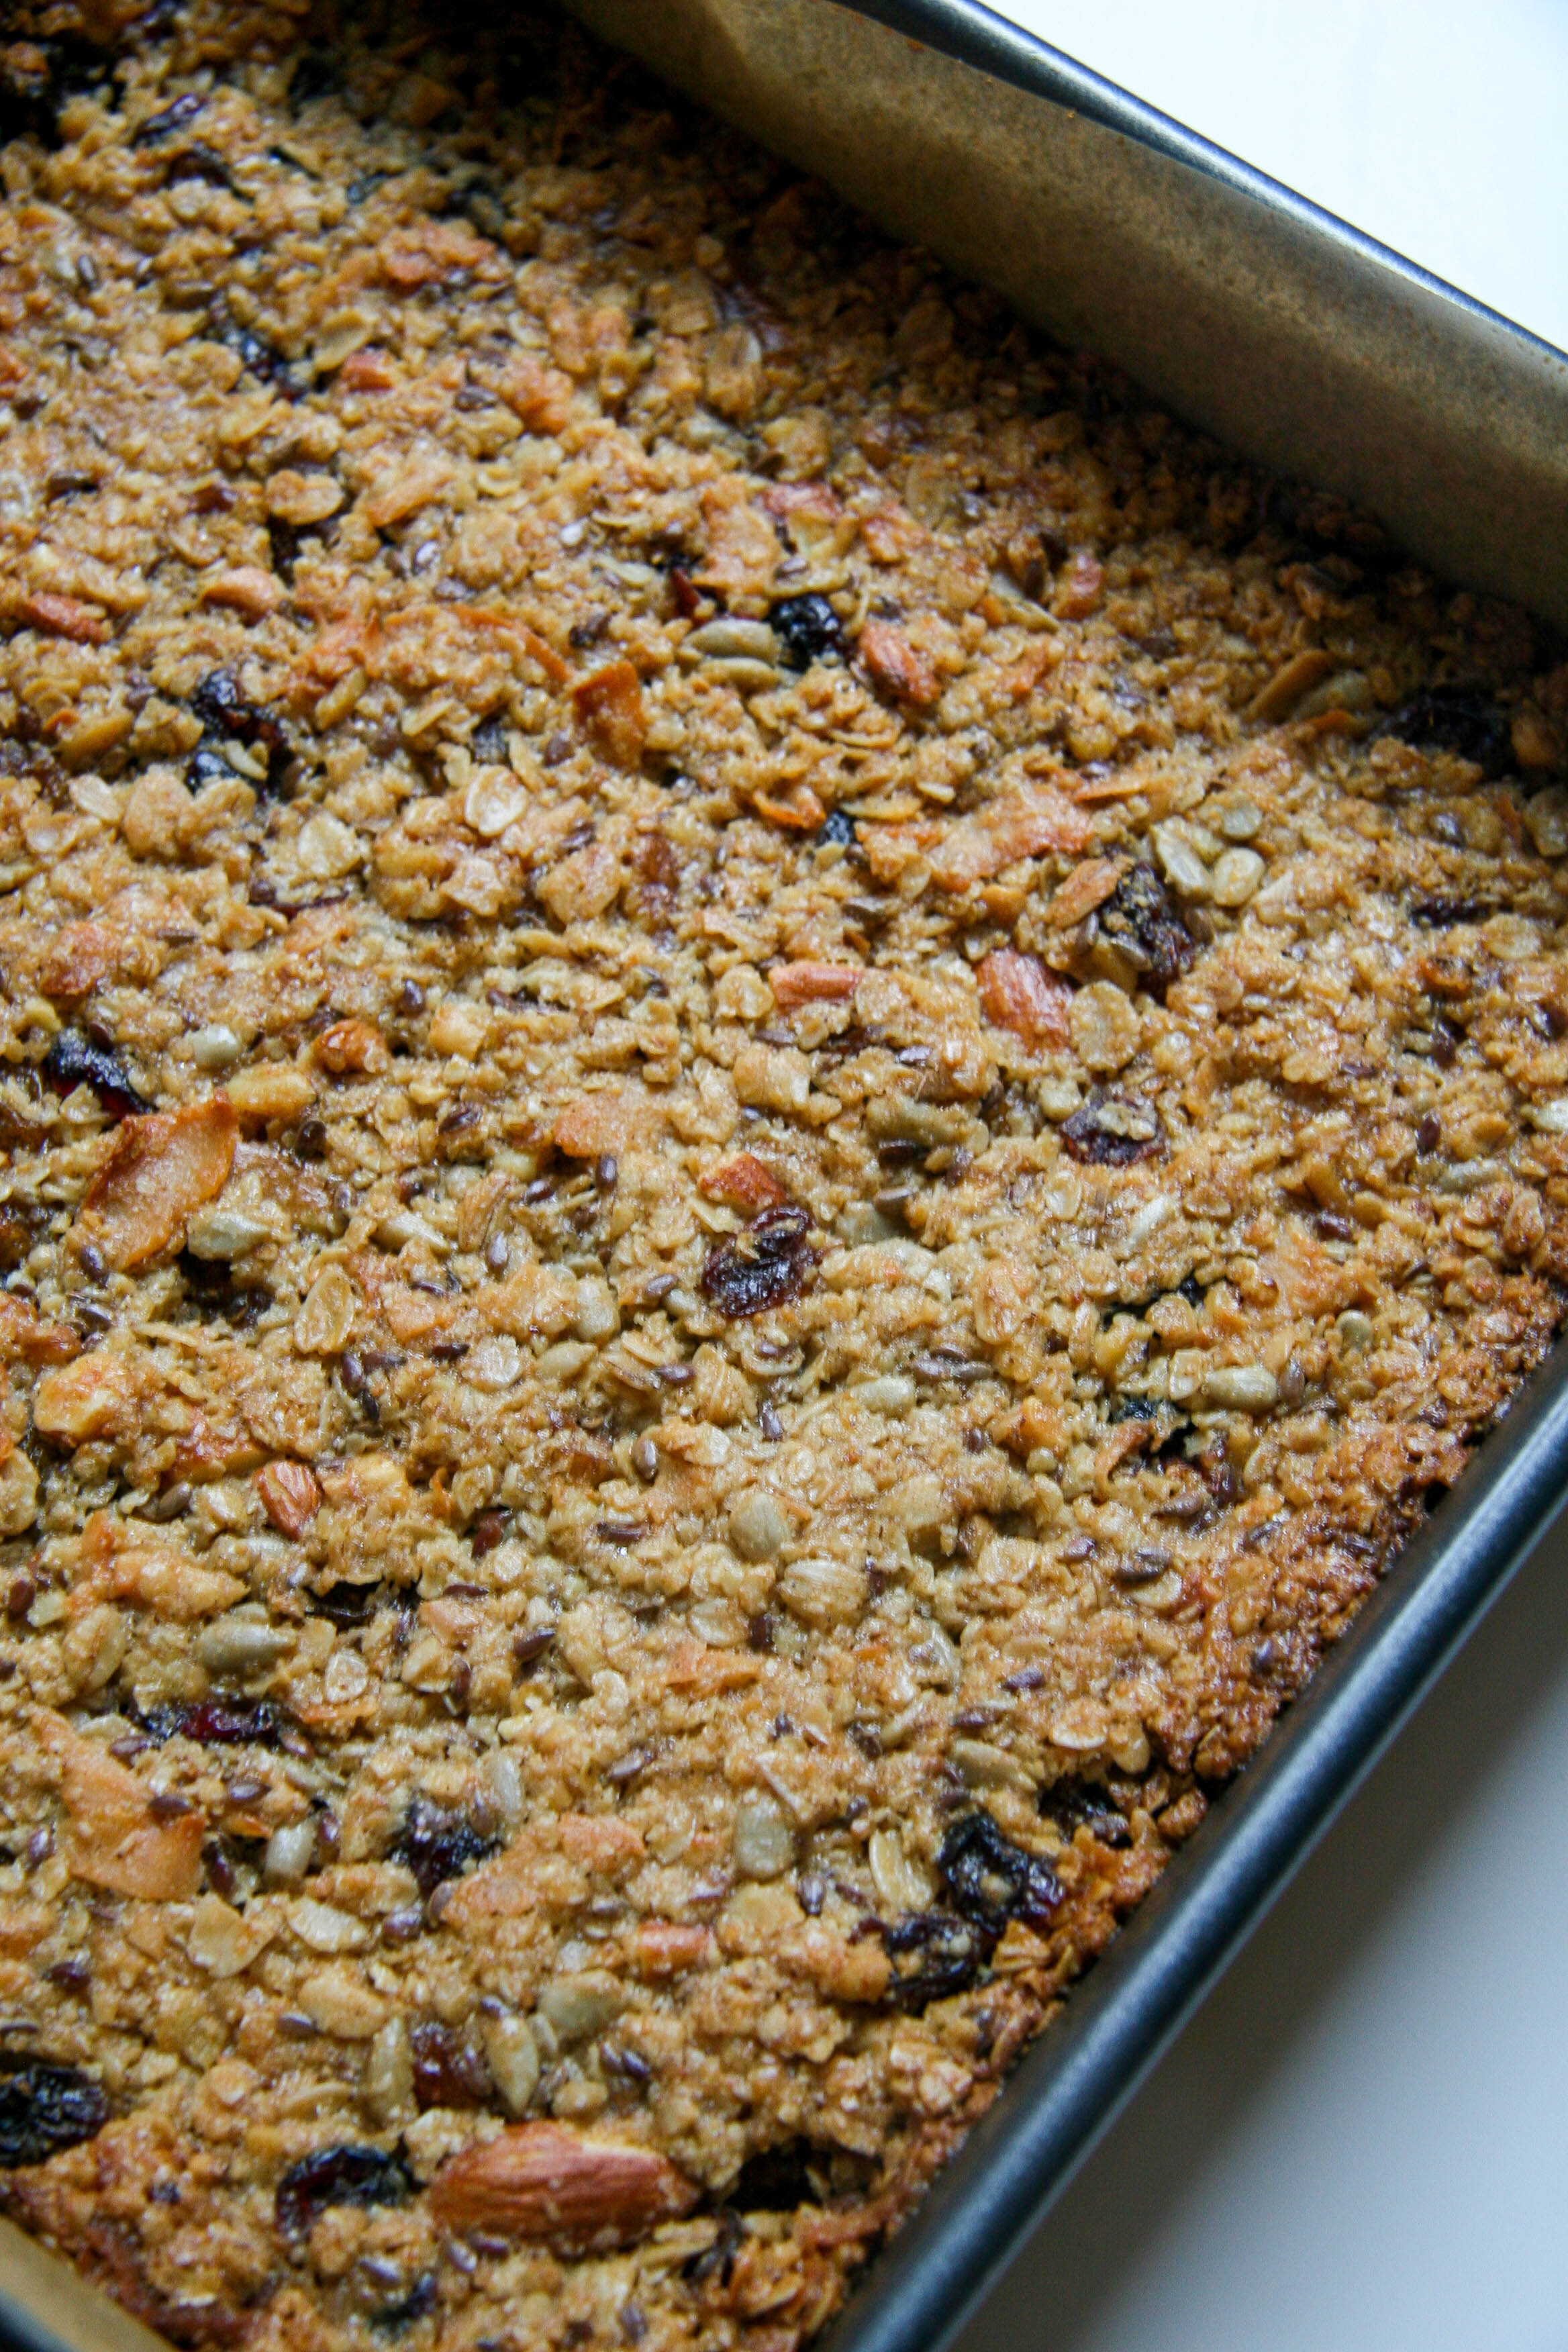
- Bake the bars for 25 to 35 minutes until they’re brown around the edges and a deep golden color on top. They may seem soft and almost under-baked in the center, but they’ll set completely once fully cooled.
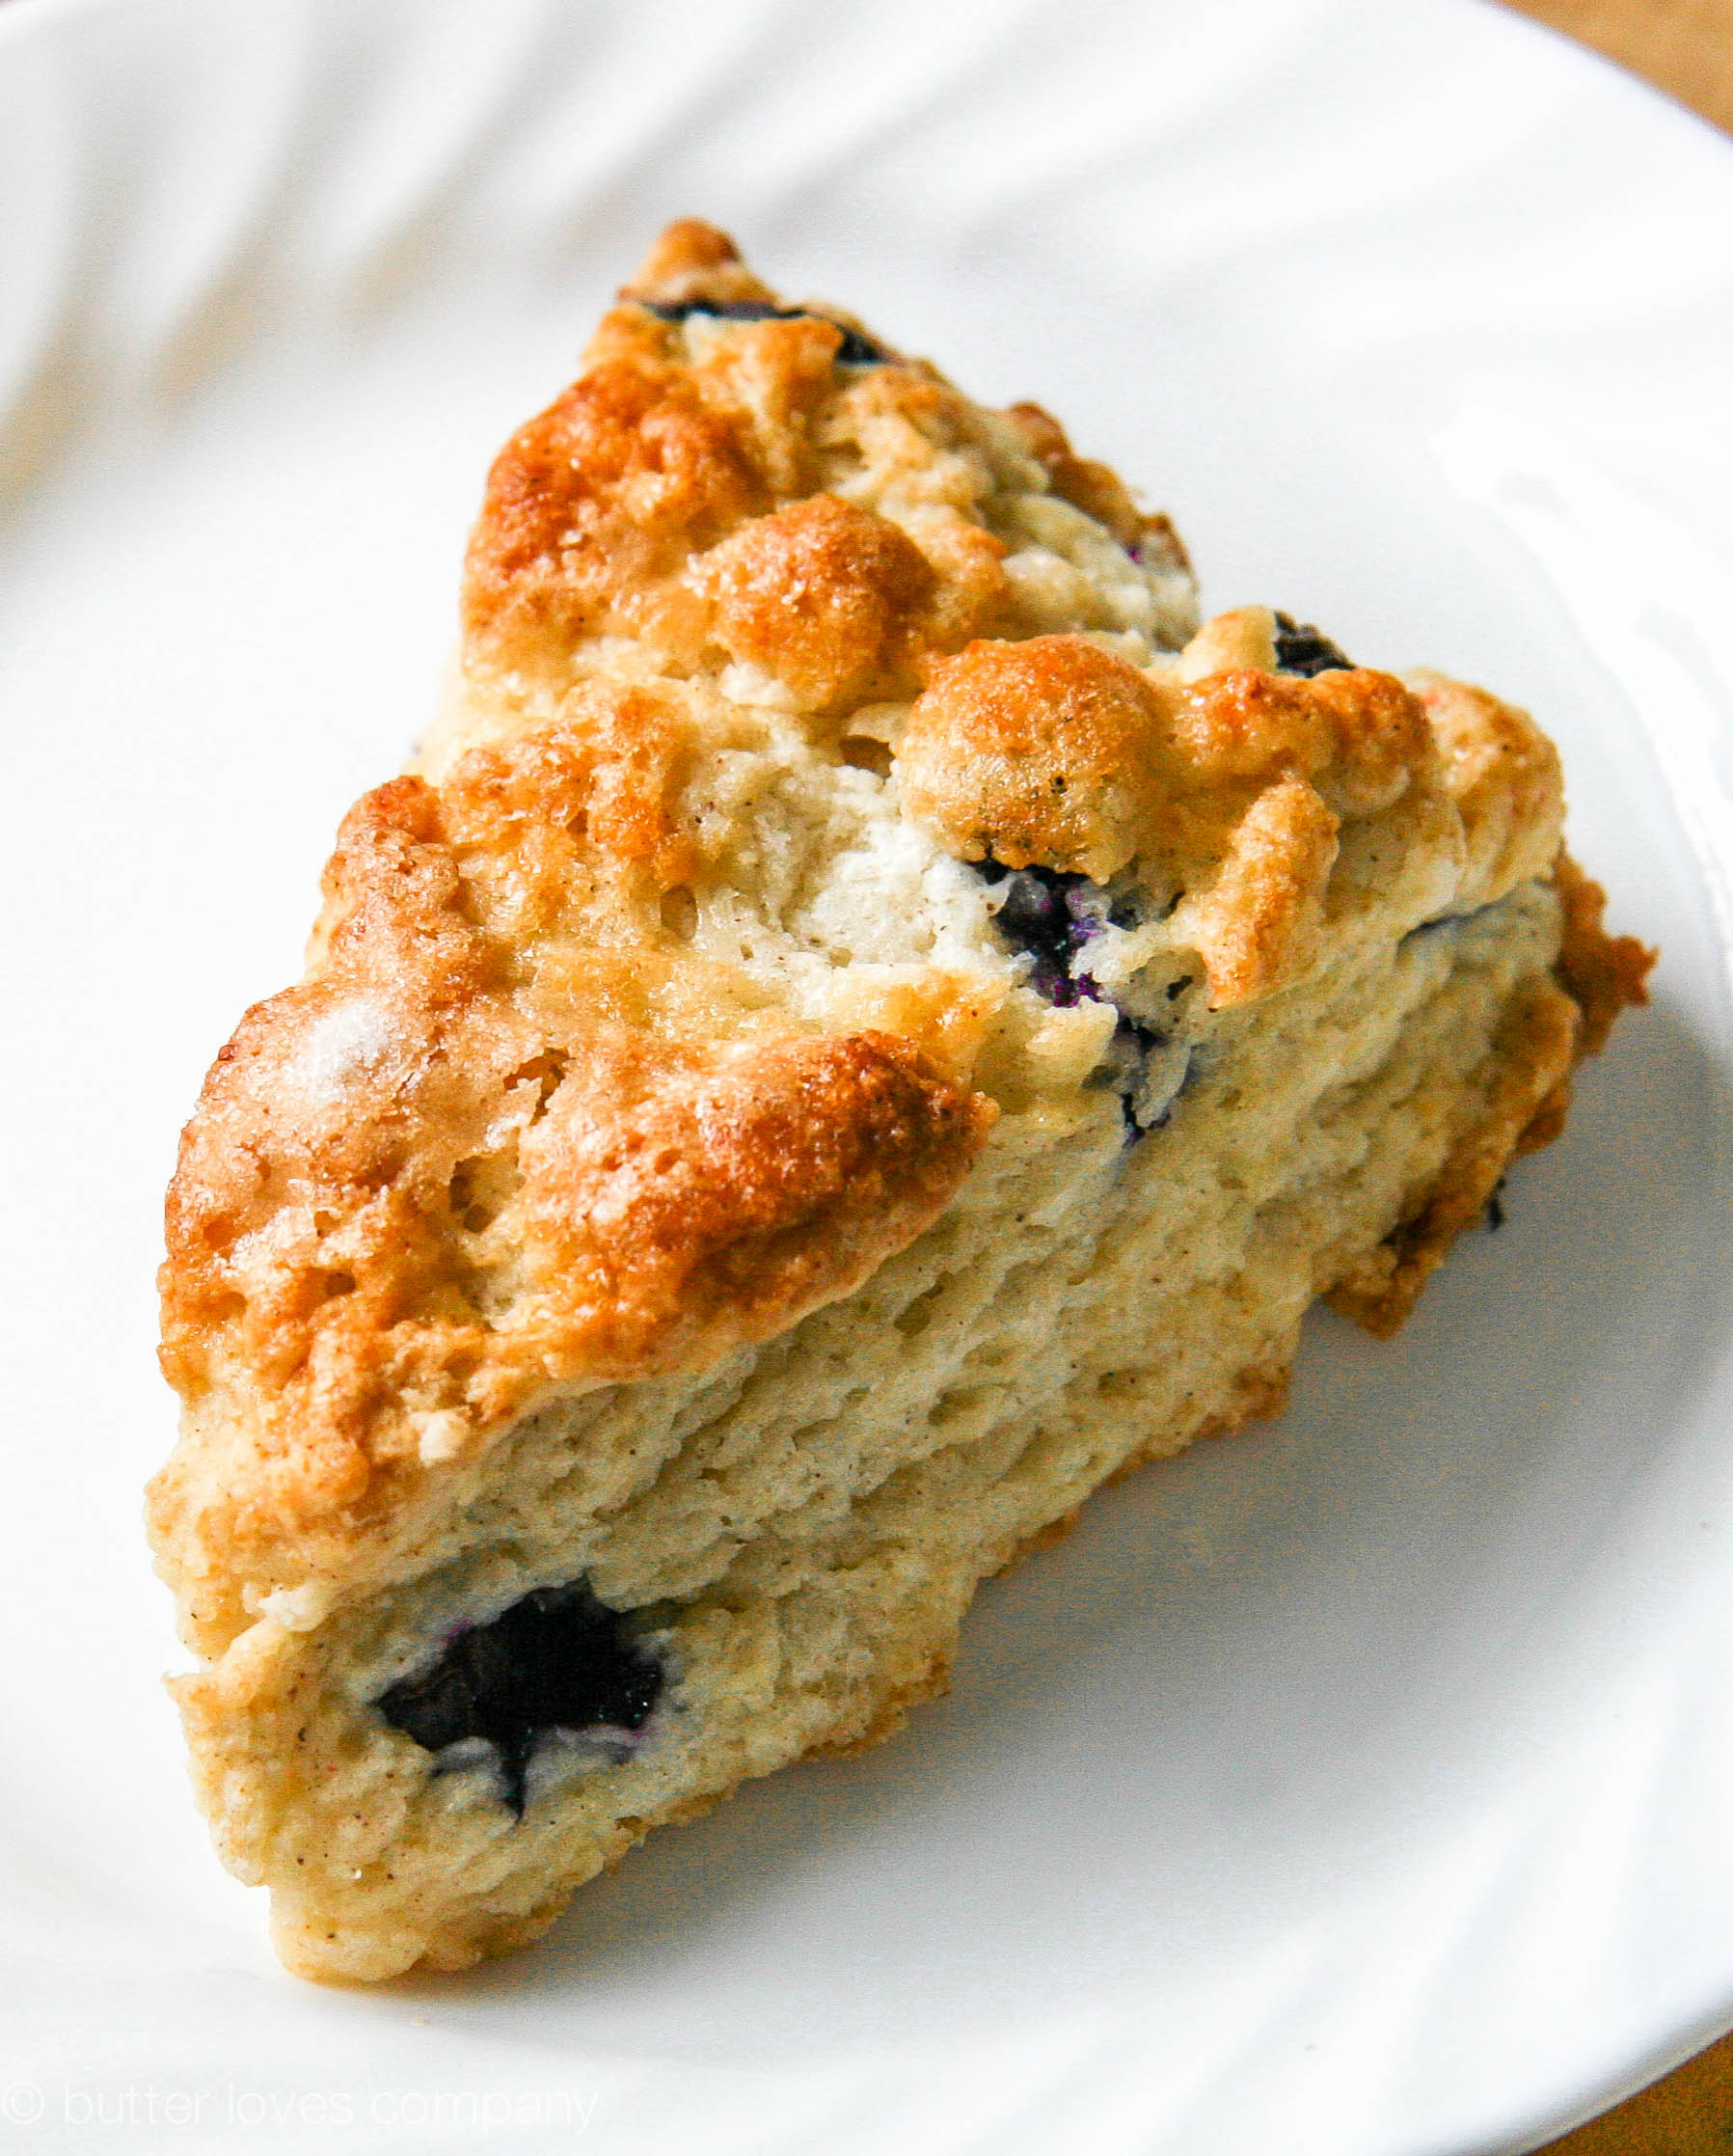
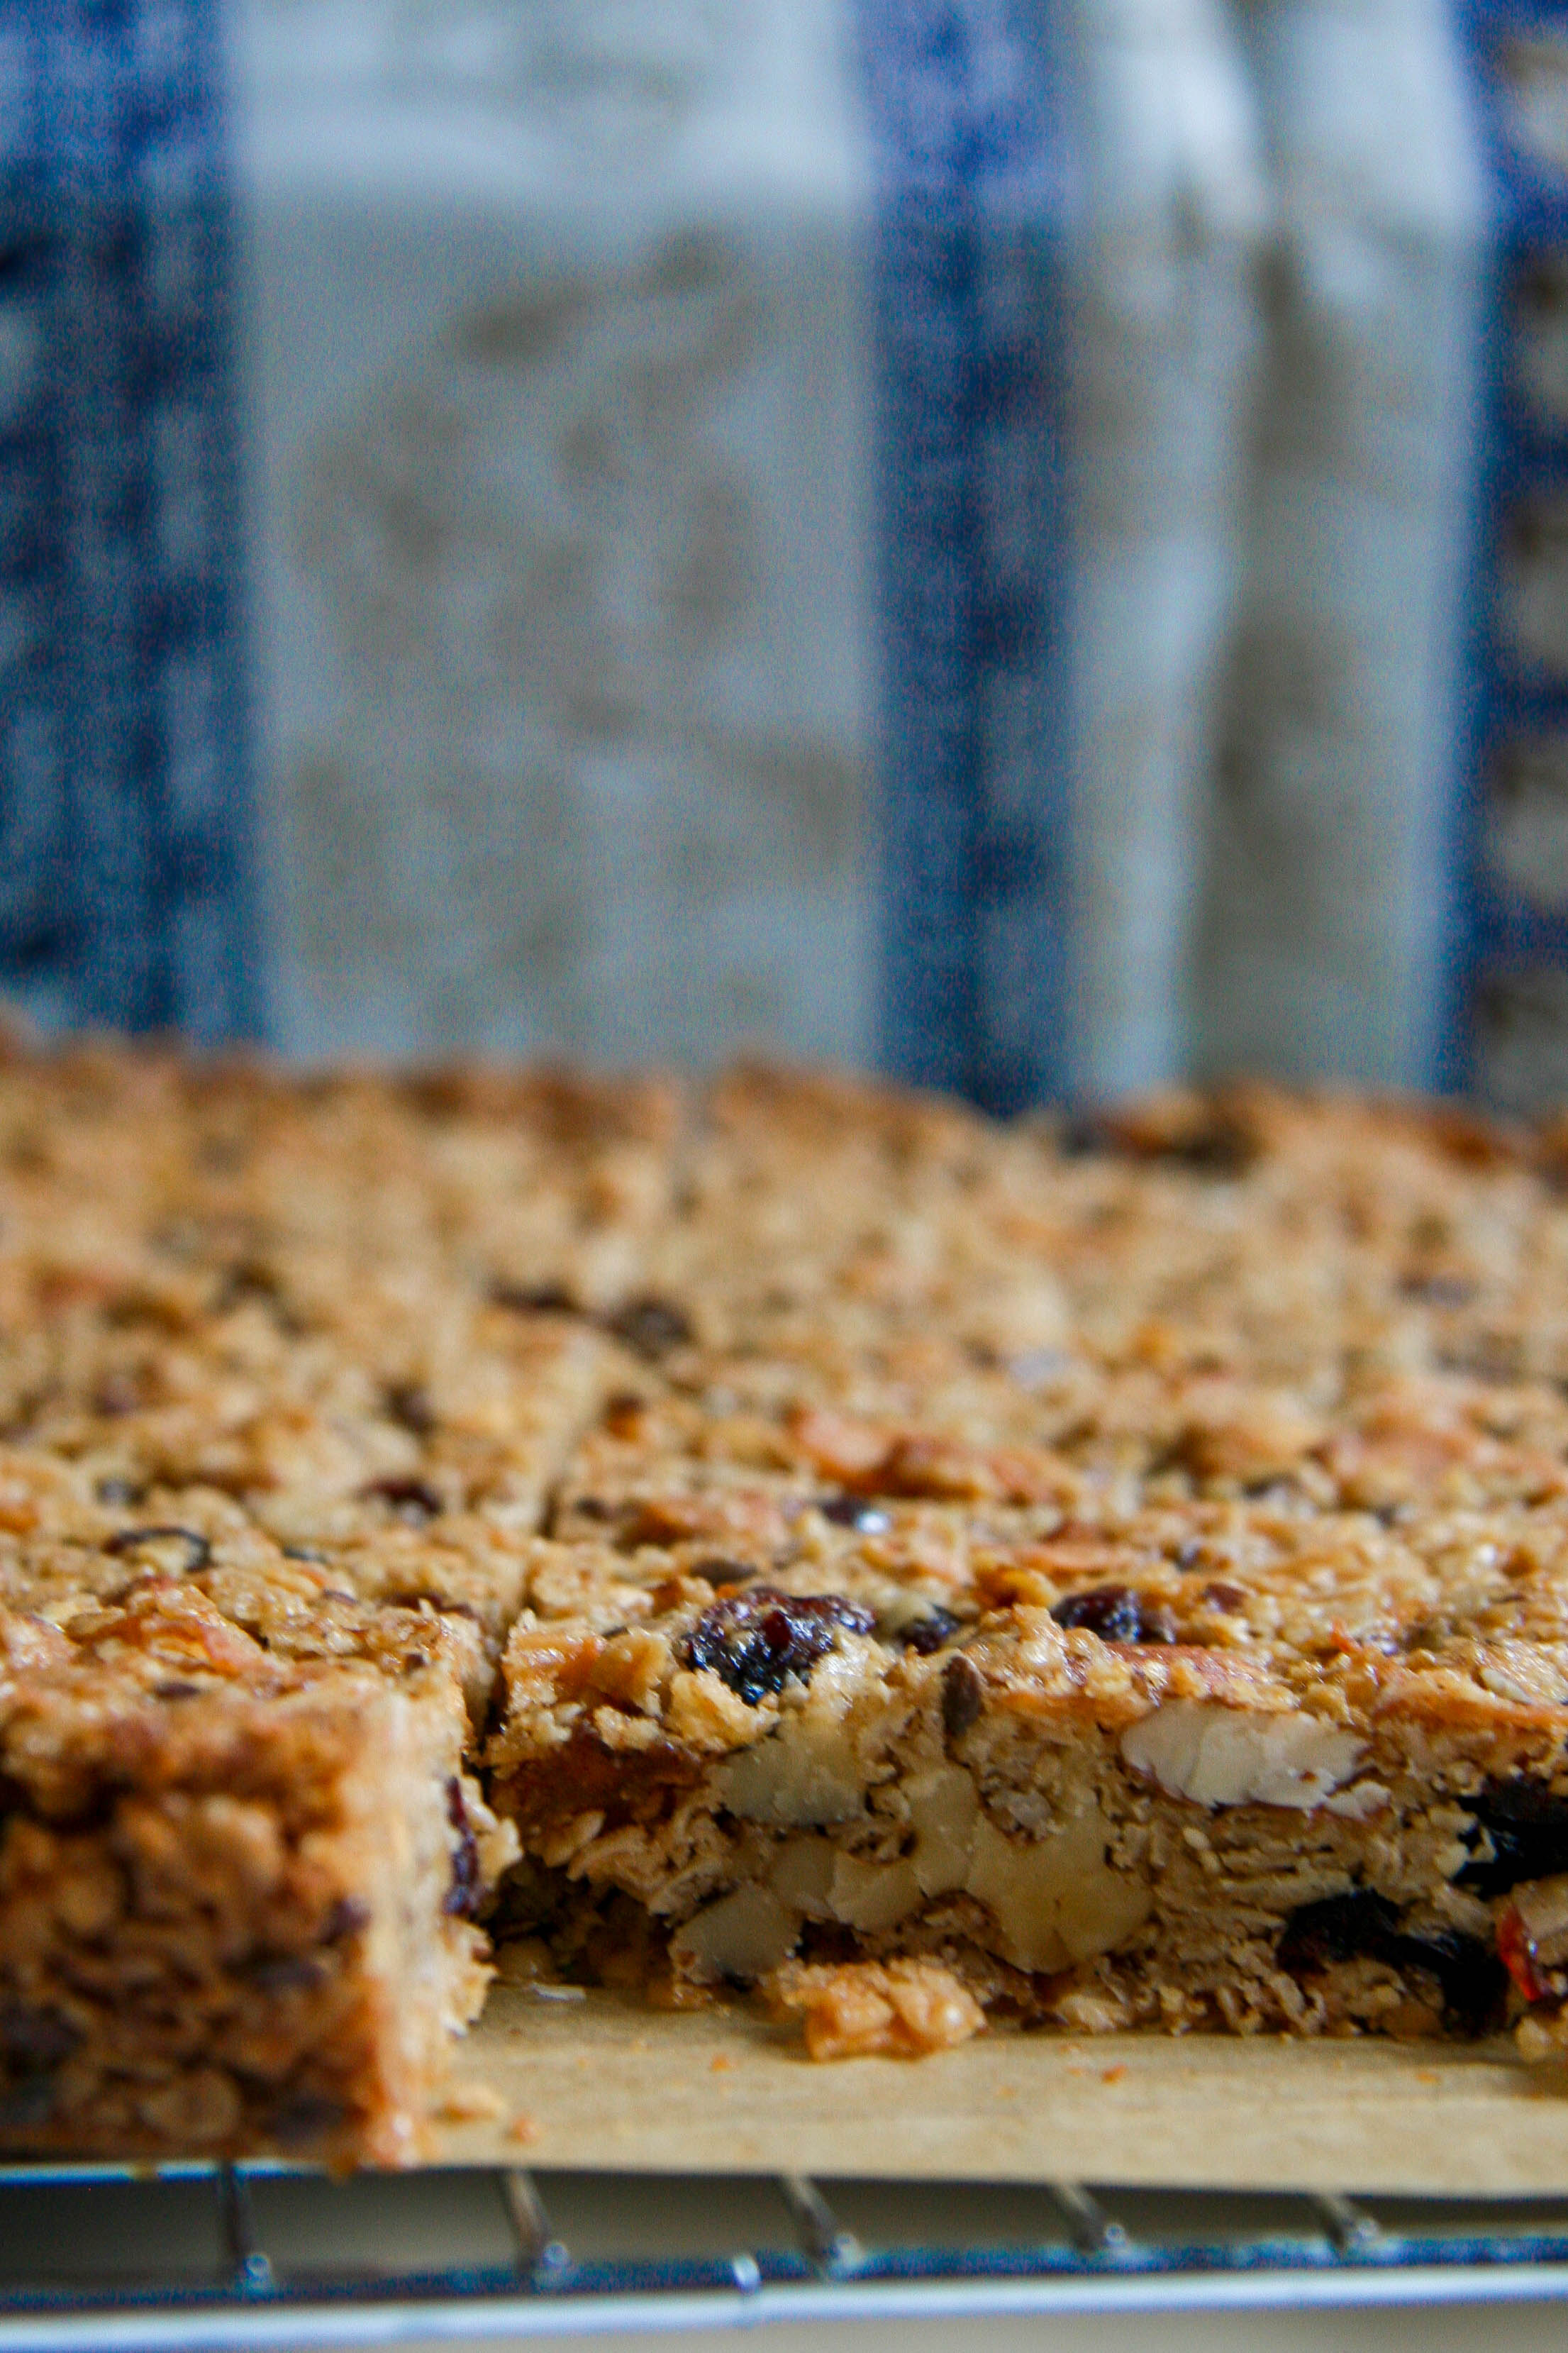
- Cool the bars—in the pan—completely on a cooling rack. Once cool, lift the bars out of the pan using the parchment paper “handles” and then double check that they are totally cool in the middle. If yes, use a serrated knife to cut the bars into squares or rectangles—or triangles if you’re so inclined. To store, wrap the bars individually in plastic or stack them in an airtight container and leave at room temperature or in the refrigerator. The bars will seem hard when you take them right out of the fridge, but they come back to their chewy state in about 10 minutes. Remember, they also freeze well.