butter loves company

new york food blogger and lifestyle influencer

  • home
  • Recipes
  • travel
  • lifestyle
  • cookie orders
  • about
  • contact

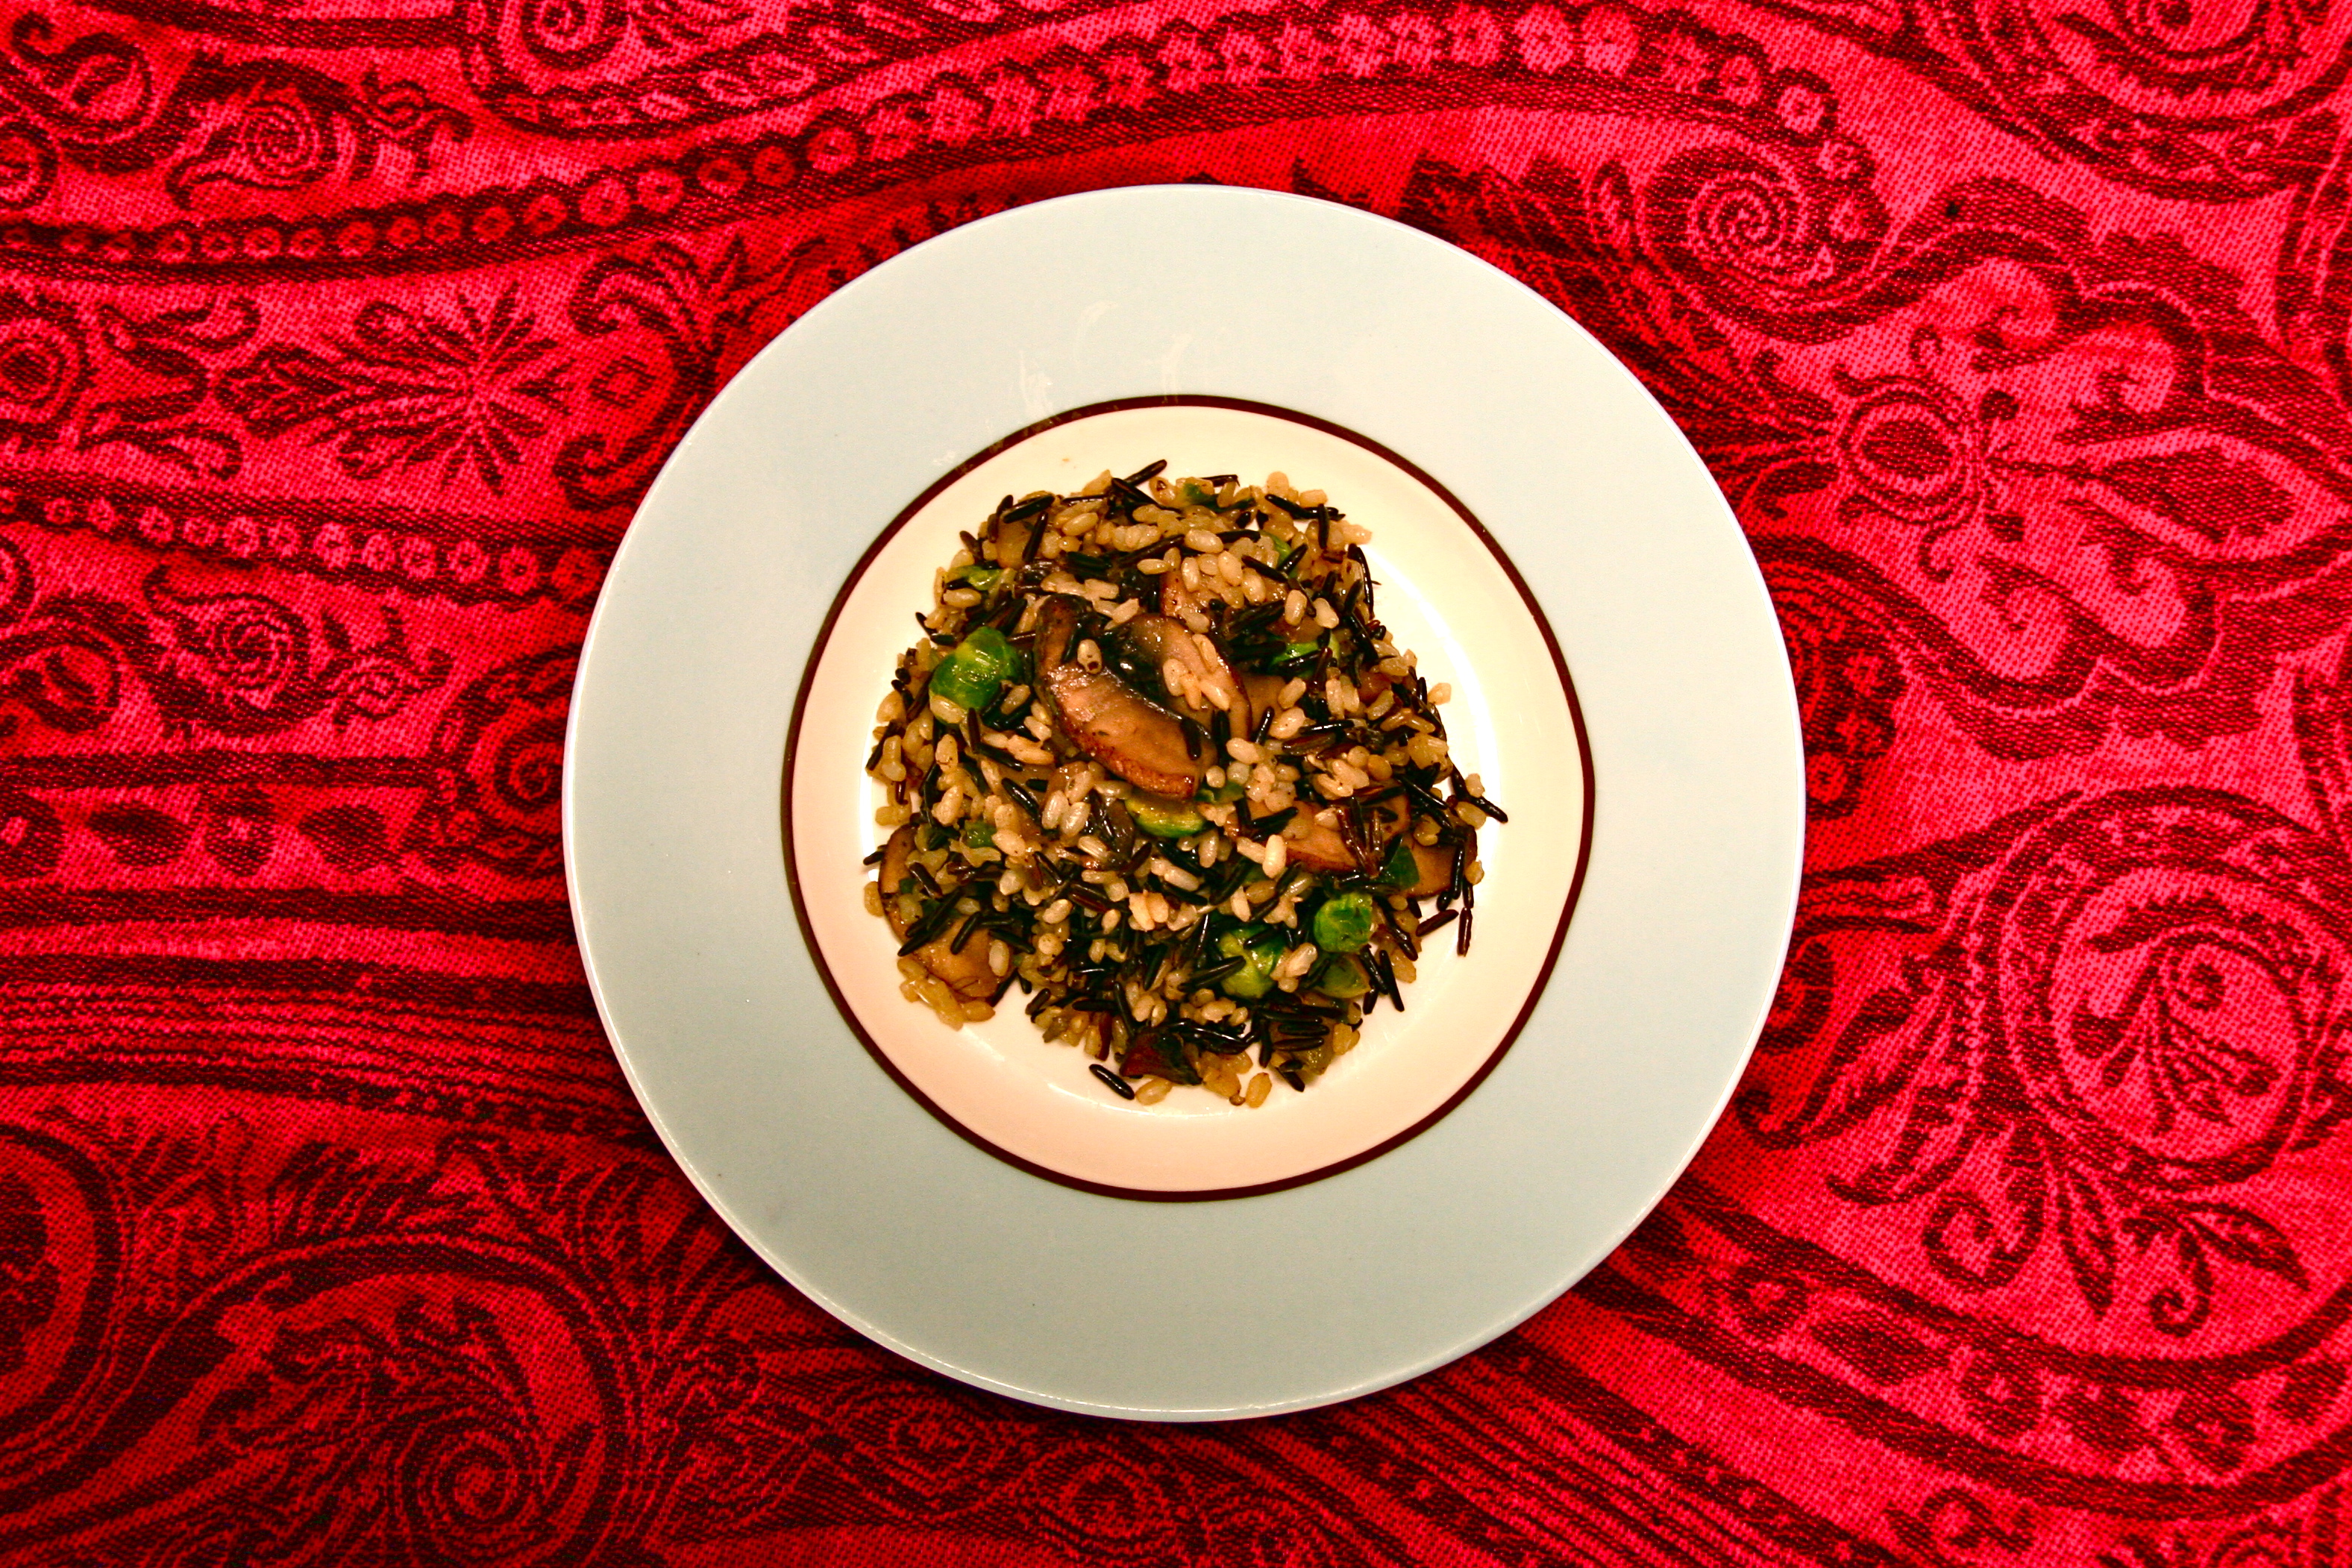
brown and wild rice with mushrooms and brussel sprouts

March 1, 2014 by Butter Loves Company

Prepare yourself. My cuisinerd level is about to rise.

I recently came to the realization that I read cookbooks like most people read novels.  I’ll grab a cookbook and read it cover to cover in one sitting, hanging onto every word, every ingredient, every step of every recipe—from the prologue to the epilogue. But, give me the latest New York Times best selling novel? I’ll make it ¾ of the way through, and that’s if I think it’s really good. I’d never make it in a traditional book club. When it came to talk about the last few chapters, I would suddenly have to fake receive a phone call and sneak out the back door.

My latest read was earlier this week after I made the Asian Quinoa Salad. The health bug bit me and I picked up the latest from Giada de Laurentiis, Feel Good Food. After a few pages, I knew this would be a staple on my cookbook shelf for all times when I’m craving something light and healthy that doesn’t taste like birdseed.

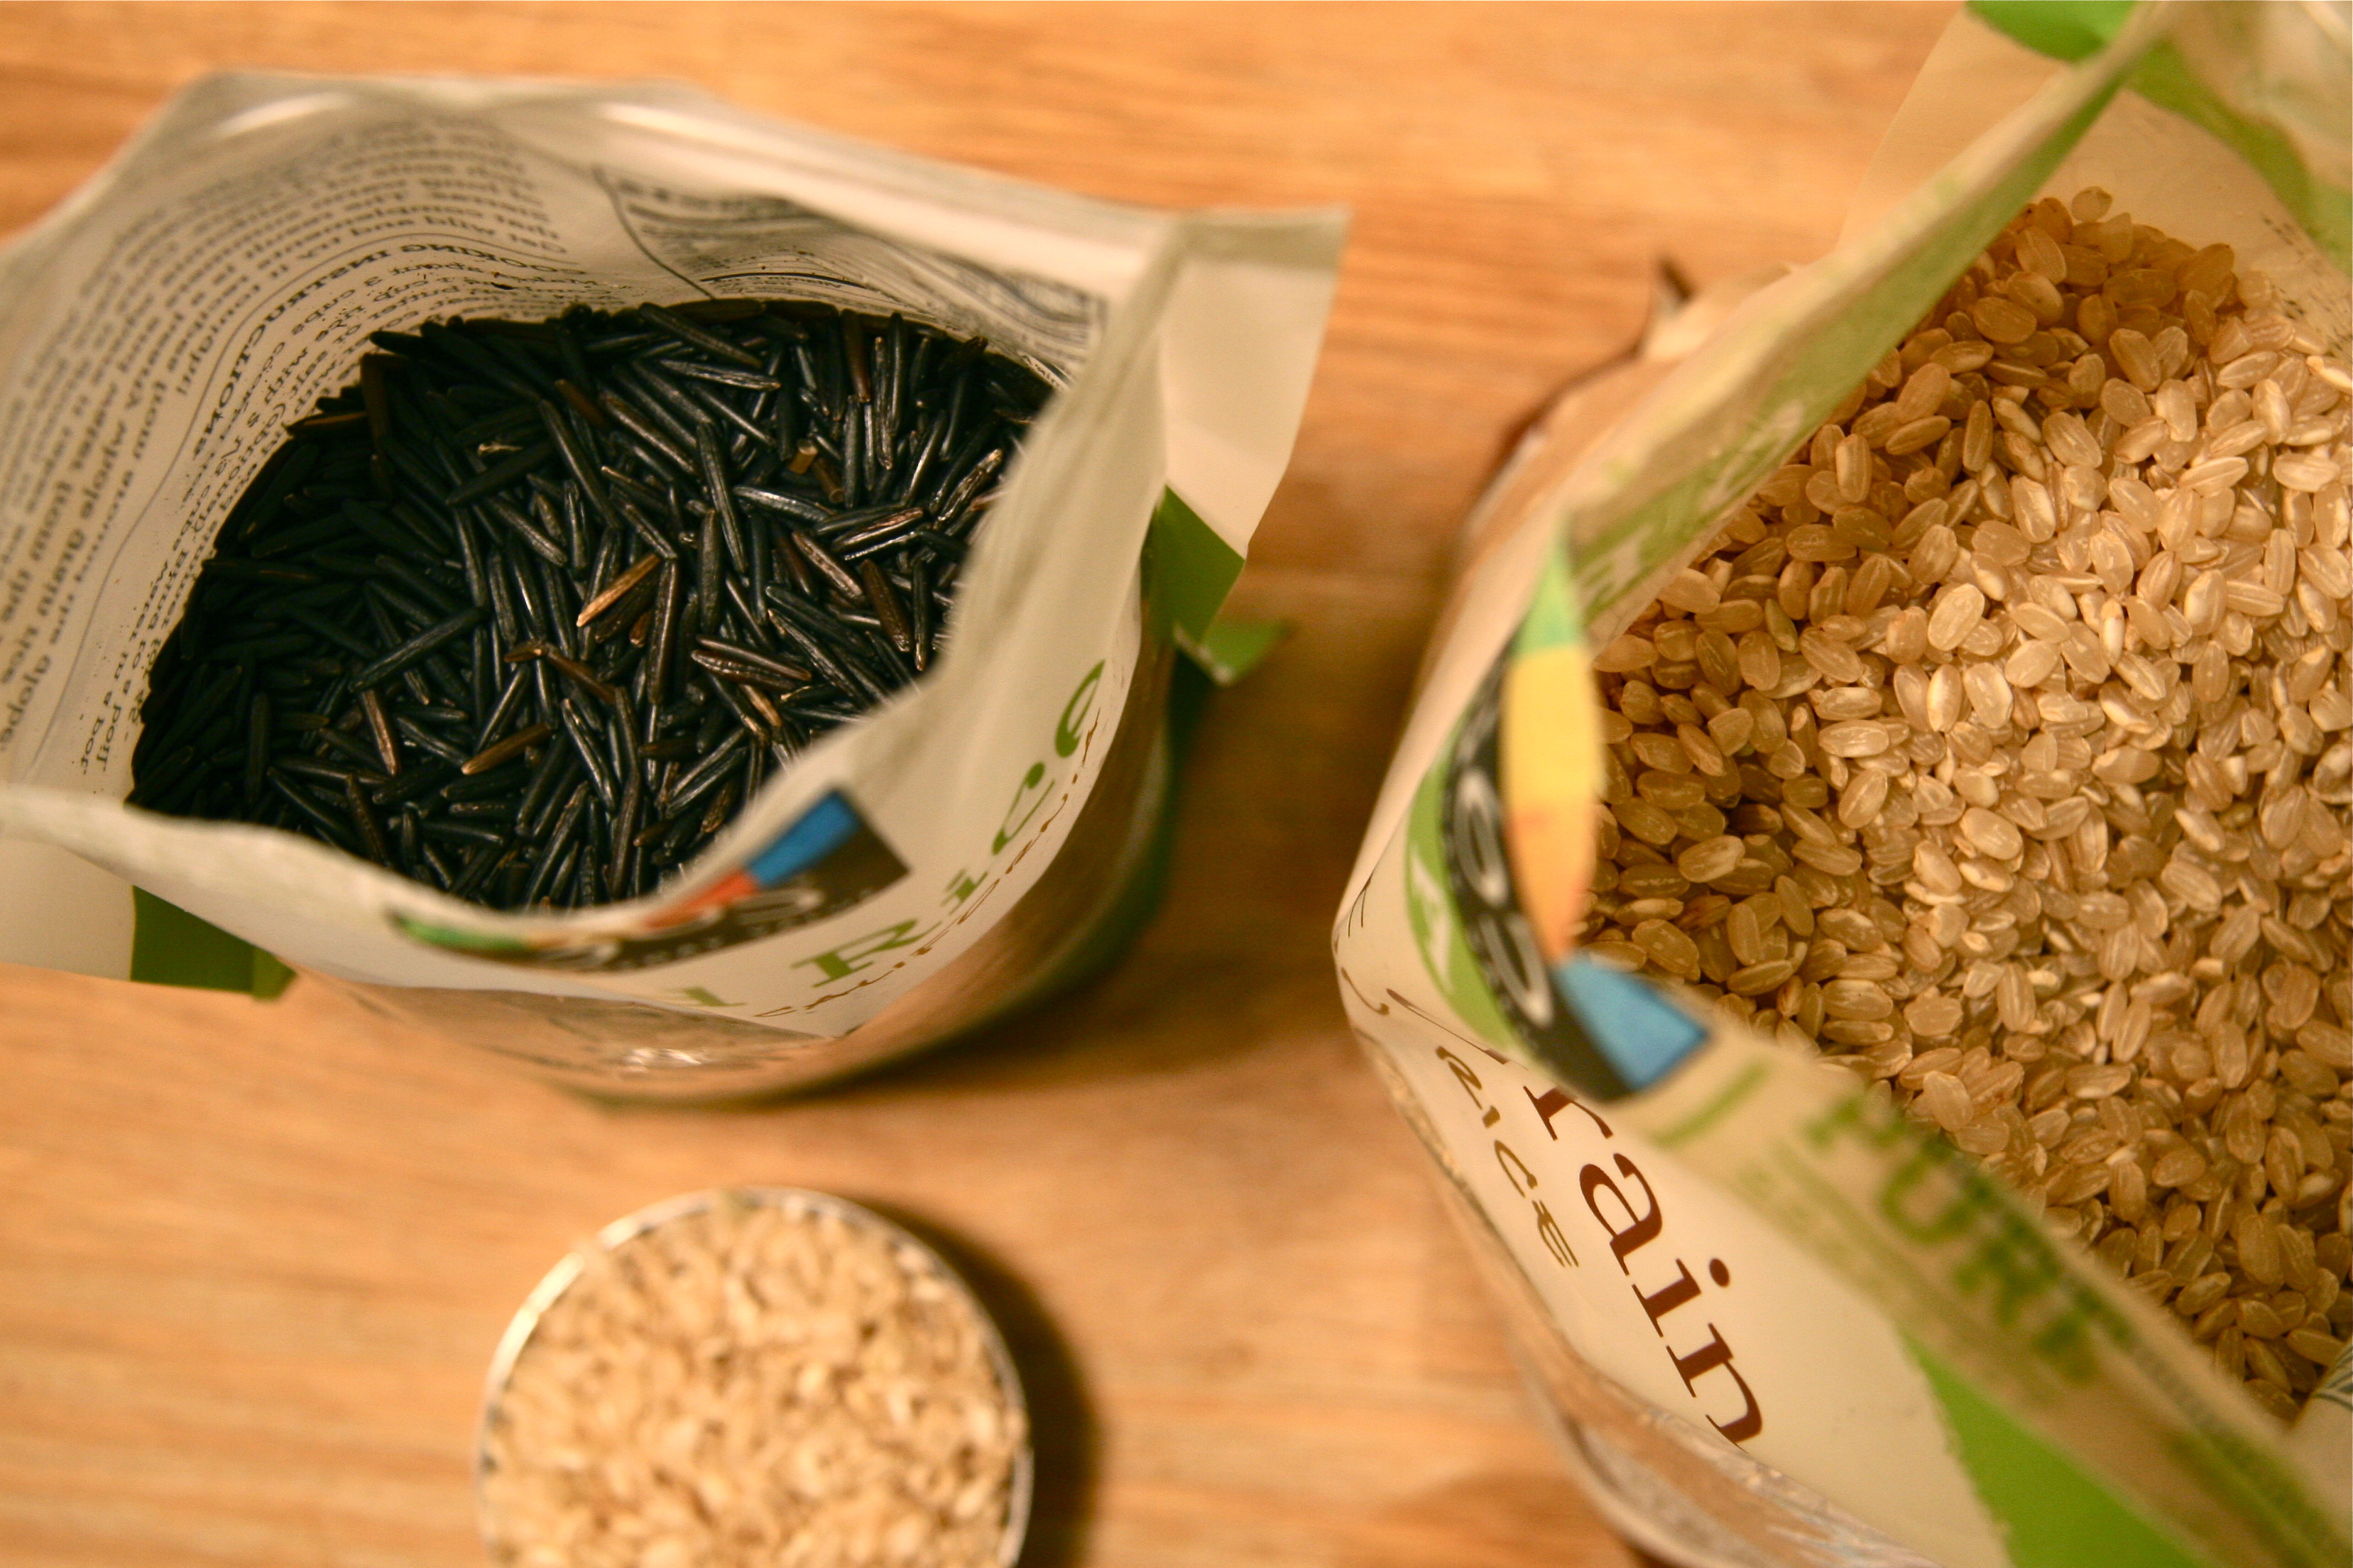
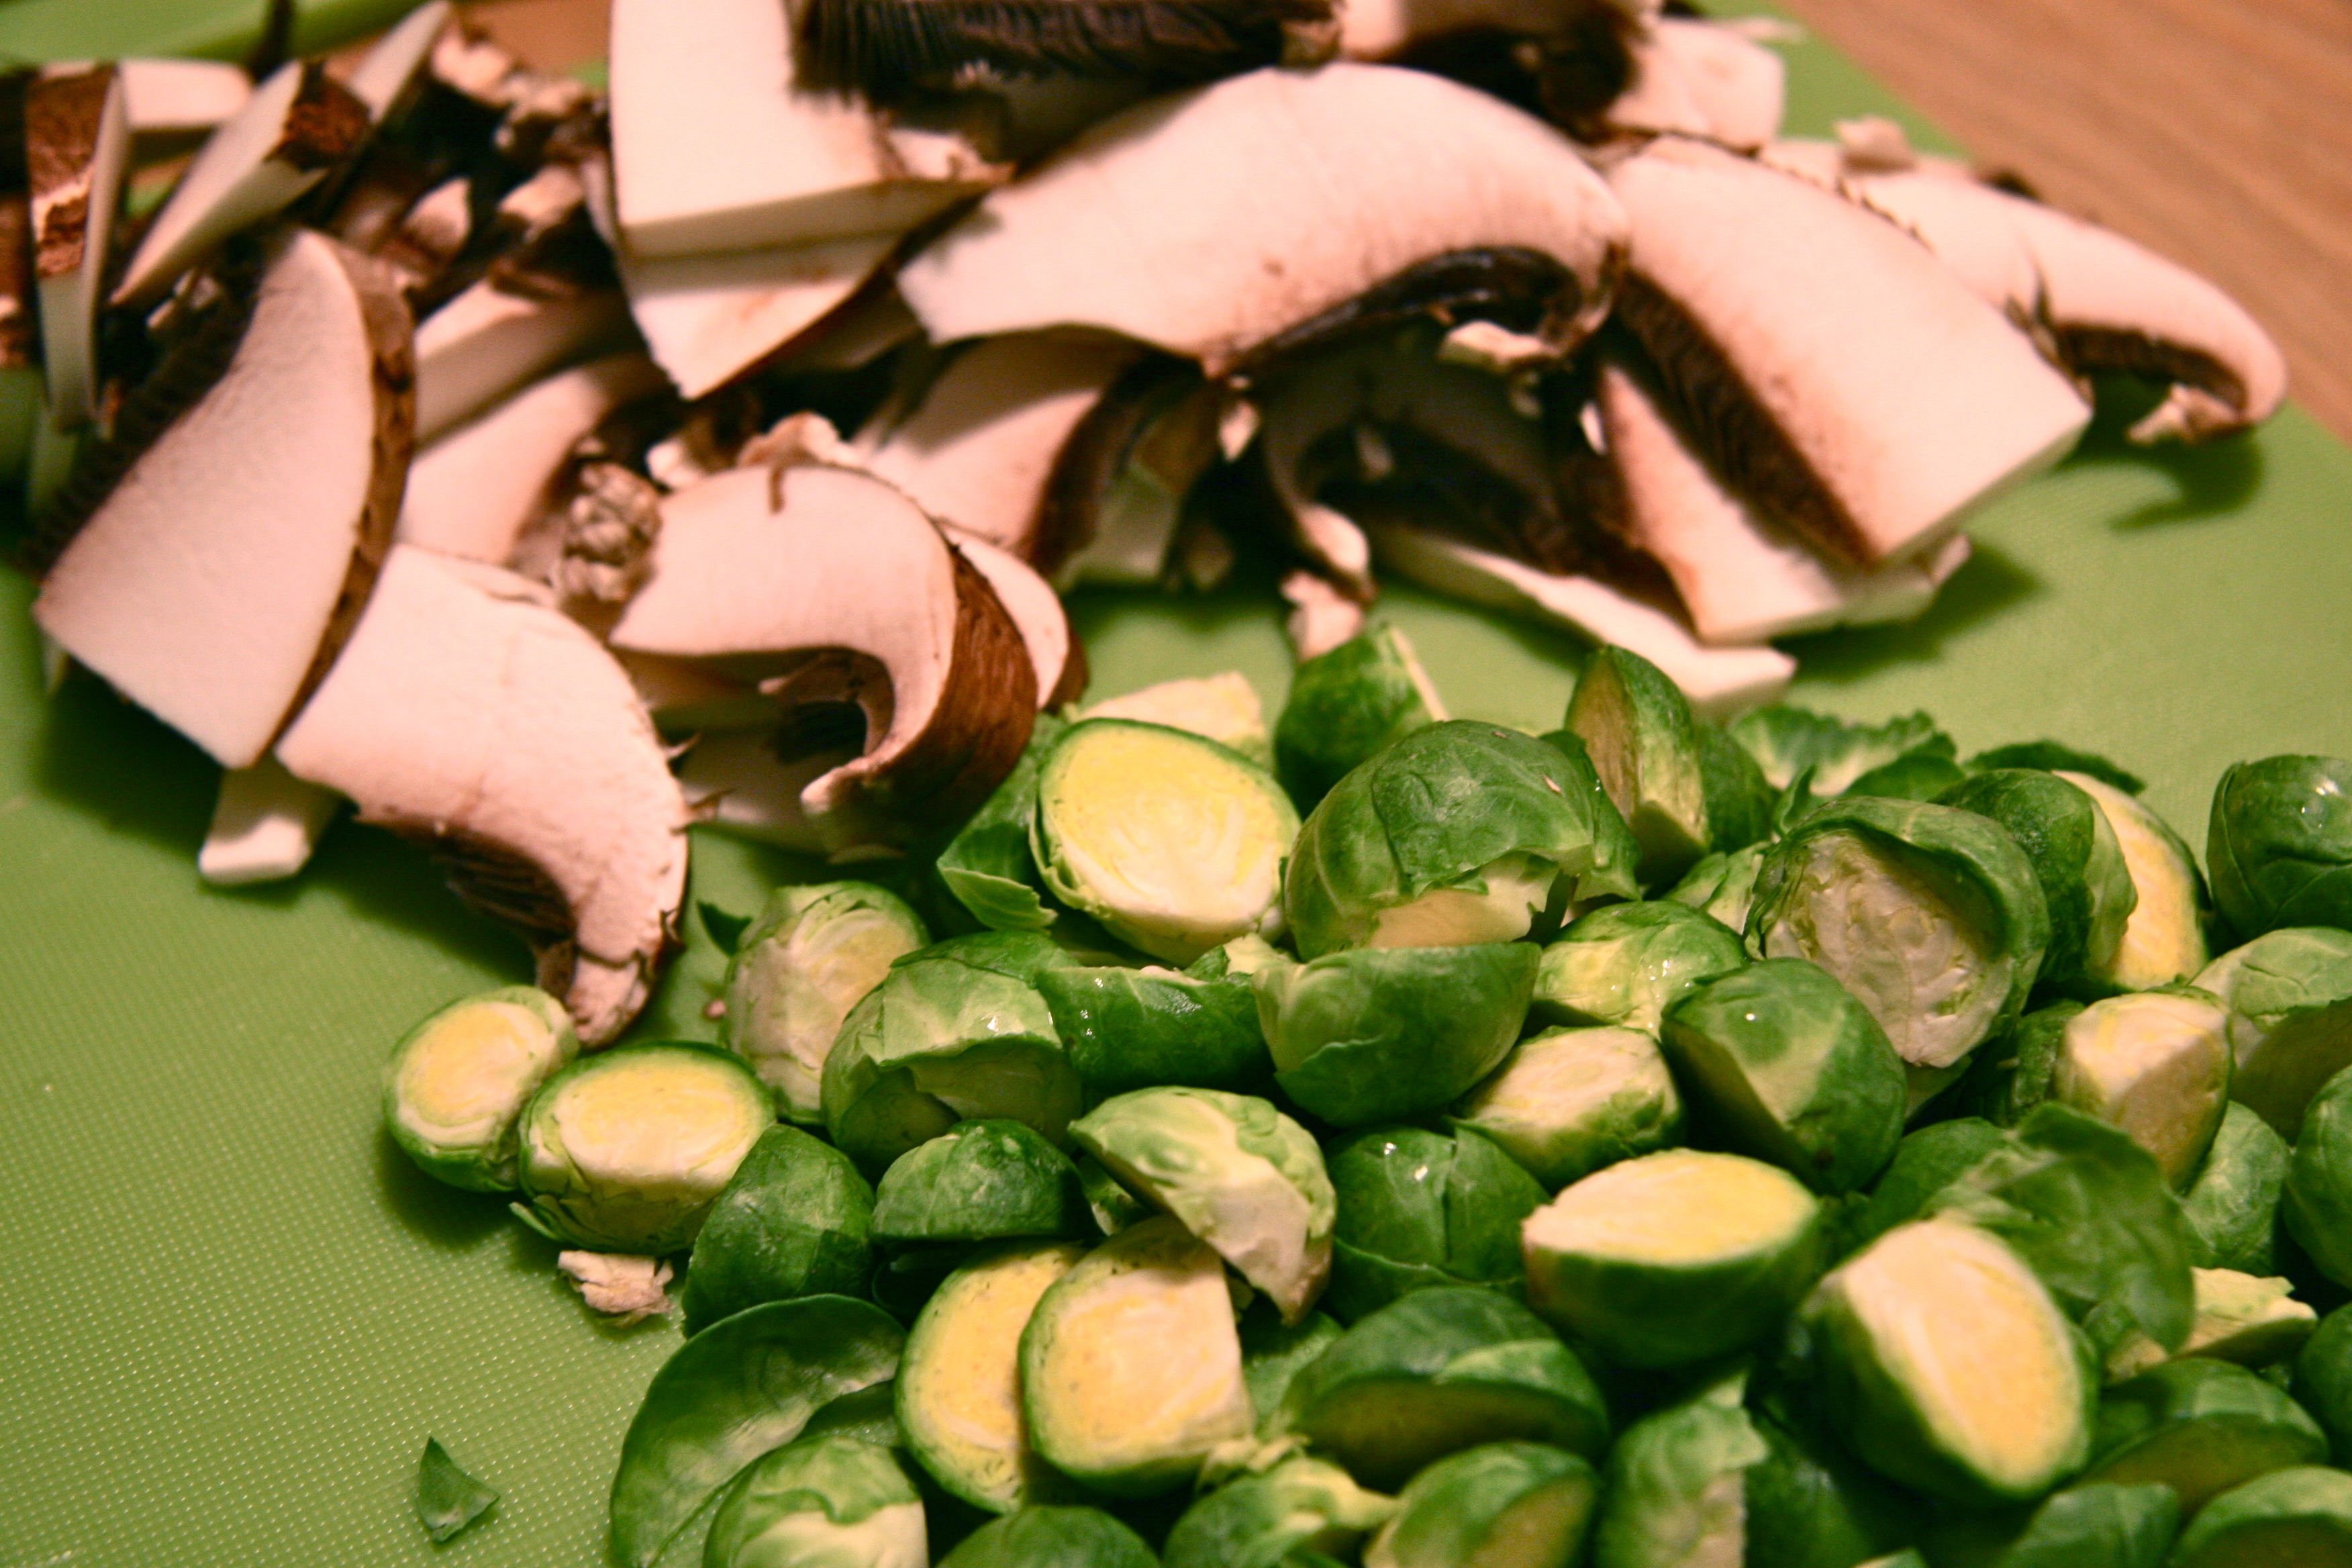
Giada developed this Brown and Wild Rice with Brussel Sprouts recipe as a vegetarian, gluten free stuffing for a Thanksgiving meal, but says she started making it more regularly after loving the nutty combination of the brown and wild rice. Because I love mushrooms and brussel sprouts so much, I up’d the amount I added of each (reflected in the below recipe).  This would make a nice side dish at a dinner party, or an easy weekday lunch or dinner.
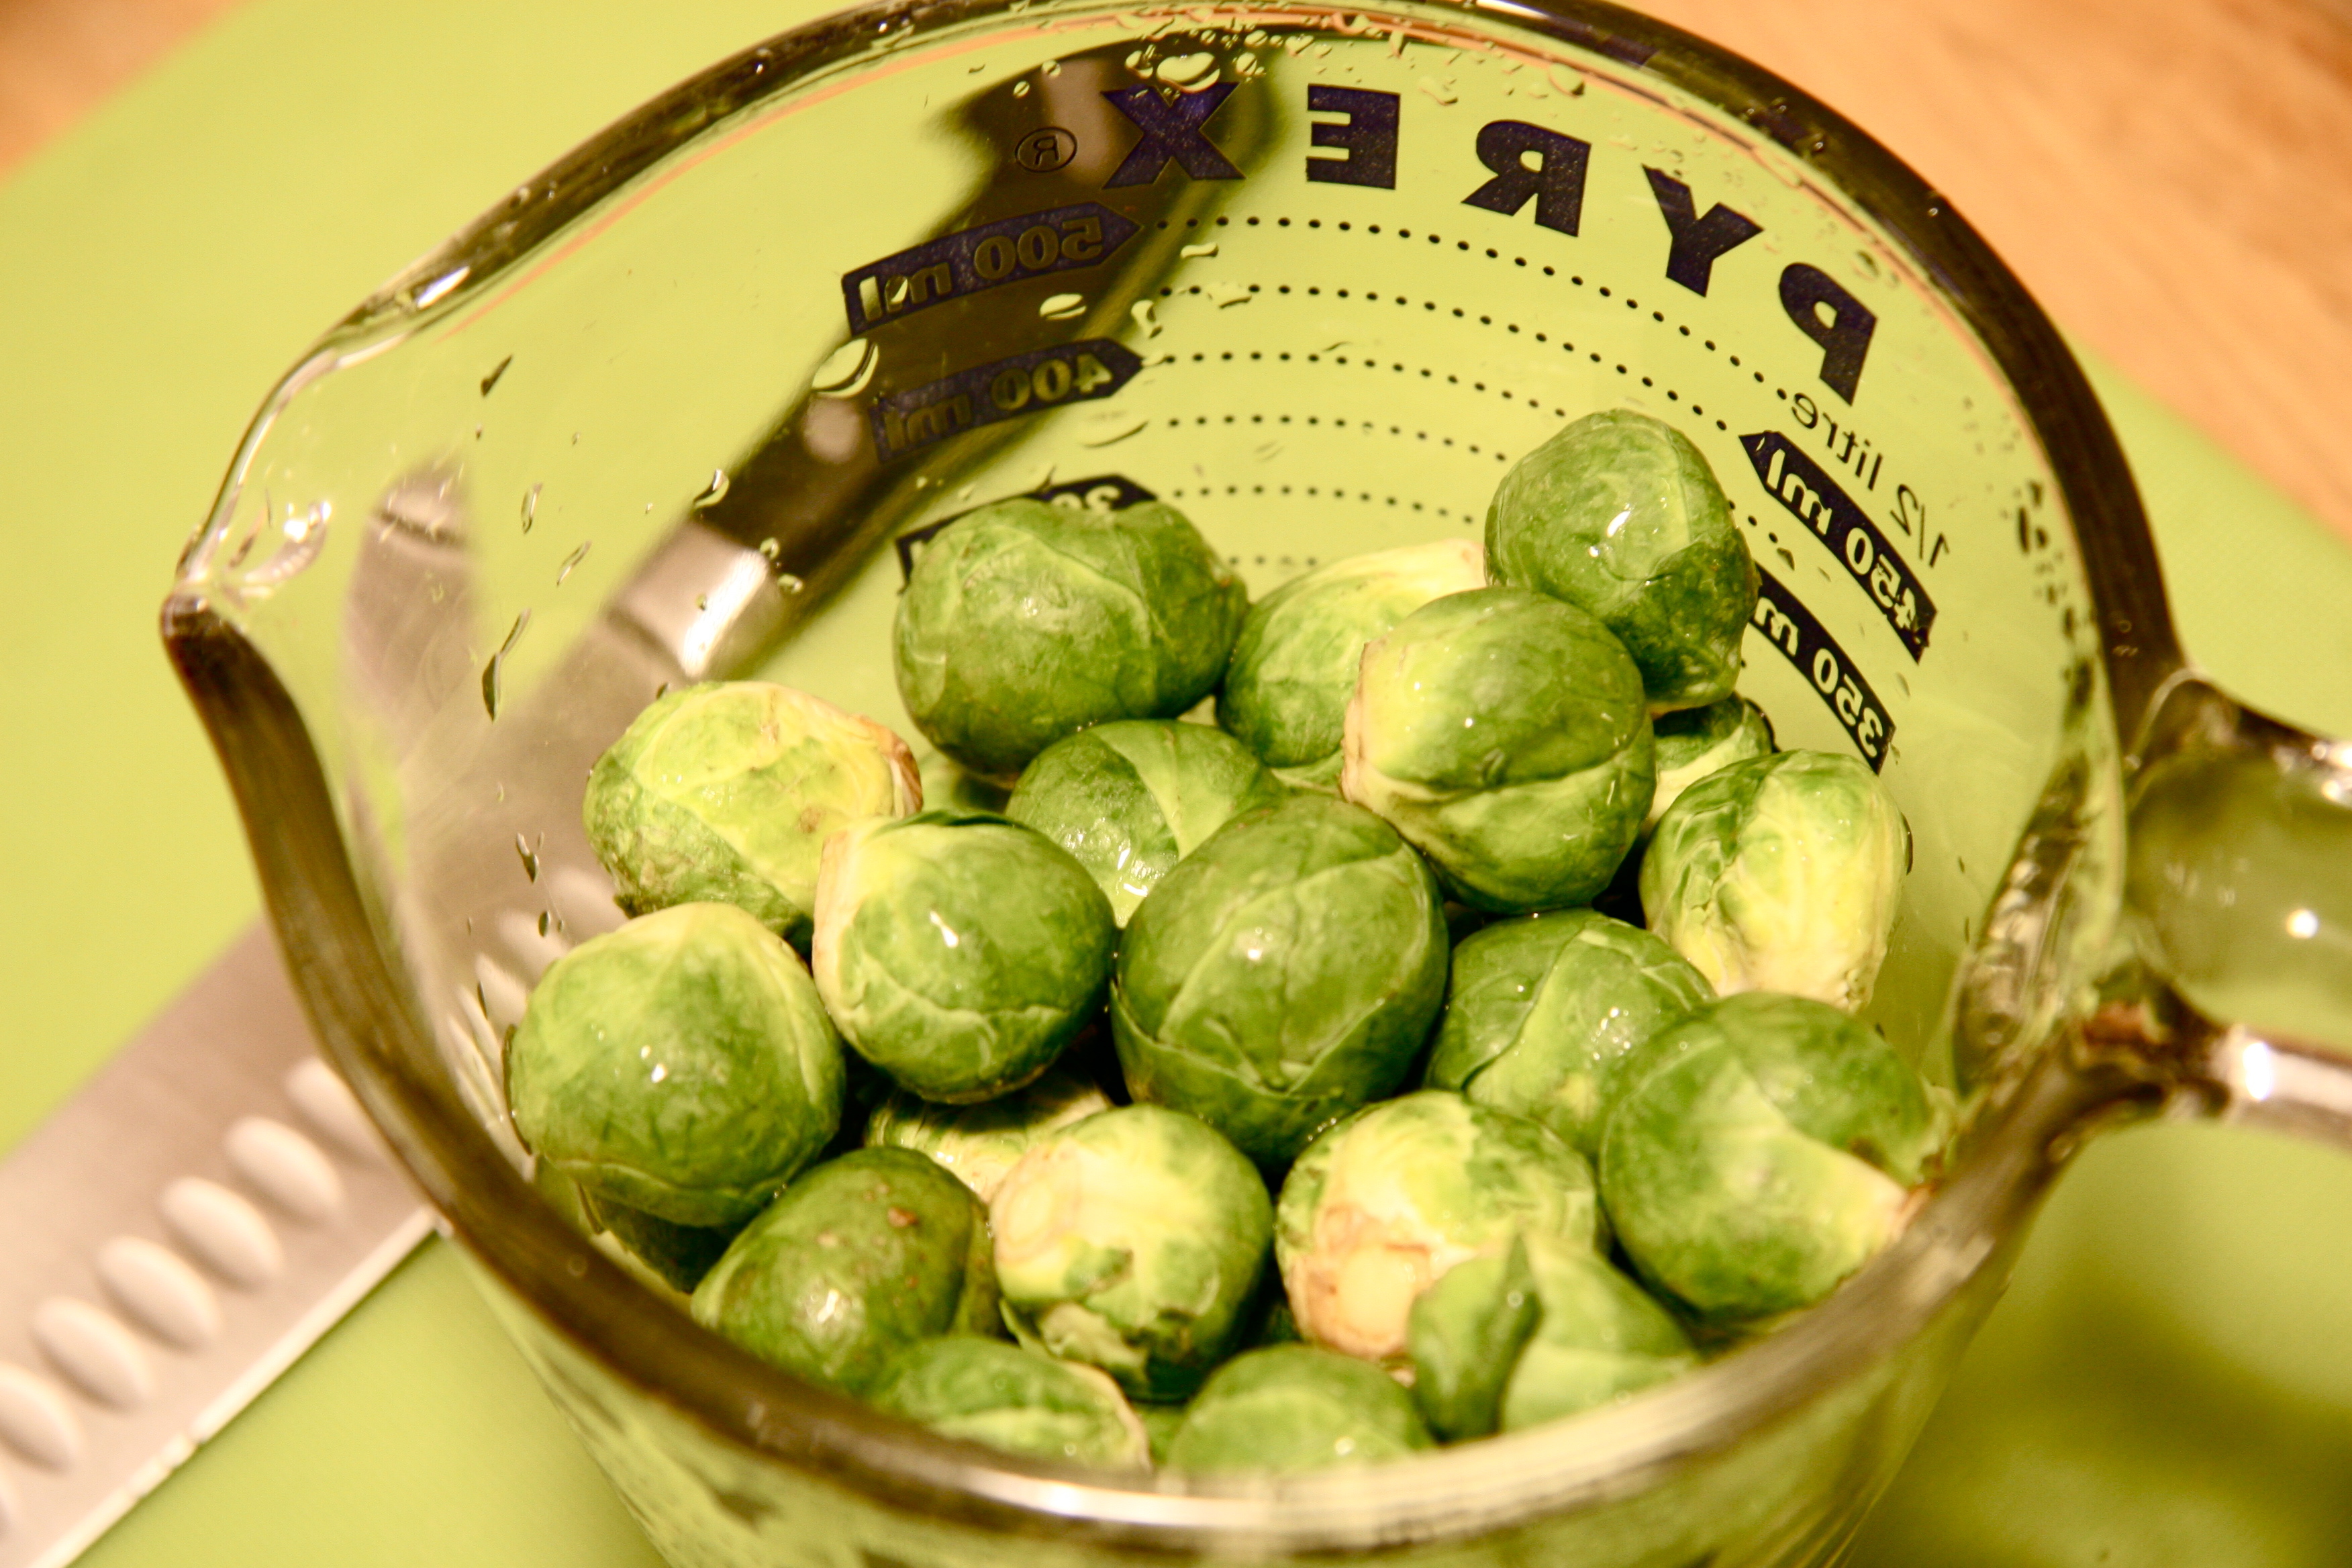
brussel sprouts1

wild and brown rice1

wild rice1

mushrooms and brussels1

brown and wild rice with mushrooms and brussels1

brown and wild rice with mushrooms and brussel sprouts
Recipe Type: dinner, vegetarian, side
Author: adapted from Giada de Laurentiis Feed Good Food
Prep time: 15 mins
Cook time: 40 mins
Total time: 55 mins
Serves: 6
Ingredients
  • 2 cups low sodium chicken broth (or vegetable broth if you would like to keep the dish vegetarian)
  • ¼ cup water
  • 1 ½ tablespoons chopped fresh thyme
  • ¾ cup short-grain brown rice
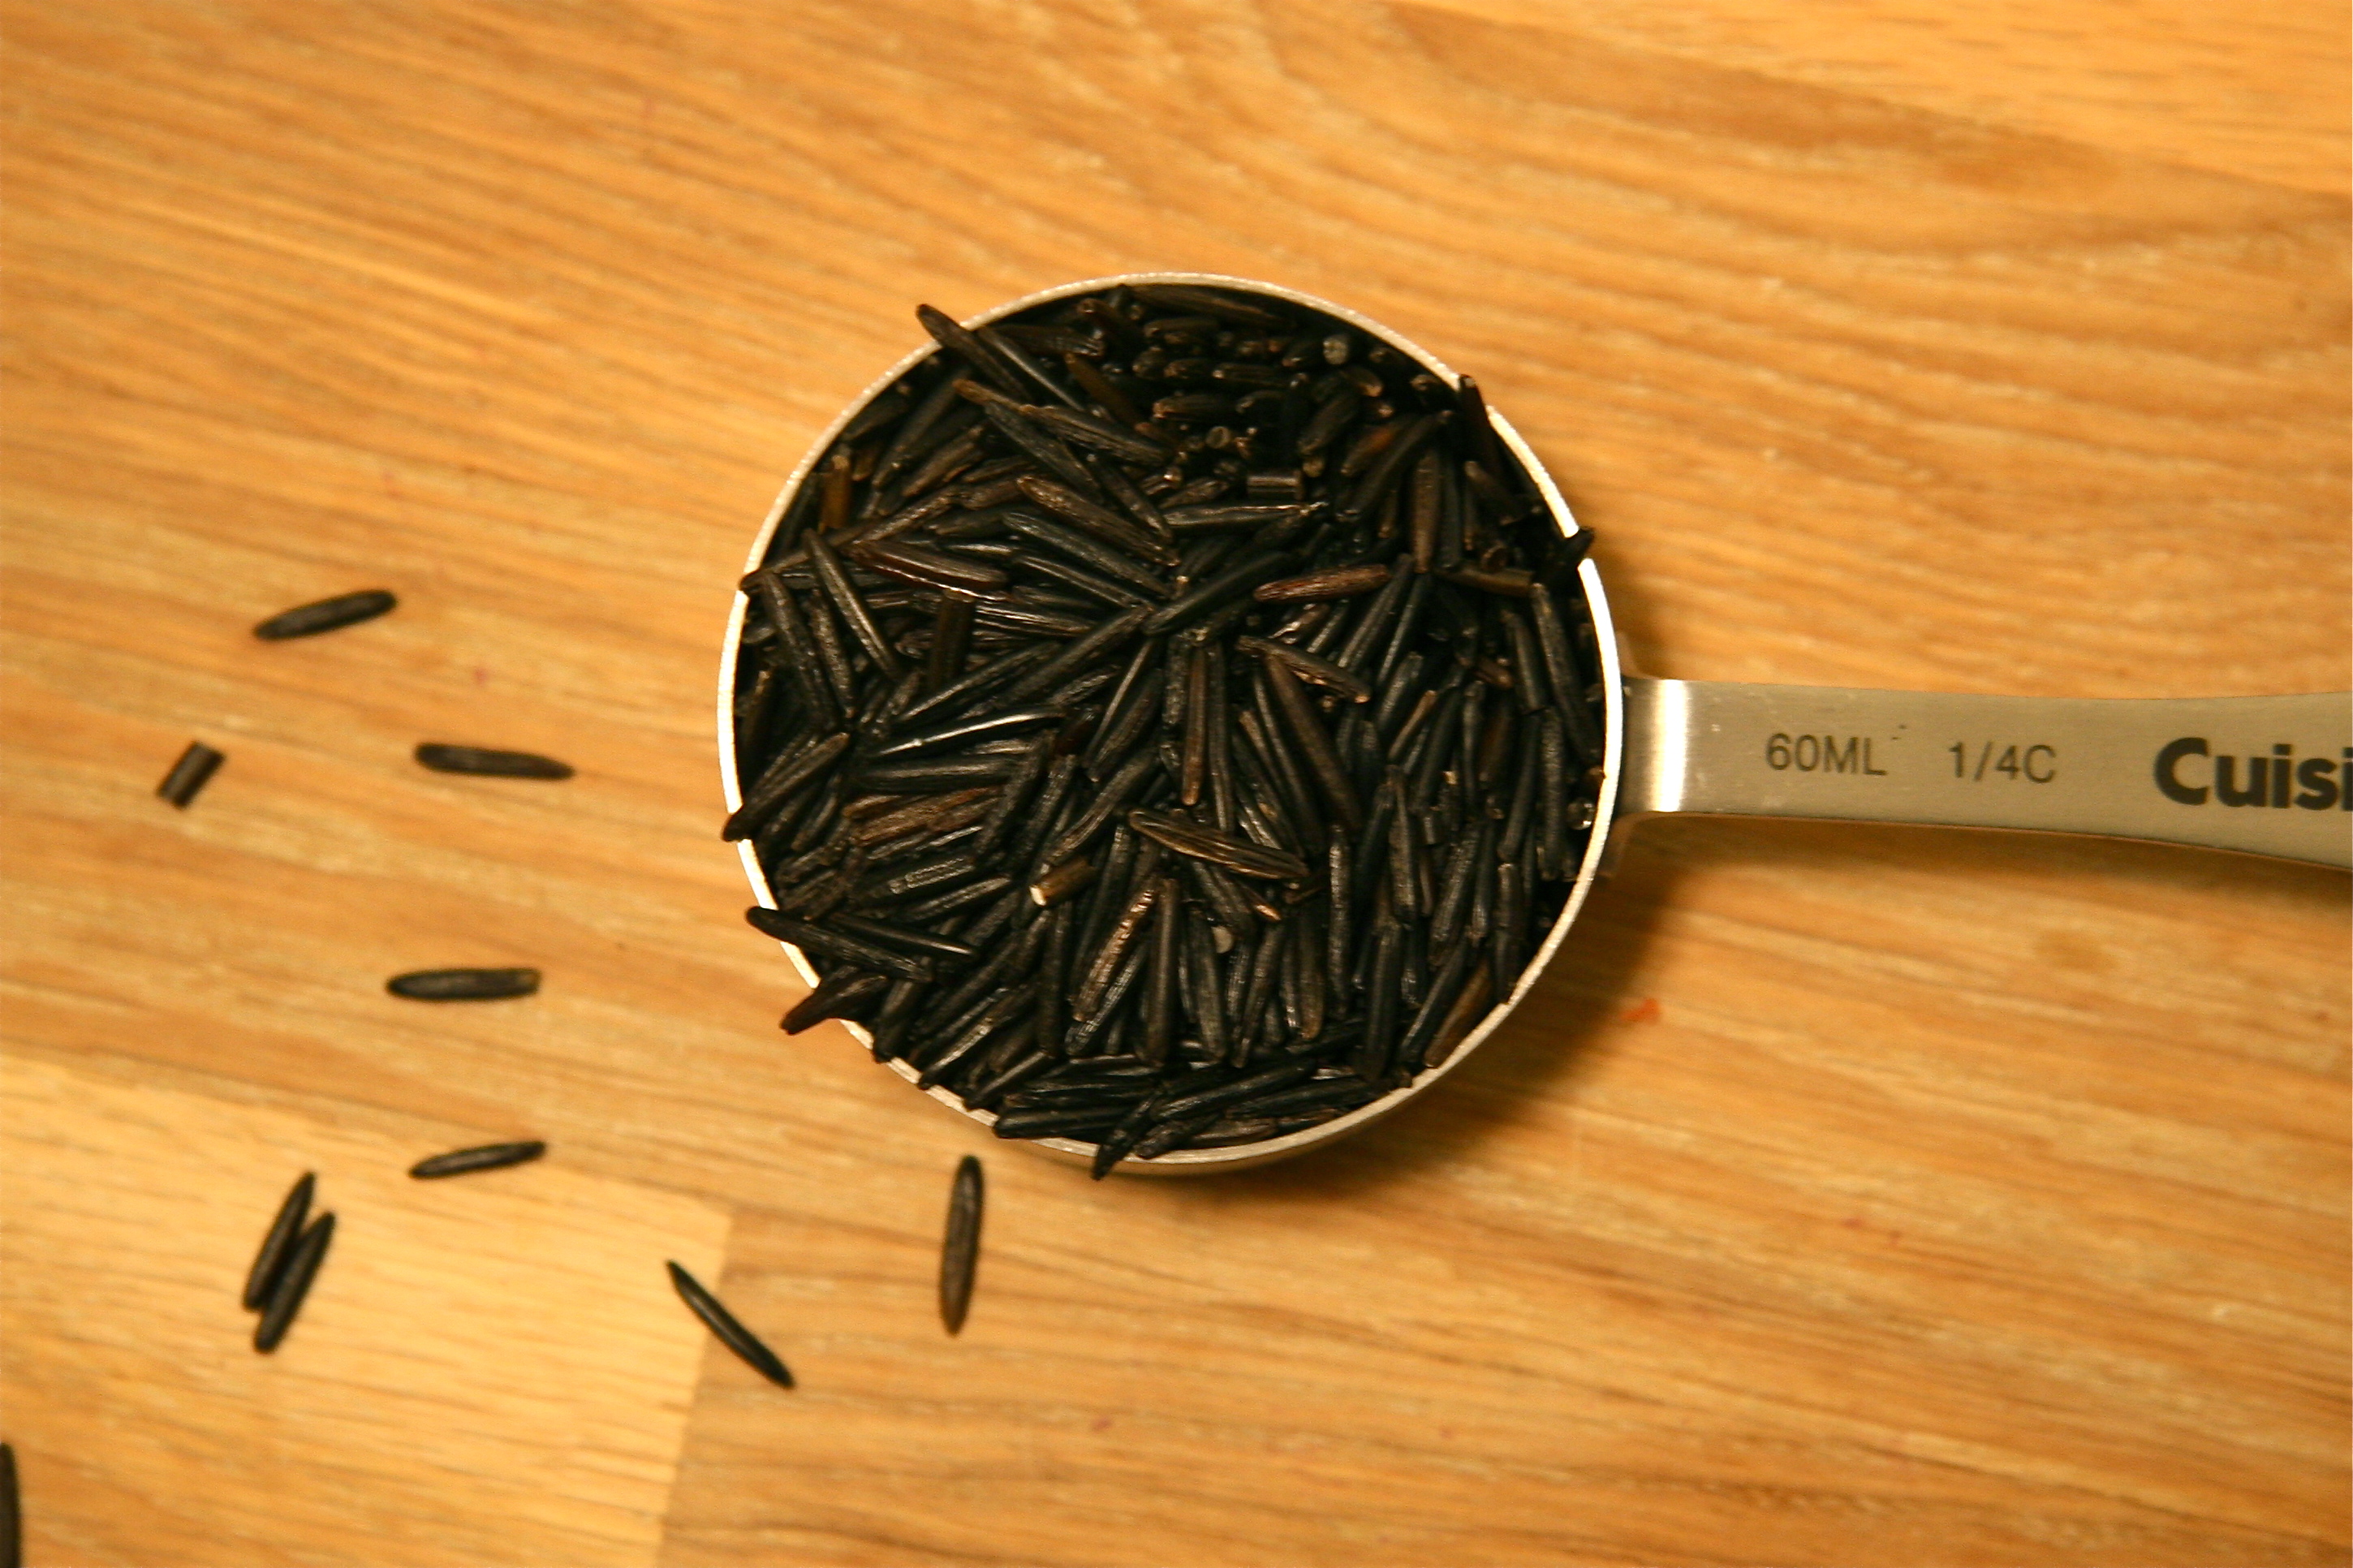
  • ¾ cup wild rice
  • 2 tablespoons extra-virgin olive oil
  • 1 cup frozen pearl onions, thawed
  • 2 large portobello mushrooms, thinly sliced
  • 1 ½ cups brussel sprouts, sliced in half if small and quarters if large
  • salt and pepper, to taste
  • ¼ cup toasted hazelnuts, coarsely chopped (optional)
Instructions
  1. For the rice: In a heavy saucepan or Dutch oven, bring the broth, ¼ cup water, and the thyme to a boil. Add the brown rice and wild rice. Cover the saucepan and lower the heat and simmer until the rice is tender but still chewy, about 30 minutes. Turn off the heat and allow the rice to stand for 10 minutes. Fluff with a fork.
  2. For the vegetables: Meanwhile, in a large nonstick skillet, heat the oil over medium-high heat. Add the onions and season lightly with salt and pepper. Cook, stirring occasionally, until light golden, about 5 minutes. Add the mushrooms and cook until softened, about 8 minutes. Add the brussel sprouts and cook until tender, about 5-8 more minutes. Season with salt and pepper to taste.
  3. Transfer the vegetable mixture to the saucepan of cooked rice. Add hazelnuts if desired. Toss until all the ingredients are mixed. Serve warm or at room temperature.
3.2.1275


Filed Under: eat, sides, soups and salads Tagged With: brown rice, brussel sprouts, gluten-free, healthy meal, mushroom, rice, vegetable side dish, vegetarian, wild rice

asian quinoa salad

February 24, 2014 by Butter Loves Company

No matter how much rest and relaxation I get over a weekend, when Monday comes, I feel like I always have a tough time kicking it into gear. I wonder if there has been any scientific research done on the physical affects of Mondays?

I knew I’d feel like a slug bug today after a weekend that consisted of lots of heavy, not the best for me, food (think fried chicken, tacos, movie theater popcorn, lots of homemade marshmallows). My body was craving something fresh and crisp in a serious way.

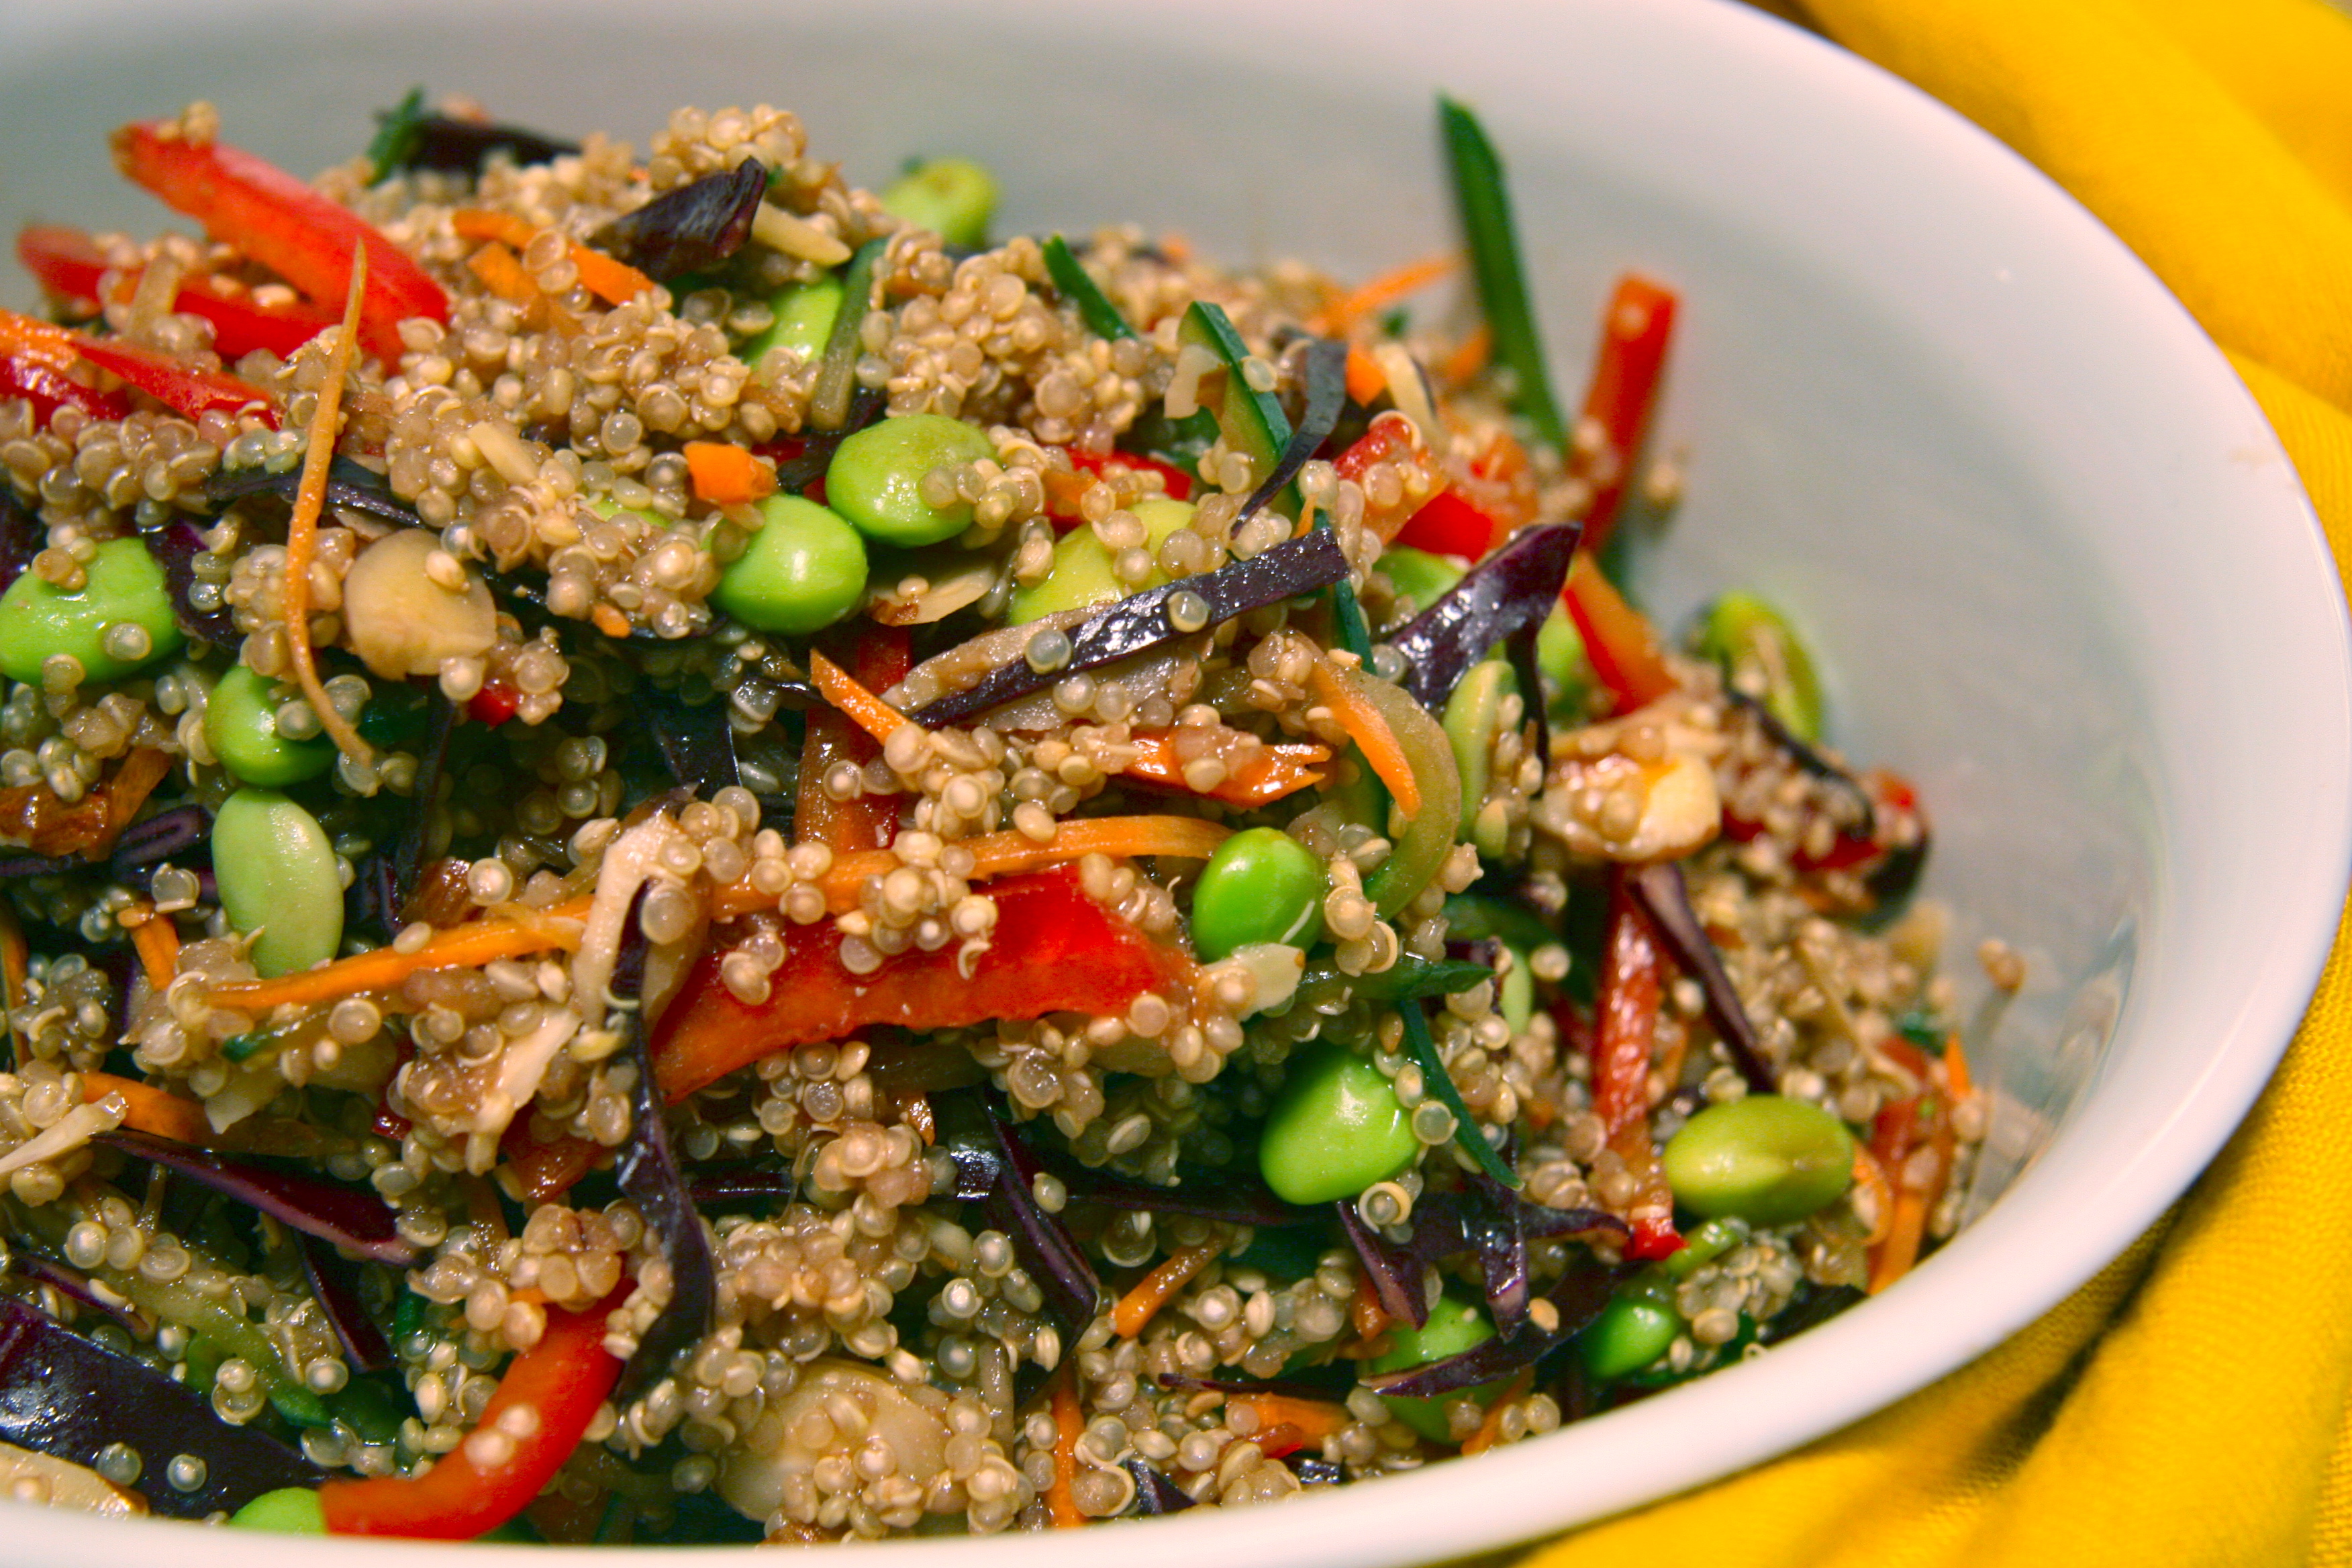
To pick me up, dinner tonight was this tasty Asian Quinoa Salad filled with crunchy veggies—a light, fresh, meat-free salad that won’t leave you bored after a few bites.

I’ll definitely be making it again to keep in the fridge for lunches throughout a busy week. I can also see myself making it as a side dish at a party because it meets a range of dietary guidelines; it’s vegetarian, vegan, and gluten-free (if made with tamari rather than soy sauce).

asian quinoa salad2

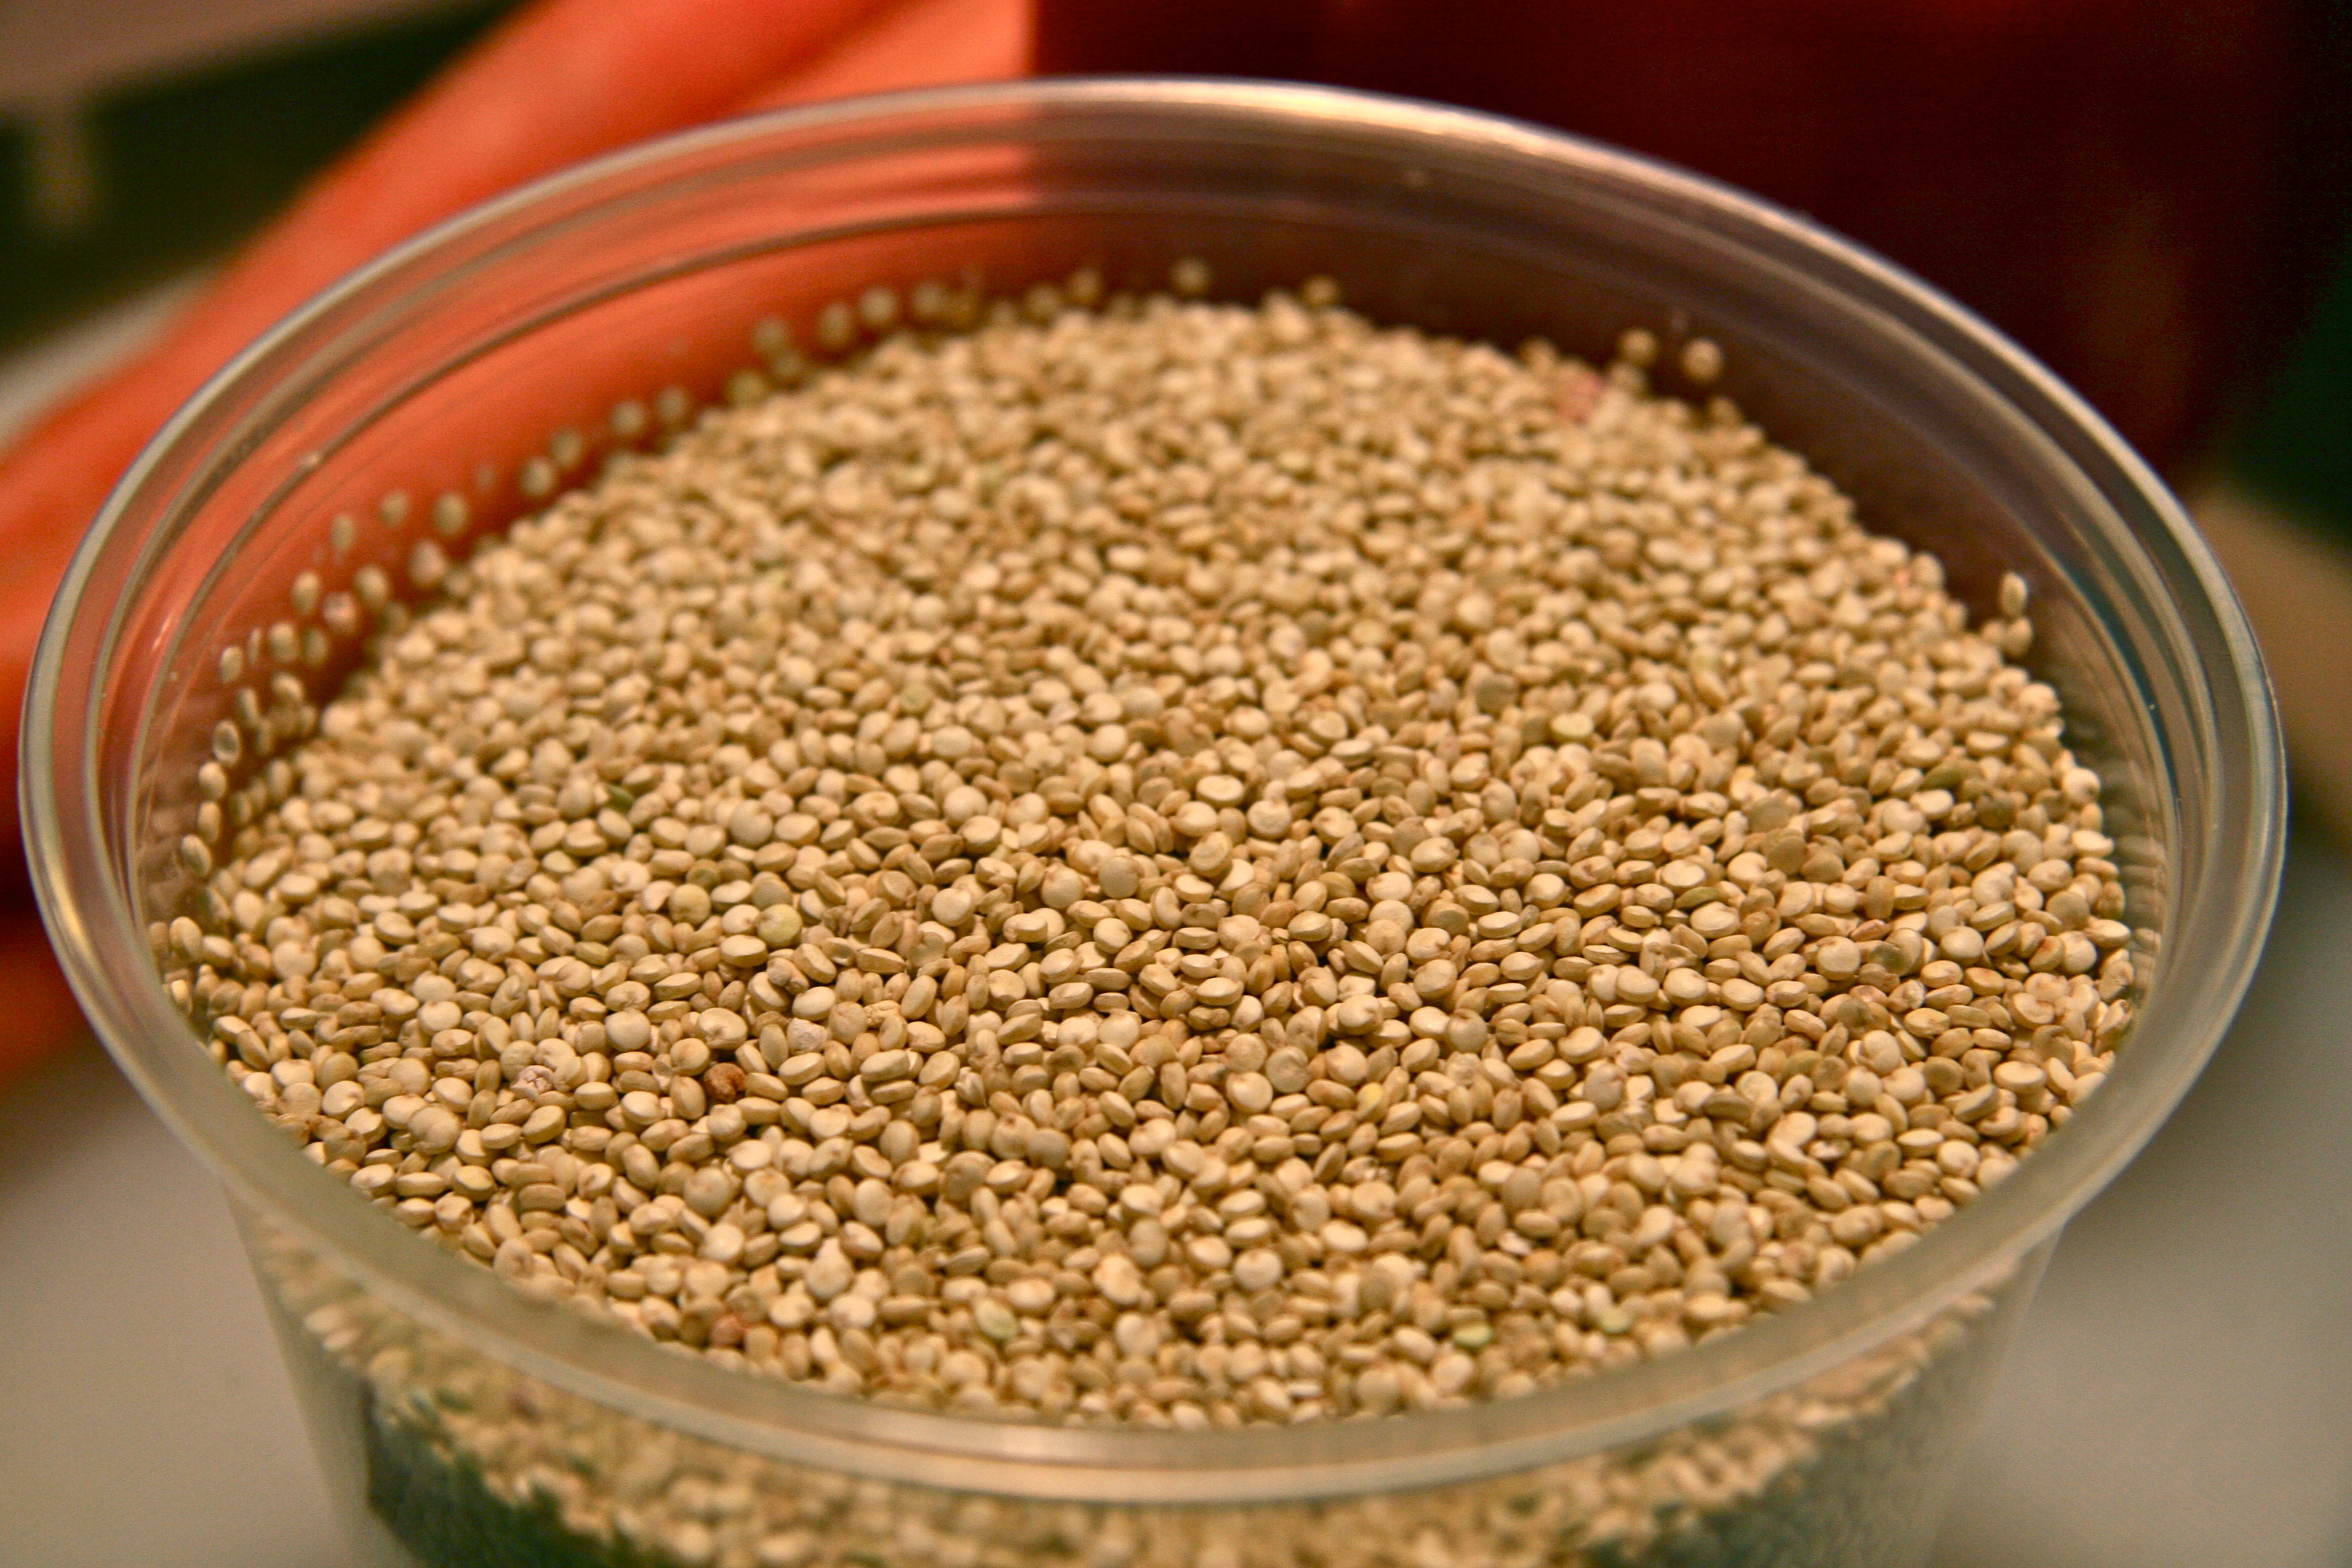
The "it" girl of 2013: Quinoa!

The “it” girl of 2013: Quinoa!

asian quinoa salad4

asian quinoa salad1

asian quinoa salad
Recipe Type: salad
Author: adapted from Two Peas and Their Pod
Prep time: 10 mins
Cook time: 20 mins
Total time: 30 mins
Serves: 4
Ingredients
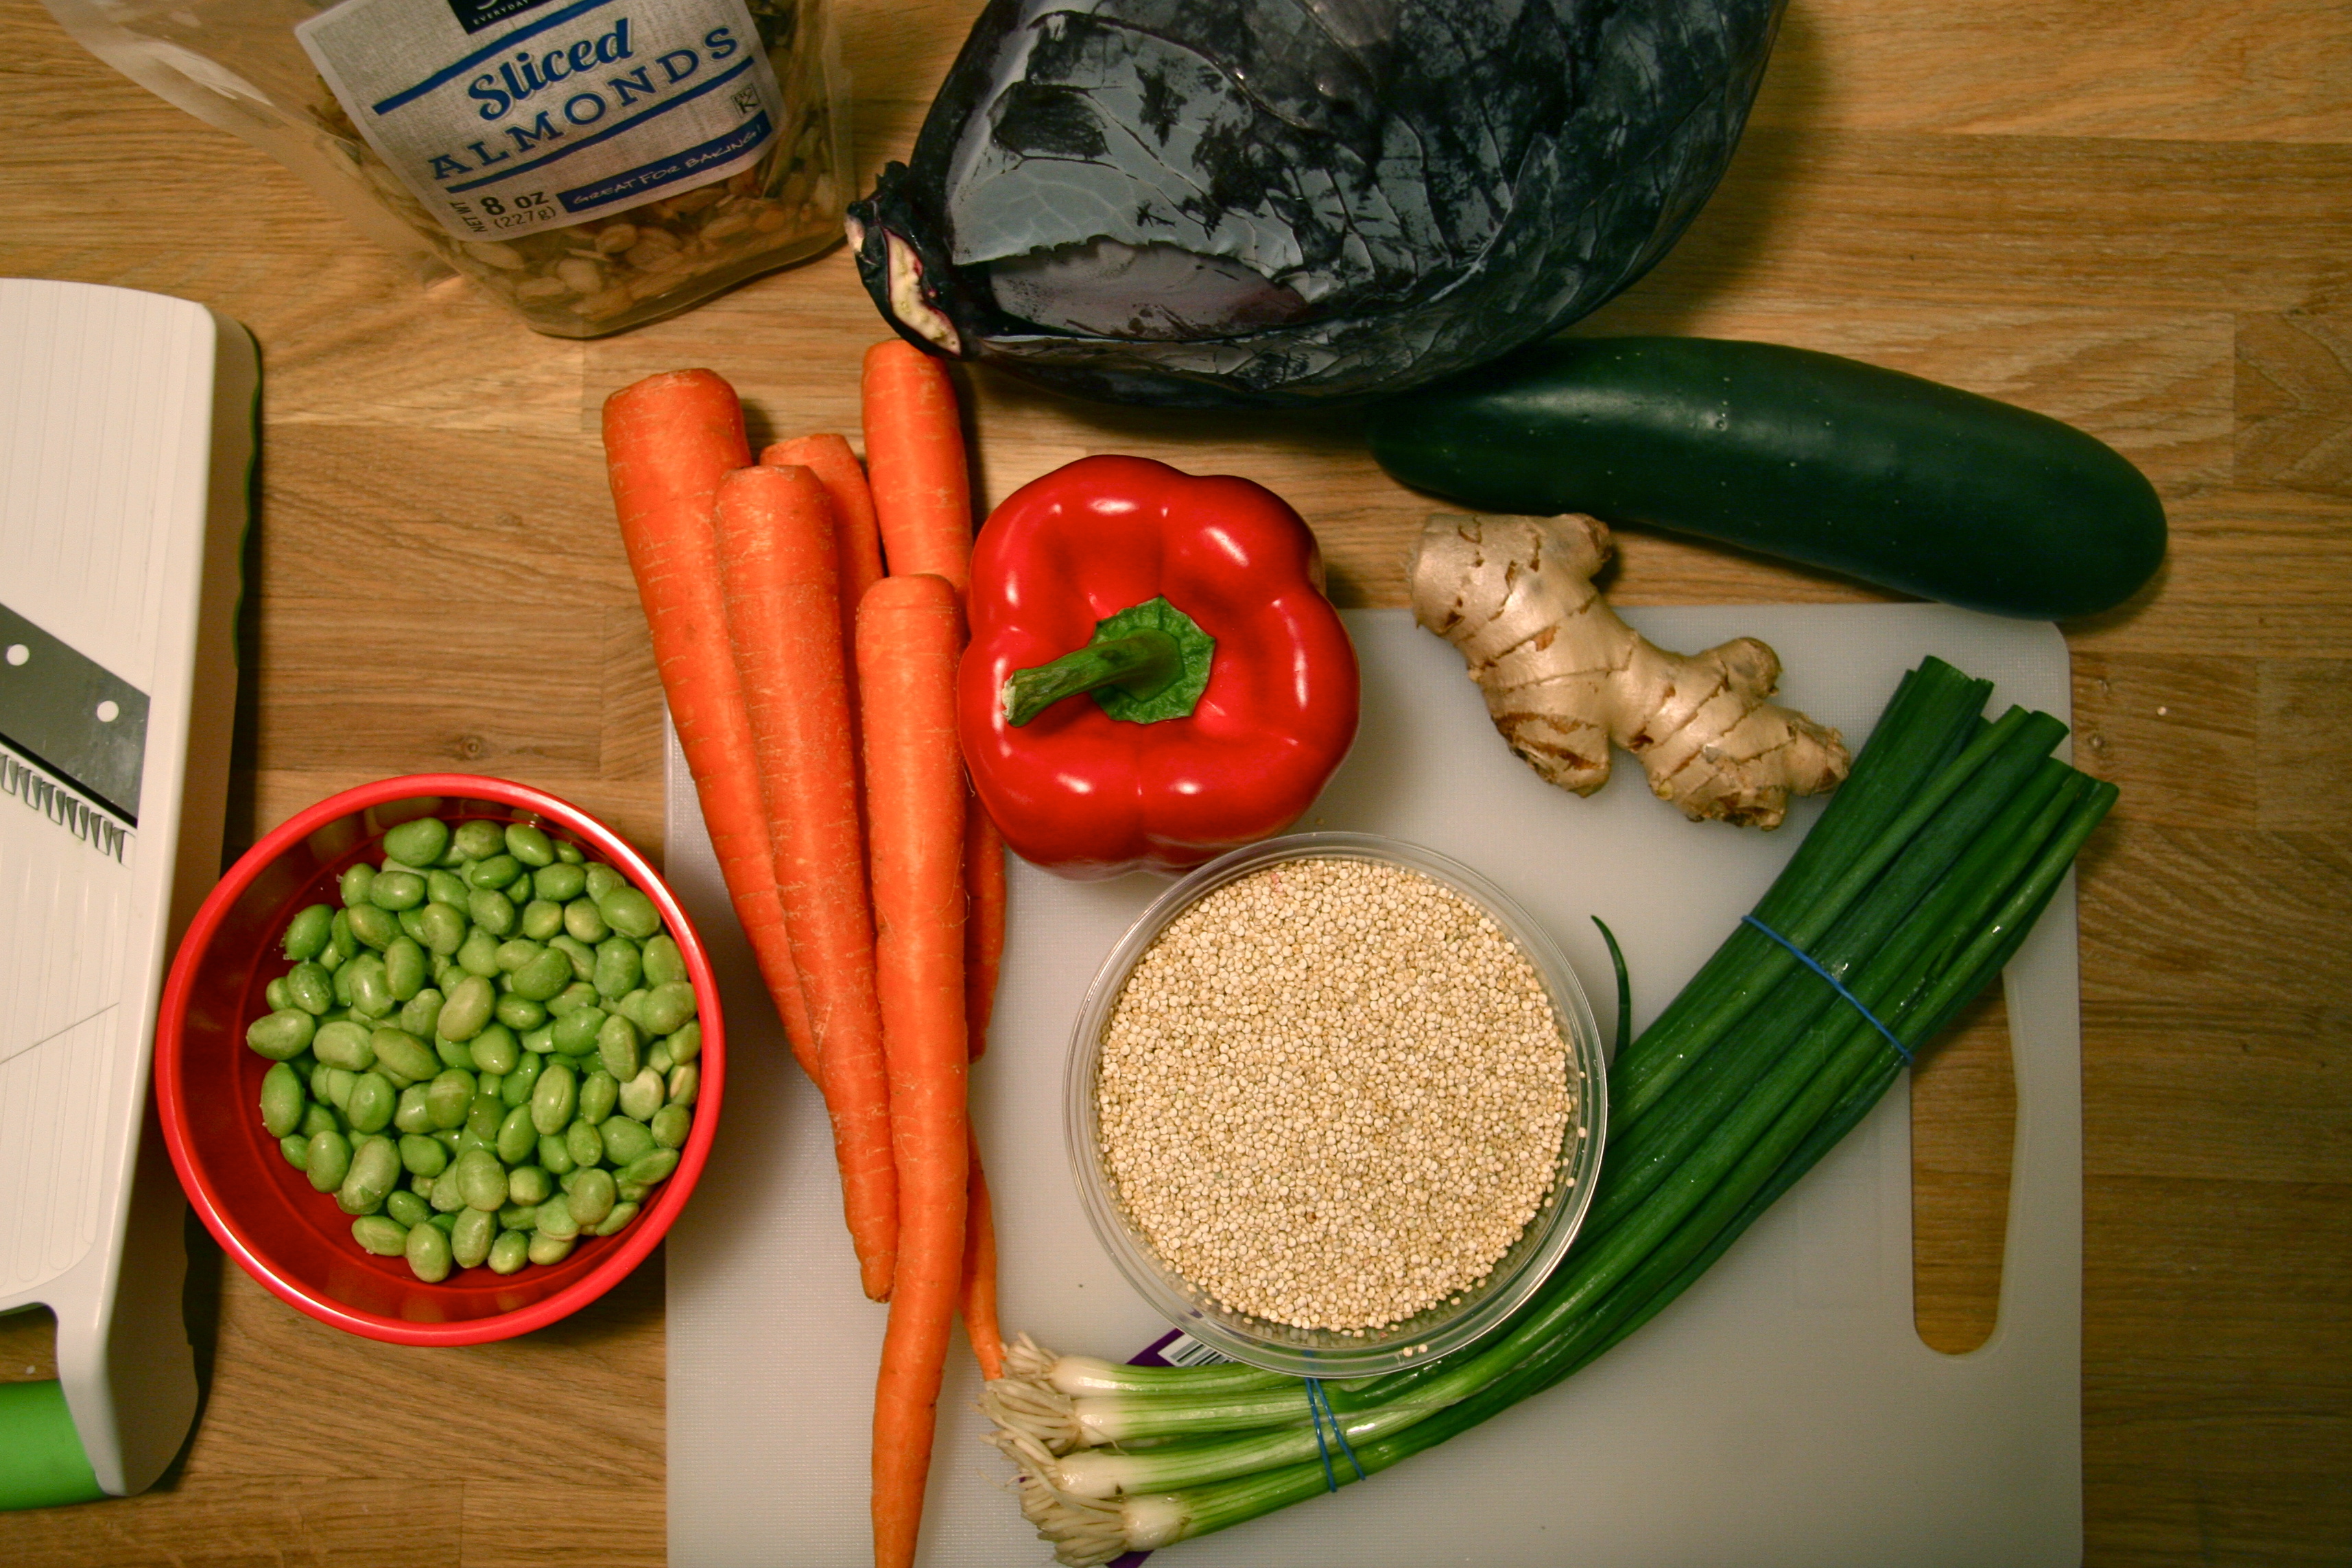
  • 1 cup quinoa
  • 2 cups water
  • 1/4 teaspoon salt
  • 1 cup chopped red cabbage
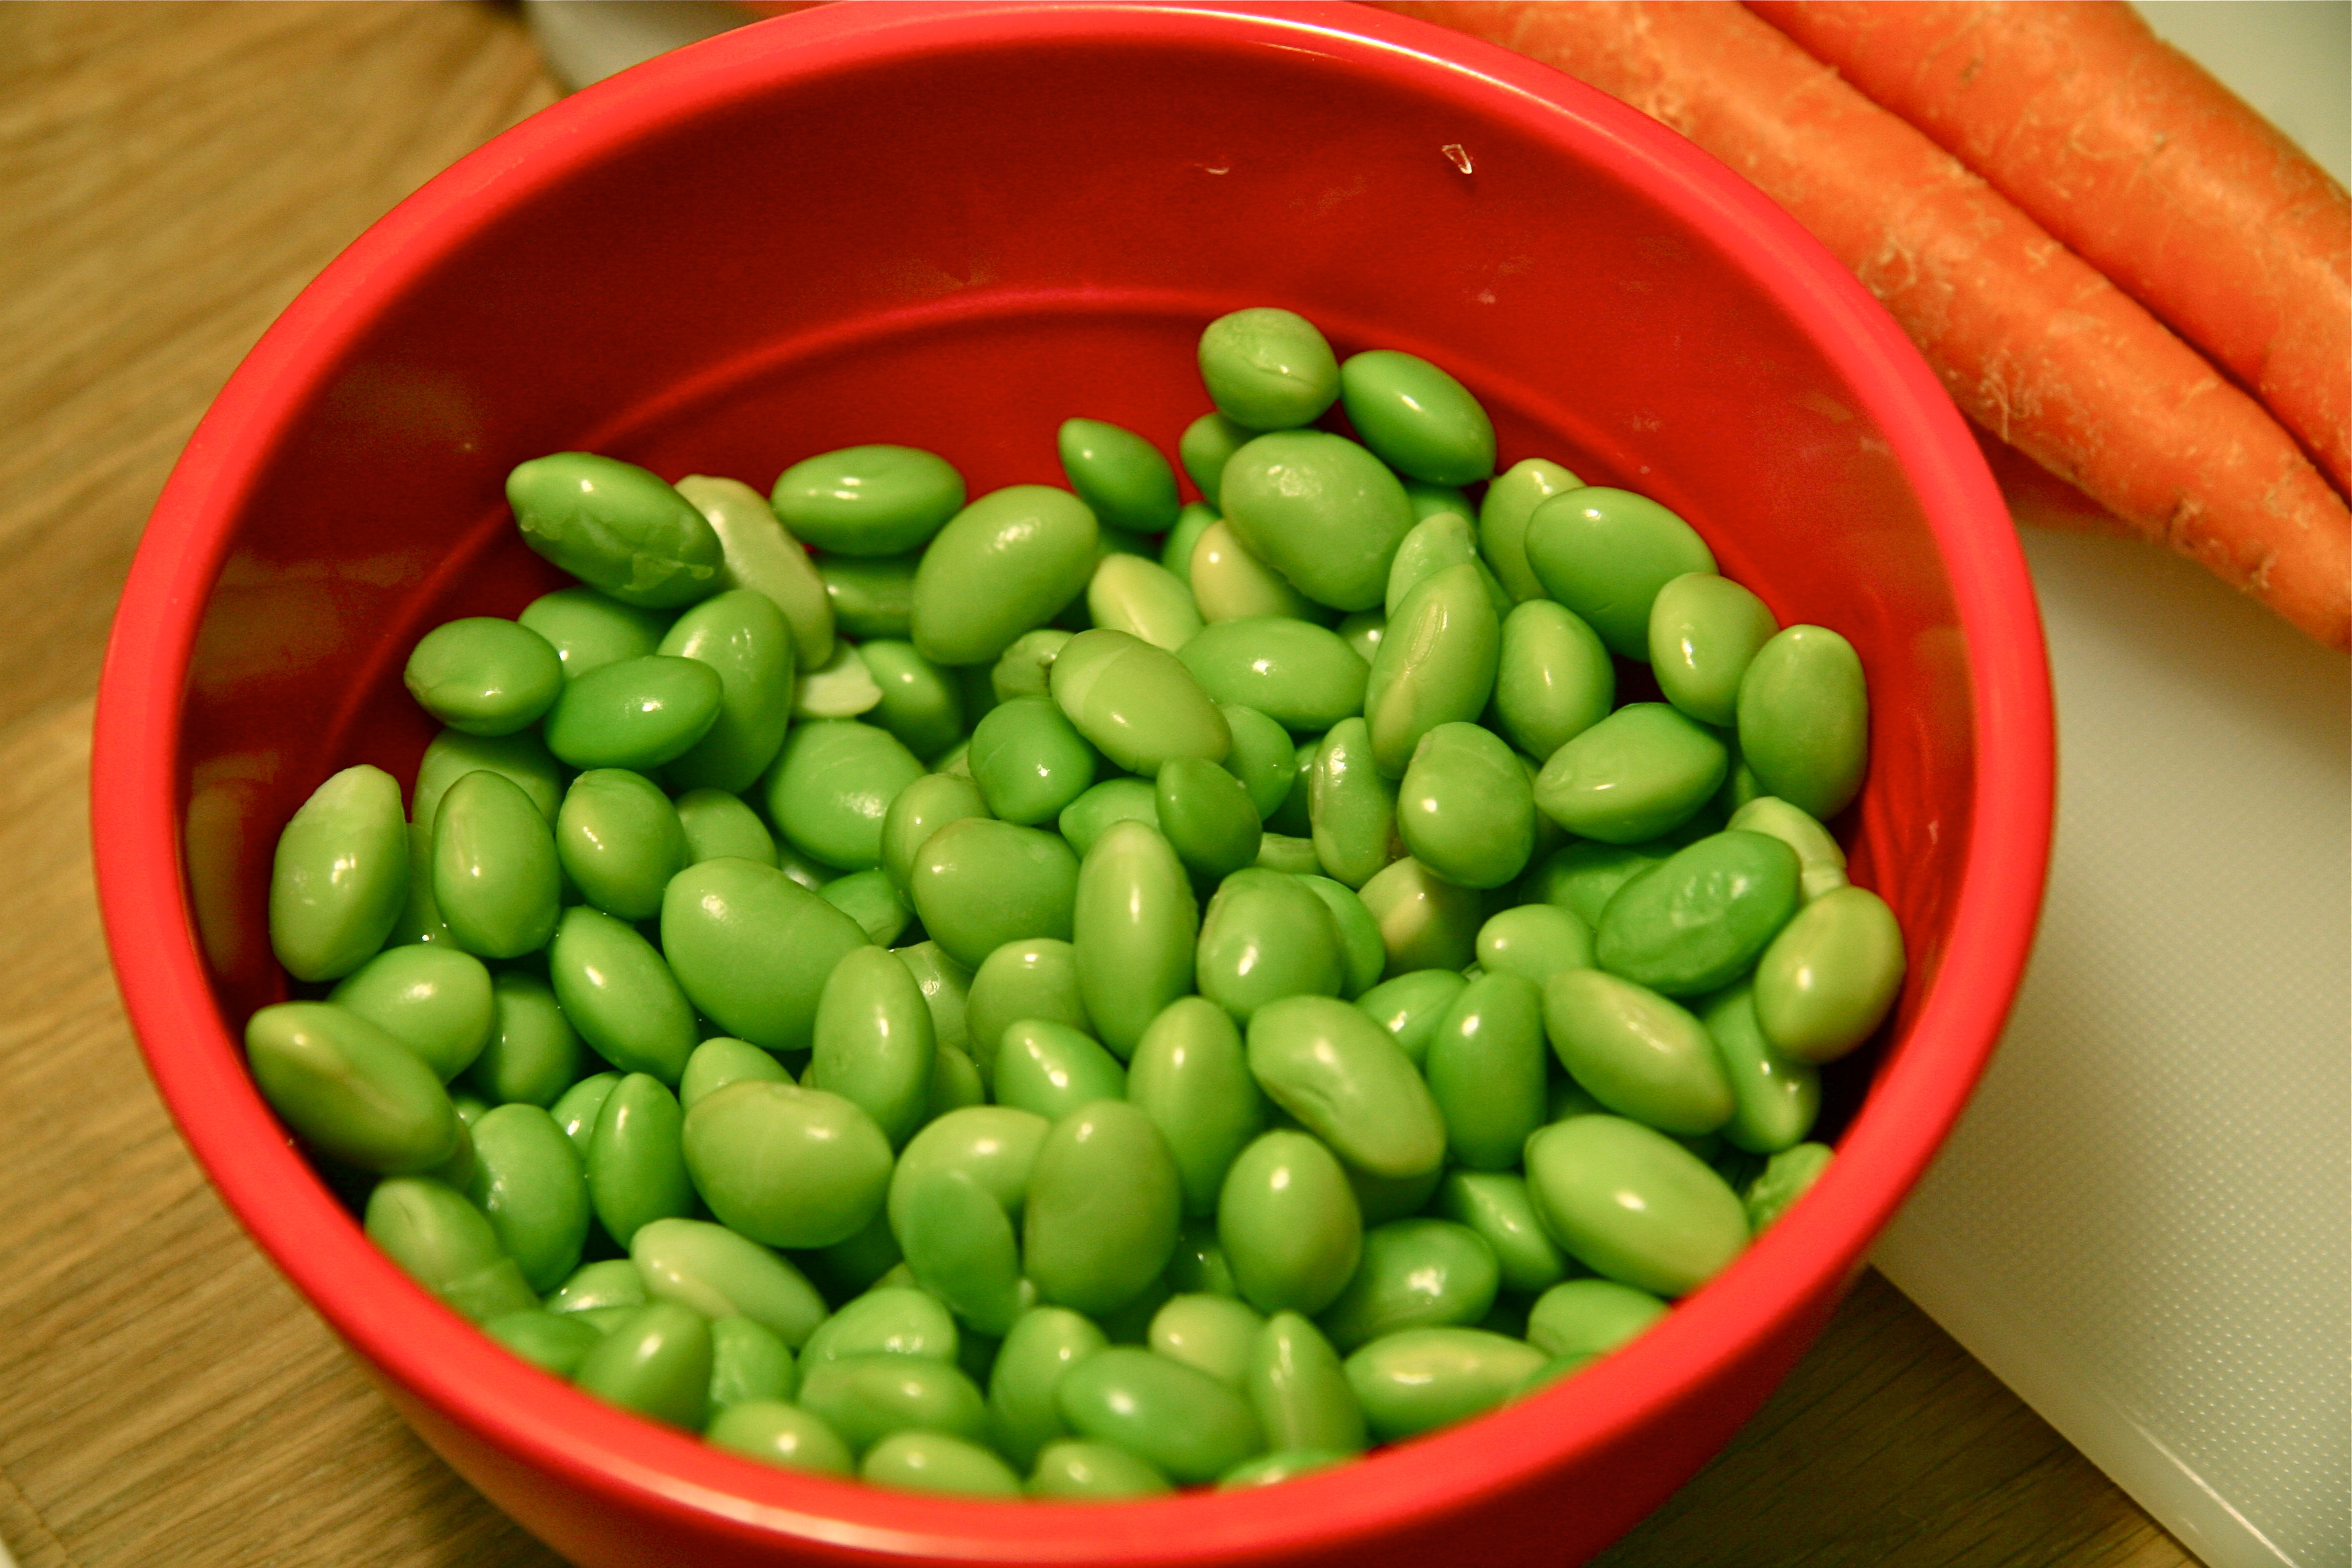
  • 1 cup shelled and cooked edamame
  • 1 red bell pepper, chopped in thin strips
  • 1/2 cup shredded carrots
  • 1 cup shredded or diced cucumber
  • 1/2 cup sliced almonds
  • 1/4 cup low sodium soy sauce or tamari sauce
  • 1 tablespoon sesame oil
  • 1 tablespoon rice vinegar
  • 2 tablespoons chopped green onion
  • 1 tablespoon sesame seeds
  • 1/4 teaspoon grated fresh ginger (dried will work fine too)
  • 1/8 teaspoon red pepper flakes
  • Salt and black pepper, to taste
Instructions
  1. Add water, quinoa, and salt to a medium saucepan and bring to a boil over medium heat. Boil for 5 minutes. Turn the heat to low and simmer for about 15 minutes, or until water is absorbed. Remove from heat and fluff with a fork.
  2. Place the quinoa in a large bowl and add the cabbage, edamame, red pepper, carrots, cucumber, and almonds. Set aside.
  3. In a small bowl, whisk together the soy sauce, sesame oil, rice wine vinegar, green onions, sesame seeds, ginger, red pepper flakes, salt, and pepper.
  4. Pour the dressing over the quinoa salad and stir to combine. Enjoy at room temperature or chilled.
3.2.1275


Filed Under: eat, sides, soups and salads Tagged With: edamame, gluten-free, healthy, make ahead, quinoa, salad, sesame, vegan, vegetarian

chocolate pecan torte with strawberry buttercream

February 19, 2014 by Butter Loves Company

chocolate pecan torte with strawberry buttercream 3

I was talking to my mom a couple weeks ago and told her I was about to make aunt Olga’s cake—a layered torte that my chocolate-loving aunt frequently brings to family events. It’s one of those cakes that shouts celebration; so decadent that just a sliver will do – alongside other holiday desserts, of course.

In this case, it was a Tuesday and the only thing Greg and I were celebrating was finishing the second season of Breaking Bad. My mom knows more than anyone that when I get a project in my head, I’m often set on executing it immediately. Luckily, on this specific Tuesday, she reminded me there was a perfect reason to wait to make this cake (much to Greg’s chagrin). My aunts were hosting a dinner just a week later to celebrate the many January and February birthdays in the family.

This cake deserved so much more than to sit on our apartment counter. It was party worthy.

If you like brownies, even a little bit, you’ll love this recipe.

The flourless chocolate cake is rich with lots of finely ground pecans added to the batter for texture. The layers can be made up to two days ahead and will stay moist in the refrigerator. Once assembled, they are separated by a fresh strawberry buttercream, a welcome balance to the fudge layers (the buttercream can also be made ahead).

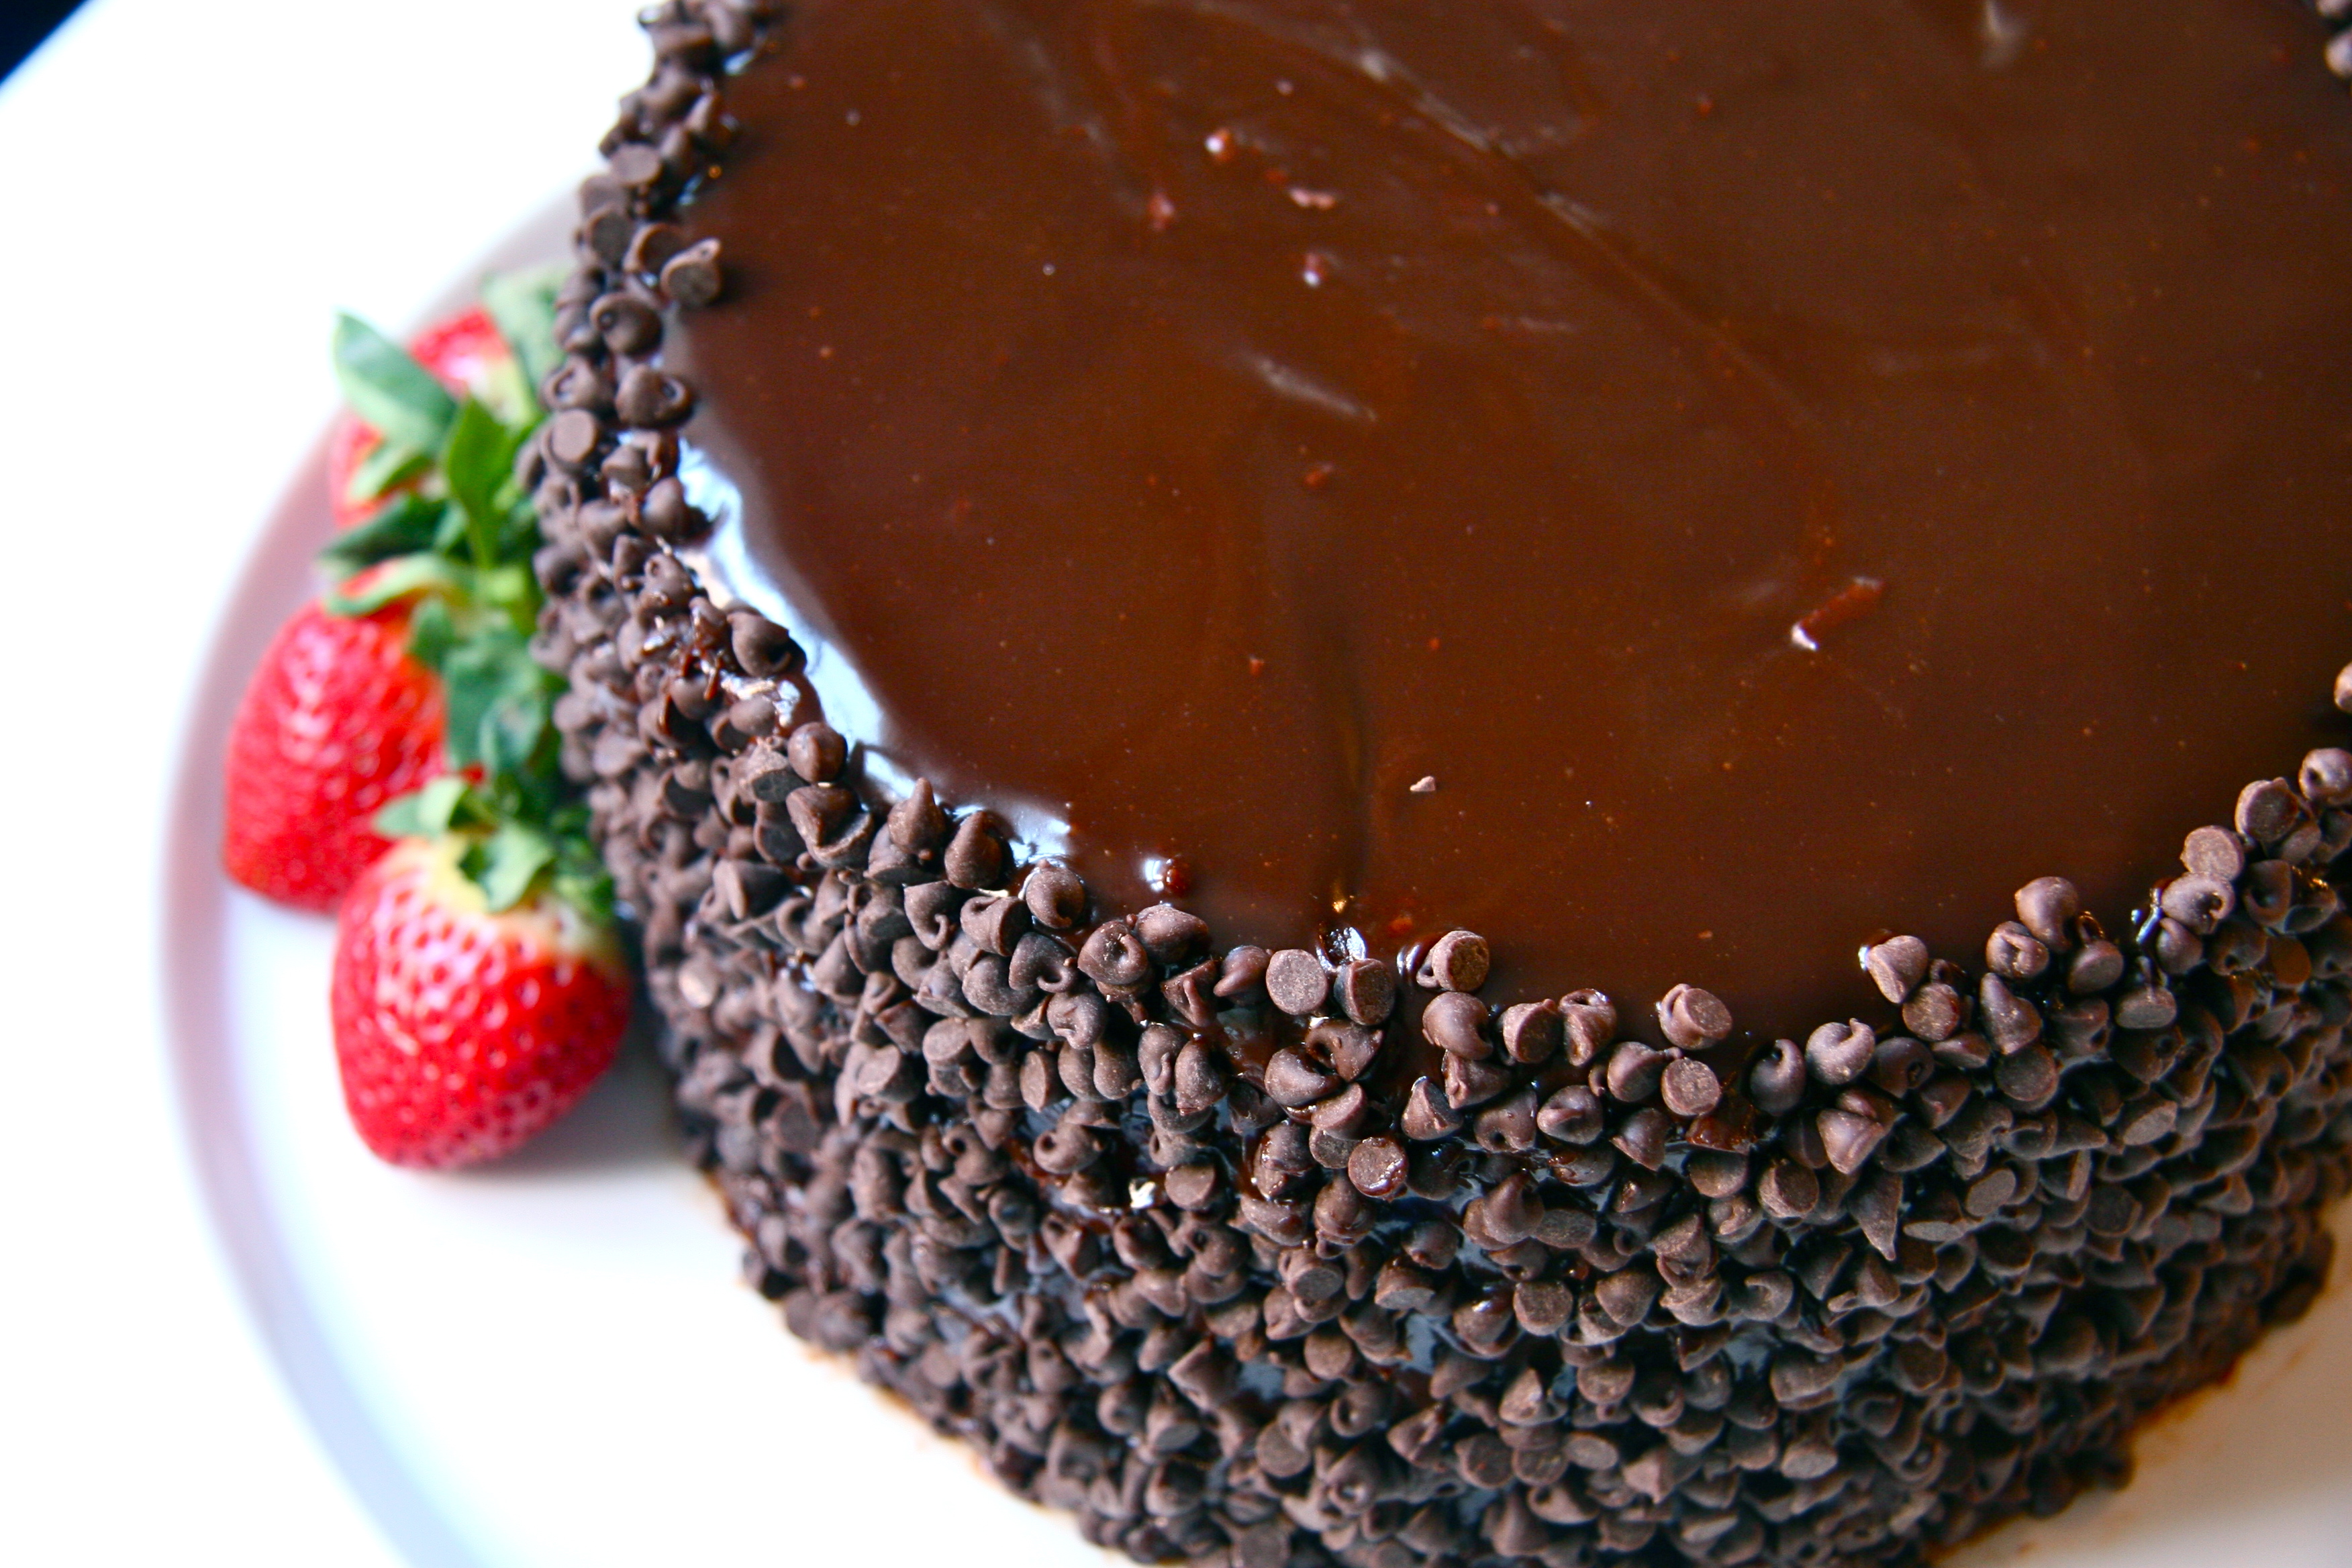
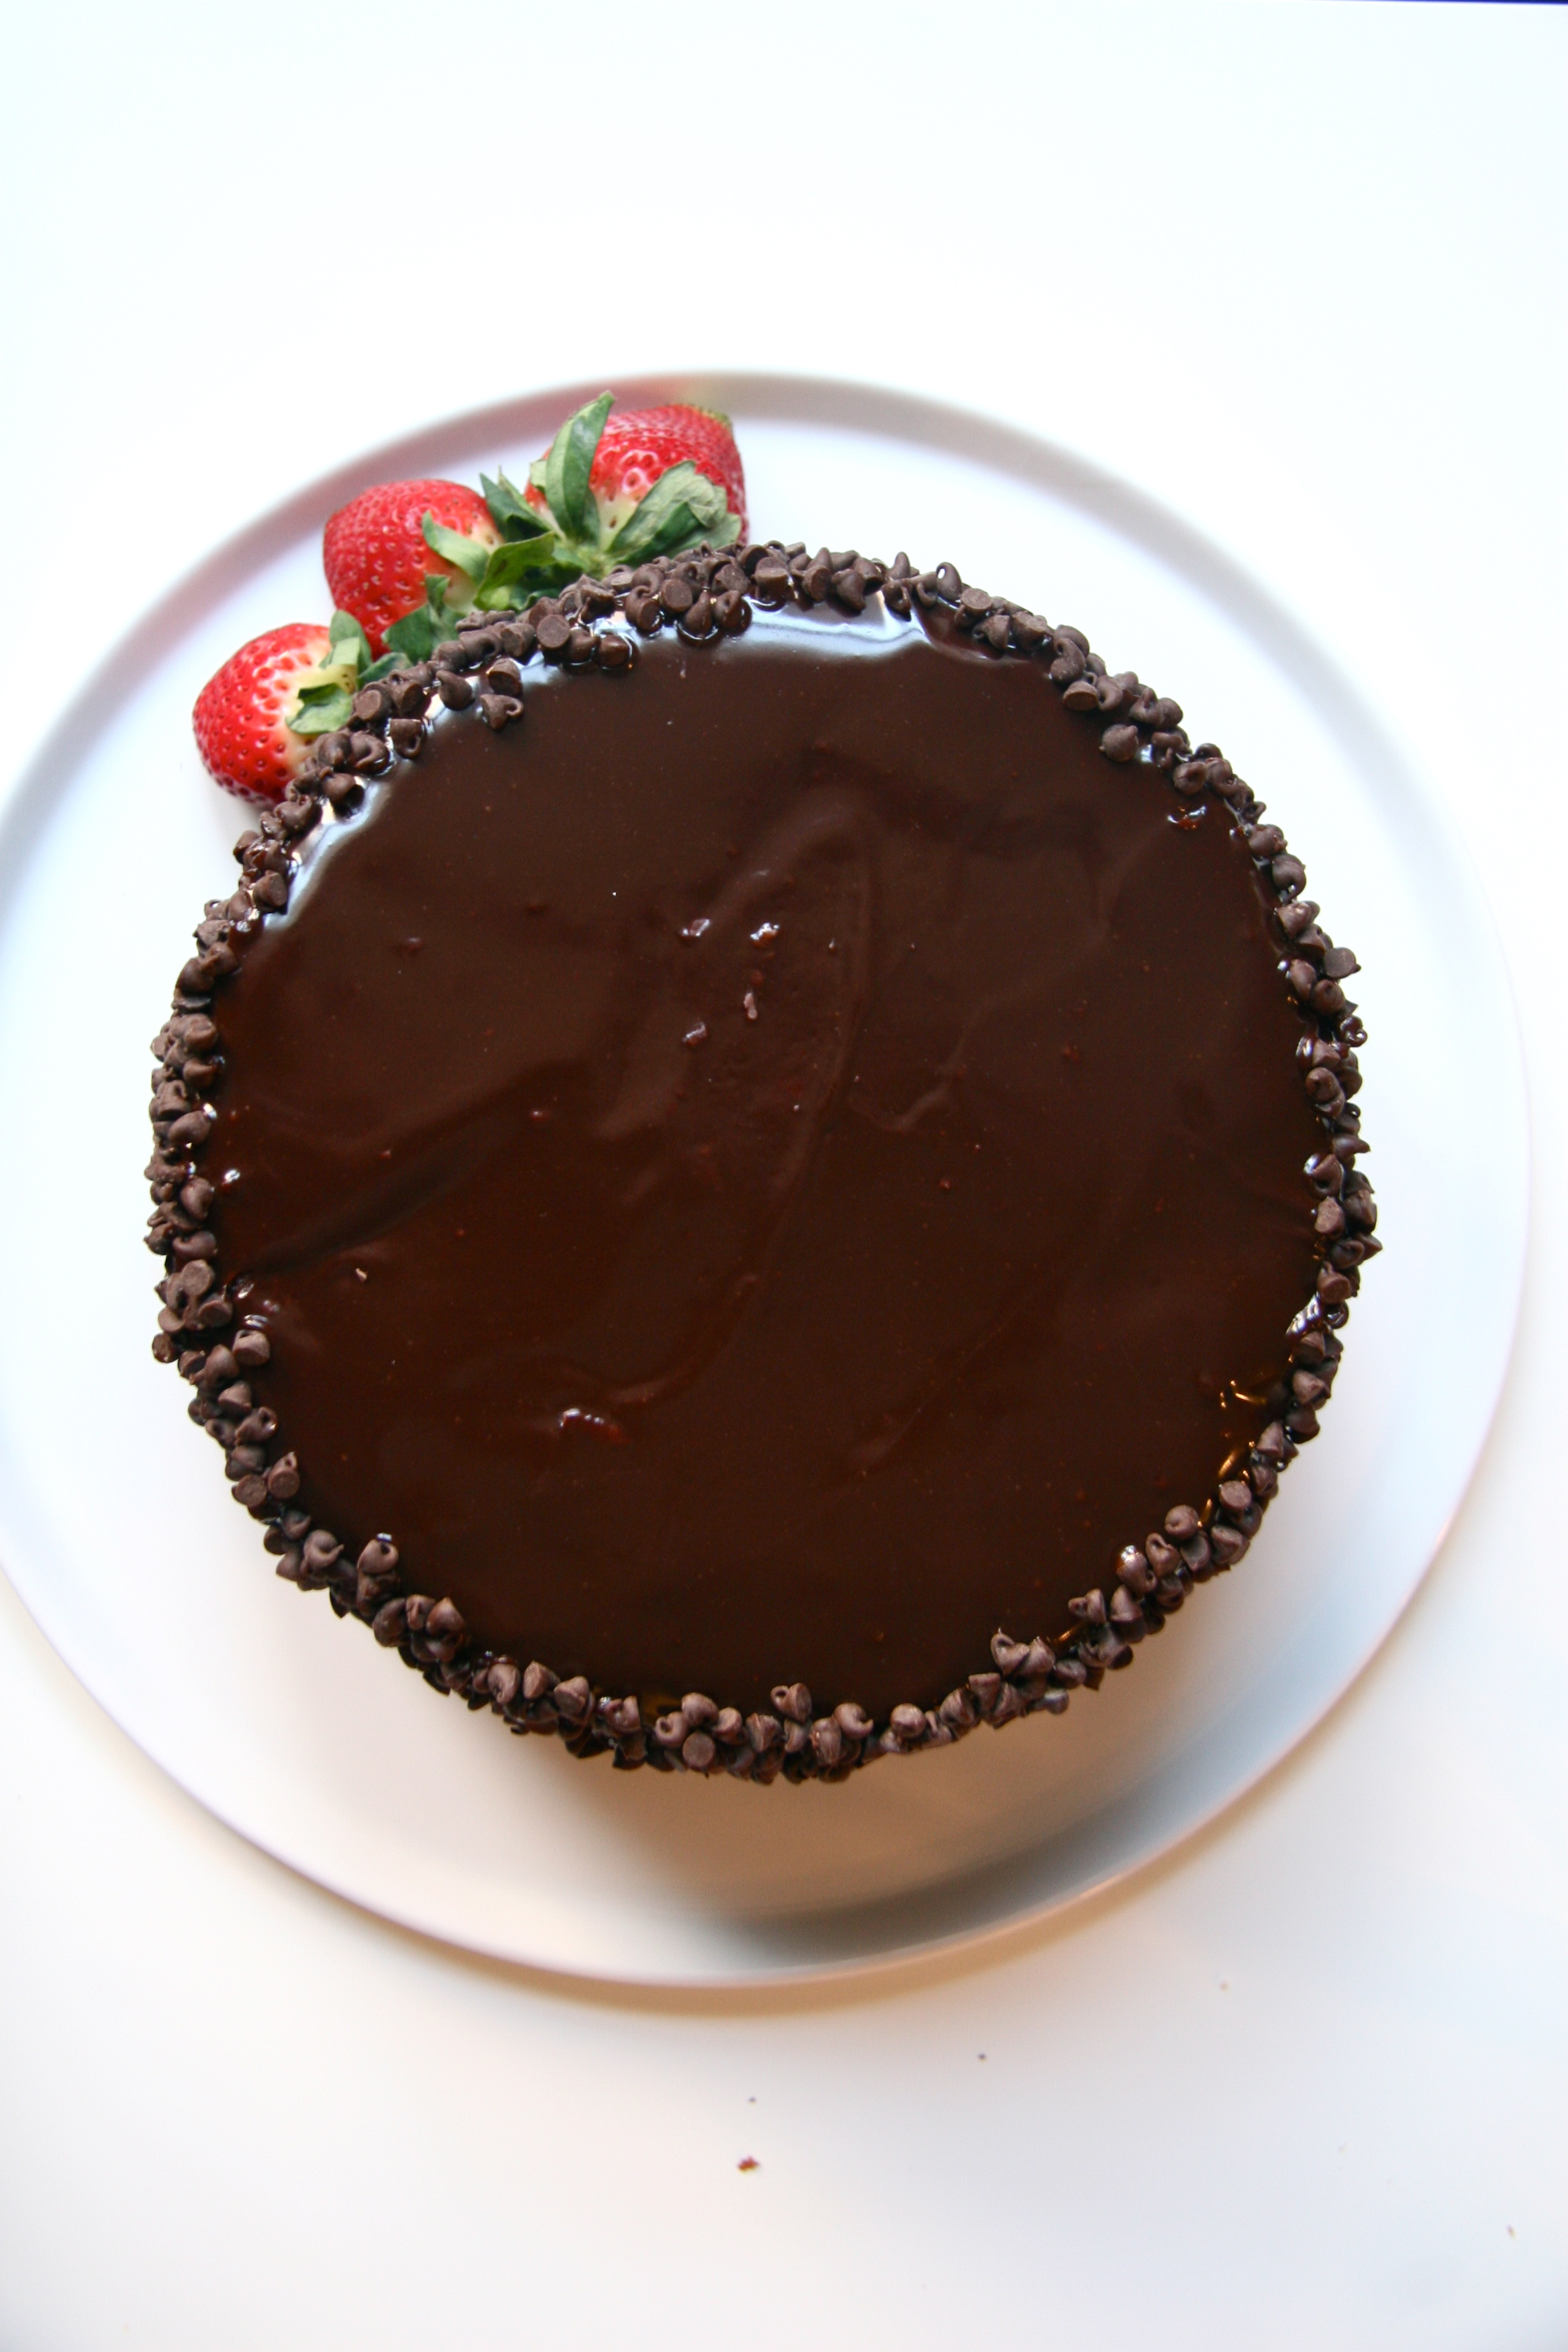
Finally, the entire cake is covered in a smooth chocolate ganache for prettiness. I can promise you it stays good for days after it’s made, as we’ve been nibbling on our doggie bag slices since the party.

**Unrelated note: I created an Instagram account for the site. If you have any interest in seeing some recipe previews or outtakes from my food adventures, you can follow @butterlc!

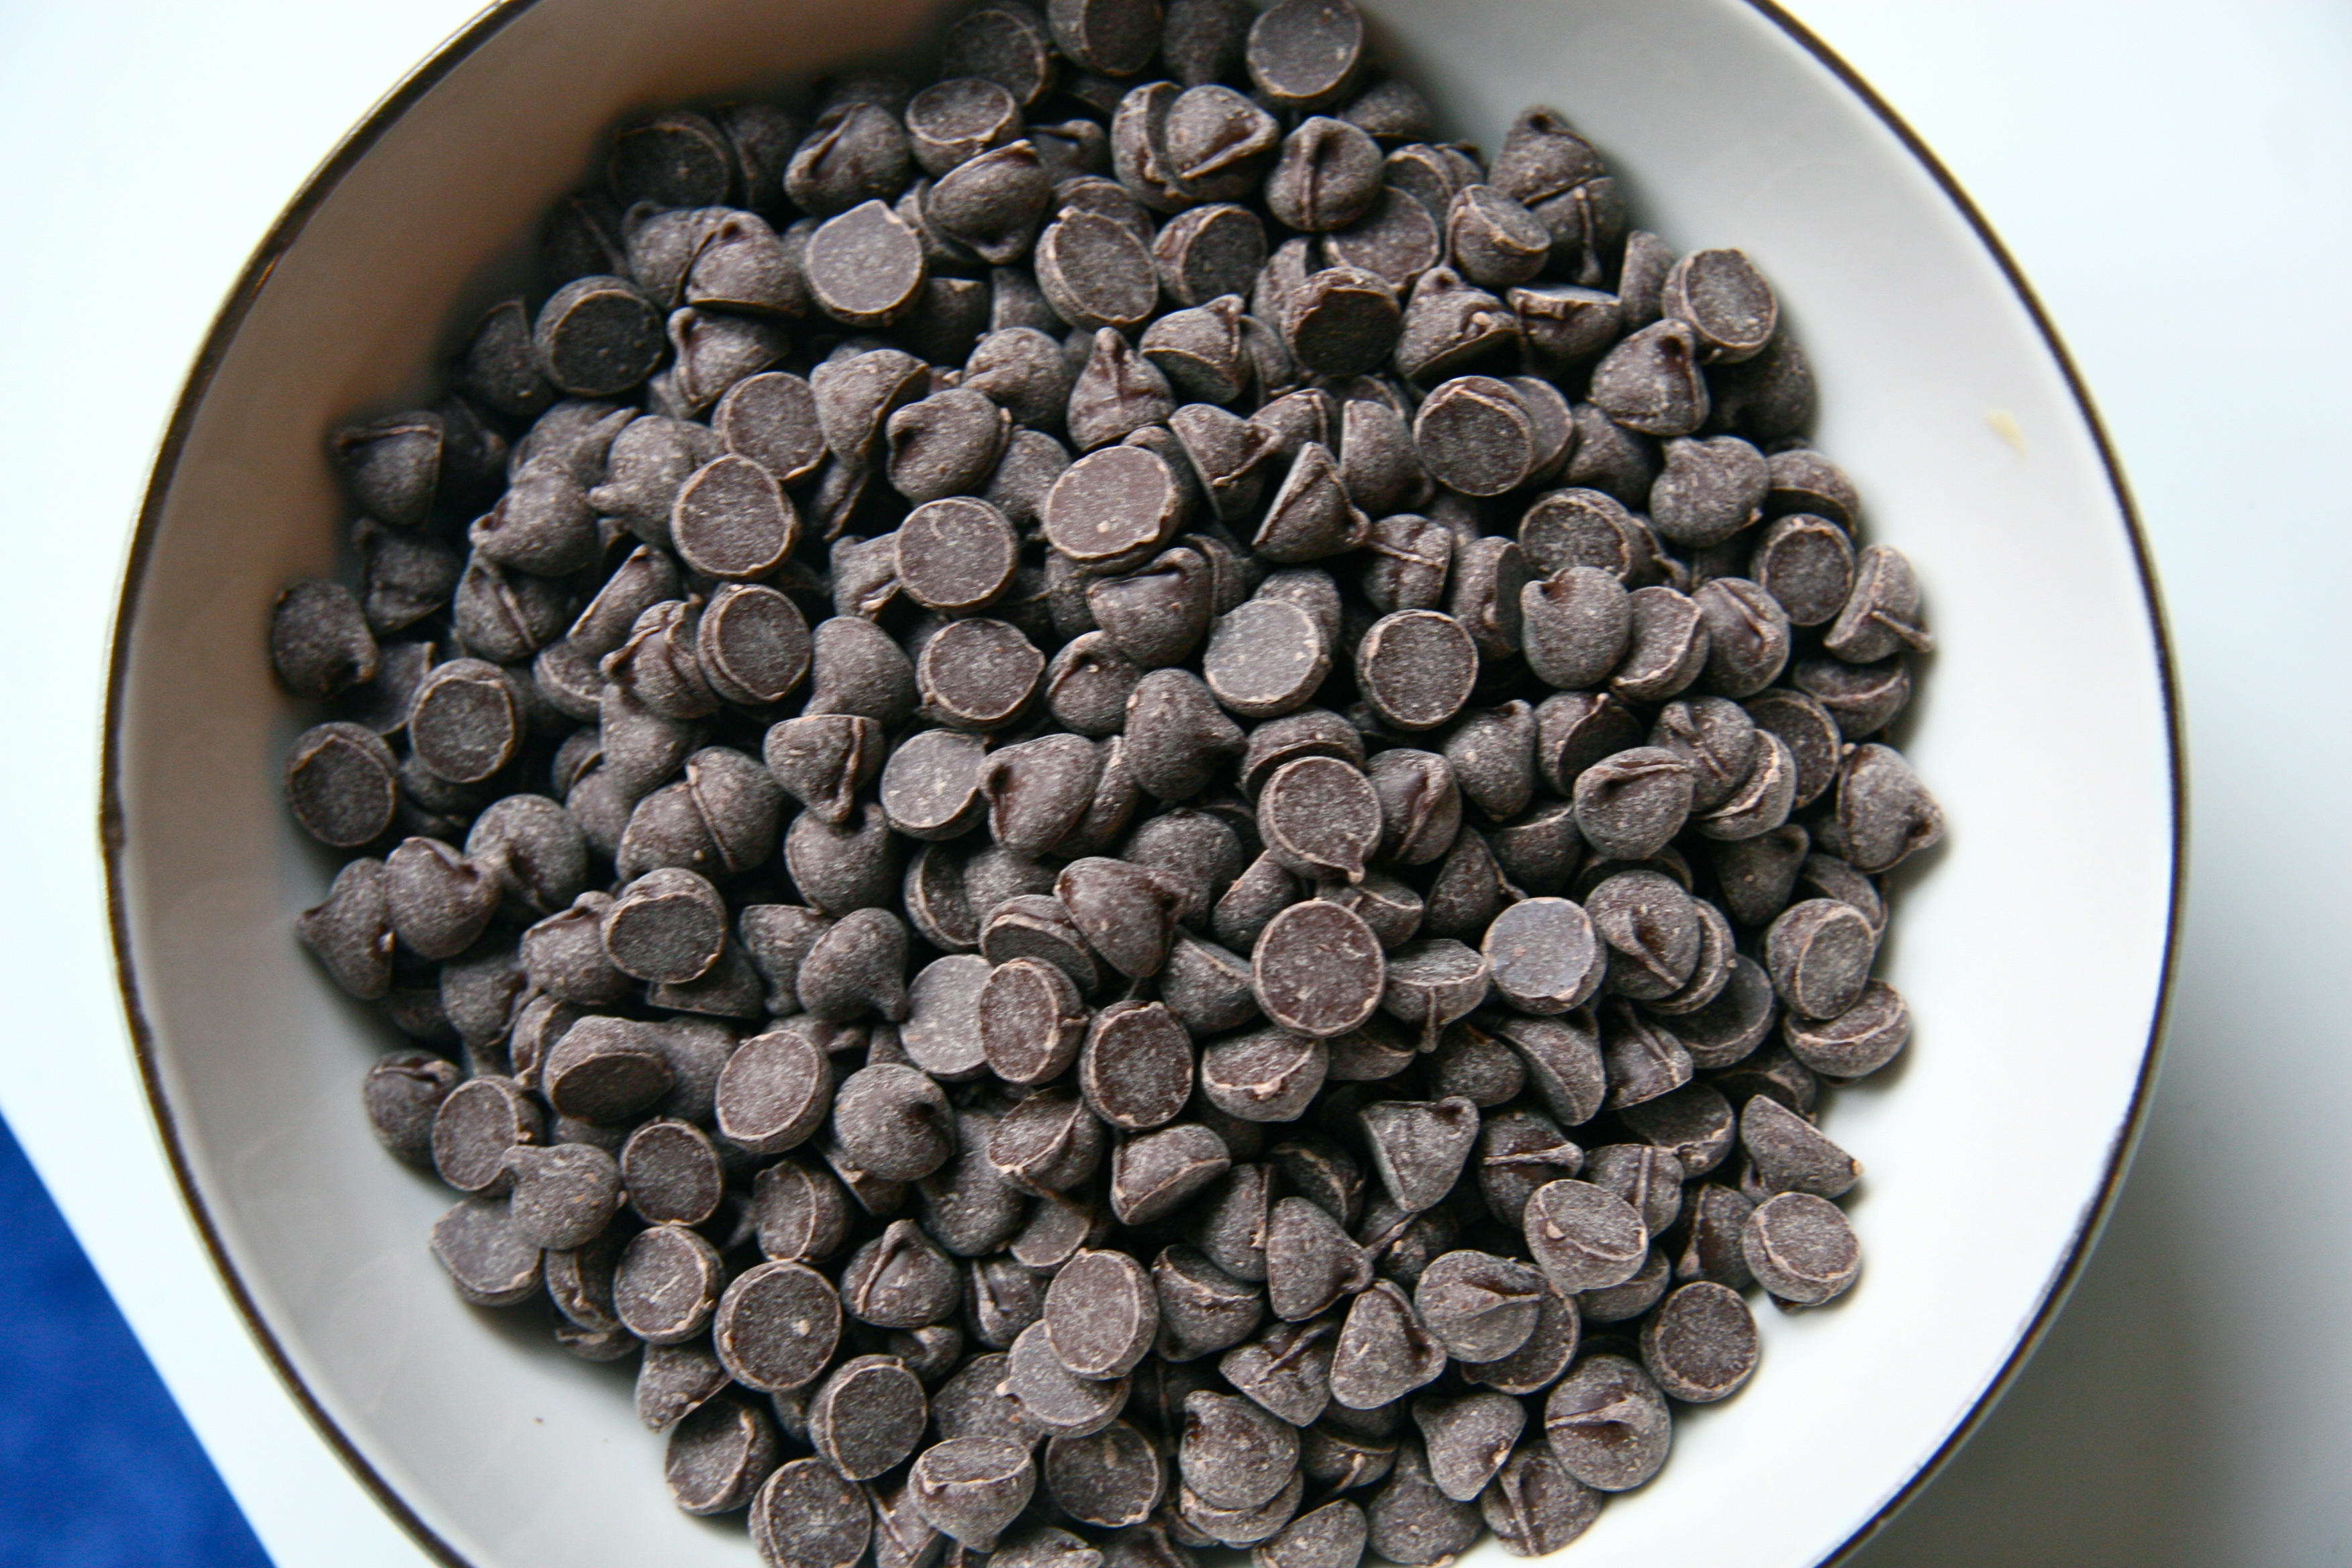
chocolate chips 1

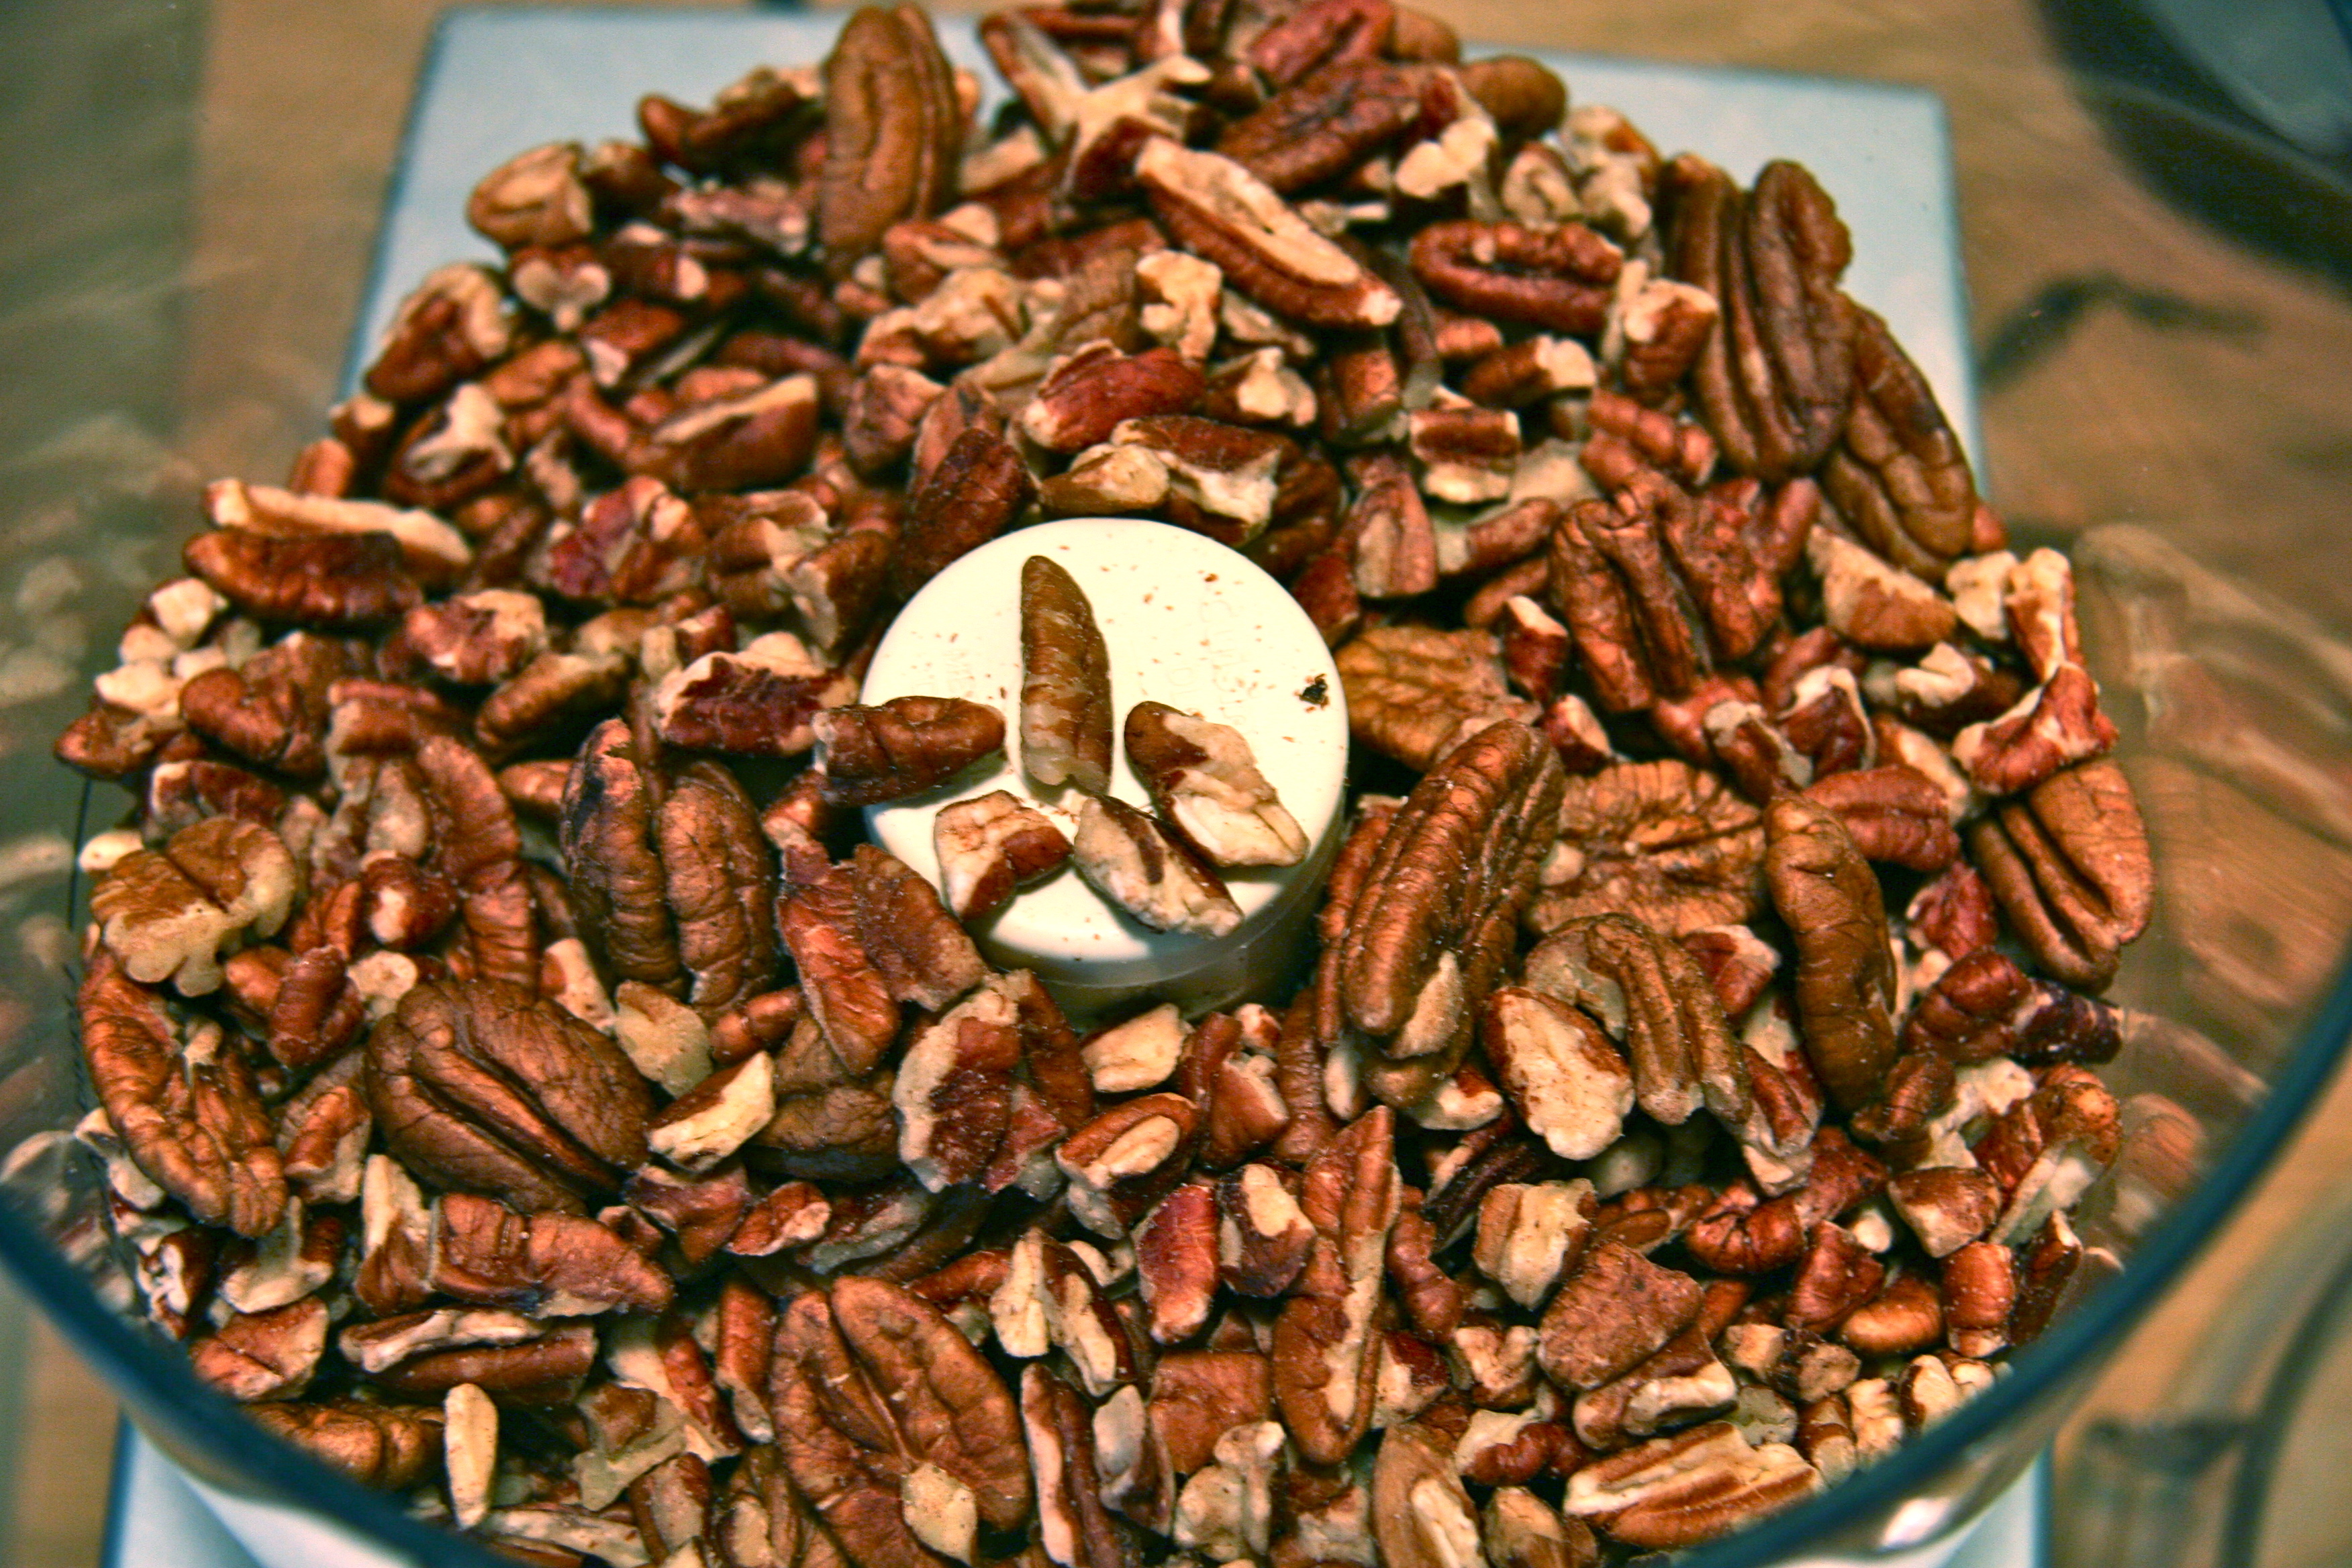
pecans1

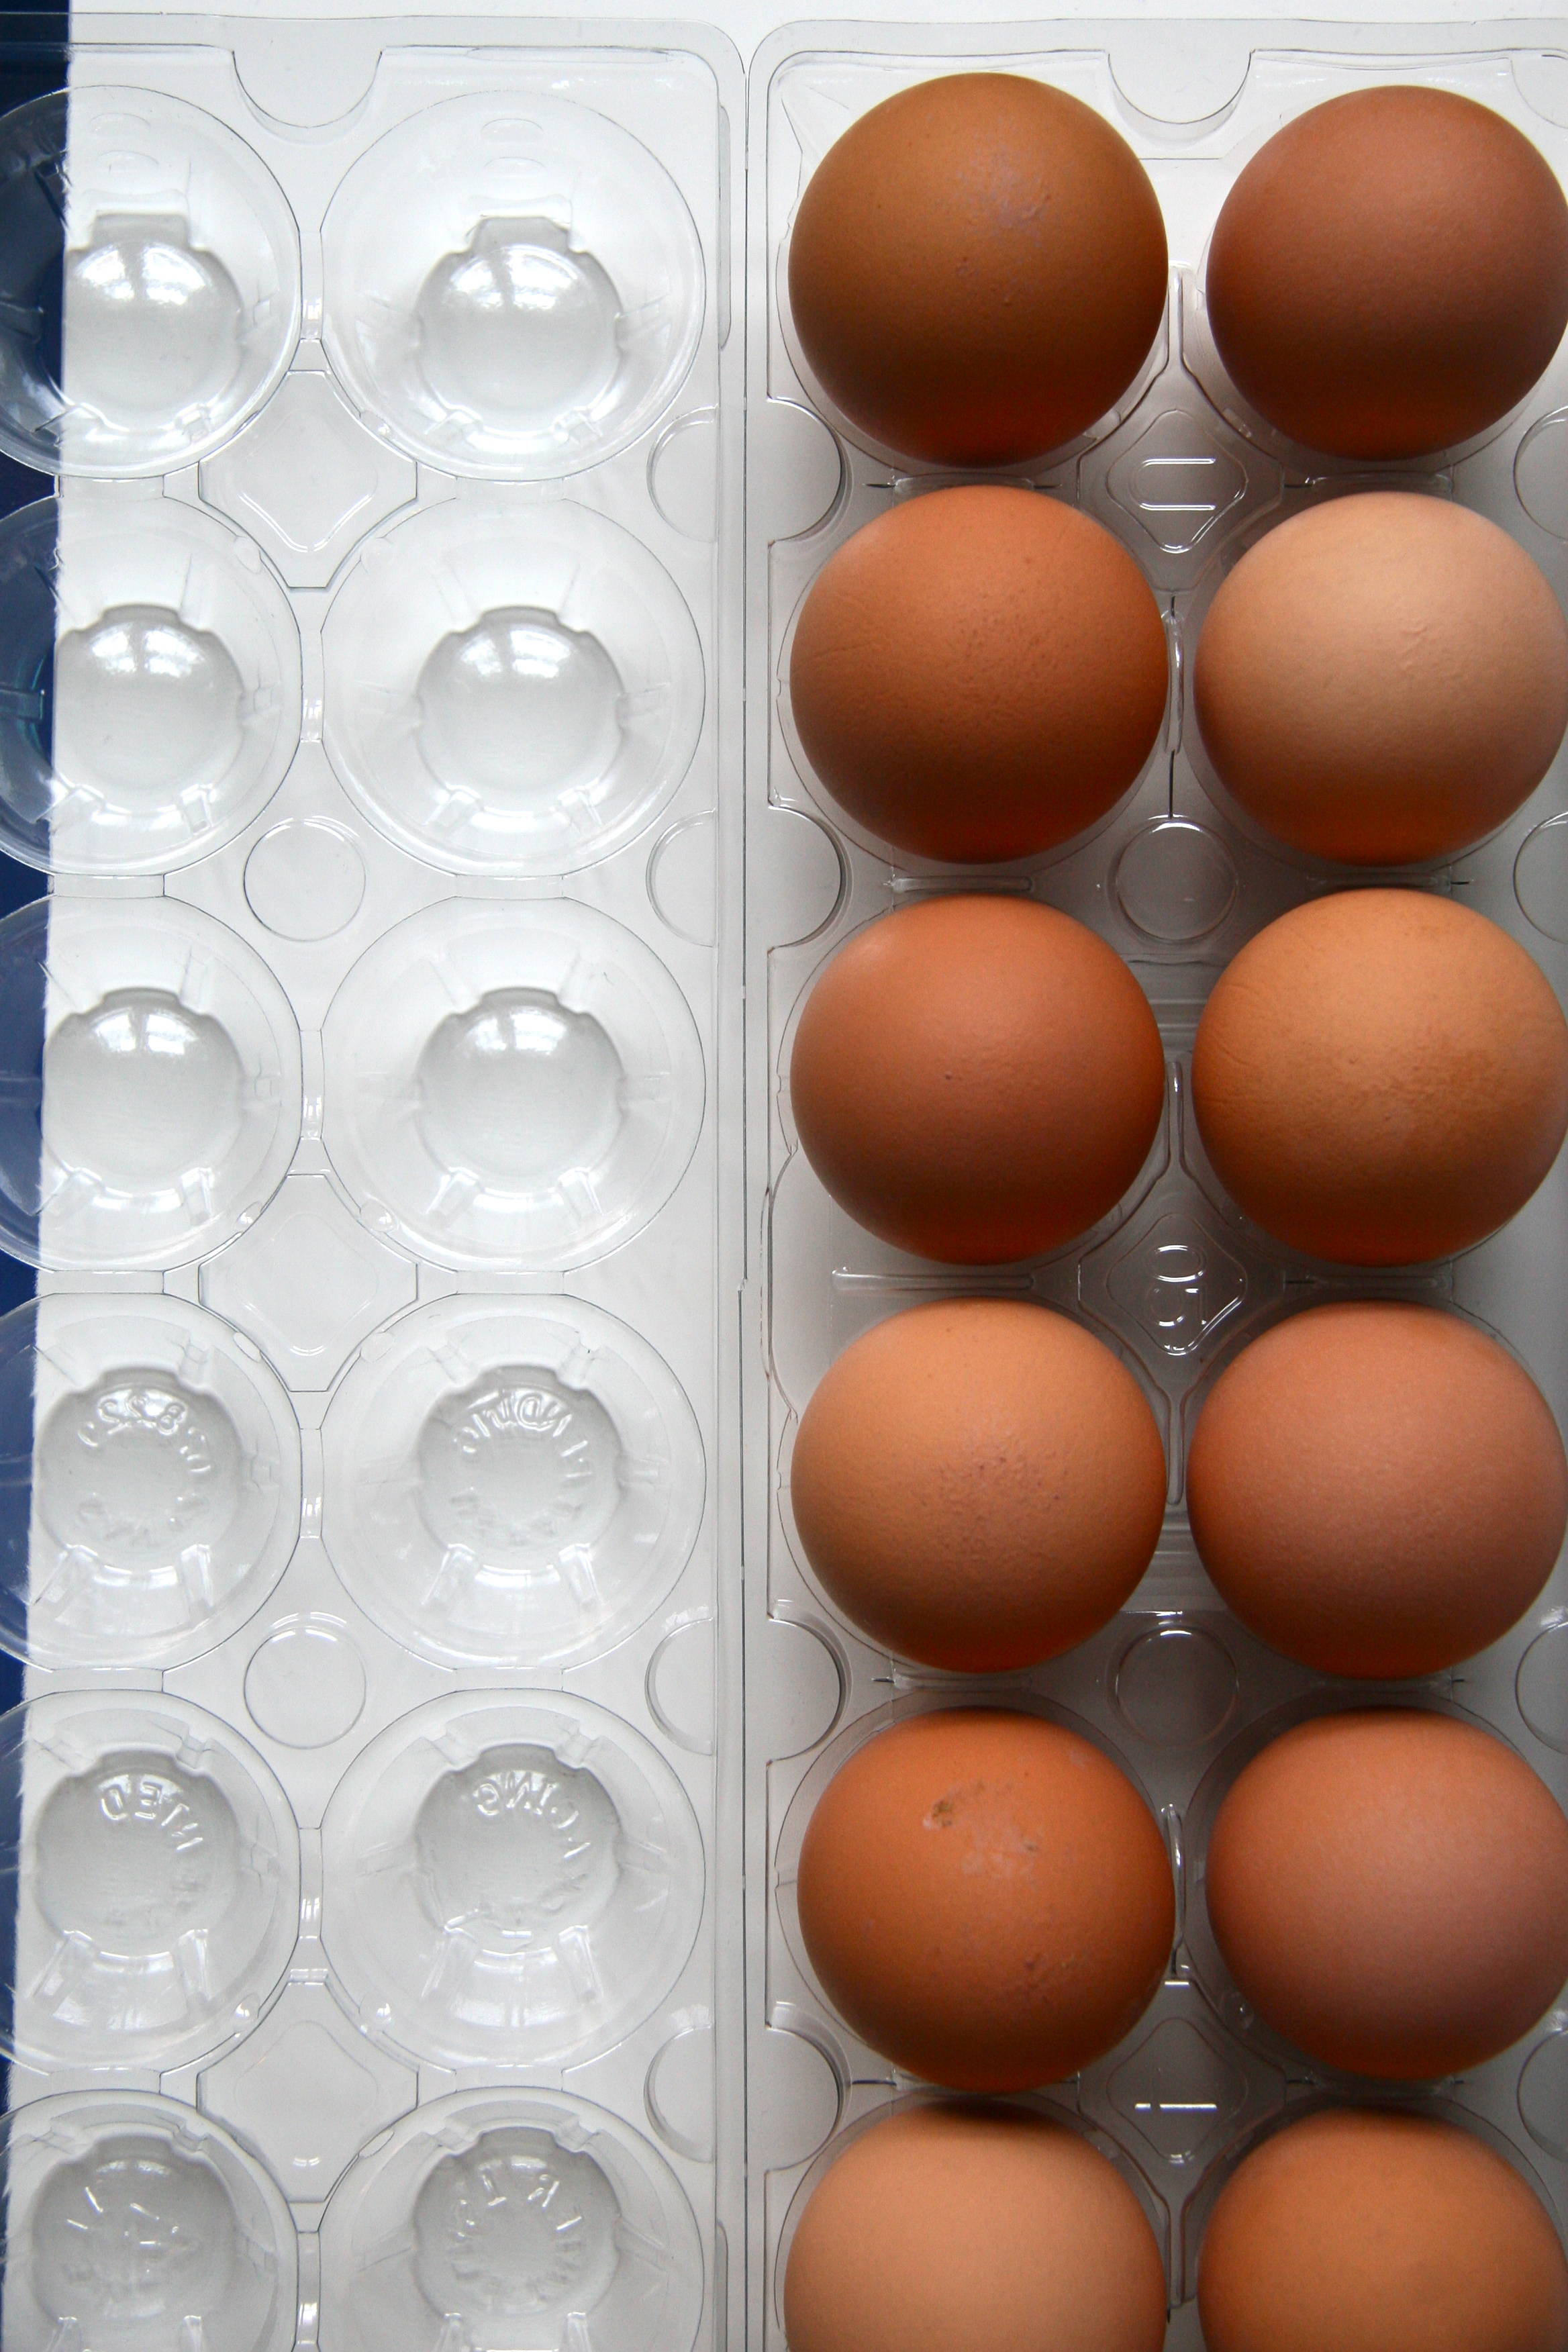
eggs1

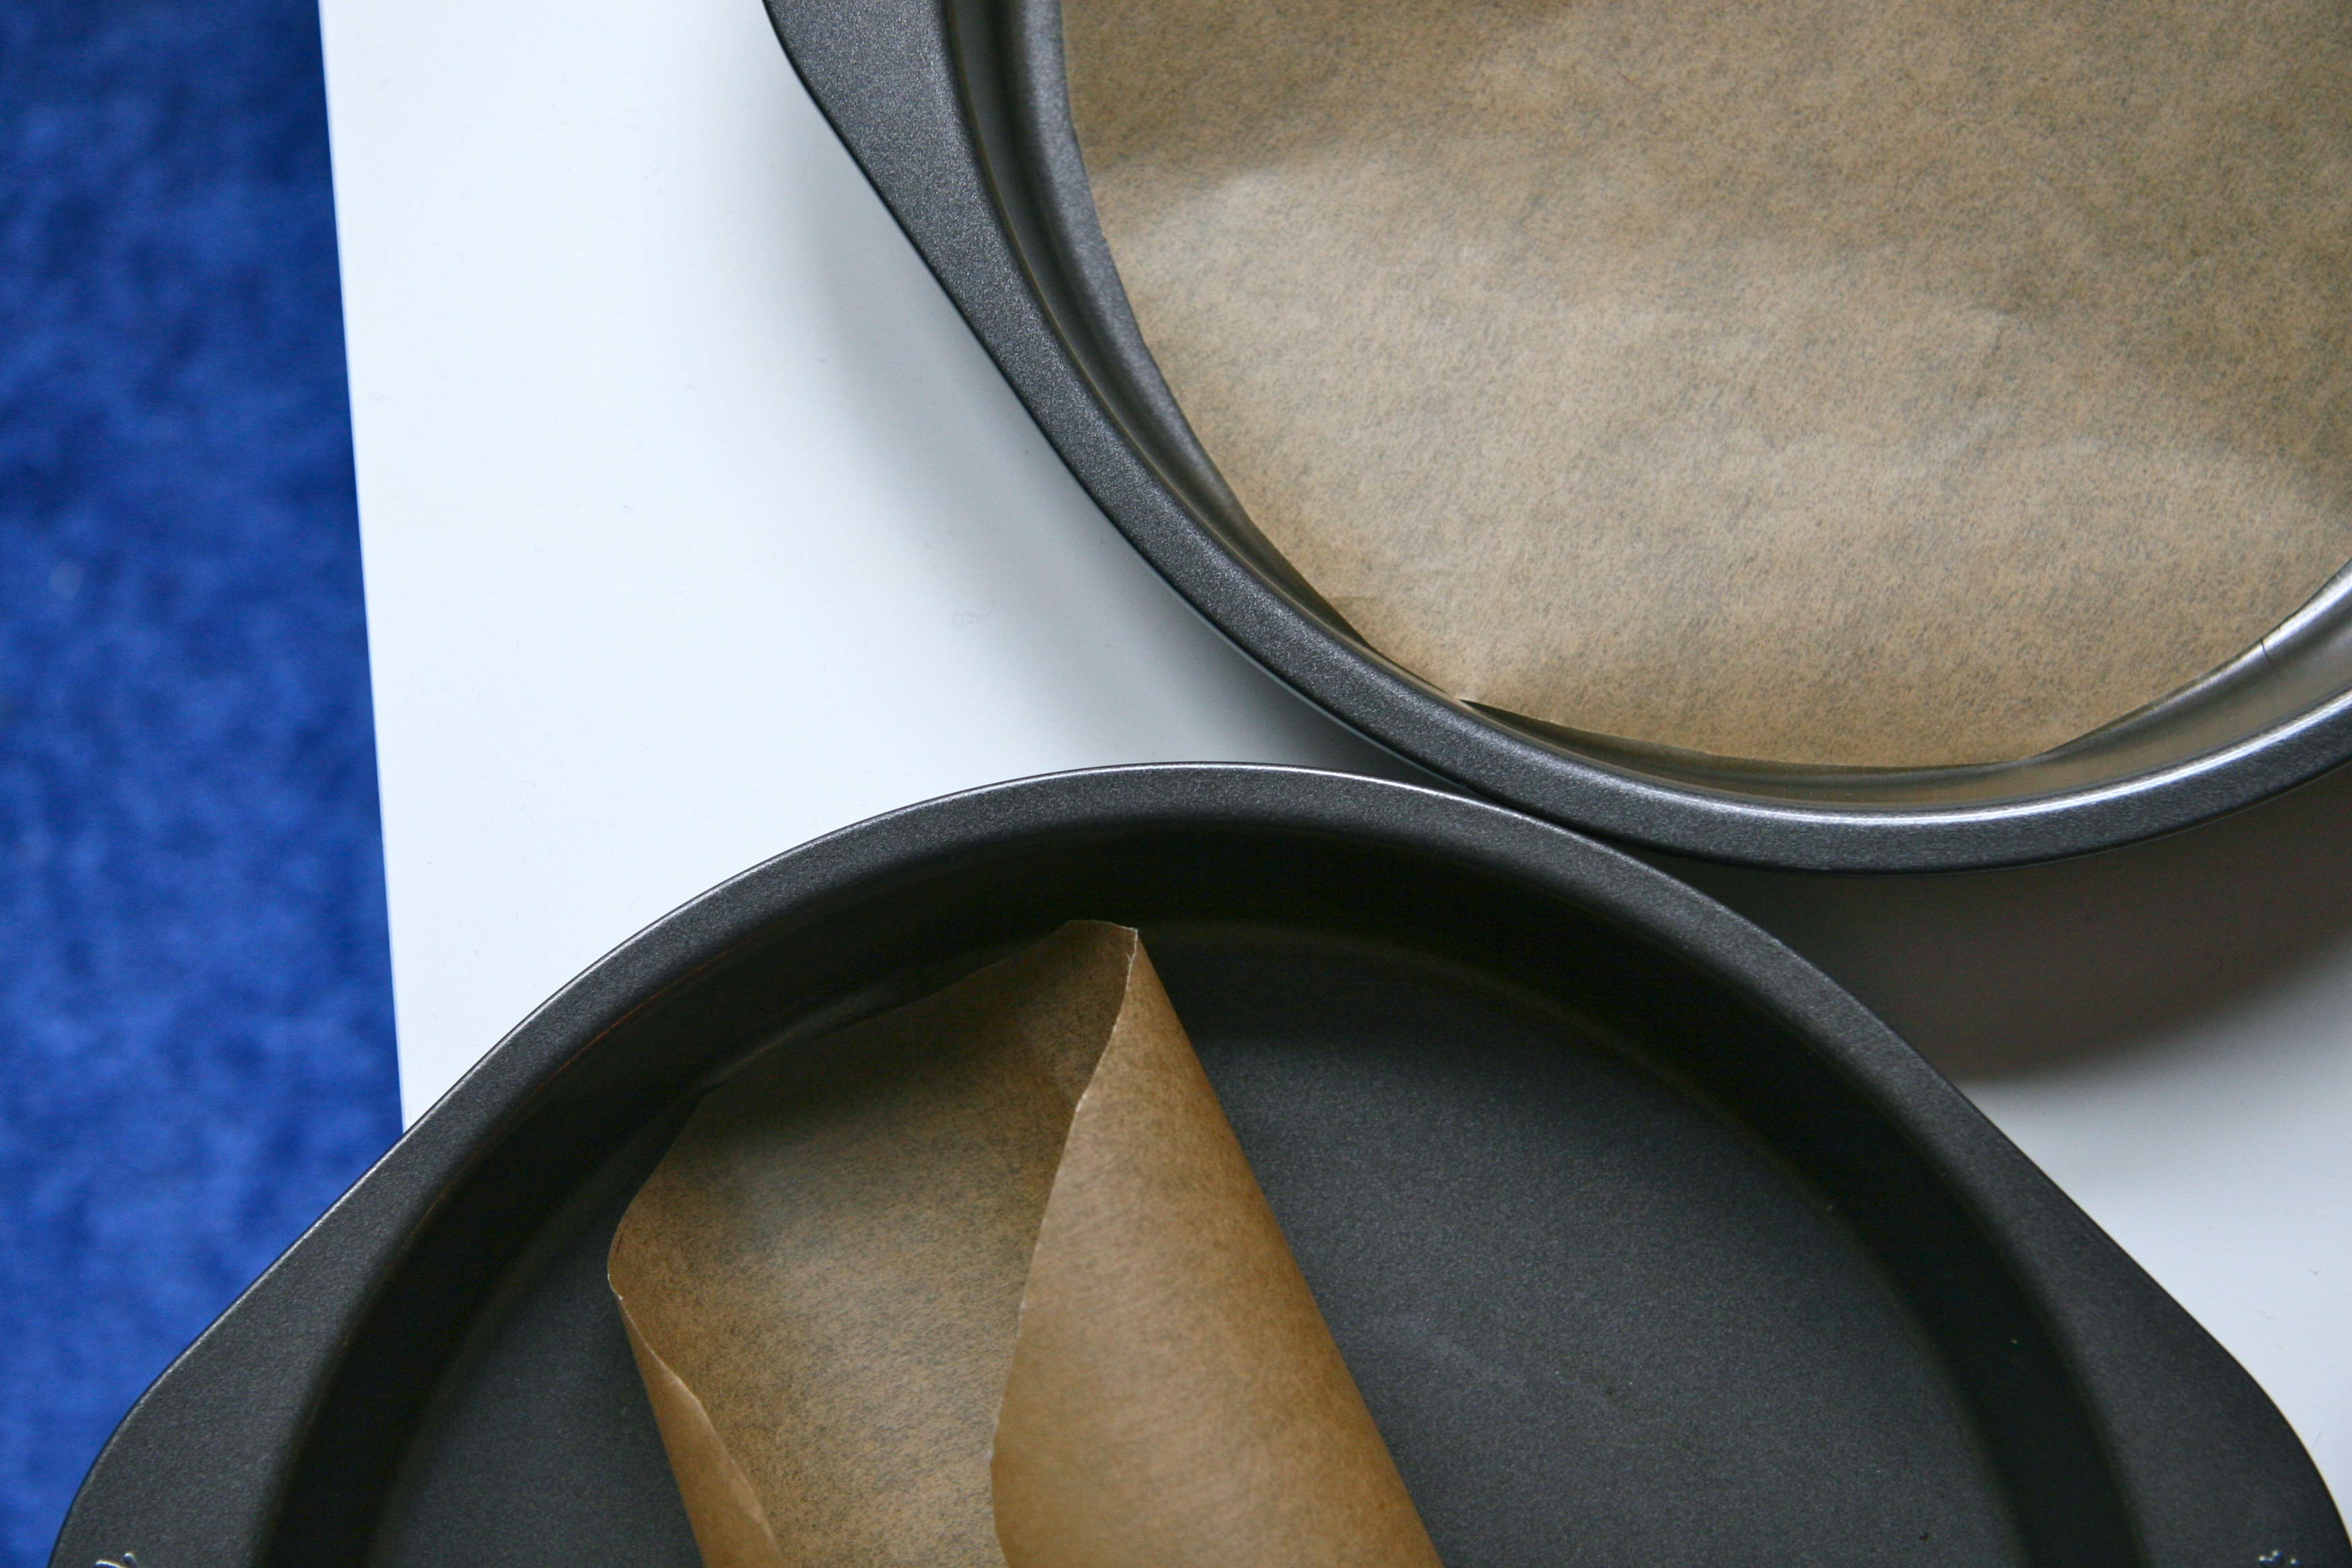
cake pans1

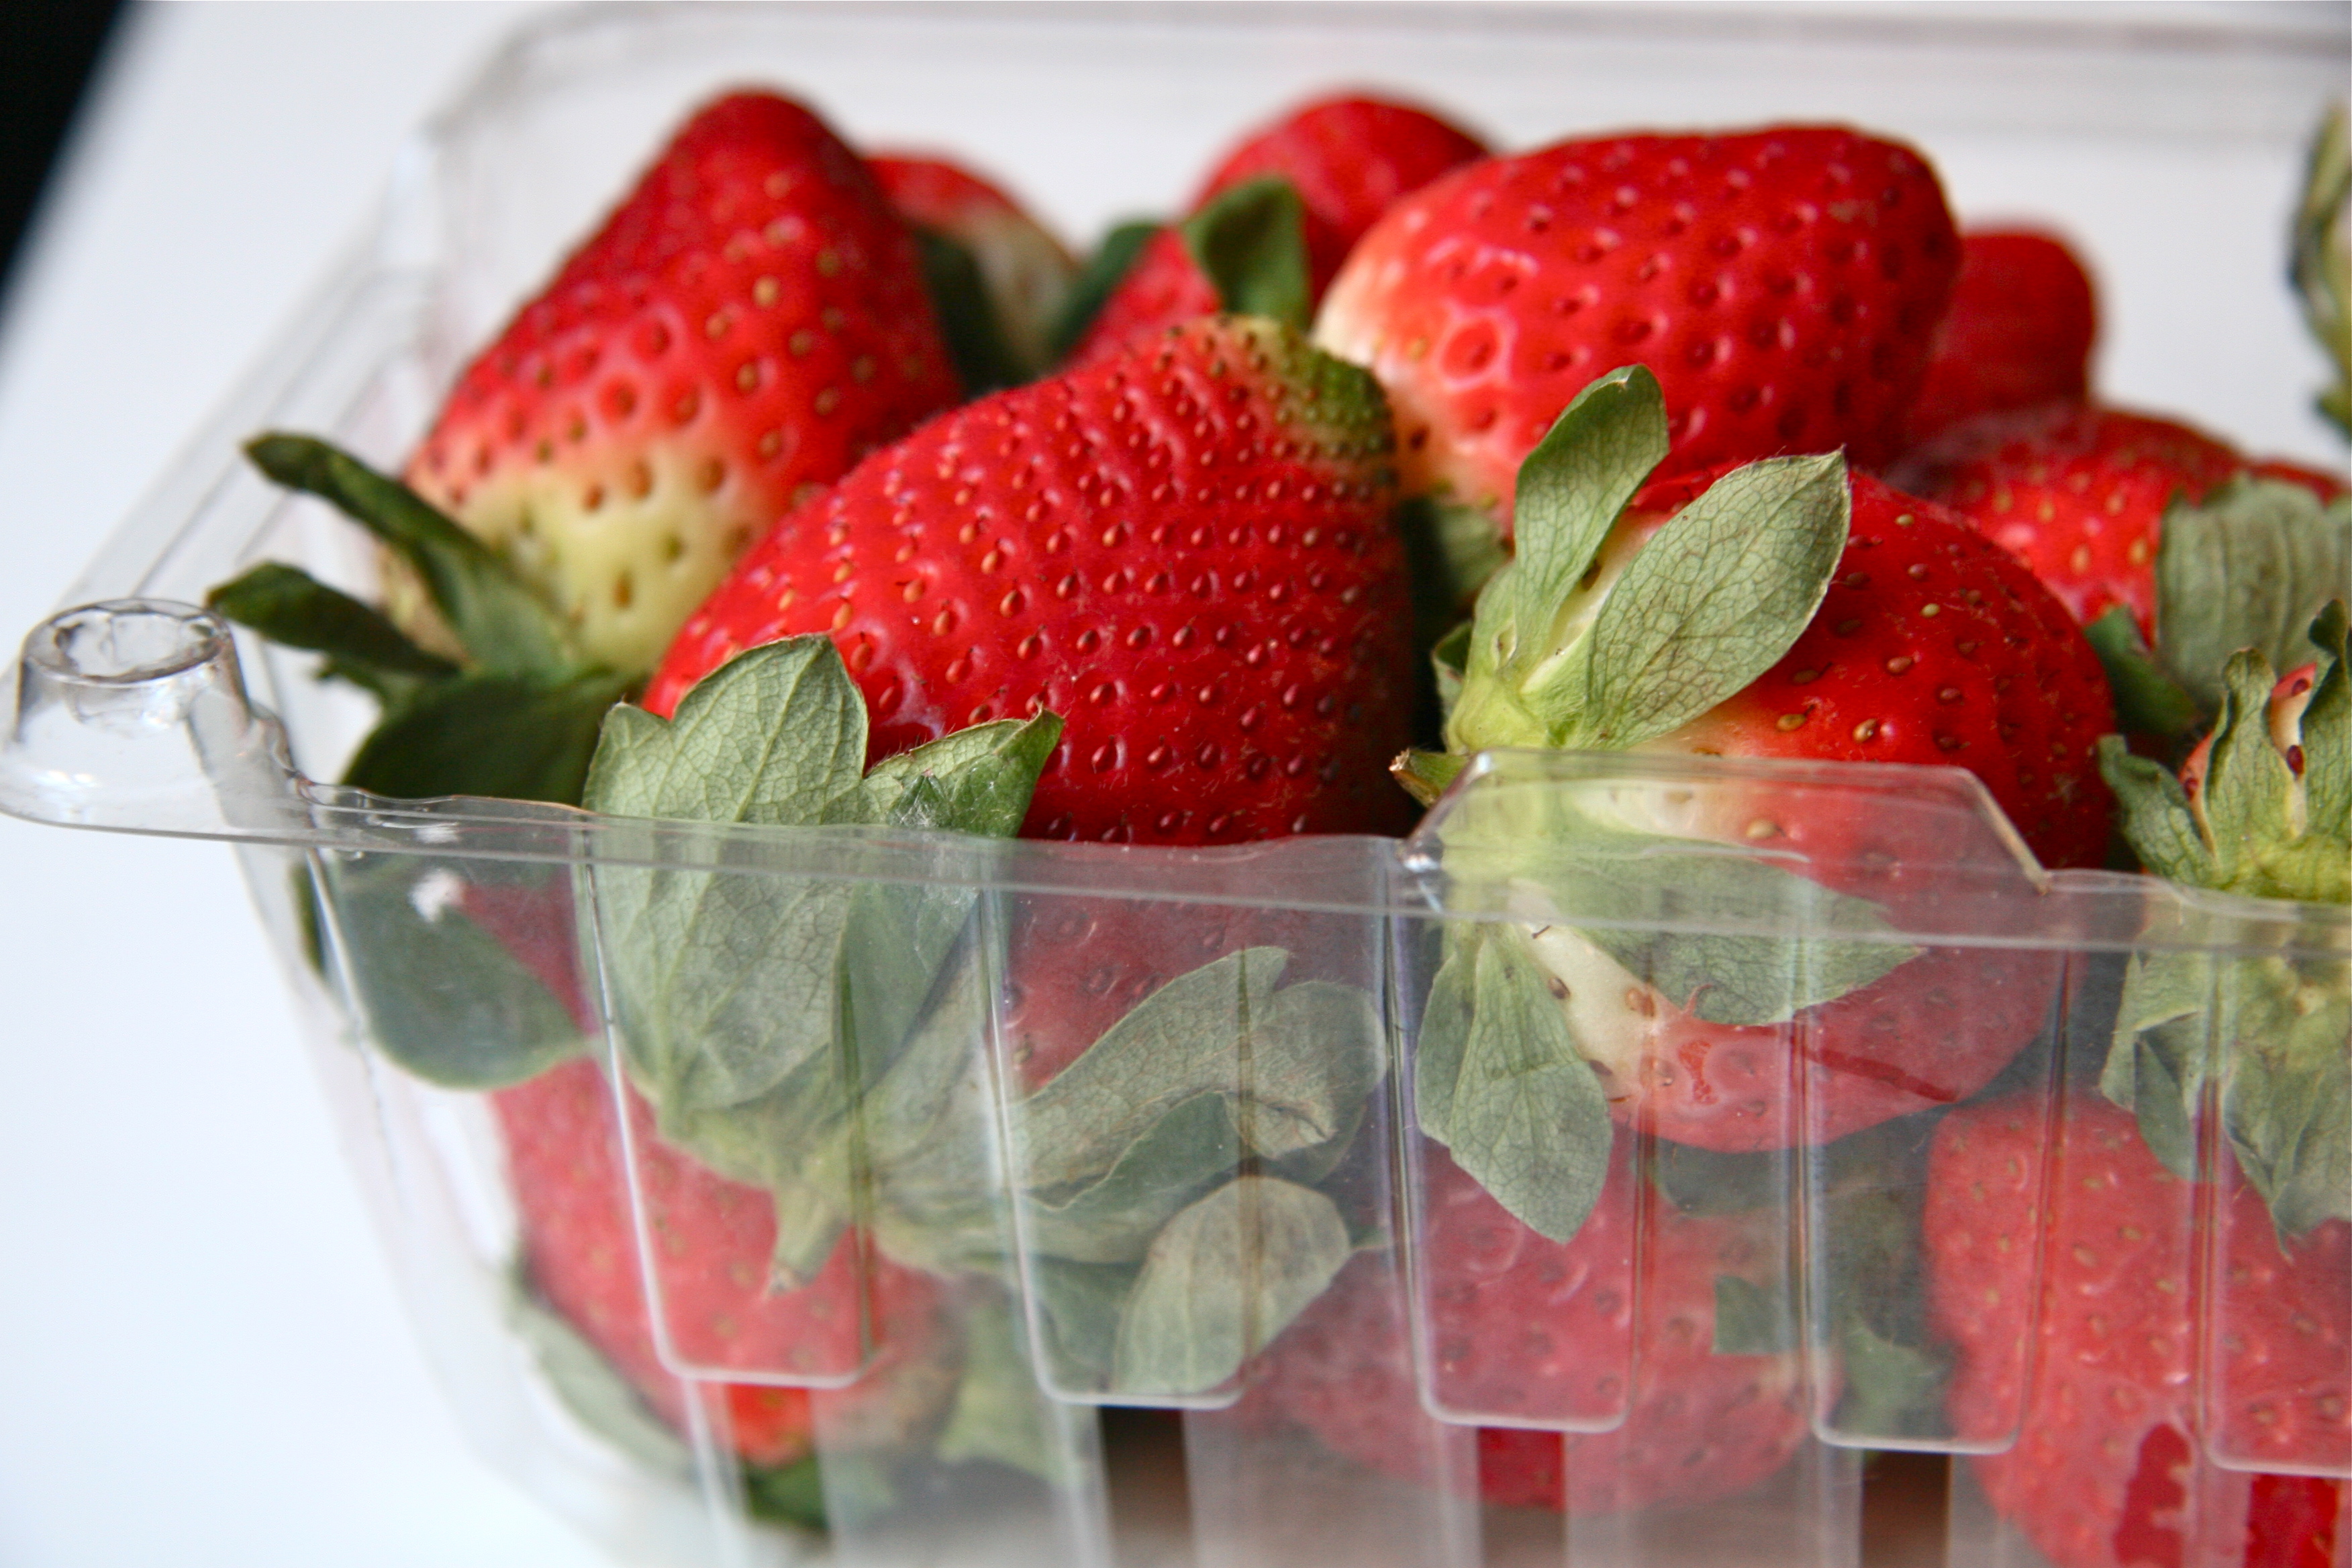
strawberries in crate

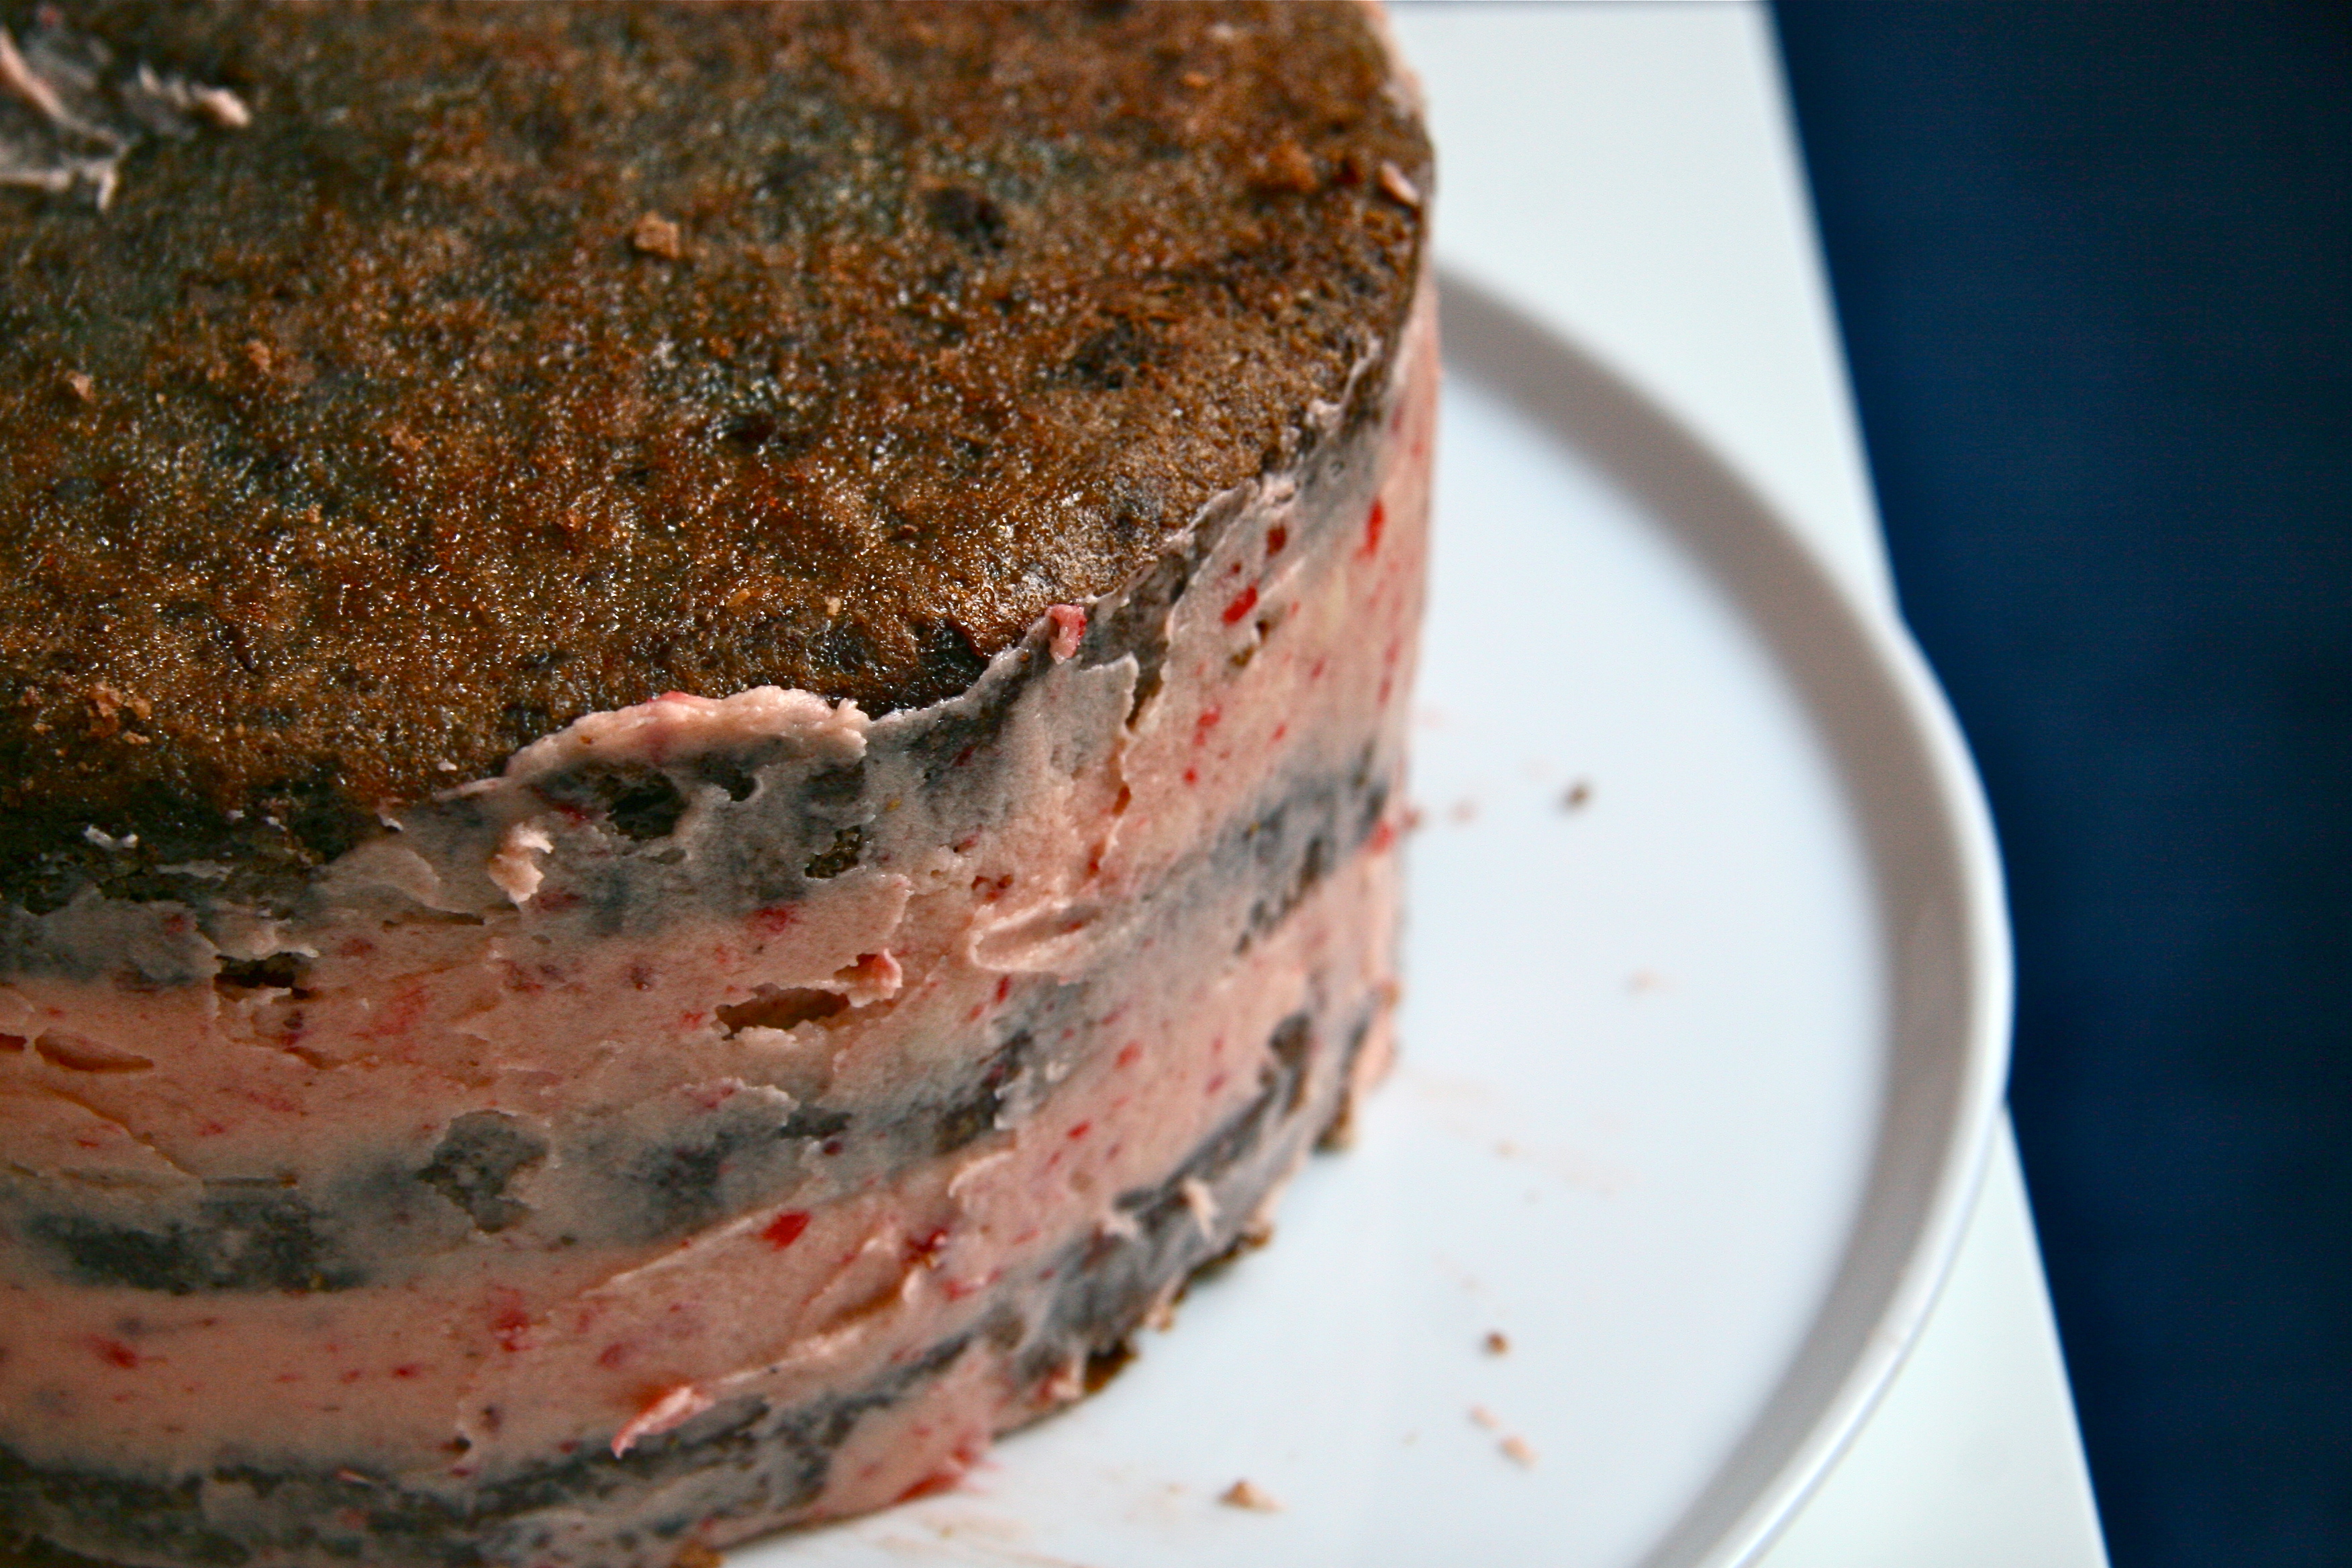
layers with strawberry buttercream

chocolate pecan torte with strawberry buttercream1

chocolate pecan torte with strawberry buttercream
Recipe Type: Dessert
Author: adapted from Bon Appetit, November 1985
Serves: 12 slices
Ingredients
  • ——-For the Cake:
  • 1 1/2 sticks unsalted butter room temperature
  • 2 cups sugar
  • 8 eggs
  • 2 tablespoons vanilla
  • 1/4 teaspoons salt
  • 12 ounces good chocolate melted
  • 3 1/2 cups pecan halves, very finely ground
  • ——-For the Strawberry Buttercream (makes about 2 ½ cups):
  • 2 1/2 sticks of butter, softened slightly
  • 2 cups powdered sugar
  • 4 egg yolks
  • 1/2 cup pureed strawberries
  • 3 Tablespoons strawberry preserves
  • ——-For the Chocolate Ganache:
  • 1 ¼ cup semisweet chocolate roughly chopped
  • 1 cup heavy cream
  • 2 tablespoons butter
  • 1 1/2 cups mini chocolate chips, chilled, for covering cake sides (optional)
Instructions
  1. Make the Cake: Preheat oven to 375. Butter three 9 inch round cake pans, line with parchment and butter parchment. Cream the butter until light, add the sugar and cream until light and fluffy. Beat in eggs one at a time, add vanilla and salt. Using rubber spatula, stir in chocolate and then pecans. Divide batter among the pans and bake until toothpick comes out fudgey but not wet, about 22 minutes. Top may crack. Cool for 5 minutes in pan, run knife around edge, invert onto rack and cool completely. May be done 2 days ahead, Wrap each layer in plastic and refrigerate.
  2. Make the Buttercream: Cream butter and sugar until light and fluffy. Add egg yolks, then pureed berries and preserves. Cover tightly and refrigerate until set. May be made two days ahead. Let soften at room temp until spreadable.
  3. Make the Ganache (wait to make this until you assemble the rest of the cake): Place the chopped chocolate in a medium sized heatproof bowl. Set aside. Heat the cream and butter in a small saucepan over medium heat. (Can also heat the cream and butter in the microwave.) Bring just to a boil. Immediately pour the boiling cream over the chocolate and allow to stand, without stirring, for a few minutes. Stir gently (as you do not want to incorporate air into the ganache) with a spoon or whisk until smooth.
  4. To Assemble: Arrange one cake layer bottom side up on a platter. Spread 1 cup strawberry buttercream over layer, Repeat with next layer and buttercream, ending with cake bottom side up. Cover and refrigerate for at least 6 hours. Pour ganache over center of cake, smooth out from the center allowing it to drip over the sides. Smooth with a pastry spatula or knife. If using, gently press handfuls of the cold mini chocolate chips against the ganache on the sides of the cake. Can be arranged one day ahead and refrigerated. Let stand at room temp for one hour before serving.
3.2.1275


Filed Under: desserts and sweets, eat Tagged With: cake, celebration cake, chocolate, chocolate cake, chocolate ganache, chocolate torte, ganache, gluten-free, strawberry buttercream, strawberry filling, torte

slow cooker carnitas

February 17, 2014 by Butter Loves Company

slow cooker carnitas

Attention all San Diego-ers (San Dieg-ites? San Diego-ans?): Greg and I just booked a trip out there in a few weeks as a reprieve from this wretched winter. As it will be my first time there, I’m now taking any and all suggestions on “must do, eat, or see” activities. Please feel free to leave them as comments here.
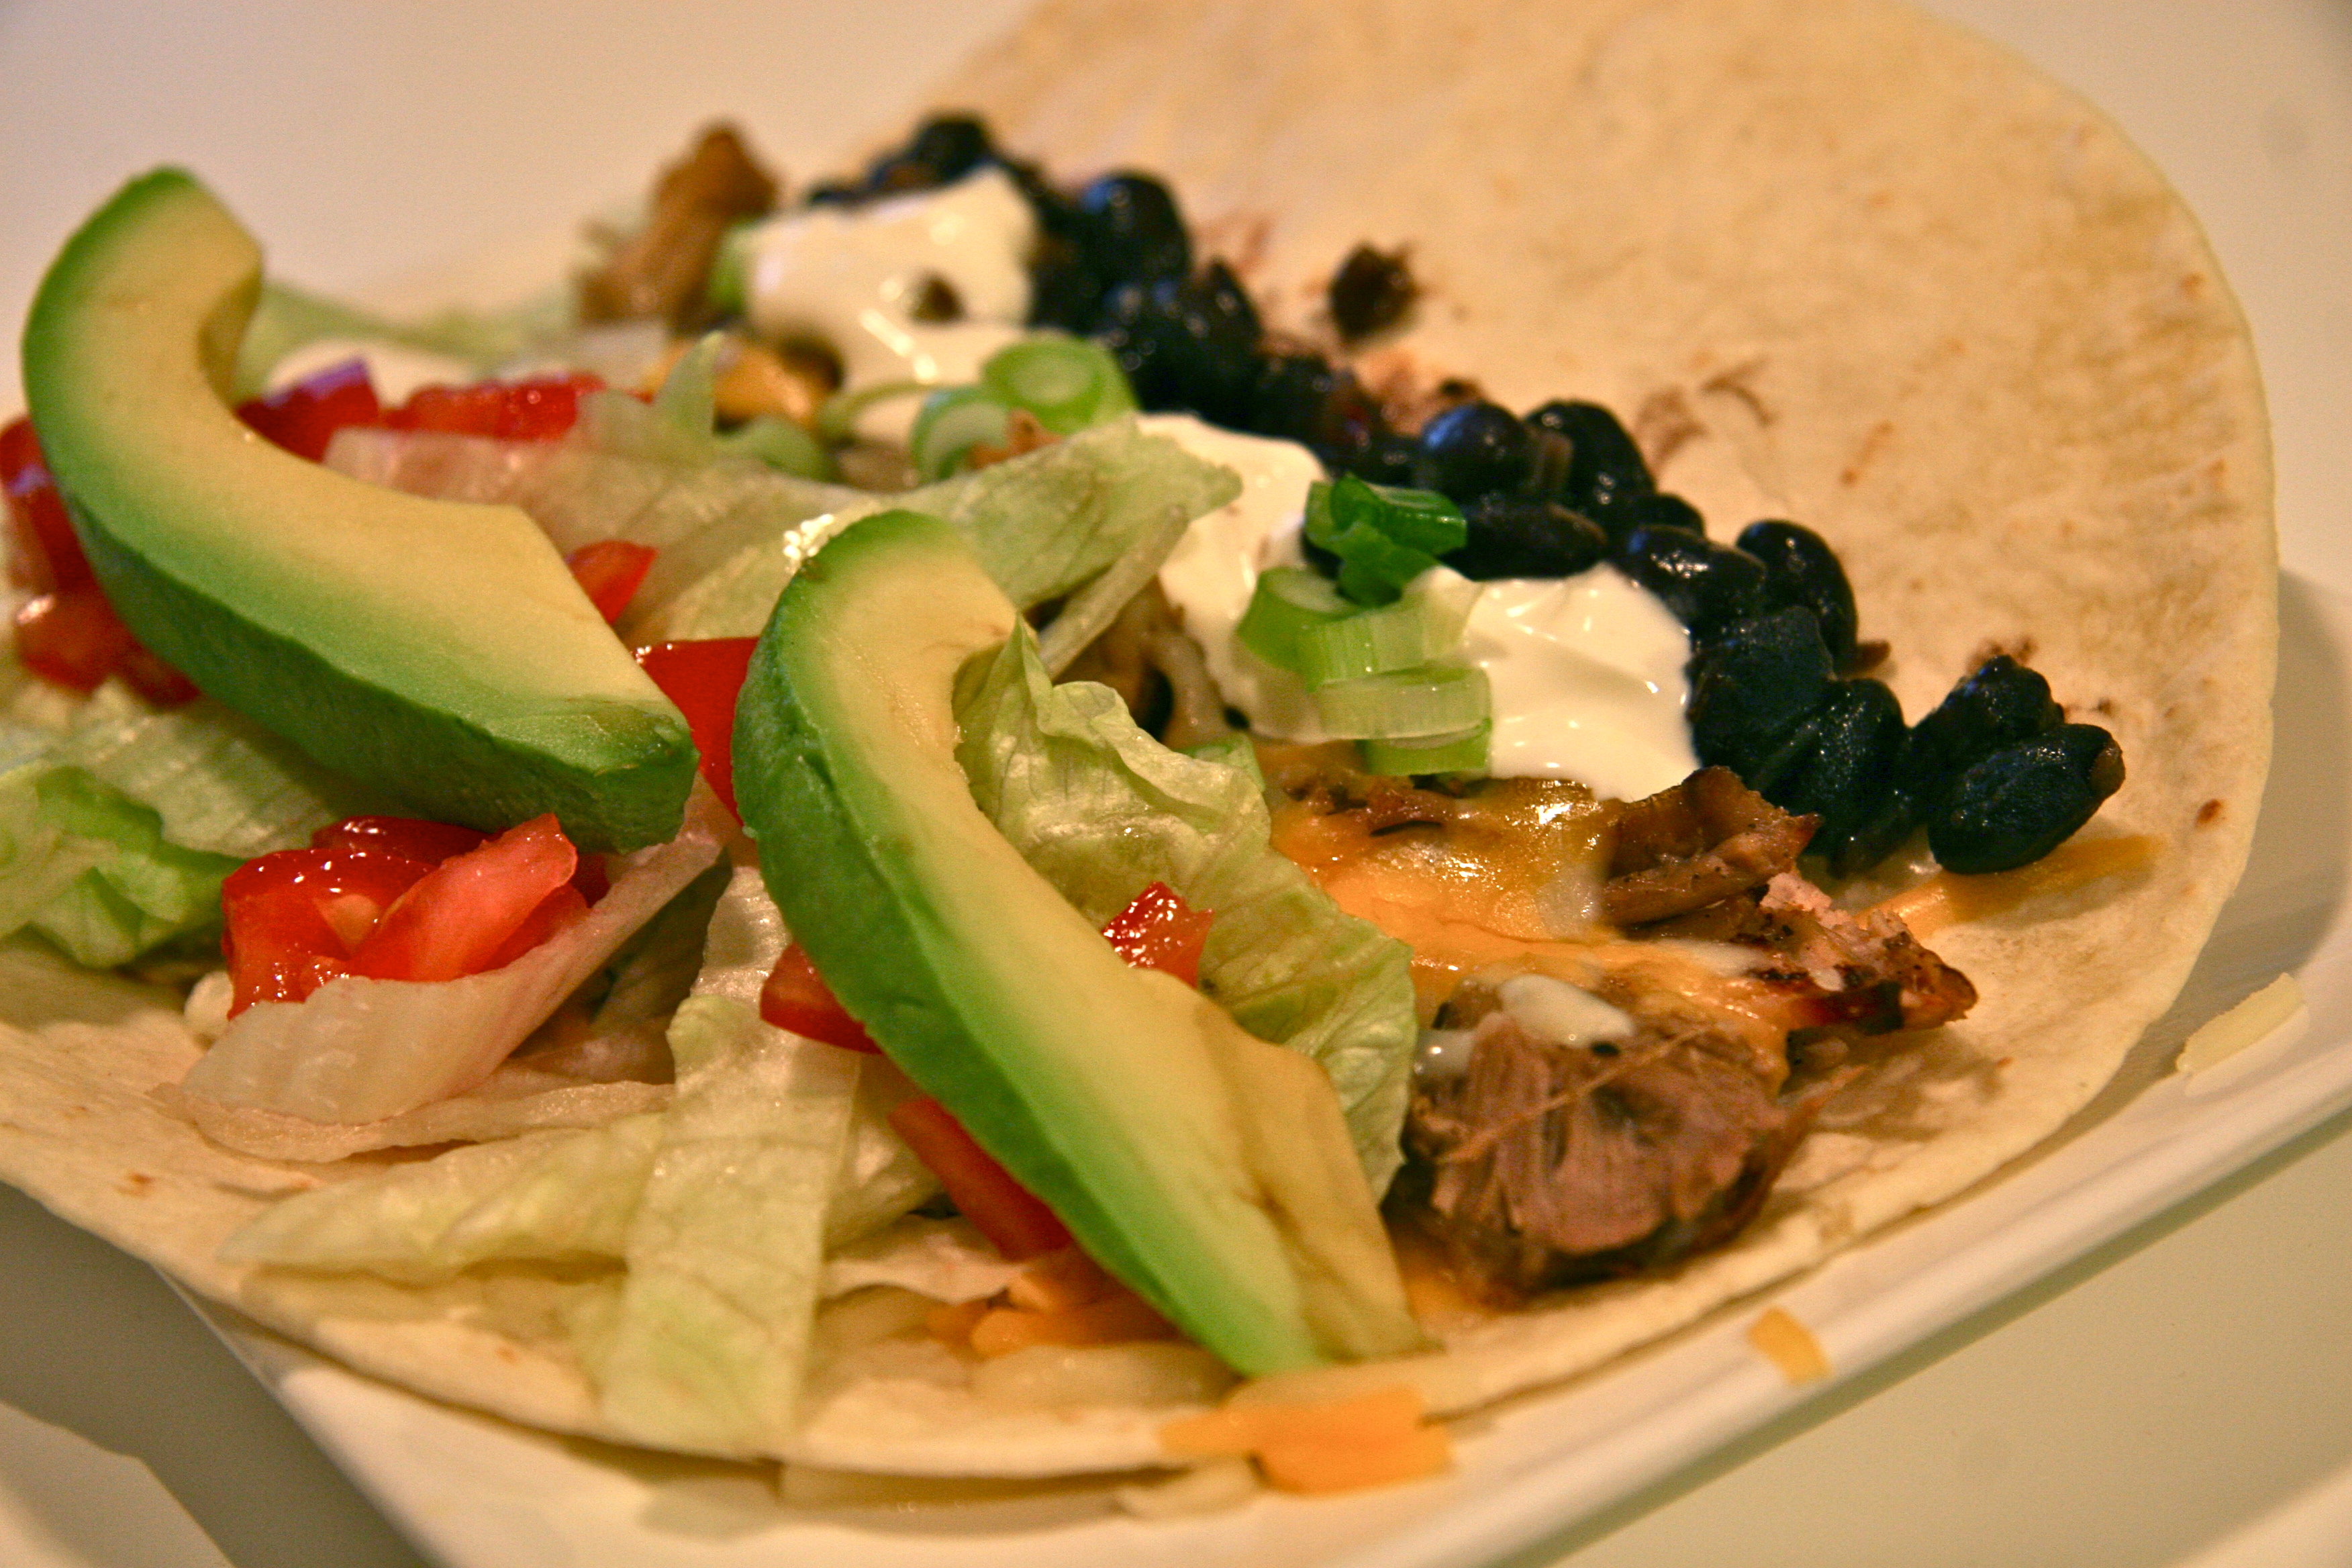
It’s my understanding that I’ll be eating lots of tacos and burritos in Southern California, and while Boston has a few good spots for these things, I am excited to eat bucket loads of local avocados and authentic Mexican fare (Anna’s Taqueria, please forgive me if I’m unfaithful).

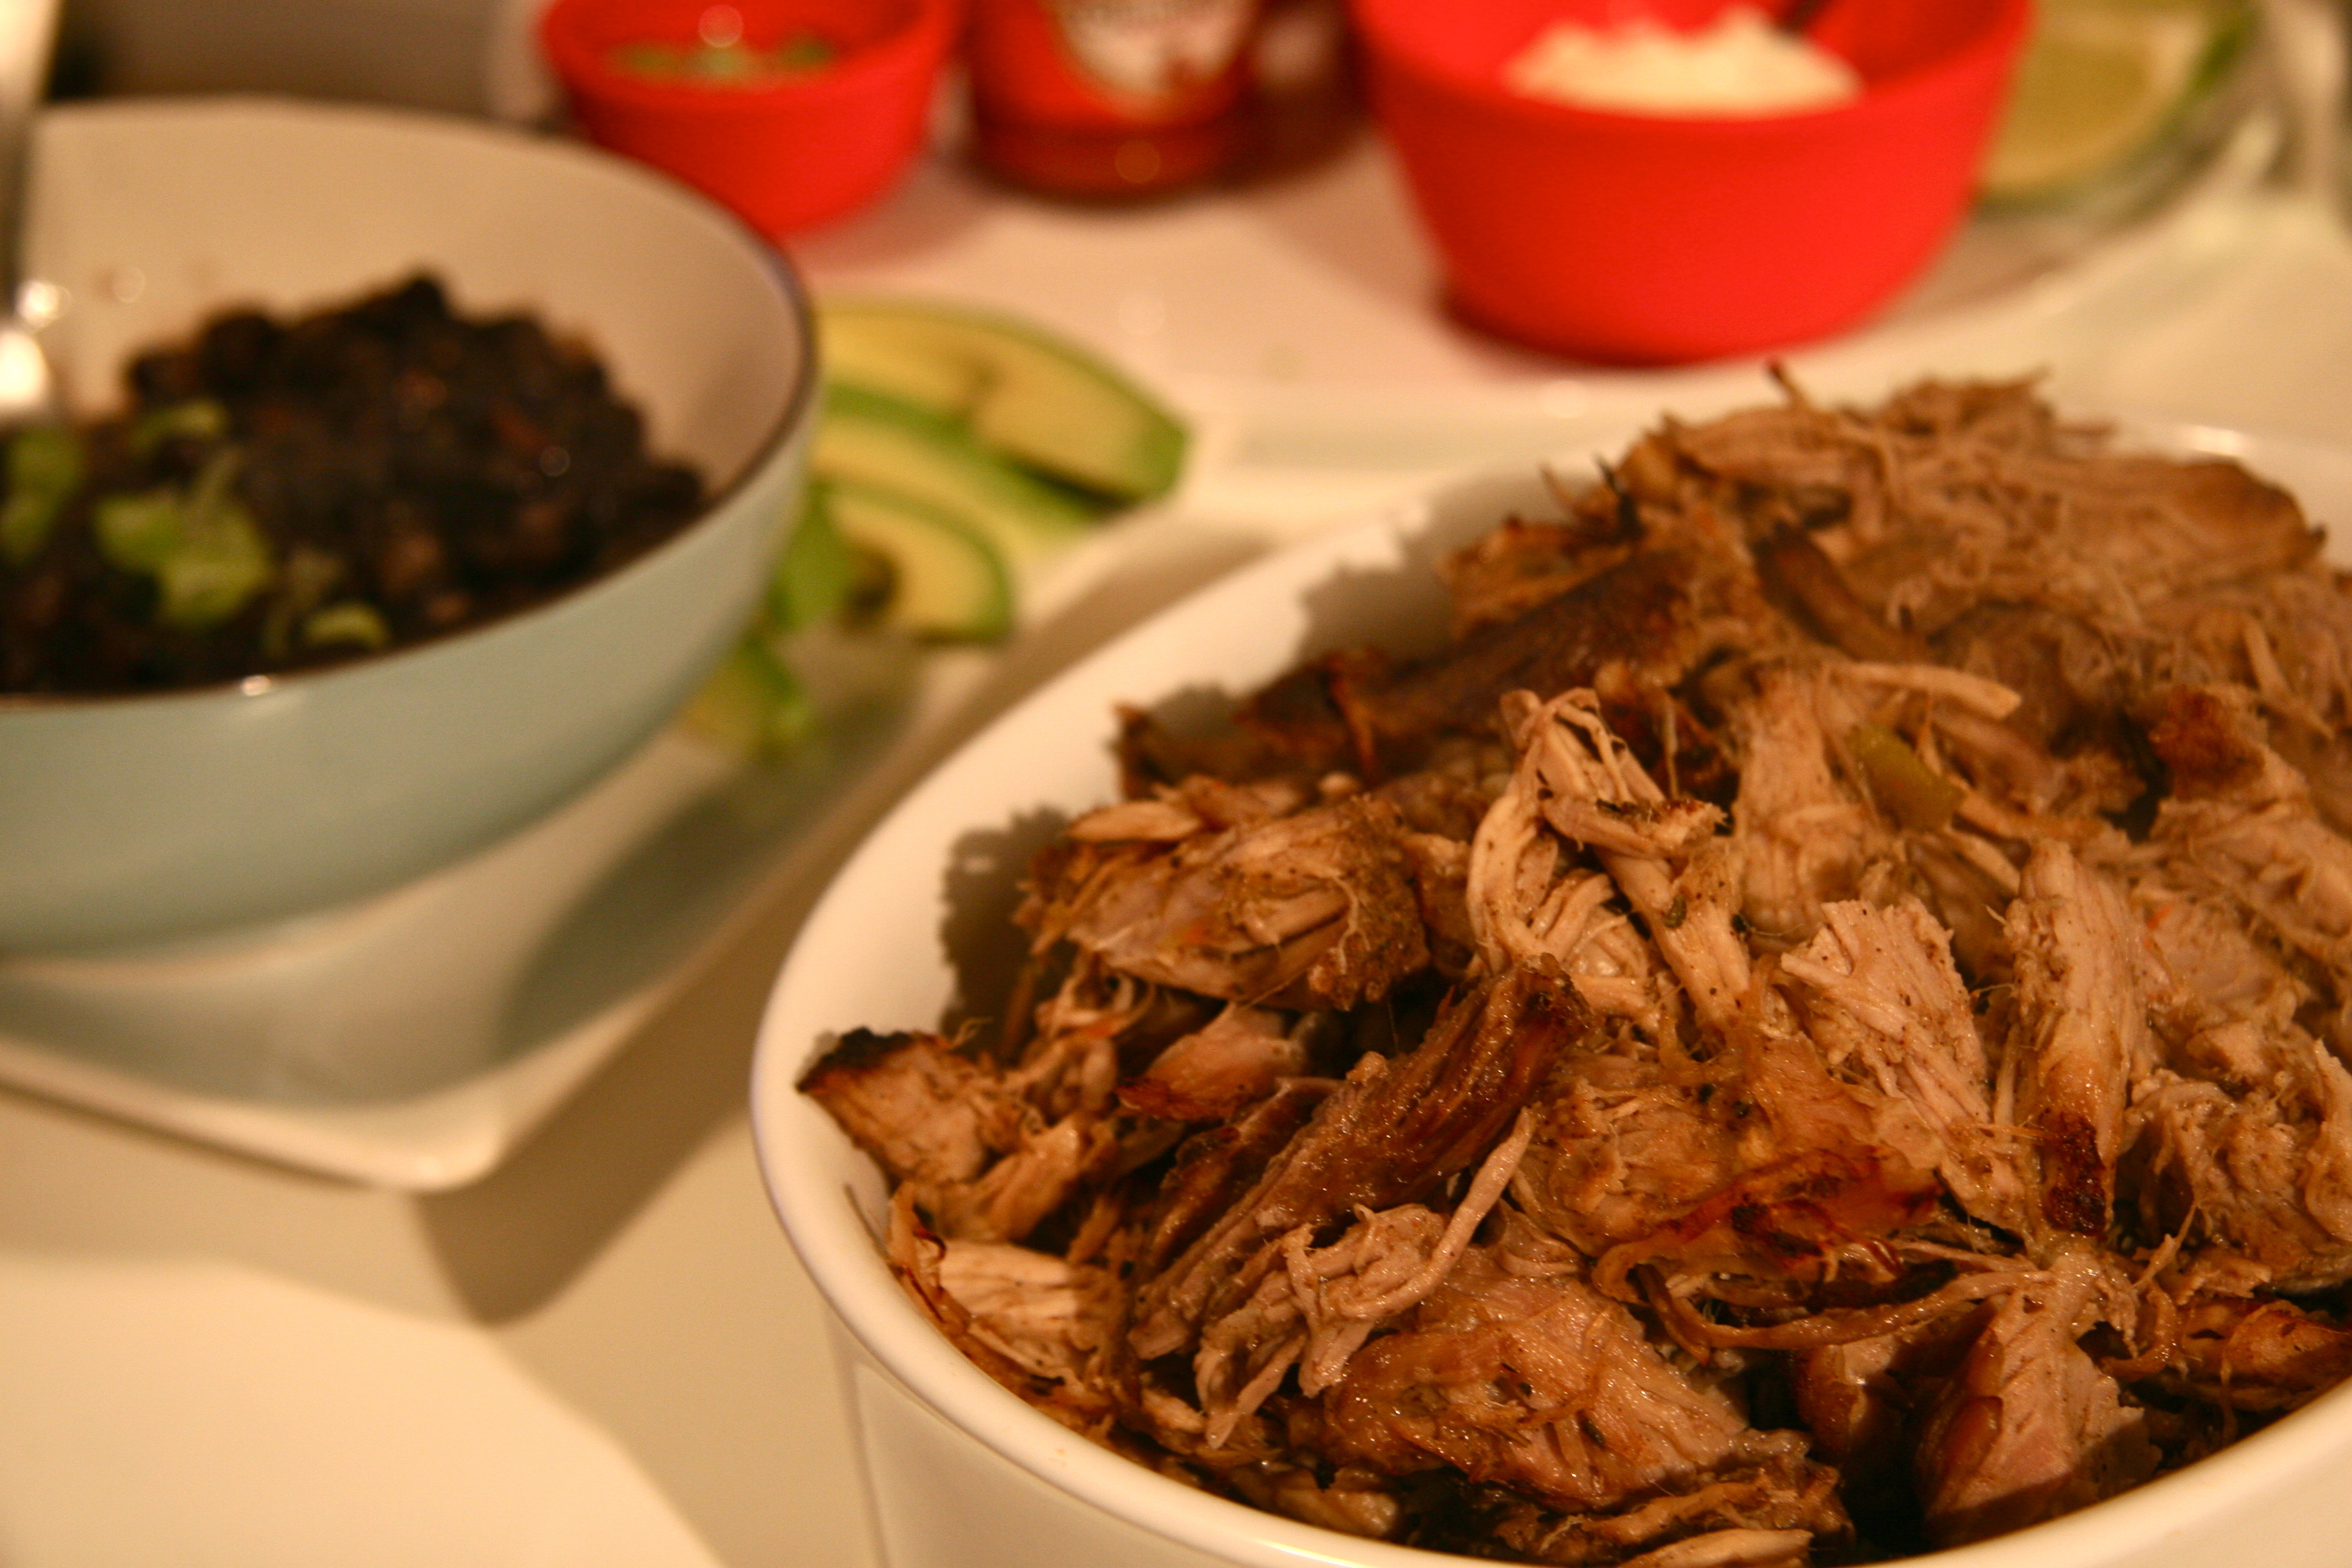
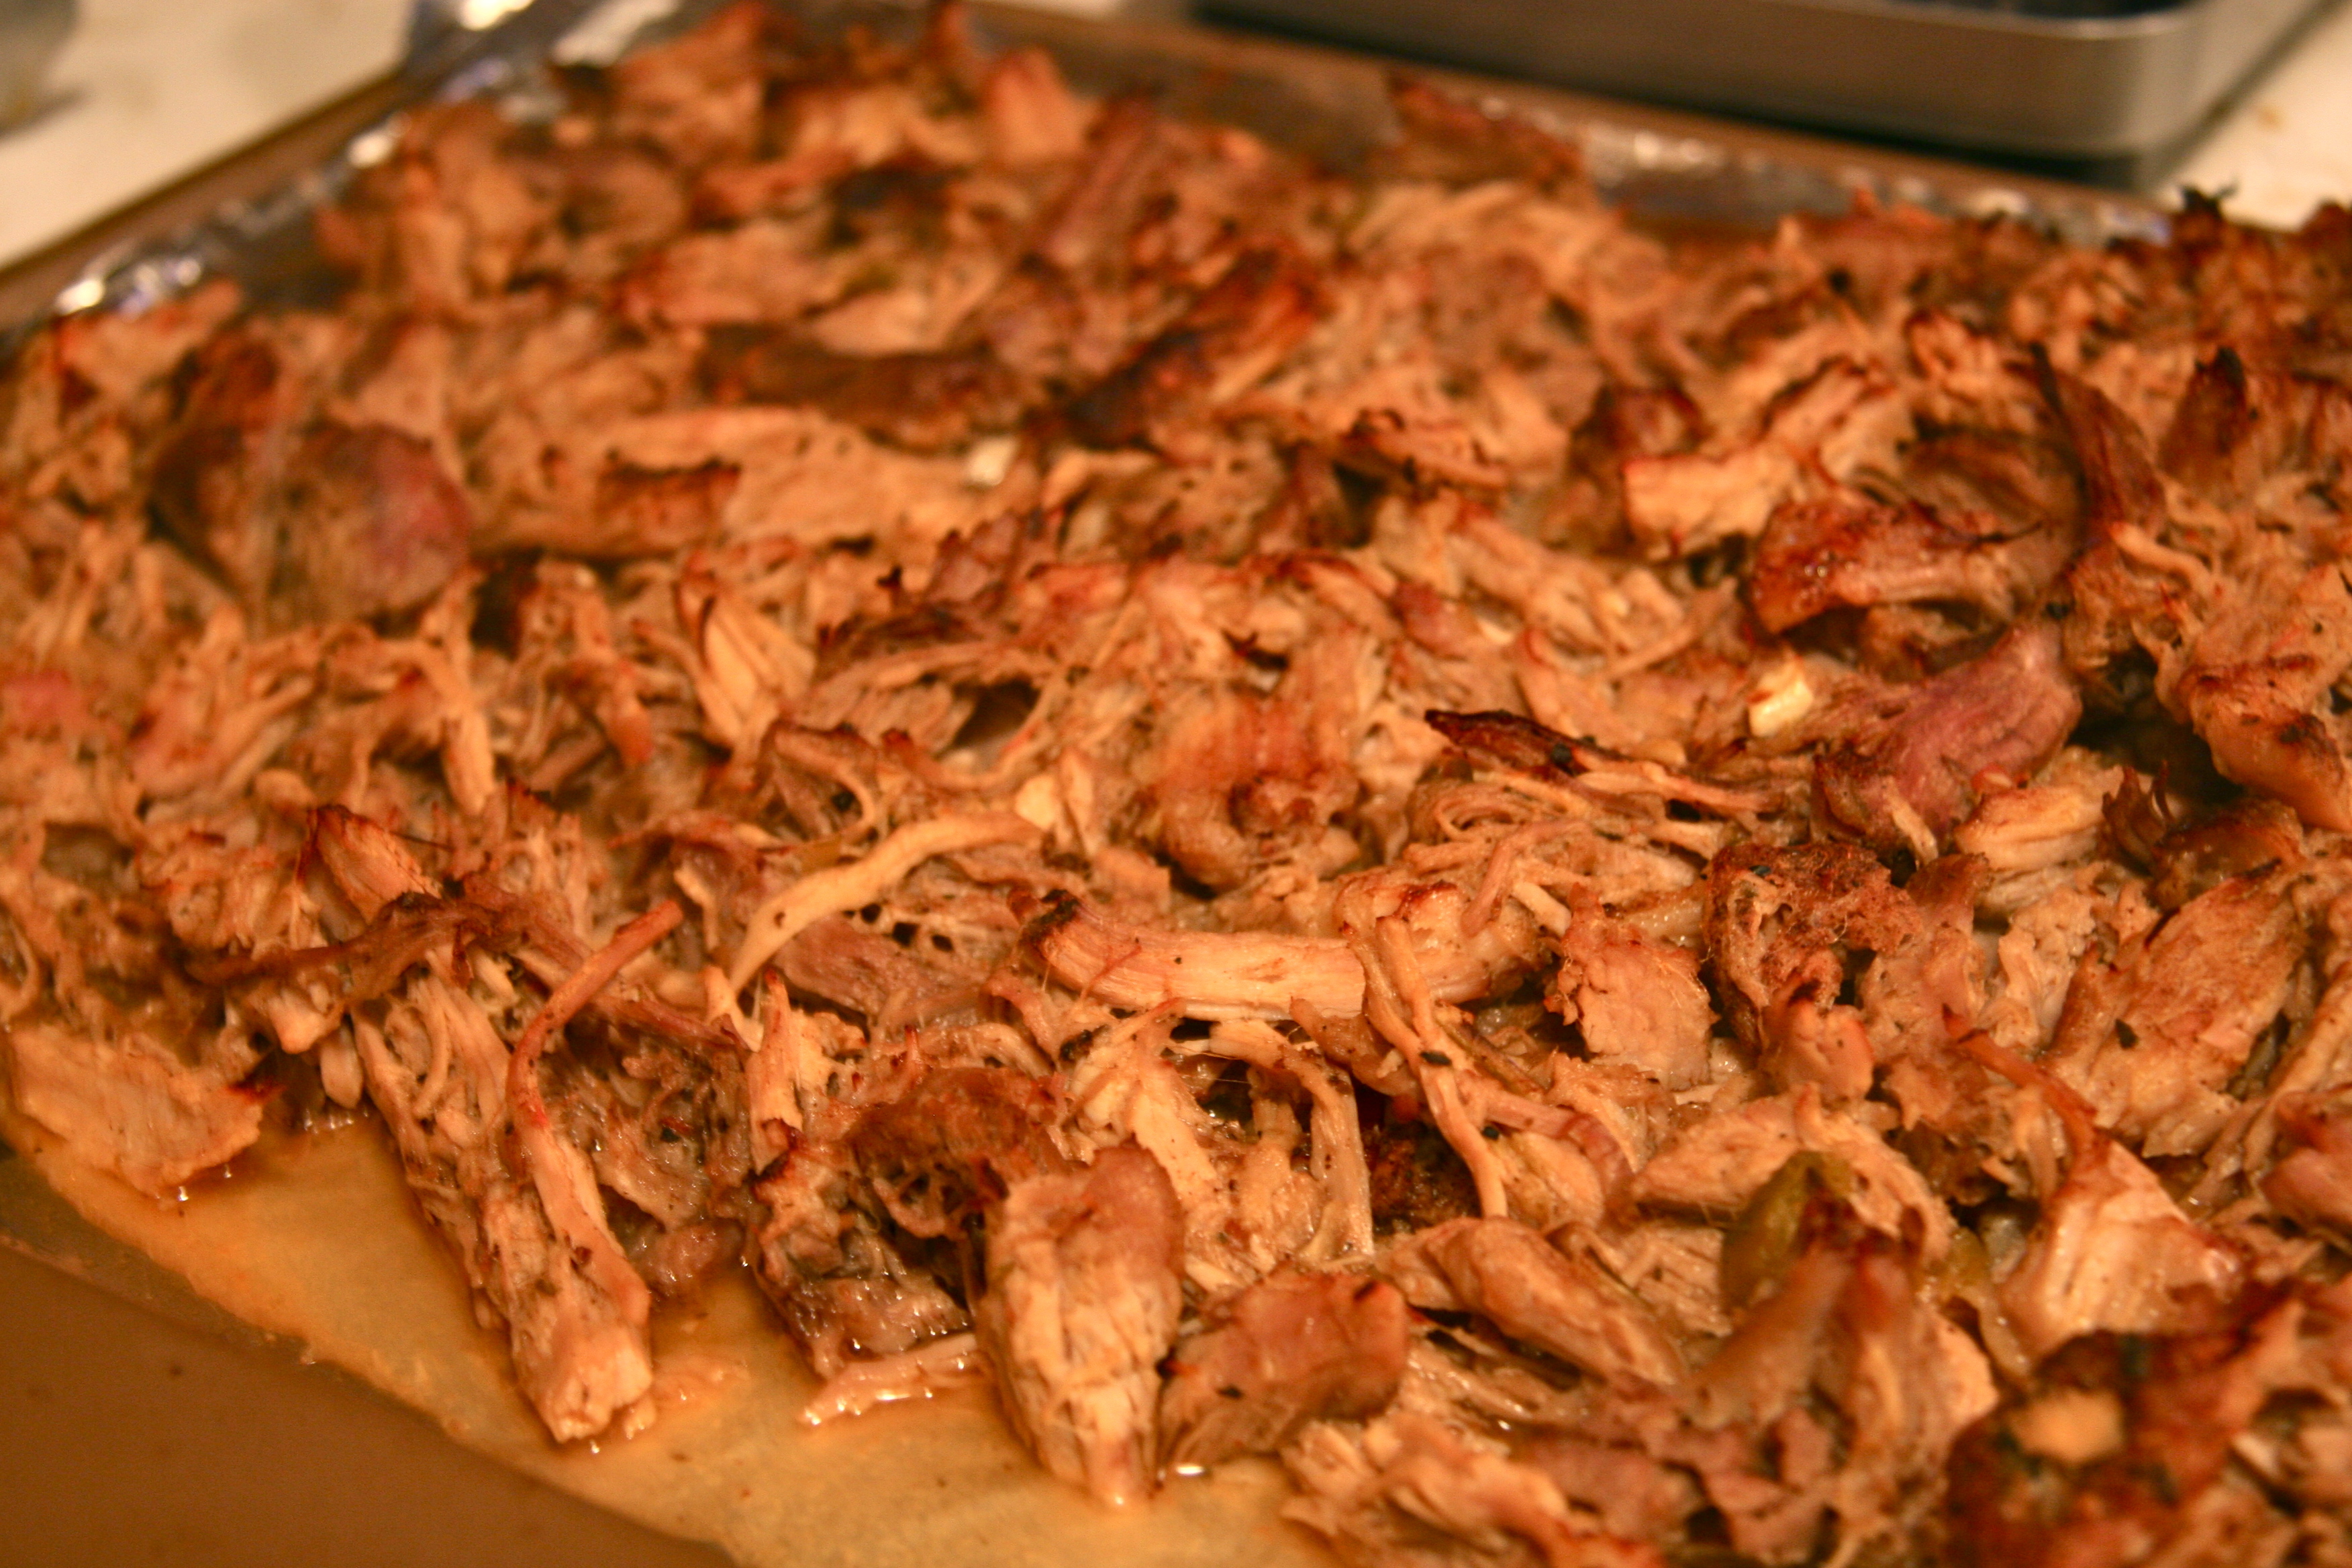
To prep my palatte, I recently tried my hand at homemade carnitas. Thanks to a slow-cooker, it couldn’t have been easier. I used a recipe from food blog Pinch of Yum. It was a great one for the first time around and, like most recipes, lends itself to personal tailoring for future rounds. A little more spice here, a little less citrus there. Serve with your favorite taco accompaniments.


slow cooker carnitas 2

slow cooker carnitas 3

slow cooker carnitas
Recipe Type: Main
Author: pinch of yum
Prep time: 10 mins
Cook time: 8 hours
Total time: 8 hours 10 mins
Serves: 10-12
Ingredients
  • 4–5 lbs. pork shoulder
  • 5 cloves garlic
  • 1 tablespoon salt
  • 1 teaspoon cumin
  • 1 teaspoon chili powder
  • 1 teaspoon black pepper
  • 1 teaspoon oregano
  • ¼ teaspoon cinnamon
  • ½ teaspoon cayenne pepper
  • 1 tablespoon chipotle hot sauce (optional)
  • juice of 2 limes
  • ½ cup orange juice
  • 12 ounces beer
  • ½ cup salsa
Instructions
  1. Place the pork shoulder in the slow cooker. Roughly chop the garlic and place into the slow cooker, rubbing onto the meat as you do.
  2. Sprinkle the meat with salt, cumin, chili powder, black pepper, oregano, cinnamon, and cayenne. Rub seasonings onto the pork.
  3. Add lime juice, orange juice, beer, and salsa. Cover and cook on low for 8 hours (or 4 hours on high).
  4. Shred meat with two forks directly in the slow cooker (or take out, shred, and replace in sauce). It should fall apart easily.
  5. Preheat broiler. Line a baking sheet with aluminum foil. Place the shredded meat on the cooking sheet and pour a few spoonfuls of sauce over the top. Broil for 5–10 minutes or until you get browned edges on the pork.
  6. Serve on tortillas with your favorite toppings.
3.2.1275


Filed Under: eat, mains Tagged With: carnitas, crockpot, mexican, pork, slow cooker, tacos

rice krispie treat hearts

February 6, 2014 by Butter Loves Company

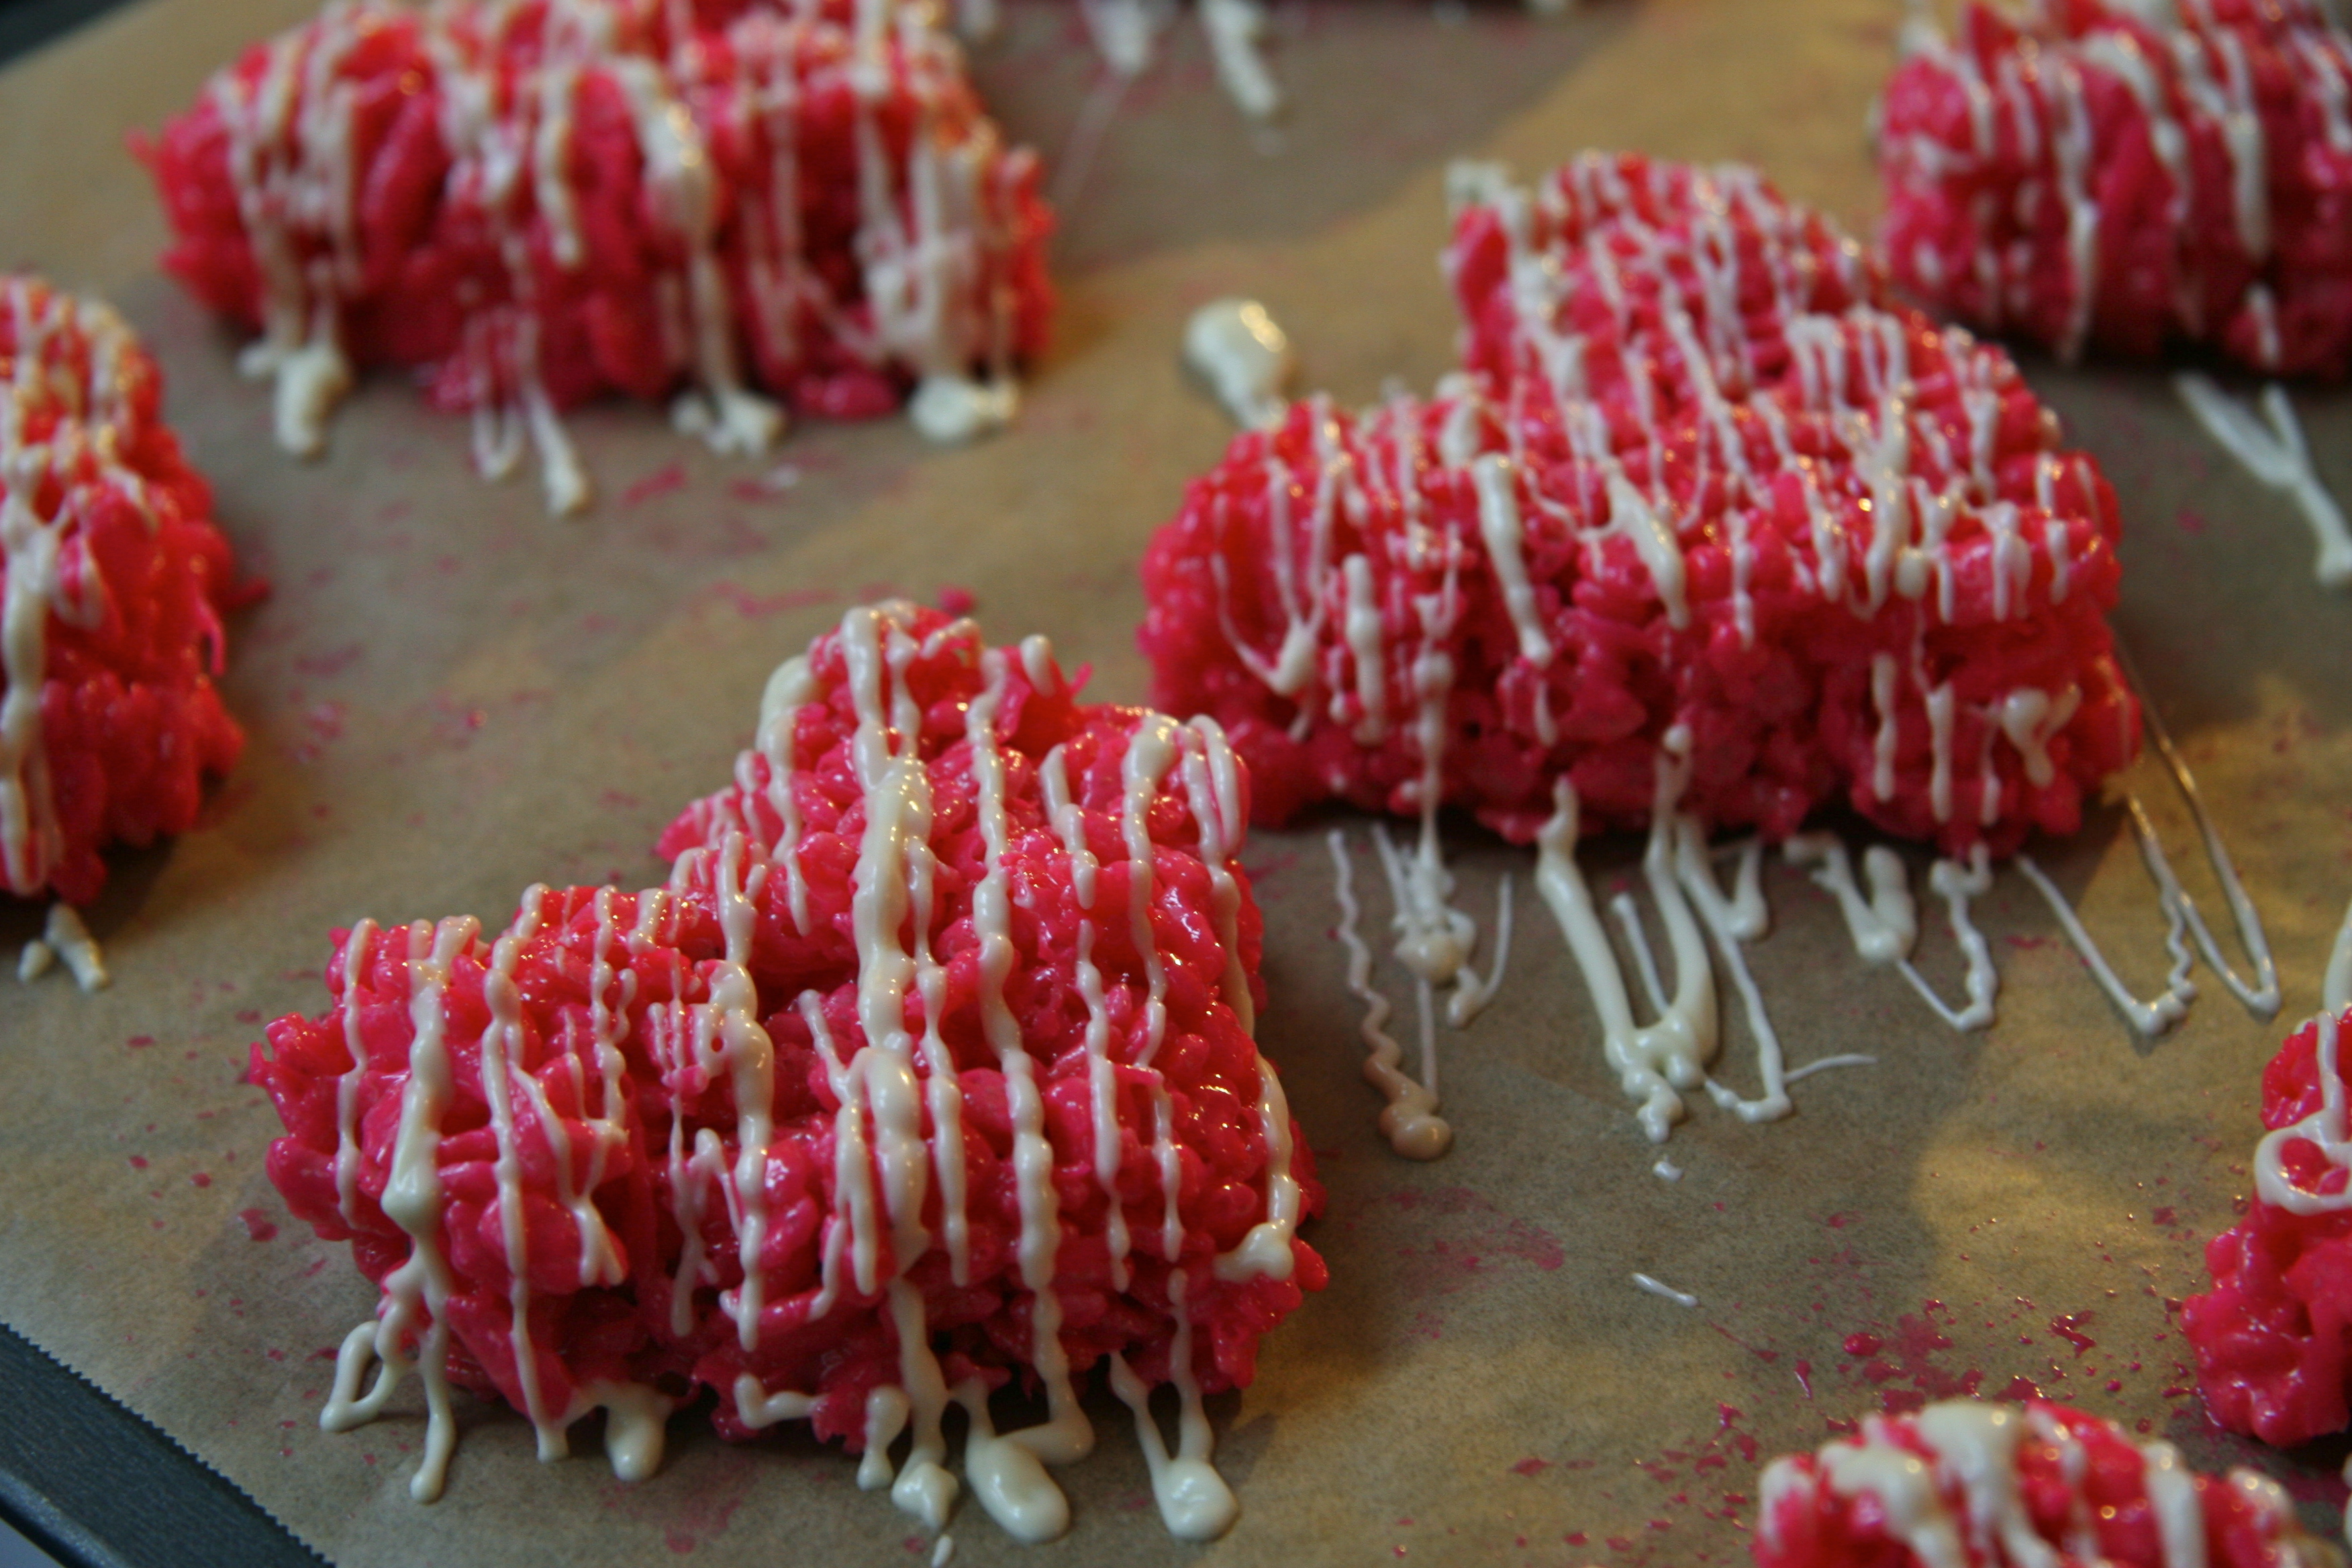
I was looking for a quick Valentine’s recipe that required minimal work, few ingredients, and little fuss (just like relationships *winkwink*). Inspired by Rice Krispie wreaths my mom and I make every year during the holidays, I took to the cereal aisle and conjured up these festive Rice Krispie Treat hearts. You can’t help but feel like a happy little kid with one of these bright pink hearts in hand—it’s like an instant smile booster!

Requiring just one dish, two if you add the white chocolate drizzle, this recipe is easy on us manual dishwashers.  It’s also easy on the wallet; leaving you with more cash to spend on Valentine’s gifts for your significant other—or on shoes, chocolate, wine, jewels, clothes…

I got a little heavy handed with the food coloring, resulting in a somewhat radioactive iridescence on my treats. Luckily, my excessive pink did not affect the crispy, gooey flavor one bit. I adjusted the proportions in the below recipe, but to be safe you may want to add the coloring in increments.

Often times the warm Rice Krispie Treats are poured into a sheet pan and then cut out into squares or shapes once cooled. I prefer to mold these by had to avoid the rough, half-cut Krispies on the edges from cookie cutters. Do whatever you prefer!  You could even try this with another cereal to mix it up.

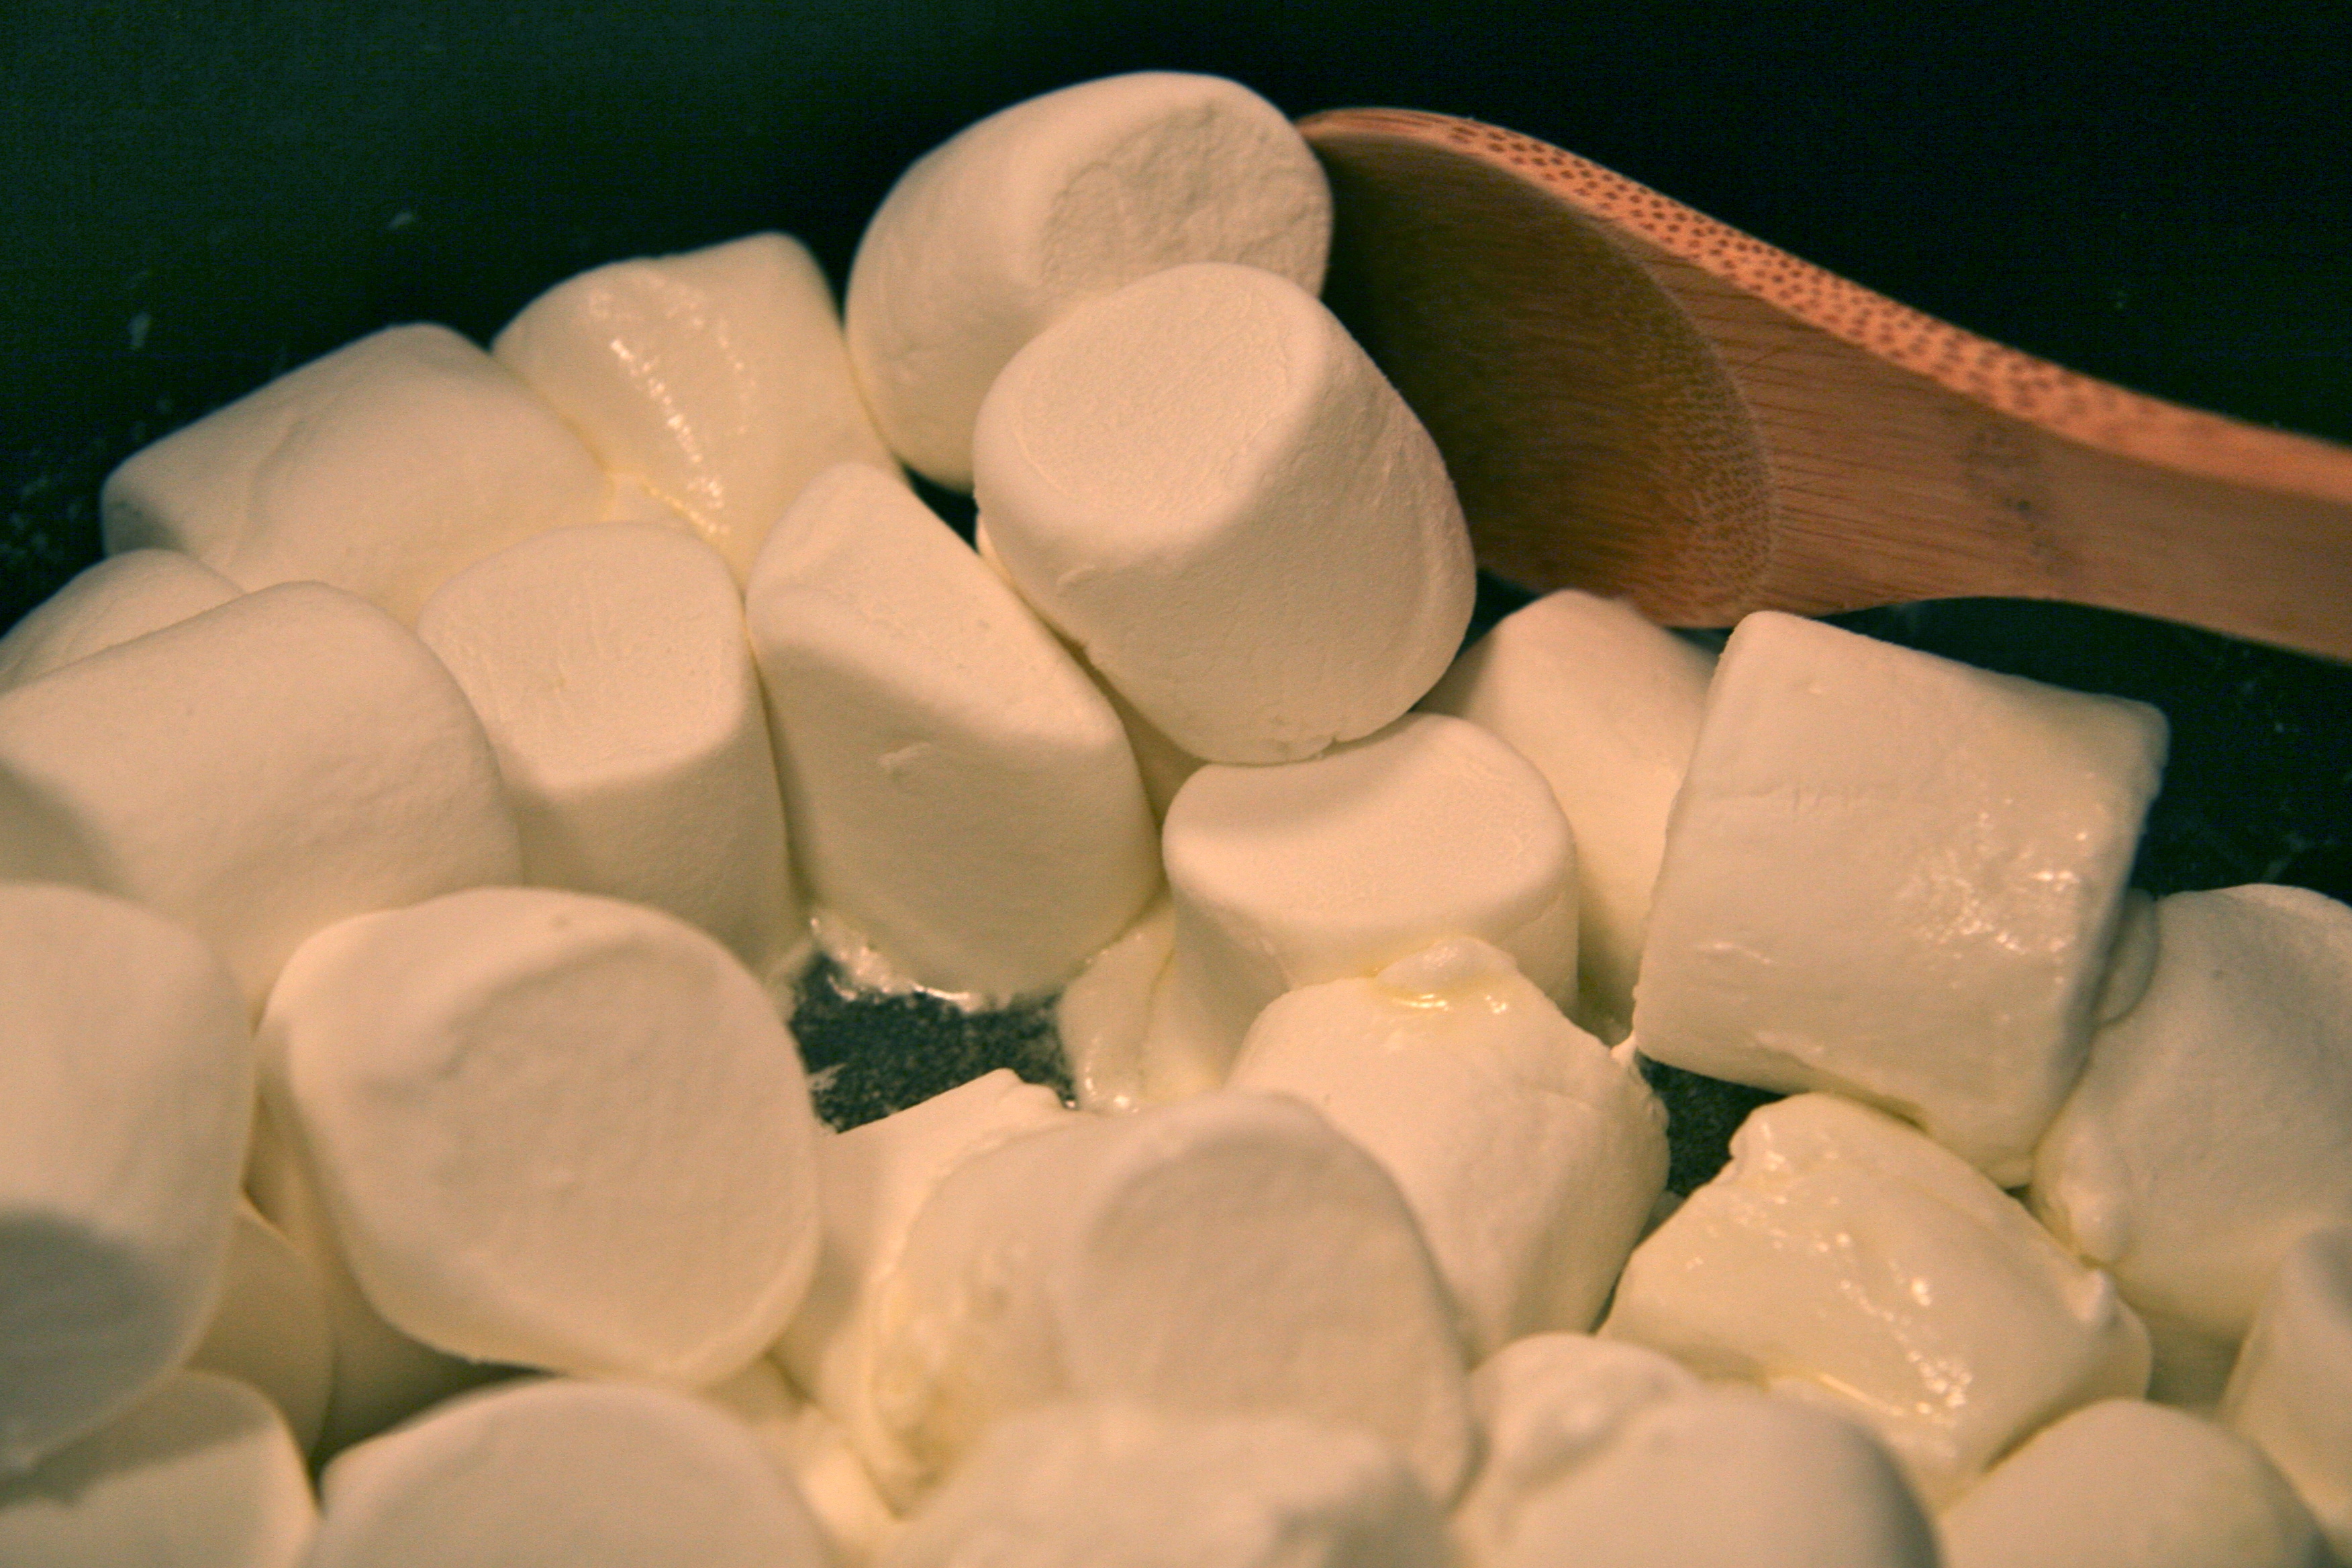
marshmallows

rice krispie treats

marshmallows 2

marshmallow pink coloring

rice krispie hearts 3

rice krispie heart 4

Valentine's Day Rice Krispie Treat Hearts


rice krispie treat hearts
Recipe Type: Dessert
Author: butter love company
Prep time: 30 mins
Total time: 30 mins
Serves: About 16 Hearts
Ingredients
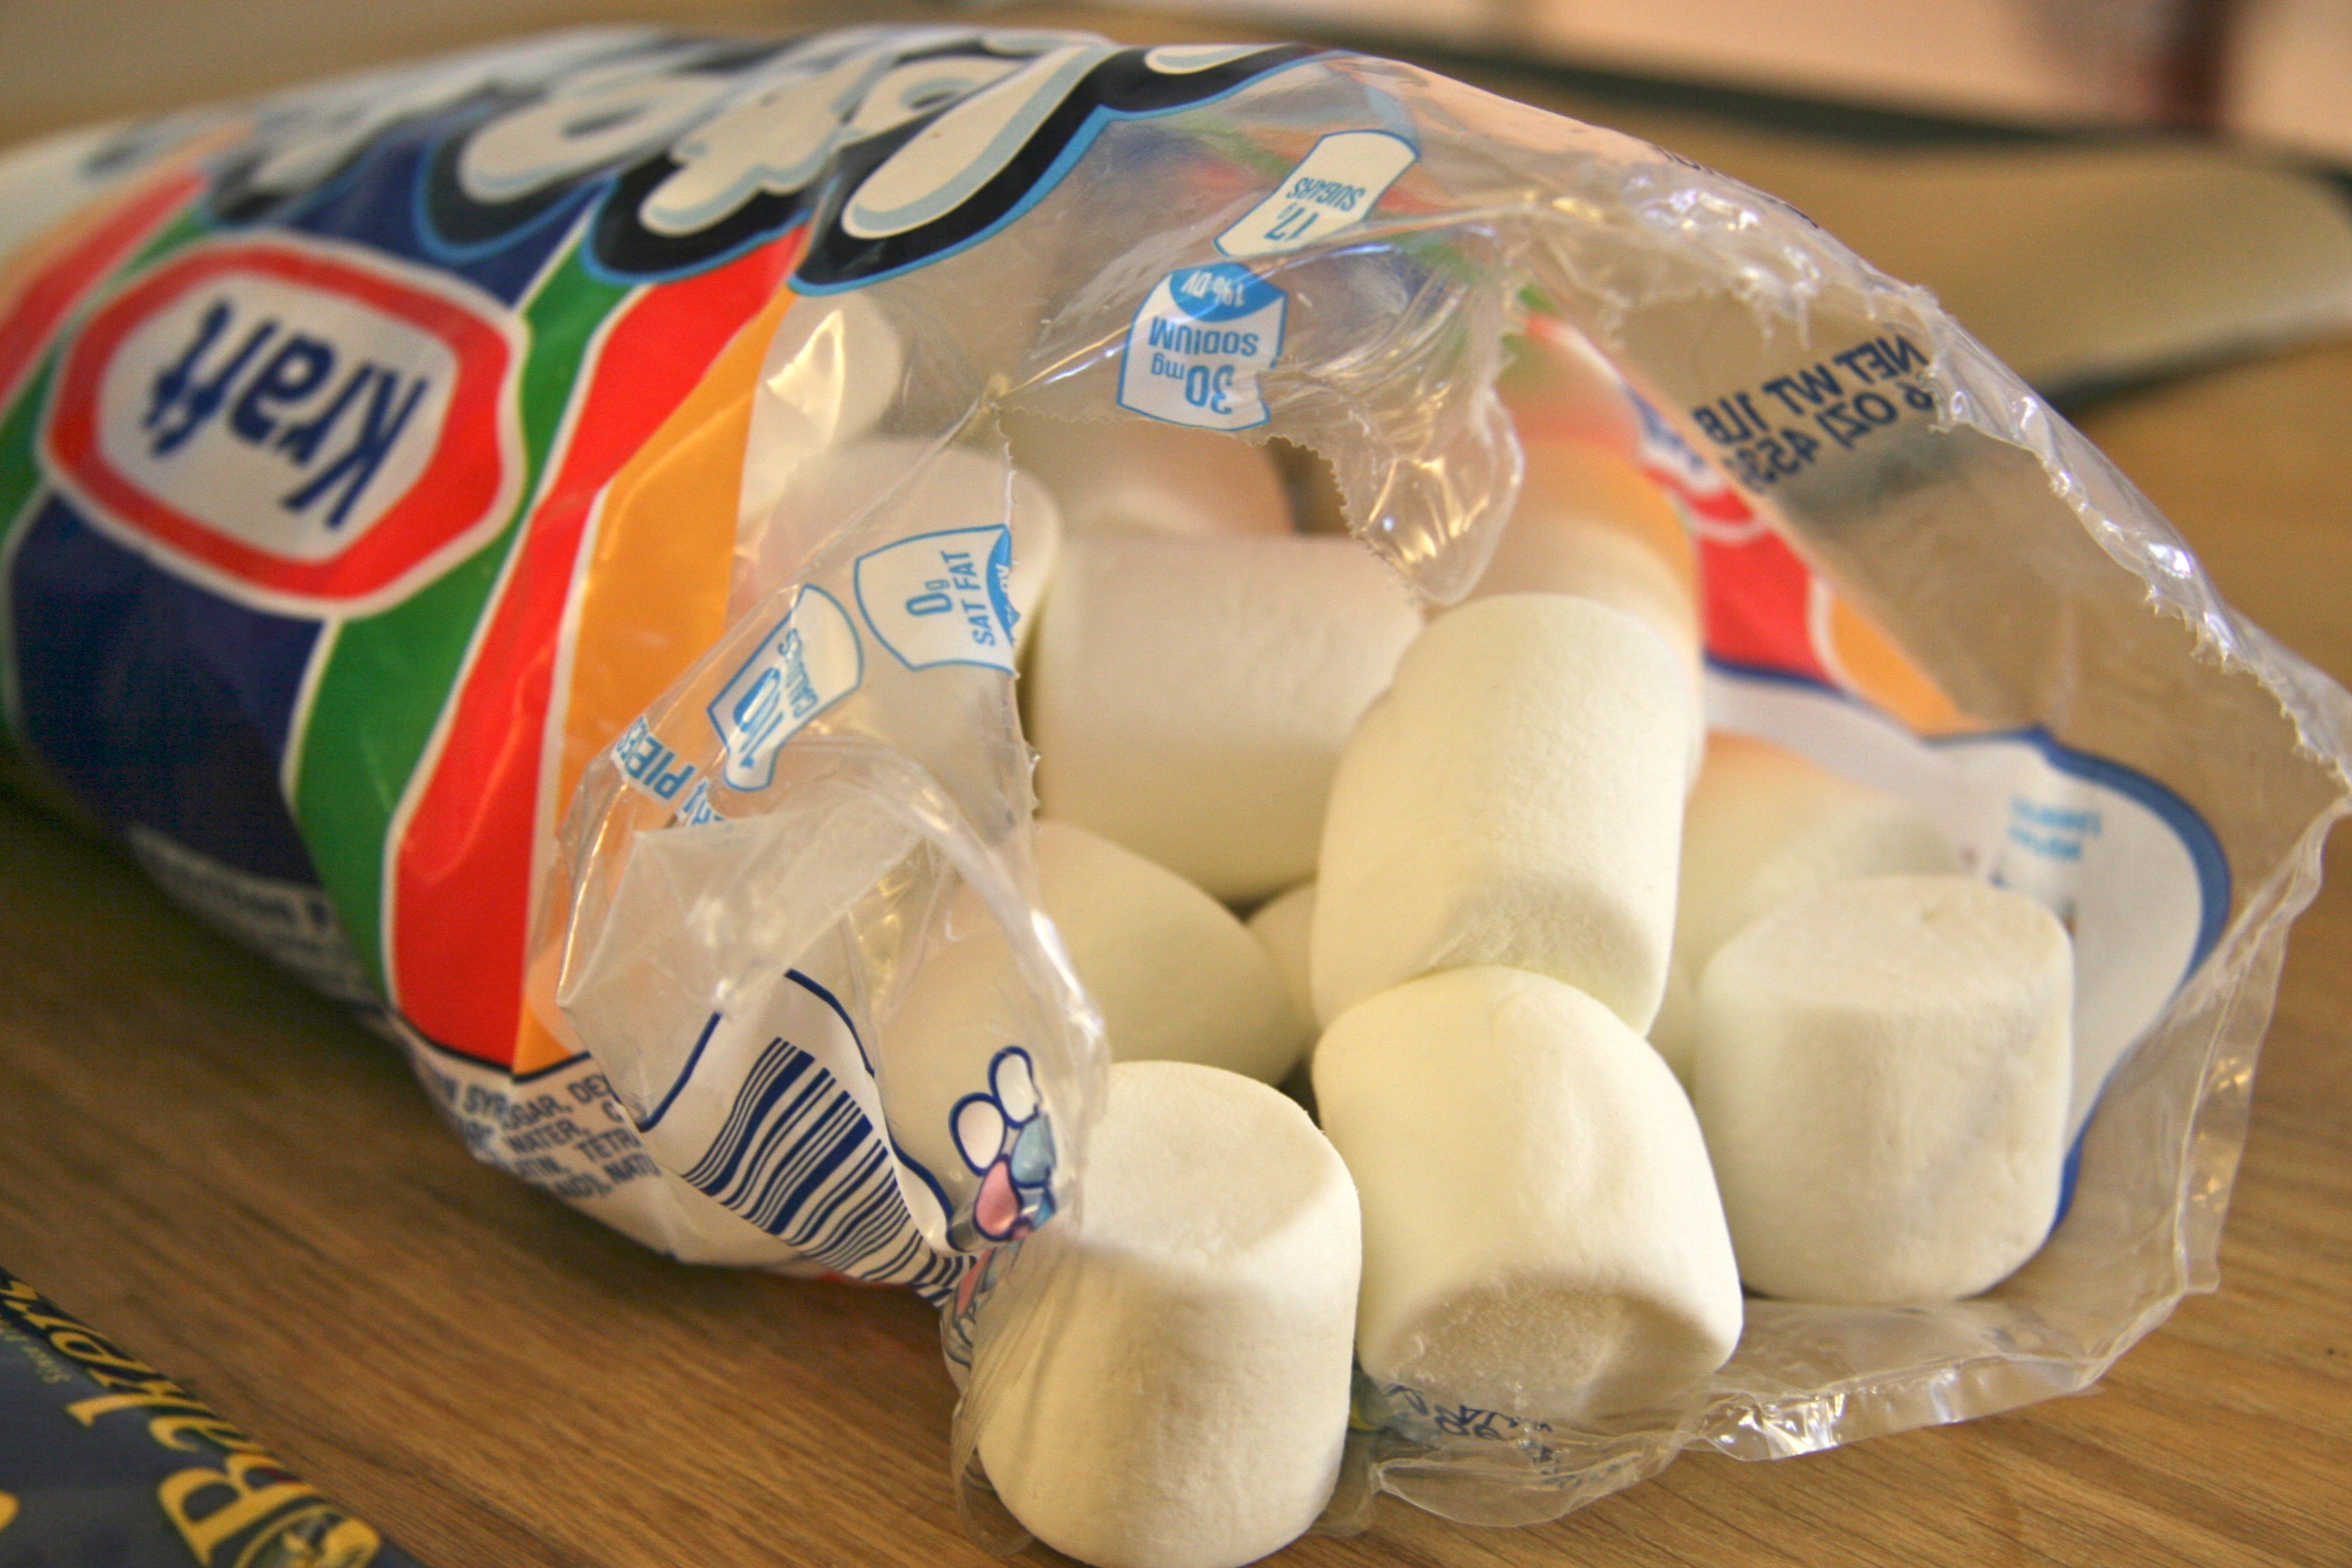
  • 1 10 oz. bag of marshmallows
  • 3 tablespoons of butter
  • 1/4 teaspoon pink or red food coloring (more if you are using liquid food coloring)
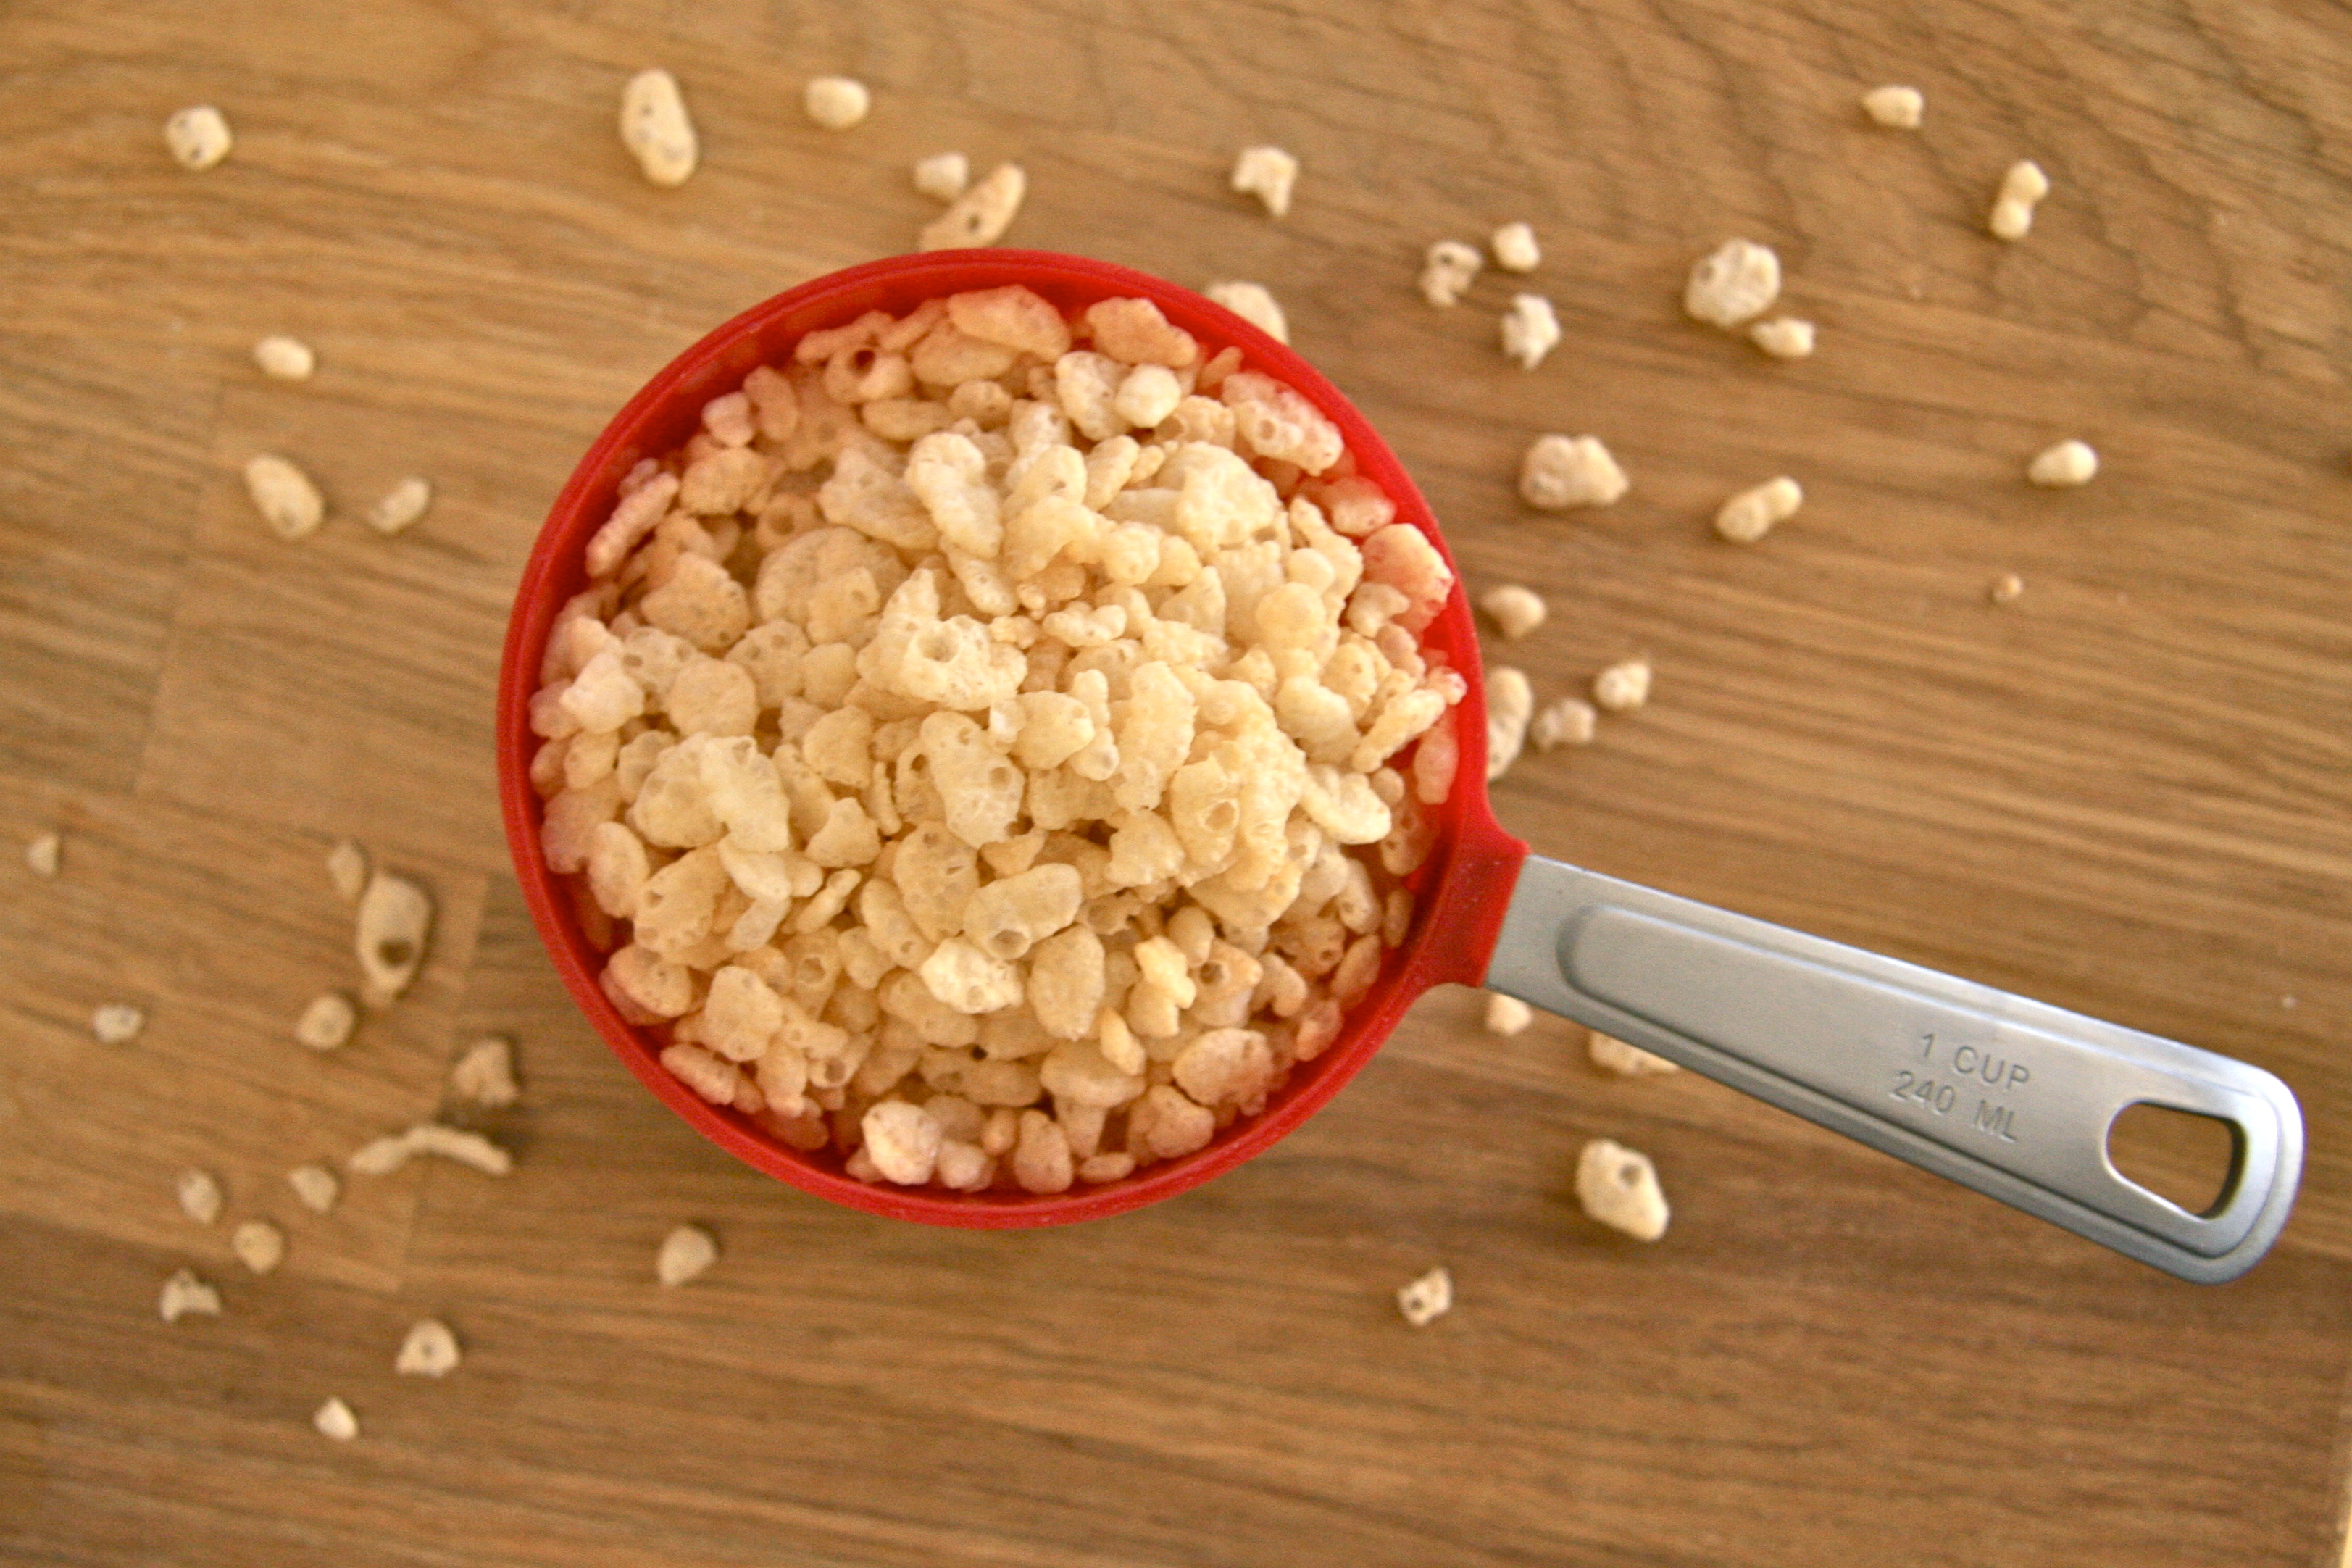
  • 6 cups of Rice Krispie cereal or equivalent
  • 1 cup sweetened coconut
  • 1 cup white chocolate or white chocolate chips (for drizzling, optional)
Instructions
  1. Line cookie sheets with waxed paper. In large saucepan melt butter over low heat. Add marshmallows and stir until completely melted. Remove from heat. Stir in food coloring (add more if desired).
  2. Add coconut and crisped Rice Krispies. Stir until well coated.
  3. Using 1/4-cup measuring cup or your hands, scoop the mixture into balls onto the waxed paper covered cookie sheets. With your hands, shape the balls into hearts (you may have to wet your fingertips with water or butter if it is too sticky to mold). If drizzling with white chocolate, heat the chocolate in a microwave safe bowl in the microwave until it is thin enough to drizzle with a fork over the hearts.
3.2.1275


Filed Under: desserts and sweets, eat Tagged With: coconut, desserts, easy, love, marshmallow, rice krispie, valentine's day

chewy oatmeal raisin cookies

February 4, 2014 by Butter Loves Company

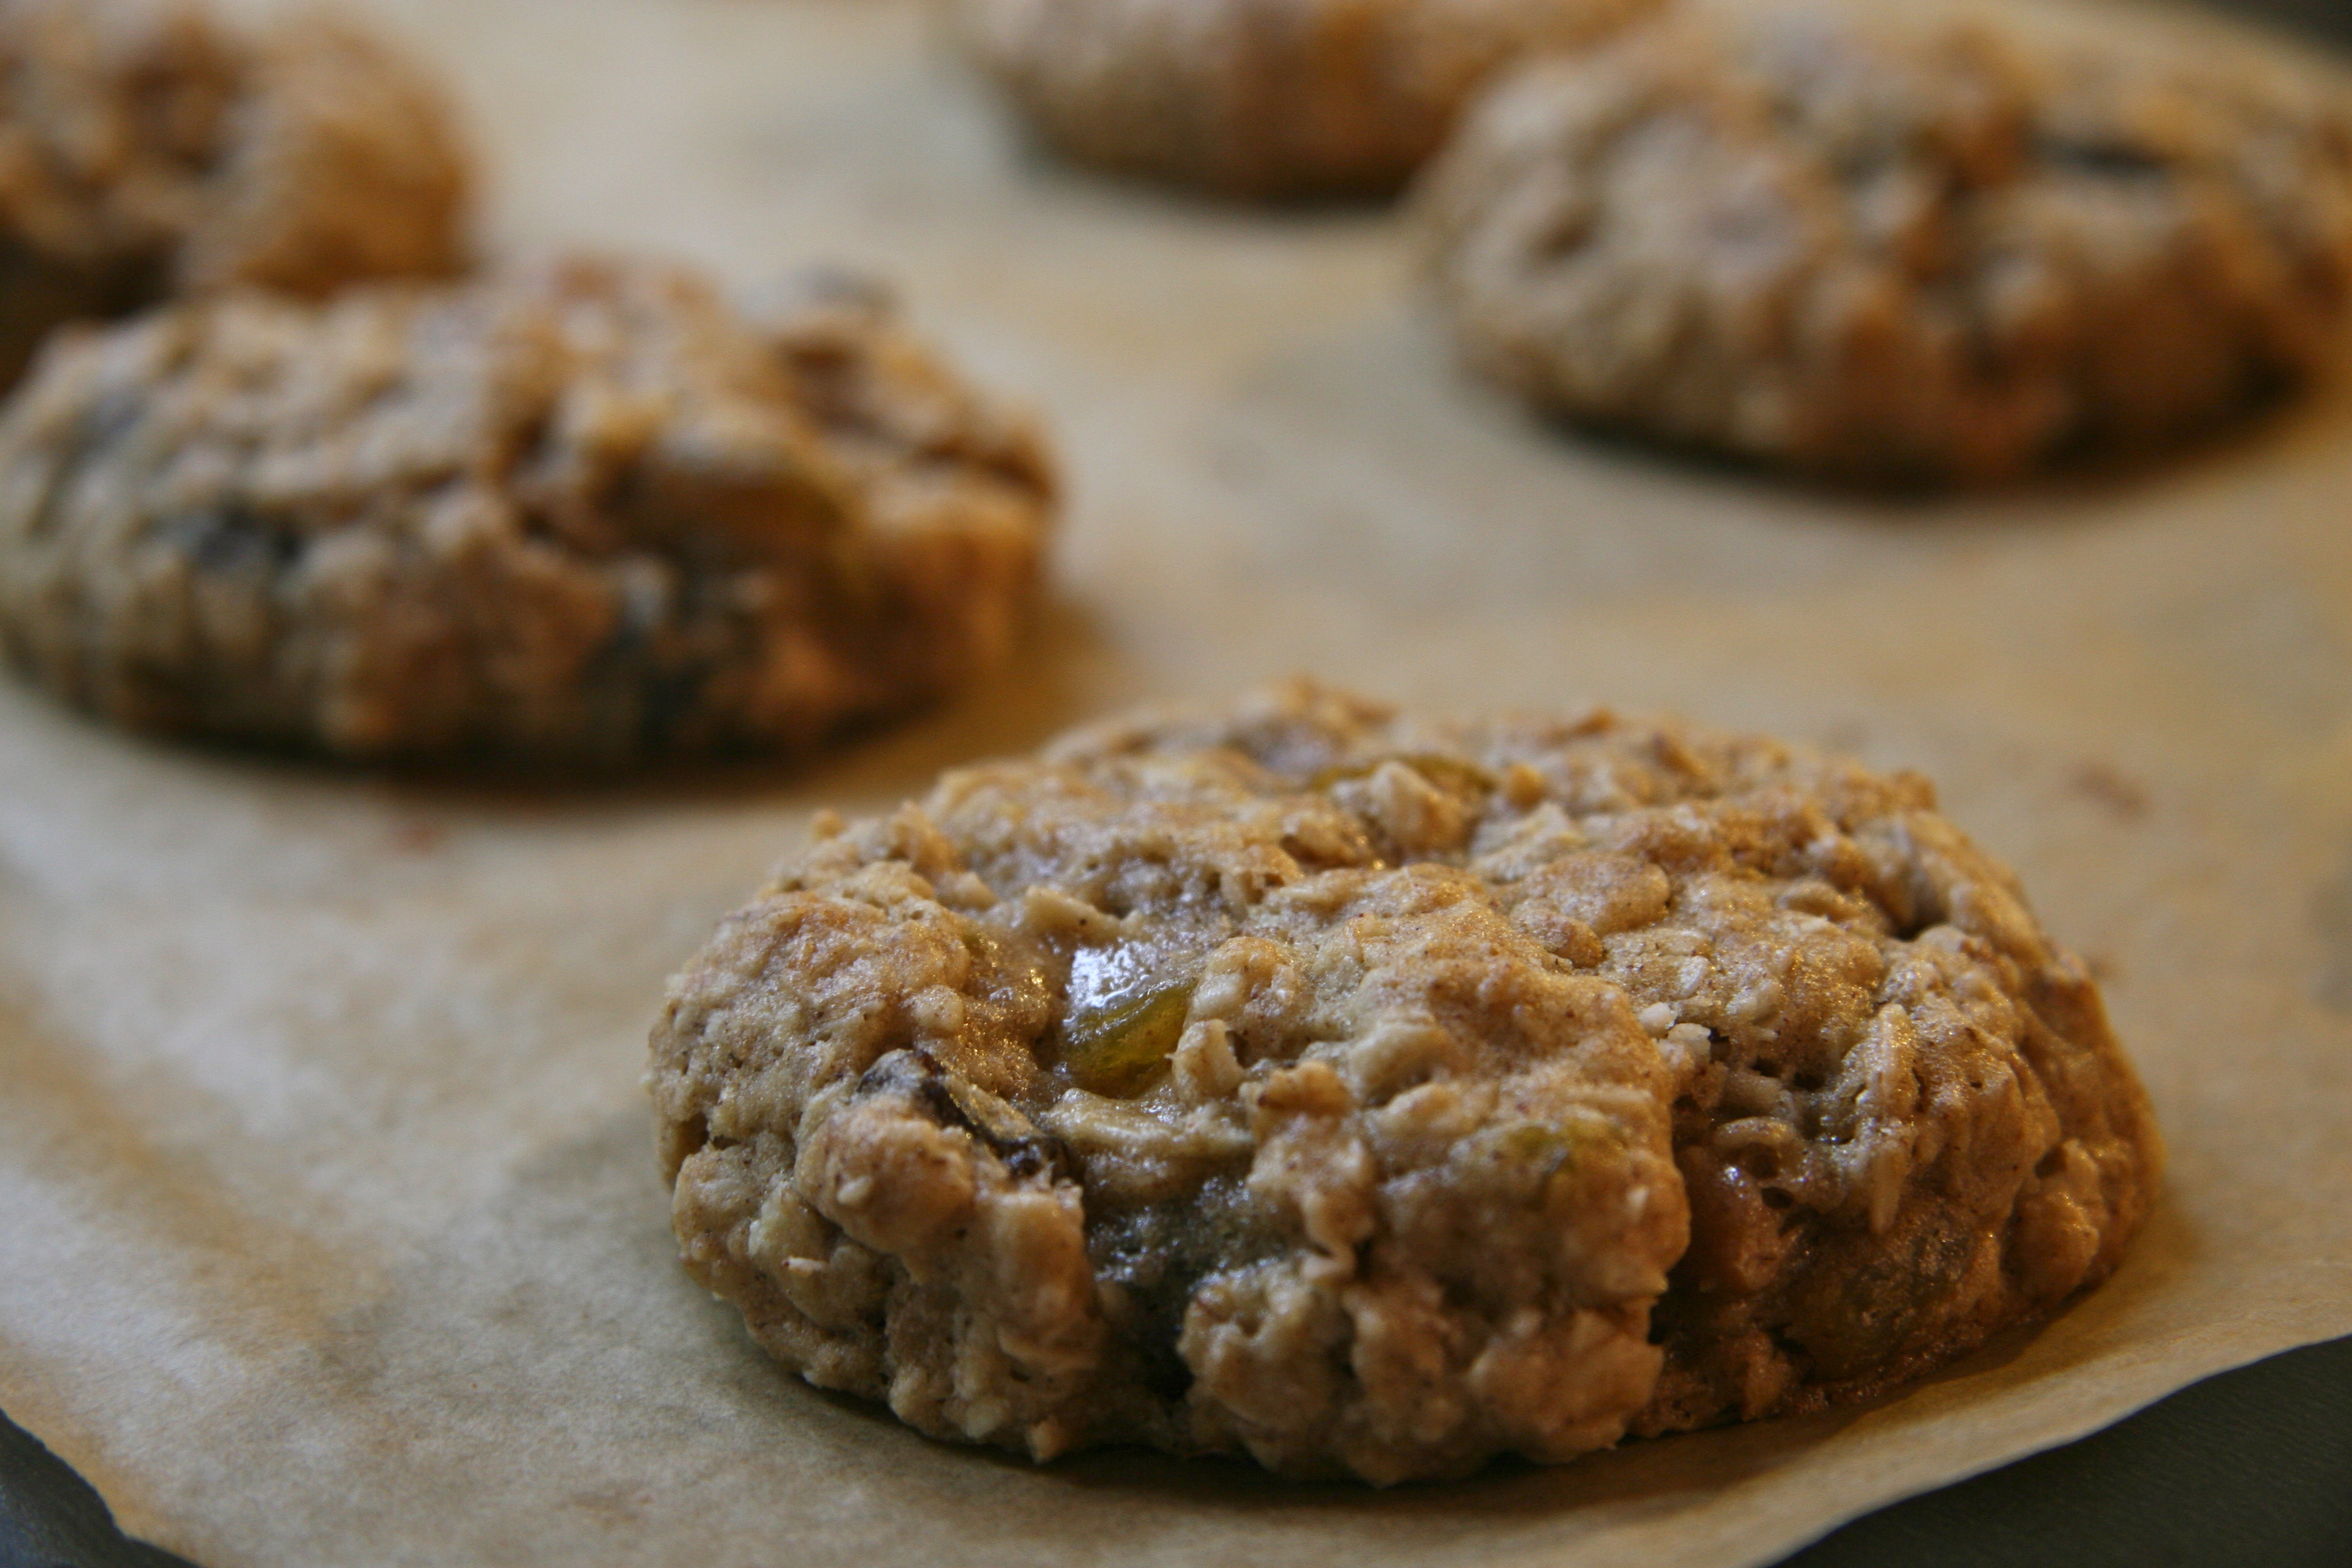
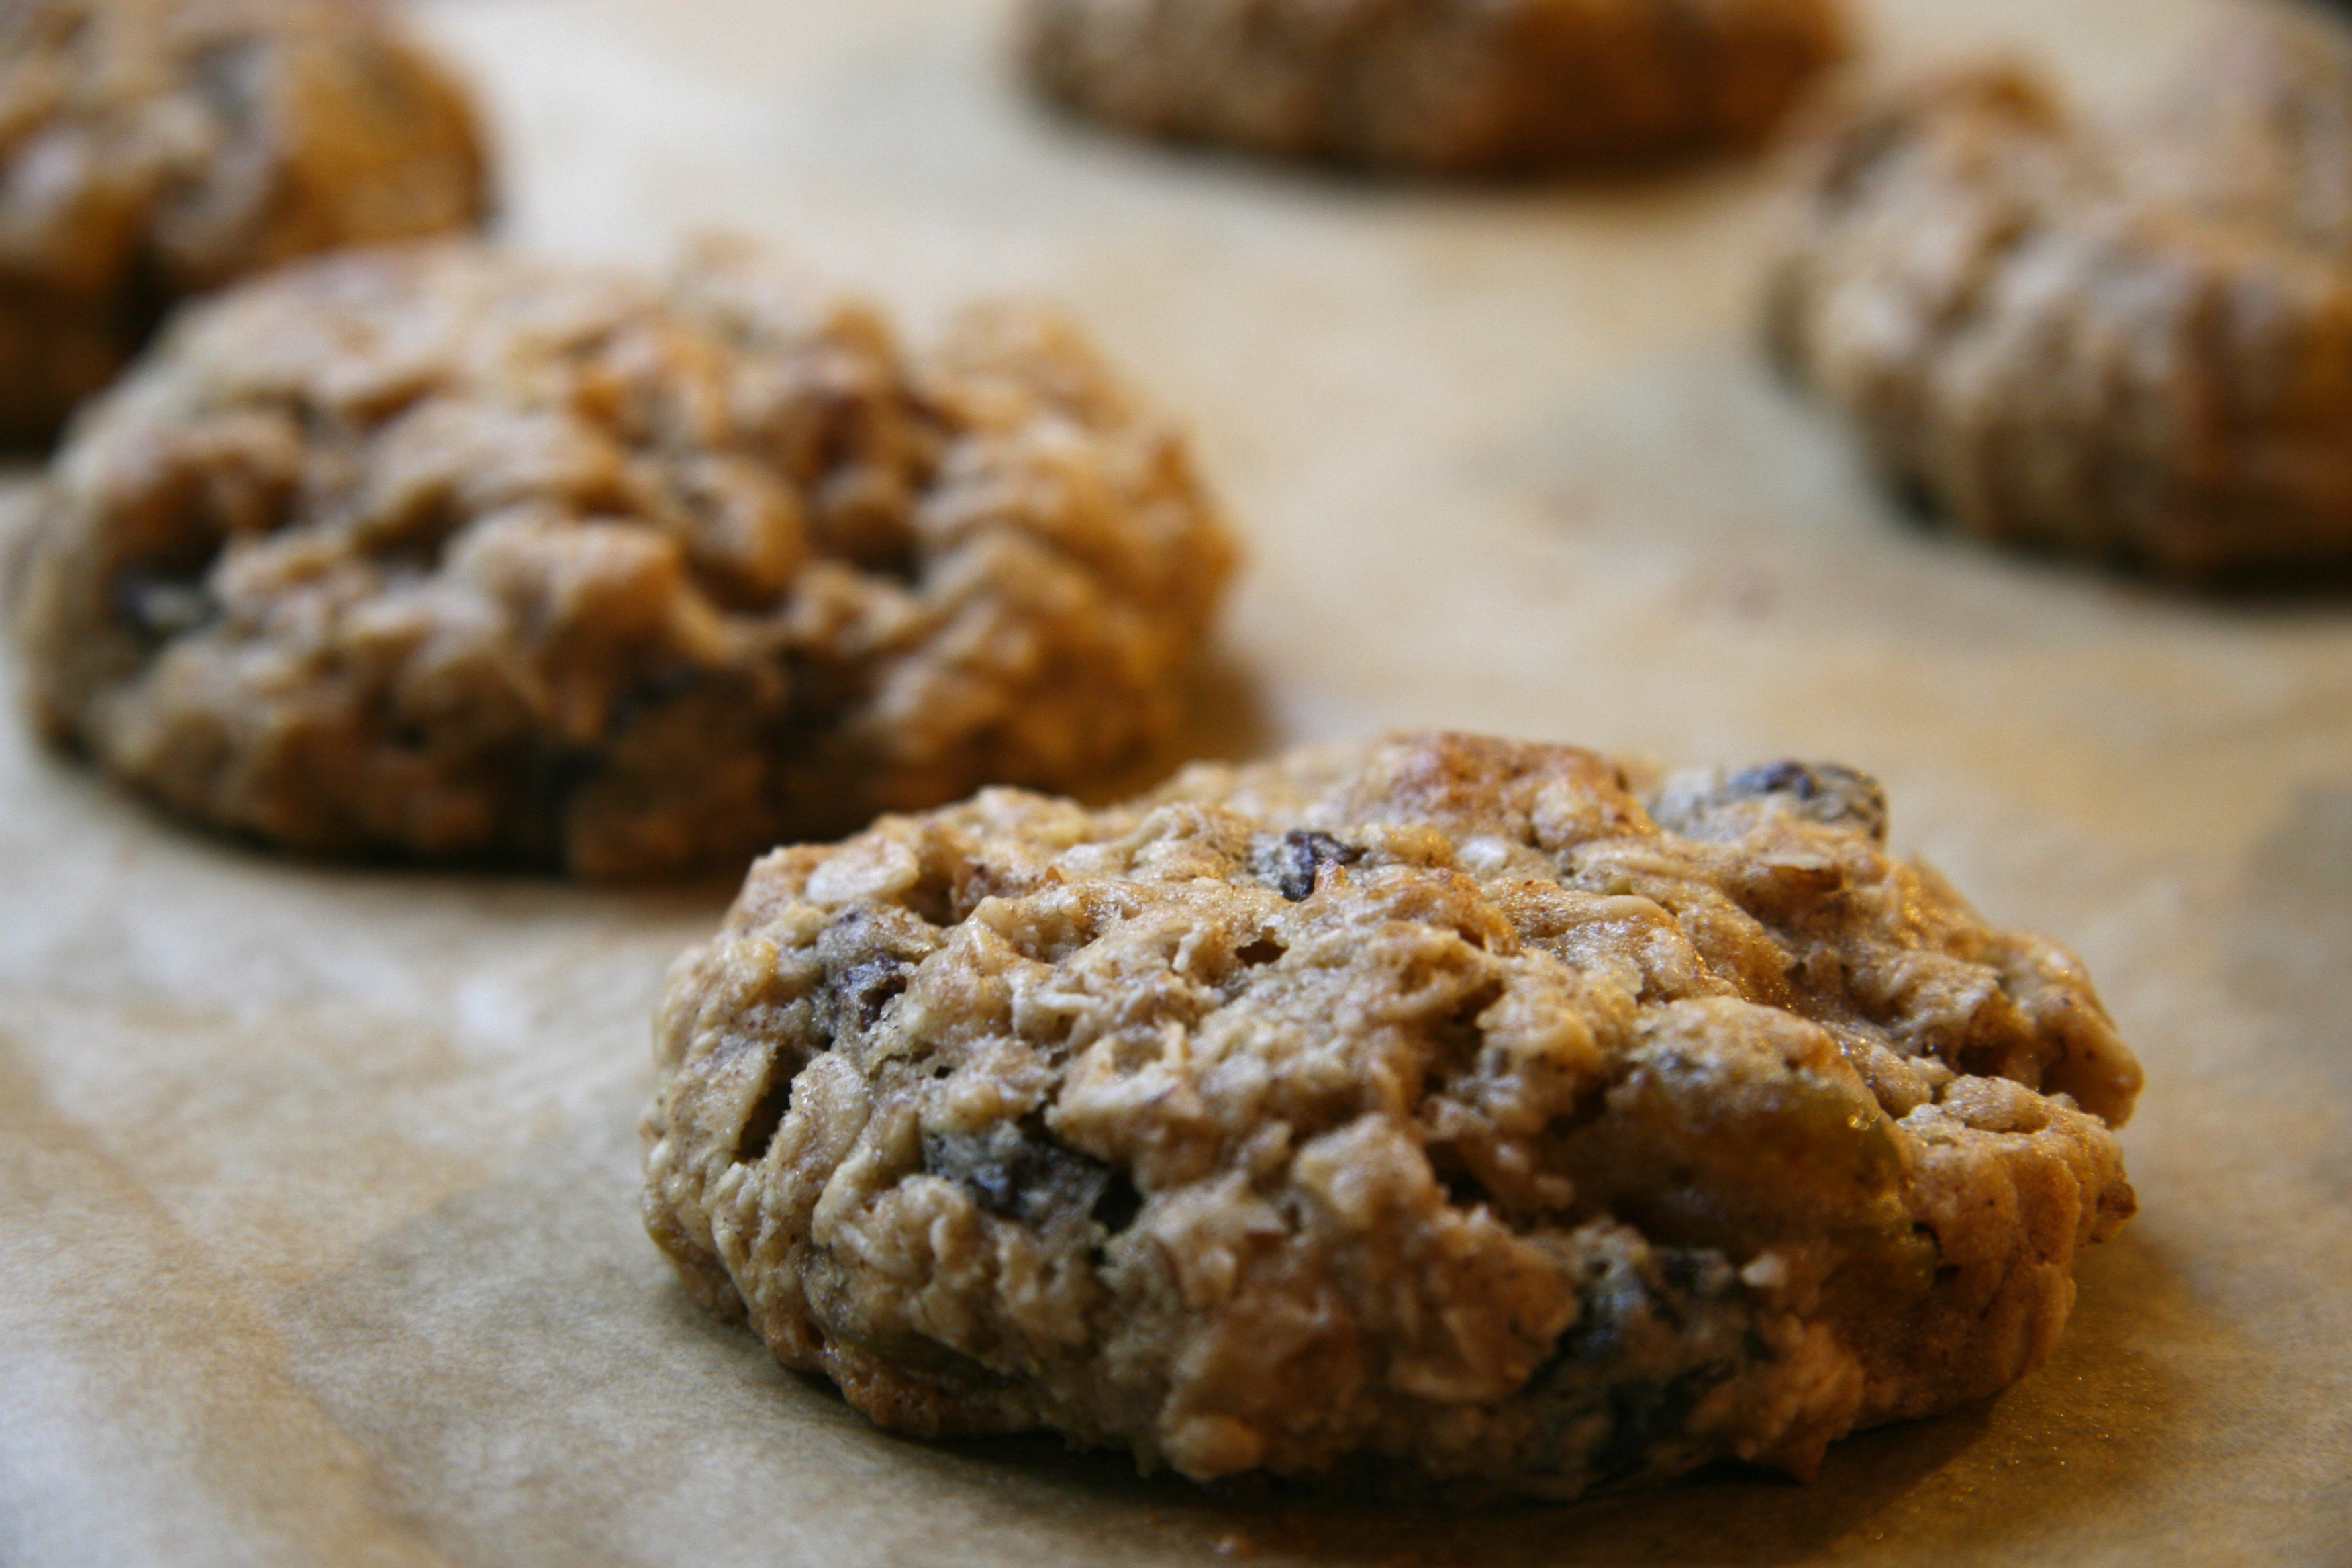
oatmeal raisin cookies1

Do you ever find yourself in a bakery staring at the picturesque cookies and asking yourself “how on earth do they get these darn cookies to look so darn good?”

No? Oh.

Well … I do. (Another thing to add to the nerd list.)

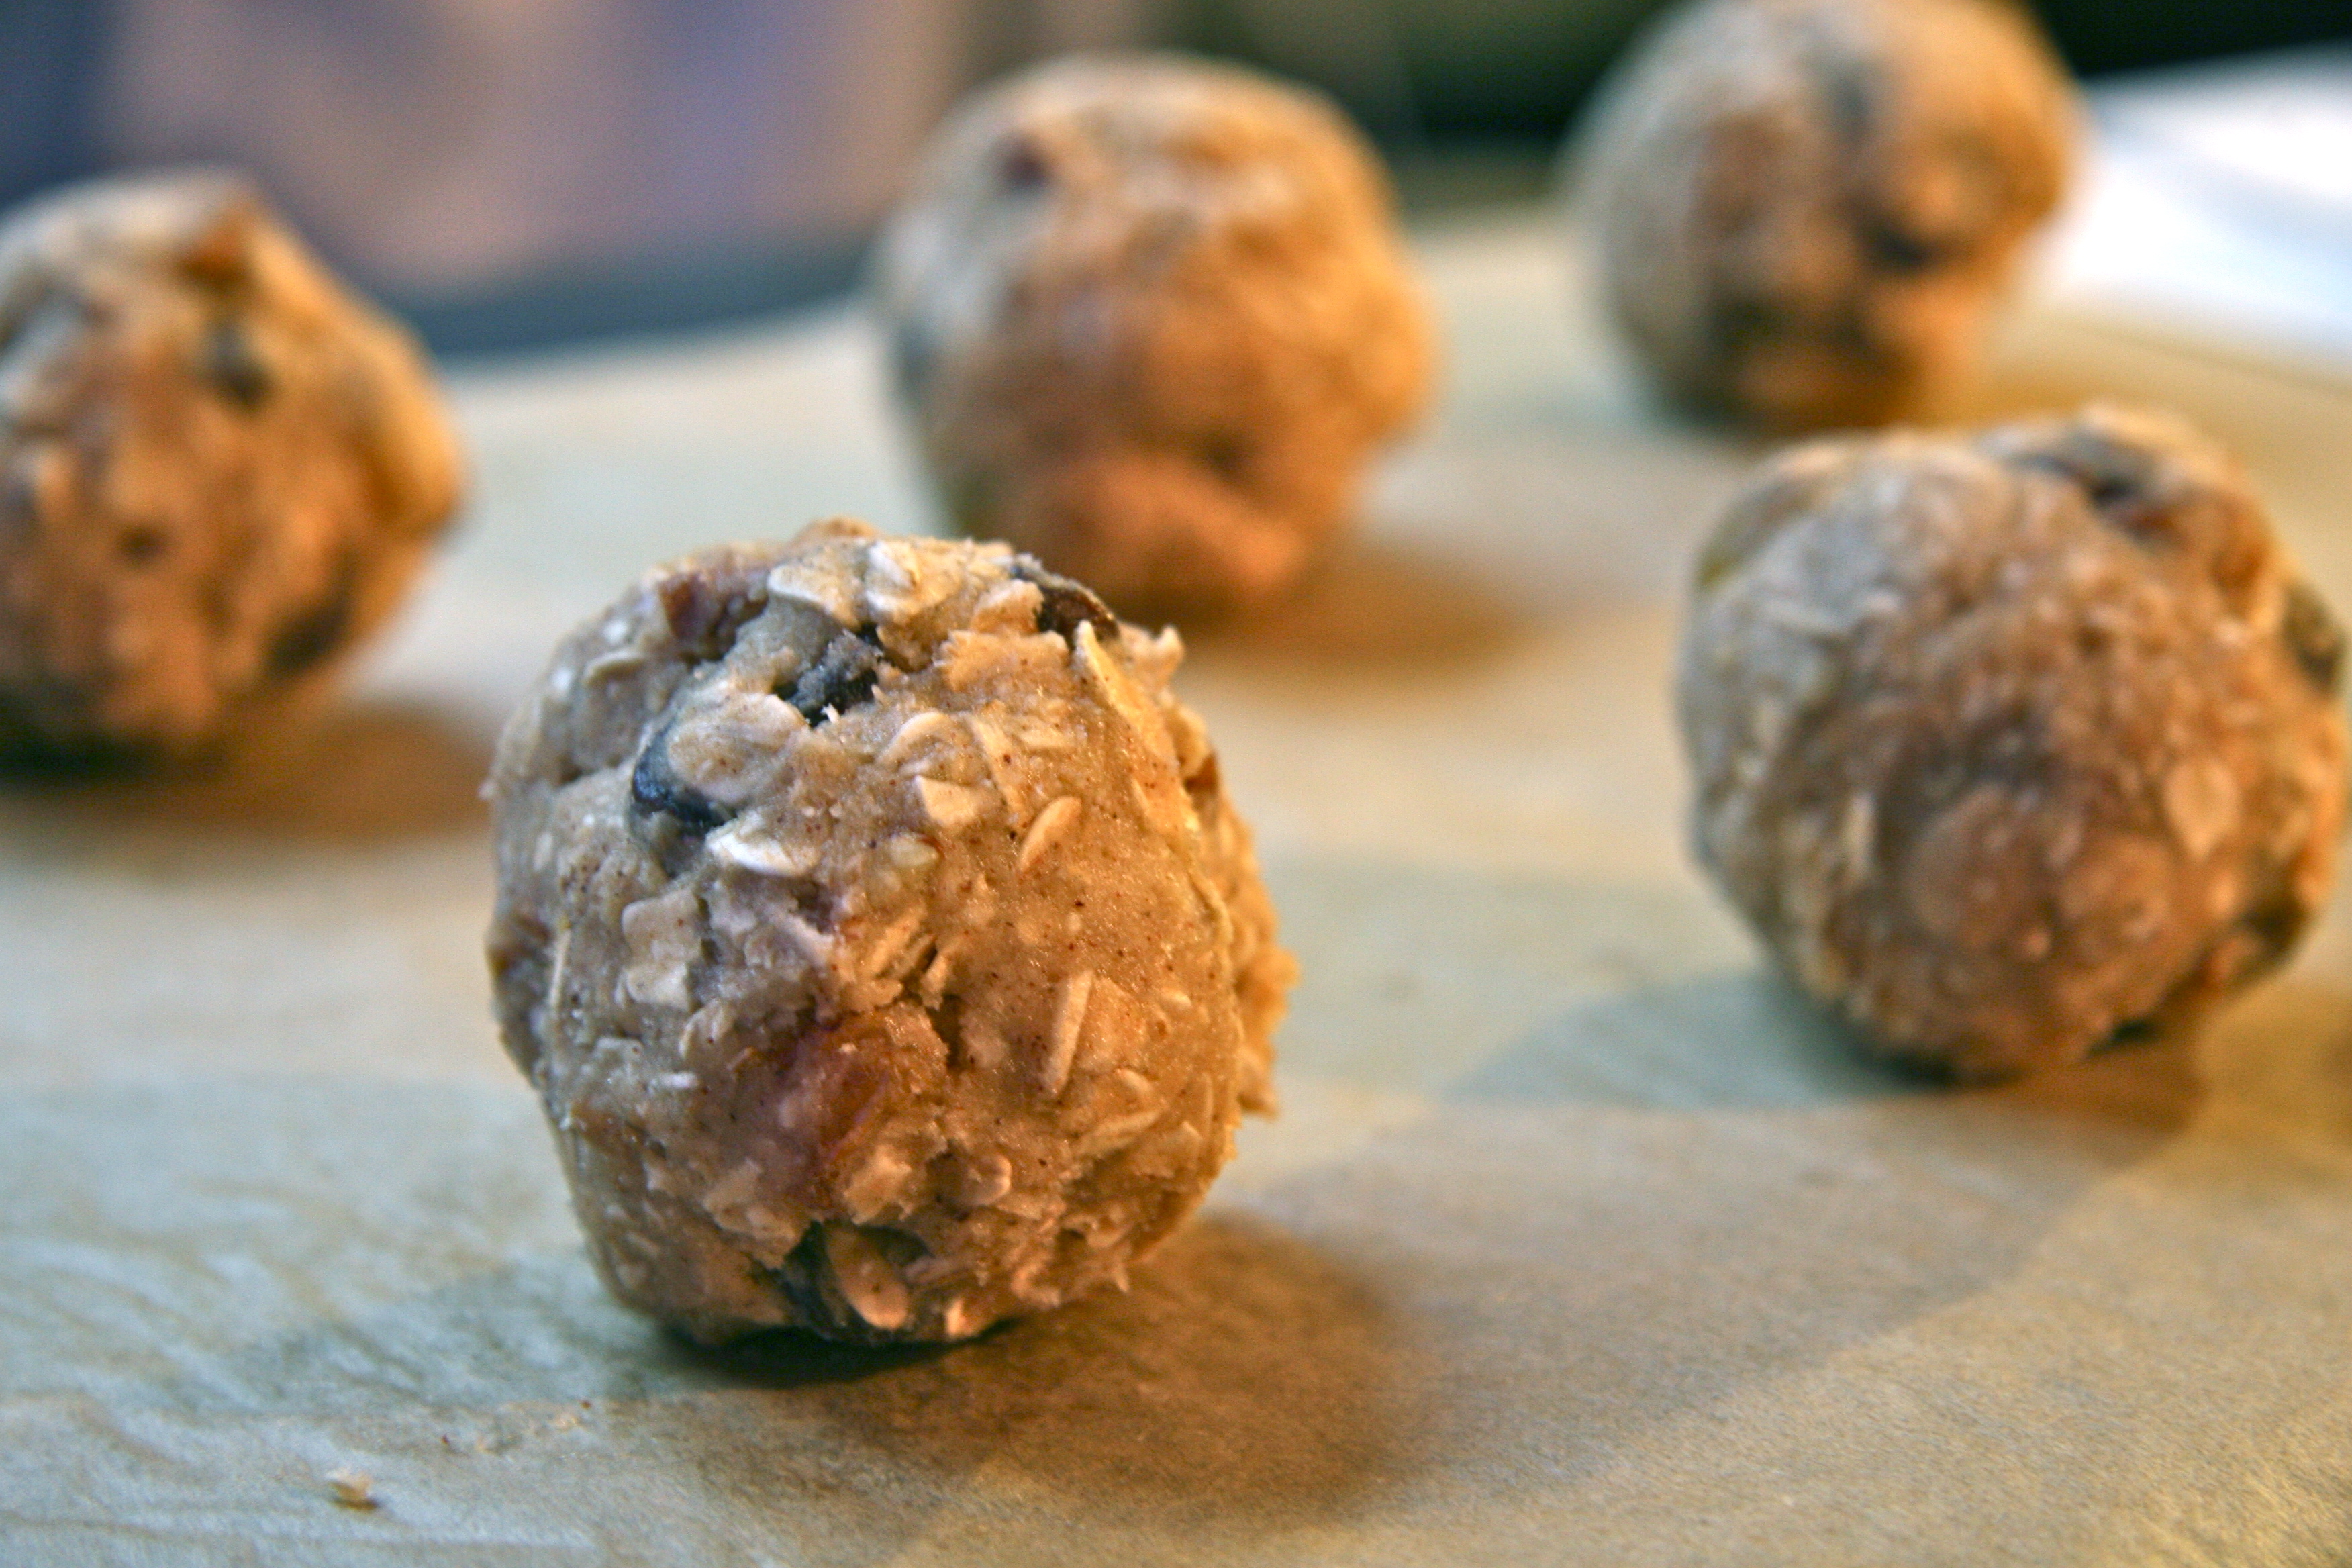
A year or so ago, I discovered a few secrets to making those thick, chewy, bakery-worthy cookies I had spent so many years drooling over (not literally, thank goodness). I’m excited to say that one of those secrets is incredibly easy. Incredibly easy if you have enough patience to chill the cookie dough before baking it. That’s it! Chill the dough! This helps prevent the cookies from spreading because the butter, which was softened for the mixing process, will re-solidify. Many argue chilling also enhances the flavor of the cookie for a number of super scientific reasons I have yet to completely understand. Regardless, I agree.

If you are a fan of thick, chewy, bakery style cookies, you will love this Oatmeal Raisin Cookie. They are just begging to be eaten; every little bit of cinnamon spice, old-fashioned oats, pecans, and two kinds of raisins just scream, “EAT ME!”

If you don’t like raisins, you can absolutely substitute them for chocolate chips.

Promise me you’ll chill the dough? At least half of it?

oatmeal raisin cookies 2

oatmeal raisin cookies 3

oatmeal raisin cookie 4

chewy oatmeal raisin cookies
Recipe Type: Dessert
Author: Butter Loves Company
Prep time: 15 mins
Cook time: 15 mins
Total time: 30 mins
Serves: 12-16 cookies
Ingredients
  • 1/2 cup (1 stick) butter, softened
  • 2/3 cup light brown sugar, packed
  • 1 large egg
  • 1 teaspoon vanilla extract
  • 3/4 cup all-purpose flour
  • 1/2 teaspoon baking soda
  • 1/2 teaspoon ground cinnamon
  • 1/4 teaspoon table salt
  • 1 1/2 cups old fashioned rolled oats
  • 1 cup raisins (1/2 cup each golden and dark raisins or a full cup of one type)
  • 1/3 cup pecans or walnuts, chopped (optional)
Instructions
  1. In a large bowl or the bowl of an electric mixer, cream together the butter, brown sugar, egg and vanilla until smooth.
  2. In a separate bowl, whisk the flour, baking soda, cinnamon and salt together.
  3. Stir this into the butter mixture and mix on low until just combined. Stir in the oats, raisins and nuts, if using.
  4. Form the dough into a ball and wrap in plastic. Chill for at least 2 hours, or overnight if you are patient.
  5. Preheat the oven to 350°F and line a cookie sheet with parchment paper. Scoop 1 to 1 ½ inch balls of chilled cookie dough and arrange on the cookie sheet leaving two inches between each ball (If the dough is really cold, you can flatten the dough balls ever so slightly so they come out less thick).
  6. Bake for 12 to 15 minutes, or until the edges are golden. The center may look slightly undercooked. Let cookies cool for 5 minutes on the warm baking sheet before transferring to a wire rack.
3.2.1275


[socialpoll id=”2186258″]

Filed Under: desserts and sweets, eat Tagged With: chewy, cinnamon, cookies, make ahead, oatmeal, oatmeal raisin cookies, pecans, raisin, rolled oats, thick, walnuts

lemon poppy seed muffins

February 1, 2014 by Butter Loves Company

lemon poppy seed muffins

I’ve been loving lemons lately (and apparently alliteration also!).  I’ve been fully stocked on lemonade for the past month and I keep finding myself ordering treats with lemon zest. I’ve never been the biggest lemon baked good fan, so this has left me baffled. People go bananas over things like lemon squares or lemon meringue pie and, while I really, really want to love them, I usually take a bite and immediately make one or more of these faces.

Before this lemon longing (:wink:) fades, I needed to put a lemon recipe in the books. Lemon Poppy Seed Muffins seemed practical to enjoy on an early Saturday morning.

There are two awesome parts of making these. Or, two things I get excited about that will just make you think I’m a nerd.

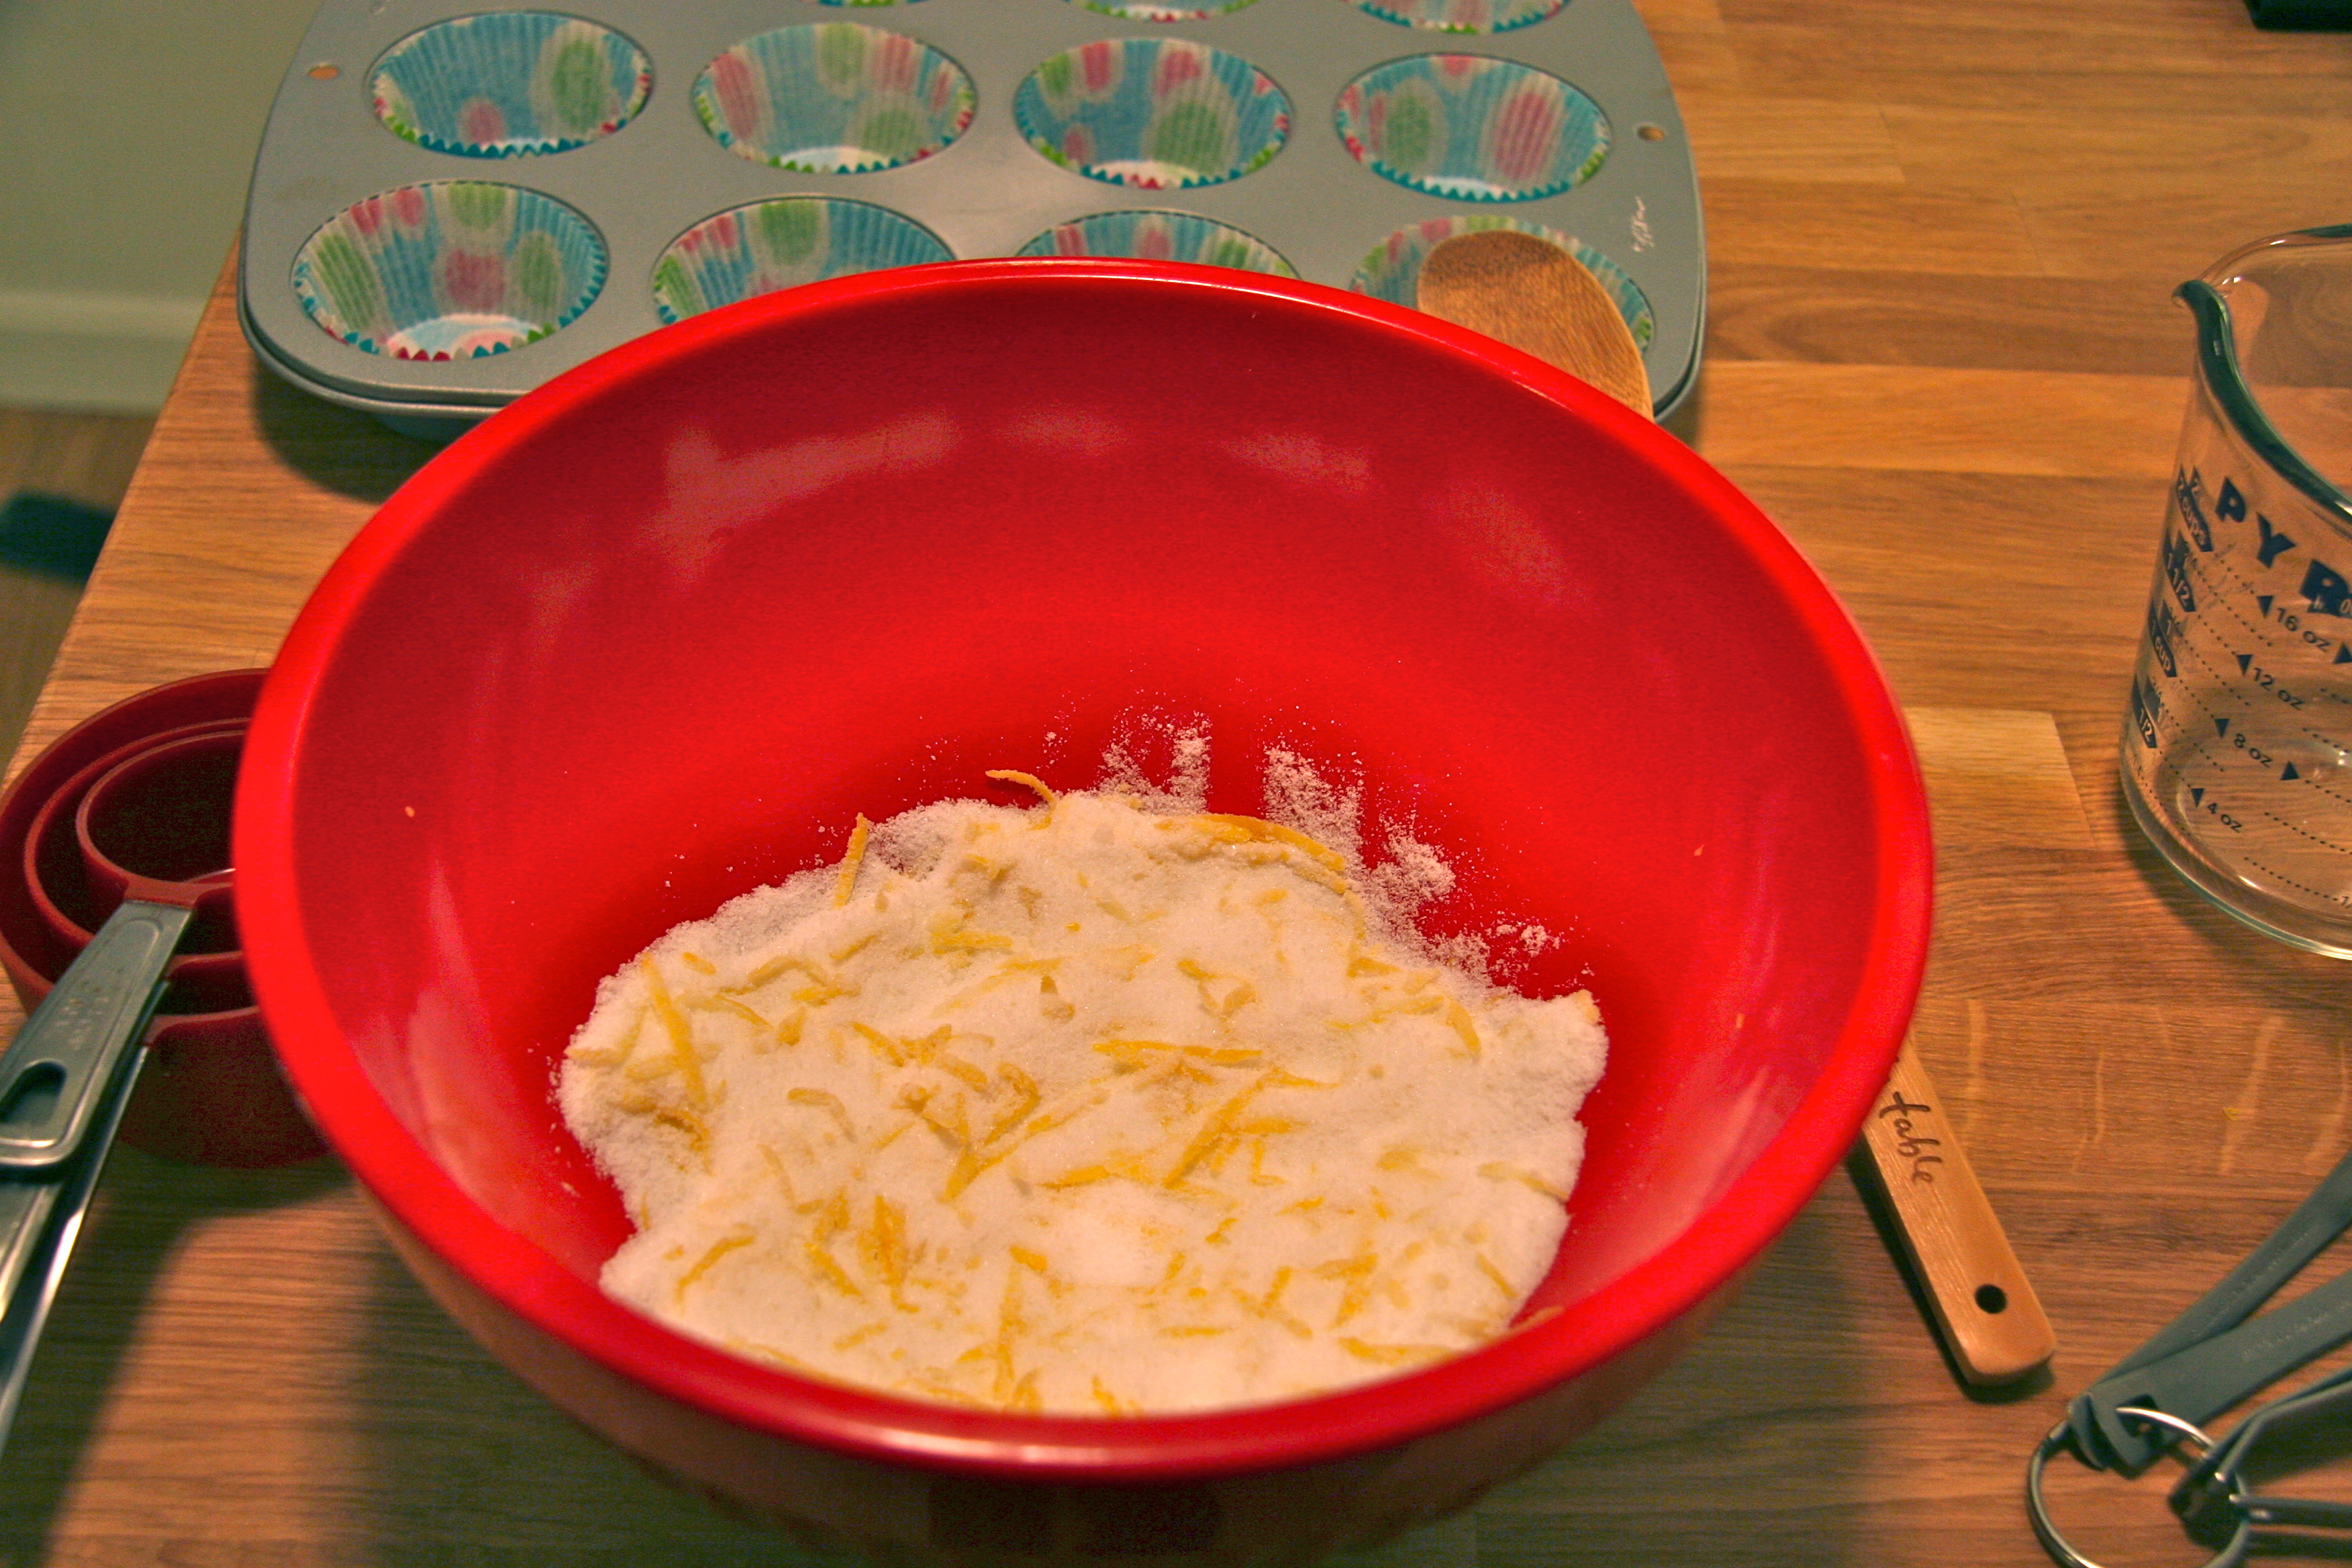
  • The first is rubbing the sugar and lemon zest together in step two to release the lemon essence that comes from the peel. The sugary citrus scent is like refreshing aromatherapy.
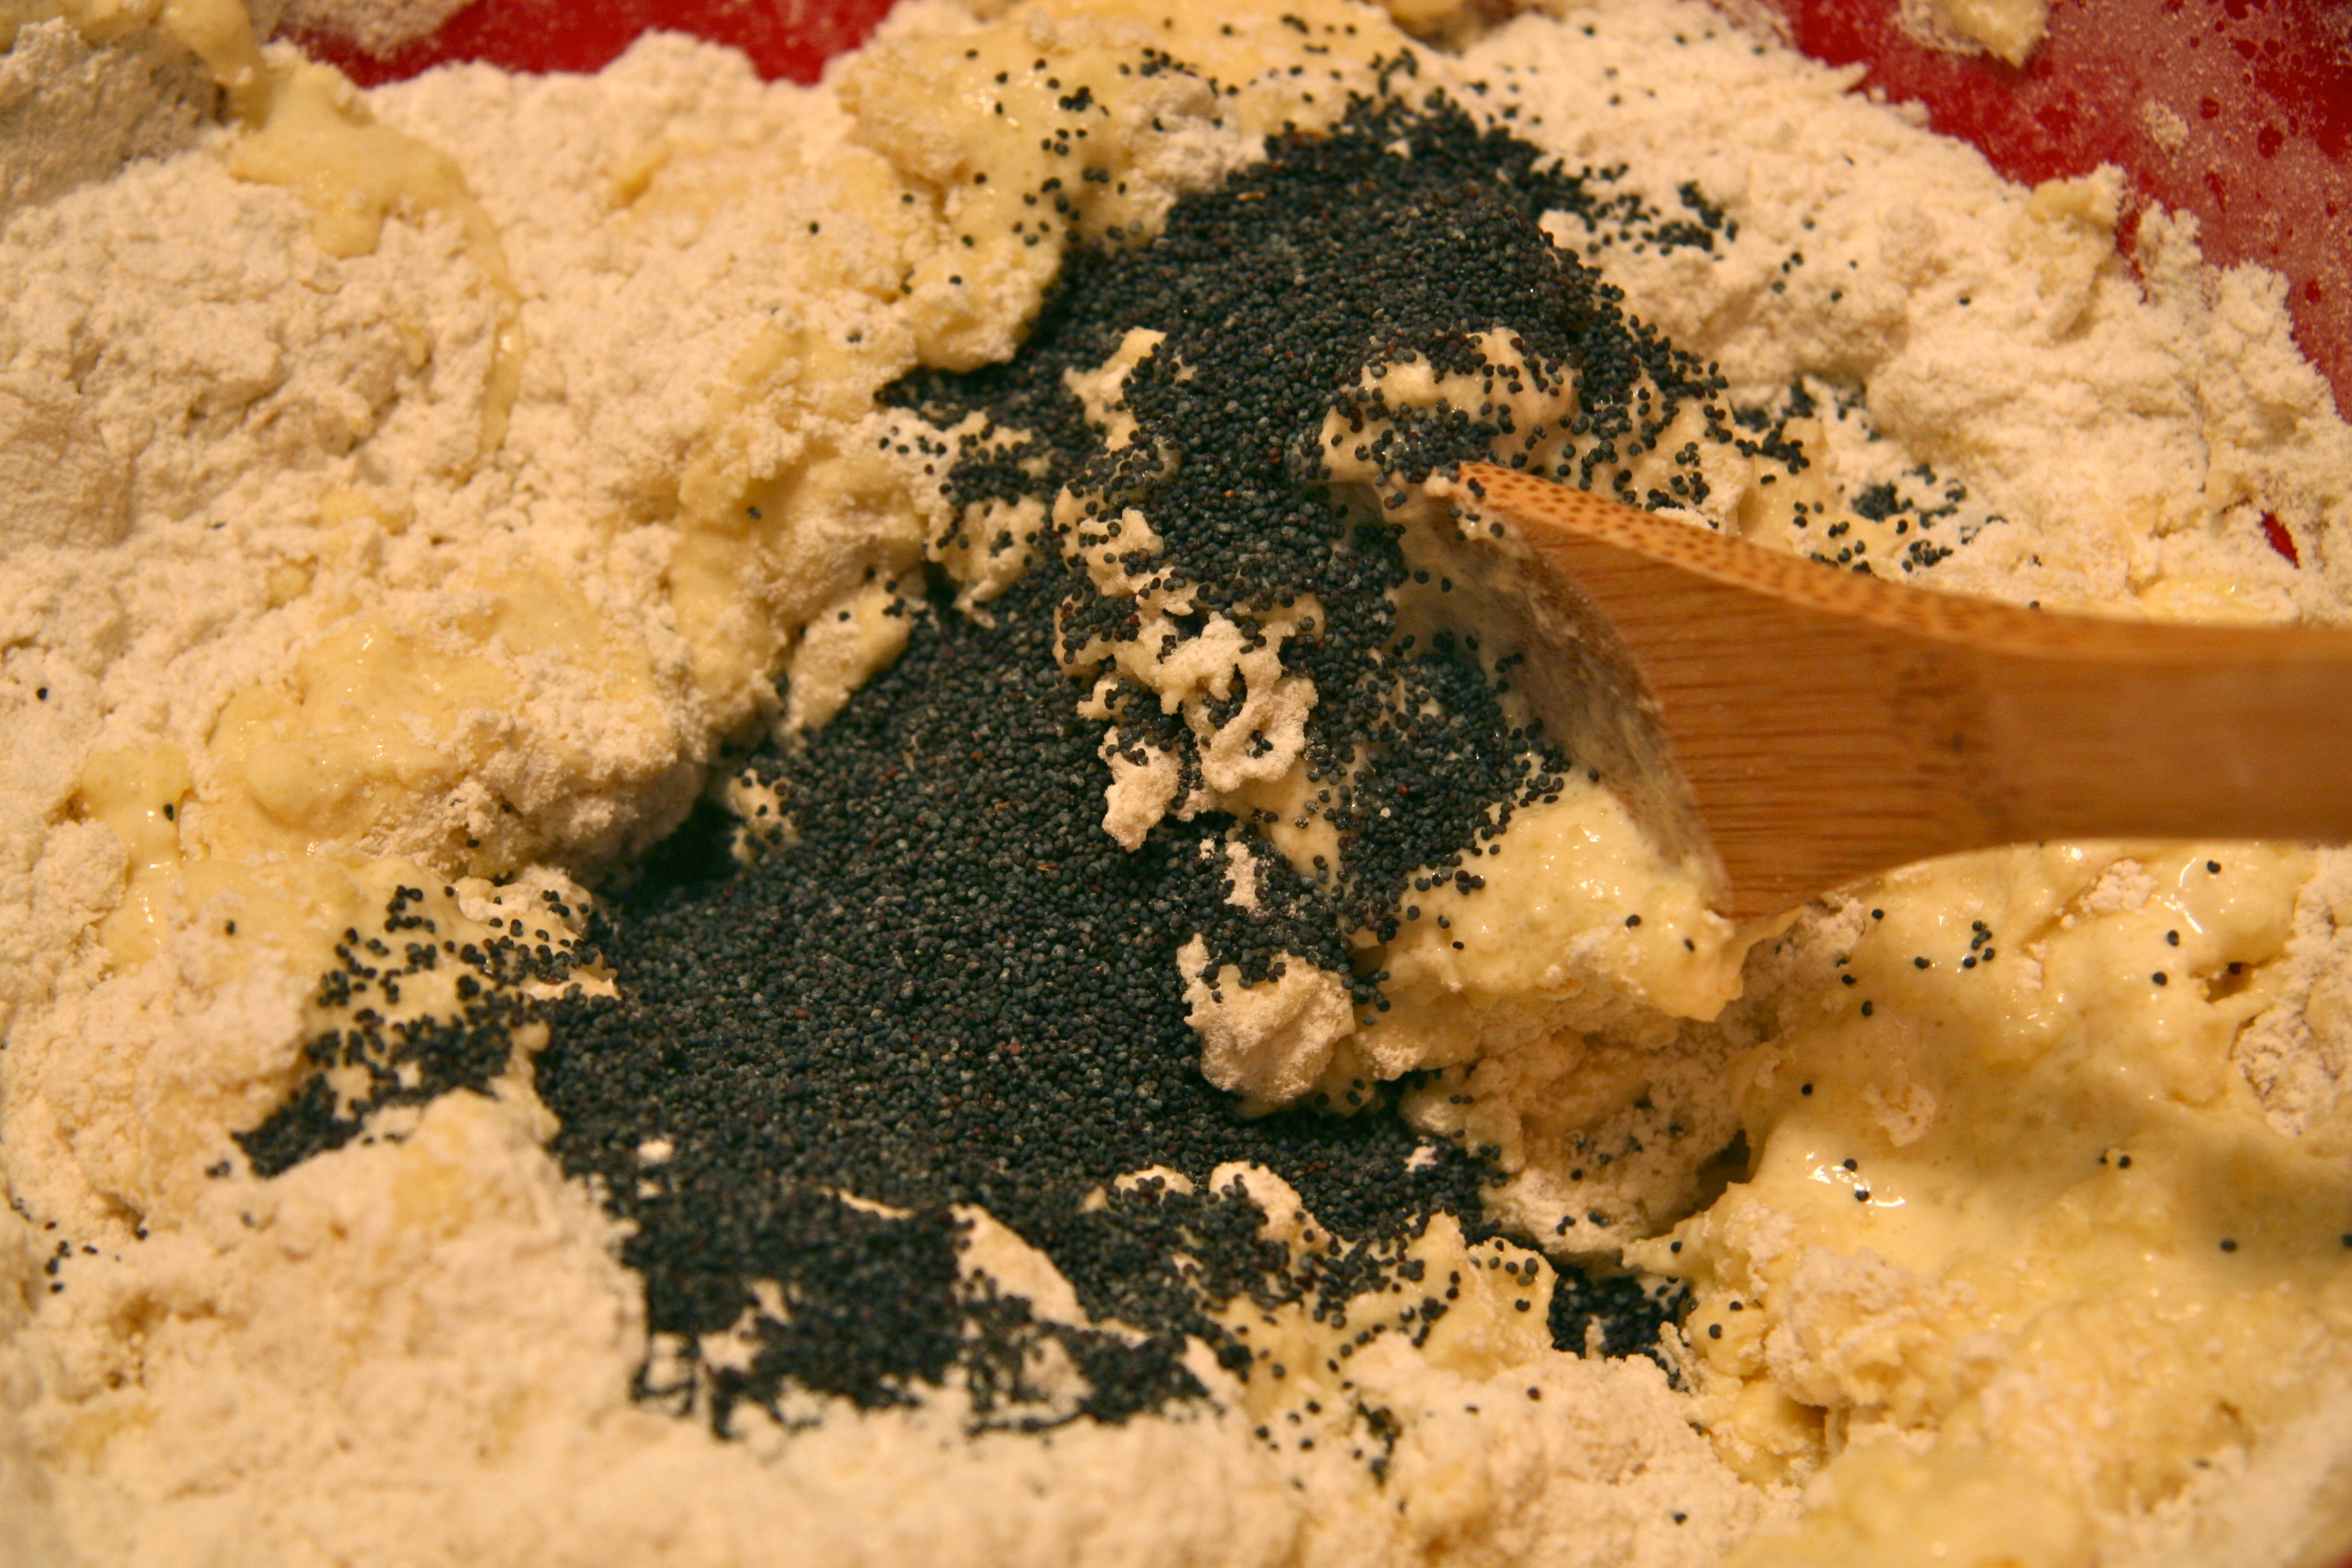
  • The second is when you add the poppy seeds to the batter. You pour in just two tablespoons, which may not seem like much. After one swoop with the spatula, thousands of tiny seeds infiltrate the batter ready to add little pops to the final product.

If you really like lemon, you can add the lemon icing. I also think they are just as nice without. These are best when eaten the day of baking, if possible.

mix the lemon zest and sugar together with your fingers. The sweet citrus scent will instantly make you feel refreshed.

mix the lemon zest and sugar together with your fingers. The sweet citrus scent will instantly make you feel refreshed.

Prepare the dry and wet ingredients and mix the wet with the dry.

Prepare the dry and wet ingredients and mix the wet with the dry.

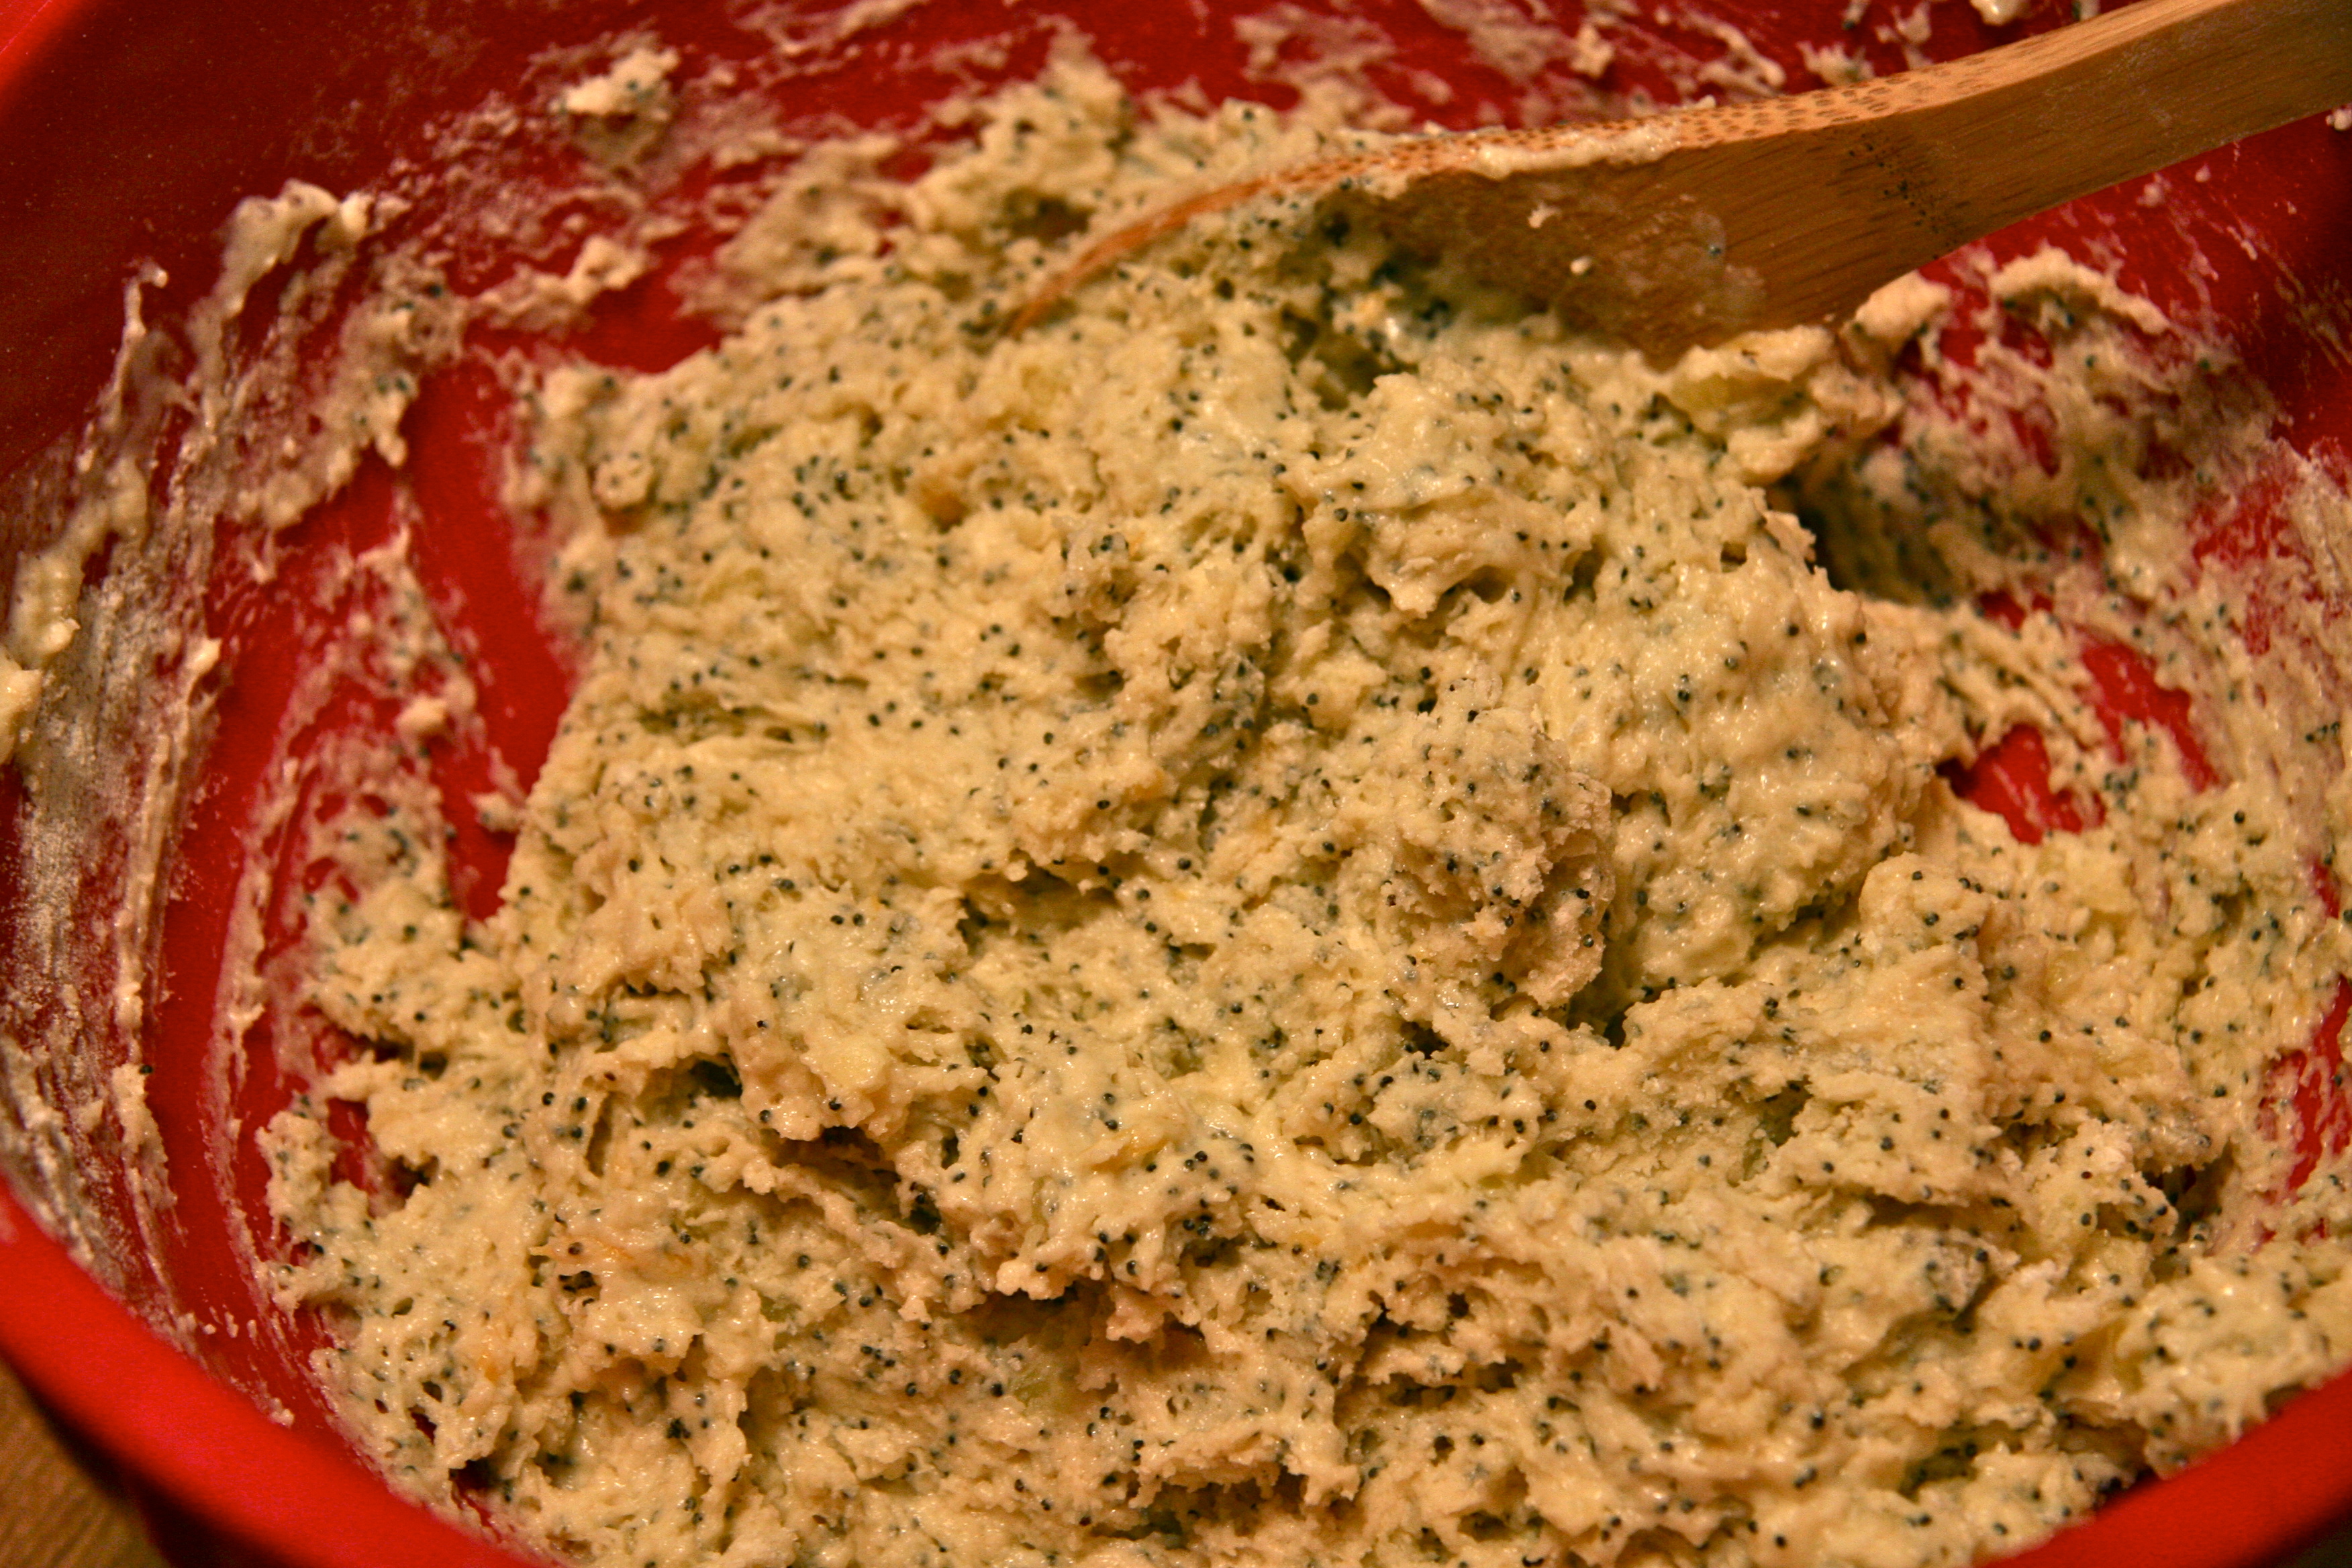
My favorite part. Stir in the poppy seeds!

My favorite part. Stir in the poppy seeds!

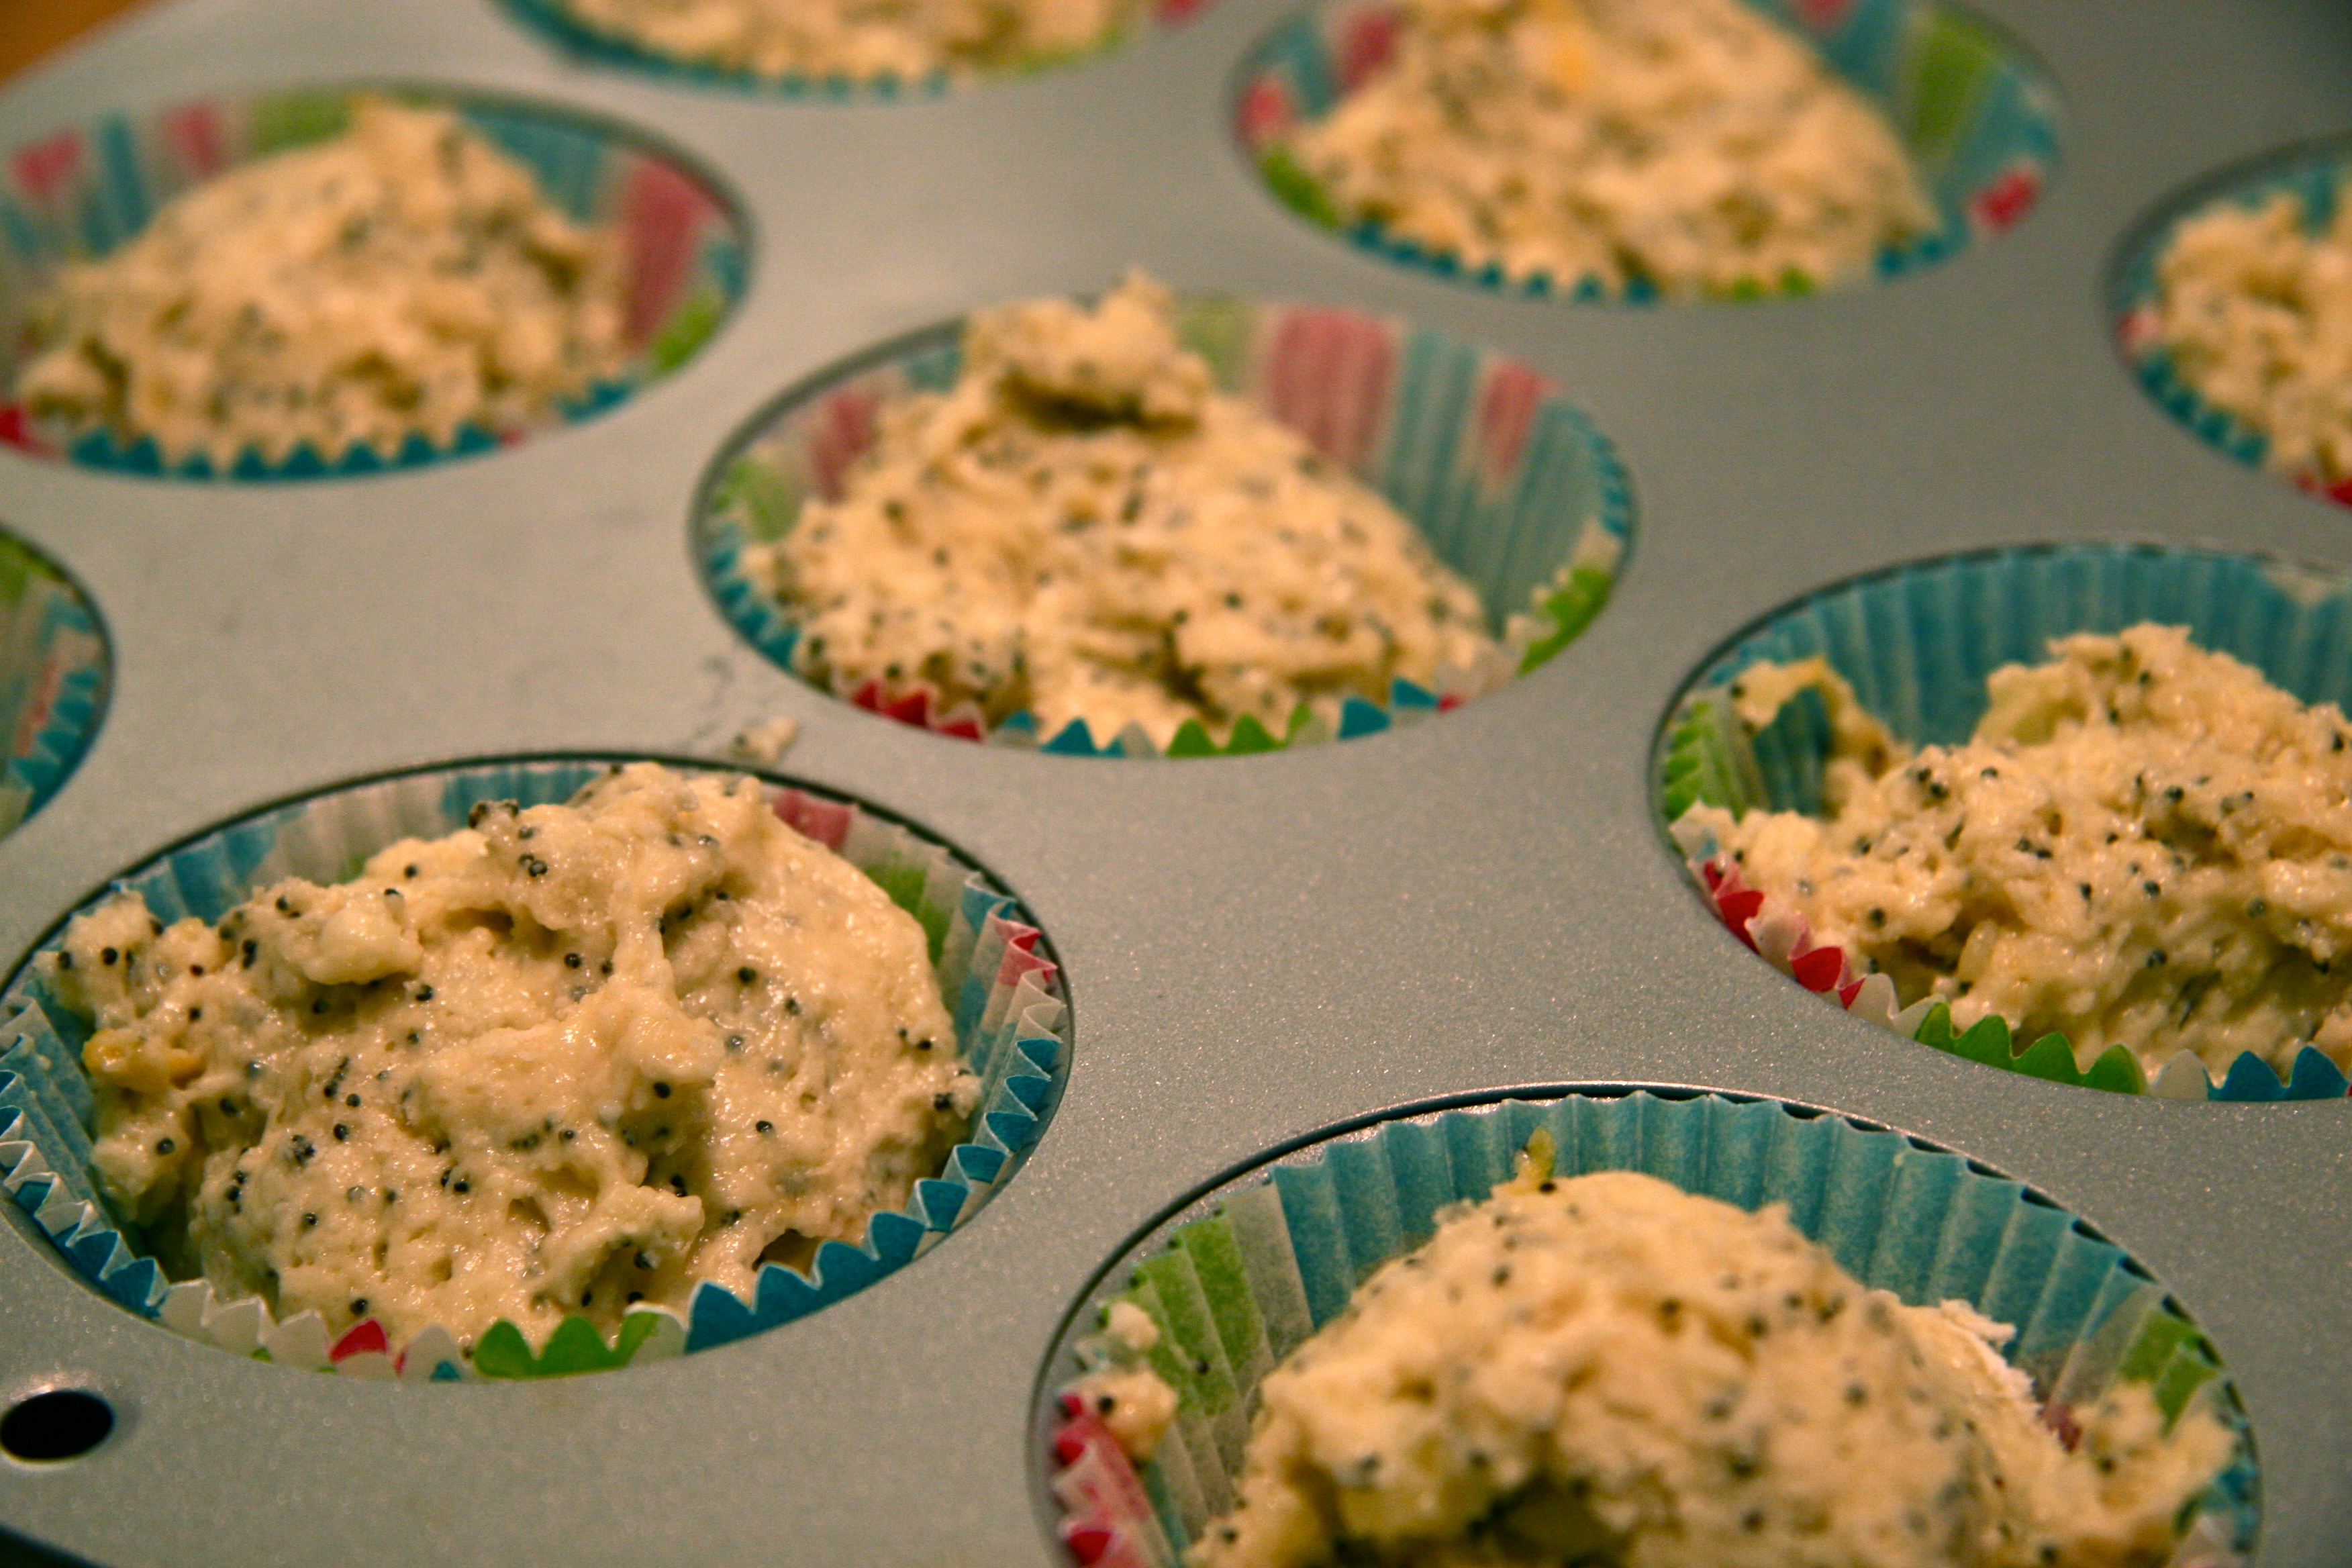
Poppy seed speckled batter ready for the pan.

Poppy seed speckled batter ready for the pan.

Pop them in the oven for 18-20 minutes.

Pop them in the oven for 18-20 minutes.

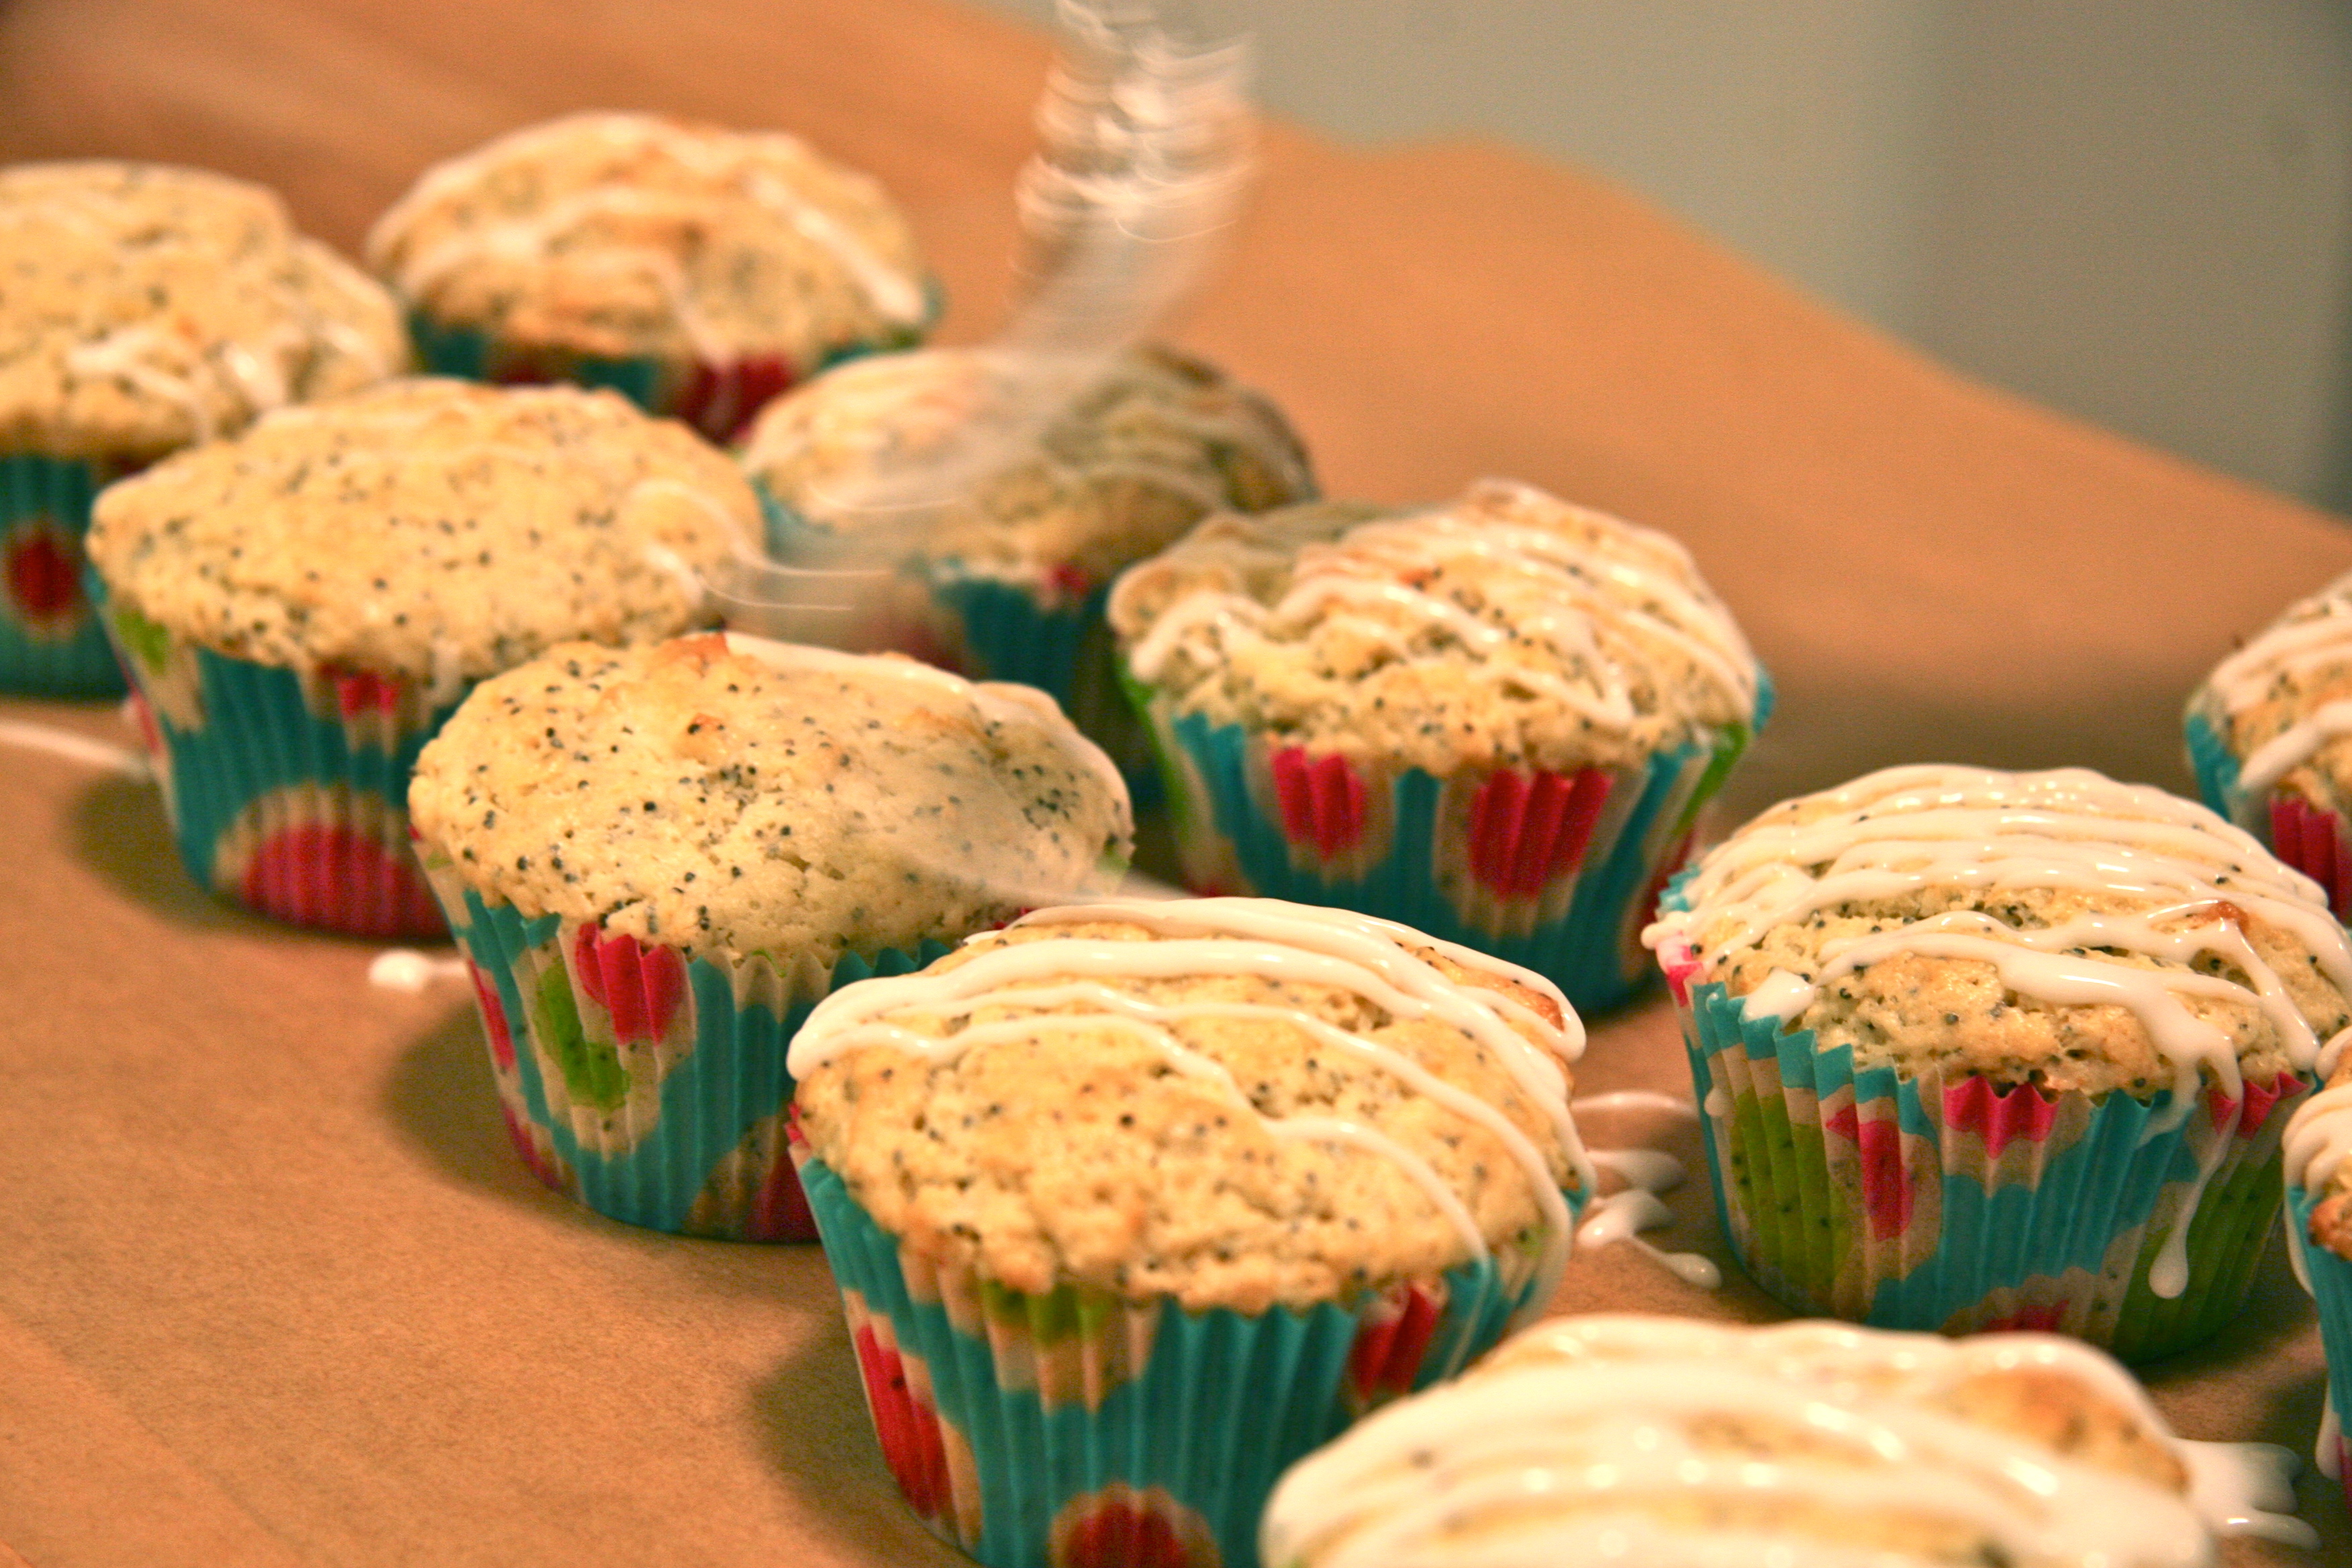
drizzle cooled muffins with lemon icing (optional)

drizzle cooled muffins with lemon icing (optional)

Enjoy!

Enjoy!

lemon poppy seed muffins
Recipe Type: Breakfast
Author: Dorie Greenspan
Prep time: 15 mins
Cook time: 20 mins
Total time: 35 mins
Serves: 12
Ingredients
  • 2/3 cup sugar
  • Grated zest and juice of 1 lemon
  • 2 cups all purpose flour
  • 2 teaspoons baking powder
  • ¼ teaspoon baking soda
  • ¼ teaspoon salt
  • ¾ cup sour cream
  • 2 large eggs
  • 1 teaspoon pure vanilla extract
  • 8 tablespoons (1 stick) unsalted butter, melted in a bowl and cooled
  • 2 tablespoons poppy seeds
  • 1 cup confectioners sugar (for icing)
  • 2–3 tablespoons fresh lemon juice (for icing)
Instructions
  1. Preheat the oven to 400 degrees F. Line a standard 12 hole muffin pan with paper cups or, alternatively, butter/grease a muffin pan.
  2. In a large bowl, rub the sugar and lemon zest together with your fingertips until the sugar is moist and the fragrance of lemon is strong.
  3. Whisk in the flour, baking powder, baking sugar, and salt.
  4. In a separate bowl, whisk the sour cream, eggs, vanilla, lemon juice and melted butter together until well blended.
  5. Pour the liquid ingredients over the dry ingredients and, with a rubber spatula, gently, but quickly, stir to blend. Be careful not to over-mix. It is ok if the batter is a little lumpy.
  6. Stir in the poppy seeds. Divide the batter evenly among the muffin cups.
  7. Bake for 18–20 minutes, or until the tops are golden and a toothpick inserted into the center of the muffin comes out clean. Transfer the pan to a rack and cool for 5 minutes before removing muffins from pan. Cool the muffins completely before icing.
  8. To make the icing, put the confectioners sugar in a small bowl and add the lemon juice slowly until it forms an icing thin enough to drizzle from the tip of a spoon or fork. Drizzle over the tops of the muffins.
3.2.1275


Filed Under: breakfast and breads, eat Tagged With: breakfast, icing, lemon, morning breads, muffins, poppy seed

baked pasta with broccoli rabe and sweet potato

January 29, 2014 by Butter Loves Company

IMG_2580

I like Boston seasons. Snow is so pretty. Winter isn’t too long…

My brain has been trying to convince my body all of these things are true as I shiver through layers of blankets with my hood up and cinched. The unpredictable temperature is taking its toll.

Much to our frustration, we haven’t been able to seek refuge from the cold within the ~500 sq. ft. of our apartment: old building + broken heaters + -10 degree weather outside = 40 degree weather inside. Because of this, I’ve been craving every warm food that fits into the “comfort food” category; a category that baked pasta certainly is part of. I’ve started relying on baked pasta as a meal that re-heats well throughout a busy week (and as a way to warm me up when no more layers will do!).

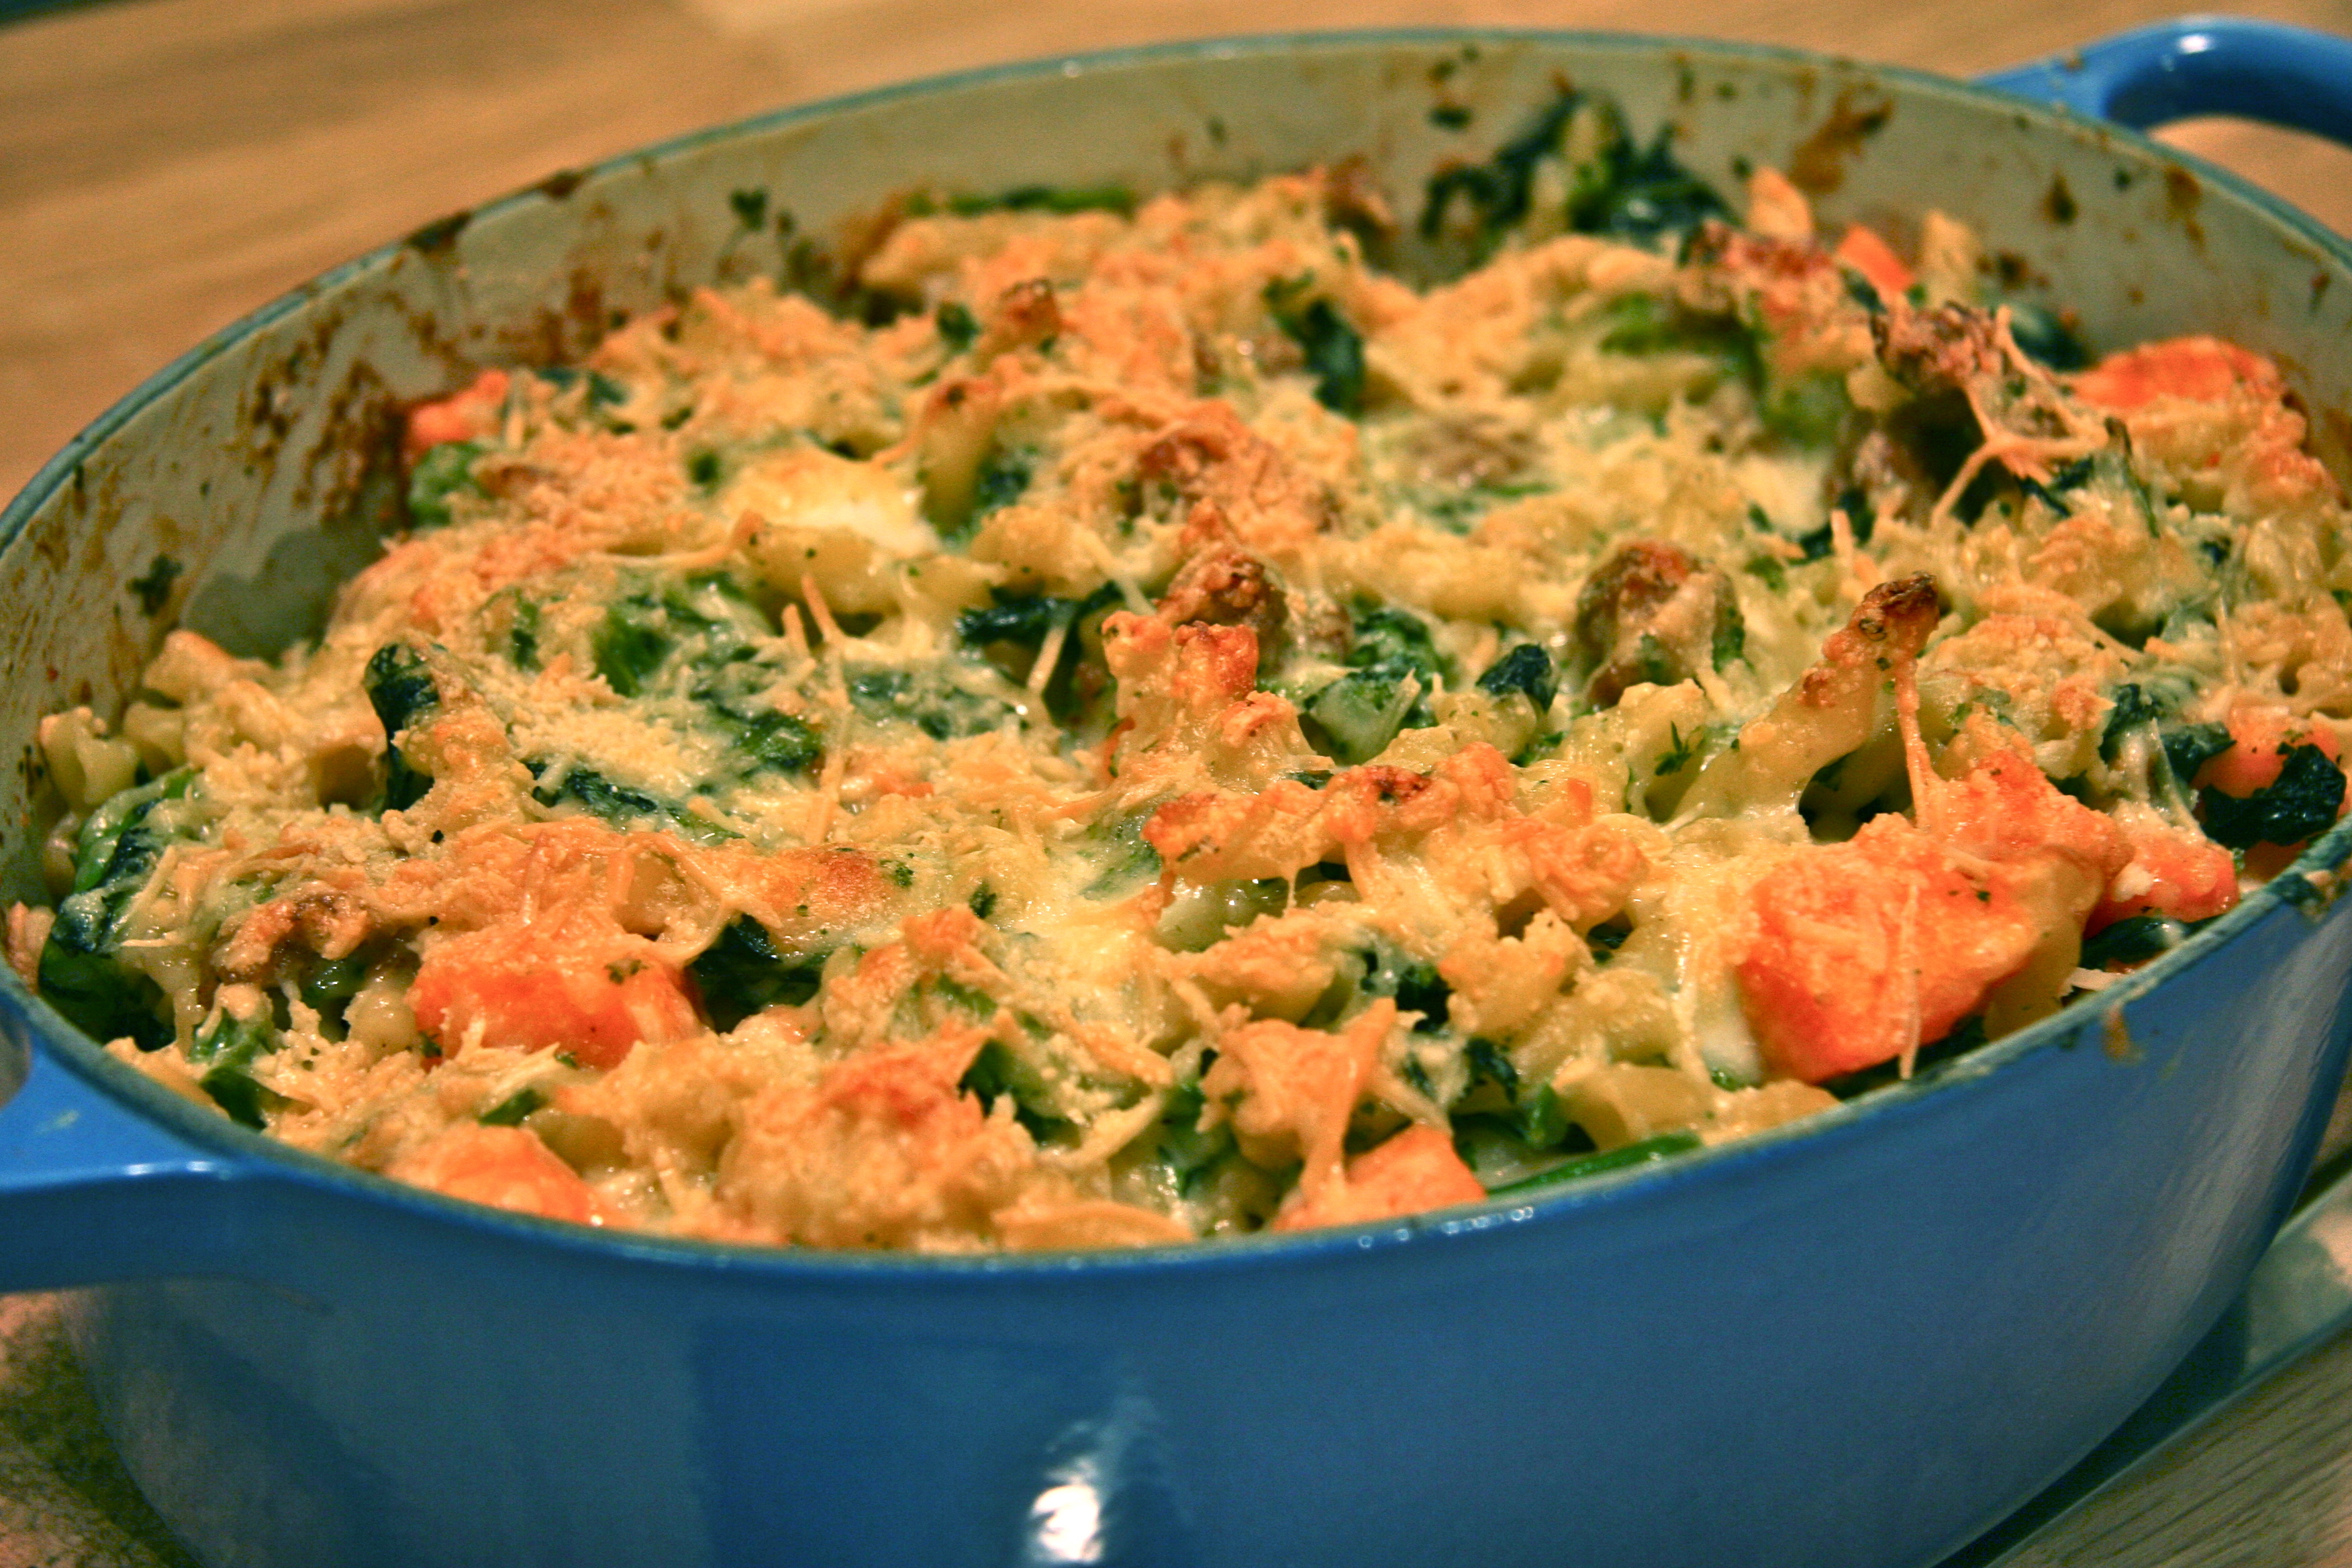
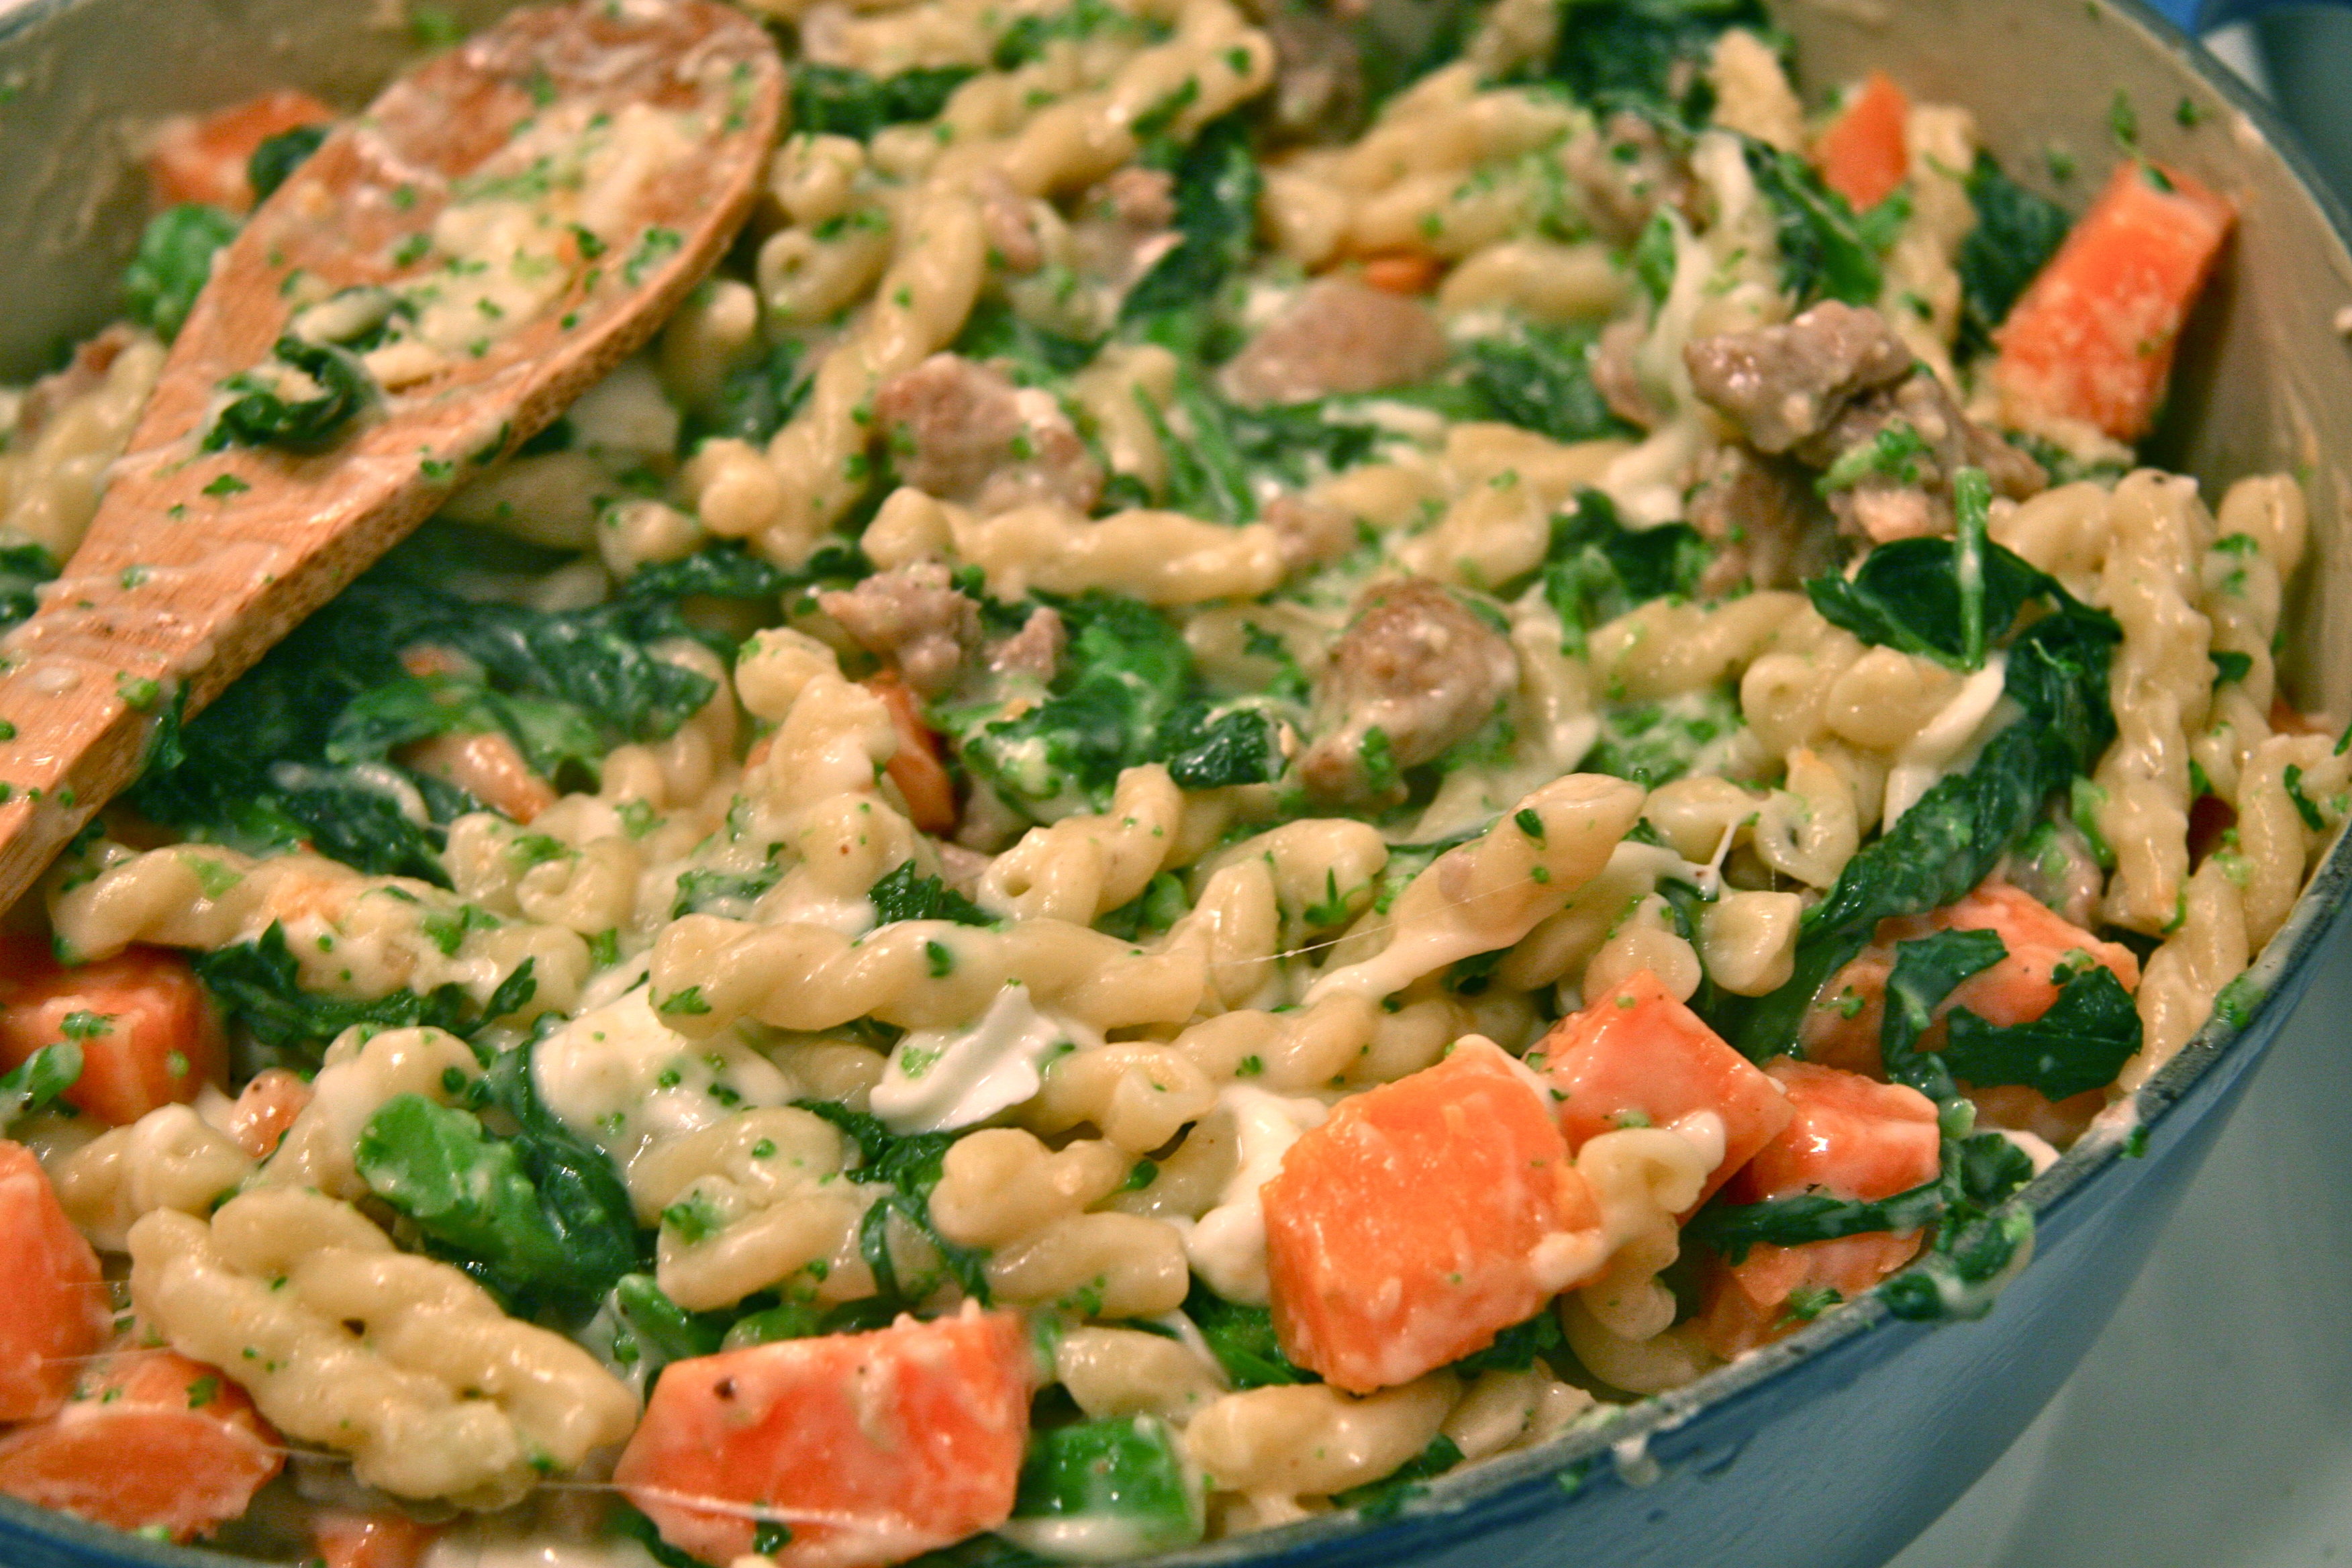
My current recipe of choice, adapted from The Smitten Kitchen, has just the right combination of gooey, creamy pasta on the bottom and crispy, cheesy burnt bits on top. Greg and I both go directly for the burnt bits. I try making myself feel better about the heavier béchamel base by always adding different vegetable combinations. Broccoli’s slightly bitter brother, broccoli rabe, is a great choice because it holds up pretty well to cooking. It also has a nicely contrasting flavor to sweet additions like yam or butternut squash. If you can’t find broccoli rabe, regular broccoli works just fine. Every time I make this I use a combination of sweet and hot Italian sausage. I find a touch of spice is well received.

The Smitten Kitchen recipe suggests multiplying the cheese and béchamel by 1 ½ if you prefer your baked pasta creamier. To me, this one is just perfect.

I’ll continue it to make through the rest of winter, even with our new working heaters!

Pouring the béchamel on the pasta is the best part. So is saying béchamel.

Pouring the béchamel on the pasta is the best part. So is saying béchamel.

baked pasta with broccoli rabe and sweet potato
Recipe Type: Dinner
Author: adapted from The Smitten Kitchen
Prep time: 20 mins
Cook time: 50 mins
Total time: 1 hour 10 mins
Serves: 6-8
Ingredients
  • Pasta and assembly—
  • 1 pound chunky pasta of your choice (I prefer anything that sauce can sneak into)
  • 1 bundle broccoli rabe, stems and leaves cut into 1-inch segments
  • 1 cups diced sweet potato or yam (1 large potato peeled and diced into ¾ inch cubes)
  • 1 pound Italian sausage (sweet or spicy pork or chicken), casings removed
  • 2/3 cup grated parmesan or pecorino romano cheese
  • 6 ounces mozzarella, cut into small cubes
  • Bechamel—
  • 2 cups milk, full fat is ideal (I used 2%)
  • 4 tablespoons unsalted butter
  • 1/4 cup all-purpose flour
  • 1/2 teaspoon table salt
  • Freshly ground black pepper
  • 2 cloves garlic, minced
  • Few gratings fresh nutmeg
Instructions
  1. Cook the pasta, rabe, and yam: Bring a large pot of well-salted water to a boil. Add pasta and five minutes before its cooking time is up, add the broccoli rabe and sweet potato. It will seem like too much for the water, but with a stir or two, the rabe should wilt and cook alongside the pasta. Drain the broccoli rate, sweet potato and pasta together and place in a large bowl.
  2. Cook your sausage: Meanwhile, heat 1 to 2 tablespoons olive oil in a large, wide saucepan (you will use this for the bechamel in a few minutes; you could also use your pasta pot, once it is drained) over medium heat. When hot, add the sausage, breaking it up with a wooden spoon until it starts to brown, about five minutes. Remove with slotted spoon or spatula, leaving any fat behind. Eyeball the drippings (pork sausage will leave some; chicken usually does not) — use one tablespoon less butter next if it looks like there’s a tablespoon there. Any less, don’t worry about adjusting the butter.
  3. Heat oven to 400 degrees.
  4. Make the bechamel: Melt your butter in same saucepan over medium heat. Once melted, add your flour and stir it into the butter until smooth. Cook the mixture together for a minute, stirring constantly. Pour in a small drizzle of your milk, whisking constantly into the butter-flour mixture until smooth. Continue to drizzle a very small amount at a time, whisking constantly. Once you’ve added a little over half of your milk, you’ll find that you have more of a thick sauce or batter, and you can start adding the milk in larger splashes, being sure to keep mixing. Once all of the milk is added, add the salt, garlic, nutmeg, and few grinds of black pepper, and bring the mixture to a lower simmer and cook it, stirring frequently, for 10 minutes. Taste and adjust seasonings if needed.
  5. Assemble and bake: Add the sausage and bechamel to the bowl with the pasta, broccoli rabe, and sweet potato. Stir in mozzarella and half of grated parmesan or pecorino until combined. Pour into a deep 9×13-inch baking dish or 3-quart casserole dish and coat with remaining parmesan or pecorino. Bake for 20 to 30 minutes, until the edges are nicely bronzed.
  6. Eat warm. Reheat as needed
3.2.1275


Filed Under: eat, mains Tagged With: baked pasta, béchamel, broccoli rabe, leftovers, pasta, sweet potato

beignets

January 20, 2014 by Butter Loves Company

IMG_2557

One year ago today Greg and I took our first real trip together. We were excited for a break from another frigid Boston winter, but we were more thrilled to go on an adventure in a city that has earned dozens of honors as “top U.S. city for food lovers.” It’s a city known as much for its parties as for its cuisine—The Big Easy; New Orleans.

Our long weekend was filled with food and fun. We listened to great jazz music on Frenchman Street, walked down the lively Bourbon Street, and watched the first Mardi Gras parade of 2013. Had a French 75 at the bar where it was created, explored voodoo shops and museums, and ate French Creole dishes at John Besh and Emeril Lagasse restaurants—as well as at tiny family run joints. We tried our first po’ boys, gumbo, couchon, king’s cake, and pralines. We did it all, but one of the most memorable parts of the trip was eating beignets covered in mountains of powdered sugar at the famous Café Du Monde.

Located on Decatur Street in heart the French Quarter, on the banks of the Mississippi river, Café Du Monde is the premier spot to get the classic French fried dough treat. Throughout our stay, whenever we passed their green and white awnings, Café Du Monde had a line that snaked around for at least half-a-block. We were lucky to catch an opening one sunny morning and enjoyed cafés au lait with a plate of hot rectangular beignets piled high with powdered sugar. It took every ounce of self-control for me not to blow the mound of powdered sugar across the table like snow. The texture of the beignet is a cross between an old-fashioned donut and fried dough. If you ever travel to New Orleans, I encourage you to add a trip to Café du Monde to your To-Do list.

A line of people waiting for beignets outside of Cafe Du Monde.

A line of people waiting for beignets outside of Cafe Du Monde.

The beignets from Cafe Du Monde. They really love the powdered sugar! I held back a little on mine.

The beignets from Cafe Du Monde. They really love the powdered sugar! I held back a little on mine.

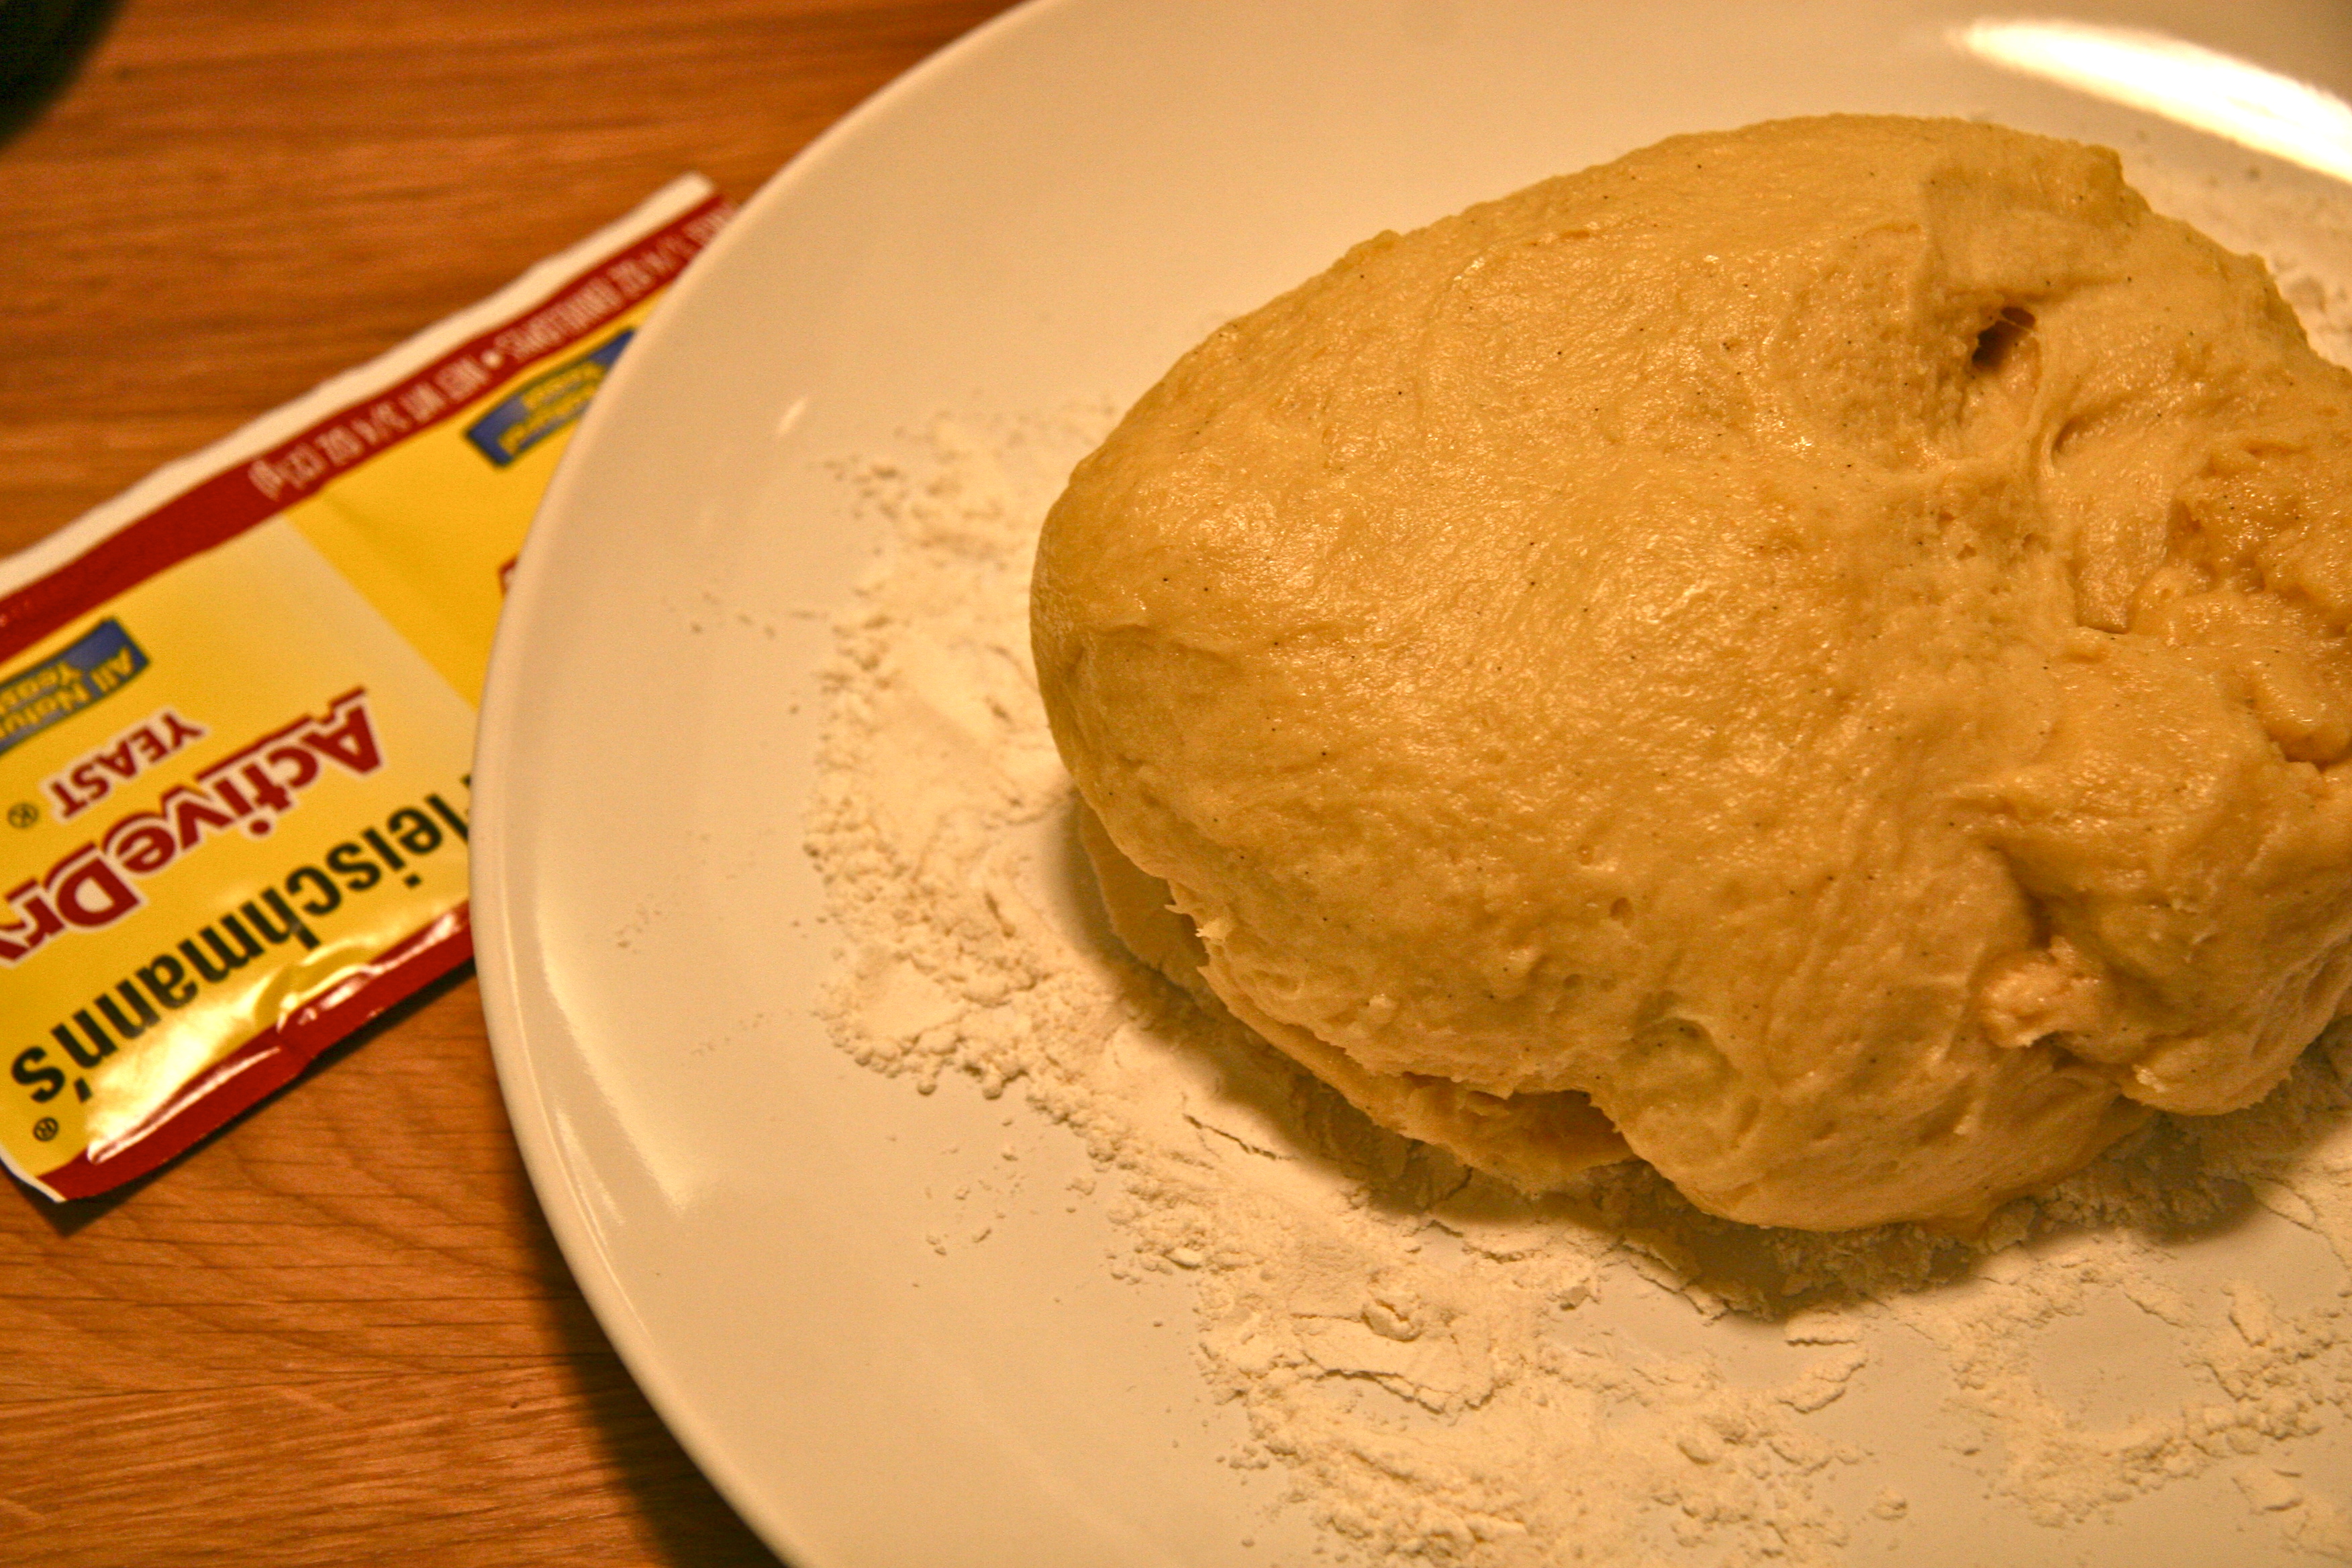
To pay homage to our trip, I made my first batch of beignets thismorning. This recipe is adapted from a cookbook recently added to our collection, Family Table, by Michael Romano and Karen Stabiner. I had to prepare the dough last night to give it ample time to set.

Prepare the beignet dough the day before you'd like to make them.

Prepare the beignet dough the day before you’d like to make them.

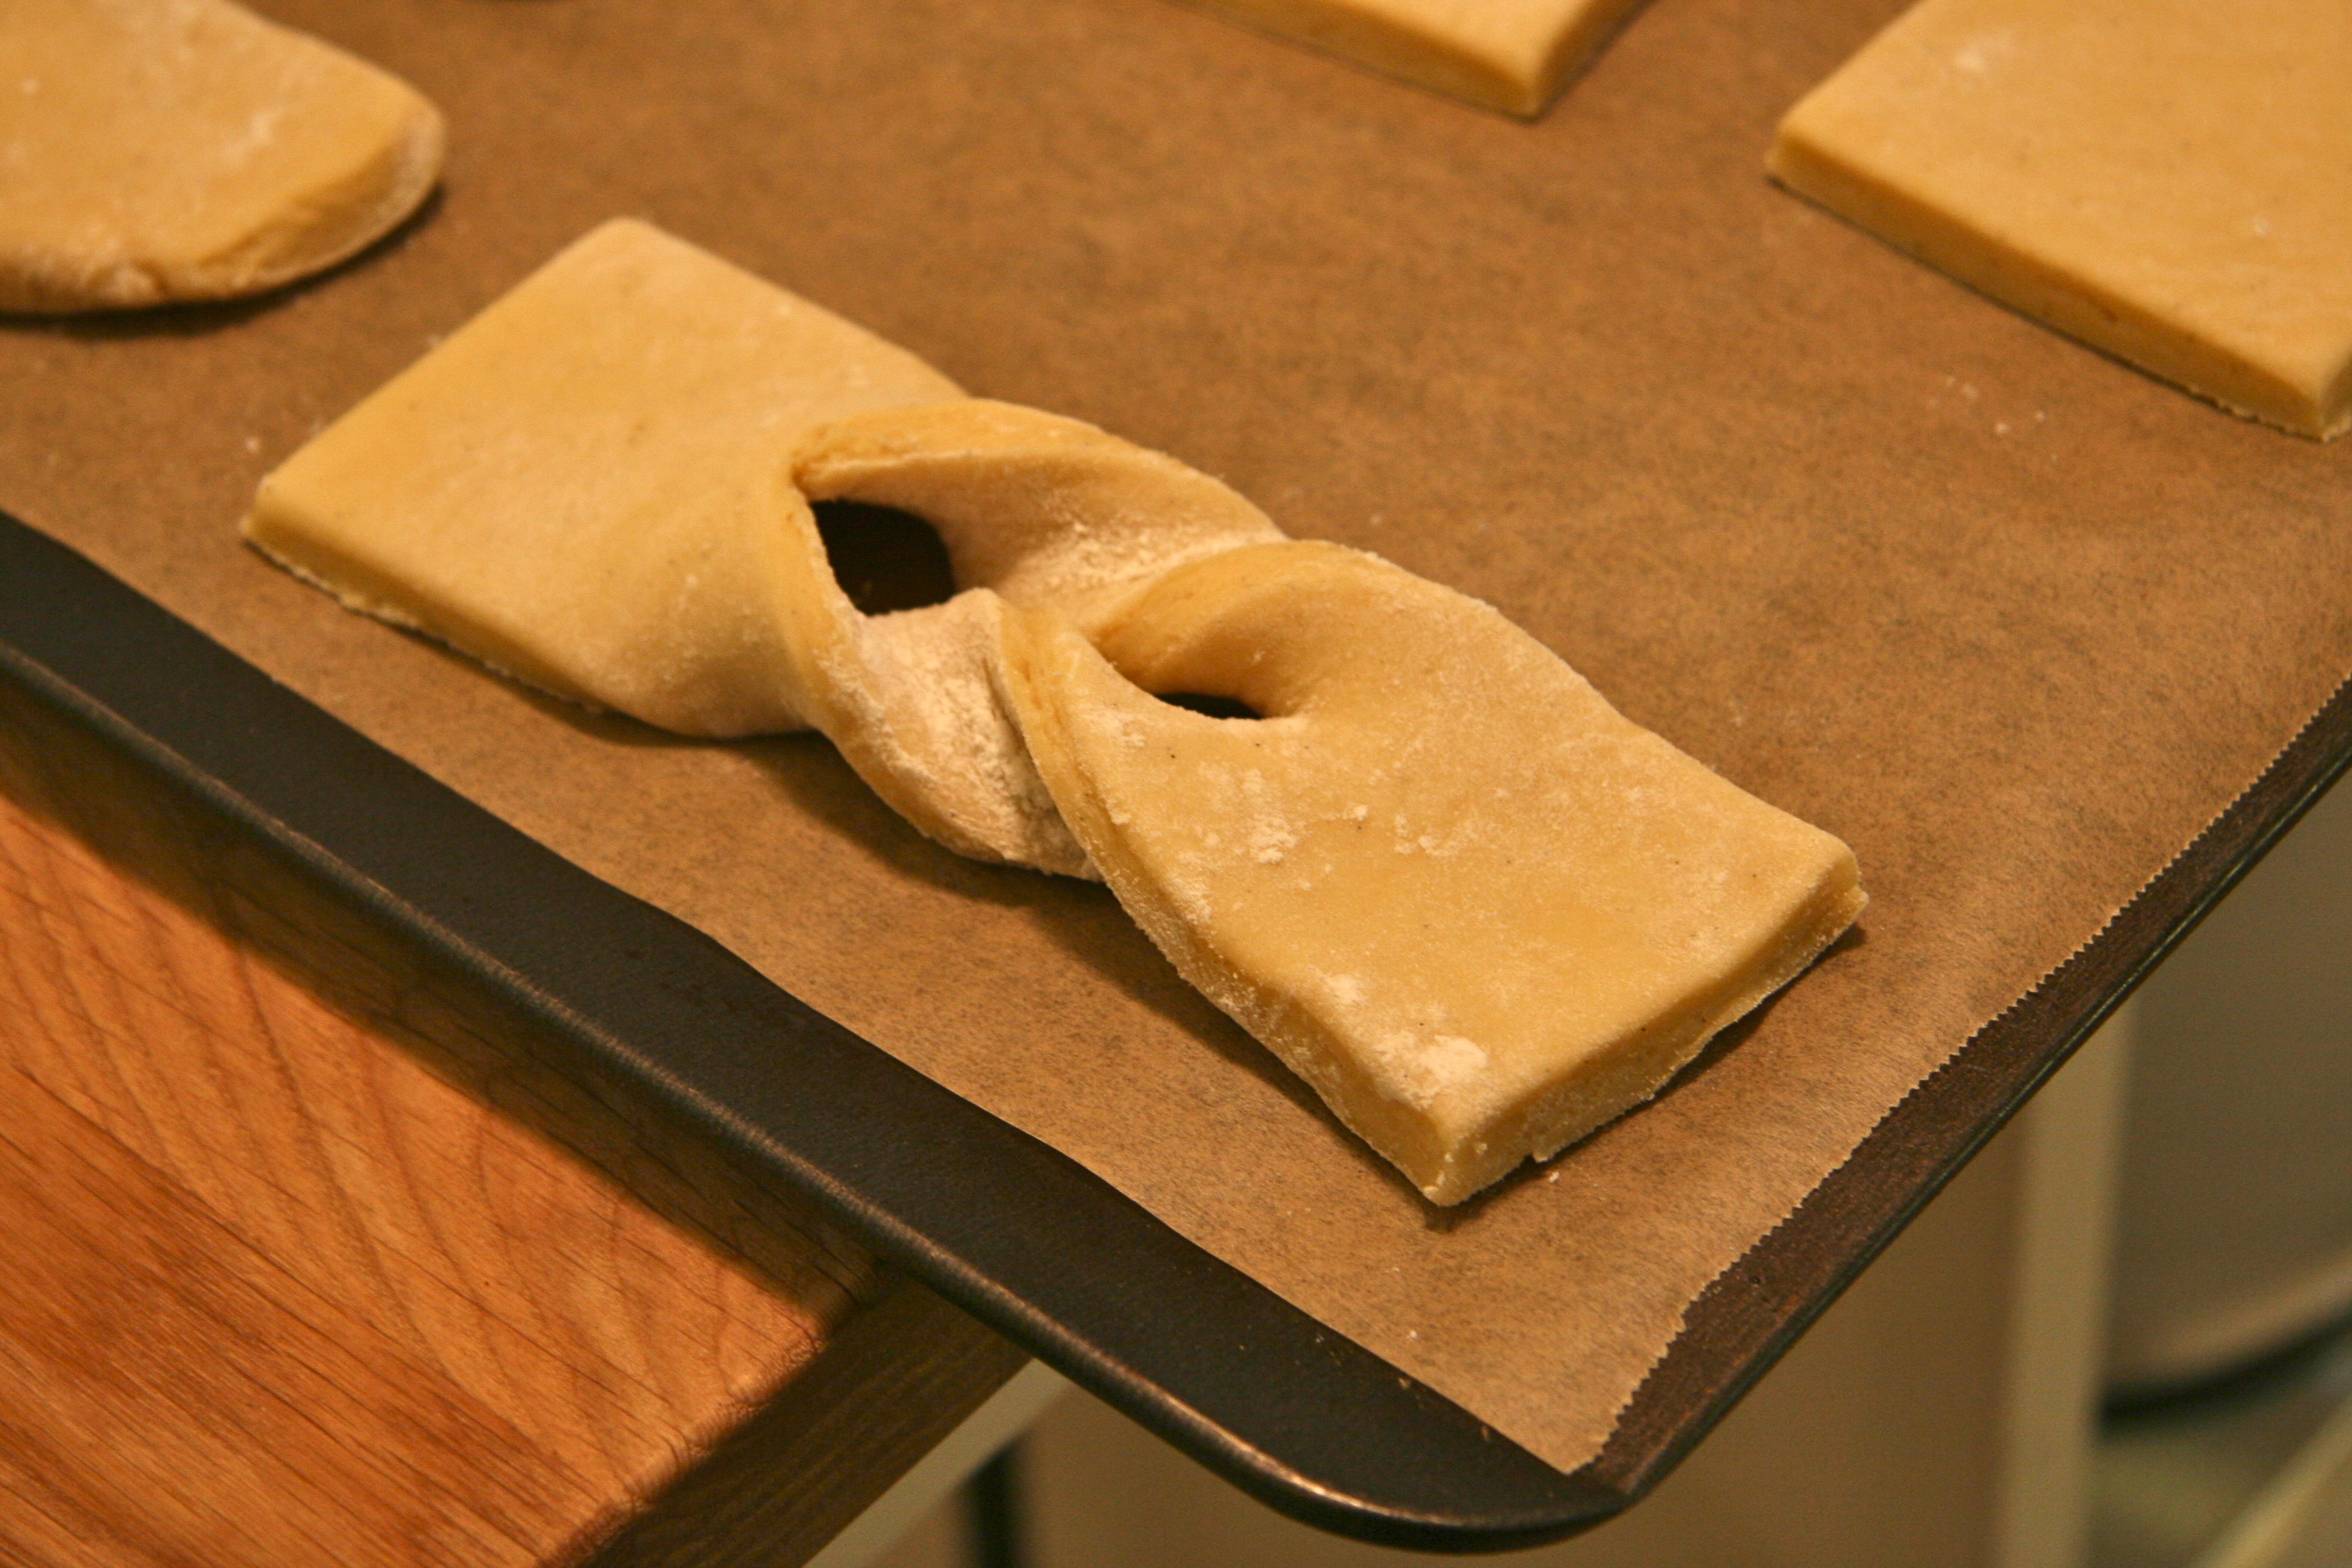
Roll out the dough, cut it into rectangles and add the twist, if you'd like!

Roll out the dough, cut it into rectangles and add the twist, if you’d like!

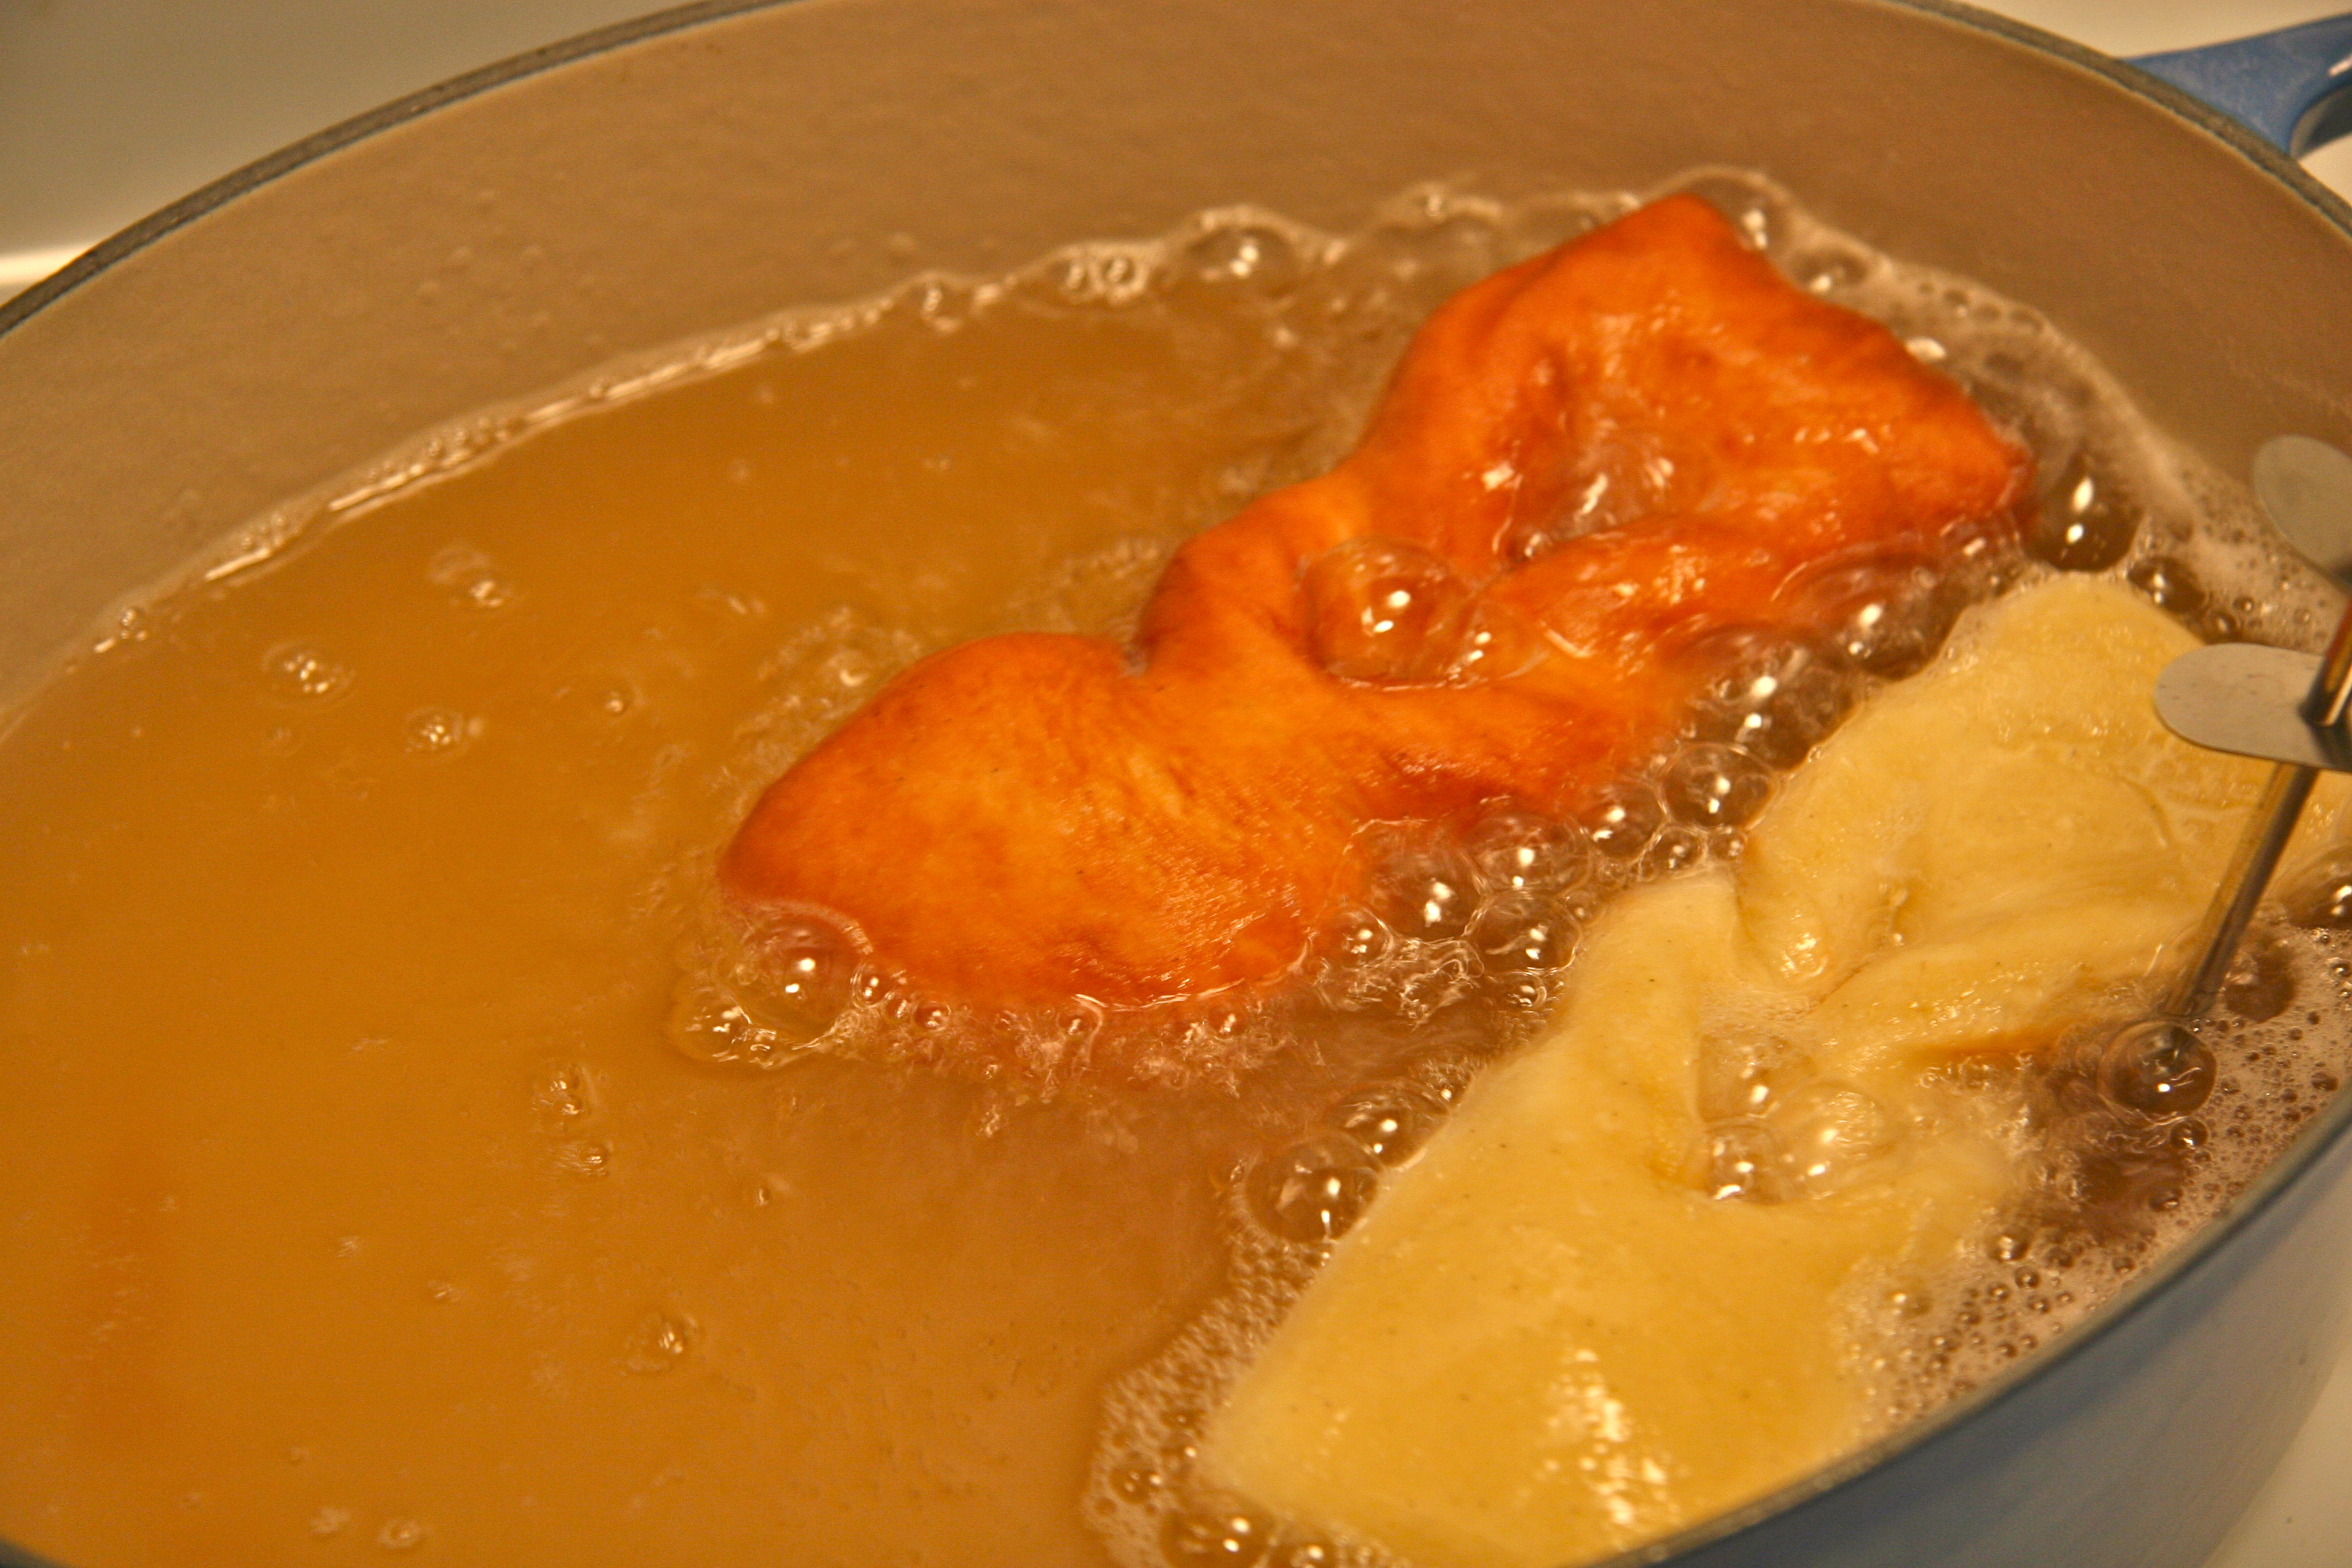
Fry them up!

Fry them up!

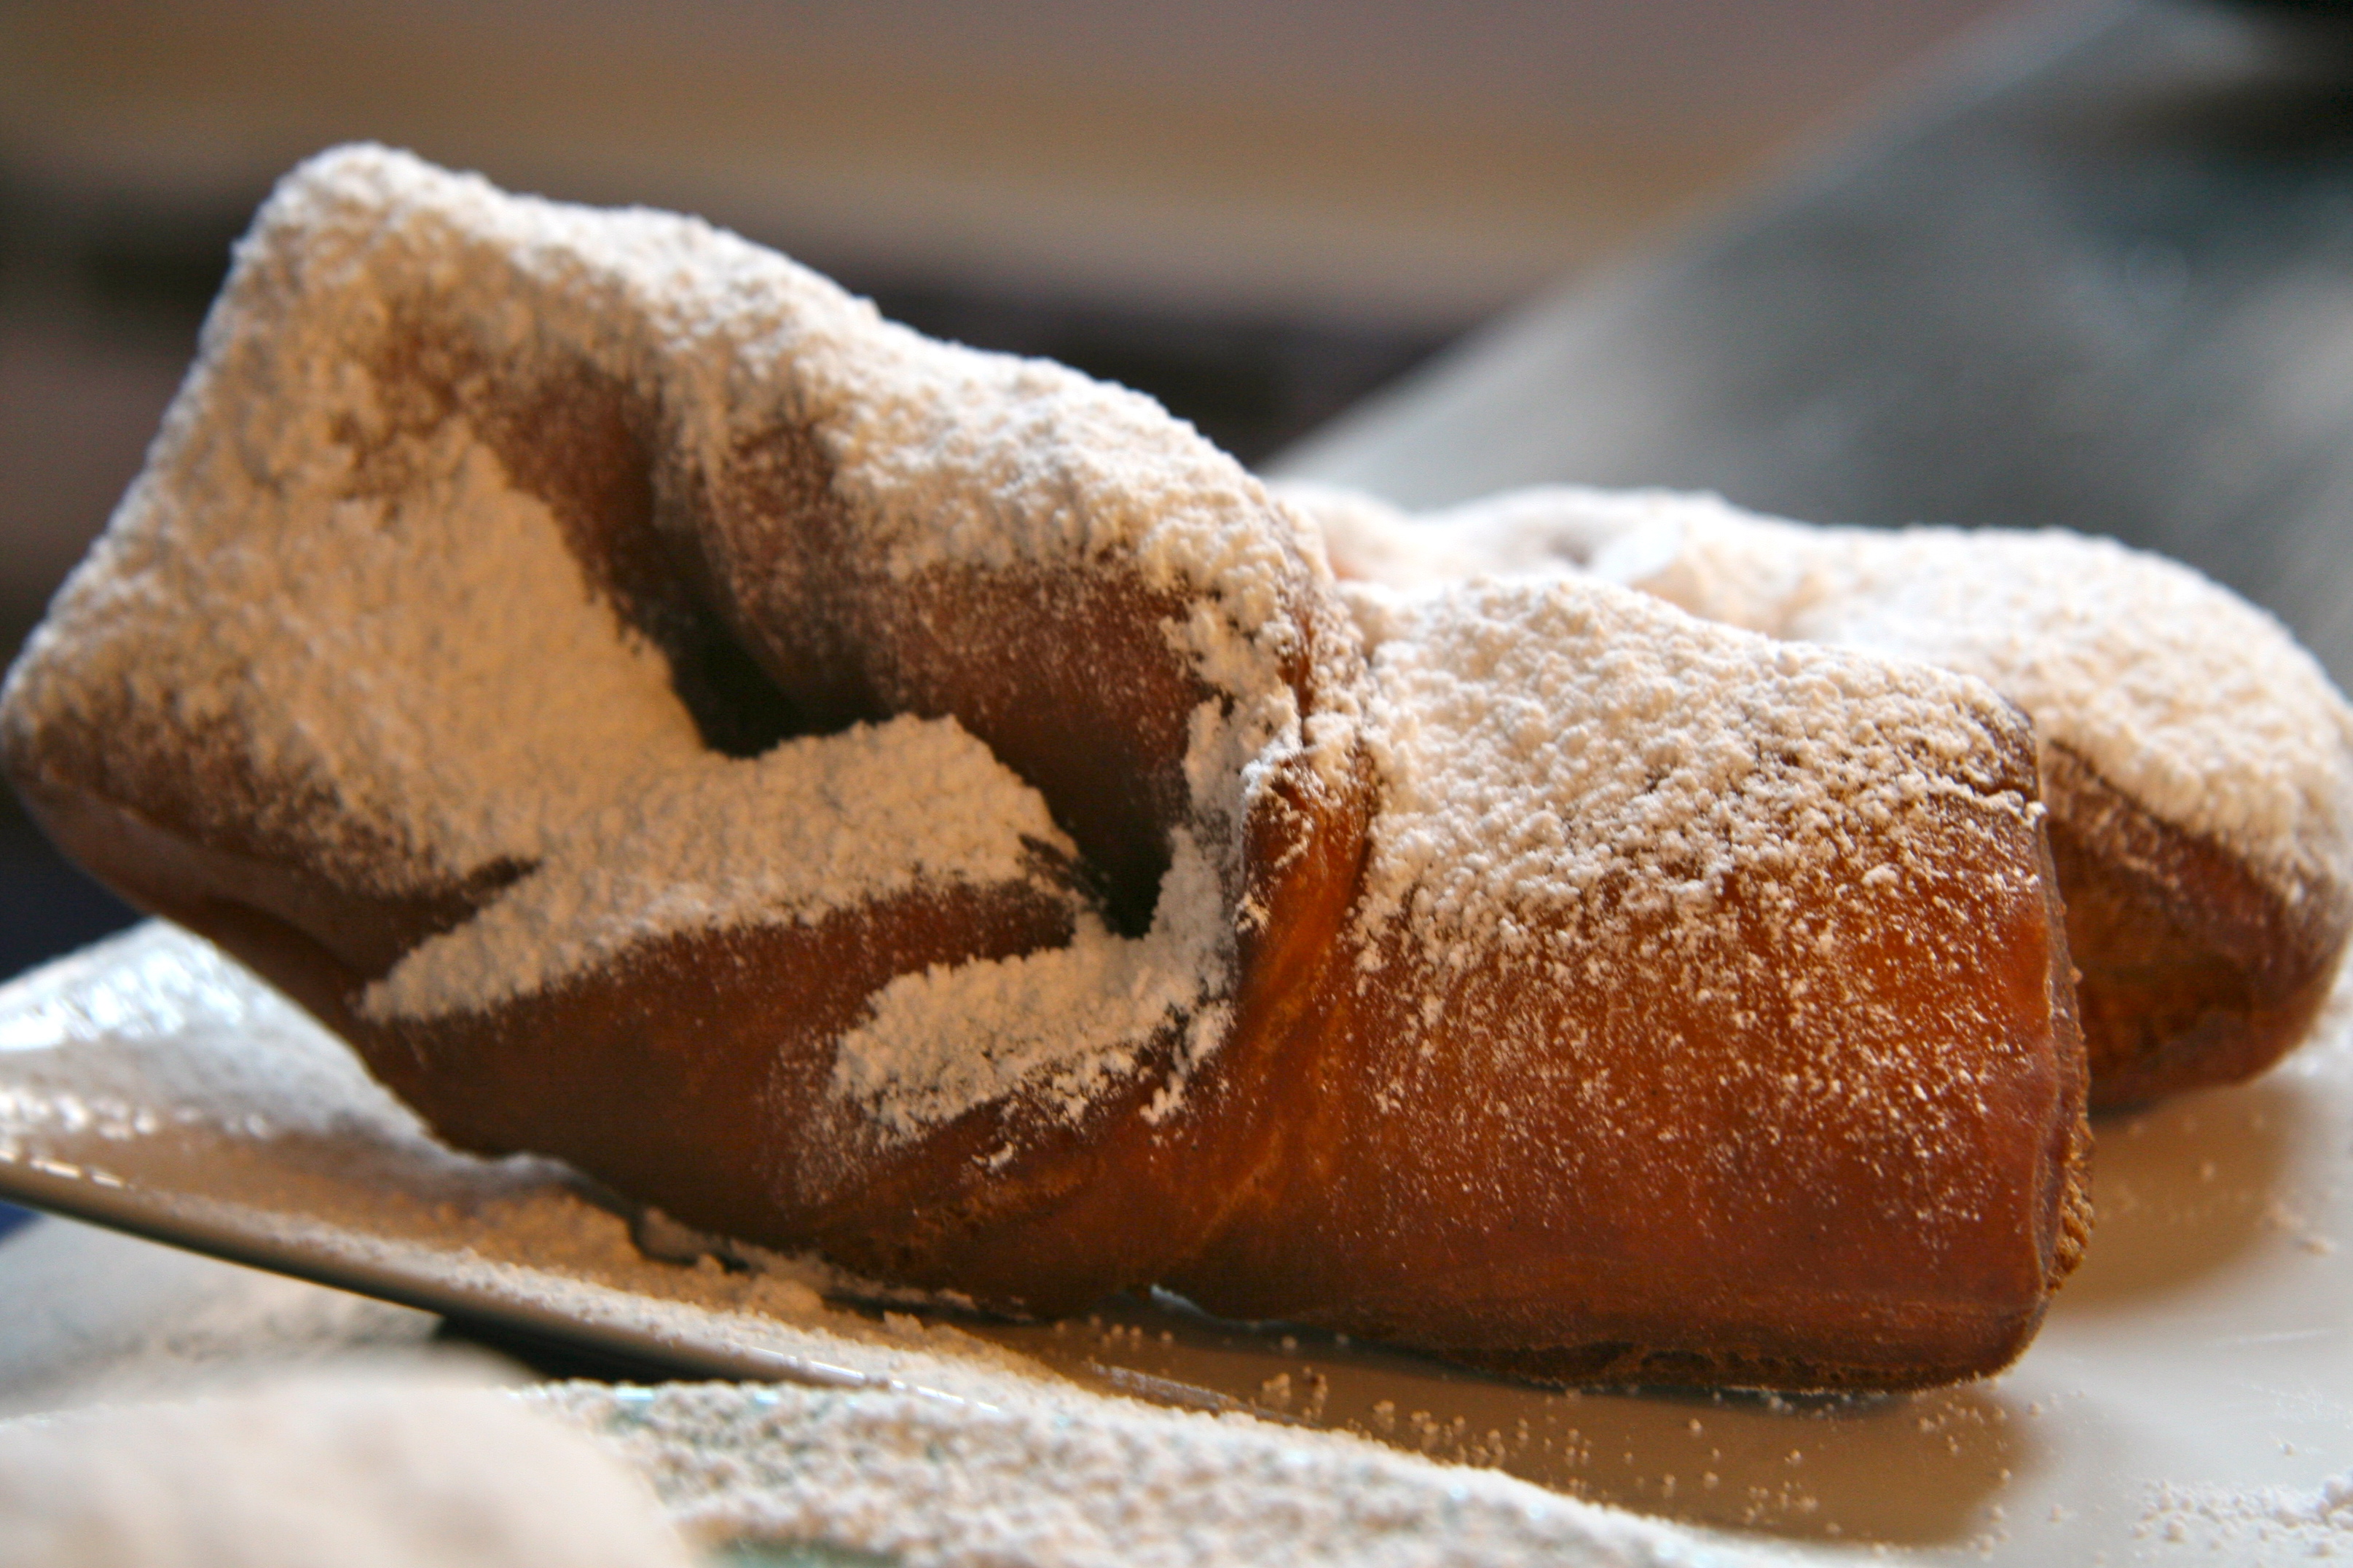
Sprinkle with powdered sugar. Enjoy!

Sprinkle with powdered sugar. Enjoy!

beignets
Recipe Type: Dessert
Author: adapted from Family Table
Prep time: 15 hours
Cook time: 20 mins
Total time: 15 hours 20 mins
Serves: 12-15 beignets
Ingredients
  • 1 1/2 teaspoons active dry yeast
  • 2 3/4 cups all-purpose flour
  • 1/3 cup sugar
  • 3/4 teaspoon salt
  • 3 large eggs
  • 1/2 vanilla bean split, seeds scraped out and reserved OR 1/2 tablespoon vanilla bean paste or extract
  • 4 tablespoons unsalted butter (1/2 stick), at room temperature
  • Peanut oil, for frying (I have been told Canola works as well but can’t vouch for any differences it may have)
  • 1 cup confectioners’ sugar for finishing
Instructions
  1. Sprinkle the yeast over 2 tablespoons warm water in a small bowl and let stand for 10 minutes, or until foamy.
  2. In the bowl of a stand mixer fitted with a whisk attachment, sift together the flour, sugar, and salt.
  3. Change the mixer’s attachment from whisk to dough hook and add in the eggs, yeast mixture, and vanilla. Mix on medium speed for 10 to 15 minutes. The dough will be sticky at first and then it will come together around the dough hook.
  4. Reduce the speed to low, add the butter, and mix until it is incorporated, about 5 minutes.
  5. Put the dough on a floured plate, cover with plastic wrap, and refrigerate at least 8 hours, preferably overnight.
  6. Line a baking sheet with parchment paper. On a floured surface, roll out the dough to a ¼ inch thick rectangle. Cut the dough into 2×4 inch rectangles. Make a 1-inch vertical slit in the center of each piece and tuck one end of the rectangle through the opening to make a twist (I made some twists and some without).
  7. Arrange the beignets on the baking sheet and let rest in the refrigerator for at least 10 minutes, up to 1 hour.
  8. In a large deep saucepan, heat 2 inches of peanut oil over high heat until it reaches 350 degrees on an oil thermometer. Fry the beignets 2–3 at a time, to avoid crowding, for about 2 minutes on each side, until golden brown. Remove with a slotted spoon or wooden chop stocks and drain briefly on paper towels.
  9. Shake confectioners sugar over the warm beignets and serve immediately.
3.2.1275


Filed Under: breakfast and breads, desserts and sweets, eat Tagged With: beignet, cafe du monde, donut, fried dough, new orleans, powdered sugar

apple galette or free form apple tart or lazy man’s apple pie

January 14, 2014 by Butter Loves Company

Apples are one of those ingredients that you can find anywhere at any time of year in the Northeast. I can even count on the grocery store* down the street from my apartment to have apples consistently, which is truly telling (the store has been less reliable for butter or even eggs in the past). Because of this, an apple galette, or free form apple tart, is never too far away from my dessert table.

The galette begins with a flaky yet sturdy pie crust and the edges of the crust are effortlessly flipped onto simply seasoned apples for a rustic dessert. While it bakes, the apple galette gives off the same luscious sugared sweet and buttery aroma as apple pie around the holidays, because it basically is a lazy man’s apple pie.

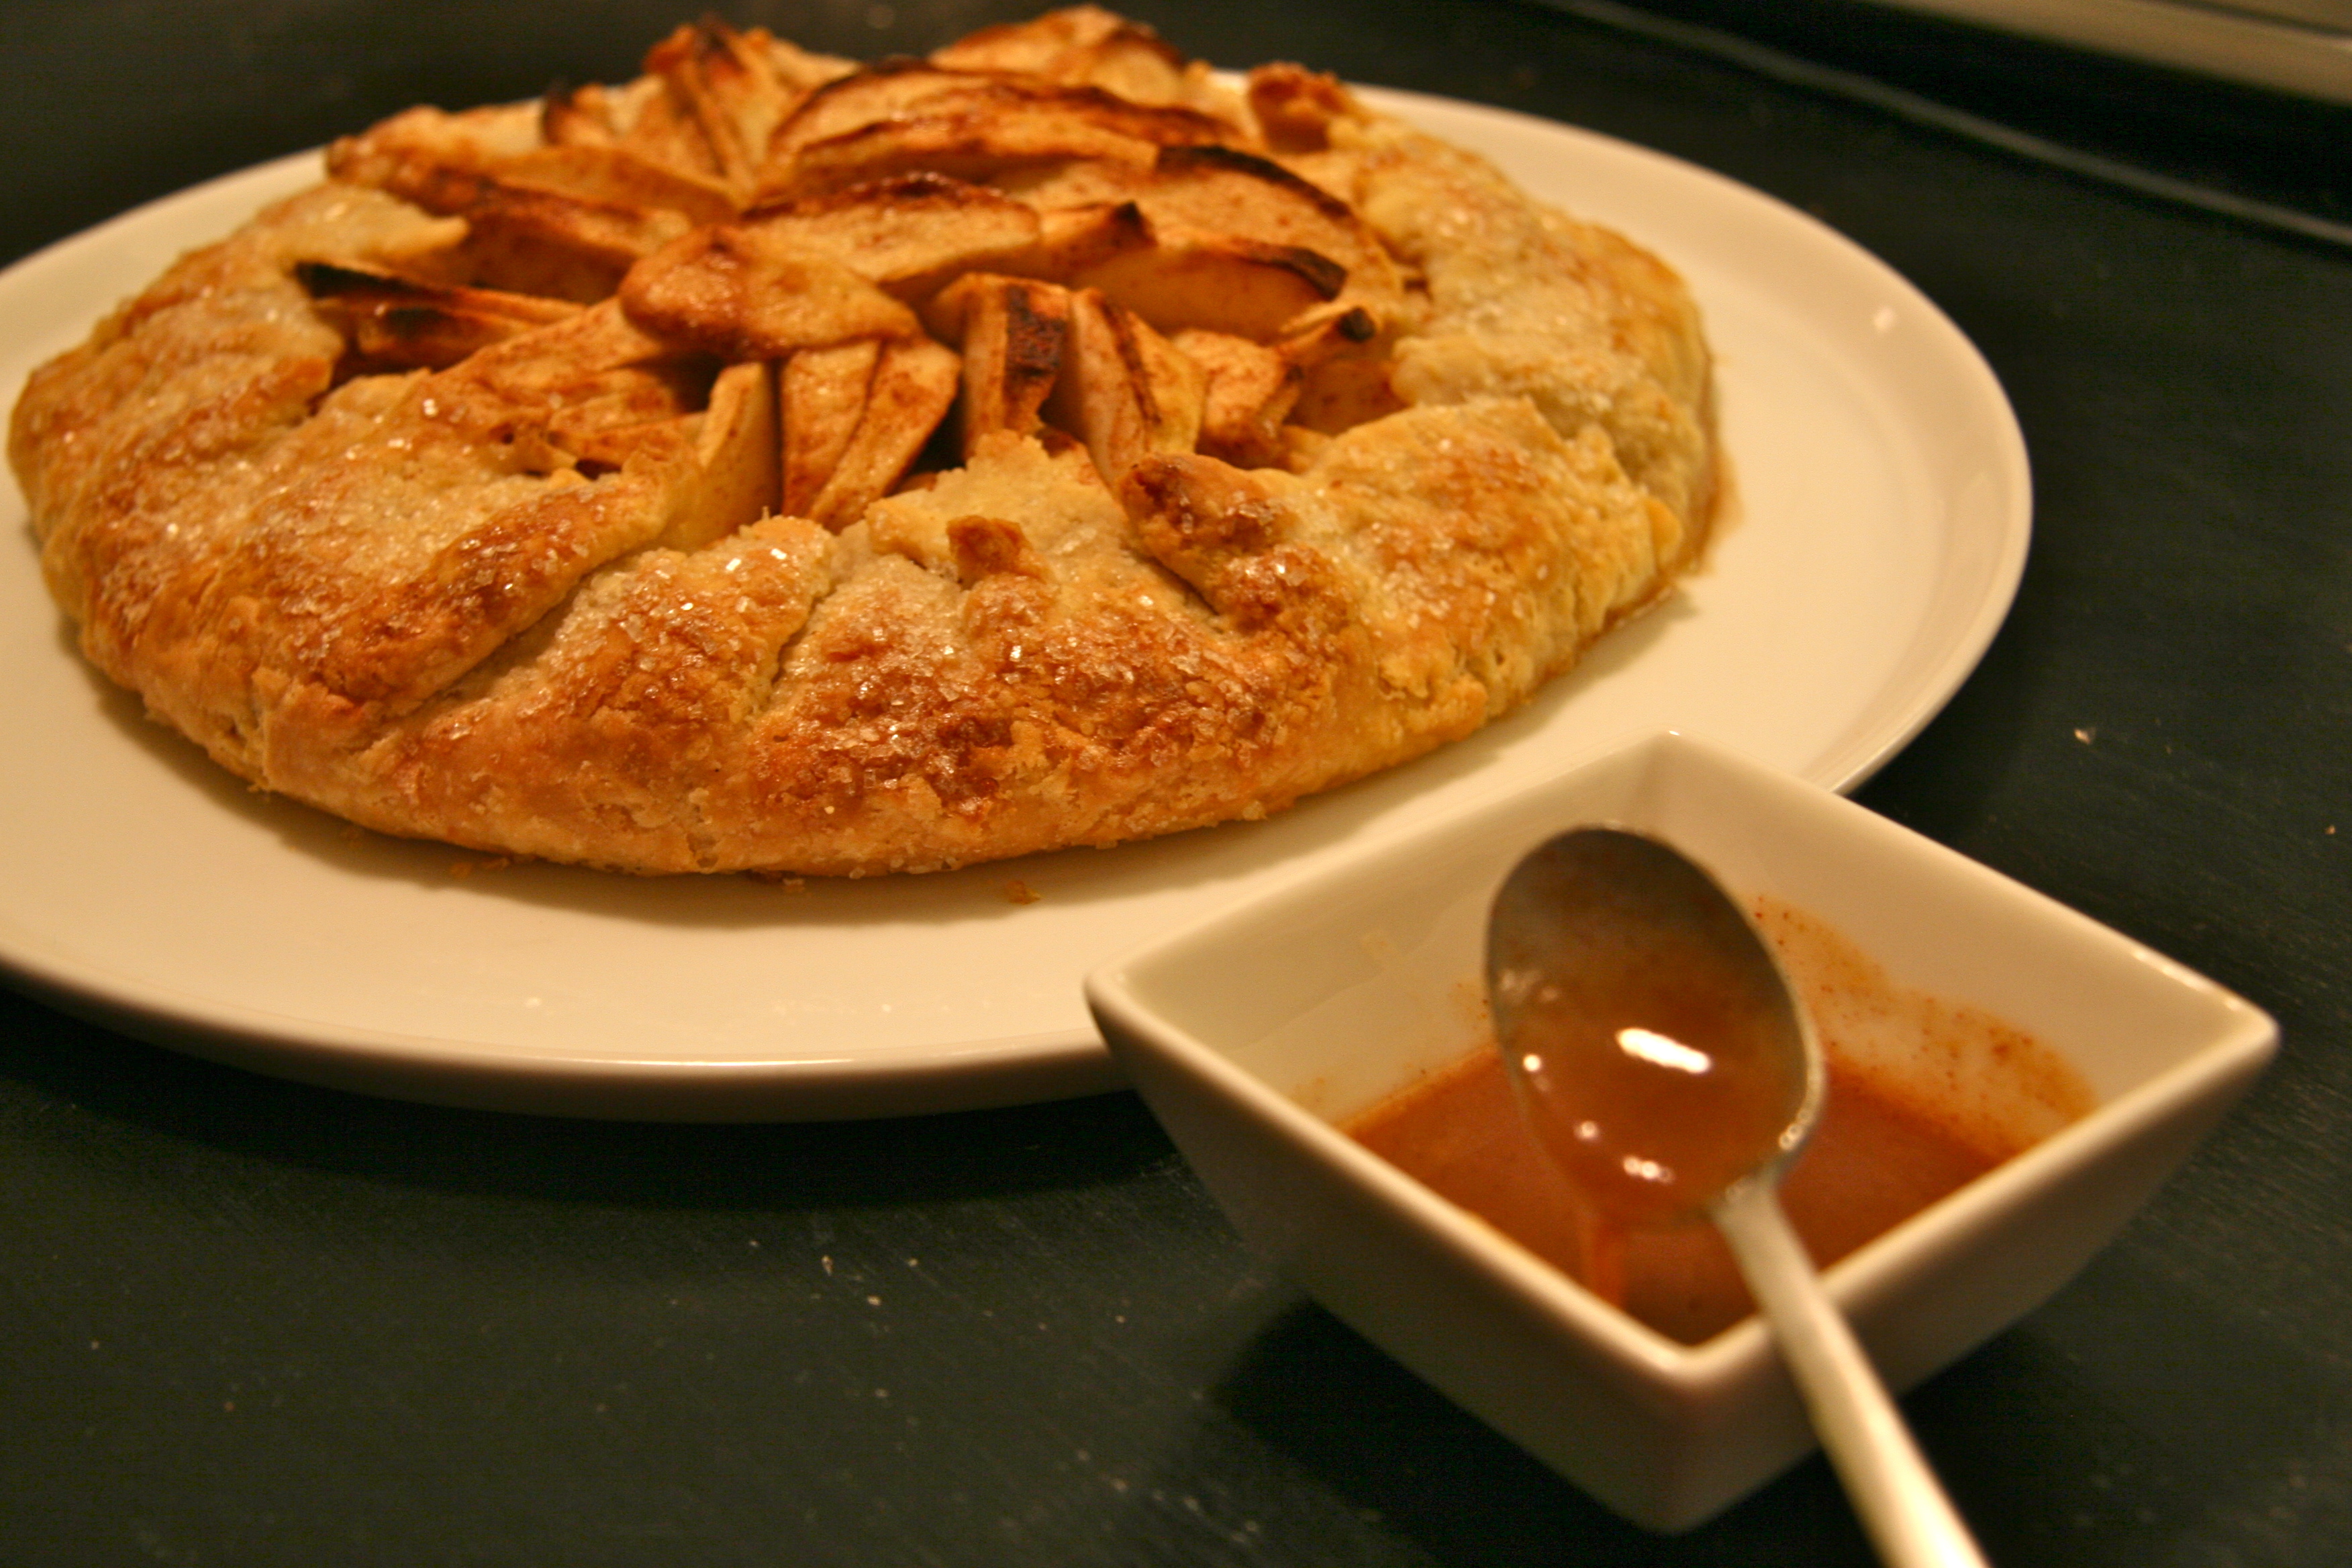
I’ll admit this recipe is a lot better in the late summer or early fall when you pick the apples fresh off the tree – maybe while holding a cider donut in the other hand. But it is January and the galette still satisfied my craving for baked apples. It would have been even more satisfying with a scoop of vanilla ice cream on the side, but unfortunately it was too cold for us to go out to grab some (polar vortex!). Greg did make a caramel sauce to drizzle on top of our slices out of the sugars and juices leftover from the spiced apples. I think we may be watching too much of Food Network’s Chopped!

* Using the term very loosely in this case

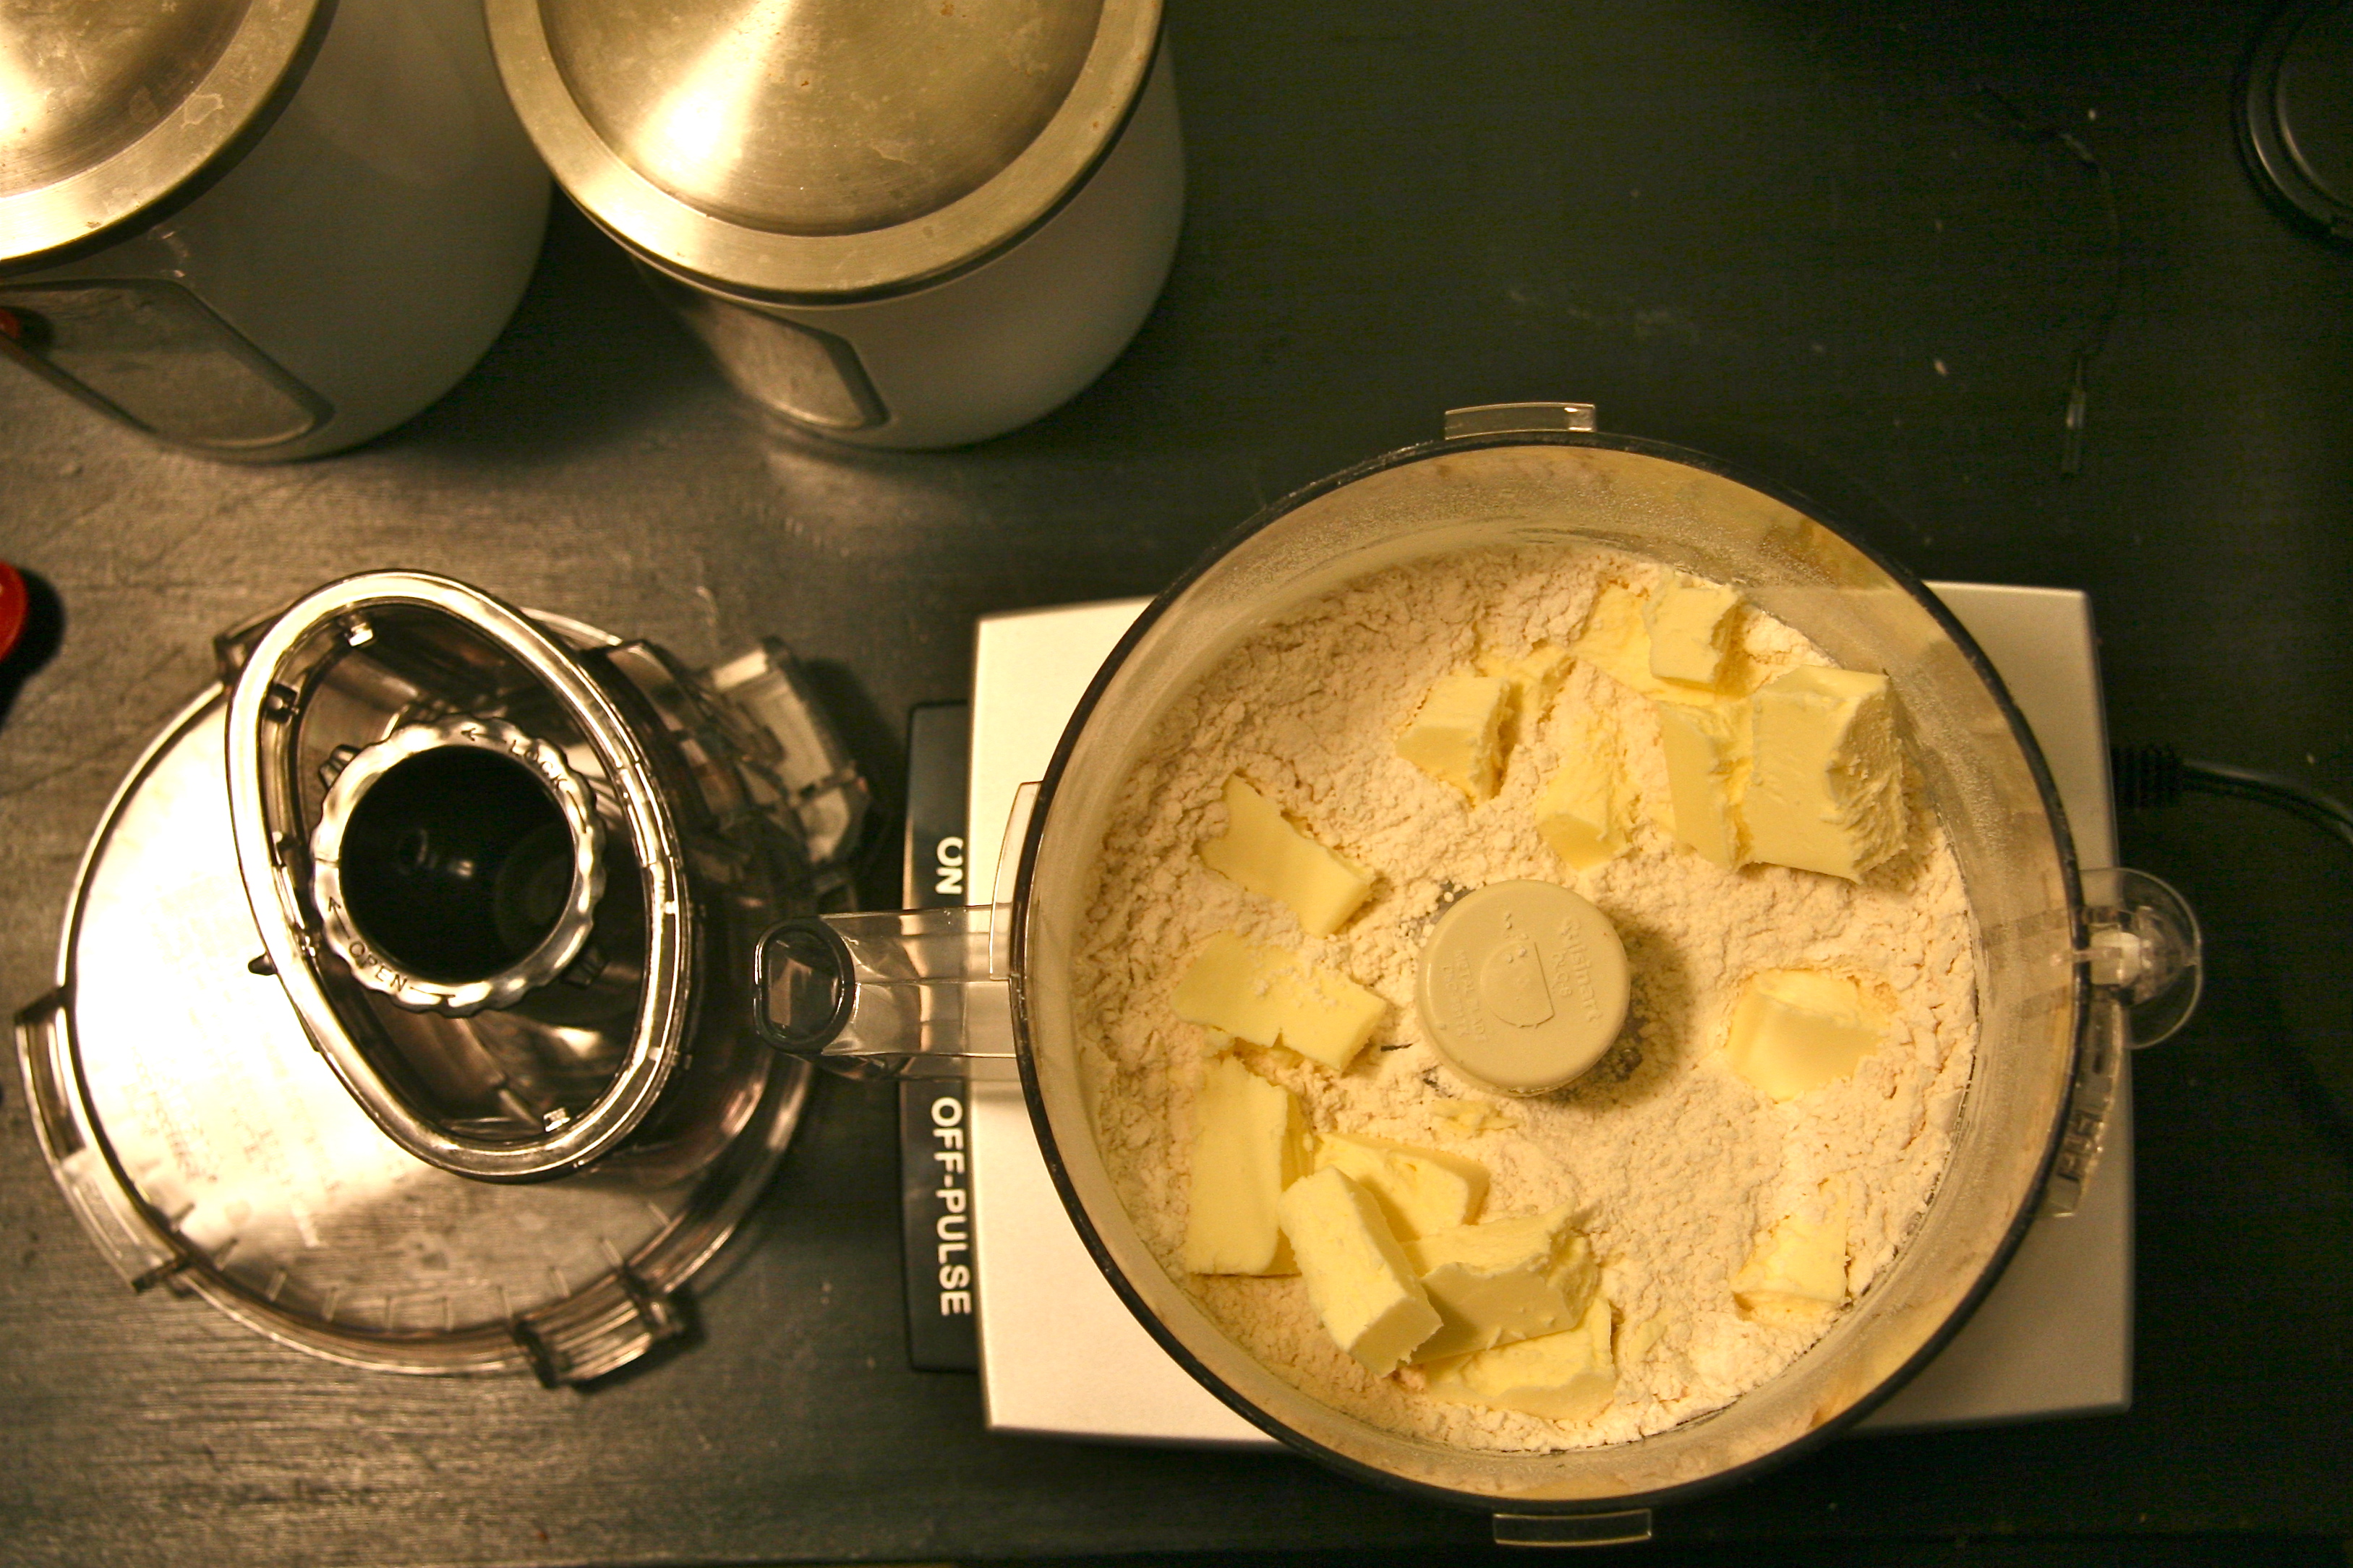
First, you'll prepare the dough.

First, you’ll prepare the dough.

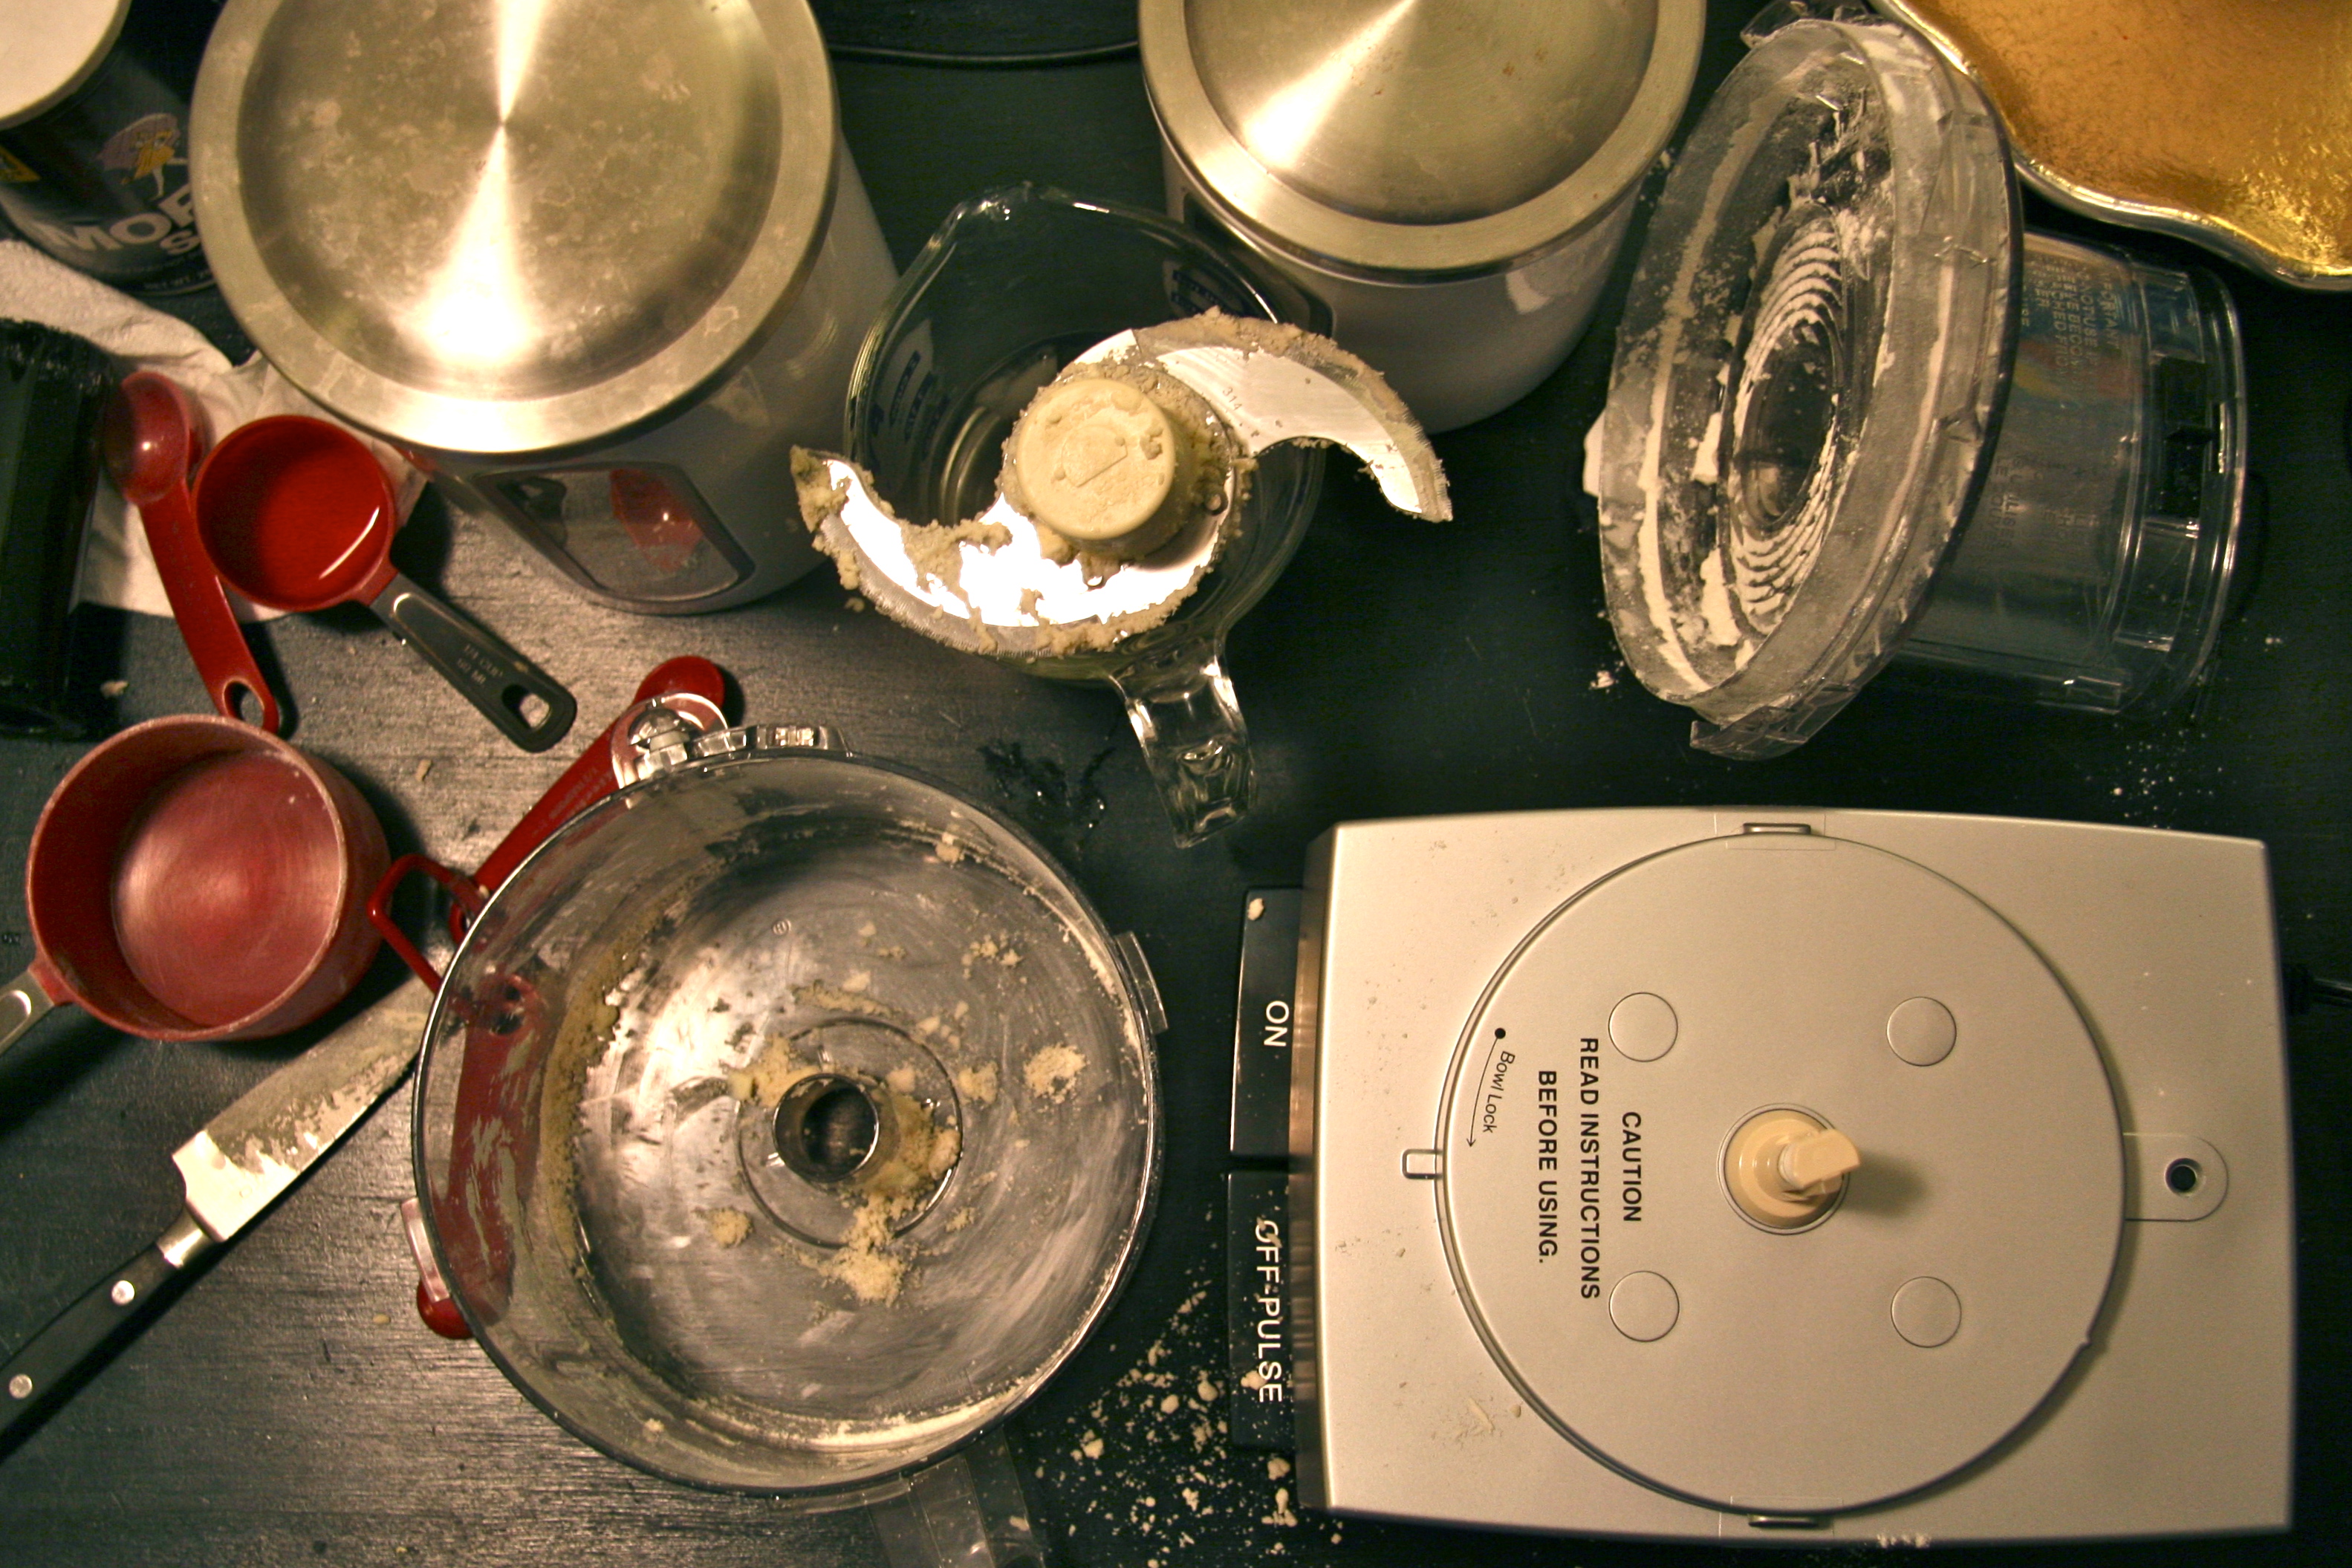
As you can see, I am a messy baker!

As you can see, I am a messy baker!

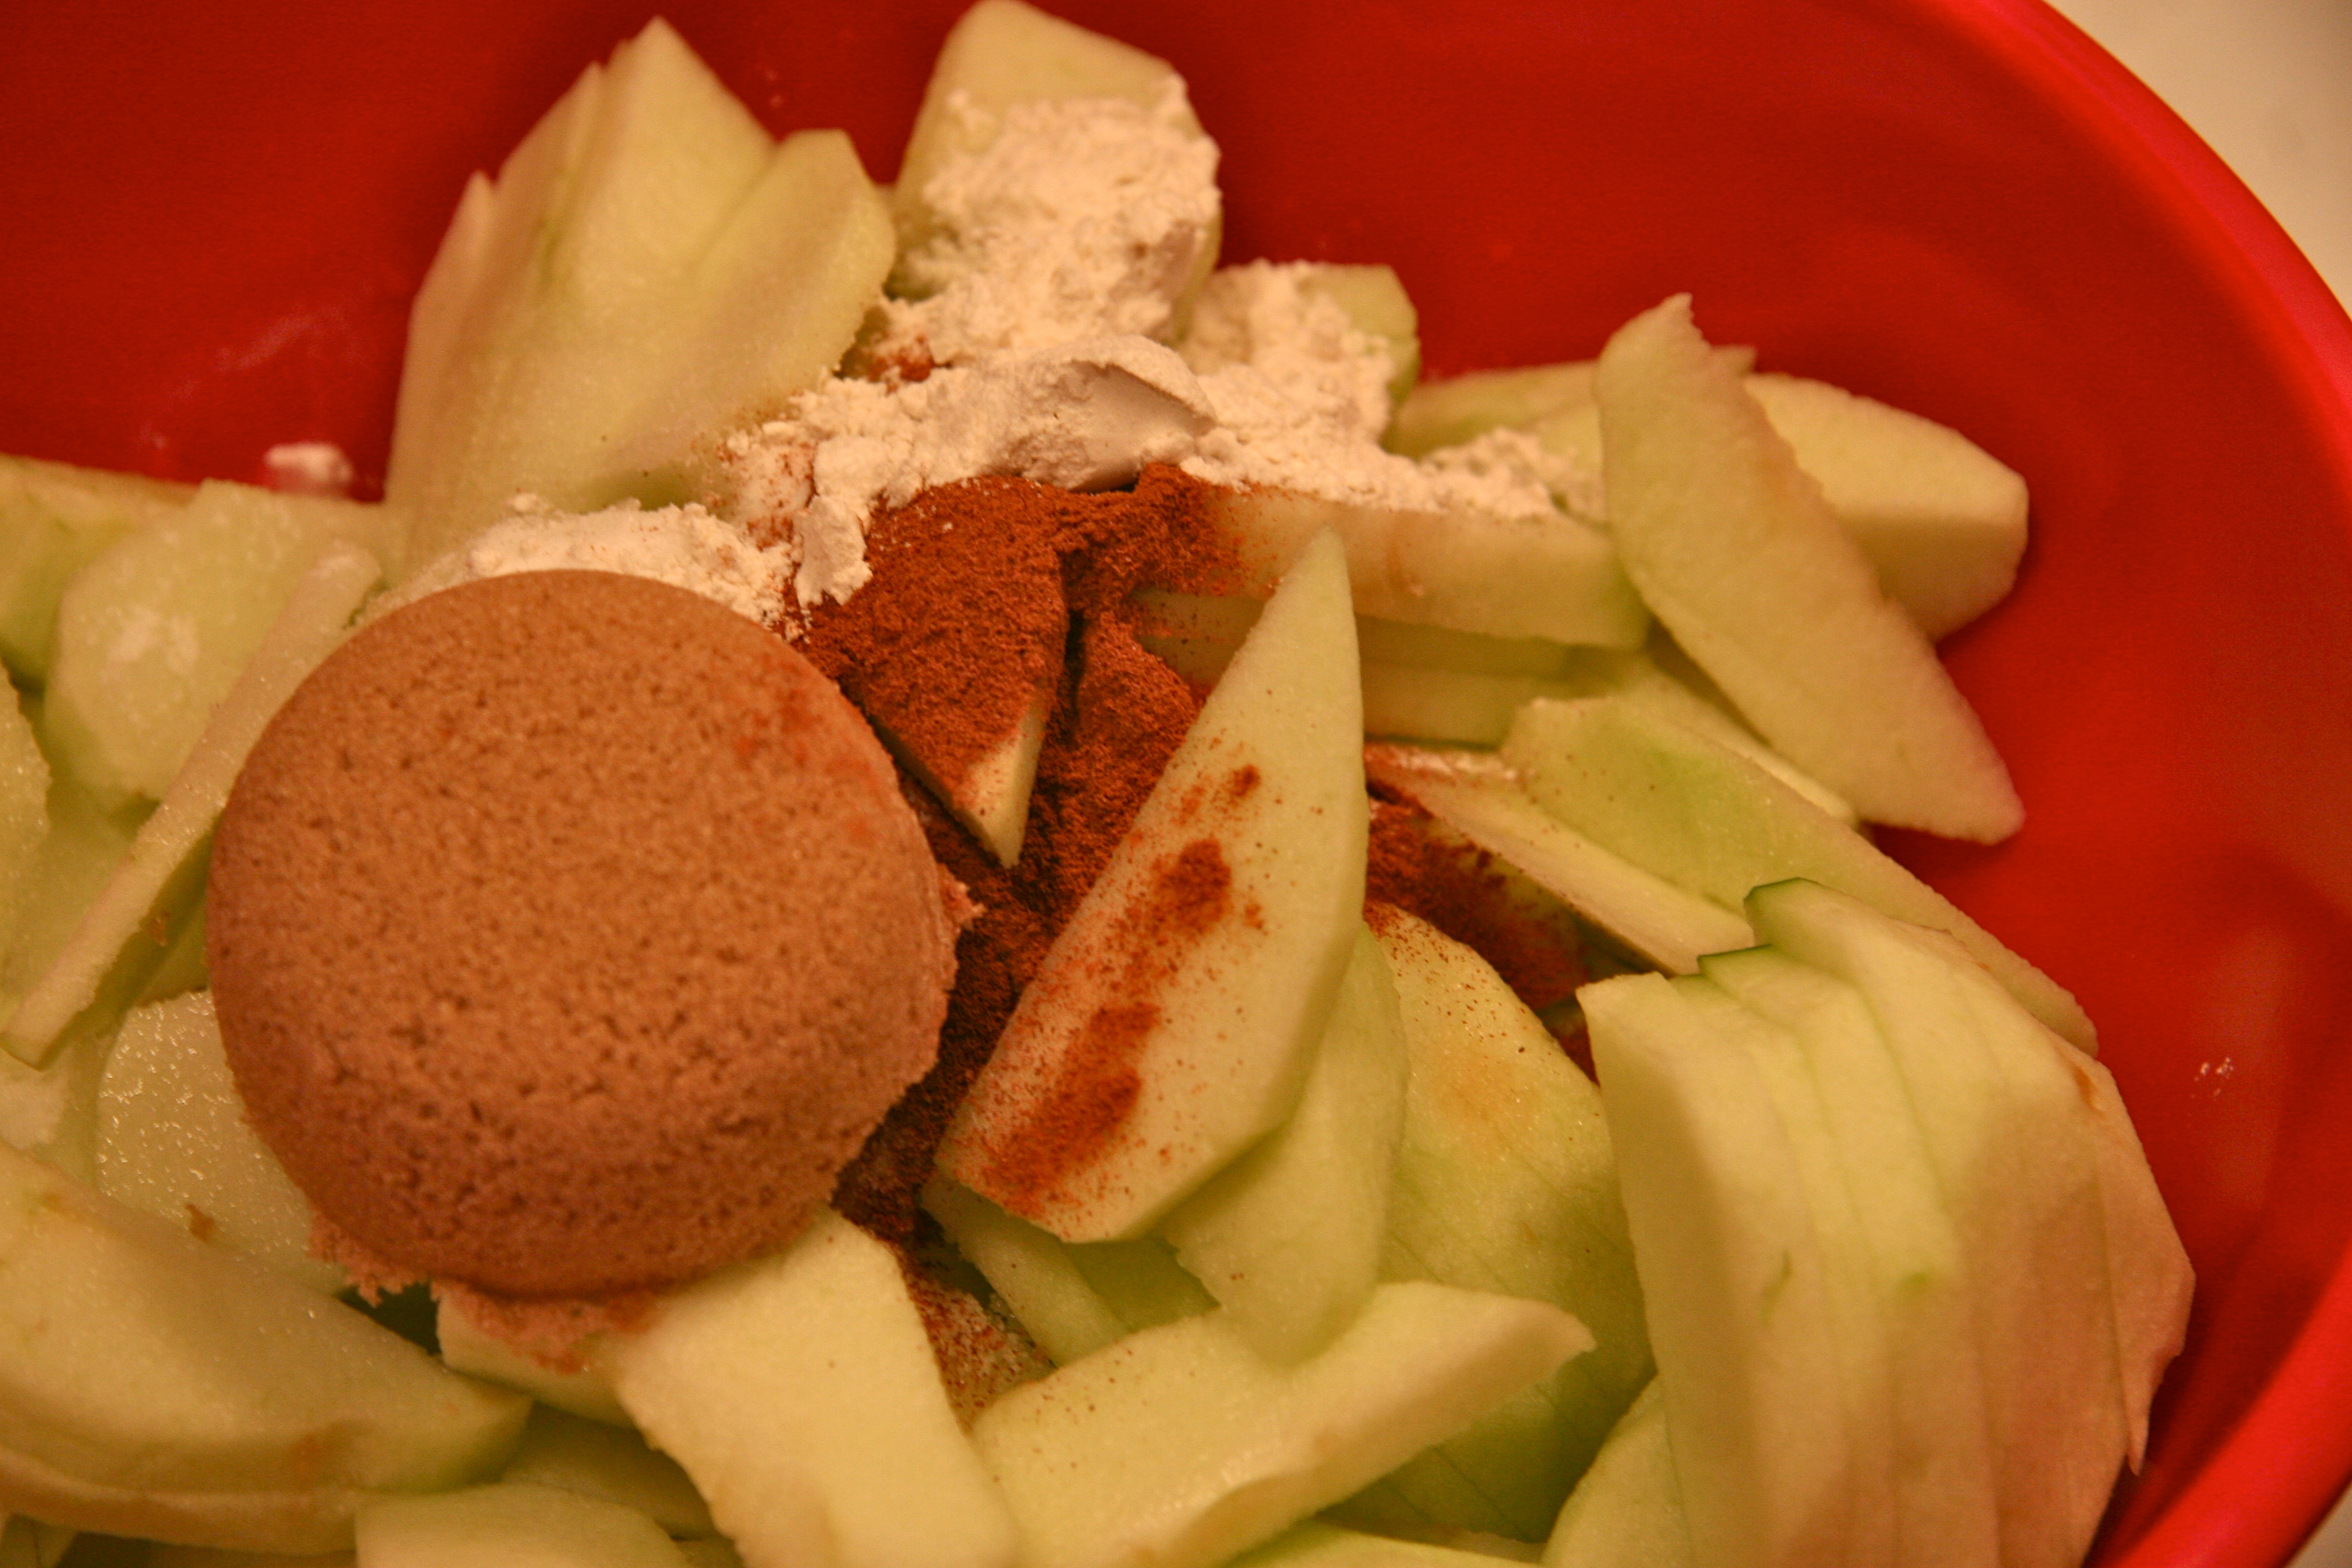
While the dough is chilling, prepare the apples.

While the dough is chilling, prepare the apples.

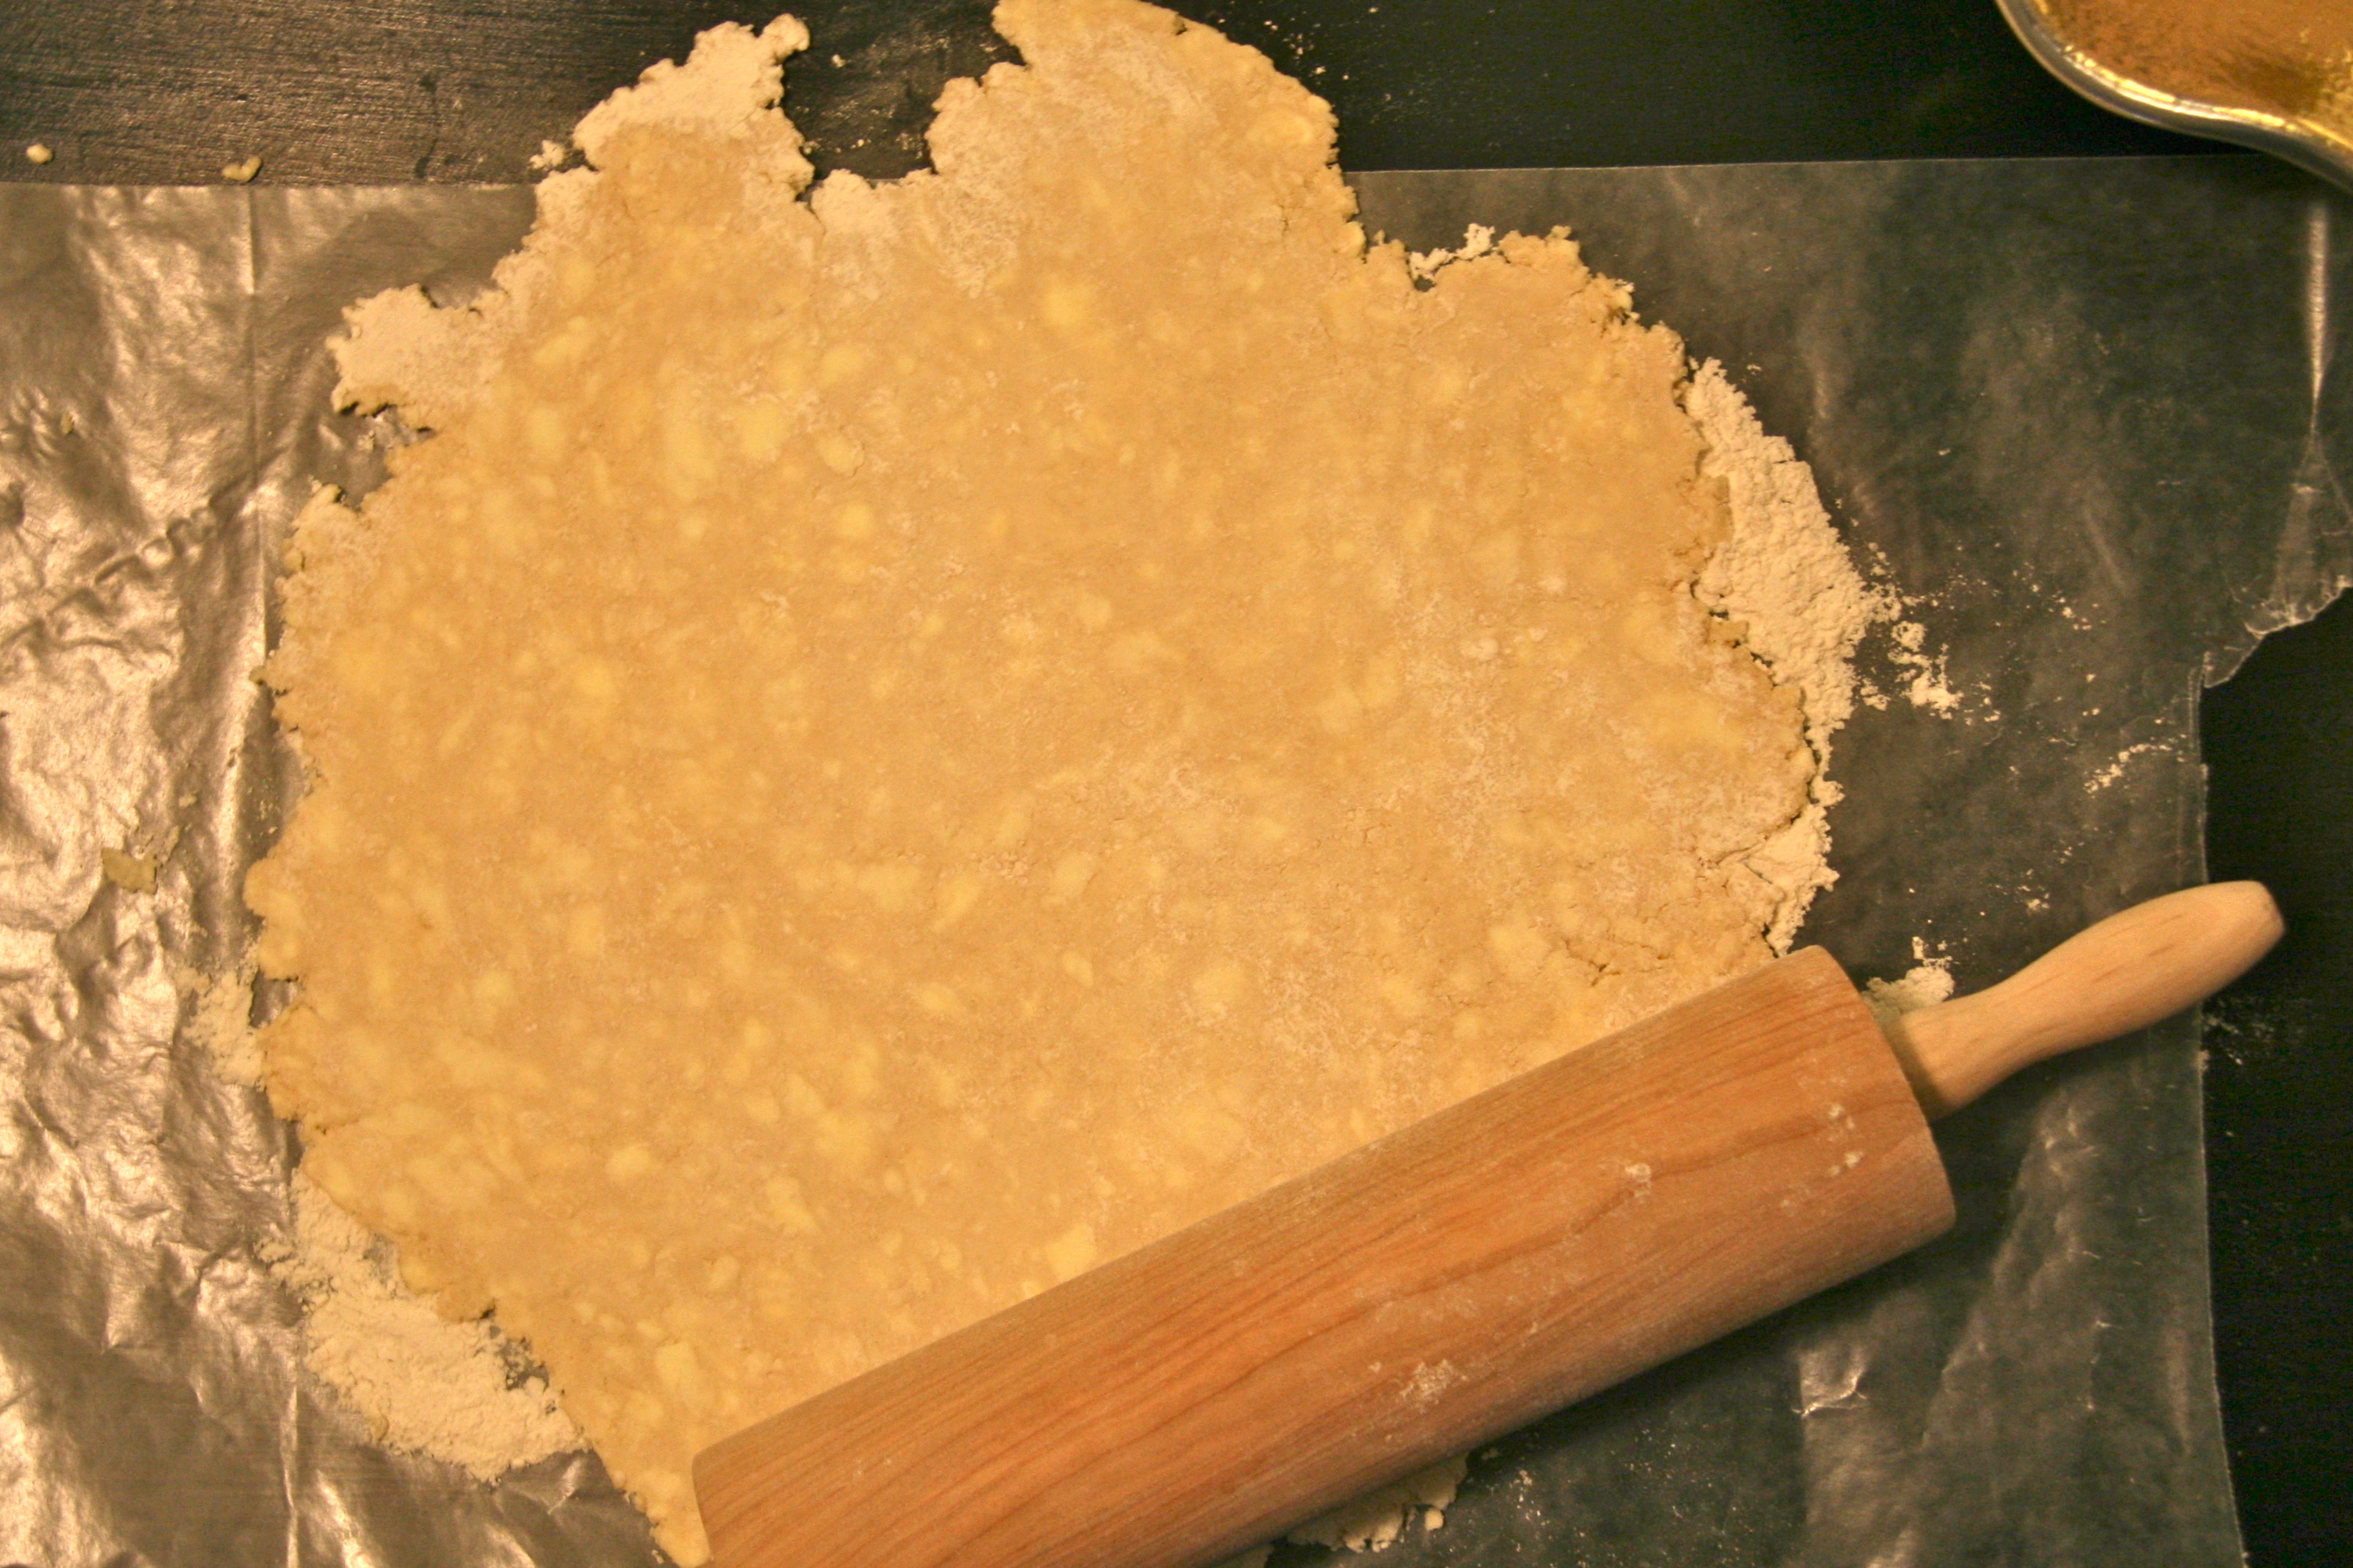
When the dough is firm, roll it out on a floured surface. You can tell this will be flaky because you can see the butter!

When the dough is firm, roll it out on a floured surface. You can tell this will be flaky because you can see the butter!

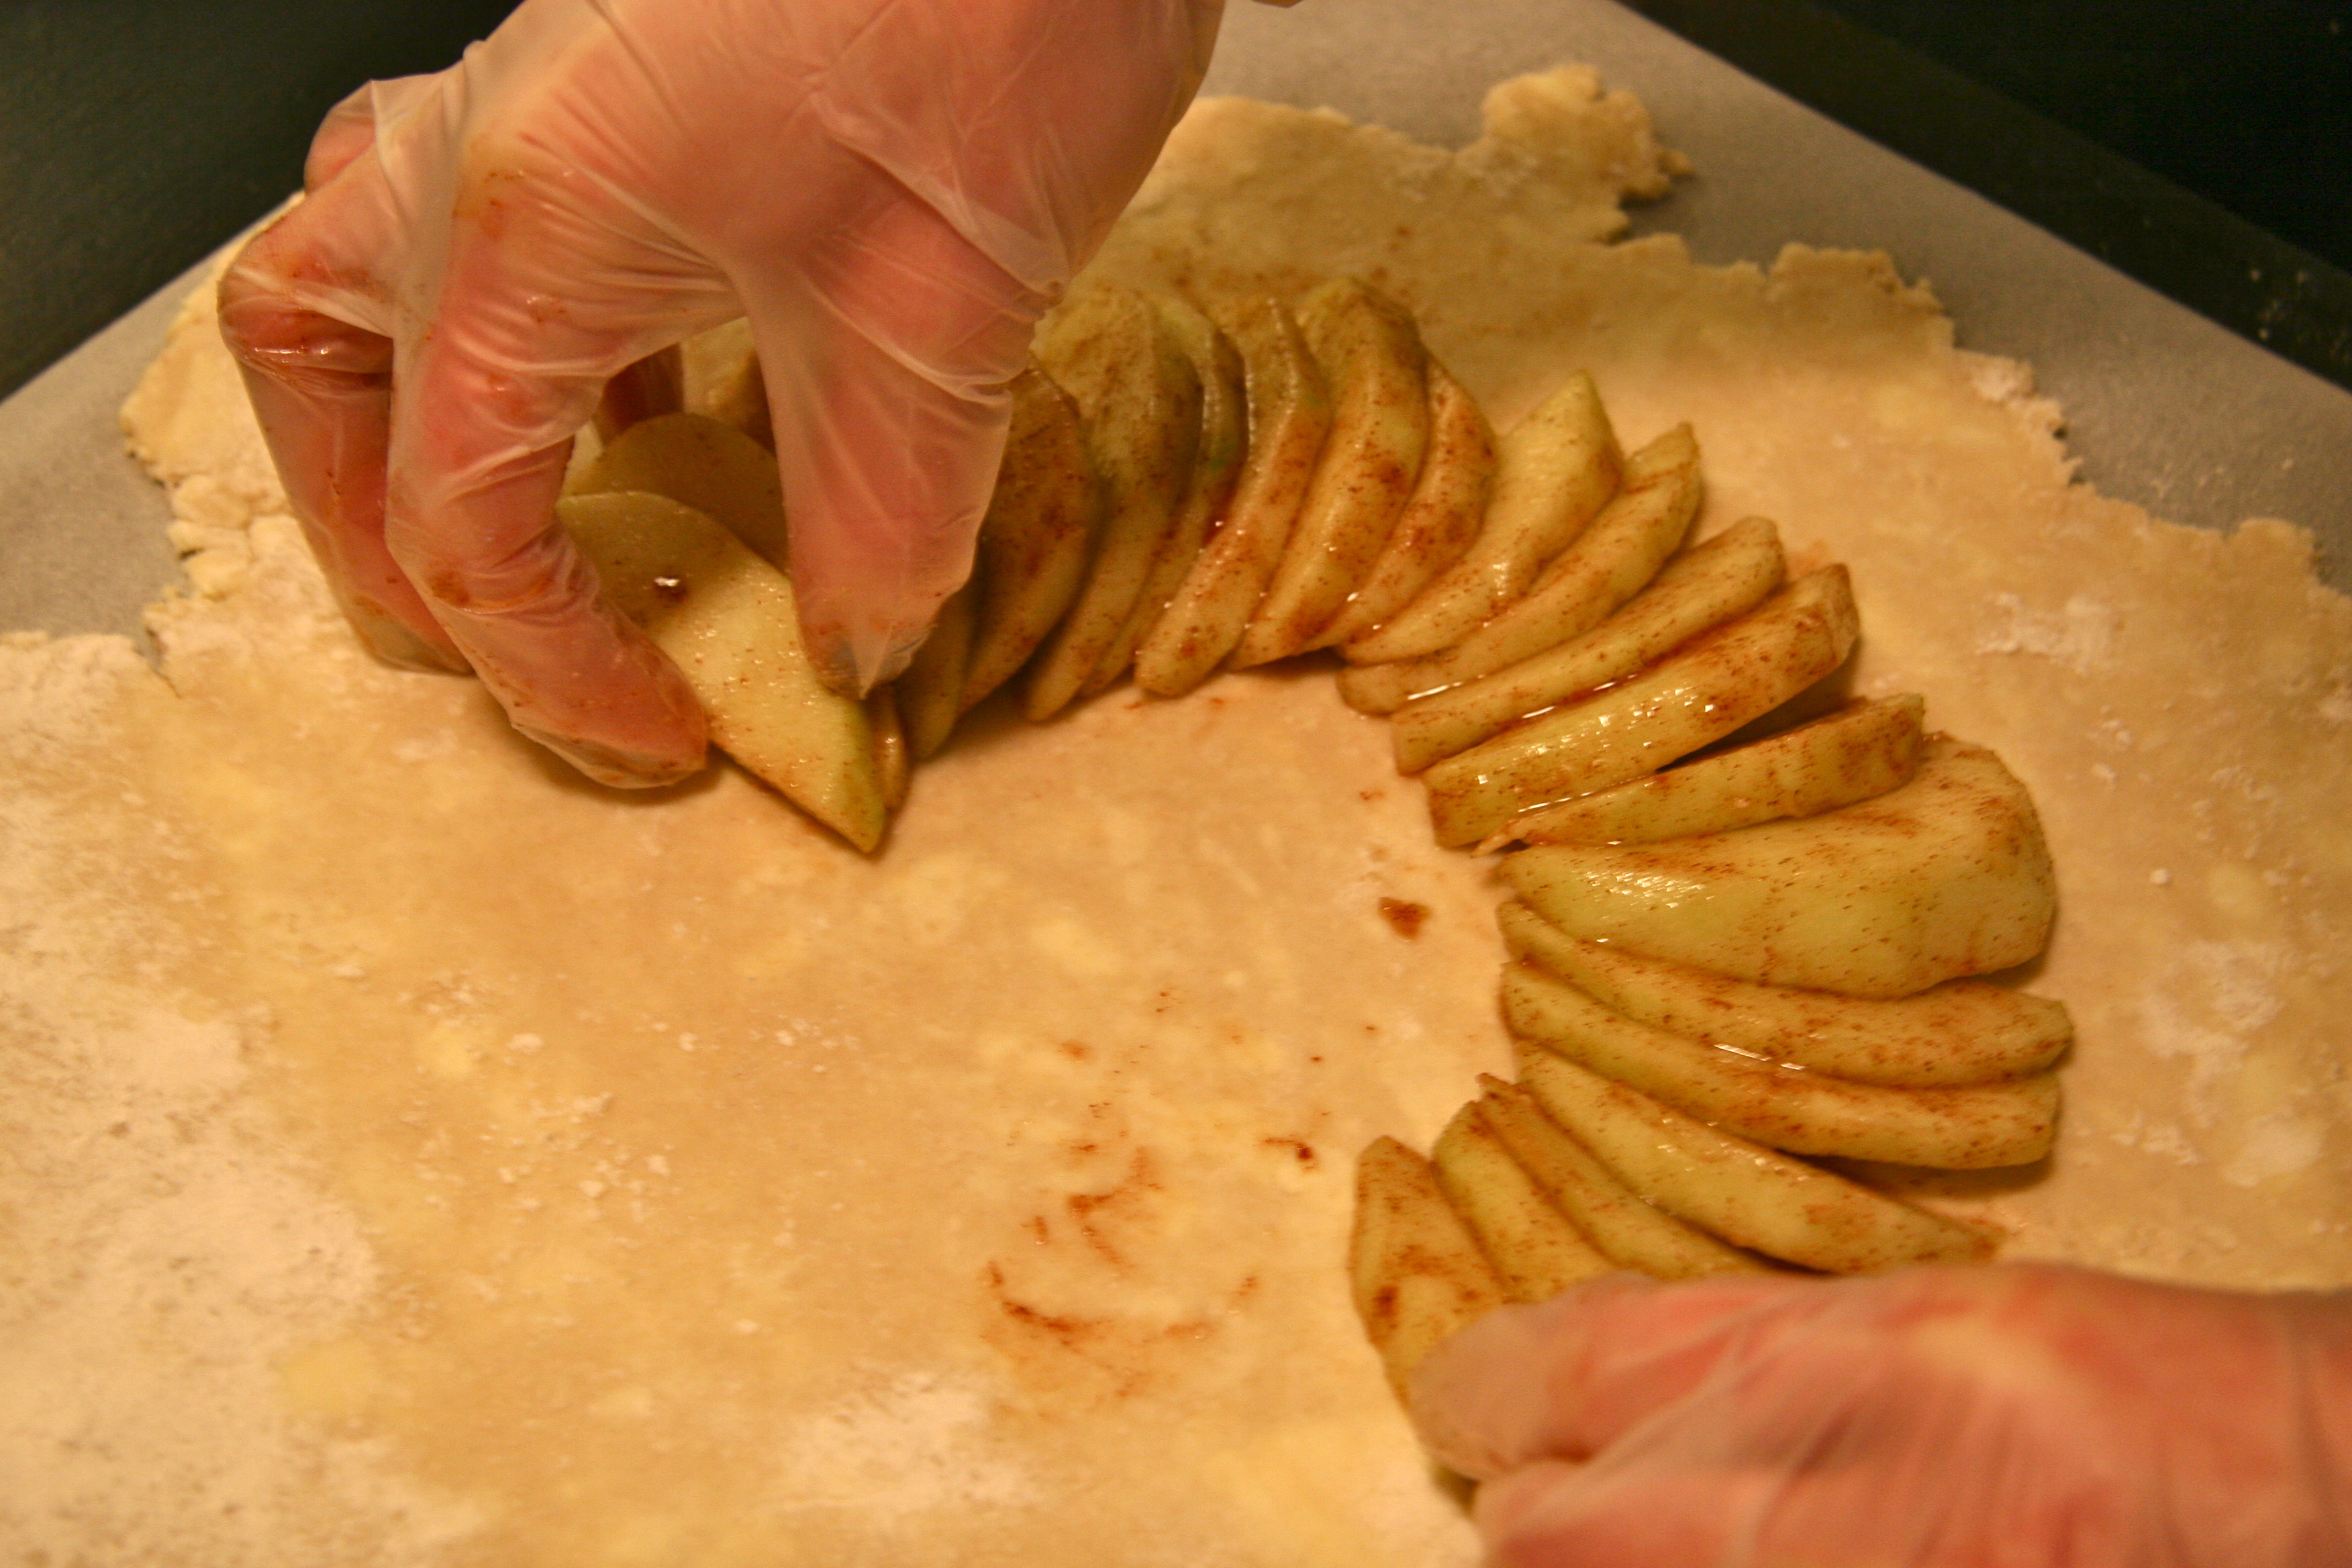
Arrange the apples on the prepared dough.

Arrange the apples on the prepared dough.

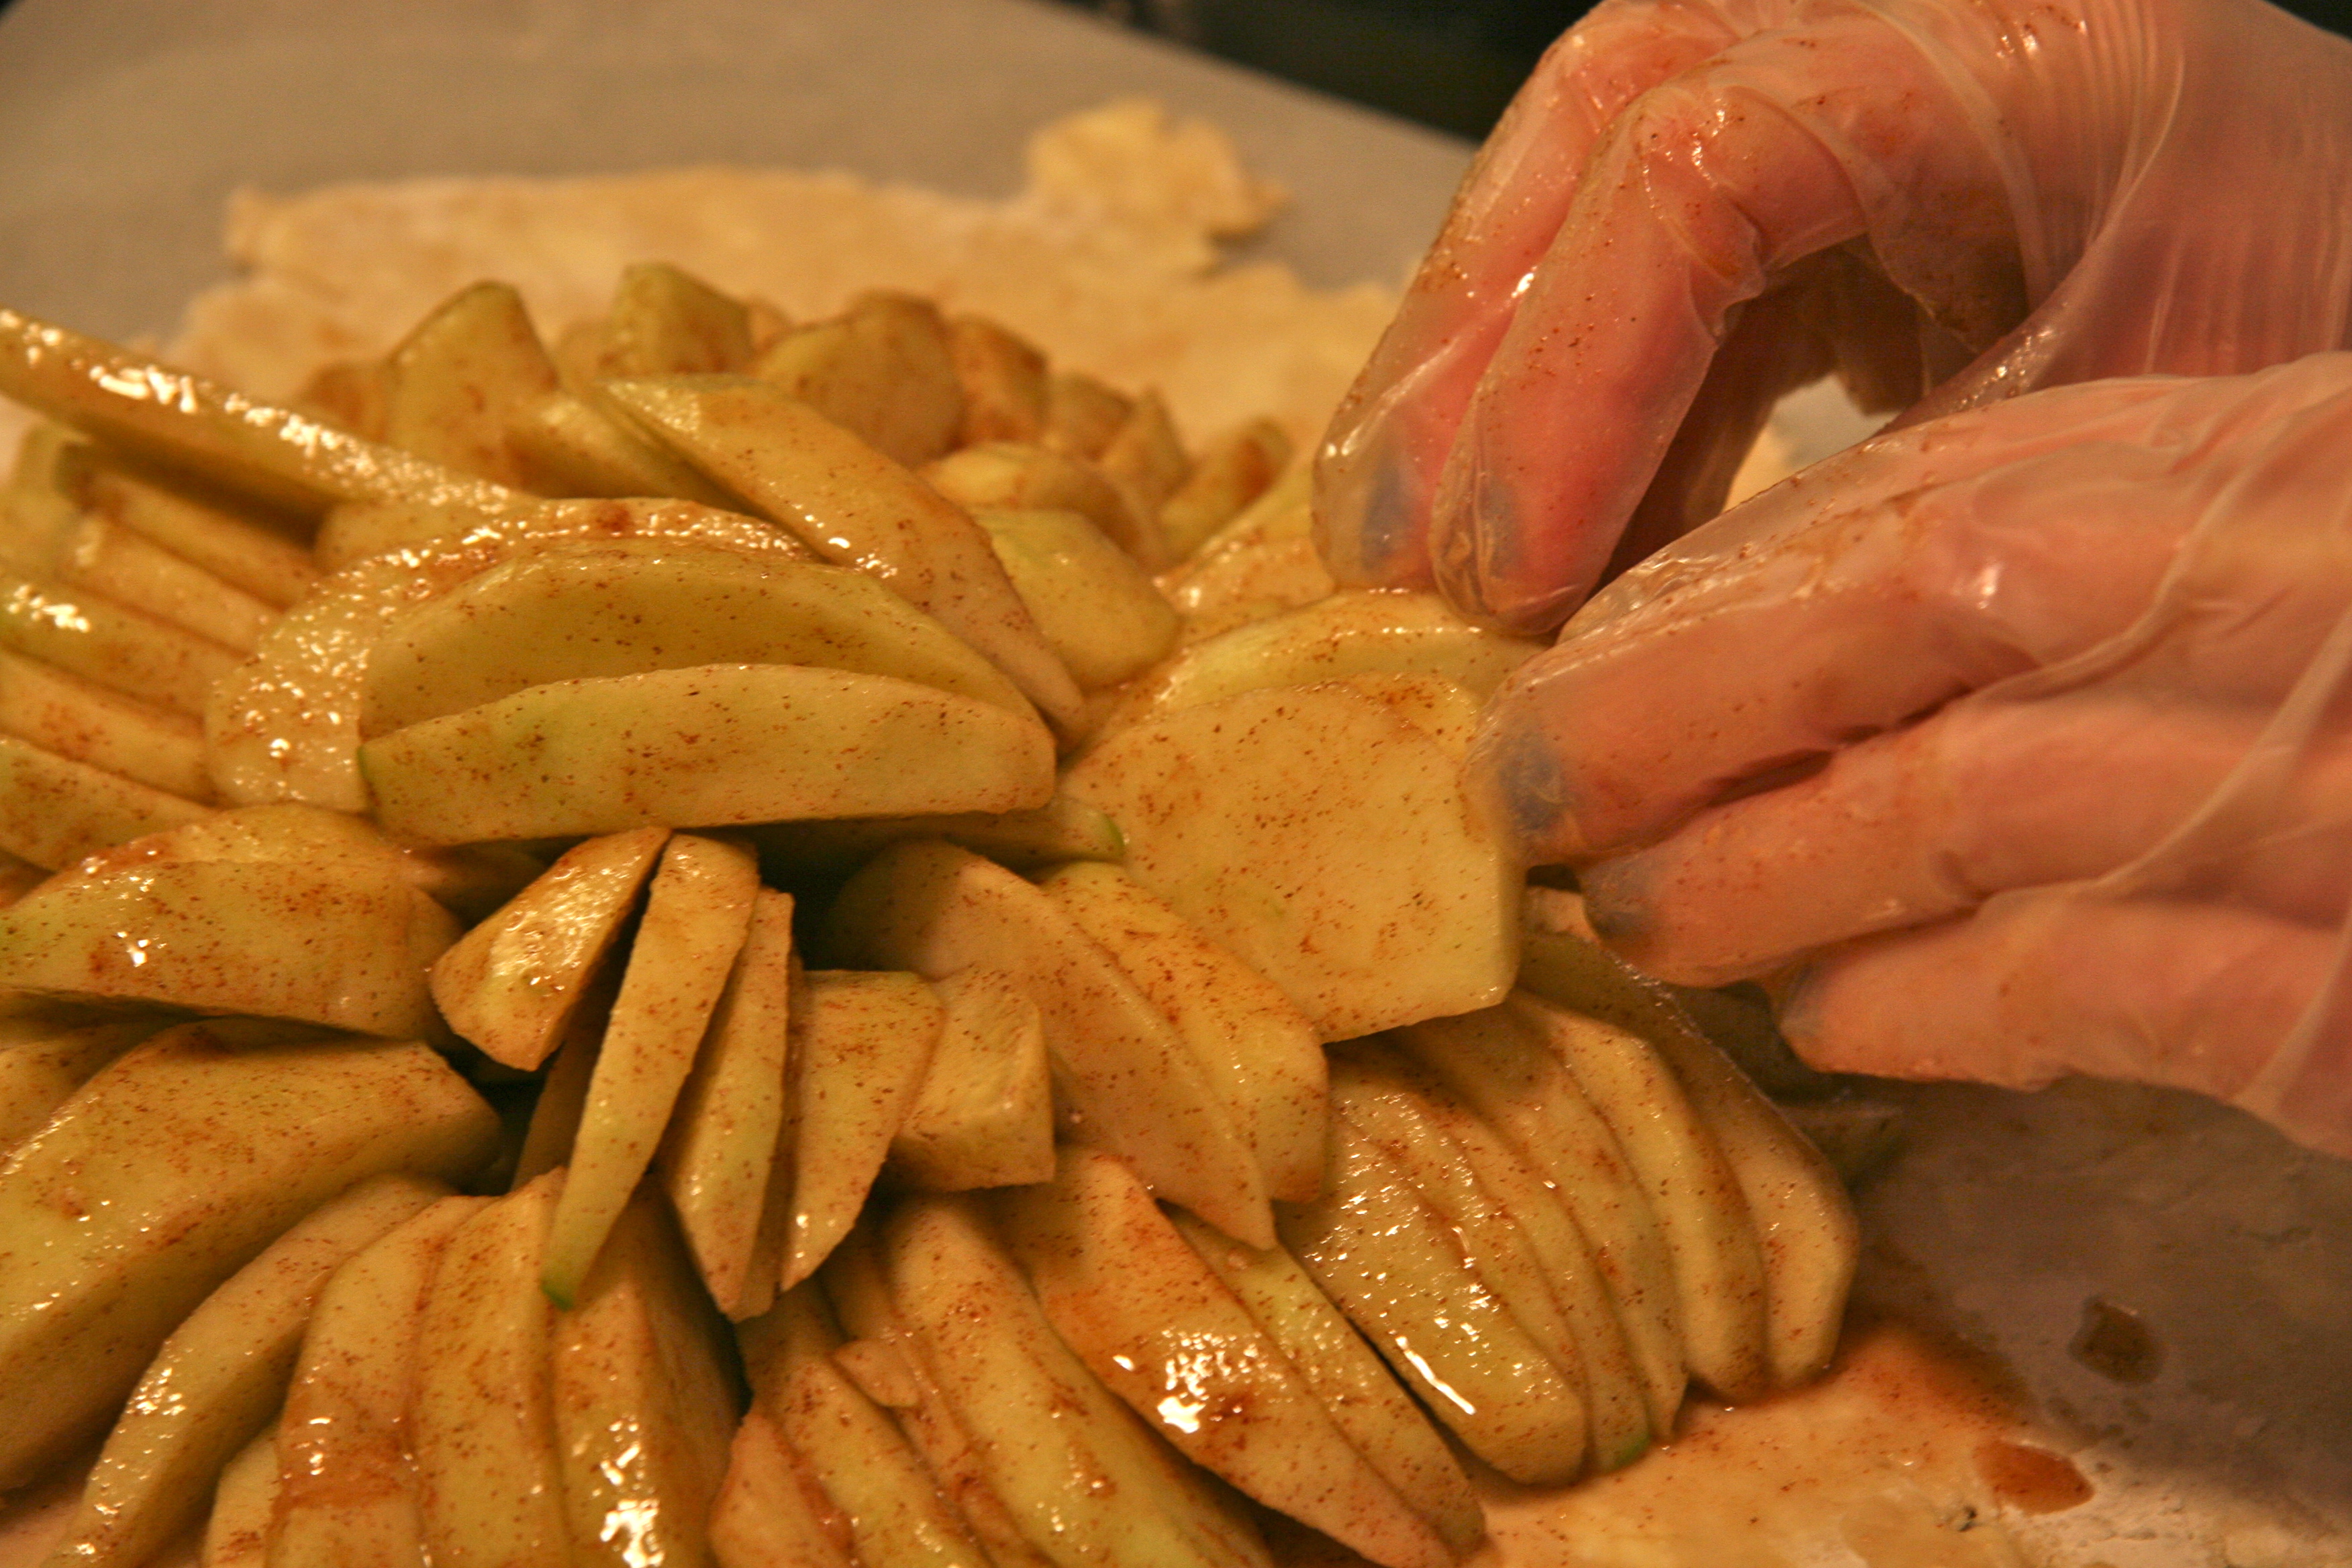
Feel free to pile them on!

Feel free to pile them on!

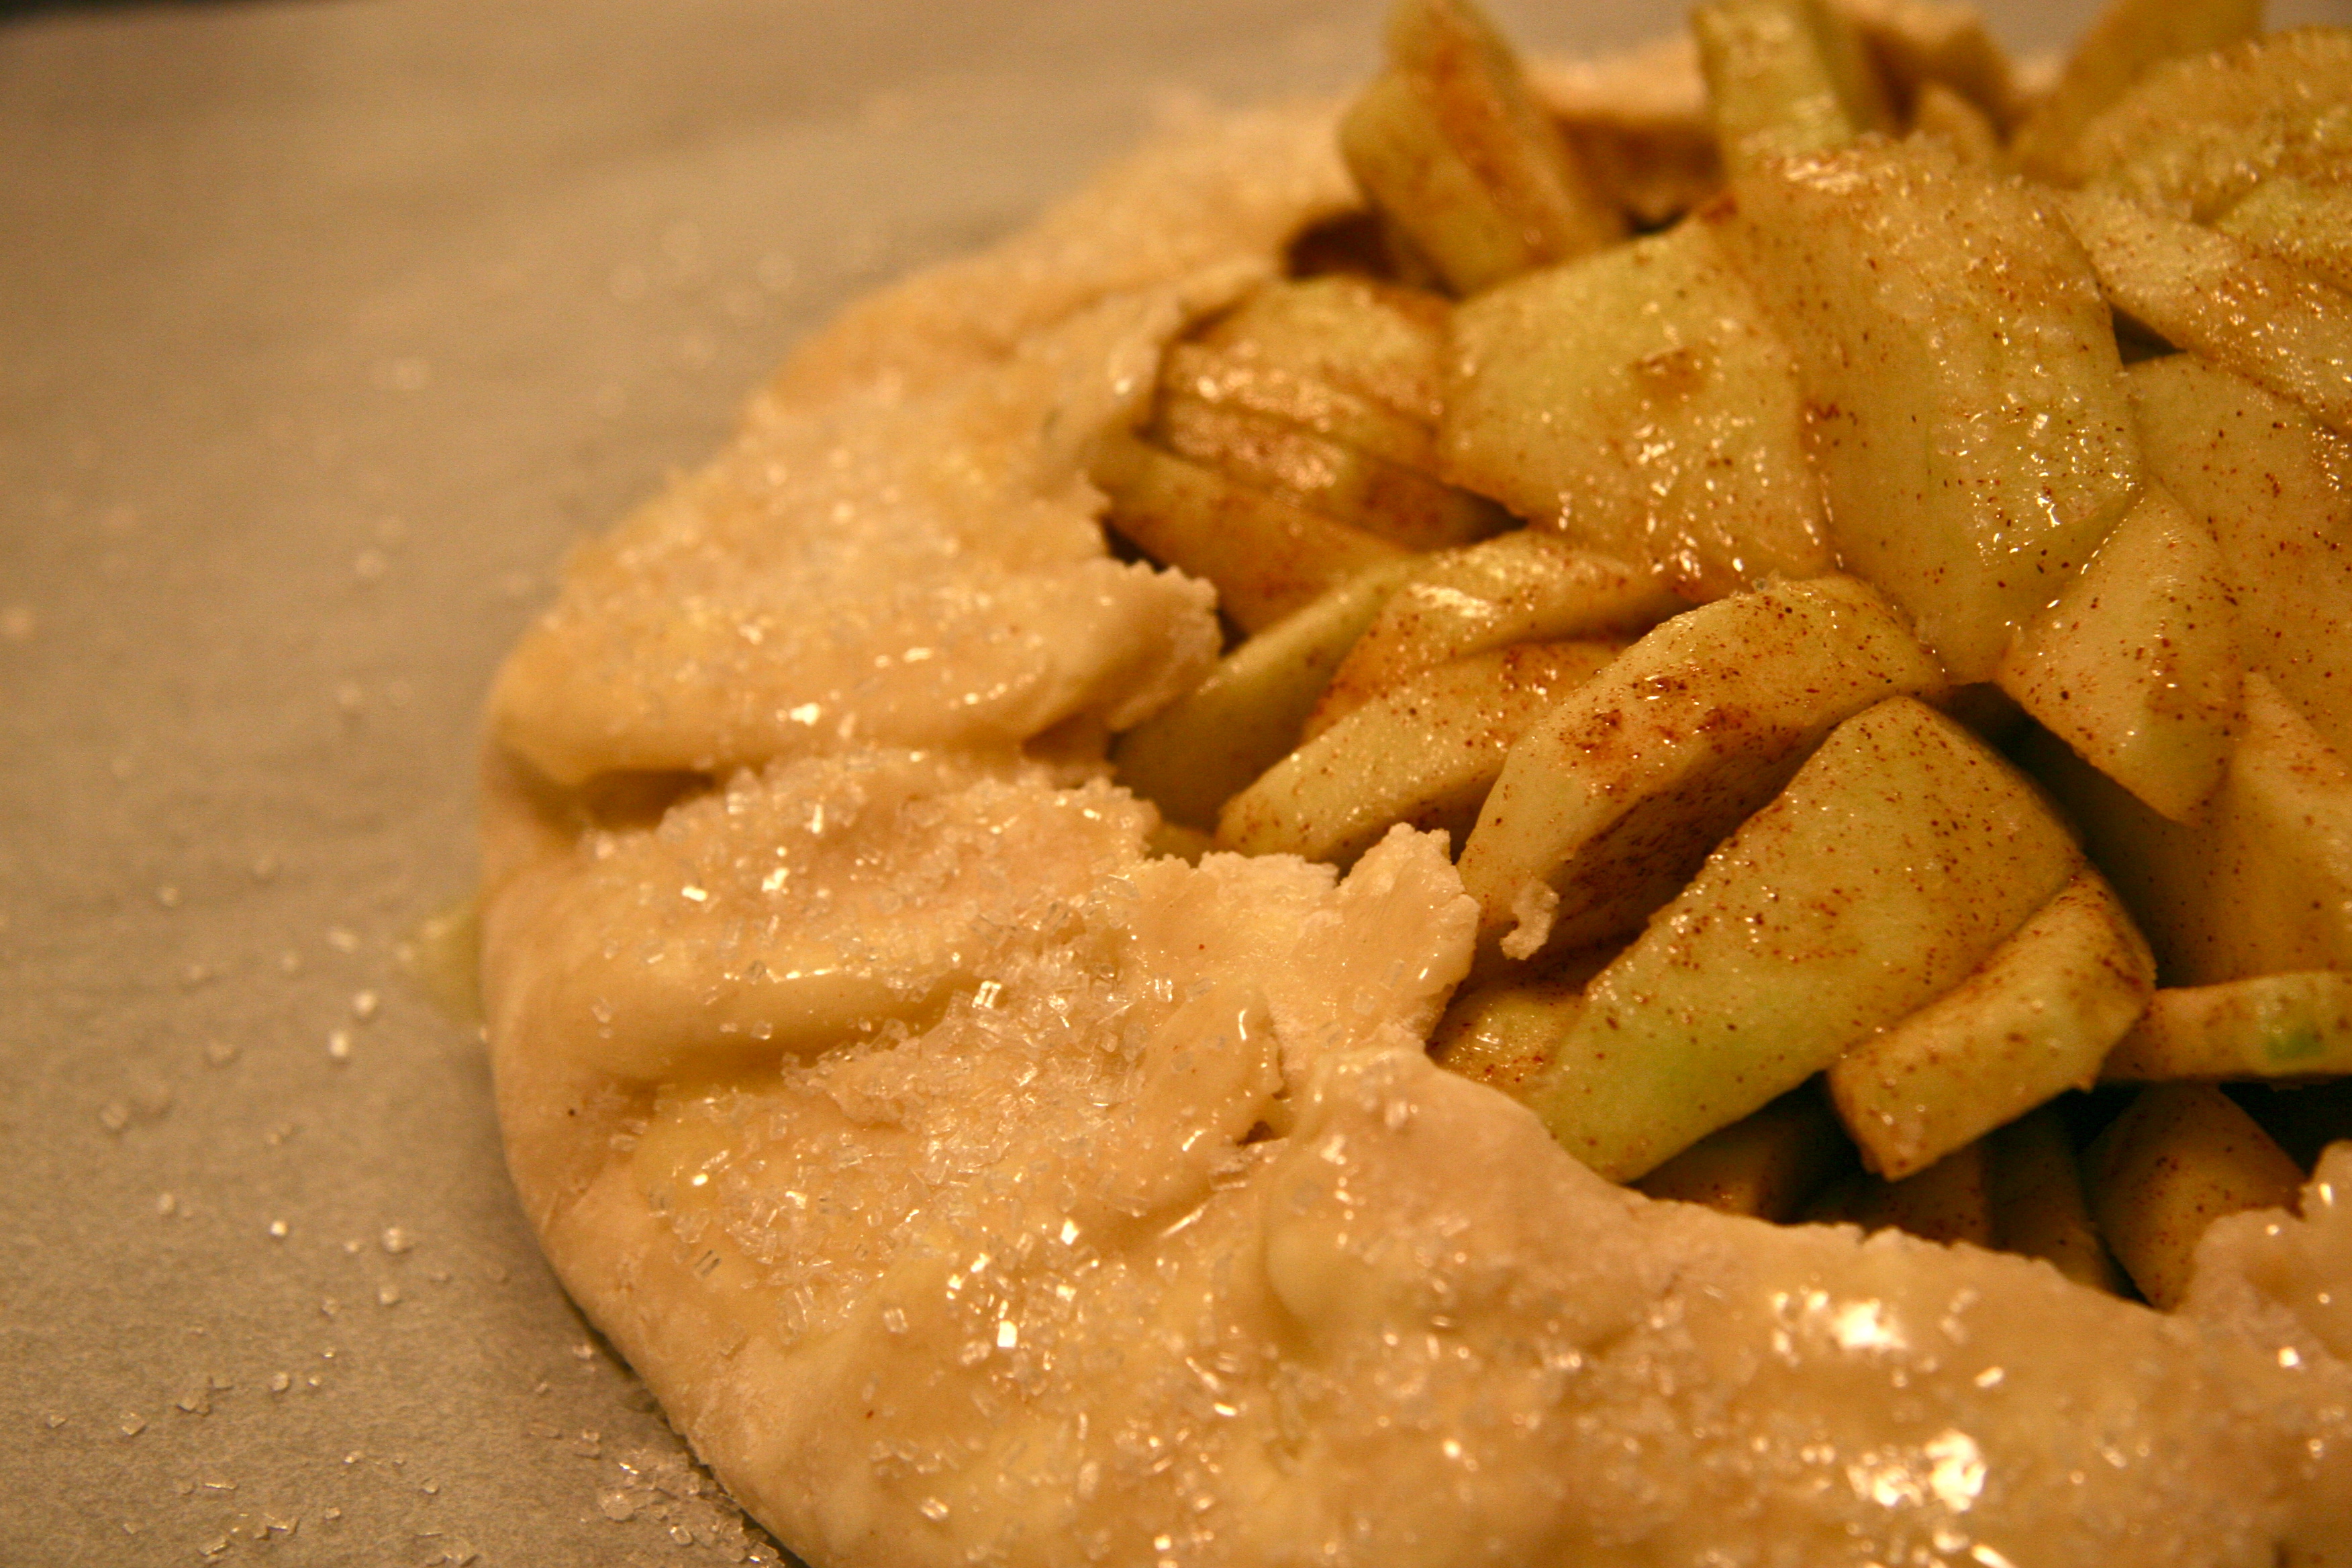
Fold the edges over and it is ready for the oven.

Fold the edges over and it is ready for the oven.

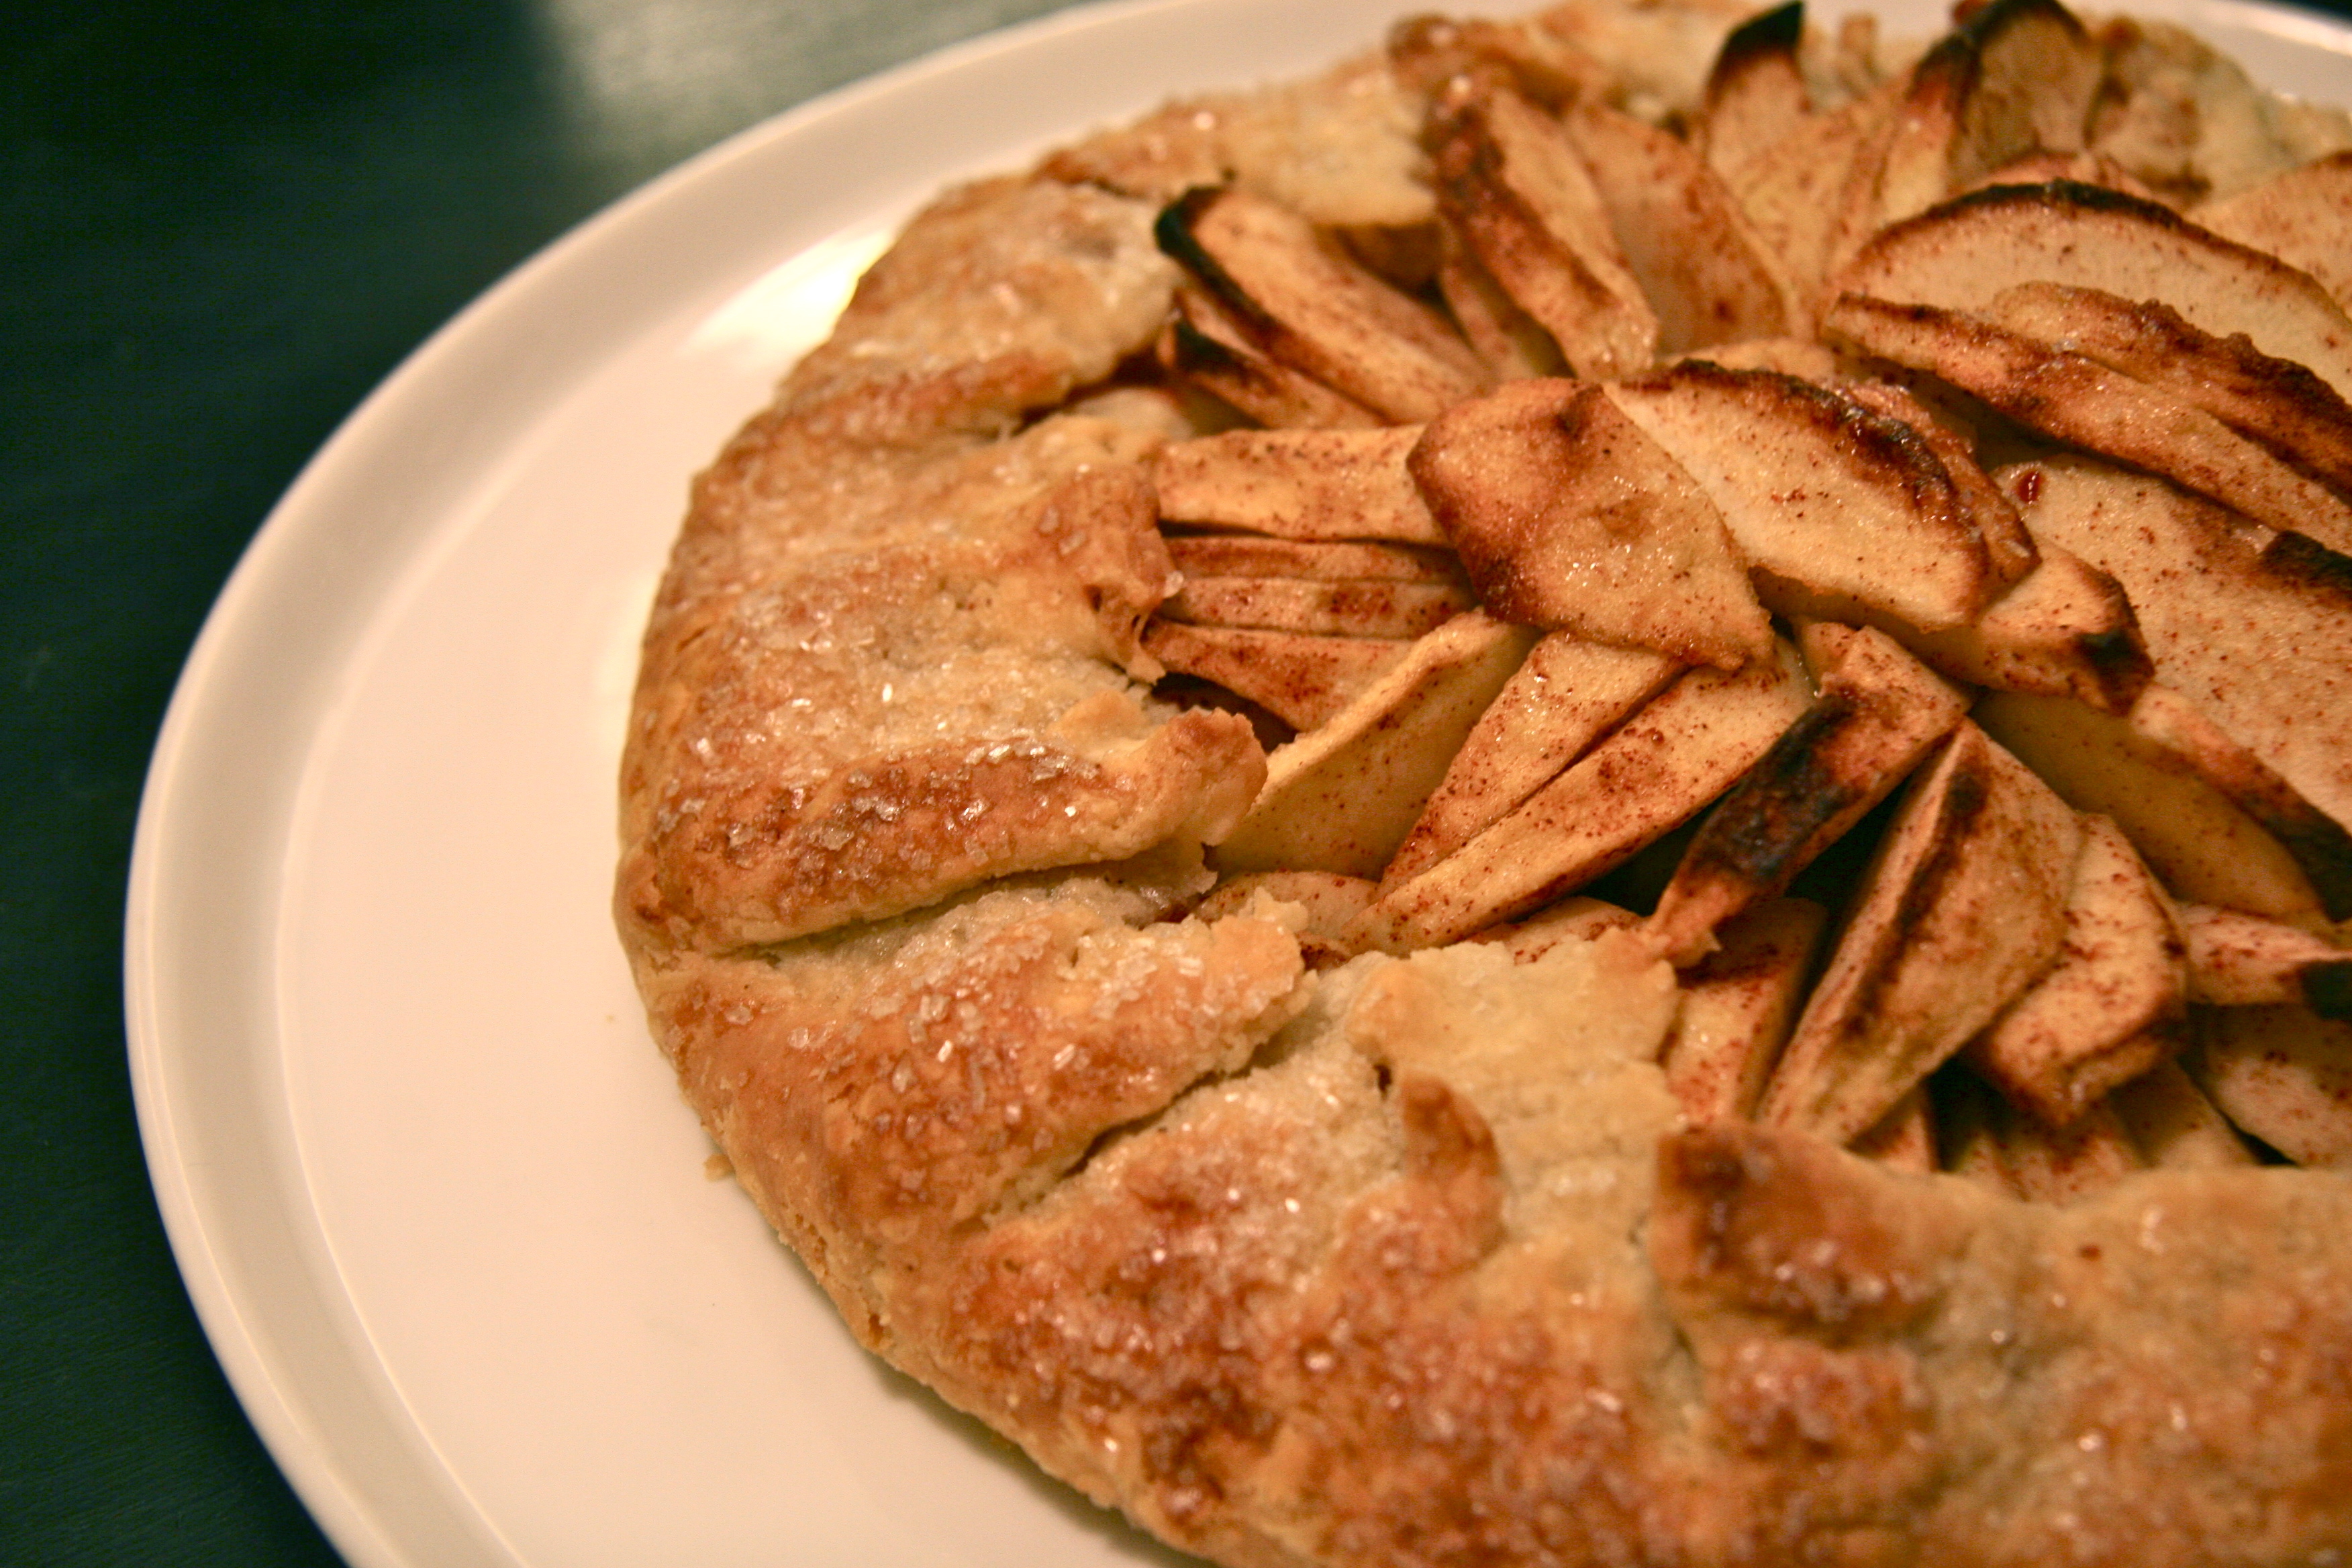
Ready to eat!

Ready to eat!


Needed to give the caramel sauce a shout out!

Needed to give the caramel sauce a shout out!


apple galette or free form apple tart or lazy man’s apple pie
Recipe Type: Dessert
Author: Butter Loves Company
Prep time: 1 hour 30 mins
Cook time: 1 hour
Total time: 2 hours 30 mins
Serves: 6-8
Ingredients
  • Dough:
  • 1 ¼ cups flour
  • 1 tablespoon sugar
  • ½ teaspoon salt
  • ½ cup (1 stick) unsalted butter, diced and re-refrigerated
  • ½-¾ cup cold water
  • 1 tablespoon unsalted butter, melted
  • Filling:
  • 4-5 baking apples peeled and sliced ¼-1/2 inch thick (Cortland, Granny Smith, or Pink Lady are some options but feel free to pick whatever you prefer, or mix varieties)
  • 1 tablespoon fresh lemon juice
  • ½ cup granulated sugar
  • ½ cup light brown sugar
  • 1 teaspoon cinnamon
  • 1 tablespoon flour
Instructions
  1. In a food processor, combine flour, sugar, and salt and pulse for 10 seconds to combine.
  2. Drop in the diced, cold butter and pulse until the butter is the size of small marbles but larger than peas.
  3. Begin adding ice water in 1/8th cup increments, pulsing between additions, until the dough comes together and the butter is pea sized but still visible. You may not need the full amount of iced water.
  4. Transfer the dough to a work surface, gather it together and pat into a disk. Wrap the dough in plastic and refrigerate until chilled, one to two hours.
  5. While the dough is chilling, peel and slice the apples.
  6. In a large bowl, combine the apples with lemon juice, both sugars, cinnamon, and flour.
  7. Once the dough is chilled, preheat the oven to 400 degrees and line a baking sheet with parchment paper.
  8. Transfer the dough to a floured surface and roll out into a circle about 12 inches in diameter and 1/8th inch thick. Shake off excess flour and transfer dough to the prepared baking sheet.
  9. Arrange apples on the dough, leaving 2 inches of pastry around all sides. Fold edges of the dough onto the apples and crimp edges to create the crust.
  10. Brush the entire crust with 1 tablespoon melted butter and sprinkle with sugar.
  11. Bake until the crust is golden and the apples are tender, 55-60 minutes.
  12. Remove from oven and let cool for at least 15 minutes before serving.
3.2.1275


Filed Under: desserts and sweets, eat Tagged With: apple, dessert, fruit, galette, pie, tart

« Previous Page
Next Page »

Welcome!

jenna of butterlovescompany

Pull up a chair

Hi! I’m Jenna. Story seeker, food lover, recipe developer based in NYC. Firm believer in making every day delicious! Read more…

looking for something?

  • Email
  • Facebook
  • Instagram
  • Pinterest
  • RSS
  • Twitter

Latest Posts

  • Freezer Meals to Make Before Baby: How We Meal Prepped Before Baby
  • mom’s famous spiced pecans
  • funfetti cookie dough truffles (no-bake)
  • maple coconut cookies
  • snickerdoodle blondies

popular now

fresh peach coffee cake
one skillet chicken and saffron rice
boston cream pie cake
apple galette or free form apple tart or lazy man's apple pie
raspberry lime buttermilk cake with coconut cream cheese frosting
plum hand pies

grammin’

Hi! I'm Jenna, founder of butter loves company. From holidays to Tuesdays, let's find a way to make every meal special.
  • Email
  • Facebook
  • Instagram
  • Pinterest
  • RSS
  • Twitter
a2f54ba1dcf0635e58c8be4aa2035ce84863a9d9606a428ab3

© 2013-2019 BUTTER LOVES COMPANY, LLC.

Copyright © 2026 · Foodie Pro Theme by Shay Bocks · Built on the Genesis Framework · Powered by WordPress