butter loves company

new york food blogger and lifestyle influencer

  • home
  • Recipes
  • travel
  • lifestyle
  • cookie orders
  • about
  • contact

tourte milanese

April 23, 2014 by Butter Loves Company

tourte milanese 9

While brunching out is one of my favorite things to do—give me eggs ‘beni’ and a spicy bloody and I’m on cloud nine—there is something lovely about having brunch at home on a lazy weekend morning. It forces you and your company to slow down, catch up, and laugh into the afternoon with no real agenda.

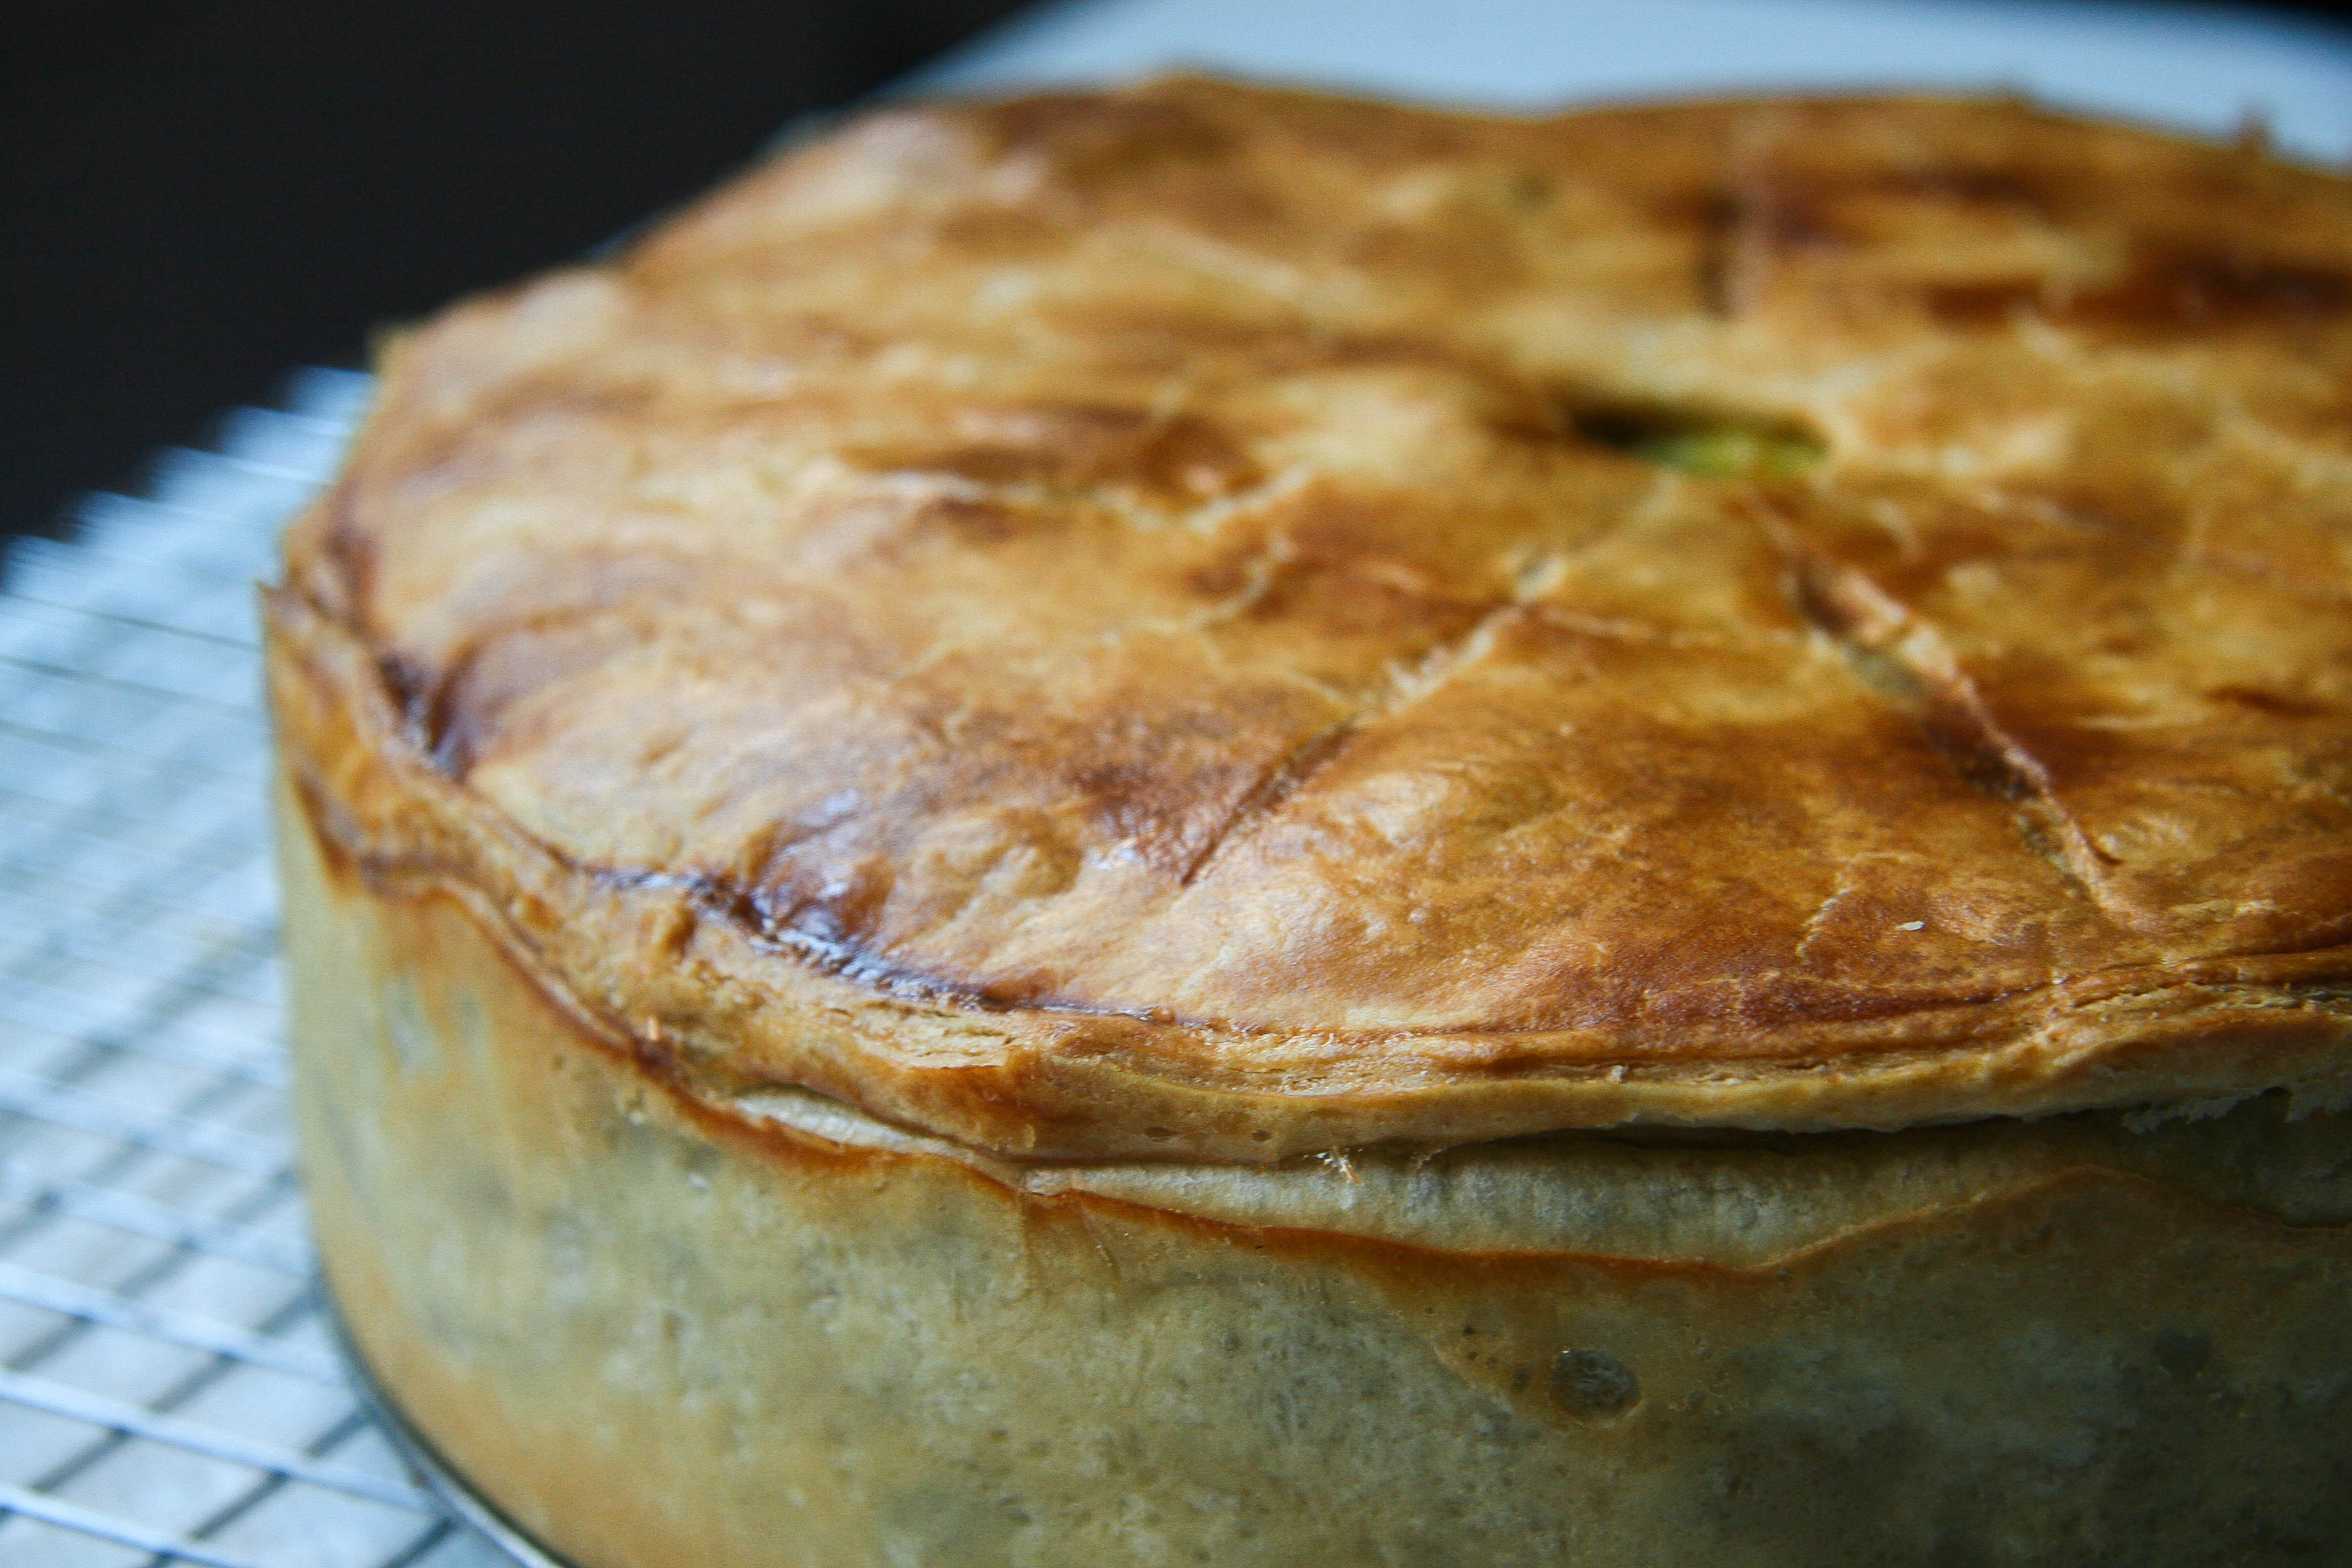
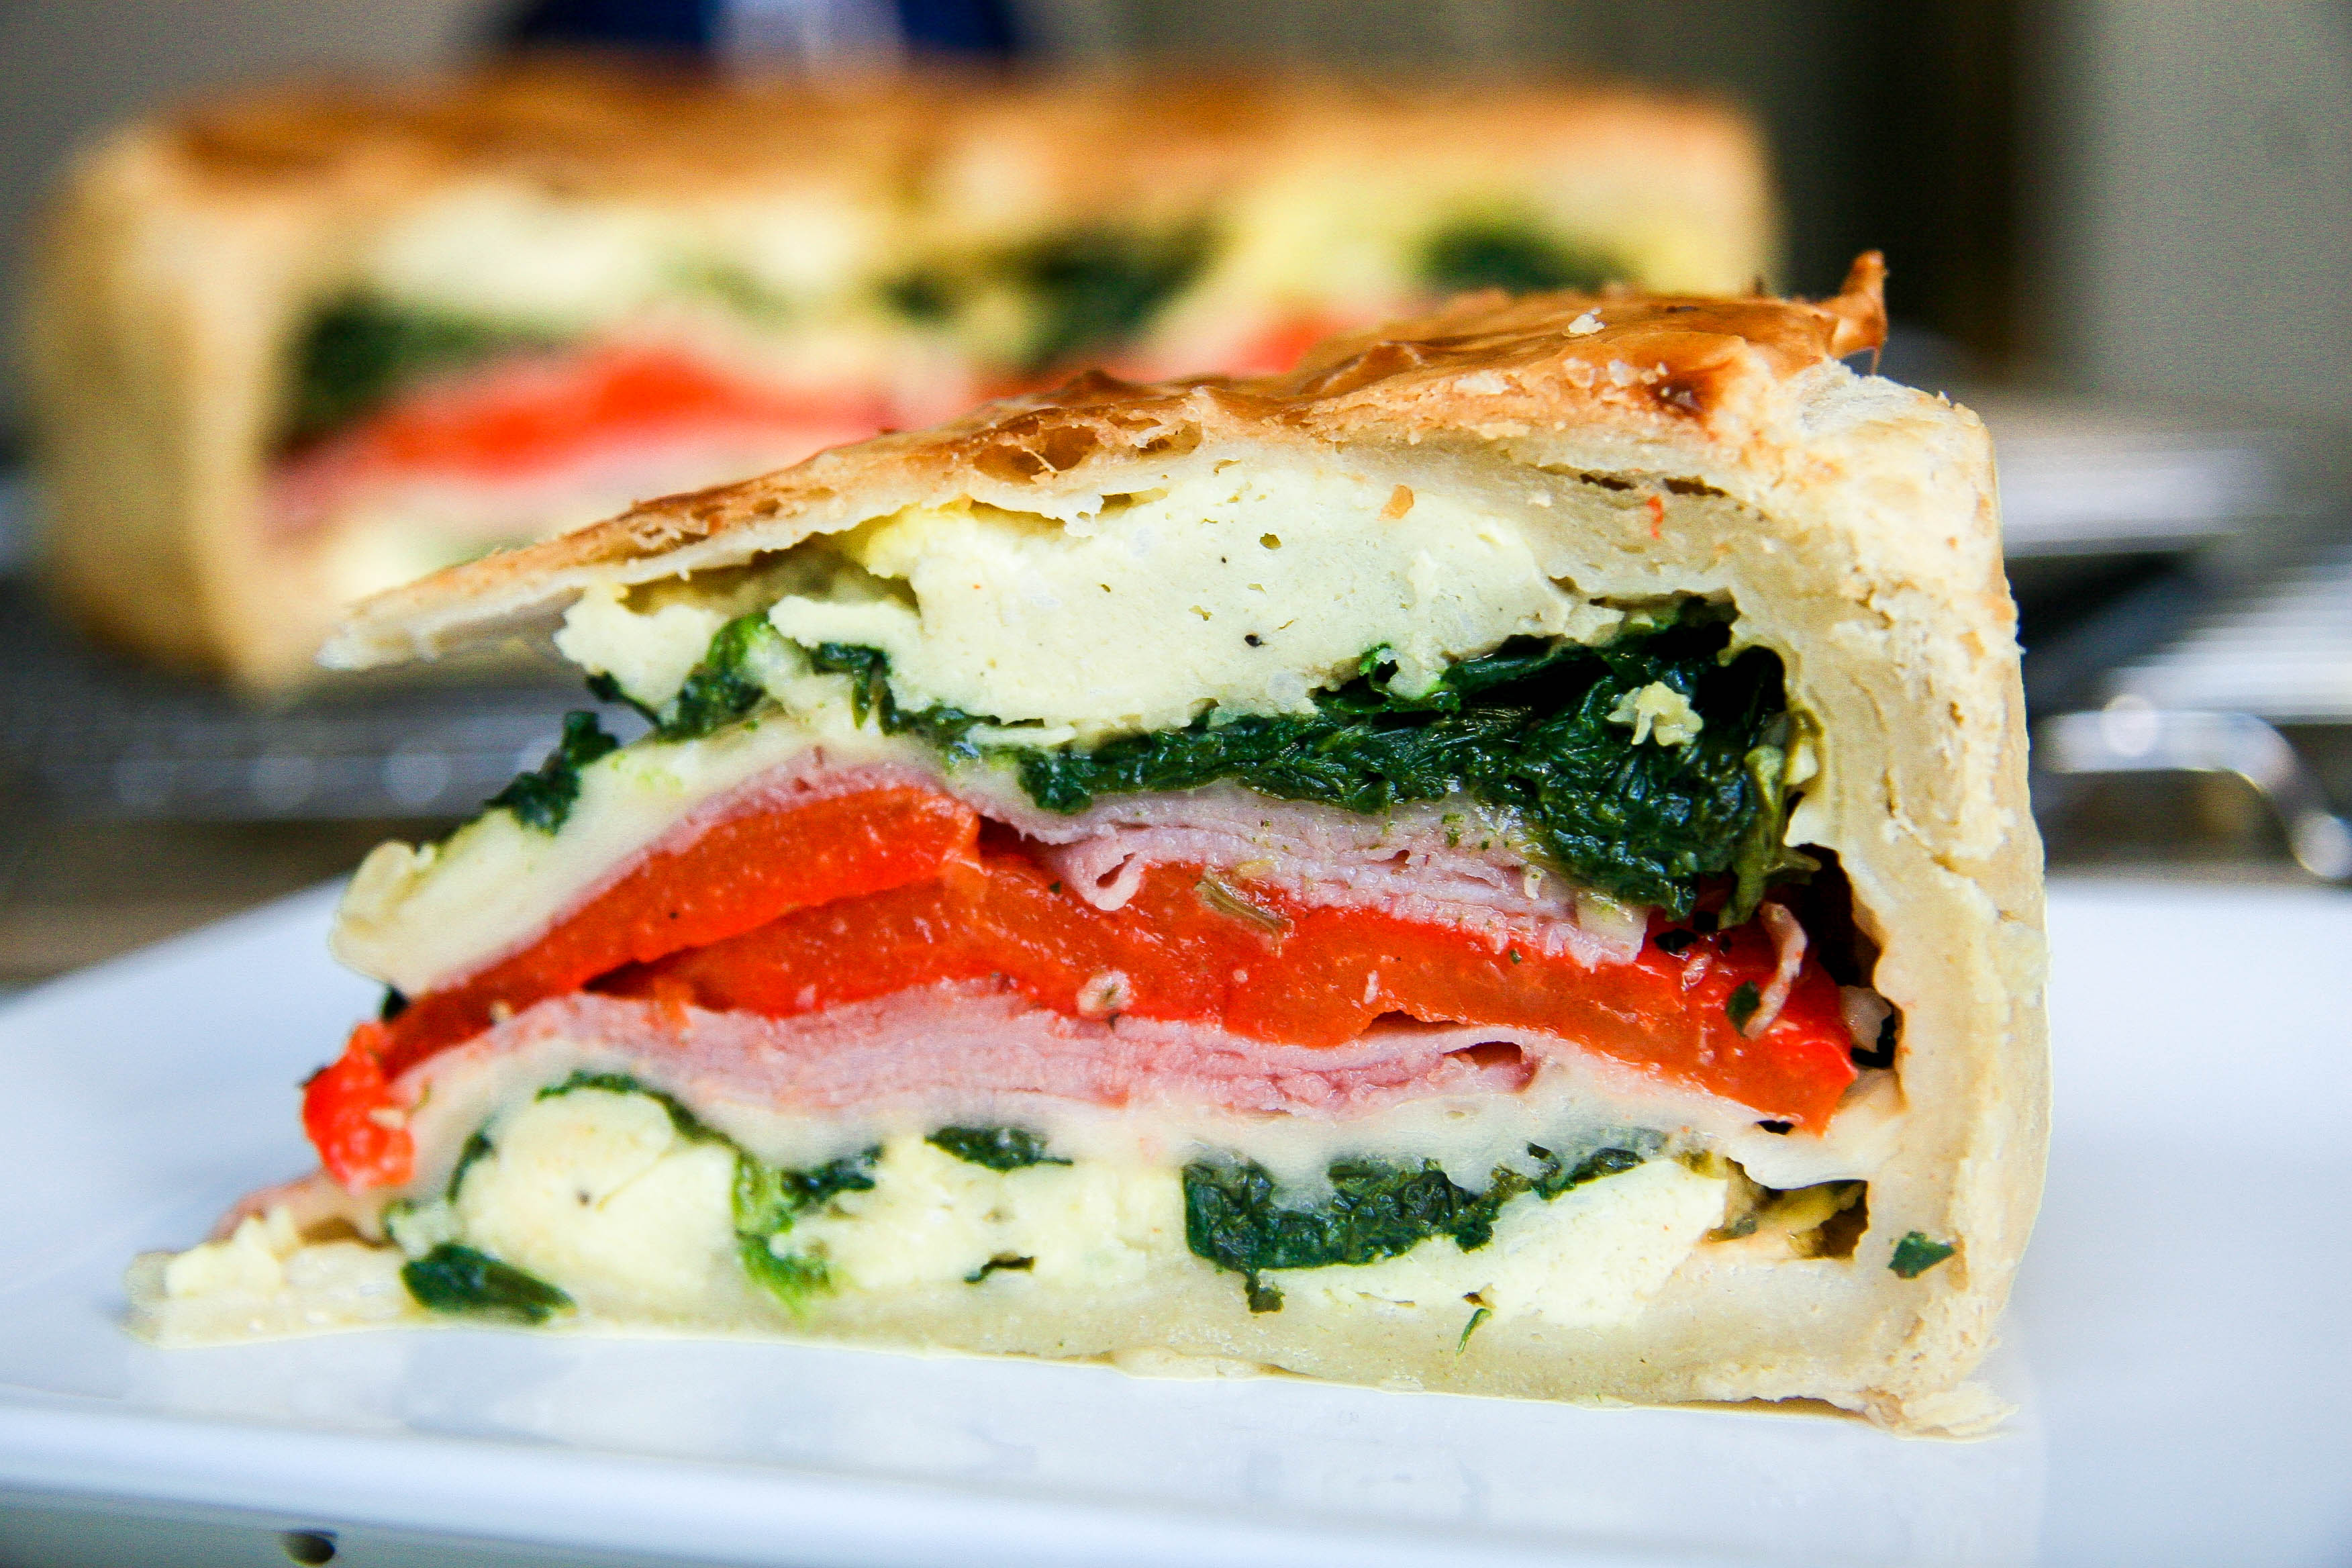
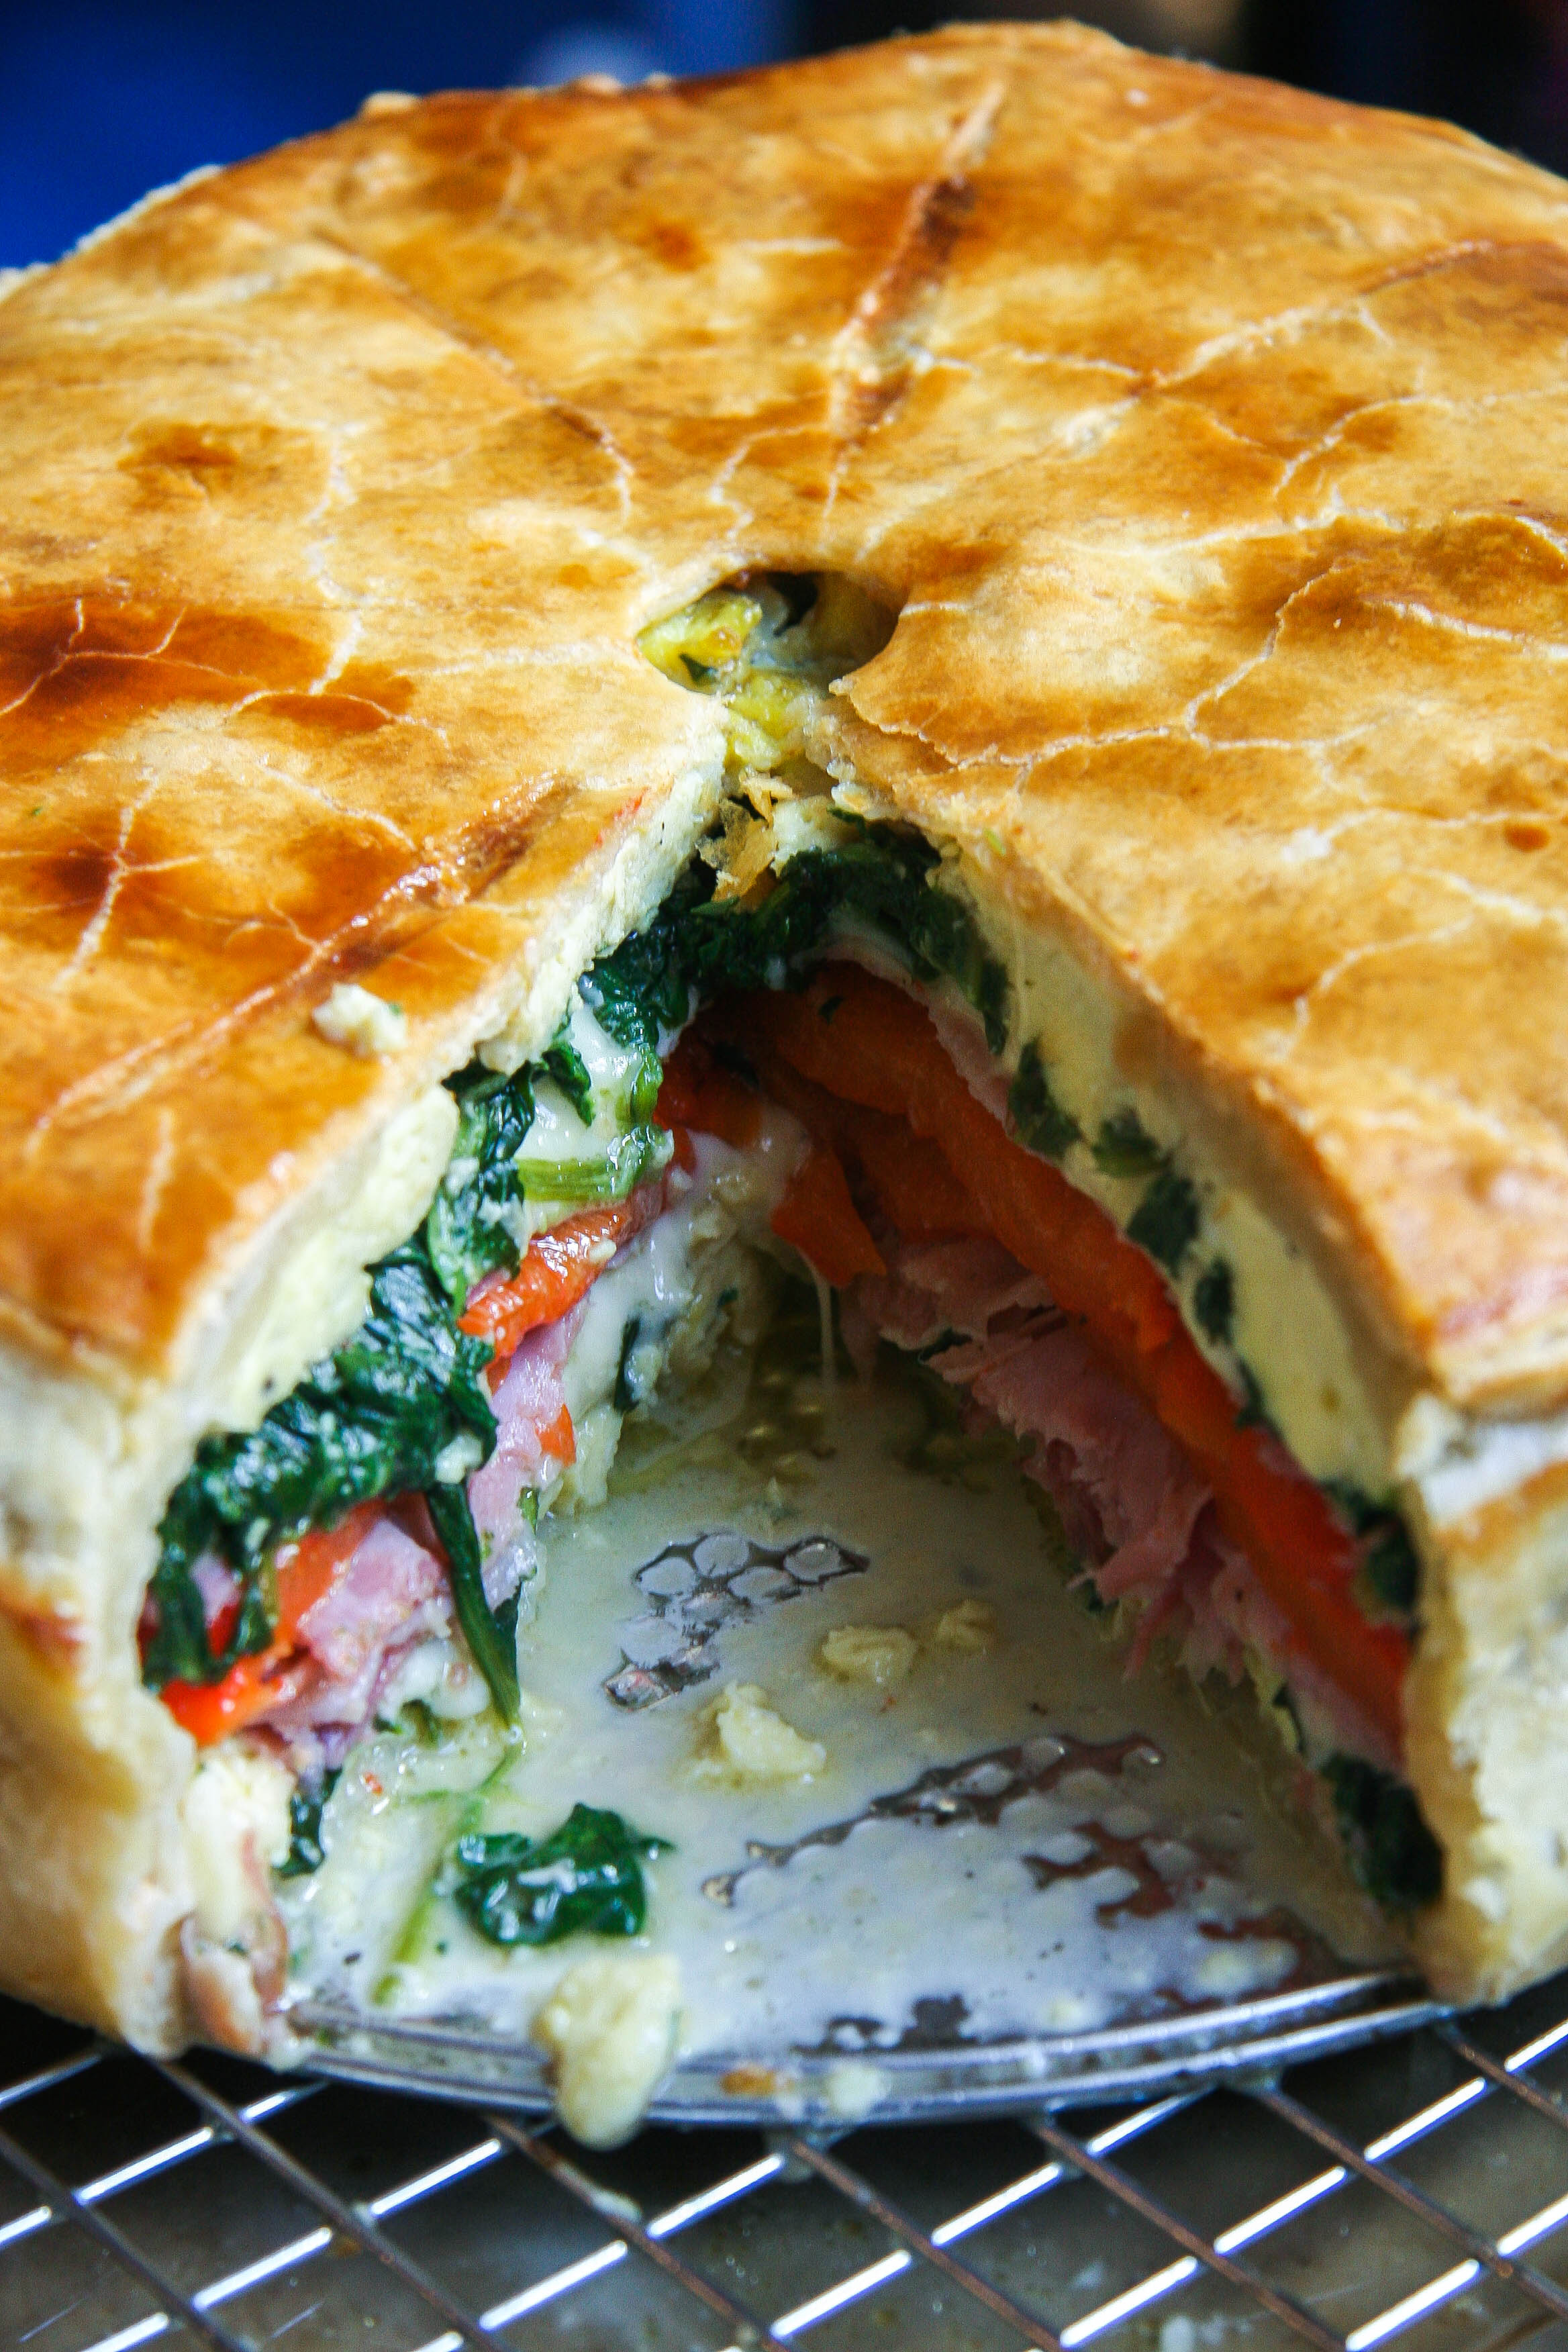
Brunch, whether out or at home, often includes some sort of egg dish; a quiche, an omelet, the aforementioned eggs benedict, or, if you rewind to our apartment a few days ago, this Tourte Milanese. When flipping through cookbooks Saturday morning looking for a cookie recipe to make for Easter Sunday, I saw this tourte and said out loud “Oh!!! PRETTY! I’m making this!” Layers of herbed eggs, ham, cheese, spinach, and roasted red peppers all wrapped in a buttery puff pastry: it is a bold, beautiful thing. Little did Greg know, when I said I was making this, I meant I was making this this minute (not uncommon), and he was tasked as sous chef. The cookies had to wait.

This is a perfect recipe for brunch entertaining because you can prep and cook the entire tourte a day ahead and just bring it to room temperature or lightly warm in your oven before guests arrive. It saves you morning stress with the additional perks of extra shuteye, a tasty meal, and impressed friends.

At first glance, this tourte may look complicated, but it is really not hard to make at all. It has a few simple components that need to be prepared separately before assembly: scramble the eggs, sauté the spinach, and blister the red peppers under a broiler. The long instructions are only an illusion of difficulty, though I would suggest budgeting yourself a bit of time for the prep, chilling, and cook time.

tourte milanese 1

tourte milanese 2

tourte milanese 3

tourte milanese 4

tourte milanese 5

tourte milanese 6

tourte milanese 8

tourte milanese 10

Tourte Milanese
Adapted from Michel Richard’s recipe in Baking with Julia

Prep Time: 40 minutes
Chill Time: 30 minutes
Cook Time: 1 hour 10 minutes
Serves: 6–8

Ingredients:

1 pound puff pastry, homemade or store bought (If using store bought, it’s often sold in 1.1 pound packages. This works great.)
4 large red bell peppers
salt and ground black pepper, to taste
4 tablespoons unsalted butter, divided
1 tablespoon olive oil
1½ to 2 pounds fresh spinach, trimmed
2 cloves garlic, minced
3 tablespoons heavy cream (optional)
½ teaspoon grated nutmeg
11 large eggs
1 tablespoon chopped scallions
2 teaspoons chopped chives
1 teaspoon chopped fresh tarragon
½ pound thinly sliced Swiss cheese
½ pound thinly sliced ham
1 egg beaten with 1 tablespoon water, for egg wash

Instructions:

Coat an 8-inch round spring form pan with butter or non-stick baking spray. Roll out ¾ of the puff pastry ¼-inch thick and line bottom and sides of pan leaving a 1-inch overhang. Roll out the remaining pastry into a ¼-inch thick circle (this will be the top of the tourte). Transfer onto a plate. Keep both pastries refrigerated while preparing the filling.

Prep Peppers: Turn on your oven broiler and fill a large bowl with cold water. Place the whole red peppers on a baking sheet and cook under broiler until skin begins to blister. Rotate peppers until all sides have blistered and then transfer peppers to the bowl of cold water. Using your hands, peel the skin off the peppers and discard. Remove the peppers to a cutting board, cut into flat 1 to 2 inch wide flat strips, trimming inside veins and discarding seeds. Set aside.

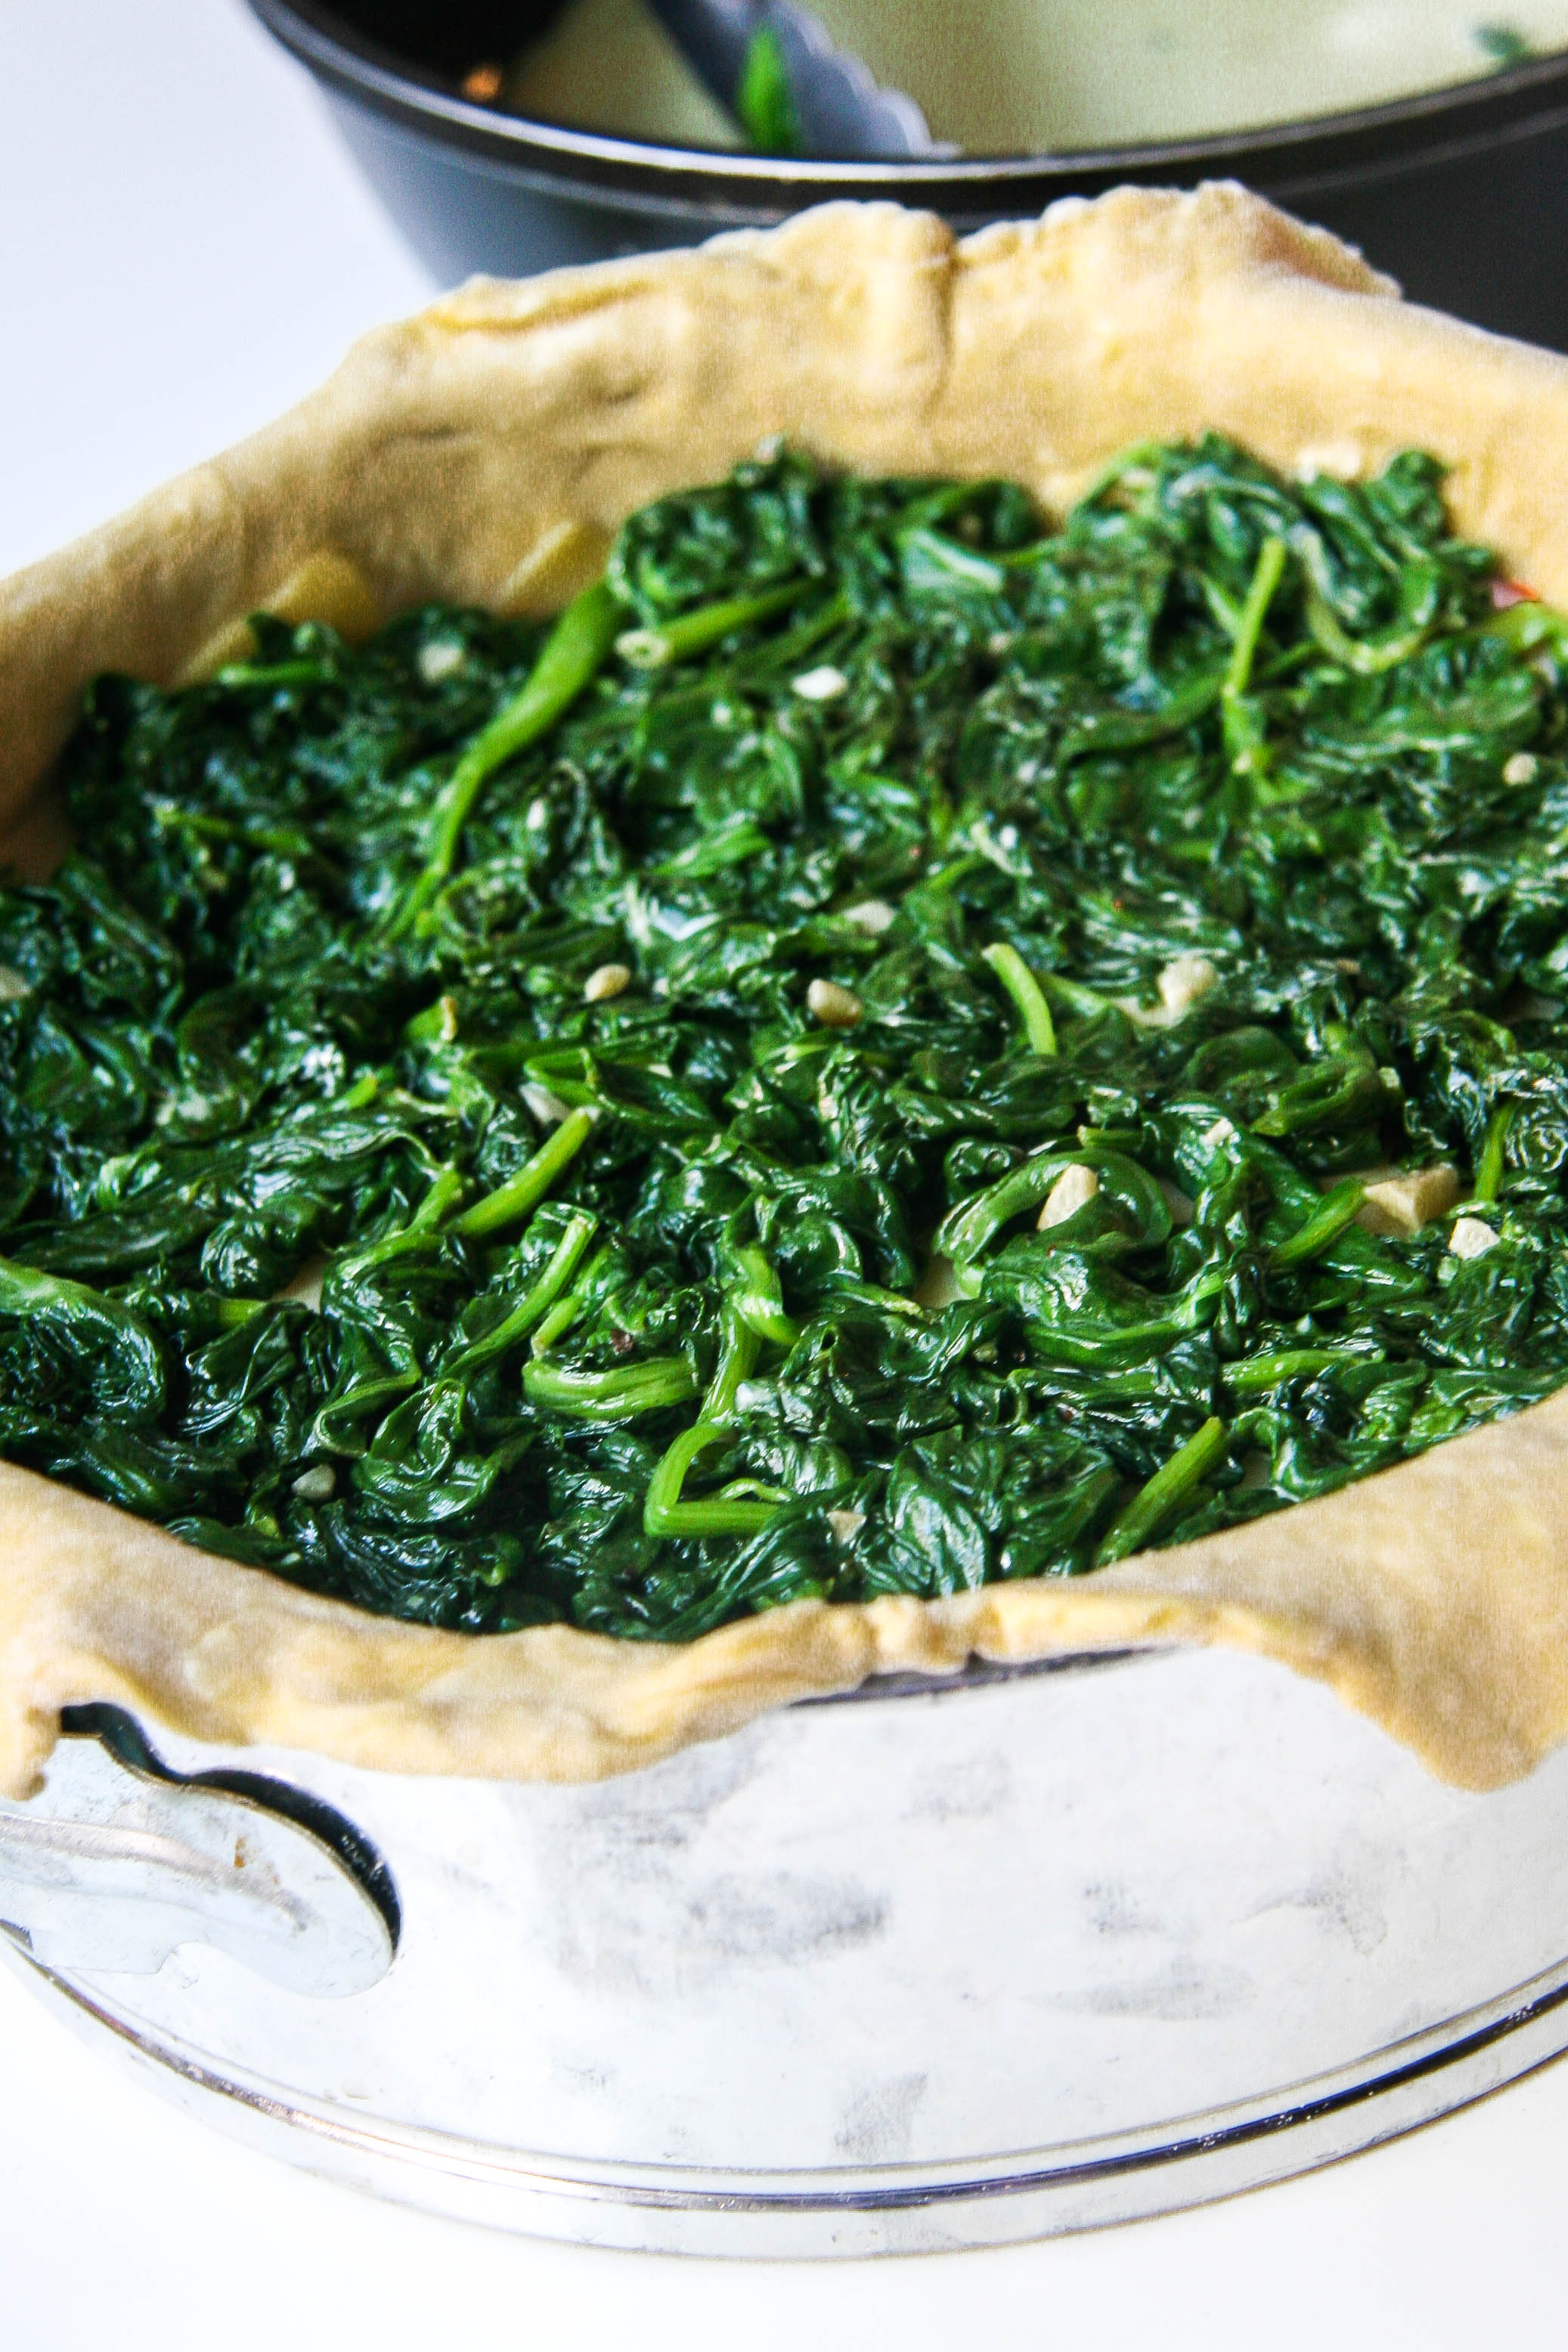
Prep Spinach: Heat oil and 1 tablespoon butter in a large skillet. Add spinach and garlic and sauté until spinach just wilts, about 3 minutes. Stir in heavy cream, if using. Season to taste with salt, pepper, and nutmeg. Remove from heat, set aside.

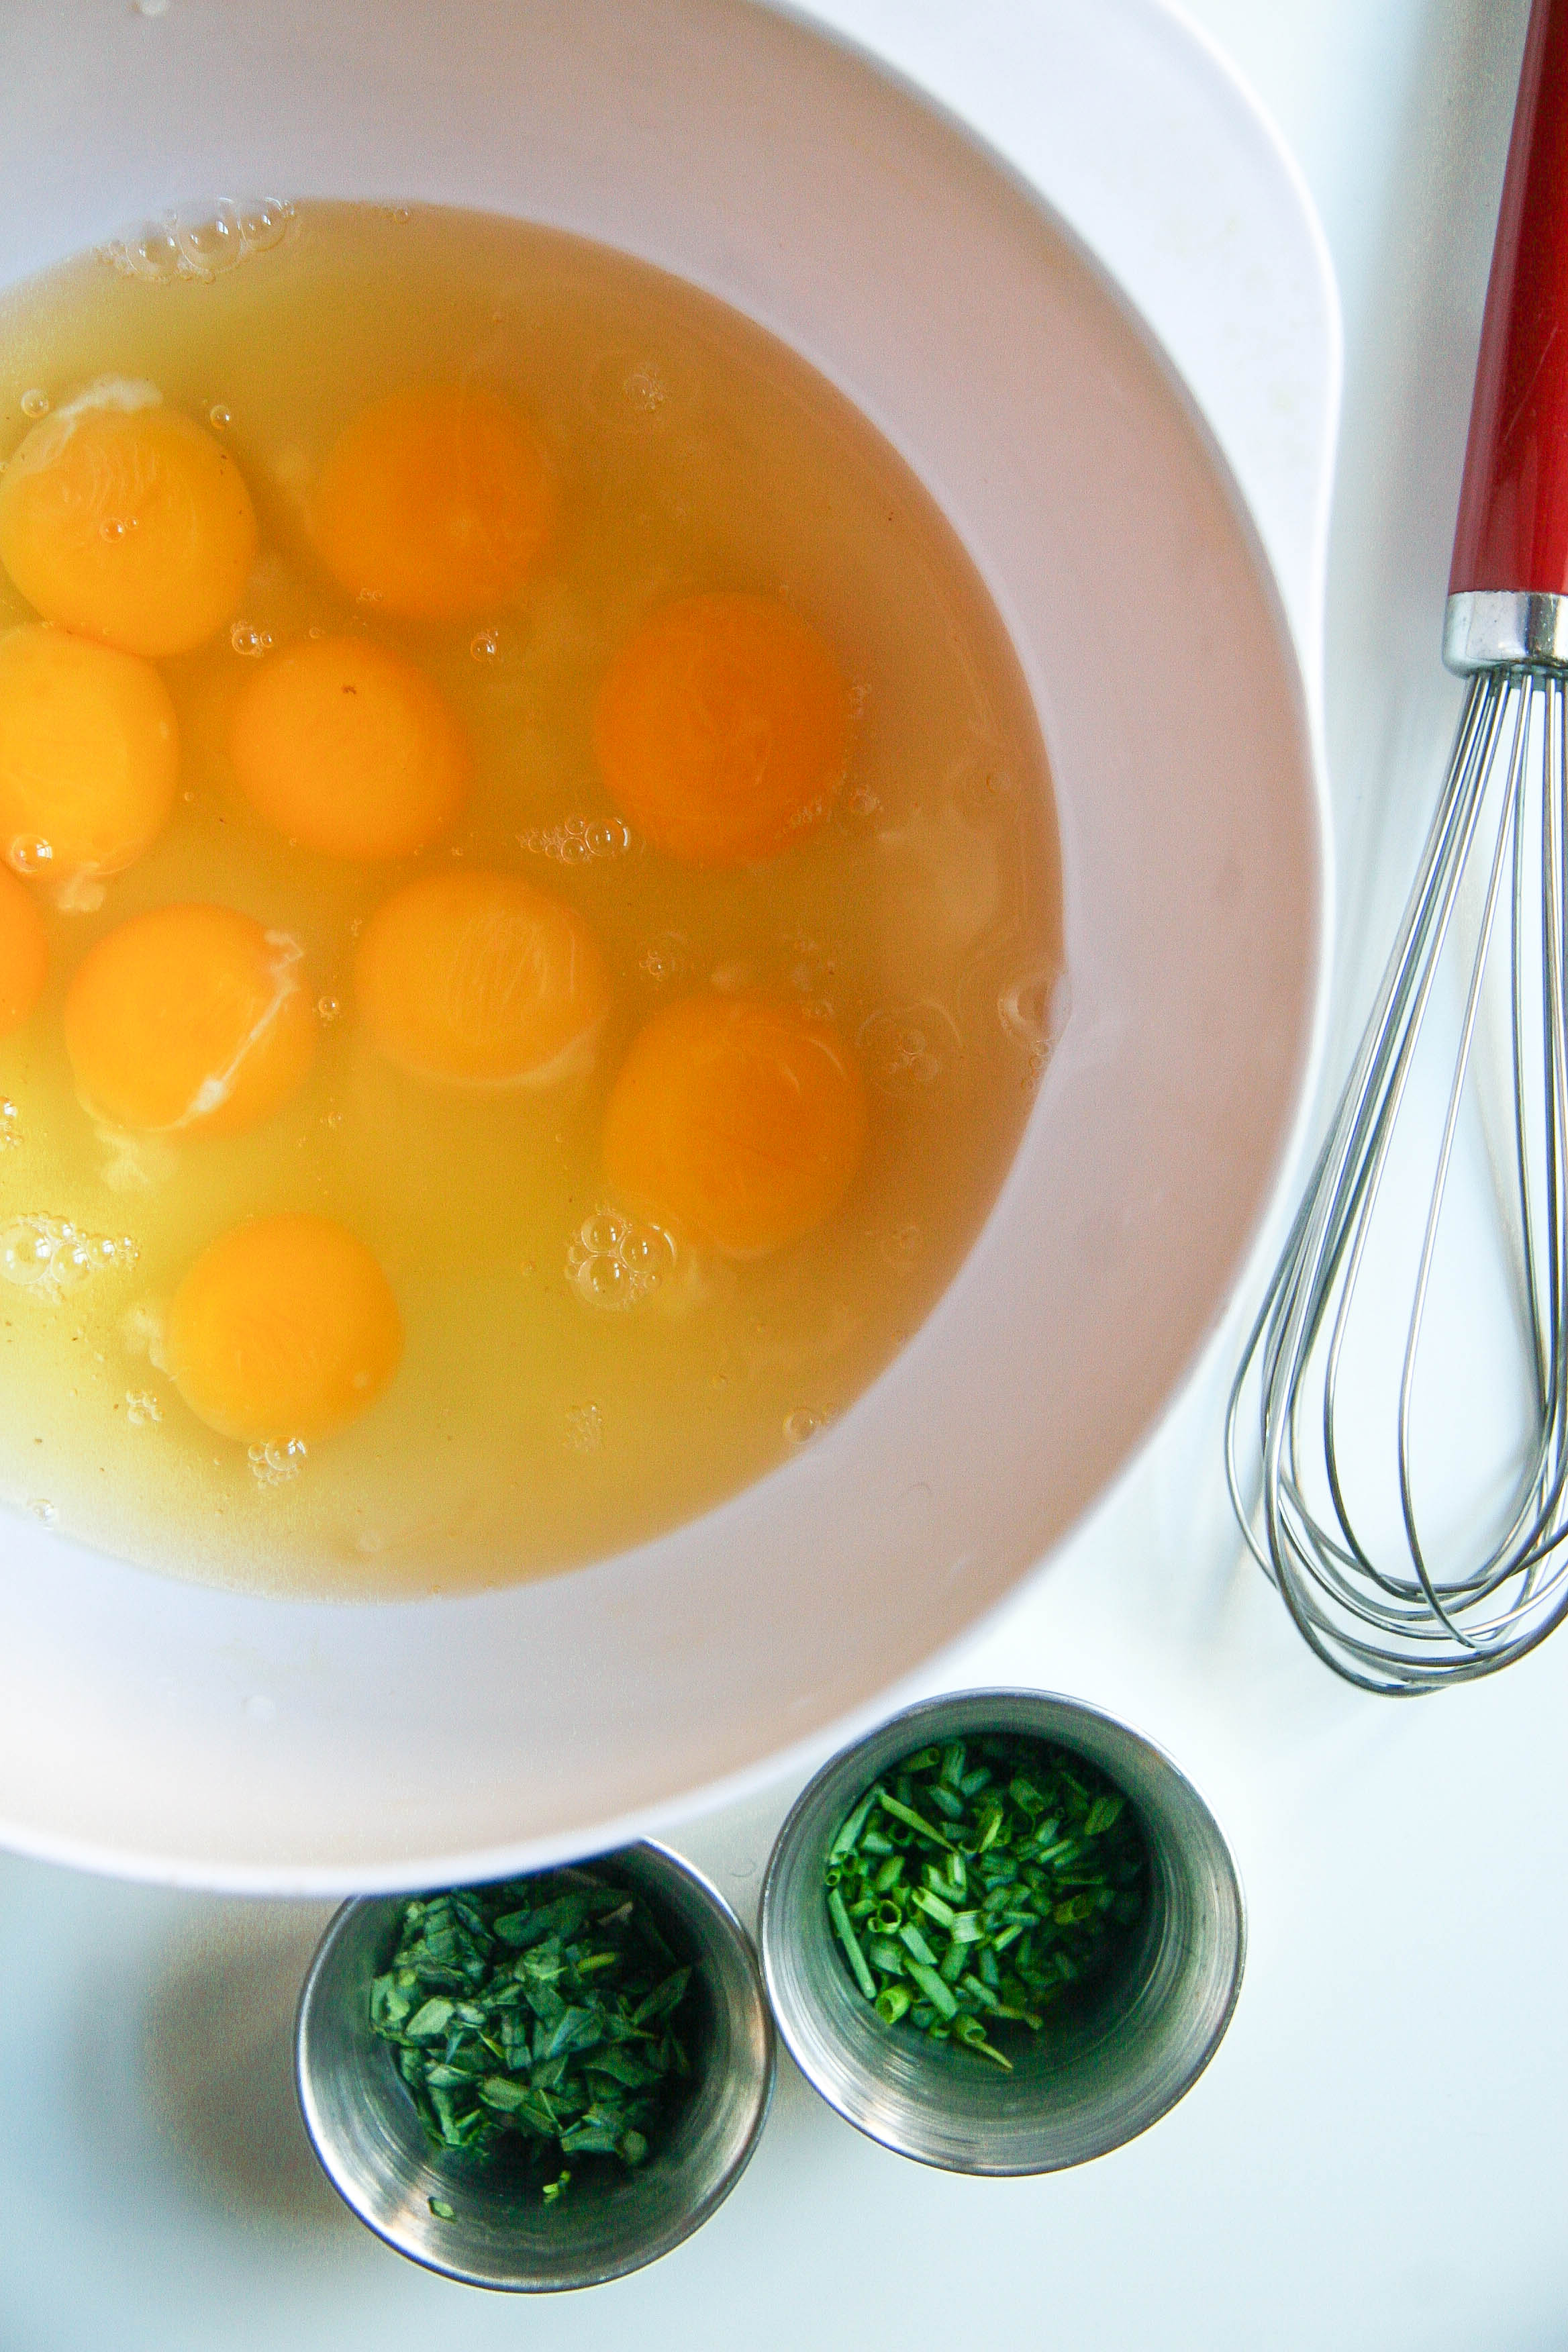
Prepare Eggs: In a large bowl, lightly beat all 11 eggs. Add the scallions, chives, tarragon, and salt to taste. Melt remaining 3 tablespoons butter in a large skillet over medium heat (you can use the spinach skillet, just remove spinach to a bowl, discarding extra liquid). Pour the egg mixture and stir briefly. As eggs start to set, lift edges so liquid can run under. Continue lifting and pushing the eggs to scramble until eggs are completely set but still moist (keep in mind they will be cooking further in the tourte). Transfer to a bowl, cover with plastic and let cool completely.

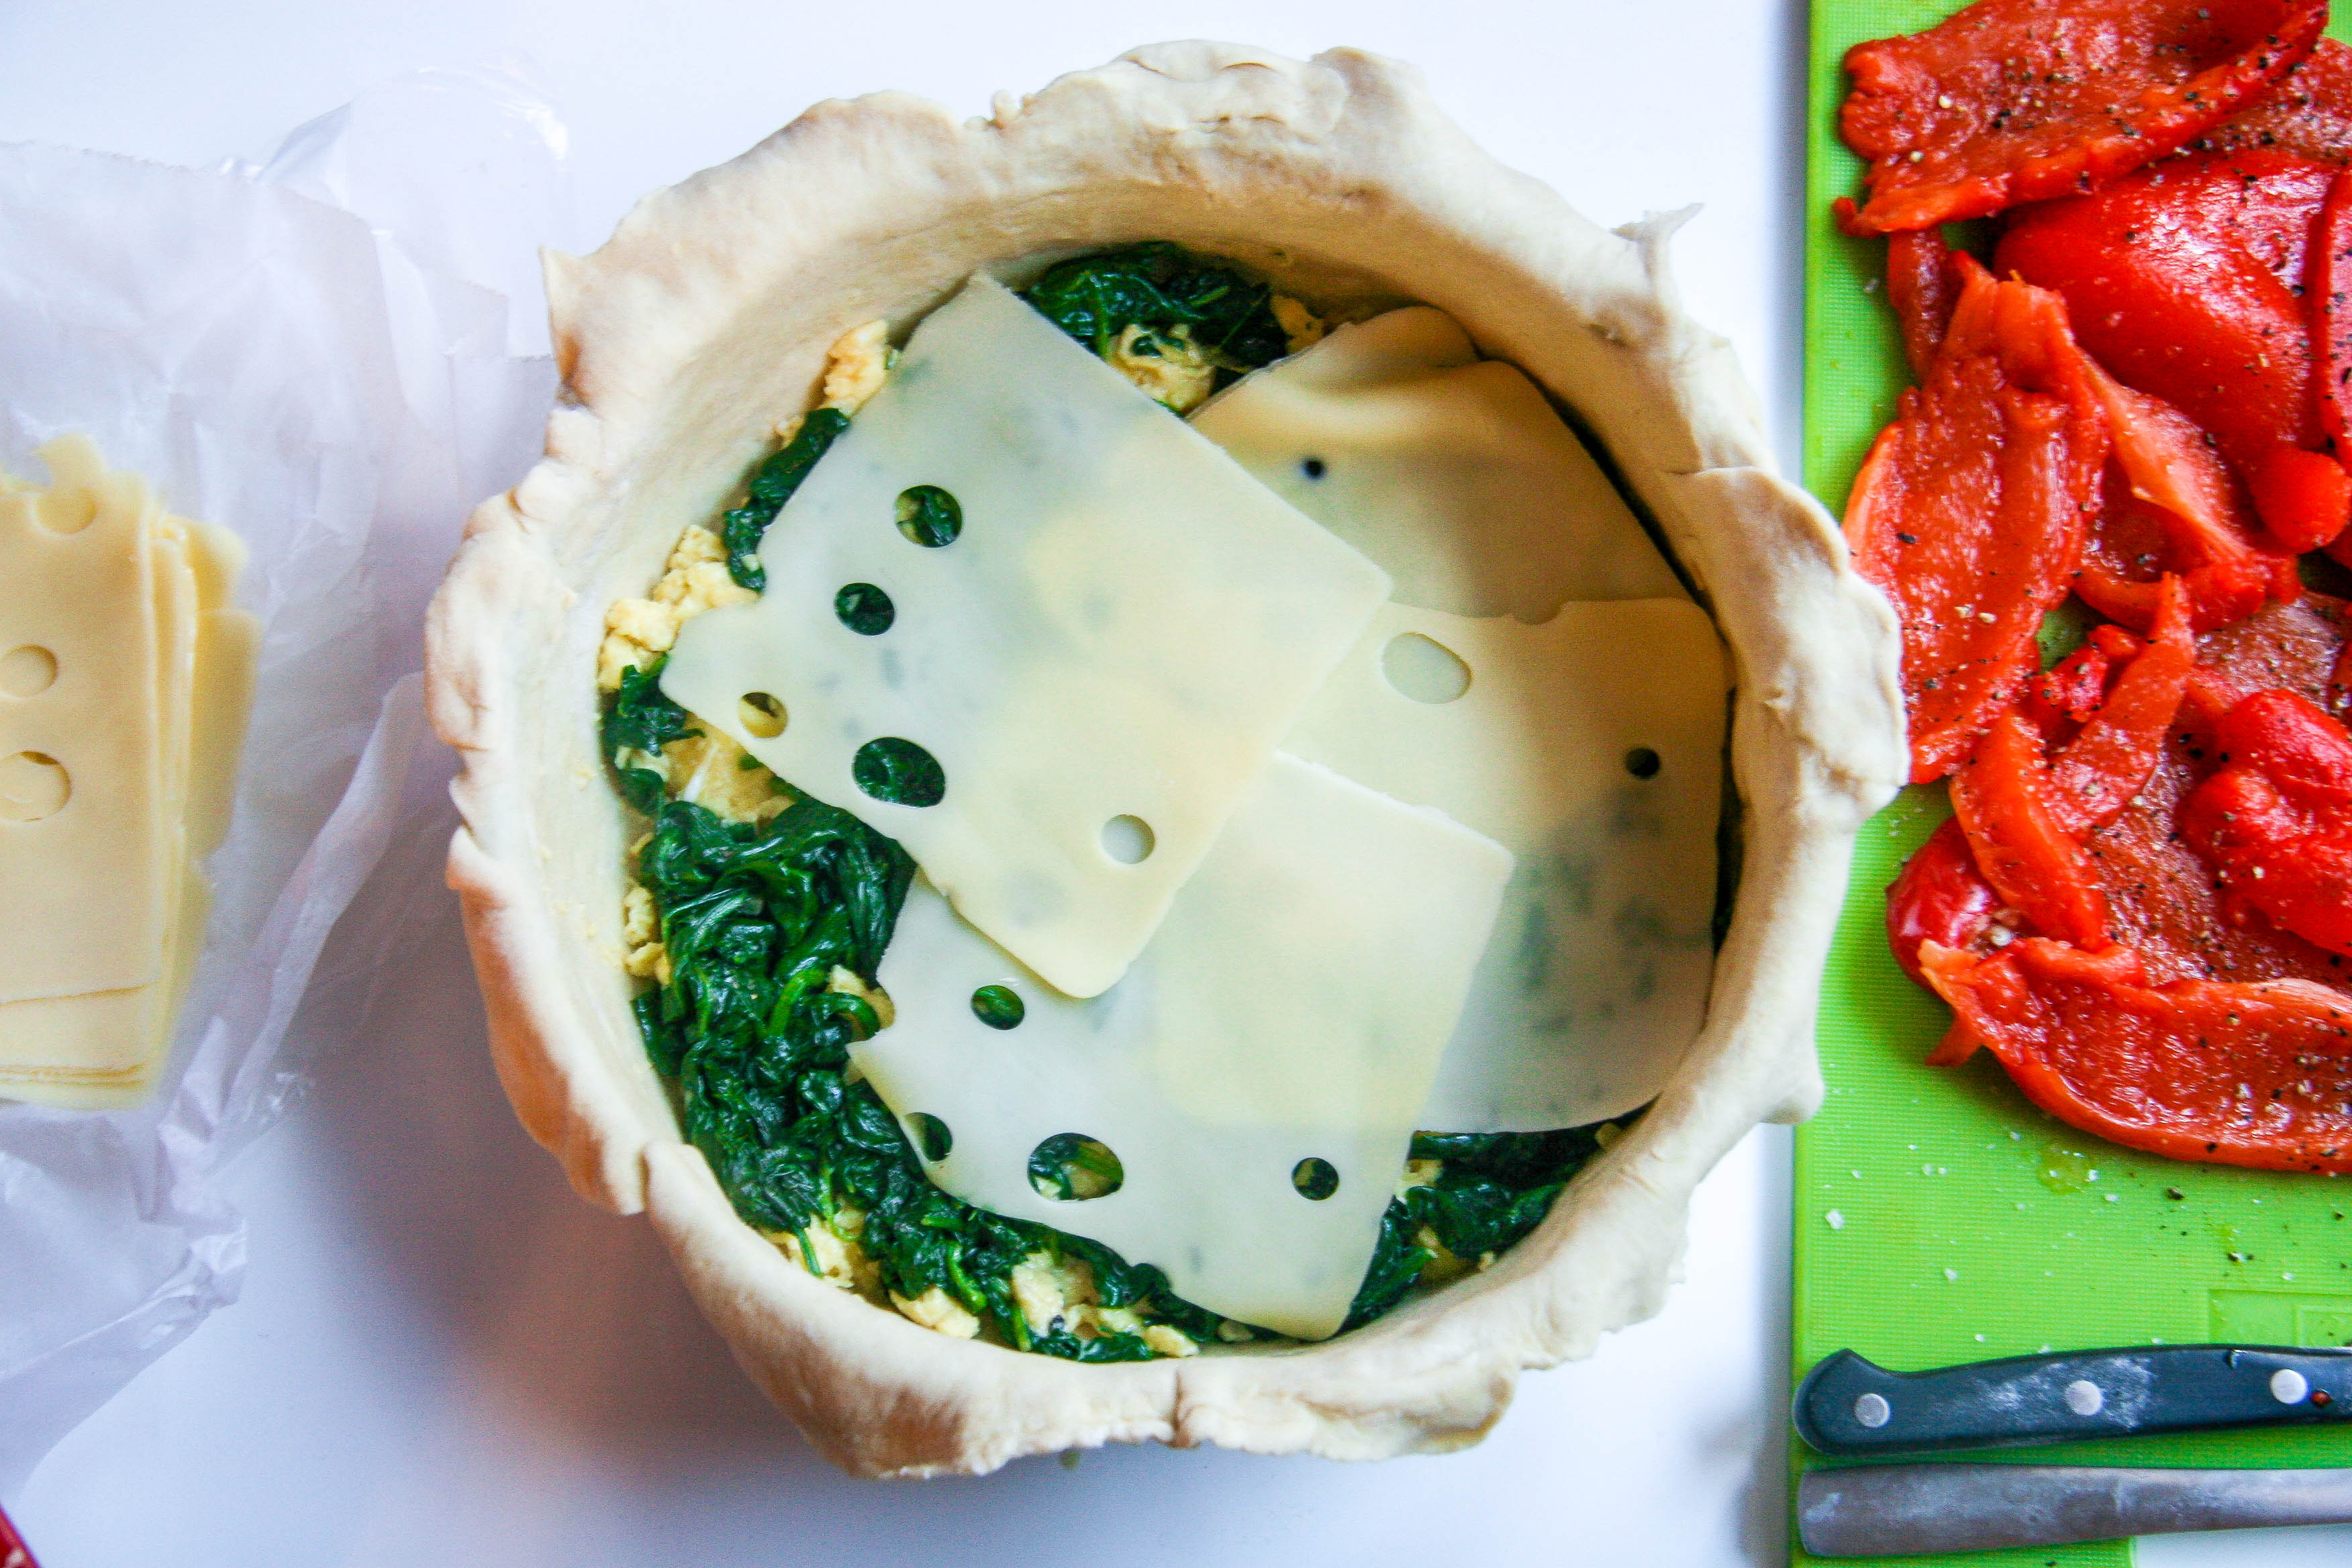
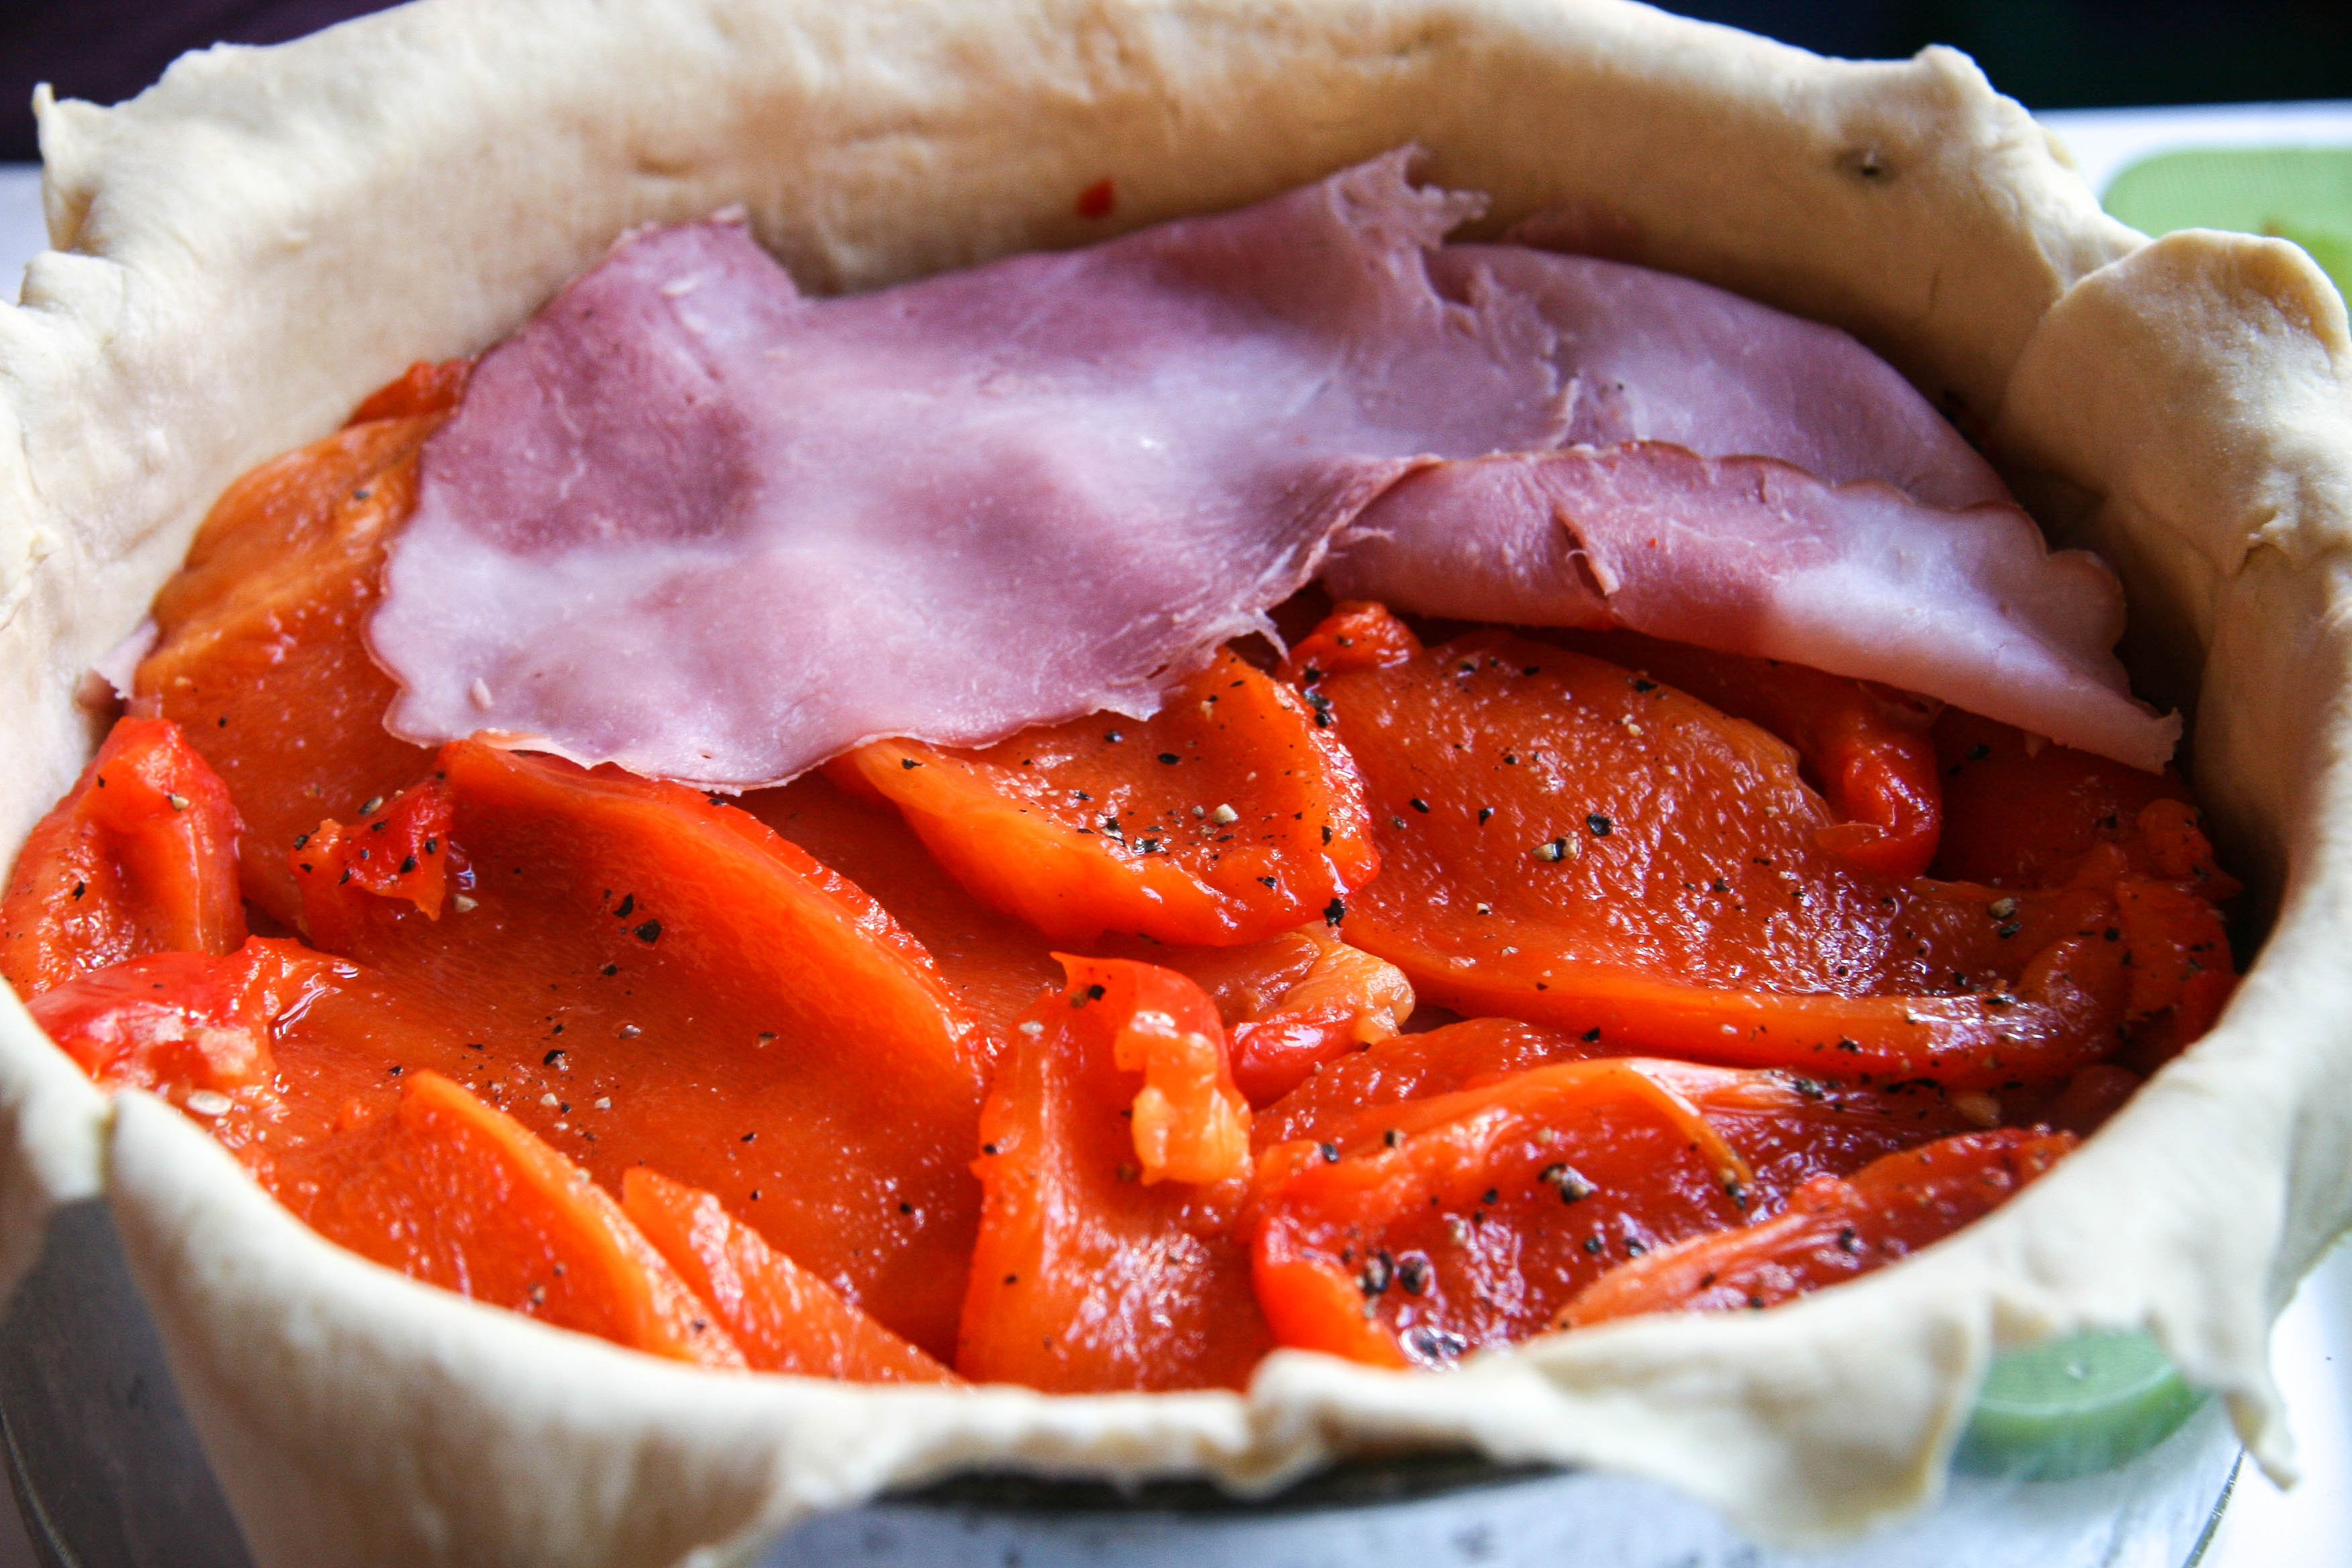
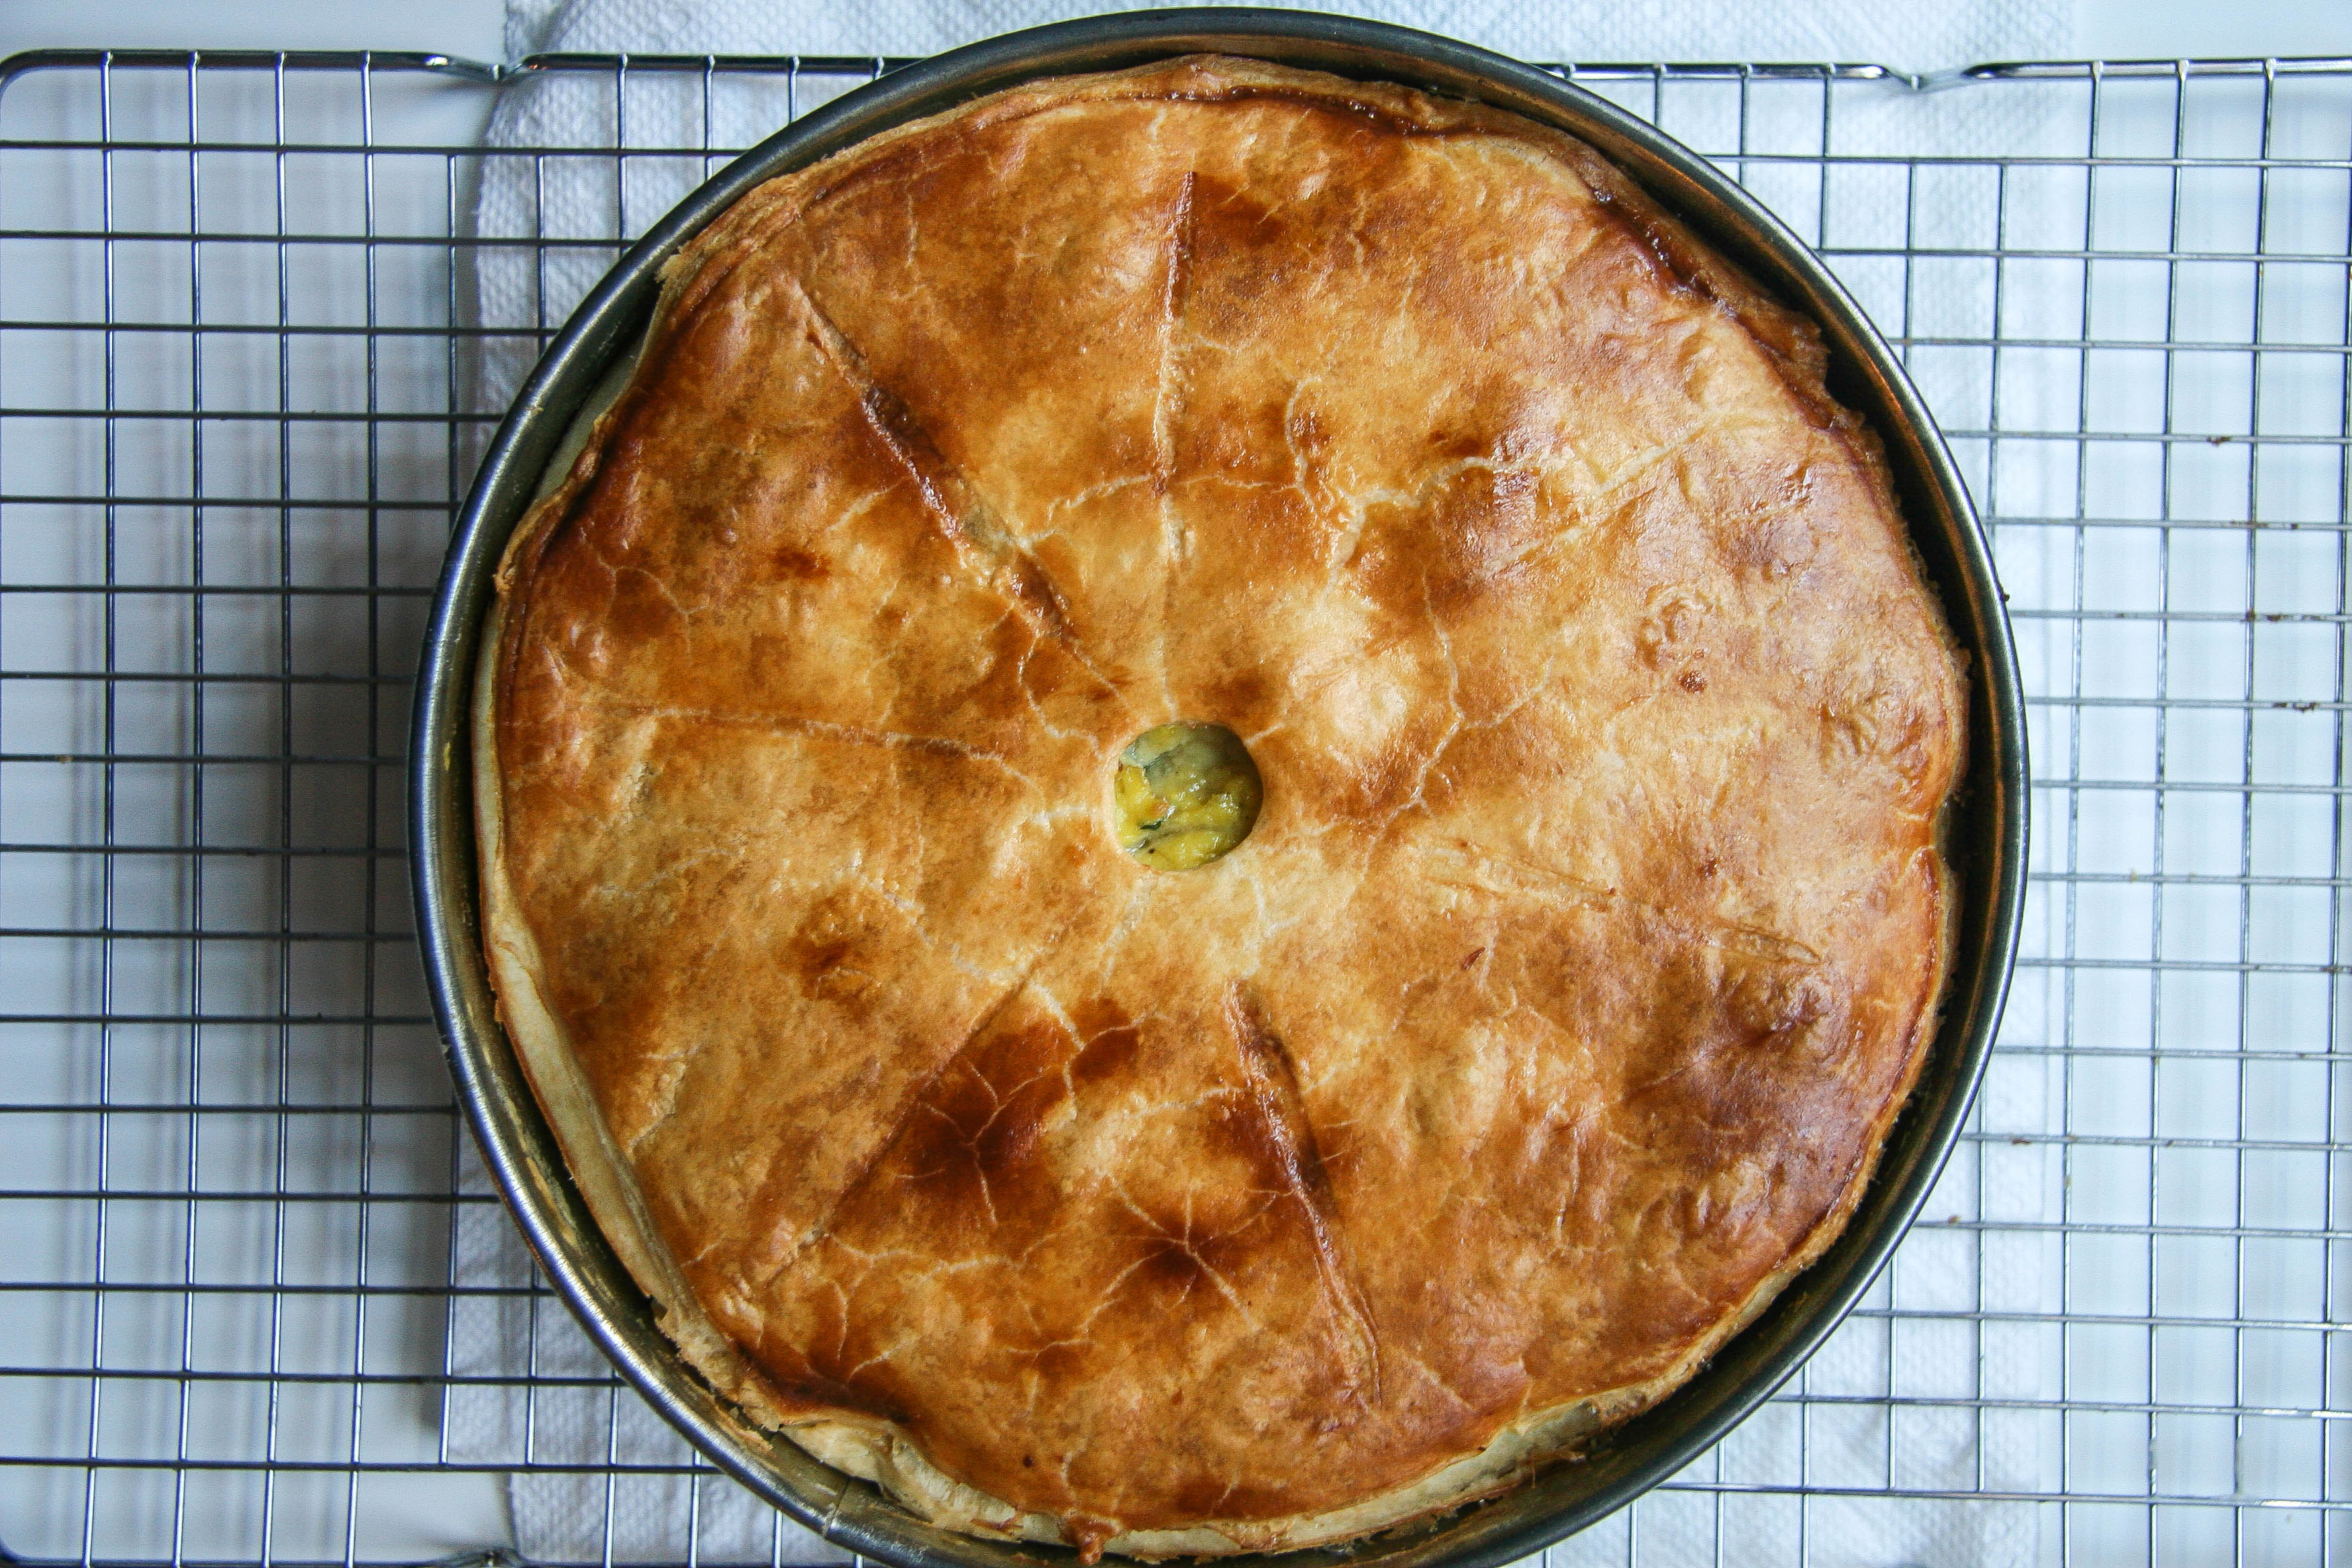
Assemble Tourte: Remove the lined pan from the refrigerator. Layer ingredients in following order: half of the eggs, half of the spinach, half of the cheese, half of the ham, all of the red bell peppers. Repeat layering in reverse order using the remaining ingredients. It need not be perfect. Fold the 1-inch overhang of puff pastry onto the top of the tourte and then brush the top of the pastry with egg wash. Remove the other circular pastry from refrigerator and place on top of tourte and seal edges with your fingers. Brush top with egg wash. With a sharp knife, cut a small hole in the center of the tourte as a vent. Cut any additional desired designs into the pastry, careful not to pierce through the dough entirely. Refrigerate assembled tourte for 30 minutes.

Cook Tourte: Position rack in lower third of oven, preheat to 350 degrees F. Remove tourte from refrigerator, place on a rimmed baking sheet, and bake until deep golden brown, about 1 hour 10 minutes to 1 hour 25 minutes (we I was impatient and took it out after 1 hour. It definitely needed a little more time to full cook all sides of the pastry). Cool for 30 minutes, release from pan. Slice and serve warm or at room temperature. *Can be made one day ahead, refrigerated. Bring to room temperature before serving.

Filed Under: breakfast and breads, eat Tagged With: brunch, cheese, eggs, ham, make ahead, milanese, quiche, spinach, tourte

sweet potato streusel muffins

April 18, 2014 by Butter Loves Company

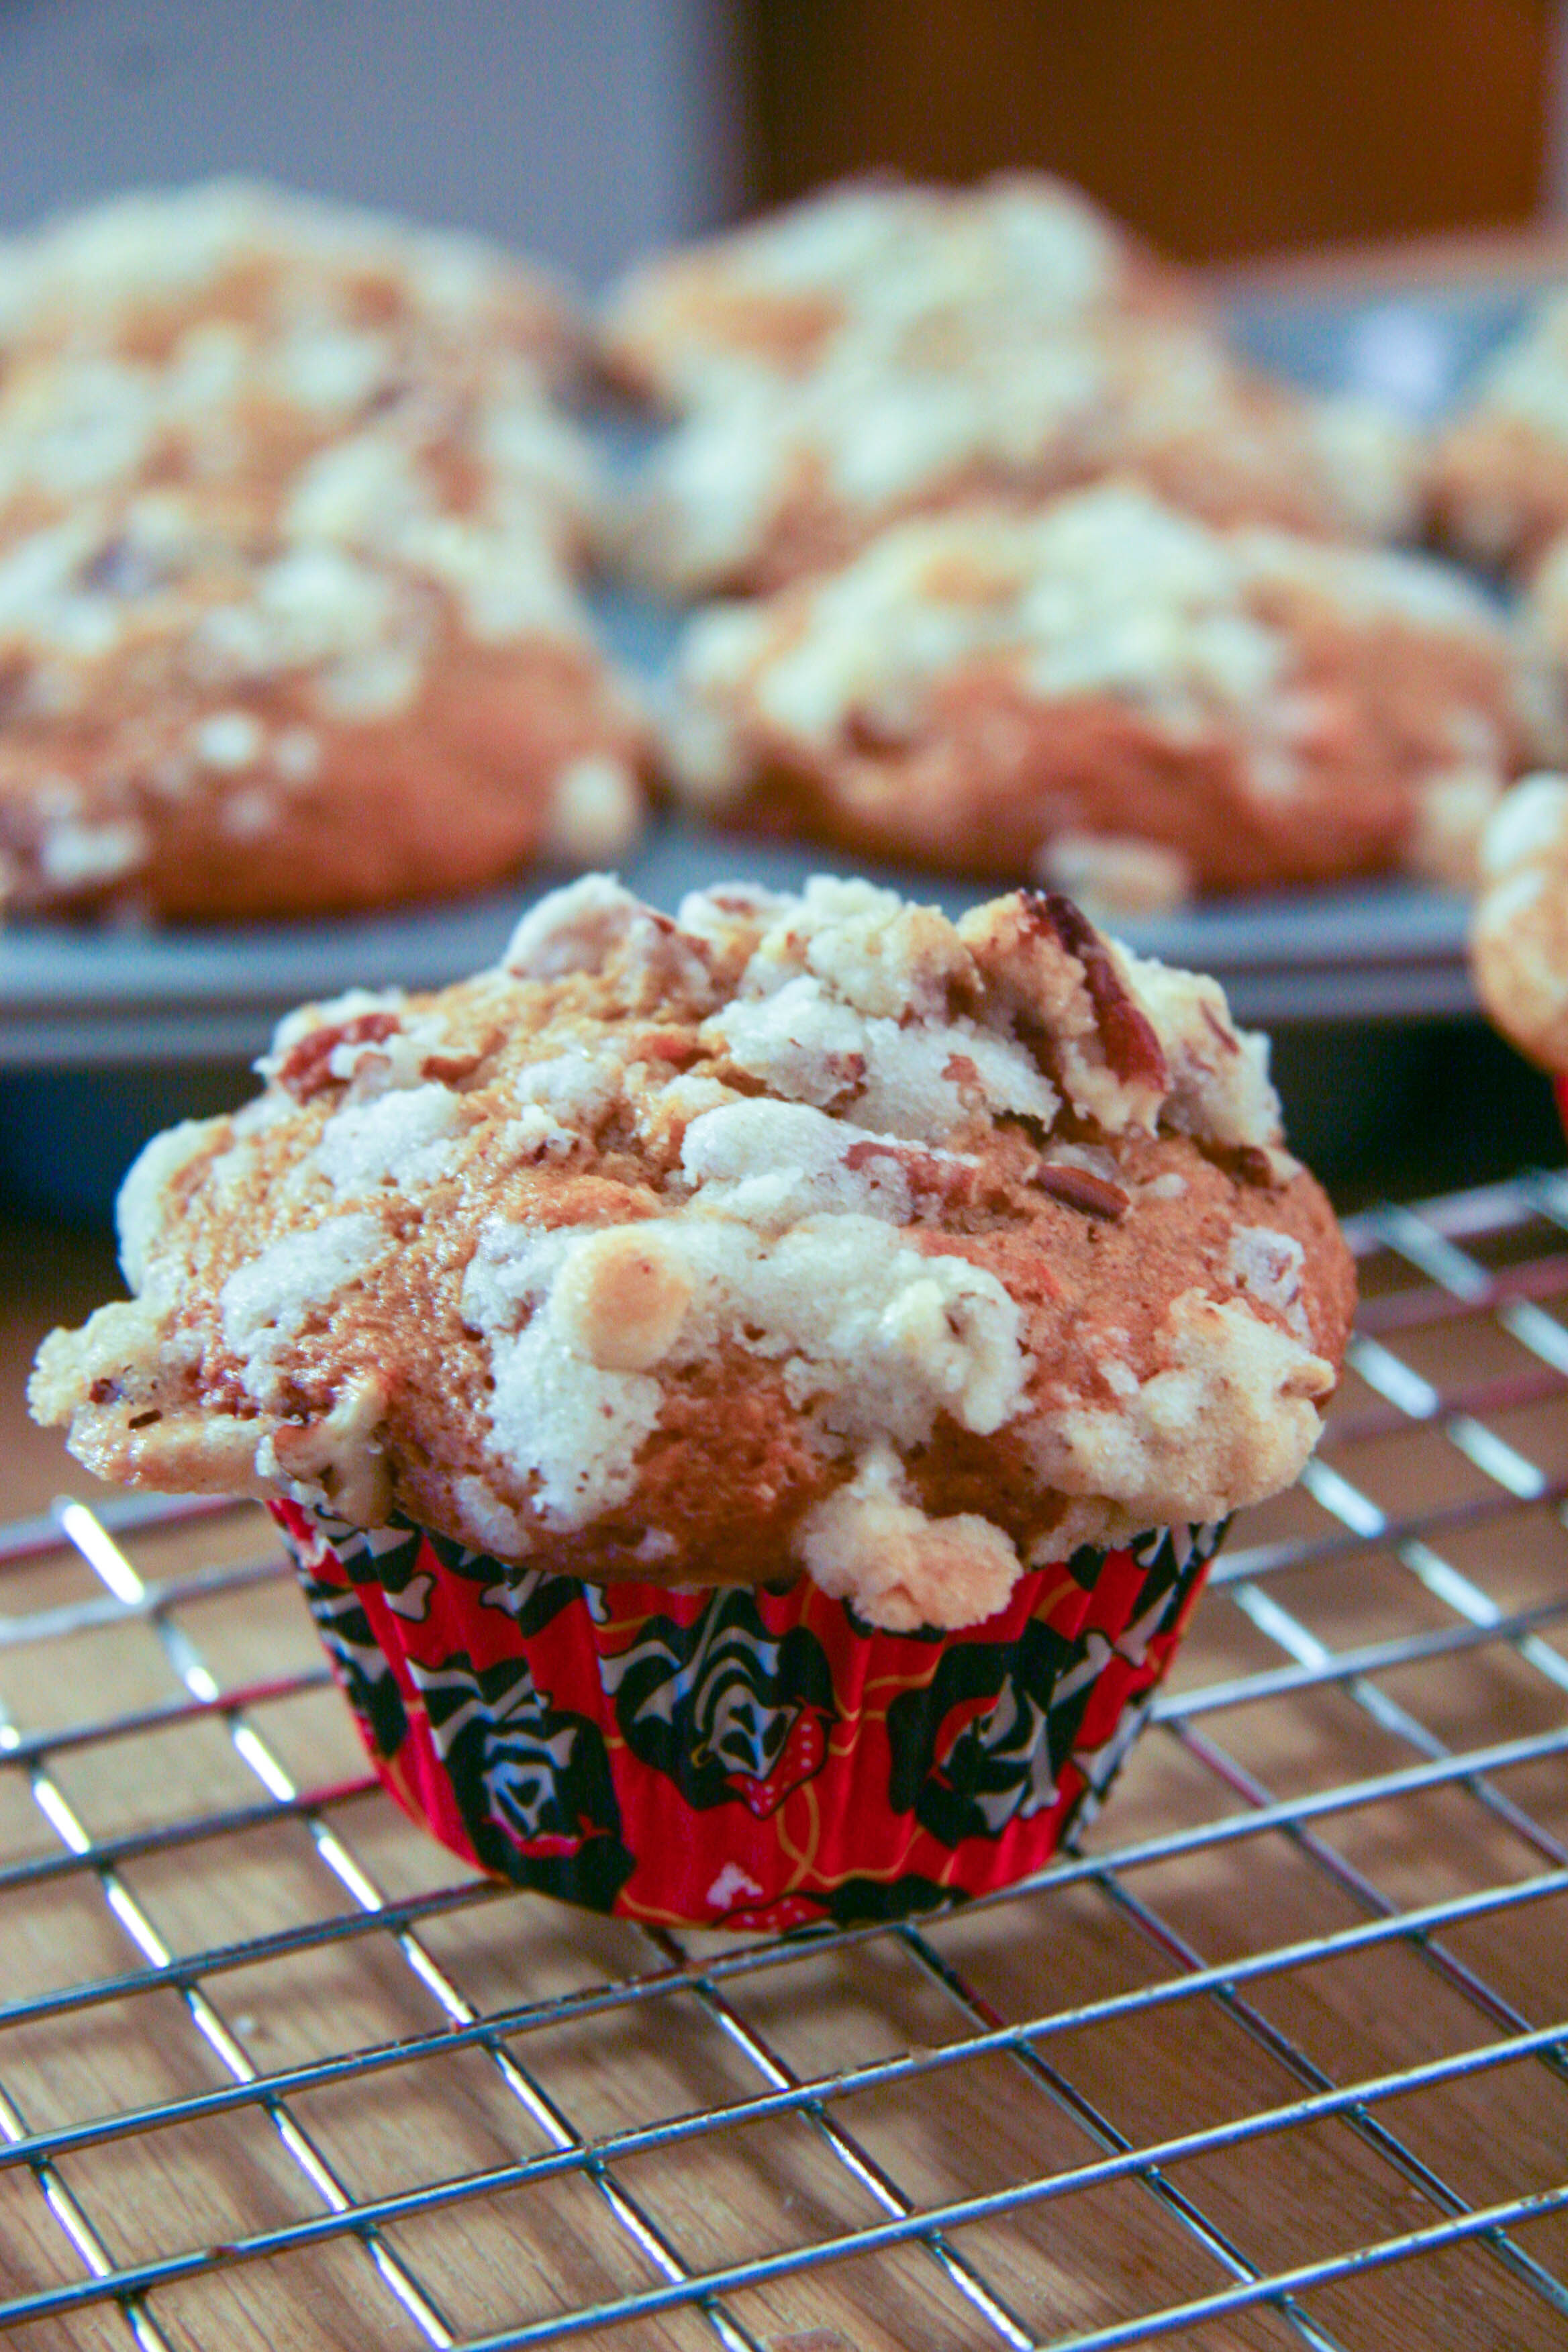
sweet potato streusel muffins 8

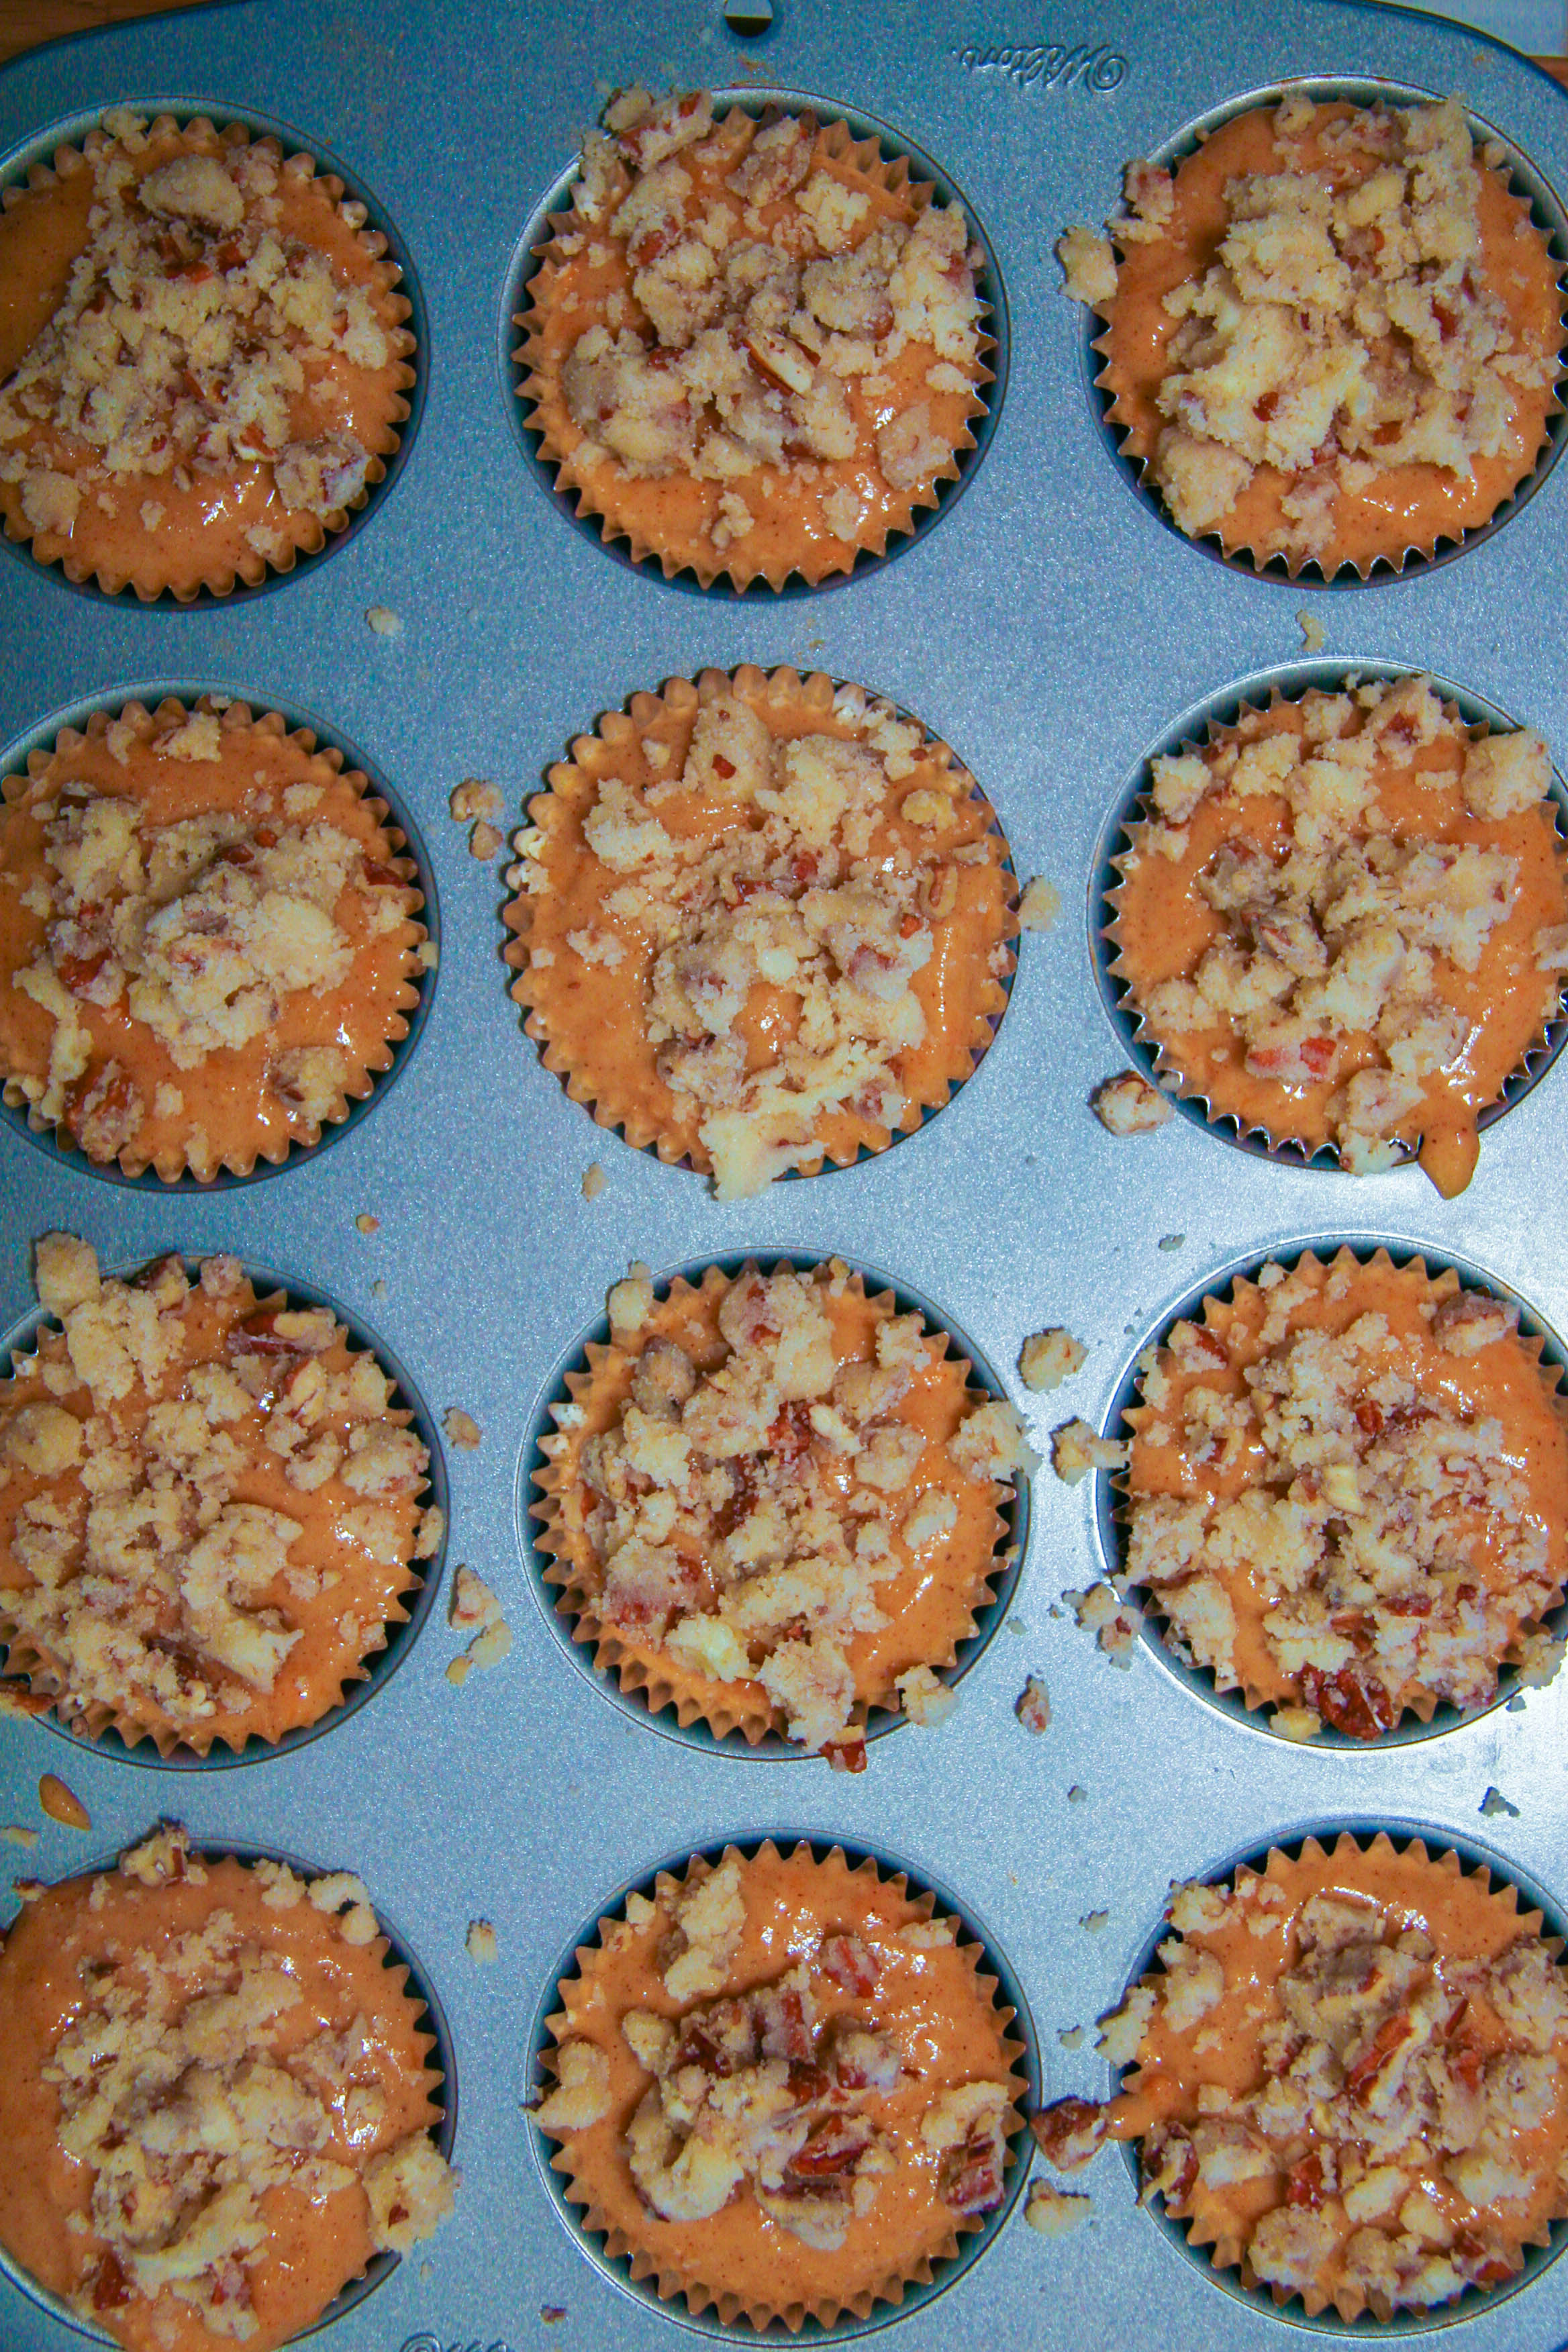
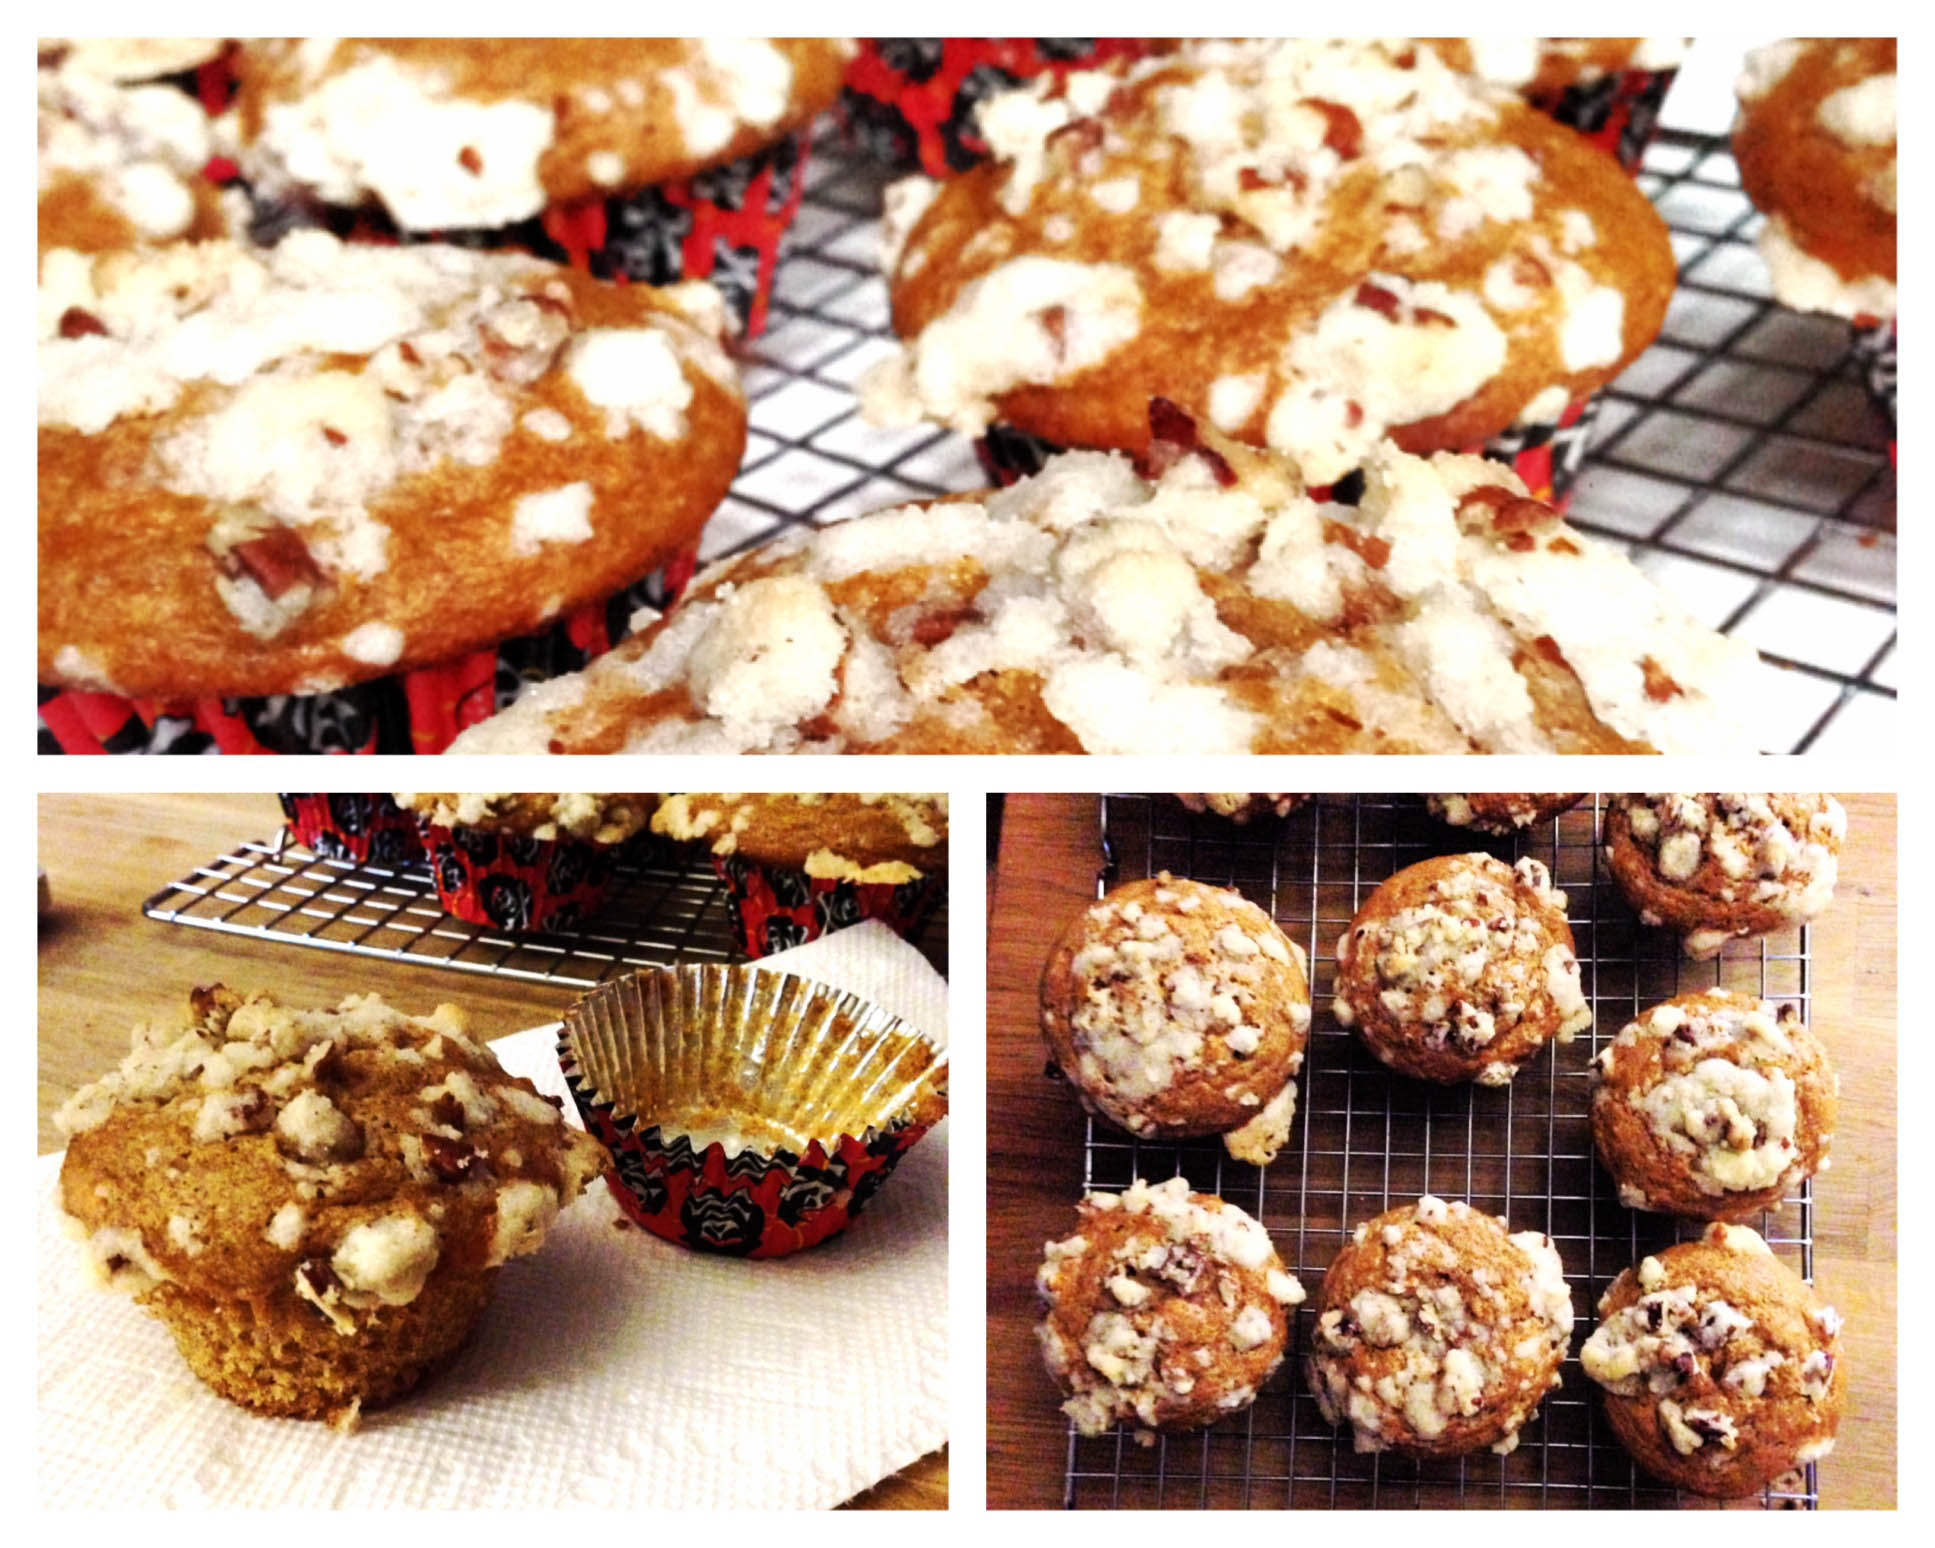
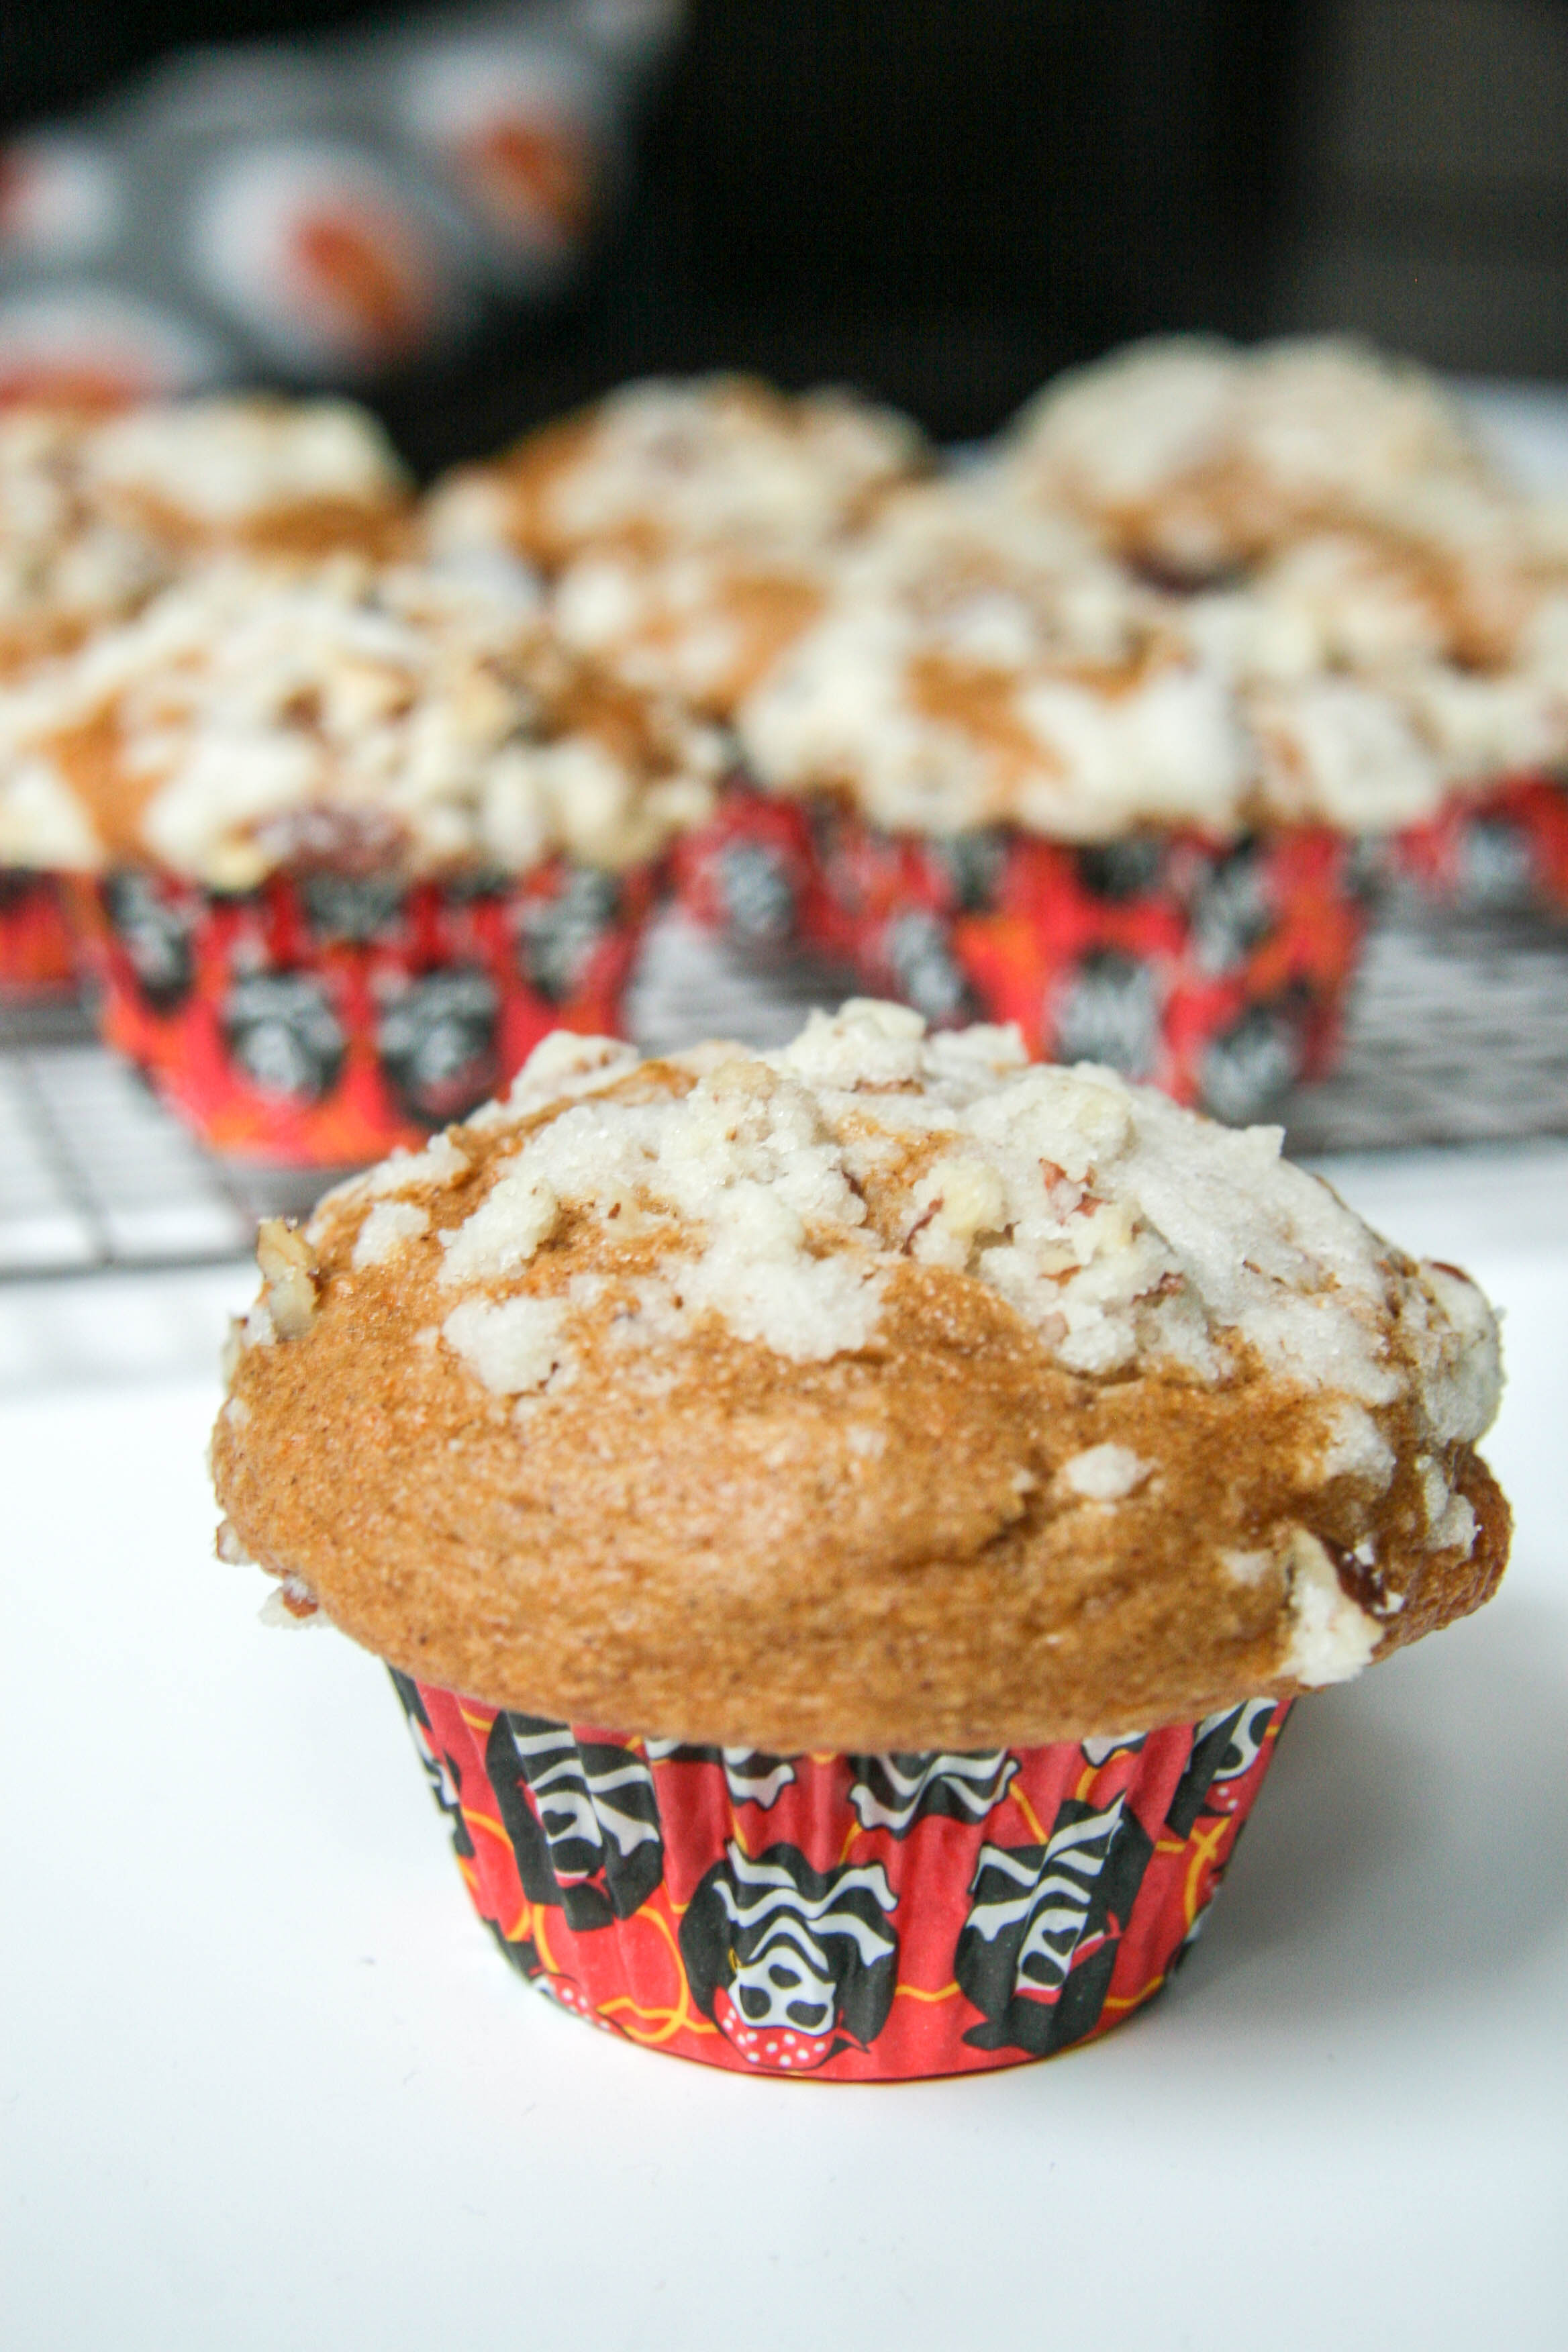
Fluffy, moist sweet potato muffins spiced with cinnamon and nutmeg, topped with a crunchy, sweet pecan streusel

I’ve been meaning to bake with sweet potatoes for so long. Really, it has been on my mind since last Thanksgiving after eating the classic sweet potato casserole topped with gooey marshmallow and sticky sweet pecans. It still boggles my mind that sweet potato casserole is considered a side dish and not a dessert, though I’m certainly not complaining because then I can have guilt-free seconds!

With Easter around the corner, my timing to make sweet potato streusel muffins couldn’t be worse. Right now, you’re likely expecting some variation on homemade Peeps, deviled eggs, or carrot cake. (Thanks to my mom, I have the BEST carrot cake recipe to share with you at some point, hopefully sooner rather than later.)

Alas, I dropped the ball and picked up a sweet potato and this is what came of it.

For those of you who are weary of veggies in dessert, trust me, you’ll be happy you gave this recipe a shot. Sweet potato carries similarities to pumpkin when used in baked goods; it effortlessly results in a moist cake. Paired with warm spices like cinnamon and nutmeg, and topped with a sweet, crunchy pecan streusel, these sweet potato streusel muffins are for keeps. The muffin tops have just enough crunch and the insides stay fluffy, moist, and flavorful. No crumbly, dense, or dry muffins here.

###

As a lifelong Bostonian, and as we approach the 2014 Boston Marathon, I’d like to remind everyone that you can still donate to The One Fund to help those most affected by the tragic events of last year’s Boston Marathon. While my heart continues to be heavy for those whose lives were directly impacted by the tragedy, I continue to be inspired by the stories of hope and the force of this great community—and communities across the globe—to come together with pride, positivity, and support.

sweet potato streusel muffins 1

sweet potato streusel muffins 2

sweet potato streusel muffins 4

weet potato streusel muffins 5


sweet potato streusel muffins 6

sweet potato streusel muffins 9

sweet potato streusel muffins
Author: Adapted from SugarDishMe and Rachael Ray
Prep time: 15 mins
Cook time: 20 mins
Total time: 35 mins
Serves: 12 muffins
Fluffy, moist sweet potato muffins spiced with cinnamon and nutmeg, topped with a crunchy, sweet pecan streusel.
Ingredients
  • 3 large eggs
  • ⅓ cup Greek yogurt
  • ¾ cup canola or vegetable oil
  • 1 cup sweet potato, cooked and mashed* (about 1 large or two small sweet potatoes or yams)
  • 1 cup packed light brown sugar
  • 1½ teaspoon vanilla
  • 1¾ cups all purpose flour
  • 2 teaspoons baking powder
  • 2 teaspoons cinnamon
  • ½ teaspoon baking soda
  • ½ teaspoon salt
  • ¼ teaspoon nutmeg
  • For Streusel Topping:
  • 3 tablespoons unsalted butter, softened
  • ½ cup finely chopped pecans
  • ¼ cup all purpose flour
  • ¼ cup granulated sugar
Instructions
  1. Preheat the oven to 425°F and line a standard muffin pan with paper liners.
  2. In a large bowl, or the bowl of an electric mixer, beat the eggs on low for 15 seconds. With the mixer on low speed, beat in the yogurt, oil, and sweet potato mash. Finally, add the brown sugar and vanilla, and mix until combined.
  3. In a separate, medium sized bowl, whisk together the flour, baking powder, cinnamon, baking soda, salt, and nutmeg.
  4. Gently pour the flour mixture into the sweet potato mixture and set the emptied flour bowl aside. With the mixer on low, beat until just combined.
  5. Divide the batter evenly between the 12 prepared muffin cups.
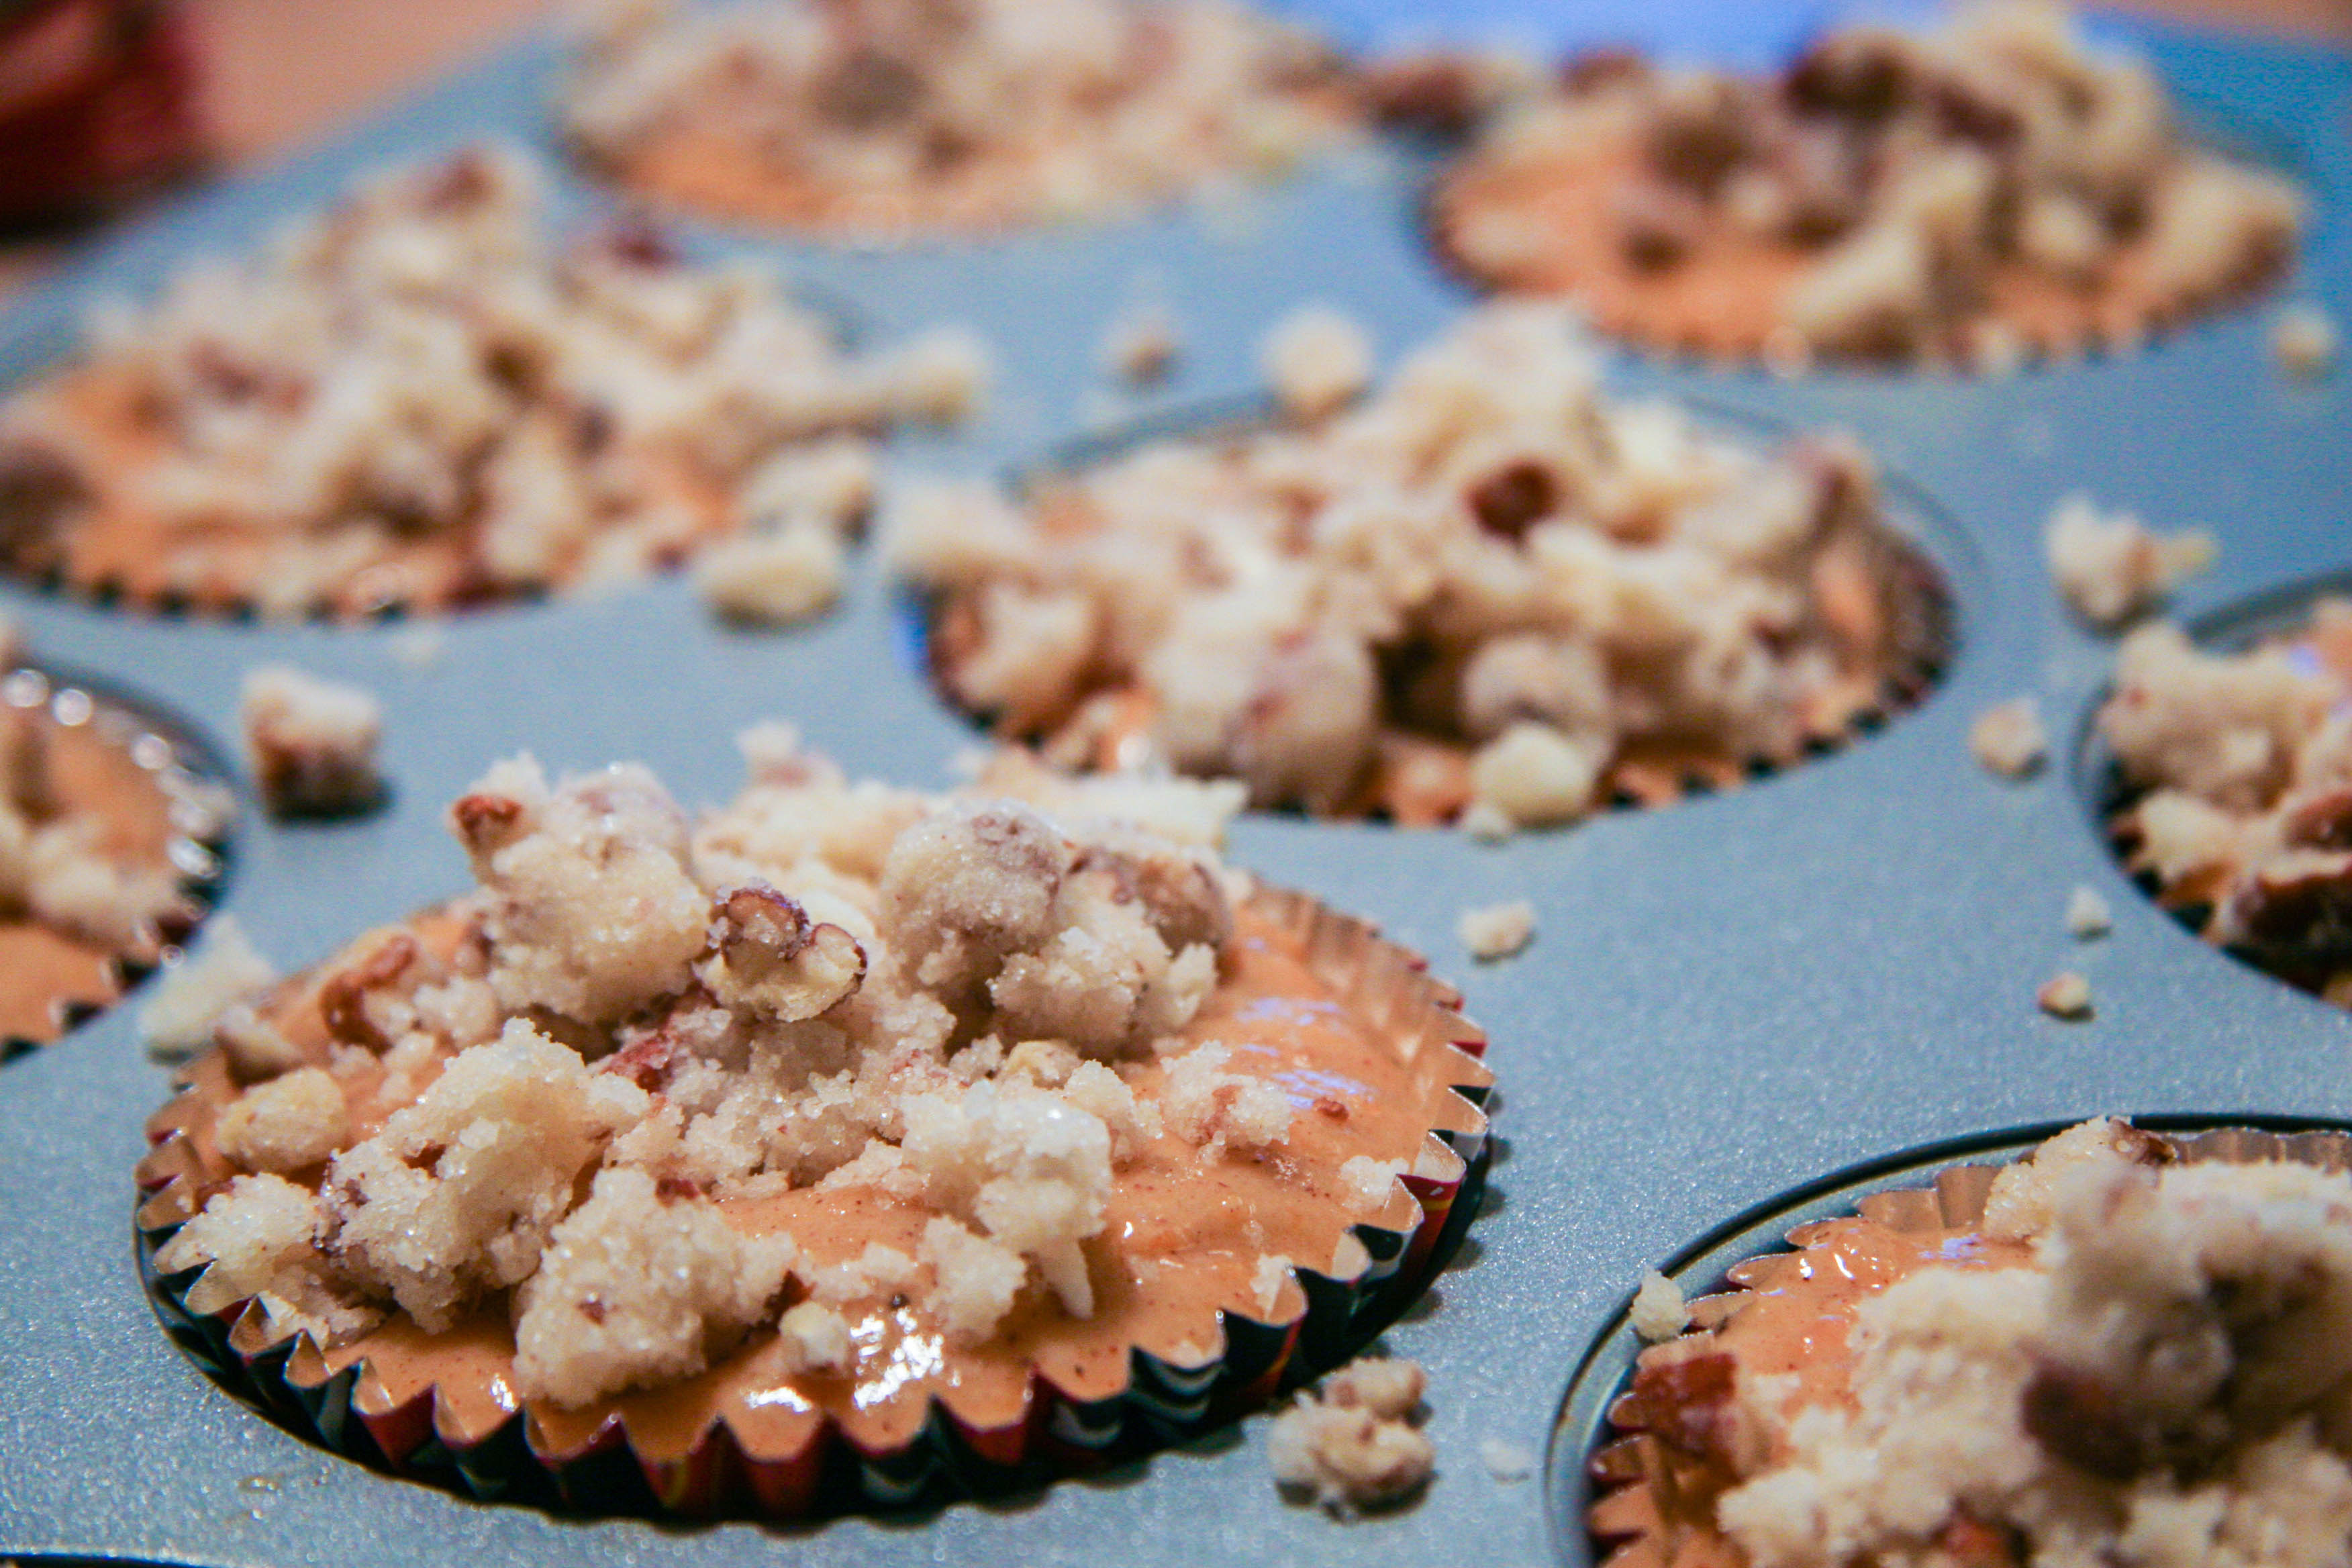
  6. In the bowl you used for the flour mixture, crumble together the softened butter, chopped pecans, flour, and sugar with your fingers until small clumps form. Sprinkle the topping over all the muffins. It may seem like a lot, but it will spread as the muffins puff up in the oven.
  7. Bake the muffins at 425°F for 6 minutes, then reduce the oven temperature to 350°F and bake for additional 12–14 minutes, or until a toothpick tested in the center of a center muffin comes out clean. Cool in the muffin pan for 5 minutes and then transfer muffins to a wire rack to cool completely.
  8. *To make sweet potato mash, poke a large sweet potato all over with a toothpick. Place on a baking sheet and cook in the oven at 400°F for about 45 minutes, or until a knife can easily slice through the center of the potato. Let cool completely, remove skin, and mash with a fork.
3.2.1284


Filed Under: breakfast and breads, eat Tagged With: breakfast, easter, muffins, streusel, sweet potato, vegetables

candied ginger rosemary triangles

April 9, 2014 by Butter Loves Company

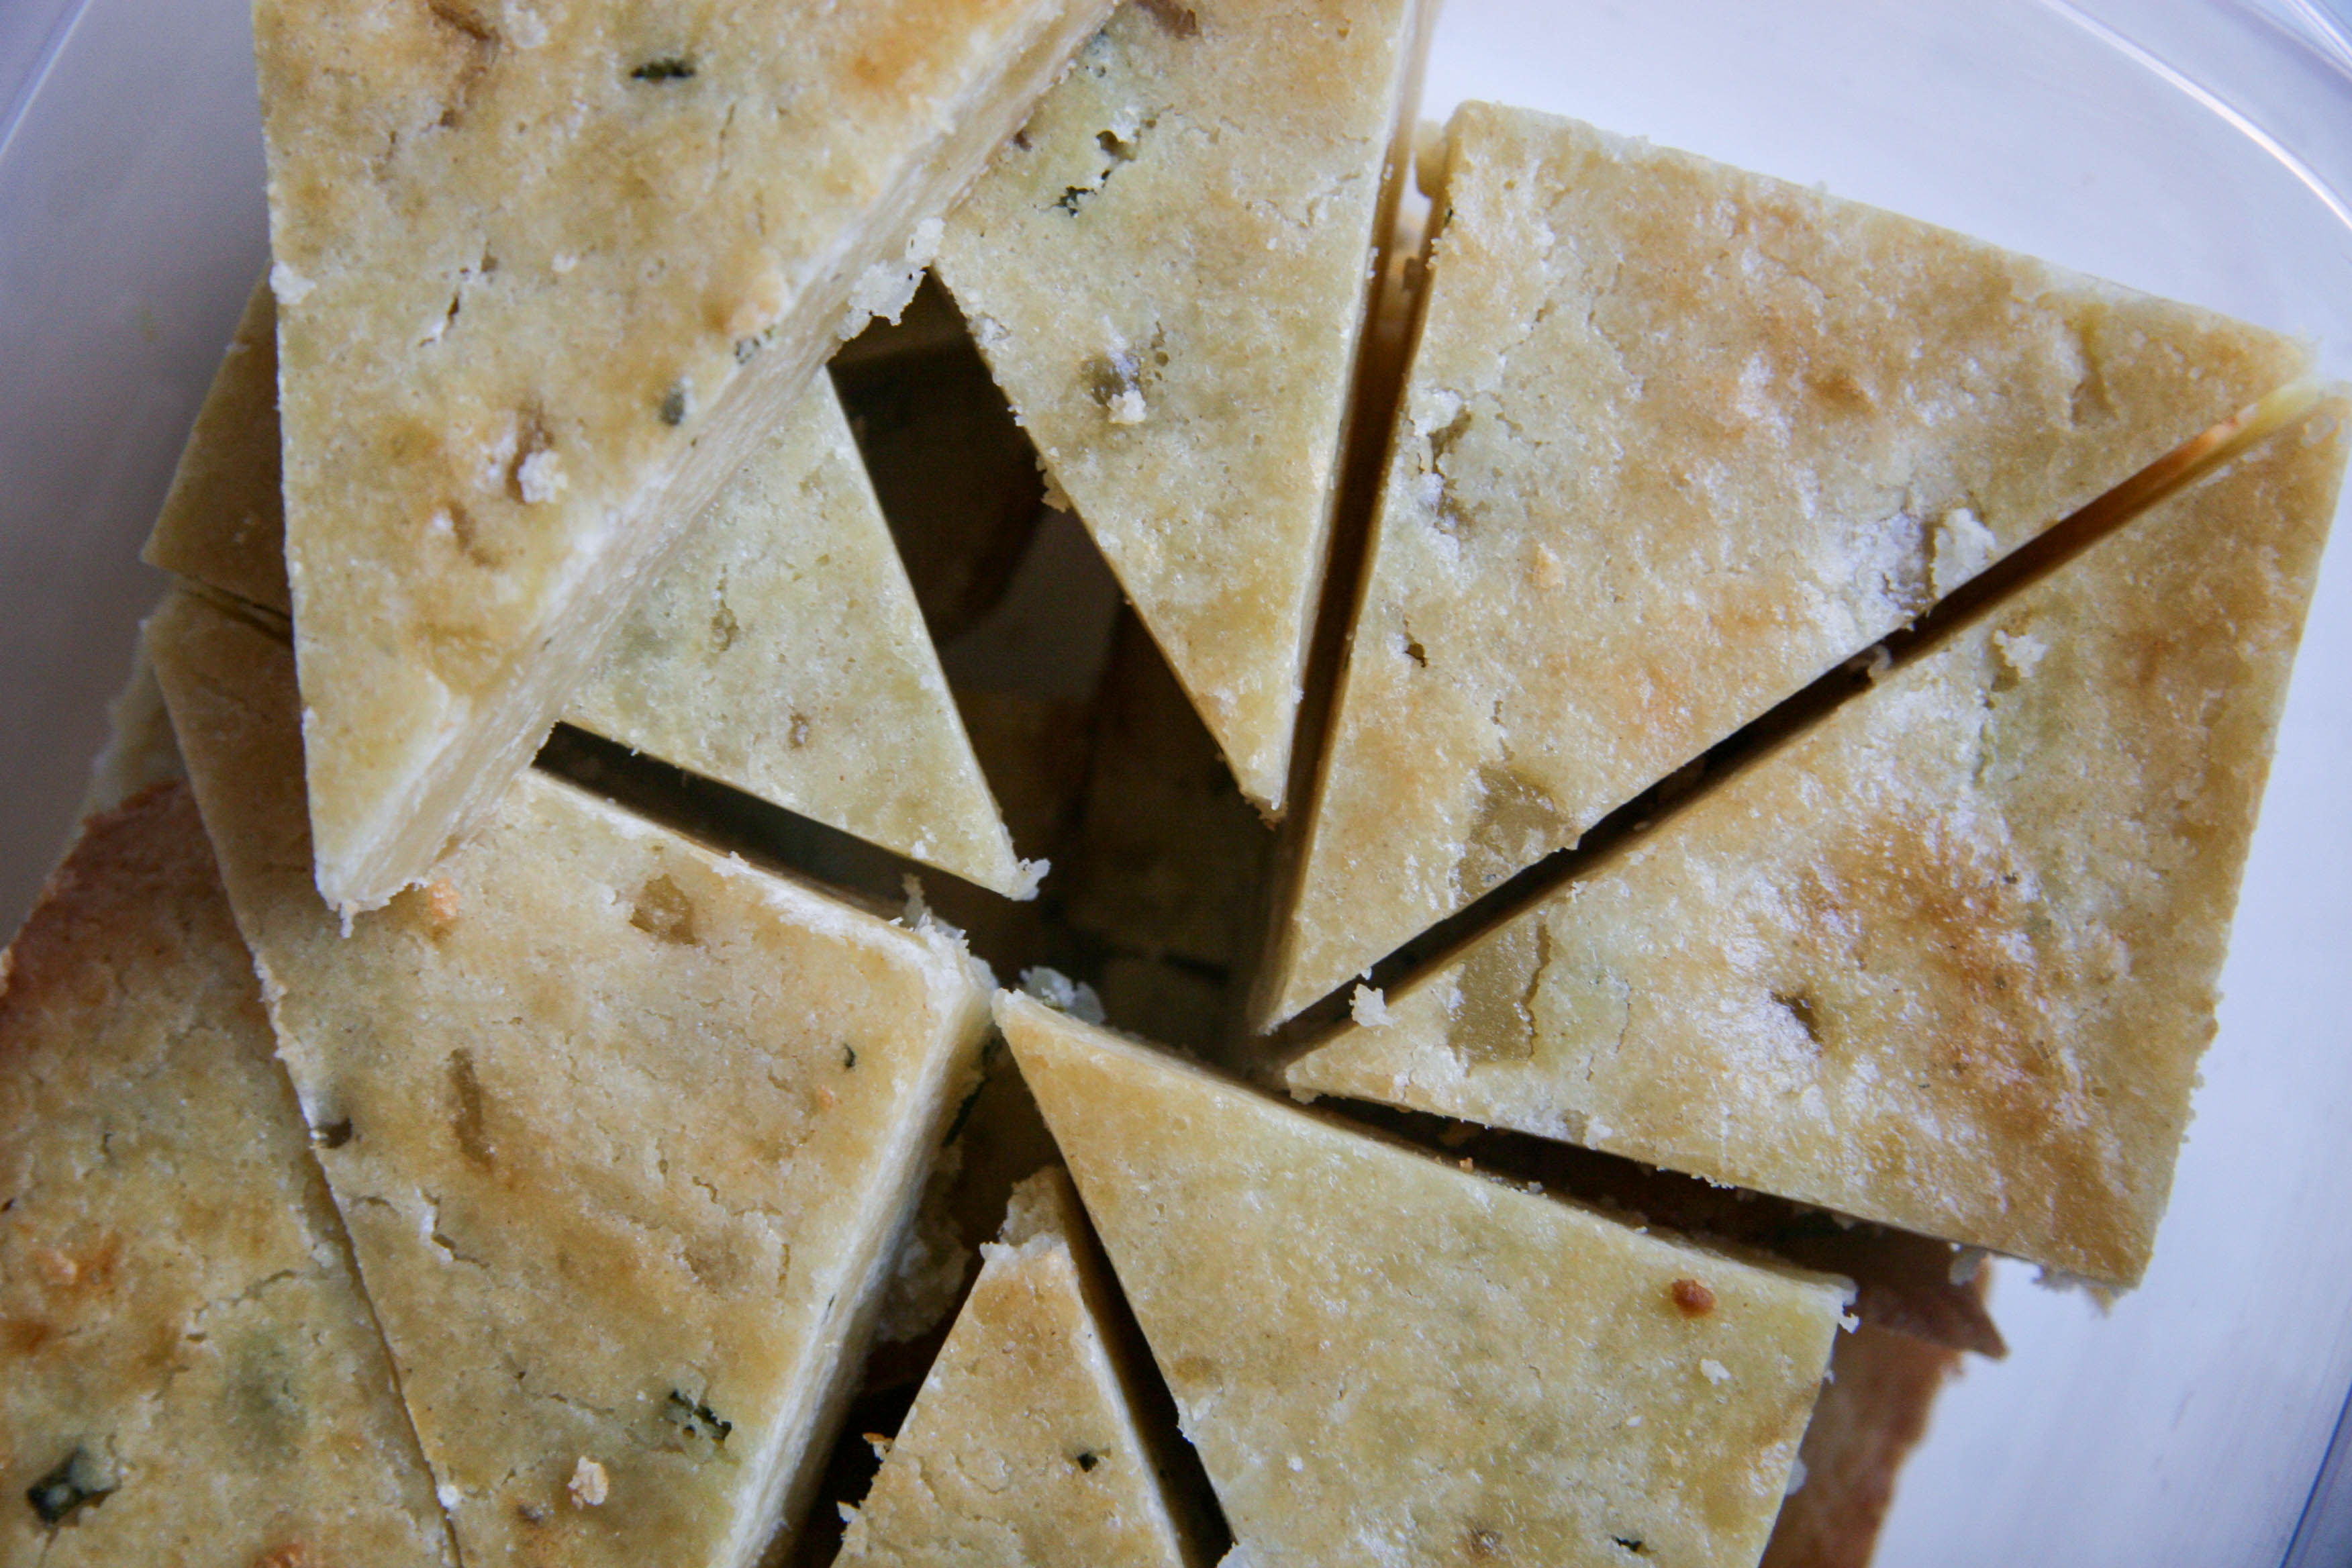
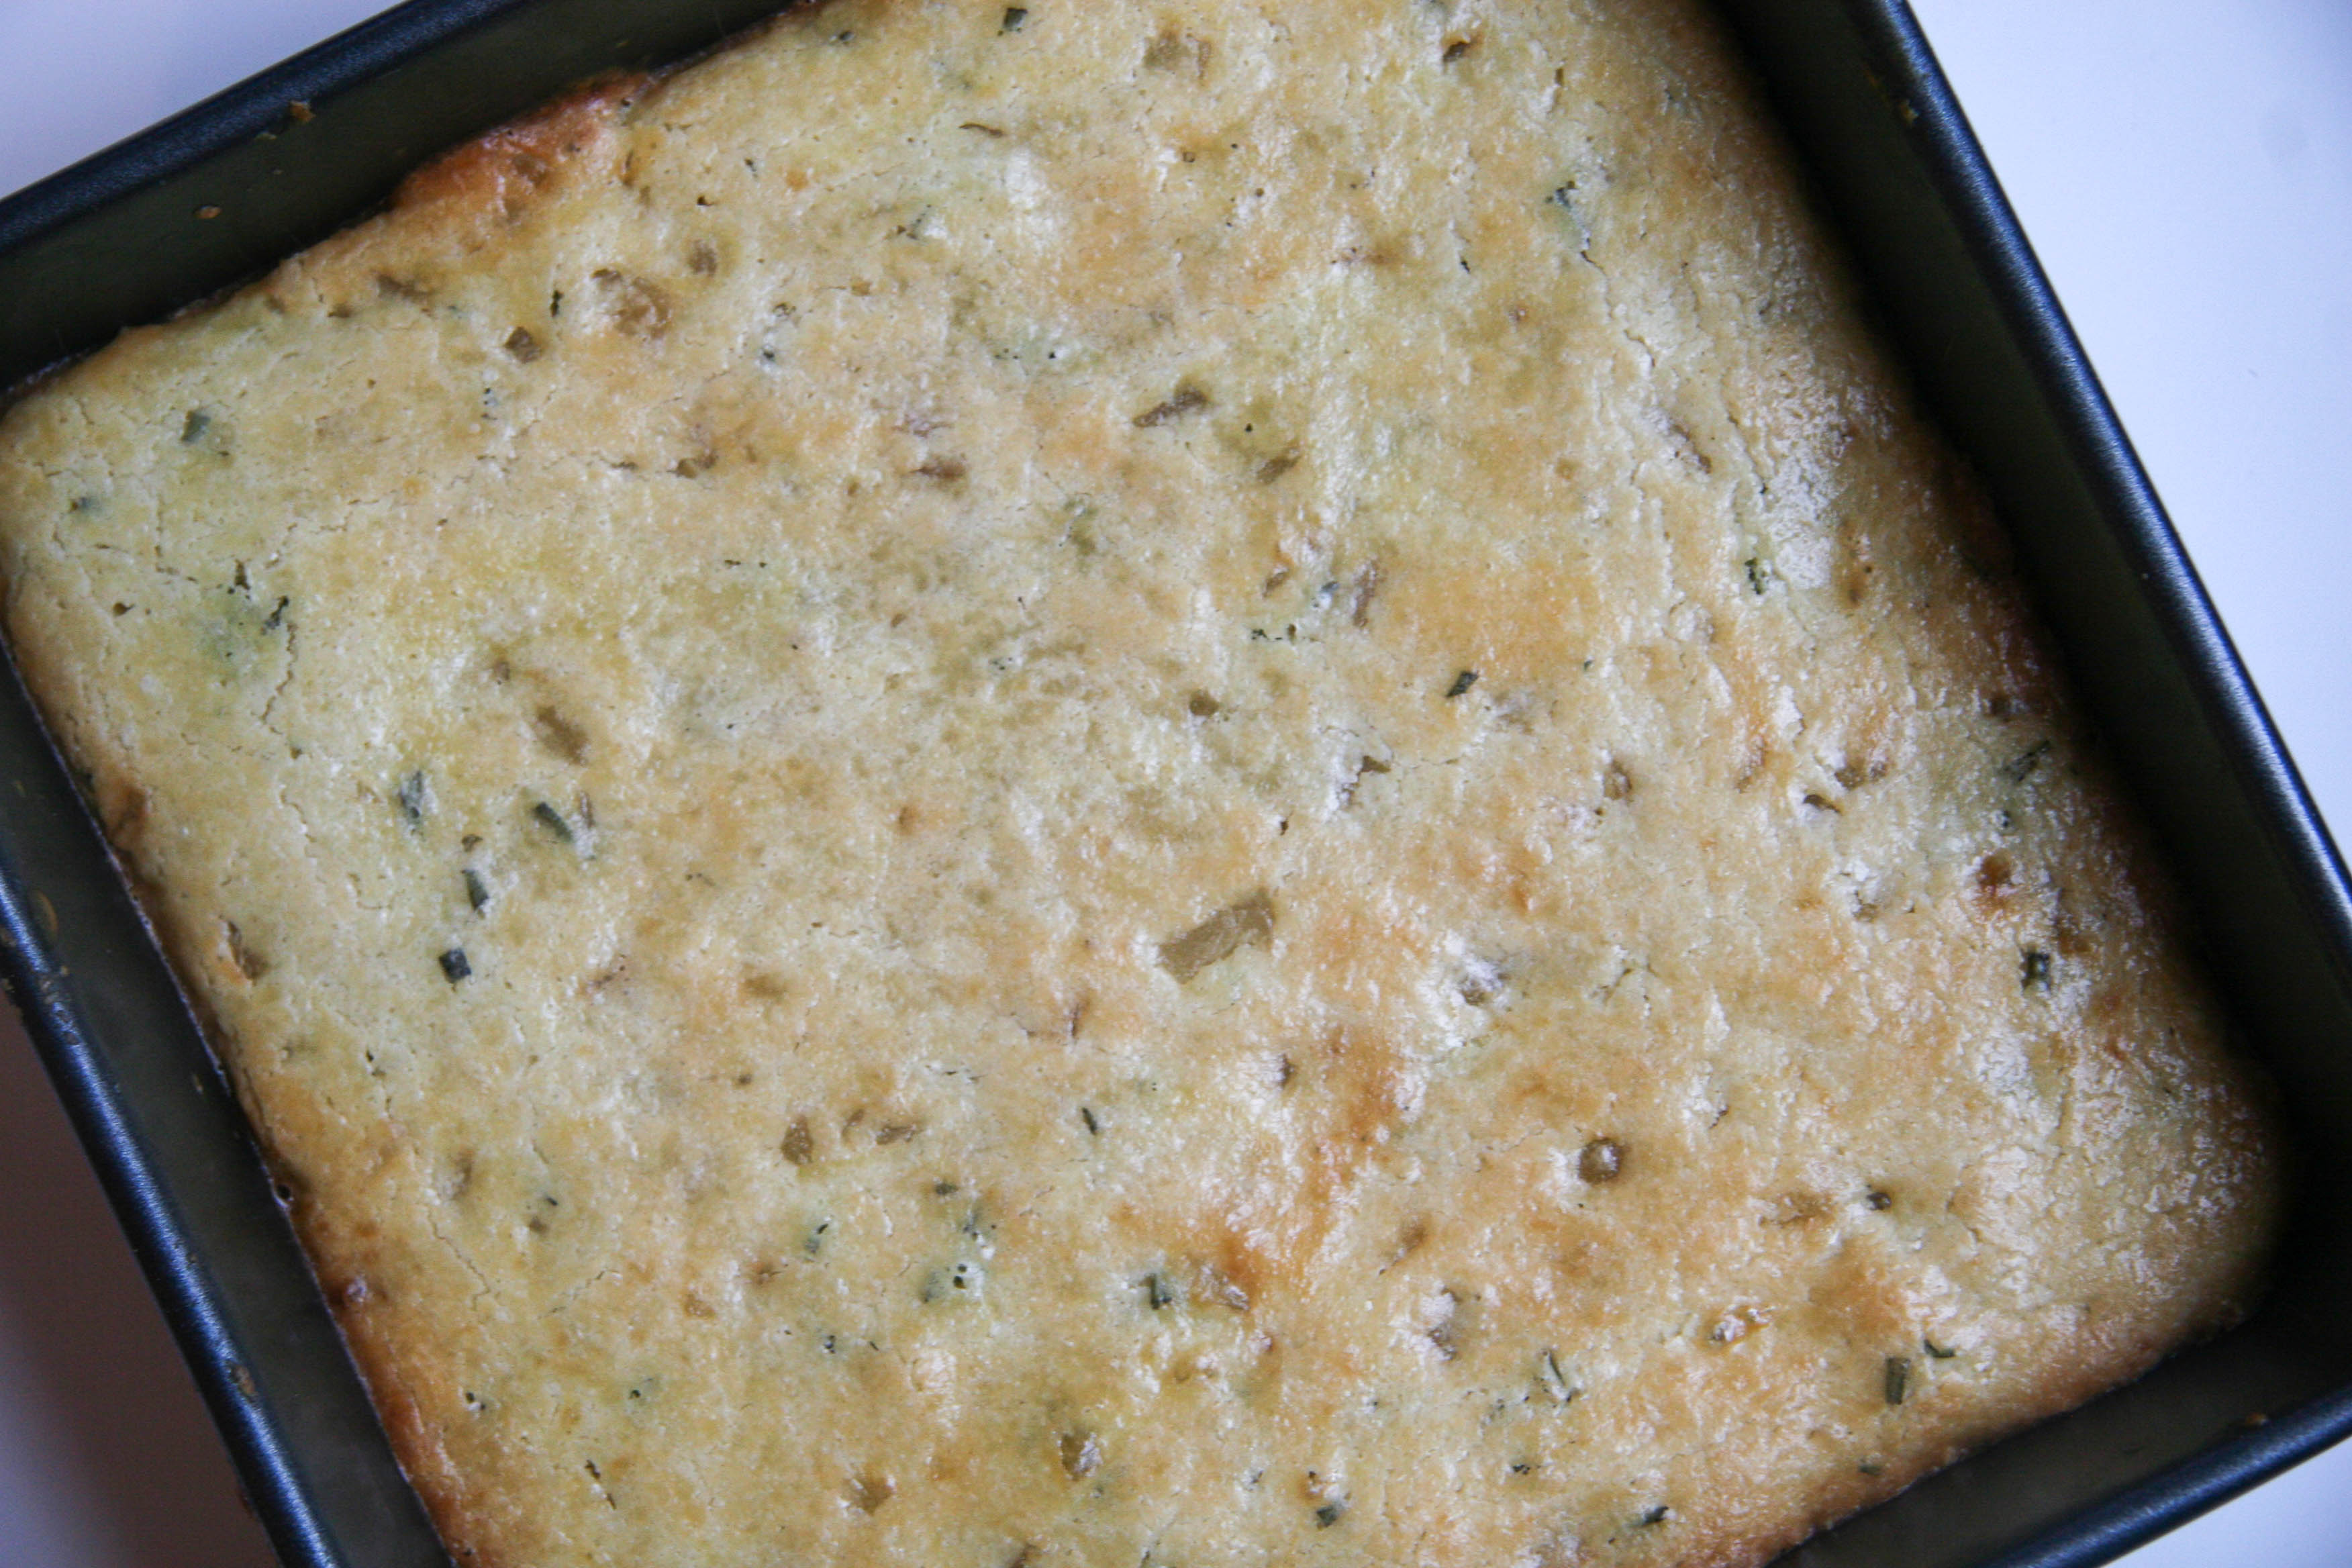
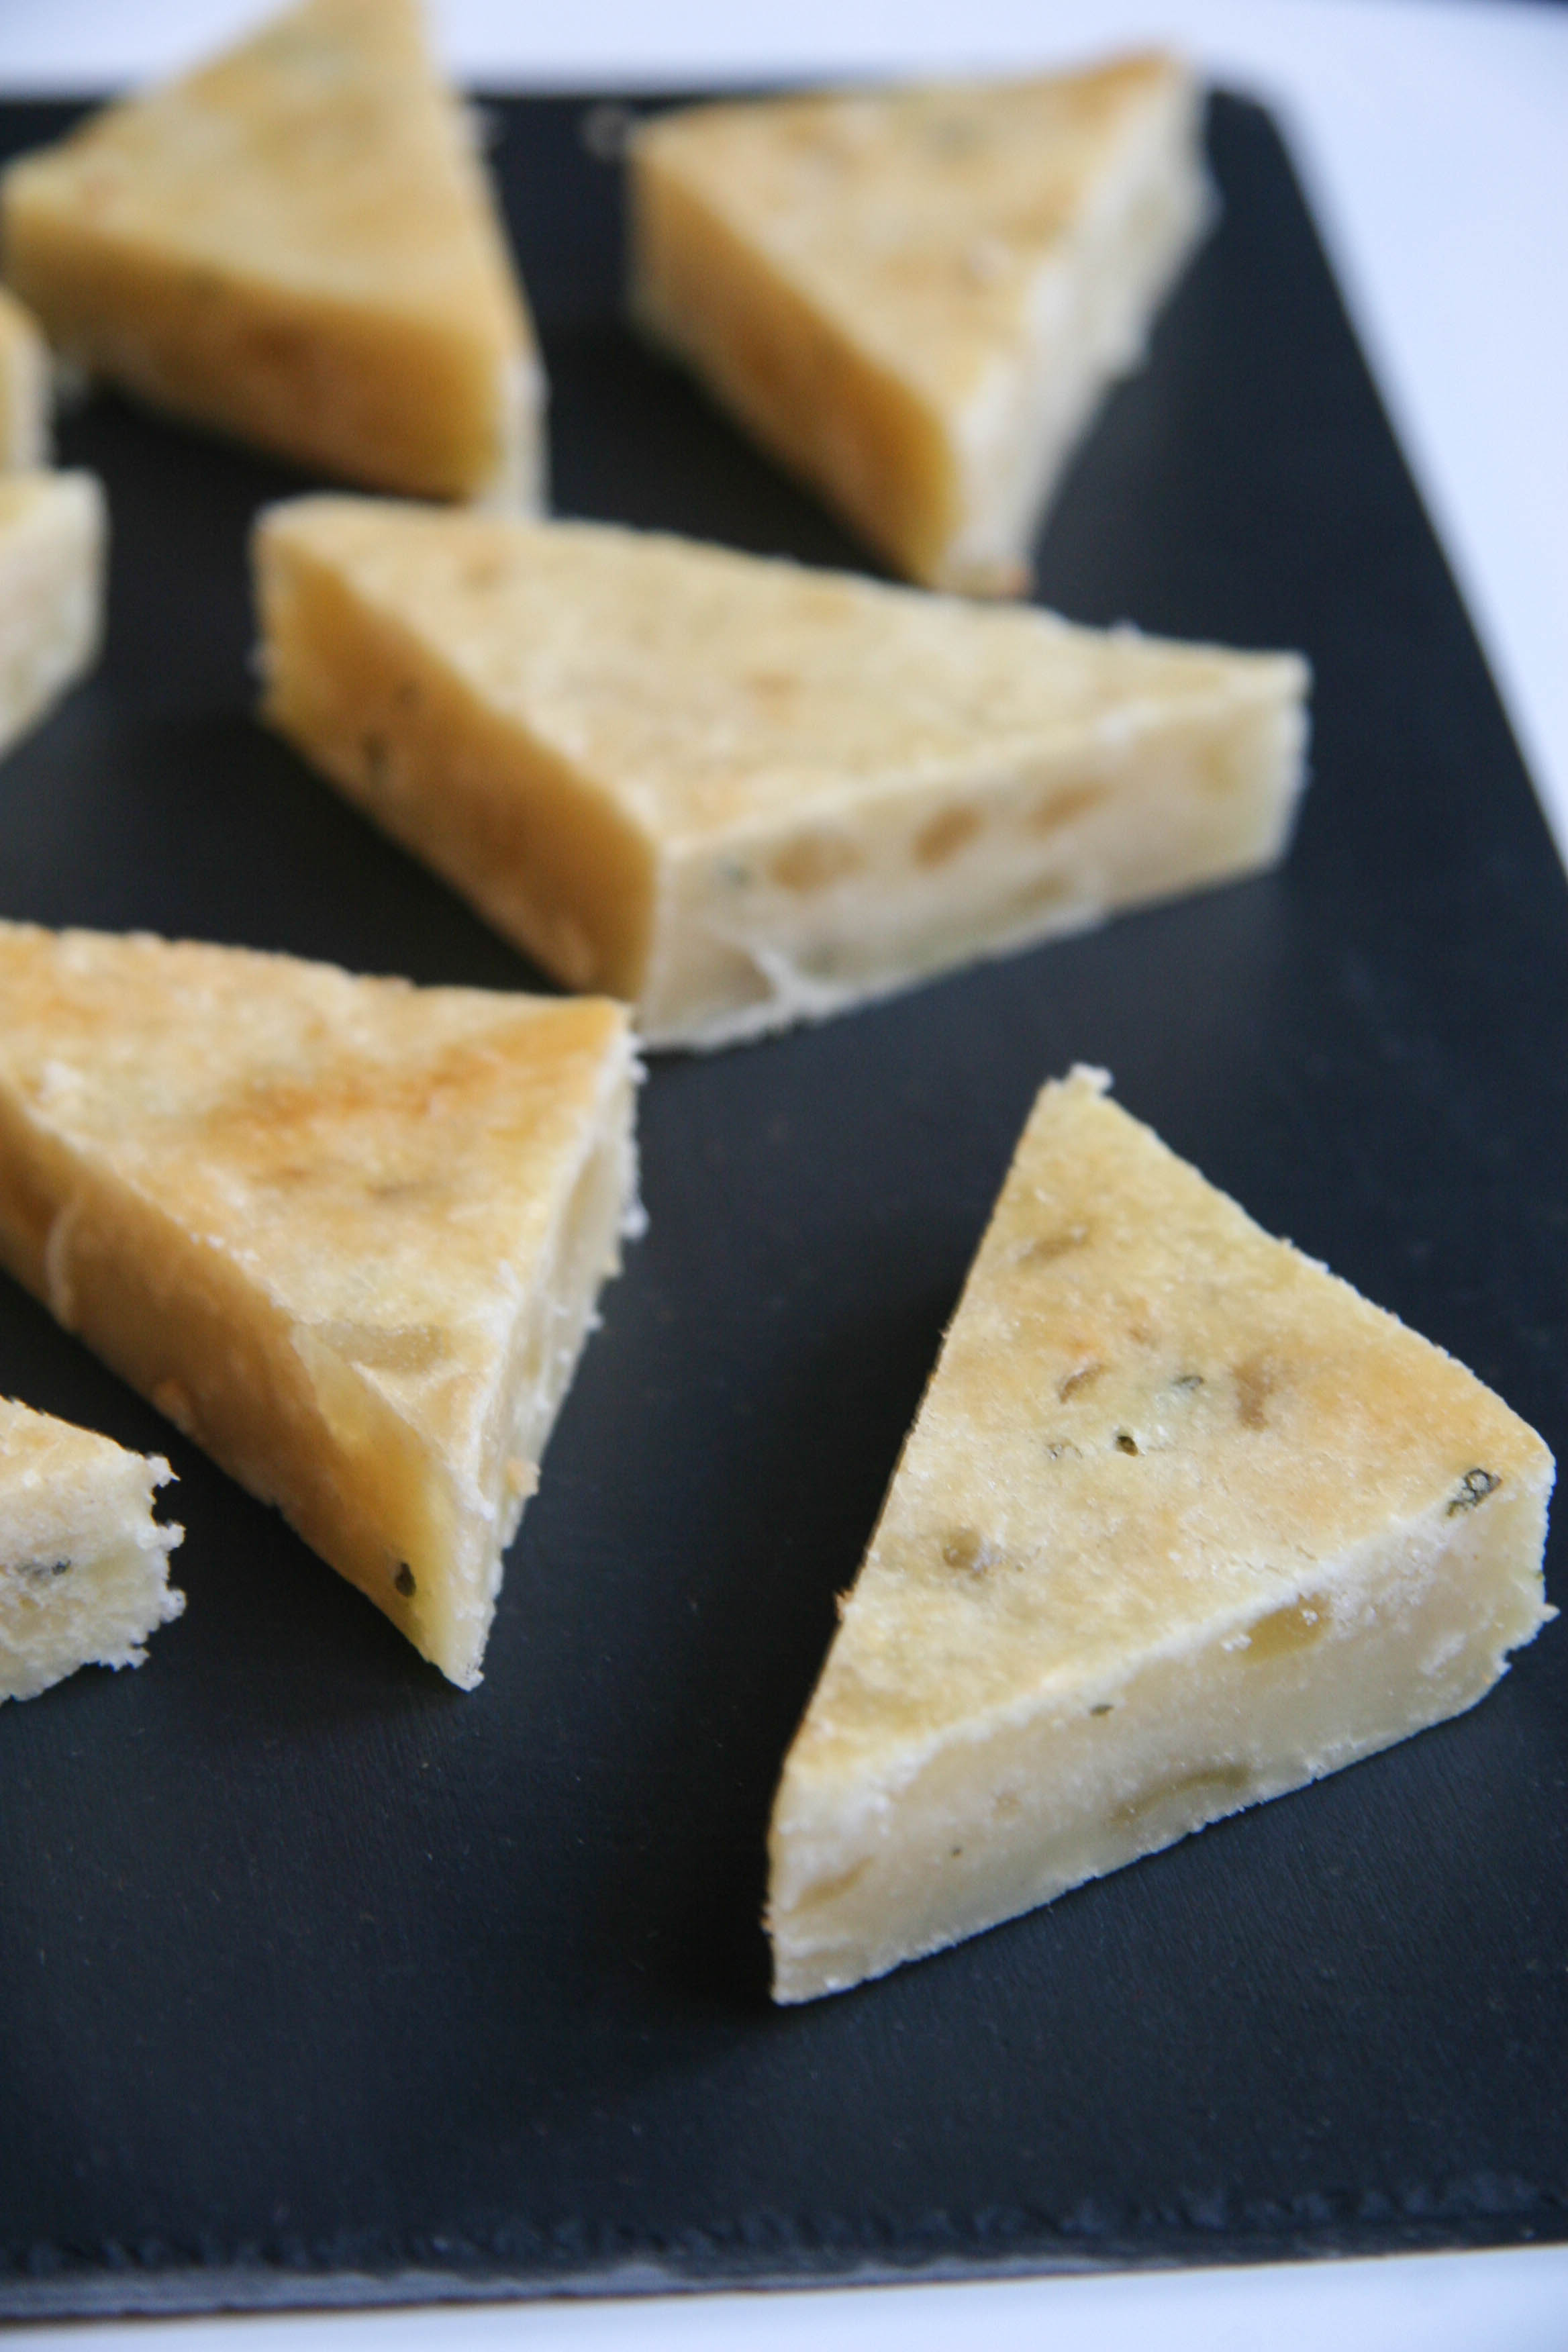
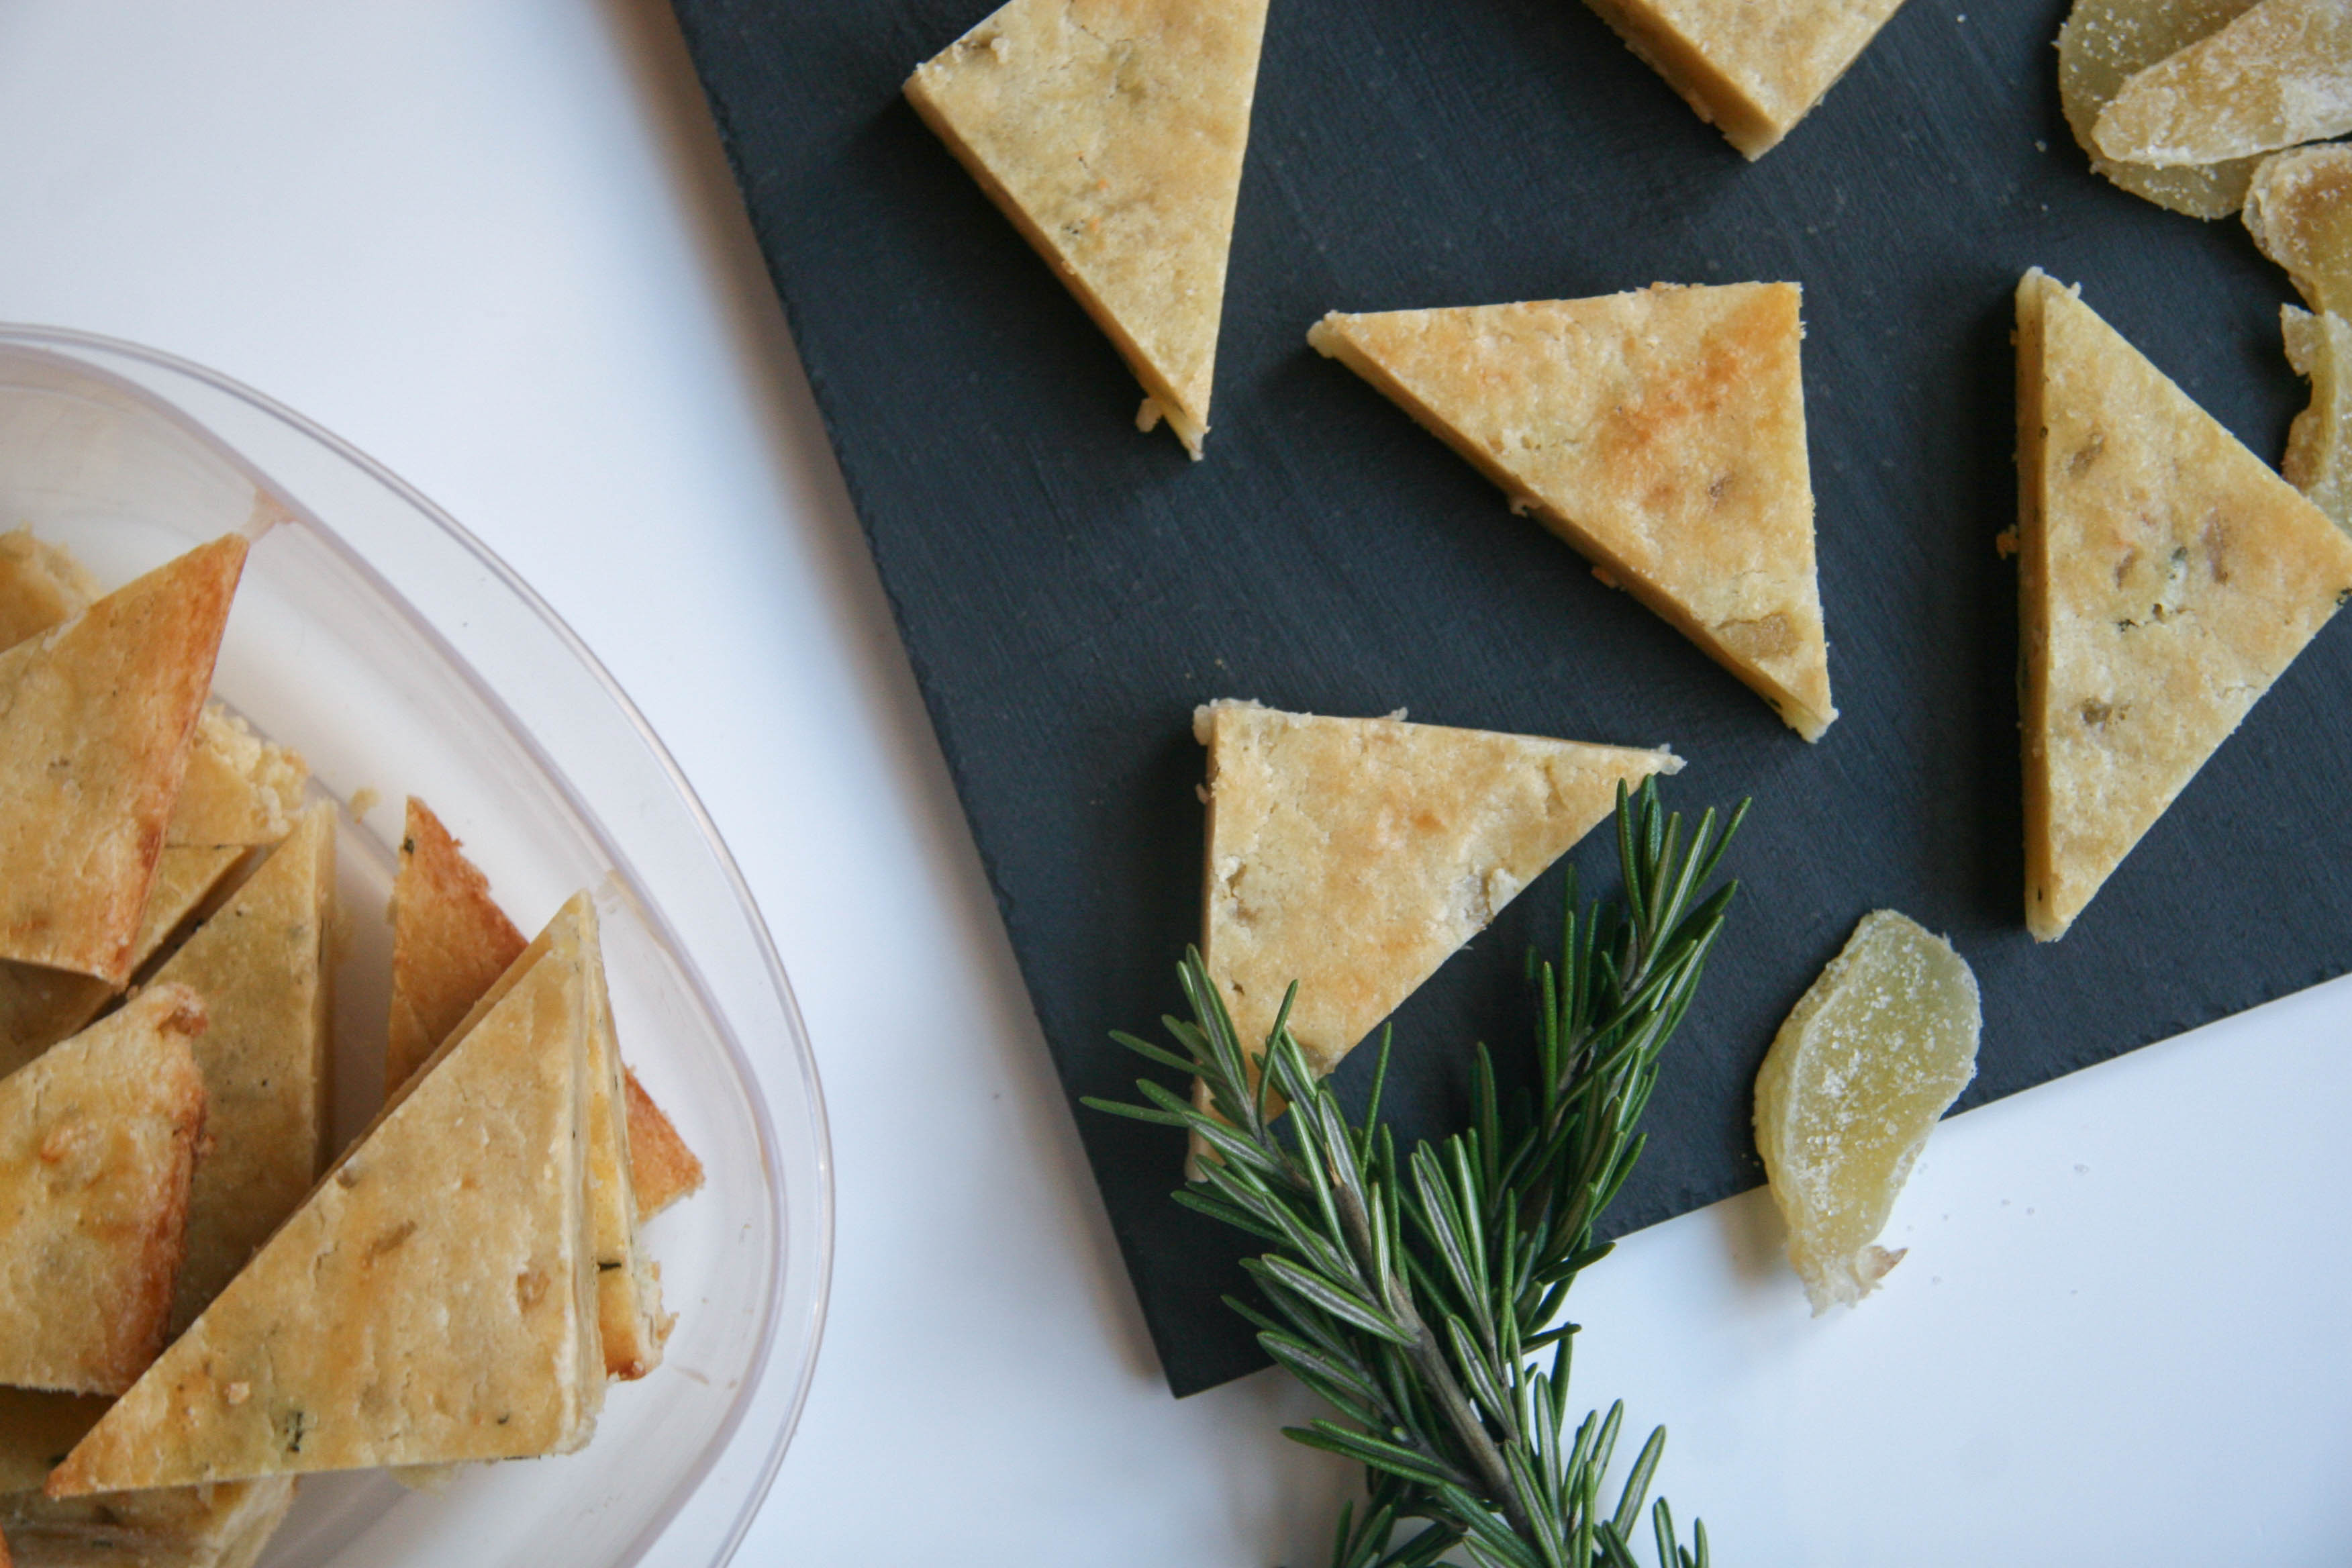
rosemary candied ginger cookies13A candied ginger dotted shortbread/brownie-like bar filled with fresh, fragrant rosemary for a slightly sweet treat.

Back when I was a shy little pig-tailed girl, I had absolutely no interest in these. My mom always made them at Christmas, forcing the herby bar to compete for my attention in a house that may as well be the Olympic stadium of the holiday dessert games (see Cinnamon Pinwheel Cookies).

In first place, with 80 kajillion points, our gold medalist, Whoopie Pies! In second place, with 70 kajillion, Grandma’s Apple Pie! And so on and so forth, until you finally get to the Candied Ginger Rosemary bars, who barely got a consolation prize.

“Bleh!” I would say, “Why would anyone ruin perfectly delicious treats by putting rosemary and ginger bars next to them?!”

To pre-teen Jenna, they screamed pinkies up, foo foo, chi-chi, museum-enthusiast adult.

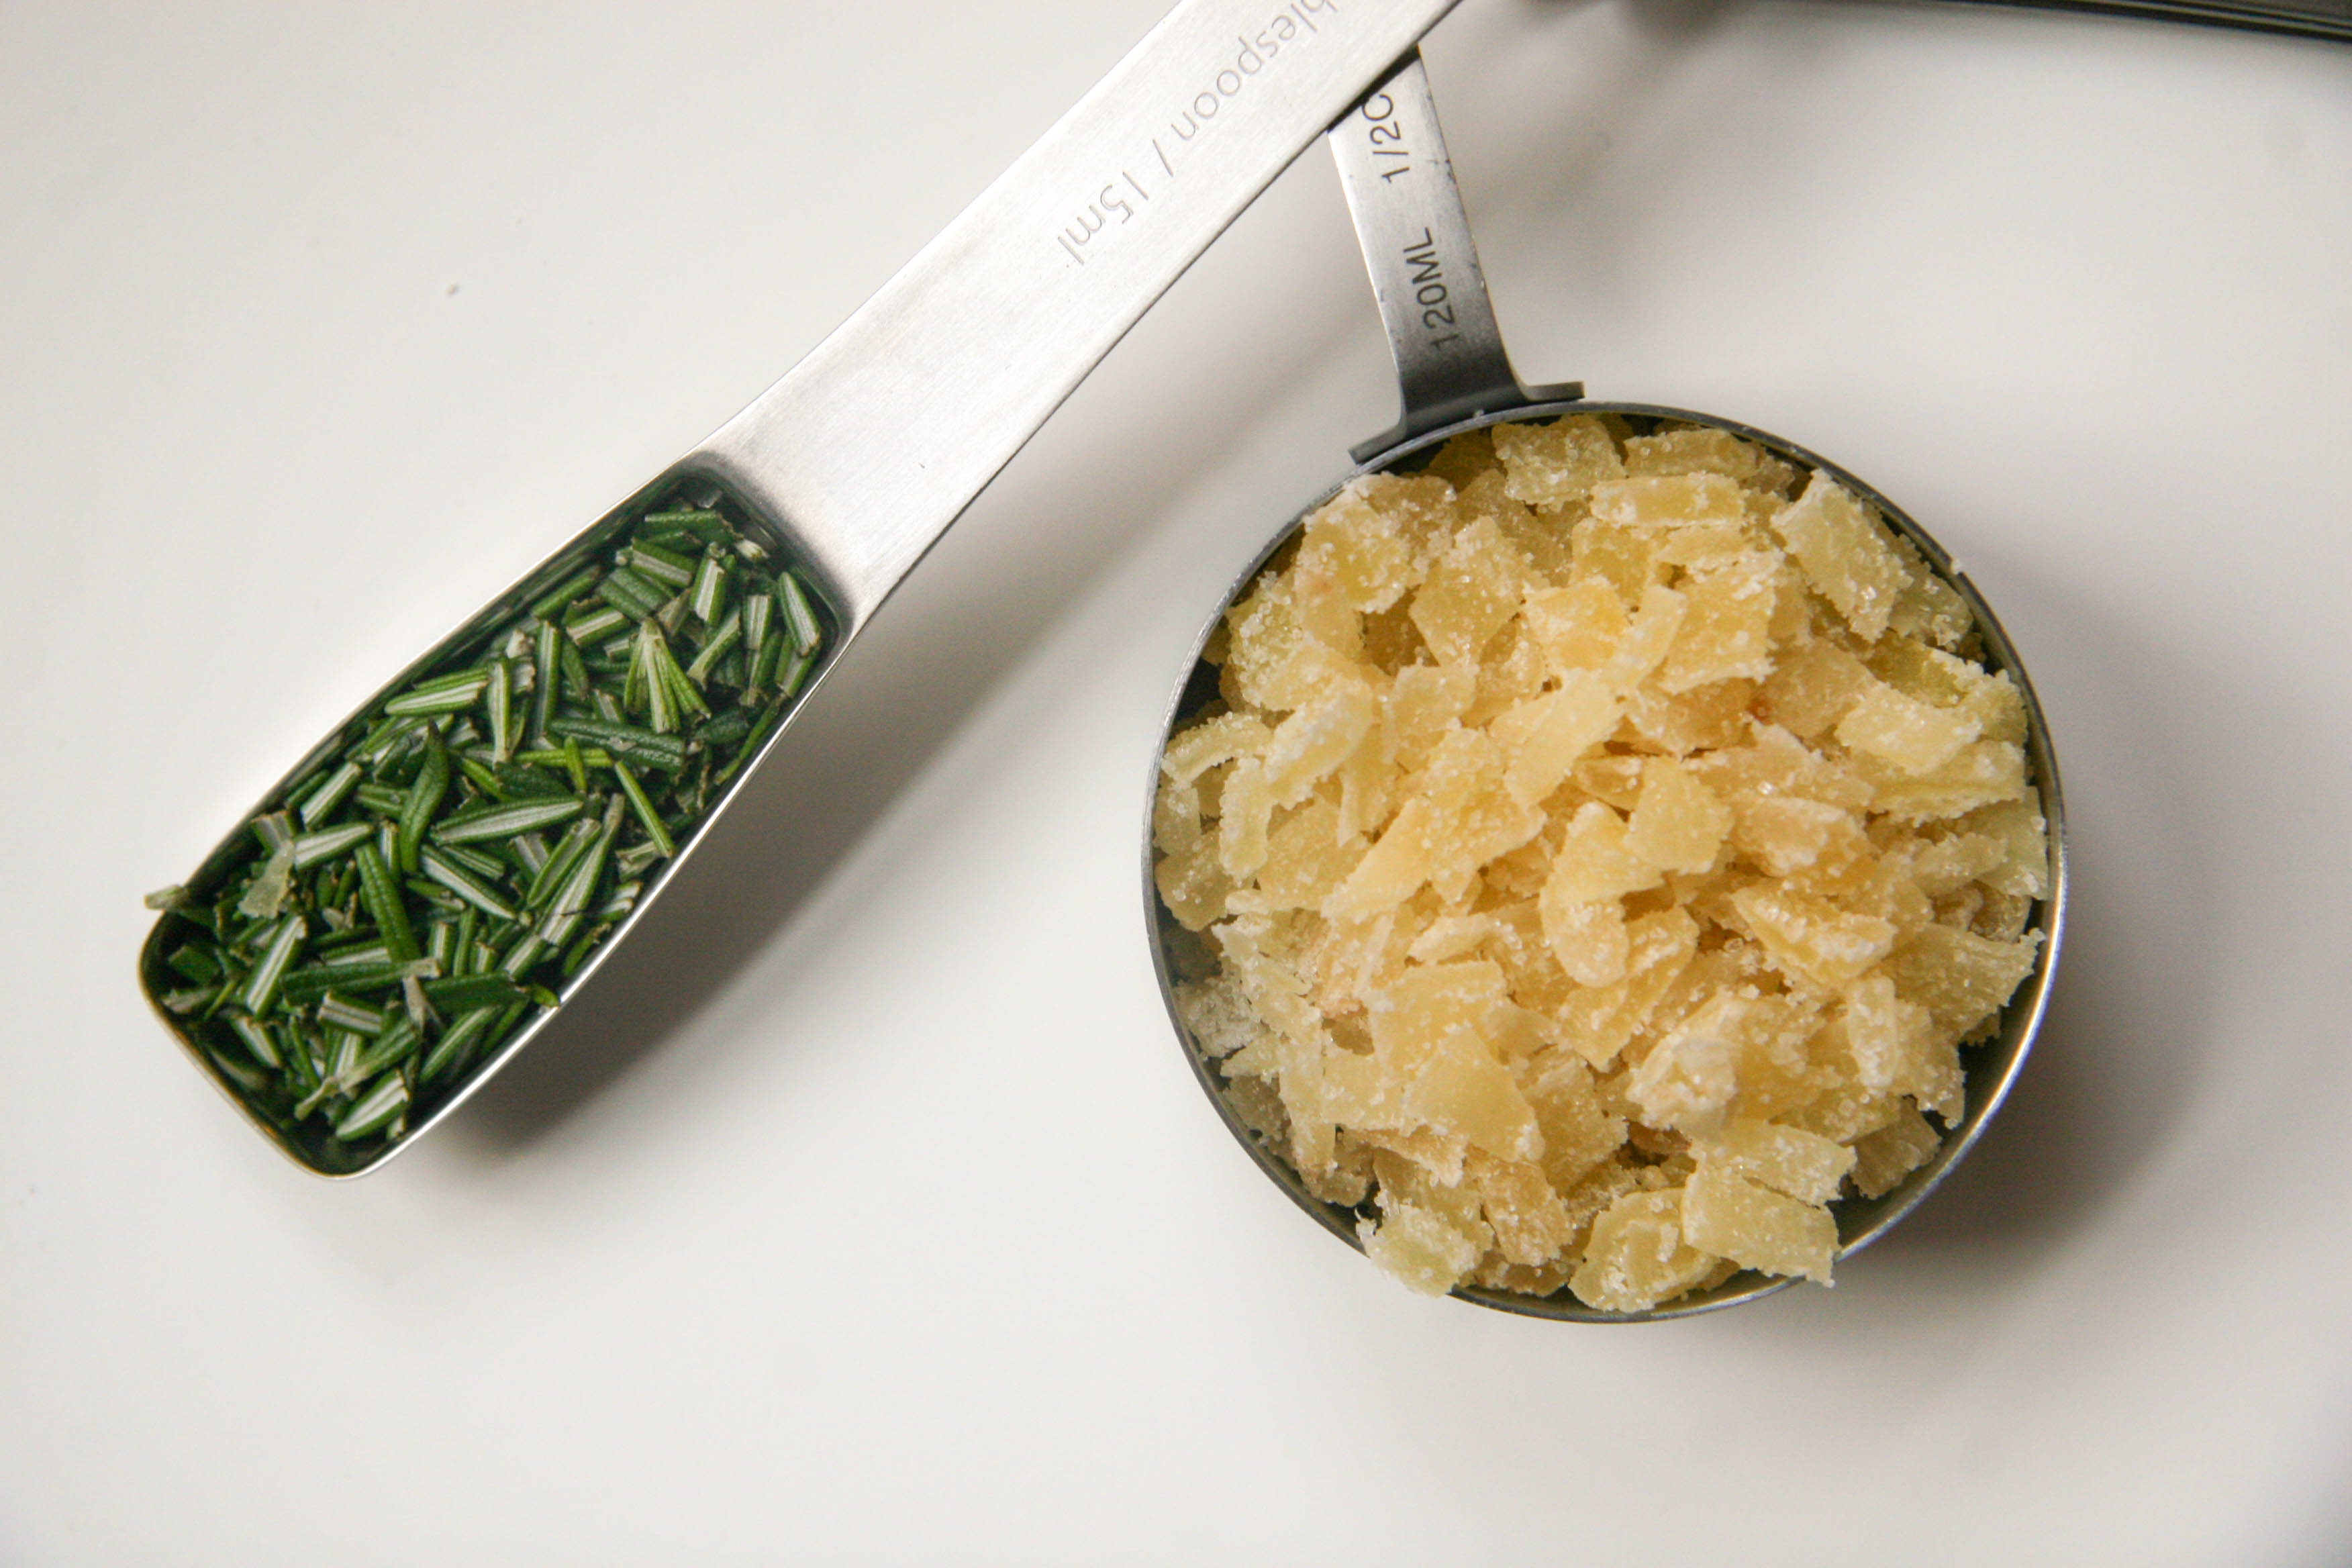
rosemary candied ginger cookies3

Flash forward to two years ago: I was home baking with my mom for Christmas and she asked me to make a batch of these. I think I ate 2–3 immediately (let’s be honest, it was 4–5) and then found myself reaching for them even on Christmas Eve. They were right next to the whoopie pies, so that is huge.

rosemary candied ginger cookies4

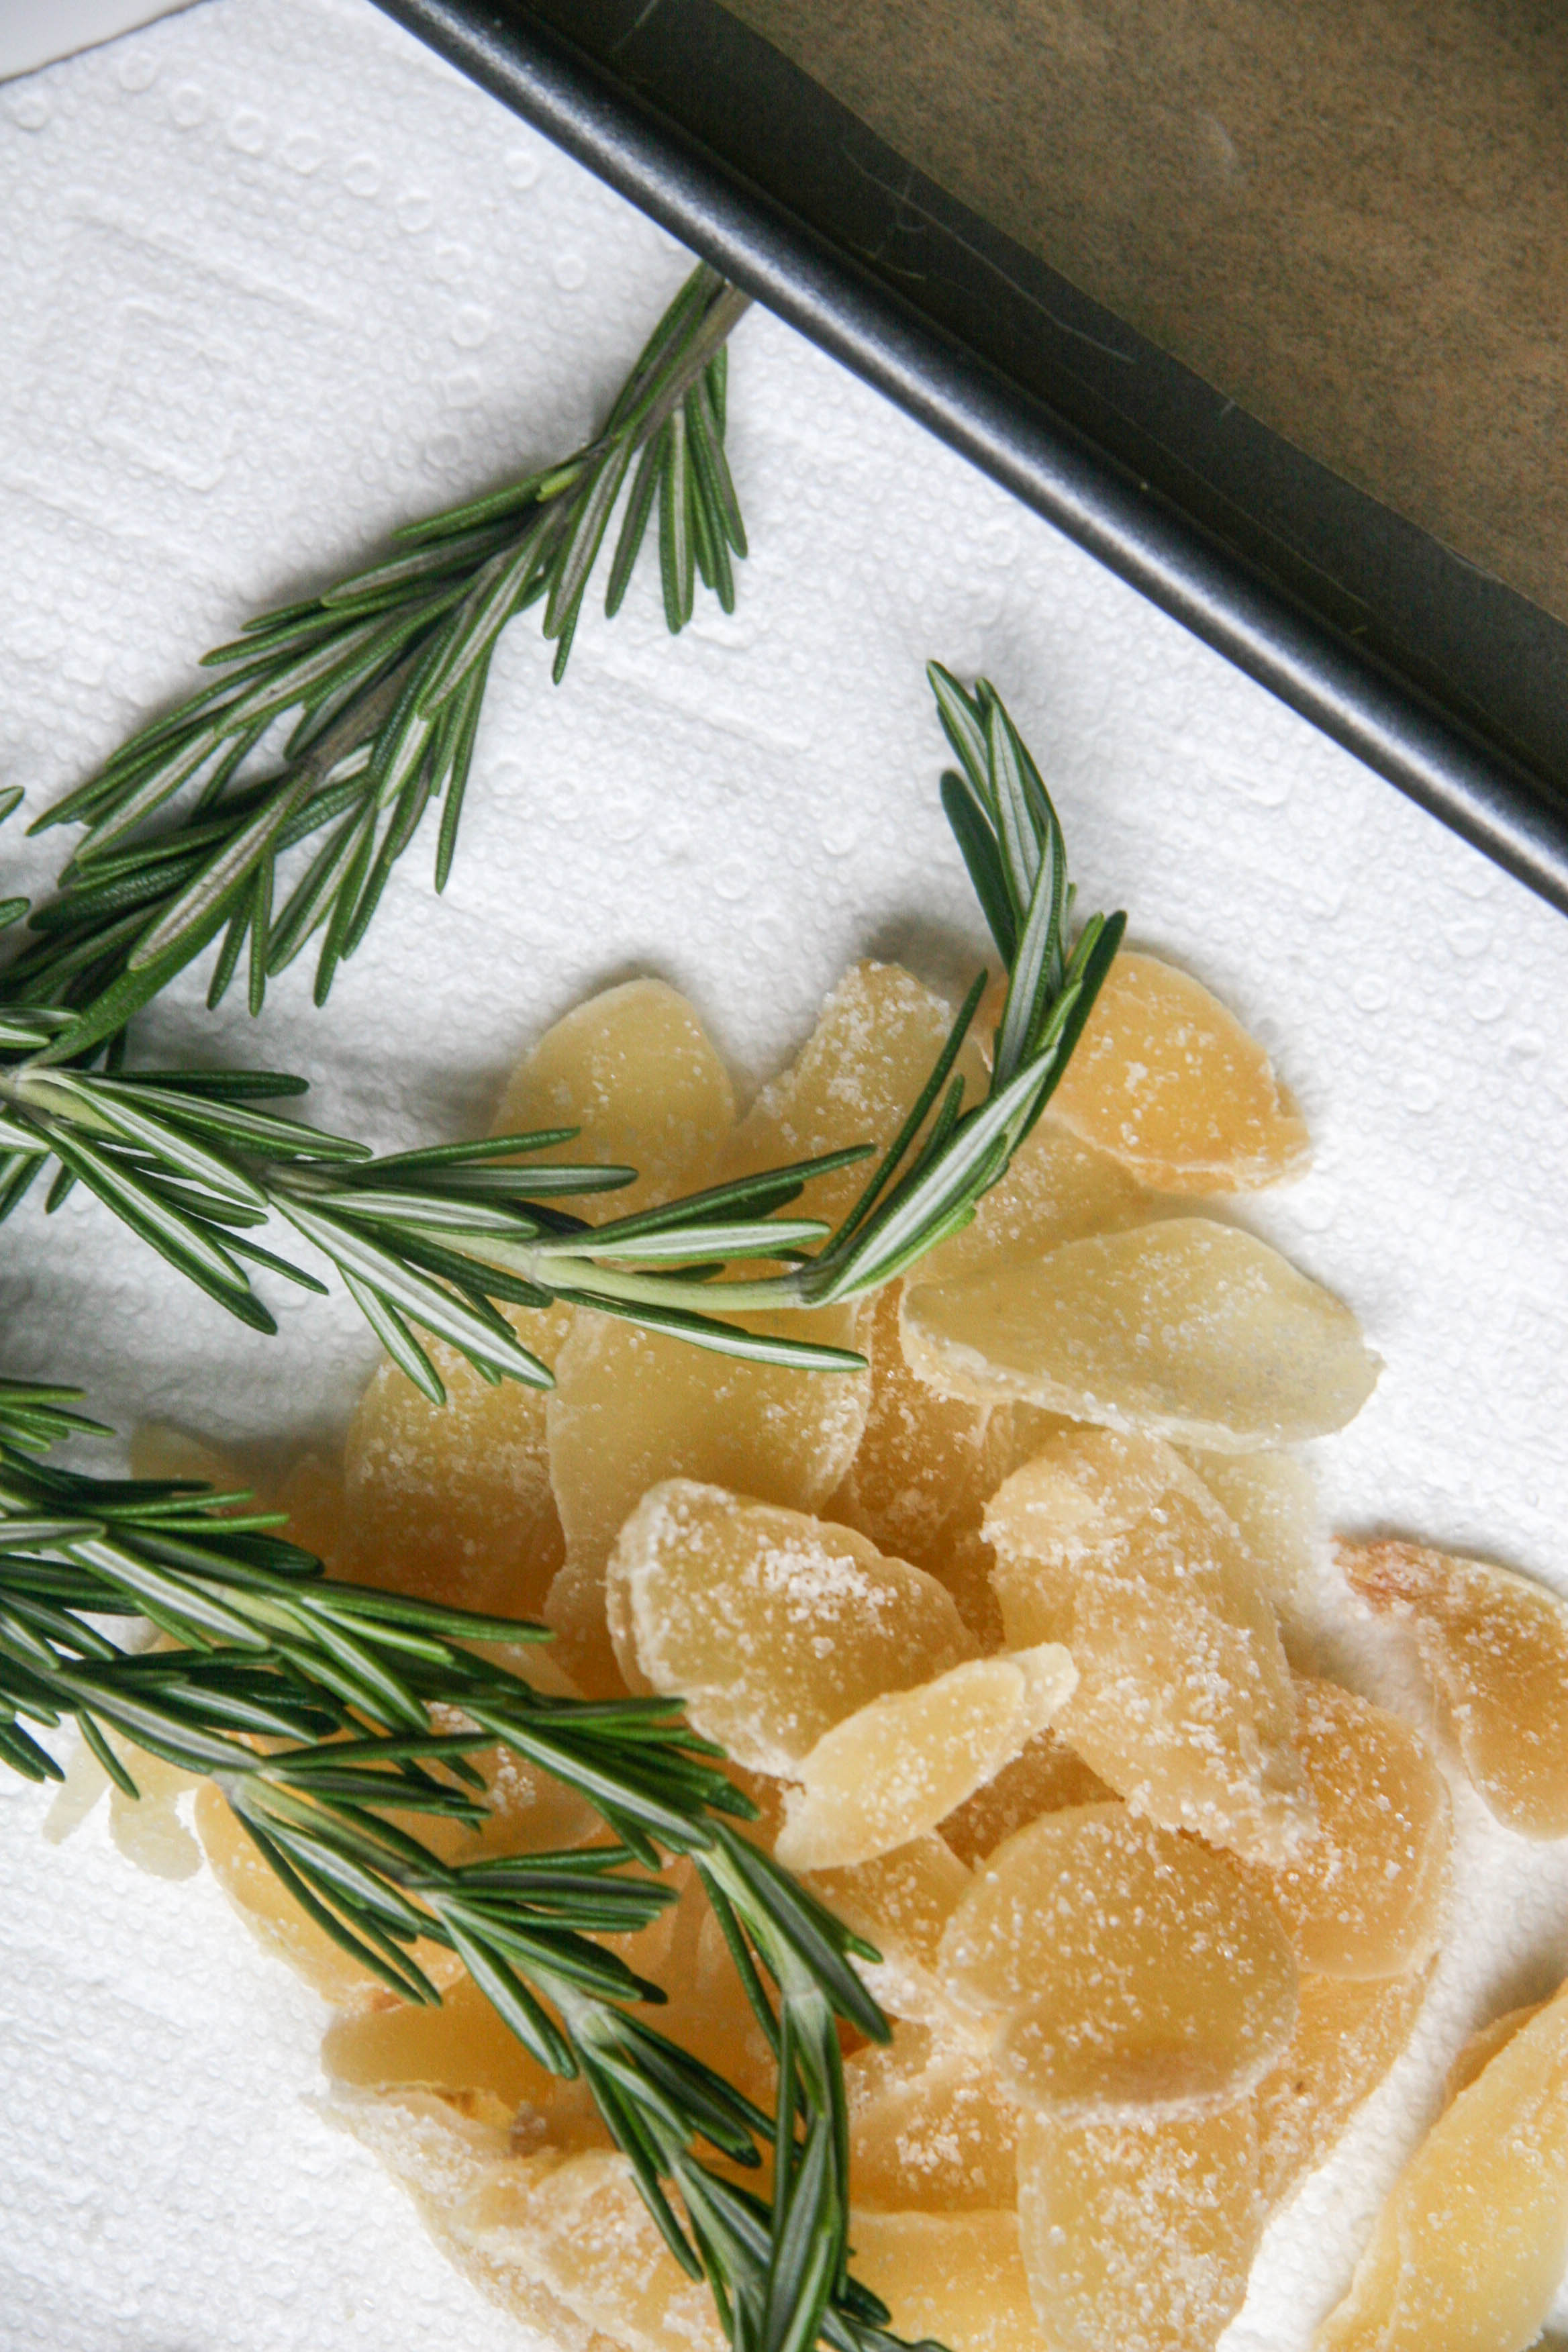
I had grown up to appreciate the freshness of chopped rosemary, the slight spice and chew of candied ginger, and the harmonious interplay between these two flavors in this subtly sweet bar. Its texture is similar to that of a buttery shortbread/brownie hybrid. The candied ginger makes it chewy and the rosemary aroma emerges every time you take a bite. They can be served as a dessert, but I’d also like to try them served with appetizers.

Have any of you had “consolation prize” foods you’ve grown to love over time? I’d love to hear about them!

osemary candied ginger cookies6

rosemary candied ginger cookies7

rosemary candied ginger cookies9

rosemary candied ginger cookies10

osemary candied ginger cookies12

candied ginger rosemary triangles
Author: butter loves company
Prep time: 15 mins
Cook time: 25 mins
Total time: 40 mins
Serves: makes 32 triangles
A candied ginger dotted shortbread/brownie-like bar filled with fresh, fragrant rosemary for a slightly sweet treat.
Ingredients
  • 2 sticks unsalted butter, softened
  • ¾ cup plus 2 tablespoons sugar
  • 2 cups flour
  • ½ teaspoon salt
  • 2 large eggs, one beaten lightly, the other reserved for egg wash
  • ½ cup finely chopped crystallized ginger
  • 1 tablespoon chopped fresh rosemary (or 1½ tablespoons dried rosemary)
Instructions
  1. Preheat oven to 350 degrees. Set aside an 8 x 8 inch baking pan (You do not need to butter or coat it with non-stick baking spray.)
  2. In a large bowl, or the bowl of an electric mixer fitted with a paddle attachment, beat together the butter and sugar on medium speed until light and fluffy.
  3. In a medium bowl, sift together flour and salt. Gradually beat this flour mixture into the butter mixture on low speed until just combined. Add the one lightly beaten egg. Beat in ginger and rosemary until just combined. Press the dough evenly into the 8 x 8 inch baking pan (it will be thick).
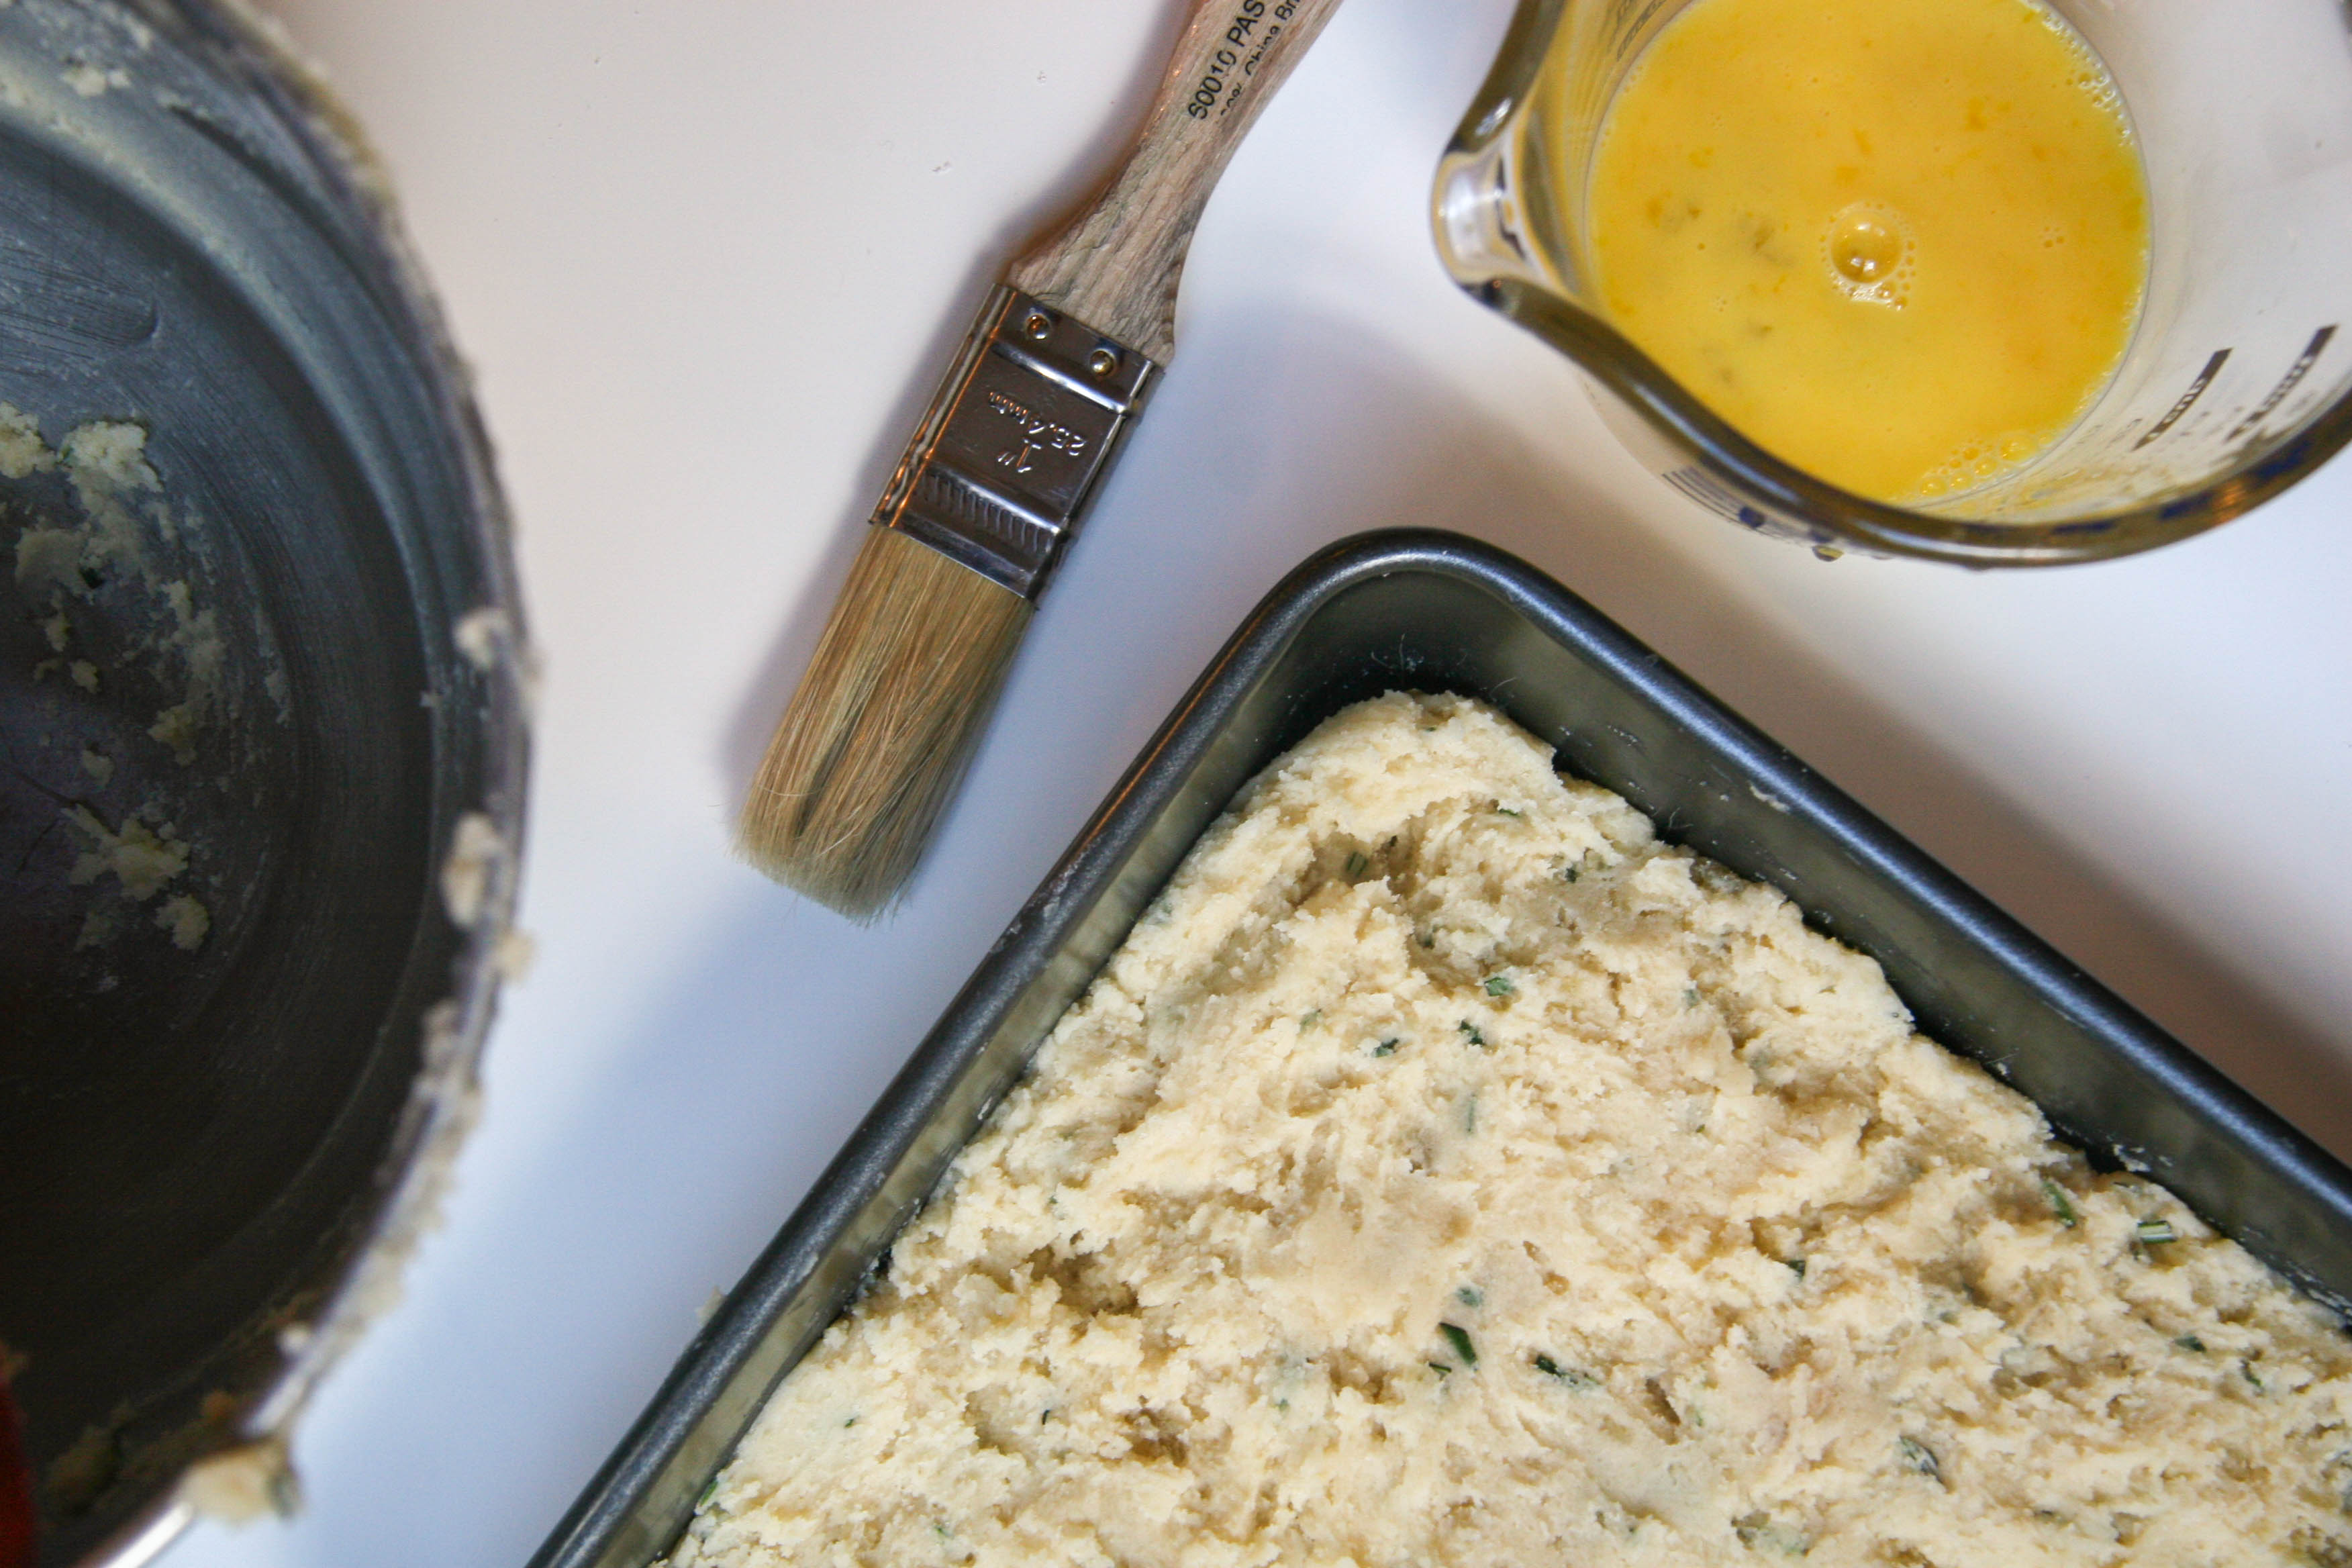
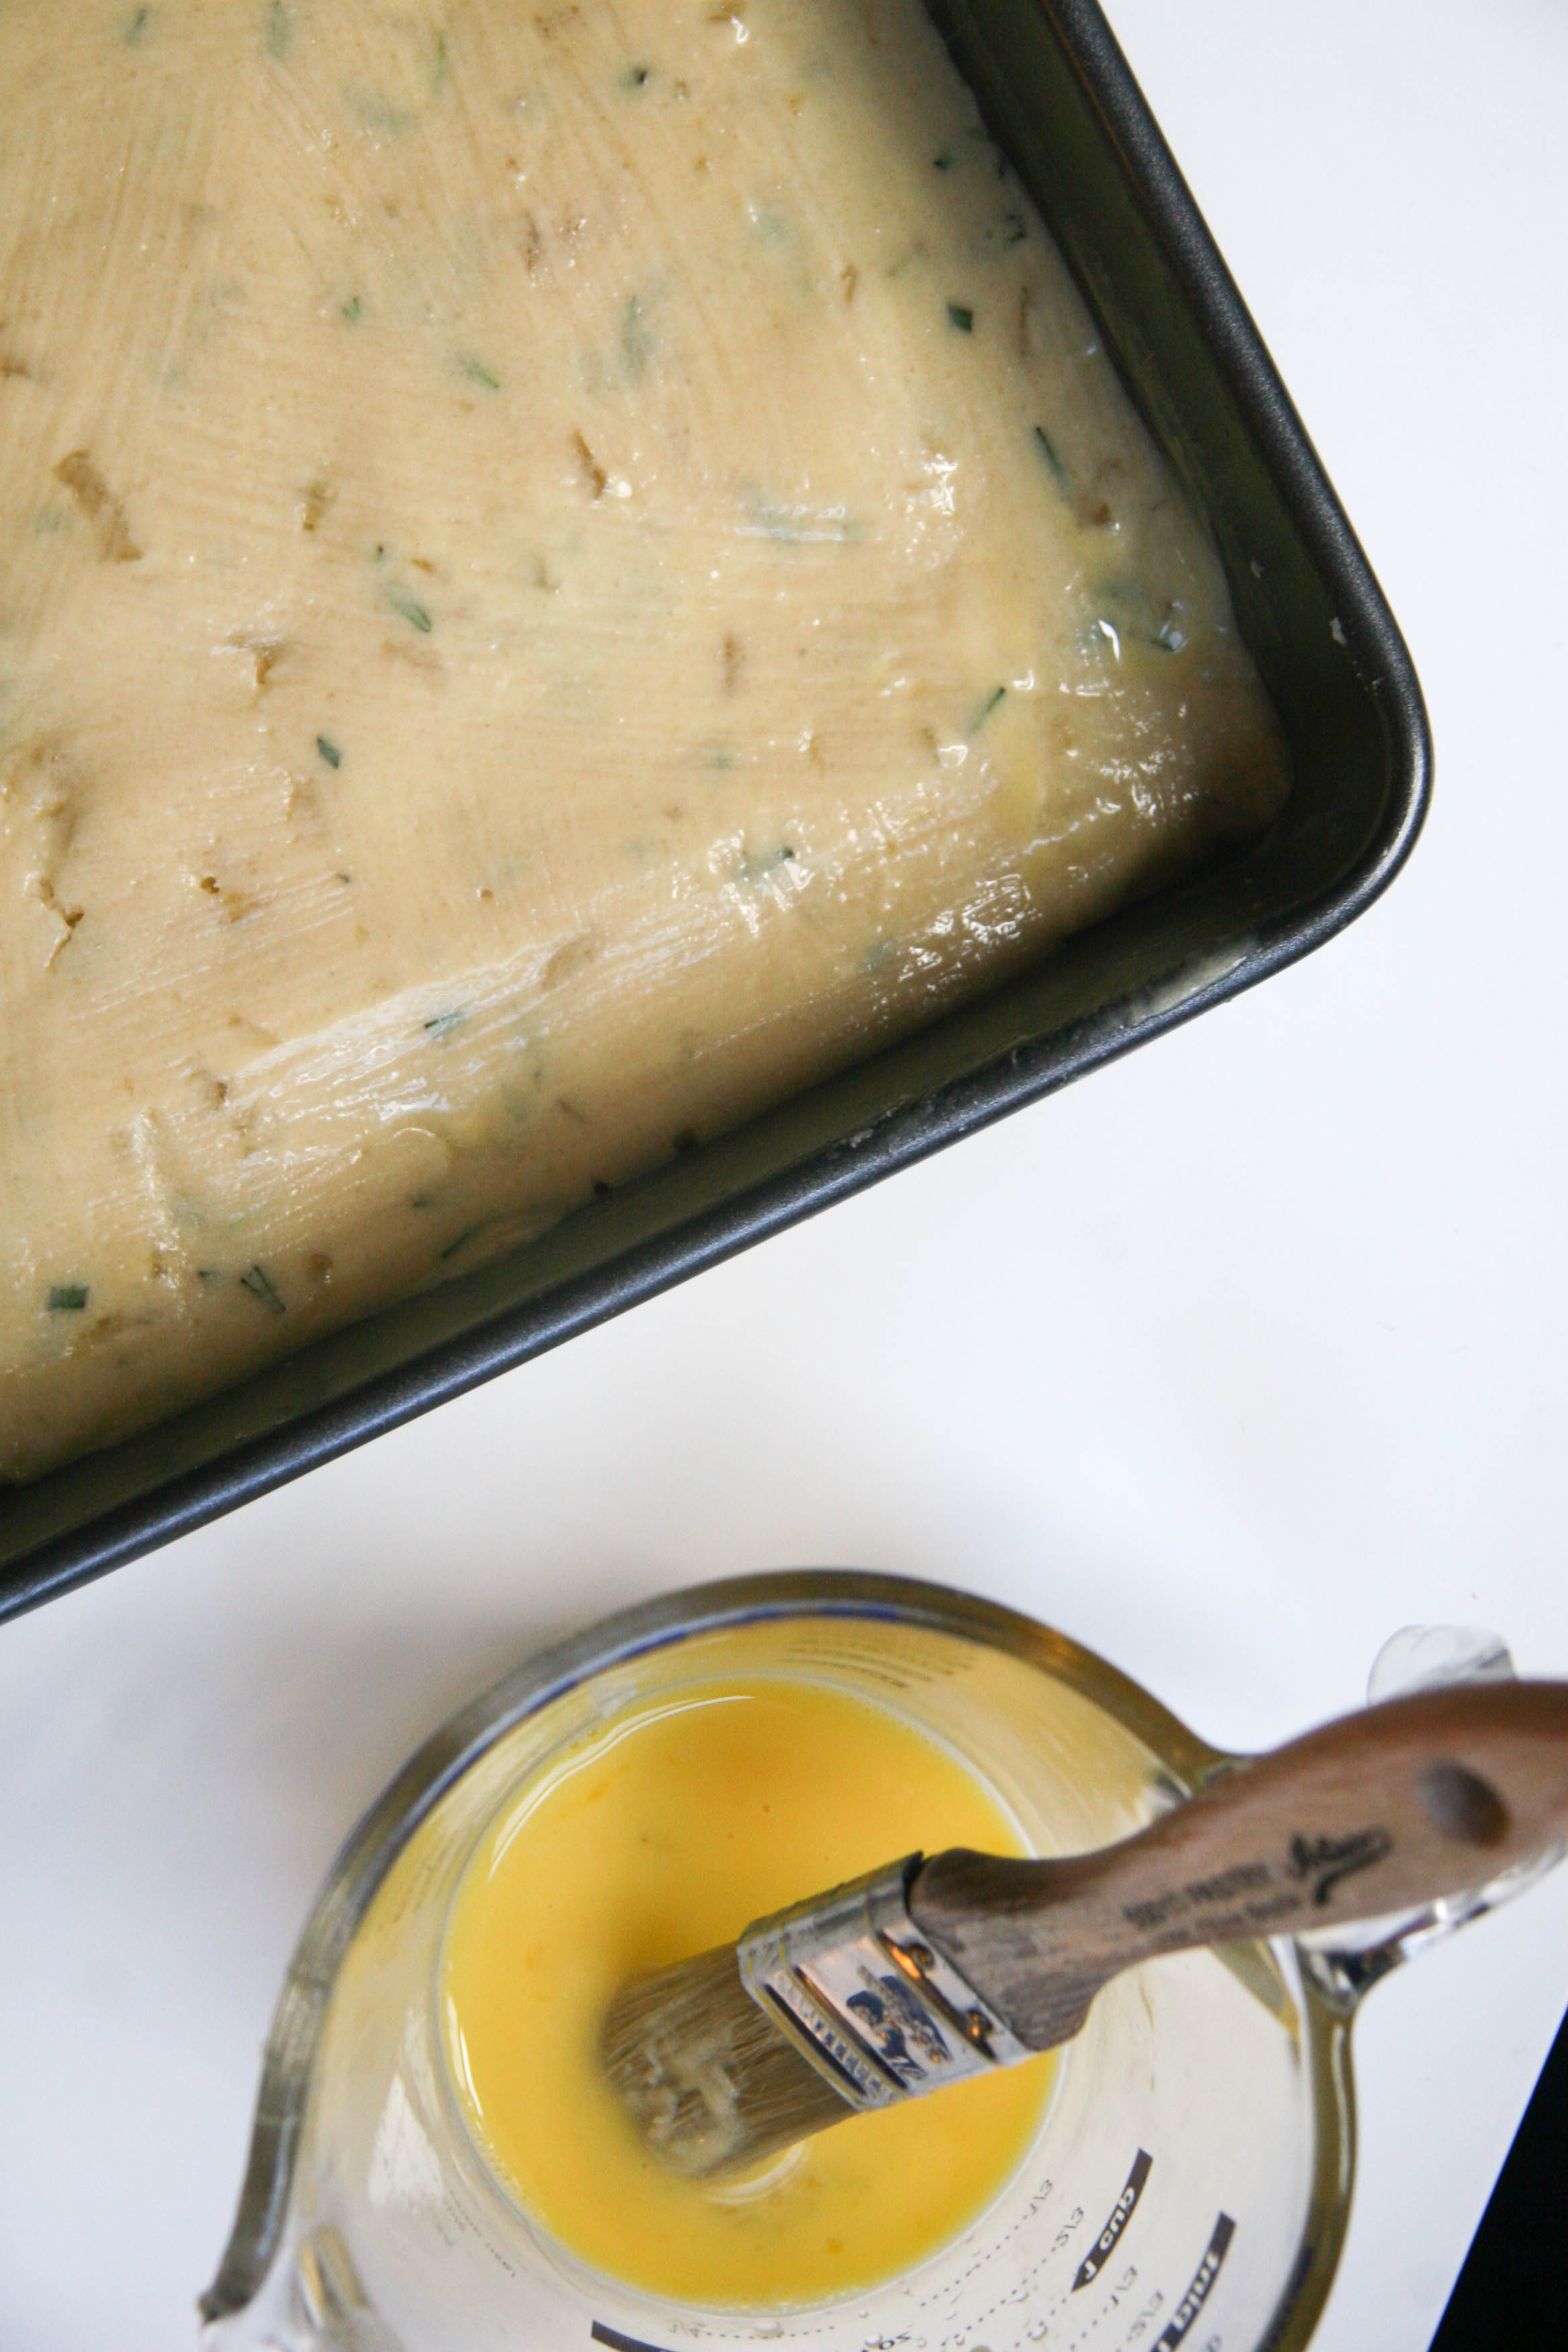
  4. In a small bowl, beat remaining egg with 1 tablespoon water to make an egg wash and brush on dough. Bake in the middle rack of oven for about 25–30 minutes or until a toothpick poked in the center of the dough comes out clear. Cool in the pan on a rack then cut into triangles.
  5. May be made 5 days ahead, chilled and covered. May also be frozen in an airtight container for up to 1 month.
3.2.1275


Filed Under: desserts and sweets, eat Tagged With: butter, candied ginger, cookie, ginger, not-too-sweet, rosemary, shortbread

cacio e pepe

April 5, 2014 by Butter Loves Company

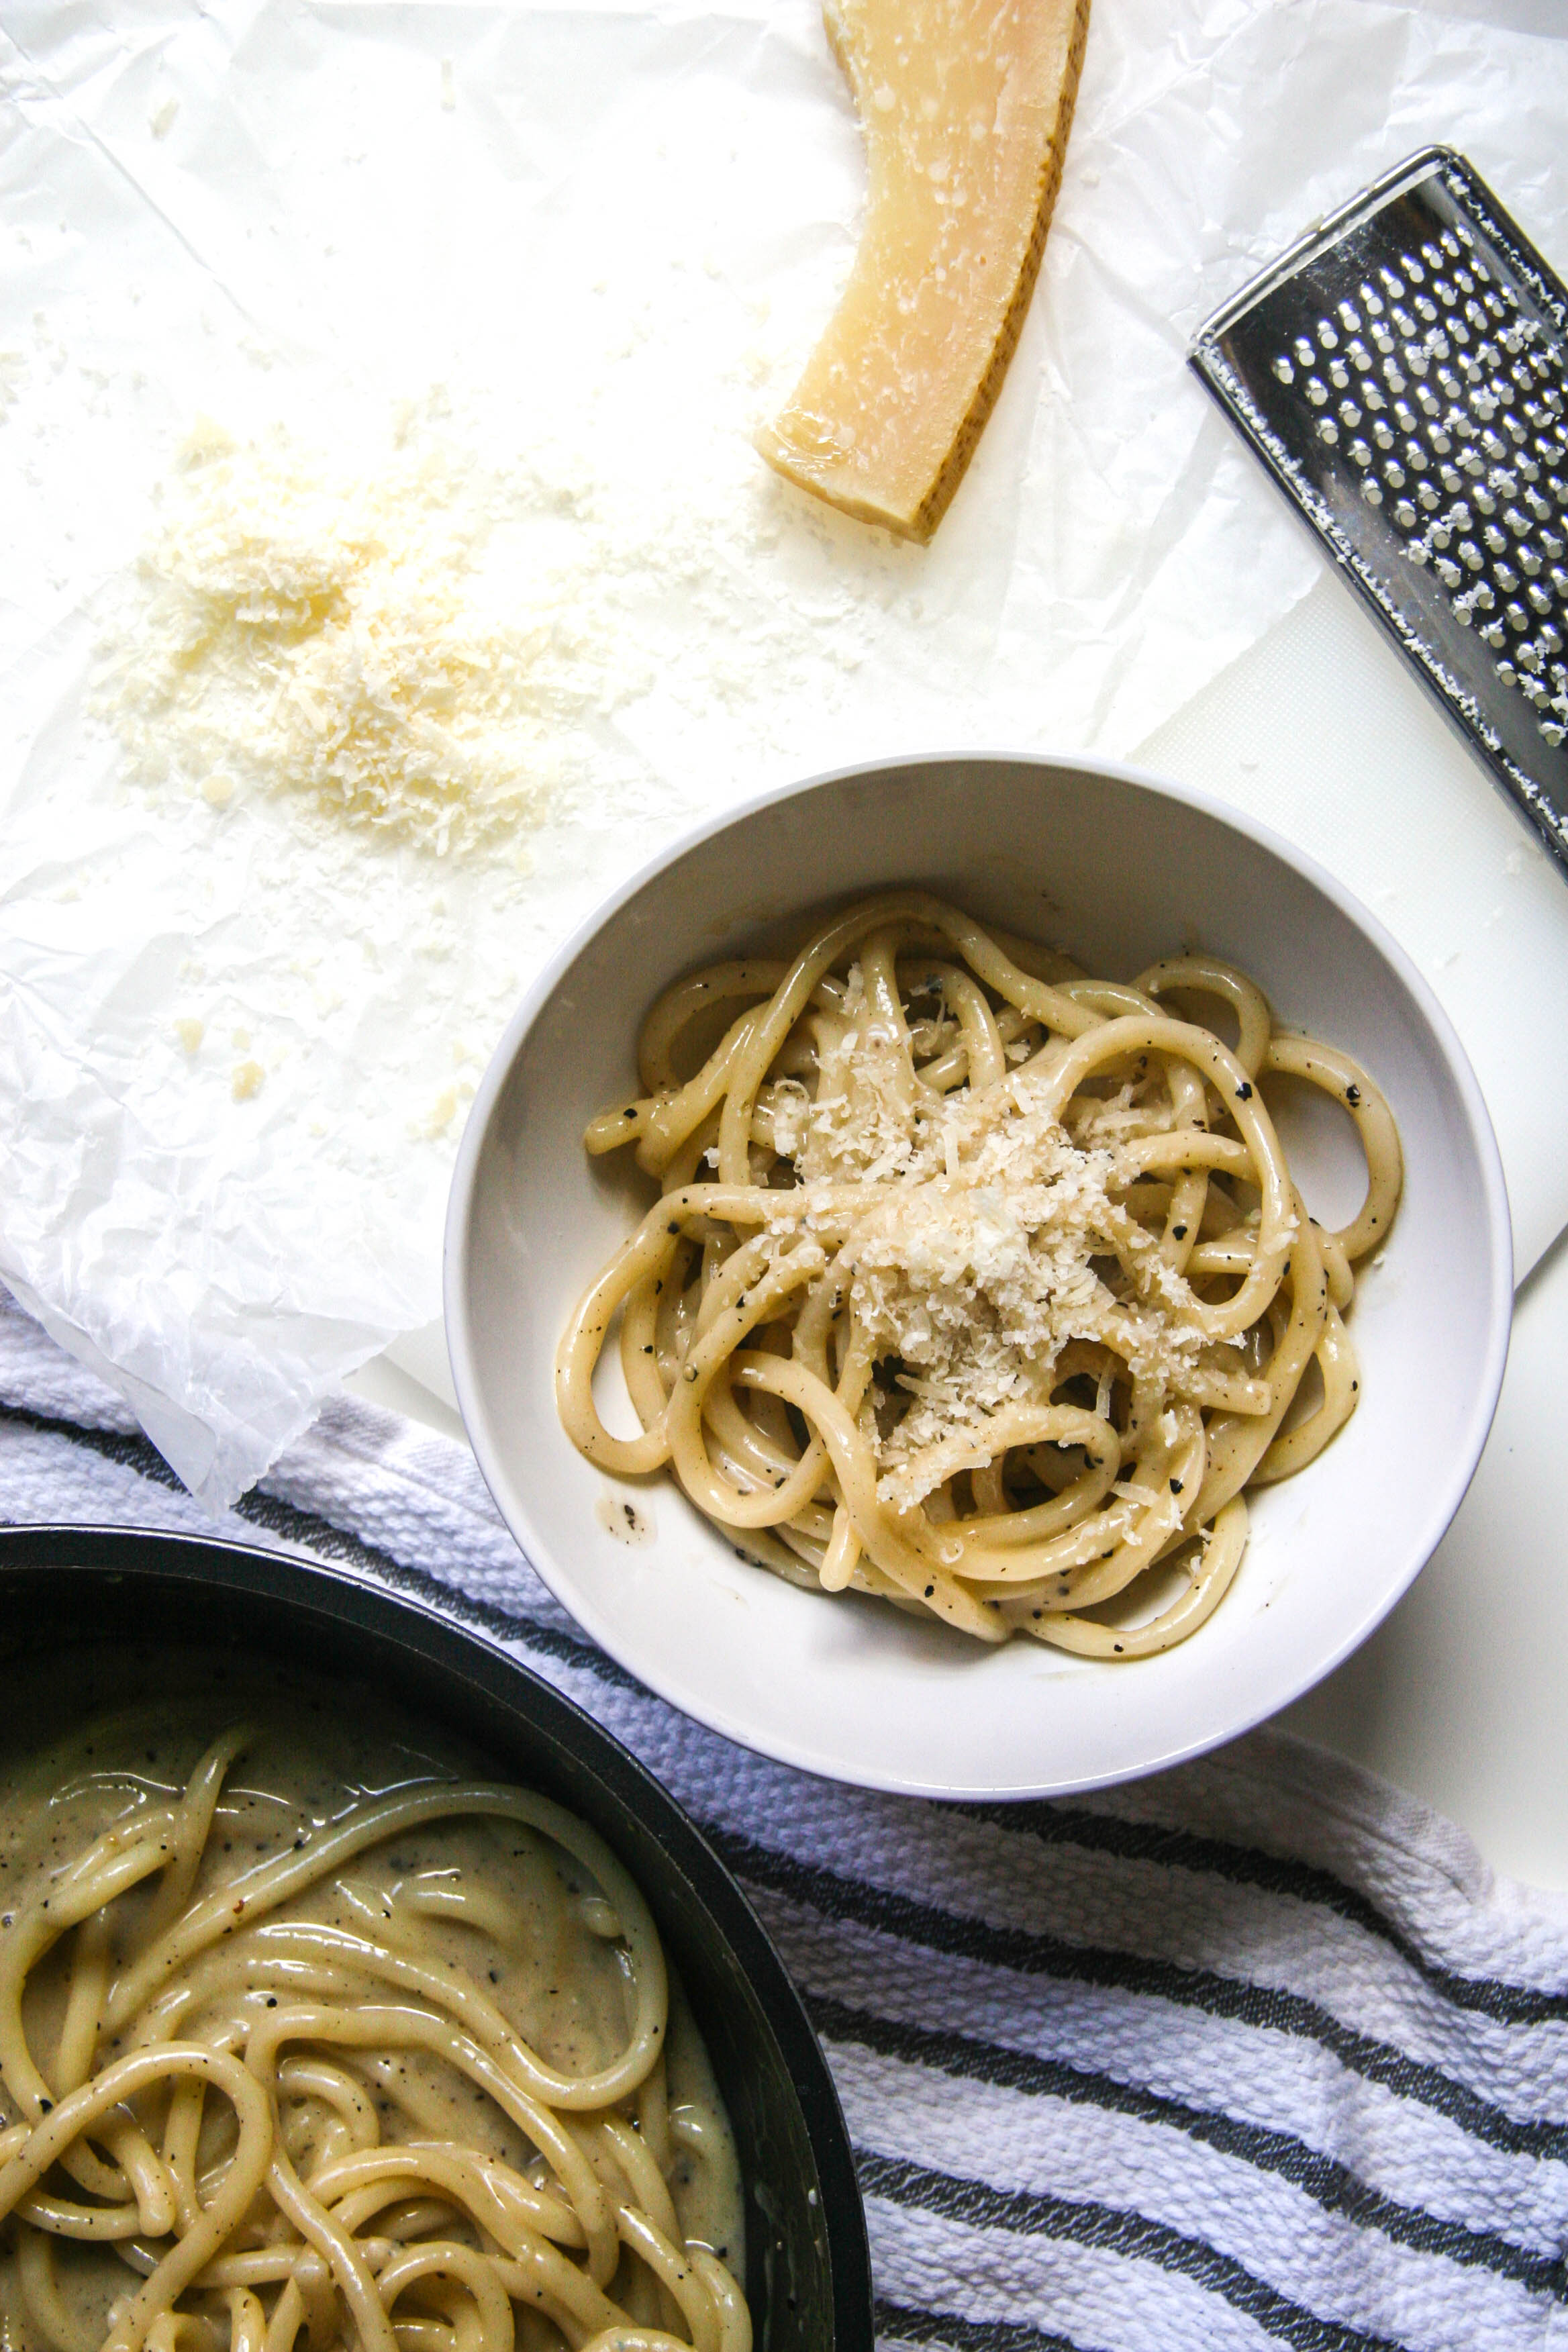
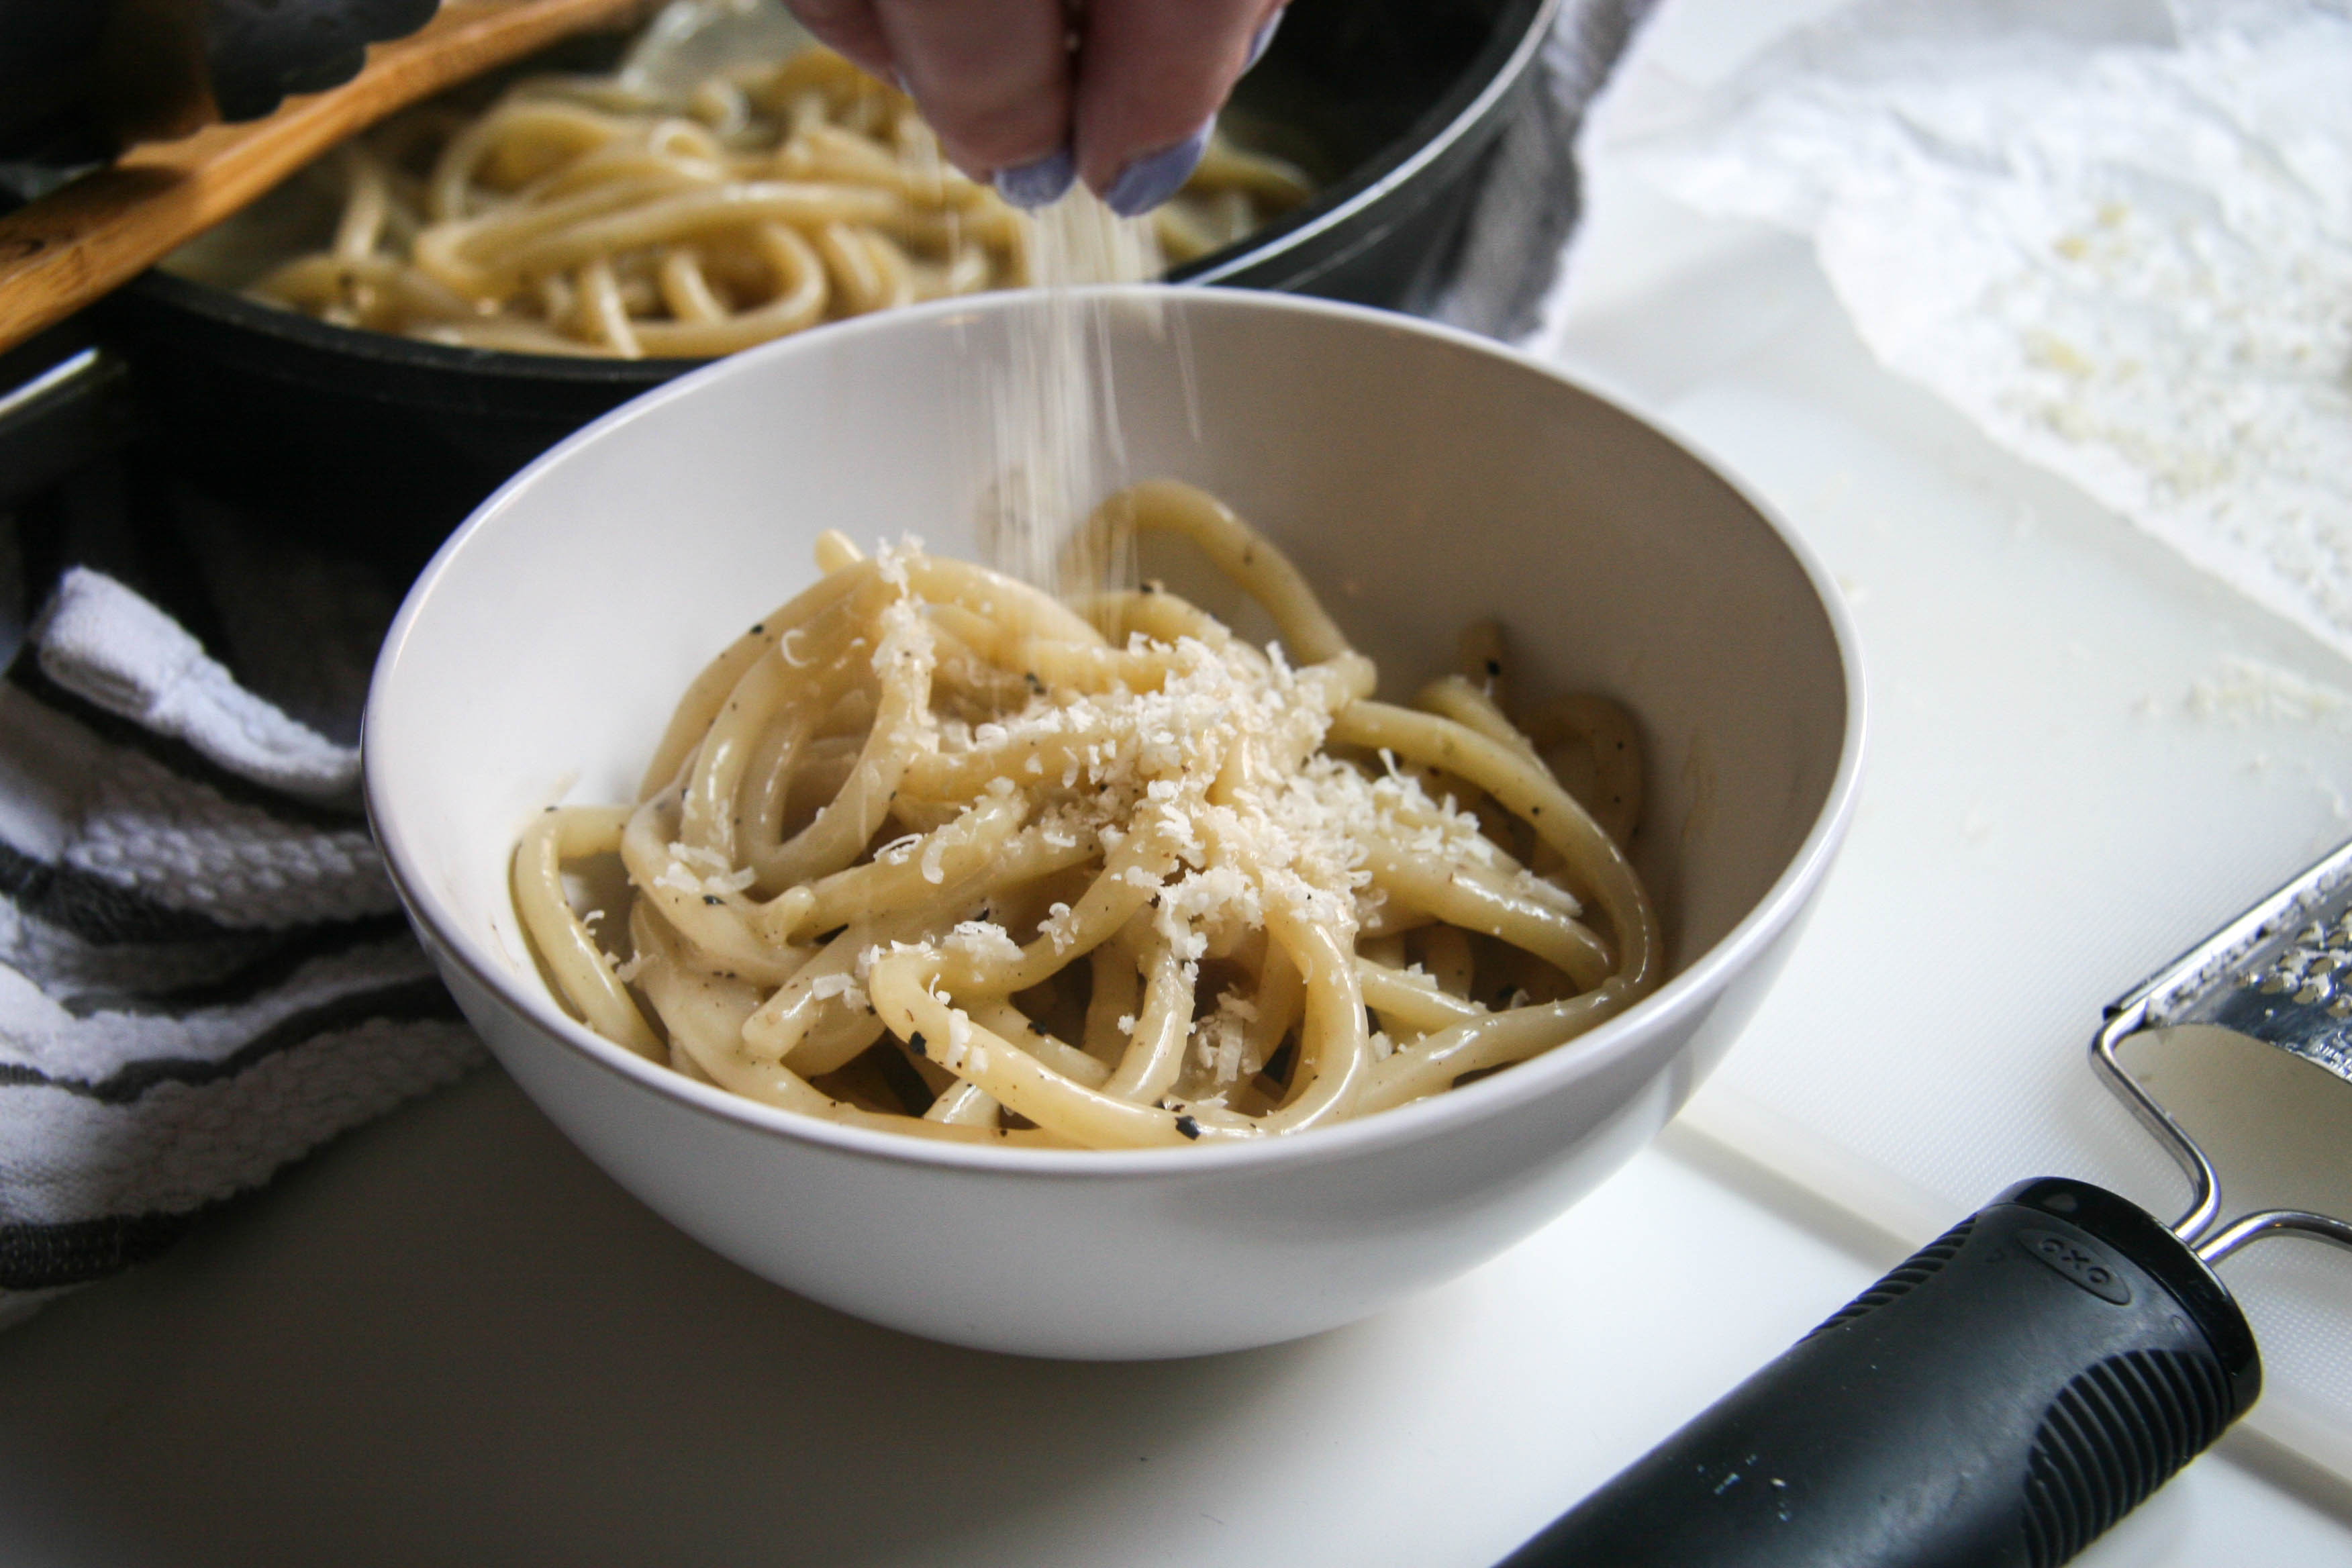
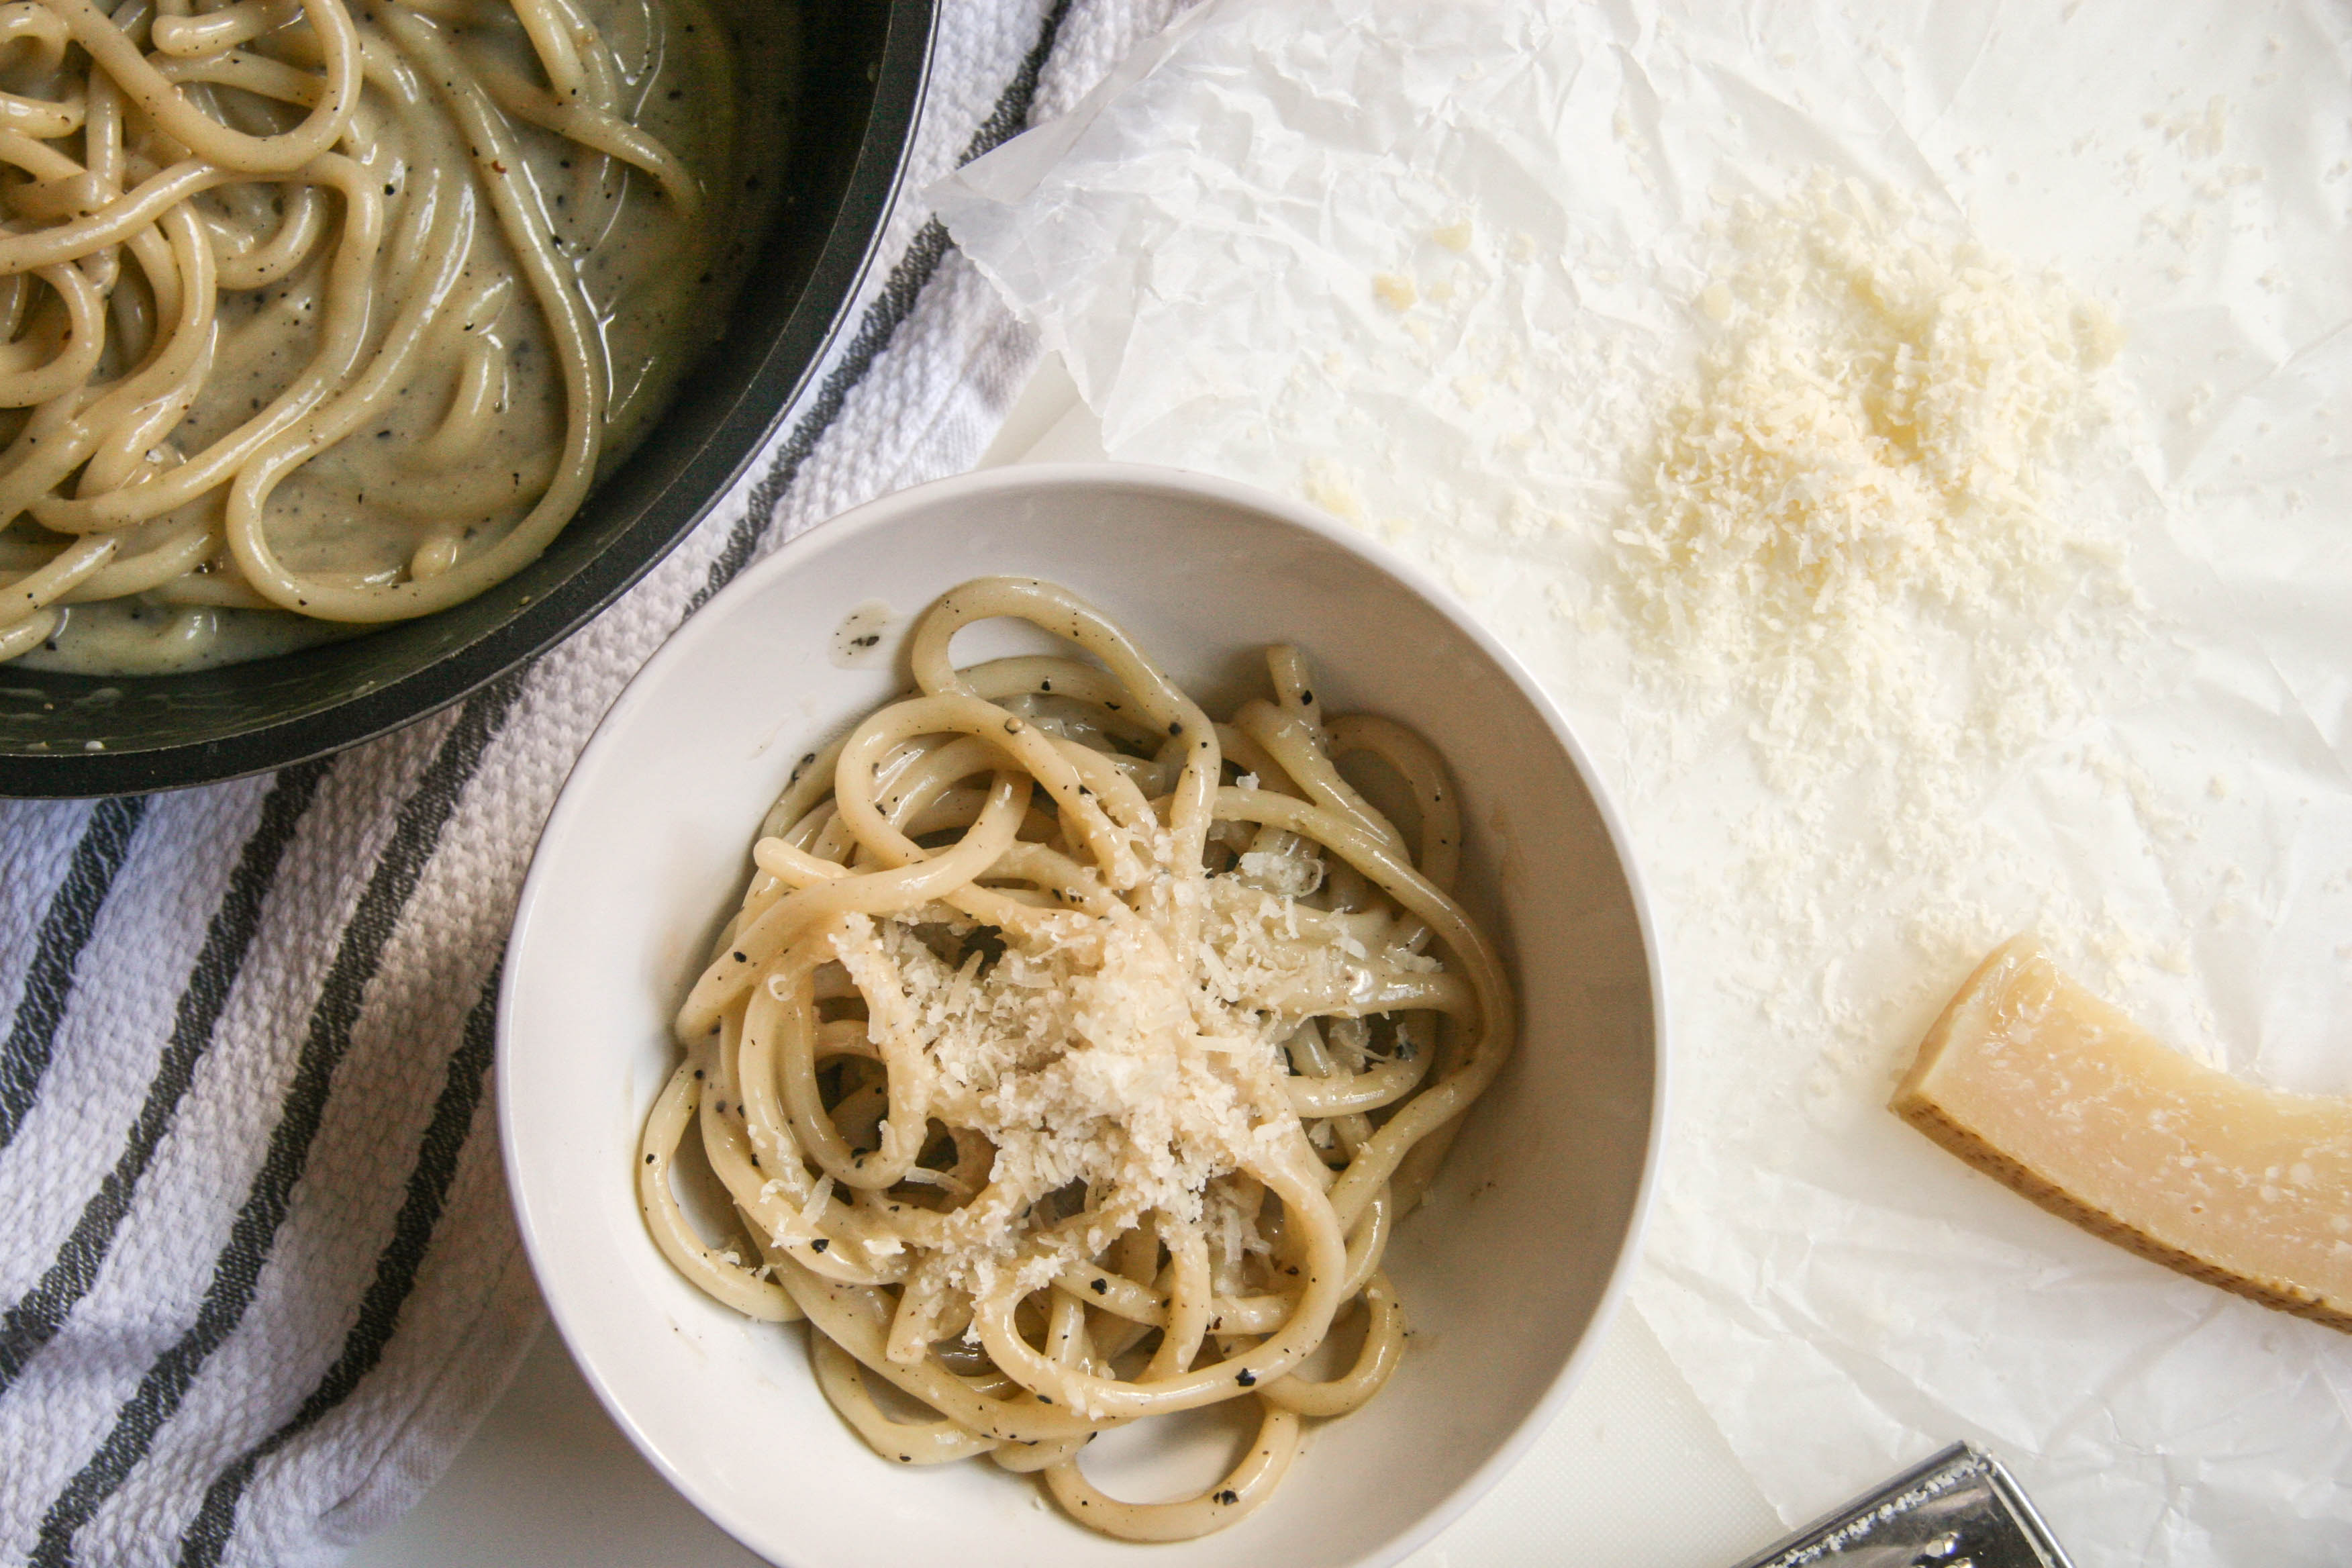
cacio e pepe pasta recipeA simple, cheesy, creamy, peppery Roman pasta dish on your table in 20 minutes.

I would rather clean the bathroom than do a load of laundry. Call me crazy, but it’s true! I hope fellow Laundromat goers can relate.

Luckily for me, my super cool roommate (boyfriend) is a laundry fanatic. At this point, I’ve been banned from doing said roommates laundry because of my “poor technique.” Even just last night, I attempted to help fold some shirts from the mountain of warm, clean clothes, only to catch my fold jobs being refolded at the turn of my head *ahem*.

cacio e pepe pasta recipe 2

So, to thank my resident laundry-pro for his hard work—and as an attempted peace offering for leaving chap stick in a pants pocket that went through last week’s wash *gulp*—I wanted to make a tasty weeknight dinner that he could enjoy.

cacio e pepe pasta recipe 3

He is a big pepper person, so if you are too, you will love this simple, cheesy, peppery Roman pasta dish.

Even non-pepper people will love this. Hey, even picky kids would probably love this as a take on mac and cheese.


cacio e pepe pasta recipe 4

cacio e pepe pasta recipe 5

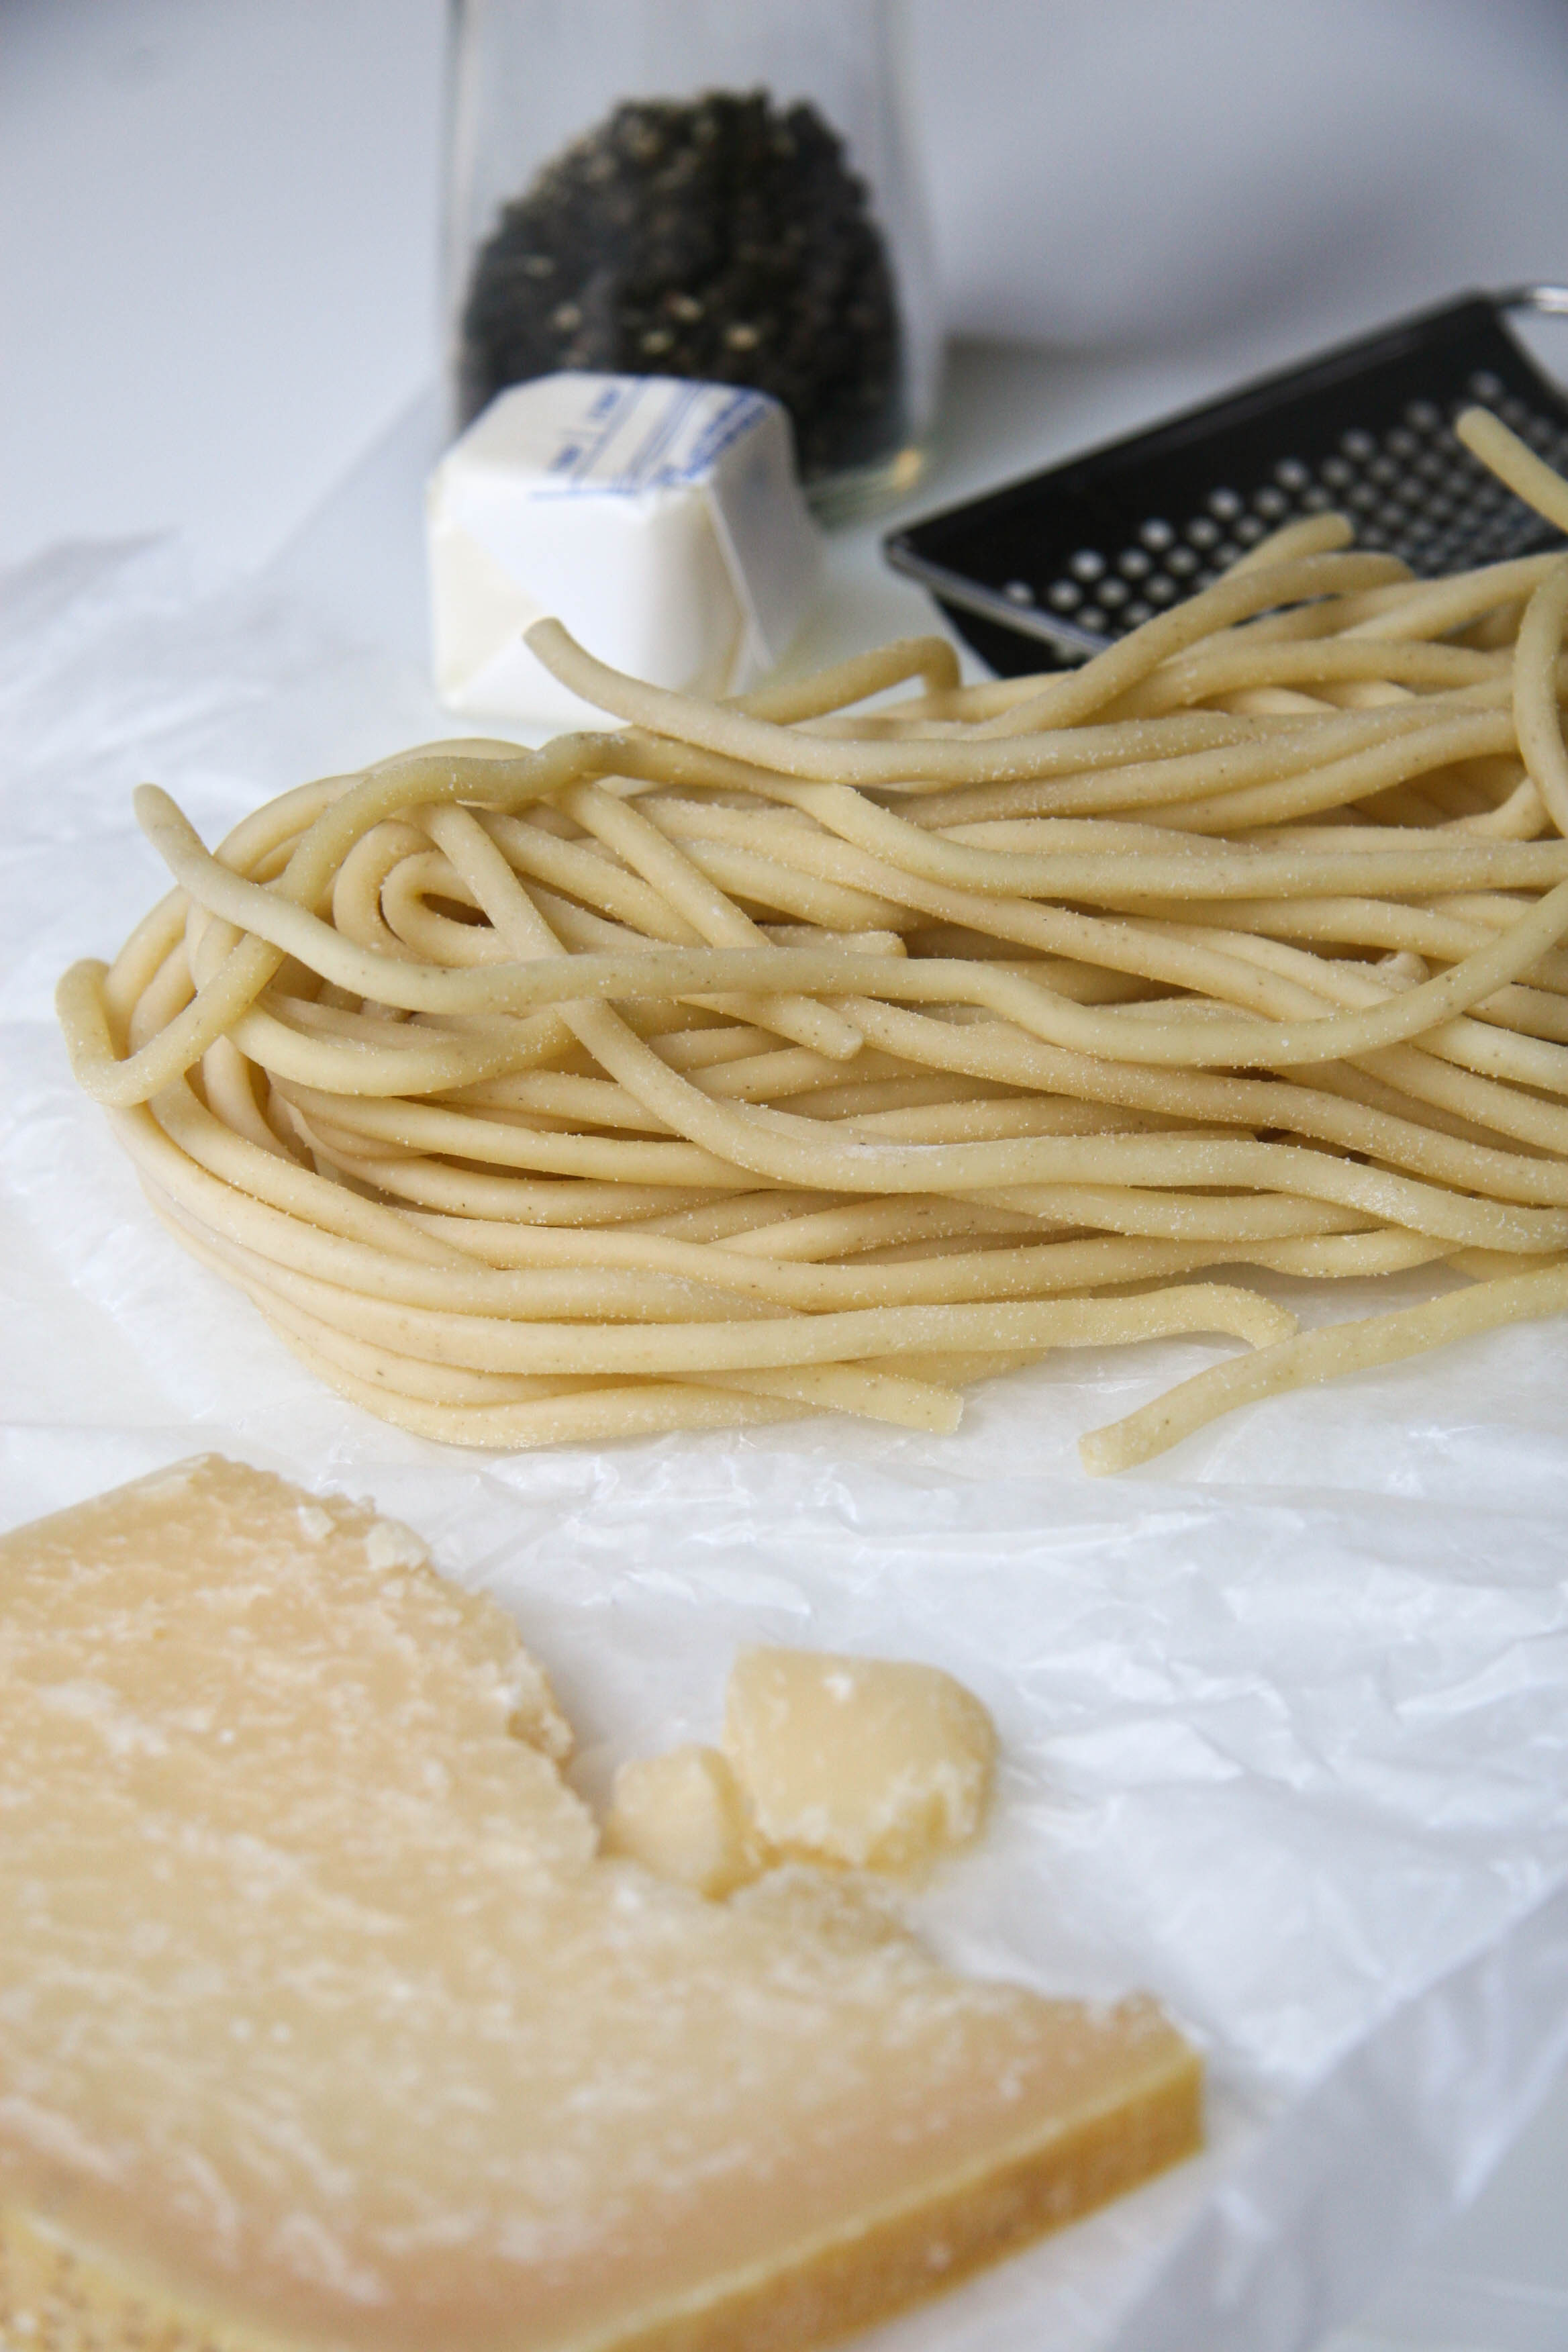
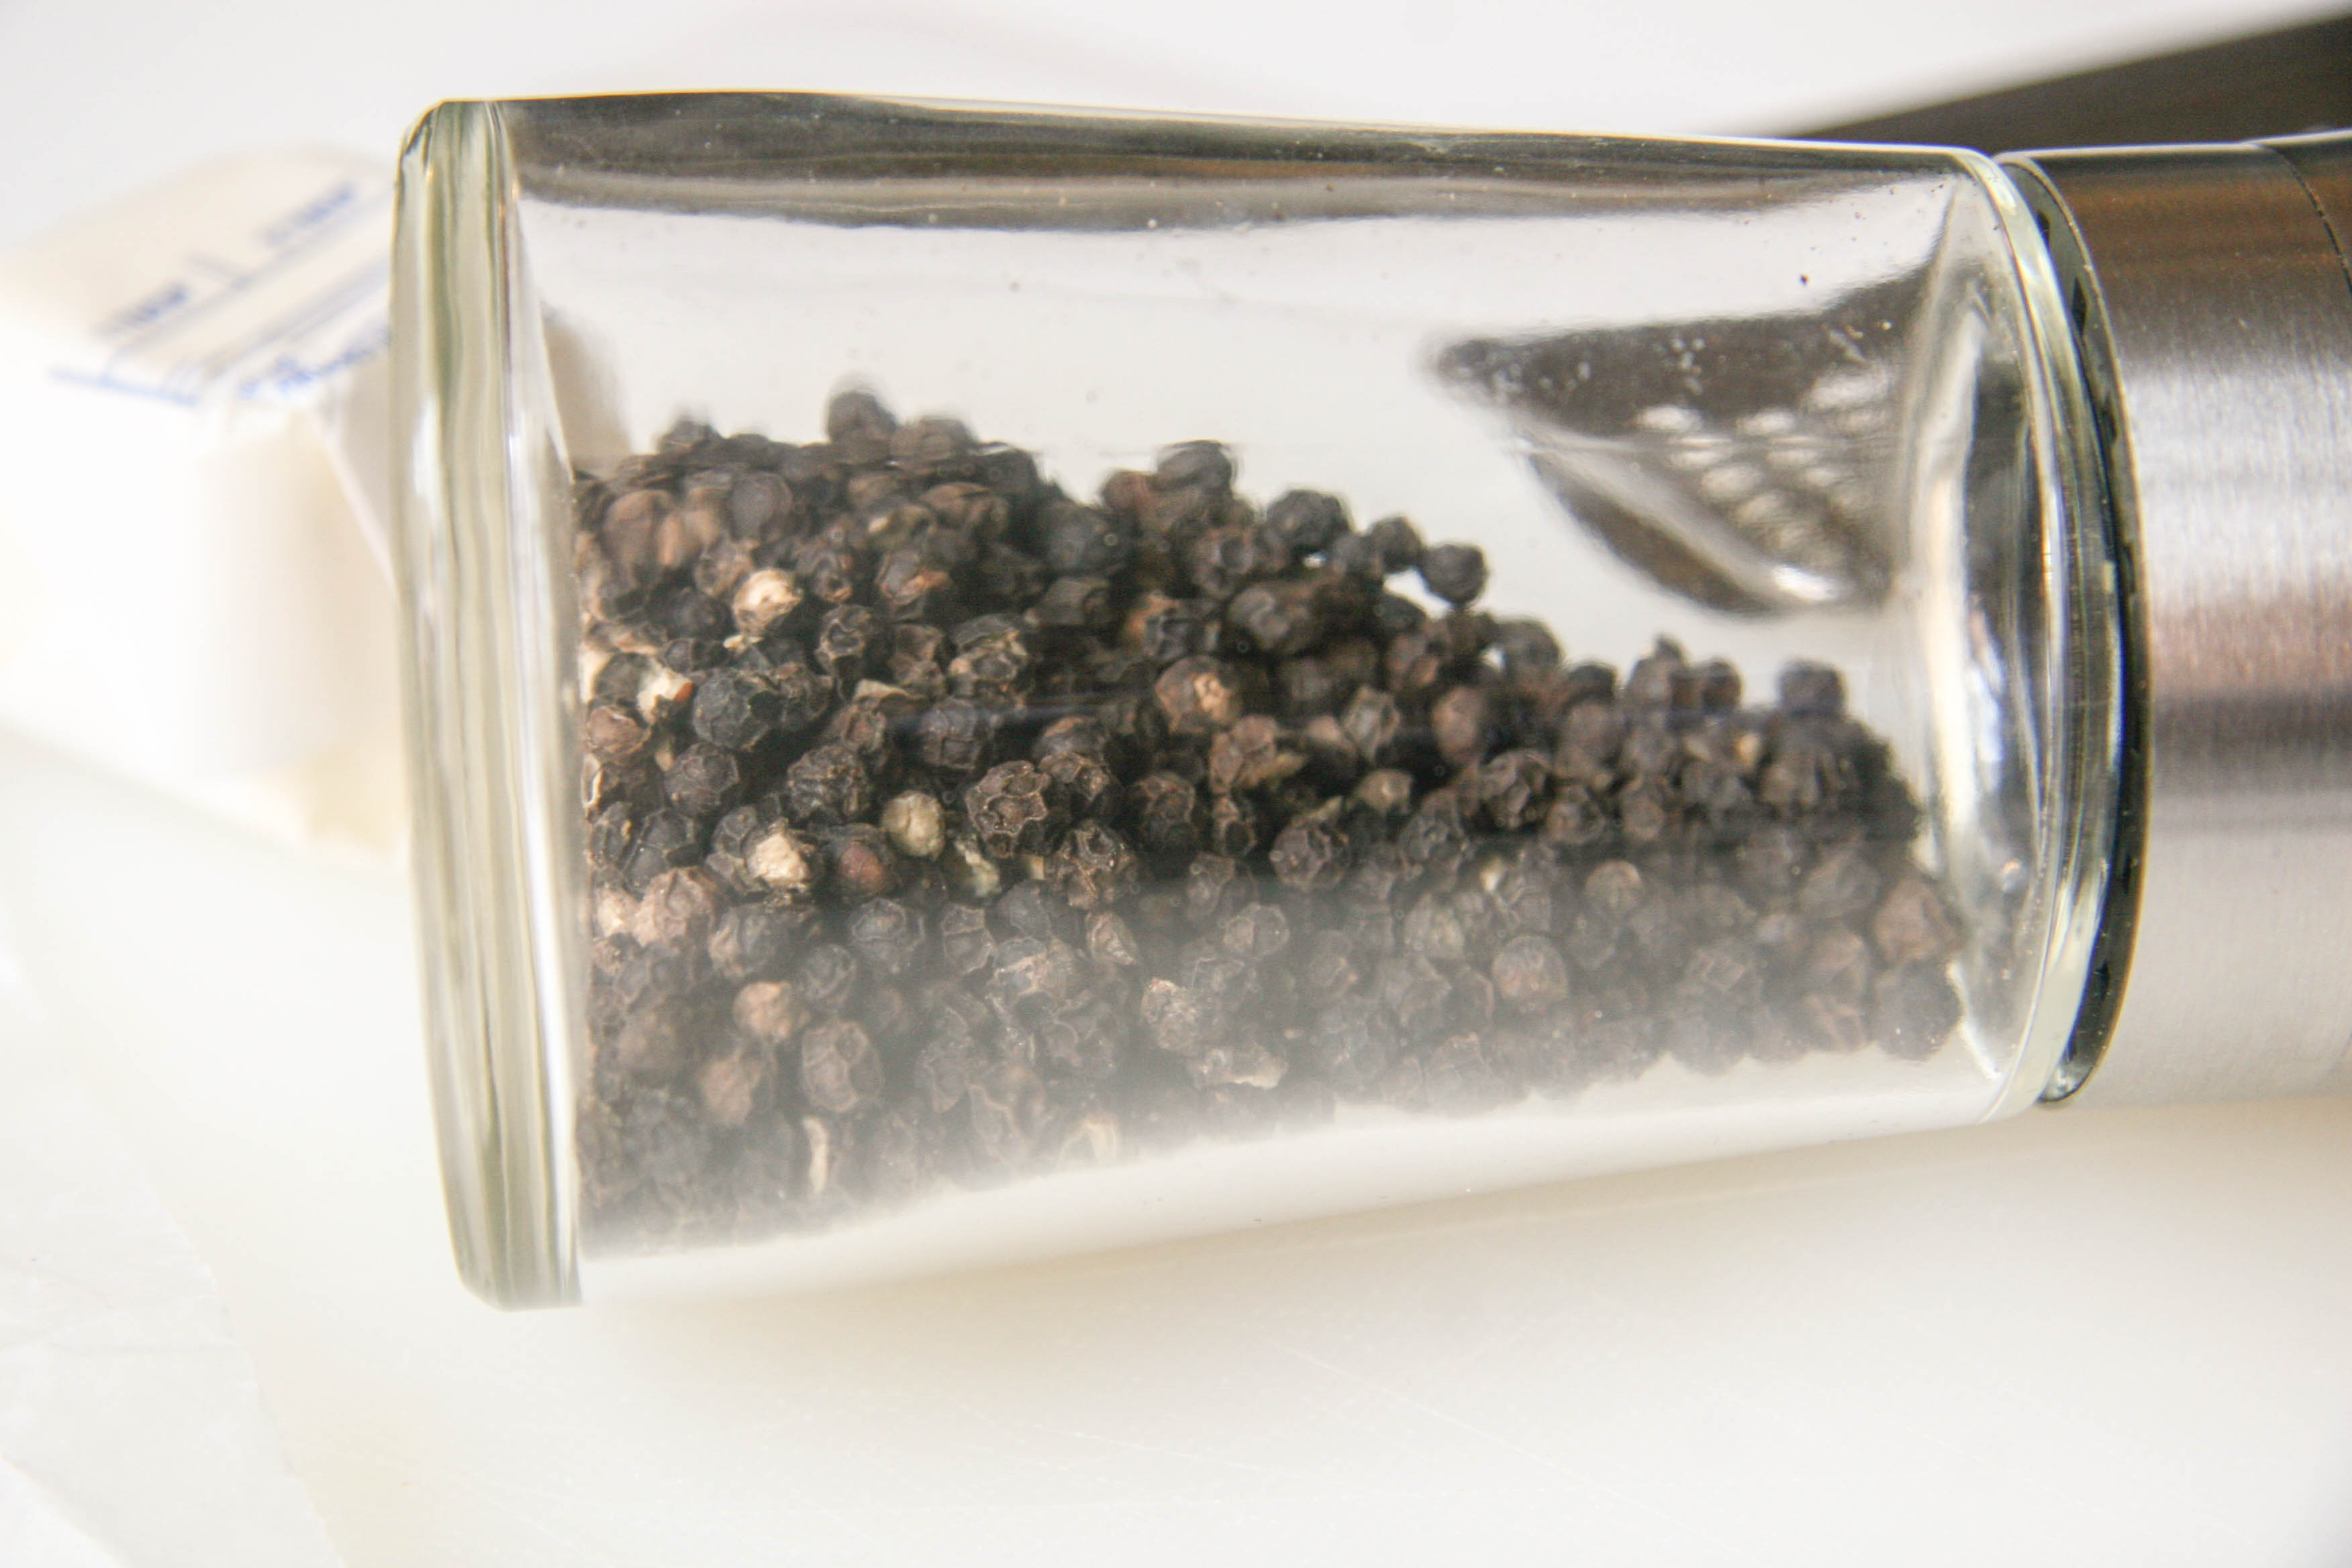
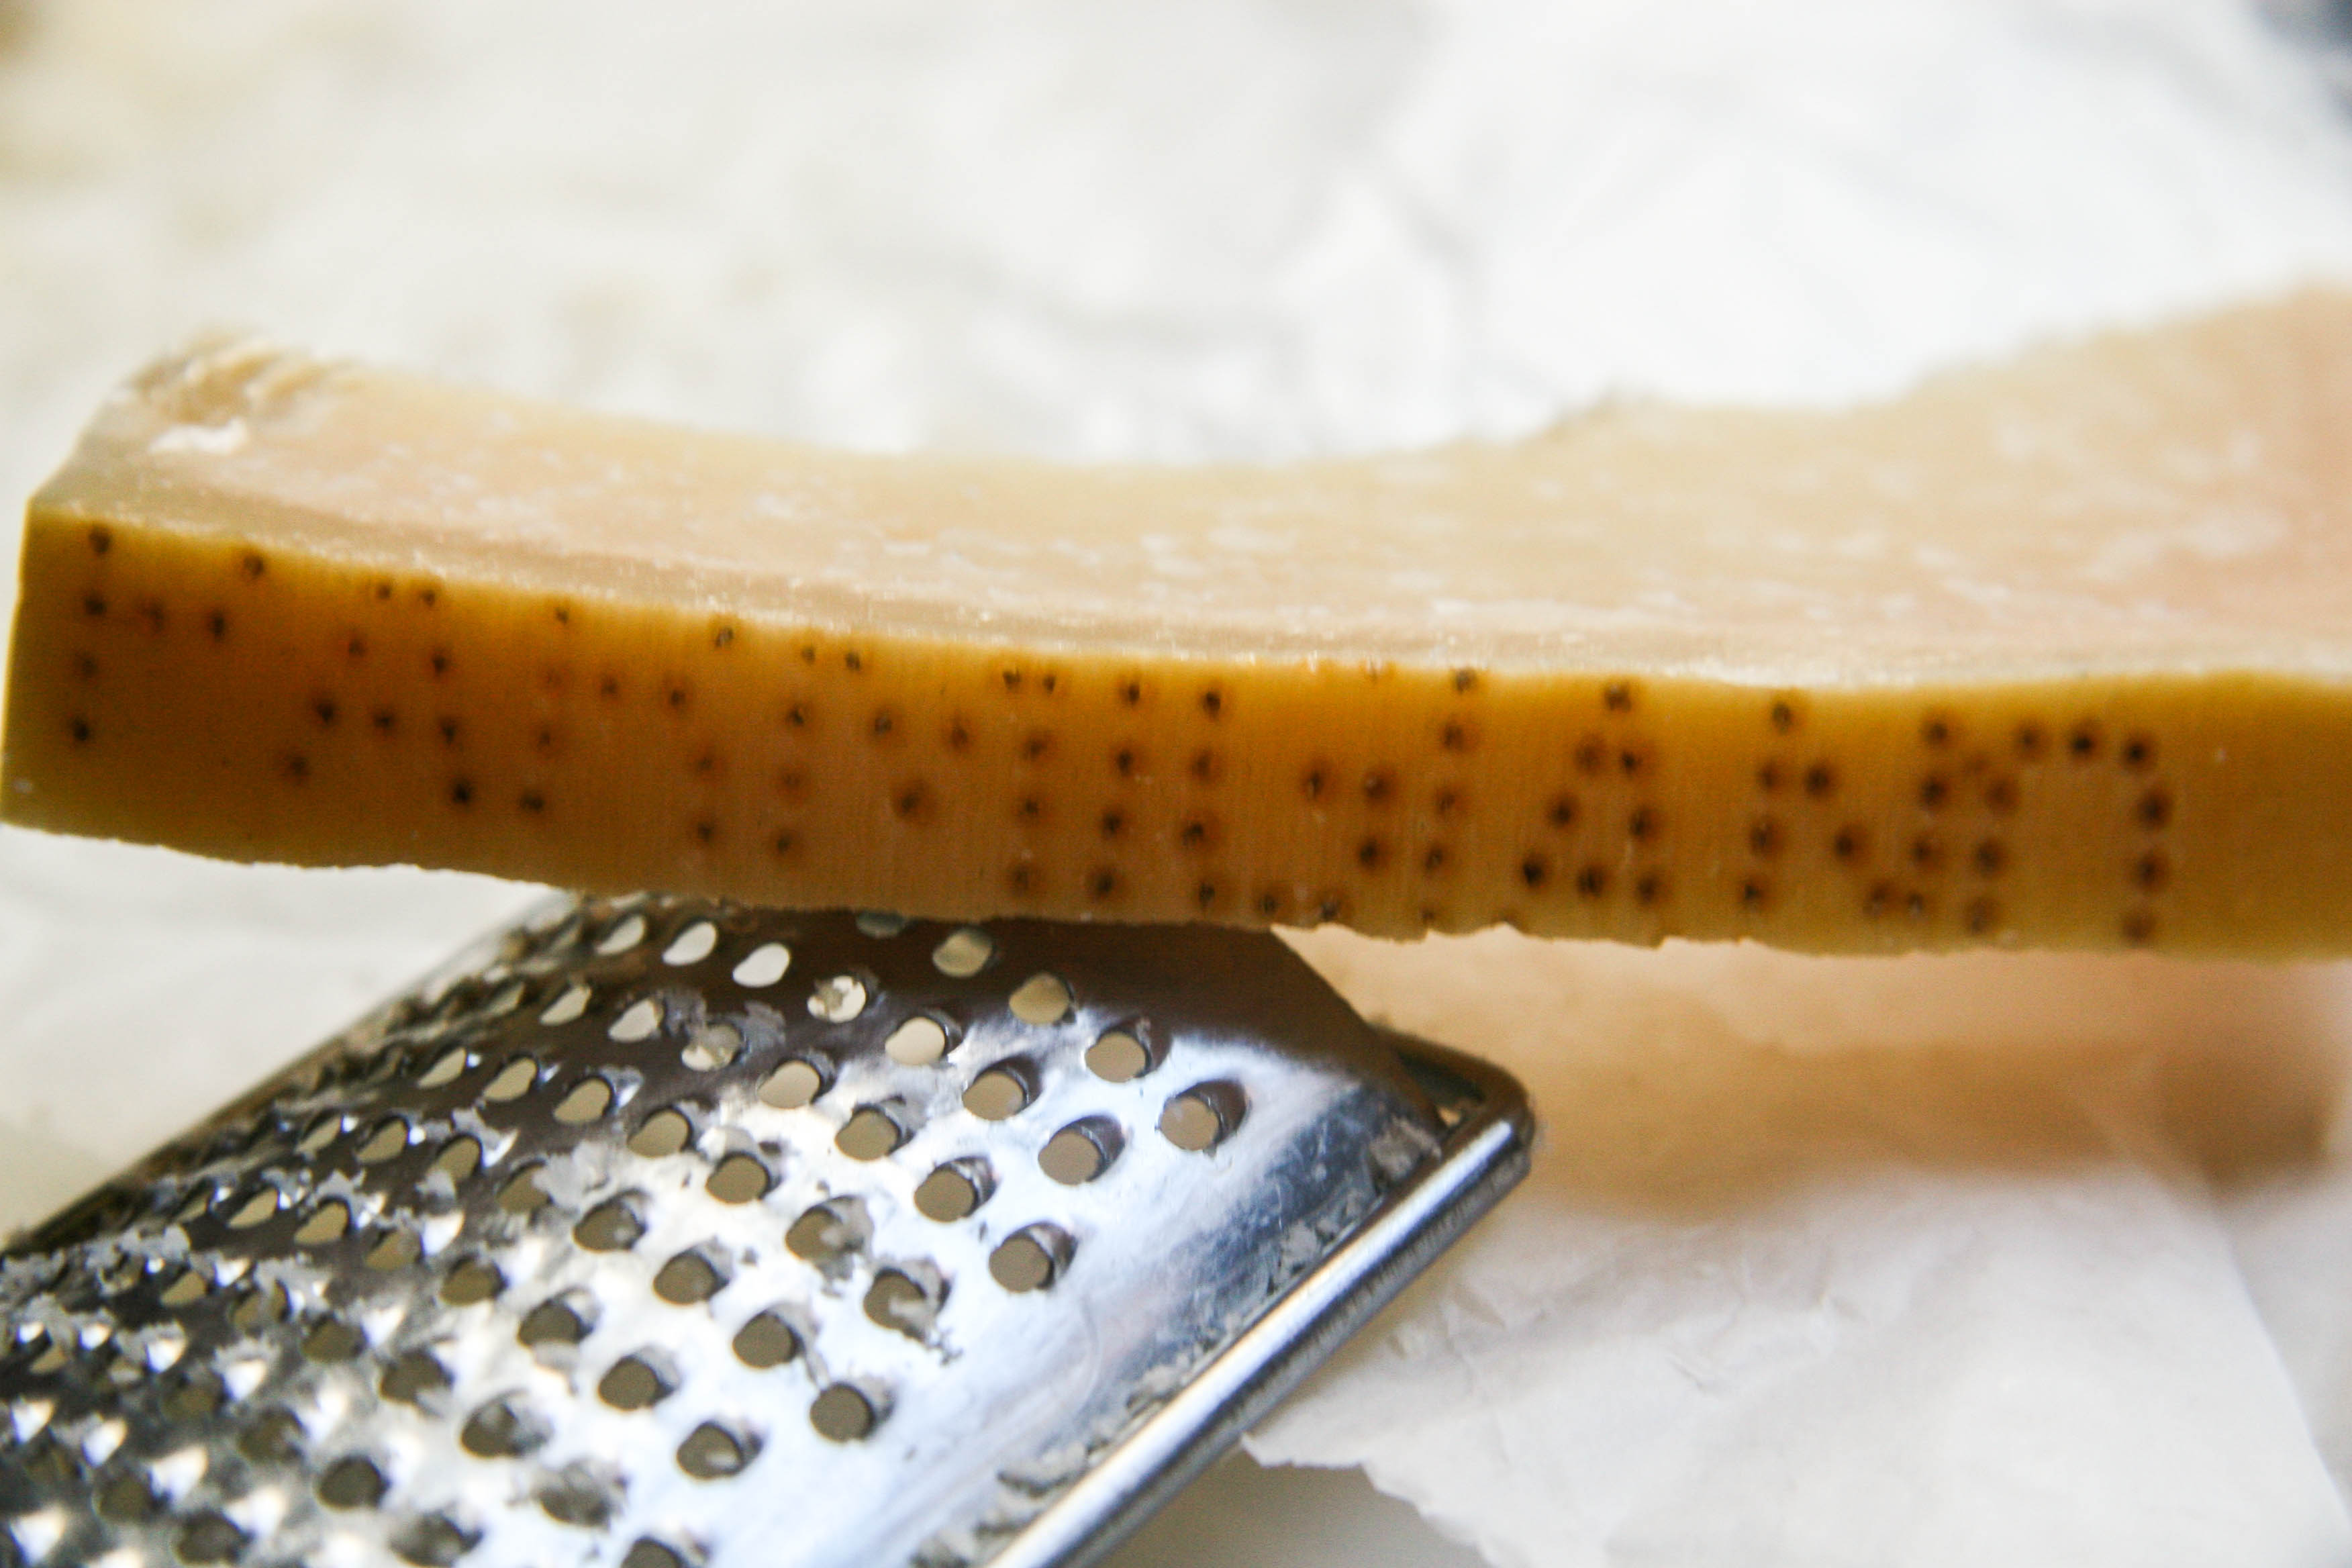
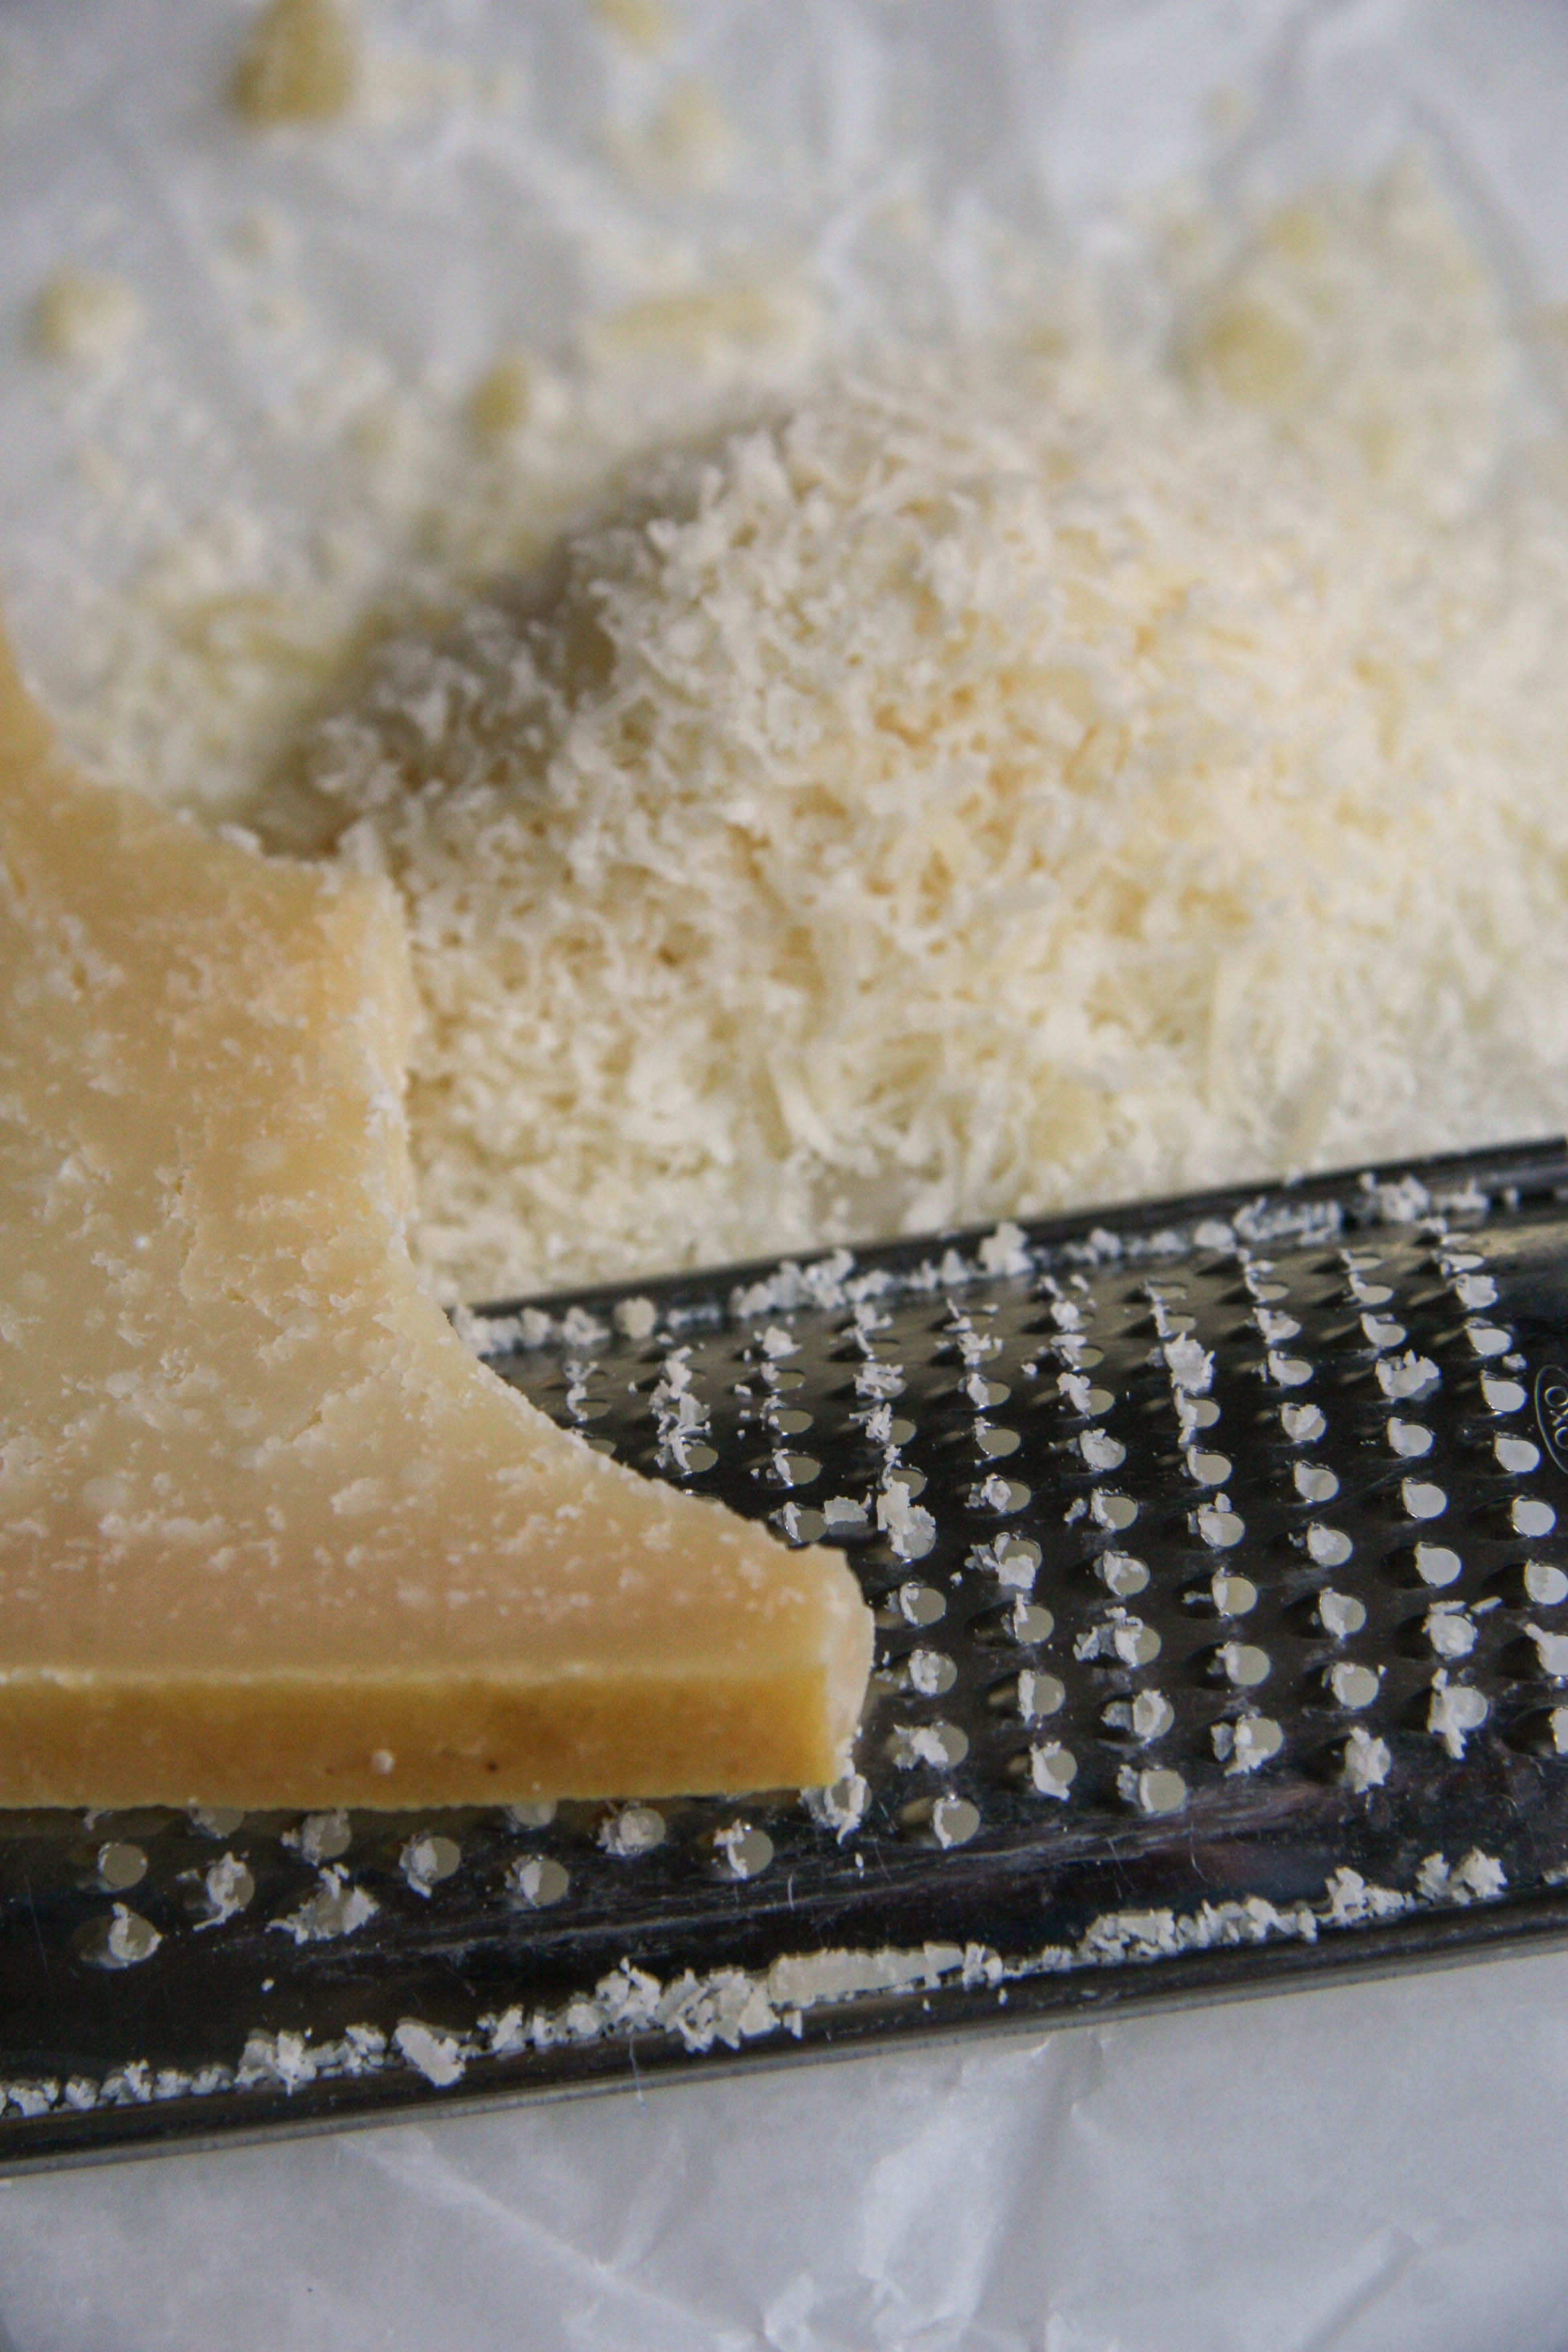
Called Cacio e Pepe, literally meaning cheese and pepper in Italian, this minimalist pasta dish is so great because it is made with just 6 ingredients and its deliciousness is on your table in 15–20 minutes. Like I often do, I read a Shaq-sized handful of recipes for Cacio e Pepe before making it myself. The key to this creamy, cheesy, peppery-spiced pasta is in the technique. You’ll heat the pepper in a small bit of oil first to help develop its flavor. You’ll use the starchy pasta water to make the sauce; coupling it with a little bit of butter and a generous portion of finely grated, sharp Pecorino Romano or Parmigiano-Reggiano. I used fresh bucatini because there is a fabulous fresh pasta shop near my apartment, but feel free to use dry. If you can find it, I strongly recommend bucatini (spaghetti-like pasta with a hole running through the center). I served it with some simple sautéed kale to make myself feel better. I mean, we did just have this cake.

The result is a restaurant quality dish that even the busiest novice home cook can master and impress with.

I loved this so much I made it two days in a row because I was so excited to share it with you.

cacio e pepe pasta recipe 6

cacio e pepe pasta recipe 7

cacio e pepe pasta recipe 8

cacio e pepe pasta recipe 9

cacio e pepe
Author: Adapted from Maialino via The Family Table Cookbook
Prep time: 5 mins
Cook time: 15 mins
Total time: 20 mins
Serves: Makes 2 main servings or 4 starter courses. Recipe can easily be doubled.
Ingredients
  • 1 tablespoon table salt
  • ½ pound pasta (any shape you like, though long spaghetti-like pasta works great.)
  • 1 tablespoon olive oil
  • ½ tablespoon medium-course fresh ground black pepper (if you don’t really like pepper, reduce to 1 teaspoon)
  • 2 tablespoons cold unsalted butter
  • ½ cup finely grated Parmigiano-Reggiano, plus ¼ cup extra for garnishing
Instructions
  1. Bring 6 cups water and the salt to a boil in a medium sized pot. Add the pasta, stir, and cook until just al dente; the pasta will be reheated for a minute or two later on (keep in mind, when using fresh pasta cook time will be a few minutes shorter than dry).
  2. Meanwhile, heat the oil in a large skillet over medium heat. Add the pepper and warm for 1 to 2 minutes to release its flavor. Ladle ⅔ cup of the pasta cooking water into the skillet with the pepper and remove the pan from heat.
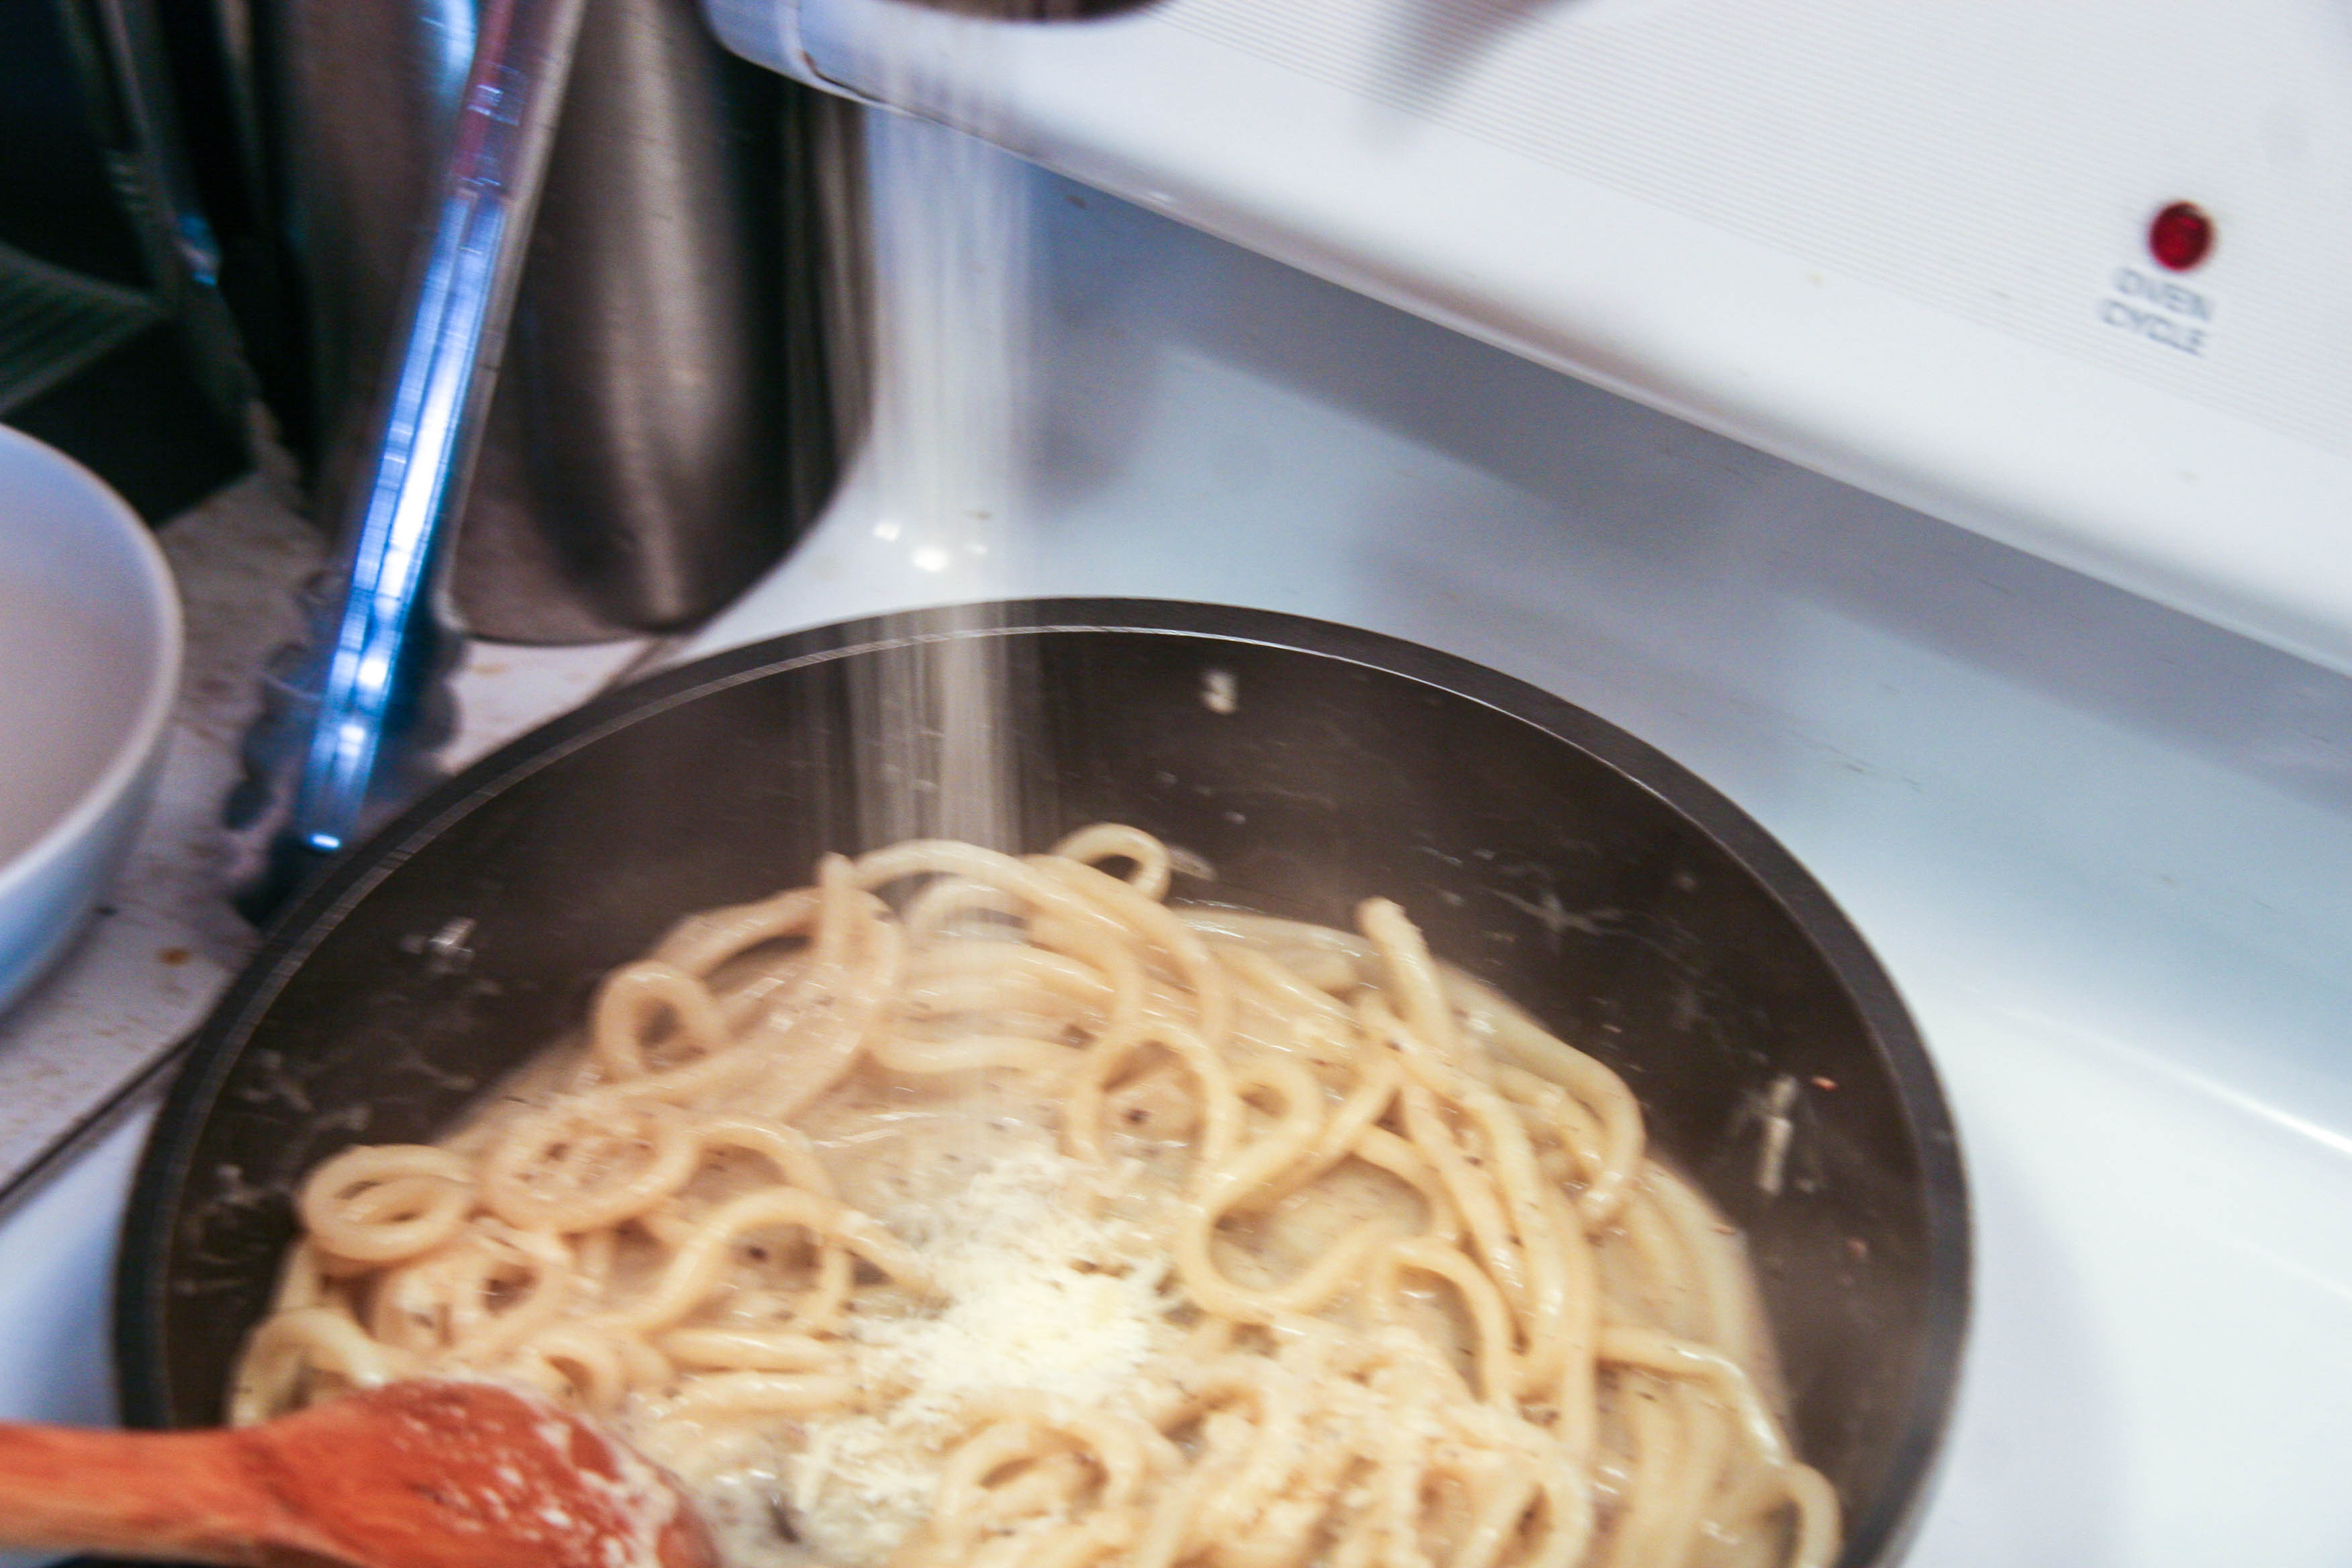
  3. When the pasta is al dente, drain it and add it to the pepper/pasta water skillet. Return the pan to medium-high heat, add the butter, and cook, stirring constantly until the butter has melted completely. Remove from heat and gradually sprinkle the cheese over the pasta, stirring the pan until the cheese is fully incorporated and forms a creamy sauce. Taste the sauce and add more pepper if you’d like.
  4. Serve immediately topped with the remaining grated cheese.
3.2.1275


Filed Under: eat, mains Tagged With: cheese, creamy, crowd-pleaser, easy, parmesan, pasta, pepper, quick, spaghetti, weekday

raspberry lime buttermilk cake with coconut cream cheese frosting

April 2, 2014 by Butter Loves Company

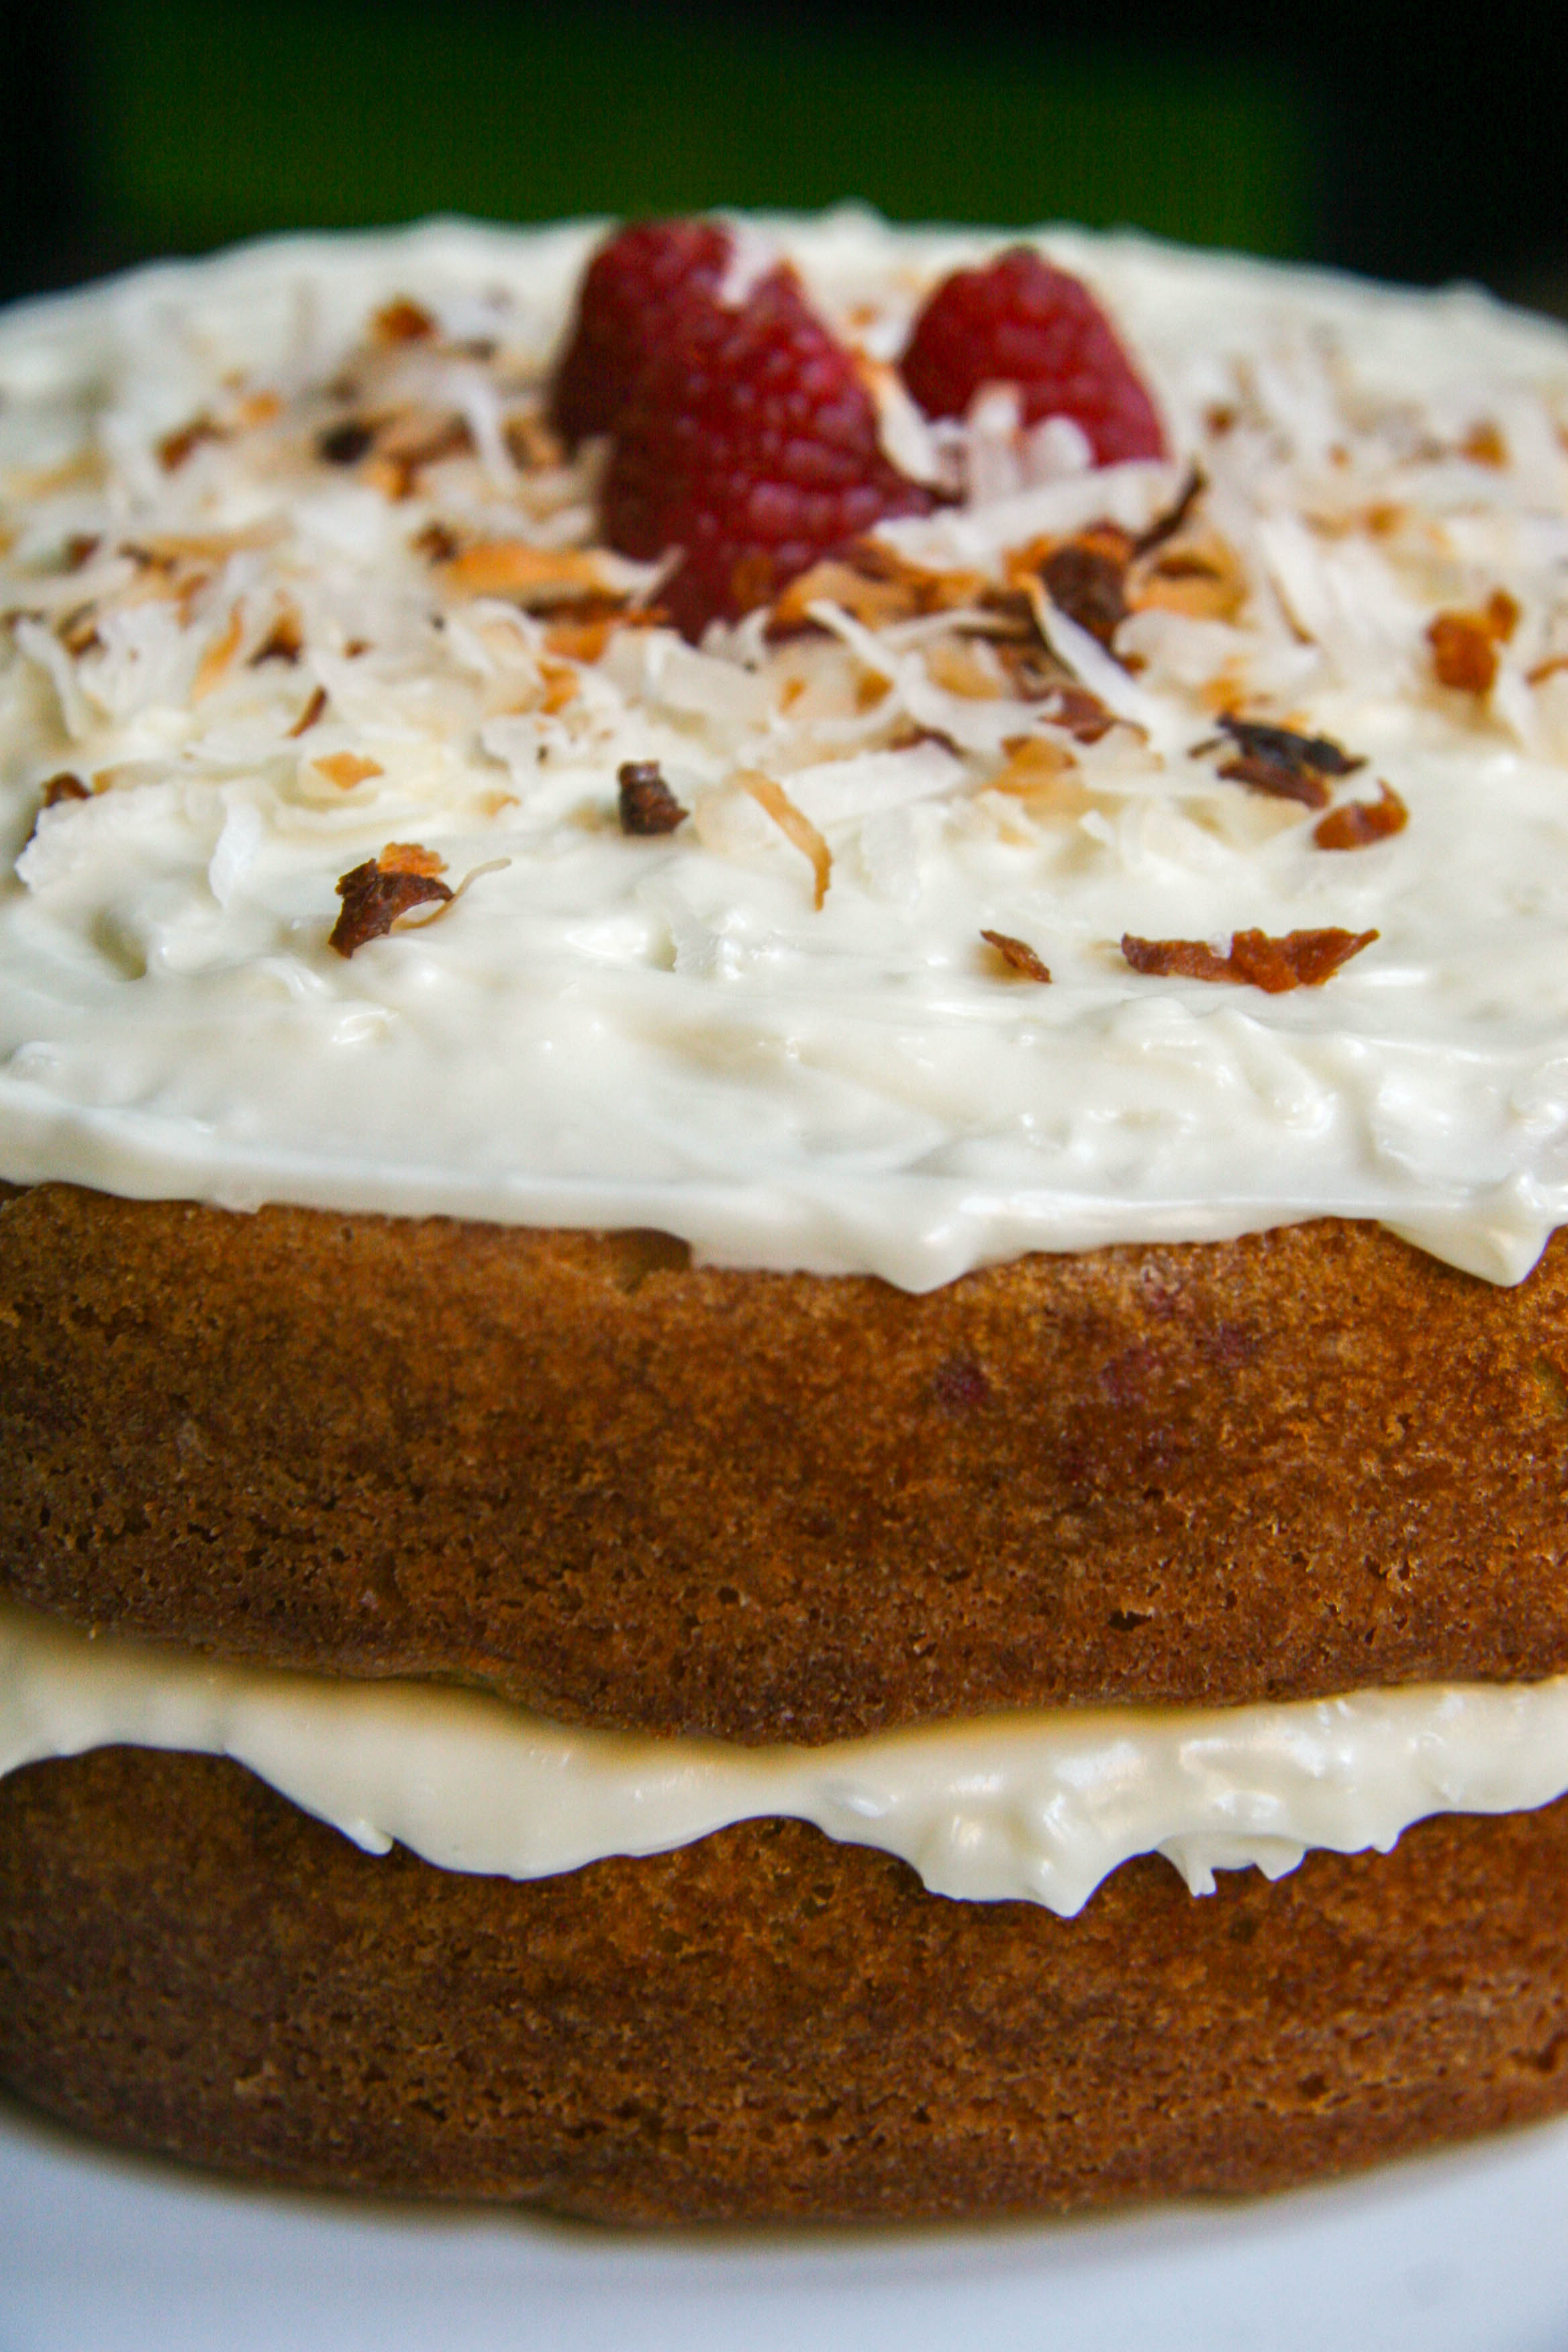
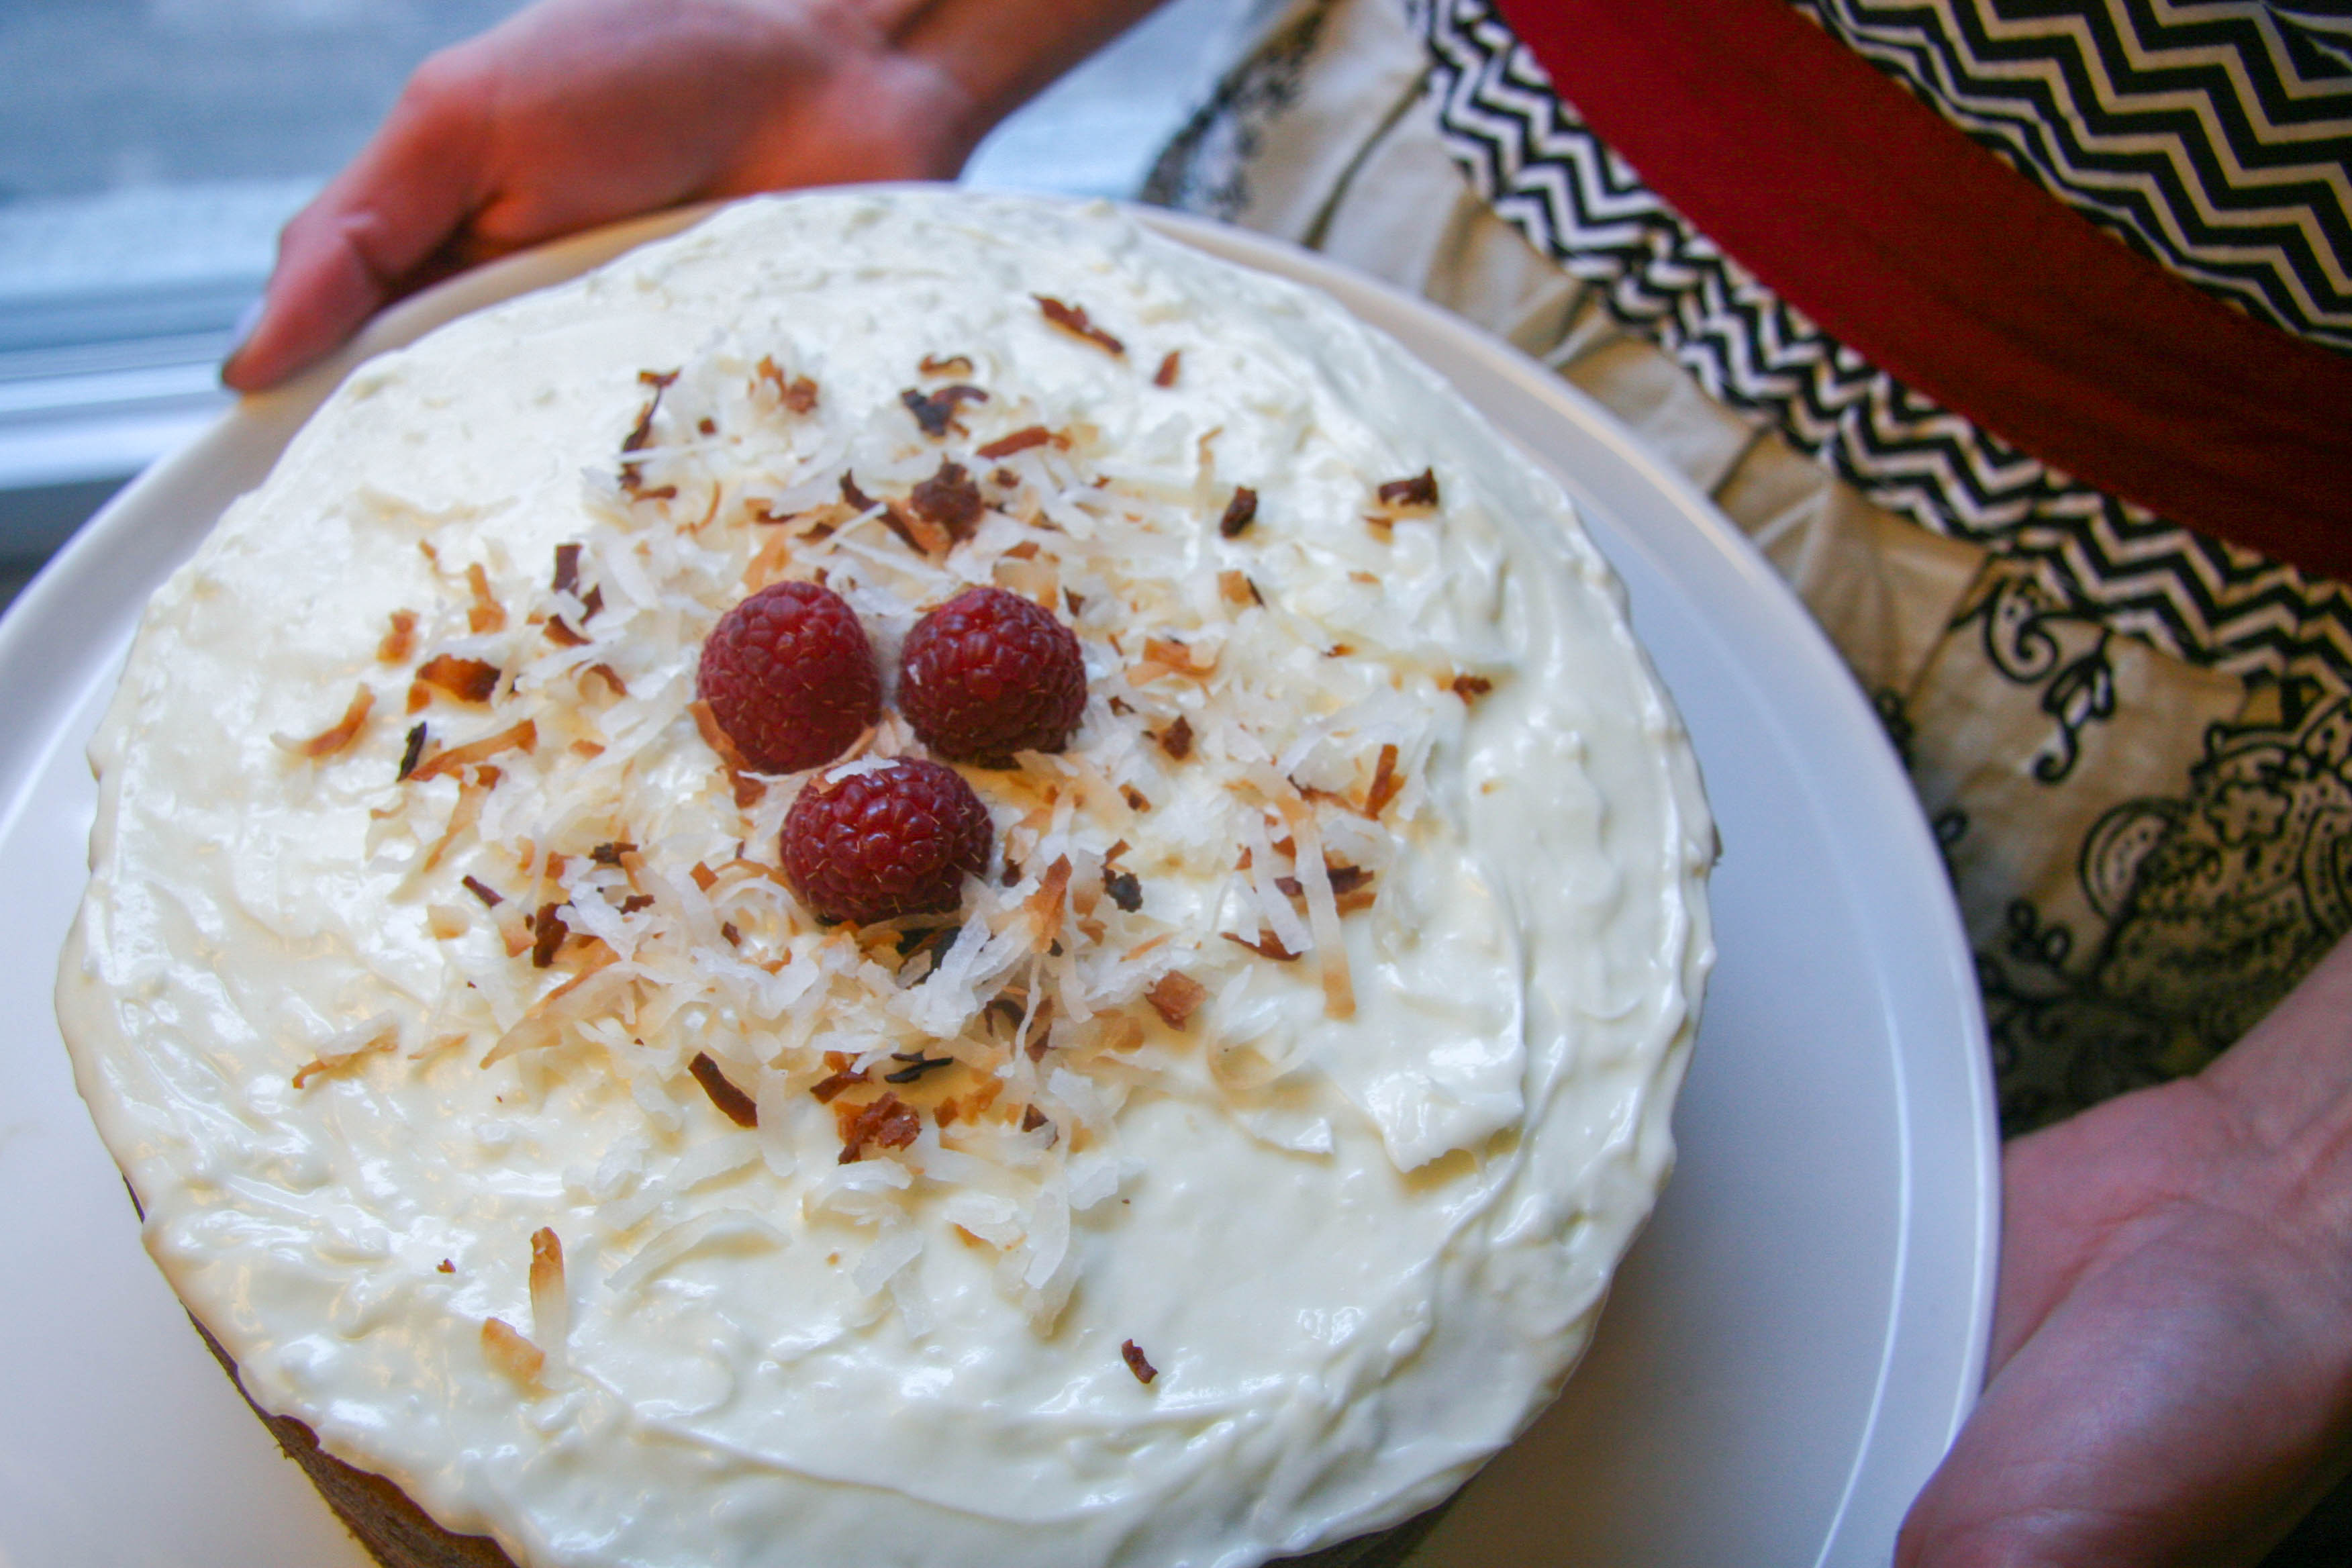
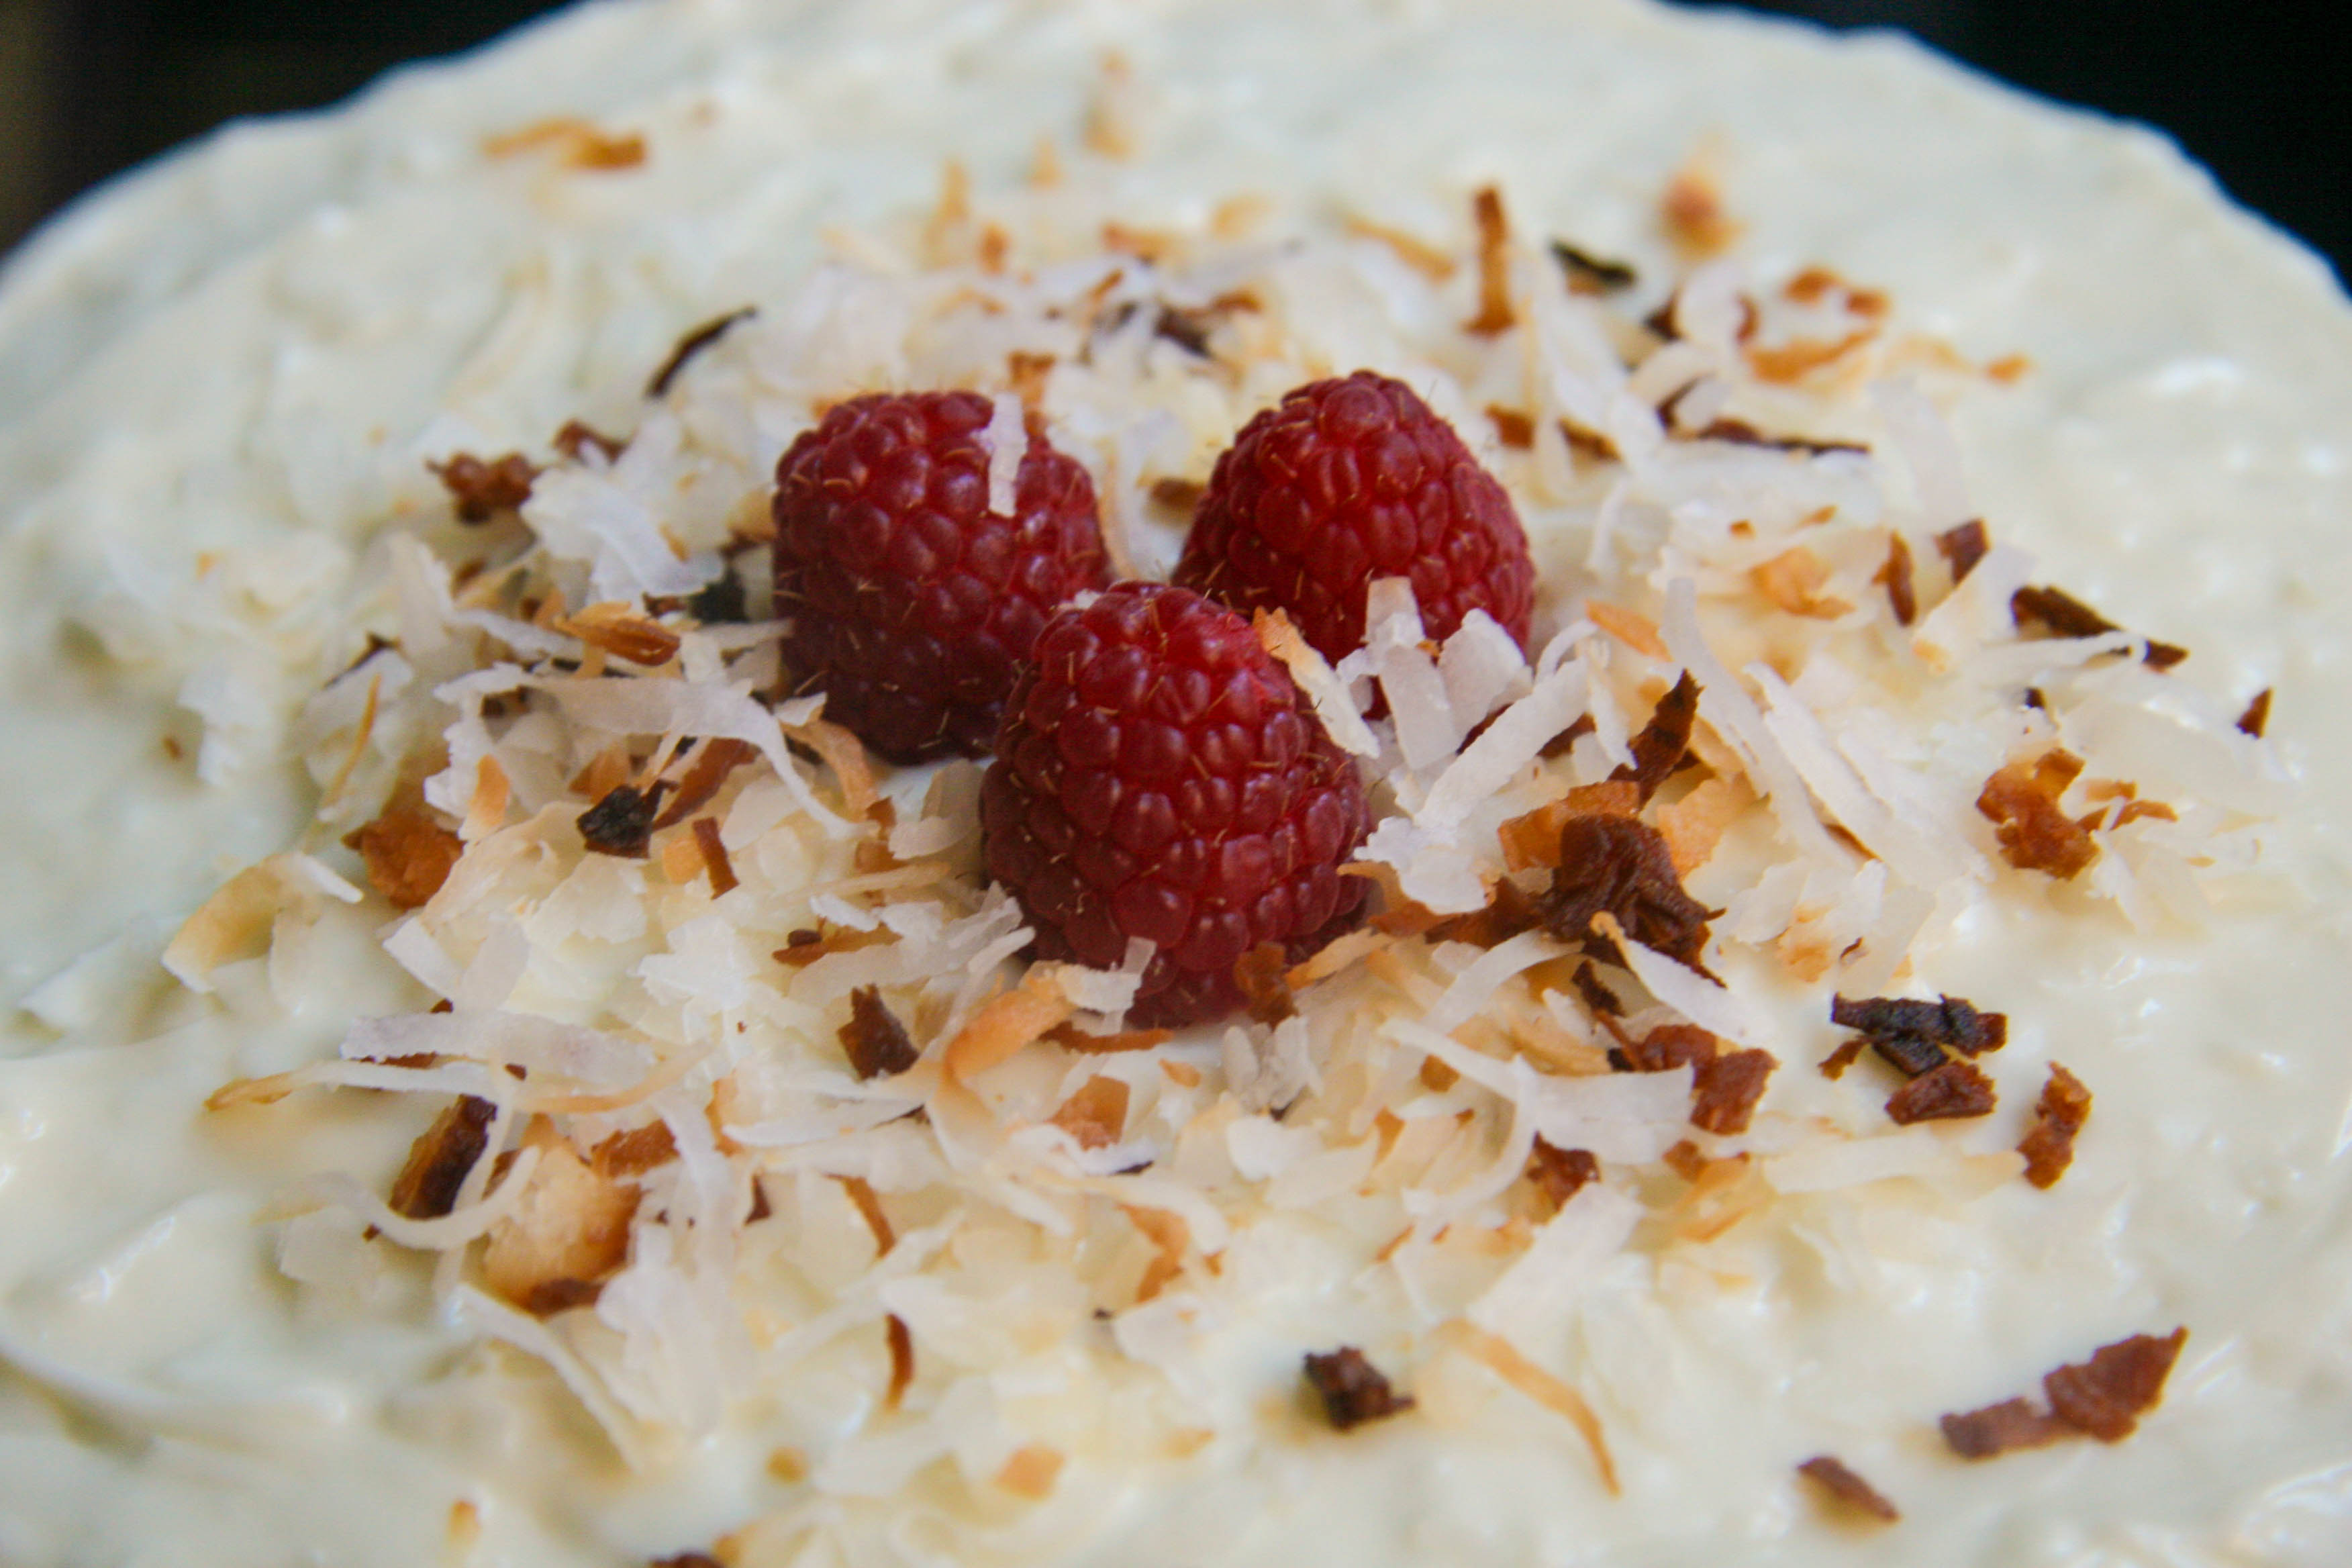
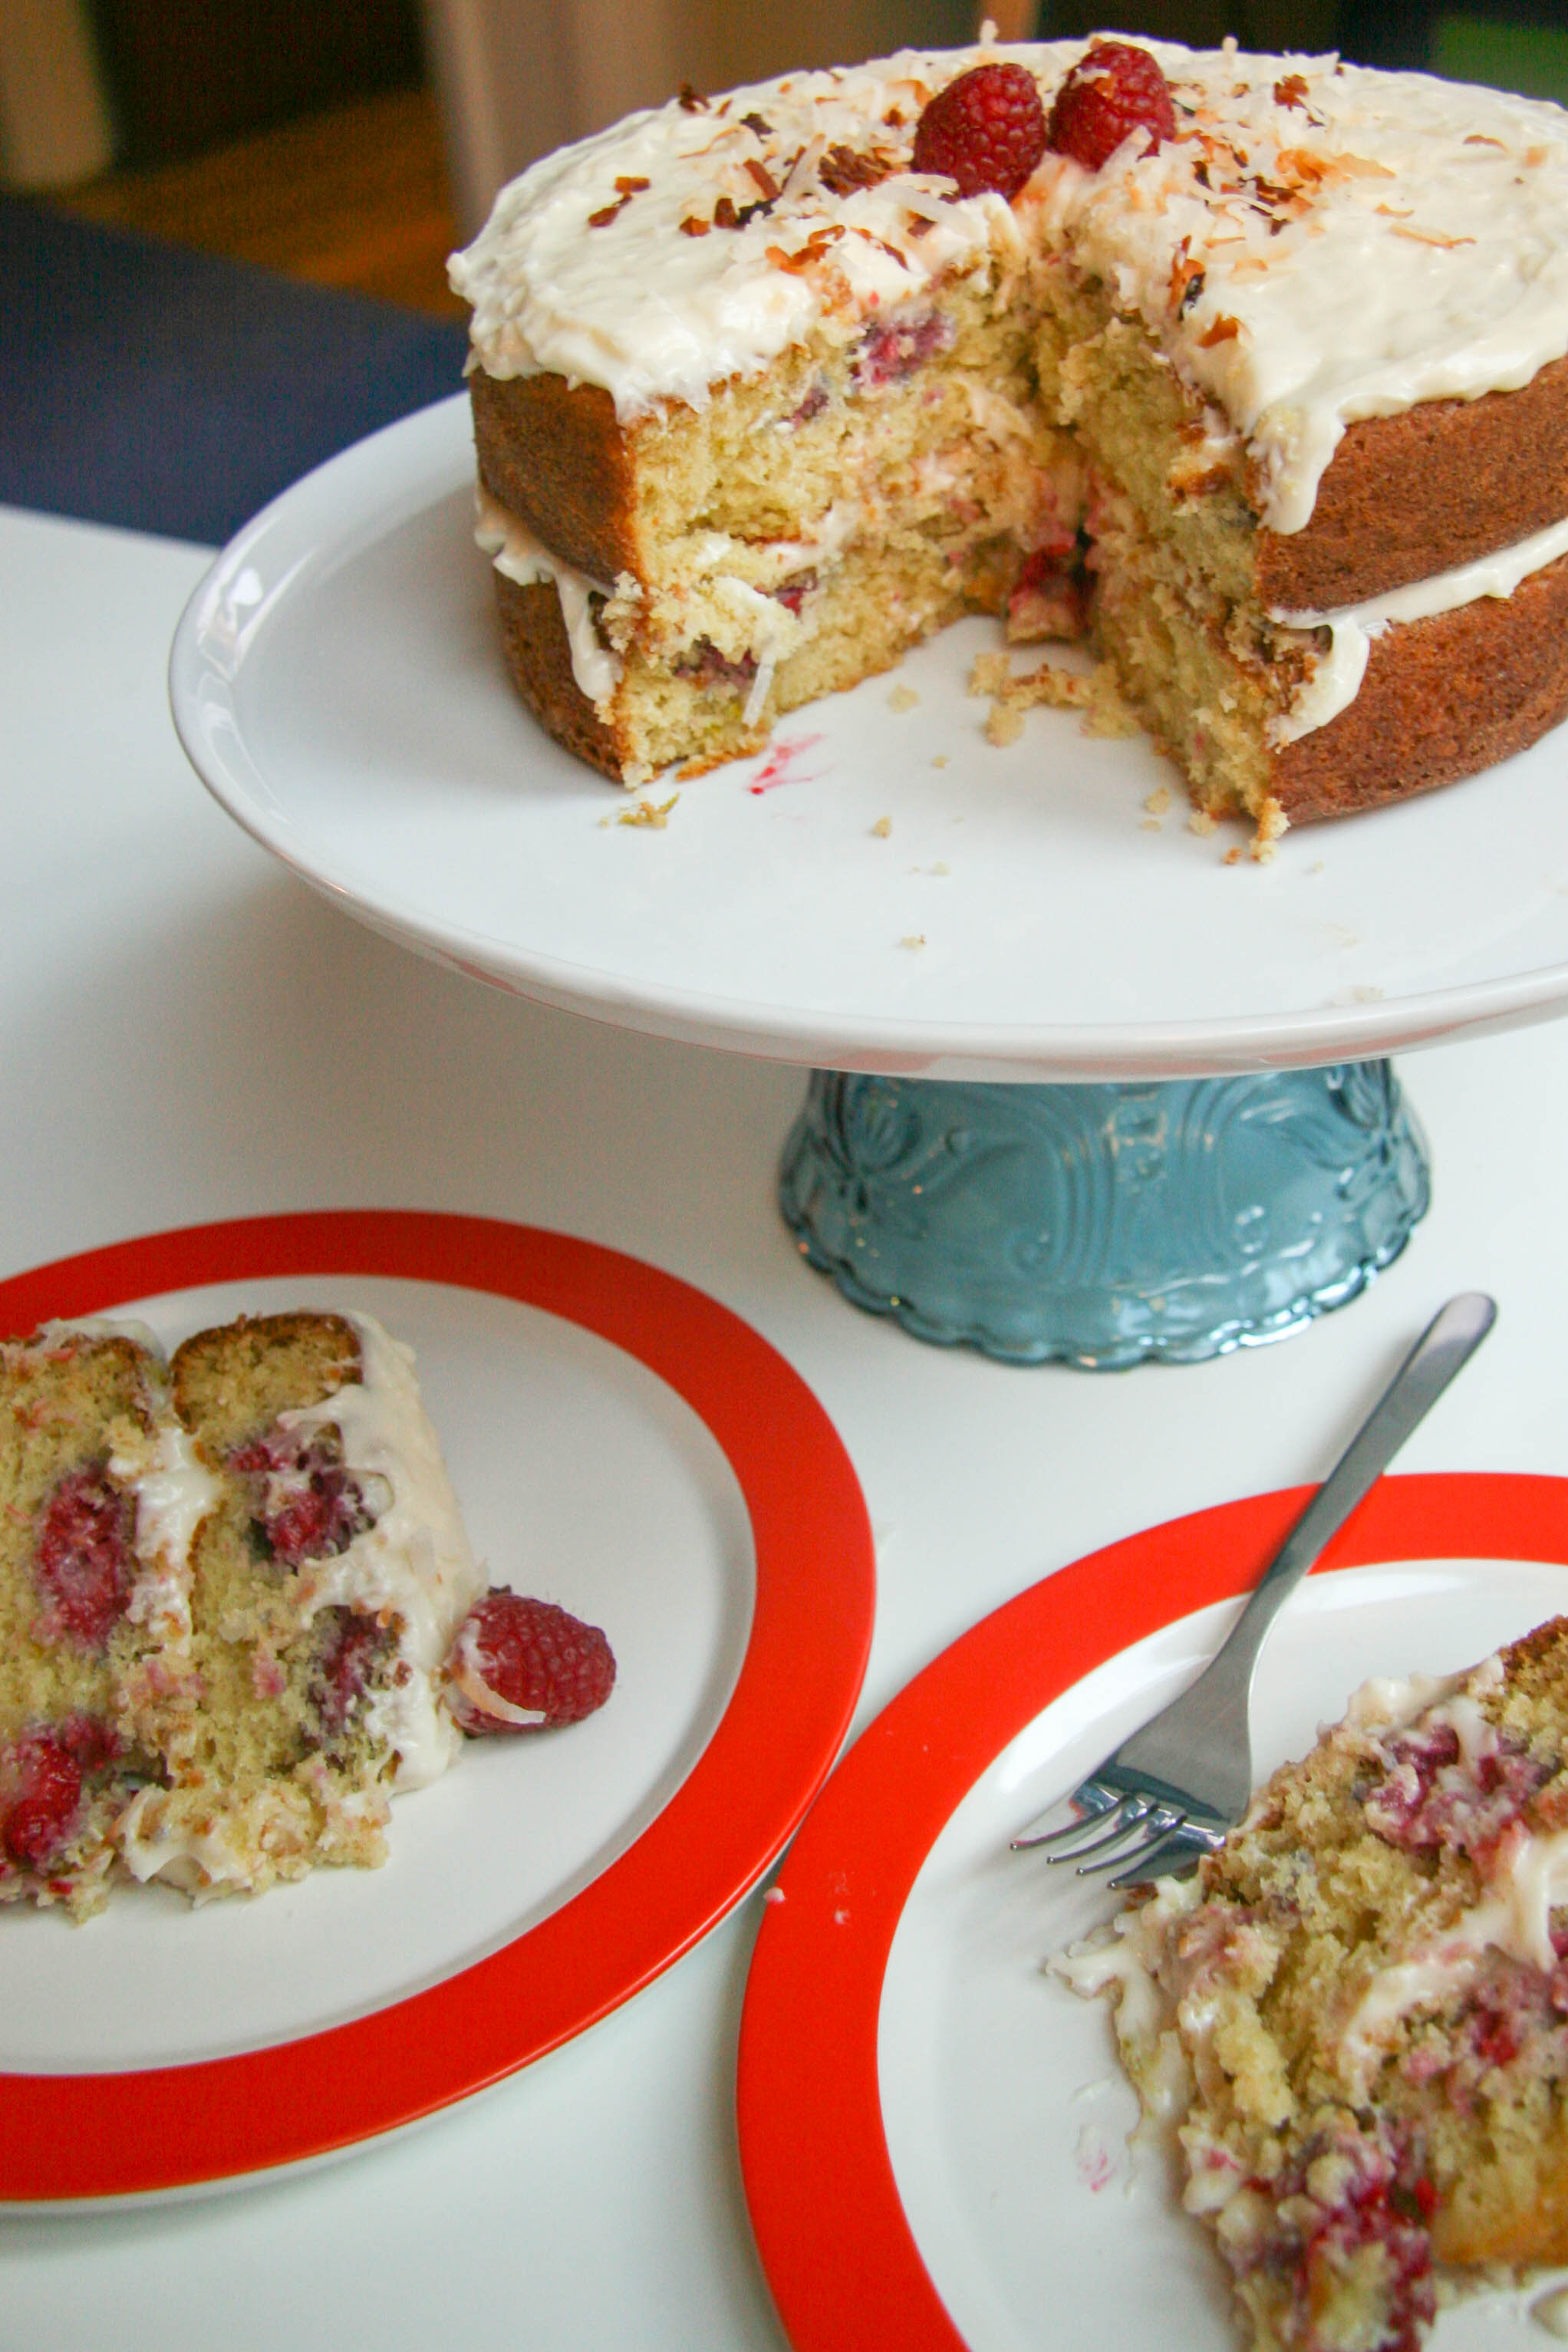
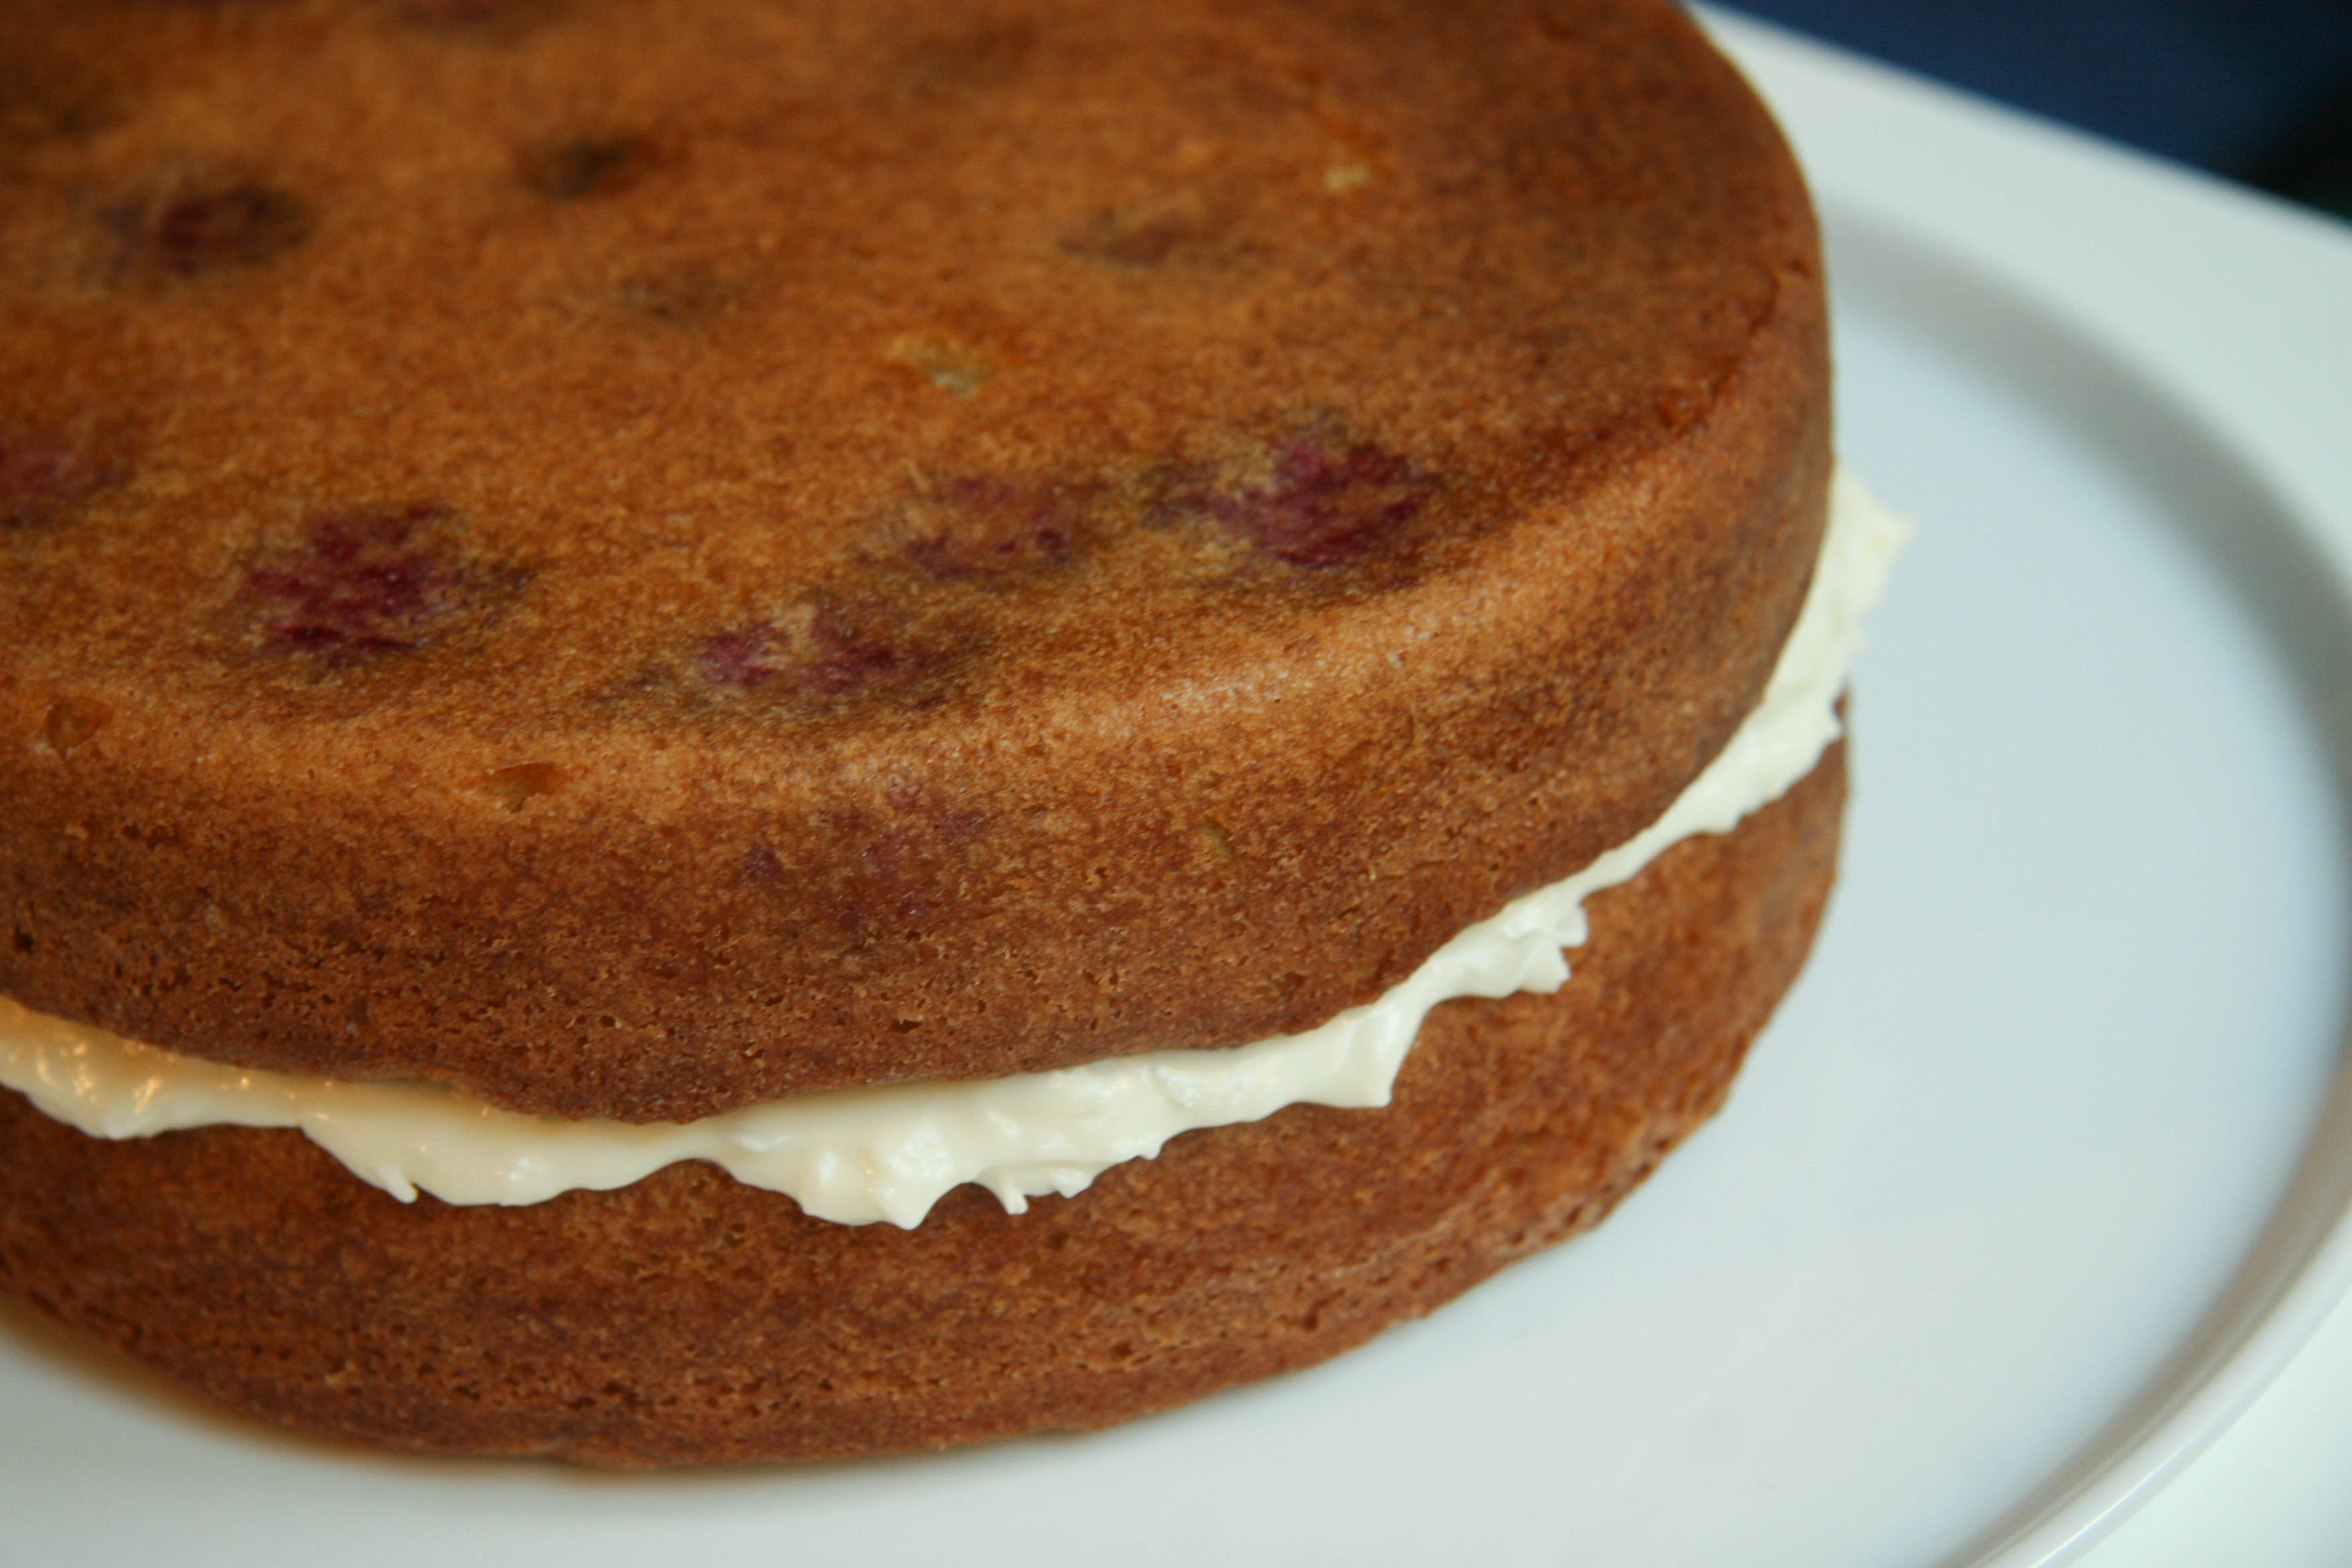
raspberry lime buttermilk cake with coconut cream cheese frosting-assembled cake4Light, moist buttermilk layers dotted with fresh raspberry bursts and swirled with lime zest; all topped with tropical coconut cream cheese frosting.

I’m pretty sure the red-eye home from sunny California last night made me crazy this morning. I mean, after indulging on SoCal treats like tacos, churros, baseball game fare, and a delicious key lime pie made by Greg’s cousin (to the entire family, we are so grateful!), I should’ve immediately banished all junk, hit the grocery store, and stocked up on every single green, crunchy vegetable available in preparation for a string of signature “post-vacation detox” salads.

Instead—in my red-eye haze—I made this Raspberry Lime Buttermilk Cake with Coconut Cream Cheese Frosting. I had most of the ingredients staring at me in the fridge; sad we had left them for the palm trees and Hollywood glam of the west coast. What was I supposed to do?

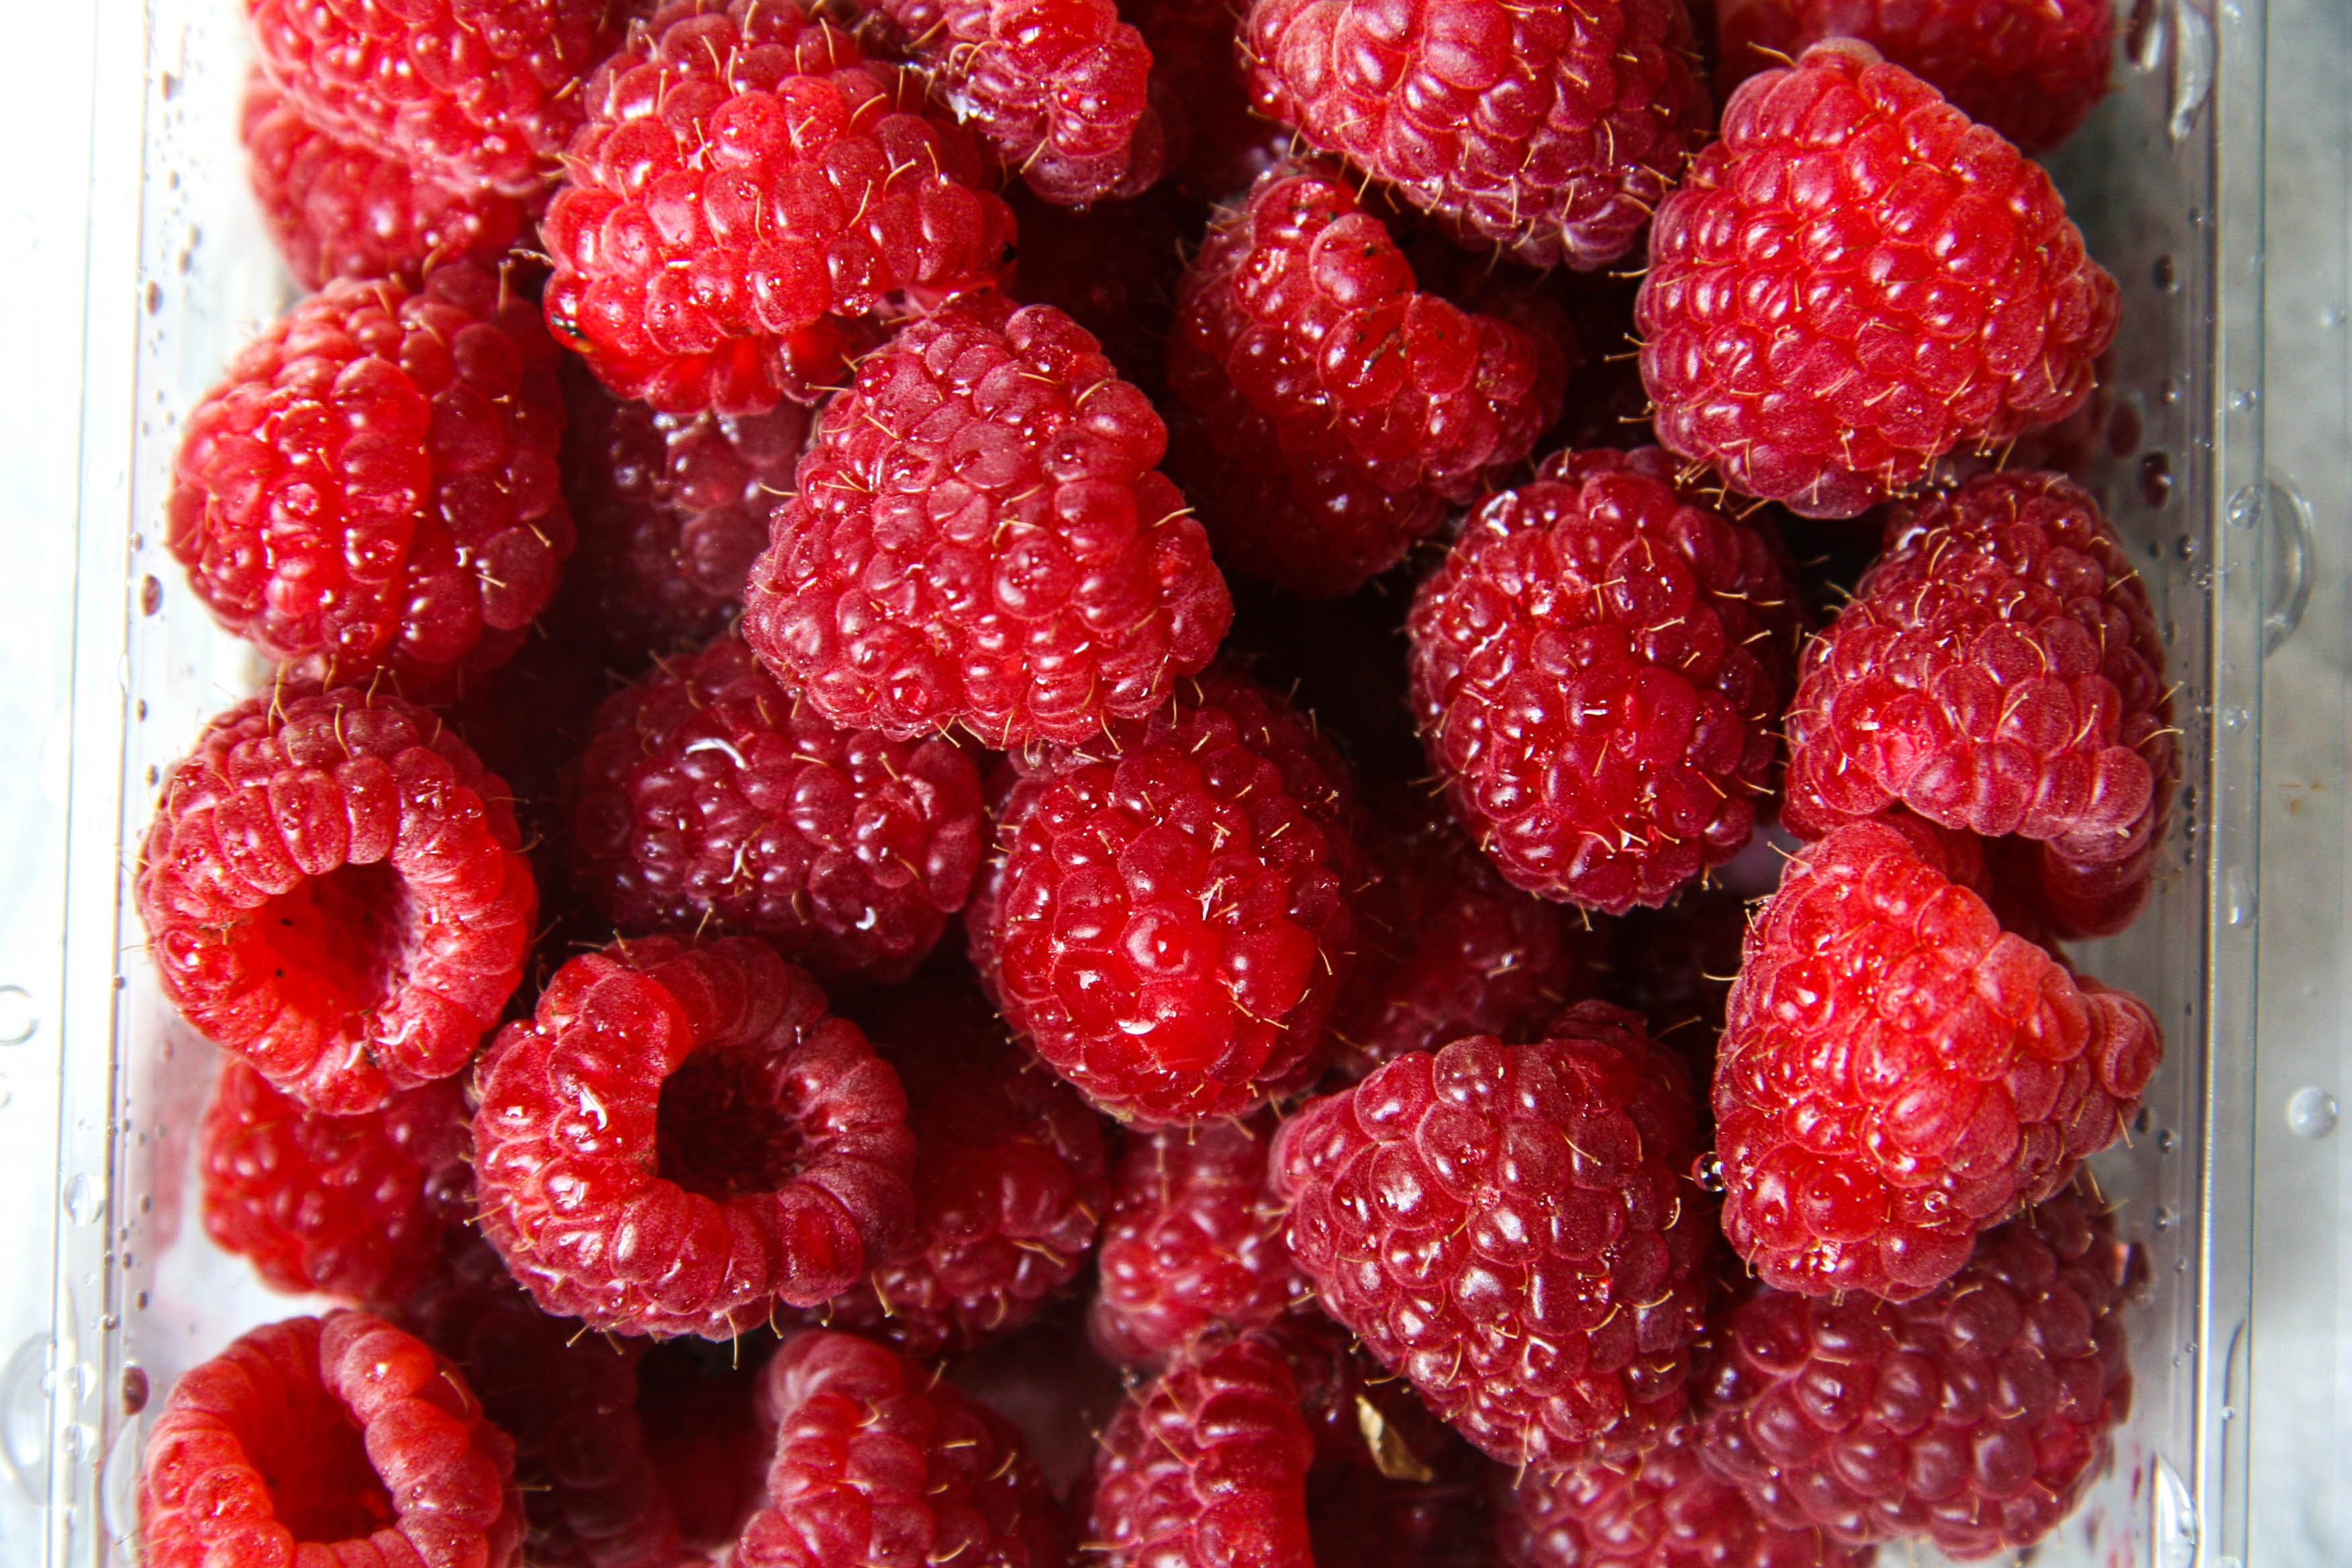
The layers of this cake are incredibly moist because of the buttermilk, and in every other bite you get juicy, tart bursts of raspberry with a citrusy lime undertone. The raspberries could easily be swapped out with any other berry you have on hand. In the past I’ve made it with diced strawberries and Greg and I enjoyed it unfrosted as a breakfast cake. In this case, I decided to layer it with coconut cream cheese frosting for a rich, sweet taste of the tropics—and one last bite of vacation.

raspberry lime buttermilk cake with coconut cream cheese frosting-raspberries

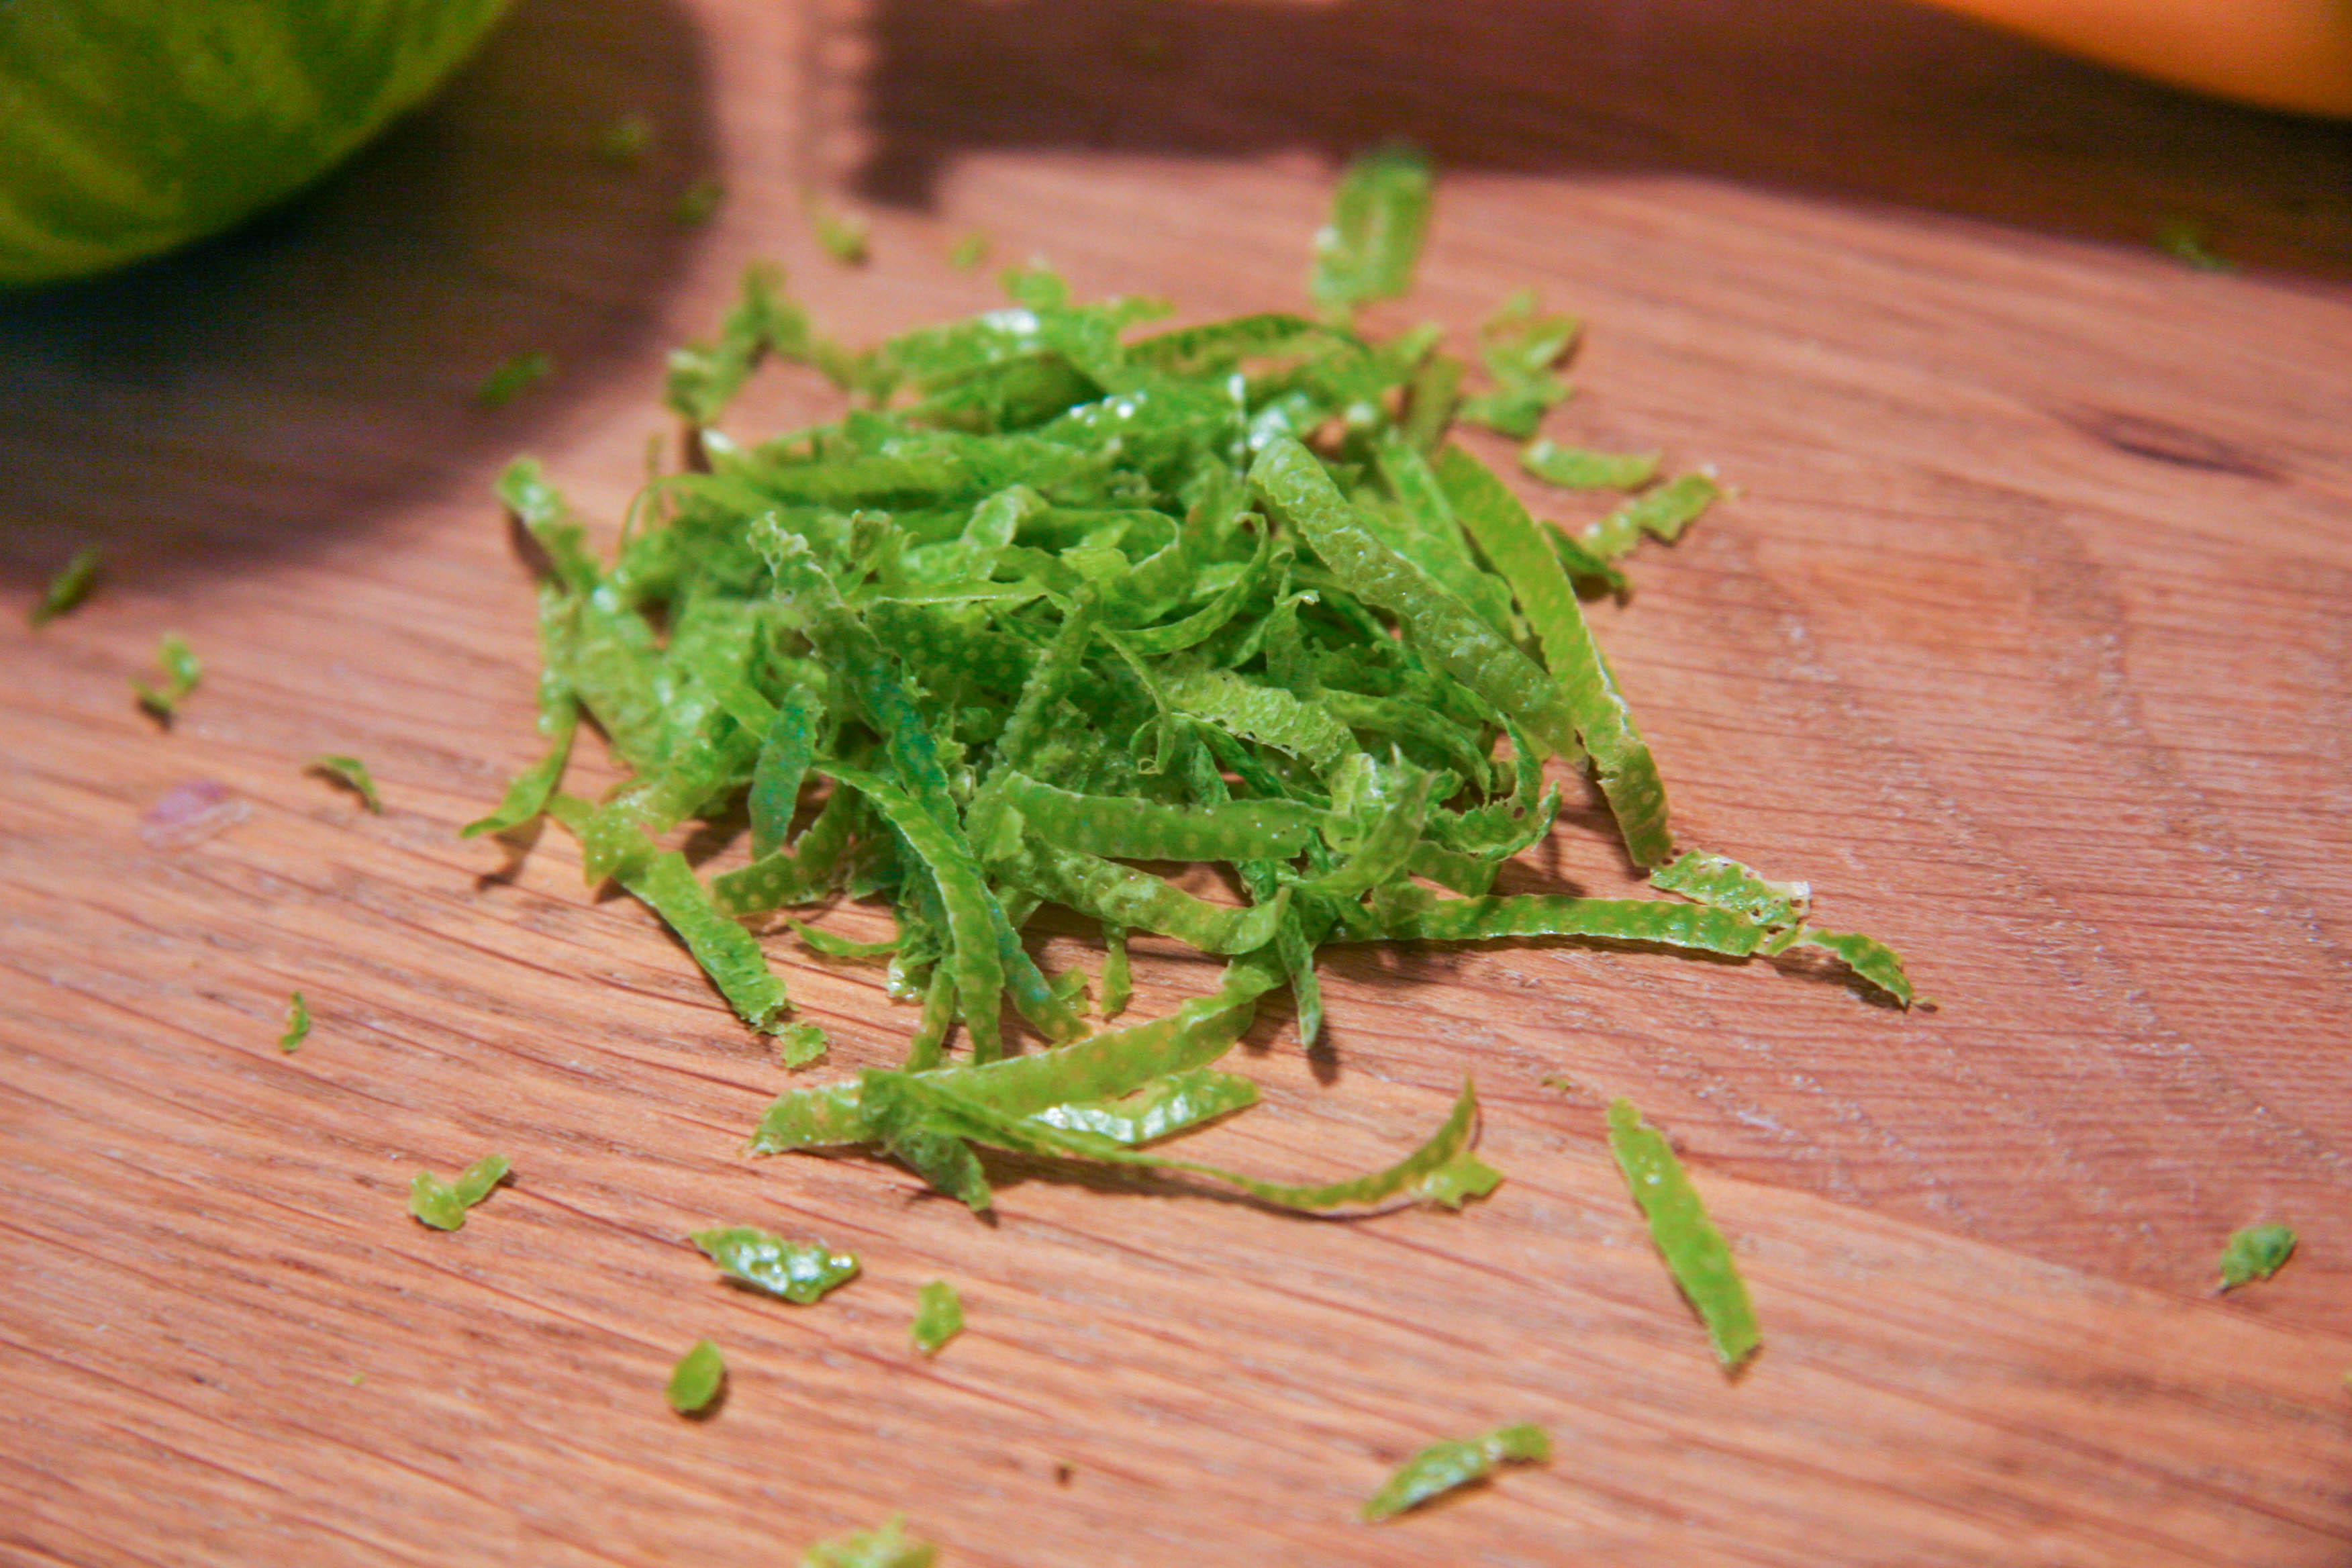
raspberry lime buttermilk cake with coconut cream cheese frosting-lime zest

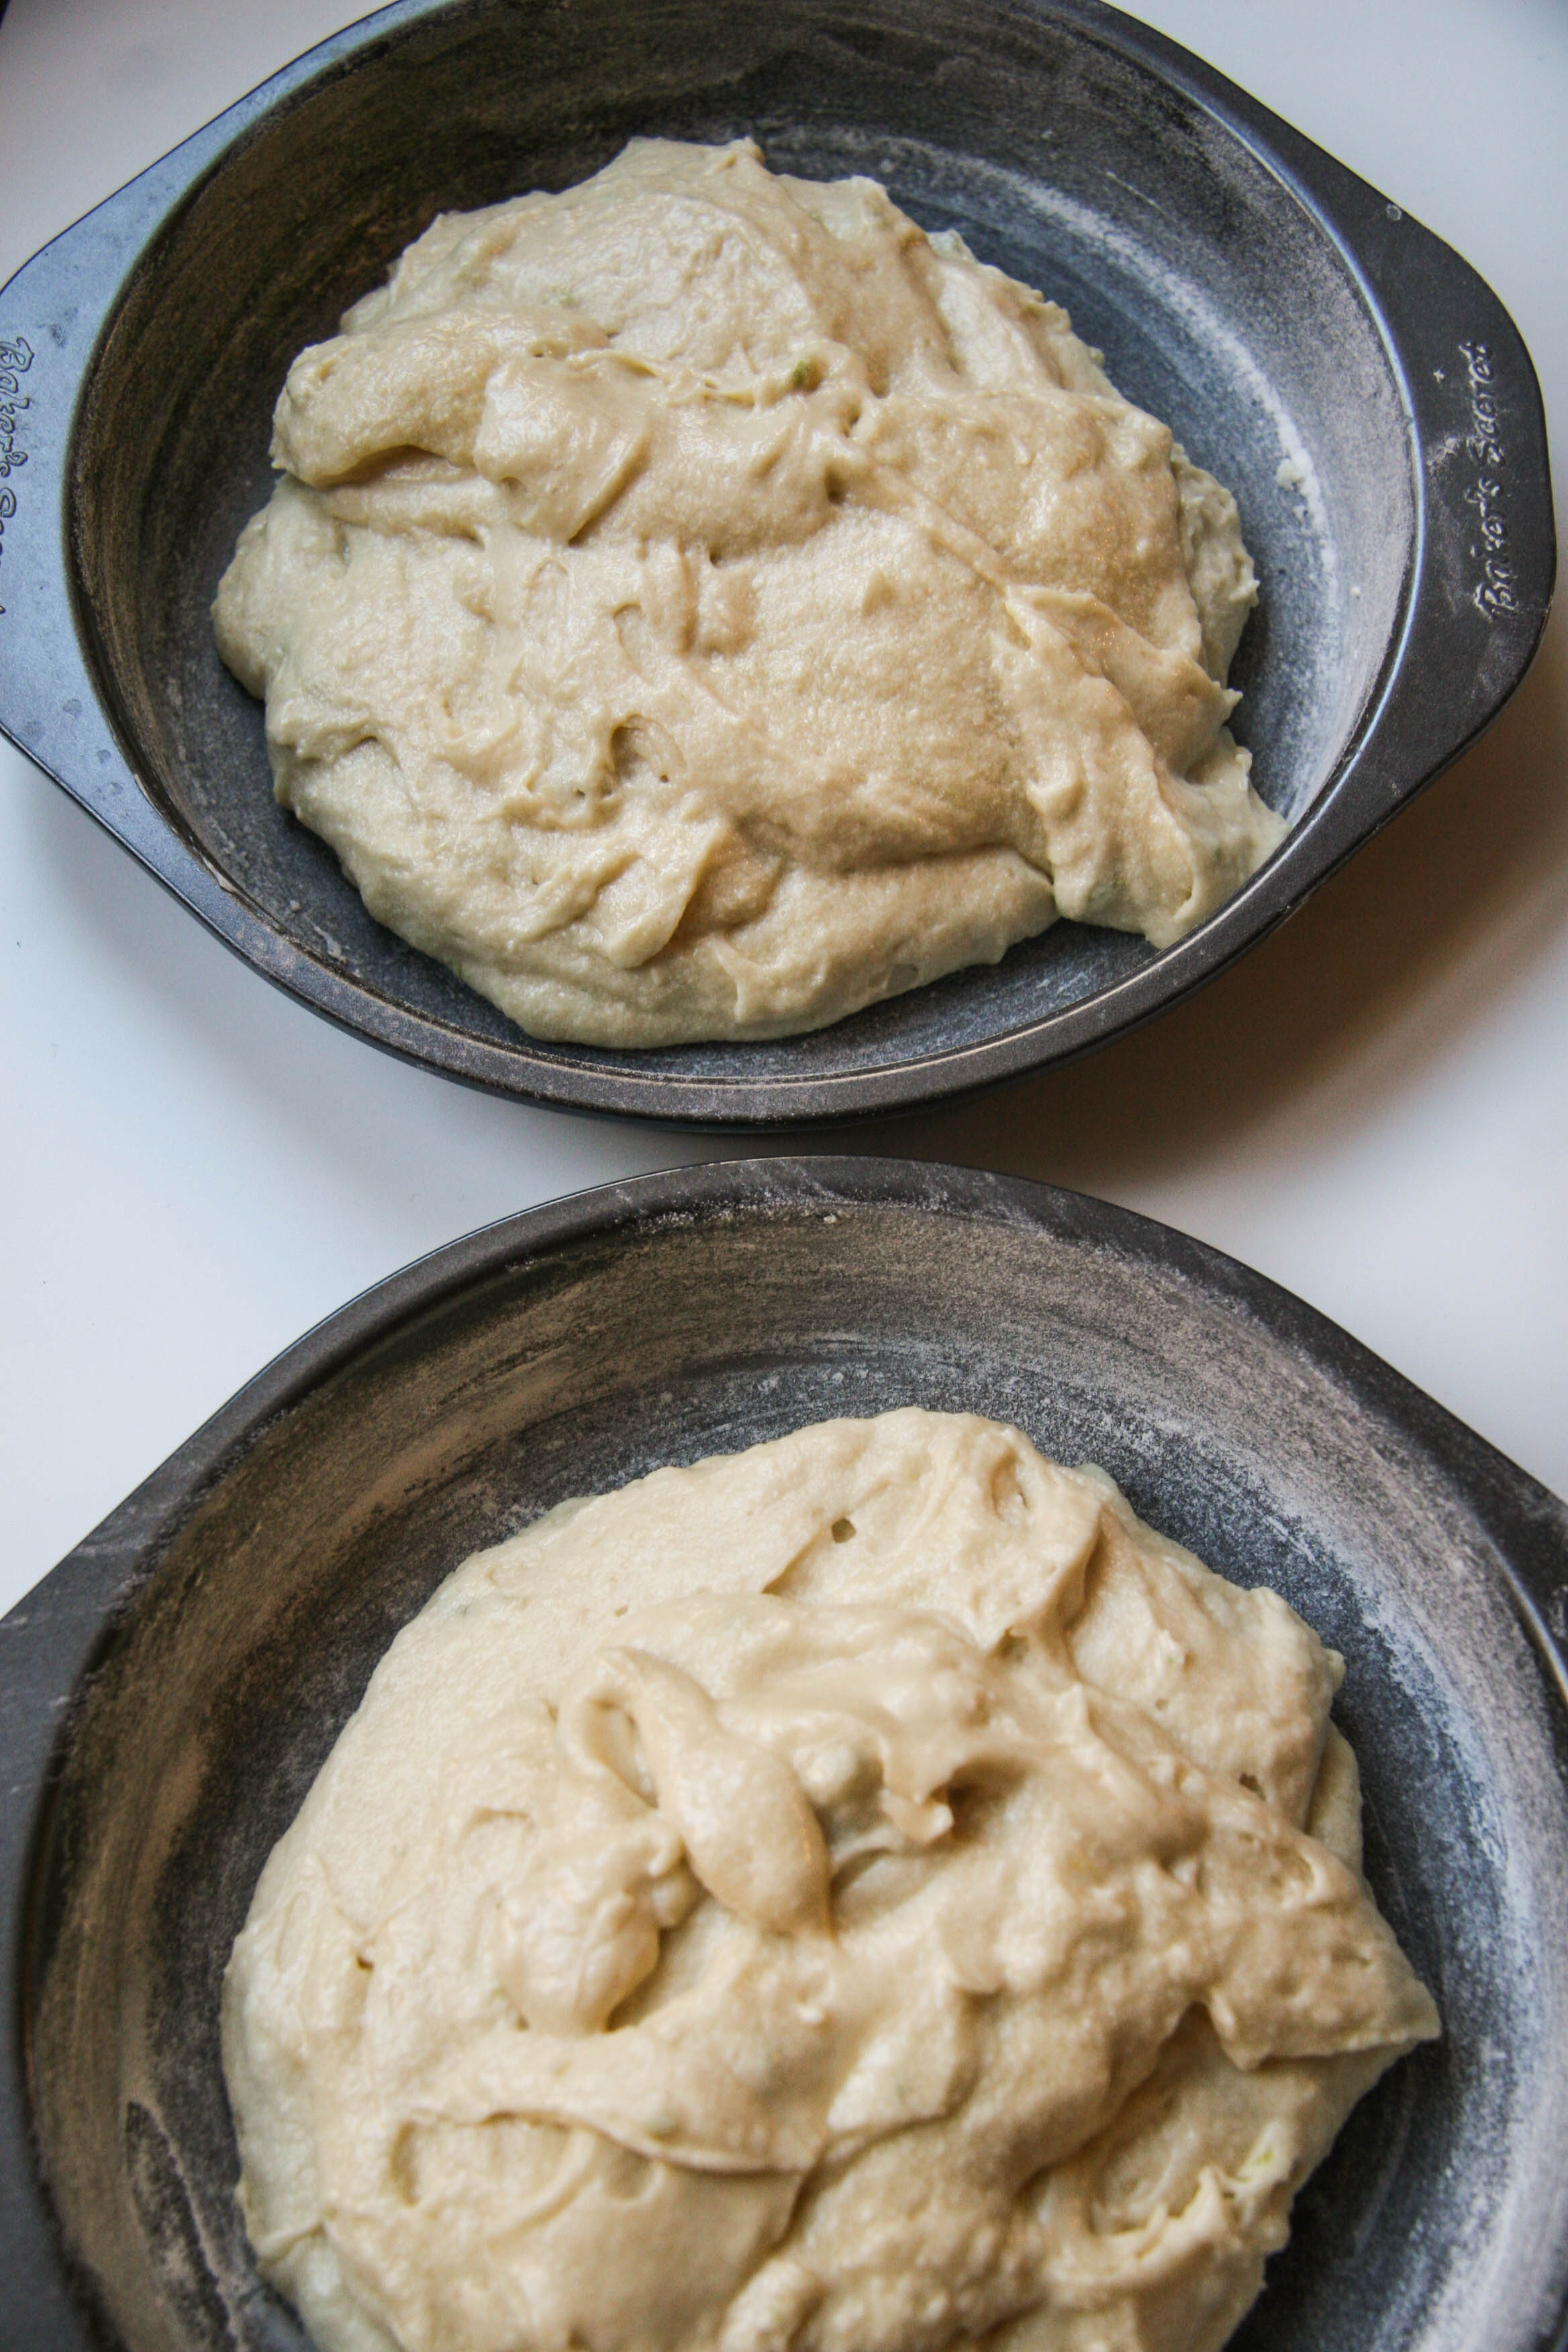
raspberry lime buttermilk cake with coconut cream cheese frosting-batter1

aspberry lime buttermilk cake with coconut cream cheese frosting-batter2

raspberry lime buttermilk cake with coconut cream cheese frosting-batter3

raspberry lime buttermilk cake with coconut cream cheese frosting-cakes

raspberry lime buttermilk cake with coconut cream cheese frosting-cake4

raspberry lime buttermilk cake with coconut cream cheese frosting-assembled cake5


raspberry lime buttermilk cake with coconut cream cheese frosting-assembled cake3
Raspberry Lime Buttermilk Cake with Coconut Cream Cheese Frosting
Cake adapted from Smitten Kitchen, which was adapted from Gourmet, June 2009
Frosting, my own

Prep Time: 30 minutes
Cook Time: 20 minutes
Total Time: 50–60 minutes
Makes two 8-inch cakes and enough frosting for a “tom-boy” style* cake filling/topping

For the Raspberry Lime Buttermilk Cake:

2 cups all-purpose flour
1 teaspoon baking powder
1 teaspoon baking soda
½ teaspoon salt
1 stick (8 tablespoons) unsalted butter, at room temperature
1⅓ cup granulated sugar
1 teaspoon pure vanilla extract
1½ teaspoons finely grated lime zest (from about two limes)
2 large eggs
1 cup buttermilk, well shaken
1 cup fresh raspberries
¼ cup toasted sweetened shredded coconut, for garnishing (optional)

For the Coconut Cream Cheese Frosting:

8 oz cream cheese (1 standard package)
½ stick (4 tablespoons), unsalted butter at room temperature
½ cup sweetened shredded coconut
2–3 cups powdered sugar
½ teaspoon vanilla extract
⅛ teaspoon coconut extract

Instructions:

  1. Preheat oven to 400 degrees F with rack in middle. Butter and flour a 9-inch round cake pan. (If using toasted coconut for garnishing the cake, you can now spread the ¼ cup sweetened shredded coconut onto a baking sheet or sheet pan and bake in the oven as it heats to 400 degrees until edges are lightly golden, about 5 minutes. Remove from oven and let cook completely).
  2. In a medium bowl, whisk together flour, baking powder, baking soda, and salt and set aside. In a large bowl with a hand mixer or the bowl of an electric mixer fitted with a paddle attachment, beat the butter and sugar at medium-high speed until pale and fluffy. Reduce to low speed and add vanilla and lime zest. Then, beat in the eggs, one at a time, scraping the bowl between additions.
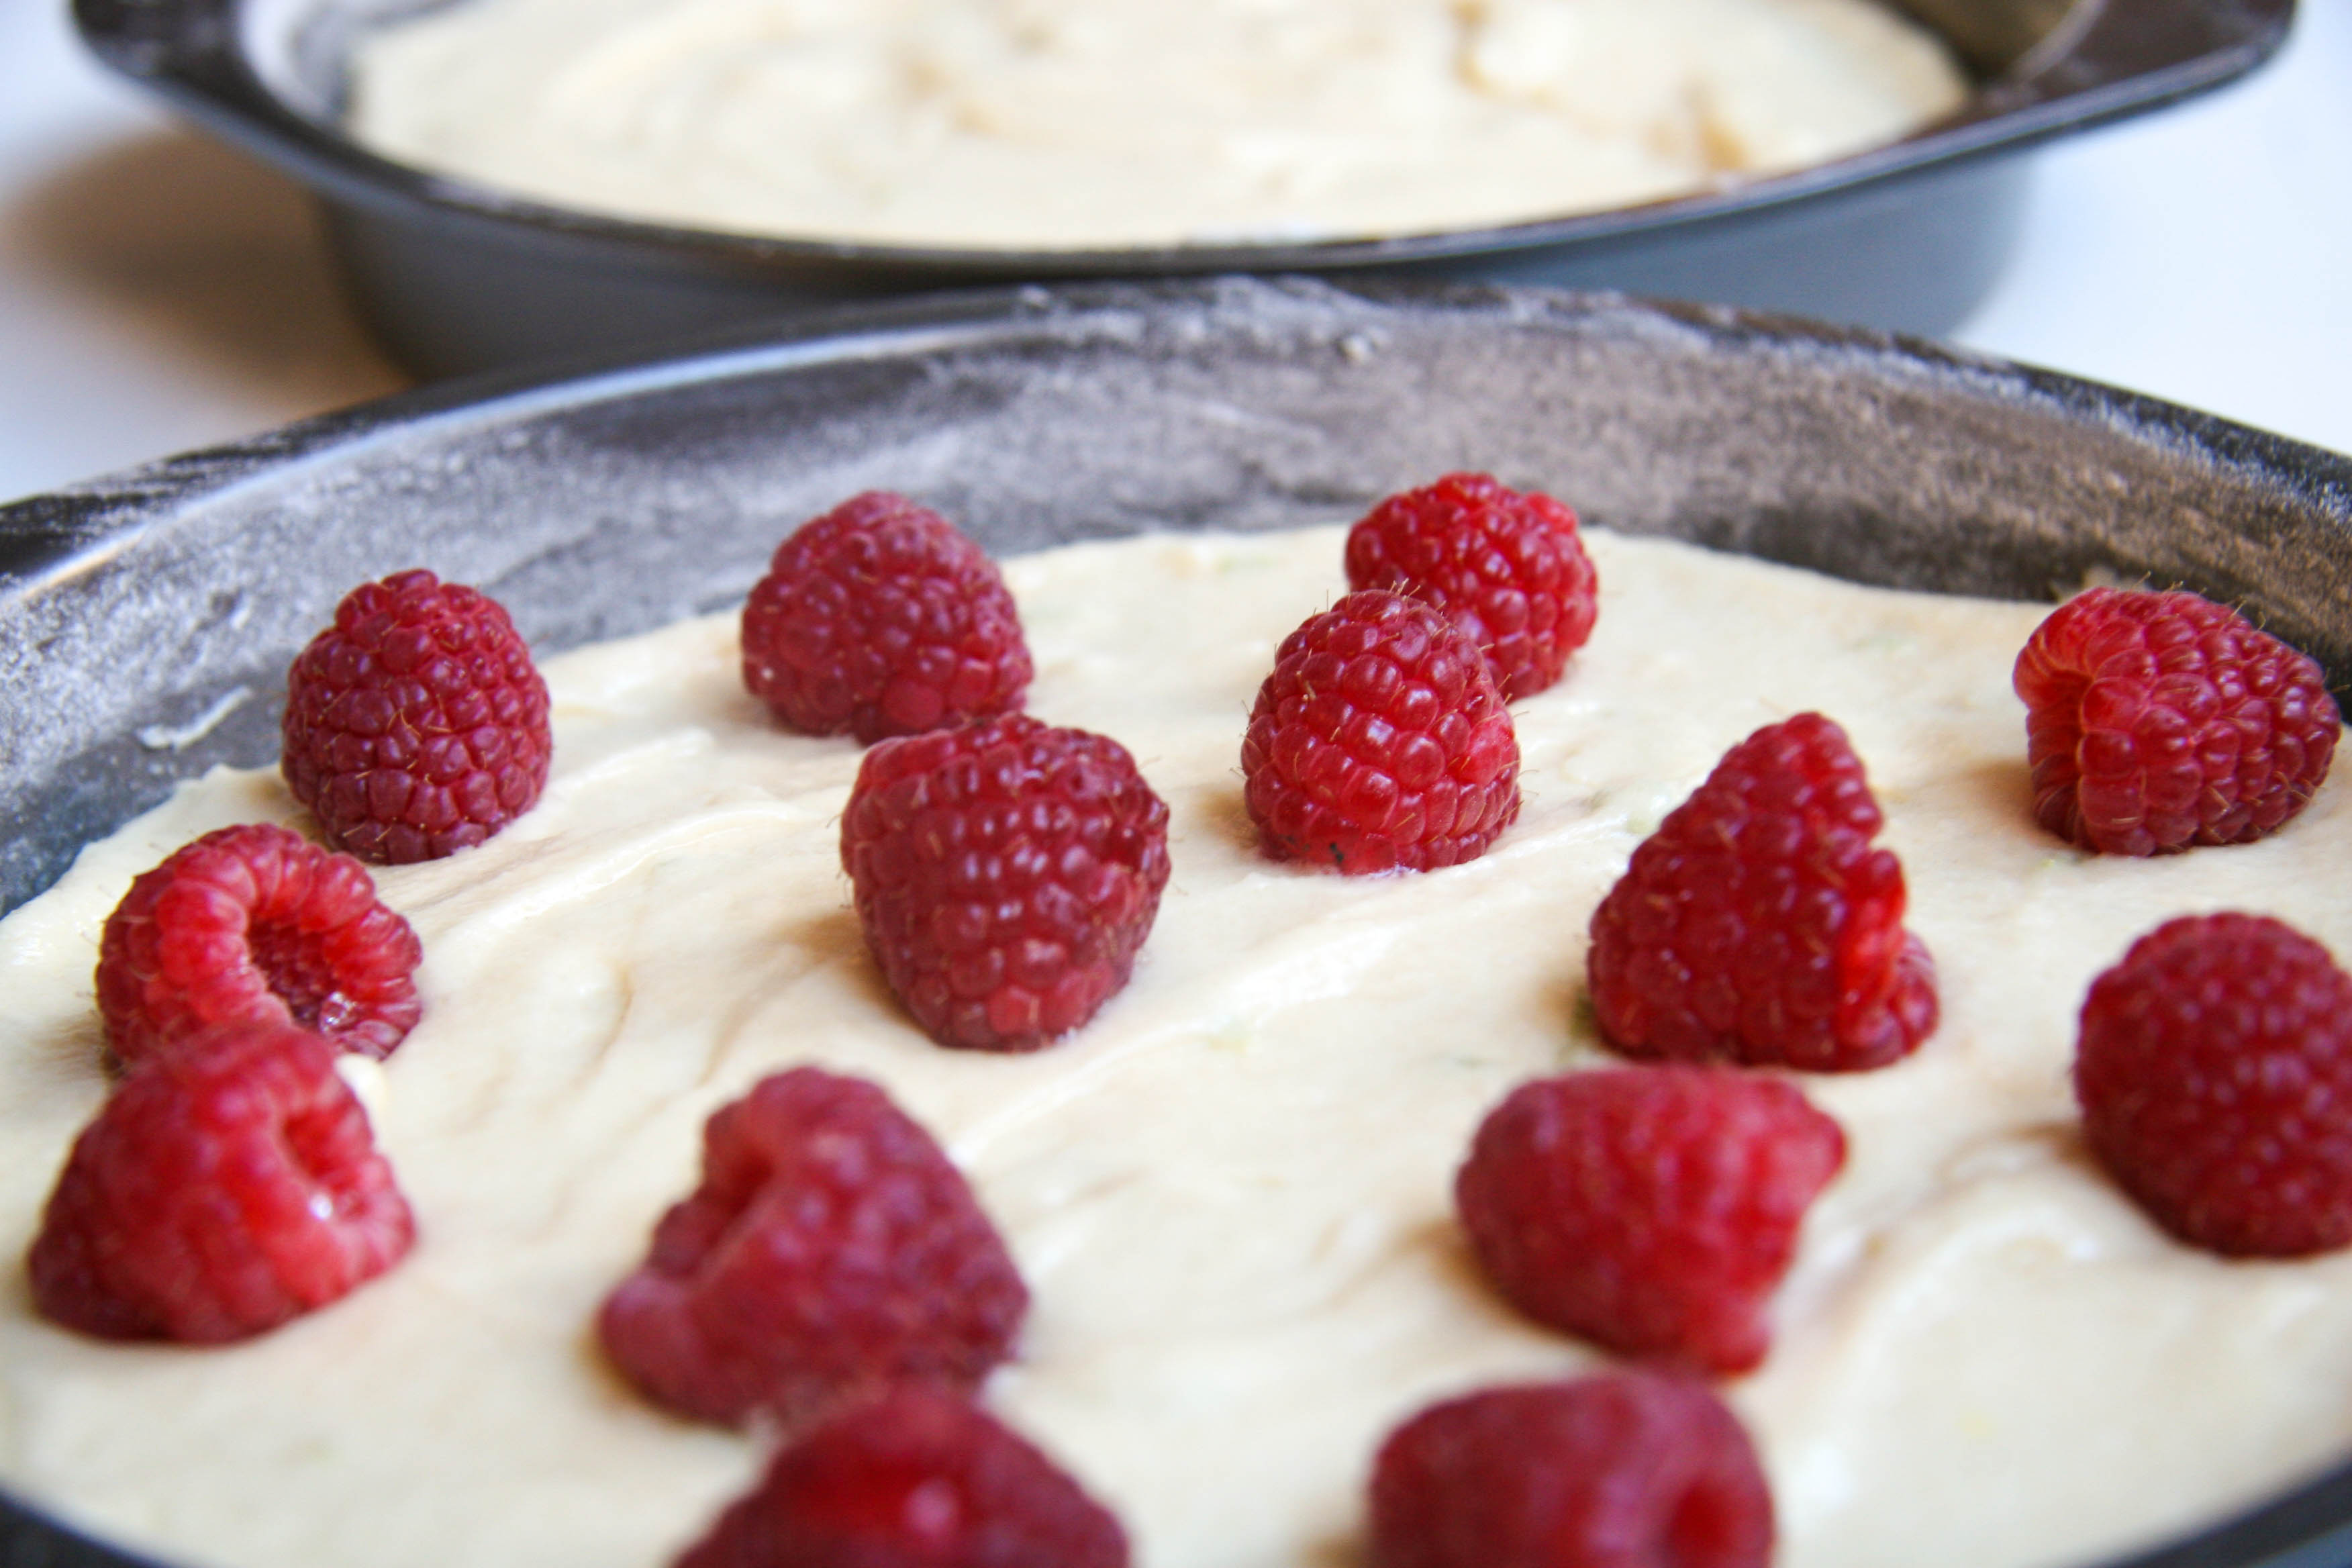
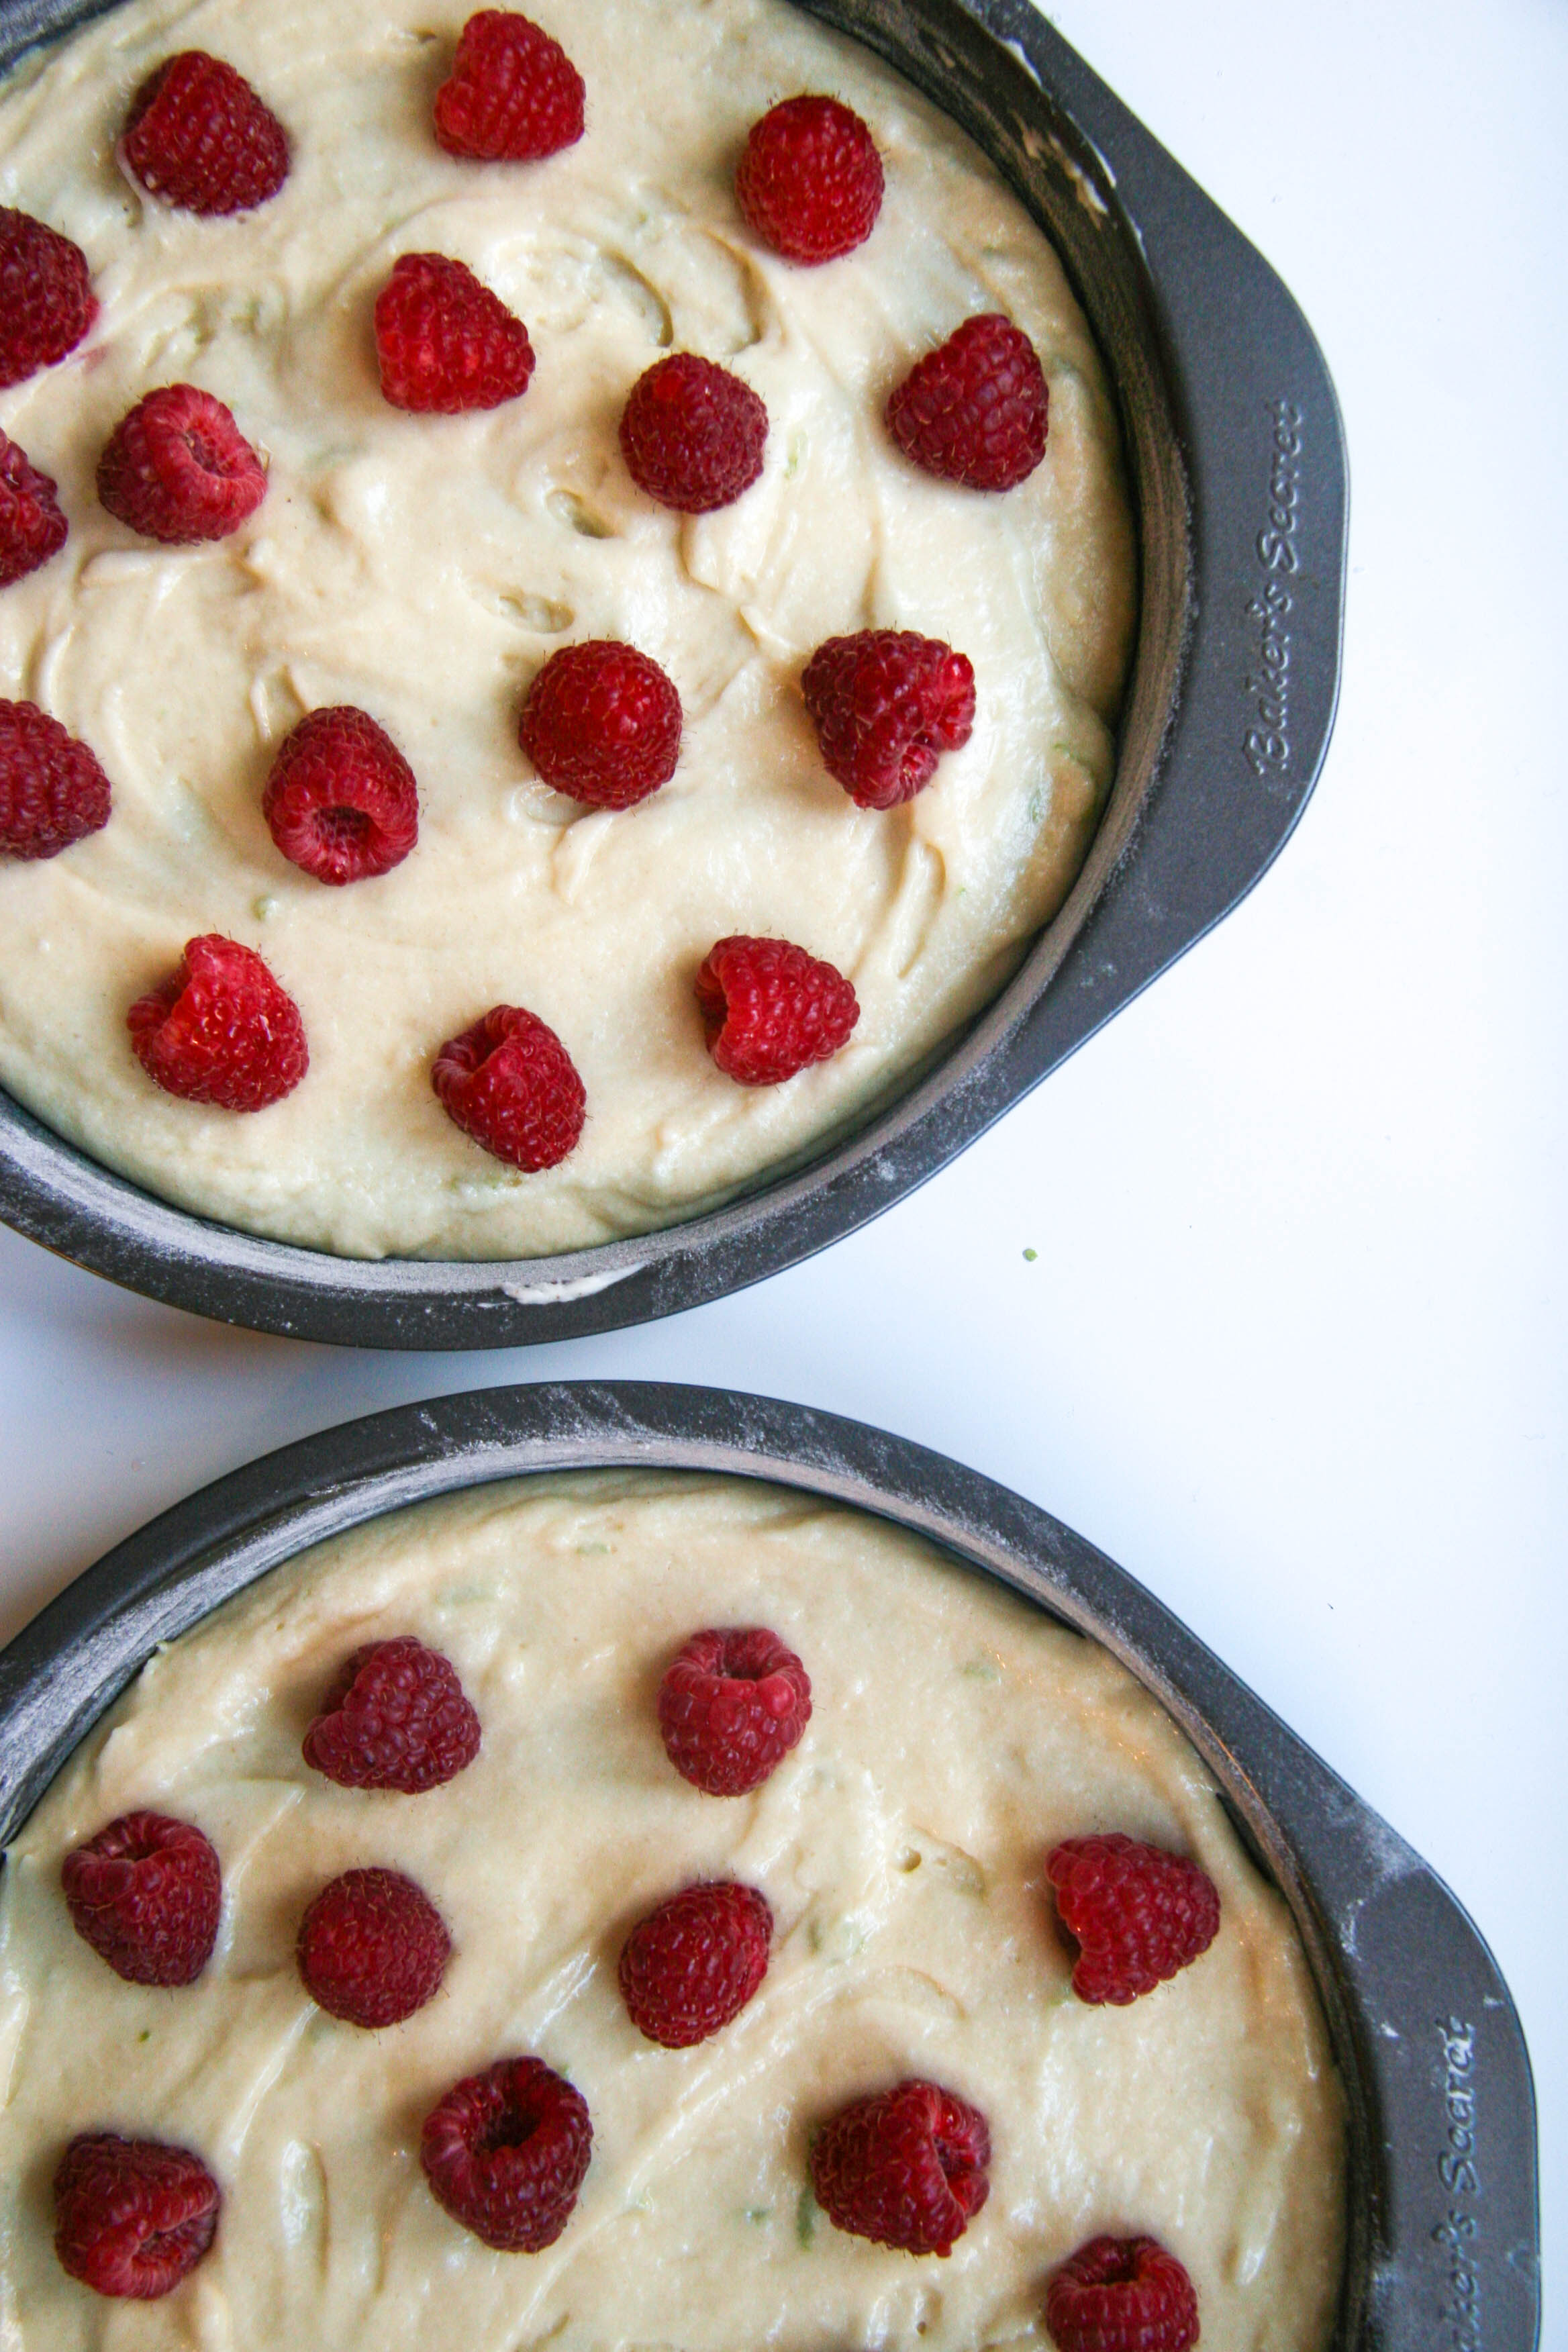
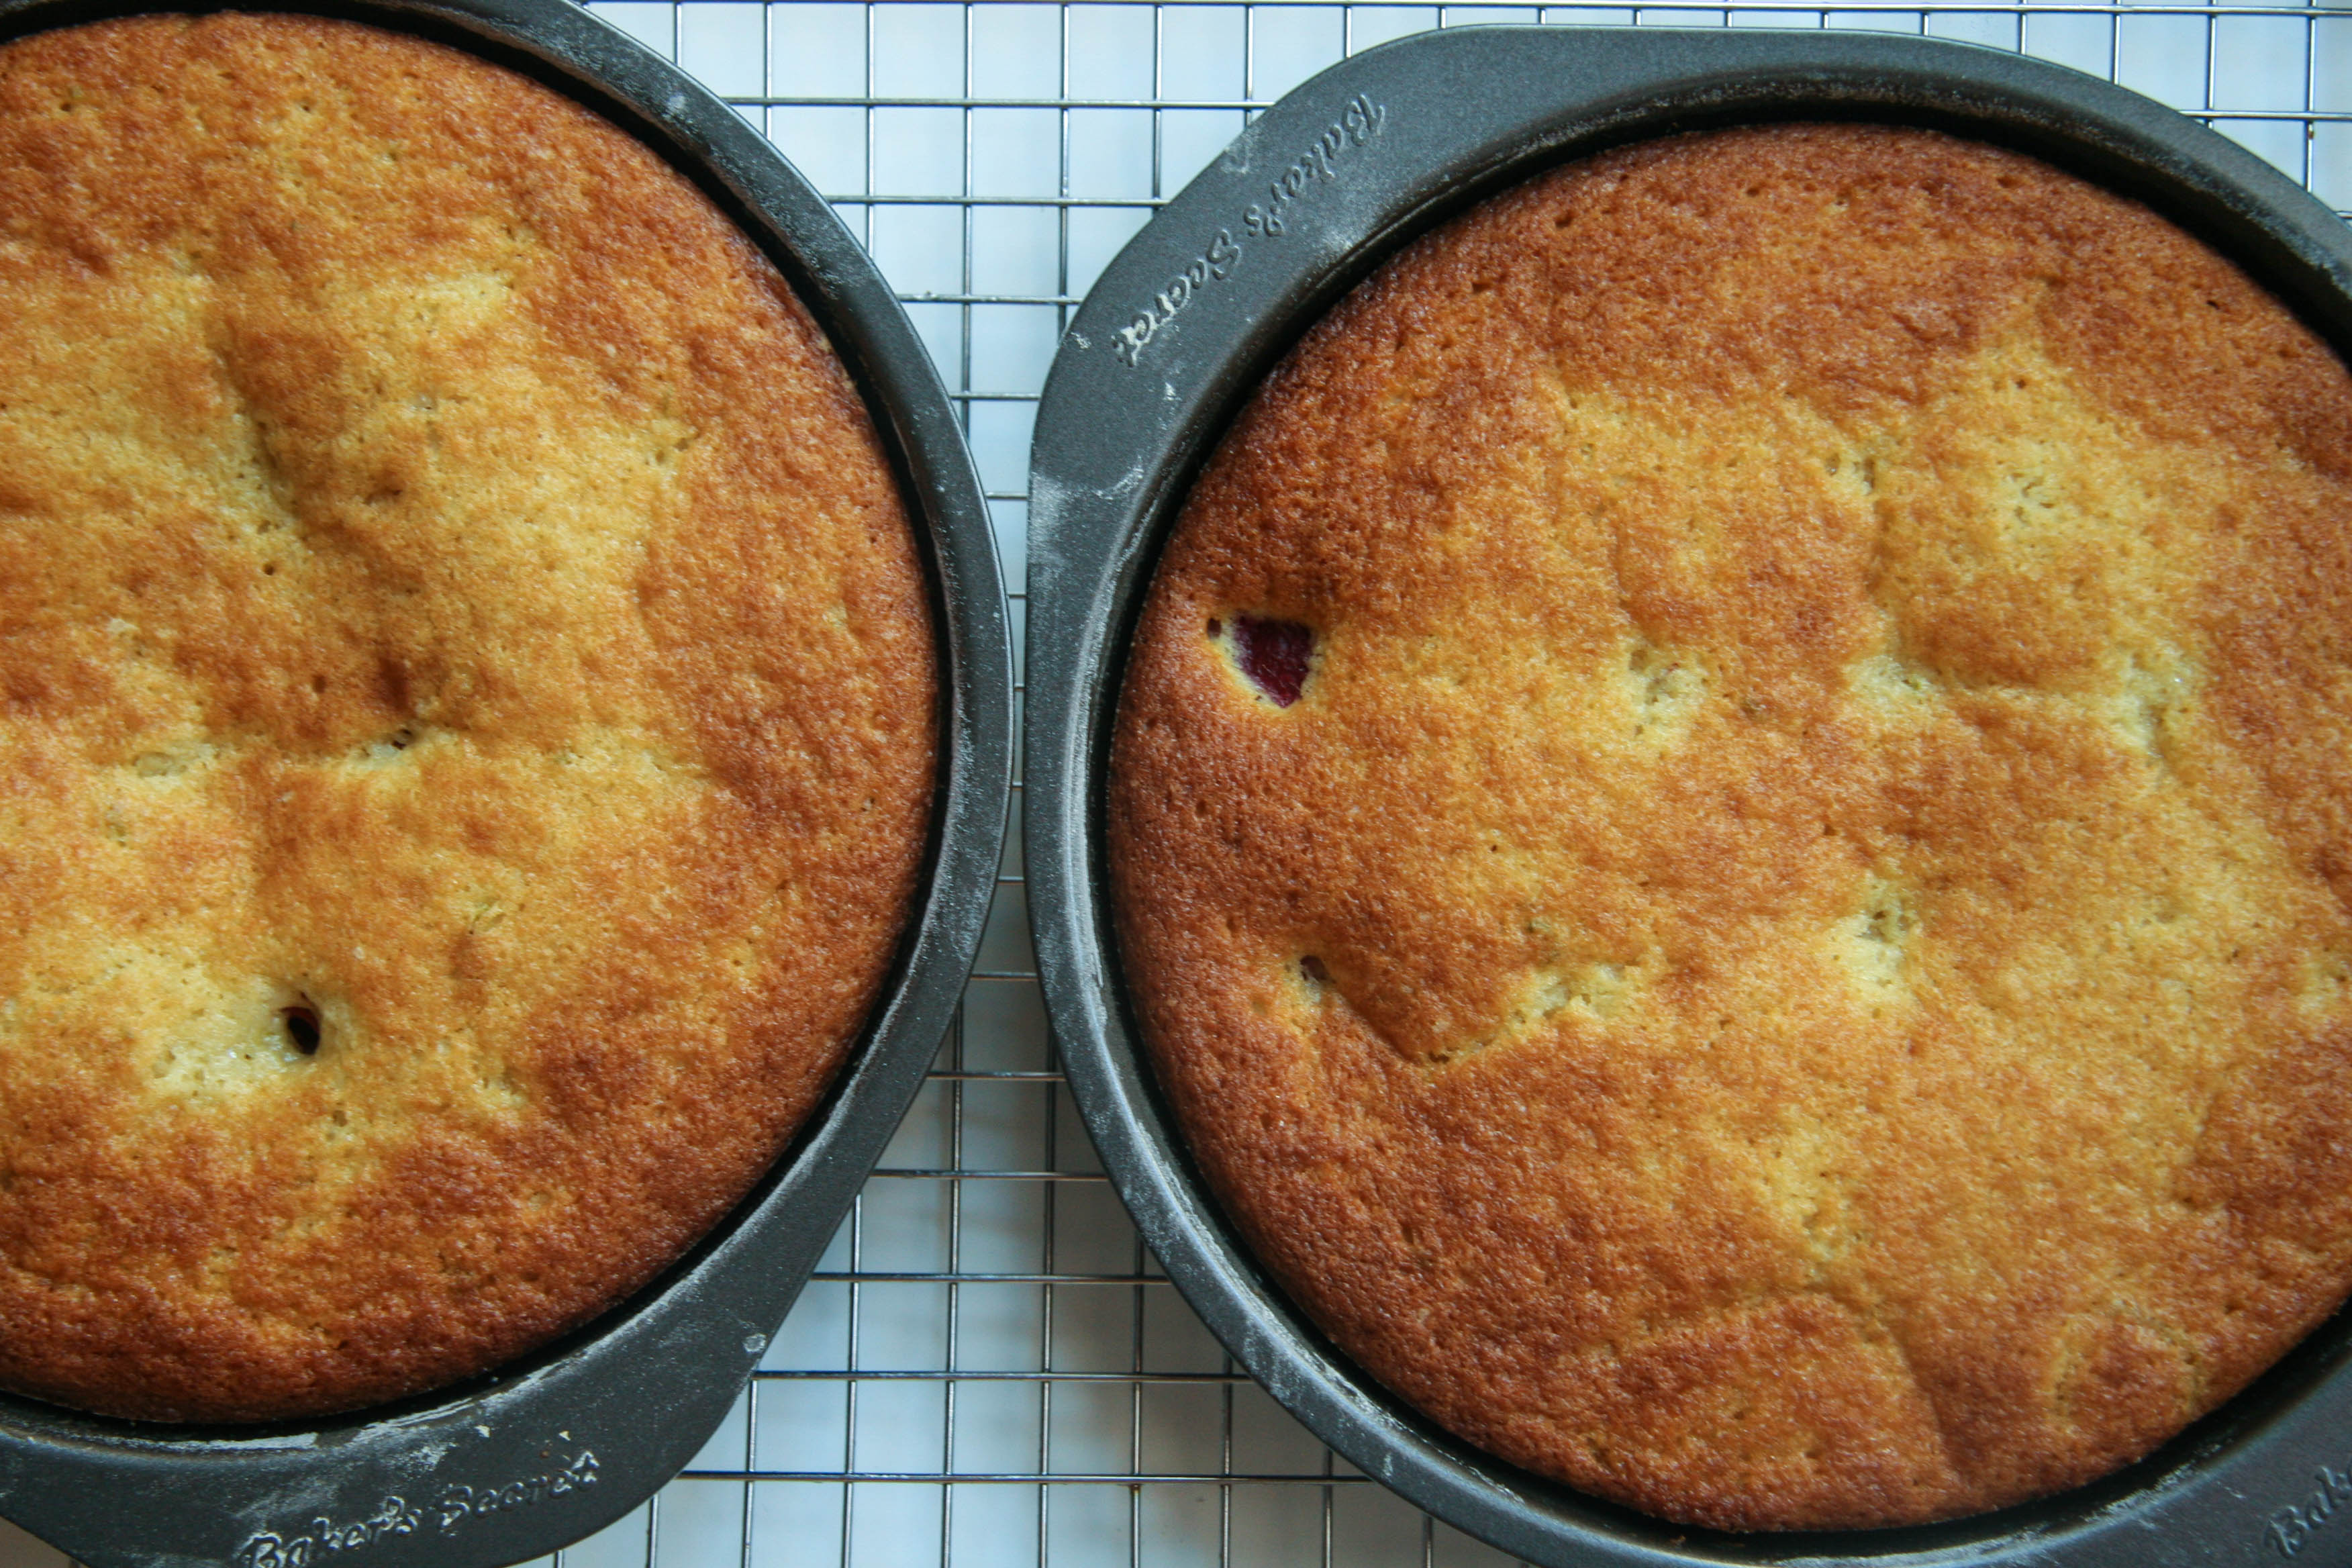
  3. At low speed, mix in flour mixture in three batches, alternating with buttermilk, beginning and ending with flour, and mixing until just combined. Scoop batter into prepared cake pans, smoothing top (batter will be thick). Drop raspberries evenly over top (it won’t matter if they land face up or face down).
  4. Bake until cake is golden and a wooden pick inserted into center comes out clean, 20 to 25 minutes. Cool in pan 10 minutes, then turn out onto a rack and cool completely.
  5. While the cake is cooling, prepare the frosting. In a large bowl, or the bowl of an electric mixer fitted with a paddle attachment, cream the butter and cream cheese on medium speed until light and fluffy. Add the shredded coconut, vanilla, and coconut extracts and mix until combined. With the mixer on low speed, add the 2 to 3 cups of powdered sugar until combined into a light, creamy frosting that is thick enough to spread and hold its form.
  6. To assemble: Place 1 cake layer, flat side up, on platter. Spread just under ½ the frosting over top of cake. Top with second cake layer, flat side up. Spread remaining frosting over the top (you may have enough frosting to cover the sides, if desired). Top with extra fresh raspberries and toasted coconut, if desired. Enjoy! (If not serving immediately, cover with plastic wrap and refrigerate. Remove from refrigerator and bring to room temperature 45 minutes before serving).

*Tom-boy style is with the frosting just between the layers and on top, leaving the sides bare.


raspberry lime buttermilk cake with coconut cream cheese frosting-assembled cake7

Filed Under: desserts and sweets, eat Tagged With: buttermilk, cake, cake recipe, citrus, coconut, cream cheese, dessert, fruit, layer cake, lime, raspberry, tropical

cold soba noodle salad with tahini dressing

March 26, 2014 by Butter Loves Company

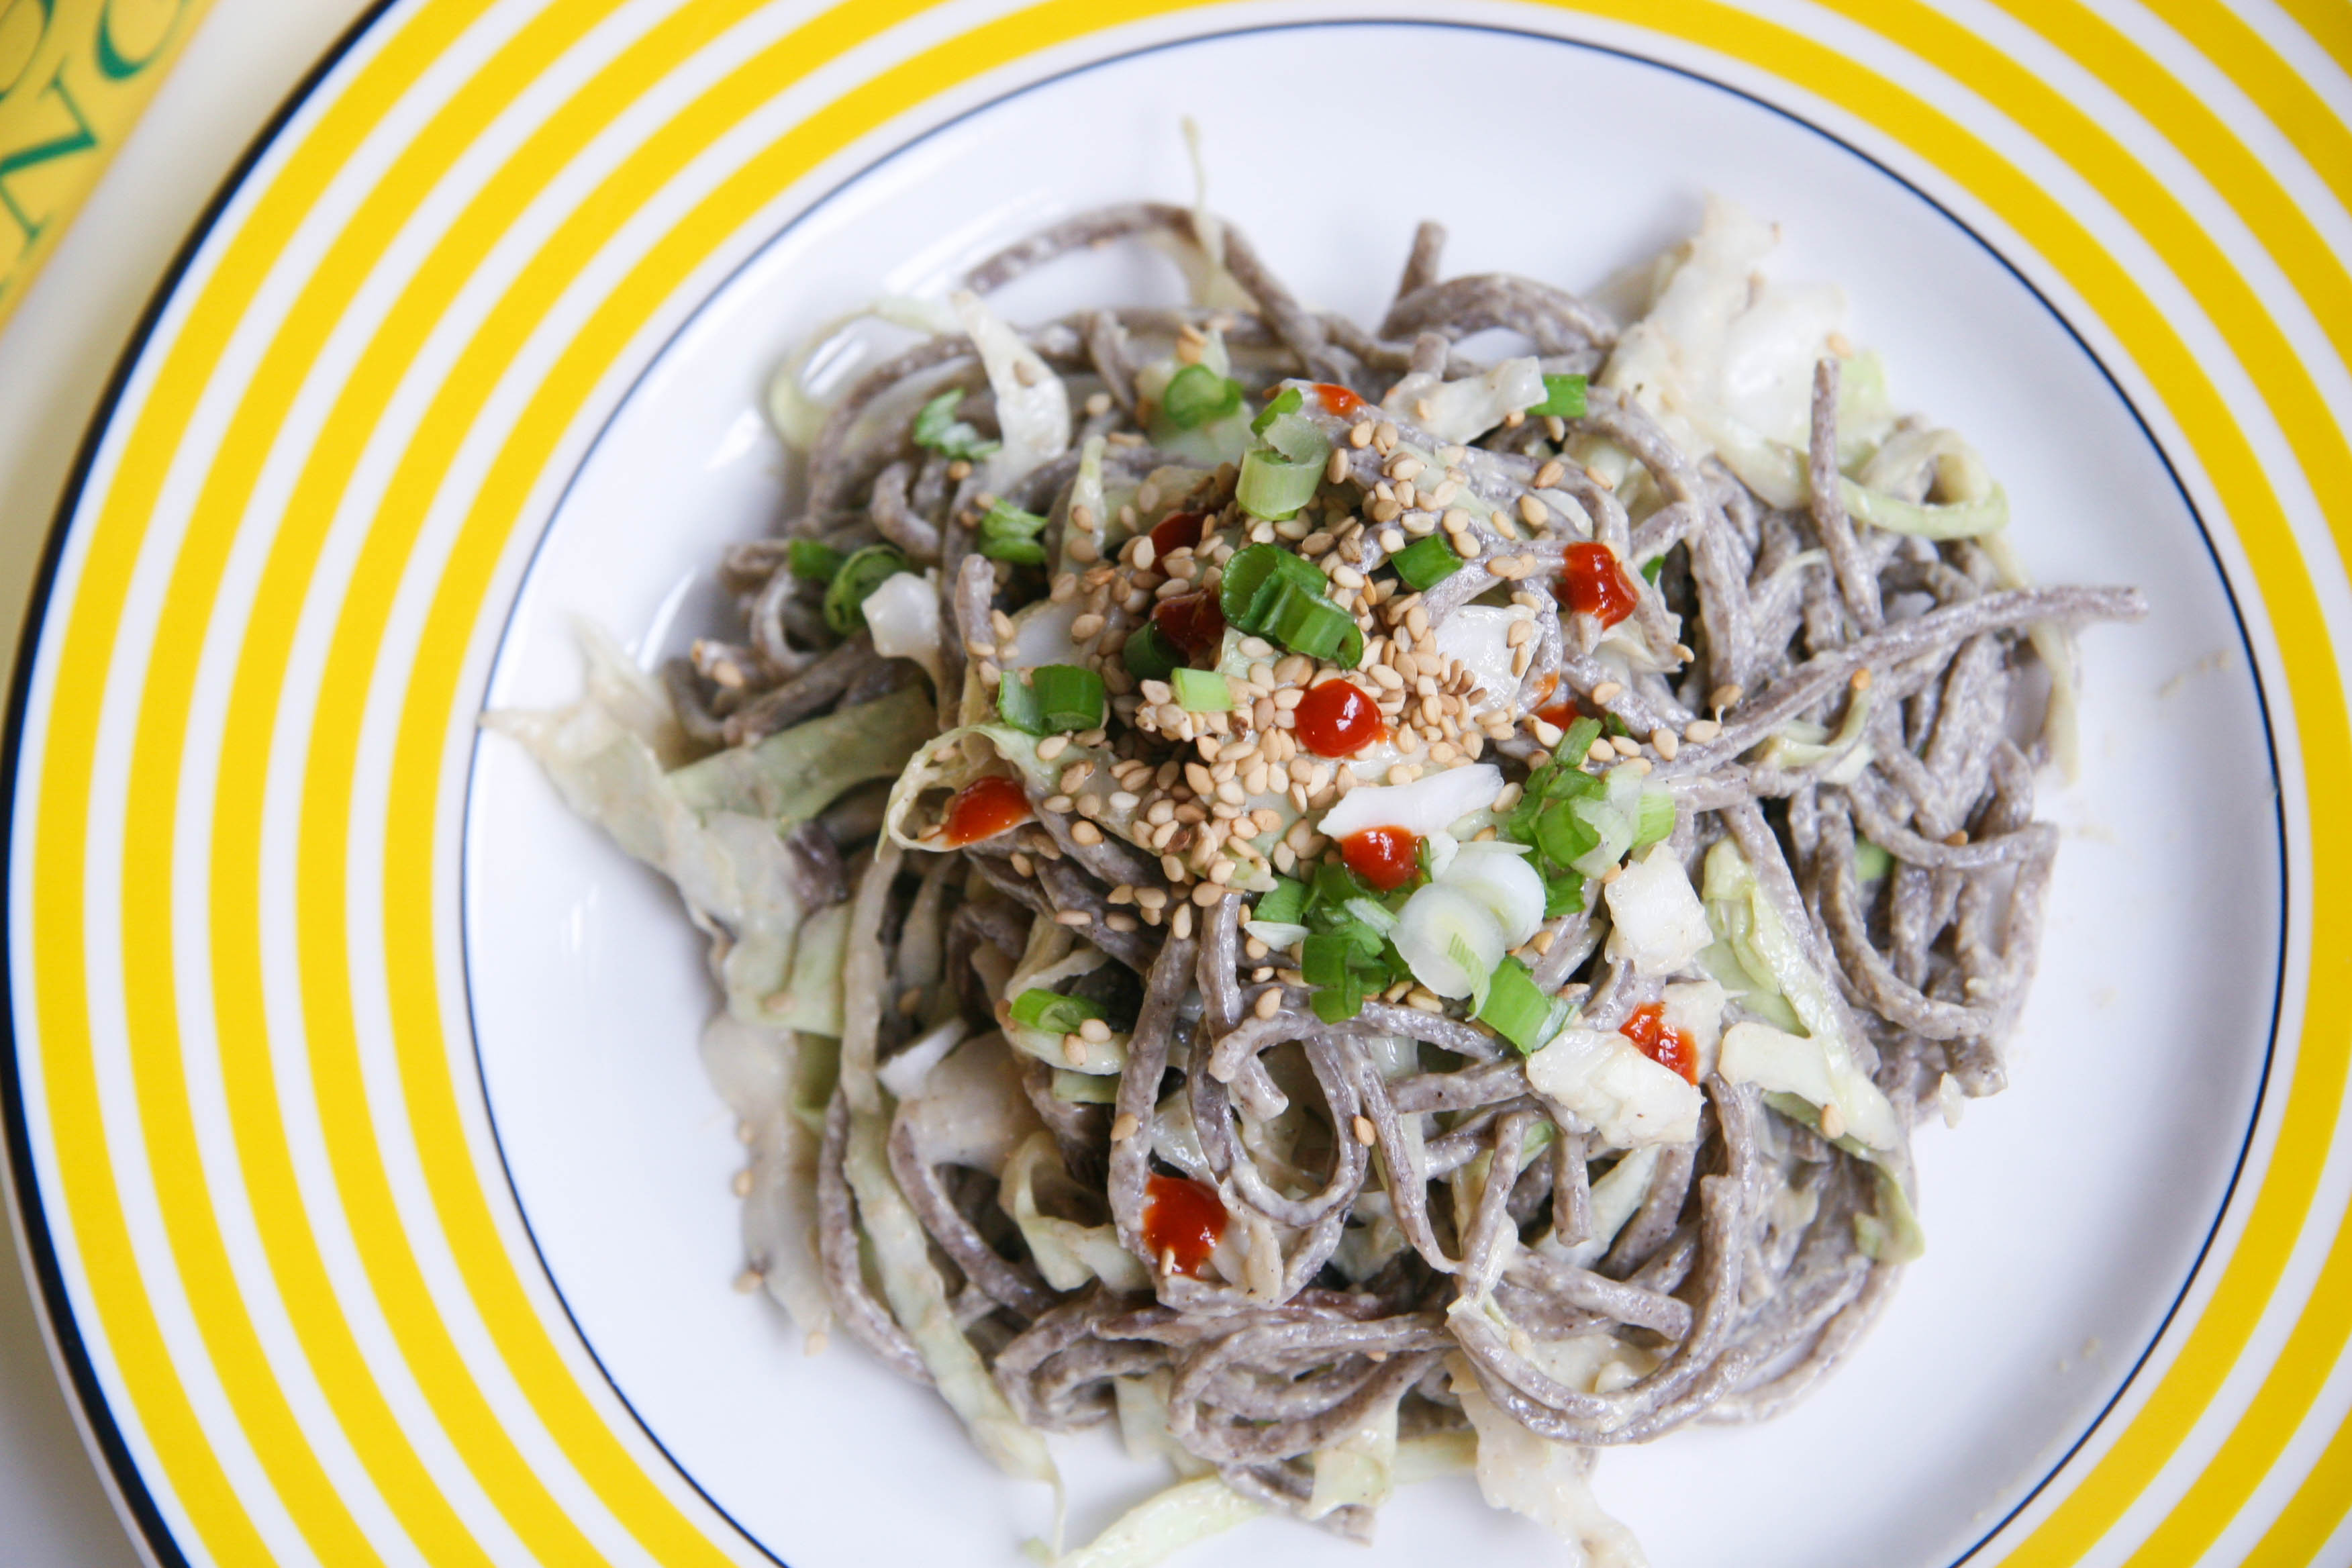
soba noodle salad on plate3Soba (buckwheat) noodles served chilled with crunchy cabbage, mushrooms, and scallions. Stir up with a creamy, nutty, tahini sesame ginger dressing and you have lunch ready for the week!

If you’re anything like me, you’ll know sometimes even the greatest intentions to wake up early and make lunch before work succumb to the blessed snooze button; not unlike the early alarm I set to go running before work each morning. I can’t tell you how many times I’ve completed a run only to realize I had run in my dream and I did not, in fact, actually get out of bed to hit the pavement.

Anyways, until I started separating leftovers after dinner to bring for lunch the next day and bulk making things like this noodle salad or this Asian Quinoa Salad, I would inevitably end up lunch-less and forced into the money eating cafeteria abyss.

If you’ve ever boiled pasta, you can easily make this dish and step away from the café!

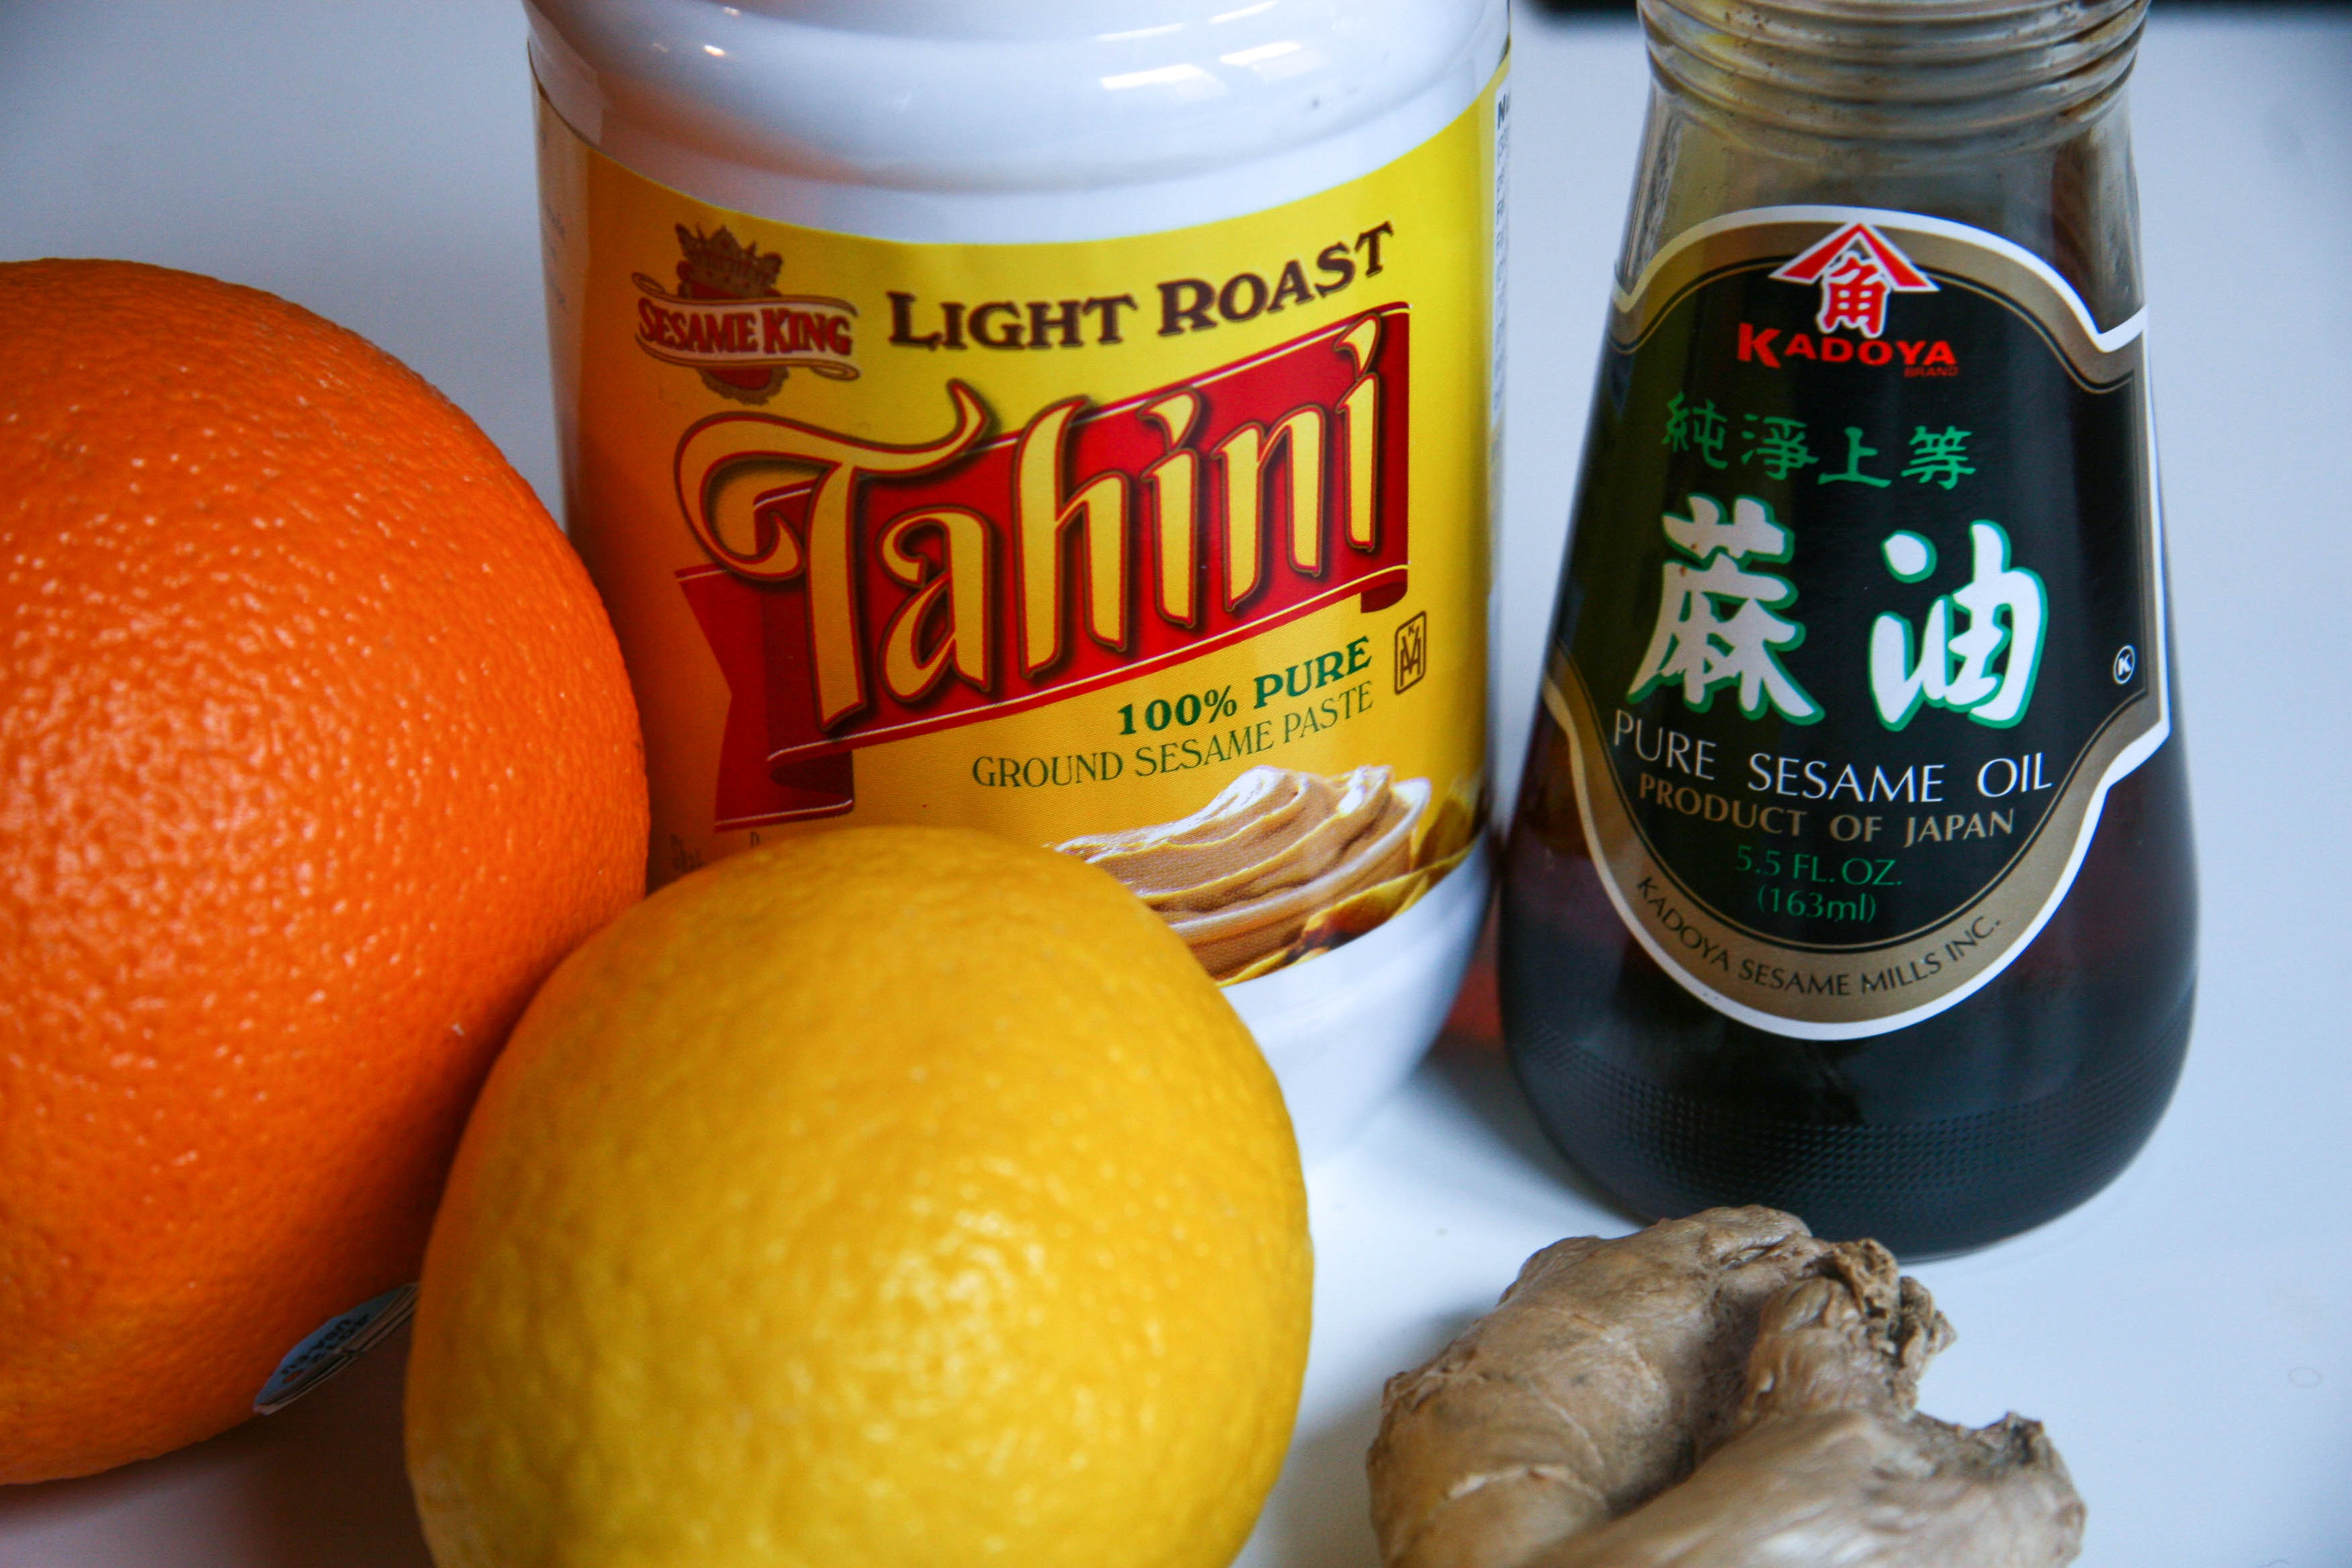
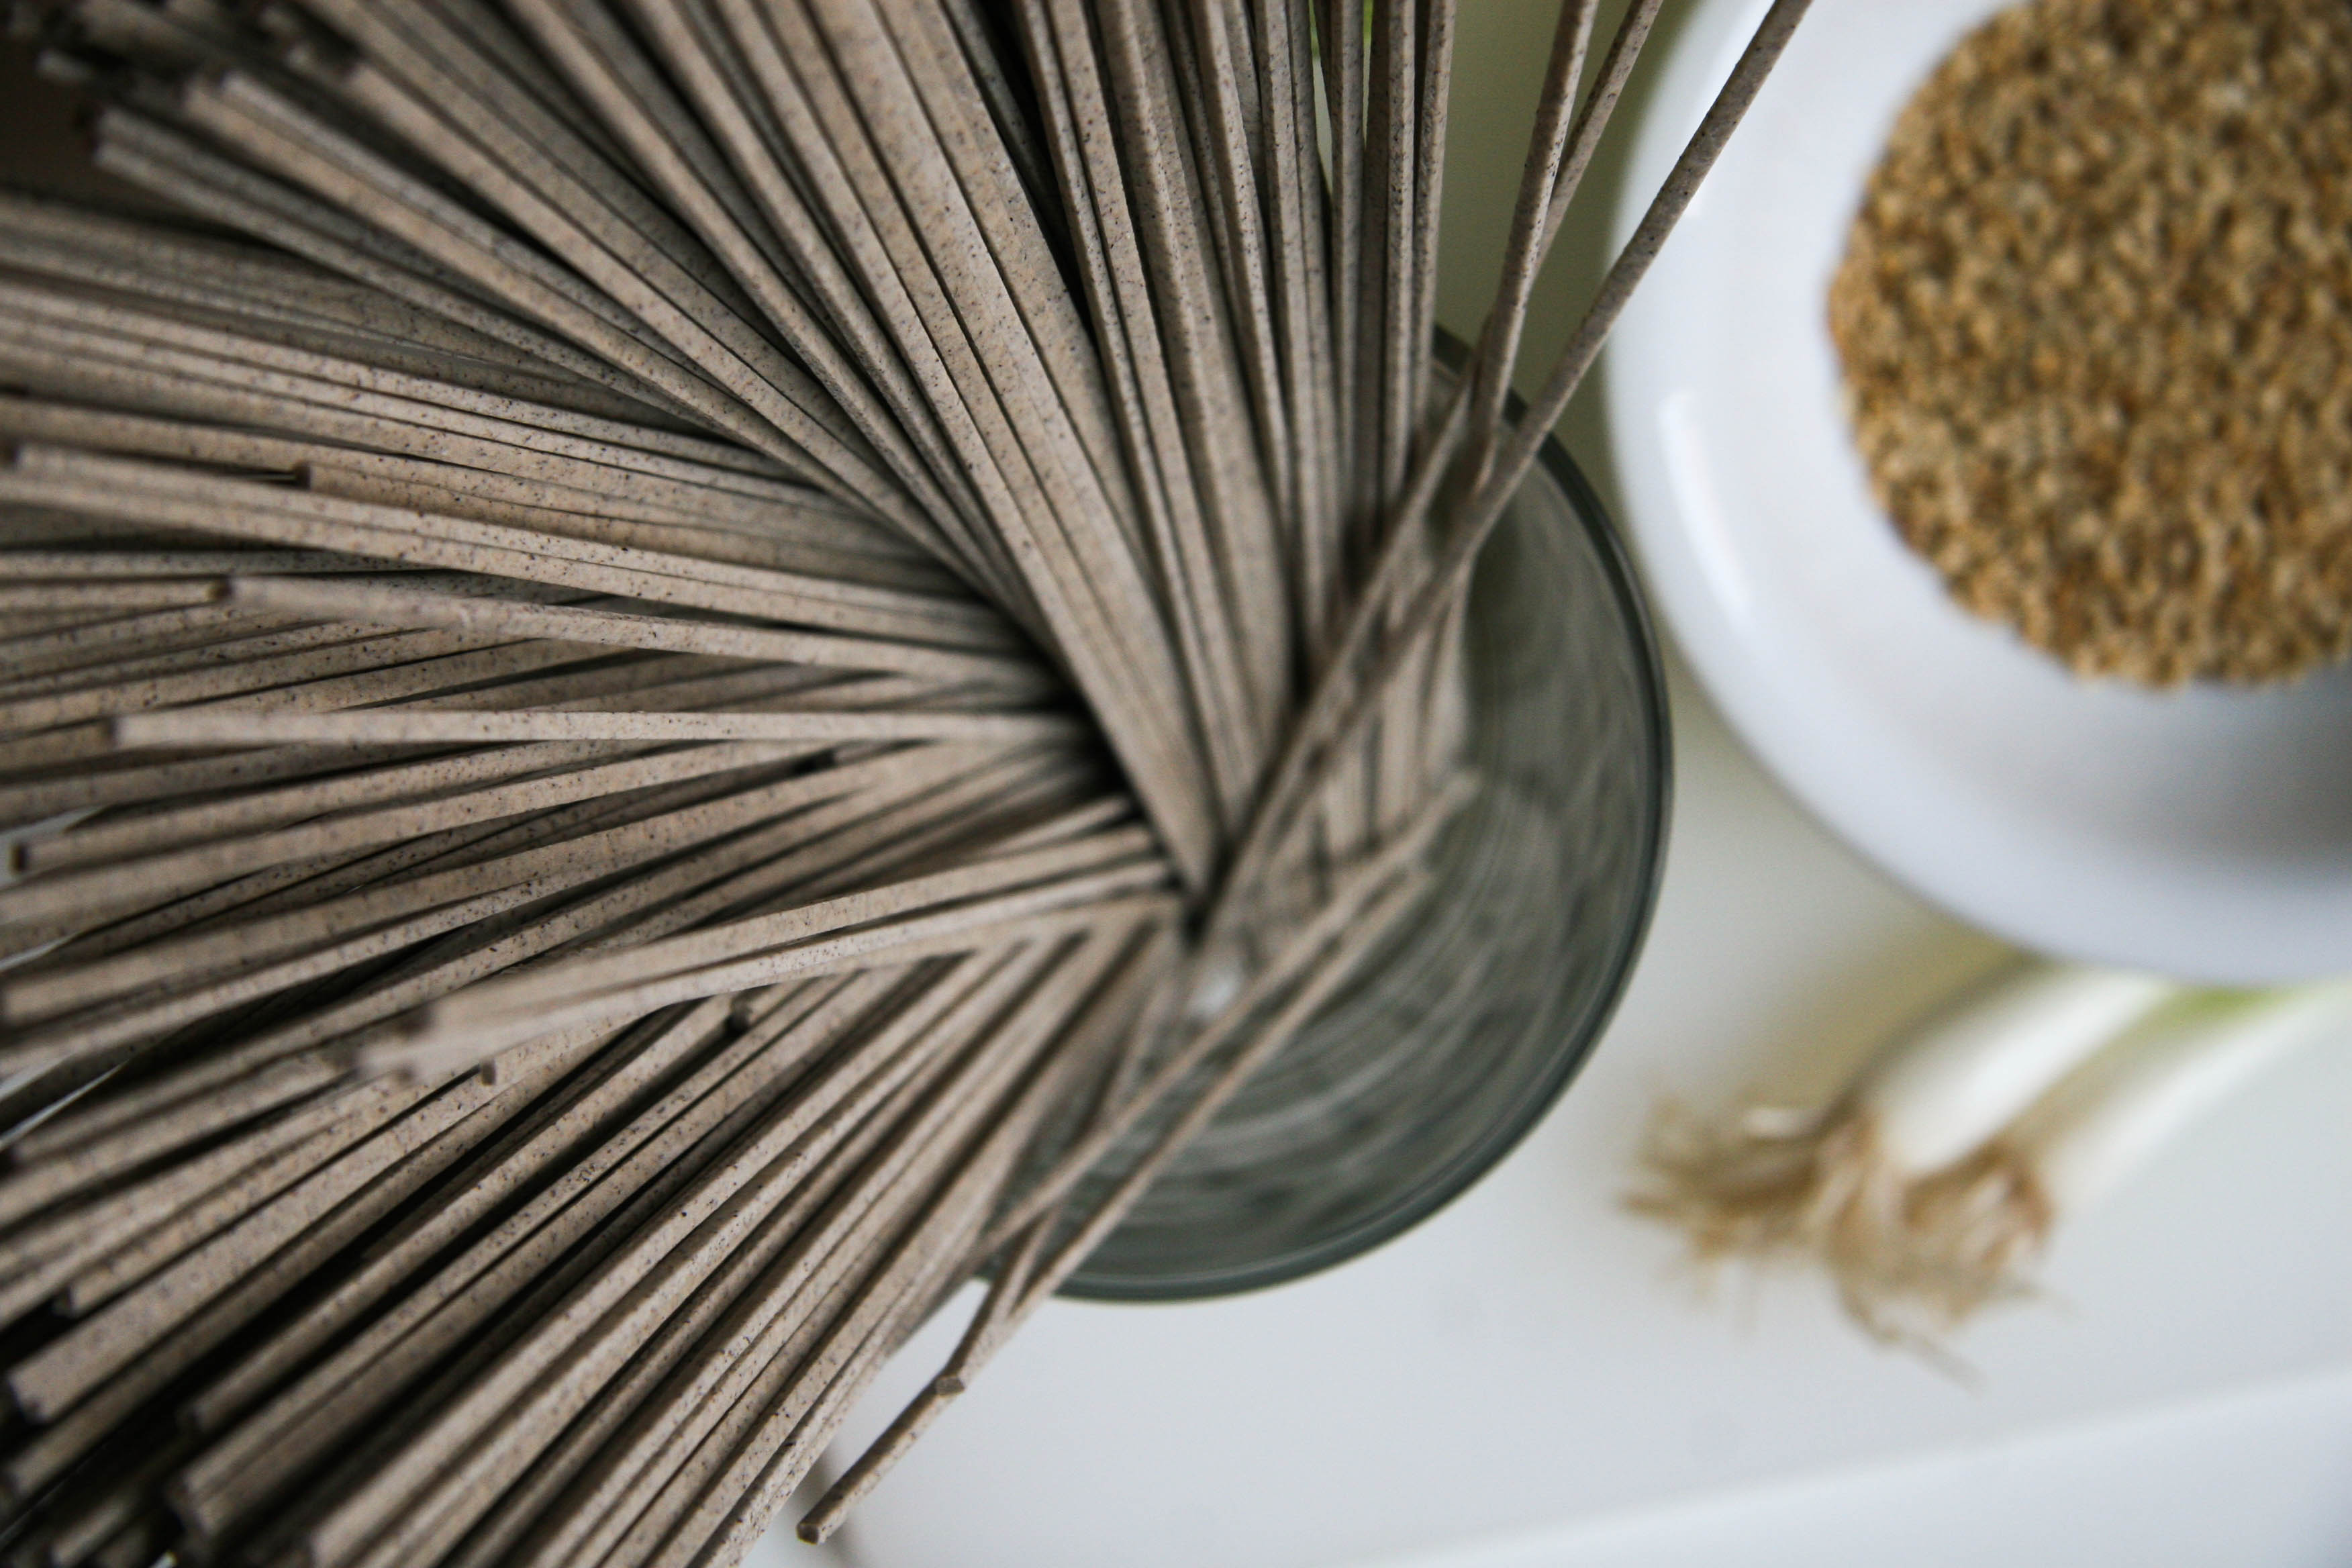
Soba noodles are thin Japanese buckwheat-flour noodles and they are super approachable. Tahini is a sesame paste, recognizable for its roles in Hummus and The Condiment on Top of Falafel. It is a bit bitter on its own, so to counter that I added a bit of honey and some citrus juices. This dressing is not a spicy tahini, but more a creamy, nutty, gingery sauce. You can certainly add spice to the recipe or mix some in when serving. If cabbage or mushrooms aren’t your thing, I think shredded carrot, shelled edamame, or snap peas would also be great alternatives on the veggie side.
Bonus: This dish is stress free, in that you don’t need to worry about working on too many things simultaneously or really over/undercooking anything. Make the pasta, let cool. Slice veggies. Cook mushrooms, let cool. Mix dressing. Mix everything.

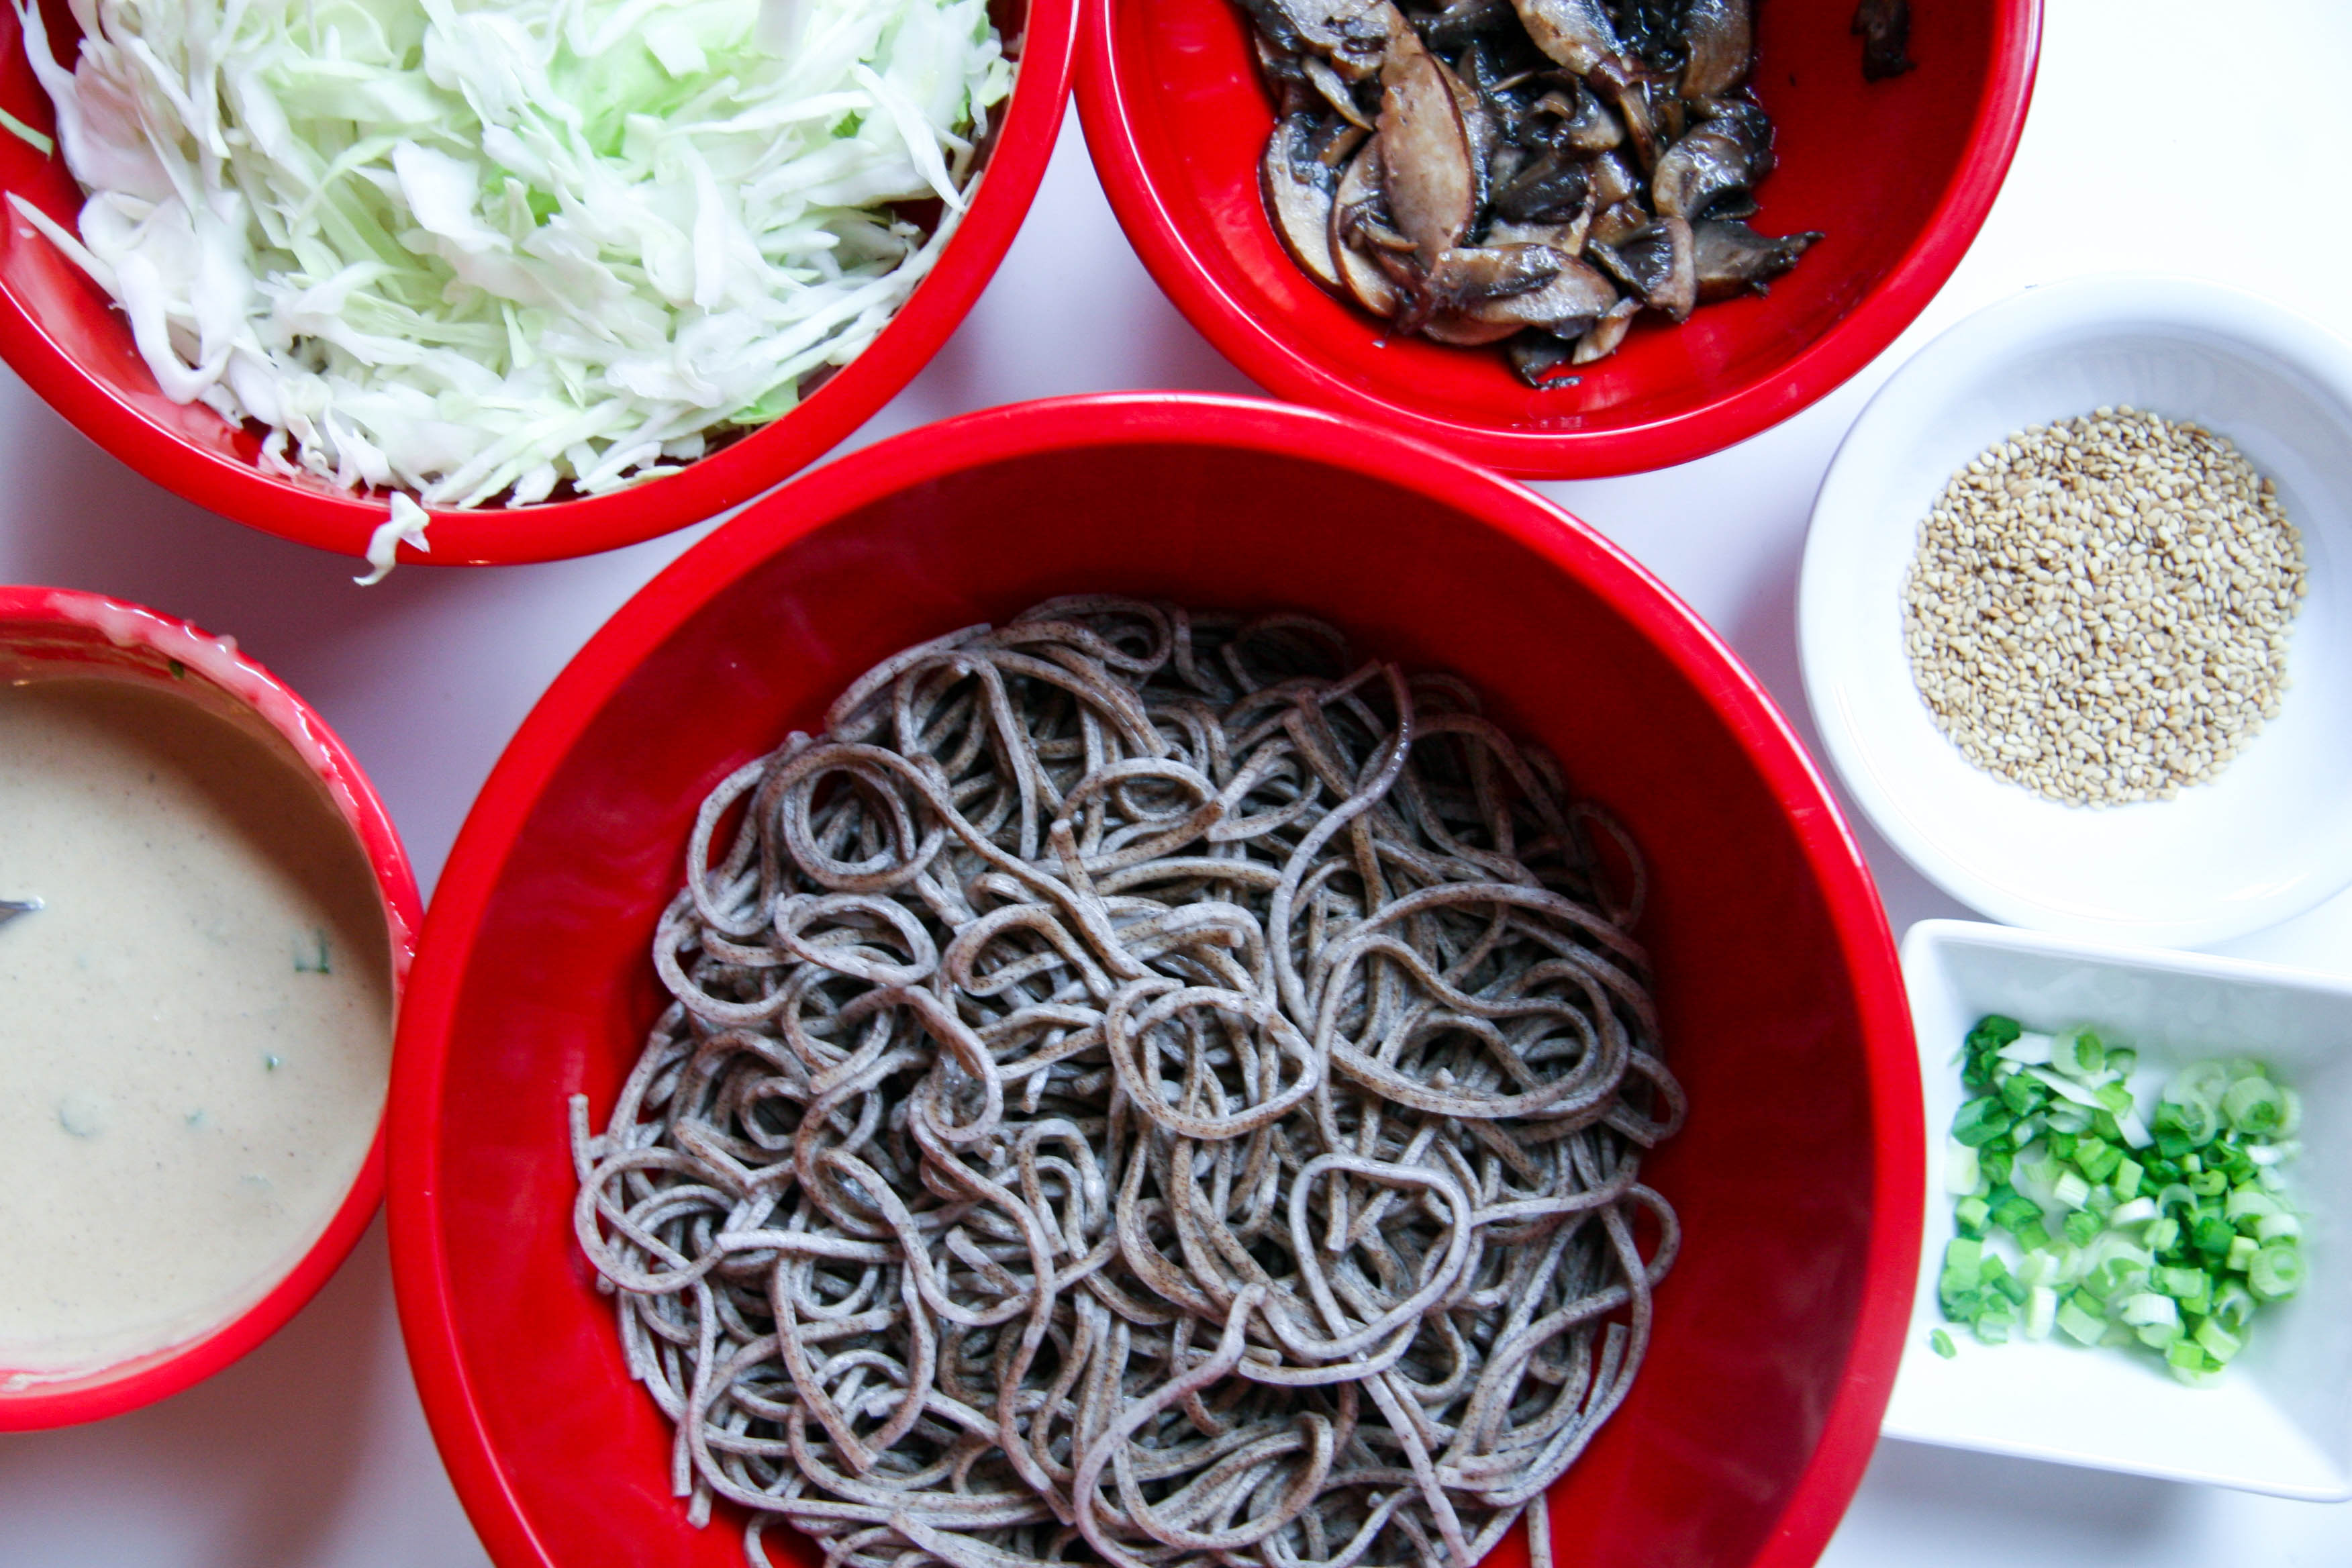
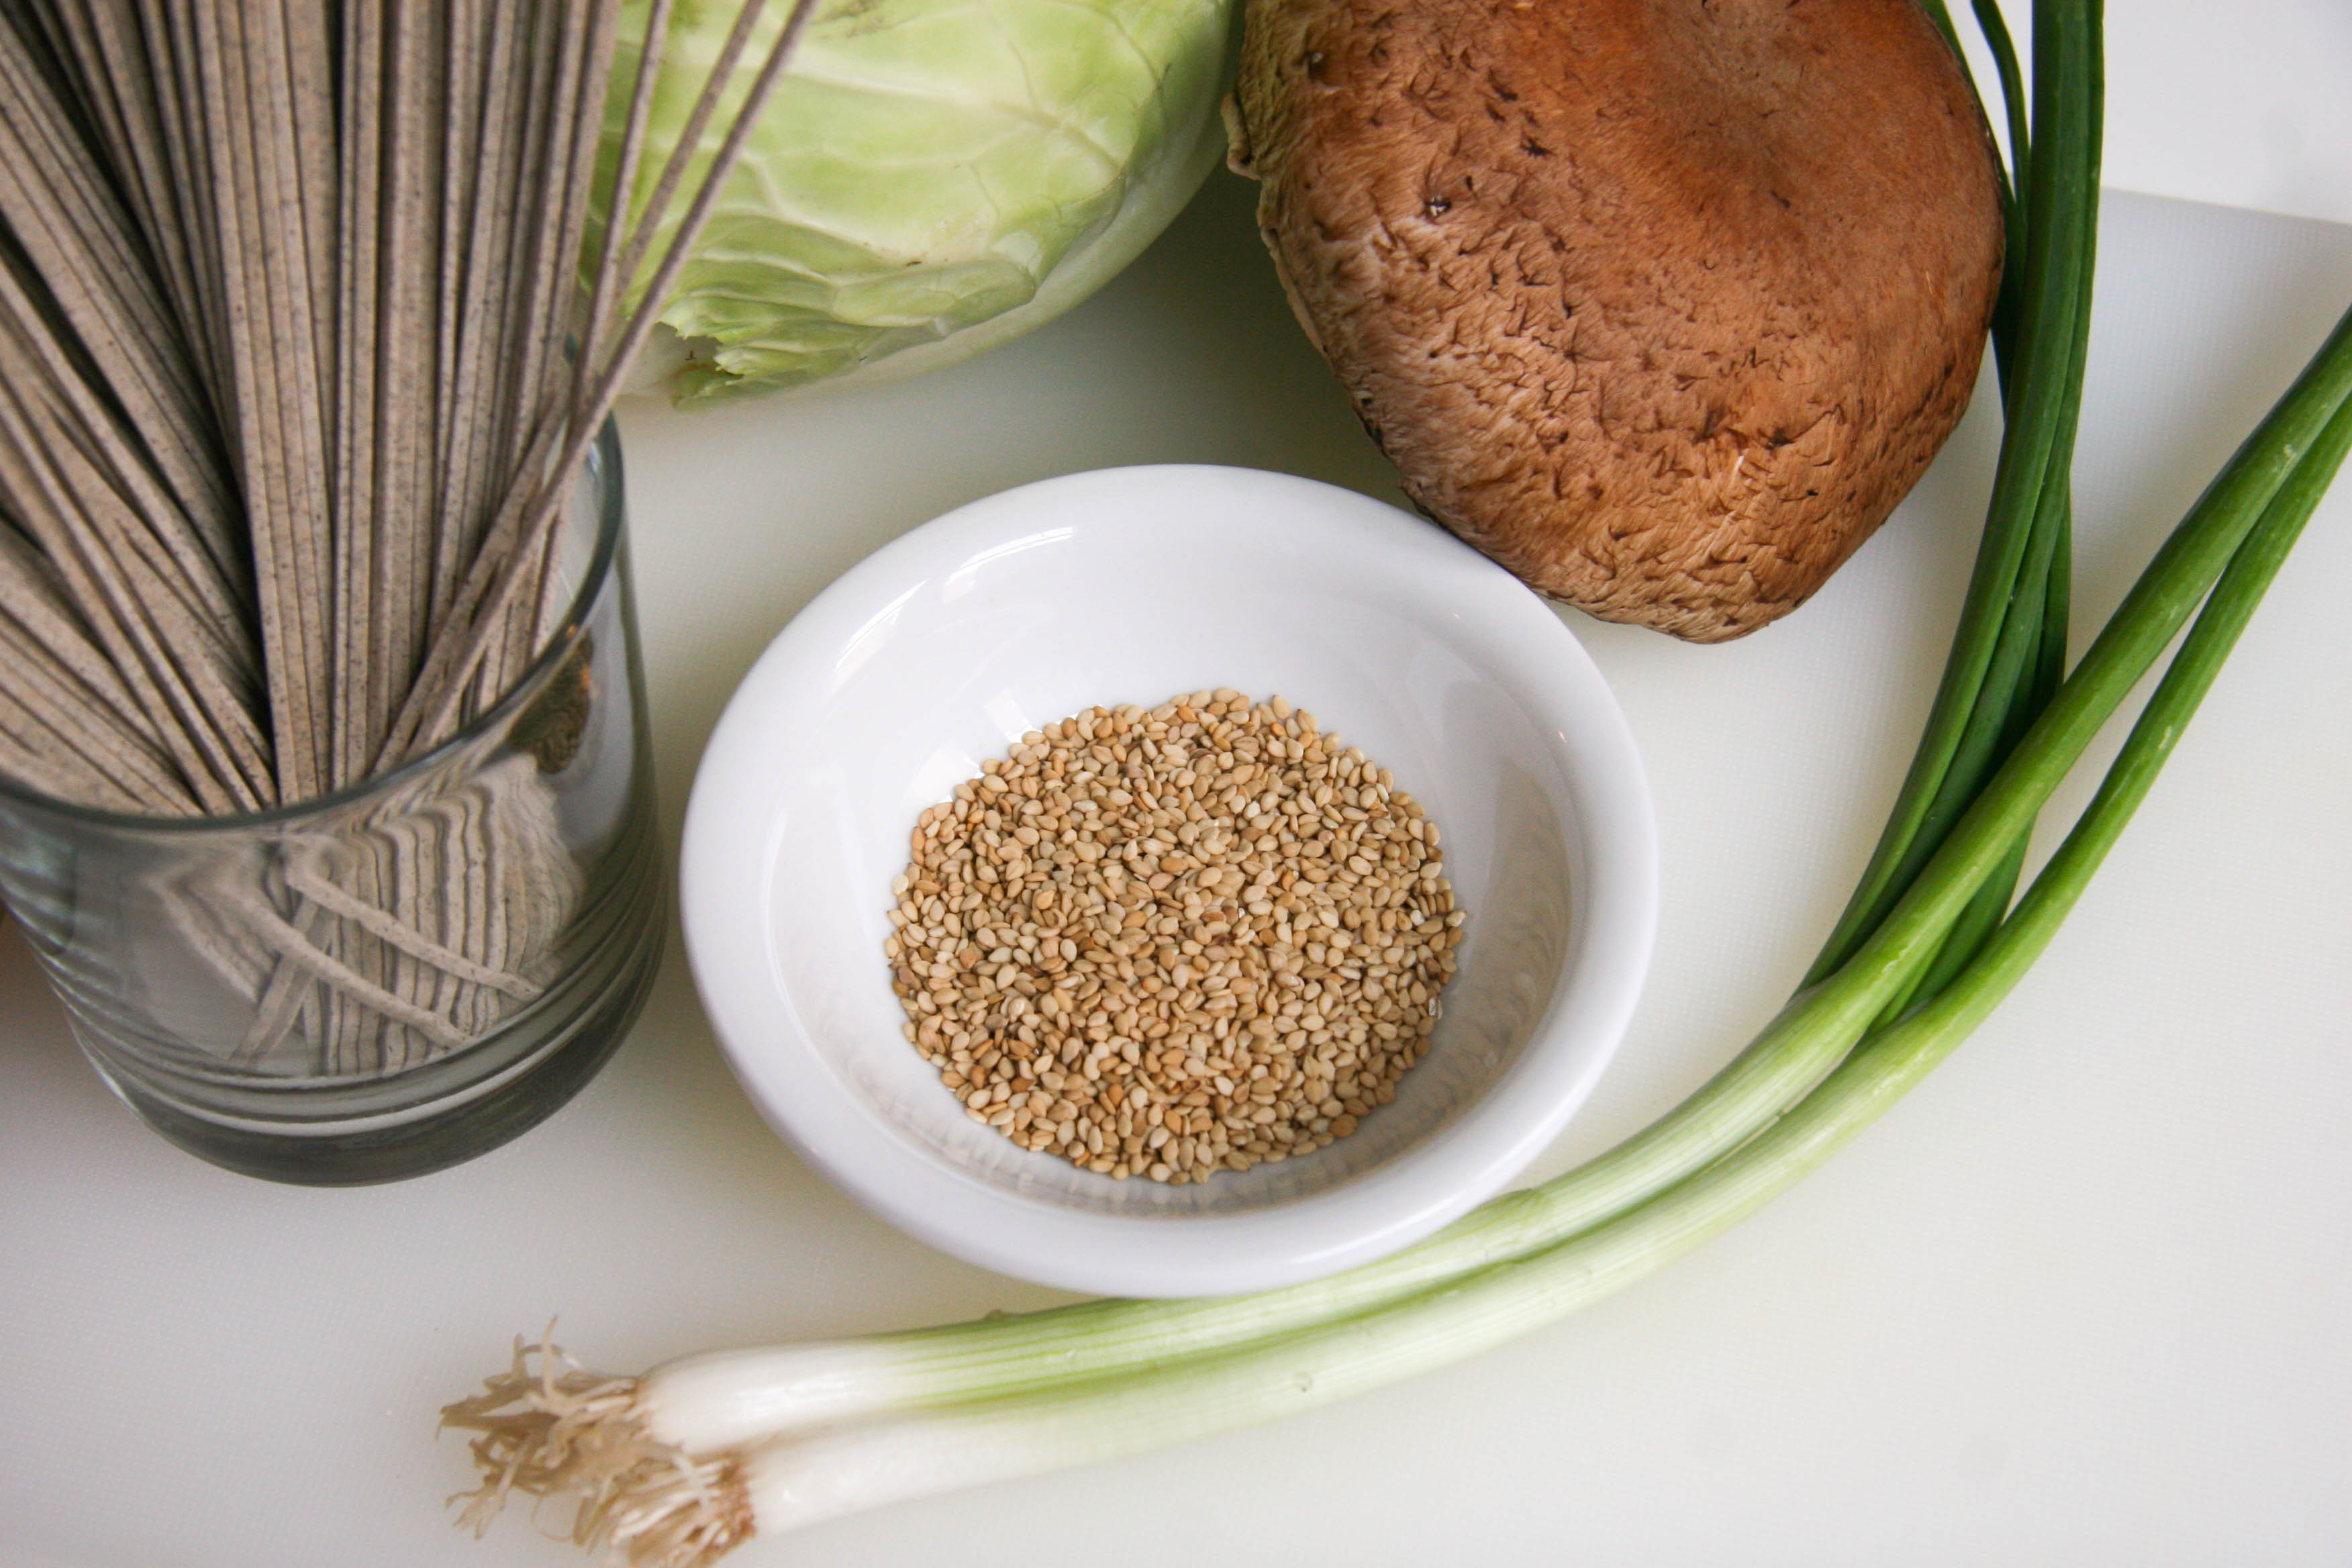
oba noodle salad ingredients

gather your ingredients

soba noodle salad soba noodles

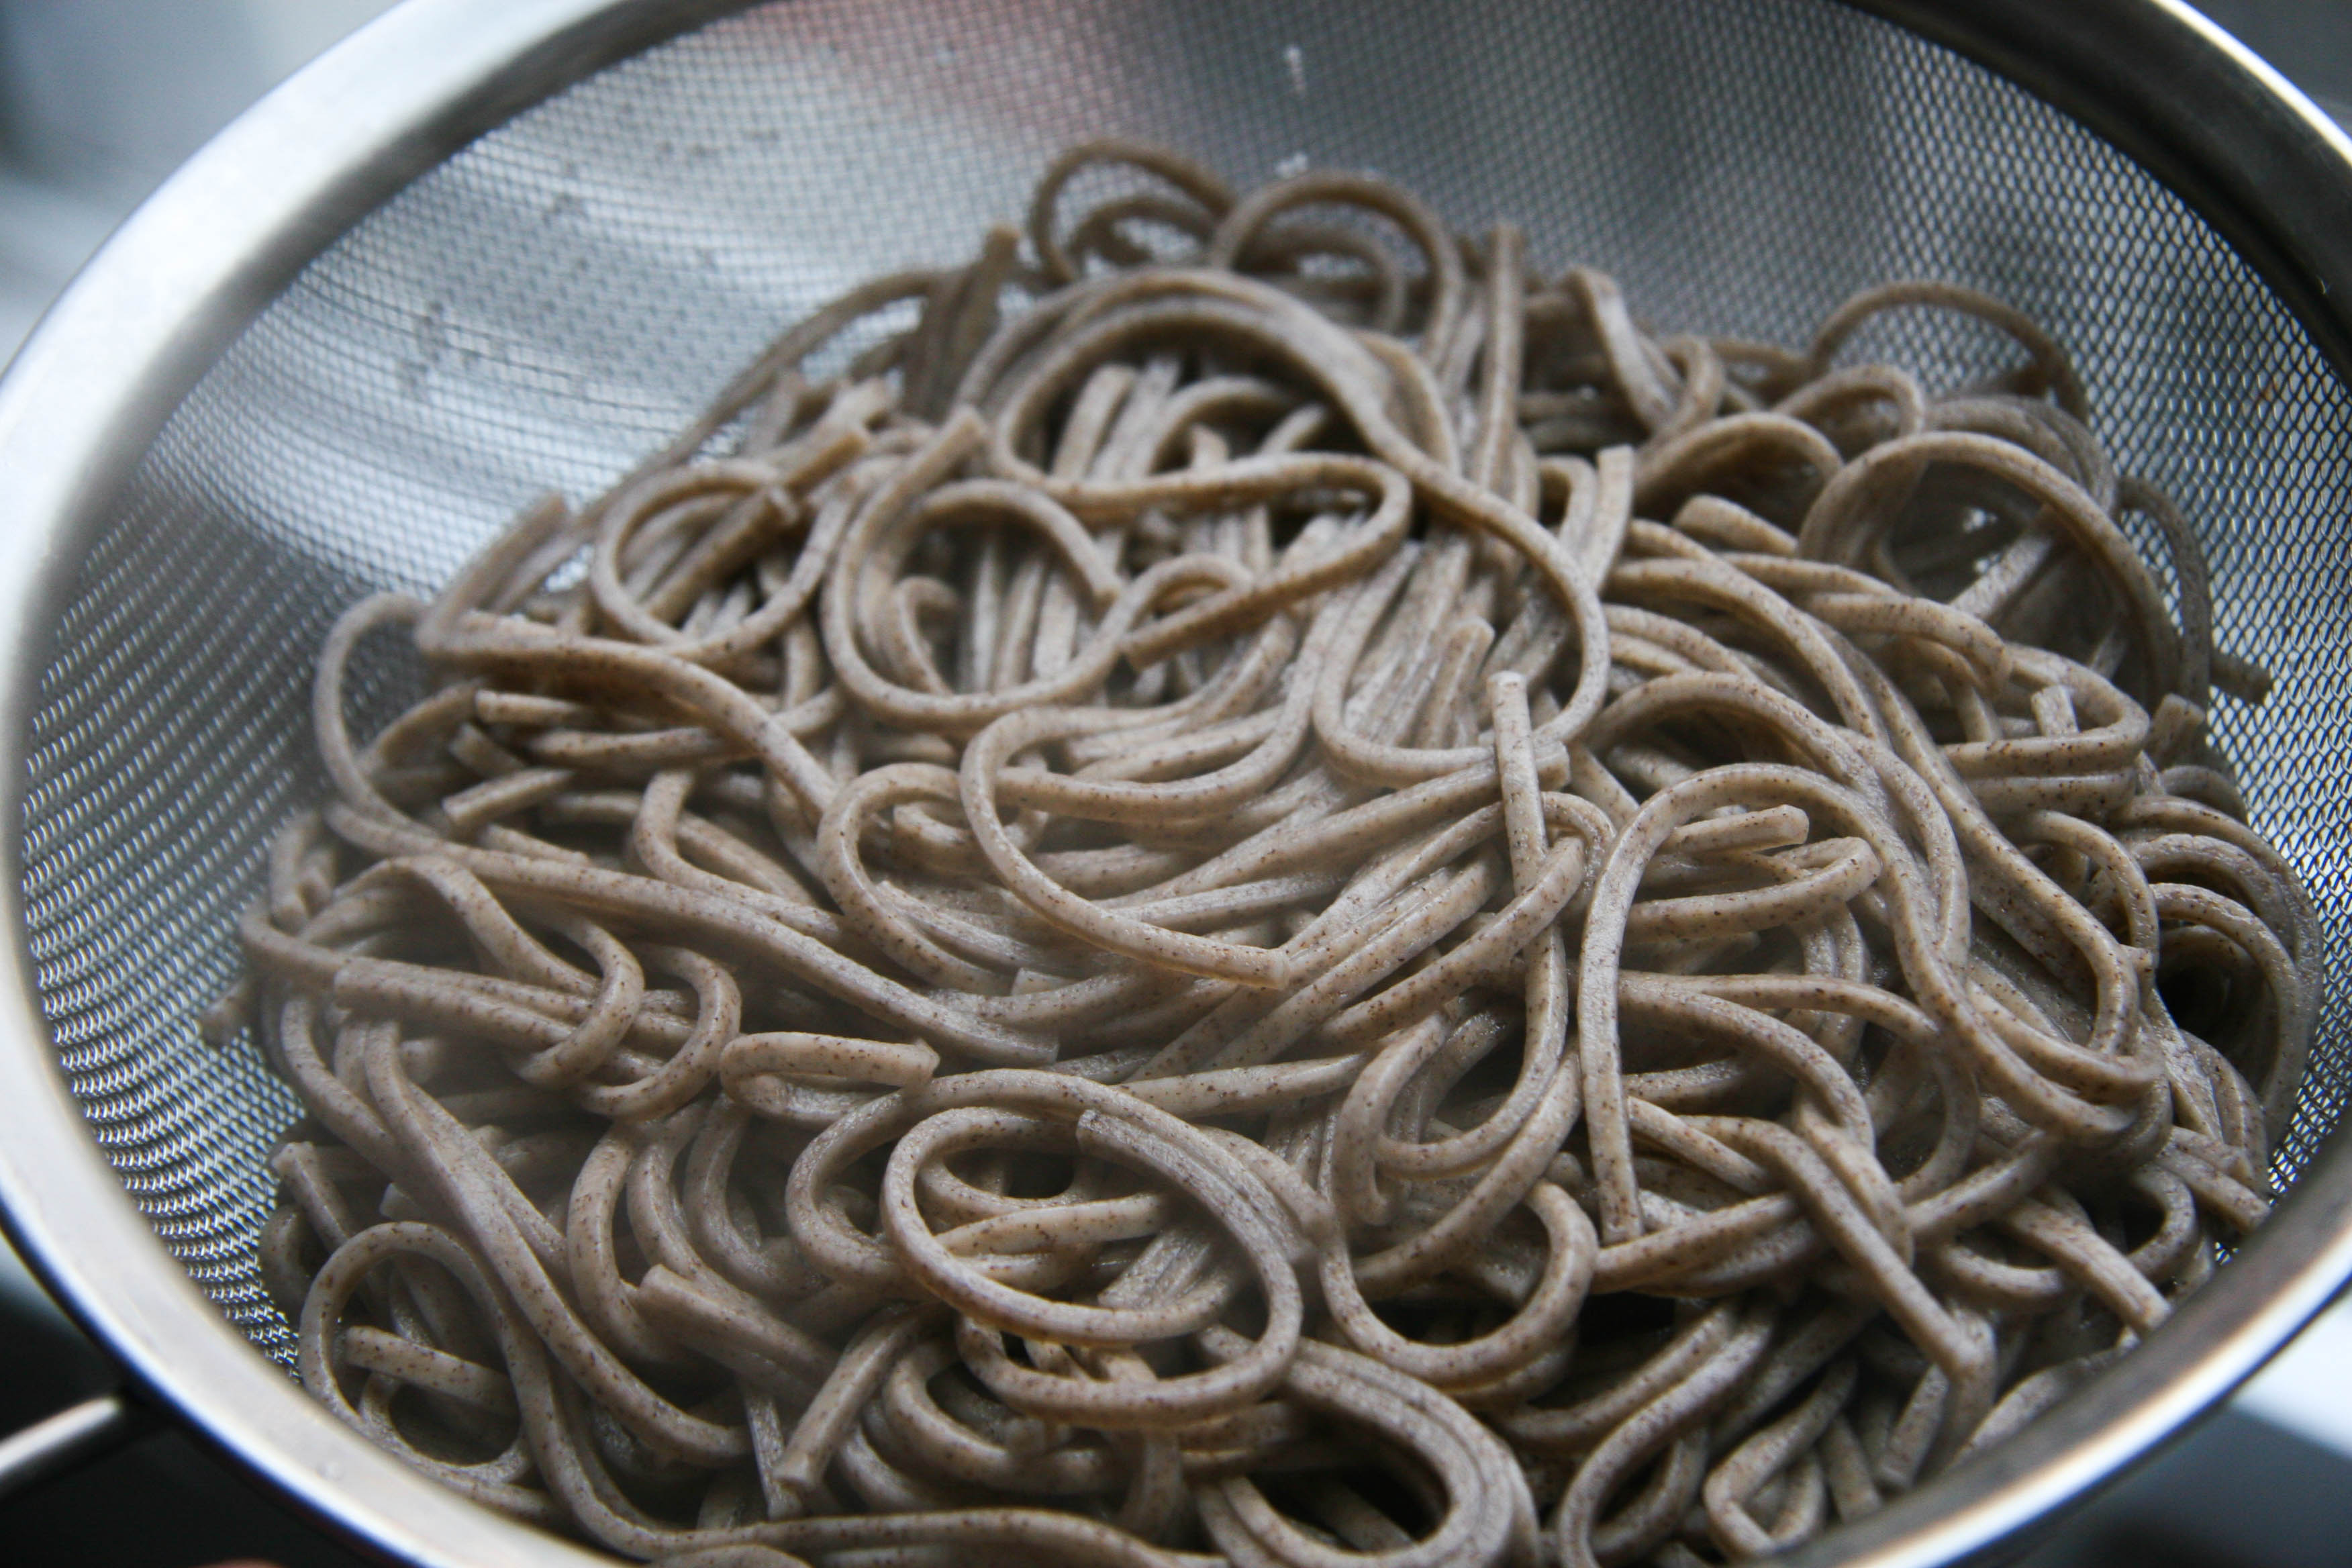
soba noodle salad soba noodles cooked

soba noodle salad tahini dressing ingredients

gather your ingredients for the tahini dressing

soba noodle salad ready to mix

combine!

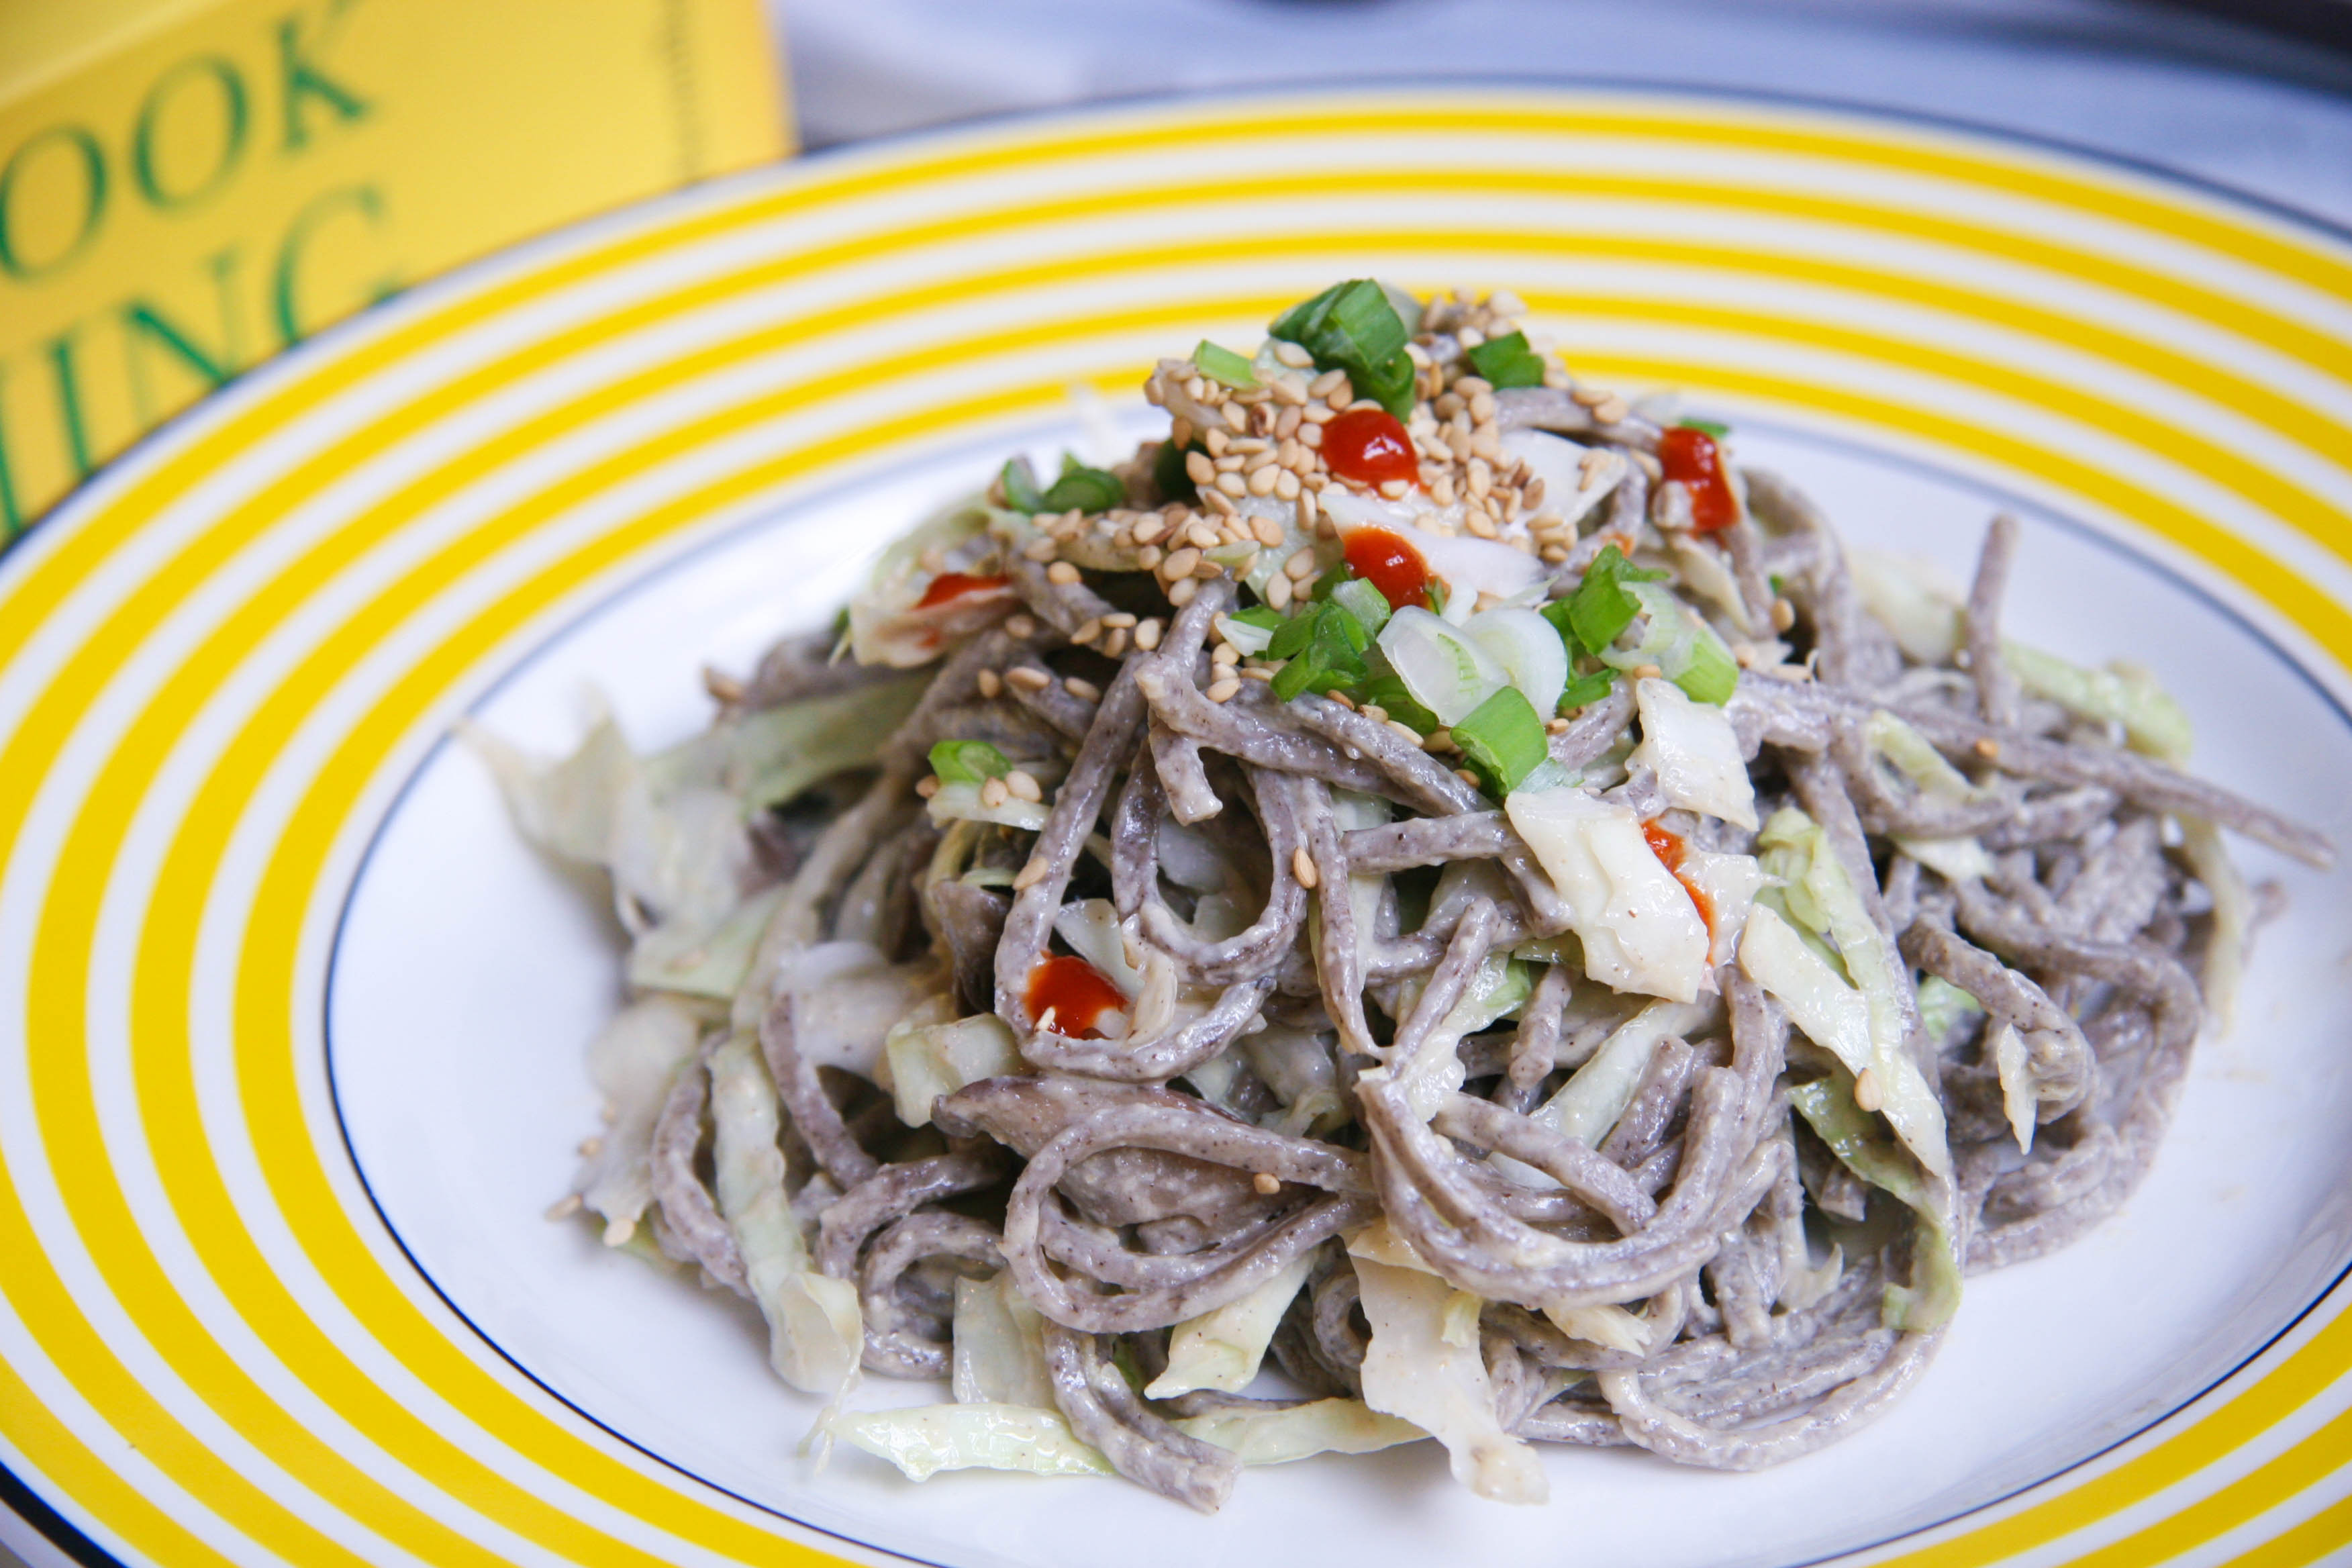
oba noodle salad on plate4

enjoy! (Some like it hot. Like me. I added Sriracha.)

Cold Soba Noodle Salad with Tahini Dressing
butter loves company

Prep Time: 15 minutes
Cook Time: 10 minutes
Total Time: 25–30 minutes
Serves: 4–6

Ingredients:

Soba Salad:
6 oz dry soba noodles
4 cups thinly sliced cabbage (about ½ a small head)
1 tablespoon olive oil
2 Portobello mushroom caps sliced into ¼ inch slivers (or 3 cups shitake mushrooms sliced thin)
1 tablespoon low sodium soy sauce
1 thinly sliced green onion, white and light green parts, for garnishing
Toasted sesame seeds, for garnishing

Tahini Dressing:
¼ cup tahini (sesame paste)
4 tablespoons orange juice (freshly squeezed)
1 tablespoon lemon juice
1 tablespoon olive oil
2 teaspoons dark sesame oil
2 teaspoons honey, raw if you have it
1 teaspoon fresh ginger zest
1 tablespoon thinly sliced green onions, white and light green parts
½ teaspoon salt, plus more to taste

Instructions:

  1. Bring 4 cups water to a boil. Add the dry soba noodles. Cook 5 to 6 minutes, or until tender. Strain and transfer noodles to a bowl. Refrigerate until cooled.
  2. Heat the oil in a small saucepan. Add the sliced mushrooms and soy sauce and cook until the mushrooms have released their juice and the slices have shrunk in size, about 4 minutes. Remove mushrooms, discarding excess juice, and transfer to a small bowl to cool.
  3. While the noodles and mushrooms are cooling, prepare the dressing by mixing all ingredients from the tahini to the ½ teaspoon salt together in a bowl. Season with additional salt—if necessary—to taste.
  4. In a large bowl, mix together the cooled noodles, cooled mushrooms, and sliced cabbage. Using tongs or a large wooden spoon, stir in half the tahini dressing. Slowly add additional dressing until the noodles are covered, but not dripping with sauce. Add the green onions and sesame seeds to the entire mixture now or atop each serving.
Filed Under: eat, mains, sides, soups and salads Tagged With: cabbage, easy, ginger, lunch, mushrooms, pasta salad, salad, sesame, soba, soba salad, tahini

broyé (salted butter table cookie)

March 23, 2014 by Butter Loves Company

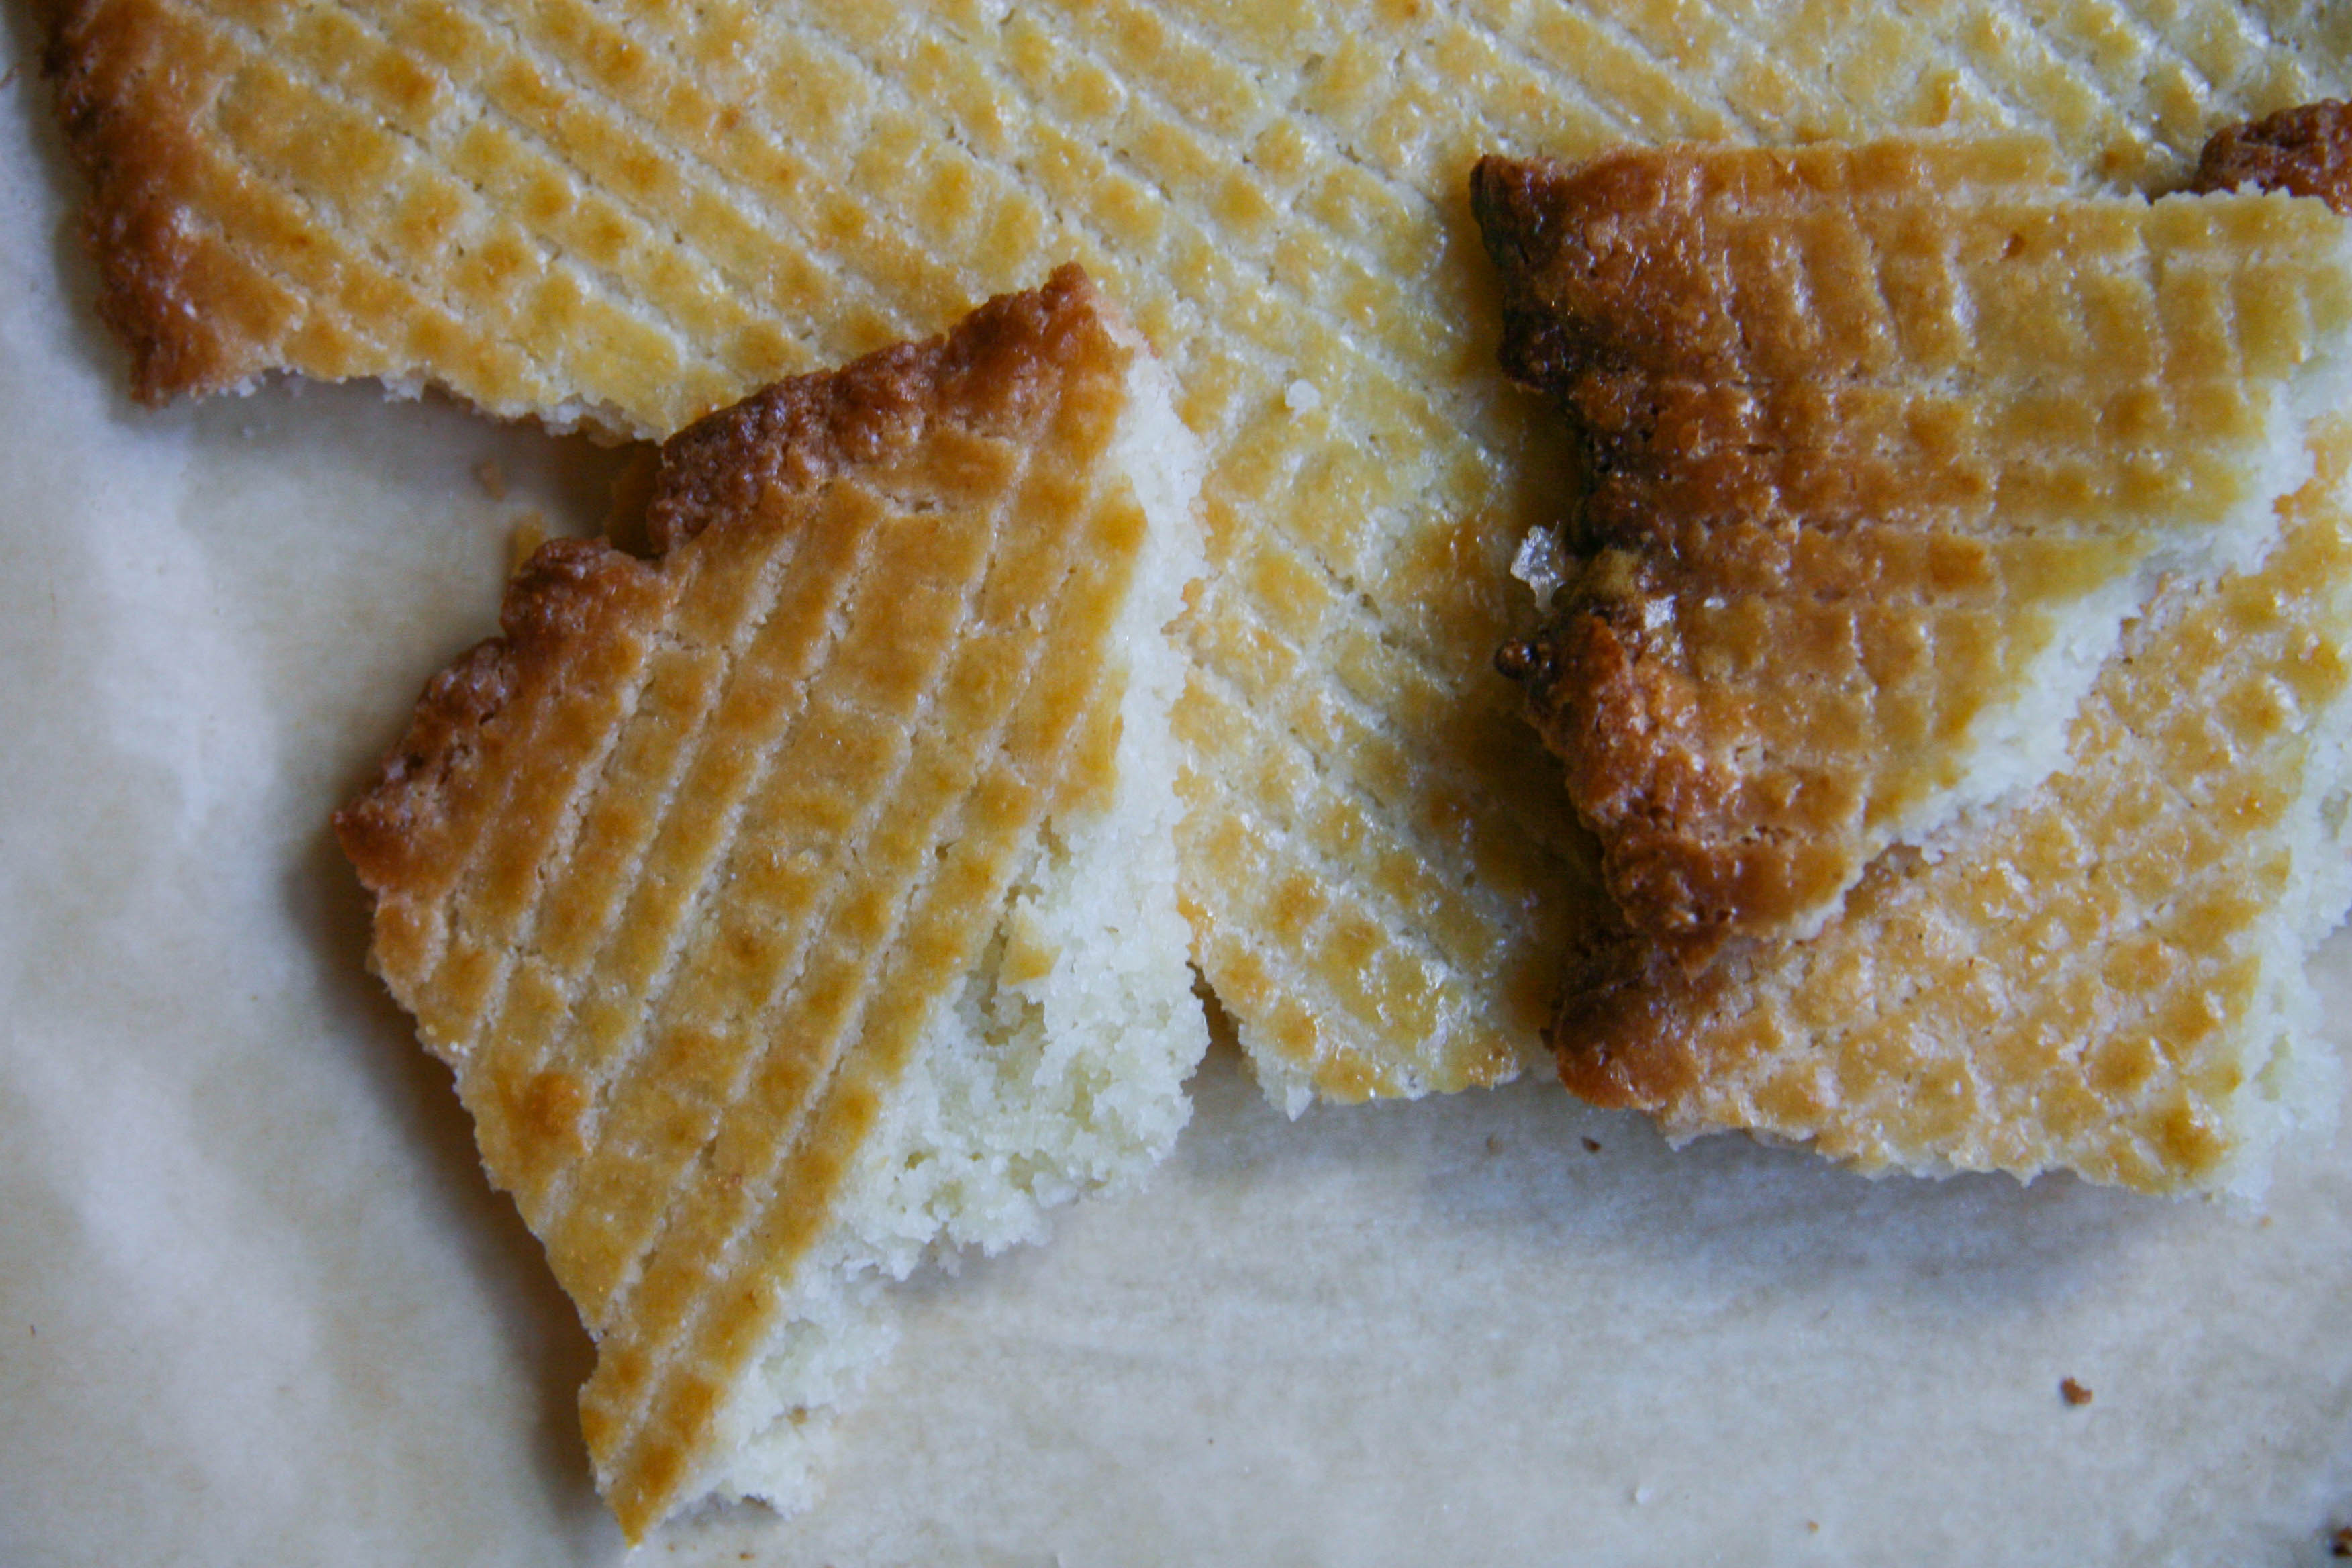
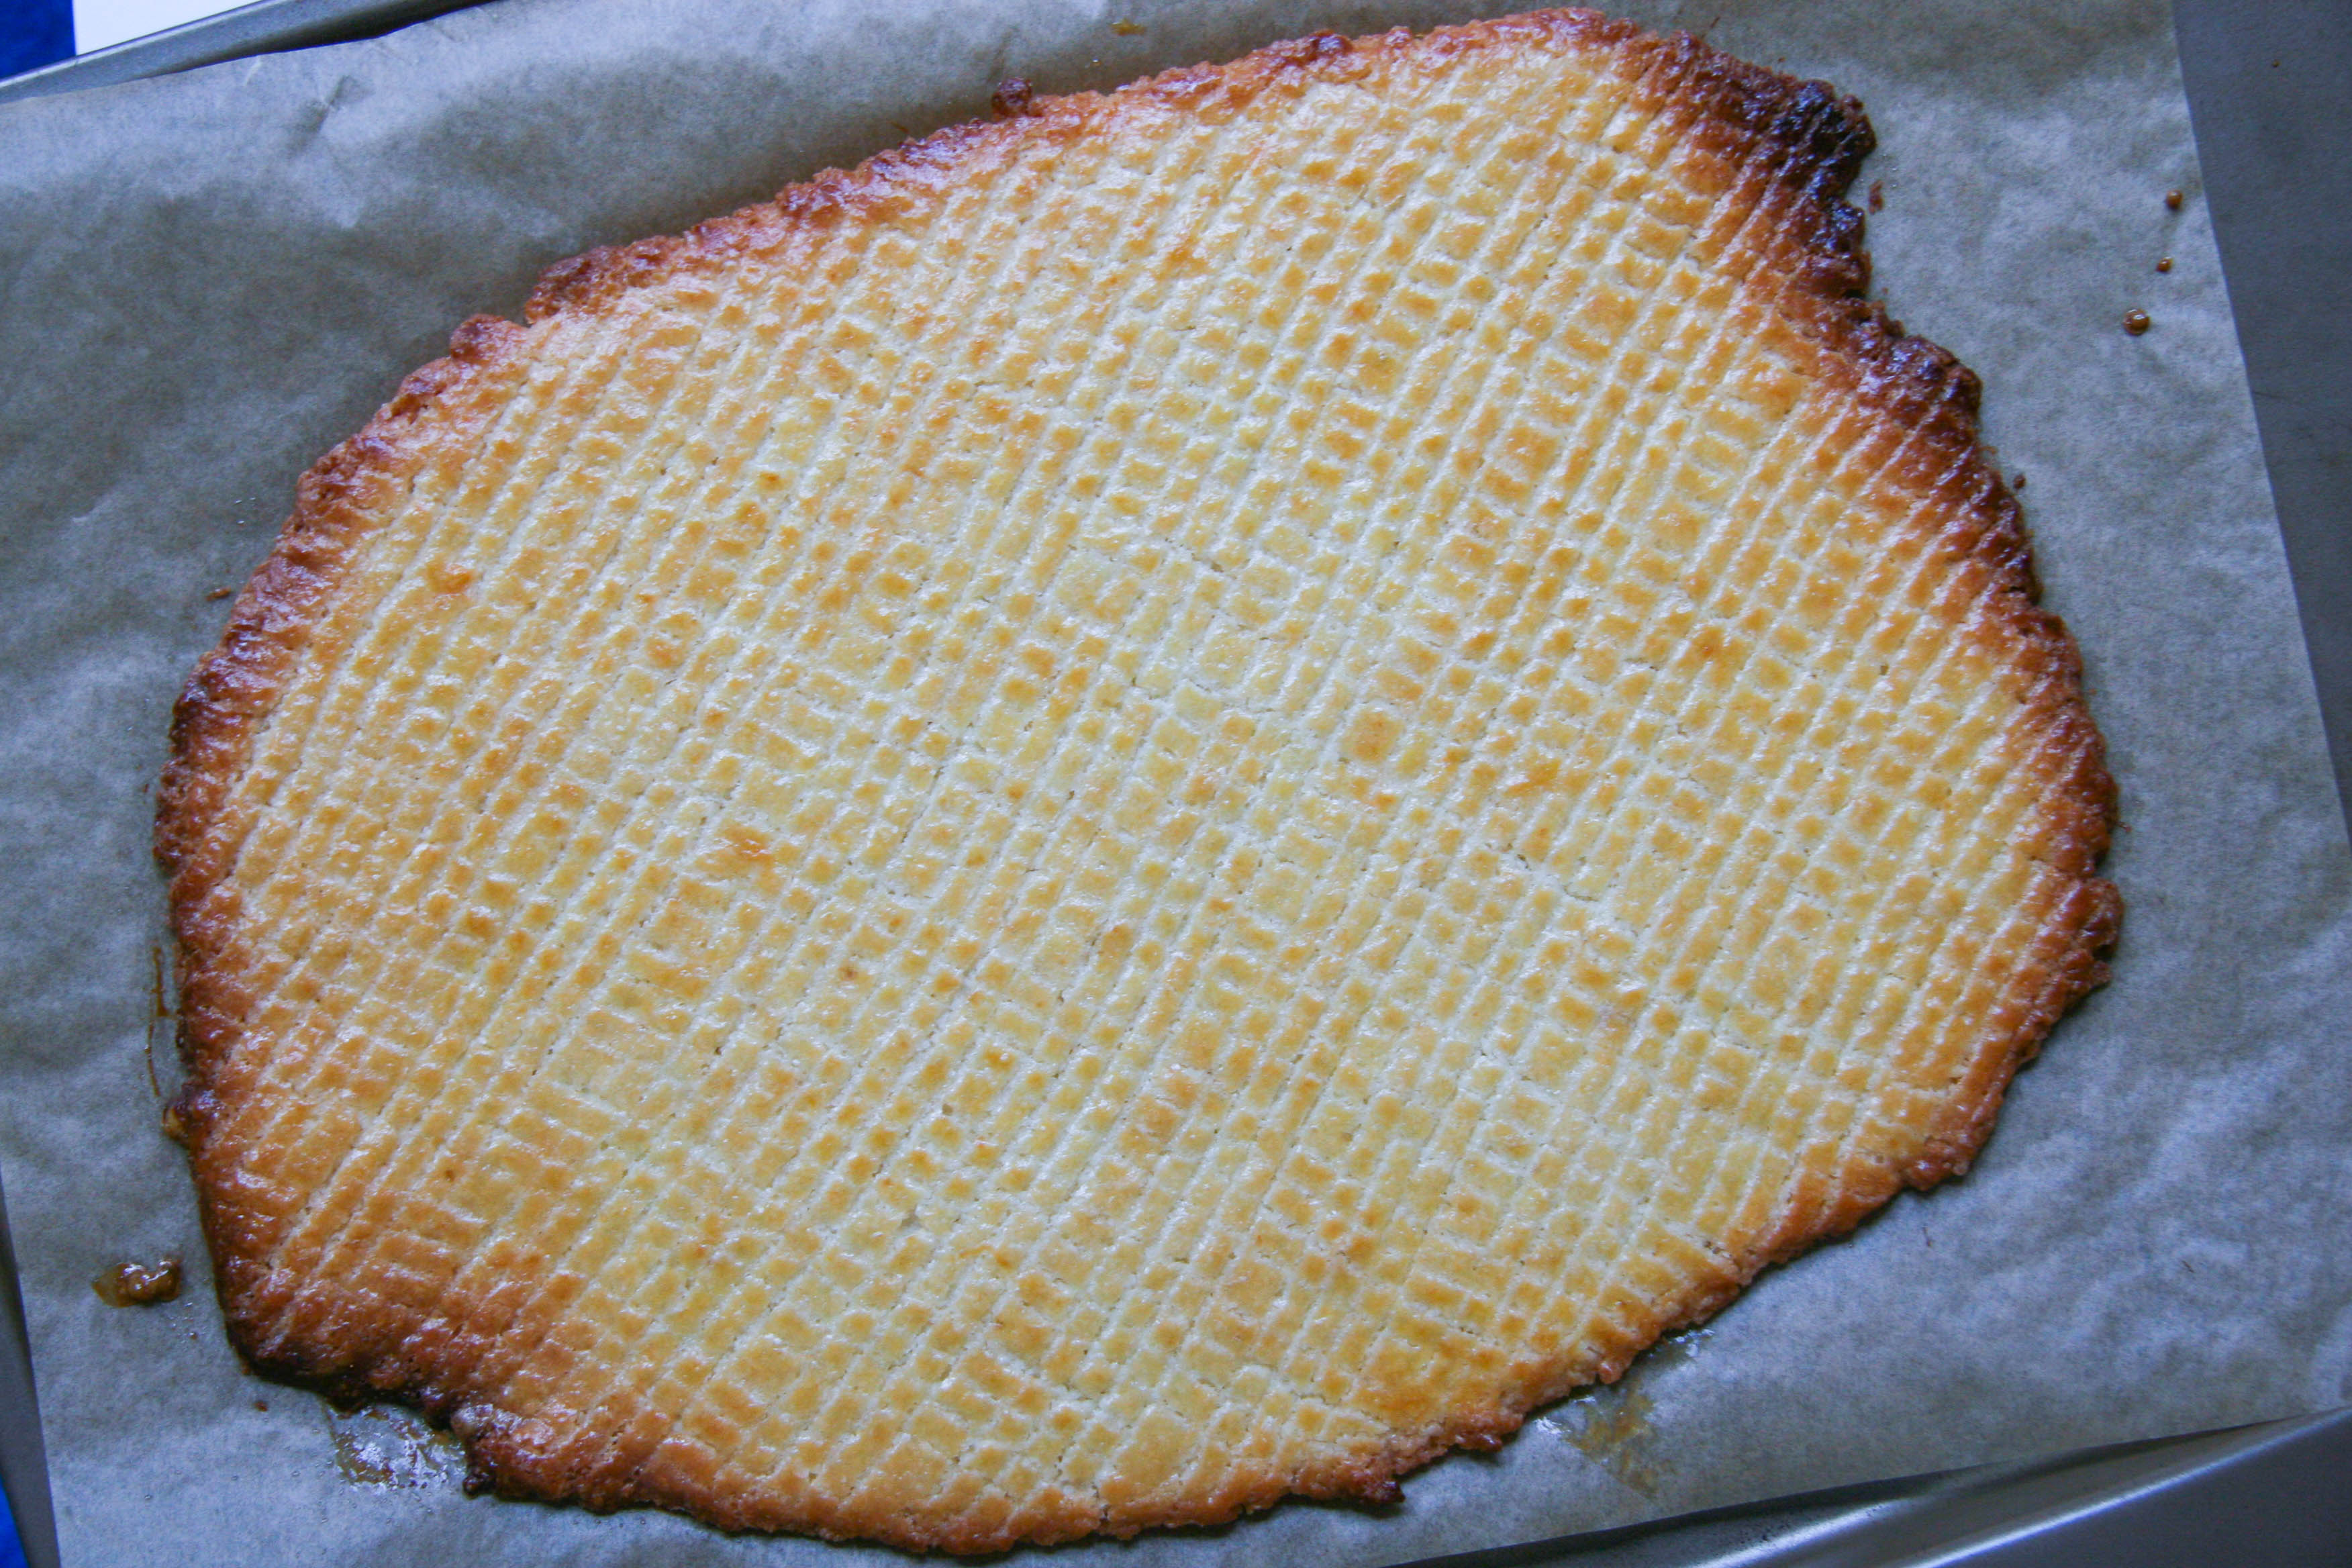
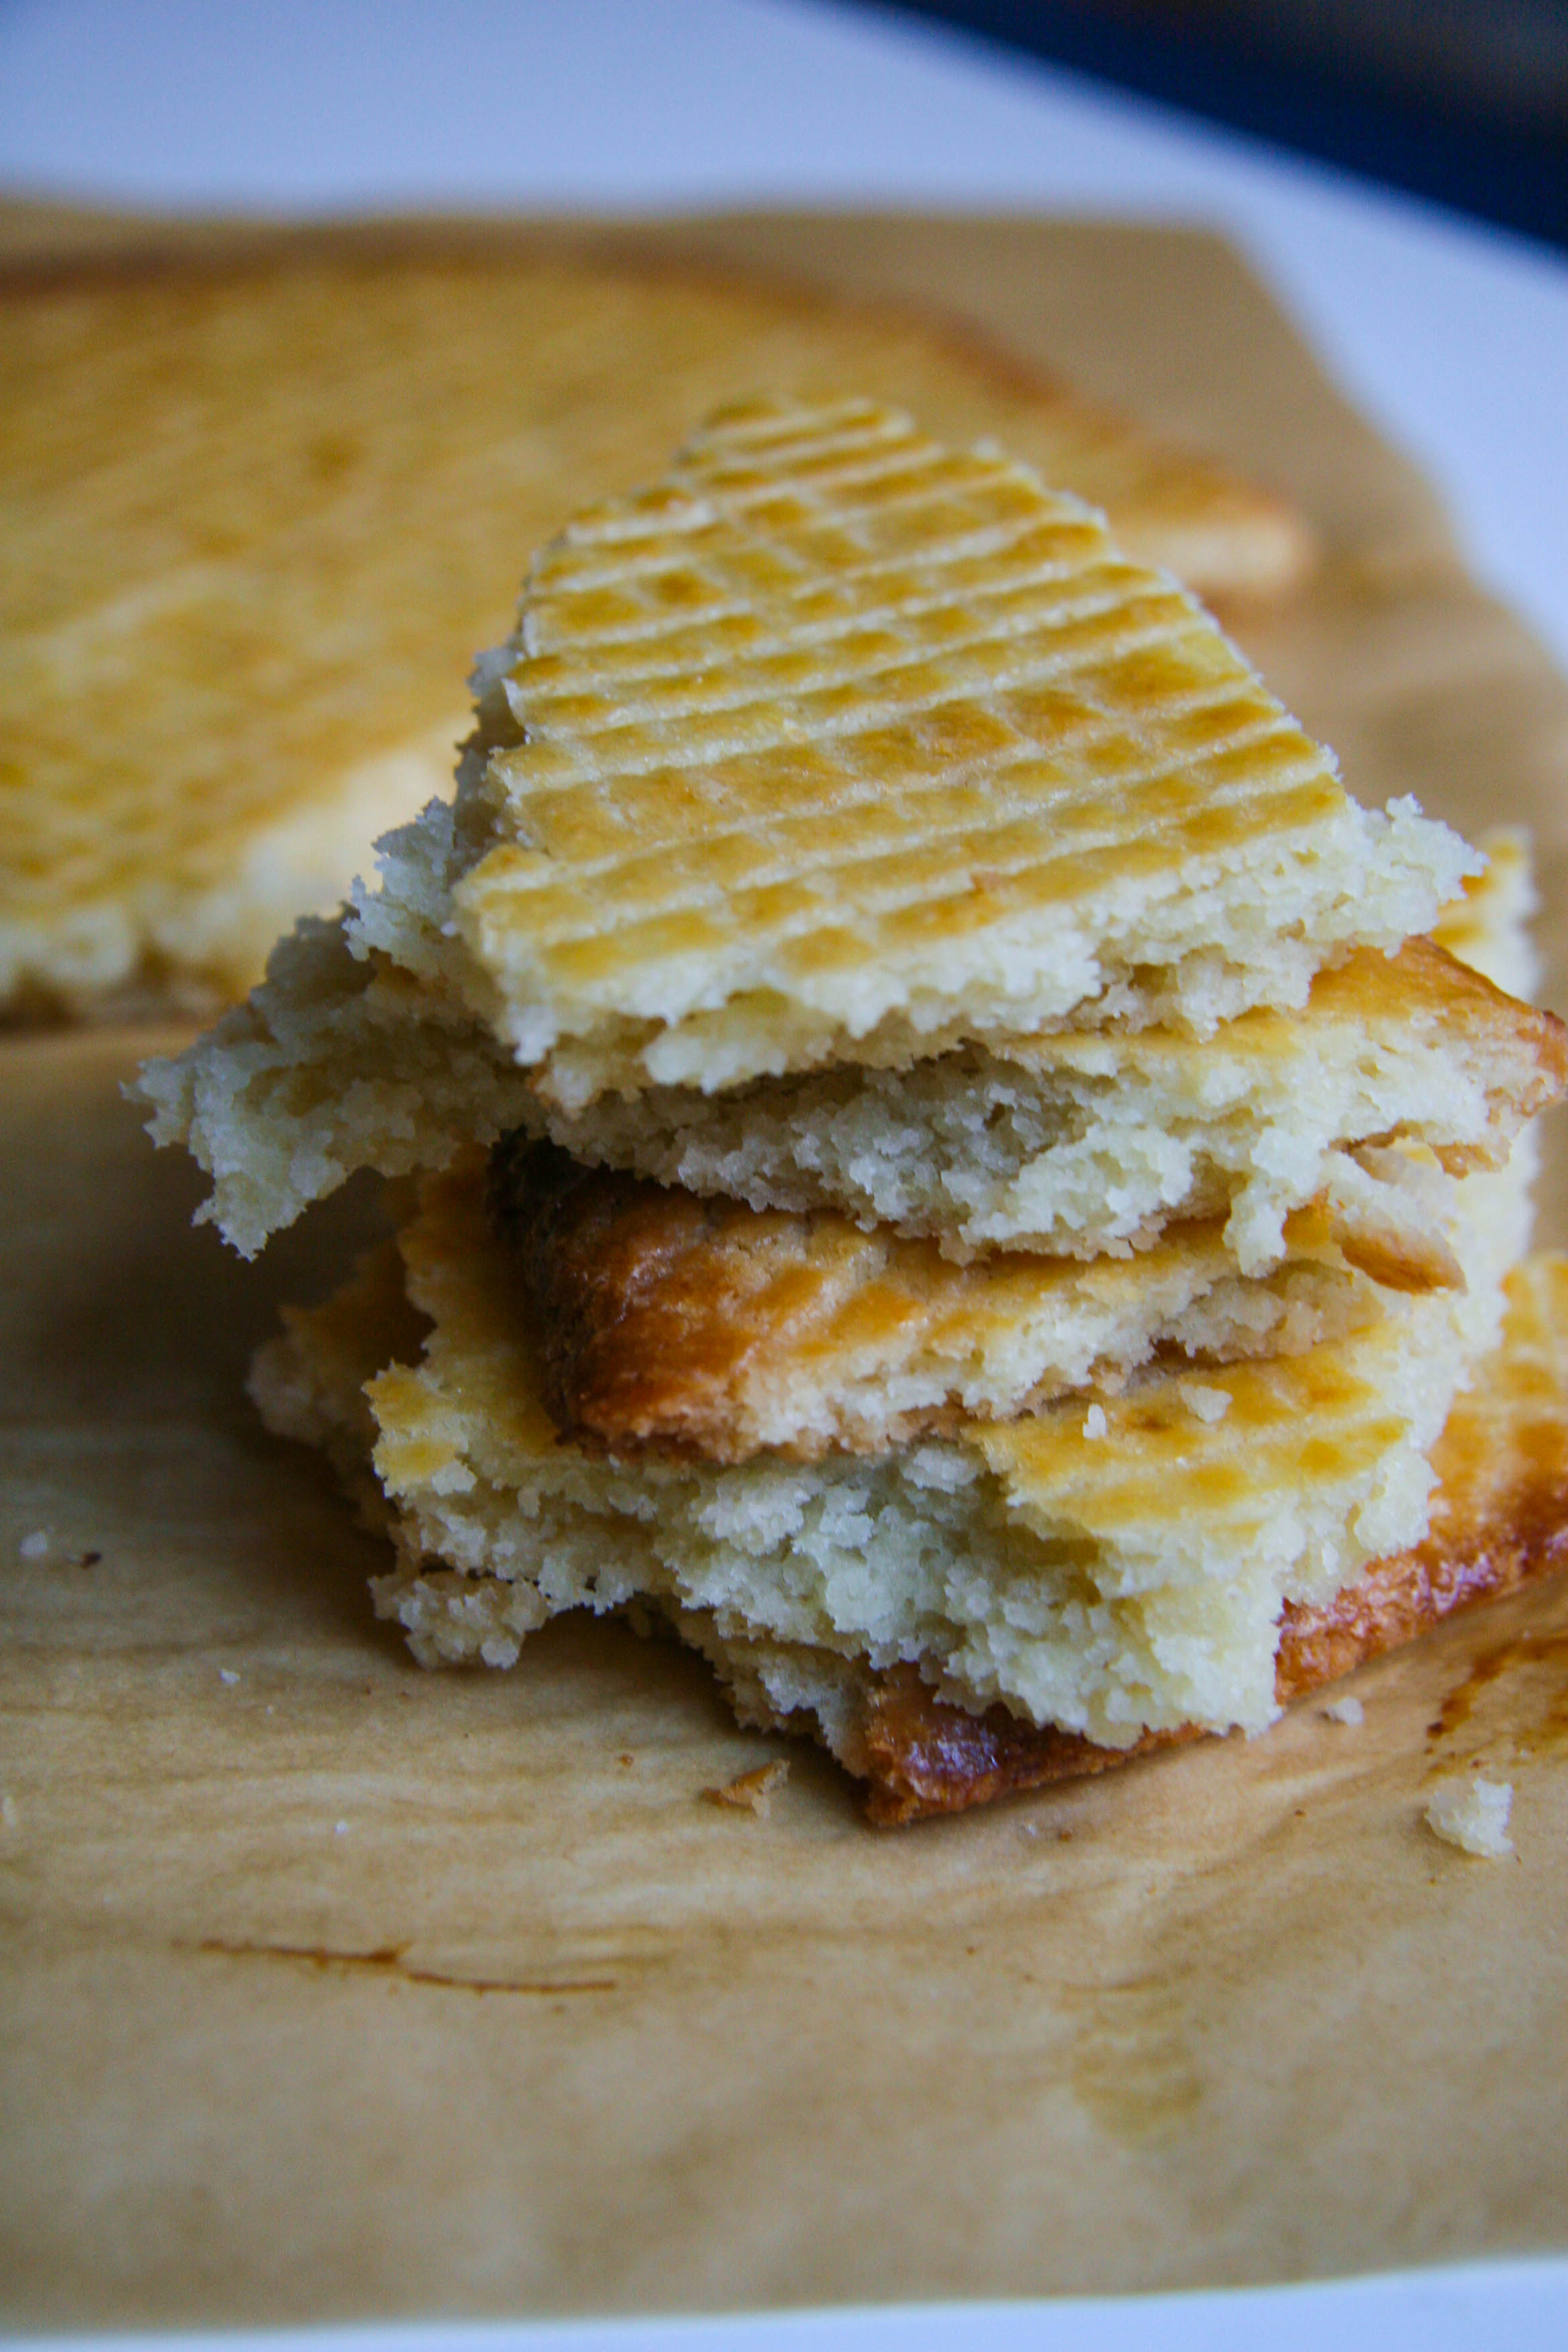
A large, rustic, buttery, salty cookie adorned with a pretty crosshatch meant to be shared at your table (although, it does not need to be!)

broye cookie 1

I am obsessed with this.

Yes, it may only have 5 ingredients and sounds pretty basic, but I just love everything about this recipe. The simple, buttery, salty, crunchy yet tender cookie is one you keep reaching back for until you “accidentally” eat the entire thing. But, what I love most, perhaps even more than its taste, is its sheer concept. The large, rectangular cookie is intended for sharing with many on the center of your table, each guest breaking off his or her portion as you sit and enjoy each other’s company.
On a table, this little rustic guy is somehow casually dramatic.

In her book Around My French Table, Dorie Greenspan explains the broyé, meaning crushed cookie in French, is a tradition in the butter loving Poitou region of western France. Although I’ve never been there, if this cookie is a staple, I could see myself calling the region “home.”  The cookie can be made with flaky or coarse sea salt, or sel gris, for a noticeably salty flavor between sweet, buttery bites, but can also be made with table salt.

broye cookie 2

broye cookie dough

broye cookie 3

broye cookie 4

broye cookie 5

broye cookie 6

broyé (salted butter table cookie)
Recipe Type: cookies
Cuisine: dessert
Author: adapted from Dorie Greenspan
Prep time: 1 hour 10 mins
Cook time: 25 mins
Total time: 1 hour 35 mins
Serves: 6-8
A large, rustic, buttery, salty cookie adorned with a pretty crosshatch meant to be shared at your table (although, it does not need to be!)
Ingredients
  • 1 ¾ cups unbleached all purpose flour
  • 2/3 cups granulated sugar
  • ¾–1 teaspoon sel gris or kosher salt
  • 9 tablespoons (1 stick plus 1 tablespoon) cold unsalted butter, cut into 18 pieces
  • 3–6 tablespoons cold water
  • 1 egg yolk, for glazing
Instructions
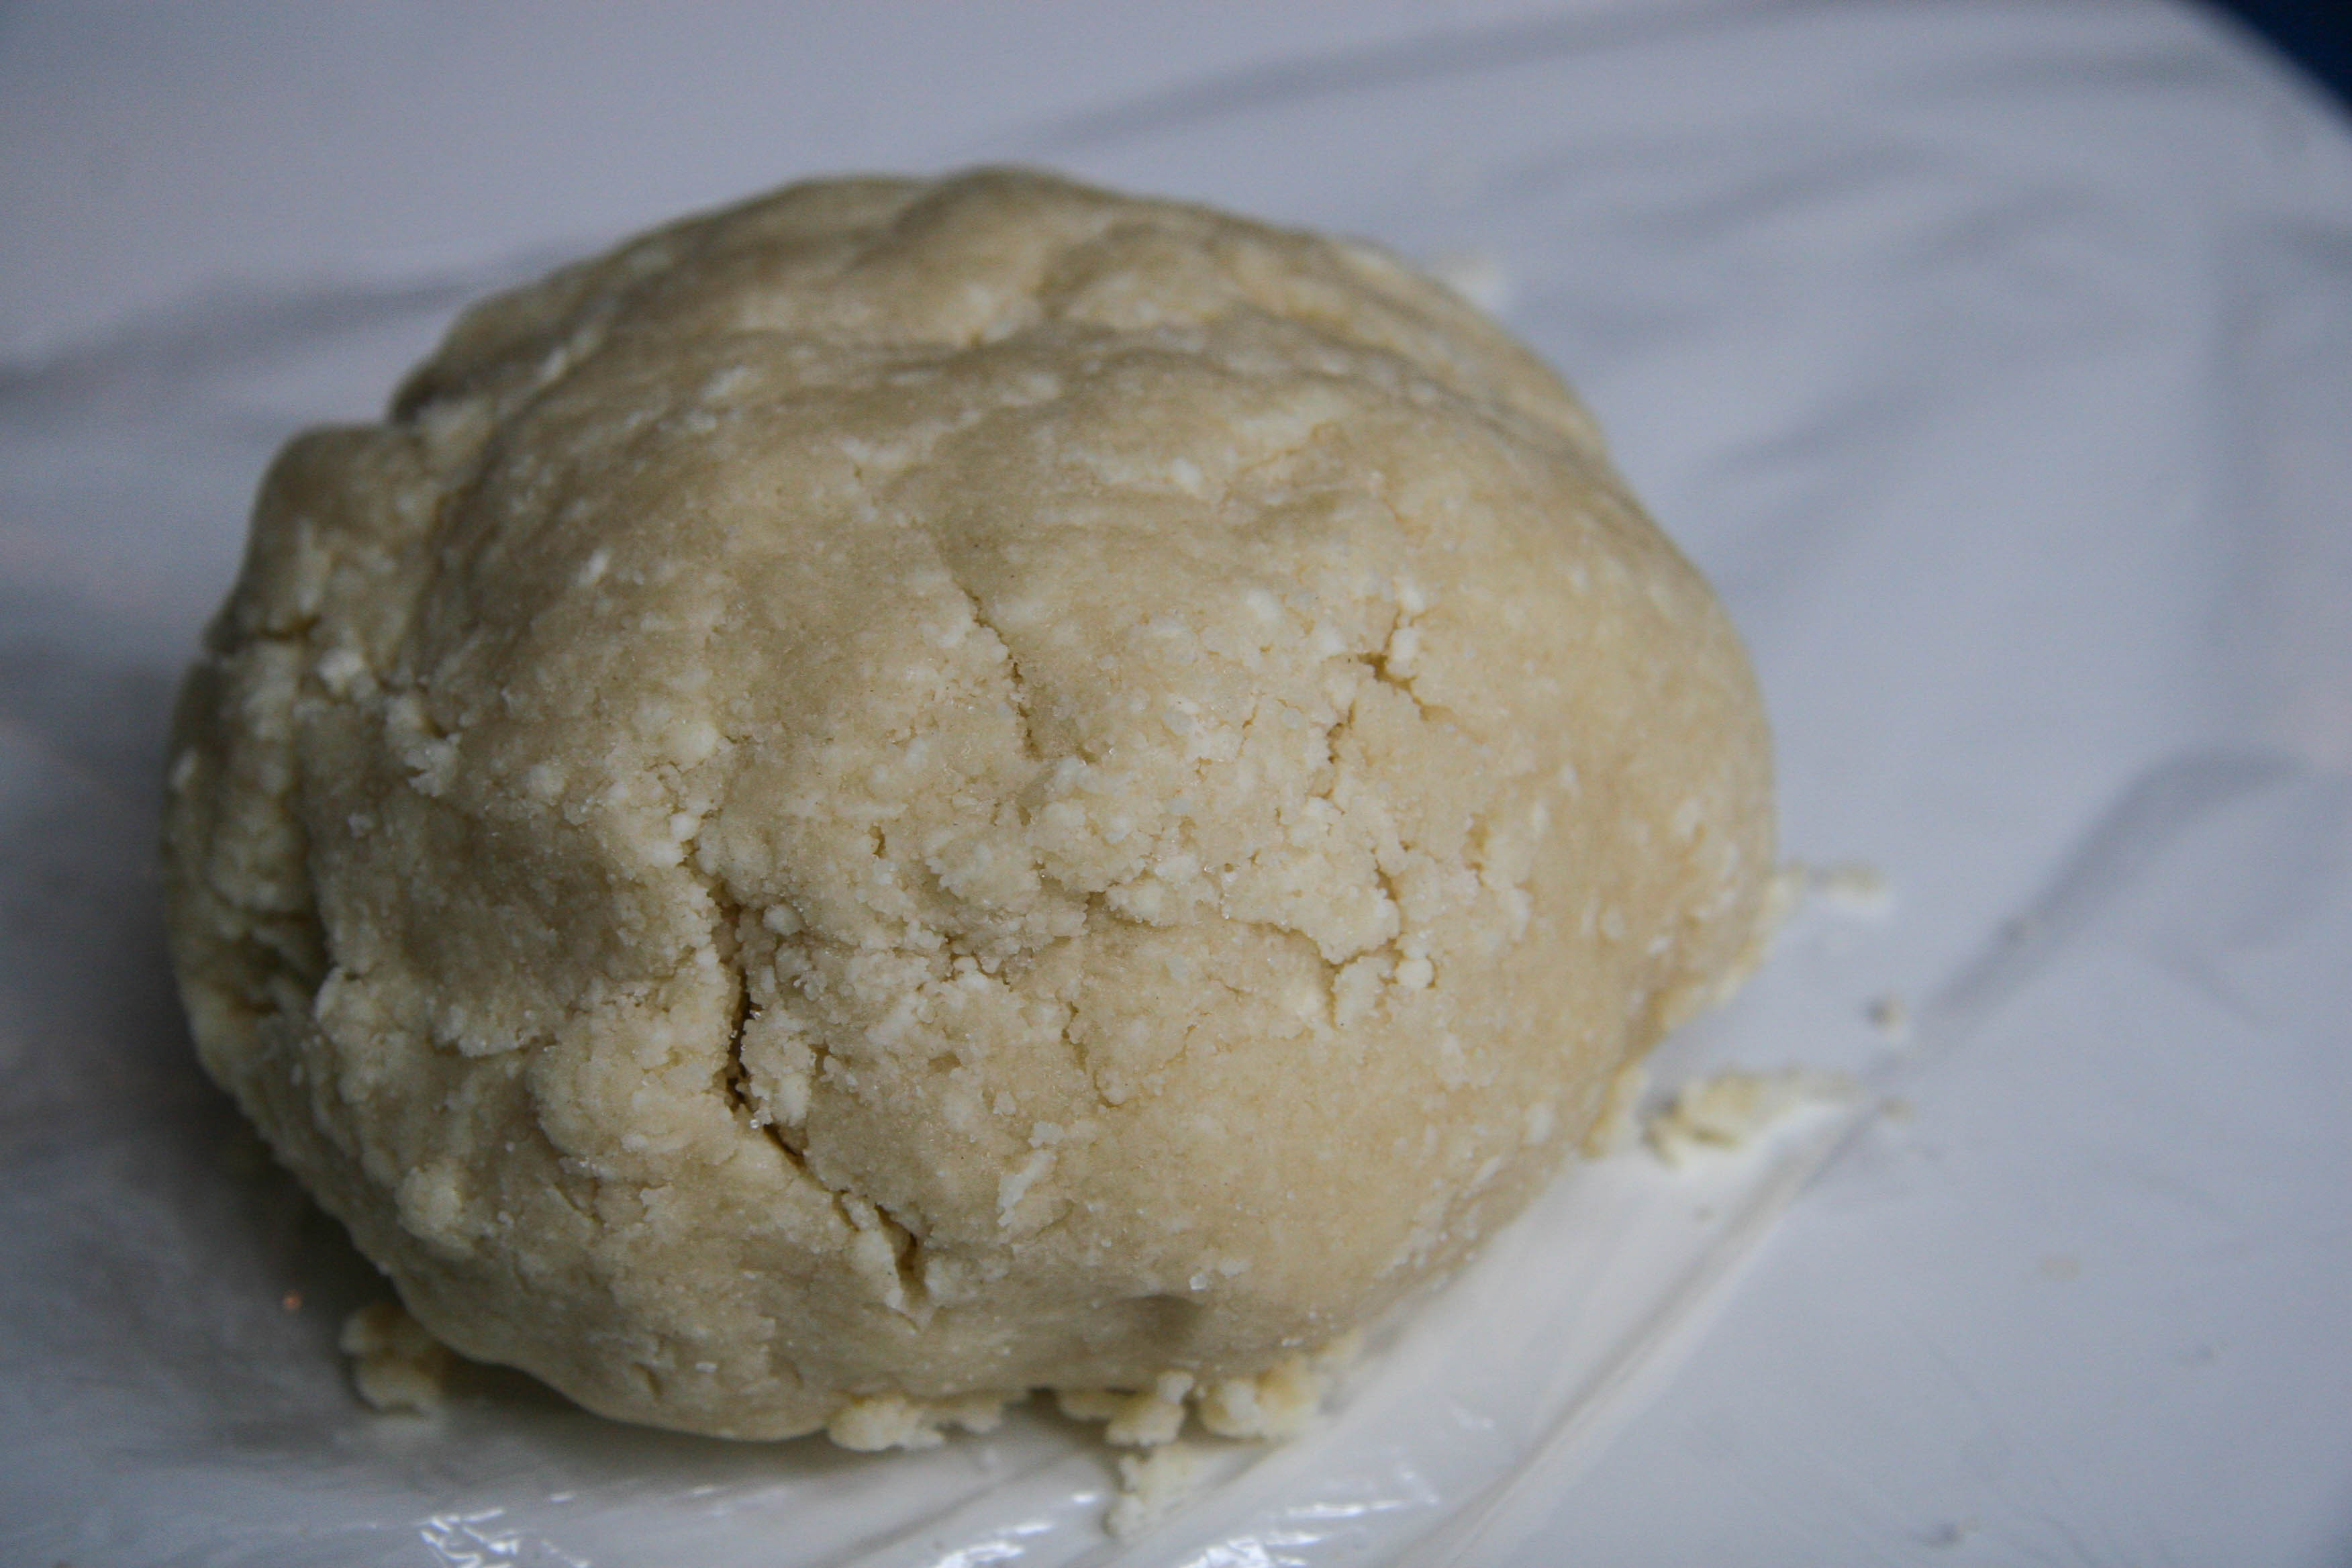
  1. Put the flour, sugar and salt in the work bowl of a food processor and pulse to combine. Drop in the butter and pulse until the butter is in both pea-sized pieces and some in small flakes, about 8 to 9 one-second pulses. With the machine running, start adding the cold water gradually; adding just enough water to produce a dough. To test, you can stop the processor and feel the dough to determine if it has become malleable.
  2. Scrape the dough onto a work surface or a large piece of plastic wrap. Form it into a ball and then pat it down slightly into a disk. Wrap tightly with plastic and refrigerate for about 1 hour (the dough can now be refrigerated for up to 3 days or frozen for up to 2 months.)
  3. When you’re ready to bake, center a rack in the oven and preheat the oven to 350 degrees. Line a baking sheet with a silicon mat or parchment paper.
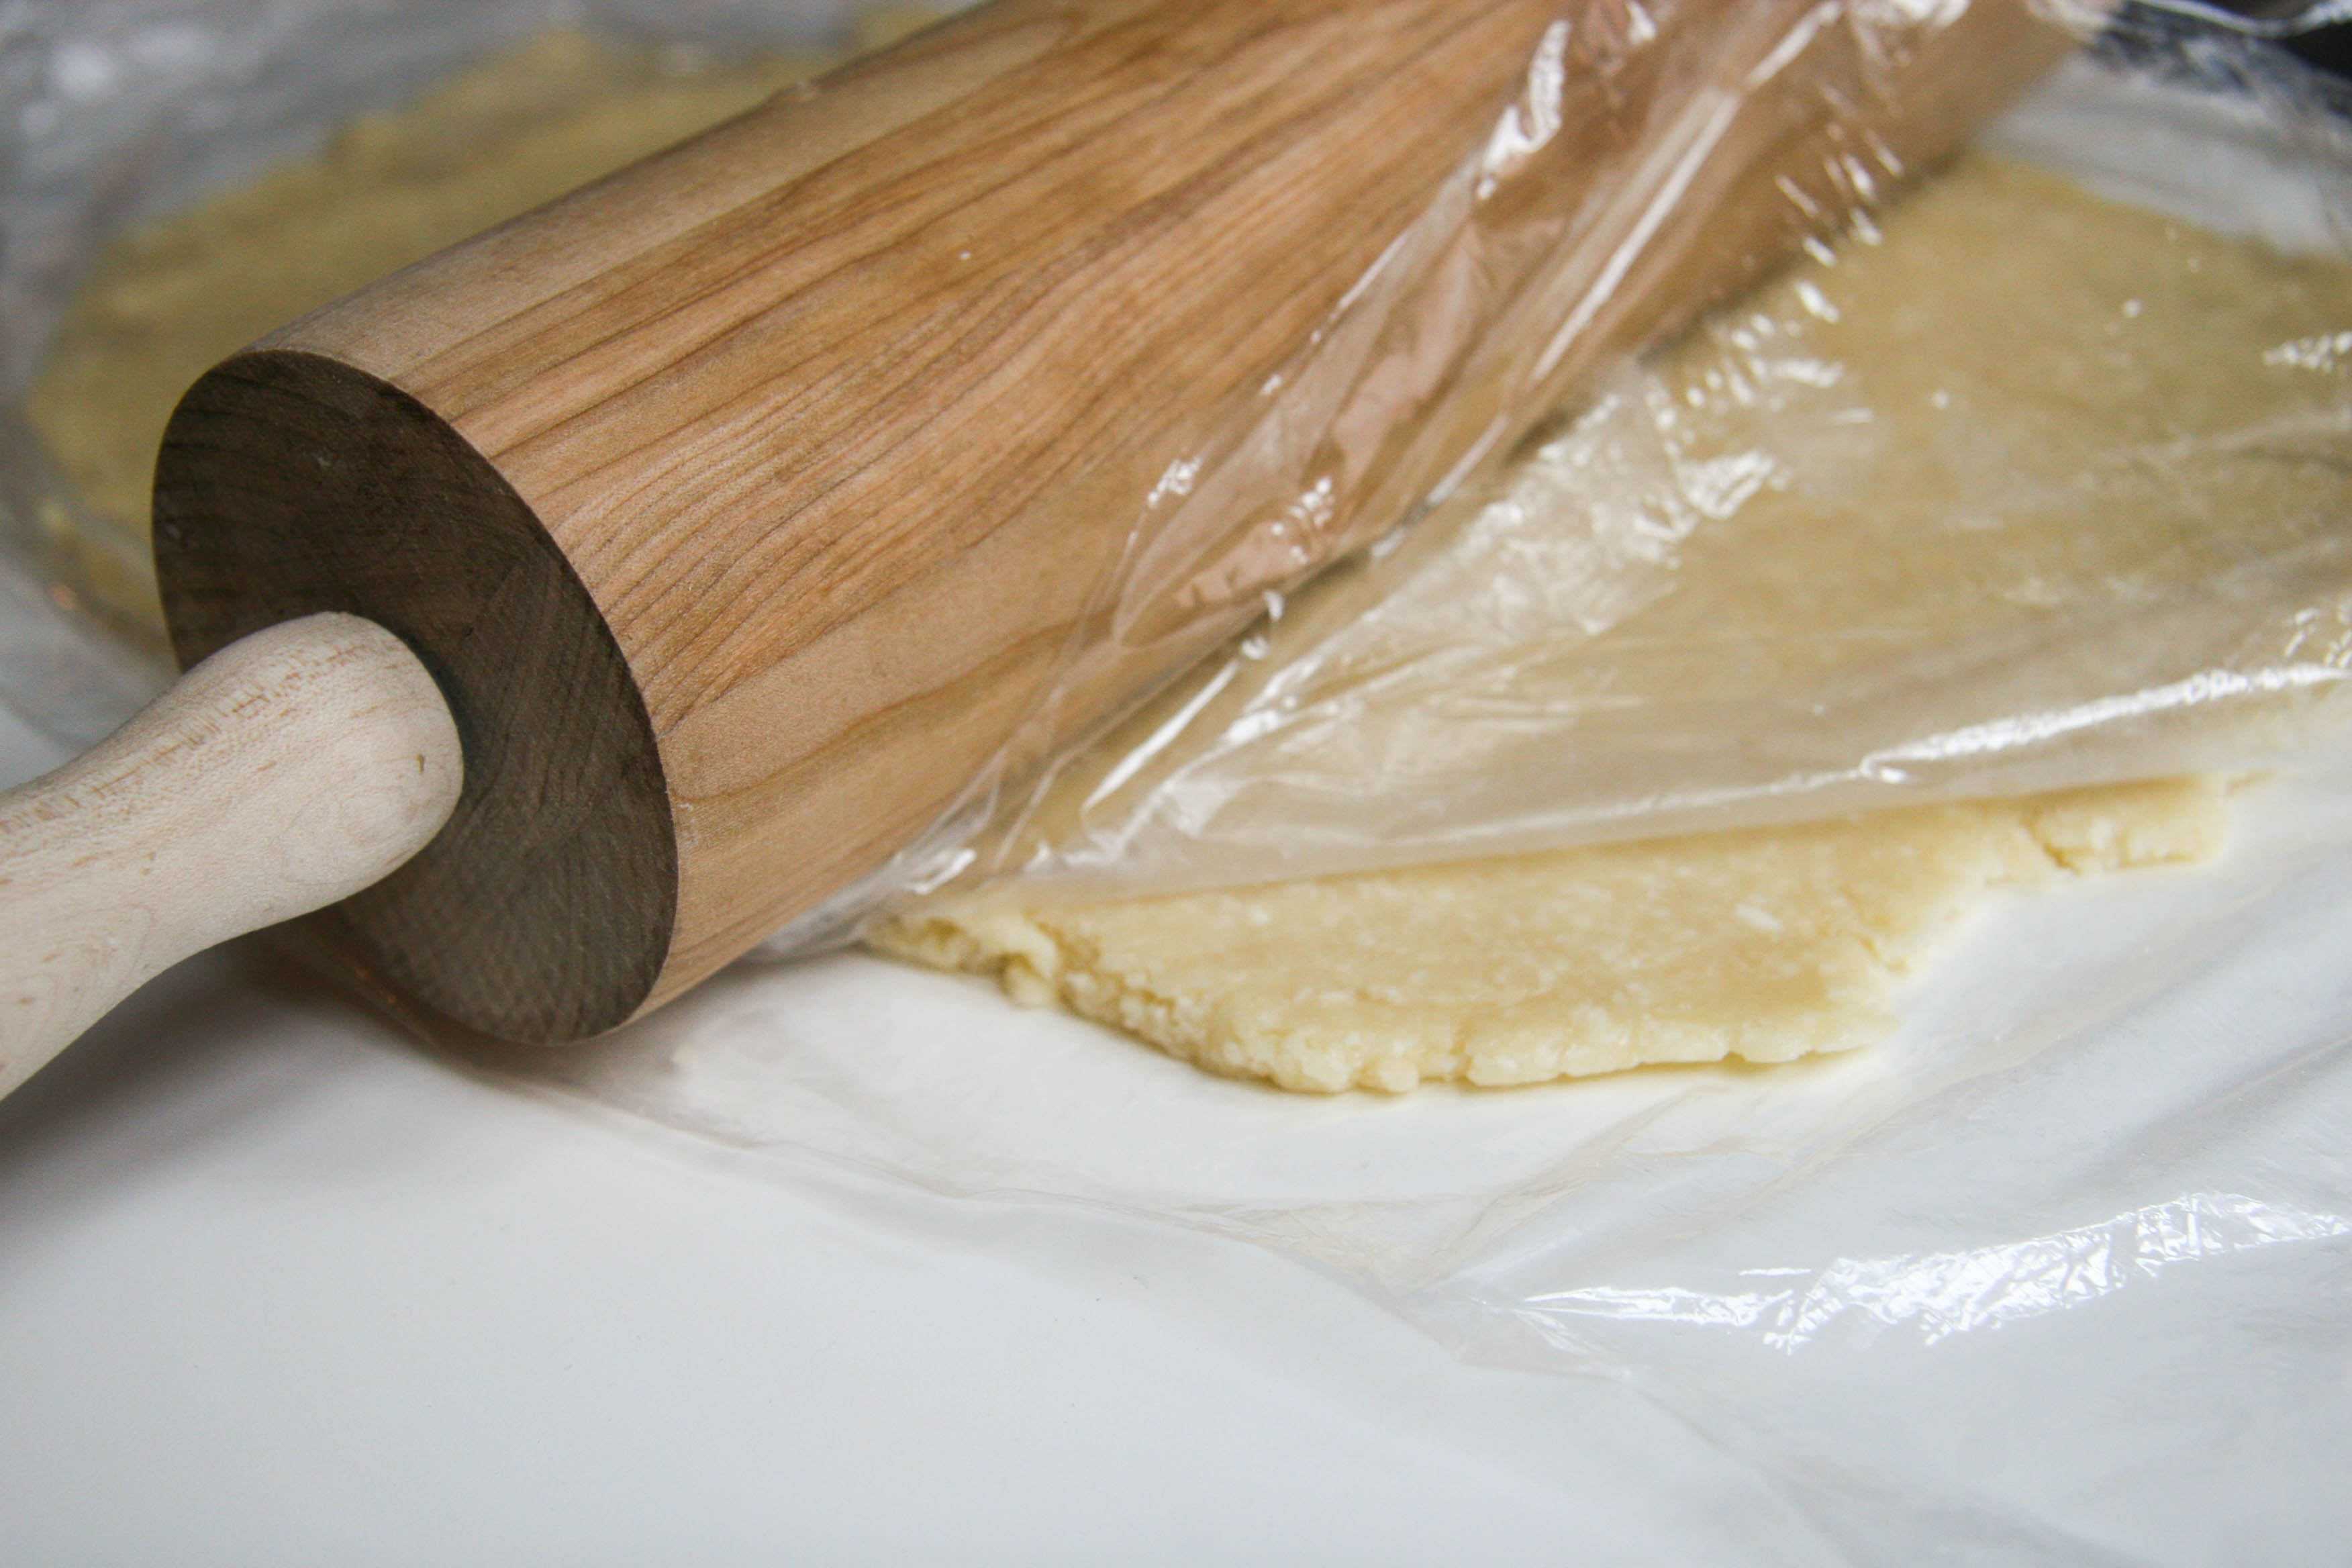
  4. Remove the dough from the fridge. Place the dough between 2 sheets of plastic wrap or wax paper and, with a rolling pin, roll it into a rectangle that’s about ¼ inch thick and about 5 inches wide x 11 inches long. Keep in mind, it should be rustic! Don’t worry about exact size or even edges. Transfer the dough to the lined baking sheet.
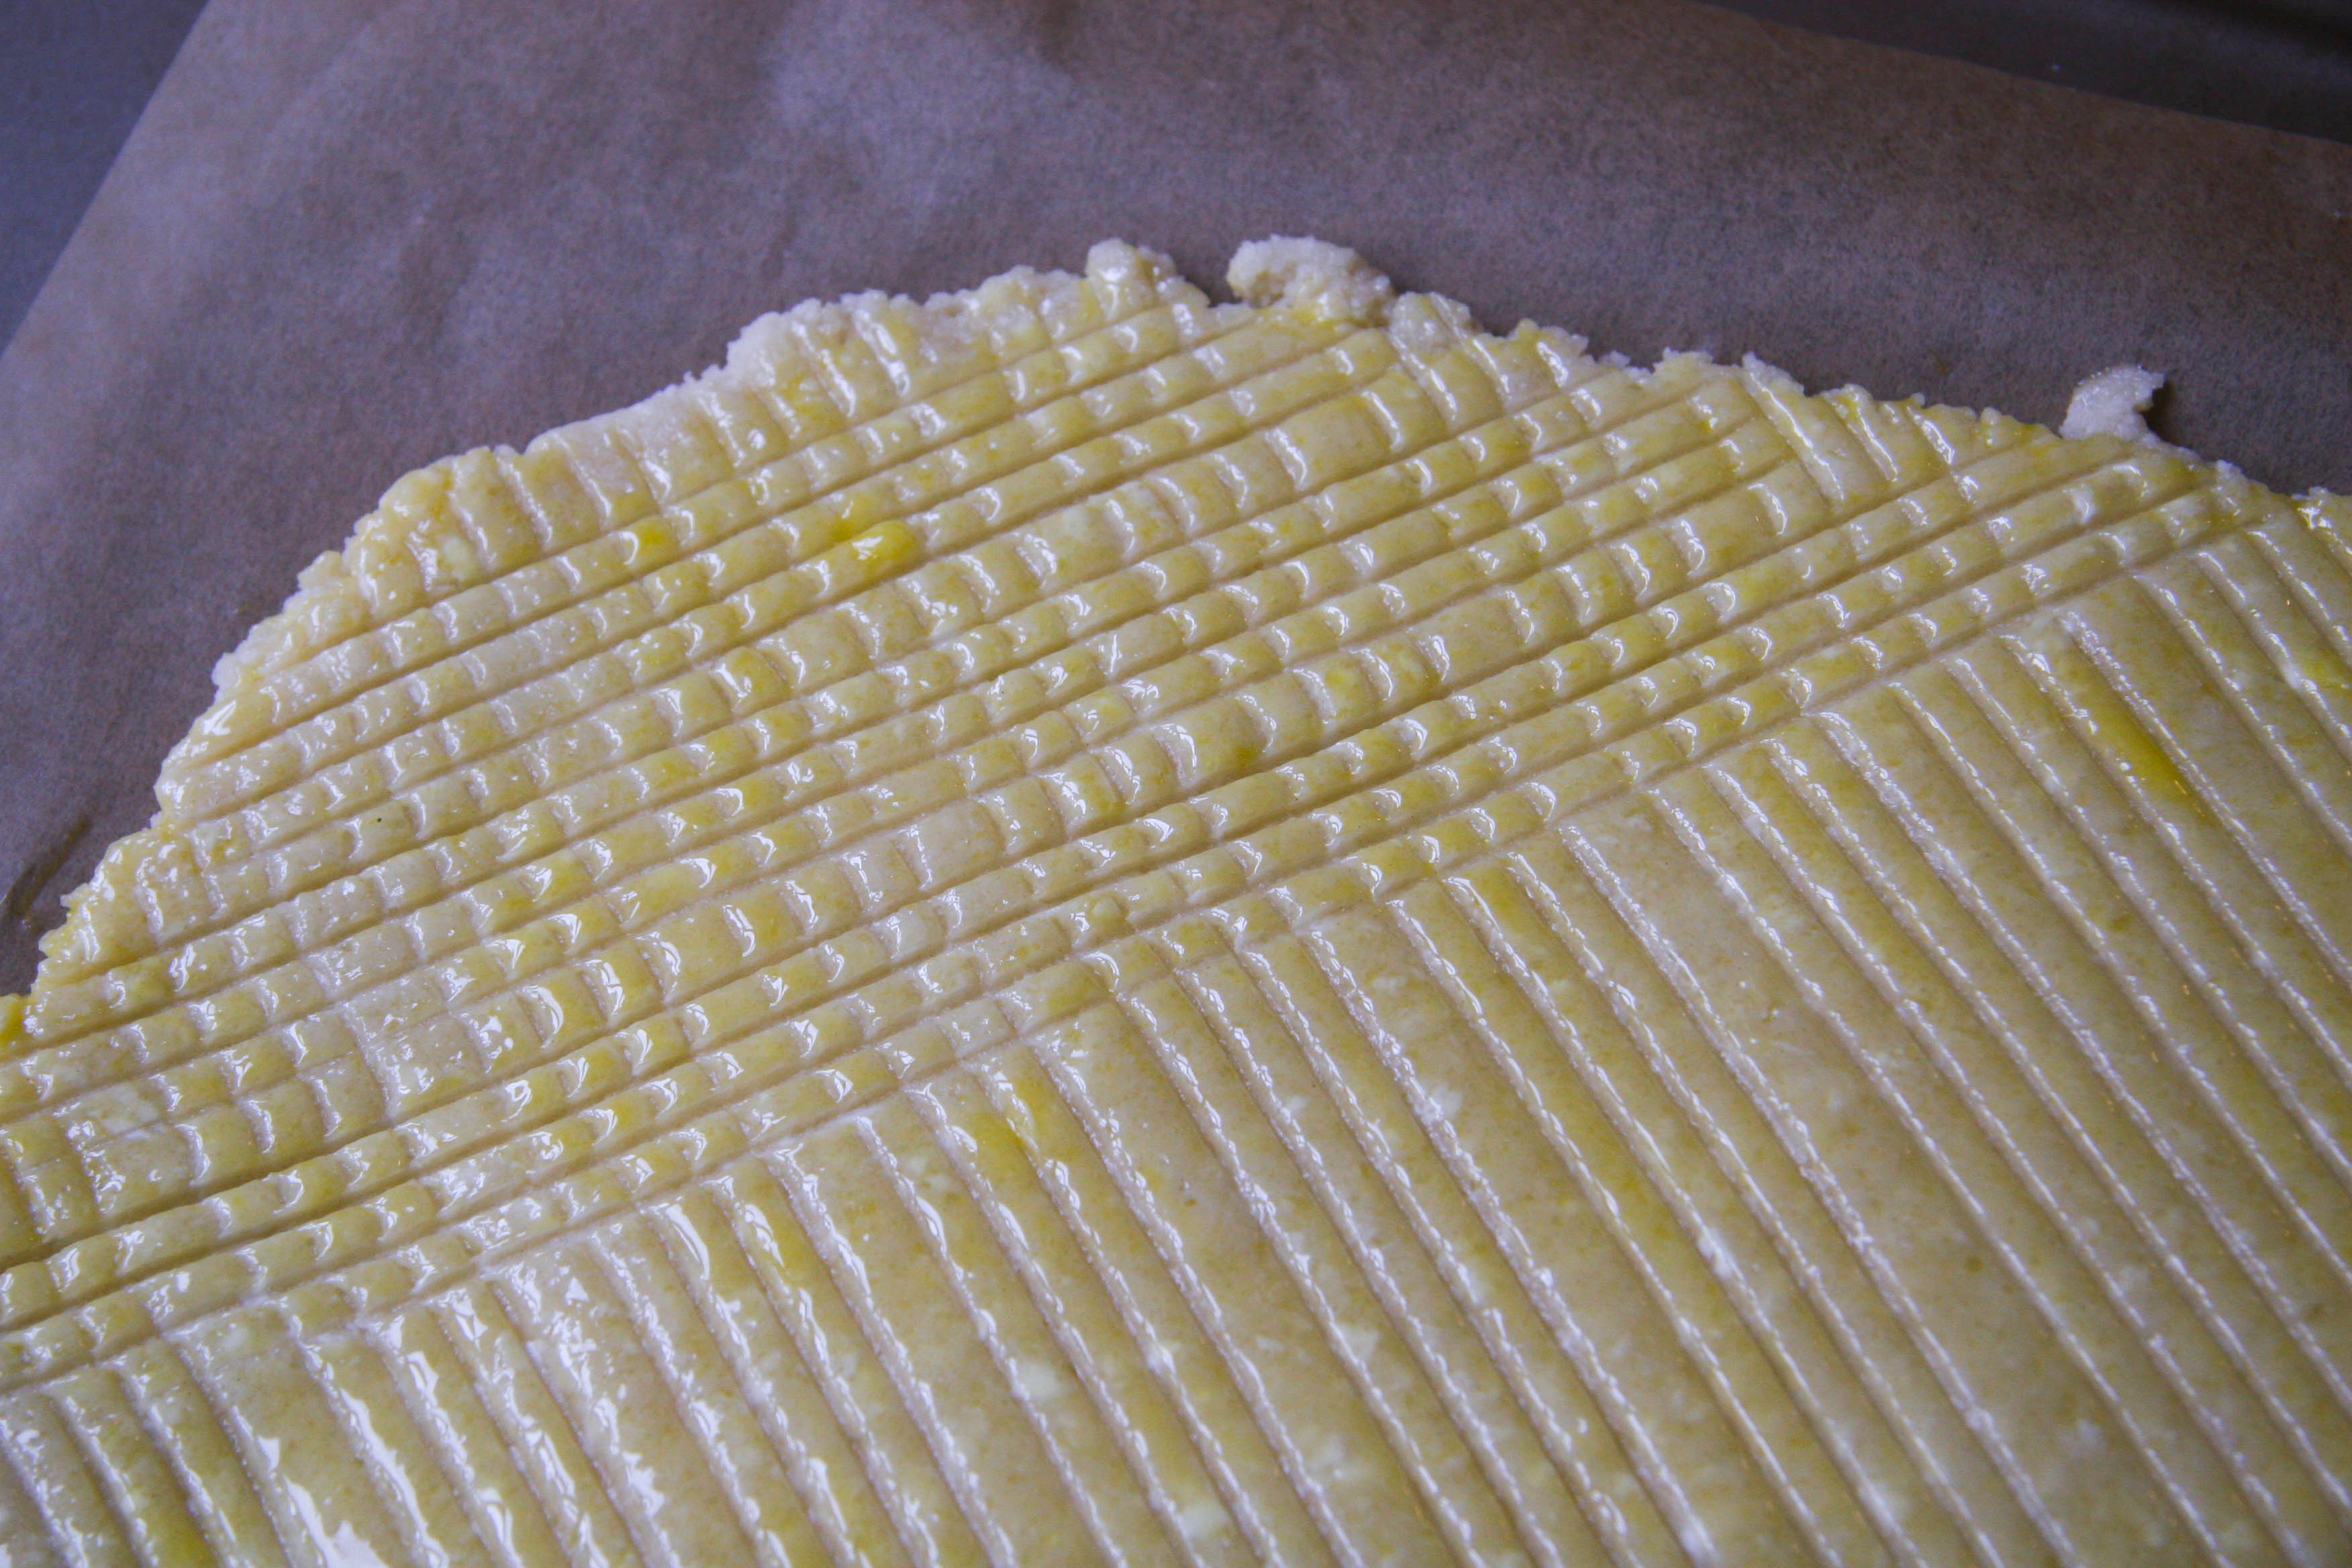
  5. Beat the egg yolk with a few drops of water to create the glaze, and, with a pastry brush, paint the top surface of the dough with the glaze. Use the back of a fork to create a crosshatch pattern.
  6. Bake the cookie for 25 to 35 minutes, or until it is golden (check fairly often as mine was done after just 25 minutes). It will be firm around the edges, but may have a spring in the center. Transfer the baking sheet to a rack and cool the cookie to room temperature.
  7. To serve: place the cookie in the center of your table and let your friends and family reach their hands in and crack off pieces.
3.2.1275


Filed Under: desserts and sweets, eat Tagged With: baking, butter, cookie, crowd, easy, french, recipe, salt, sugar cookie

pea, fennel and leek soup

March 18, 2014 by Butter Loves Company

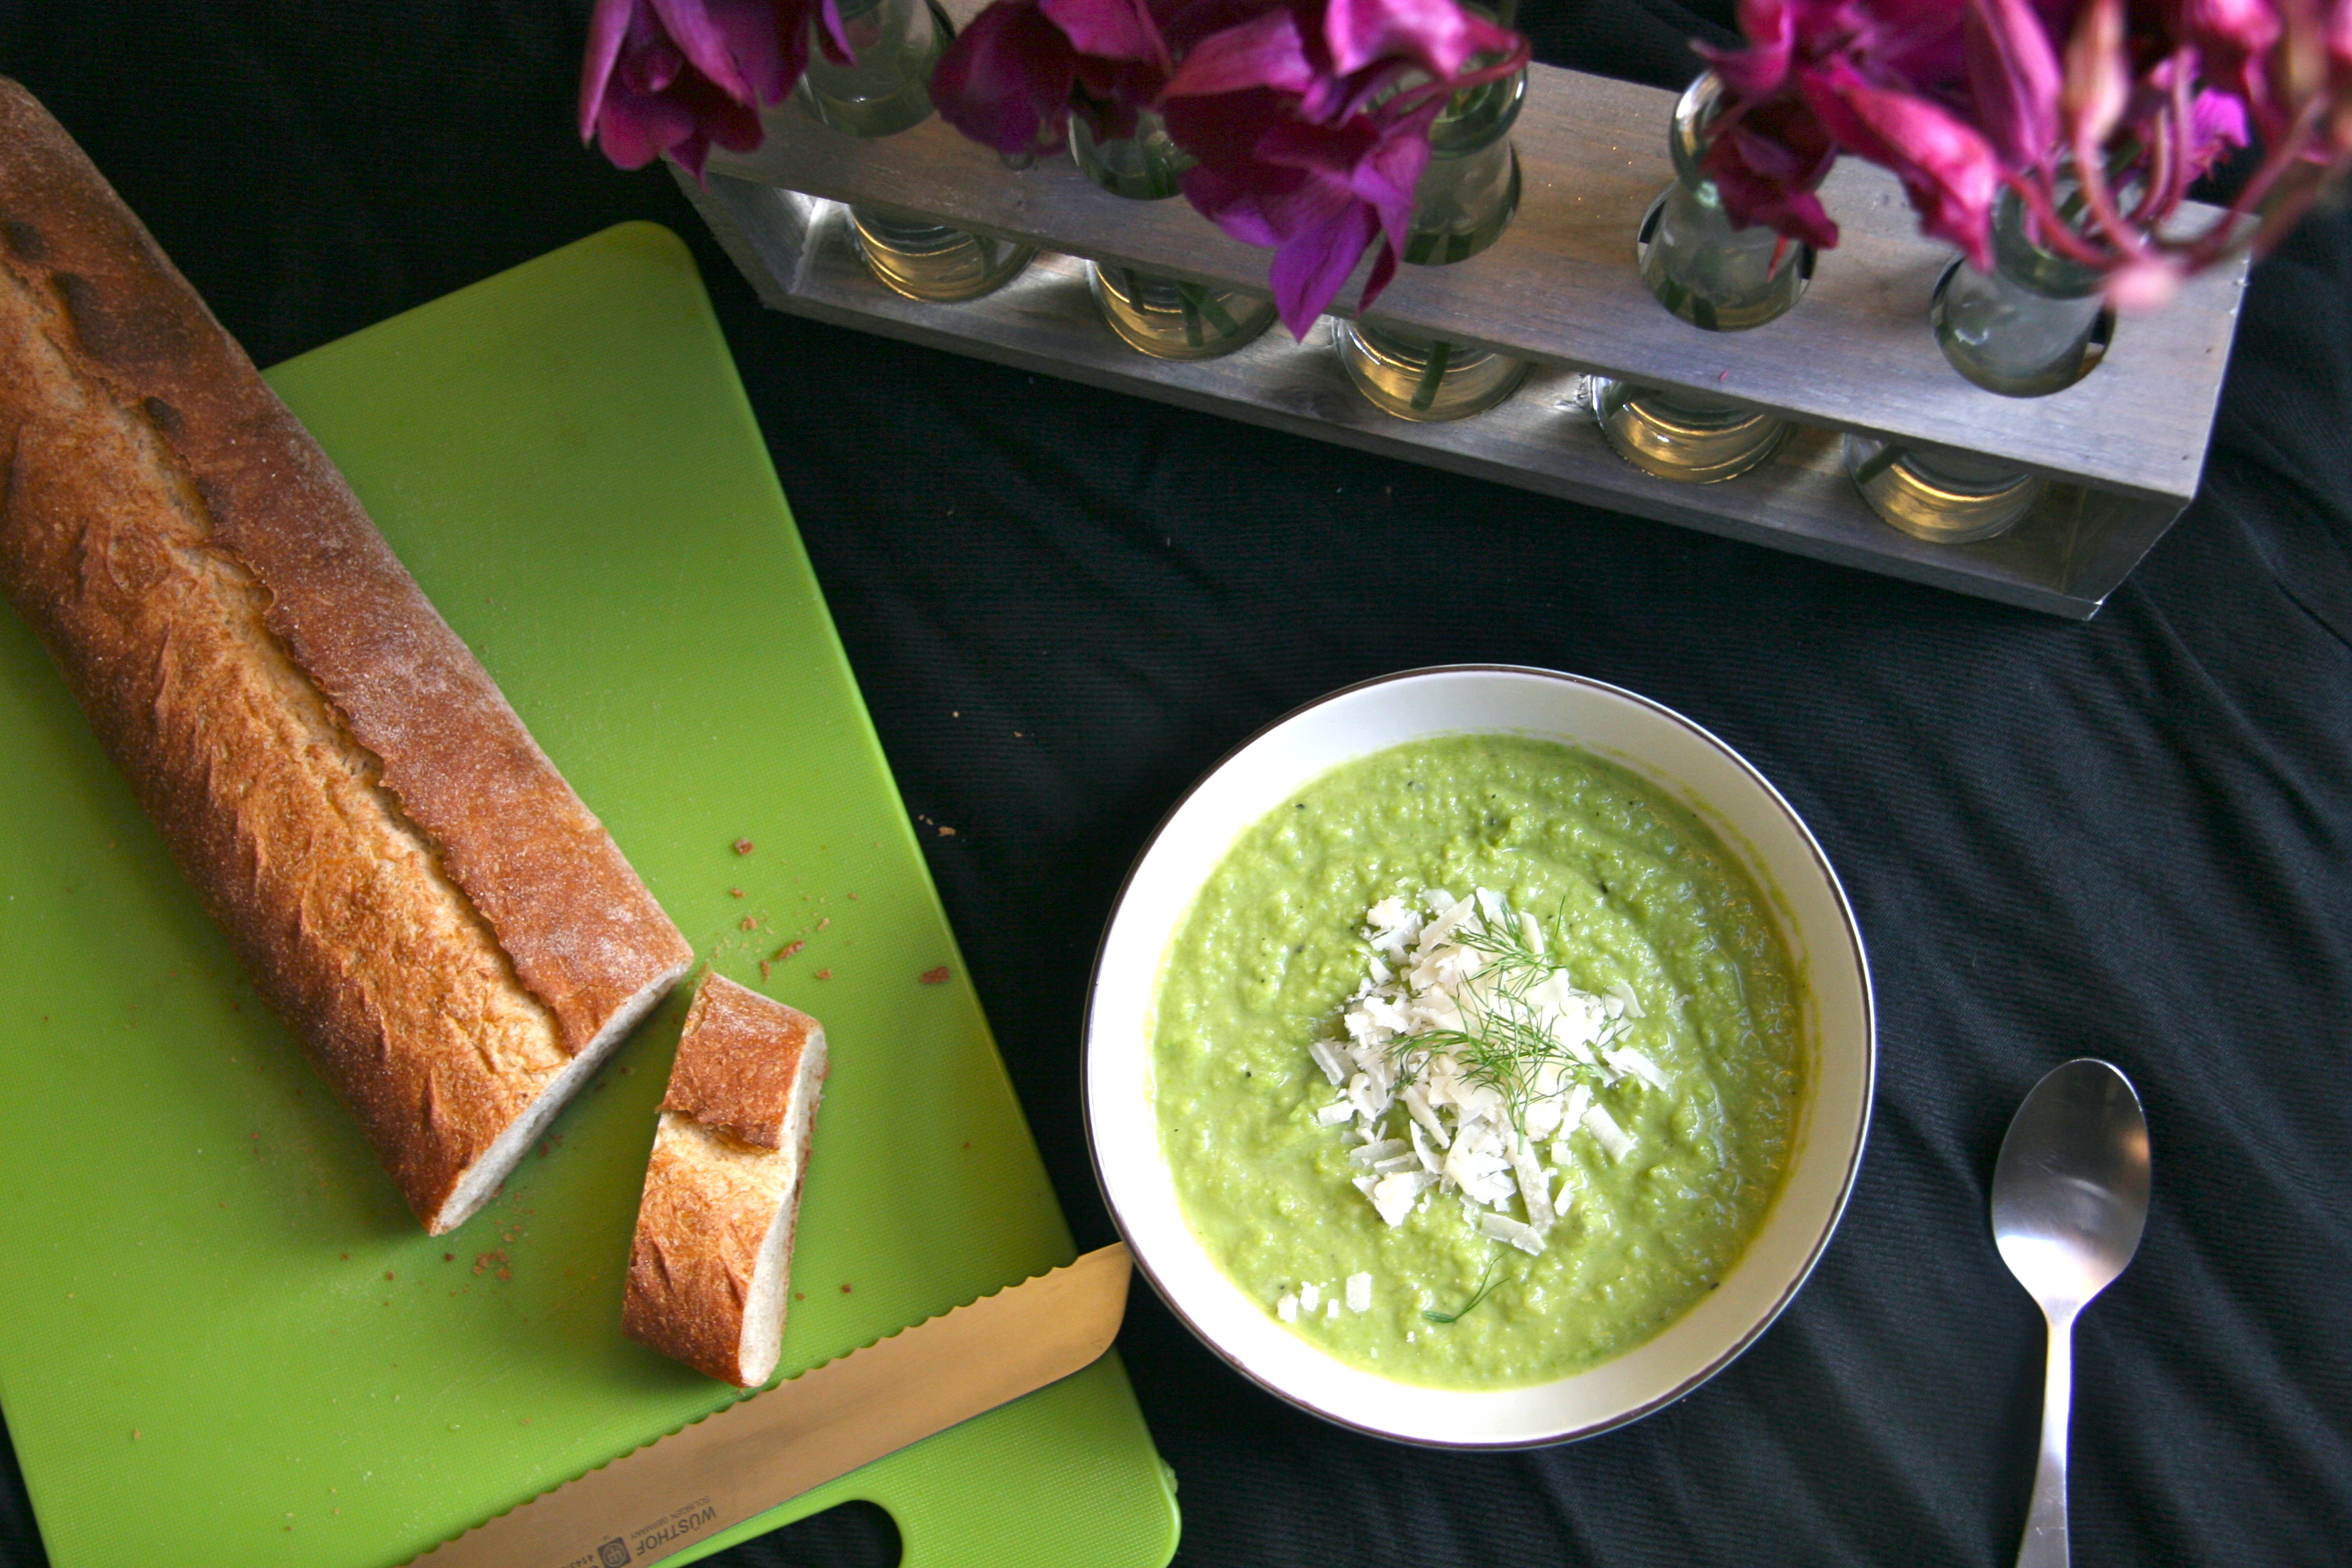
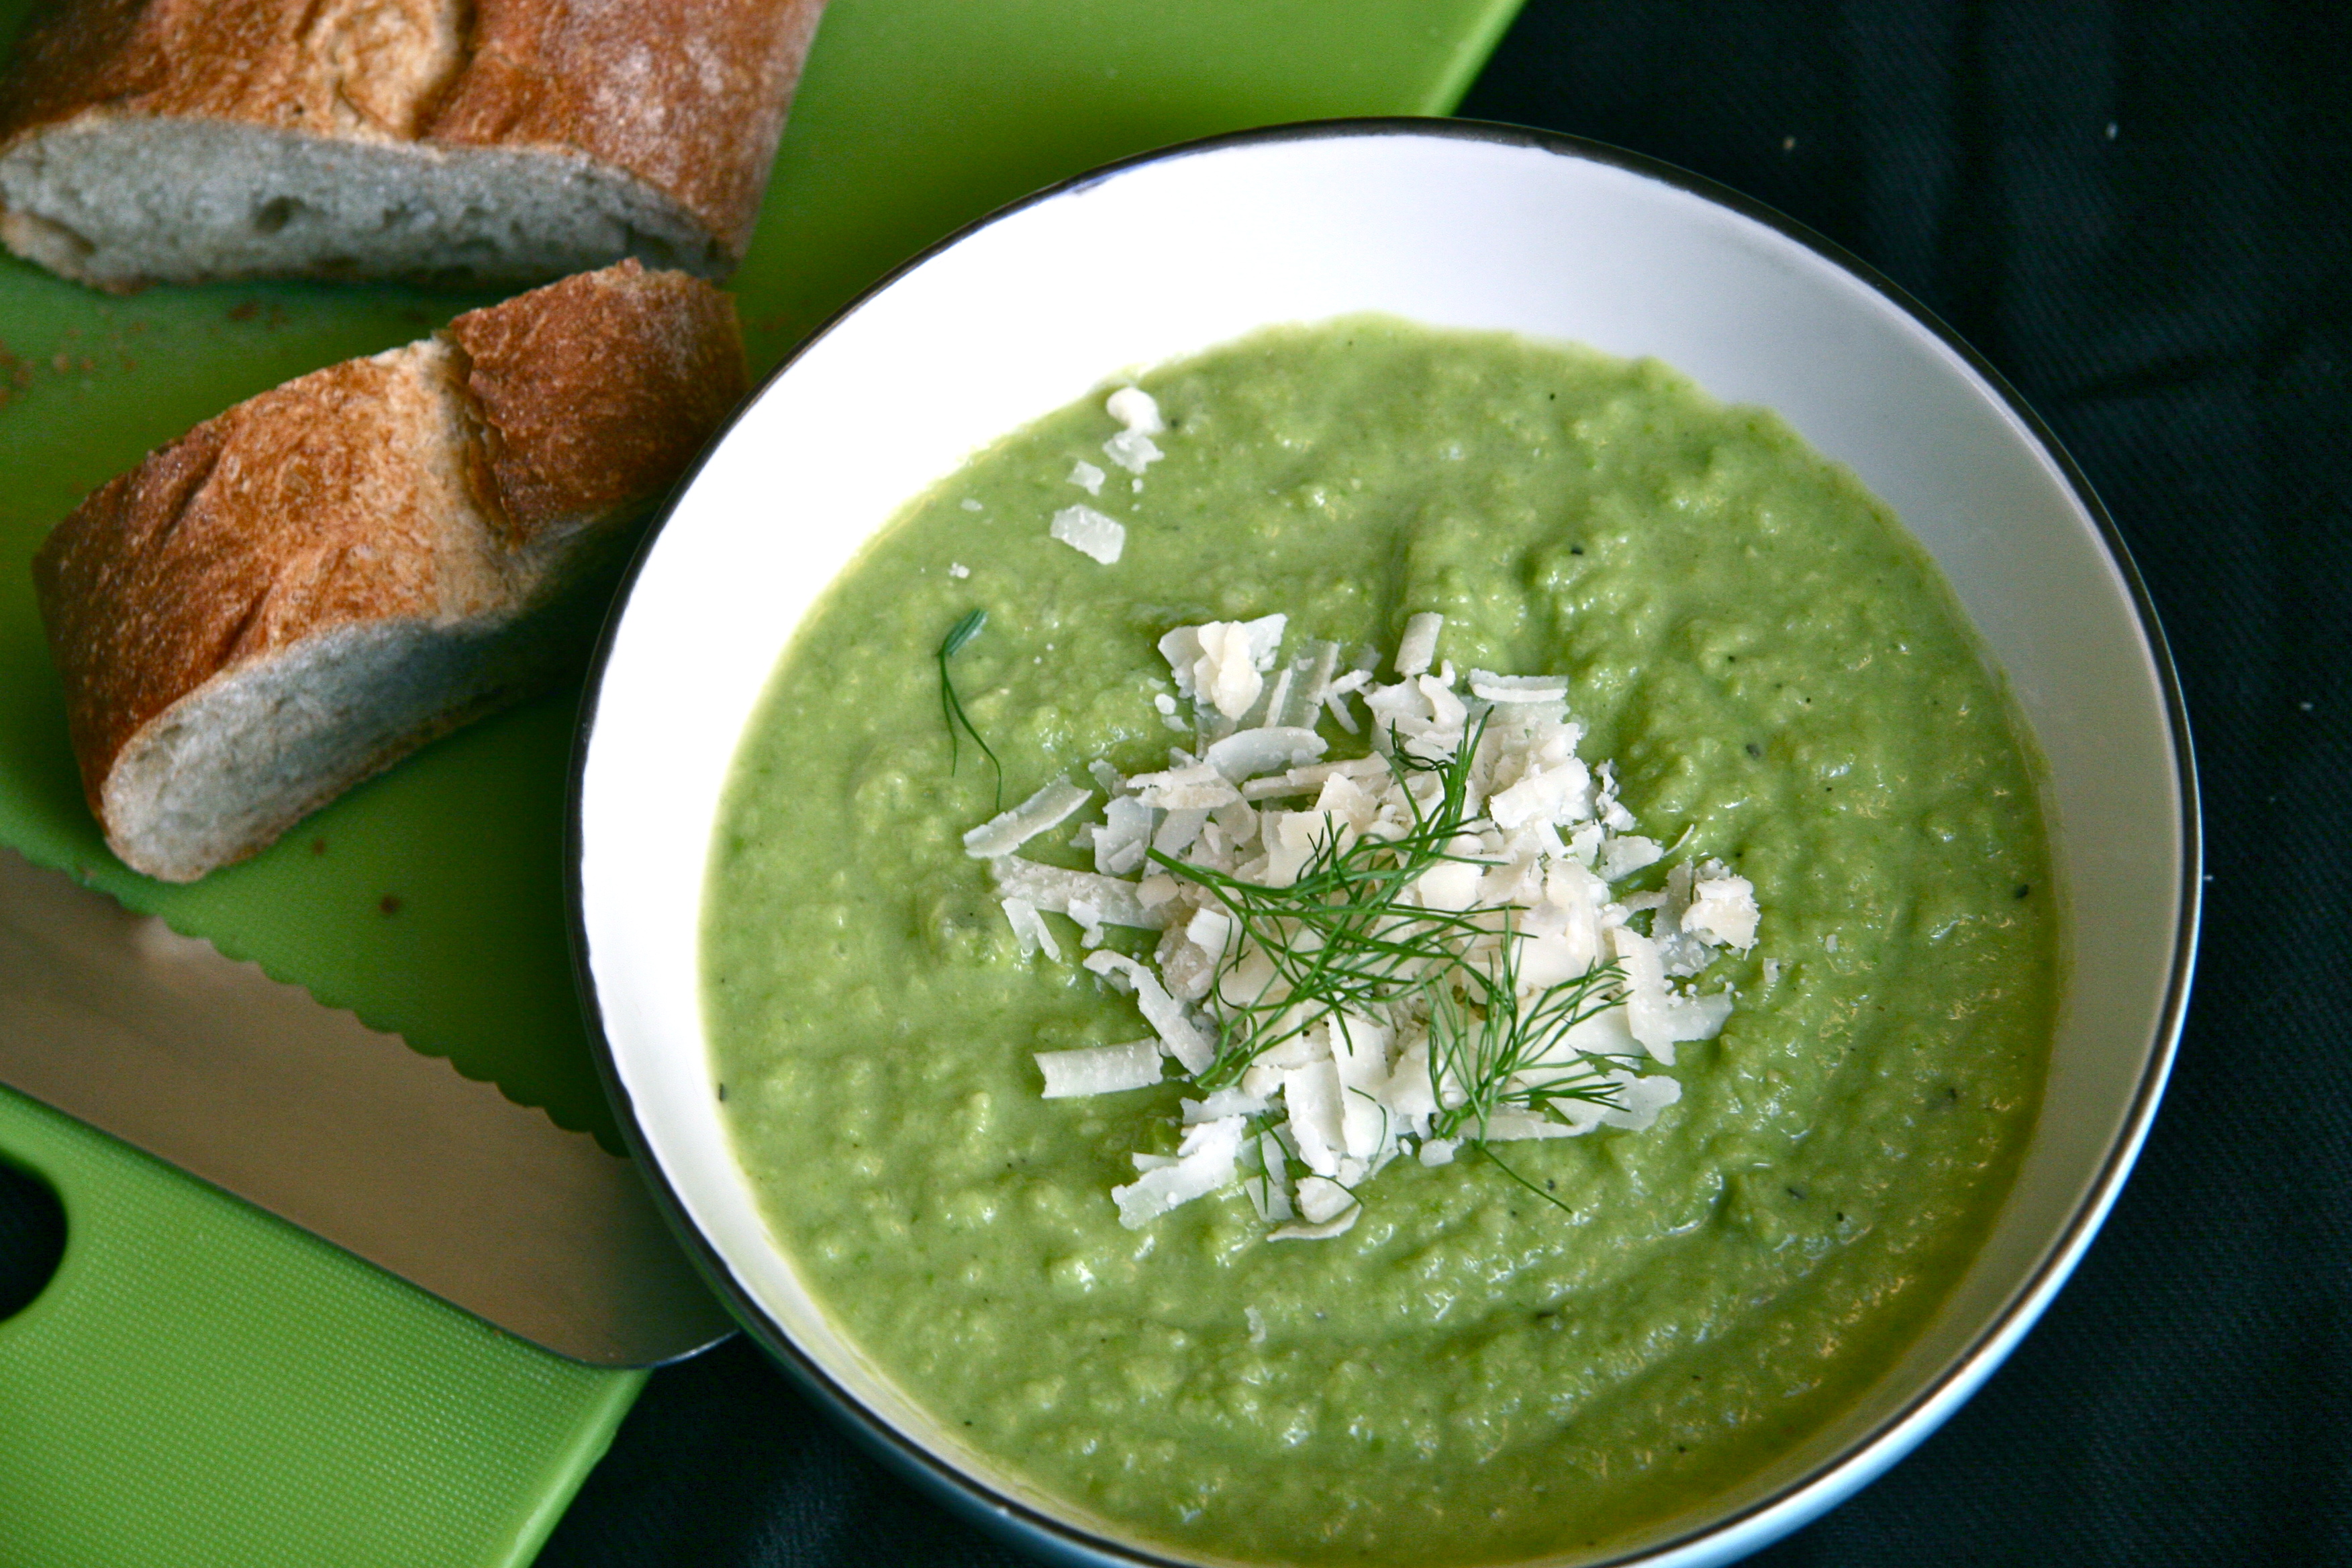
pea, fennel and leek soup recipe 1A recipe for a light, healthy, pea, fennel and leek soup. Fennel adds a subtle anise flavor to the sweet leek and pea puree; completed with sharp, salty, shaved Parmesan.

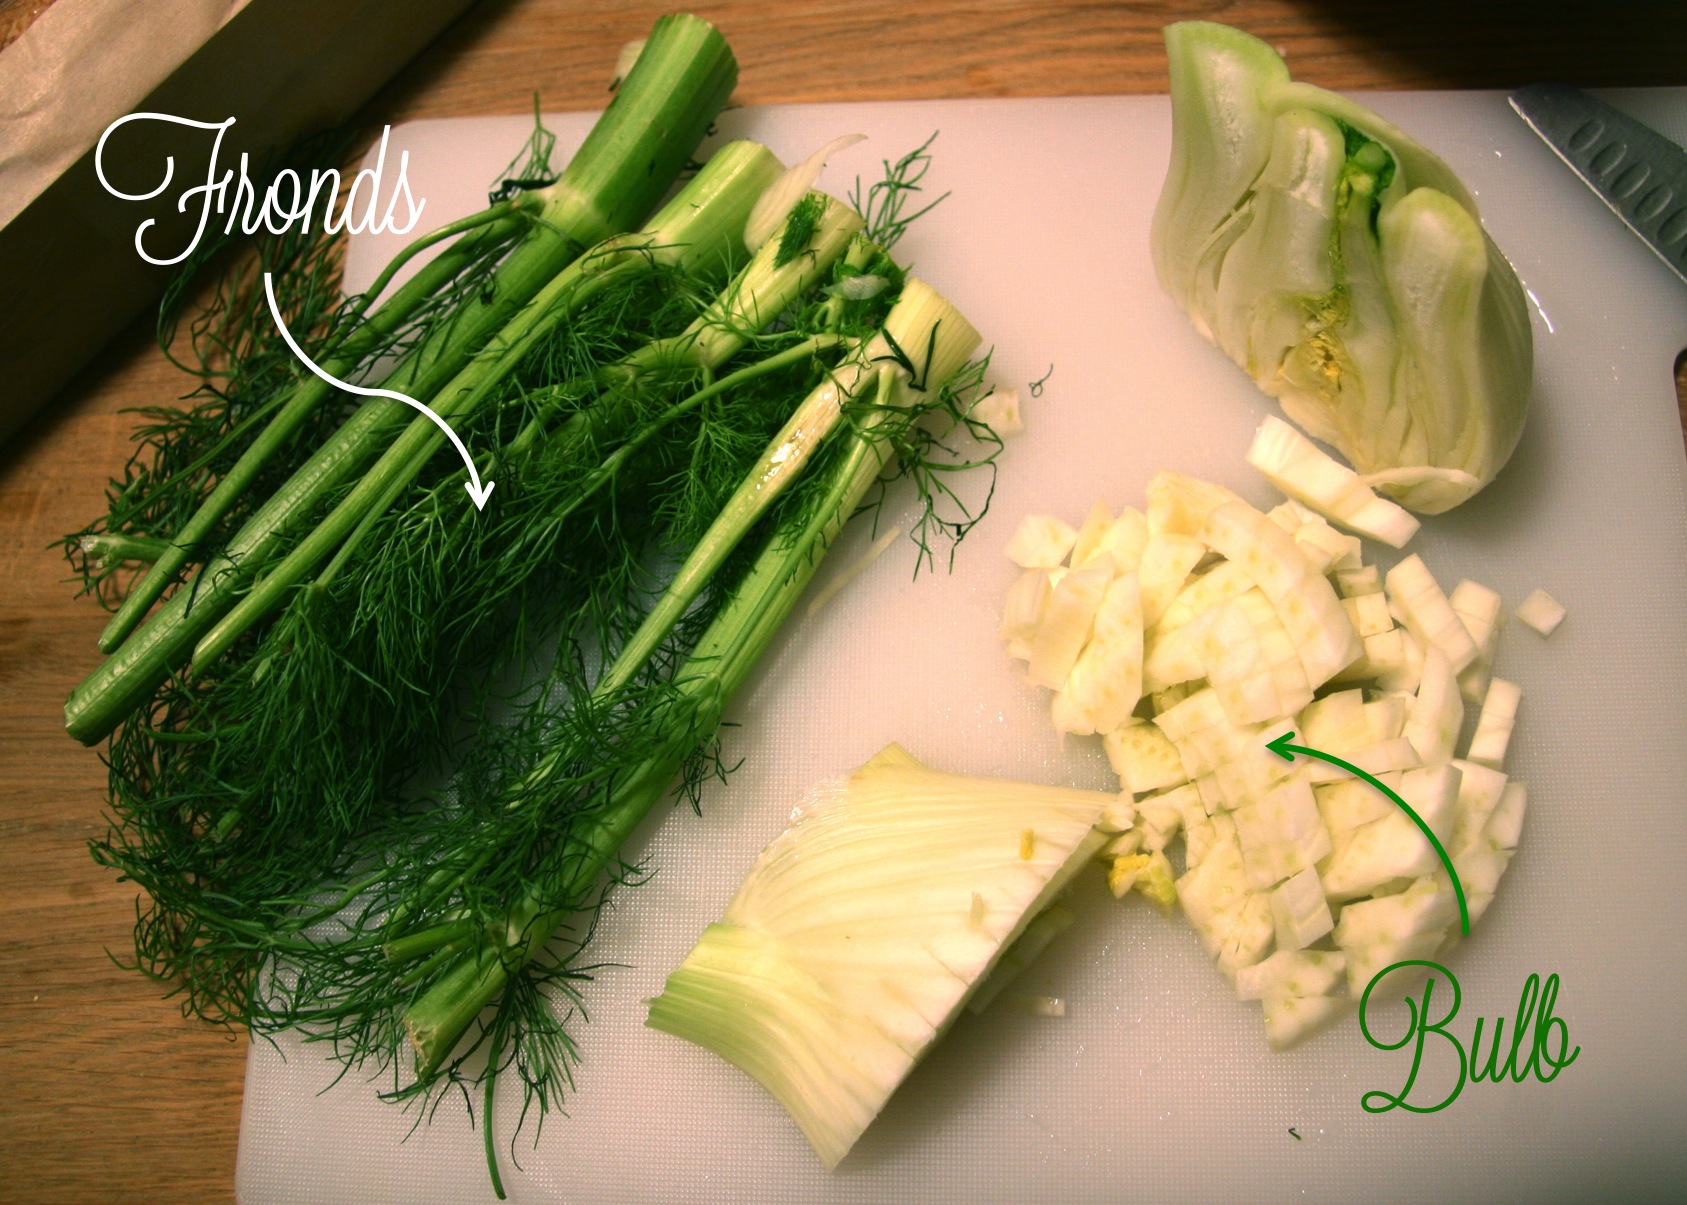
Sometimes it scares me how similar my mom and I think: I buy lots of fennel on Saturday, and she has the family over for a fennel filled, porchetta on Sunday (wrapped in prosciutto, no less). The bright green, feathered tips of the fennel—the fronds—were generously rolled into the meat, like cinnamon in cinnamon buns. While I like fennel, the thought of making another heavily fennel flavored dish seemed like it could be overload for one week. I needed to use my fennel in a more subtle way (call me a fennel-phobe, I can take it).

What resulted was an adaptation of the Fennel, Lettuce, and Pea soup recipe from Giada de Laurentiis’ Feel Good Food.  I had no lettuce, so I subbed with leftover leeks that didn’t make it into my boyfriend’s St. Patrick’s Day boiled dinner. To keep the fennel light in the soup, I omitted the fennel seeds she had called for, instead adding a bay leaf for flavor during the cook time. The result was a creamy, nourishing soup with a gorgeous sea foam green color. You’ll love this recipe if you’re looking for a friendly introduction to this licorice-flavored vegetable. The bright, sweet pea soup balances the anise flavor enough to please both sides of the fennel divide; the lovers and the skeptics. Of course, feel free to add another ½ or full fennel bulb if you’re entertaining a group of fennel fans.

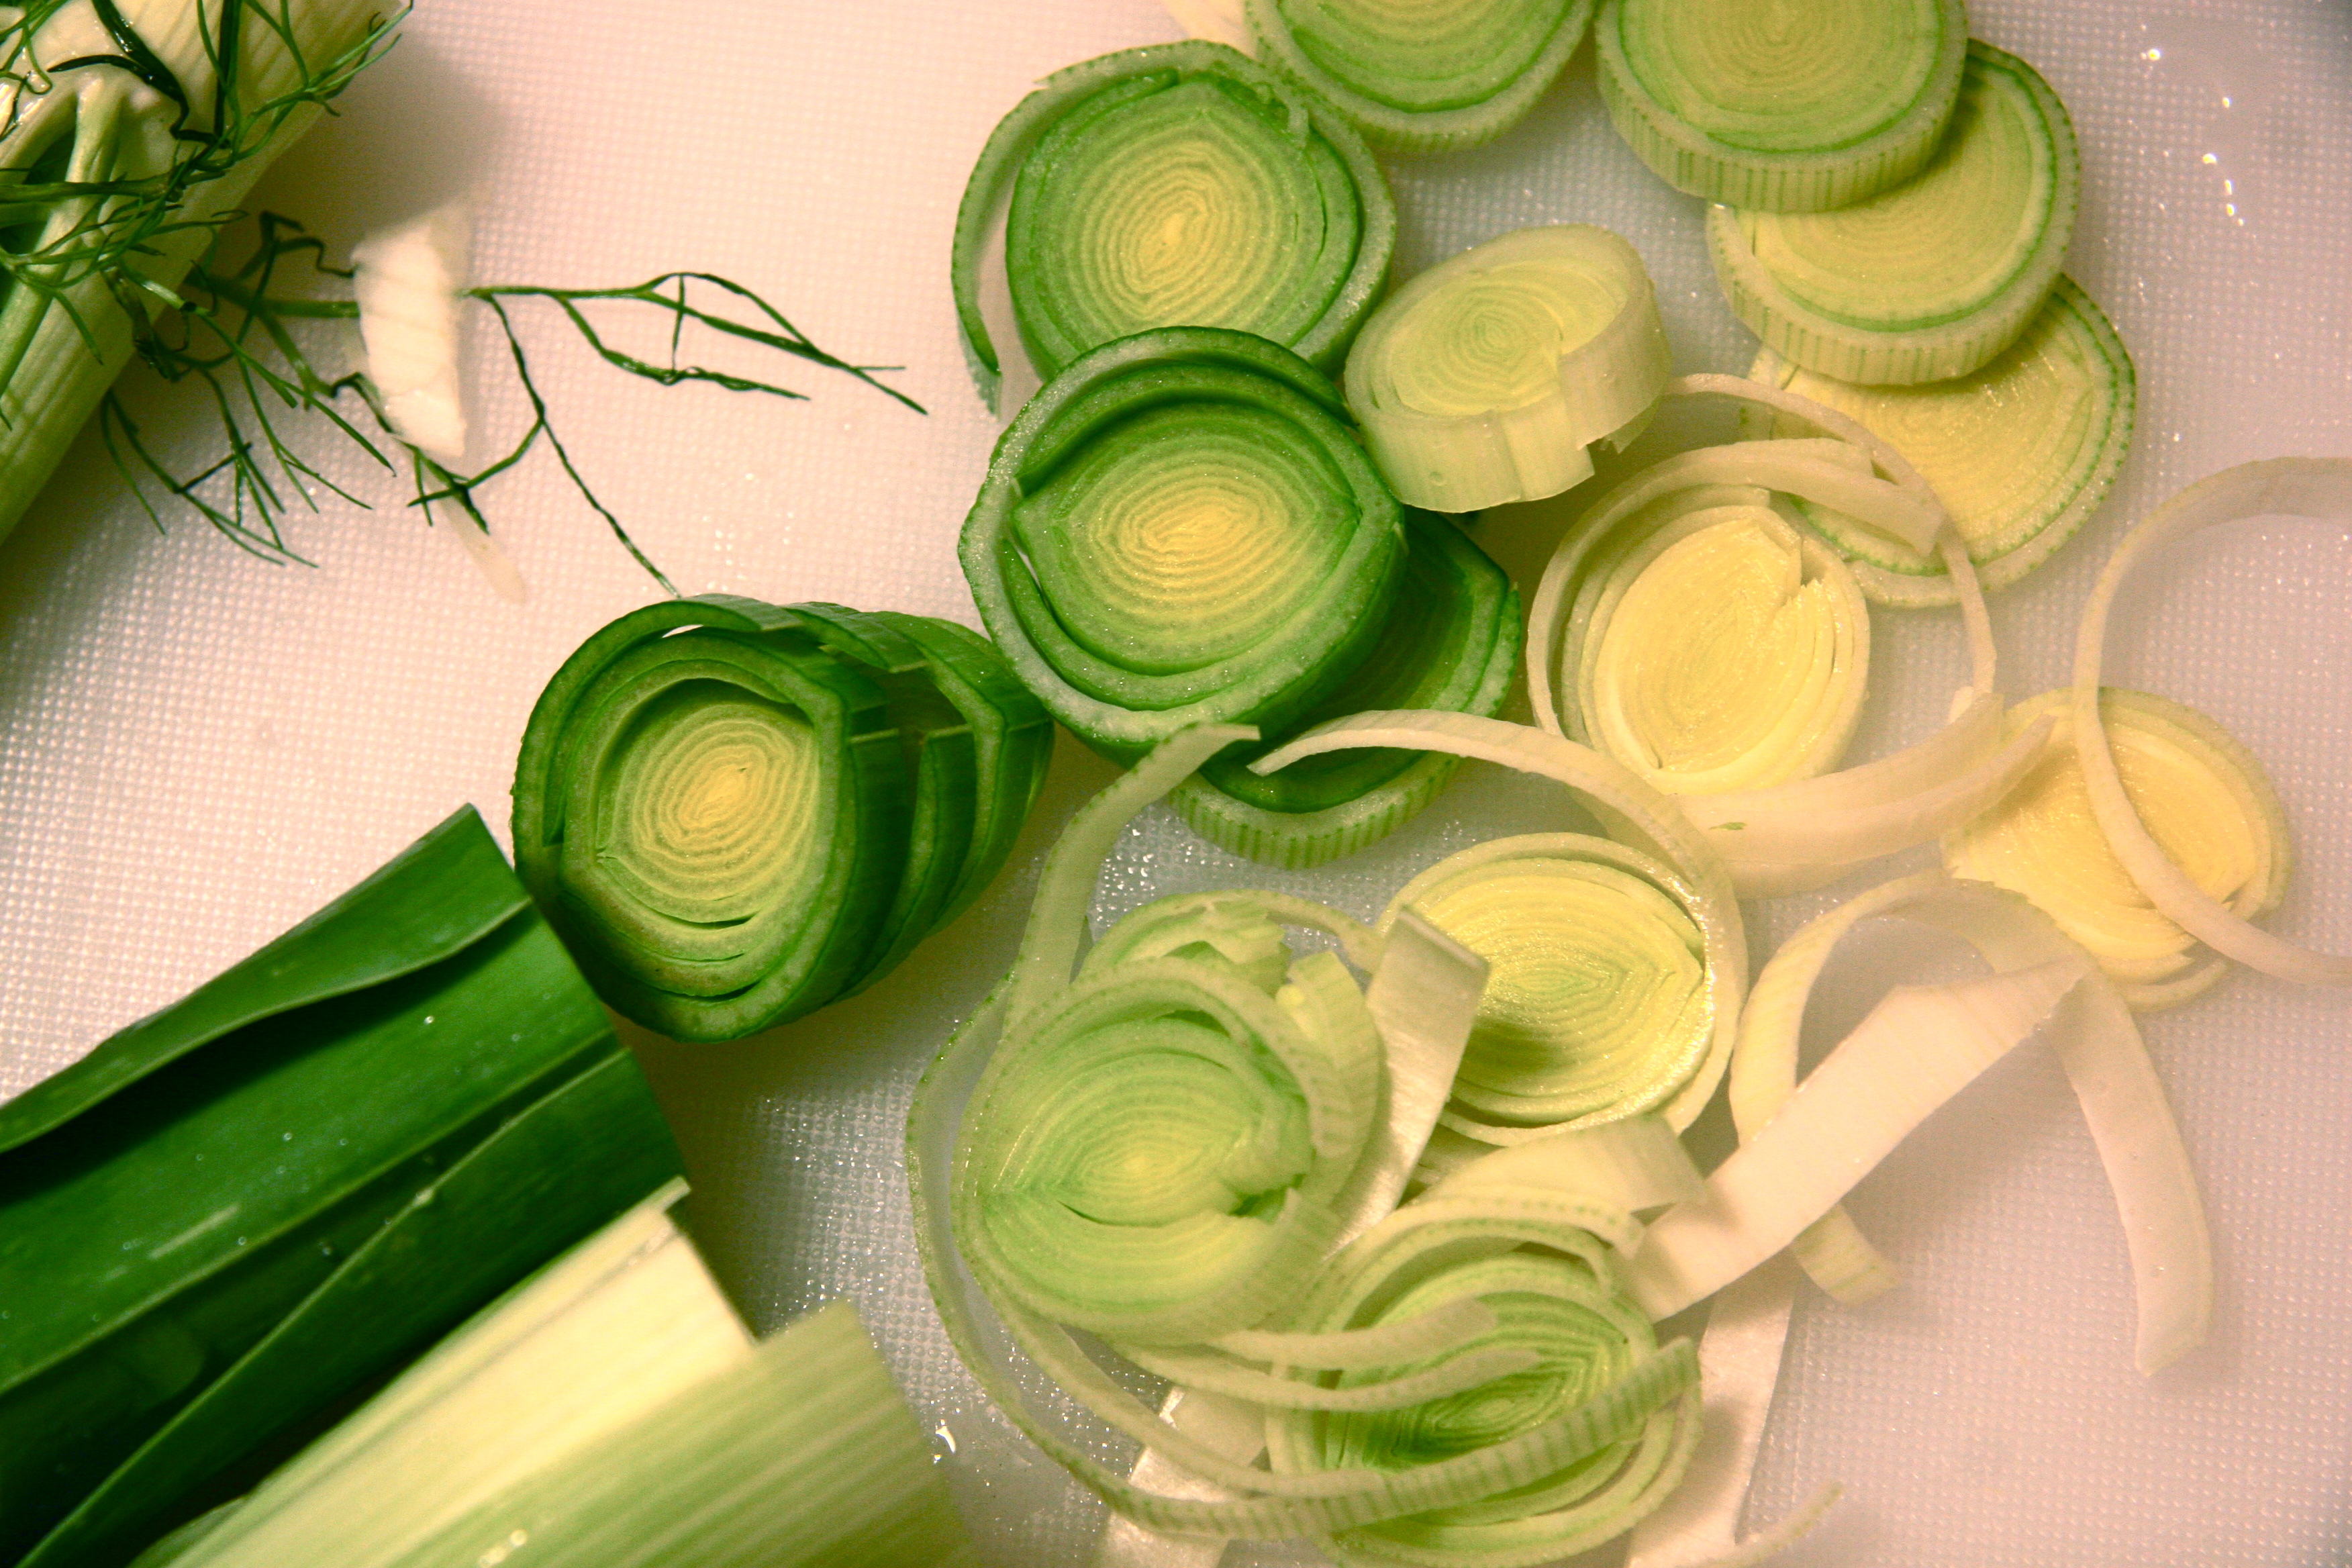
fennel fronds and bulb

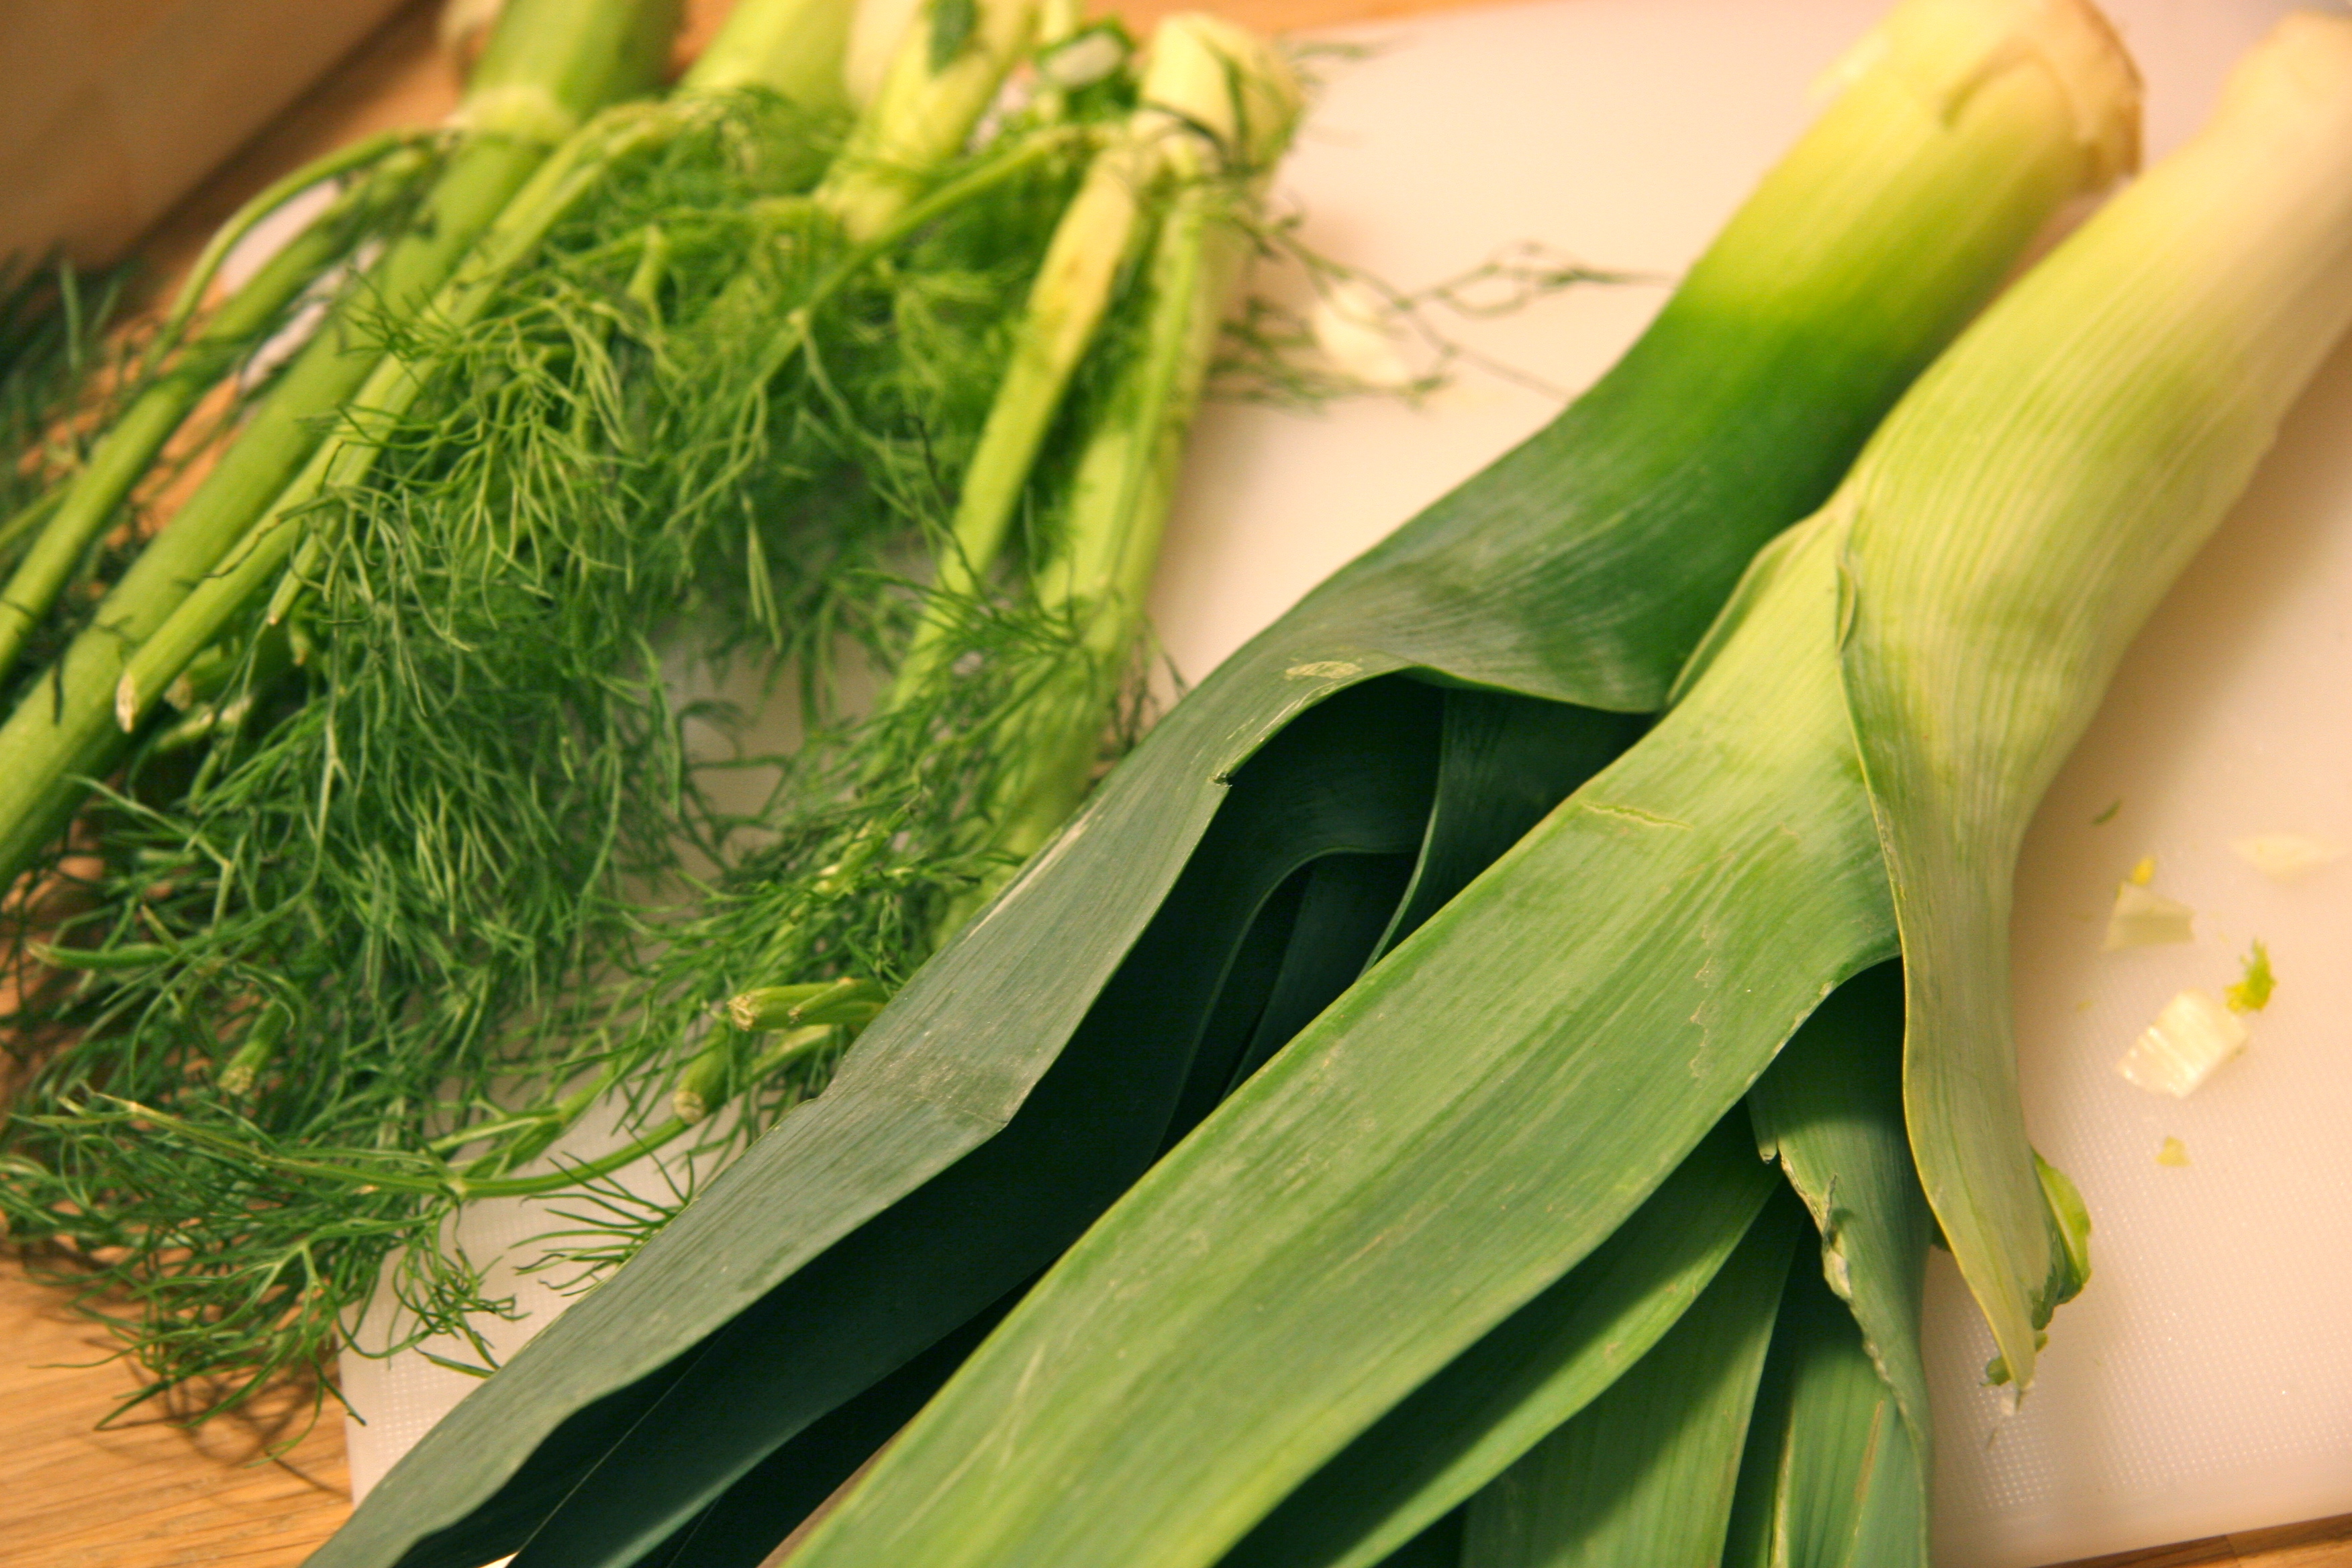
fennel fronds and leeks

sliced leeks. pea, fennel and leek soup

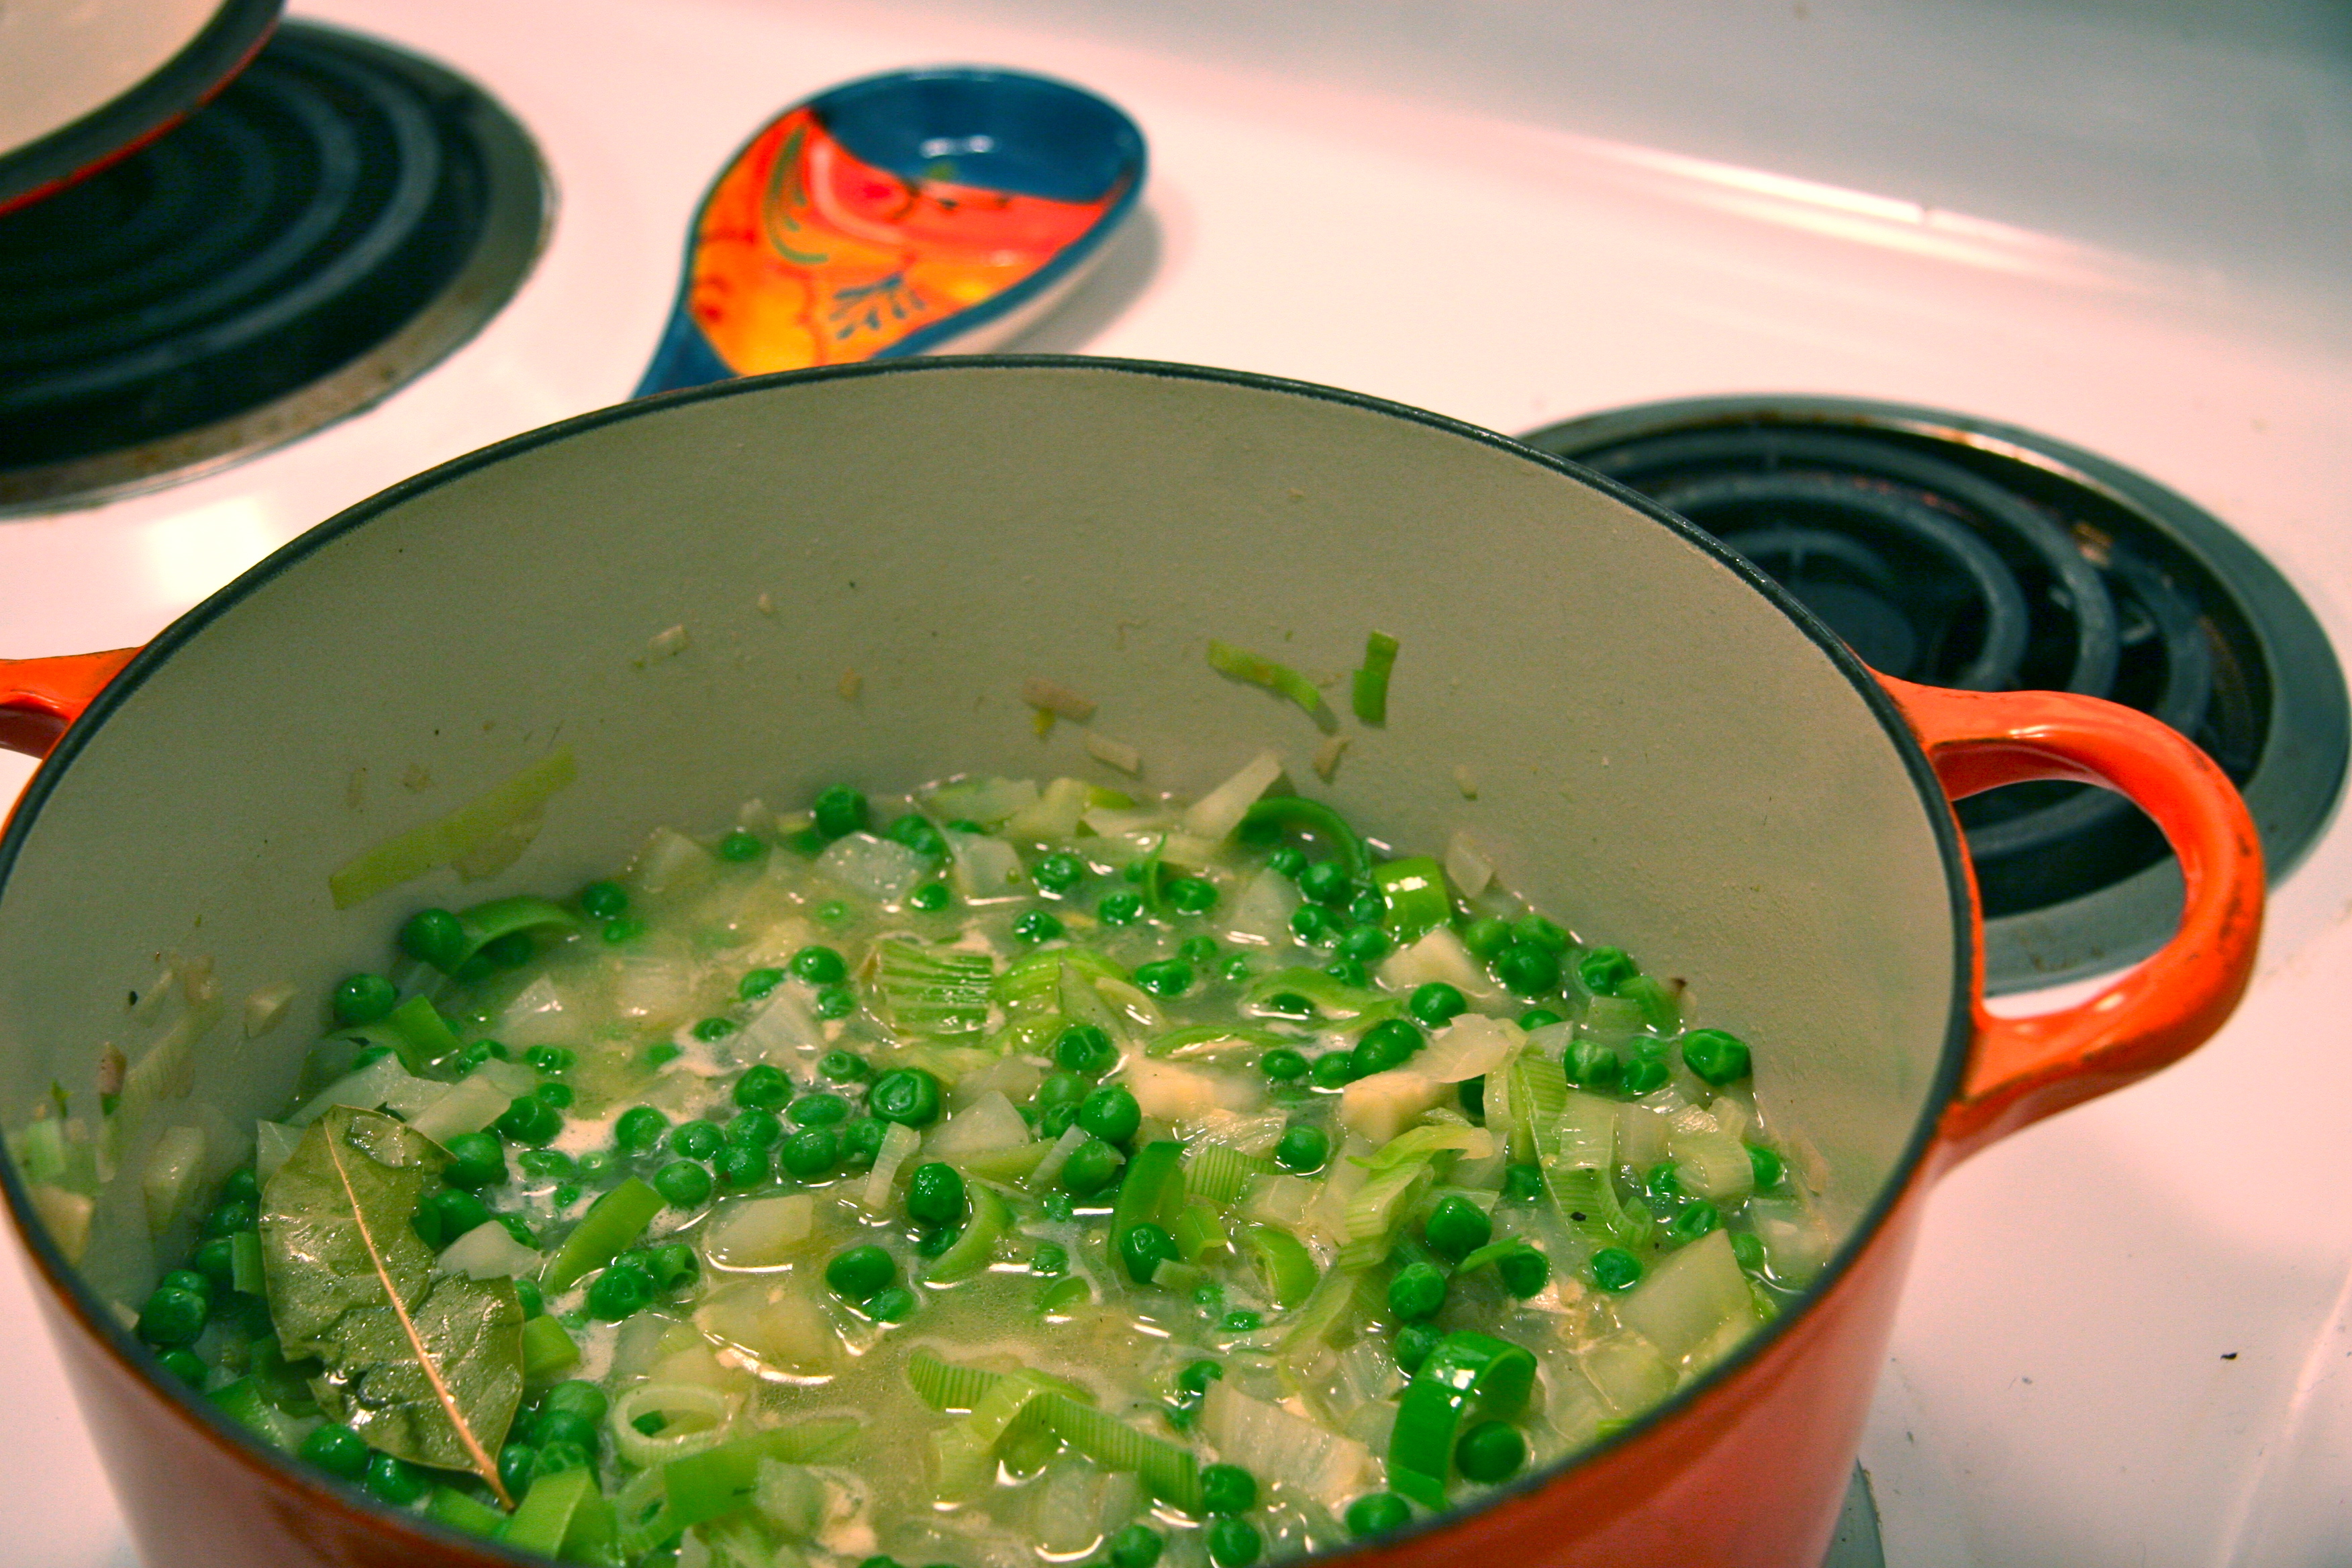
pea, fennel and leak soup in pot

pea fennel leek soup 3

pea, fennel and leek soup
Recipe Type: soup
Author: adapted slightly from Giada de Laurentiis, Feel Good Food
Prep time: 15 mins
Cook time: 20 mins
Total time: 35 mins
Serves: 4
A recipe for a light, healthy, pea, fennel and leek soup. Fennel adds a subtle anise flavor to the sweet leek and pea puree; completed with sharp, salty, shaved Parmesan.
Ingredients
  • 3 tablespoons unsalted butter
  • 2 small shallots, diced
  • 1 medium fennel bulb, chopped (about 2 cups)
  • 1 teaspoon salt
  • ½ teaspoon freshly ground black pepper
  • 2 medium leeks, white and light green parts only, cut into ¼ inch slices
  • One 10-ounce package frozen petite peas (about 2 ¼ cups)
  • 2 cups low-salt chicken broth, plus extra, as needed
  • 1 bay leaf
  • shredded parmesan, for garnishing (optional, only, not really)
  • fennel fronds, for garnishing (optional)
Instructions
  1. Melt the butter in a heavy, large saucepan over medium heat. Add the shallots and fennel. Season with the salt and pepper. Cover the pan and cook 5 minutes, stirring occasionally. Stir in the leeks and continue to cook until all the vegetables are almost tender, another 3 to 5 minutes. Mix in the peas, broth, and bay leaf. Bring the soup to a boil. Cover; reduce the heat to medium-low and simmer until the vegetables are just tender, 5 to 6 minutes. Remove the bay leaf from the saucepan and discard.
  2. Using a blender, or immersion blender, blend the soup until smooth. If using a standing blender, take the saucepan off of the heat for 5 minutes and then blend just 1 cup at a time. Pour the soup back into the saucepan and keep warm over low heat. Season with additional salt and pepper to taste. Thin out the soup by adding 1 tablespoon of extra broth at a time, if needed.
  3. Ladle the soup into bowls and serve with a sprinkle of parmesan and a pinch of fennel fronds.
3.2.1275


Filed Under: eat, sides, soups and salads Tagged With: easy, fennel, fronds, green, healthy, leeks, parmesan, peas, soup, weekday

blueberry and cheese danish braid

March 13, 2014 by Butter Loves Company

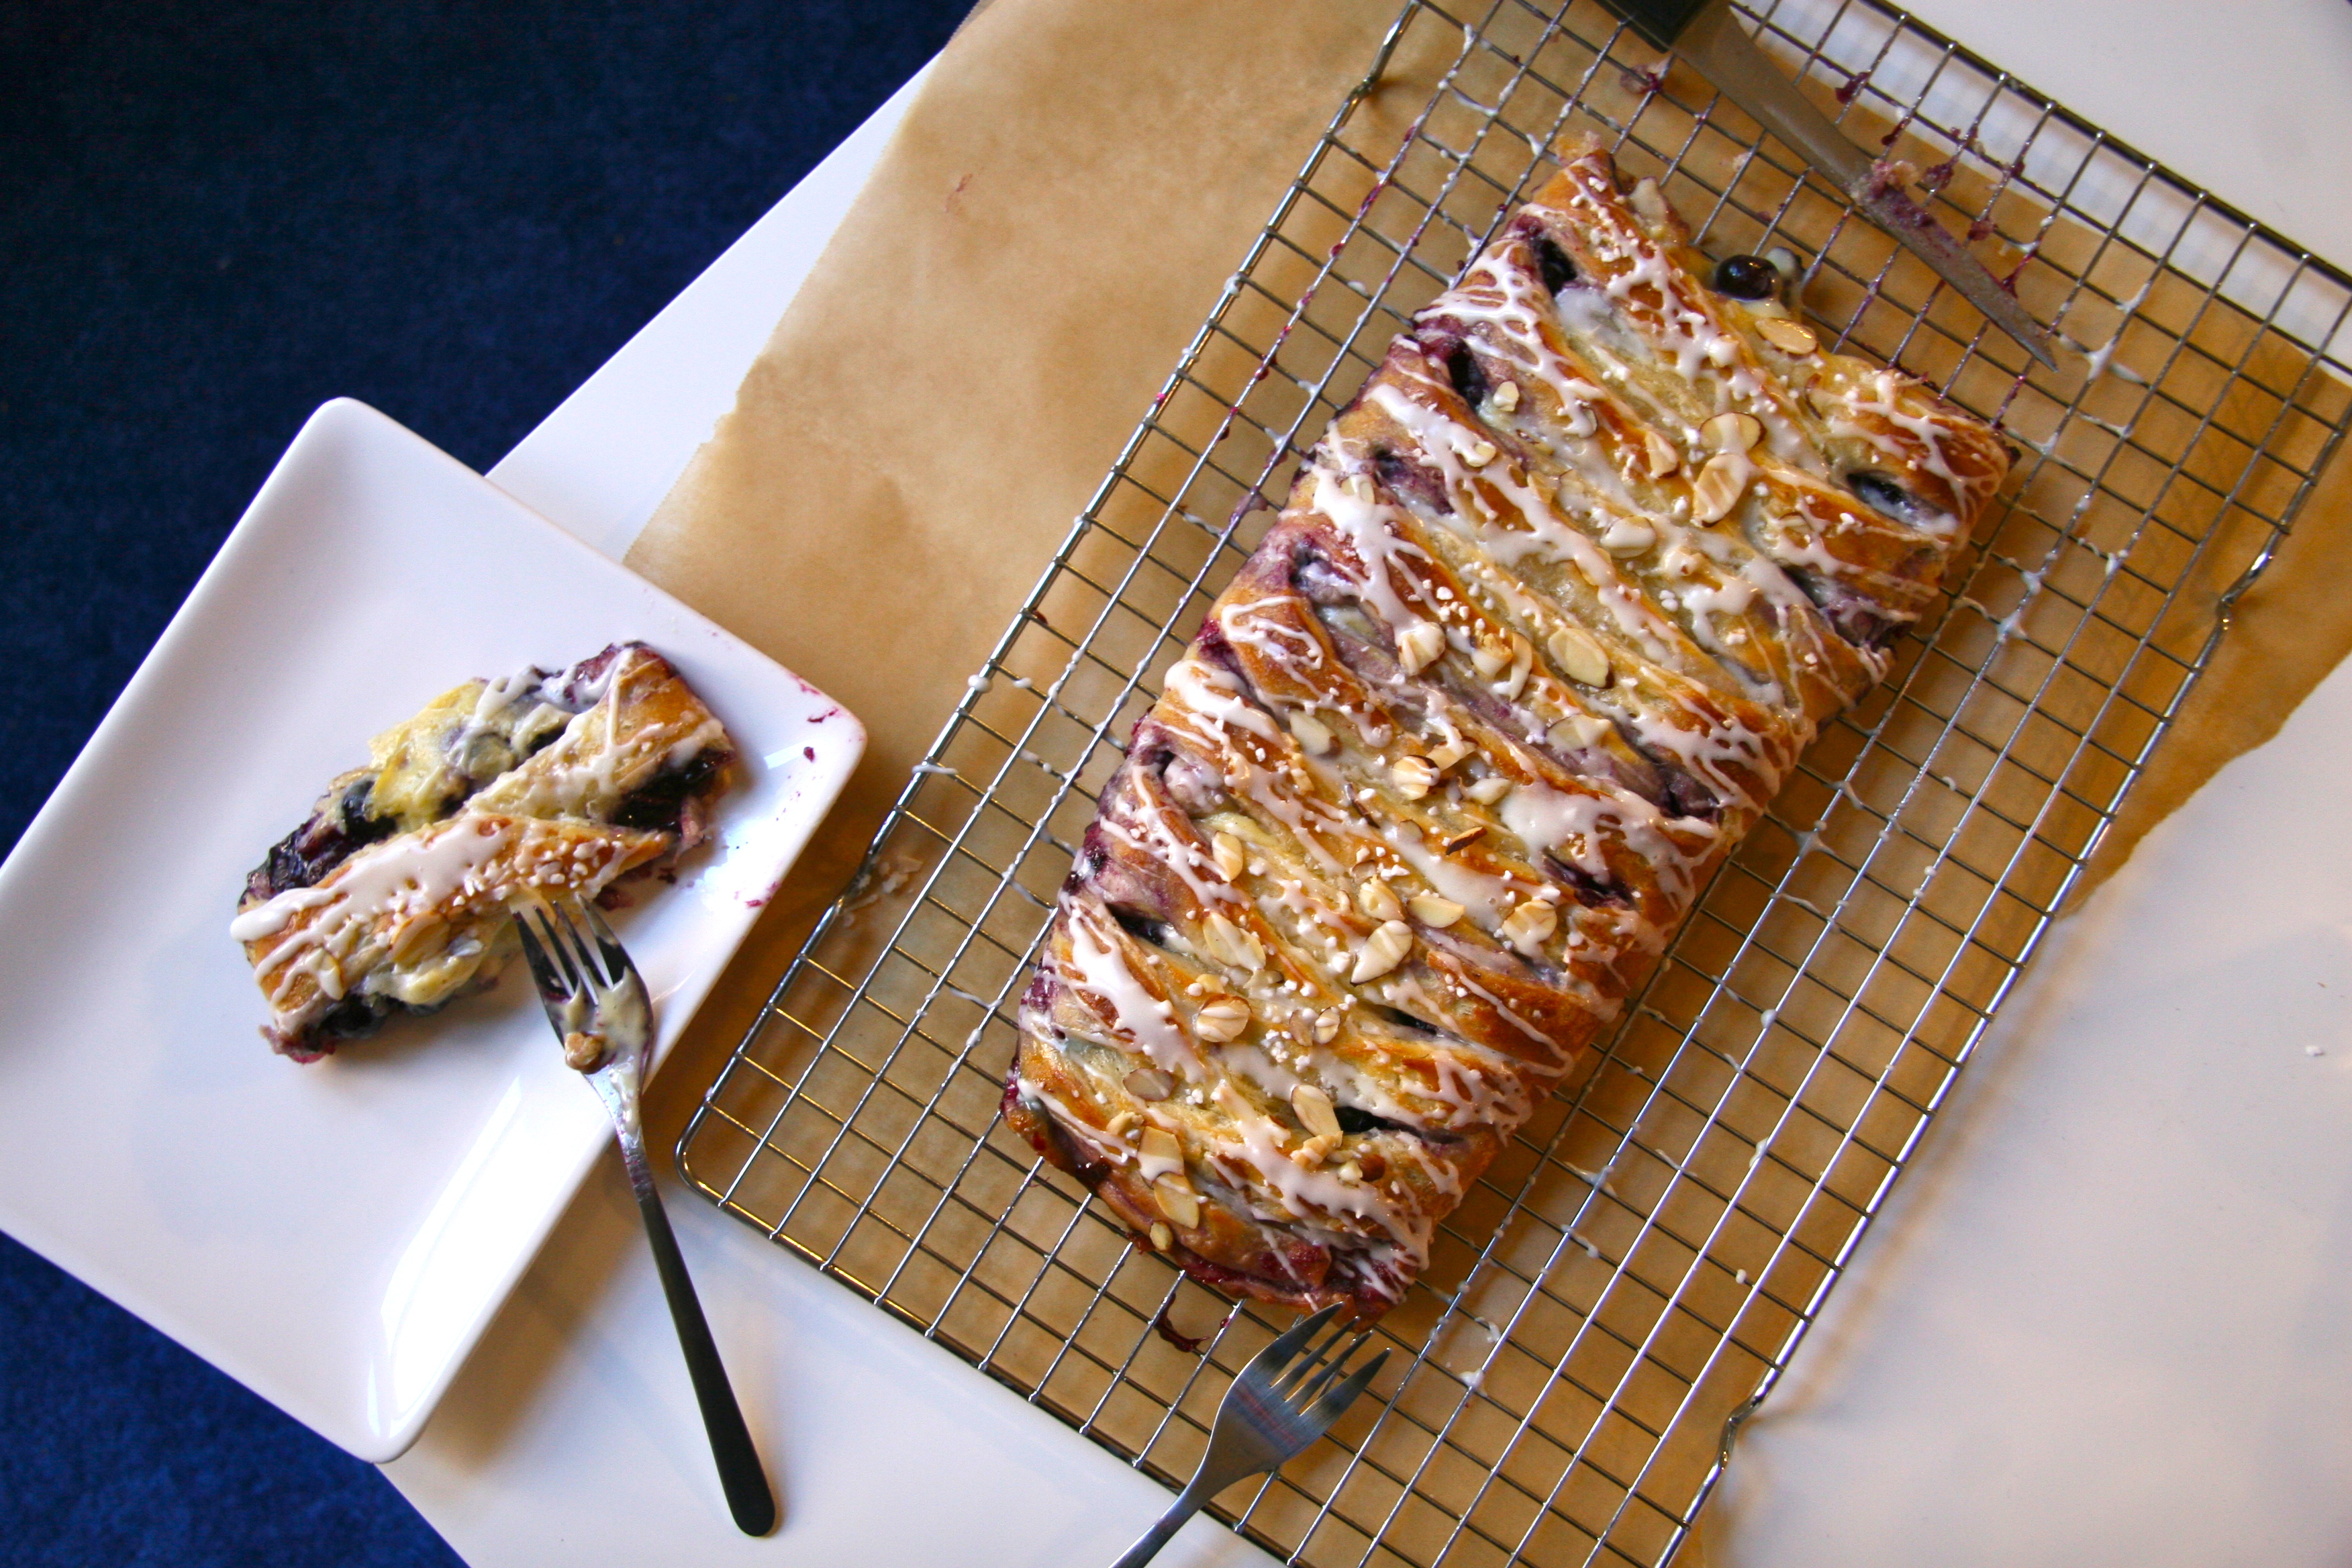
Blueberry and Cheese Danish Braid 2

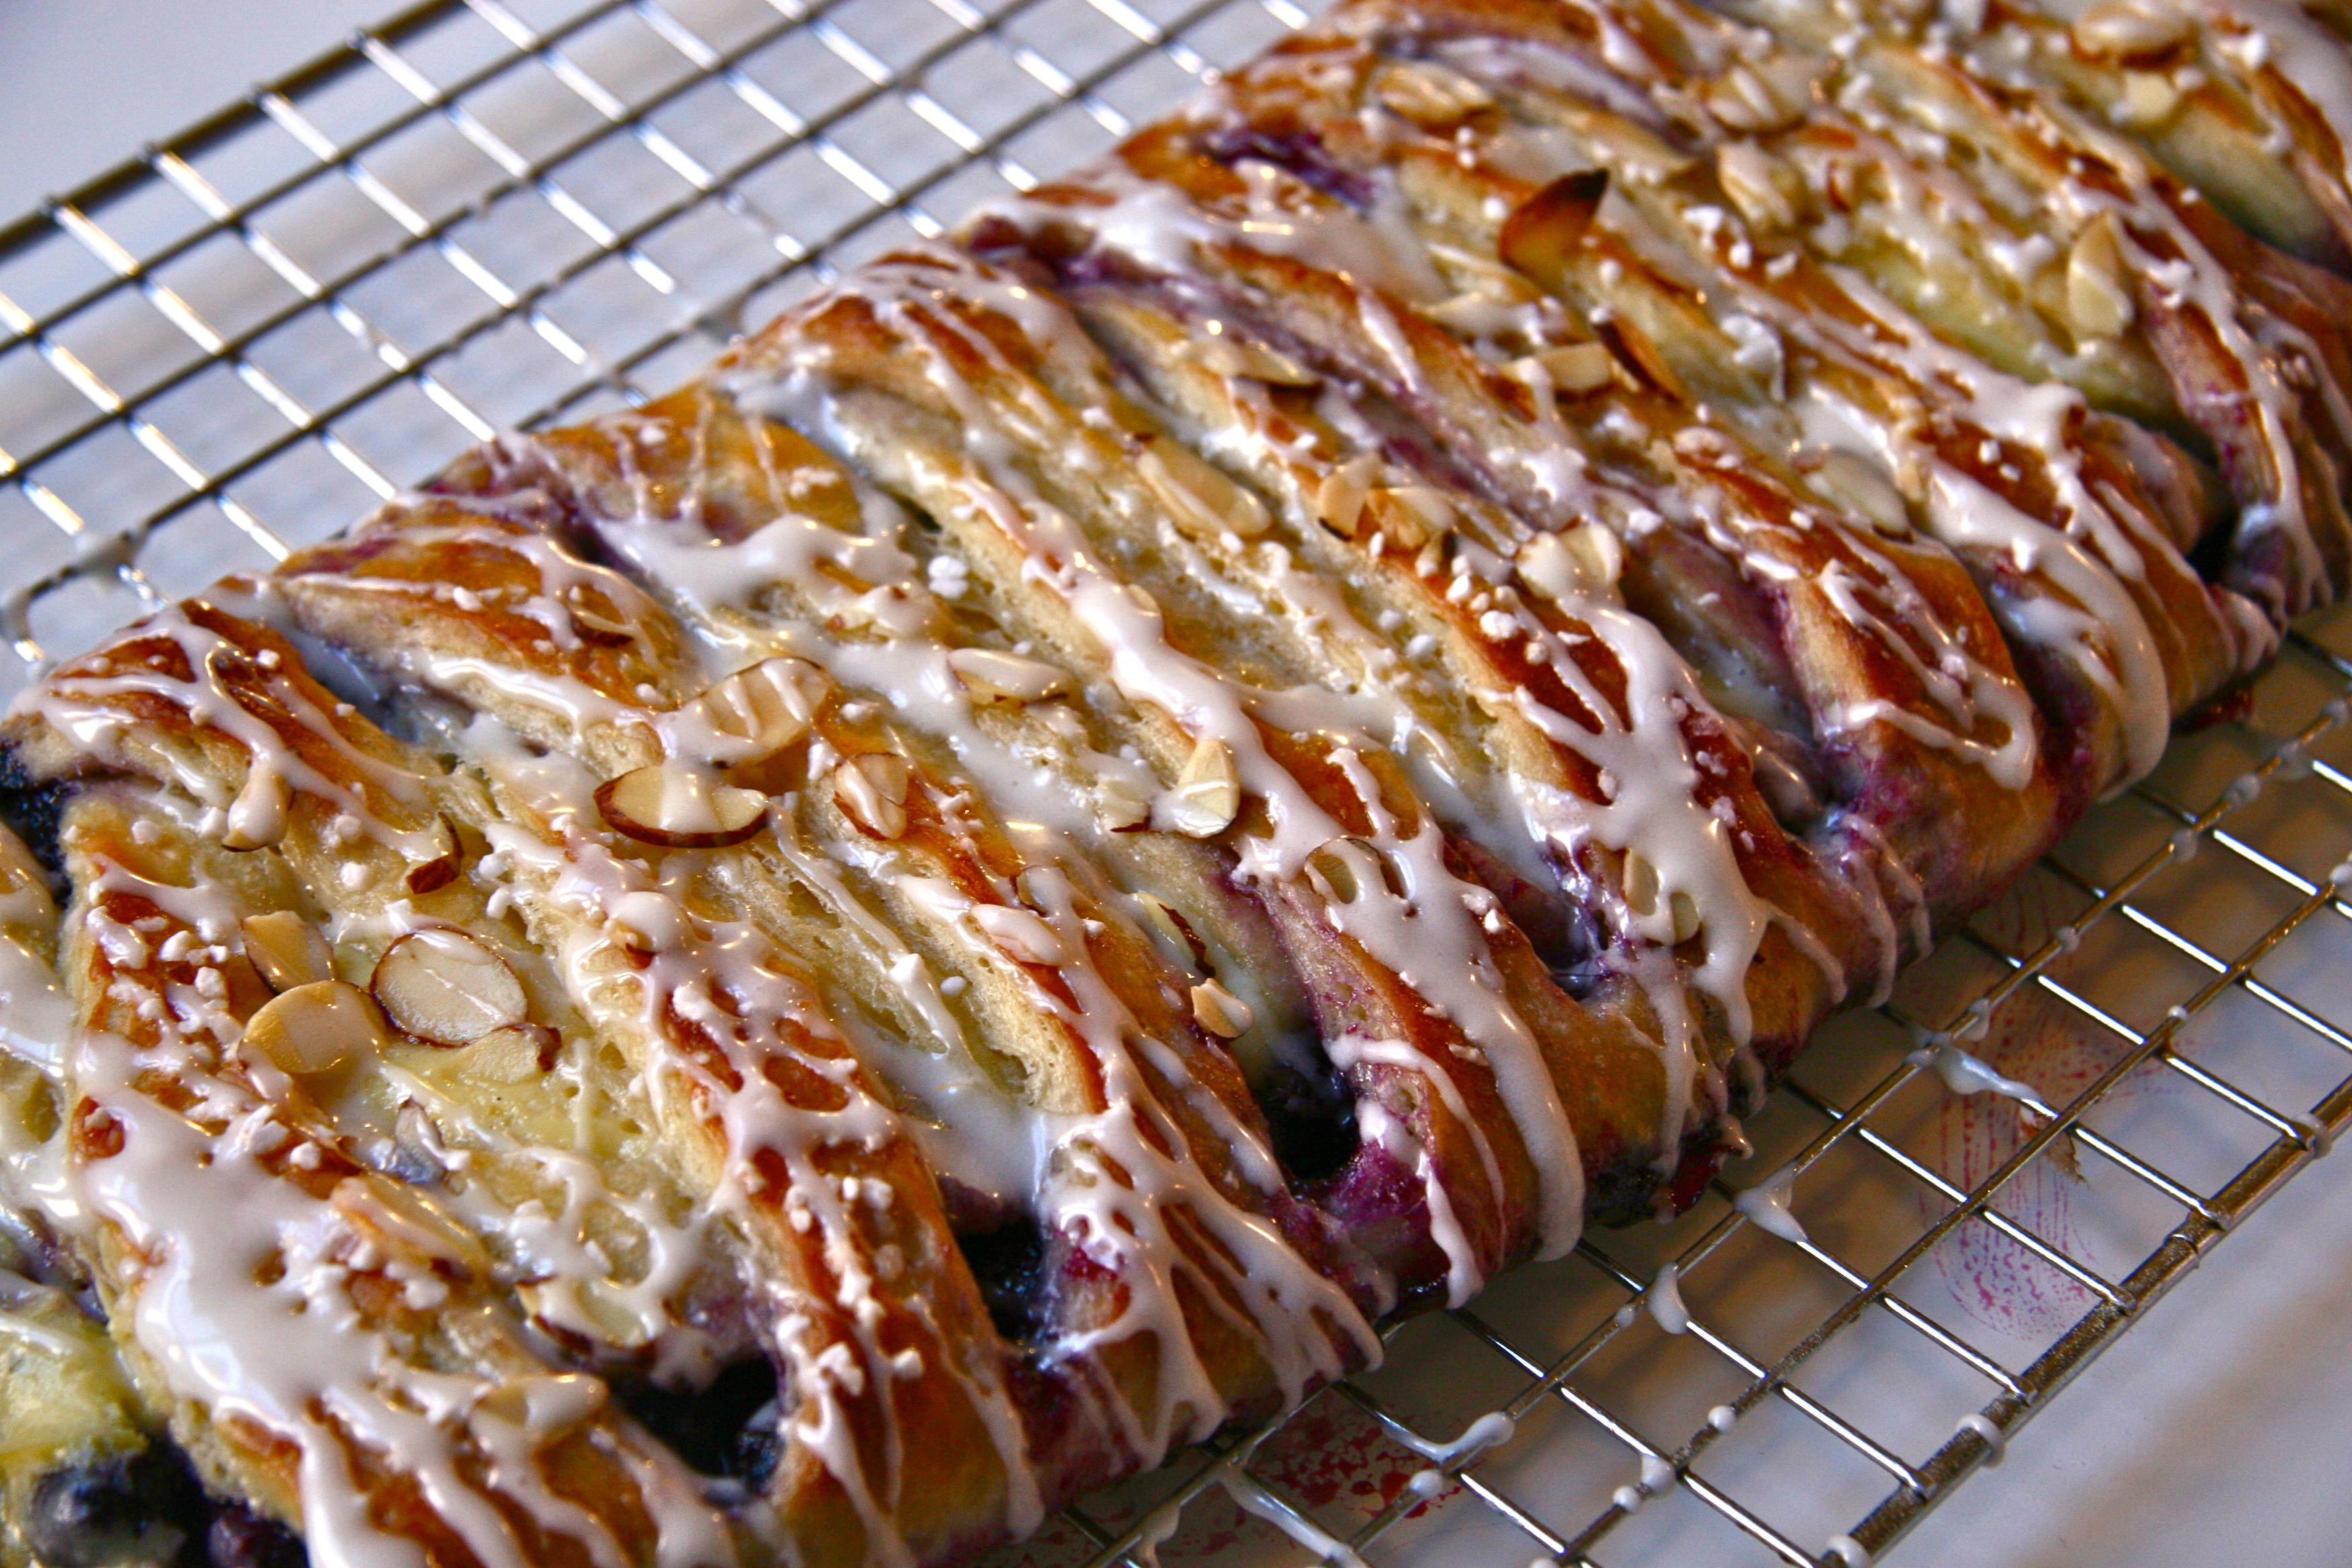
A sophisticated braid of flaky, buttery, lightly sweet dough filled with juicy blueberries and creamy cheese filling, speckled with vanilla beans and a little lemon zest.

I distinctly remember eating a certain almond Danish when I was studying in Italy (a certain one, but certainly not just once). The top was sprinkled generously with sweet, white dots of sugar along with slivered almonds.

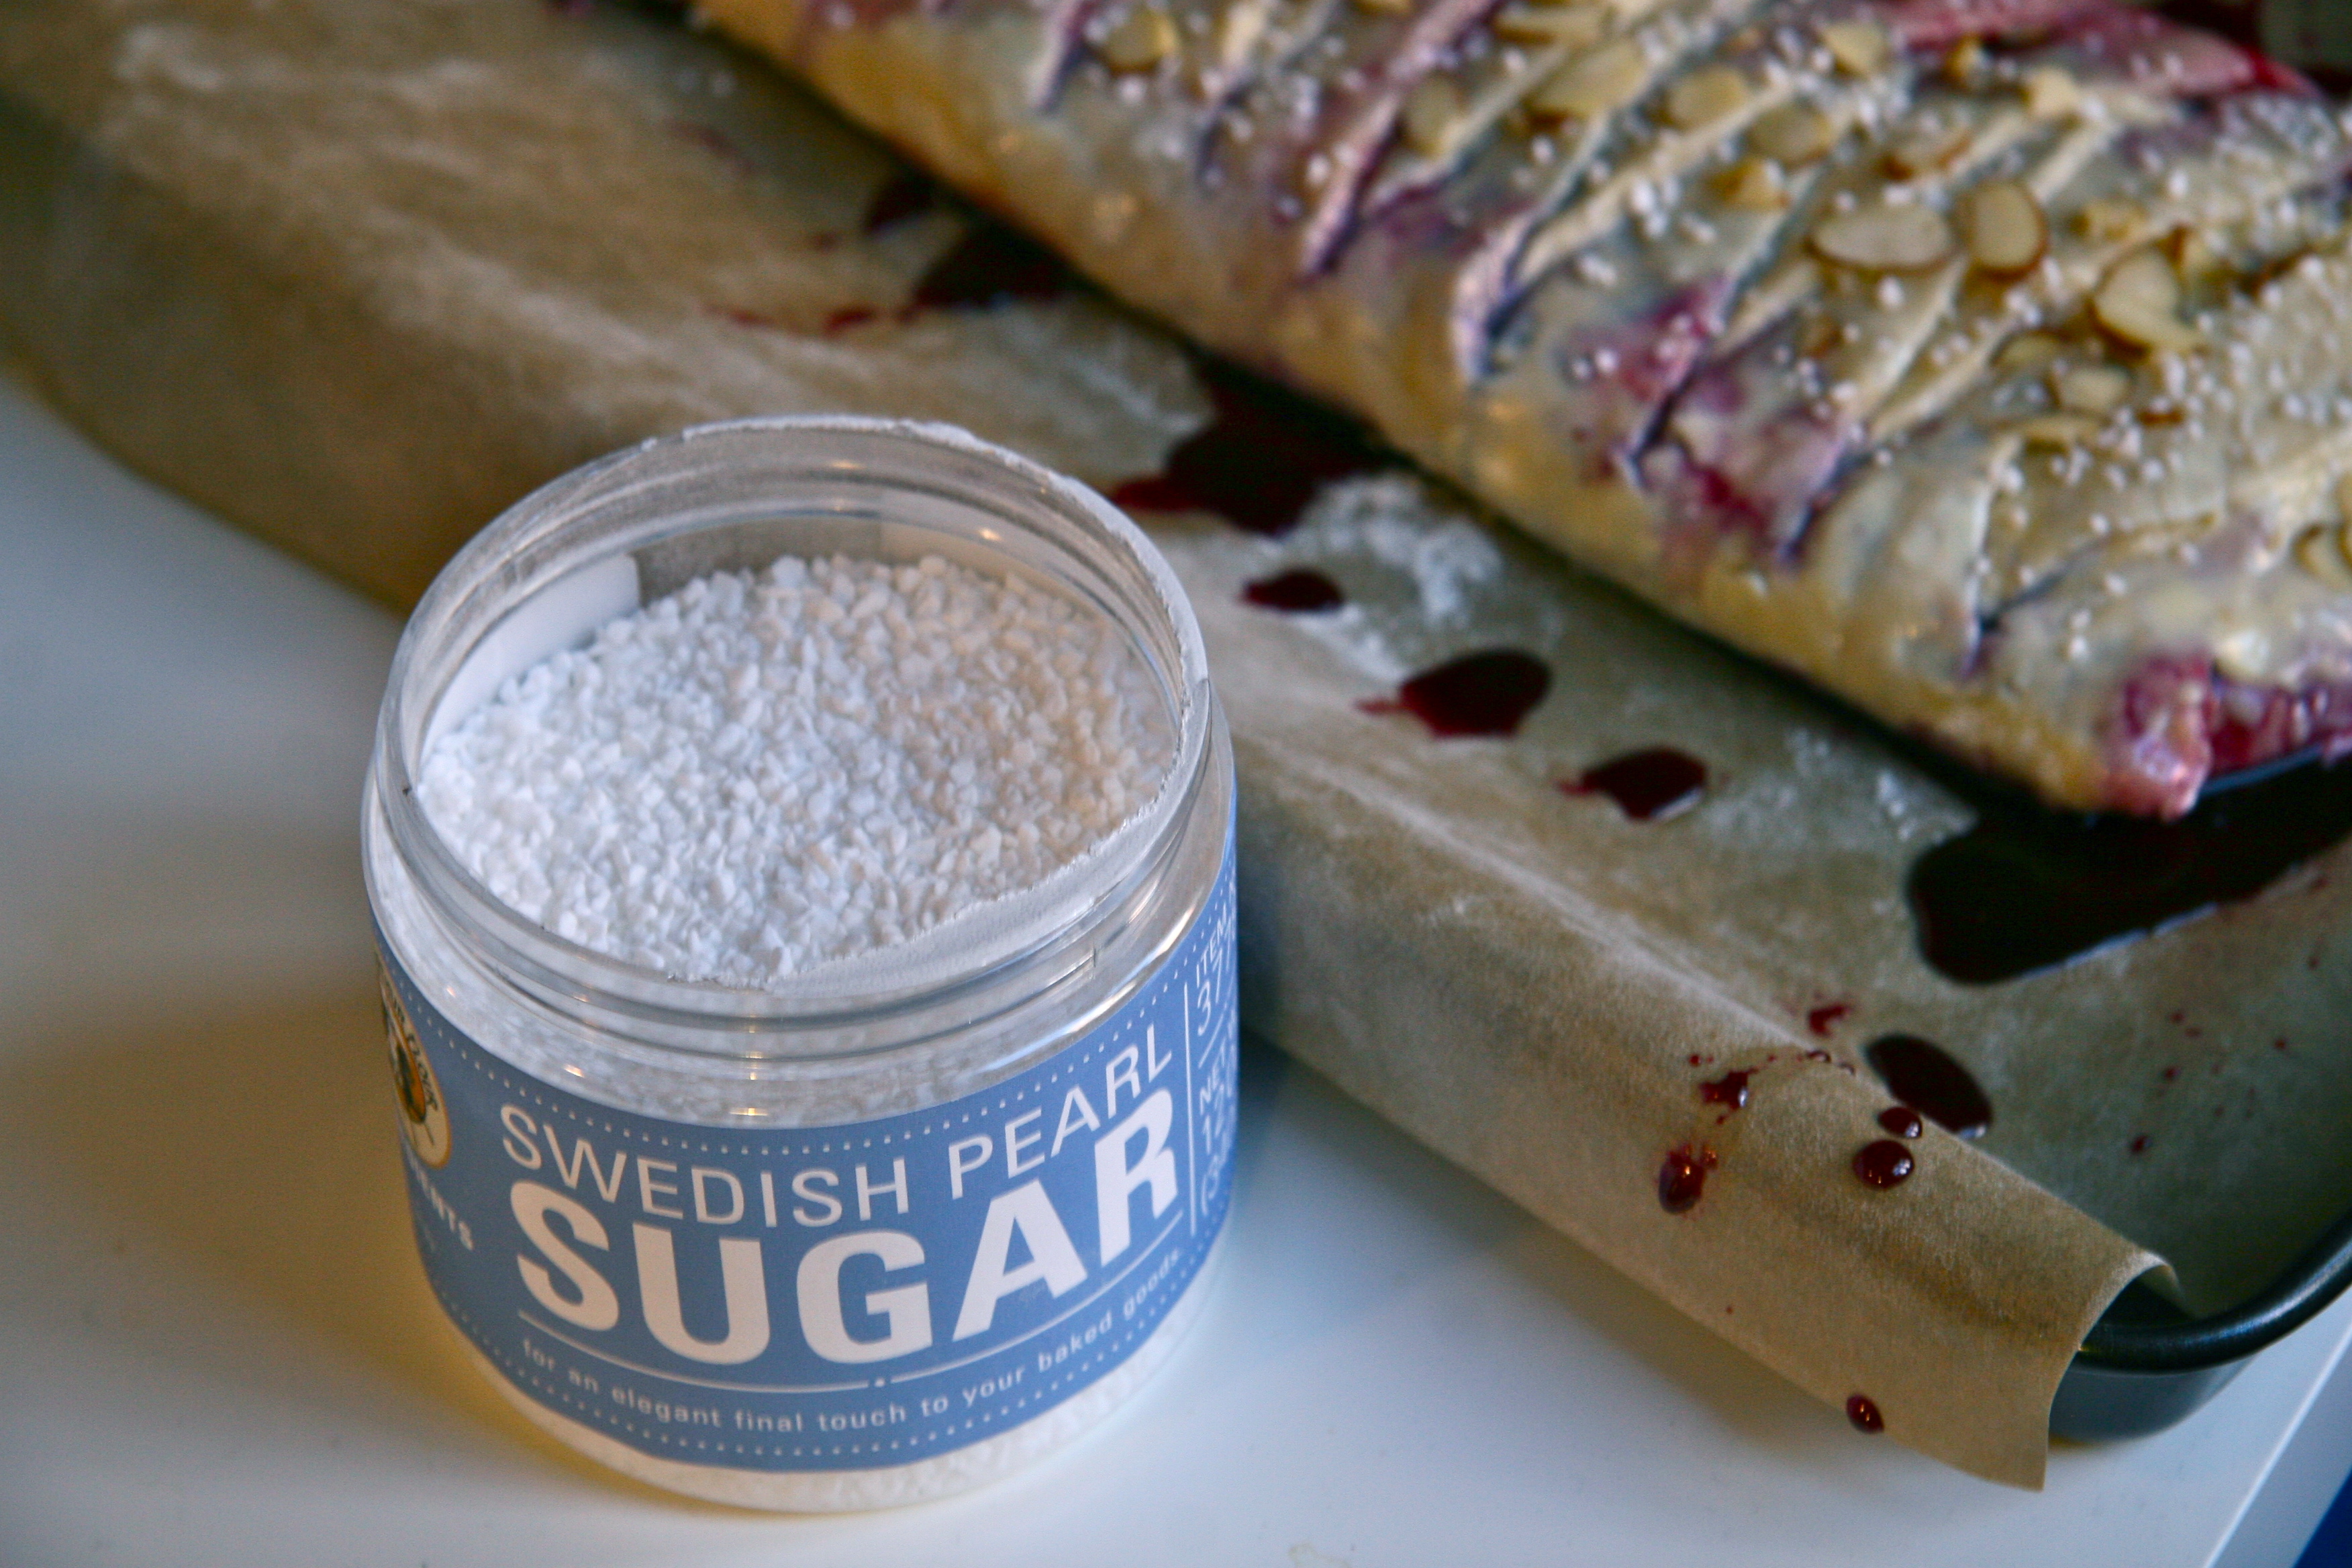
If you’ve been to Europe, or to a European bakery, you may’ve noticed the pastries frequently have thick white sugar dotting their tops, a Scandinavian tradition, or so I conclude from my research. Each time I ate Danish in Europe, I noticed those sugar pearls and wondered if bakeries in the U.S. used this as well. I’m sure some had, and presumably more now, but I liked to believe that this sugar was somehow magical and only existed in the sweet back rooms of European bakeries. Isn’t it funny how you notice the tiniest nuisances of another culture when traveling? Often, things go overlooked in your own home; until you return with fresh eyes (like how large a jar of peanut butter or a jug of milk looks in the U.S. versus those you may find in Florence, Italy).

Unbelievably, it took me almost five years to buy this sugar when I got back to the U.S., after I discovered it wasn’t so mystical after all. The reason being, I had never considered making the Danishes, croissants, or other yeast-dough pastries they adorn, at home. I was intimidated and thought it’d be too time consuming or too frustrating or something only those who have attended pastry school could tackle.

I was so wrong—and I now kick myself for not having attempted sooner. Oh, the breakfasts I could have had in college!

You too can make Danish at home. Specifically—if you follow this recipe, which I selfishly think you’ll love—you can make a Blueberry and Cheese Danish Braid. It’s not hard, though does require a little preparation to give the yeast time to rise in the refrigerator after the dough is mixed.

So, decide when you want to eat the pastry and plan to make the dough the day or night before. You could also make the fillings ahead and keep refrigerated. Promise me you won’t be intimidated by the length of the recipe, I wrote it out to make it as easy as possible! You can try filling the Danish Braid with lots of flavor combinations if you aren’t fond of blueberries and creamy cheese (I believe the other word for that is crazy . . . kidding!). Please try it with whatever you like best: cherry, strawberry, raspberry, nutella, pastry cream, lemon curd, etc.

Whether or not you have pearl sugar on hand, the Danish experience will still be magical!

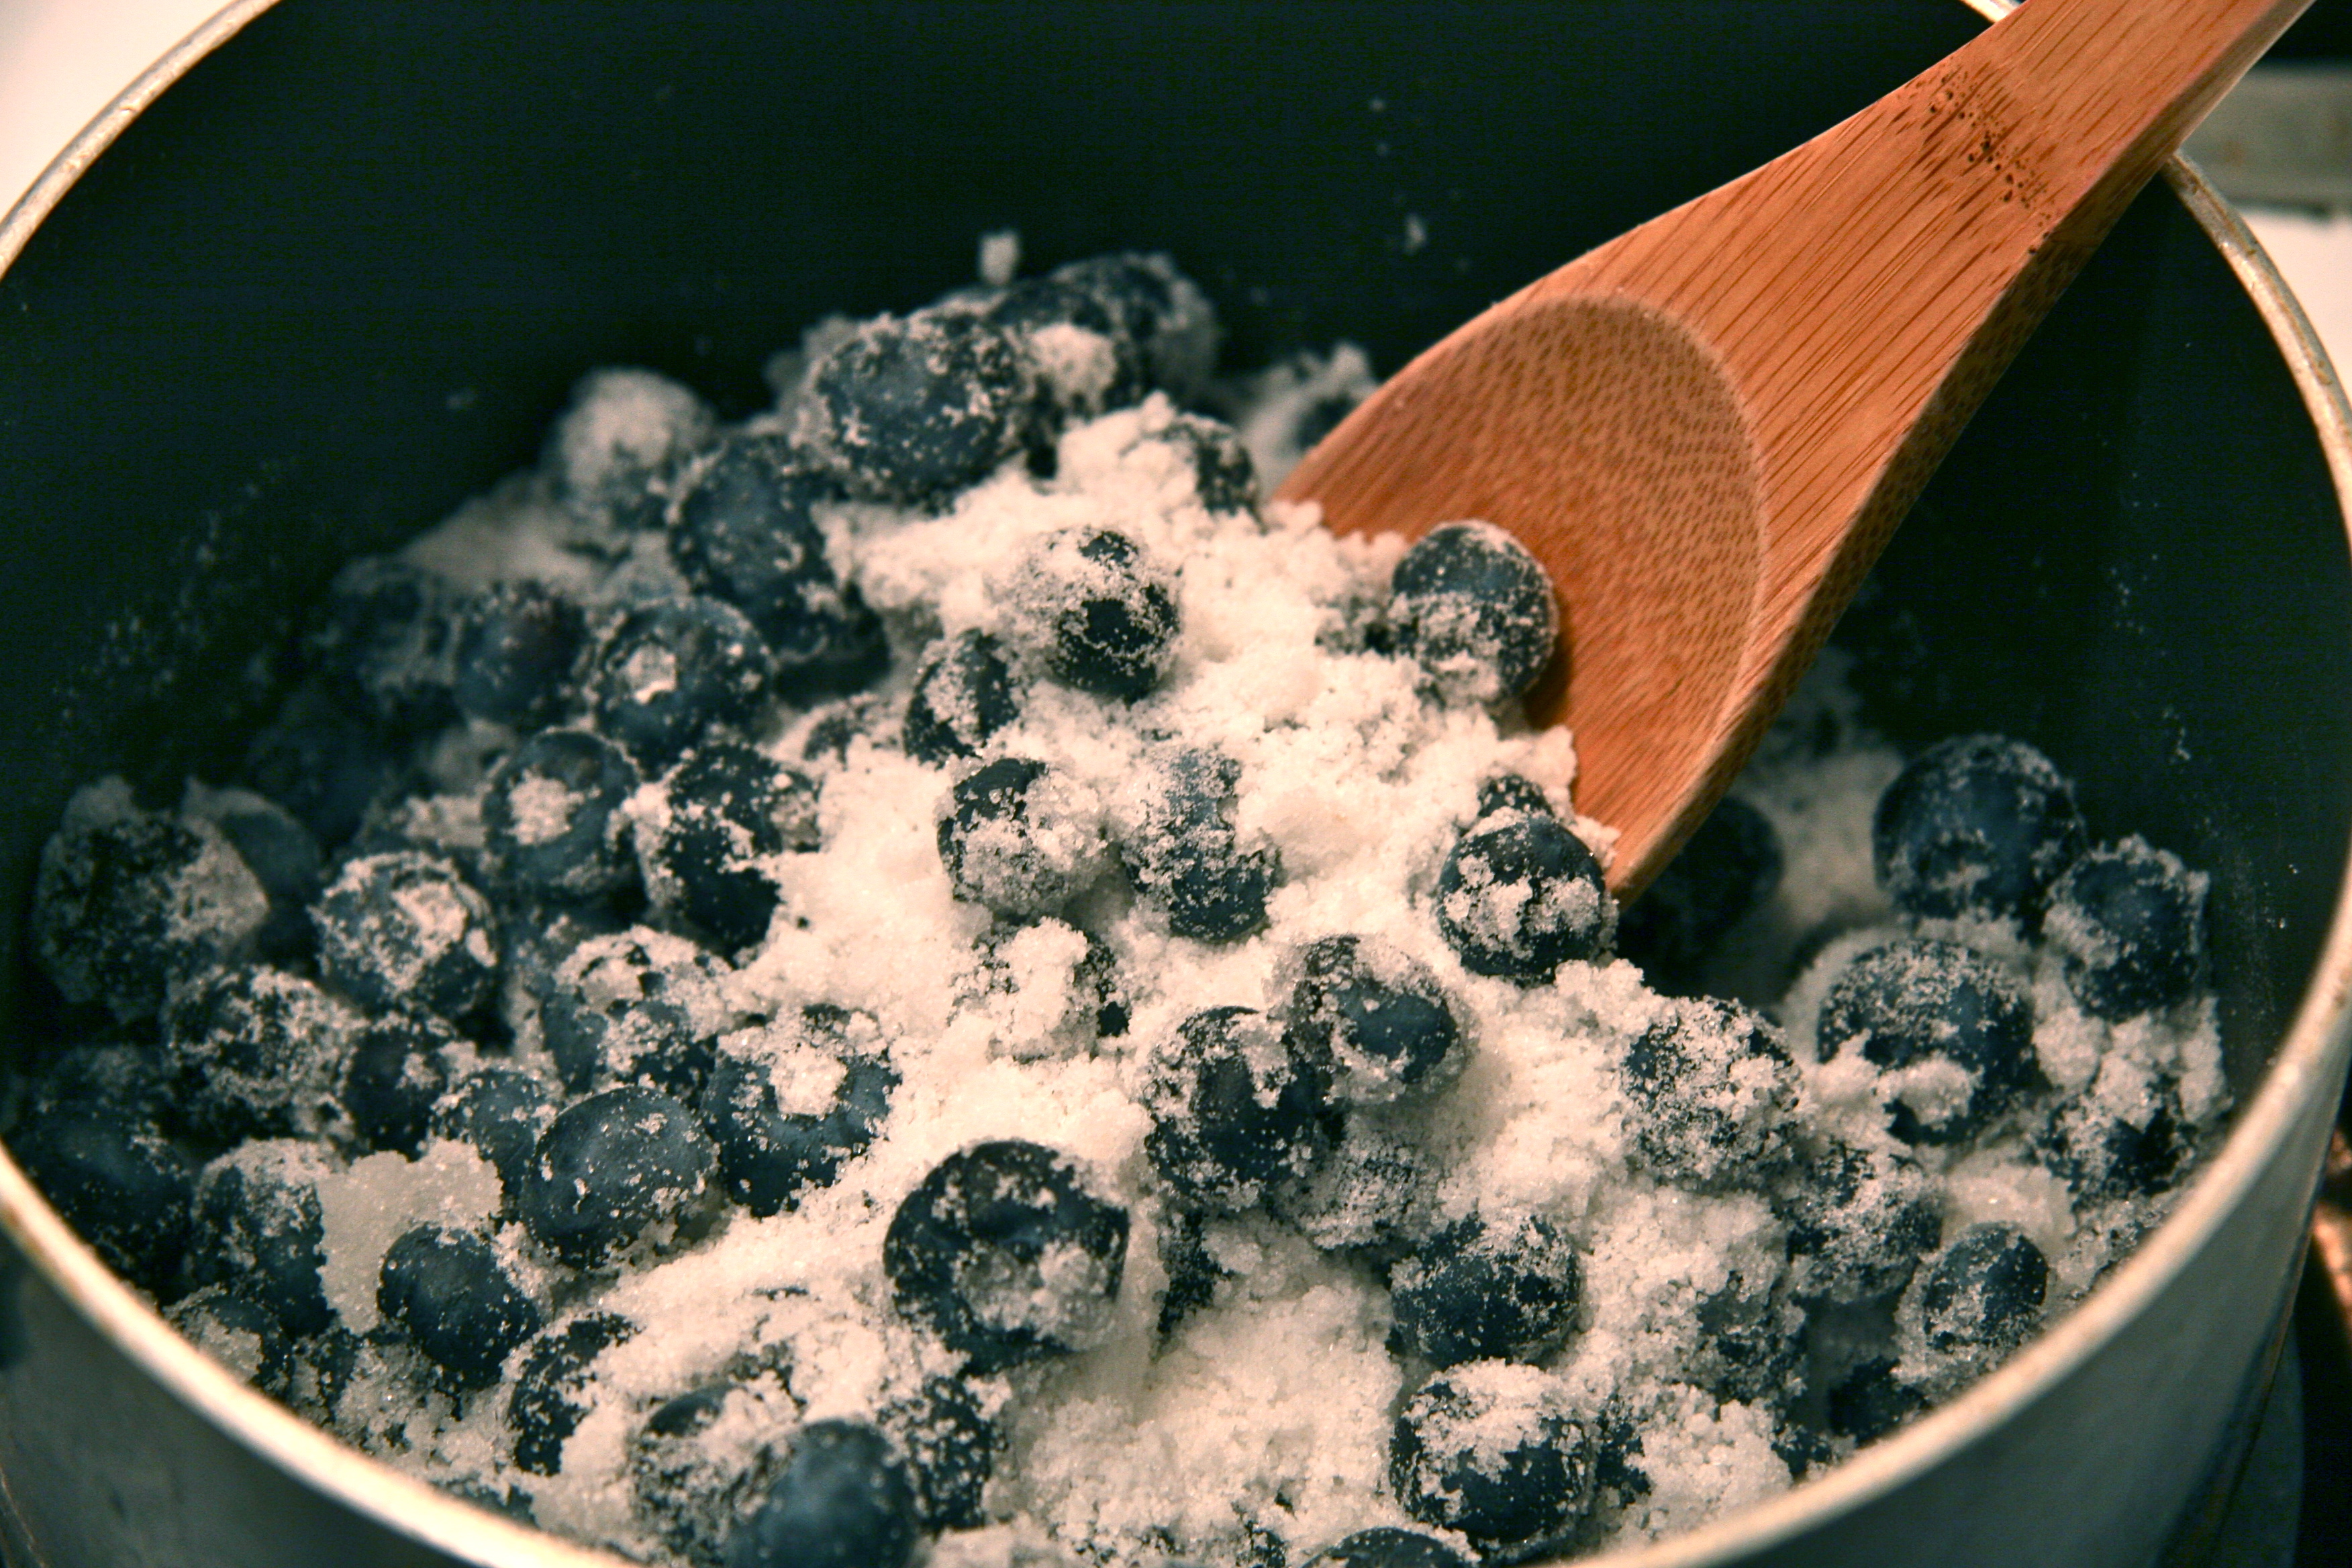
blueberries for danish

blueberries for danish filling

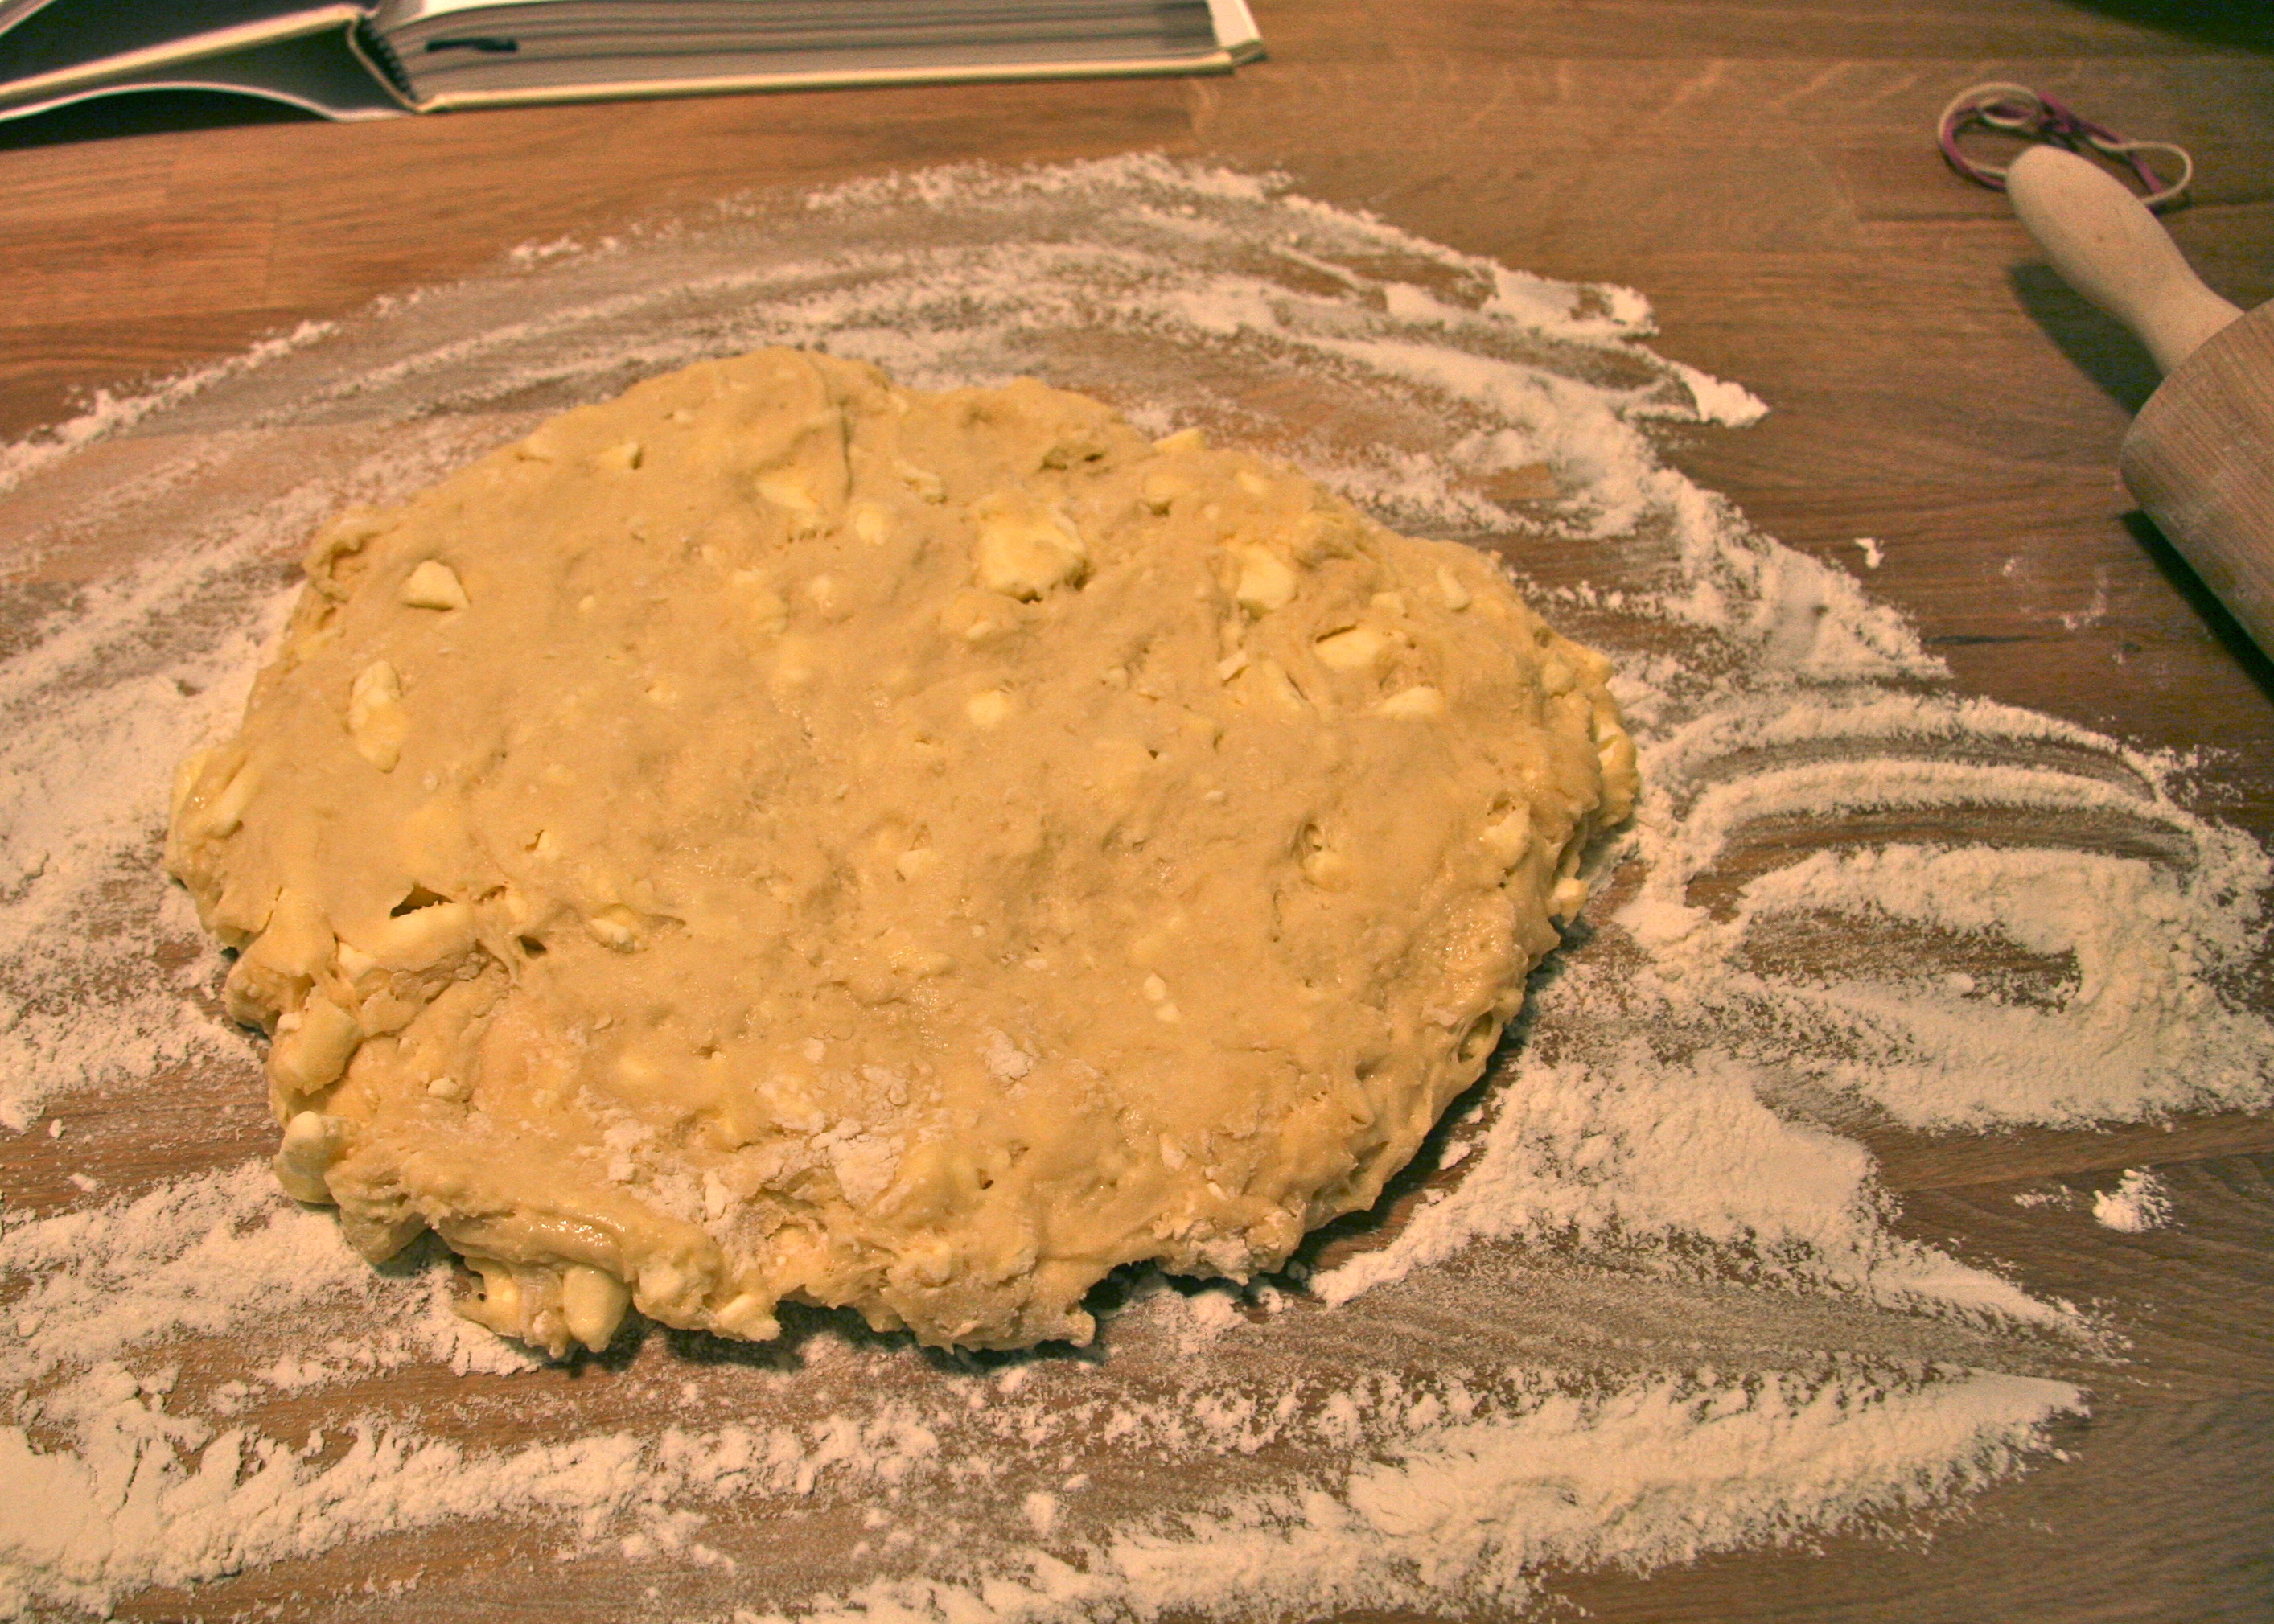
After dough is initially chilled overnight, you can begin shaping it to create the flaky layers that will be the danish.

After dough is initially chilled overnight, you can begin shaping it to create the flaky layers that will be the danish.

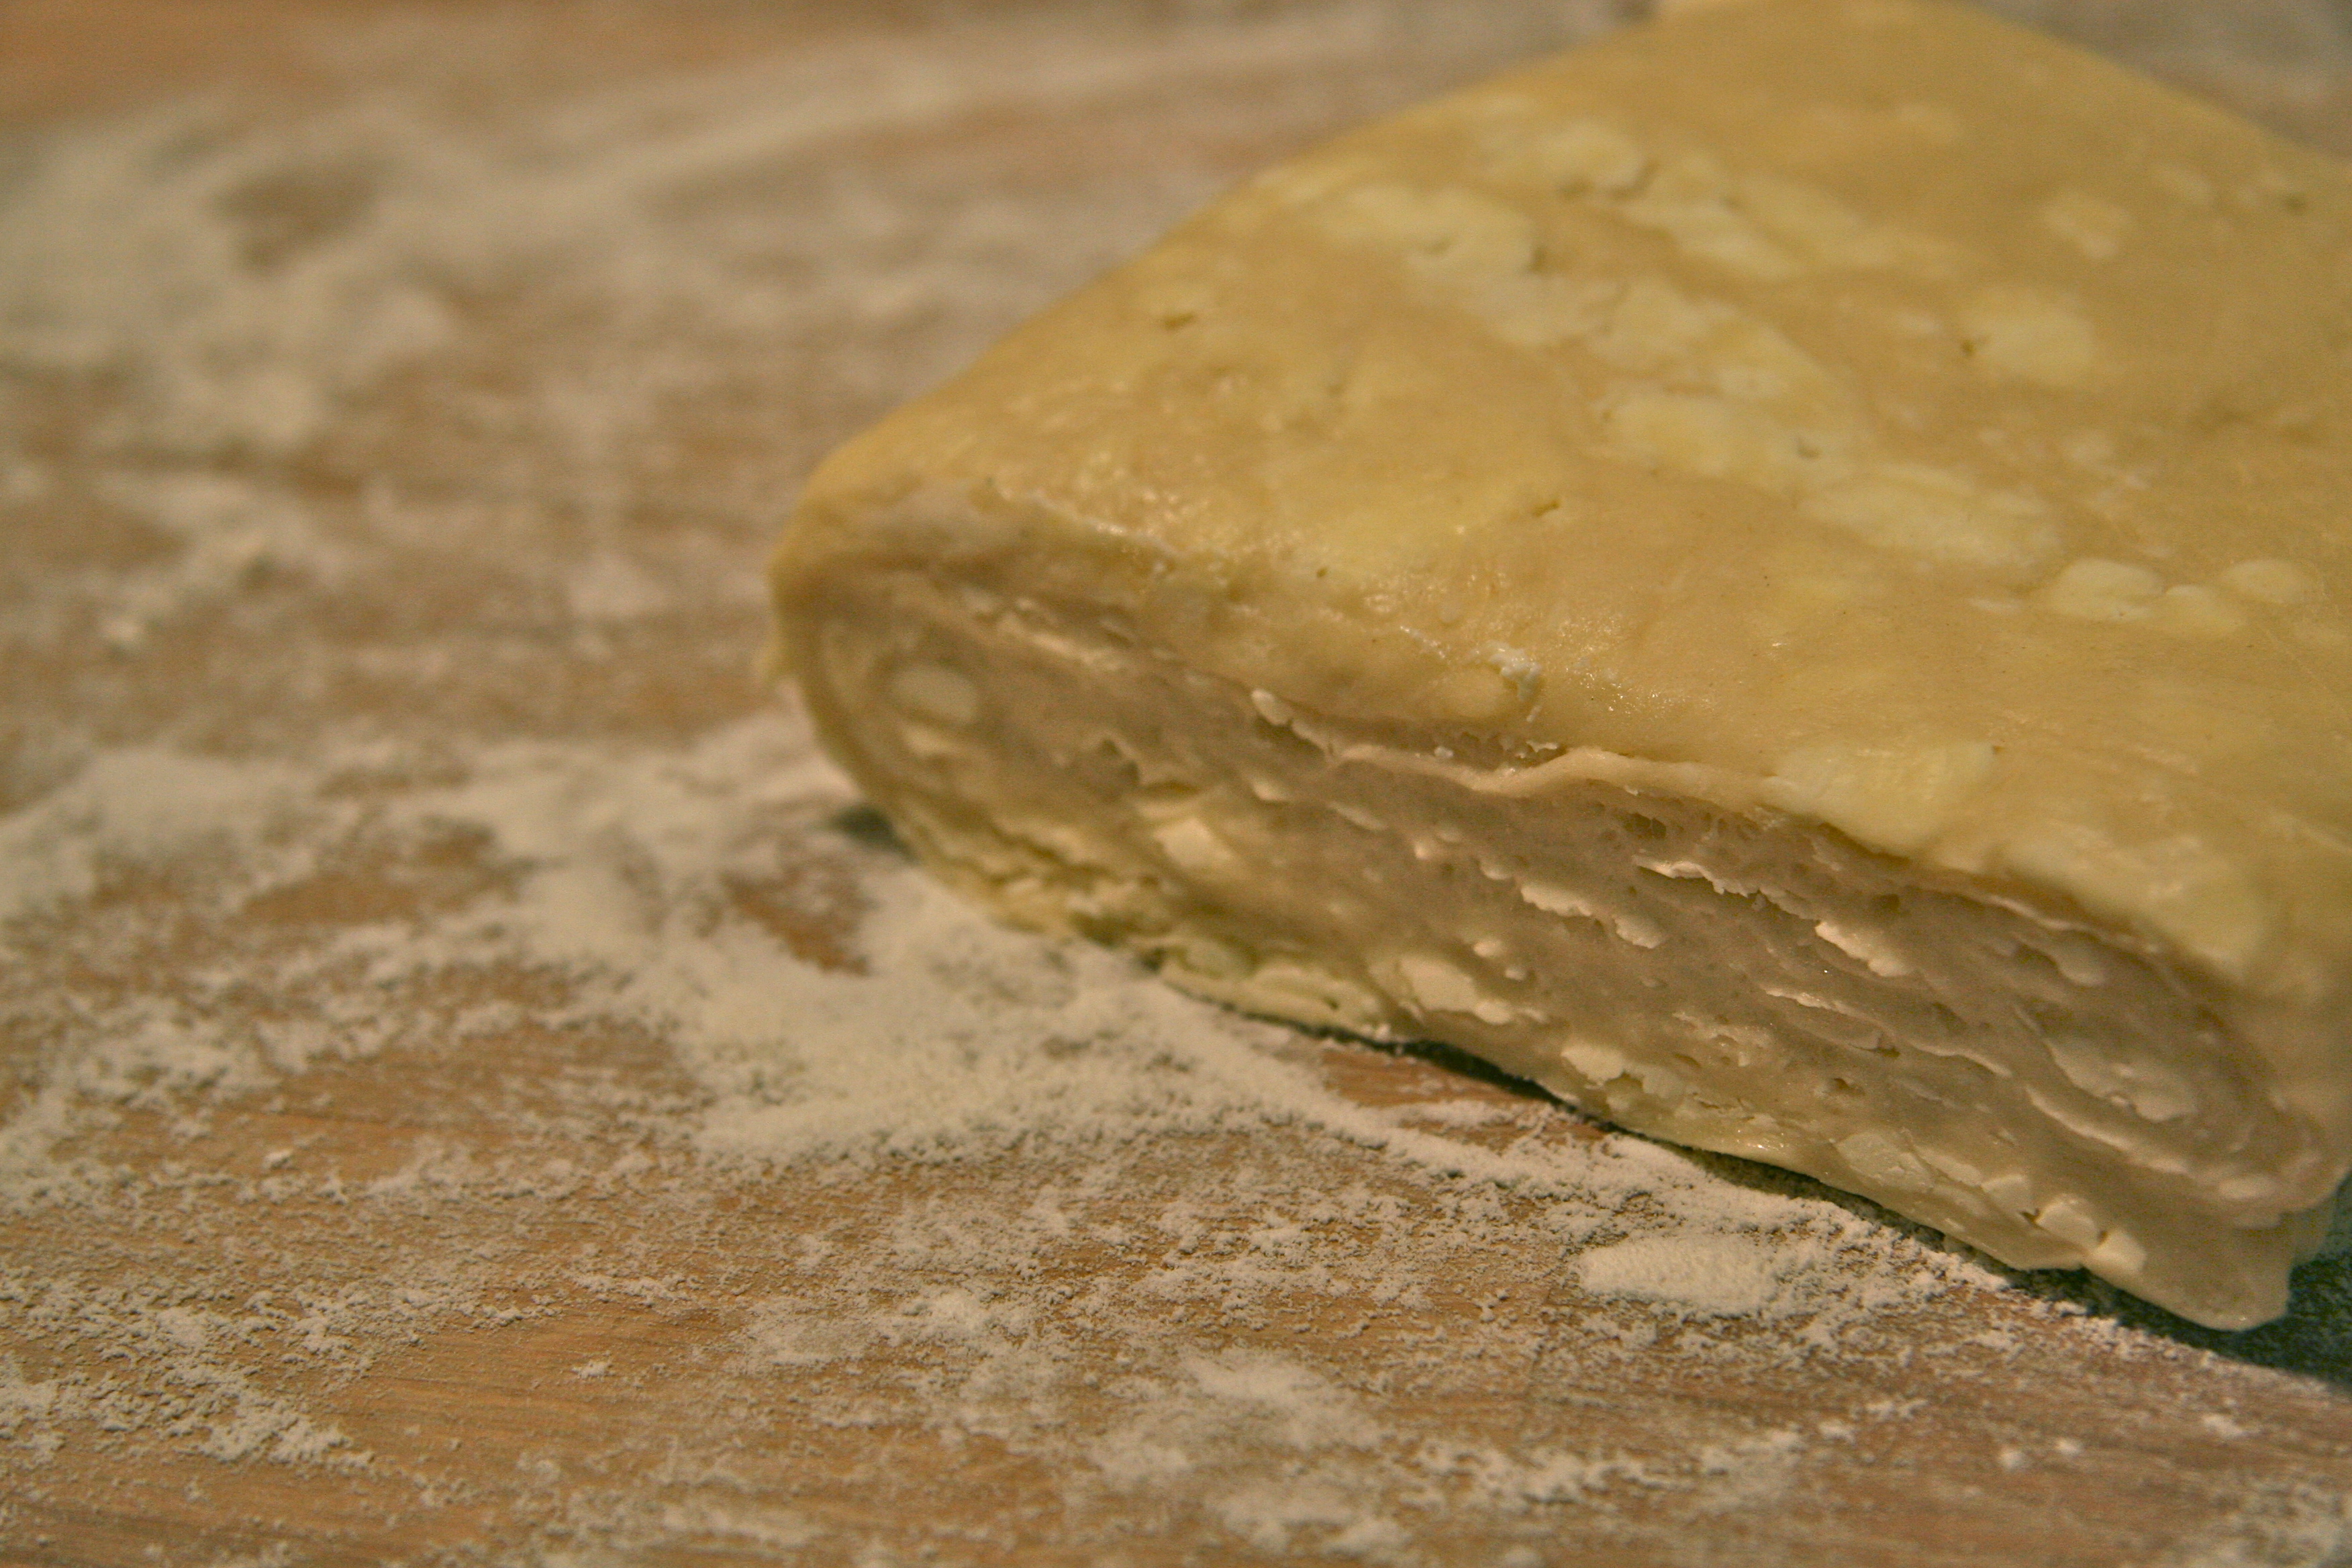
danish dough 3

after the roll and fold stage, you can already see the layers built into the danish!

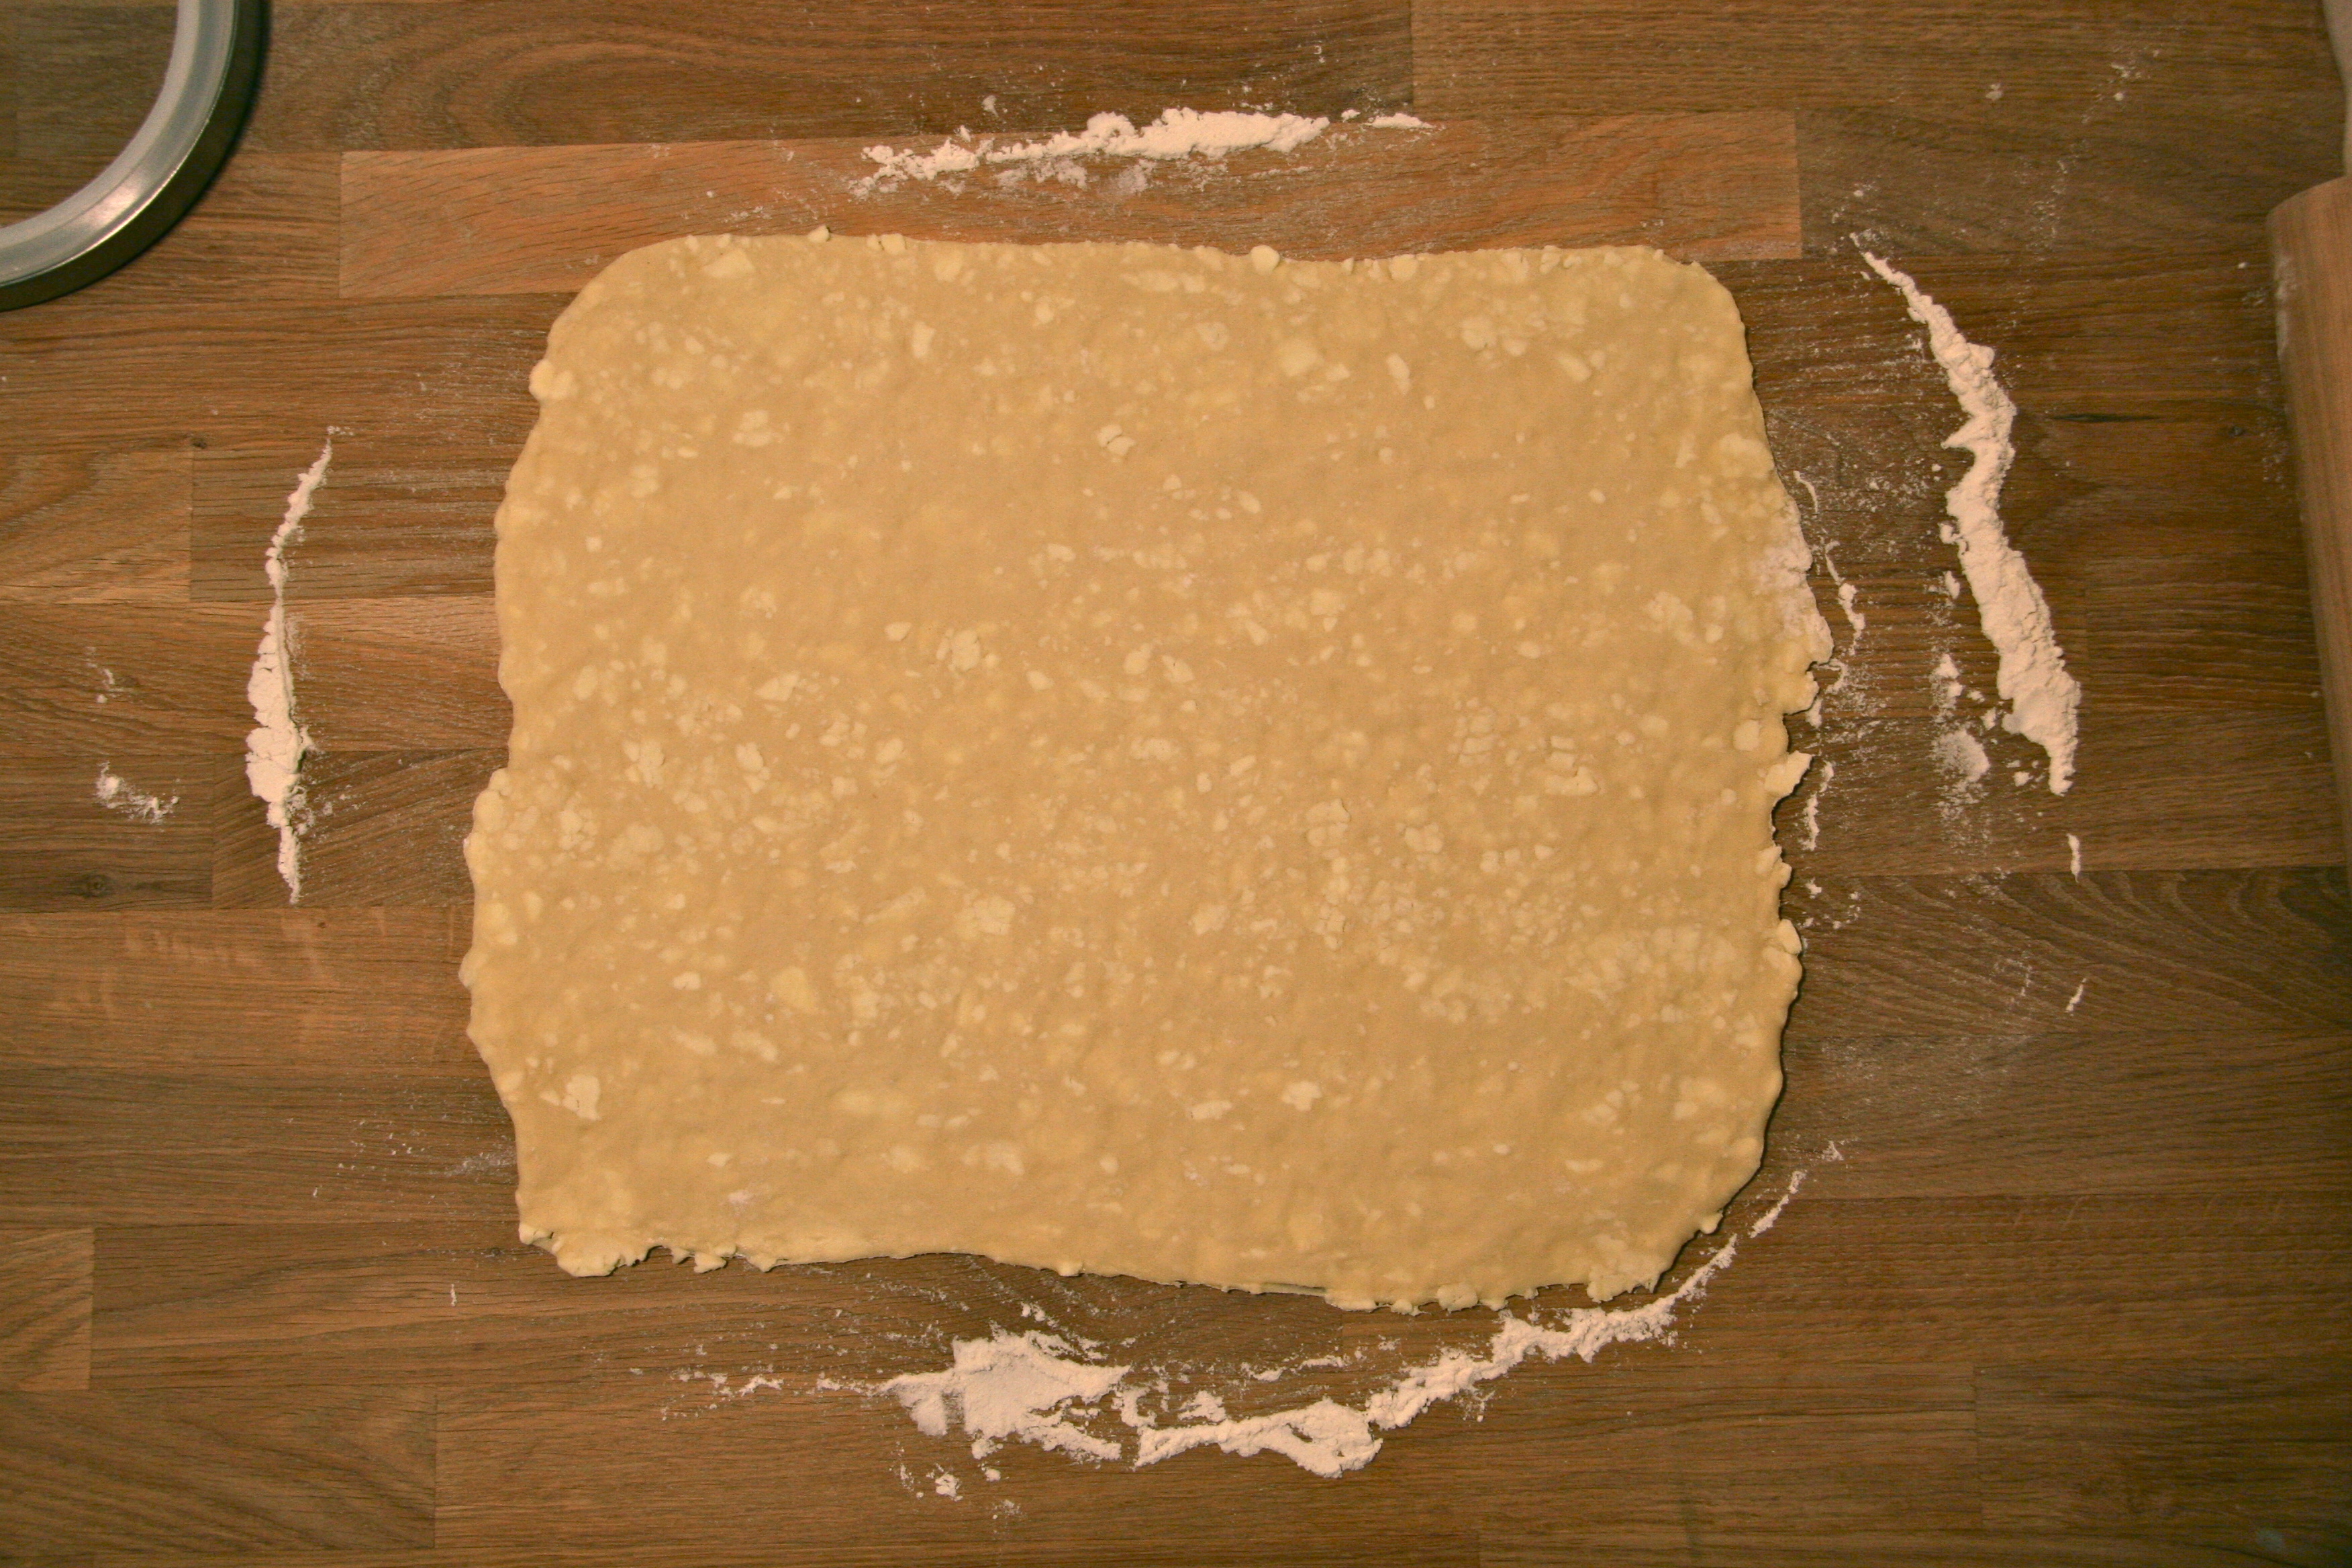
roll out the dough after its second 'chill'

roll out the dough after its second ‘chill’

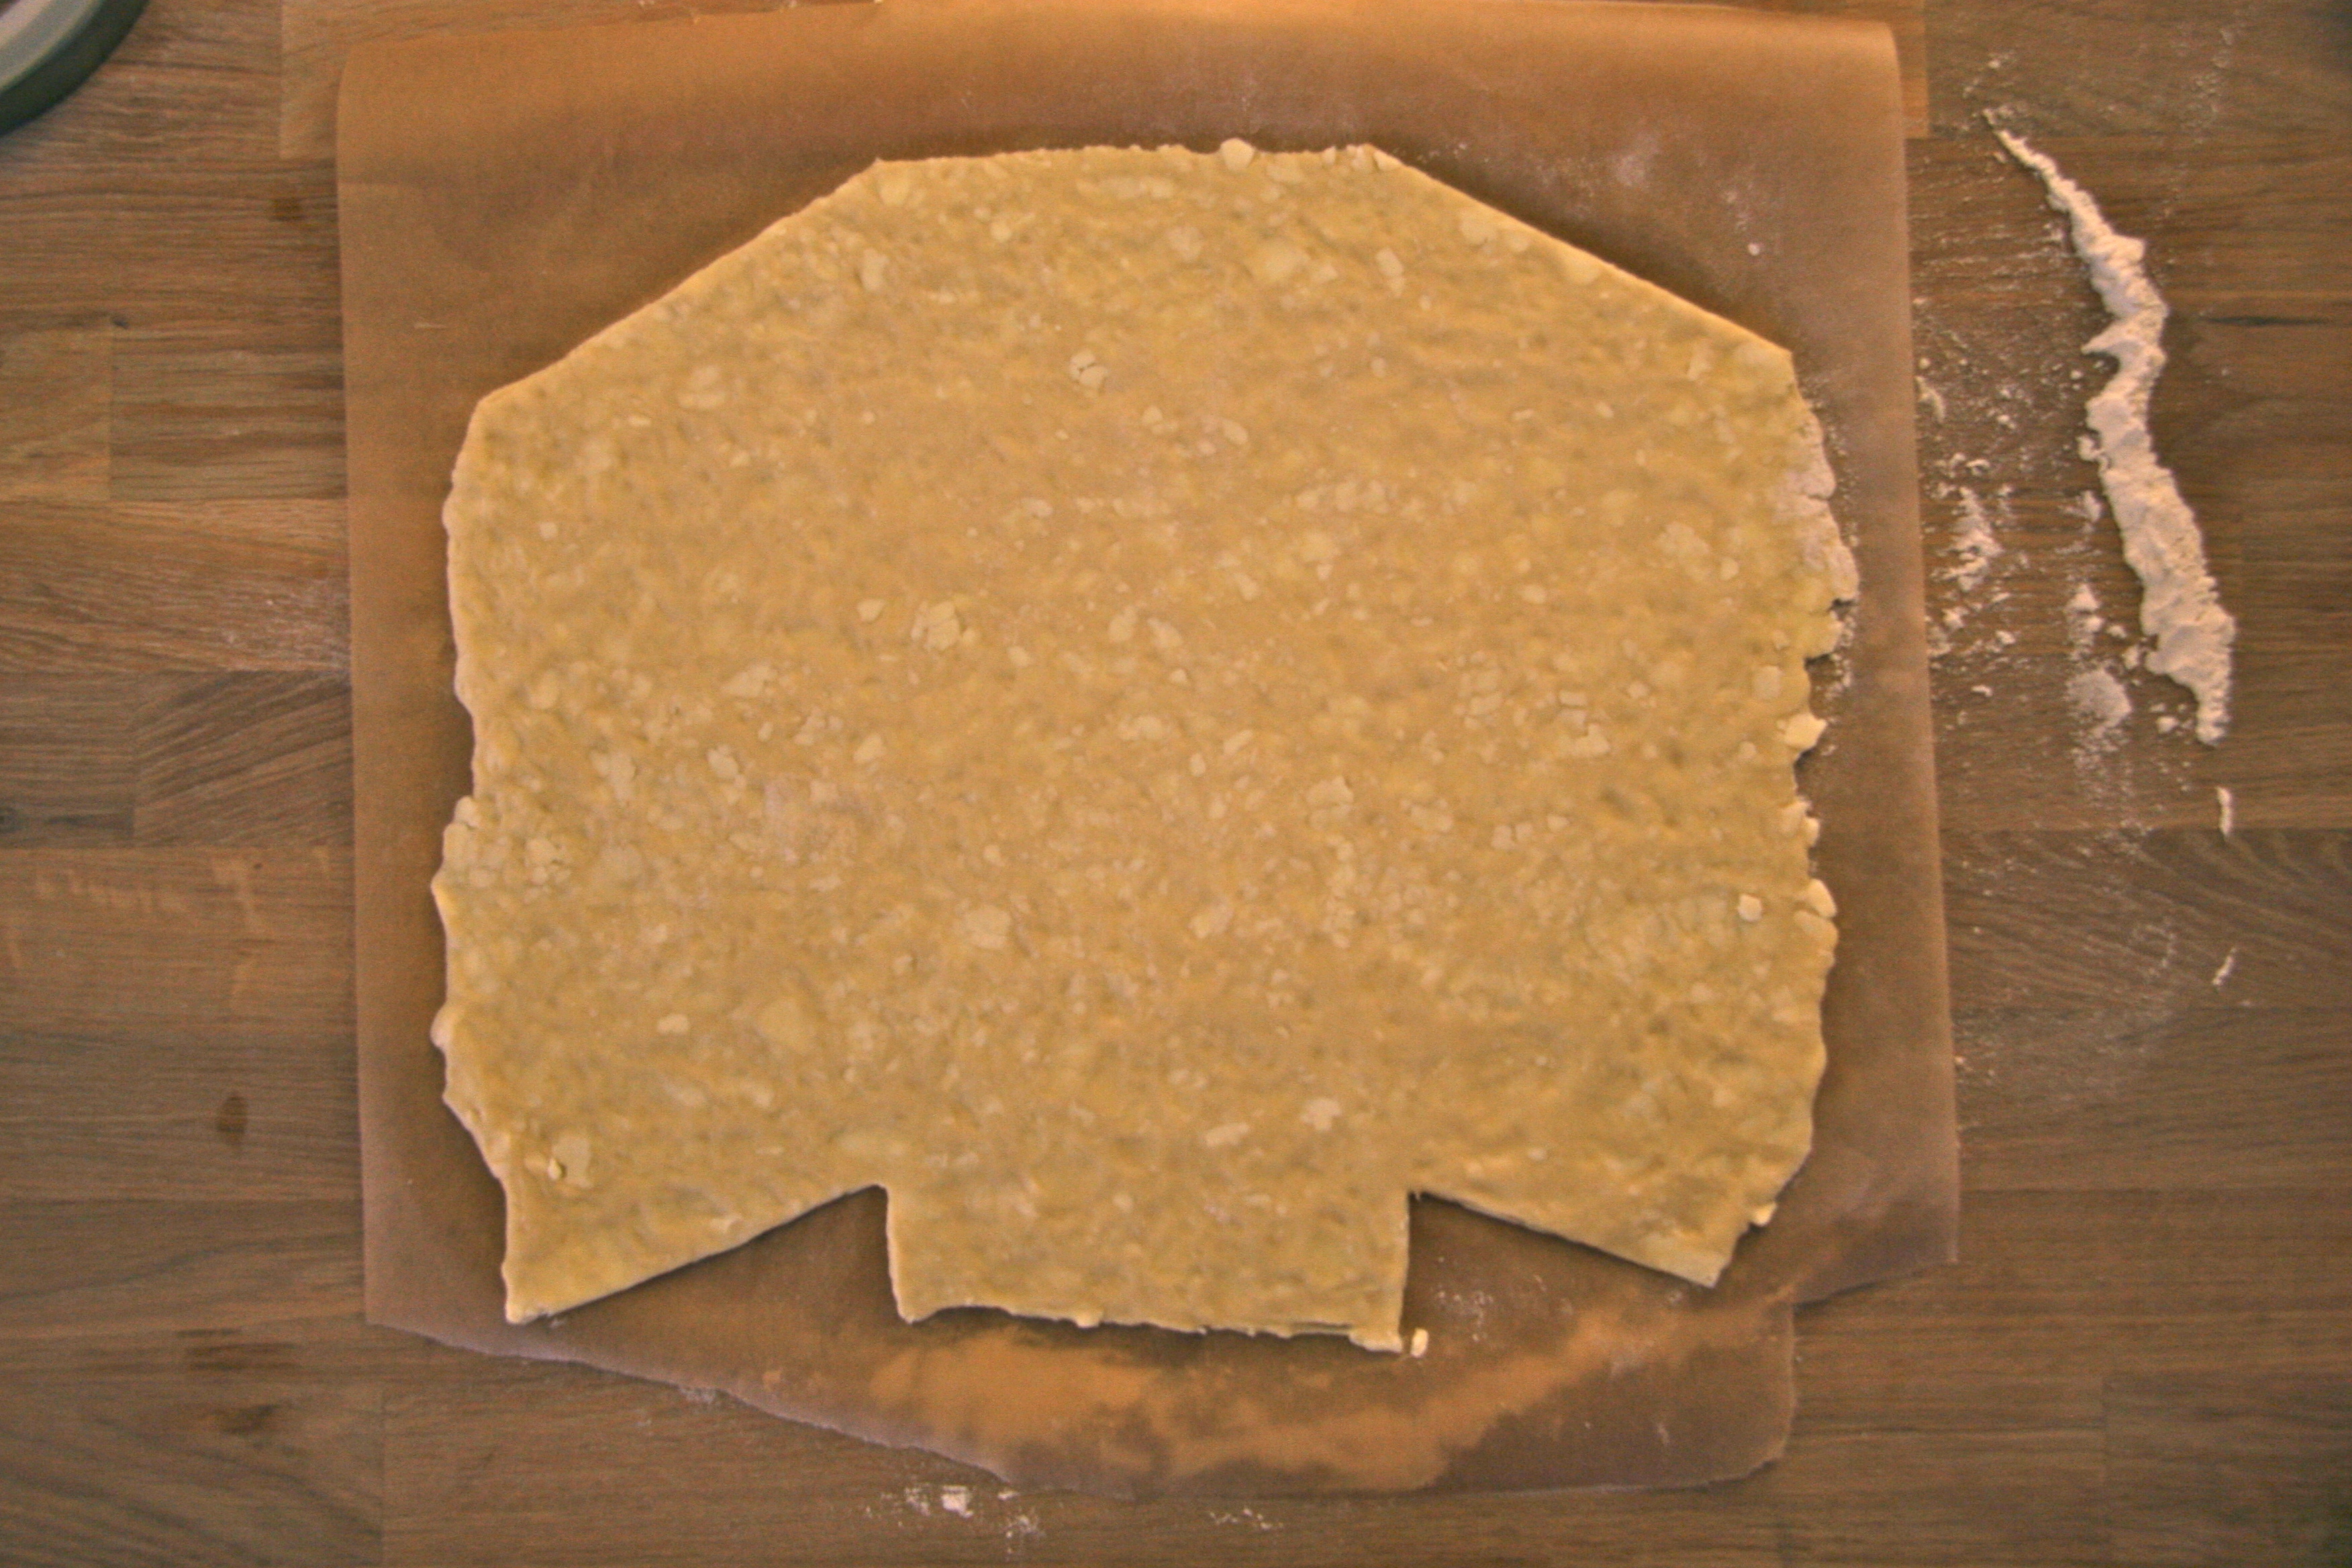
cut out top outside corners and small triangles on bottom. This will serve to frame the filling.
cut out top outside corners and small triangles on bottom. This will serve to frame the filling.
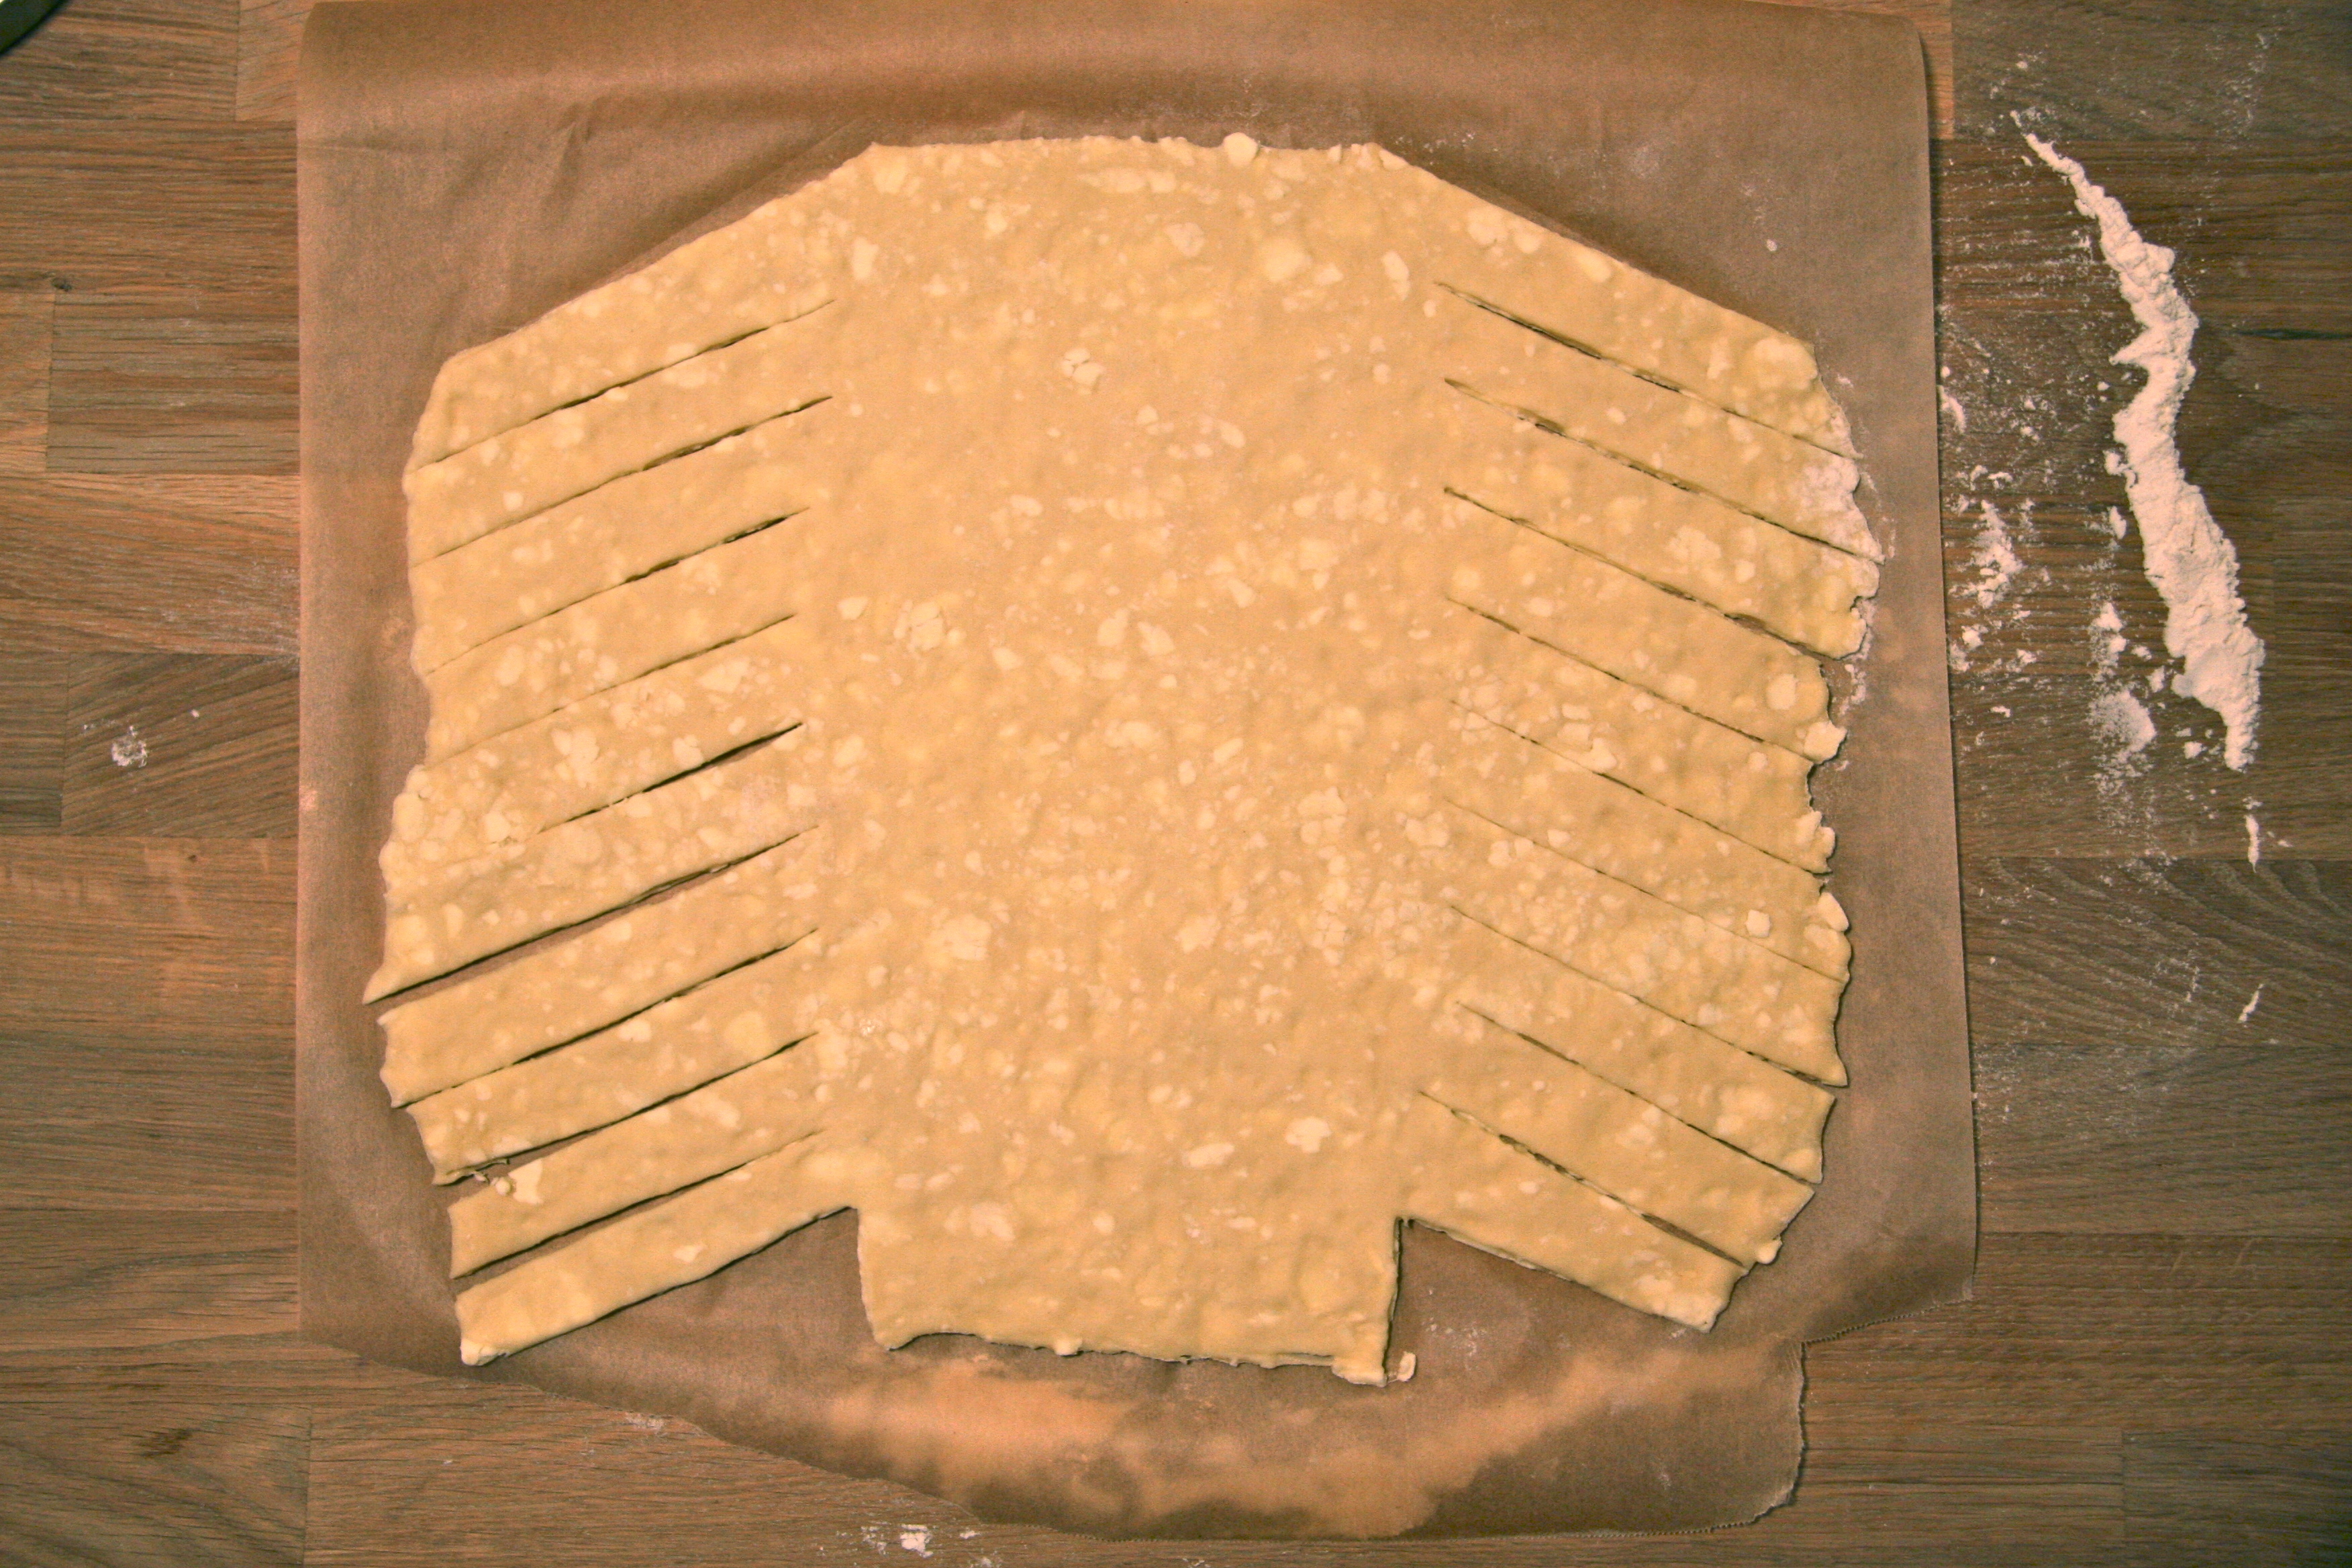
cut slanting lines down each side. These will be crossed over the filling to create the braid.

cut slanting lines down each side. These will be crossed over the filling to create the braid.

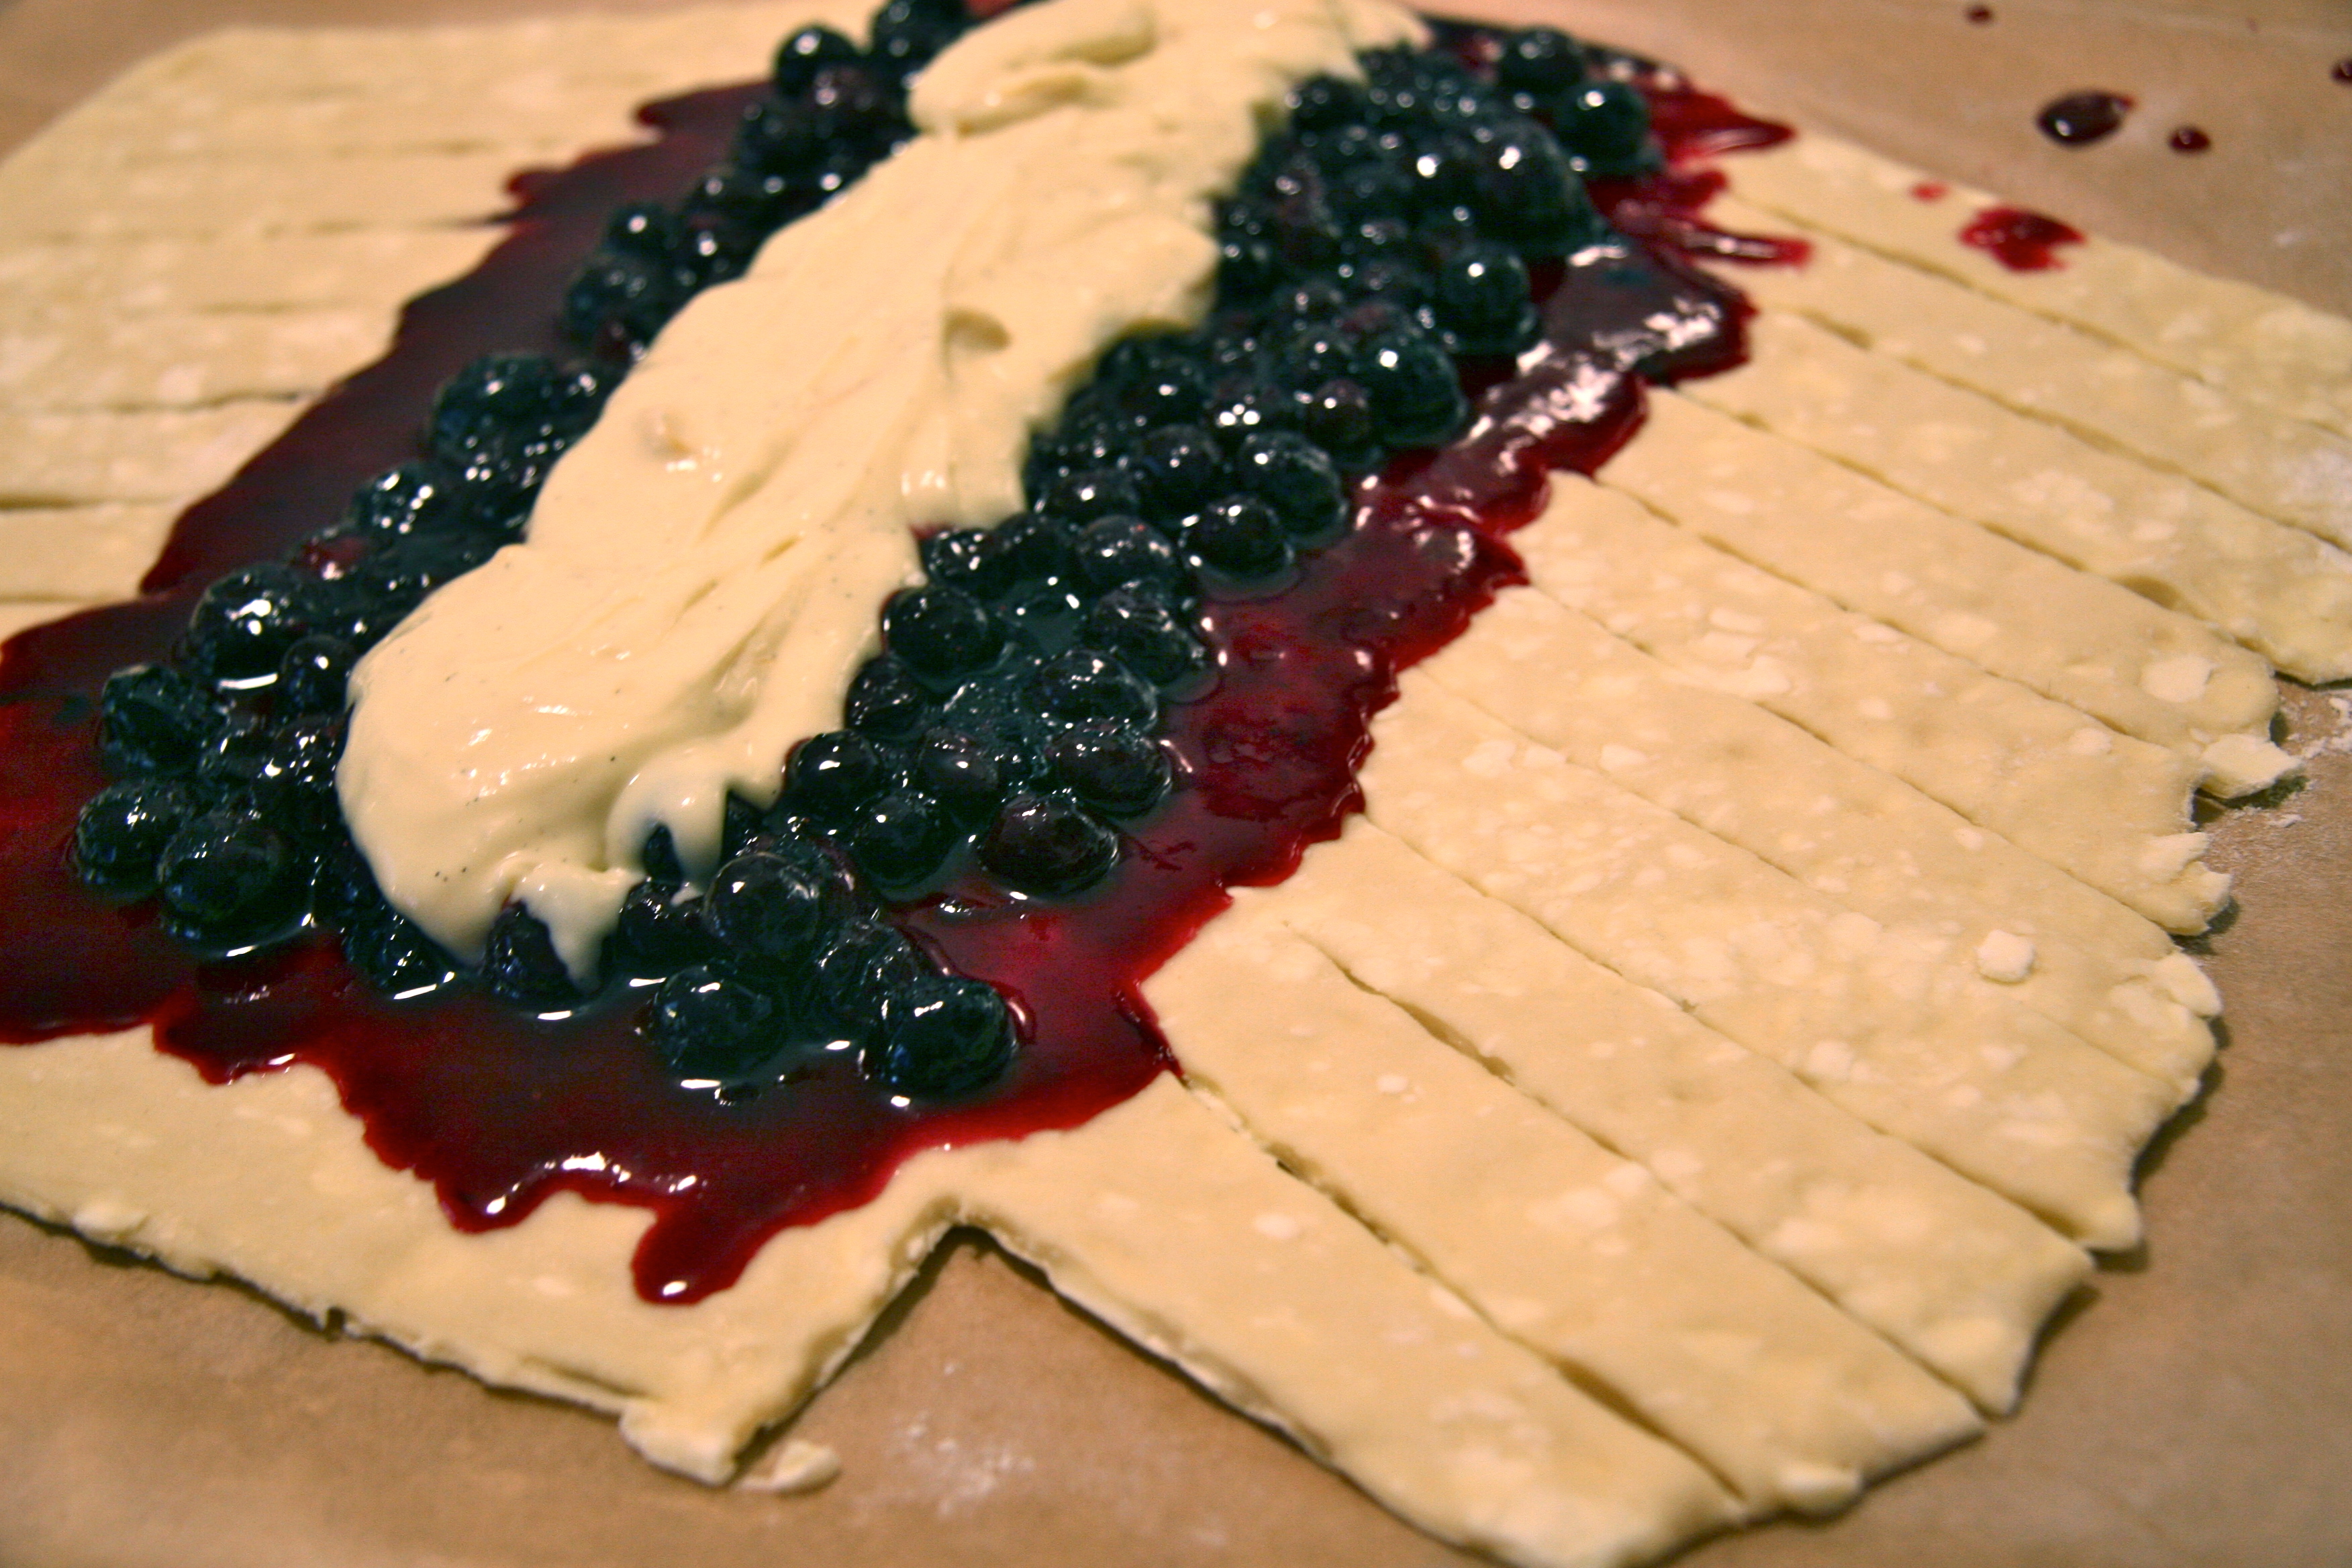
fill the danish dough.

fill the danish dough. Mine was a tad too runny, but turned out completely fine!

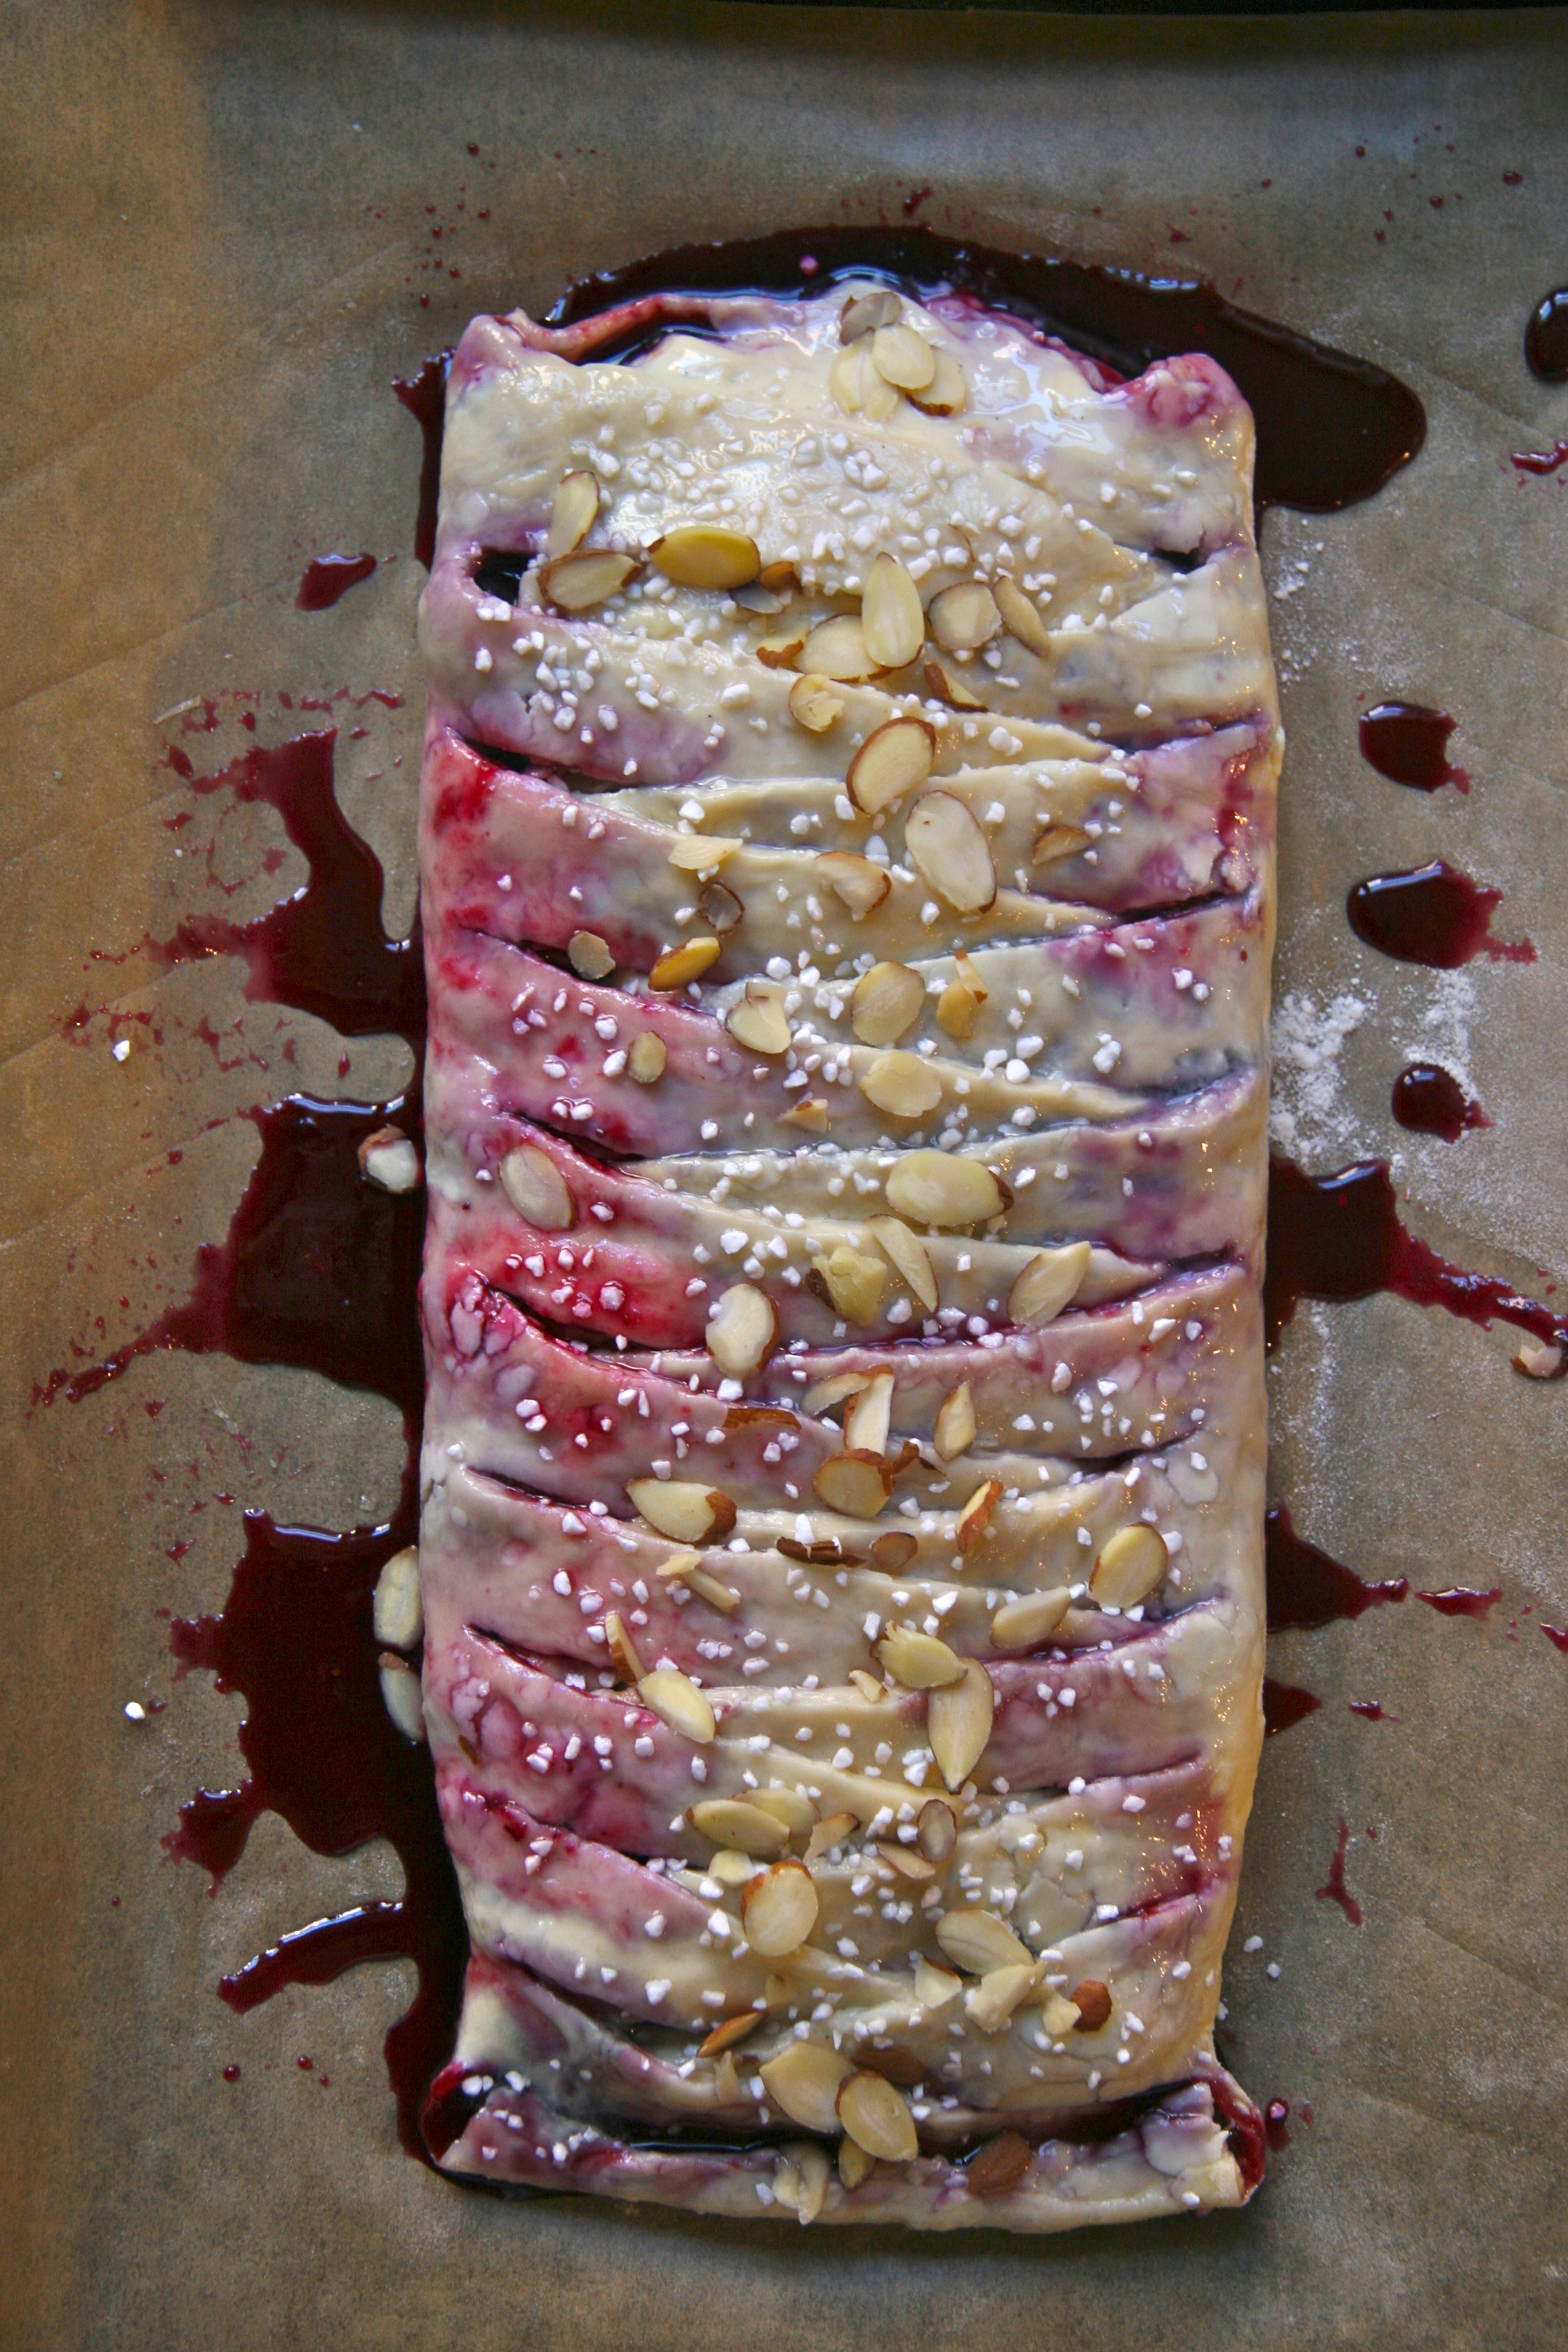
Brush with egg wash and drizzle with sugar and almonds, if desired.

Brush with egg wash and drizzle with sugar and almonds, if desired.

magical sugar

magical sugar

enjoy with or without glaze!

enjoy with or without glaze!

*Apologies for the format of this recipe versus previous recipes. I felt it would be easier to read written out this way because there are multiple components.

Blueberry and Cheese Danish Braid
Adapted from Beatrice Ojakangas via Baking with Julia, Ina Garten

Makes 2 long braids; about 6-8 servings each. If you’d like to make just one braid, cut the dough in half after the roll and fold stage and freeze up to one month.

Prep Time: 1 hour 30 minutes

Total Time: At least 8 hours (including chilling time)

For the pastry:

¼ cup warm water (between 105-115 degrees F)
2 ½ teaspoons active dry yeast
½ cup milk, at room temperature (I used 2%, but any milk fat level will work.)
1 large eggs, at room temperature
¼ cup granulated sugar
1 teaspoon salt
2 ½ cups unbleached all purpose flour
2 sticks (8 ounces) cold unsalted butter
1 egg white mixed with 1 tablespoon water, for egg wash
¼ cup slivered almonds (optional)
1 tablespoon pearl sugar (optional)
3-4 teaspoons cold heavy cream, for glaze (optional)
½ cup confectioners sugar, for glaze (optional)

For the Blueberry Filling

2 cups fresh blueberries (other berries can be substituted here)
1 cup sugar
1 teaspoon cornstarch
1 to 2 tablespoons fresh lemon juice

For the Cream Cheese Filling

8 ounces cream cheese, at room temperature
1/3 cup sugar
2 large egg yolks, at room temperature
2 tablespoons ricotta cheese
1 teaspoon pure vanilla bean paste, or extract
1/4 teaspoon salt
1 tablespoon grated lemon zest (about 1 lemon)

Instructions:

Prepare the dough: Pour the water into a large bowl, sprinkle the yeast over it, and let both soften for two minutes. Add the milk, egg, sugar, and salt and whisk together. Set aside. Put the flour in the bowl of a food processor fitted with the metal blade. Cut the butter into ¼ – ½ inch thick slices and drop them onto the flour. Pulse 8 to 10 times, until the butter is cut into pieces that are about ½ inch in diameter, but not any smaller than that. If in doubt, stop when the pieces are larger. It’s better that way, than to over mix. Empty the butter flour mixture into the bowl with the yeast and, using a rubber spatula, gentle turn the mixture over, just until the dry ingredients are moistened. Be cautious not to over mix. You’ll want to see pieces of butter throughout the dough – this will ensure it is flaky. Cover the bowl with plastic wrap and refrigerate overnight (up to 4 days).

Roll the dough: After the dough has chilled overnight, lightly flour a work surface and turn the dough onto it. Dust the top of the dough with flour. Roll the dough into a square about 16 inches on each side (the dough might be sticky, so keep the flour close and cover the rolling pin as needed. You can also cover the dough and chill it again if it becomes too soft to roll). Fold the dough into the middle in thirds, like a business letter that you’re going to put in an envelope. Turn it so that the closed fold is to your left. Roll the dough out again, this time into a long narrow rectangle, about 10 inches wide by 24 inches long. Fold the rectangle in thirds again, turn it so the closed fold is to your left, and roll into a 20 inch square. Fold the square in thirds, like a business letter, so that you have a rectangle. Roll the dough out into a rectangle about 10 inches wide by 24 inches long. Fold the dough in thirds again, wrap it tightly with plastic wrap and chill for at least 30 minutes (up to 2 days. If not using after 2 days, the dough can be frozen at this point for 1 month, thawing overnight in a refrigerator before use.)

Prepare the Blueberry filling: Stir the berries and sugar together in a small saucepan over medium heat. Heat until sugar has dissolved, stirring frequently. Add lemon juice and cornstarch and cook 1-2 more minutes. Transfer to a bowl. Cover and refrigerate until fully cooled.

Prepare the Cream Cheese Filling: Place the cream cheese and sugar in the bowl of an electric mixer fitted with a paddle attachment and cream them together on low speed until smooth. With the mixer still on low, add the egg yolks, ricotta, vanilla, salt, and lemon zest and mix until just combined. Keep away from anyone who likes cream cheese or you might find some missing.

Shape the dough: After the dough has chilled from rolling and folding, lightly flour a work surface and roll the chilled dough into a rectangle 10 inches wide and 16 inches long (eyeball it). Lift onto a sheet of parchment paper and position the dough so the lengthy side is perpendicular to you. Cut the two top corners off the dough at an angle slanting downward and cut two small triangles out of the bottom of the dough. This will frame the space in the middle third of the dough for the filling, see image above. Using a sharp knife cut 10-12 slanting lines down each side, angling the cuts downward, not crossing over the space you framed for the filling, see image above.

Fill and Braid the dough: Spread some of the blueberry filling down the length of the dough (there will be juice leftover. Use the chunky portion. Spoon the cream cheese filling in a narrow line down the center of the blueberry filling. Fold the strips of the pastry into the center over the filling, alternating folding from the left side and the right side until you’ve reached the bottom. Brush the pastry with the egg wash and sprinkle with almonds and pearl sugar, if using. Allow the Danish to sit at room temperature while you preheat the oven.

Baking the Braid: Preheat the oven to 400 degrees F. Slide the braid, parchment and all, onto a baking sheet. Bake for 15 to 20 minutes, or until golden, rotating once or twice during baking. Transfer the pastry to a cooling rack and prepare the glaze, if using. To prepare the glaze, stir the cream into the confectioners sugar in a small bowl, adding just enough until it produces a smooth, shiny glaze. Using a spoon or fork, drizzle the glaze over the pastry. Serve the pastry warm, or at room temperature.

Filed Under: breakfast and breads, eat Tagged With: blueberry, blueberry filling, cheese danish filling, cream cheese, danish, danish braid, homemade, pearl sugar

homemade irish cream (baileys)

March 8, 2014 by Butter Loves Company

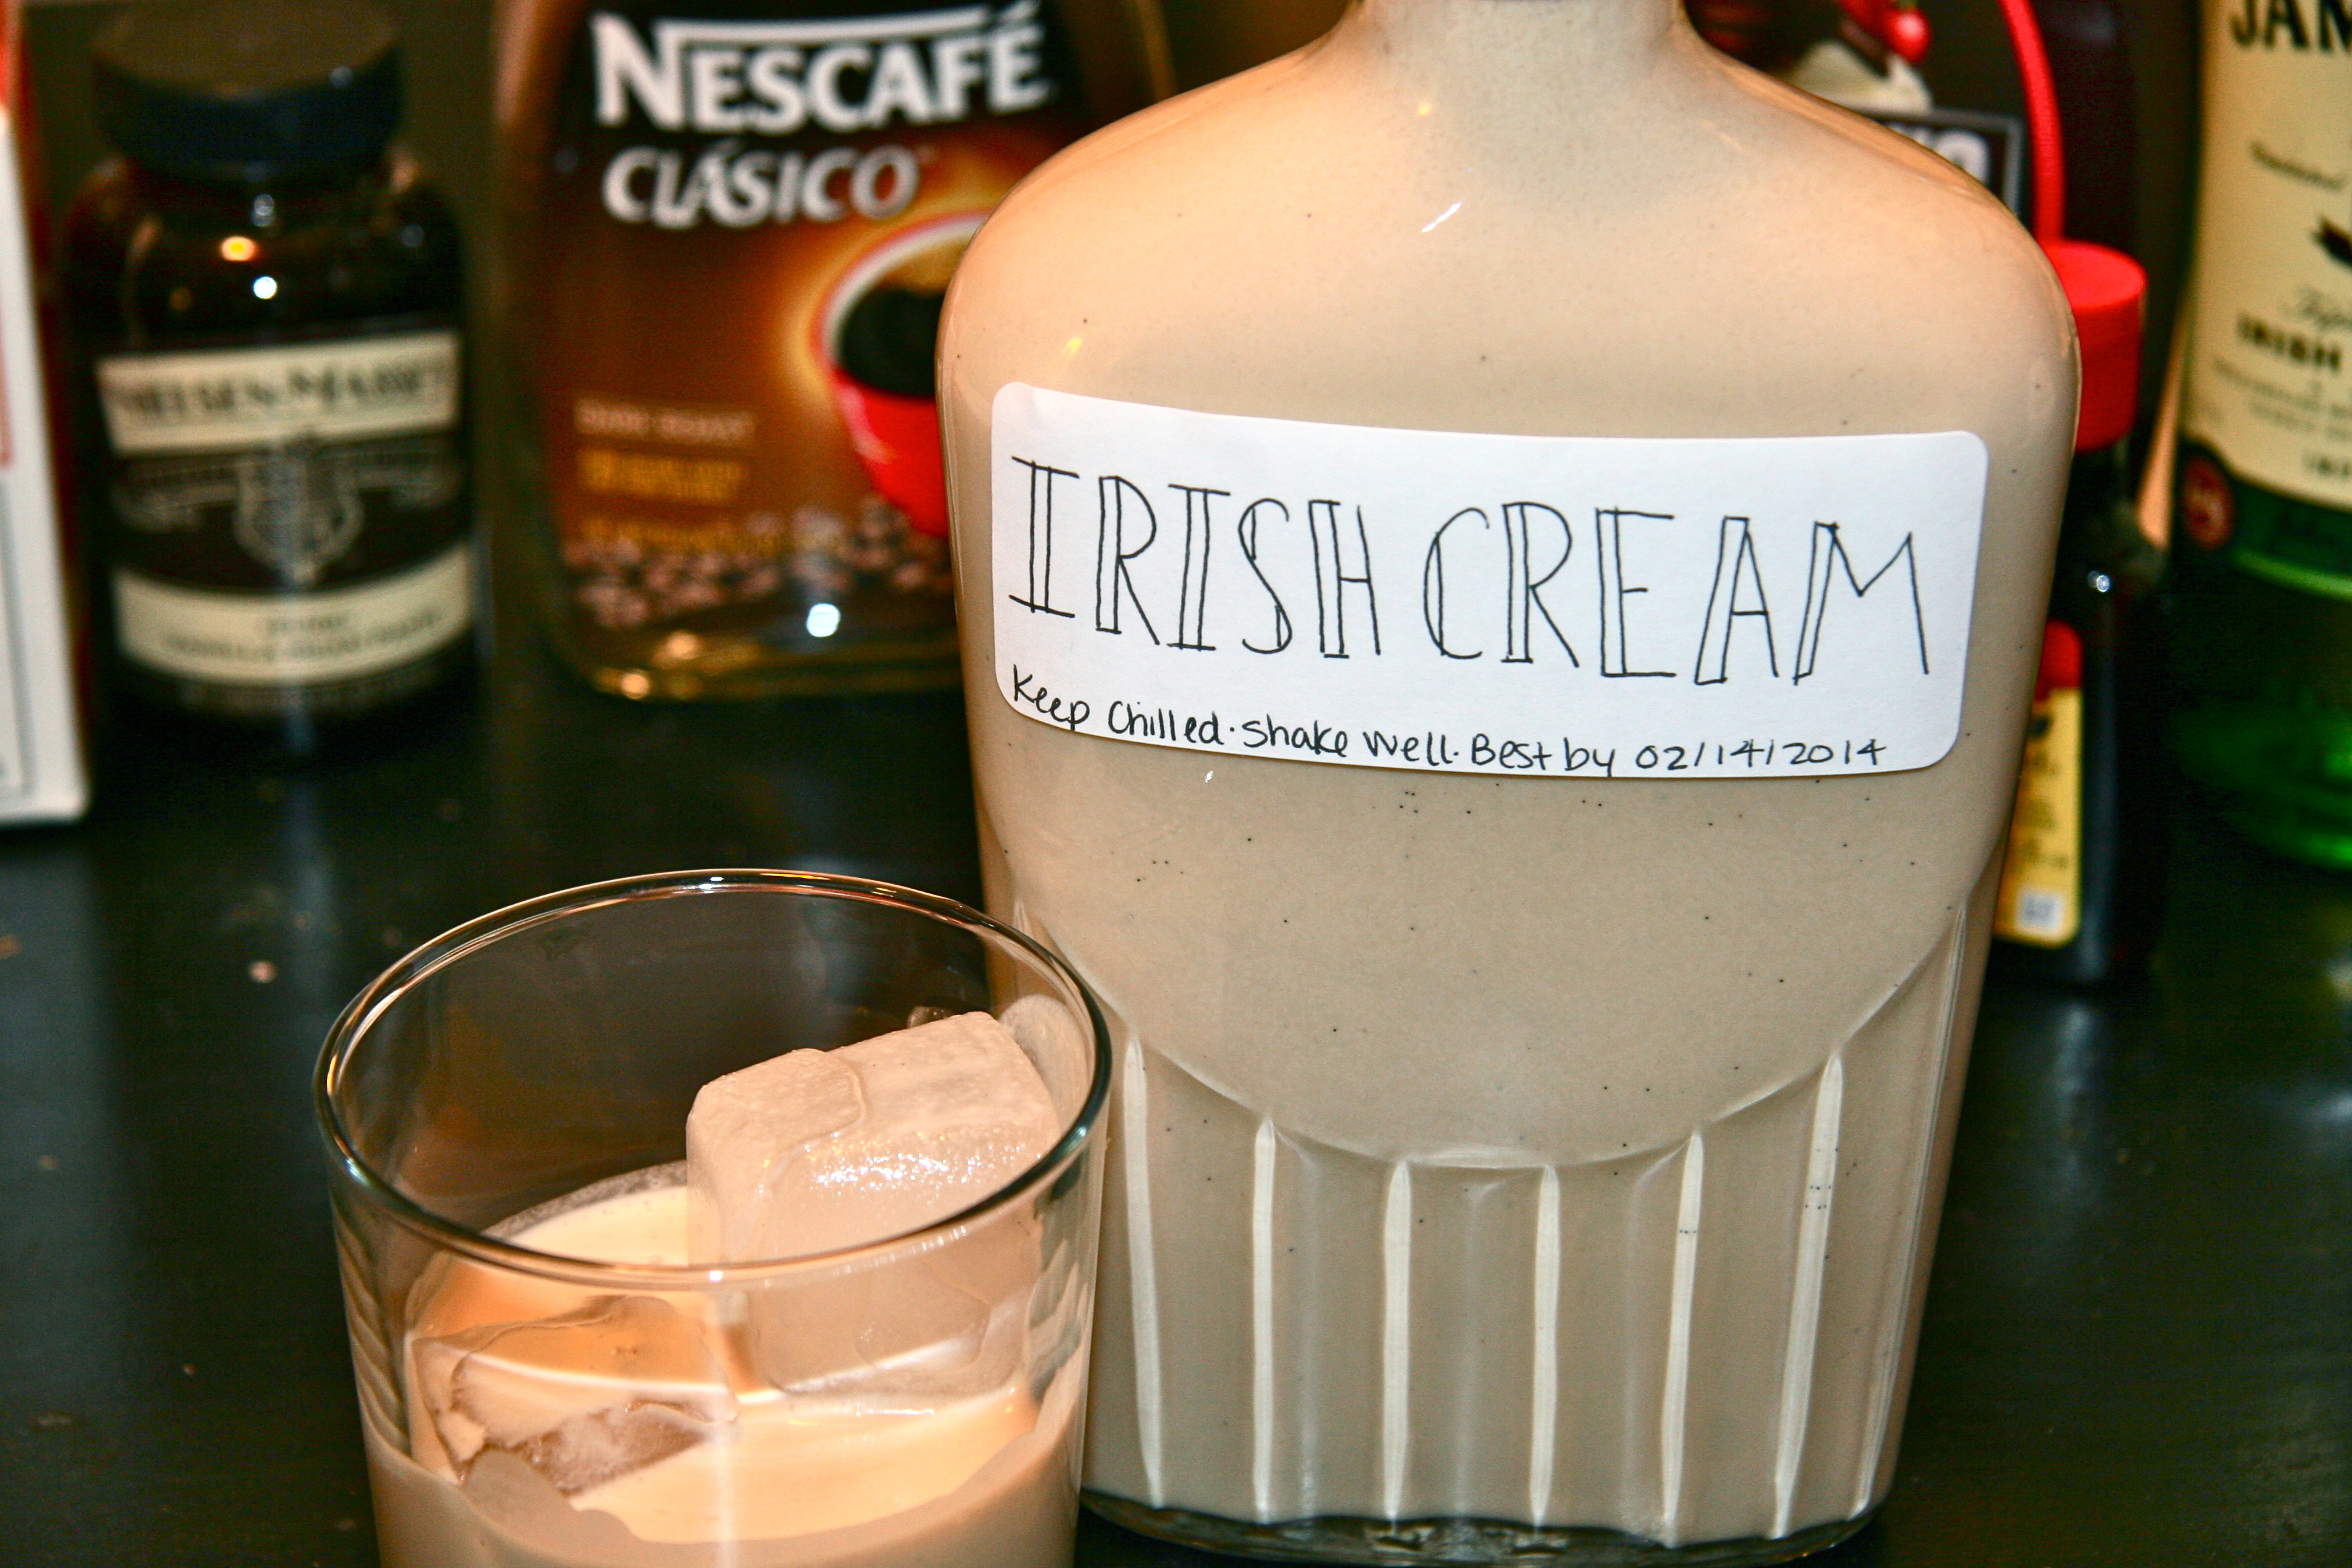
I promise you’ll be shocked at how quickly you can have a glass of homemade Irish Cream on your coffee table. This creamy, vanilla treat with just enough of a whiskey bite is perfect over a few ice cubes or splashed into coffee. St. Patrick’s Day being right around the corner, you can mix up a batch of this and clink glasses with all your Irish friends (hint: Me! Me! Even if making homemade Irish Cream is the closest thing to Irish I’ll ever be…).

Since I first realized I could make Irish Cream at home, I’ve bottled some for the boys in my life to accompany Christmas gifts, I’ve made a batch for a ski weekend with friends (where it was likened to sipping an adult vanilla milkshake), and I’ve had some leftover each time to keep in the refrigerator for a cold winter’s night (liquid dessert!).

Once you get the ingredients, sipping on a glass of homemade Bailey’s is just five minutes and a blender away. How fun is that?

Sláinte!

homemade irish cream2

homemade irish cream 3


homemade irish cream (baileys)
Recipe Type: Drinks
Author: adapted from brown eyed baker
Prep time: 5 mins
Total time: 5 mins
Serves: about 34oz
Ingredients
  • 1 ¾ cup heavy cream
  • 1 ¾ cups Irish Whiskey (such as Jameson’s)
  • 14 oz. can of sweetened condensed milk
  • 2 tablespoons chocolate syrup
  • 1 ¼ teaspoon vanilla extract or vanilla bean paste
  • 1 teaspoon instant coffee or instant espresso
  • ¼ teaspoon almond extract
Instructions
  1. Combine all ingredients in a blender and blend on high for 30 seconds. Feel free to taste and adjust flavor to your liking.
  2. Transfer to tightly sealed containers and refrigerate. Shake well before enjoying! (Will keep for up to 2 months – I am basing mine off of the heavy cream expiration)
3.2.1275


Filed Under: drinks, eat Tagged With: after-dinner drink, bailey's, cocktails, homemade, irish cream, st. patrick's day

« Previous Page
Next Page »

Welcome!

jenna of butterlovescompany

Pull up a chair

Hi! I’m Jenna. Story seeker, food lover, recipe developer based in NYC. Firm believer in making every day delicious! Read more…

looking for something?

  • Email
  • Facebook
  • Instagram
  • Pinterest
  • RSS
  • Twitter

Latest Posts

  • Freezer Meals to Make Before Baby: How We Meal Prepped Before Baby
  • mom’s famous spiced pecans
  • funfetti cookie dough truffles (no-bake)
  • maple coconut cookies
  • snickerdoodle blondies

popular now

fresh peach coffee cake
one skillet chicken and saffron rice
boston cream pie cake
apple galette or free form apple tart or lazy man's apple pie
raspberry lime buttermilk cake with coconut cream cheese frosting
plum hand pies

grammin’

Hi! I'm Jenna, founder of butter loves company. From holidays to Tuesdays, let's find a way to make every meal special.
  • Email
  • Facebook
  • Instagram
  • Pinterest
  • RSS
  • Twitter
a2f54ba1dcf0635e58c8be4aa2035ce84863a9d9606a428ab3

© 2013-2019 BUTTER LOVES COMPANY, LLC.

Copyright © 2026 · Foodie Pro Theme by Shay Bocks · Built on the Genesis Framework · Powered by WordPress