butter loves company

new york food blogger and lifestyle influencer

  • home
  • Recipes
  • travel
  • lifestyle
  • cookie orders
  • about
  • contact

cornmeal pancakes with honey cayenne butter

August 20, 2015 by Butter Loves Company

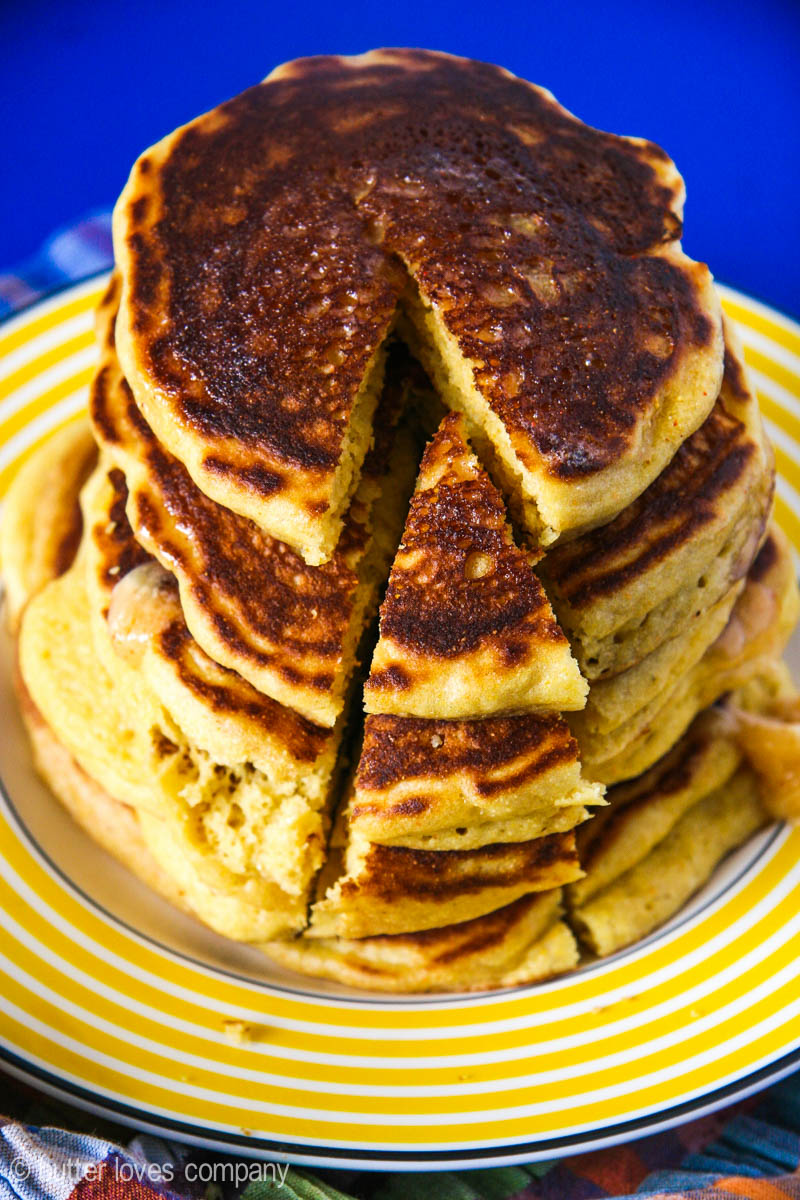
cornmeal-pancakes-9These delicious little pancakes have a natural sweetness and slightly grainy texture from the addition of cornmeal. They are crisp on the outside and fluffy on the inside and taste a bit like seared cornbread you may find at a neighborhood BBQ joint. Don’t skip slathering with a generous smear of creamy honey cayenne butter. The sweet heat pulls it all together.

Pancakes have always been tough for me. Even though they aren’t my favorite breakfast carb (Hello, things like bagels and sticky buns EXIST.), I actually make them fairly often because they are quick for a weekday morning breakfast and because I’ve yet to master the flip and I like the challenge.

Honestly, my pancake flipping ability is an embarrassment. Greg says I’m not flipping fast enough. Okay, sure. Then, I try flipping fast and basically invent pancake batter wallpaper and inevitably find that the half-cooked pancake landed perfectly on the pan’s edge as if trying to escape from the impending breakfast disaster. If you follow me on snapchat (butterlc), you may have seen my first attempt at these cornmeal pancakes with honey cayenne butter. The flavor was great but it was NOT PRETTY. Obviously, I had to try again. I’m so glad I did!
cornmeal-pancakes-2

cornmeal-pancakes-3

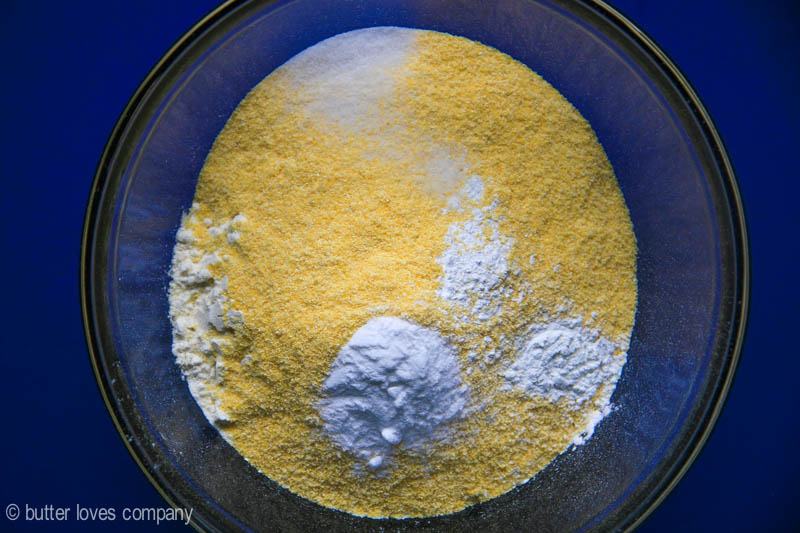
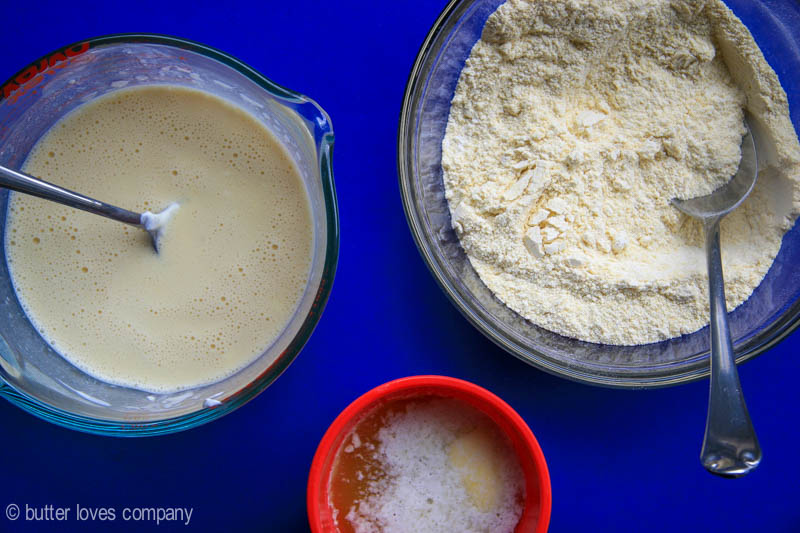
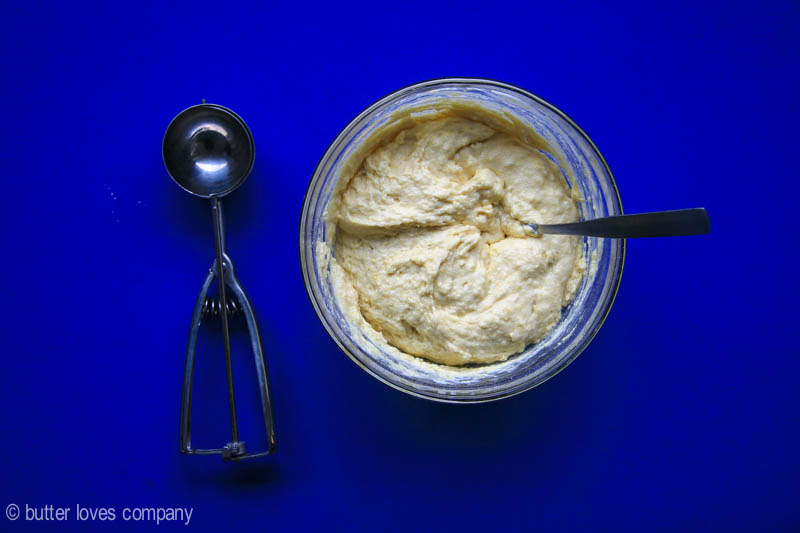
We have your flour cornmeal mixture, your yogurt milk mixture and your butter honey mixture. Time to make some batter!
cornmeal-pancakes-1

cornmeal-pancakes-7

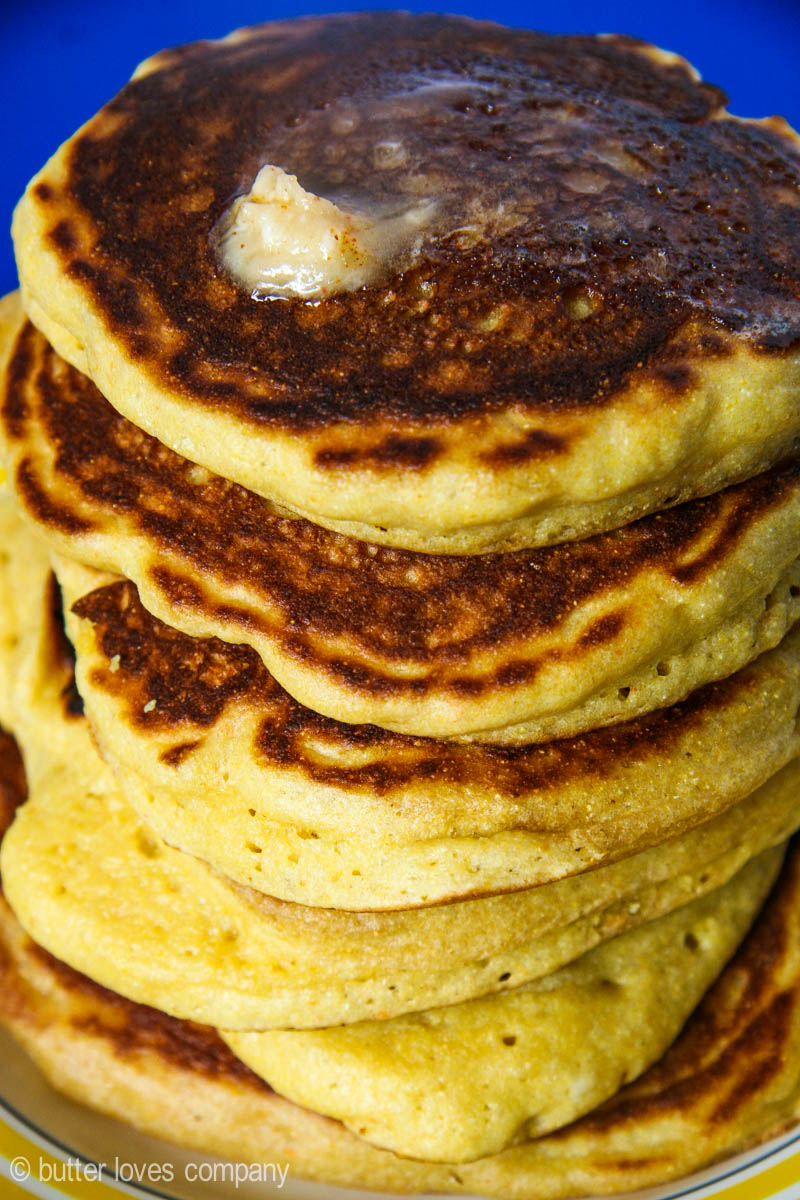
Look at that butter sliding right across the hot pancakes, yum!
cornmeal-pancakes-4

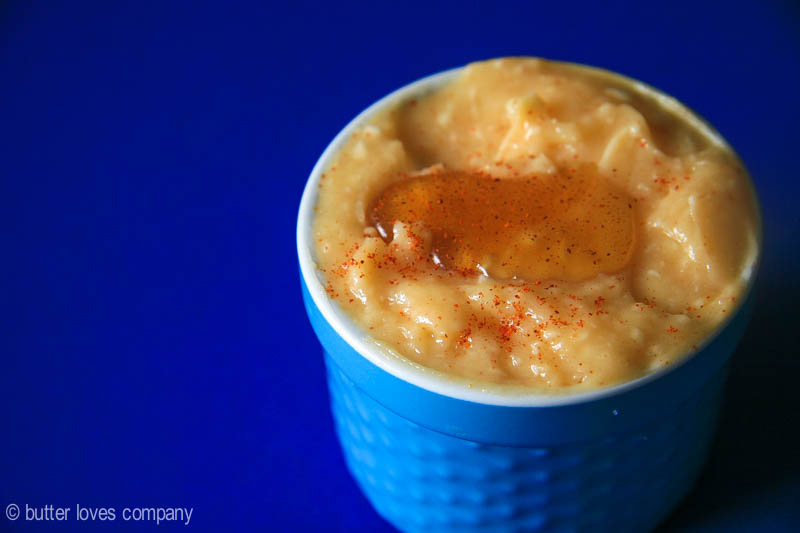
This honey cayenne butter is luscious. Make some extra to have on toast!
cornmeal-pancakes-6

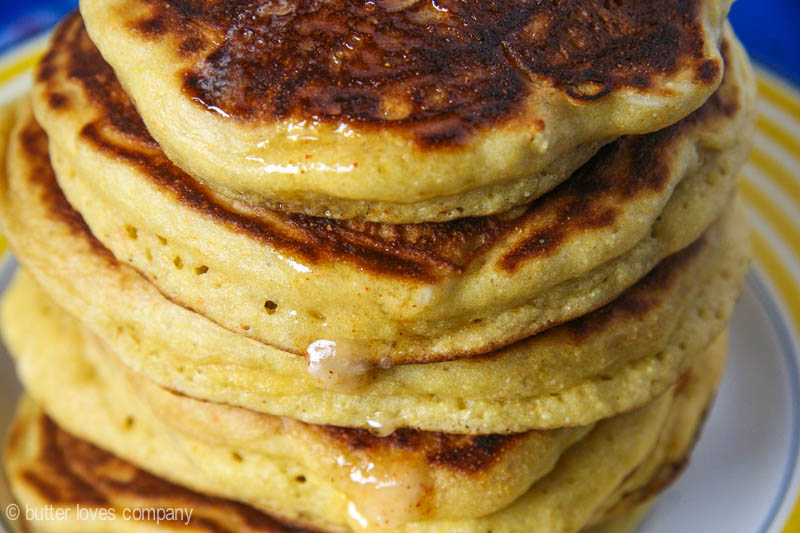
You can see some of the cayenne flecks from when the butter melted right off of this stack of pancakes…..
cornmeal-pancakes-10

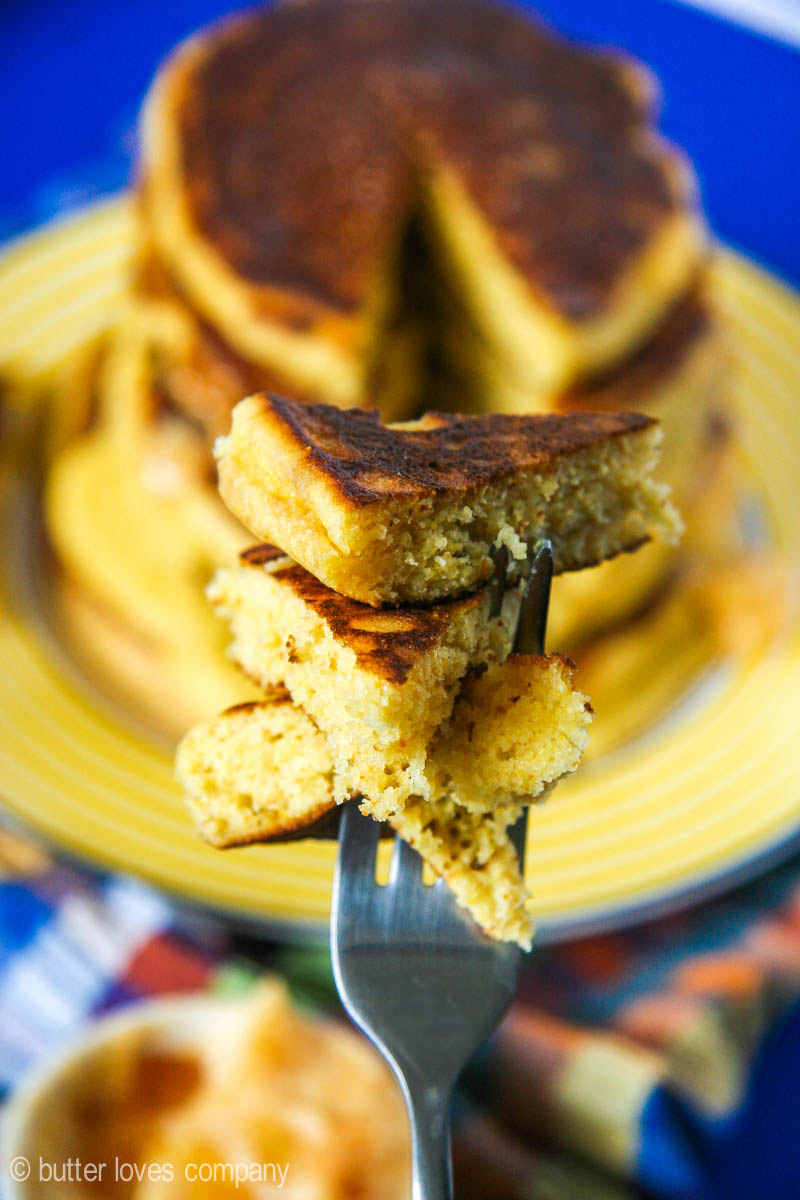
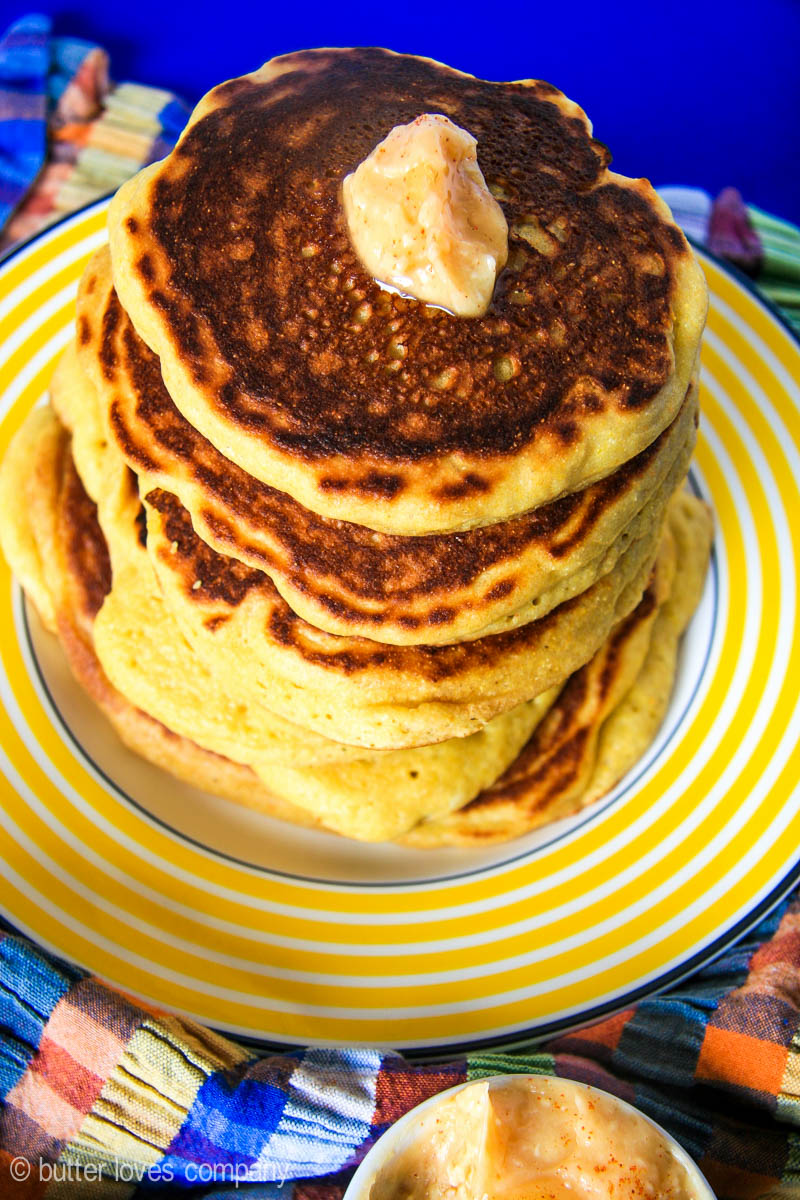
These cornmeal pancakes have a natural sweetness and slightly grainy texture from the addition of cornmeal. They are crisp on the outside and fluffy on the inside and taste a bit like seared cornbread you may find at a BBQ joint. Don’t skip slathering with a generous smear of the creamy honey cayenne butter. The sweet heat pulls it all together!
cornmeal-pancakes-5

Filed Under: breakfast and breads, eat Tagged With: breakfast, butter, cornmeal, pancakes

chocolate marble loaf cake

August 18, 2015 by Butter Loves Company

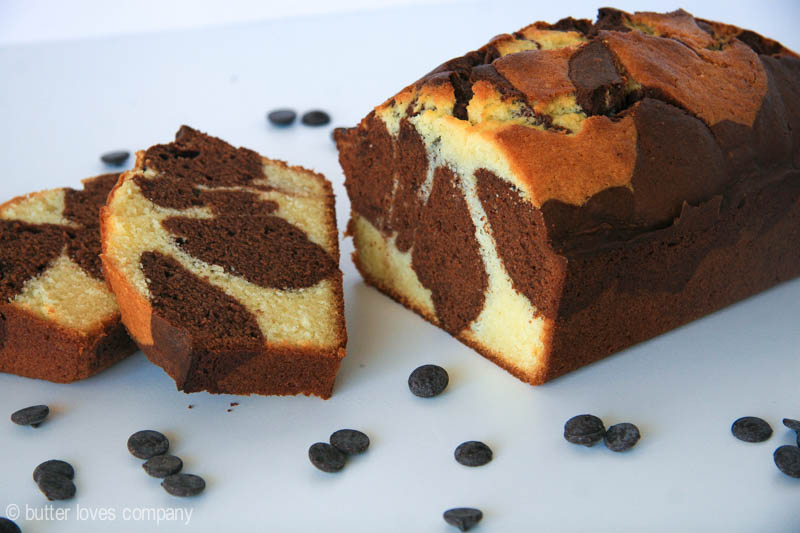
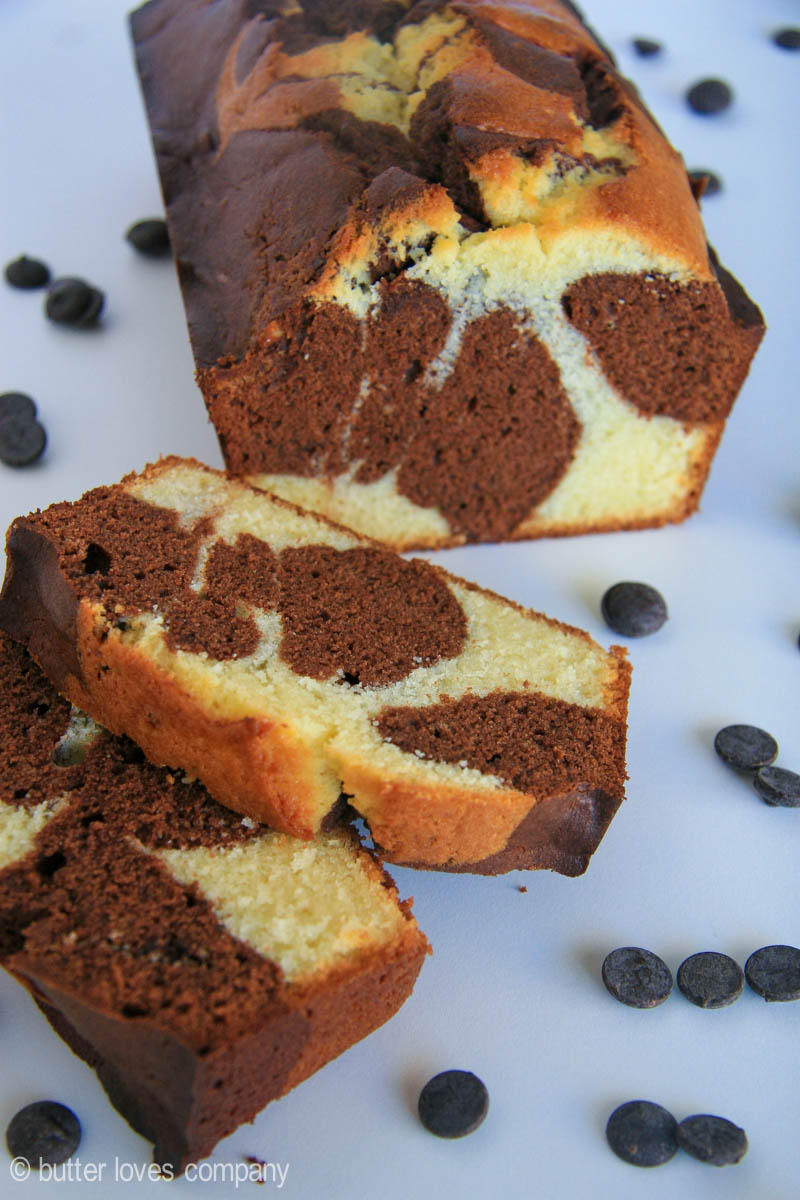
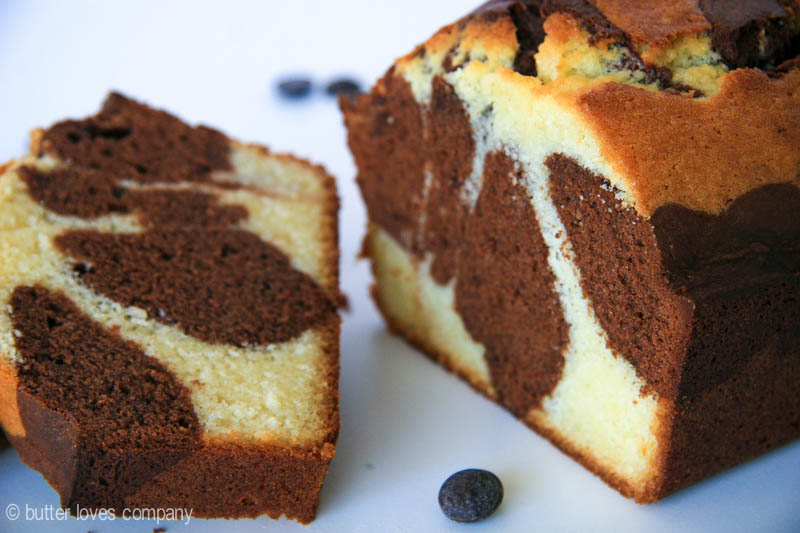
chocolate-marble-loaf-cake-11 copyThis is the kind of simple loaf you see sliced thick and domino-stacked in bakery cases. It’s sturdy with a welcomed denseness and enough sweetness to count as a casual dessert, but not so much that you feel guilty about enjoying it as a weekday breakfast ‘al desko.’ The latter is really where this chocolate marble loaf cake shines.

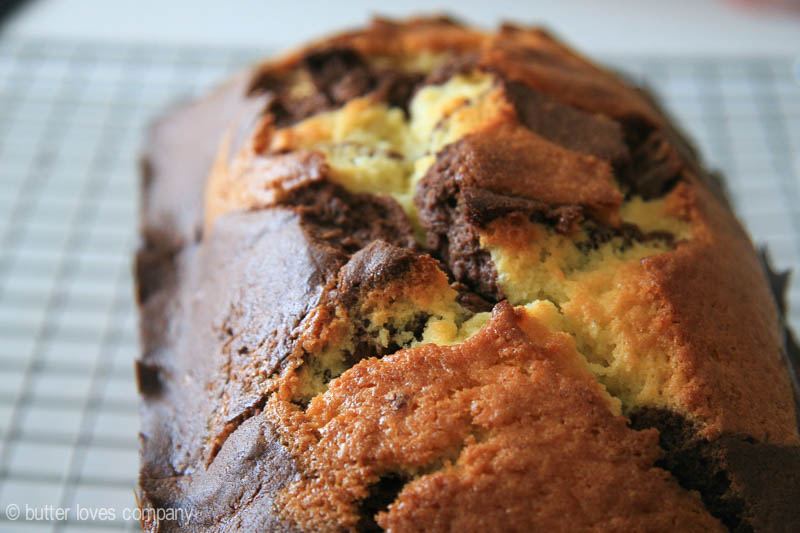
As the bread bakes up in the oven it cracks slightly on top so you can peek into the loaf and see swirls of chocolate and vanilla batter. With crisped edges and a moist center, this loaf is a little of everything and not too much of anything.

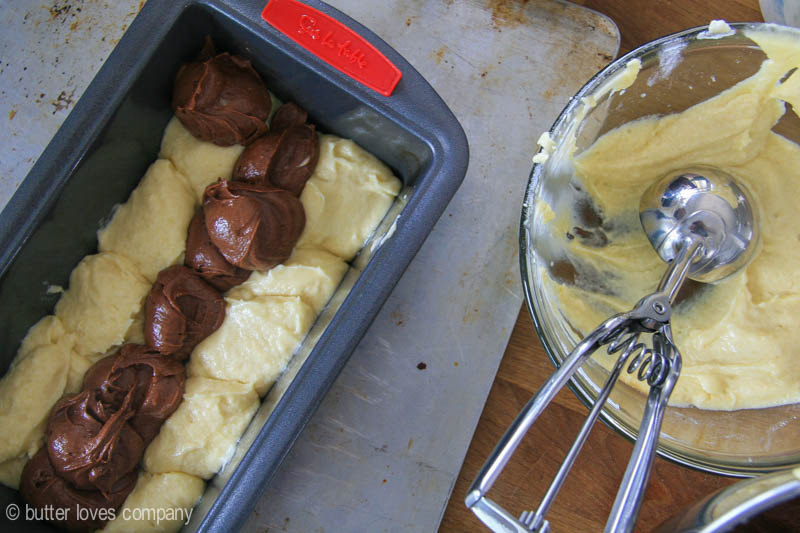
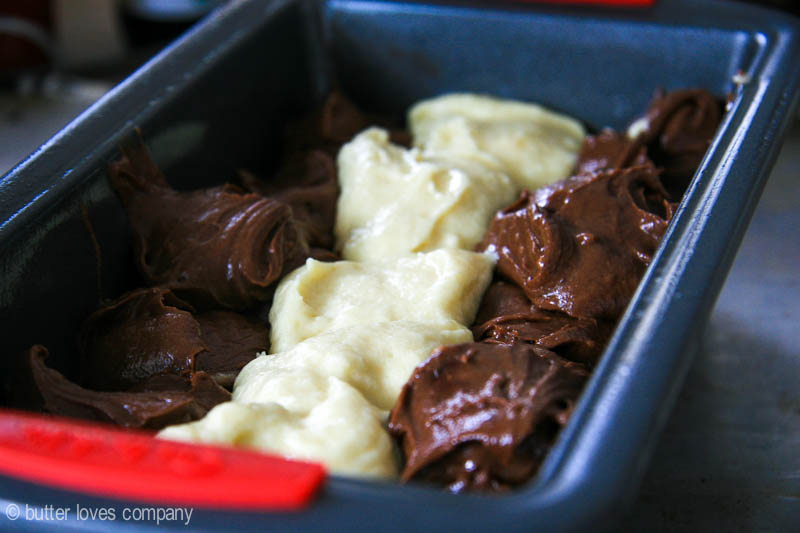
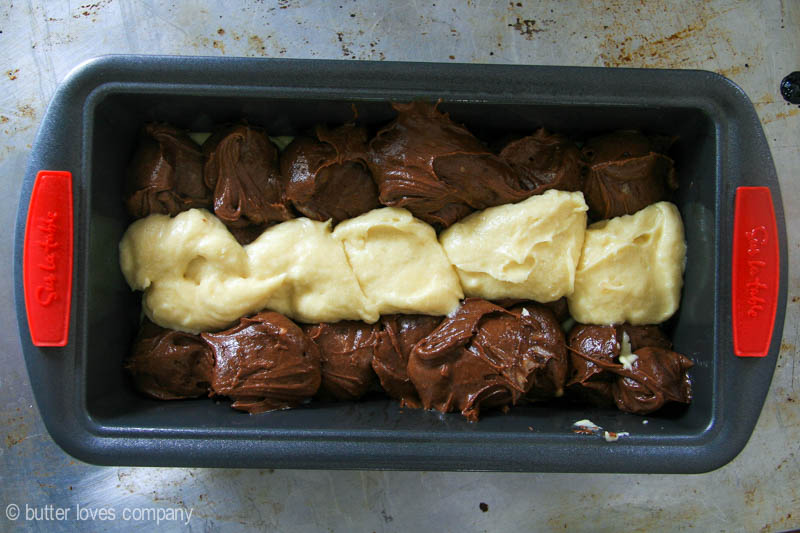
While it looks like you are combining two different cake batters to make this, you really only make one base batter and then jazz up half of it with melted bittersweet chocolate. Semisweet would work too, but it inclusion would yield an overall sweeter cake. If you’re wondering how to create the two-toned marble look, have no fear! There are quite a few process photos below and it is all explained in the recipe instructions.
If you’re feeling frisky, you could add a little citrus zest to the vanilla batter before you scoop it into the pan. Serve as-is for breakfast or top with whipped cream or ice cream, and preferably hot fudge, for dessert!
chocolate-marble-loaf-cake-1

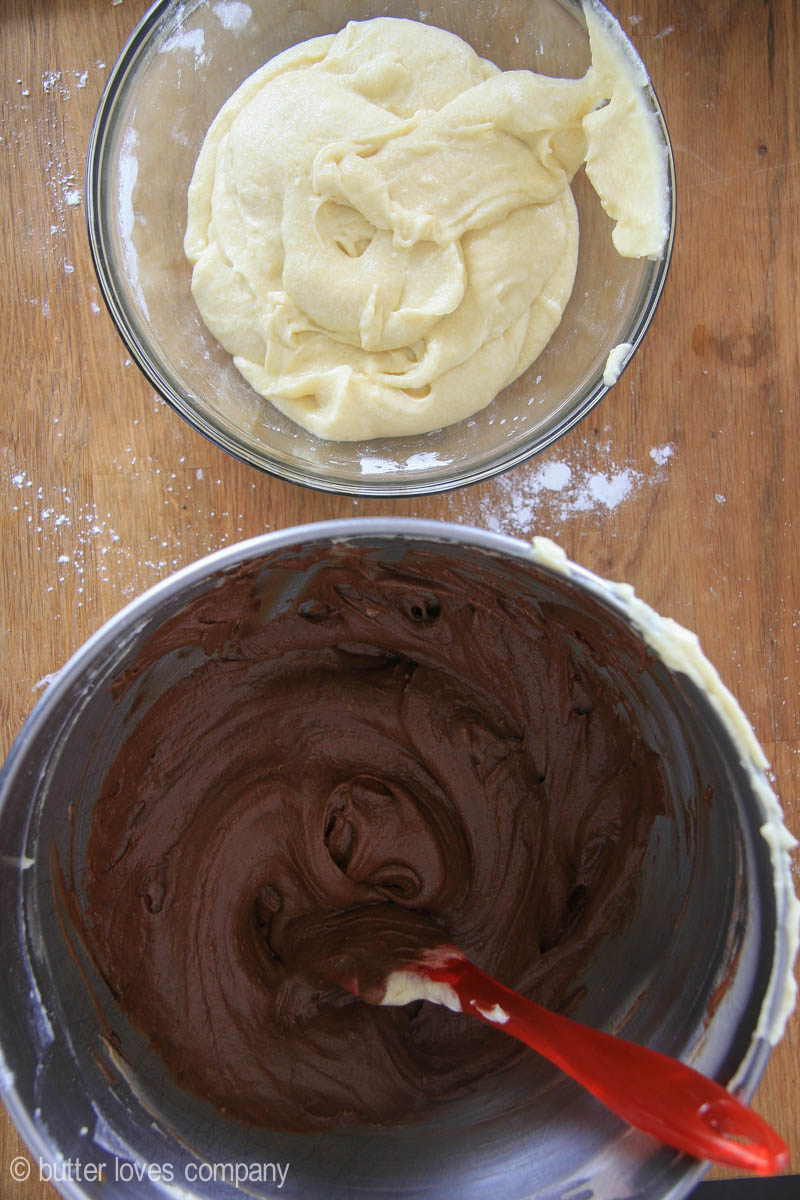
Here we have your two glorious batters!

chocolate-marble-loaf-cake-3

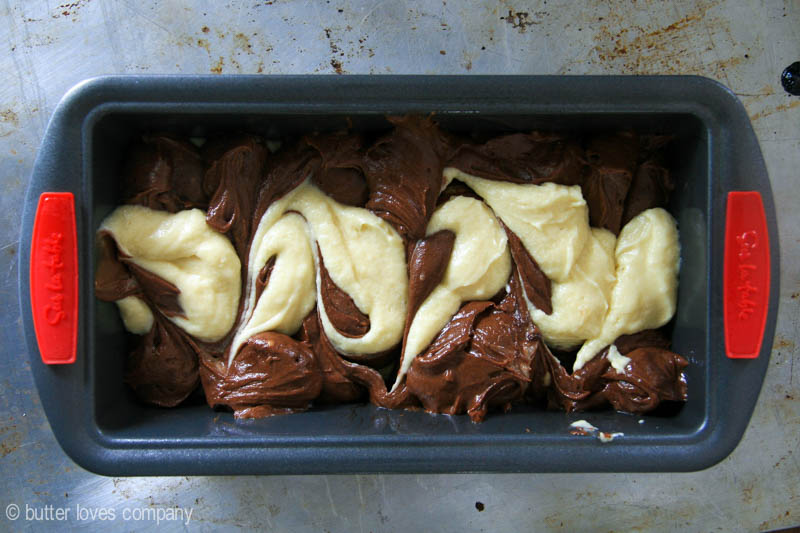
Making marble magic – first scoop the two flavors into the pan.

chocolate-marble-loaf-cake-5chocolate-marble-loaf-cake-4chocolate-marble-loaf-cake-6chocolate-marble-loaf-cake-7chocolate-marble-loaf-cake-8chocolate-marble-loaf-cake-10

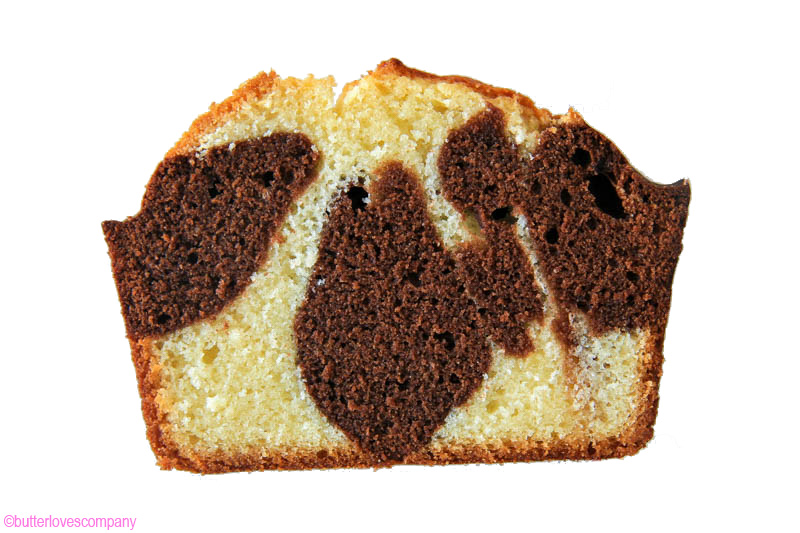
This is the kind of simple loaf you see sliced thick and domino-stacked in bakery cases. It’s sturdy with a welcomed denseness and a little sweetness on the vanilla side swirled with rich chocolate flavor.

chocolate-marble-loaf-cake-9

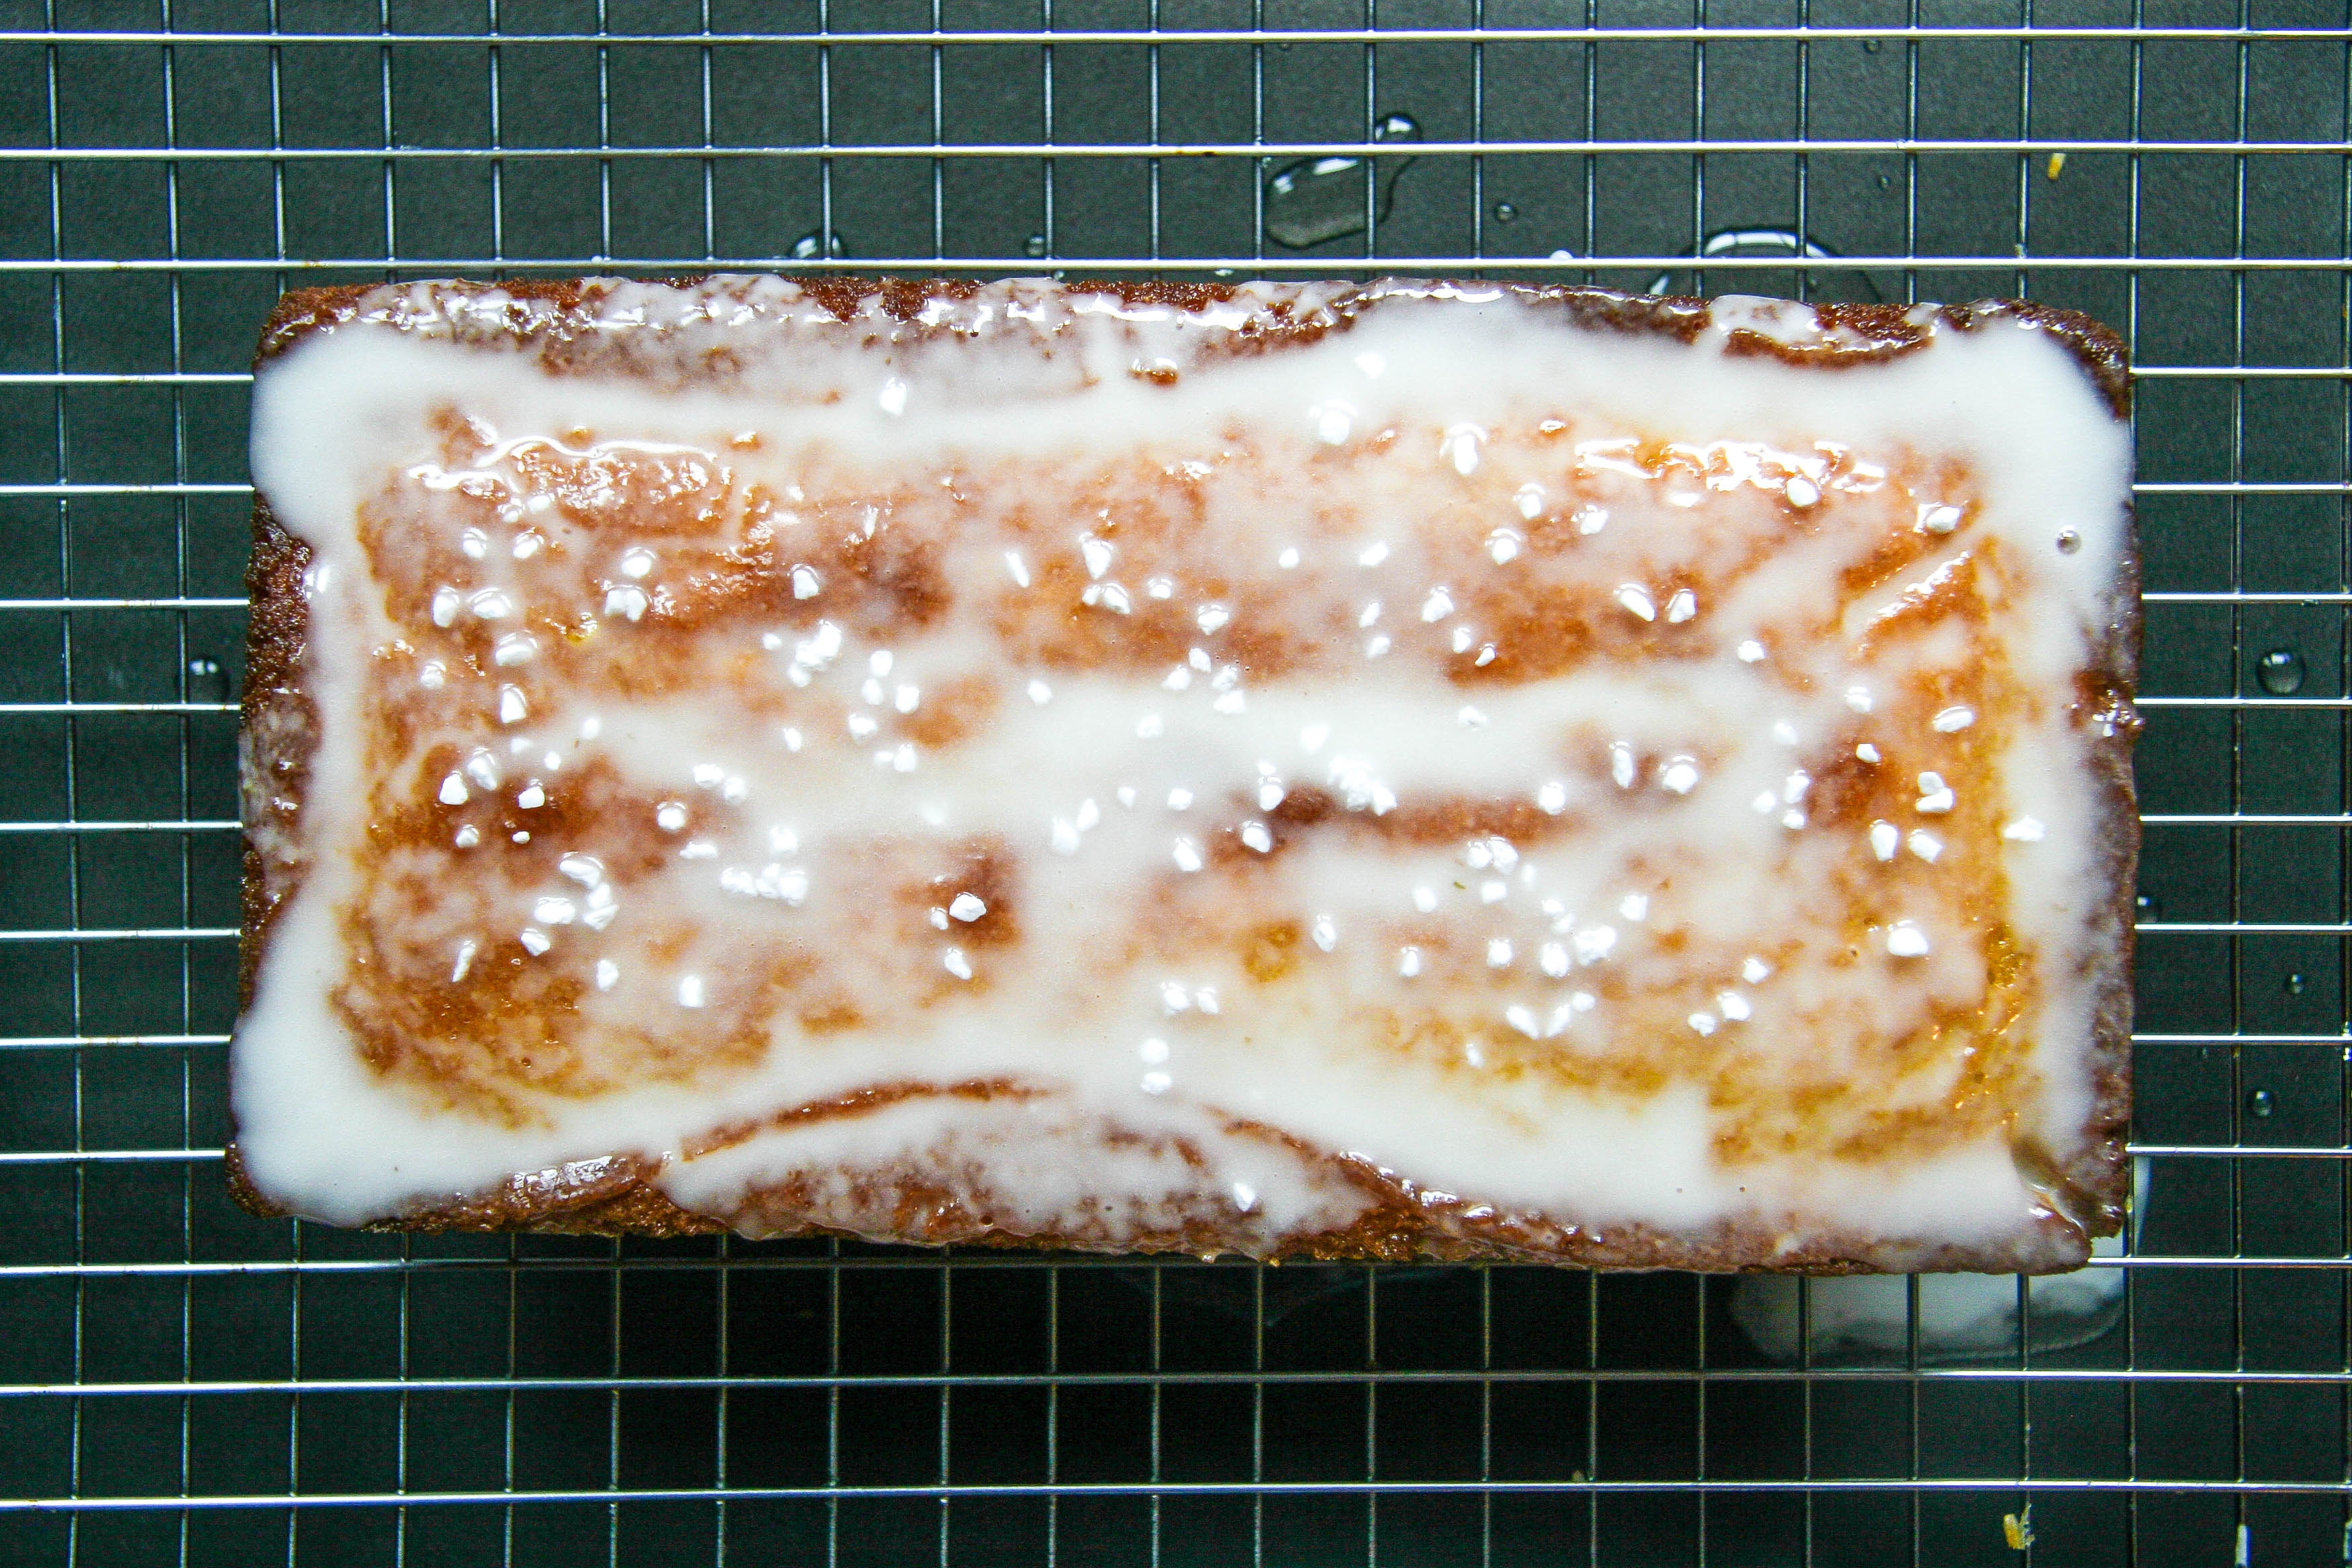
If you like this loaf, you should totally check out this Lemon Loaf with Lavender Glaze!

emon loaf with lavender glaze 5

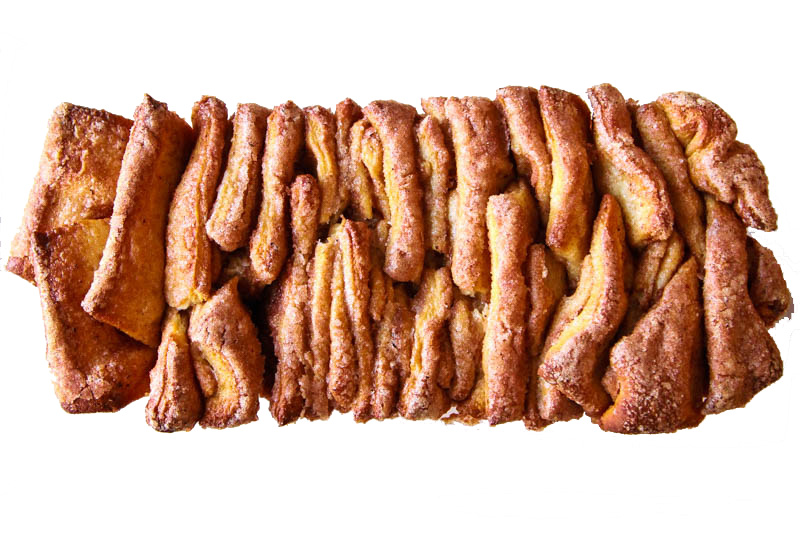
While we’re on the loaf topic, this Brown Butter Cinnamon Sugar Pull Apart Bread is one of my favorite loaf shaped things!

brown-butter-cinnamon-sugar-pull-apart-bread-9


Filed Under: breakfast and breads, desserts and sweets, eat Tagged With: bread, breakfast bread, chocolate, marble cake

boston cream pie cake

August 13, 2015 by Butter Loves Company

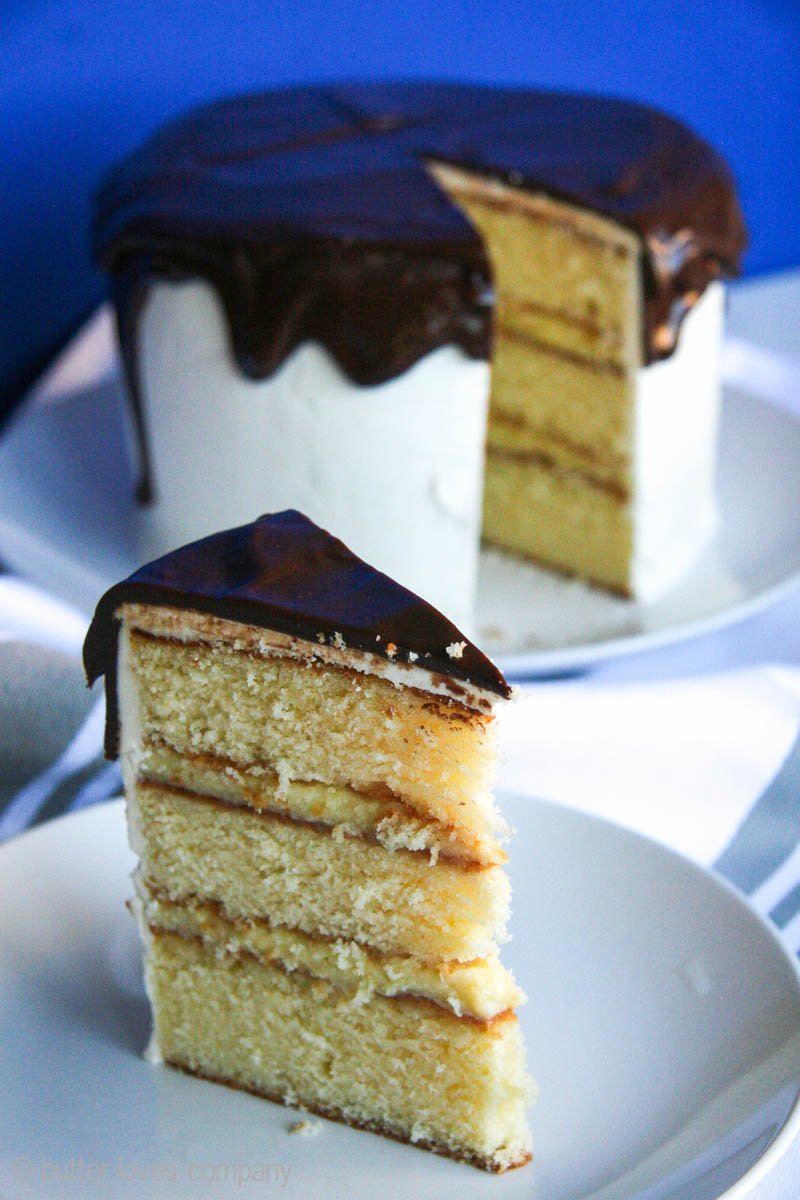
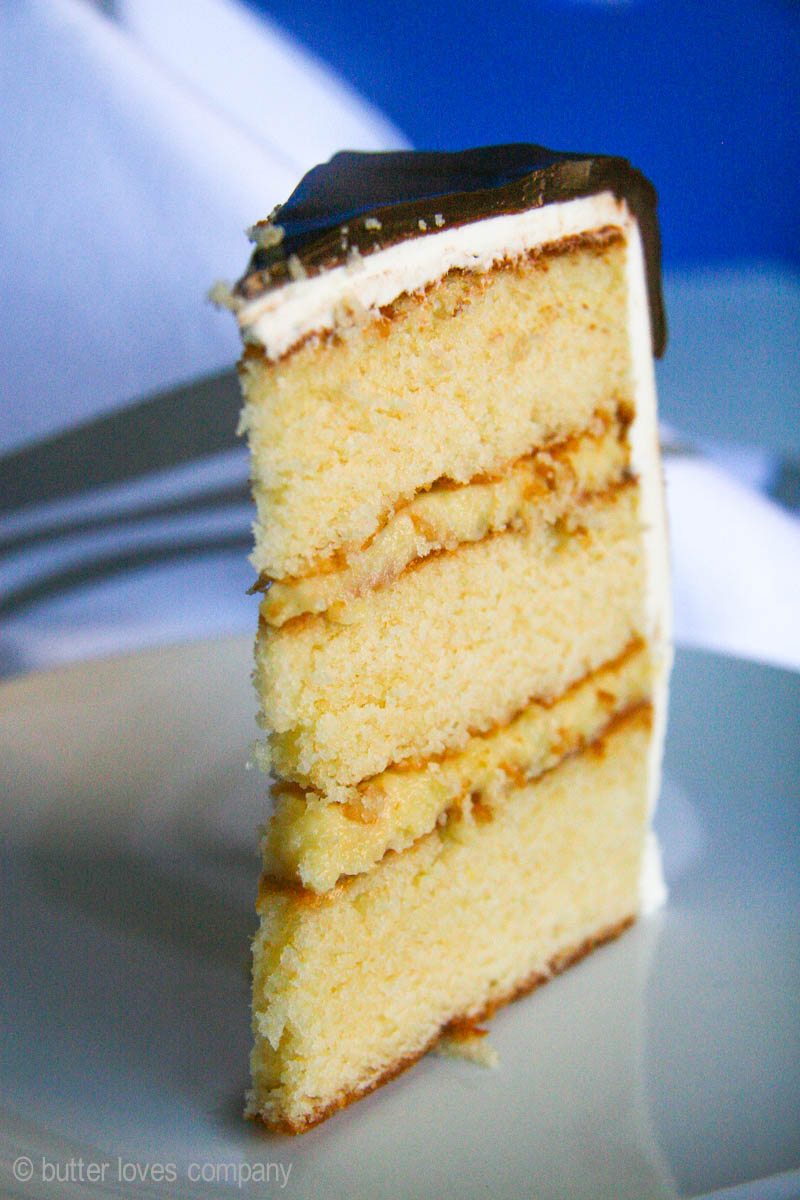
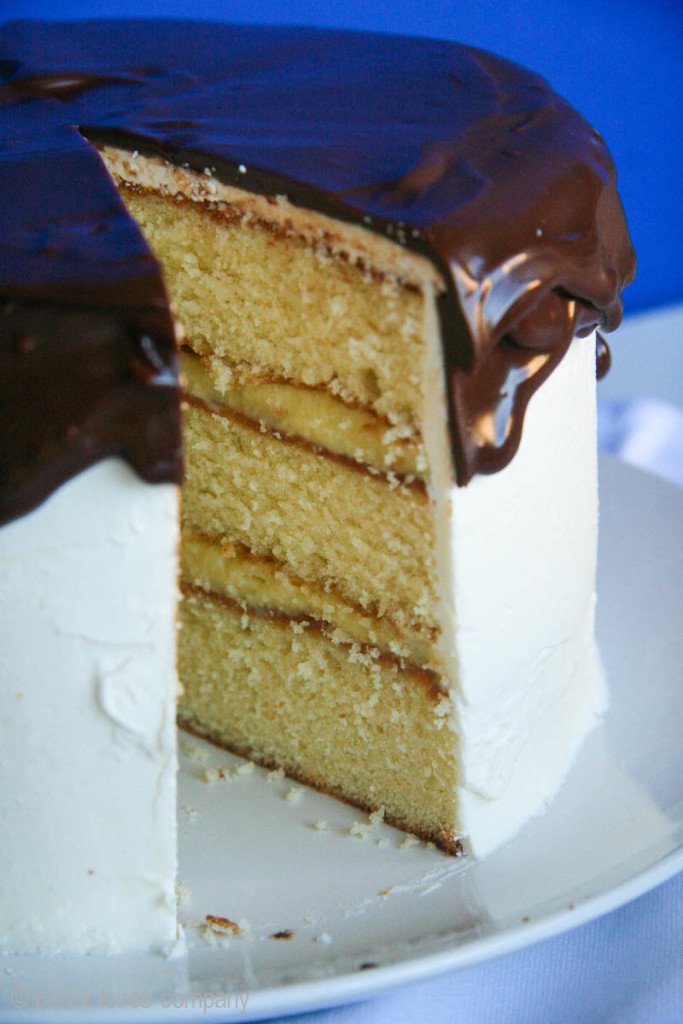
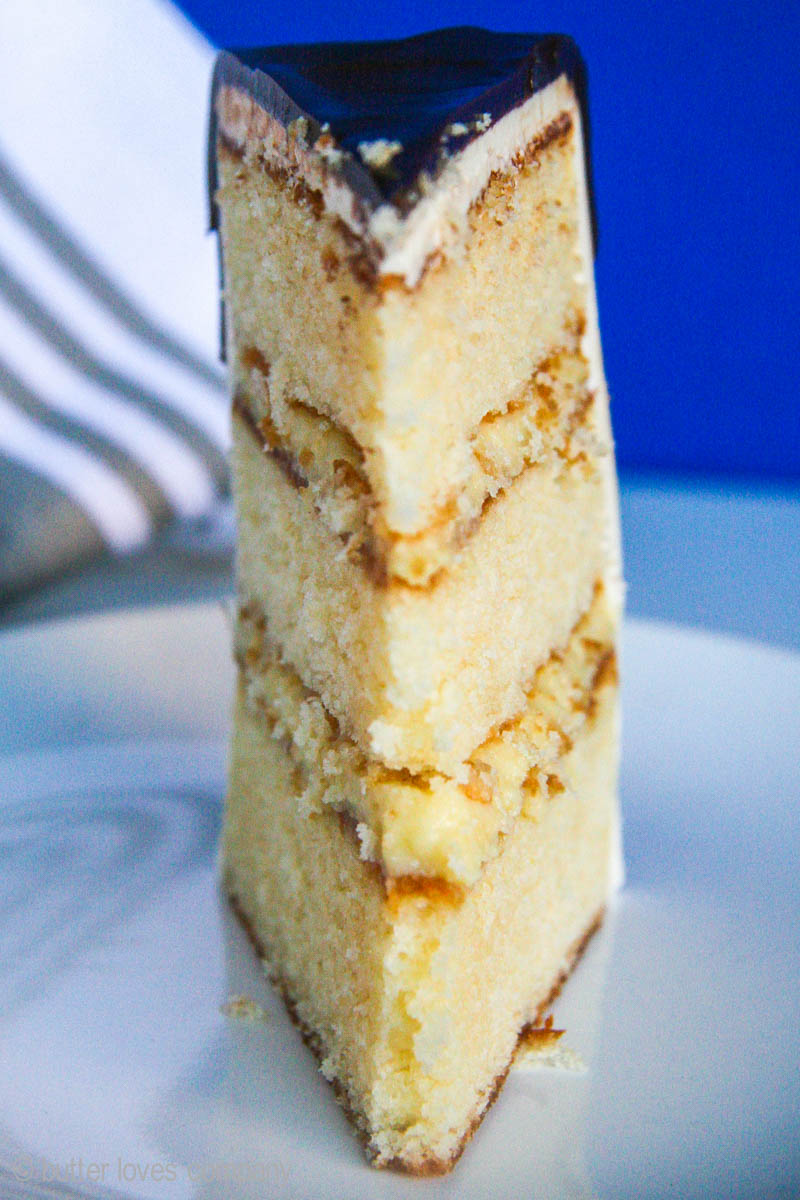
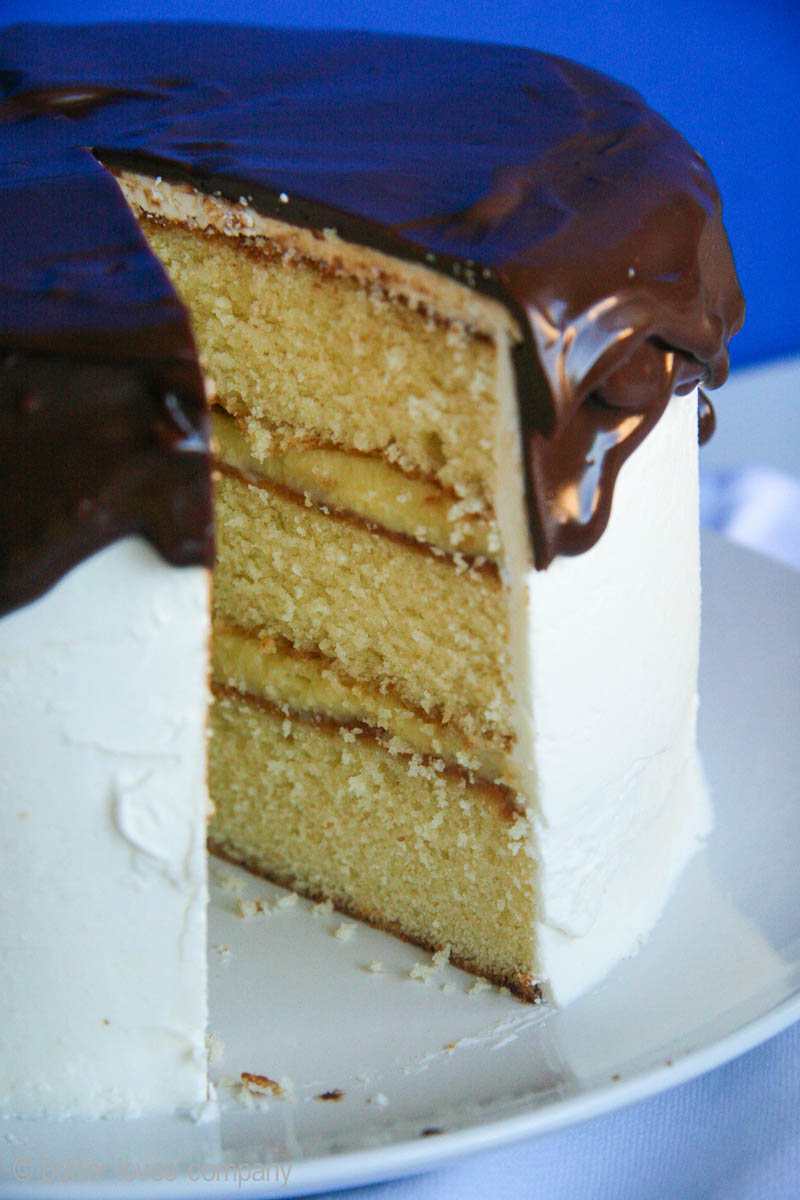
boston-cream-pie-cake-11I often wonder if people outside of Boston are completely confused by the concept of Boston Cream Pie. I mean, it’s not a pie by any traditional standards. There is no crust or shell or crumble topping. It’s not made in a pie dish. Oh yea, and Boston Cream Pie is a CAKE!

Theory has it that Boston Cream Pie was created at the Parker House Hotel in Boston in 1856. This is the same hotel credited with the birth of the ‘Parker House’ roll; you know those delicious, buttery, addictive fold-over dinner rolls? Some magic was certainly happening in that kitchen in the 1800s…

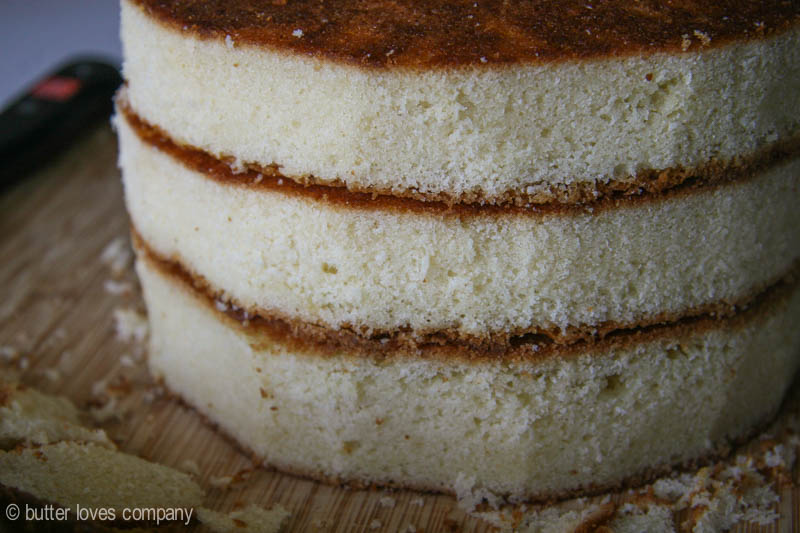
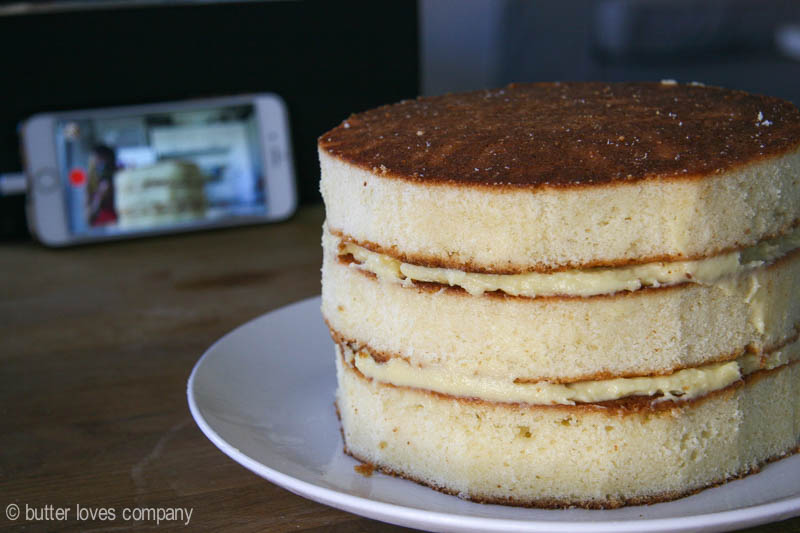
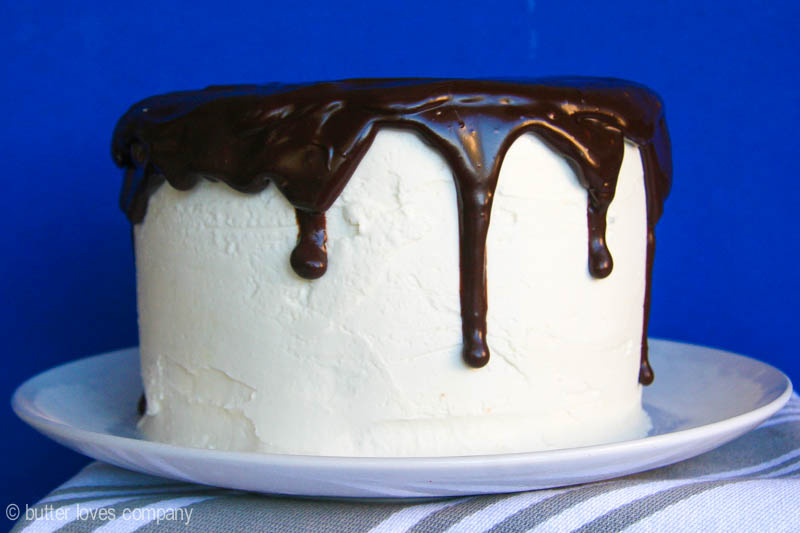
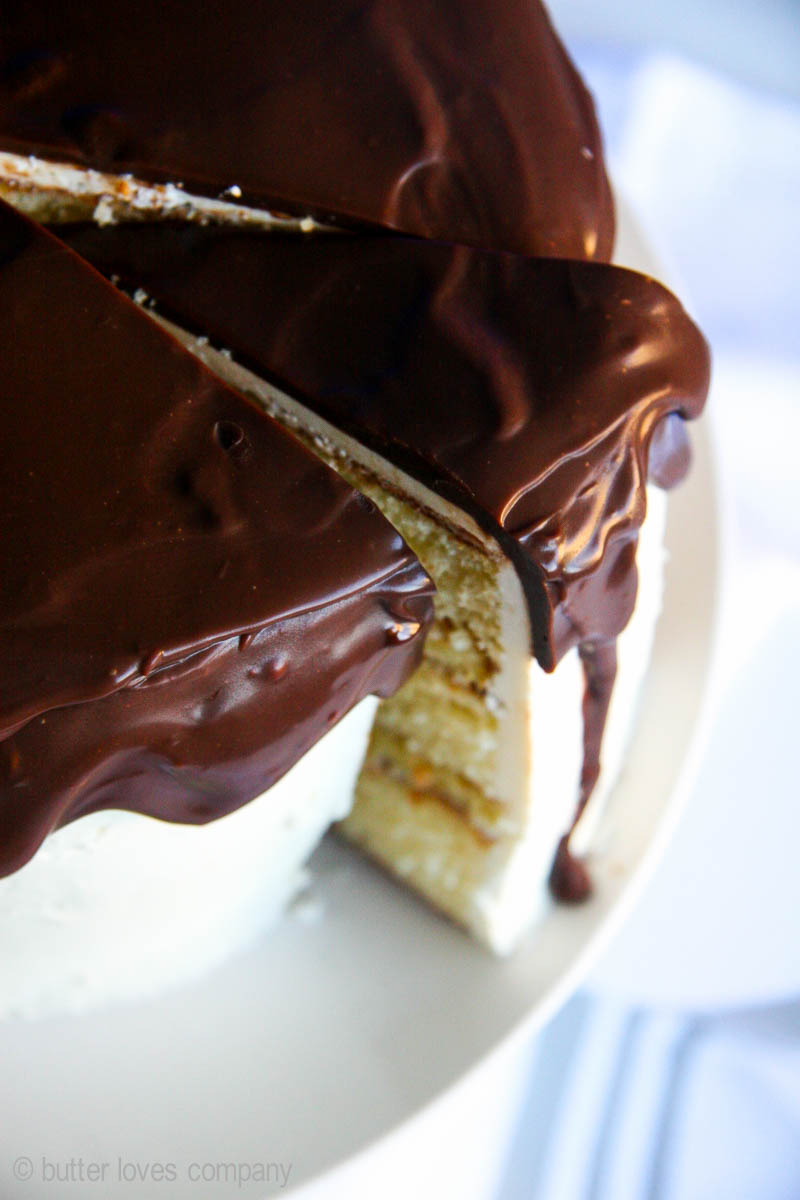
The official dessert of Massachusetts, Boston Cream Pie is typically made up of vanilla cake filled with cream or custard and topped with chocolate. This version is a Boston Cream Pie Cake and consists of three layers of moist and tender vanilla cake layers, a classic pastry cream filling, white chocolate buttercream frosting, and finished with chocolate ganache. Think of it as a somewhat fancied up Boston Cream Pie. If you’d like a more traditional Boston Cream Pie, make only two layers of cake, use all the pastry cream in between those layers, and top with the ganache (skip the white chocolate buttercream).

P.S. In case you missed it, I shared some behind the scenes pics of this cake in process on my snapchat (butterlc), instagram, and Facebook. If you have any interest in seeing some dorky kitchen dancing and baking fails, hop over to the social icons in the right panel and follow along. There is guaranteed to be lots of that to come!!

boston-cream-pie-cake-1

boston-cream-pie-cake-3

BAKING INCEPTION

boston-cream-pie-cake-4

boston-cream-pie-cake-6

boston-cream-pie-cake-7


boston cream pie cake

vanilla cake recipe adapted from just a pinch

total time: 3–4 hours to make cake, frosting, and fillings, and assemble (includes chill time)
makes one 3-layer 9-inch frosted and filled cake (FYI: I made a 3-layer 8-inch cake using pans with high edges and the only adjustment was keeping my eye on the cooking time.)

vanilla cake layers

Ingredients:

1 cup (2 sticks) butter, softened
1/2 cup vegetable shortening
3 cups granulated sugar
5 eggs, room temperature
3 cups all-purpose flour
2 teaspoons baking powder
1/2 teaspoon salt
3/4 cup whole milk, room temperature
1/4 cup Greek yogurt, room temperature
2 1/2 teaspoons vanilla extract

Instructions:

  1. Preheat the oven to 350°F. Grease three 9-inch round cake pans with nonstick baking spray or butter. Line the bottom of each pan with parchment paper and then grease the top of the paper. Set the pans aside.
  2. In the bowl of an electric mixer fitted with the paddle attachment, cream together the butter and shortening on medium speed until light and fluffy, about 3 minutes. With the mixer on low speed, add the sugar—one cup at a time—mixing to incorporate after each addition. Add the eggs one at a time, mixing each egg until it is fully incorporated before adding the next.
  3. In a separate medium bowl, sift together the flour, baking powder, and salt. In a separate small bowl, stir together the whole milk, yogurt and vanilla until it is smooth. Alternate adding the flour mixture and the milk mixture to the butter mixture, beginning and ending with flour mixture. Stop the mixer and, with a spatula, give the bowl a scrape and stir to make sure all the ingredients are well combined.
  4. Divide cake batter between prepared cake pans. Pop them in the oven and bake for 25 to 30 minutes, or until a toothpick inserted in the center comes out clean. Remove from the oven and cool the cake in their pans for 5 minutes and then transfer to a wire rack to cool completely. Once they are cool, wrap each layer in plastic and place in the freezer until you are ready to assemble the cake.

Pastry Cream (makes about 2 cups)

Ingredients:

1 1/4 cups (300g) whole milk
1/2 cup (100g) sugar
1/4 cup (30g) cake flour
1/2 teaspoon salt
4 large egg yolks
1 teaspoon vanilla extract

Instructions:

  1. In a medium saucepan, scald the milk over medium-high heat (bubbles start to form around the edge of the pan, but the milk is not boiling). While the milk is heating, in a small bowl, stir together the sugar, flour and salt. (Mixing the flour with the sugar will prevent the flour from clumping when you add it to the egg yolks.) In a medium bowl, whisk the egg yolks until blended and then slowly whisk in the flour mixture (it will be pasty).
  2. Remove the milk from the heat and slowly add it to the egg-flour mixture, a little at a time, whisking constantly (you want to make sure that you only add a little at a time so the hot milk doesn’t cook the eggs in the mixture). When all of the milk has been incorporated, return the contents of the bowl to the saucepan and place over medium heat. Whisk continuously and vigorously for about 3 minutes, or until the mixture thickens and comes to a boil. At first, the mixture will be very frothy and thin; as it cooks longer, it will slowly start to thicken until the frothy bubbles disappear and it becomes more viscous. Once it thickens, stop whisking every few seconds to see if the mixture has come to a boil. If it has not, keep whisking vigorously. As soon as you see it bubbling, immediately go back to whisking for just 10 seconds, and then remove the pan from the heat. Boiling the mixture will thicken it and cook out the flour taste but if you let it boil for longer than 10 seconds, the mixture can become grainy.
  3. Pour the mixture through a fine-mesh sieve into a small heat-proof bowl. Stir in the vanilla, then cover with plastic wrap, placing it directly on the surface of the cream. This will prevent a skin from forming (Kind of like pudding!). Refrigerate for at least 4 hours, or until cold, or up to 3 days.

white chocolate buttercream (makes about 3 cups)

Ingredients:

3/4 cup sugar
4 large egg whites, at room temperature
1 1/2 cups unsalted butter (3 sticks), at room temperature
4 ounces white chocolate, melted and cooled to room temperature

Instructions:

  1. Fill a small saucepan with about 1/2 inch of water and heat it on the stove so the water is simmering. In a large heat-safe mixing bowl (the bowl from your stand mixer works perfectly here), add the sugar and egg whites and set the bowl over the the simmering water. Whisk constantly until the sugar melts and the mixture is thin and warm. Be careful not to let the bottom of the bowl touch the simmering water directly as it could cook the eggs! We just want the residual heat here.
  2. Remove the bowl from the heat and fit it back into your stand mixer (or pour the mixture into the bowl of your stand mixer). Using the whisk attachment, whisk on high speed until stiff peaks form, about 5 minutes. Adjust speed to low and continue beating until the mixture is cool, about 15 minutes.
  3. Keep the mixer on low speed and begin dropping in pieces of the butter, a tablespoon or two at a time. Wait until the butter is incorporated before adding the next piece. It is possible the mixture will look like it is curdling for a little while, but it will come together. Once you have added all the butter, beat in the white chocolate until the frosting is fluffy and smooth. The buttercream will freeze well for up to 6 months. Bring it back to room temperature and re-beat before using.

chocolate ganache (Makes about 2 cups)

Ingredients:

1 1/4 cup semisweet chocolate, roughly chopped (or use semisweet chocolate chips)
1 cup heavy cream
2 tablespoons butter

Instructions:

  1. Place the chopped chocolate in a medium-sized heatproof bowl. Set aside. Heat the cream and butter in a small saucepan over medium heat. You can also heat the cream and butter in the microwave. Bring just to a boil and immediately pour the boiling cream over the chocolate and allow to stand, without stirring, for a few minutes. Stir gently (as you do not want to incorporate air into the ganache) with a spoon or whisk until smooth.

Assemble:

  1. Place one layer of the cake on the center of a cake board or cake platter. With an offset spatula, evenly spread half of the pastry cream on the top of the first layer of cake. Top with another layer of the cake and spread the remaining half of the pastry cream on the top of the second layer. Top with the third and final layer of cake.
  2. Using and offset spatula and/or piping bag, frost the entire cake with the white chocolate buttercream as desired. At this point, I put the entire cake in the fridge for a few minutes to firm up before I topped with ganache. If you have room, it might be helpful, but not necessary.
  3. Pour the slightly cooled ganache in the center of the top of the frosted cake, a little bit at a time. Using an offset spatula, smooth the ganache over the top and push gently to the edges so that is drips over randomly. Let the ganache cool so it firms up and you’re all set!

boston-cream-pie-cake-12

boston-cream-pie-cake-10

Filed Under: desserts and sweets, eat Tagged With: boston cream pie, buttercream, celebration cake, chocolate ganache, vanilla cake

fresh fig and almond cake

August 7, 2015 by Butter Loves Company

fig-almond-cake-6My grandmother is a magical gardener. She can take a seed and push it into the ground with her thumb and voila! A beautifully lush plant sprouts up seemingly instantly. And, while she insists she “didn’t do much” this year, a quick tour around her garden tells a different story.

She points out each plant rattling off vegetables in her adorable Portuguese accent…beets, tomatoes, beans, kale, lettuce, rhubarb, chard, a half dozen varieties of squash…I quickly lose count of the vegetables. She could also season meals for the entire city with all the herbs she is growing. She picks some lemon verbena for me to dry out and use for tea. “It’s great for your tummy,” she says. Grandmothers are always looking out for you!

She’s nonchalant as she points to peaches hanging from her peach trees, cherries, strawberries, grapes, and finally the fresh figs. She always has fresh figs.

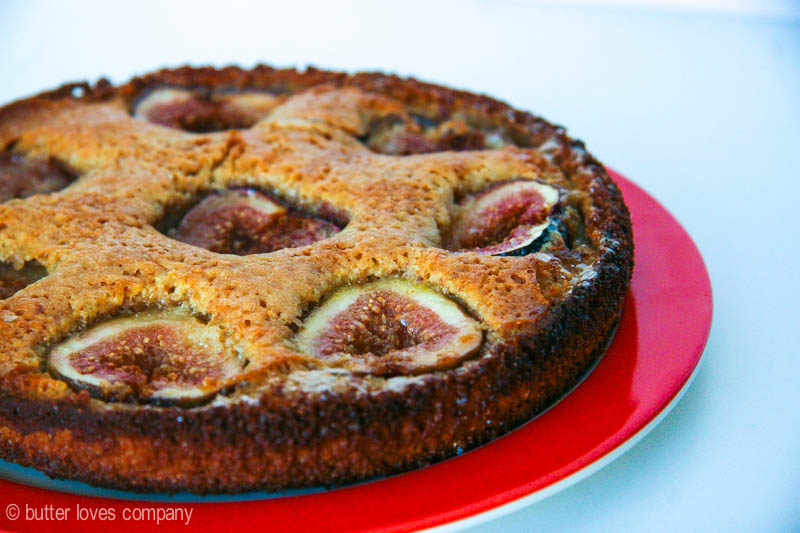
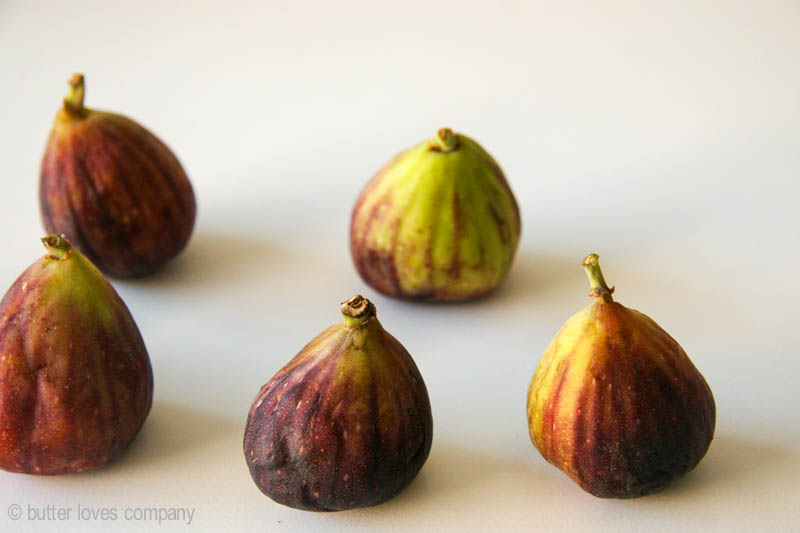
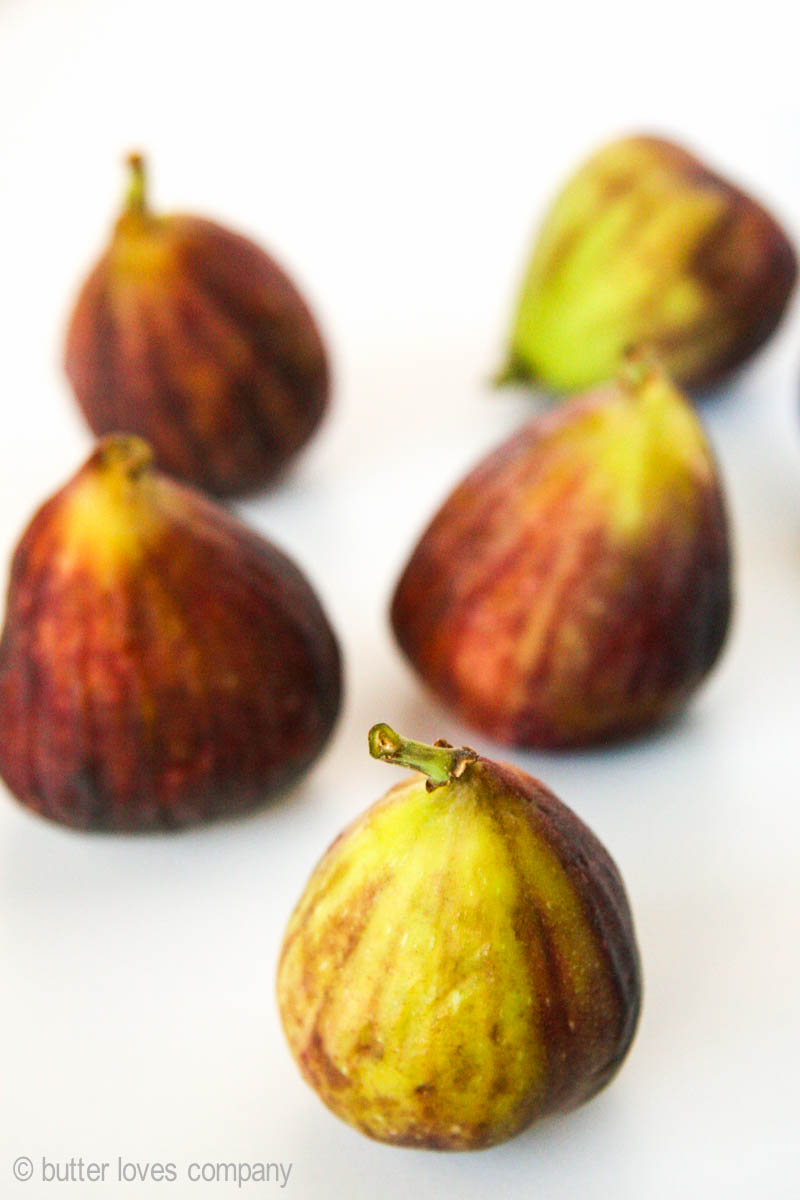
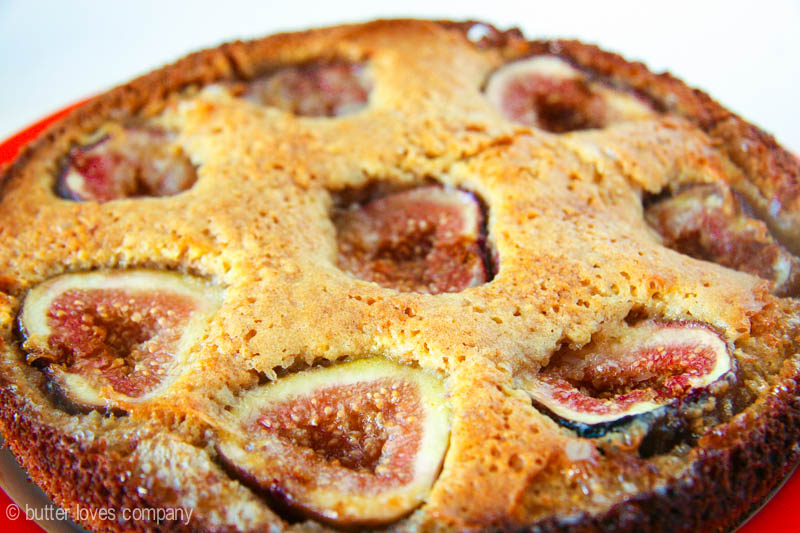
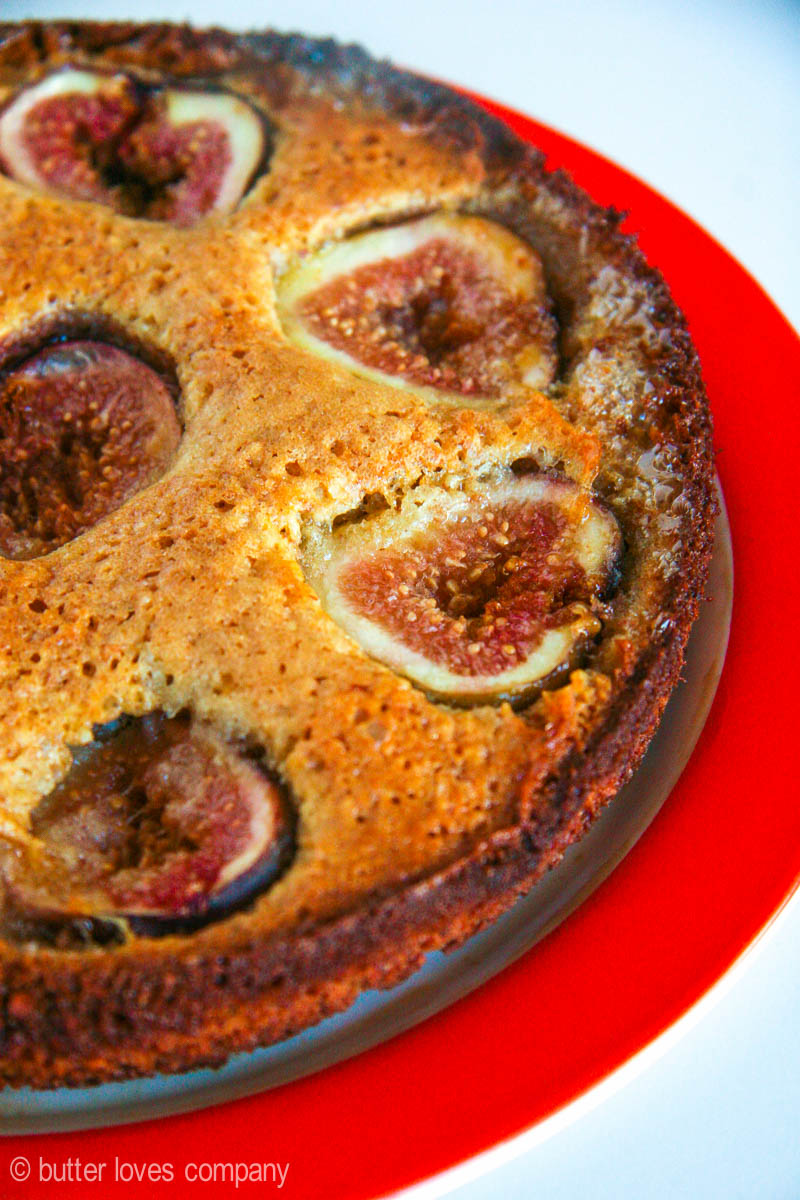
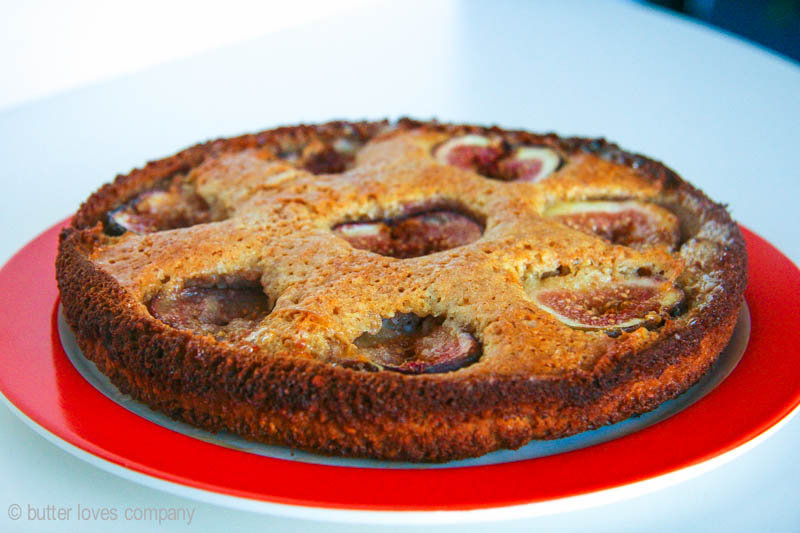
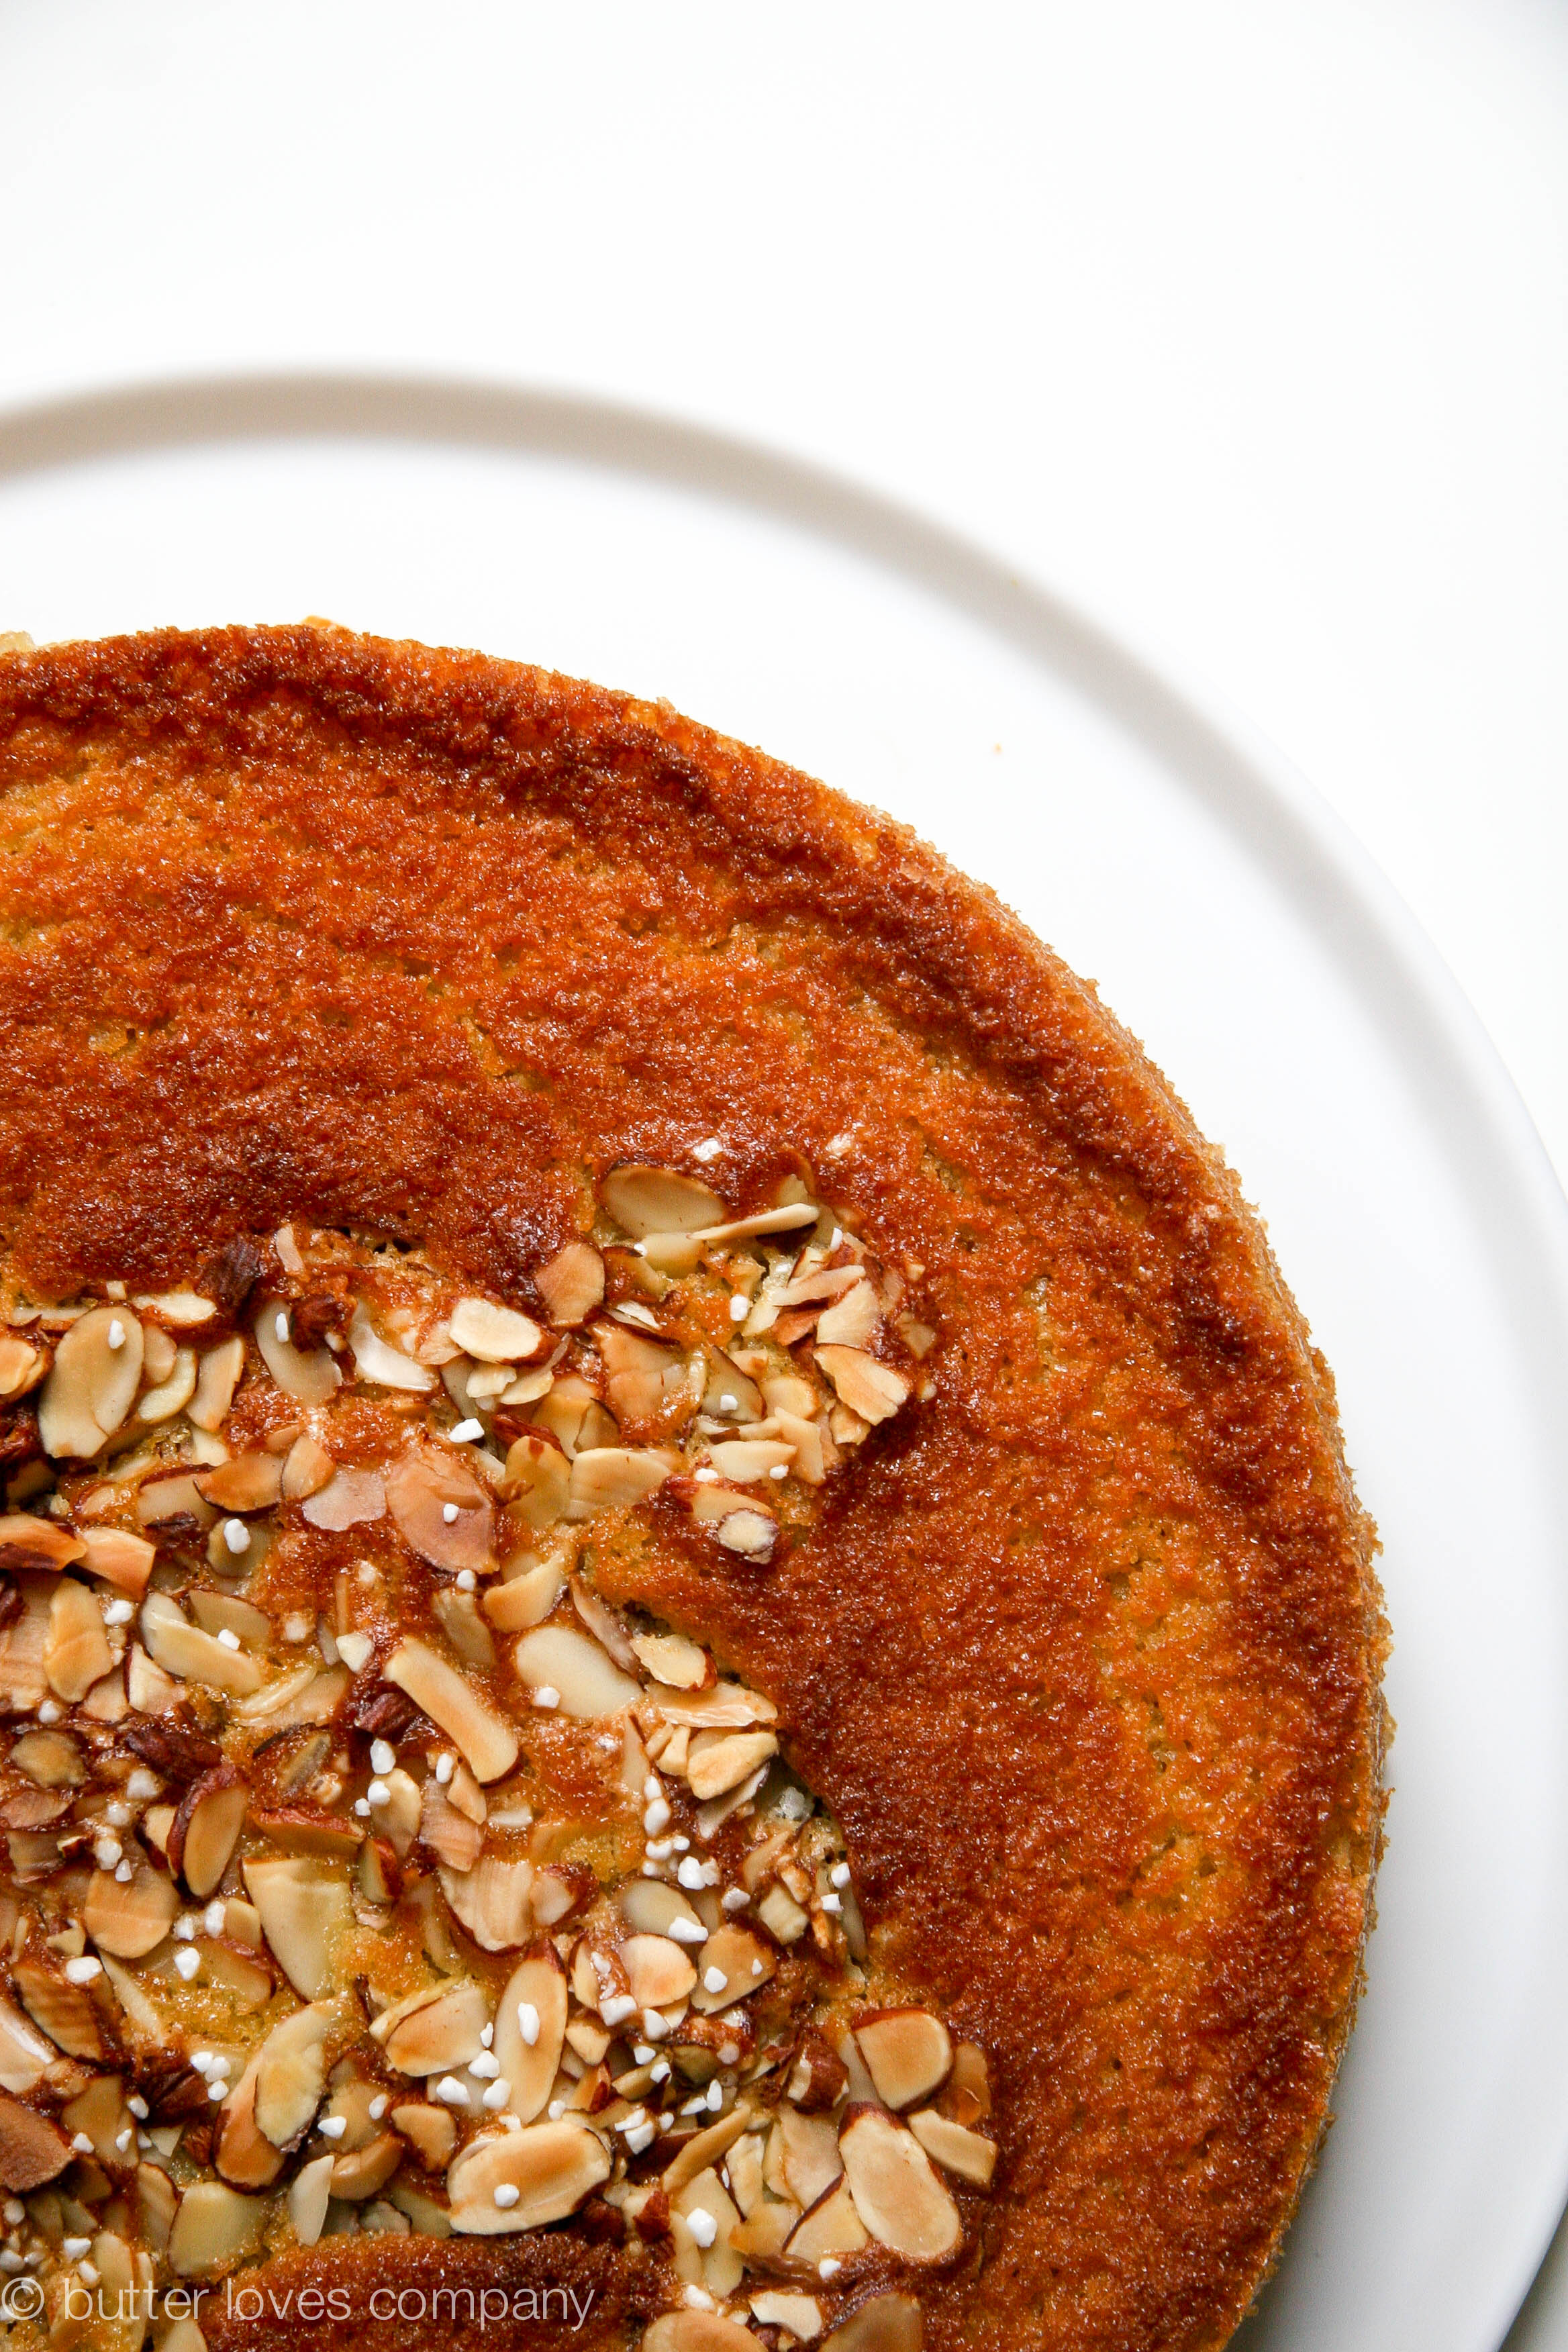
This fig and almond cake is something I can picture my grandmother making to use up her fig bounty. It is a simple snacking cake that highlights the uber-sweet fruit at its peak ripeness. Ground almonds add nuttiness and texture to the cake. I couldn’t find enough fresh figs at the store nearby to make the full recipe so the pictures are of a halfed version. If you want to make the half recipe like I did, you can halve the ingredients listed below. When it came to halving the eggs, I chose to use one full egg and one egg yolk, for richness.

If my grandmother dropped a crumb of this cake into her garden, it wouldn’t surprise me one bit if she had a fig and almond cake tree come up next summer 😉

fig-almond-cake-1

fig-almond-cake-2

Almond-blender-gif

fig-almond-cake-3

fig-almond-cake-4

fig-almond-cake-5

fig-almond-cake-8

fresh fig and almond cake
adapted from the new york times

prep time: 15 minutes
cook time: 30 minutes
total time: about 45 minutes
makes one 9-inch cake

Ingredients:

4 tablespoons butter, melted, plus butter for greasing pan
1 cup natural raw almonds (not blanched, not salted)
1/4 cup sugar, plus 2 tablespoons for sprinkling
1/4 cup all-purpose flour
1/2 teaspoon baking powder
1/4 teaspoon cinnamon
1/4 teaspoon salt
3 large eggs, beaten
2 tablespoons honey
1/2 teaspoon almond extract
10-12 ripe figs

Instructions:

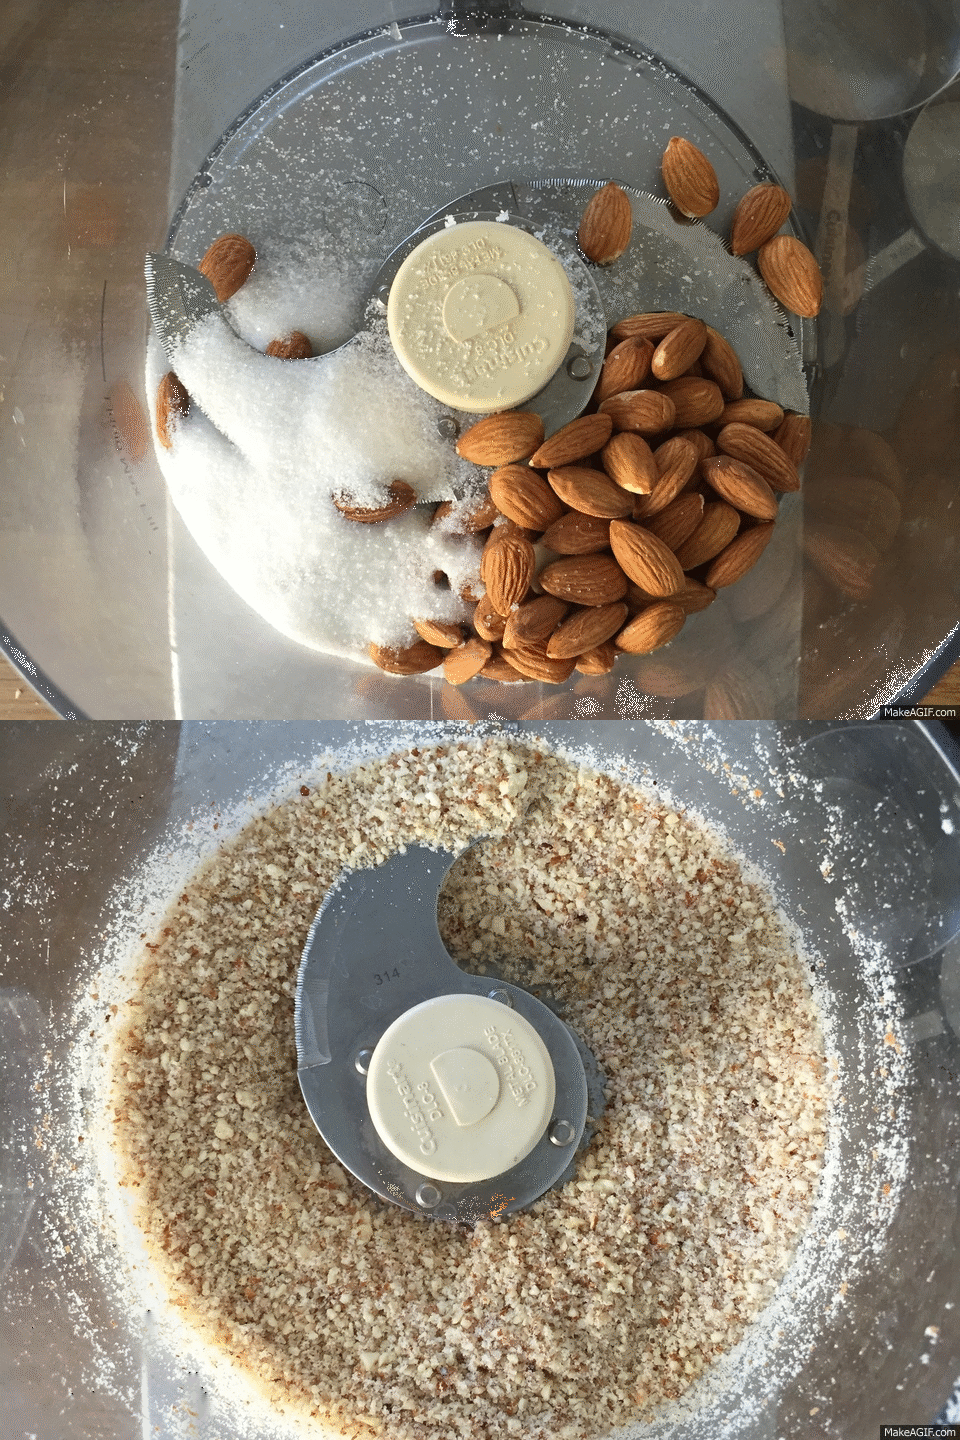
  1. Preheat your oven to 375°F. Butter a 9-inch tart pan, or pie pan, and set aside. In the work bowl of a food processor, pour the almonds and 1/4 cup sugar and grind for about 20 seconds or until it is a coarse powder. Add the flour, baking powder, cinnamon, and salt and pulse a few times to combine.
  2. In a separate medium bowl, whisk together eggs, melted butter, honey, and almond extract. Add the almond and flour mixture to the egg mixture and beat together until batter is just mixed. Pour batter into the prepared pan.
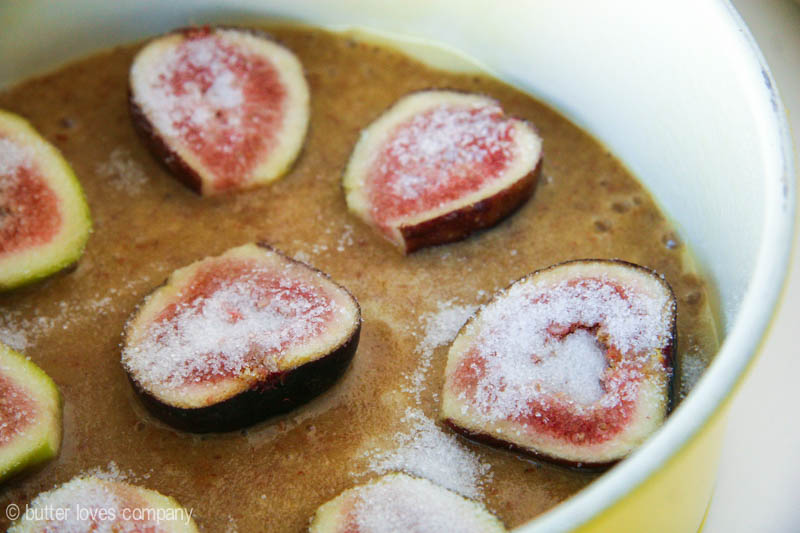
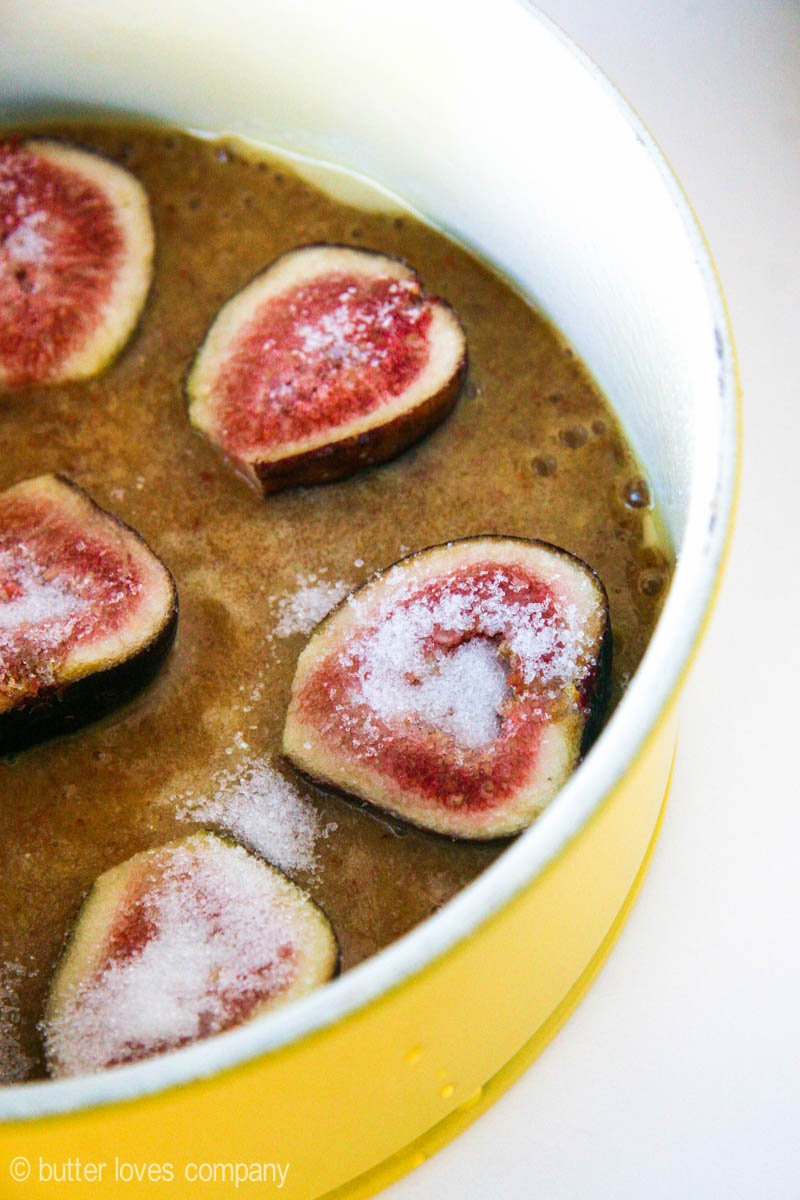
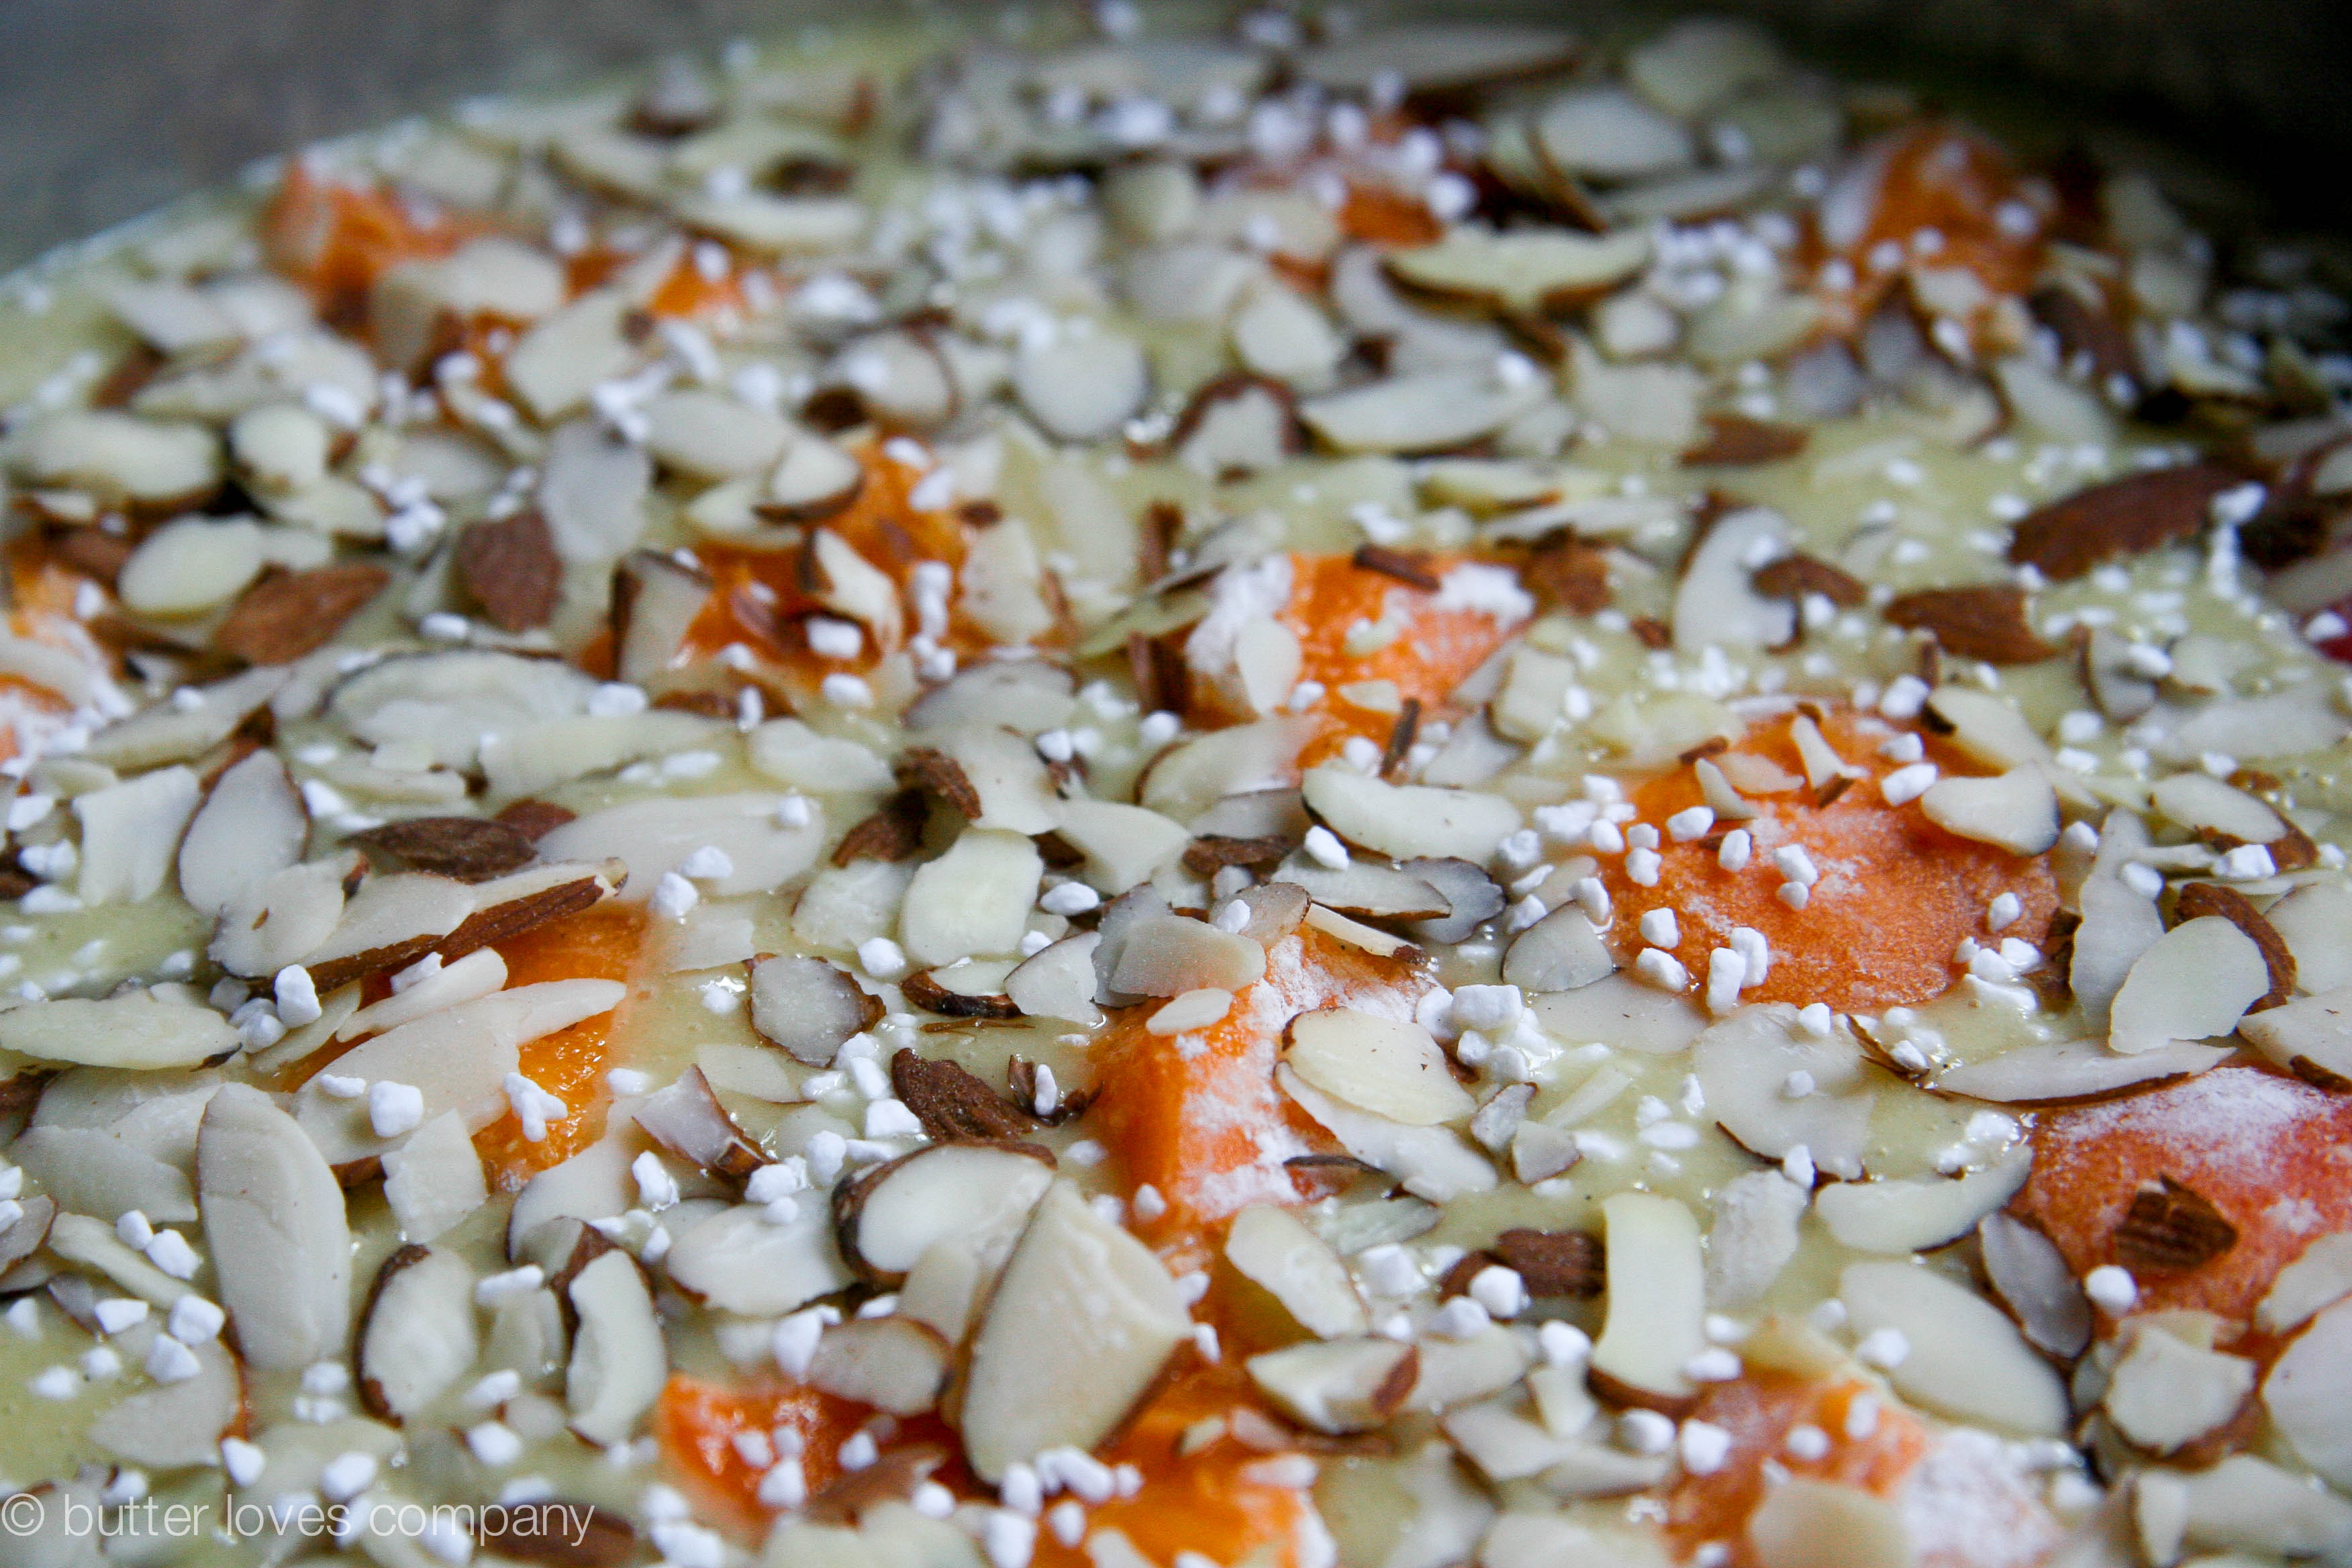
  3. Remove the stem from each fig and cut them in half, lengthwise. Arrange the fig halves cut-side-up over the batter. Sprinkle figs with the 2 tablespoons of sugar and bake for 30 minutes, or until the cake is golden outside and a toothpick inserted into the cake’s center comes out clean. Remove from the oven and let cool before serving.

fig-almond-cake-7


All aboard the almond train! Check out this recipe for Almond Apricot Olive Oil Cake.

almond-apricot-olive-oil-cake-recipe-9


almond-apricot-olive-oil-cake-recipe-7

Filed Under: breakfast and breads, desserts and sweets, eat Tagged With: almond, cake, fresh figs, summer

iced brownie thins

August 4, 2015 by Butter Loves Company

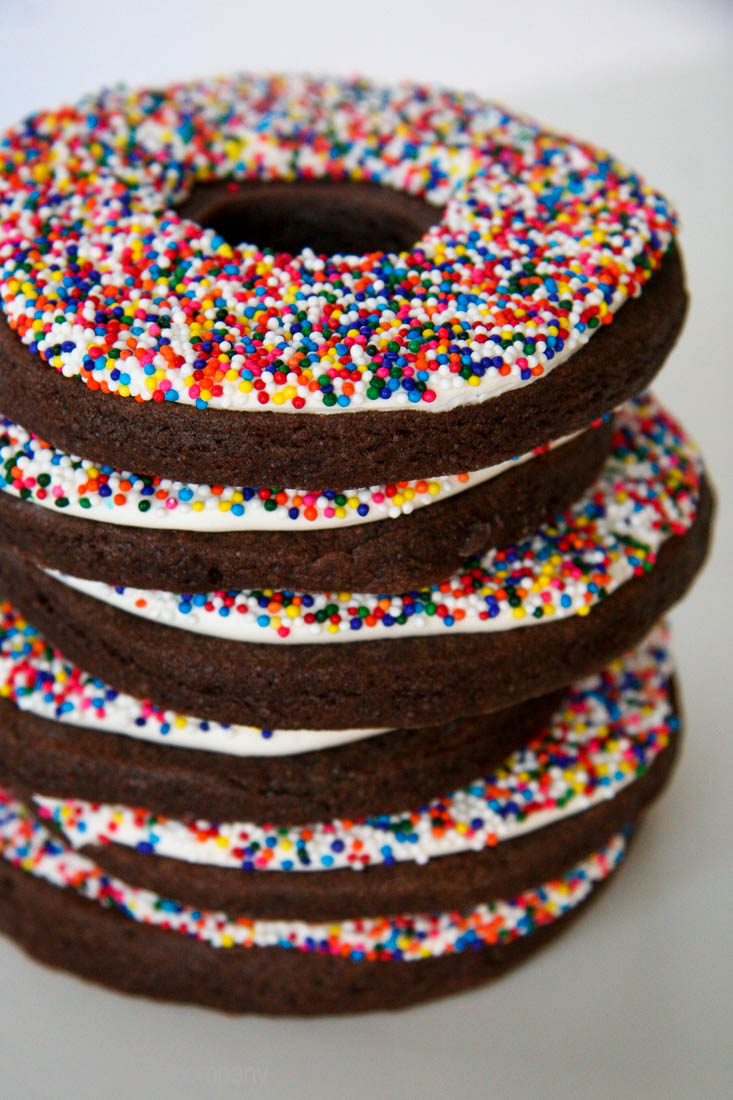
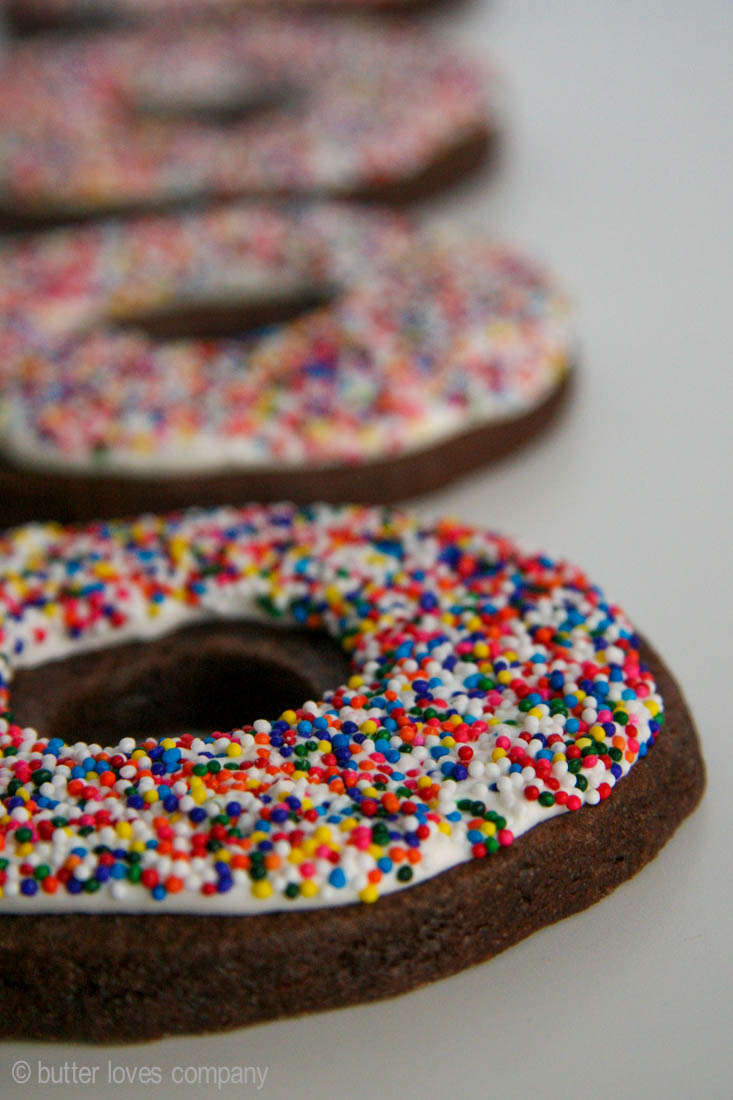
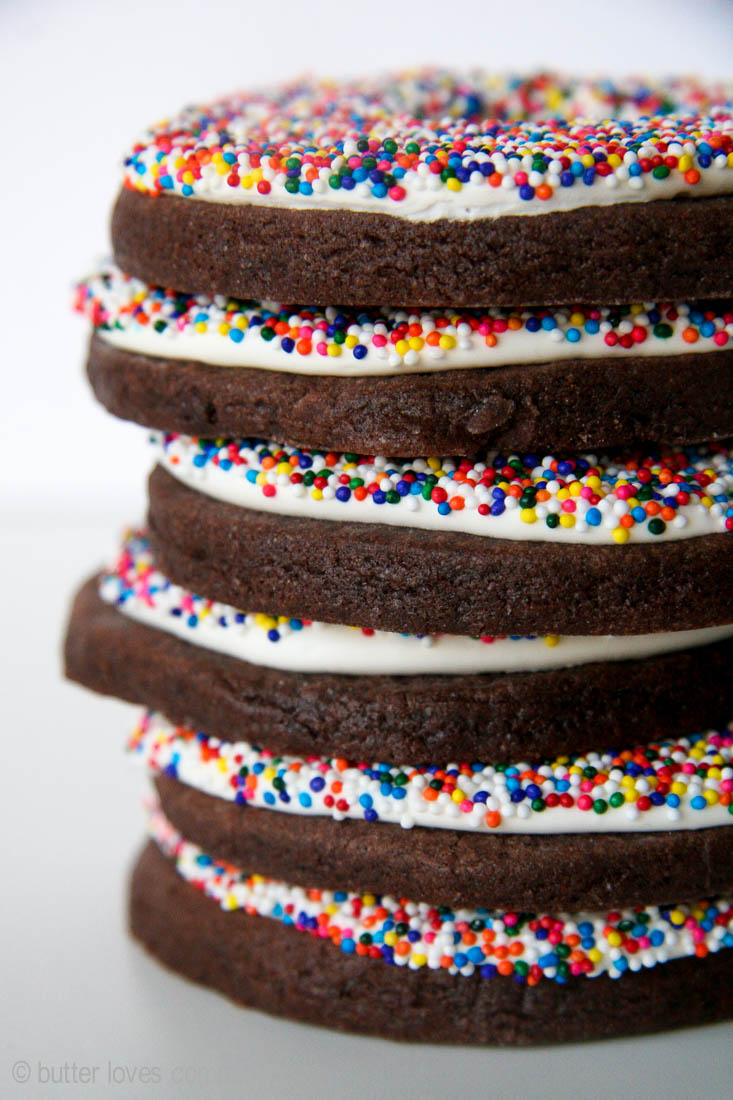
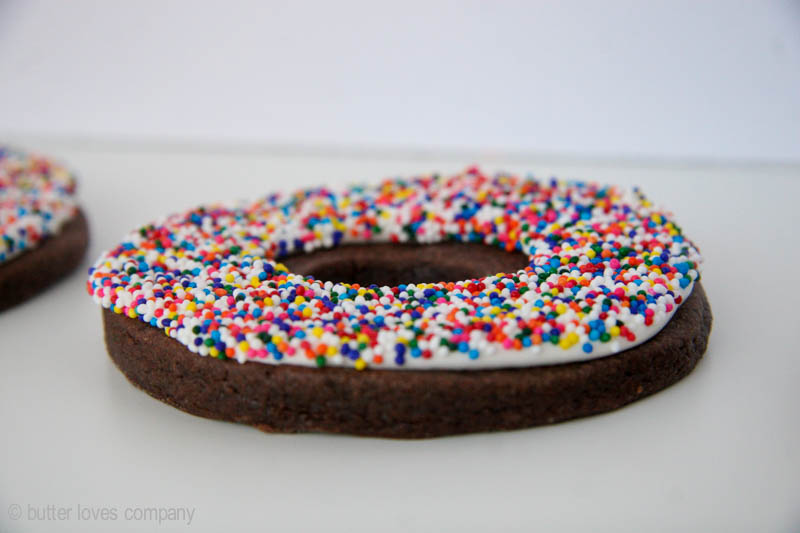
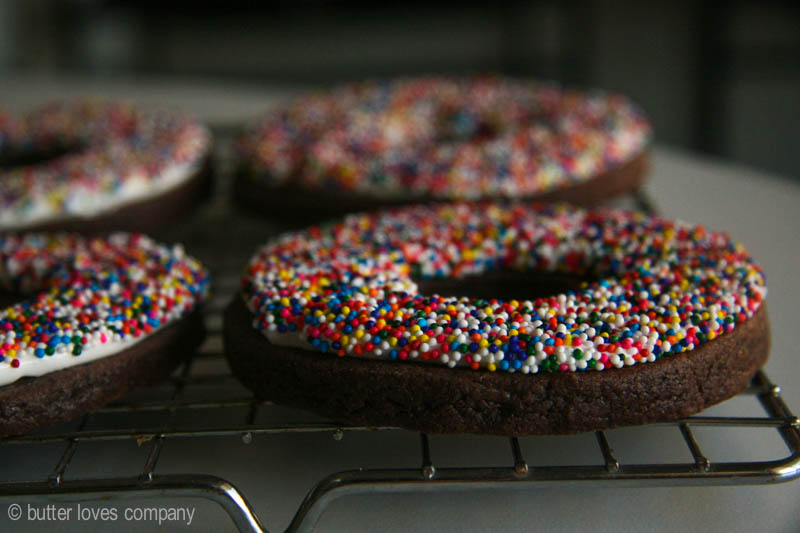
brownie-thins-royal-icing-cookies-10How fun are these little cookies?! They are like 2-D donuts! Or chocolate donut pancakes!

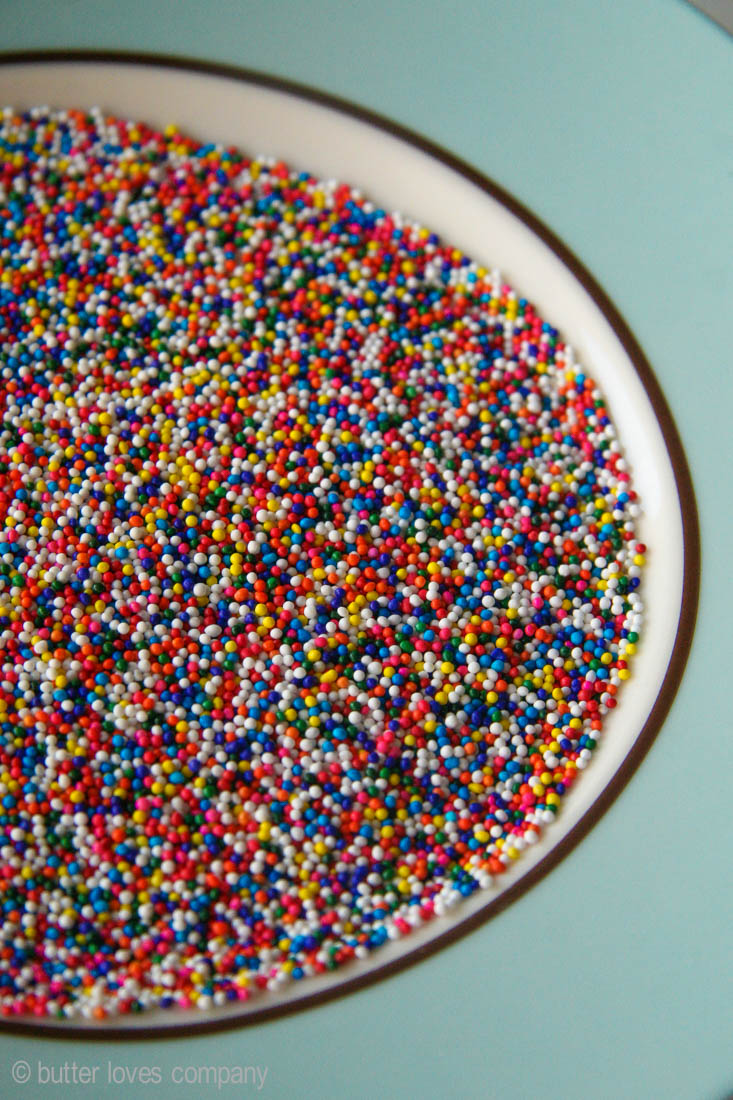
As fun as these roll-out cookies are for kids to make and eat, they are equally as satisfying for adults. The brownie thins have a mouth-coating chocolate flavor and the texture of a flattened fudge brownie. They are soft and chewy and are topped with sweet and crunchy vanilla royal icing and colorful nonpareils. Who wouldn’t love that?

Put one of these on the bottom of a bowl and top it with ice cream and you’ll be considered a superhero at home.

You’ll notice that Dutch processed cocoa powder is listed as an ingredient for this recipe. If you’re unfamiliar with the difference between Dutch processed and natural cocoa powder, I put together a separate post to help explain. You can find the deets here. It gets somewhat science-y, folks. Hold onto your hats.

If you skip that post, here’s the quick version:

Dutch Processed (alkalized): Acid removed, darker color, smooth flavor, works best with baking powder, should not be used in recipes that call specifically for natural cocoa powder.

Natural (non-alkalized): Acidic, lighter color, sharp flavor, works best with baking soda, can sometimes be used in place of Dutch processed cocoa in recipes.

In this recipe I specifically used Valrhona Unsweetened 100% Cocoa Powder, which is Dutch processed (alkalized). You could actually try using natural cocoa powder (non-alkalized) in this recipe because of what we learned here. I have not made this recipe using natural cocoa (yet), so, if you try it, please do let me know how it turns out!

brownie-thins-royal-icing-cookies-1

Whoops!

brownie-thins-royal-icing-cookies-2

brownie-thins-royal-icing-cookies-3

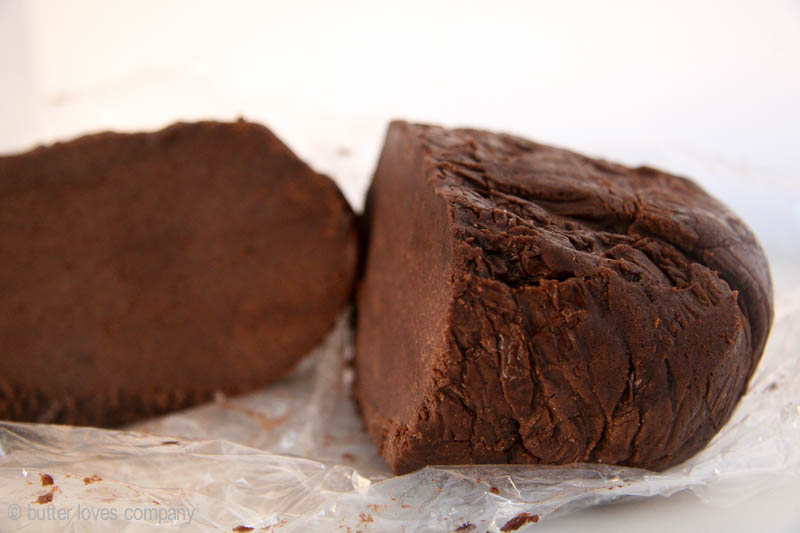
This dough is chilled and ready to roll!

brownie-thins-royal-icing-cookies-4

brownie-thins-royal-icing-cookies-6

plenty o’ sprinkles

brownie-thins-royal-icing-cookies-7

brownie-thins-royal-icing-cookies-8

brownie-thins-royal-icing-cookies-11

iced brownie thins
adapted from the smitten kitchen cookbook

prep time: 15 minutes
cook time: 8–11 minutes
total time: 1 hour 30 minutes (includes chill time)
makes about 12 iced donut-shaped cookies or a lot more little ones (you may have extra icing)

Ingredients:

3 cups (275 grams) all-purpose flour, plus more for rolling
2/3 cup (55 grams) unsweetened Dutch processed cocoa
3/4 teaspoon table salt
1/2 teaspoon baking powder
16 tablespoons (225 grams or 2 sticks) unsalted butter, at room temperature
1 1/2 cups (300 grams) sugar
2 large eggs, room temperature
1 teaspoon vanilla extract
For icing:
2.3 ounces pasteurized egg whites (about 2 large eggs)
1/2 teaspoon vanilla extract
3 cups confectioners’ sugar
nonpareils or sprinkles for topping

Instructions:

  1. Preheat your oven to 350°F. Line two baking sheets with parchment paper and set aside.
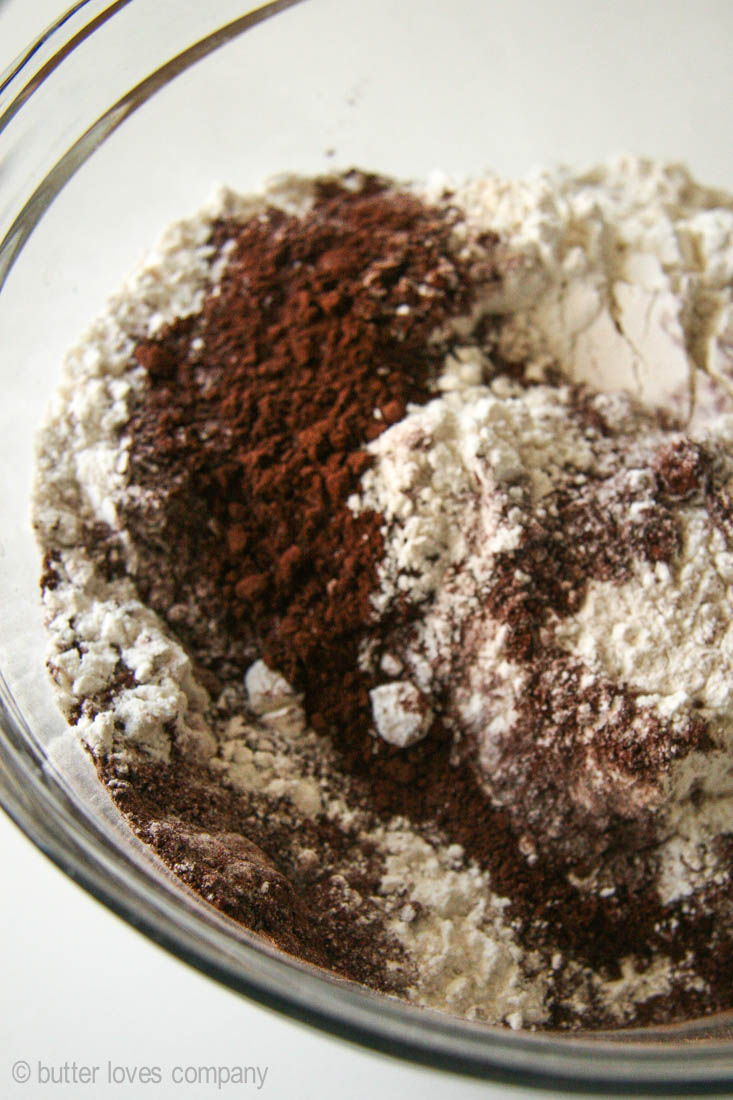
    In a medium bowl, sift together the flour, cocoa, salt, and baking powder. Set aside.
  2. In the bowl of an electric mixer fitted with the paddle attachment, cream the butter and the sugar on low-medium speed until it is light and fluffy, about 5 minutes. Add in the eggs, one at a time, scraping the sides of the bowl after each addition. Add the vanilla. With the mixer on low speed, slowly add the flour mixture to the butter mixture and mix until just incorporated. Wrap the dough in plastic and refrigerate for at least one hour.
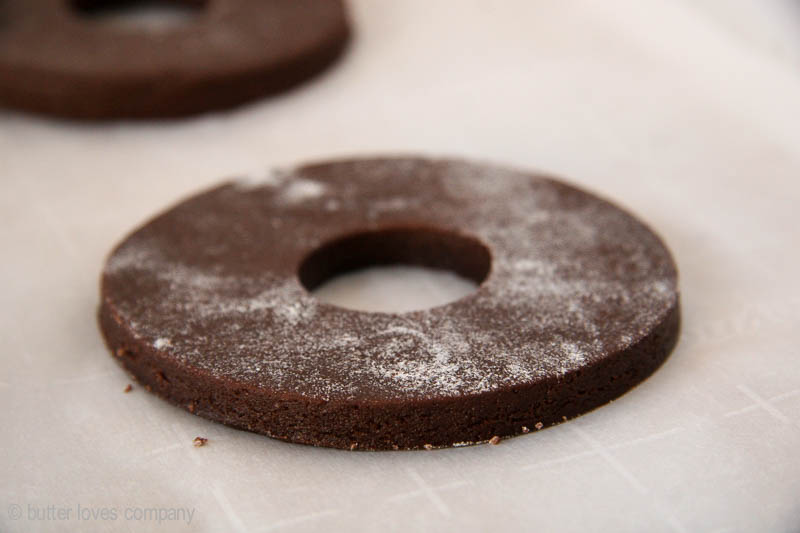
  3. Lightly flour a work surface and remove the dough from the refrigerator. Using a rolling pin, roll the dough out until it is between 1/4 inch and 1/2 inch thick. Using a cookie cutter of your choice, cut cookies out from the dough and transfer to the prepared baking sheets leaving 2 inches between each cookie. Cook for 8 to 11 minutes, or until the edges are firm and the centers are slightly puffed but still appear soft. Transfer to a wire rack to cool completely while you prepare the icing.
  4. To prepare the icing: in the bowl of a stand mixer fitted with a whisk attachment, combine the egg whites and vanilla and beat until frothy. Add confectioners’ sugar gradually and mix on low speed until sugar is incorporated and mixture is shiny. Turn speed up to high and beat until mixture forms stiff, glossy peaks (5 to 7 minutes). Transfer to a pastry bag and pipe onto the cooled cookies. (You can also use a knife to spread onto the cookies if you’d like.) While the icing is wet, sprinkle with nonpareils, if desired. You may have extra icing and you can keep it in a well-sealed container in the fridge for a couple days to use again!

brownie-thins-royal-icing-cookies-9


Is chocolate your jam? You should totally check out this recipe for Chocolate Pecan Torte with Strawberry Buttercream.


chocolate pecan torte with strawberry buttercream2


Filed Under: desserts and sweets, eat Tagged With: brownie cookies, brownies, chocolate cookies, dutch processed, royal icing

dutch-processed vs. natural cocoa powder

August 4, 2015 by Butter Loves Company

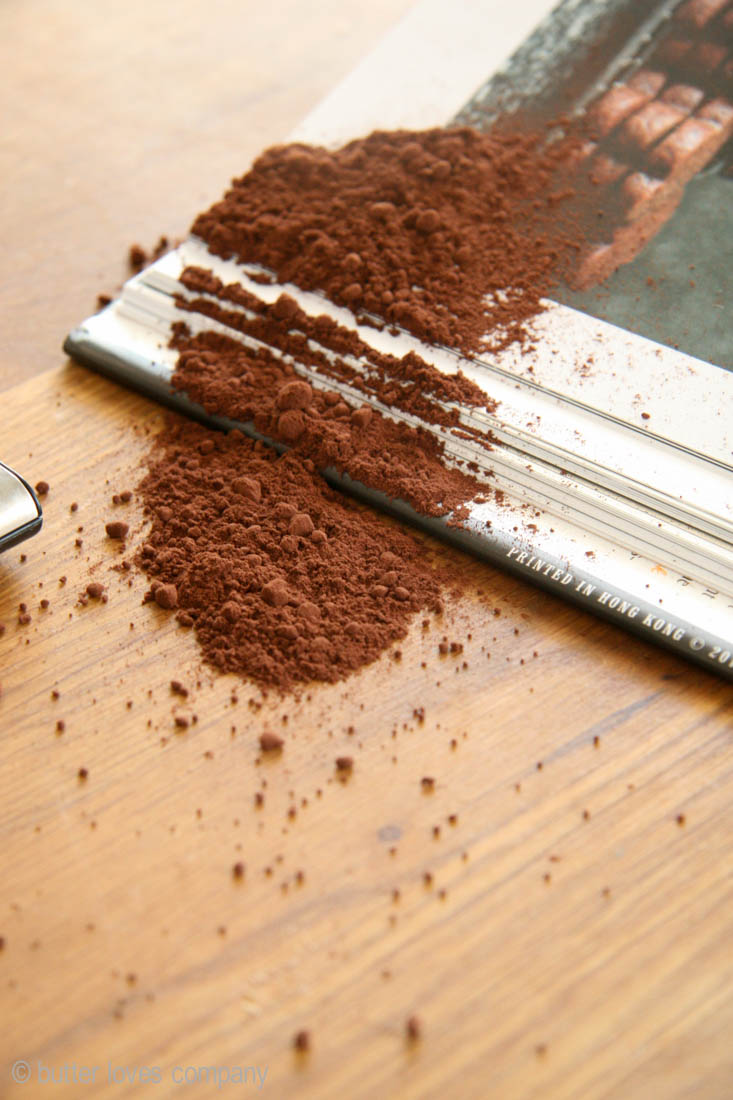
natural-versus-dutch-processed-cocoa-powder-1Have you ever noticed some recipes call for Dutch processed cocoa powder and others call for natural cocoa powder? Did you ever wonder what the difference was between the two? And, whether you can use one in exchange for the other? I know I’ve wondered all these things, so I did a bit of research and put my findings together for you here! Cocoa powder worries, no more!

Here’s the 411 on the difference between Dutch-Processed vs. natural cocoa powder:

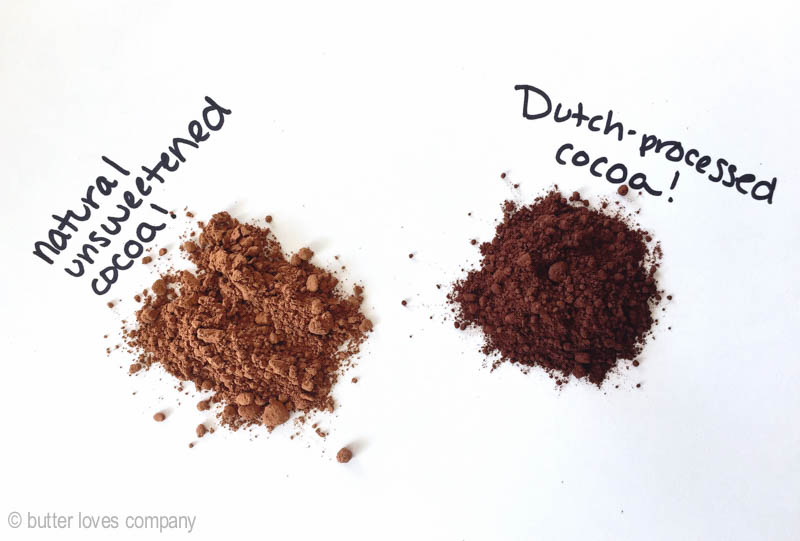
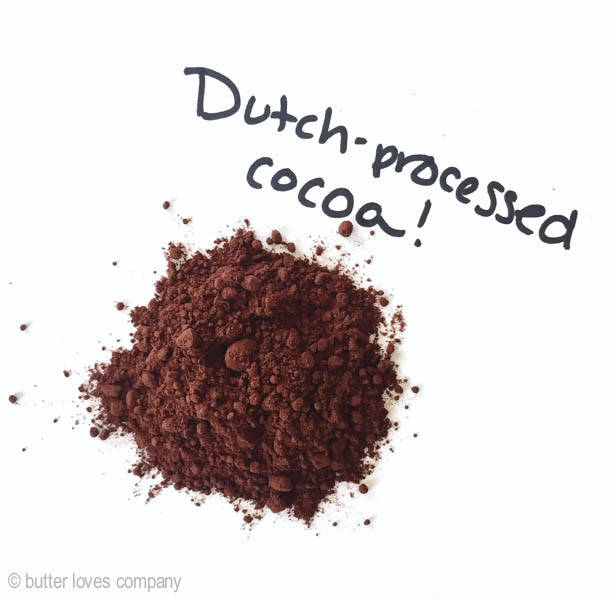
Dutch Processed (alkalized): Made from cocoa beans that have been washed in a potassium solution that neutralizes their acidity. This gives the cocoa powder a darker color and a generally smoother flavor. Since Dutch processed cocoa isn’t acidic, it doesn’t react with alkaline leavening agents like baking soda. That’s why recipes that use Dutch processed cocoa are usually leavened by baking powder, which has a neutral pH and takes care of the acid component that this type of cocoa lacks.

Features: Acid removed, darker color, smooth flavor, works best with baking powder

natural-versus-dutch-processed-cocoa-powder-2

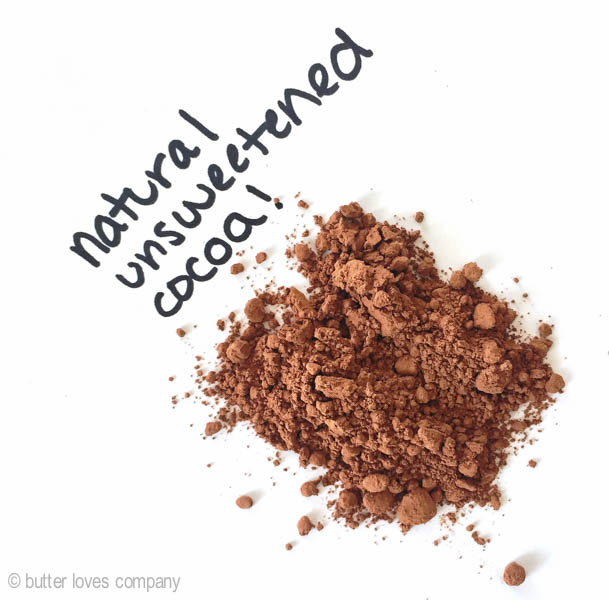
Natural (non-alkalized): Think Nestle and Hershey’s unsweetened cocoa powder. Made from cocoa beans that are roasted and then pulverized into a fine powder. Natural cocoa powders generally have a sharp and bitter flavor, a lighter color, and the acid is still present. Recipes using natural unsweetened cocoa powder are usually leavened by baking soda because baking soda is alkaline and reacts with the acidity of the cocoa powder.

Features: Acidic, lighter color, sharp flavor, works best with baking soda

natural-versus-dutch-processed-cocoa-powder-3

Which do I have?

If you can’t tell what type of cocoa you are using, take a closer look at the packaging. Dutch processed cocoa should say ‘Dutch processed,’ ‘alkalized,’ or ‘processed with alkali’ somewhere on the label or ingredient list. Natural cocoa is often labeled as ‘unsweetened cocoa powder’ or ‘unsweetened natural cocoa powder.’ According to Food52, “Absent the word alkalized or Dutch process on the label, you should be able to assume that the cocoa is natural.”

Can I use Dutch processed and natural cocoa interchangeably?

It depends on what you’re making. If the recipe does not call for a leavening agent such as baking soda or baking powder, you can use whichever cocoa powder you prefer the taste of: Dutch processed or natural (this would be for puddings, hot fudge sauce, ice cream, for example).

If a recipe does call for chemical leavening agents like baking powder or baking soda, things get more tricky. As always with baking recipes, it is best to follow as written or it is possible that things could get wonky with the texture or flavor.

If a recipe only calls for baking soda (and no baking powder), it likely uses natural cocoa (non-alkalized). It would not be a good idea to use Dutch processed for a recipe that calls for only baking soda because the alkalized Dutch processed cocoa would not react with the baking soda because it is also alkaline.

If a recipe only calls for baking powder (and no baking soda), it likely asks for Dutch processed cocoa (alkalized). In a pinch, you can use natural cocoa powder for a recipe that uses baking powder and calls for Dutch processed but you shouldn’t use Dutch processed for a recipe that calls for natural.

If a recipe calls for both baking powder and baking soda, it would be best to use the cocoa listed to get the proper balance of acid and alkaline.

Serious Eats wrote a helpful article about the science behind it all which goes into the different PH levels of the cocoa powders and leaveners.

Hope this helps clear up any cocoa questions you may have!

Filed Under: baking resources Tagged With: baking 101, cocoa powder, dutch processed, natural unsweetened cocoa powder

feta scallion buttermilk biscuits

July 28, 2015 by Butter Loves Company

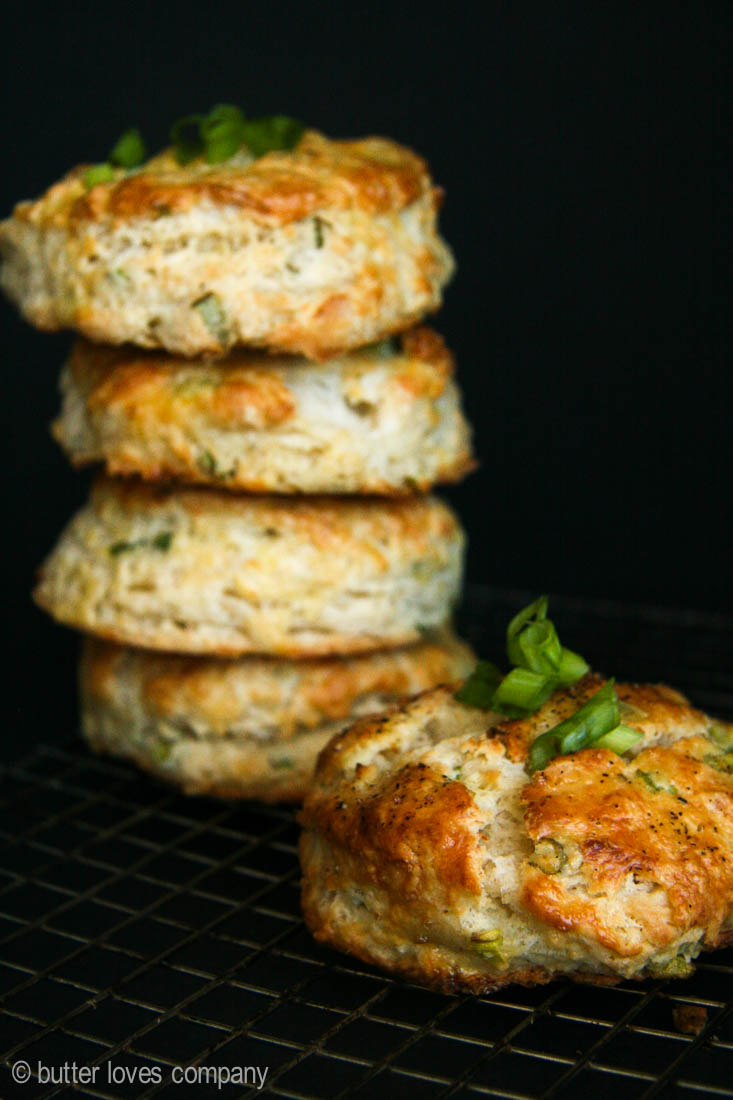
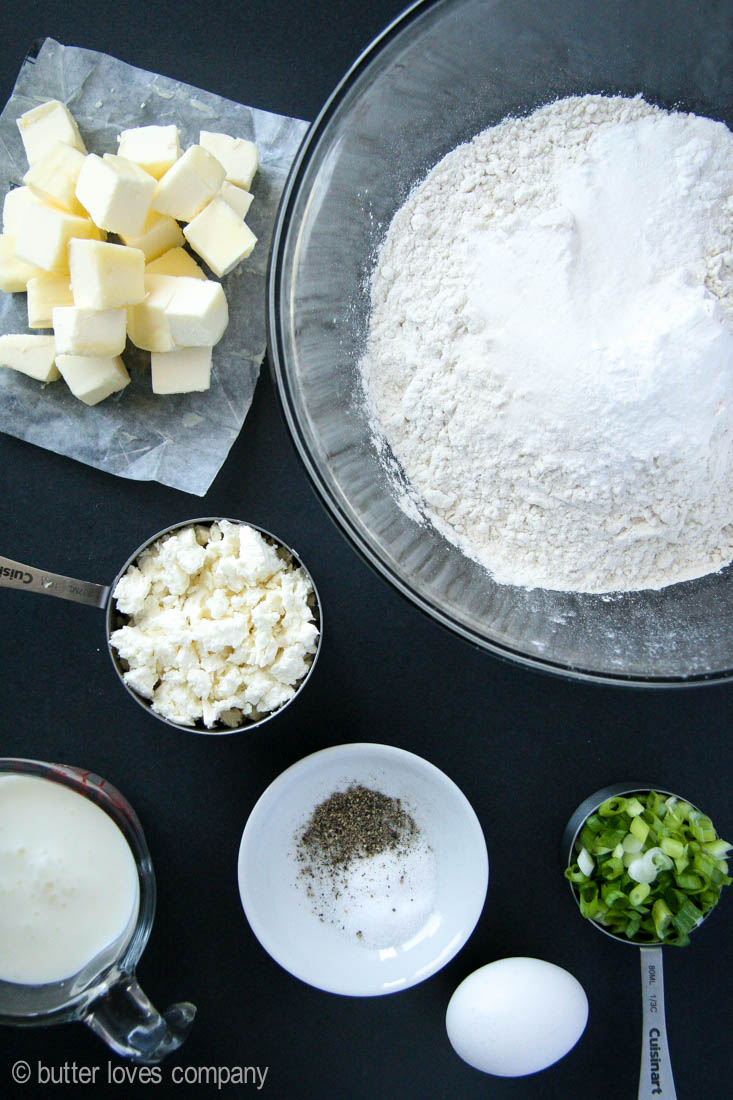
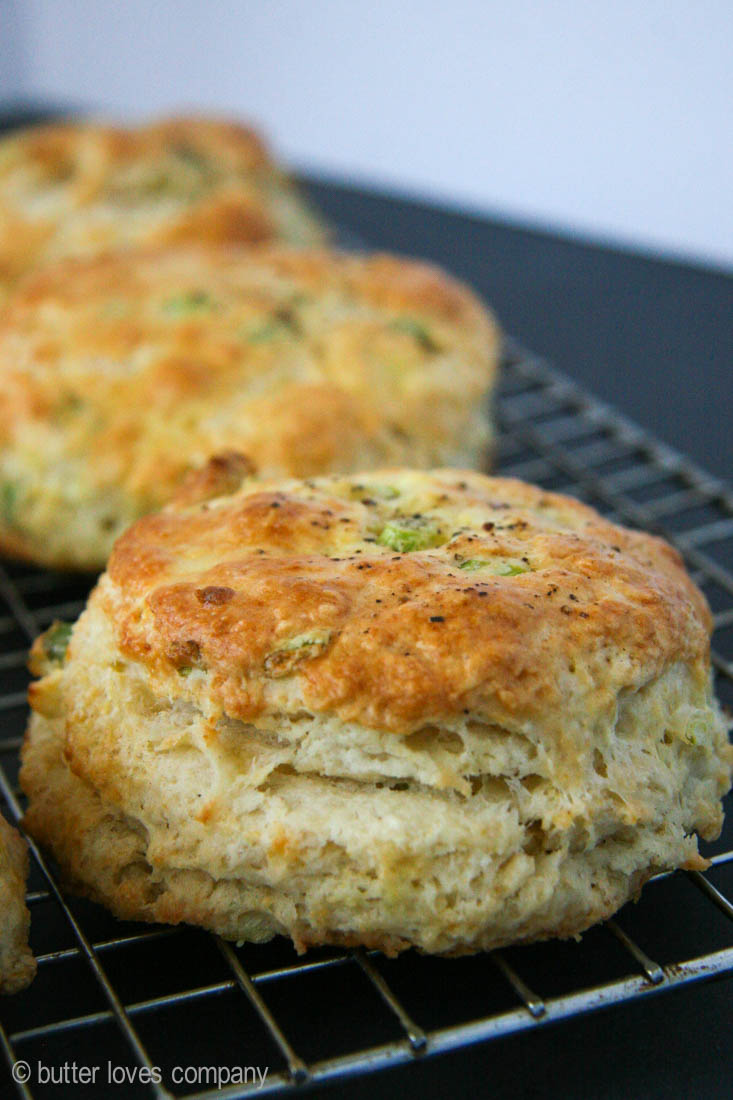
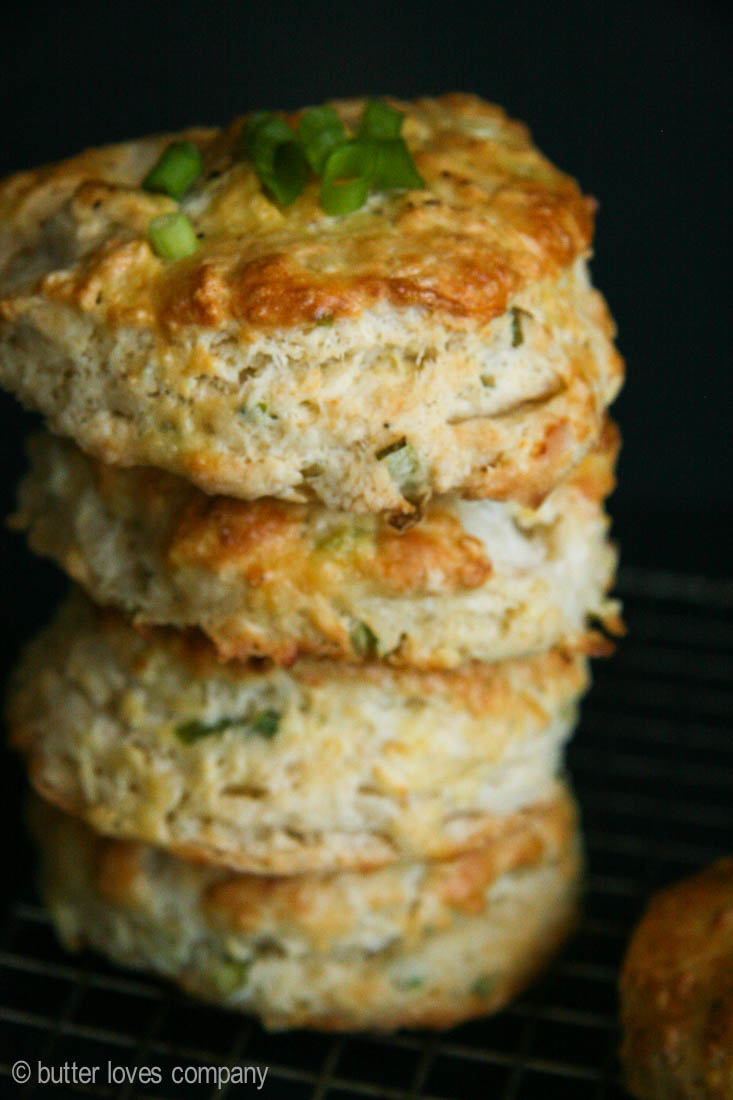
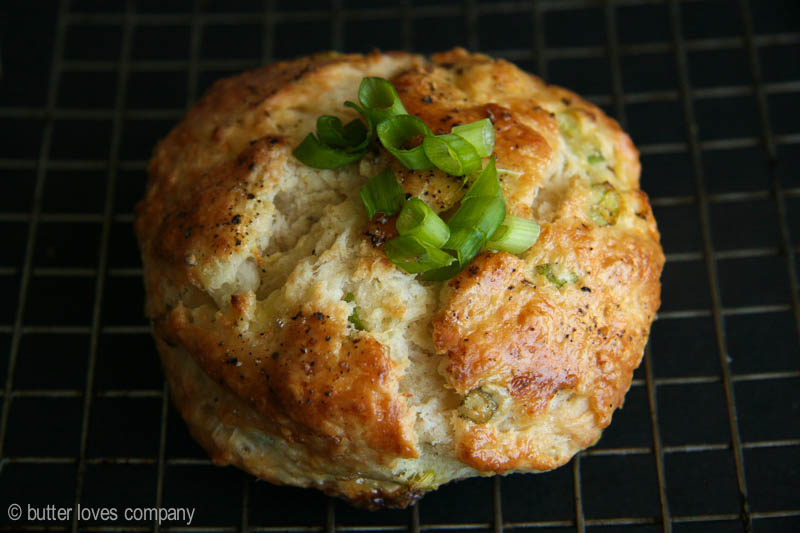
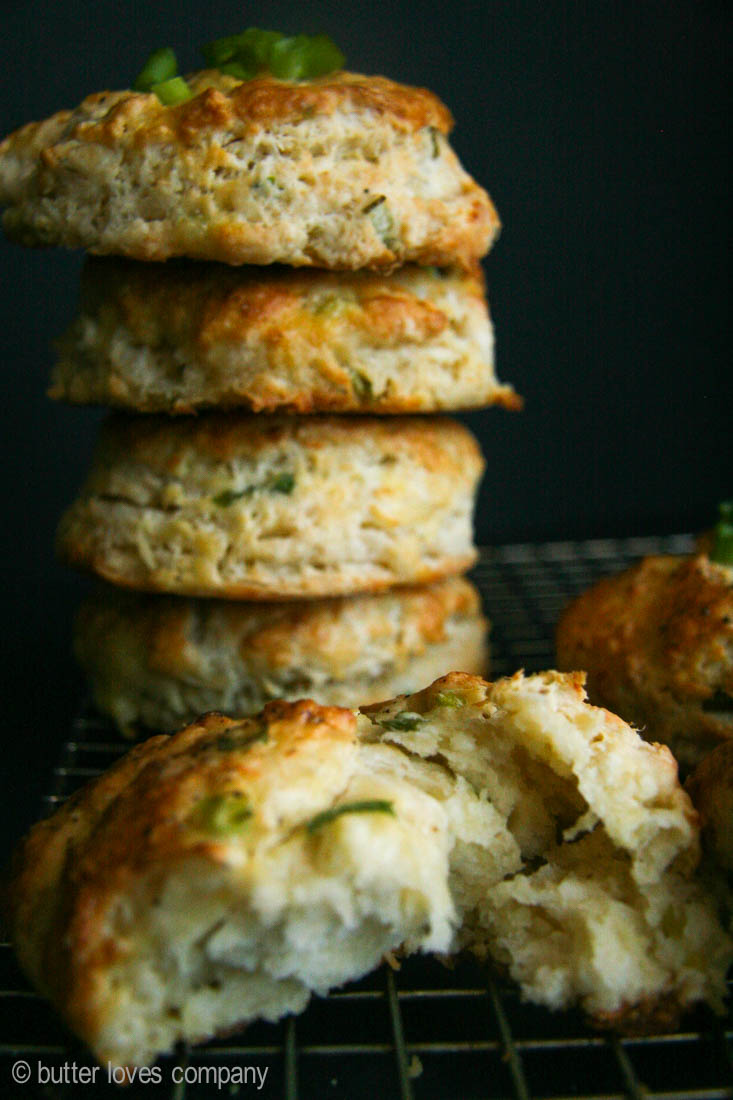
feta-scallion-buttermilk-biscuits-9Buttermilk biscuits get a savory punch in this easy recipe full of feta cheese and scallions. It’s kind of like a Greek take on the southern classic. You get the saltiness from the feta, the delicate onion flavor from the scallions, tang from the buttermilk and, flakiness from the really, really, really cold butter. If you don’t have buttermilk on hand, sour cream or Greek yogurt thinned out with a little bit of milk or cream will also work. You could make a killer breakfast sandwich on one of these biscuits or split one in half and griddle each side with butter and then serve warm with even more feta and scallions on top. Mmm, sounds so good.

This is a ONE BOWL biscuit recipe and you don’t even need a stand mixer or food processor, making it especially perfect when you don’t want to dirty too many dishes. We will, however, dirty our hands!

First things first, dice your butter and return it to the fridge to stay cold while you get things started. Because we’re using our hands to mix the dough, it is extra important to have all of your ingredients at the ready before you start. When you’re hands are covered in sticky dough and it comes time to add the feta, you’ll be happy it is by your side and not in the fridge. If you ever feel like the dough is sticking to your hands too much during mixing try rubbing them together as if you were trying to start a fire and the dough should roll right off!

If you like these, you should definitely also check out these blueberry buttermilk scones with homemade cinnamon sugar butter. They are my favorite and the butter is to die for!

feta-scallion-buttermilk-biscuits-1

feta-scallion-buttermilk-biscuits-2

feta-scallion-buttermilk-biscuits-4

feta-scallion-buttermilk-biscuits-5

feta-scallion-buttermilk-biscuits-8

feta-scallion-buttermilk-biscuits-6

feta-scallion-buttermilk-biscuits-7

feta scallion buttermilk biscuits
Adapted from Joy the Baker

prep time: 15 minutes
cook time: 15–18 minutes
total time: about 45 minutes

Ingredients:

3 cups all-purpose flour
2 tablespoons granulated sugar
2 1/2 teaspoons baking powder
1/2 teaspoon baking soda
3/4 teaspoon salt
1/4 teaspoon fresh cracked pepper, plus additional for sprinkling on top before baking
3/4 cup cold unsalted butter, cut into small cubes
1 large egg
1 cup cold buttermilk, well-shaken
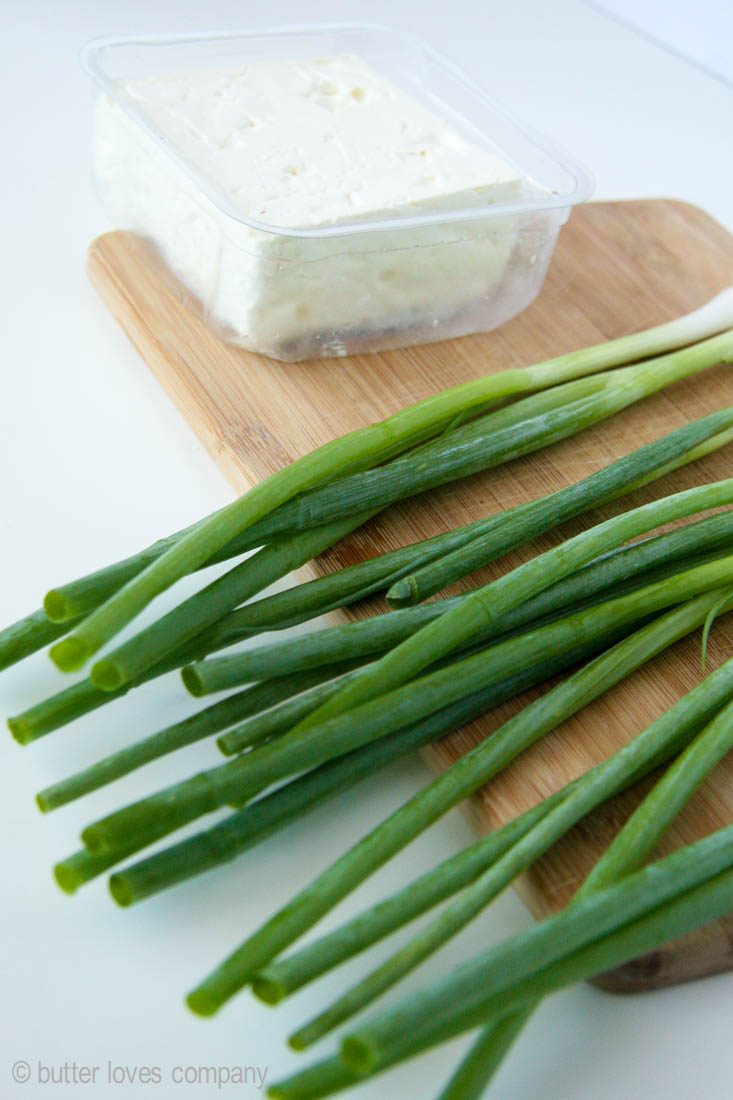
1/2 cup scallions, white and light green parts, thinly sliced (I recommend a very generous 1/2 cup)
1 1/2 cups feta cheese (Or bleu cheese if you’re feeling stinky!)
1 large egg, beaten, for egg wash

Instructions:

  1. Place a rack in the center of the oven and preheat to 400°F. Line a baking sheet with parchment paper and set aside.
    In a large mixing bowl, sift together flour, sugar, baking powder, baking soda, and salt. Add in the cold butter cubes (using your fingers or a pastry cutter) and work it into the dry ingredients until the butter flakes are the size of peas.
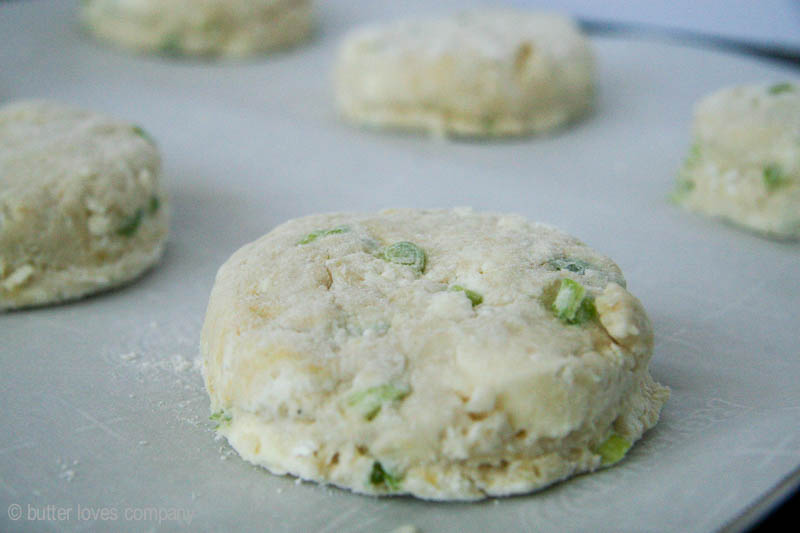
  2. Create a well in the center of the flour/butter mixture and add the cold buttermilk and egg into the well (a-la mashed potato and gravy volcano). Stir until the egg and buttermilk are just evenly distributed in the flour mixture. Add the scallions and feta cheese. Stir to combine until the biscuit dough starts clumping together into a ball. Be careful not to over mix.
  3. Turn dough out onto a floured surface and pat into a 3/4-inch thick circle (if the dough seems too wet, add a touch more flour). Using a 2 1/2-inch round biscuit cutter (or the top of a round drinking glass), cut biscuits out of the dough. Press any dough scraps together to make a few more biscuits out of the remaining dough.
  4. Place the dough circles 1-inch apart on the prepared baking sheet and brush lightly with egg wash. Sprinkle with fresh cracked black pepper. Bake for 15 to 18 minutes or until golden brown on top. Serve warm. Biscuits are best the day they’re made, but can be frozen and rewarmed in the oven on low heat.

Filed Under: breakfast and breads, eat Tagged With: biscuits, bleu cheese, buttermilk biscuits, feta cheese, green onion, scallion

favorite m&m cookies

July 23, 2015 by Butter Loves Company

mm-candy-cookies-12

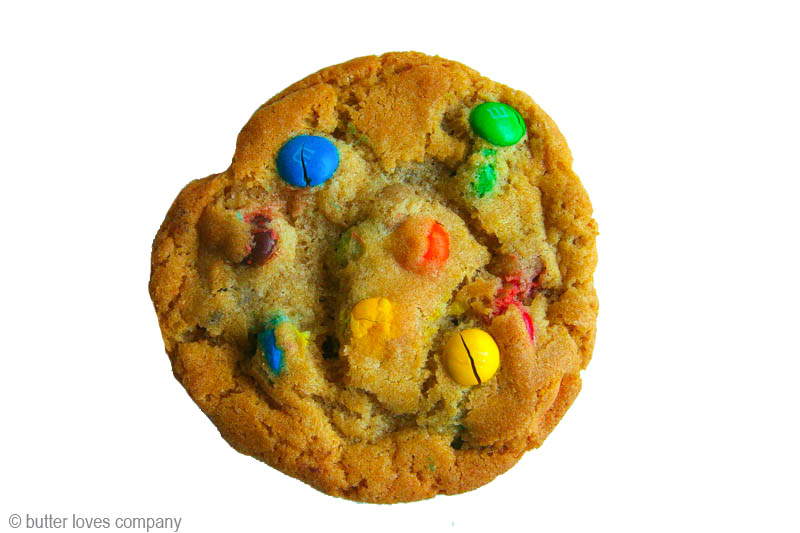
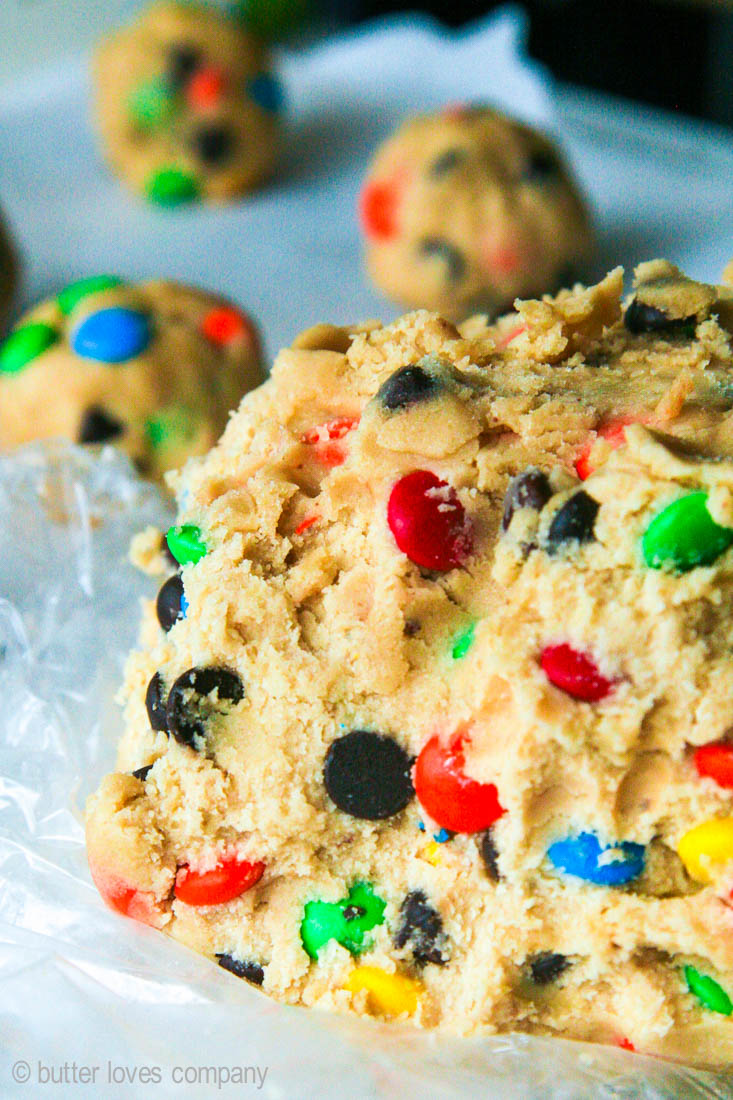
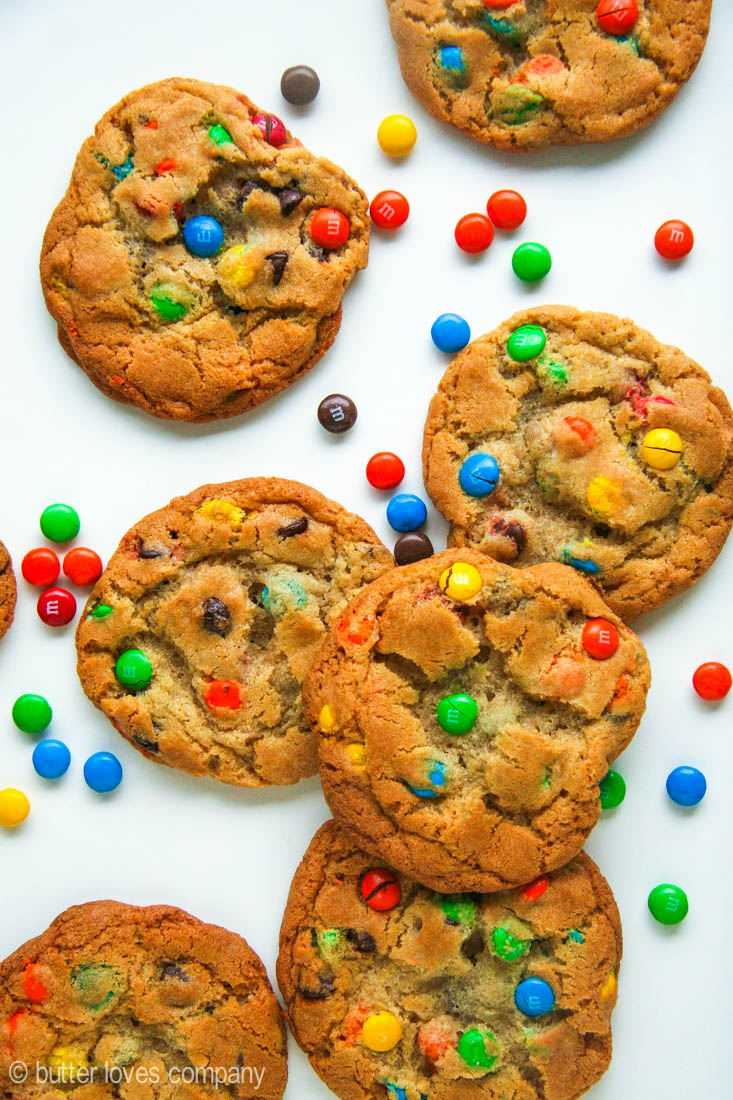
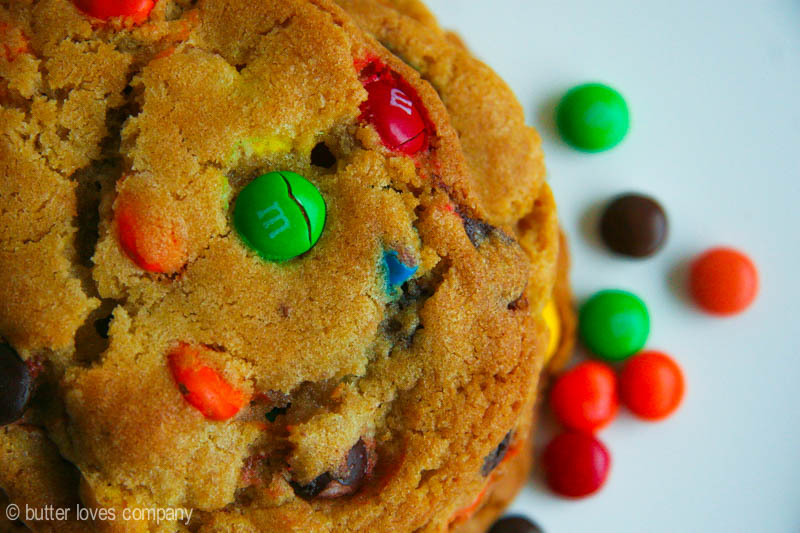
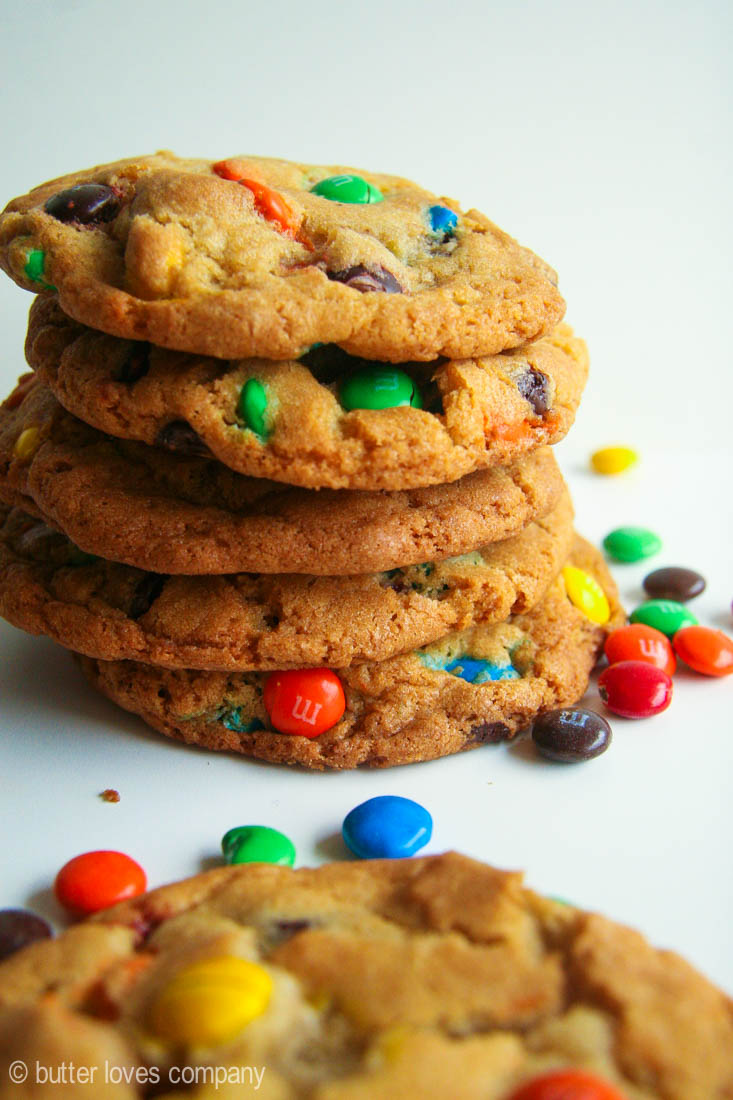
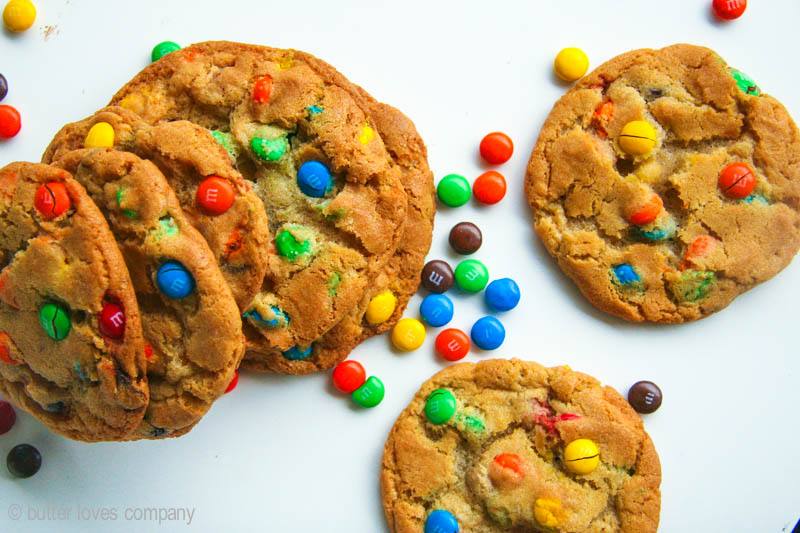
I would marry these cookies if I could. Seriously, they are my favorite. They are chewy, crunchy, sweet, colorful, comforting, fun, and yum, yum, yum.

I can’t even tell you how many times I have made these and they are always a hit. If you’re at all a fan of M&M cookies, you will love this recipe. The edges are crispy with a slightly caramelized flavor, and center remains chewy so you can still recognize the cracking of the M&M candy shells as you bite through. These are not ‘soft baked’ M&M cookies but they aren’t fully crisp either. They bend a little before they break, if that makes sense (cue Dashboard Confessional flashbacks).

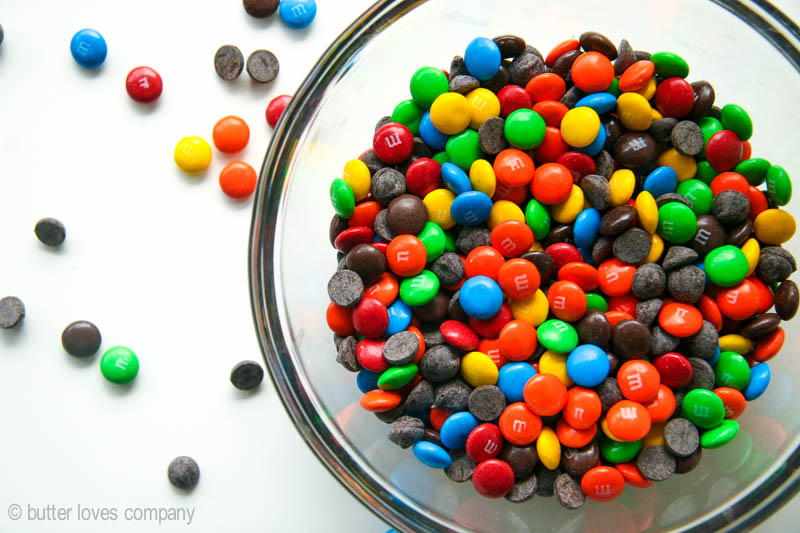
To balance out the sweetness of the milk chocolate candies, I like to add some bittersweet chocolate chips. They keep the cookie from being single noted. Semisweet works too, but it is best if they have at least 60% cocoa content. I use some from Surfas that are 72% cocoa.

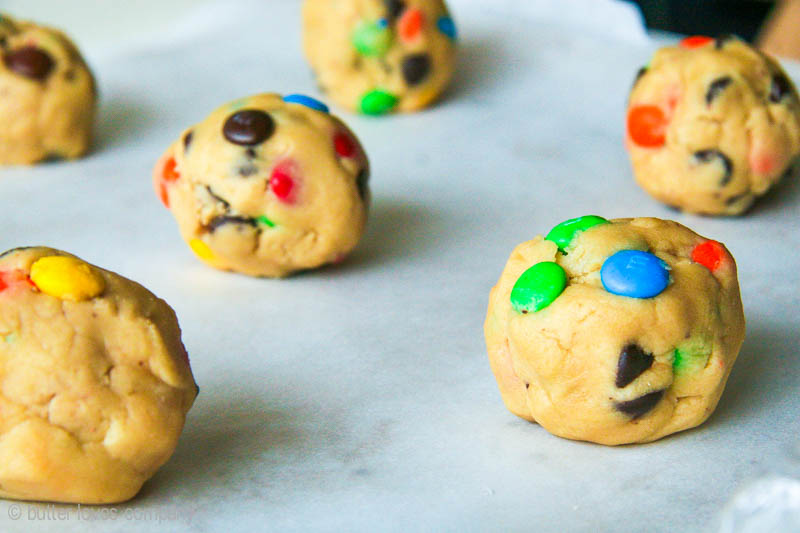
Here’s the part you’re going to hate: the dough really gets better if you let it chill 24 to 36 hours before you bake it. As the dough chills, it will gradually dry out, concentrating the flavors of all the ingredients. Concentration=flavor. If you can’t resist, bake a few cookies after letting the dough chill for 2 hours and then keep the remaining dough in the fridge for a day or two before you bake the rest. Oh, and this dough freezes amazingly well, so you can make it when you have some time, refrigerate for 24 to 36 hours and then transfer it to the freezer for up to a month. When you’re ready to bake, remove the dough from the freezer and let it sit out for a few minutes until it is scoop-able, but still cold, and then bake as usual.

mm-candy-cookies-11

mm-candy-cookies-10

mm-candy-cookies-8

mm-candy-cookies-6

mm-candy-cookies-1

mm-candy-cookies-4

mm-candy-cookies-3

favorite m&m cookies
Adapted from Jacques Torres in The New York Times

Prep Time: 15 minutes
Cook Time: 18 minutes
Total Time: 2 hours and 40 minutes (includes the minimum chill time)
Makes 1 1/2 dozen 5-inch cookies (Or a lot more smaller ones!)

Ingredients:

2 cups minus 2 tablespoons (8 1/2 ounces) all-purpose flour
1 2/3 cups (8 1/2 ounces) bread flour
1 1/4 teaspoons baking soda
1 1/2 teaspoons baking powder
1 1/2 teaspoons coarse salt
2 1/2 sticks (1 1/4 cups) unsalted butter
1 1/4 cups (10 ounces) light brown sugar
1 cup plus 2 tablespoons (8 ounces) granulated sugar
2 large eggs
2 teaspoons natural vanilla extract
16 ounces (about 2 cups) M&M candies
3 ounces (about 1/2 cup) bittersweet or semisweet chocolate chips (best if at least 60 percent cacao content)

Instructions:

  1. Sift flours, baking soda, baking powder, and salt into a bowl. Set aside.
  2. Using a mixer fitted with paddle attachment, cream butter and sugars together until very light and fluffy, about 5 minutes. Add eggs, one at a time, mixing well after each addition. Stir in the vanilla. Reduce speed to low, add dry ingredients and mix until just combined but not fully incorporated, 5 to 10 seconds. Drop chocolate pieces and candy in and mix on low until just incorporated. Wrap the dough in plastic wrap and refrigerate for 24 to 36 hours (or at least 2 hours).
  3. When ready to bake, preheat oven to 350°F. Line a baking sheet with parchment paper. Set aside.
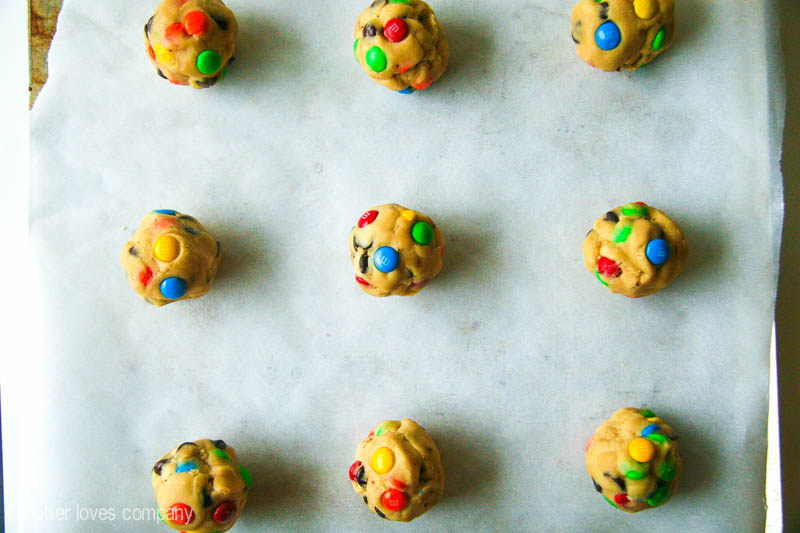
  4. Scoop dough into about 2 1/2-ounce golf ball-sized rounds and place on the baking sheet with about 3 1/2 inches between cookies. Bake until golden brown, but still soft, 18 to 20 minutes. Remove from oven and let cool on the sheet for 5 minutes before transferring to a wire rack to cool completely. (Or until you just start eating them.) Repeat with remaining dough, or reserve dough, refrigerated, for baking remaining batches the next day You may also freeze the remaining dough for up to a month; make sure you triple wrap in plastic before doing so.

mm-candy-cookies-2

Filed Under: desserts and sweets, eat Tagged With: candy cookies, M&M, mm cookies, new york times

peach blueberry pie

July 21, 2015 by Butter Loves Company

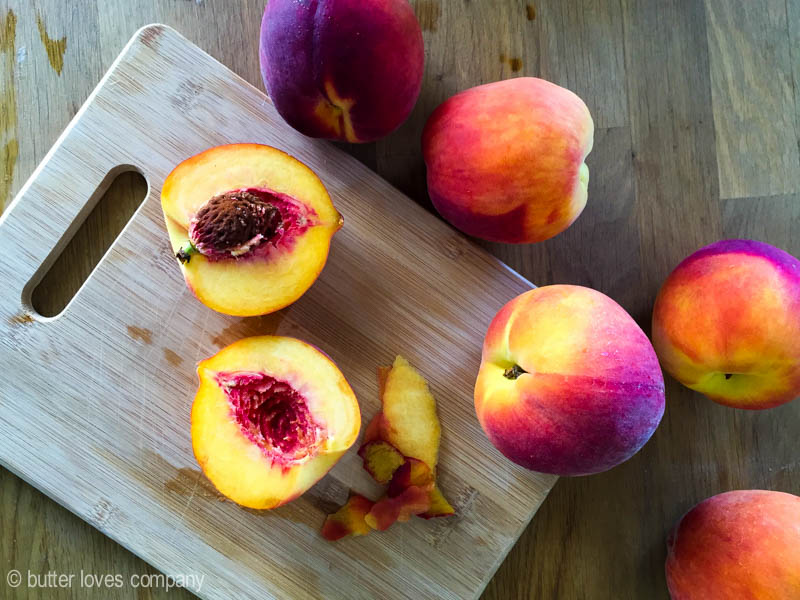
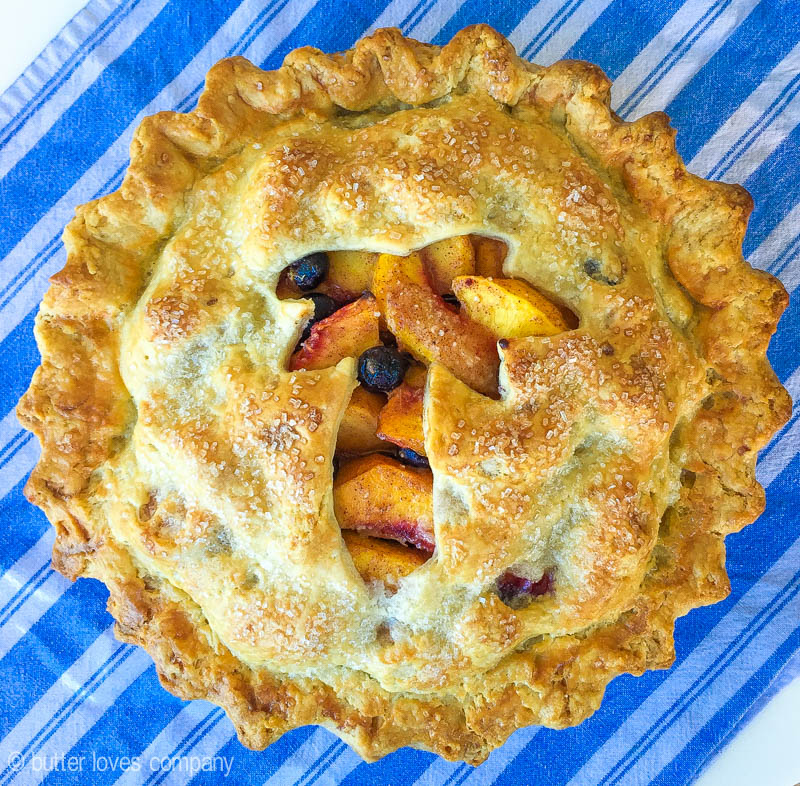
Let’s continue to highlight summer’s fruit bounty between two buttery pastry layers, cool? Sweet, fresh peaches and juicy blueberries star in this easy, summer pie that is perfect for your next summer gathering. You want to know how we get the great blueberry flavor into the pie?

Just kidding, but how adorable is that commercial?? Makes me laugh every time.

As always, you can use a frozen pie crust if you’d like, but I do think it’s worth making one from scratch. If you have a food processor, it’s simple: mix the dry, add the fat, ‘glue’ together. I usually go for an all-butter crust but this time we’re switching it up with the addition of shortening. I’ve heard many times that when it comes to pie crust, butter adds the flavor and shortening adds the flakiness. While my heart still belongs to all-butter crust, this recipe from Ina Garten is excellent and yields a light and tender crust that is very easy to work with (Yay Ina!).

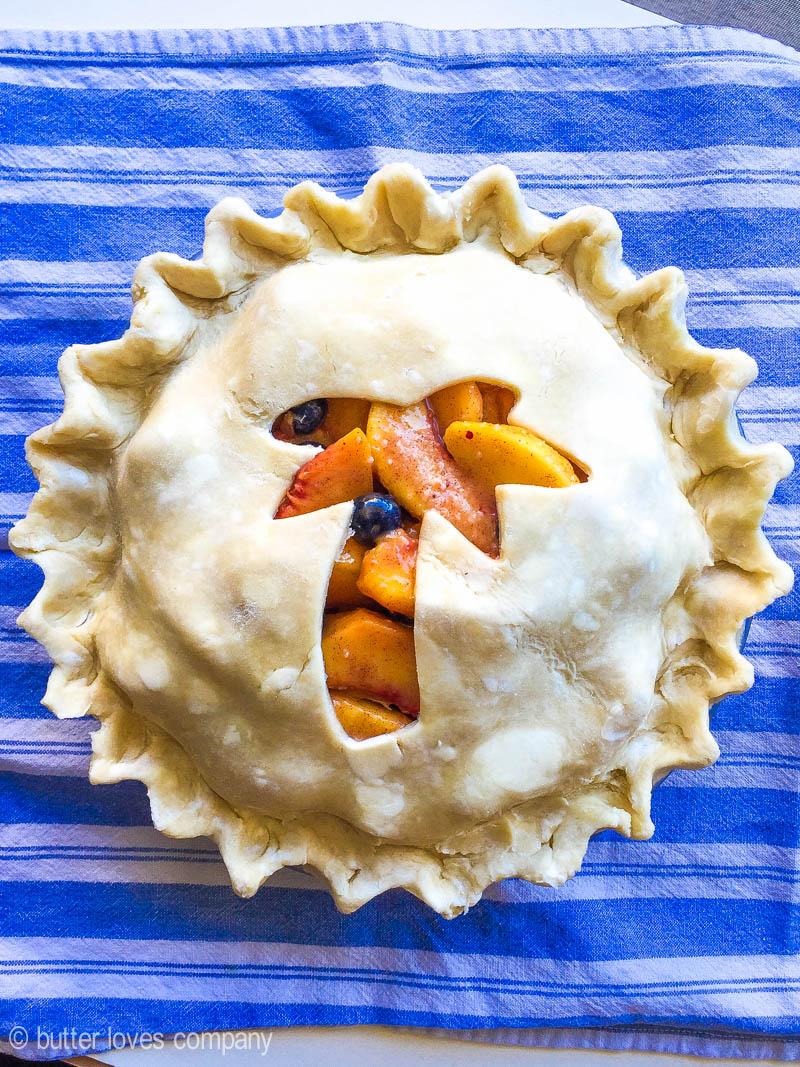
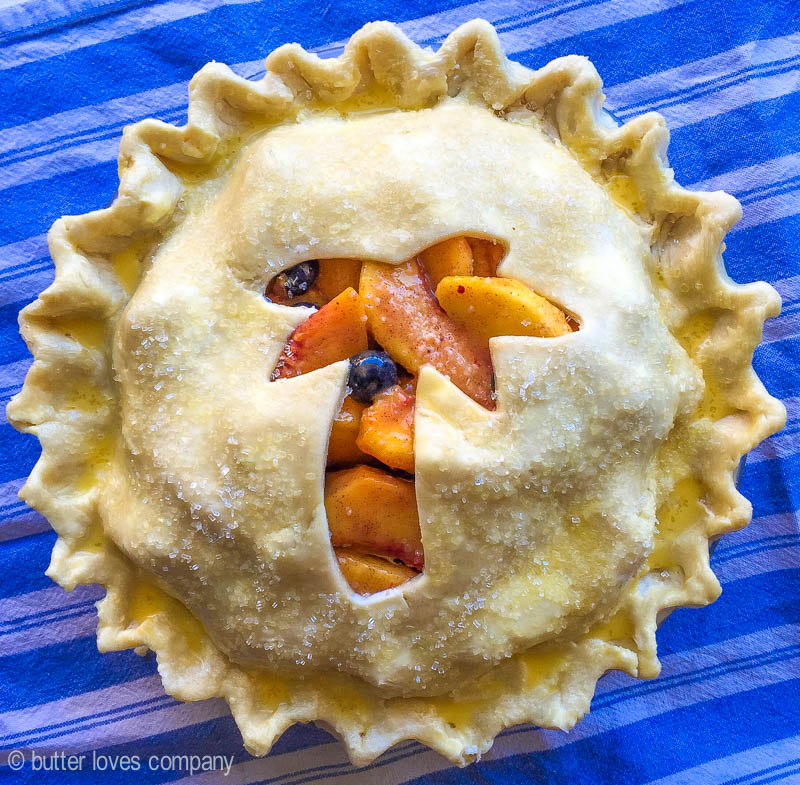
Did you know you can easily customize your pie crust simply by using a regular cookie cutter? I was feeling a little tropical when I rolled out the crust so I grabbed a palm tree-shaped one from my collection and got started on my tropical vacation pie! I also carved out the insides of a pineapple and filled it with a frozen pina colada to enjoy while the pie was in the oven. Kidding, but that does sound fun. Let’s do that next time!

peach-blueberry-pie-1

ina garten’s perfect pie crust
recipe from food network

prep time: 10 minutes
makes enough for one double-crusted pie

Ingredients:

12 tablespoons (1 1/2 sticks) very cold unsalted butter
3 cups all-purpose flour
1 teaspoon kosher salt
1 tablespoon sugar
1/3 cup very cold vegetable shortening
6 to 8 tablespoons (about 1/2 cup) ice water

Instructions:

  1. Dice the butter and return it to the refrigerator while you prepare the flour mixture. Place the flour, salt, and sugar in the bowl of a food processor fitted with a steel blade and pulse a few times to combine.
  2. Add the butter and shortening and pulse 8 to 12 times, until the butter chunks are the size of peas.
    With the machine running, pour the ice water down the feed tube and pulse until the dough begins to form a ball. Dump out onto a floured board and gather it into a ball. Divide in half and shape each ball into a disc. Wrap each disc in plastic wrap and refrigerate for at least 30 minutes (preferably 1 to 2 hours). While the dough is chilling, proceed with pie recipe below.

peach blueberry pie
adapted from joy the baker

prep time: 30 minutes
cook time: 60 minutes
total time: about 2 hours
makes one 9-inch pie

Ingredients:

one recipe Ina Garten pie crust (above)
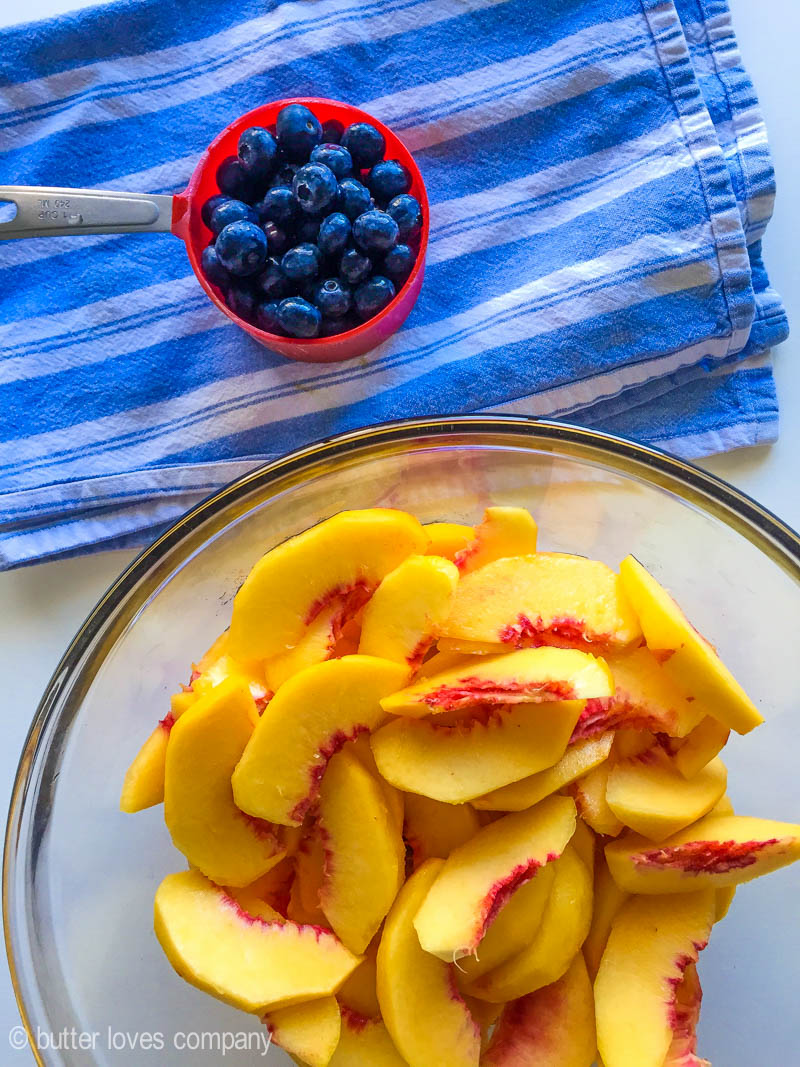
about 3 pounds ripe peaches, washed, peeled, and sliced into 1/2-inch thin pieces (about 5–6 medium peaches)
1 1/2 cup fresh blueberries
1/2 cup granulated sugar
1 teaspoon ground cinnamon
1/8 teaspoon ground nutmeg
1/8 teaspoon ground ginger
3 tablespoons all-purpose flour
1–2 tablespoons cornstarch (if your peaches are super juicy, use 2)
2 teaspoons fresh lemon juice
1 egg, beaten, for egg wash
2 tablespoons sparkling sugar, for sprinkling before baking

Instructions:

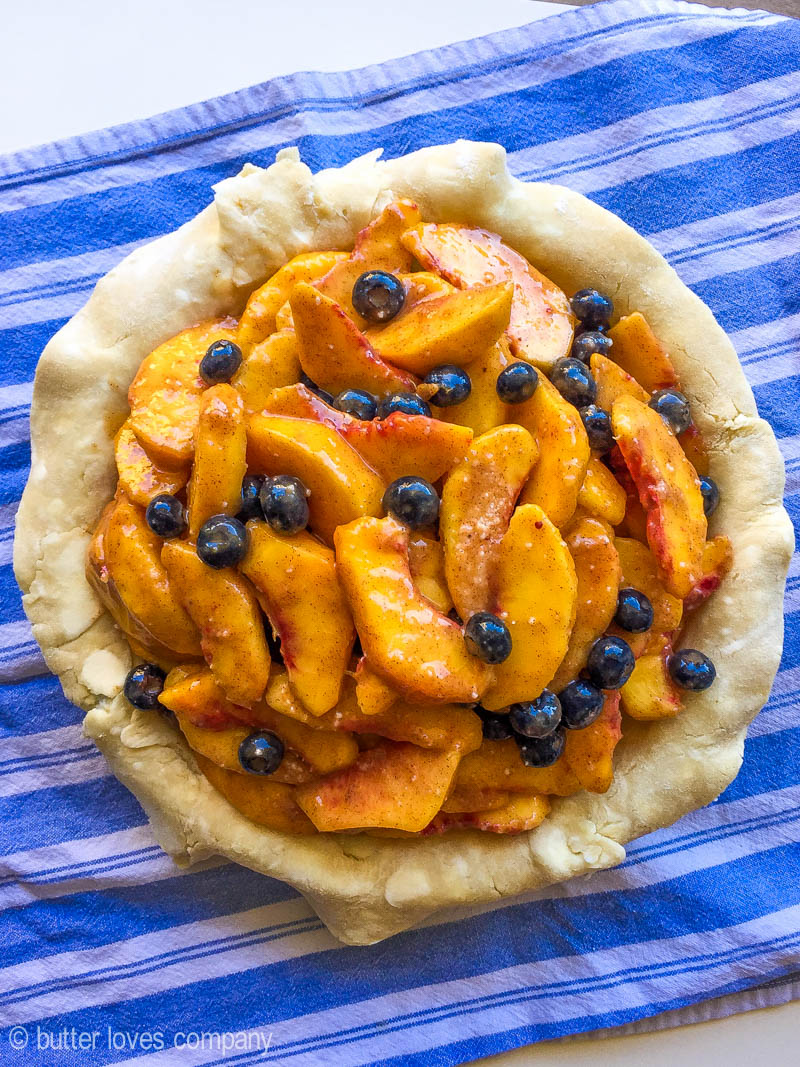
  1. In a medium bowl, combine peach slices and blueberries. In a small bowl, whisk together sugar, spices, flour, and cornstarch. Pour the sugar mixture over the fruit, and gently toss together to coat the fruit. Stir in the lemon juice. Place bowl of fruit in the fridge to rest while you roll the crust out.
  2. Preheat oven to 400°F. Place a rack in the center of the oven, and place a baking sheet on the lower rack, just below where you’re going to place the pie (to catch any fruit juices that may bubble over).
  3. Remove one of the chilled pie dough disks from the fridge. On a lightly floured surface, roll dough out into about a 13-inch round, making sure to lift each side up off the surface every once in a while to make sure it is not sticking. Gently lift the 13-inch round from the floured surface and center in the 9-inch baking dish. (Tip to help transport the dough: Fold the crust in half and then in half again. Place the dough in the pan with the pointed side of the folded dough in the center. Unfold.) Place in the fridge while you roll out the top crust.
  4. Roll out the top crust into a roughly 13-inch circle just like you did with the bottom crust (here is when you could use cookie cutters to design the crust if you’d like). Remove the bottom crust and fruit filling from the fridge. Gently pour the fruit filling into the pie dish. Carefully lift the top crust from the work surface and lay it over the fruit in the pie dish. If necessary, trim the crust, leaving about 3/4-inch overhang around each side. Press the top and bottom crusts together to seal and then fold the crust edges under. Crimp the edges of the dough with your hands or a fork. If you did not make cut outs in the top crust, make sure to use a knife to add a few small slits to the crust (for air ventilation while it is cooking). Brush lightly with egg wash and sprinkle with sparkling sugar.
  5. Place pie in the oven and bake at 400°F for 15 minutes. Reduce the oven heat to 375°F and bake for 45 to 55 more minutes. Remove from the oven when crust is browned and golden, and the juices are bubbling. Allow to cool for at least 2 hours before serving. Store in the fridge for 3 to 4 days covered with plastic wrap.

Filed Under: desserts and sweets, eat Tagged With: ina garten, ina garten pie crust, peach blueberry pie, peach pie, summer desserts

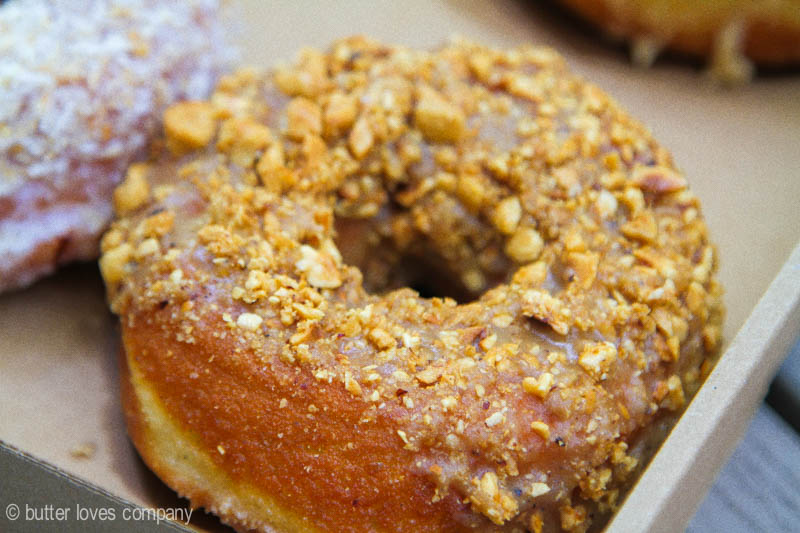
#donutstopdreaming – a union square donuts story

July 17, 2015 by Butter Loves Company

union-square-donuts-9
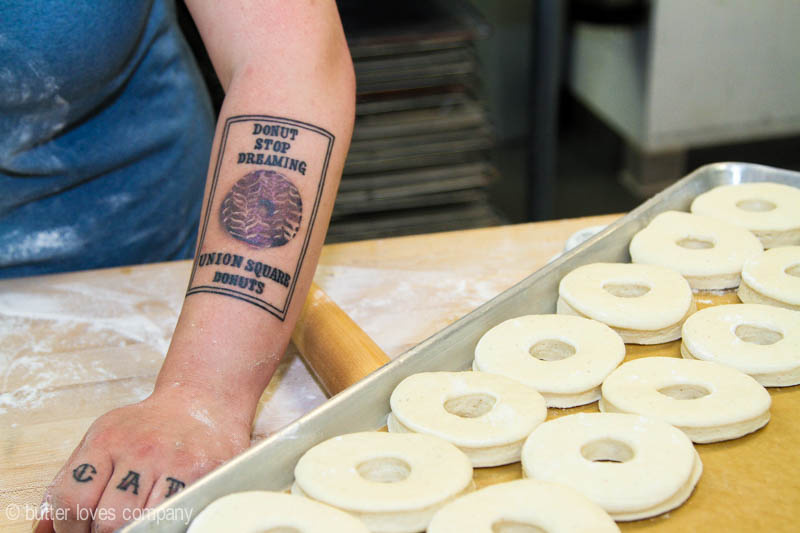
White flour clouds billow over a work surface where yeasted brioche-inspired dough is being hand rolled and hand cut. As each donut is precisely placed on large baking sheets, I catch a glimpse of a freshly inked tattoo across one team member’s forearm, “Donut Stop Dreaming,” it says. Underneath the inspiring words is an image of a perfectly glazed Chocolate Marble donut and the shop’s name, “Union Square Donuts.”

union-square-donuts-7

It’s no surprise the Somerville, MA artisan donut shop has experienced such growth within just two short years. The dedication from the team—and the community—is palpable.

The shop, co-owned by Josh Danoff and pastry chef Heather Schmidt, was not born out of a lifelong, or even week long, donut obsession, but rather a phone call from Danoff’s brother a couple years back: ‘we gotta do donuts,’ he said. At the time, Danoff and his siblings had been selling popsicles at farmer’s markets with their bicycle food cart business, Culinary Cruisers. But once the donut idea came up, gears quickly shifted. Danoff, who is actually a stonemason by trade, enlisted Heather Schmidt for her culinary expertise.

“Neither one of us had ever made a donut before,” says Danoff. “But Heather had been working on a dough recipe for a while so we were able to play with it to make it work for donuts.”

union-square-donuts-1

With the head start on a base recipe and the logistical infrastructure built by the popsicle production, things moved very quickly. The time between the team’s first meeting and their first event selling donuts was a mere two weeks; before they even had a website. From there, things took off.

Over the next two years, Union Square Donuts grew from only selling at farmer’s markets, to having their own shop with a shared kitchen, to moving into their current space—which is double the size of the first.

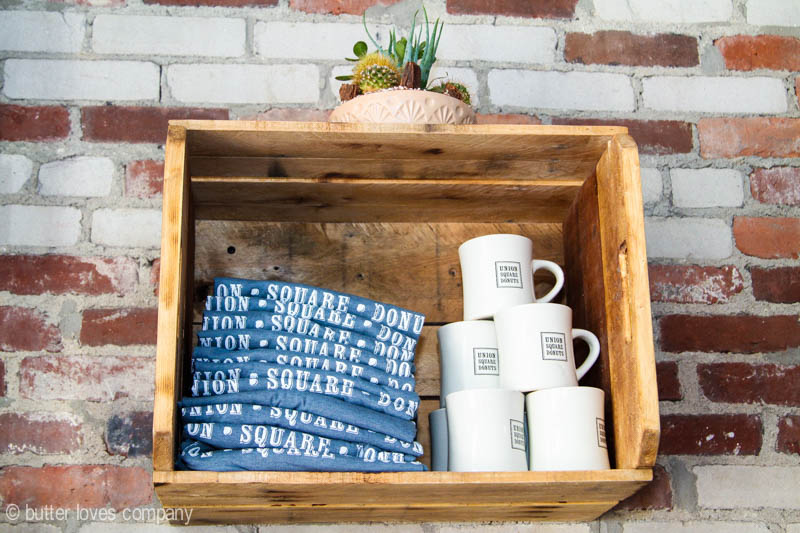
“It’s one of those things where, we had the product,” says Danoff. “We didn’t have a website, we didn’t have Instagram yet, I think that we started Twitter and Facebook accounts the day before we opened. We didn’t have T-Shirts. We just had really good donuts.”

union-square-donuts-15

And the team at Union Square Donuts doesn’t seem to be slowing down. Tickets to a recent event in collaboration with Harpoon Brewery sold out in less than one minute.

Fan art adorns the walls in Union Square Donuts’ bright and sunny 15-seat shop. One wall is lined with colorful post-it notes from guests; a number of which include cat drawings…which makes sense if you’ve ever visited the hyper-hip Somerville. Lines of hungry donut lovers continue to spill out their doors and onto the streets of Union Square waiting to get their fried treat. Arrive too late—even before noon—and you may find empty trays and your favorite donut (Boston Cream for me) sold out for the day. But, don’t worry, picking another flavor is hardly settling.

union-square-donuts-2

Each light and buttery donut is made using traditional pastry techniques and carefully crafted ingredients, but the team has been know to put some pretty interesting spins on things.

On a Monday, when the shop is closed to the public, members of the now 24-person crew are busy prepping dough and house-made glazes, sugars, jams, and creams. Music echoes through the kitchen; often hip-hop, sometimes Beyoncé, and for a short while both of David Hasselhoff’s albums made it into the rotation.

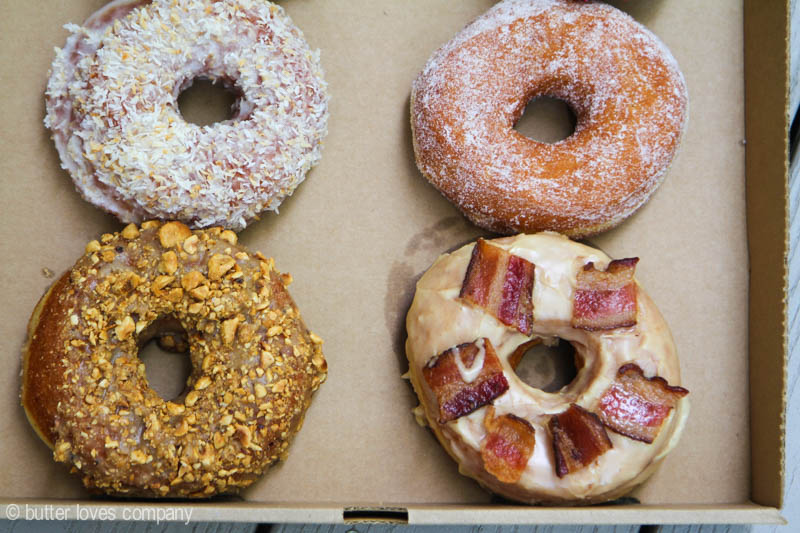
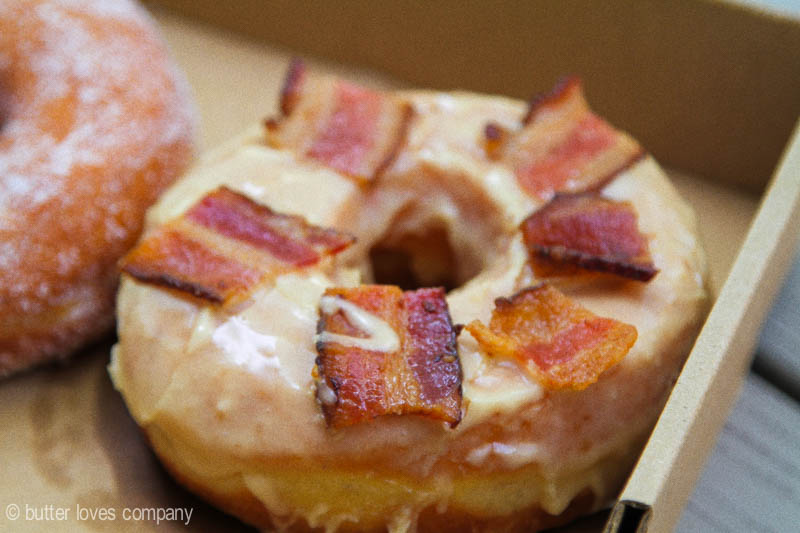
The smell of sweet dough is balanced with that of smoky bacon destined to top homemade maple glaze for their best-selling donut: The Maple Bacon. It comes as no surprise that the maple portion of this decadent donut comes from a special batch made exclusively for Union Square Donuts by a couple with a small sugar shack in Vermont.

union-square-donuts-14

“It’s like a pancake breakfast you don’t need a knife and fork for,” says Danoff.

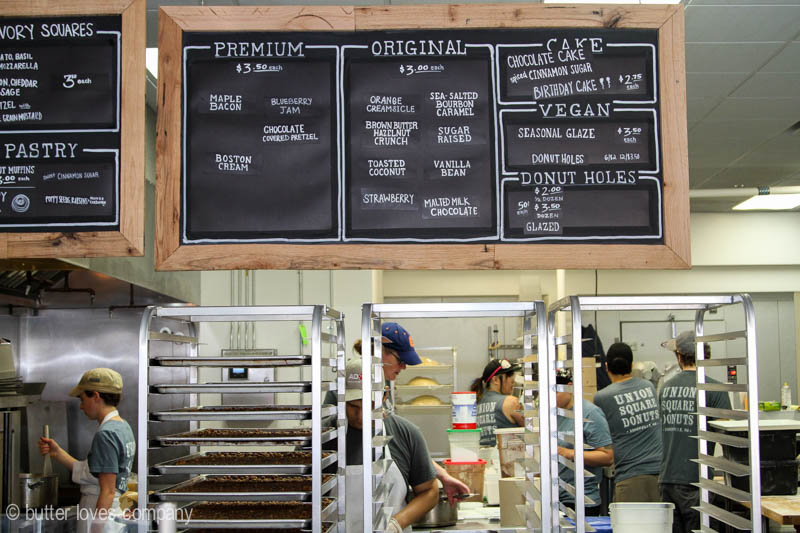
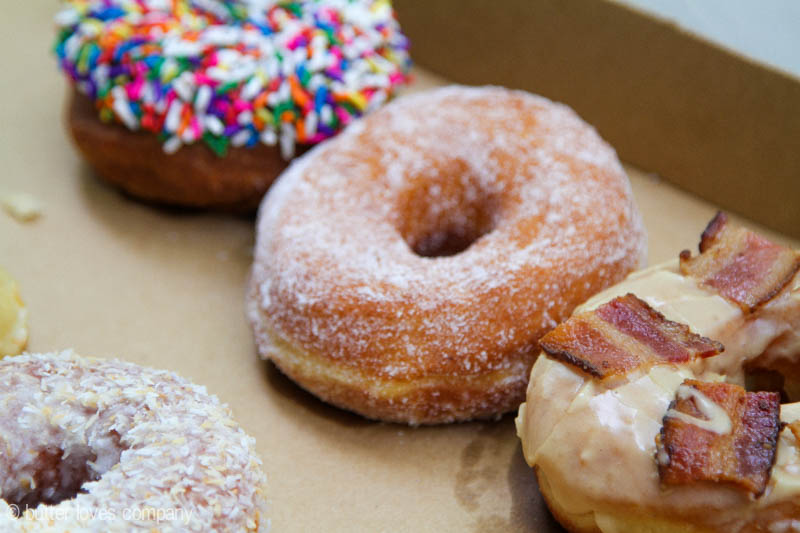
The Maple Bacon is a menu staple along with other flavors like Brown Butter Hazelnut Crunch, Sea Salted Bourbon Caramel, and Danoff’s favorite, the Sugar Raised.

“It’s tossed in superfine sugar, but the donut is just simple,” says Danoff about his donut of choice. “What I like most about the Sugar Raised is it highlights the dough and how good [it] is. When it’s warm, you get the sugar, the crunch and it is just soft and delicious.”

union-square-donuts-10

The team offers seasonal specials like: Carrot Cake, Orange Creamsicle, and Coffee Pastry Cream Filled. Each and every flavor of donut undergoes an intensive and satiating R&D process where the crew dissects the pastry layers and glazes until they find the perfect combination.

While the attention to the product has been a constant, some things have changed as the shop has grown. “There’s a brand now,” says Danoff. “In everything that we do we have to now think about ‘how does this represent us?’”

Greater attention is being paid to everything from social media messaging and images to what music is playing in the shop. The team is always thinking about how each part ties together as a whole brand. As Union Square Donuts continues to grow, so do the business discussions around sales trends, flavor launches, merchandise, and expansion.

union-square-donuts-11

Even with all these new considerations, Danoff likes to keep things in perspective:

“The great thing is we have to do all the same things that other businesses have to go through, but our endgame is donuts.”

Visit the incredibly cool crew of Union Square Donuts at their shop at 20 Bow Street in Somerville, MA and grab a box of their incredible donuts to-go (your friends will thank you). And, if you can’t stop dreaming about donuts when you’re on the other side of the Charles, check out the team’s upcoming space in Boston’s soon-to-open Public Market where they’ll be joined by other local growers and producers.

union-square-donuts-13

Filed Under: Uncategorized Tagged With: donuts, how to start a food business, maple bacon donuts, union square donuts

« Previous Page
Next Page »

Welcome!

jenna of butterlovescompany

Pull up a chair

Hi! I’m Jenna. Story seeker, food lover, recipe developer based in NYC. Firm believer in making every day delicious! Read more…

looking for something?

  • Email
  • Facebook
  • Instagram
  • Pinterest
  • RSS
  • Twitter

Latest Posts

  • Freezer Meals to Make Before Baby: How We Meal Prepped Before Baby
  • mom’s famous spiced pecans
  • funfetti cookie dough truffles (no-bake)
  • maple coconut cookies
  • snickerdoodle blondies

popular now

fresh peach coffee cake
one skillet chicken and saffron rice
boston cream pie cake
raspberry lime buttermilk cake with coconut cream cheese frosting
plum hand pies
bourbon banana bread

grammin’

Hi! I'm Jenna, founder of butter loves company. From holidays to Tuesdays, let's find a way to make every meal special.
  • Email
  • Facebook
  • Instagram
  • Pinterest
  • RSS
  • Twitter
a2f54ba1dcf0635e58c8be4aa2035ce84863a9d9606a428ab3

© 2013-2019 BUTTER LOVES COMPANY, LLC.

Copyright © 2026 · Foodie Pro Theme by Shay Bocks · Built on the Genesis Framework · Powered by WordPress