butter loves company

new york food blogger and lifestyle influencer

  • home
  • Recipes
  • travel
  • lifestyle
  • cookie orders
  • about
  • contact

fresh peach coffee cake

July 15, 2015 by Butter Loves Company

peach-coffee-cake-2

Summer time and the livin’s easy…scratch that, the livin’ is peachy!

It’s stone fruit season, which means it’s time to pick up all those fruits with large, “stone-like” seeds or pits. Think peaches, nectarines, plums, apricots, and even cherries. I recently purchased a few perfectly ripe, fresh peaches with the best intentions of using them for nutrient-rich smoothies or to top light summer salads.  Within moments, I accidentally reached for the butter and cinnamon and forget all about my original plans. When your hands are baking supply magnets, there is just no controlling them. As a result, today we are making this fresh peach coffee cake!

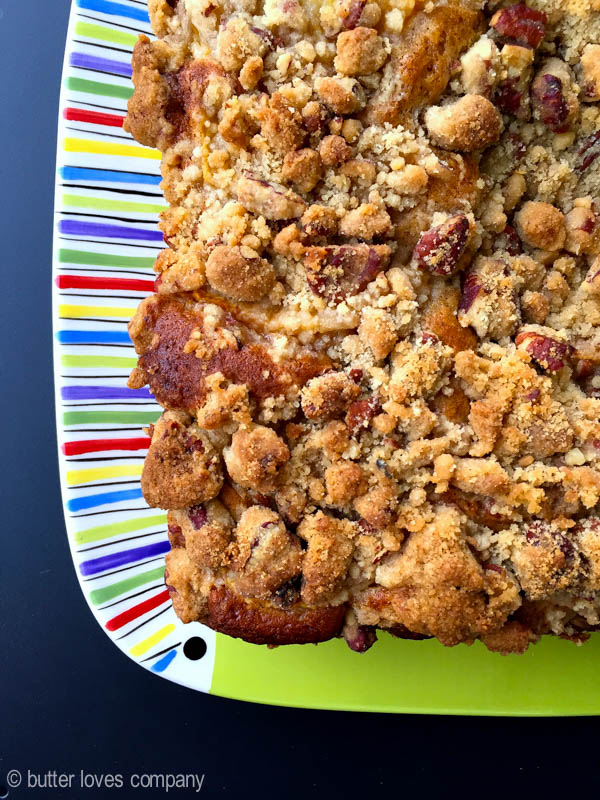
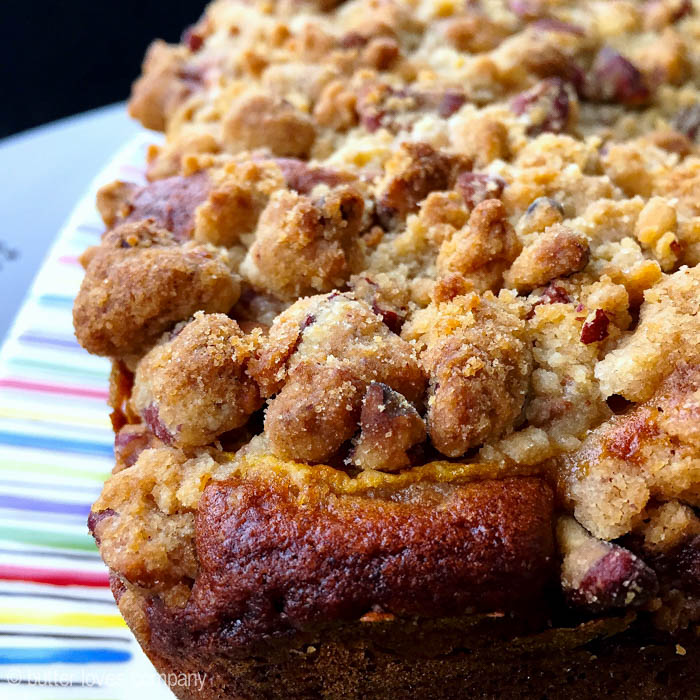
This easy recipe for fresh peach coffee cake has tang from sour cream, sweetness from juicy peaches, warmth from cinnamon, and crunch from double streusel. It is quick to prepare which is essential for those summer days when you don’t want to break a sweat in the kitchen.  Its crumb is dense yet moist so it holds its structure when sliced while its center remains tender to the bite. I always like to double my streusel, which is reflected in the proportions below. The more sweet, nutty clusters, the better, as far as I’m concerned. Feel free to serve this cake for breakfast or add a dollop of vanilla ice cream and a drizzle of honey for a sweet dessert.*

Like most coffee cakes and quick breads, this can be made ahead, but because of the fresh peach slices in this one, it is best eaten within a couple of days. Because it only calls for three fresh peaches, it is also the perfect option when you don’t have enough peaches to make a pie (another one of my peach favorites).

*I plan on making this for a Rihanna-themed dinner party. I shall call it Peach Better Have My Honey. It’ll accompany items like Love the Way You Pie, Where Have You Bean, Shut Up and Chive…I need to be stopped.
peach-coffee-cake-1

peach-coffee-cake-3

fresh peach coffee cake
adapted from Ina Garten

prep time: 20 minutes
cook time: 45–55 minutes
total time: about 1 hour and 30 minutes
makes one 9-Inch Square Cake

Notes: To be sure your cake doesn’t spill over during baking, try to use a pan with at least 2-inch edges. For mine, I used an 8-inch pan with 2.2-inch edges.

Ingredients:

1/2 cup (1 stick or 8 tablespoons) unsalted butter, at room temperature
1 cup granulated sugar
2 large eggs, at room temperature
1 cup sour cream or full fat Greek yogurt, at room temperature
1 teaspoon pure vanilla extract
2 cups all-purpose flour
1 teaspoon baking soda
1 teaspoon baking powder
1/2 teaspoon salt
1 teaspoon ground cinnamon
3 large, ripe peaches, peeled, pitted, and sliced

Streusel:

1 cup all-purpose flour
1/2 cup light brown sugar, packed
1/2 teaspoon salt
6 tablespoons unsalted butter, at room temperature
1 cup chopped pecans, toasted (you can toast them in the oven while it preheats)

Instructions:

  1. Preheat the oven to 350° Grease a 9-inch square baking pan (or an 8-inch pan with high edges), and then line the bottom of the pan with parchment paper and grease the paper.
  2. In the bowl of an electric mixer fitted with the paddle attachment, beat the butter and sugar for 3 to 5 minutes on medium speed, until light and fluffy. With the mixer on low, add the eggs, one at a time, until combined. Add the sour cream and vanilla, and mix until the batter is smooth.
  3. In a separate medium bowl, sift together the flour, baking soda, baking powder, salt, and cinnamon. With the mixer on low, slowly add the dry ingredients to the batter and mix just until combined.
  4. In a medium bowl (or the now-empty bowl you used for the flour mixture), prepare the streusel by combining the flour, light brown sugar, salt, butter and pecans. Using your hands, break the butter pieces into the flour. It is ready when most of the flour/sugar mixture sticks to the butter and forms little clumps.
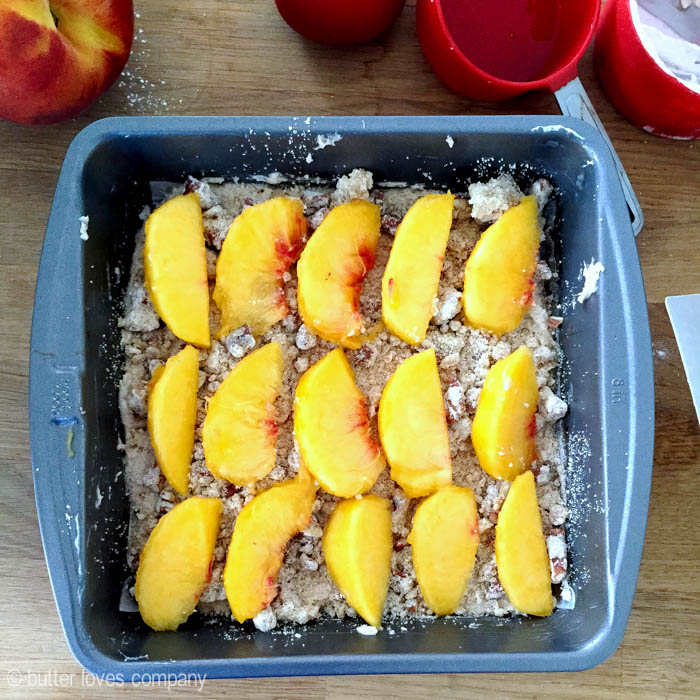
  5. Spread half of the cake batter evenly in the pan. Top with half of the peaches, then sprinkle with half of the streusel. Spread the remaining batter on top and then arrange the remaining peaches on top of the batter, followed by the remaining streusel.
  6. Bake the cake for 45 to 55 minutes, until a toothpick inserted in the center comes out clean. Serve warm or at room temperature.

If you like coffee cake, you should also check out this Brown Butter Banana Bread, with Crumble!
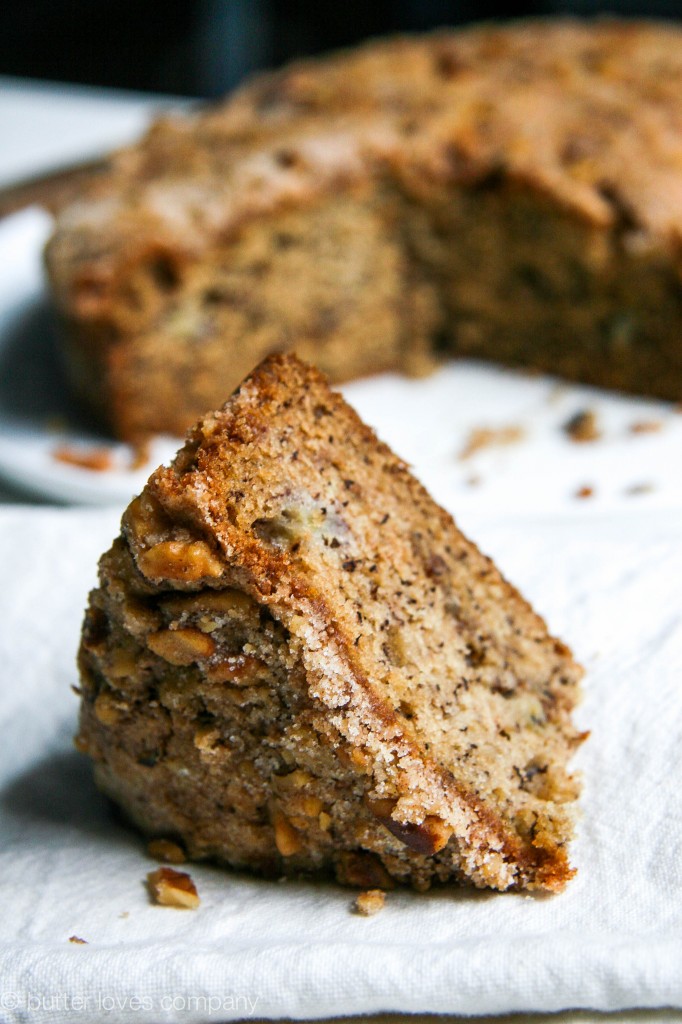
brown butter banana bread with crumble 8

Filed Under: breakfast and breads, eat Tagged With: coffee cake, fresh peaches, ina garten, peach cake

pan aux raisins

July 14, 2015 by Butter Loves Company

pan-aux-raisins-6

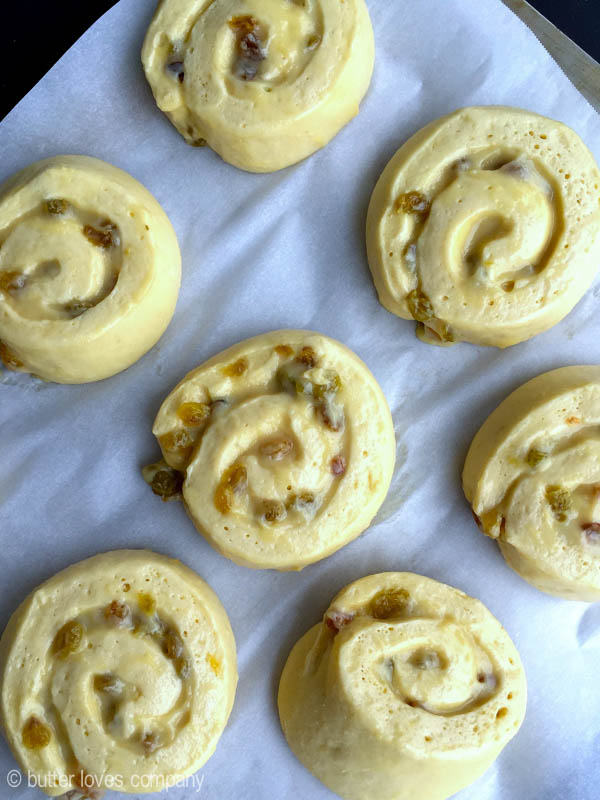
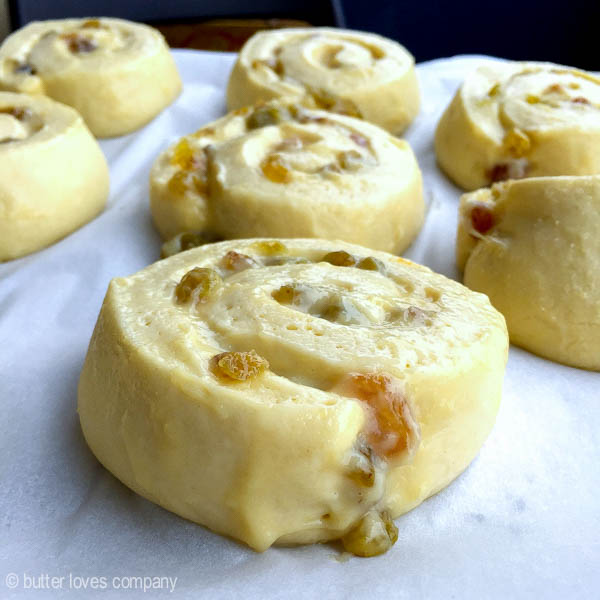
As part of my ongoing quest to become a Parisian woman (Happy Bastille Day!), I am teaching myself to make every traditional French pastry that I’m introduced to. This Pan aux Raisin is the next step in this journey of mine (see you soon almond croissant and kouign amann). Inspired by those sold at Flour Bakery and Cafe in Boston, these ‘tres chic’ brioche swirls are filled with pastry cream and plump golden raisins.

Bread with raisins? Total snooze-fest, right? I get it. I would’ve said the same thing before I made them but now I understand why they are Flour founder, Joanne Chang’s favorite pastry. They are a perfect subtly sweet, creamy, and doughy treat even for raisin haters (just go light-handed on the raisins or skip completely—they’ll still be good, I promise).

The basic brioche recipe here yields enough for two batches of Pan aux Raisins or you can freeze half the dough and save it to make plain brioche buns in a pinch. For ease and sanity, I suggest you prepare the brioche and the pastry cream the night before you’d like to enjoy the completed Pan aux Raisins. This will allow the brioche to proof in the refrigerator overnight and will also give the pastry cream time to cool and come to its thick, creamy, pudding-like texture. On the morning of baking, all of your components will be ready so all you’ll have to do is assemble, let rise for an hour or two, and then bake!

pan-aux-raisins-2

pan-aux-raisins-4

pan-aux-raisins-7

Pain aux Raisins
Recipe from Flour: Spectacular Recipes from Boston’s Flour Bakery + Cafe

prep time: 1 hour (plus overnight for proofing of dough/cooling of pastry cream
cook time: 30–40 minutes
total time: 12–14 hours (includes proofing time)
makes 10–12 pastries

Basic Brioche Dough (makes 2 loaves)

Ingredients:

2 1/4 cups (315g) all-purpose flour
2 1/4 cups (340g) bread flour
1 1/2 packages (3 1/4 tsps) active dry yeast
1/3 cup plus 1 tbsp (82g) sugar
1 tablespoon salt
1/2 cup (120g) cold water
5 large eggs
1 cup plus 6 tablespoons (310g) unsalted butter, at room temperature, cut into 10 to 12 pieces

Instructions:

  1. In a stand mixer fitted with the dough hook, combine the all-purpose flour, bread flour, yeast, sugar, salt, water, and the eggs. Beat on low speed for 3 to 4 minutes, or until all of the ingredients have come together and all the flour is incorporated into the wet ingredients. Once the dough has come together, beat on low speed for another 3 to 4 minutes.  The dough will be very stiff and seem quite dry.

  2. With the mixer on low speed, add the butter, one piece at a time, mixing after each addition until it disappears into the dough. Once you have added all the butter, continue mixing on low speed for about 10 minutes, stopping the mixer occasionally to scrape the sides and bottom of the bowl to make sure all of the butter is mixed in very thoroughly.
  3. Once the butter is completely incorporated, turn up the speed to medium and beat for another 15 minutes, or until the dough becomes sticky, soft, and somewhat shiny. It will take some time to come together. Once it has, turn the speed to medium-high and beat for about 1 minute.  You should hear the dough make a ‘slap-slap-slap’ sound as it hits the sides of the bowl. You can test the dough by pulling at it. It should stretch a bit and have a little give. If it seems wet and loose and moves more like a batter than a dough, add a few tablespoons of flour and mix until it comes together. If it breaks off into pieces when you pull at it, continue to mix on medium speed for another 2 to 3 minutes, or until it develops more strength and stretches when you grab it. It is ready when you gather it all together and pick it up in one piece.
  4. Place the dough in a large bowl or plastic container and cover it with plastic wrap, pressing the wrap directly onto the surface of the dough. Let the dough proof in the refrigerator for at least 6 hours or up to overnight. At this point, you can freeze all or half the dough in an airtight container for up to 1 week.

Pastry Cream (makes about 2 cups)

Ingredients:

1 1/4 cups (300g) whole milk
1/2 cup (100g) sugar
1/4 cup (30g) cake flour (if you don’t have it, here is a tutorial on how to make cake flour out of all-purpose flour at home)
1/2 teaspoon salt
4 large egg yolks
1 teaspoon vanilla extract

Instructions:

  1. In a medium saucepan, scald the milk over medium-high heat (bubbles start to form around the edge of the pan, but the milk is not boiling). While the milk is heating, in a small bowl, stir together the sugar, flour and salt. (Mixing the flour with the sugar will prevent the flour from clumping when you add it to the egg yolks.)  In a medium bowl, whisk the egg yolks until blended and then slowly whisk in the flour mixture (it will be pasty).
  2. Remove the milk from the heat and slowly add it to the egg-flour mixture, a little at a time, whisking constantly (you want to make sure that you only add a little at a time so the hot milk doesn’t cook the eggs in the mixture). When all of the milk has been incorporated, return the contents of the bowl to the saucepan and place over medium heat. Whisk continuously and vigorously for about 3 minutes, or until the mixture thickens and comes to a boil. At first, the mixture will be very frothy and thin; as it cooks longer, it will slowly start to thicken until the frothy bubbles disappear and it becomes more viscous. Once it thickens, stop whisking every few seconds to see if the mixture has come to a boil. If it has not, keep whisking vigorously. As soon as you see it bubbling, immediately go back to whisking for just 10 seconds, and then remove the pan from the heat. Boiling the mixture will thicken it and cook out the flour taste but if you let it boil for longer than 10 seconds, the mixture can become grainy.
  3. Pour the mixture through a fine-mesh sieve into a small heat-proof bowl. Stir in the vanilla, then cover with plastic wrap, placing it directly on the surface of the cream. This will prevent a skin from forming (Kind of like pudding!). Refrigerate for at least 4 hours, or until cold, or up to 3 days.

Pain aux Raisins

Ingredients:

1/2 recipe Basic Brioche dough
1 recipe pastry cream
1 cup (160g) golden raisins
1 cup (140g) confectioners’ sugar
2 to 3 tablespoons water
1/4 teaspoons vanilla extract

Instructions:

  1. Line a baking sheet with parchment paper.
  2. On a floured work surface, roll out the dough into a rectangle about 16 by 12 inches and 1/4 inch thick. It will have the consistency of cold, damp Play-Doh and should be fairly easy to roll. Position the rectangle so a long side is facing you.  Spread the pastry cream evenly over the entire surface of the dough and then sprinkle the raisins evenly over the cream.  Starting from the long side farthest from you and working your way down, roll up the rectangle like a jelly roll.  Try to roll tightly, so you have a nice round spiral. You can even-off the ends by trimming about 1/4 inch from either side.
  3. Use a sharp, serrated knife to cut the roll into 8–10 equal pieces, each about 1 1/2 inches wide.
  4. Place the pieces, cut-sides down, evenly on the prepared baking sheet. Cover the baking sheet lightly with plastic wrap and place in a warm spot to proof for 2 hours, or until the dough is puffy, pillowy and soft.
  5. Position a rack in the center of the oven, and heat the oven to 350°
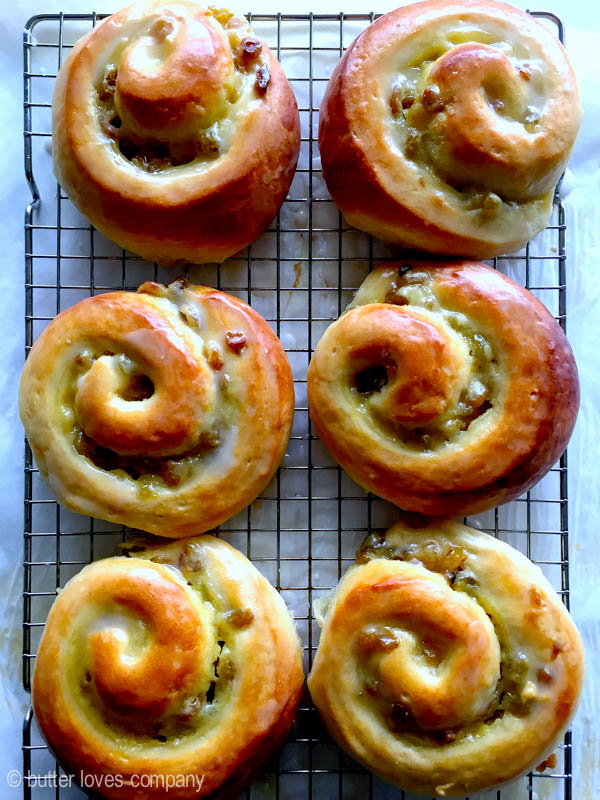
  6. Bake the pastries for 30 to 40 minutes, or until they are golden brown on the edges of the spiral and pale brown in the center.  Let cool on the baking sheet on a wire rack for 20 to 30 minutes.
  7. While the pastries are still hot, prepare the glaze. In a small bowl, whisk together the sugar, 2 tablespoons of the water, and vanilla until smooth. Add more water as needed to thin the glaze enough to make it spreadable. Generously brush the tops of the still-warm pastries with the glaze. The pastries are best served warm or within 4 hours of baking. They can be stored in an airtight container at room temperature for up to 1 day, and then warmed in a 300°F oven for 5 minutes before serving.

pan-aux-raisins-5

Filed Under: breakfast and breads, eat Tagged With: bastille day, brioche, flour bakery, french pastries, joanne chang, pan aux raisins

hong kong style bubble egg waffles (eggettes)

July 9, 2015 by Butter Loves Company

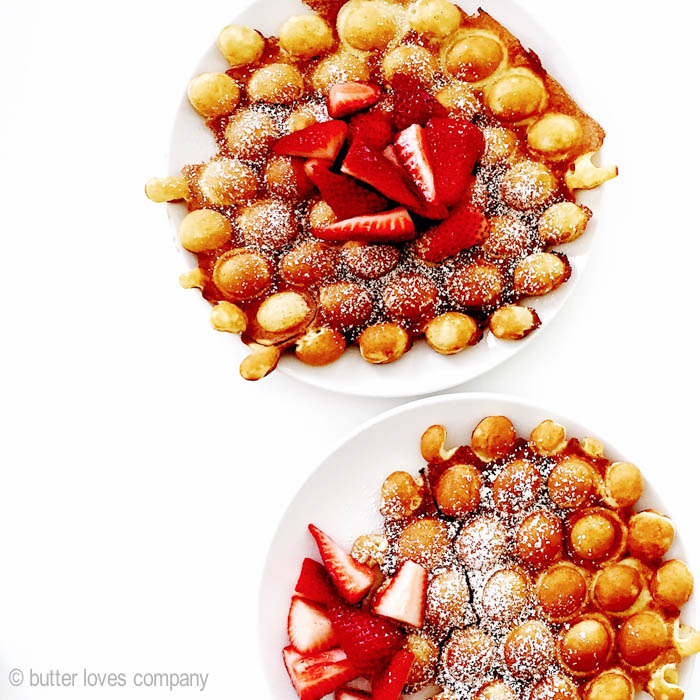
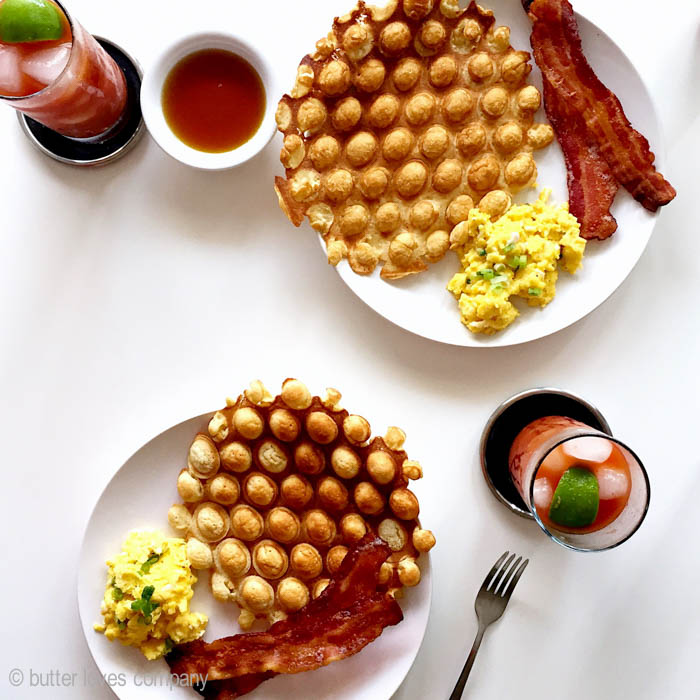
Bubbly for breakfast? Yes, please. No, not mimosas. This time, we’re talking about bubbly waffles!! These funky looking, egg-y waffles are a classic Hong Kong street food and with the magic of this bubble waffle iron plus the below recipe, you can make them at home.
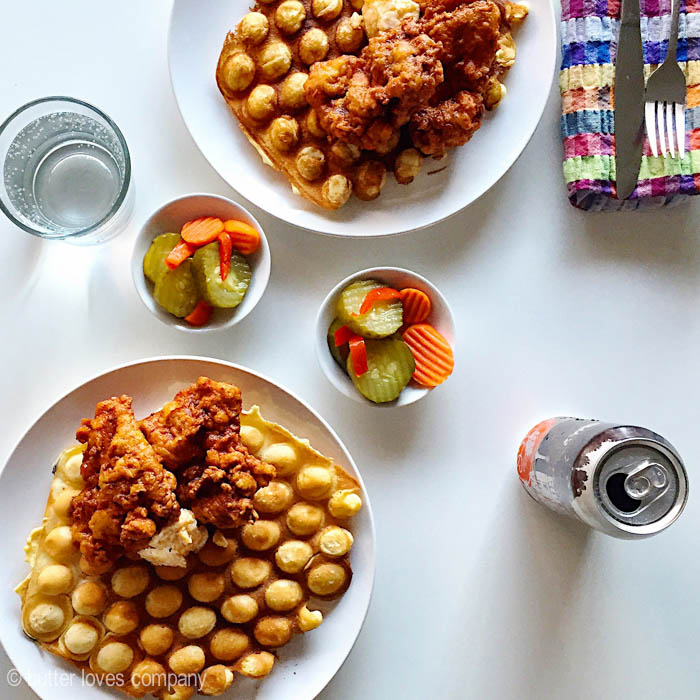
Greg and I first had bubble waffles at this great restaurant Shojo in Boston’s Chinatown where they were served with fried chicken and Szechuan peppercorn maple syrup, alongside tiki drinks and old kung fu movies (I mean, amazing). As soon as we popped off our first bubbles, we were immediately hooked. The chew of the puffed bubbles paired perfectly with the crispy parts of the batter dividing them.

One of the main differences between these bubble waffles, sometimes called eggettes, and traditional waffles is the addition of sweetened condensed milk. I think this is what gives the waffle its lightly sweet custard flavor.

Pair the waffles with sliced berries and a sprinkling of confectioners sugar, some syrup, or go savory with fried chicken. They are great eaten warm but I even like to make a big batch and pick at them throughout the day at room temperature. They are the perfect whimsical treat for your brunch table!

hong kong style bubble egg waffles (eggettes)
adapted from Ginger and Scotch

special equipment: bubble waffle iron

prep time: 10 minutes
cook time: 15 minutes
total time: about 30 minutes
makes 4-5 bubble waffles

Ingredients:

1 cup (4 oz or 120 g) all-purpose flour
1 teaspoon baking powder
1 teaspoon tapioca starch or corn starch
2 large eggs
1/3 cup plus 2 tablespoons sugar
1 tablespoon vegetable oil
1 teaspoon vanilla extract or paste
2 tablespoons sweetened condensed milk
5 oz (150 mL) water
vegetable oil or non-stick spray for coating egg waffle pan

Instructions:

  1. In a large bowl using a whisk or in the bowl of your electric mixer, mix together the flour, baking powder, and tapioca or corn starch.
  2. Add the eggs, sugar, vegetable oil, and vanilla and mix on low speed until combined.
  3. Add the sweetened condensed milk and water. Mix thoroughly. It may be a little bit lumpy, which is fine. You can let it sit for a few minutes in the fridge or at room temperature to help the lumps subside.
  4. Separate and pre-heat each half of the bubble waffle iron on separate burners over medium-high heat until hot, 3-5 minutes.
  5. Lightly brush or spray each pan with vegetable oil.Pour ¾ cup of the batter into the middle of one side of the egg waffle pan and shimmy the pan a little to distribute some of the batter to the outer holes. Immediately place the other side of the pan on top, flip the pan over and cook for 2 minutes. Flip again and cook for another 2 to 3 minutes, until the bubbles are golden and in-between is deep golden. The timing may vary based on your stove but you want to cook it until the bubbles pull away from the pan easily. Open the pan and invert the waffles onto a plate. Repeat with remaining batter. Enjoy!

Filed Under: breakfast and breads, eat Tagged With: bubble waffles, chicken and waffles, eggettes, hong kong street food, shojo boston, waffles

7 reasons ikea is the swedish disneyland

March 20, 2015 by Butter Loves Company


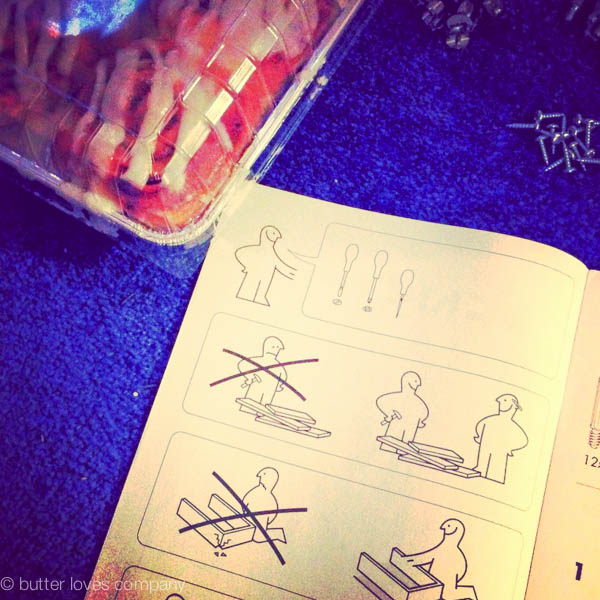
Allen wrenches and Swedish meatballs hold a special place in my heart that others often reserve for Mickey and Minnie. So, having spent time at both Ikea and Disneyland over the past week, I couldn’t help but notice the similarities between my two happiest places on earth. While I can barely believe I’m writing this coming off a fresh Disney buzz, here are a few reasons you can swap the Magic Kingdom for the world’s most beloved Swedish Adventureland.

ikea-disney-3


Why Ikea is the Swedish Disneyland:

1. If you’re a fan of Disney characters with funny names, such as Goofy or Pluto, you’ll no doubt be astonished by the great selection of characters Ikea has to offer: Arkelstorp, Glivarp, and Raskog, for starters.

2. Long morning of overstimulation at Disneyland? Fight the crowds for a seat that may be covered in melted Dole Whip. Long morning of overstimulation at Ikea? Head to the mattress showroom, aka the designated nap room.

ikea-disney-5

3. At Ikea, for a mere 99 cents, you can get a breakfast inclusive of scrambled eggs, breakfast sausage, and hashbrowns. A colossal smoked turkey leg at Disneyland will run you upwards of 10 bucks. Worth it? Every time ☺. Plus, people watching at the Ikea cafeteria could certainly qualify as a “Character Breakfast.” 

4. At Ikea you’ll encounter fewer screaming children than you will at Disneyland … for the most part.

5. You don’t have to carry your kids around Ikea on your back when they get tired. Just let them sit on the flatbed cart and sing “It’s a Small World” as you navigate from aisle-to-aisle and bin-to-bin looking for your Hemnes in black-brown.

IKEA-showroom-layout

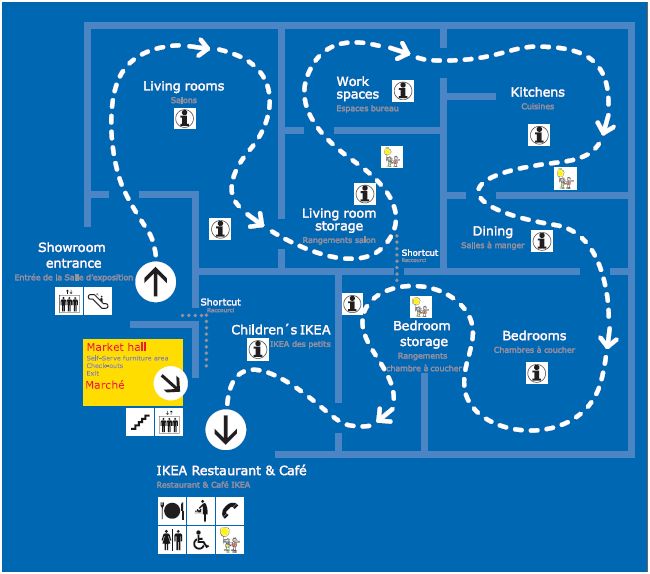
6. Try and tell me the Ikea map doesn’t look like the Main Street USA parade route. You can’t.

7. Fireworks at the end of the night or iced cinnamon rolls as you exit the store? Interchangeable experiences if you ask me.

ikea-disney-4


Filed Under: Uncategorized Tagged With: disney, disneyland, ikea, turkey leg

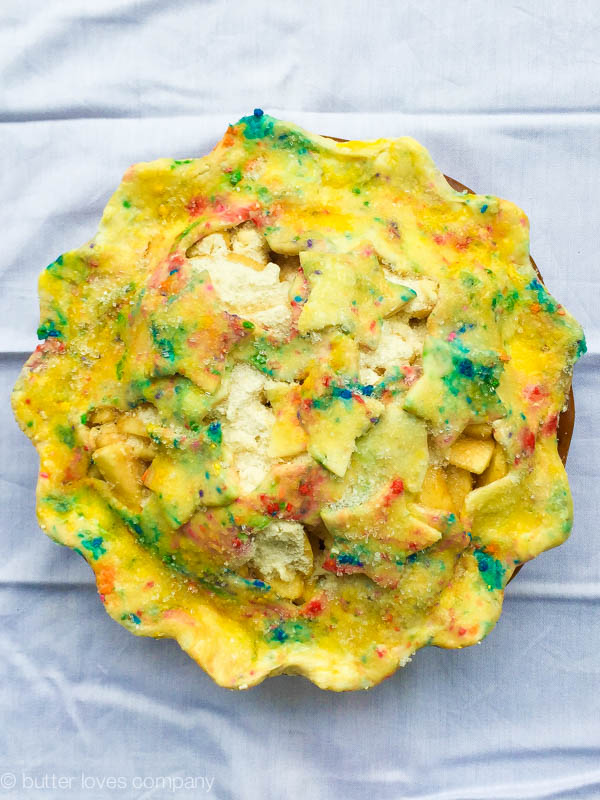
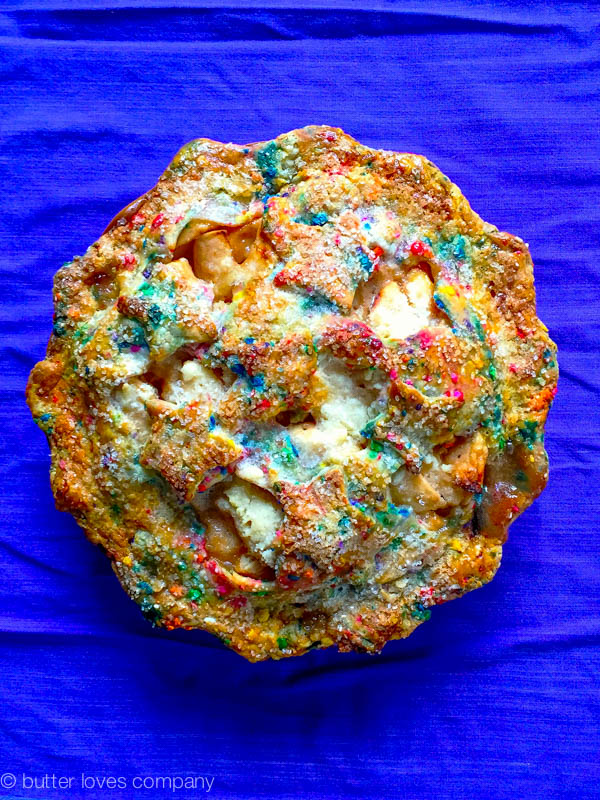
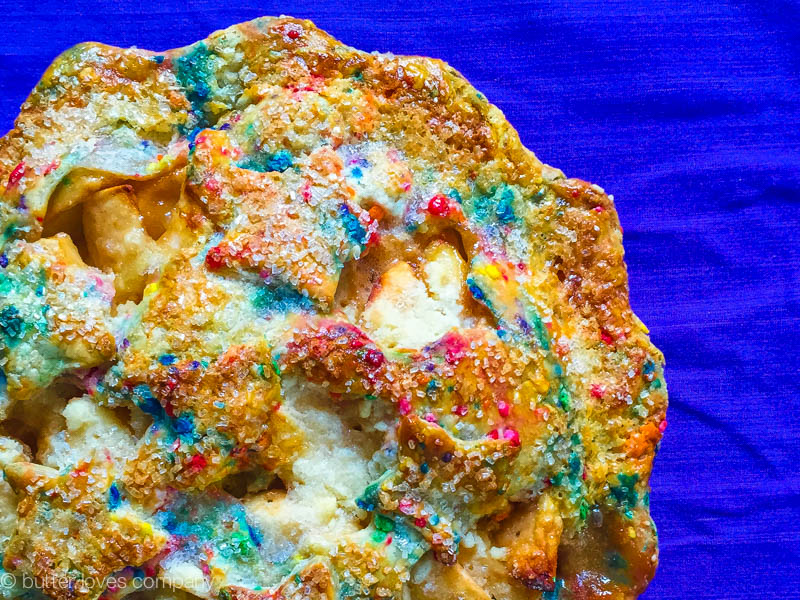
funfetti pie crust (happy pi day! 3.14.15)

March 14, 2015 by Butter Loves Company

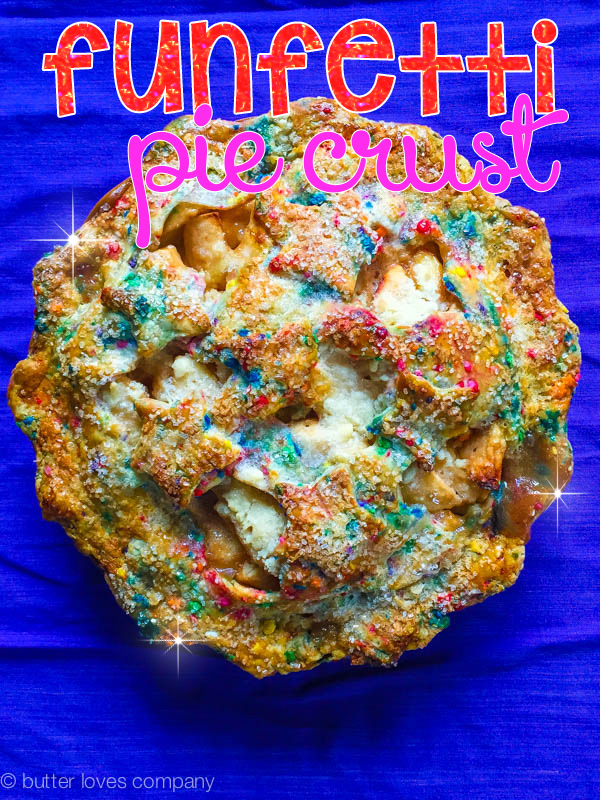
funfetti-pie-crust-recipe-national-pi-day-txt

With National Kiss Your Fiancé Day* just around the corner, I can’t help but ask: are National “________” Days getting out of hand? Regardless, as a pun-loving baker, there is one National Day I could not be more on board with. It’s Pi Day and it is… Today!

That’s correct, we are talking about a day commemorating the mathematical constant π (3.14159265359… you get the idea). But, we are also talking about the best way to celebrate this special day—and that’s with pie, of course! We learned about it in school and now here we are, putting our math skills to great use.

Don’t mistake tomorrow for your typical Pi Day though. As Mashable points out, today is the only time for the next 100 years where the calendar date reflects the first FIVE digits of that fabulous number (3.1415). The next time this will come our way isn’t until March 14, 2115. Because this isn’t your average Pi Day, you can’t celebrate with an average pie, right? Right. Time to funfettify your pie.

I first made this all butter pie crust filled with sprinkles for my birthday. When you are the baker in the family, you make your own birthday cake (ahem, pie). I like to get my hands dirty and use a pastry blender, but feel free to use a food processor for ease and speed. If you take that route, be mindful not to over-pulse as you want to have lots of visible butter bits. They are your keys to a flaky pie palace.

*National Kiss Your Fiancé Day is March 20th. I’m not a fiancé, but to me this begs the question, why are you not kissing them other days??

funfetti-pie-crust-recipe-national-pi-day-1

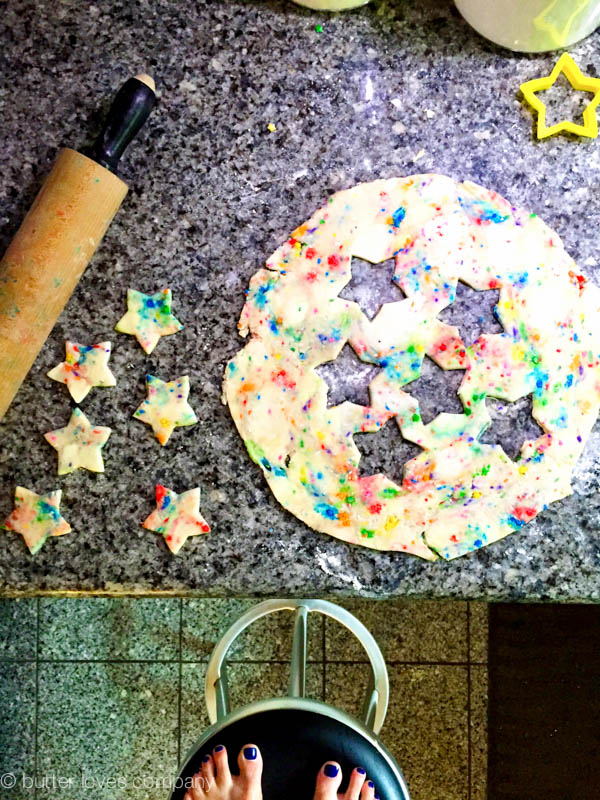
yup. feet.

funfetti-pie-crust-recipe-national-pi-day-2

funfetti-pie-crust-recipe-national-pi-day-3

funfetti-pie-crust-recipe-national-pi-day-5

funfetti pie crust
adapted from The Smitten Kitchen

Makes enough dough for one double-, or two single-crust pies.

Ingredients:

2 1/2 cups all purpose flour
1 tablespoon sugar
1 teaspoon table salt
2 sticks (8 ounces/1 cup) unsalted butter, very cold
1 teaspoon vanilla extract
ice water (about 3/4 cup, will be dough glue)
1/4 cup sprinkles of your choice

Instructions:

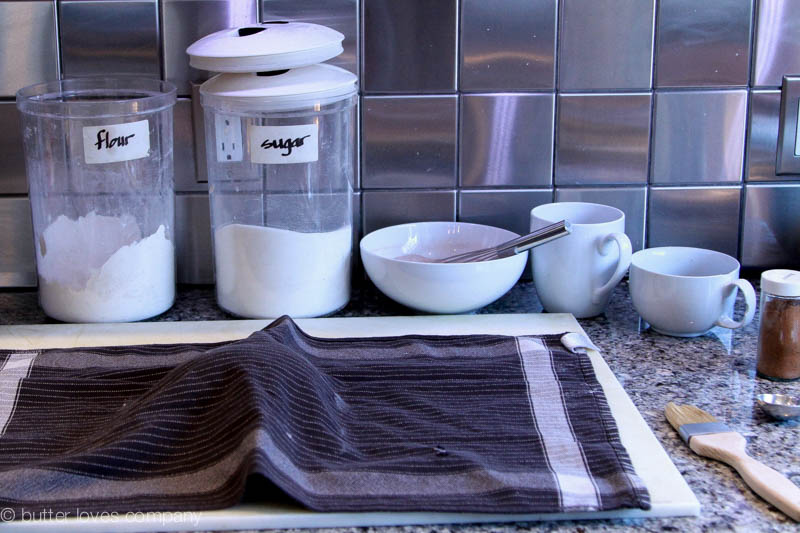
  1. Prepare your cold ingredients: fill a 1-cup liquid measuring cup with water and a couple ice cubes and set aside. Dice your butter into 1/2-inch pieces and place in a small bowl. Move the bowl to the fridge or freezer until you need it.
    In a large, wide bowl whisk together 2 1/2 cups flour, 1 tablespoon of sugar, and a teaspoon of salt. Get out your pastry blender.
  2. Remove your diced butter from the fridge and sprinkle the cubes over the flour. Begin working them into the flour with the pastry blender. Try to break down the butter evenly and stop when all of the butter pieces are around the size of peas.
    Pour in vanilla extract and then start slowly drizzling 1/2 cup of the ice-cold water over the butter and flour mixture. Using a rubber or silicon spatula, stir the dough together. Add in more cold water, a tablespoon at a time, just until you’re pulling large clumps with the spatula. Pour in the sprinkles and then, using your hands, gather the clumps together into one mound, kneading and turning the dough gently a couple of times to distribute the sprinkles as you pull it all together.
  3. All set! You can now chill the dough by dividing it in half and wrapping each half in plastic. Let the dough chill in the fridge for at least one hour before rolling it out. The dough will keep in the fridge for up to a week and in the freezer for a month or so. Any time you are going to make dough for a later use, make sure to wrap it an extra time in plastic to ward off any freezer or fridge smells.

Filed Under: desserts and sweets, eat Tagged With: all butter, funfetti, pi day, pie, pie crust, sprinkles

brown butter cinnamon sugar pull-apart bread

March 10, 2015 by Butter Loves Company

brown-butter-cinnamon-sugar-pull-apart-bread-10-text

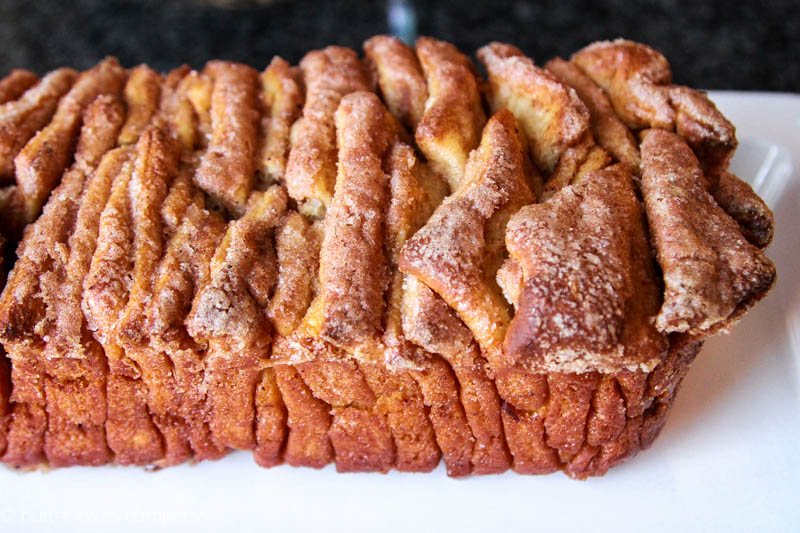
WARNING: This is the kind of bread you can easily polish off in a single sitting. The second you peel the first layer of this buttery sweet dough off the loaf and smell the warm cinnamon sugar filling, your other hand will already be reaching for your next piece. Maybe it’s best if you keep some friends around to share. Or, be greedy and have it all—I would. You won’t even need to waste time slicing because this is homemade PULL-APART bread. Hands-on food is fun. Nothing like instant gratification.

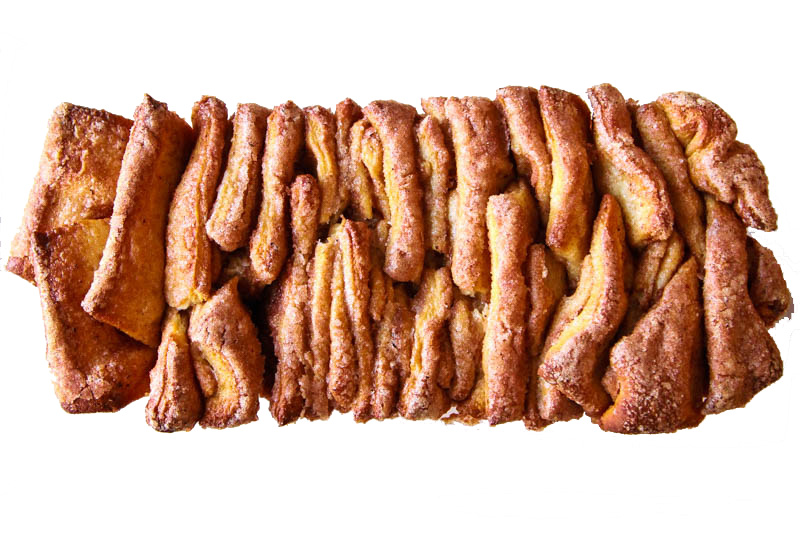
I love making breads and things with yeasted dough. It makes me feel like a superwoman because I used to think only professional bakers could work bread magic (for one of my favorite yeasted dough recipes, see here). Just take a look at the layers completely transform before and after baking. It’s amazing! It’s like a science experiment in the kitchen and, man, it makes me just love science. I hope you will too.

While there are few combinations better than the simple cinnamon and sugar, you can get as weird as you want with this pull-apart bread recipe. Maybe toss in some chocolate chips … or raspberries … or even go savory and swap out the cinnamon sugar for olives and cheese. Whatever you do, you’d better get ready for carb satisfaction!

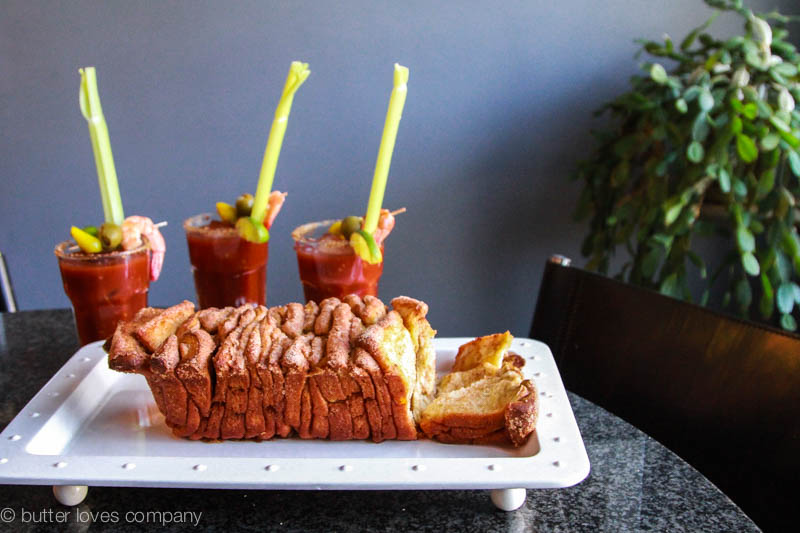
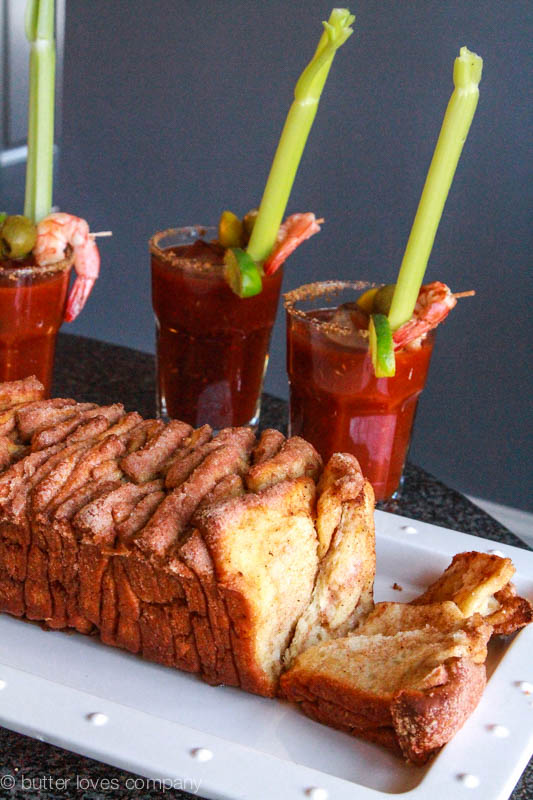
P.S. This bread pairs excellently with a Bloody Mary. We had to test, you know, to be sure. 🙂

brown-butter-cinnamon-sugar-pull-apart-bread-2

brown-butter-cinnamon-sugar-pull-apart-bread-3

brown-butter-cinnamon-sugar-pull-apart-bread-4

brown-butter-cinnamon-sugar-pull-apart-bread-5

brown-butter-cinnamon-sugar-pull-apart-bread-6

brown-butter-cinnamon-sugar-pull-apart-bread-8

brown-butter-cinnamon-sugar-pull-apart-bread-12

brown-butter-cinnamon-sugar-pull-apart-bread-9

brown-butter-cinnamon-sugar-pull-apart-bread-13

brown butter cinnamon sugar pull-apart bread
recipe adapted from joy the baker

prep time: 30 minutes
cook time: 35 minutes
total time: about 3 hours (includes time for dough to rise)
makes: one 9x5x3-inch loaf

Ingredients:

For the Dough:
2 1/4 teaspoons (1 envelope) active dry yeast
3 tablespoons warm water (between 105°F and 115°F)
3 cups all-purpose flour
1/4 cup granulated sugar, plus a pinch (divided)
1/2 teaspoon salt
2 ounces unsalted butter
1/3 cup whole milk
1/4 cup water
2 large eggs, lightly beaten
1 teaspoon pure vanilla extract

For the Filling:
1 cup granulated sugar
2 teaspoons ground cinnamon
1/2 teaspoon fresh ground nutmeg
2 ounces unsalted butter, melted until browned

Instructions:

  1. Activate your yeast: In a small bowl, sprinkle the yeast over 3 tablespoons of warm water. Stir until the yeast begins to dissolve. Add the pinch of granulated sugar and allow the mixture to sit for about 5 minutes, until the mixture is foamy and frothy.
  2. Prepare the dough: In the bowl of a stand mixer fitted with a paddle attachment, whisk together 2 cups flour, 1/4 cup sugar and salt. Set aside.
  3. In a small saucepan, melt together milk and butter until butter has just melted. Remove from the heat and add water and vanilla extract. Let mixture stand for a minute or two, or until the mixture registers 115°F to 125°F.
  4. Pour the milk mixture into the dry ingredients and mix on low until combined. Add the yeast mixture, followed by the eggs and stir until the eggs are incorporated into the batter. It may take a little while to come together. Add 3/4 cup of the remaining flour and mix on low for about 2 minutes. The mixture will be sticky.
  5. Place the dough in a large, greased bowl. Cover with plastic wrap and place in a warm space to rest until doubled in size, about 1 hour. Make ahead: After you let the dough rise to double its size, it can be refrigerated overnight to use in the morning. If you’re using this method, let the dough rest at room temperature for 30 minutes before continuing the recipe.
  6. Prepare the filling: While the dough rises, whisk together the sugar, cinnamon, and nutmeg. Set aside. Melt 2 ounces of butter until browned. Set aside. Grease and flour a 9x5x3-inch loaf pan. Set aside.
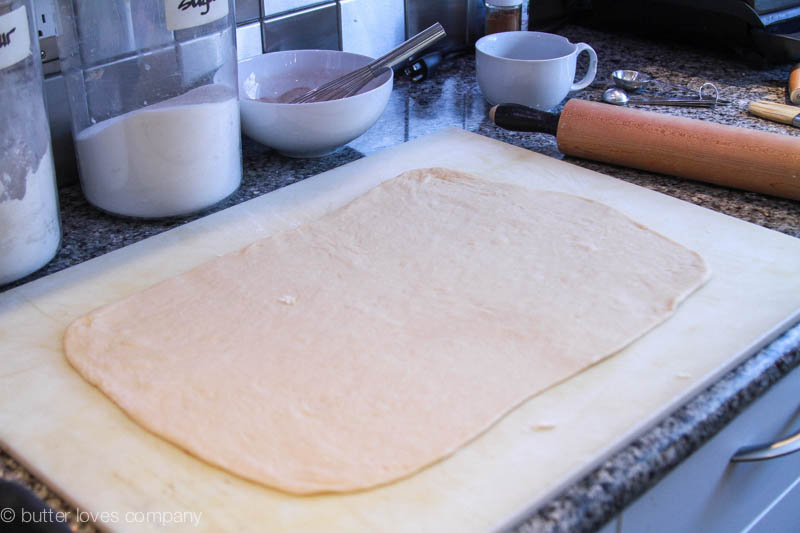
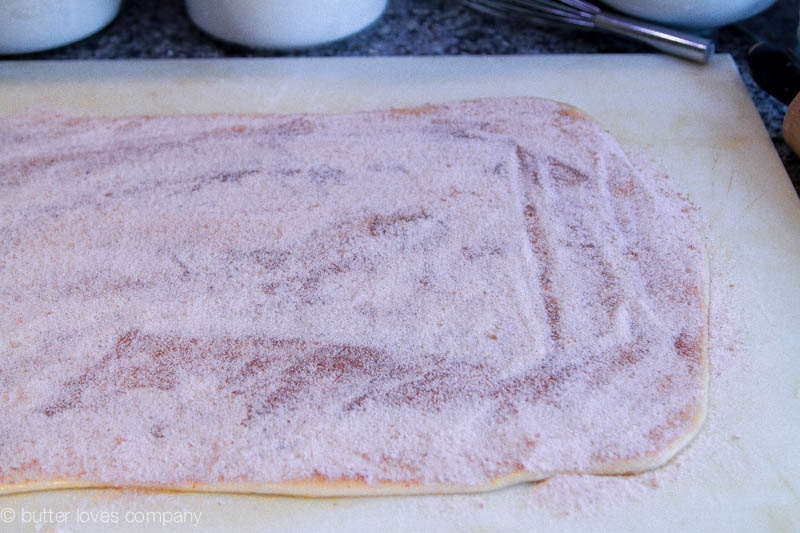
  7. Assemble and bake: Deflate the risen dough and knead about 2 tablespoons of flour into the dough. Cover with a clean kitchen towel and let rest for 5 minutes. On a lightly floured work surface, use a rolling pin to roll out the dough. The dough should be about 12-inches tall and about 20-inches long. Use a pastry brush to spread the melted brown butter across all of the dough. Sprinkle with all of the cinnamon and sugar mixture.
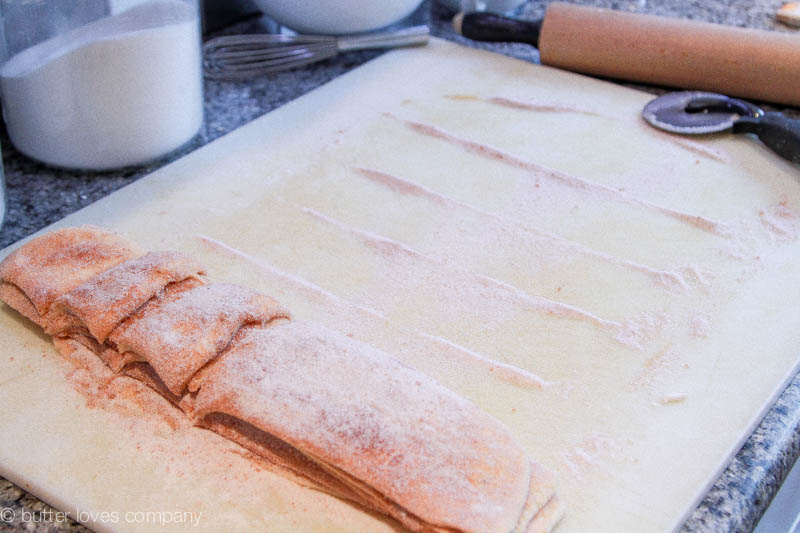
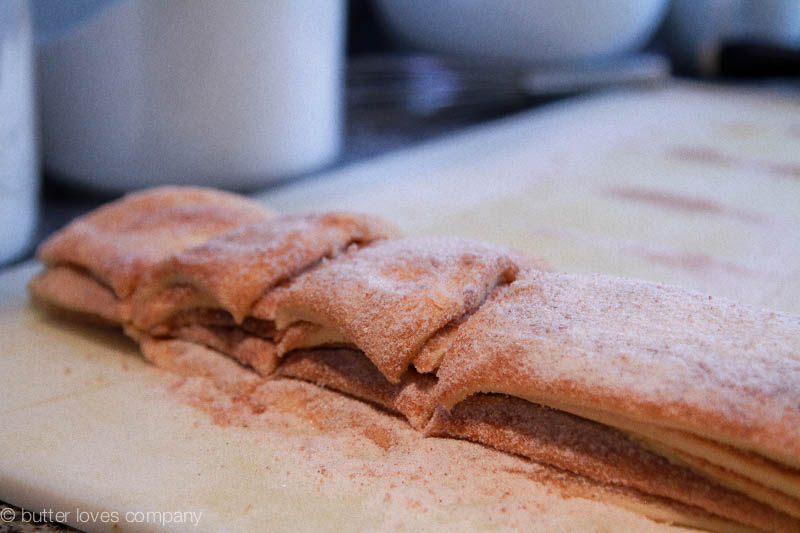
  8. Slice the dough vertically, into six equal-sized strips. Stack the strips on top of one another and slice the stack into six equal slices once again so you are left with six stacks of six squares. Layer the dough squares on their sides in the loaf pan. Place a kitchen towel over the loaf pan and allow to rest in a warm place for 30 to 45 minutes or until almost doubled in size.
  9. Place a rack in the center of the oven and preheat to 350°F. Place loaf in the oven and bake for 30 to 35 minutes, until the top is very golden brown. You will want to make sure the dough in the center is cooked so don’t be nervous if the top reaches a deep golden brown. That’s what you’re looking for.
  10. Remove from the oven and allow the loaf to cool for 20 to 30 minutes before running a knife around the edges of the pan to loosen the bread and invert onto a platter. Serve warm.

brown-butter-cinnamon-sugar-pull-apart-bread-14

Filed Under: breakfast and breads, eat Tagged With: bloody mary, bread, breakfast, brown butter, cinnamon sugar, pull apart bread, pull-apart

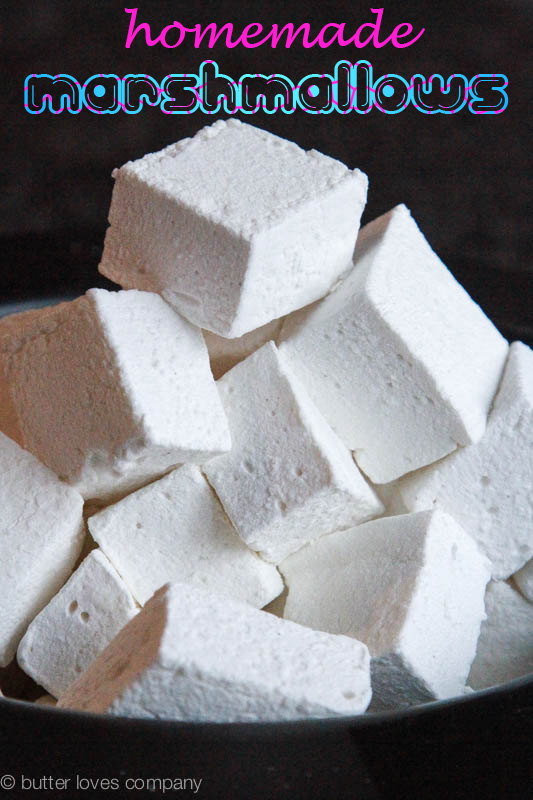
fluffy homemade marshmallows

February 19, 2015 by Butter Loves Company

homemade-marshmallows-6-text

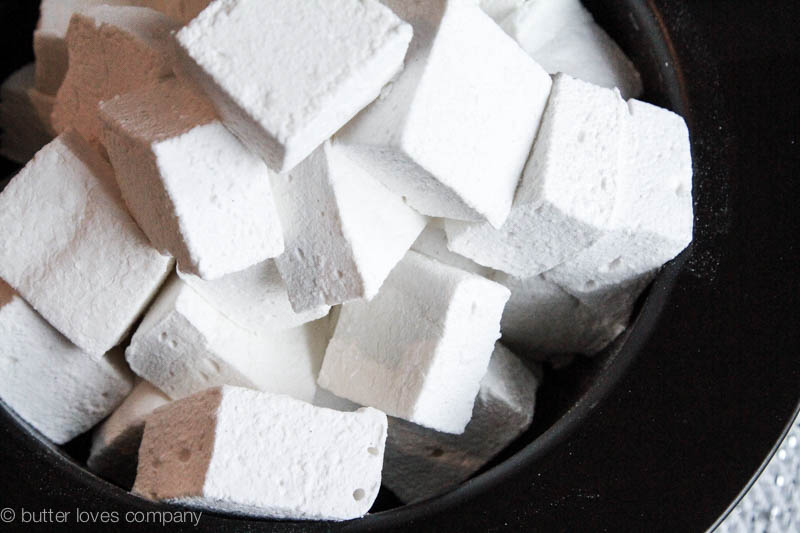
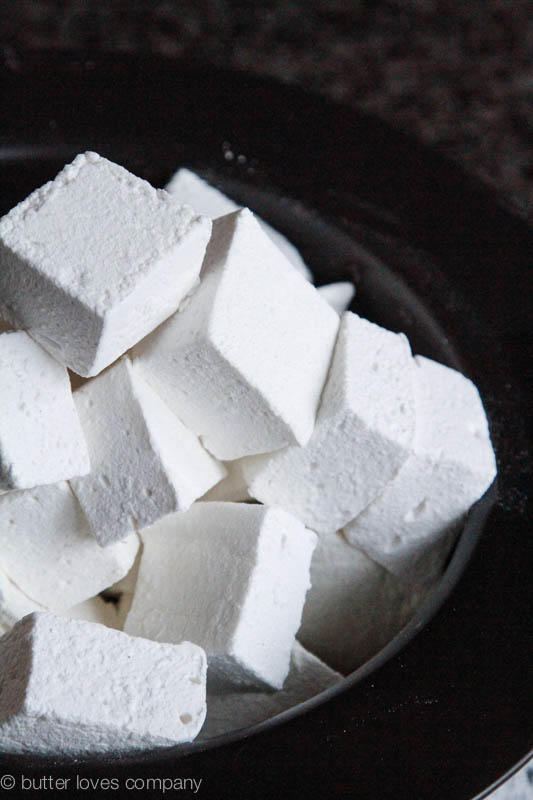
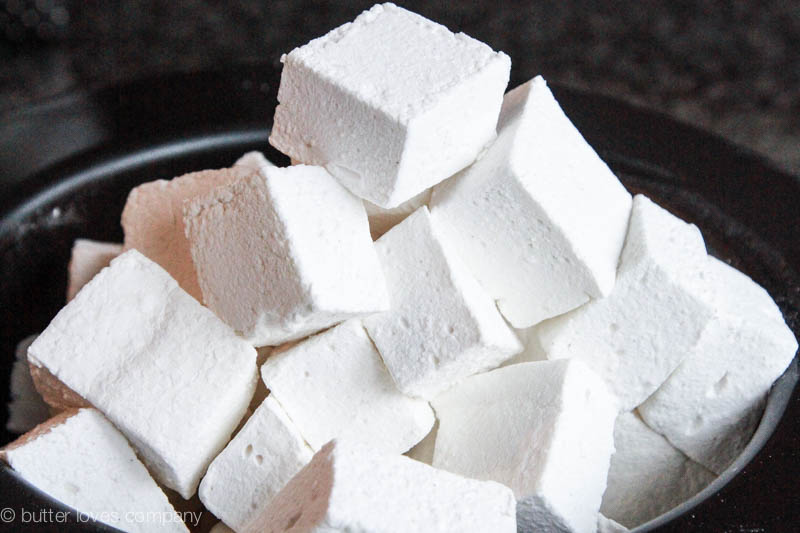
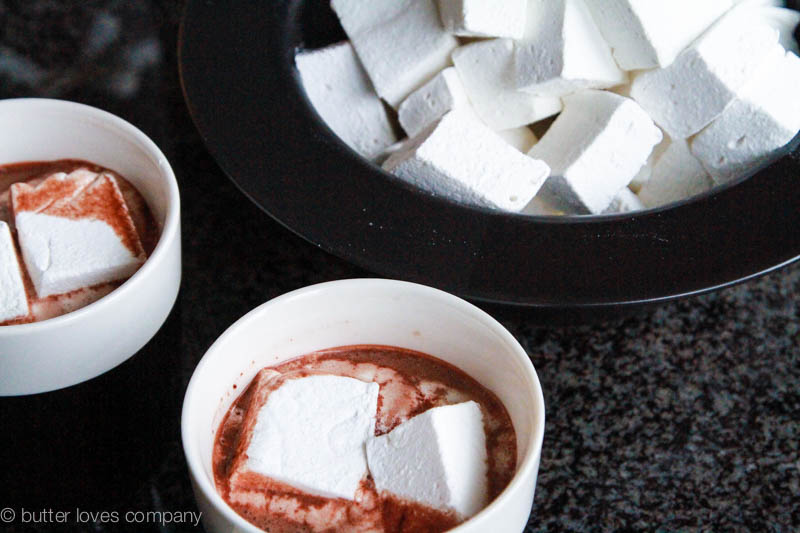
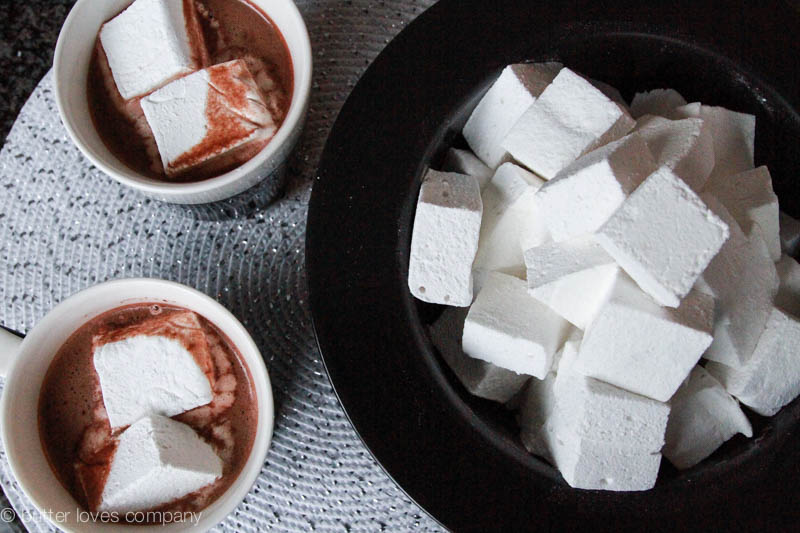
Have you ever eaten a fresh marshmallow? It’s like a puffy cloud pillow with a soft texture outside and a sticky sweet inside. Dropped into rich hot chocolate, fresh marshmallows are the cure-all for the winter blues. Eaten alone, they are a light, sweet snack. And toasted and smooshed between graham crackers and chocolate, you have one of the best s’mores ever.

homemade-marshmallows-2

As soon as you see how easy it is to make marshmallows at home you’ll be wondering why you haven’t tried it sooner. I’ve made them a few times now and have started experimenting with other flavors like coconut and Crème de Violette.

There are a few things I need to mention before you dive in though. First, you’ll need to have a candy thermometer on hand as you’ll be heating the mixture to exactly 240°F. Second, after you’ve whipped all the ingredients into a thick, bright white, fluffy mixture, you’ll pour/scrape it into a greased and sugar-dusted baking pan. Here’s the key: you will NOT be able to get all of the marshmallow out of your stand mixer’s bowl. It is just too gosh darn sticky. Don’t worry about this and don’t try too hard to scrape out every speck or you will end up looking like the Stay Puft Marshmallow Man covered in all the sticky marshmallow strings.

homemade-marshmallows-7

homemade-marshmallows-1

homemade-marshmallows-9

fluffy homemade marshmallows
recipe from Alton Brown

prep time: 30 minutes
total time: 4 hours, 30 minutes (includes time to set)
makes about 9 dozen 1-inch marshmallows

Ingredients:

3 packages unflavored gelatin
1 cup ice cold water, divided
1 1/2 cups granulated sugar
1 cup light corn syrup
1/4 teaspoon salt
1 teaspoon vanilla extract
1/4 cup confectioners’ sugar
1/4 cup cornstarch
Nonstick spray

Instructions:

  1. Place the gelatin into the bowl of a stand mixer along with 1/2 cup of the water. Have the whisk attachment standing by.
  2. In a small saucepan over medium high heat, combine the remaining 1/2 cup water, granulated sugar, corn syrup, and salt. Cover and allow mixture to cook without touching it for 3 to 4 minutes. Uncover, clip a candy thermometer onto the side of the pan and continue to cook, untouched, until the mixture reaches 240°F, about 7 to 8 minutes. Once the mixture reaches this temperature, immediately remove from heat.
  3. Turn the stand mixer on low speed and slowly pour the sugar syrup down the side of the bowl into the gelatin mixture. Once you have added all of the syrup, increase the speed to high. Continue to whip until the mixture becomes very thick and the outside of your mixing bowl feels lukewarm to the touch, about 12 to 15 minutes. Add the vanilla extract during the last minute of whipping. Meanwhile, prepare the pan.
  4. Combine the confectioners’ sugar and cornstarch in a small bowl. Spray a 13 x 9-inch metal baking pan with nonstick cooking spray. Generously sprinkle about a third of the sugar and cornstarch mixture onto the pan and shake until it completely coats the bottom and sides. Reserve the remaining confectioners’ sugar mixture for later use.
  5. When the marshmallow mixture is ready, pour/scrape it into the prepared pan using a lightly oiled spatula which will help you spread the top evenly into each corner of the pan (Remember, you will not be able to get all of the mixture out of the bowl!). Dust the top with some of the remaining sugar and cornstarch mixture. Reserve the rest for later. Allow the marshmallows to sit, uncovered, for at least 4 hours and up to overnight.
  6. Turn the marshmallows out onto a cutting board and cut into 1-inch squares using a pizza wheel dusted with the confectioners’ sugar mixture. Once cut, lightly dust all sides of each marshmallow with the remaining sugar mixture, using additional if necessary. Drop some into your hot cocoa or store in an airtight container for up to 3 weeks.

homemade-marshmallows-8

Filed Under: desserts and sweets, eat Tagged With: homemade marshmallows, hot chocolate, marshmallow, marshmallows at home, s'mores, winter

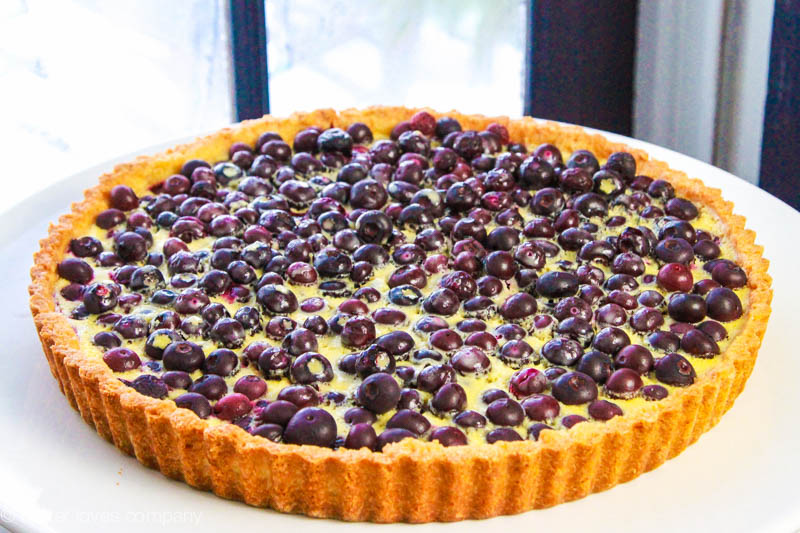
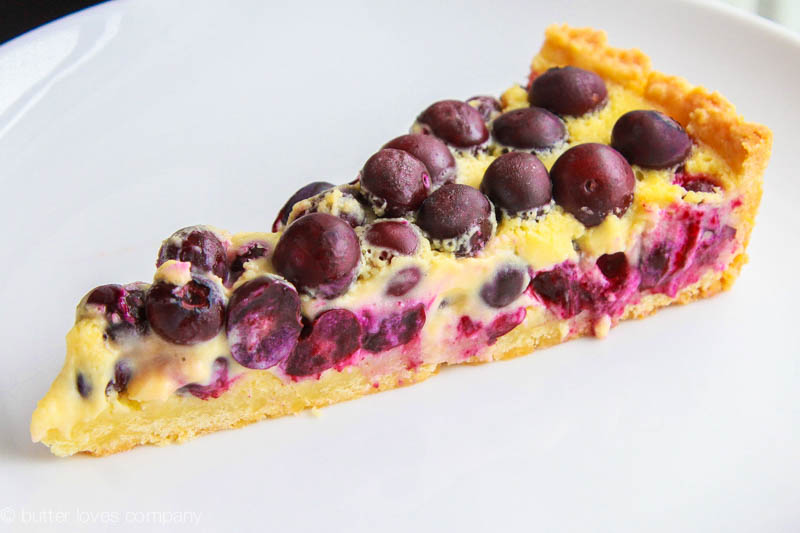
blueberry and lemon cream tart

February 10, 2015 by Butter Loves Company

blueberry-lemon-cream-tart-5-2

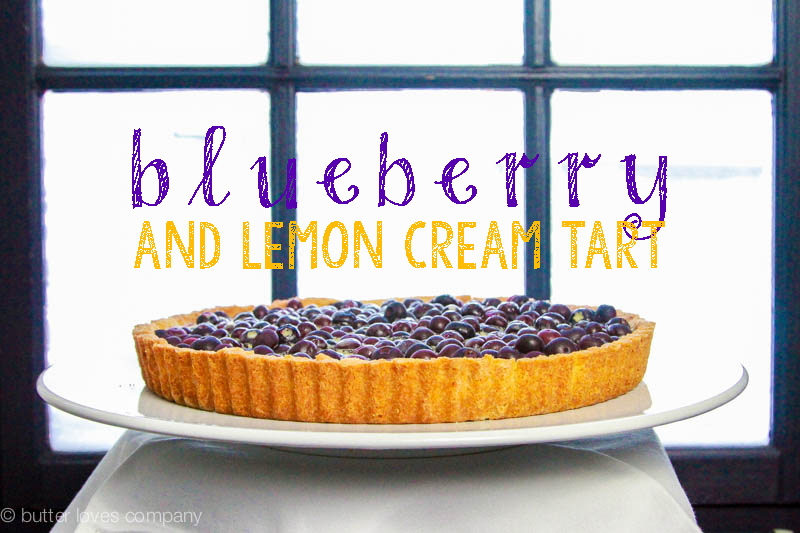
Easy as pie tart? Yup. This puppy is even easier than pie! You want to know why? You know that part in pie making when you have to roll out the chilled dough and then transport it to the pie dish and, if you’re like me, you want to then slice more dough for a lattice top or try cut-outs, or patterns, or ruffles, or fringe … this is beginning to sound like the E! Grammy’s Fashion Police wrap up! Well, with this tart, you don’t have to do ANY of that! Easy pease, my friends.

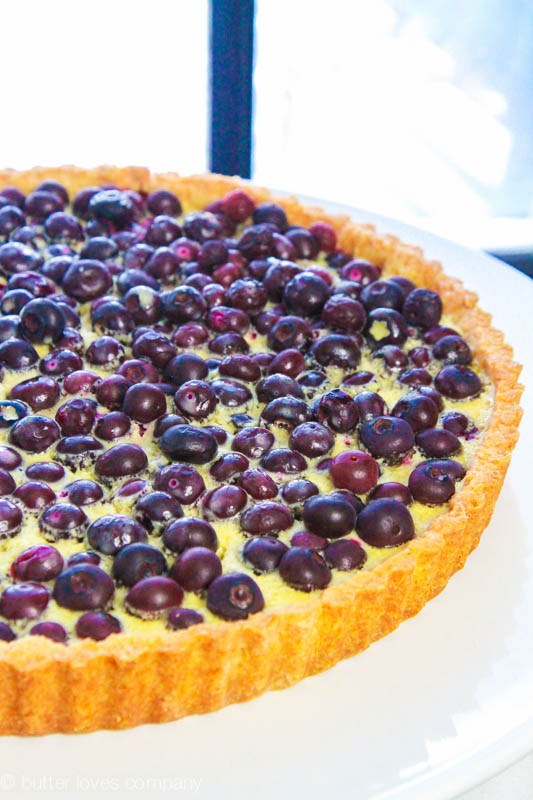
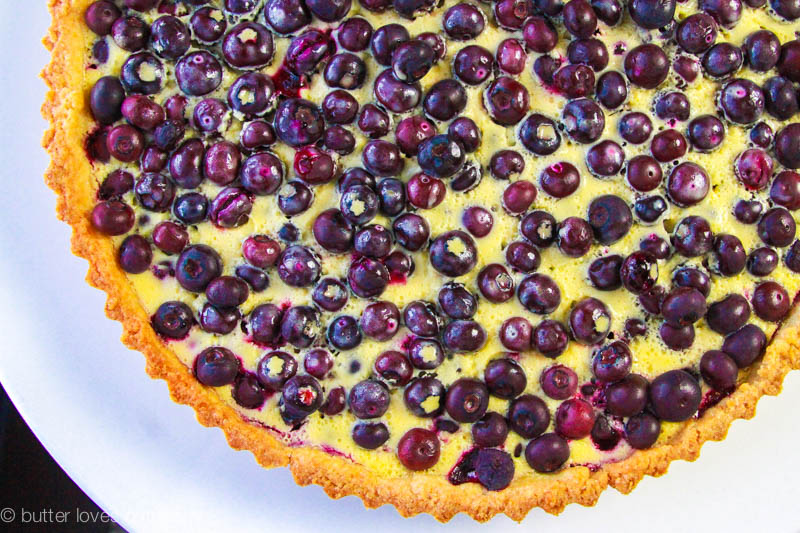
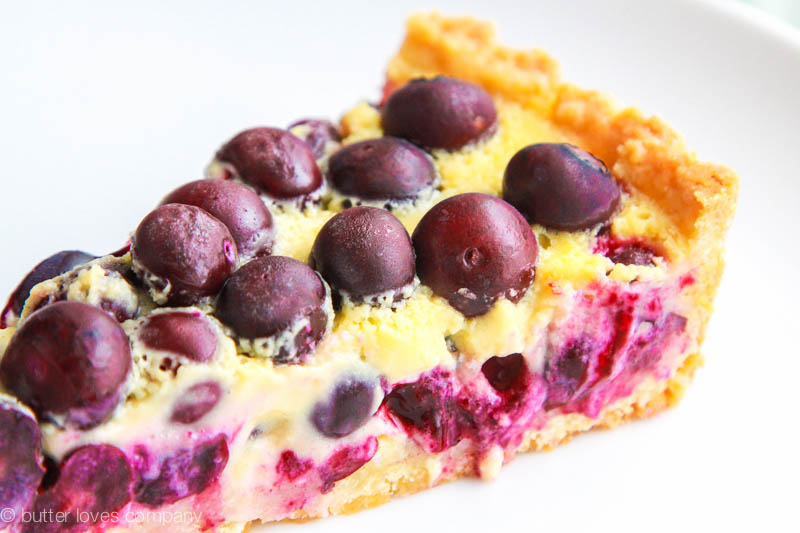
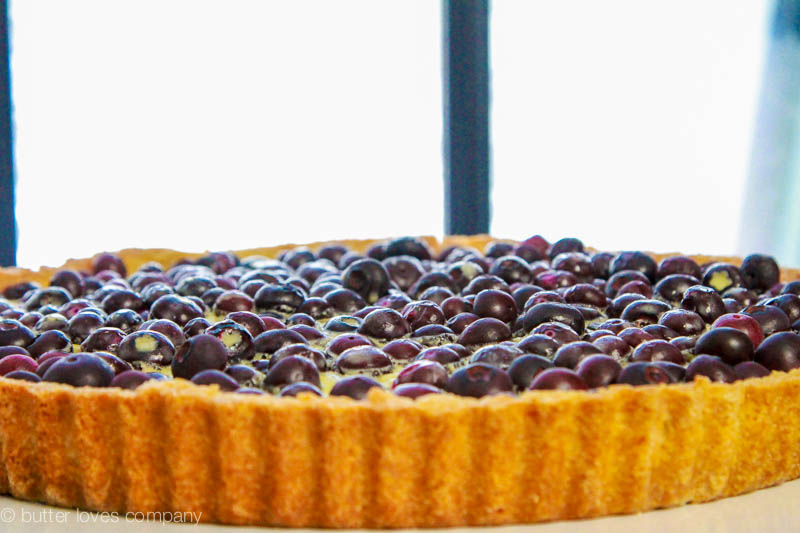
Once you prepare the dough, you can just push it right into the pan with your sticky little fingers. It is a tad more crumbly than a pie crust with a texture like that of shortbread. Once you line the pan, you partially bake the dough so it can stand up to all the juicy blueberries and tart, creamy filling you’ll top it with next. The blueberries stay whole and plump up in the oven so you can pop them with your teeth as you devour a slice. Then you’ll pour a lemony Greek yogurt sauce over the sweet blueberries and bake the entire tart until the sauce sets into what is similar to a loose custard. The combination of the buttery crust, sweet blueberries, and tart lemon cream is bright, fresh, and dreamy. 

The tart holds well in the fridge for a few days and can be served cool or at room temperature. It can also be served for breakfast when you are snowed-in in Boston. I can attest to that.

blueberry-lemon-cream-tart-3

blueberry-lemon-cream-tart-1

blueberry-lemon-cream-tart-7blueberry-lemon-cream-tart-6

blueberry-lemon-cream-tart-8

blueberry and lemon cream tart
adapted from Gourmet Magazine, July 1990

prep time: 30 minutes
cook time: 60 minutes
total time: 1 hour 30 minutes (plus more for chilling dough)
Makes 1 12-Inch Tart in Pan with Removable Bottom

Ingredients:

For the crust:
2 2/3 cups all-purpose flour
1/2 cup sugar
1/2 teaspoon salt
2 sticks (1 cup) very cold, unsalted butter, cut into 1-inch cubes
2 large egg yolks, beaten with 4 tablespoons ice water
pie weights, dry beans, or raw rice for weighting the shell
For the filling:
3/4 cup plain greek yogurt
1/4 cup heavy cream
3 large egg yolks
1/2 cup granulated sugar
1 tablespoon freshly grated lemon zest
1 tablespoon fresh lemon juice
1/2 stick (1/4 cup) unsalted butter, melted and cooled
1 teaspoon vanilla extract
1/2 teaspoon salt
2 tablespoons all-purpose flour
4 cups fresh blueberries (Take a look and remove extra stems or any bluebs that look dried out.)

Instructions:

  1. Make the crust: In the bowl of a food processor, pulse together the flour, sugar, and salt. Add the chilled butter and pulse the mixture until it resembles coarse meal, about 10 pulses. Pour in the yolk and water mixture and pulse until the liquid is incorporated and the dough begins coming together. Turn the dough onto a clean surface and, using your hands, gather the dough into a ball. Wrap the ball in plastic wrap and chill for 1 hour.
  2. Grab your tart pan (with removable fluted rim) and remove chilled dough from the refrigerator. Grab small chunks of the dough at a time and push into the tart pan with your fingertips. Continue pressing the dough into the pan until you have lined the bottom and sides with dough about 1/4 inch thick. Chill the crust for at least 30 minutes in the fridge, 15 minutes in the freezer, or cover and leave overnight. Preheat your oven to 350°F. Line the inside of the tart crust with foil, fill the foil with the pie weights, dry beans or rice, and bake the shell in the middle of the oven for 25 minutes. Remove the foil and weights carefully, bake the crust for 5 to 10 minutes more, or until it is pale golden, and let it cool in the pan on a rack. Keep the oven heated at 350°F while you prepare the filling.
  3. Make the filling: In a blender, food processor, or large bowl with a vigorous hand, blend together the yogurt, cream, yolks, granulated sugar, lemon zest, lemon juice, butter, vanilla, salt, and flour until the mixture is smooth. Set aside.
  4. Spread the fresh blueberries evenly over the bottom of the par-baked tart crust. Pour the yogurt and lemon mixture over them. Bake the tart in the middle of the oven at 350°F for 30 to 35 minutes, or until the filling is just set.
  5. Let the tart cool completely in the pan on a rack. Serve at room temperature or store the tart in the refrigerator and serve chilled. Tart keeps for 4 to 5 days (keep chilled).

blueberry-lemon-cream-tart-4

Filed Under: desserts and sweets, eat Tagged With: berries, blueberry, blueberry tart, butter, citrus, easy dessert, lemon, lemon cream, pie crust, tart crust

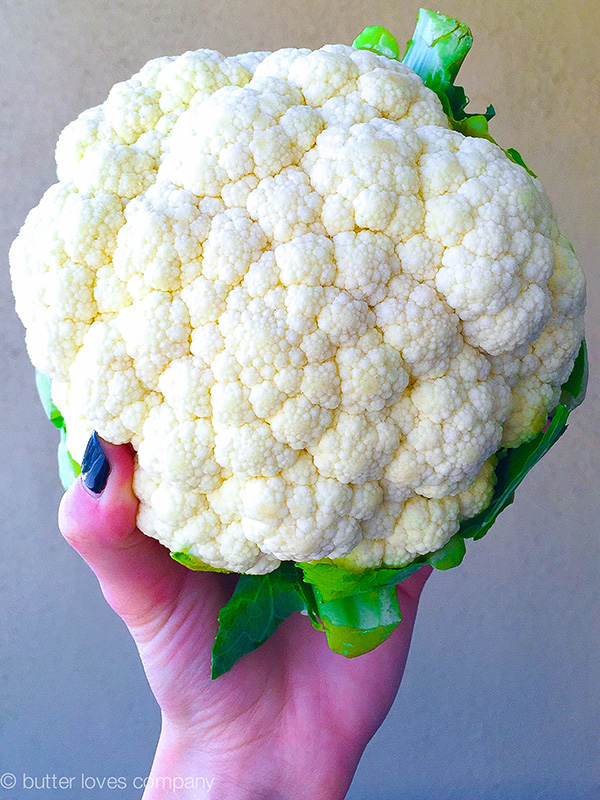
Is Cauliflower the 2015 “It Girl” of Veggies?

February 4, 2015 by Butter Loves Company

cauliflower 4

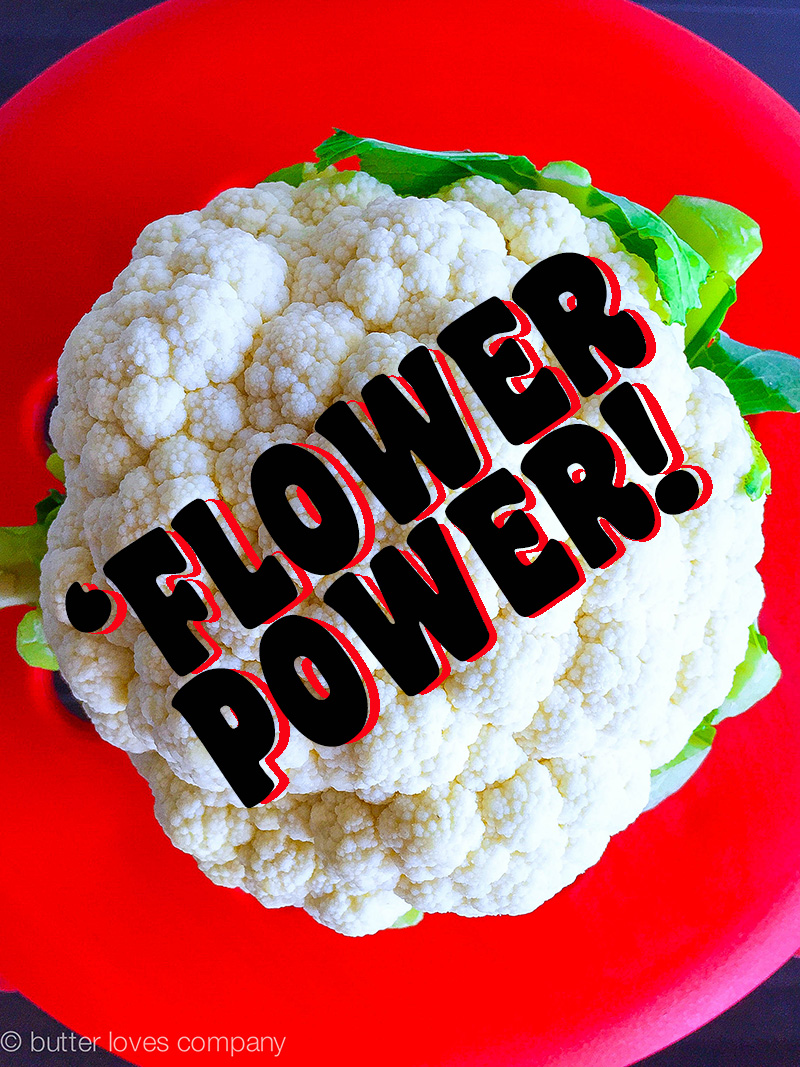
Just like Brussels sprouts took over the side dish scene in 2014, cauliflower is currently spreading across restaurant menus, Instagram feeds and food blogs like wildfire. You may want to get familiar with the white plant, as it is on the road to being the Jennifer Lawrence of veggies this year.

So what is cauliflower, exactly? People have called it the ‘albino broccoli,’ which, outside of being politically incorrect, is also just not true. While its stem and florets look similar to broccoli’s, cauliflower is its own vegetable within the plant species brassica oleracea, of which broccoli, kale and Brussels sprouts are also a part. Judging from that list, it seems like brassica oleracea is having a moment.

Cauliflower has a soft, light flavor that is pleasant raw or amplified by roasting or seasoning. Its florets are dense and often used as a healthy starch substitute because of their similar texture to potatoes or rice when cooked. The veggie is low calorie (about 25 calories per cup, raw), low in carbs and also brings fiber, vitamin C and potassium to the table.

In other words, bring on the cauliflower!

There are countless ways to use it: in soups, as steaks, in tacos, as a side, roasted and dipped into deliciousness … Just to name a few. Here are ten recipes that are on my to-make list to get you started, brought to you by some of my favorite food sites:

  1. Charred Cauliflower Quesadillas from The Smitten Kitchen — I’m a sucker for anything quesadilla’d, so this is a no brainer in mi casa. Also, Deb is a genius so this can’t be a flop.
  2. Cauliflower Buffalo Bites from Huffington Post Food — Trying to replace buffalo chicken wings seems criminal, but if this works it is for realz a game changer.
  3. Cauliflower Gratin from The Delicious Life (recipe originally from Thomas Keller) — Think healthier version of the decadent potato gratin you may have as a holiday side dish.
  4. Ginger Fried Cauliflower Rice from A Cozy Kitchen — Adrianna makes a healthy, spicy fried “rice” and tops with a fried egg. Bingo.
  5. Cauliflower Steaks with Olive Relish and Tomato Sauce from Bon Appetit via Epicurous – Keep it thick, caramelize it and make it the star of meatless Monday.
  6. Cauliflower Chowder from Damn Delicious — The cauliflower replaces potatoes in this healthier version of the creamy classic (still topped with bacon bits because we’re only human).
  7. Spaghetti with Cauliflower Walnut Pesto from Mario Batali — Cauliflower and anchovy filets combine in this twist on a traditional pesto. Pst … don’t tell anchovy haters that they’re in the sauce. Based on experience with anchovy walnut sauces, I bet you they won’t even be able to tell and they will LOVE it.
  8. Curried Cauliflower Soup from Cookie and Kate — Roasted cauliflower, coconut milk, Thai red curry and white wine. Um, where do I sign up?
  9. Whole Roasted Cauliflower with Cheddar Beer Sauce from Joy the Baker — “I literally can’t even.”
  10. Bar Tartine Cauliflower Salad from 101 Cookbooks — Spicy, chunky, creamy, sweet, tangy … this salad from the San Francisco restaurant sounds like it has it ALL.

Ready. Set. Cook. And, report back! 😉

cauliflower 2

Filed Under: Uncategorized Tagged With: 2015 food trends, brussels sprouts, cauliflower, healthy, jennifer lawrence, kale, vegetable side dish, vegetables

sticky bundt (sticky bun bundt cake)

January 27, 2015 by Butter Loves Company

sticky bun bundt cake 9 copy

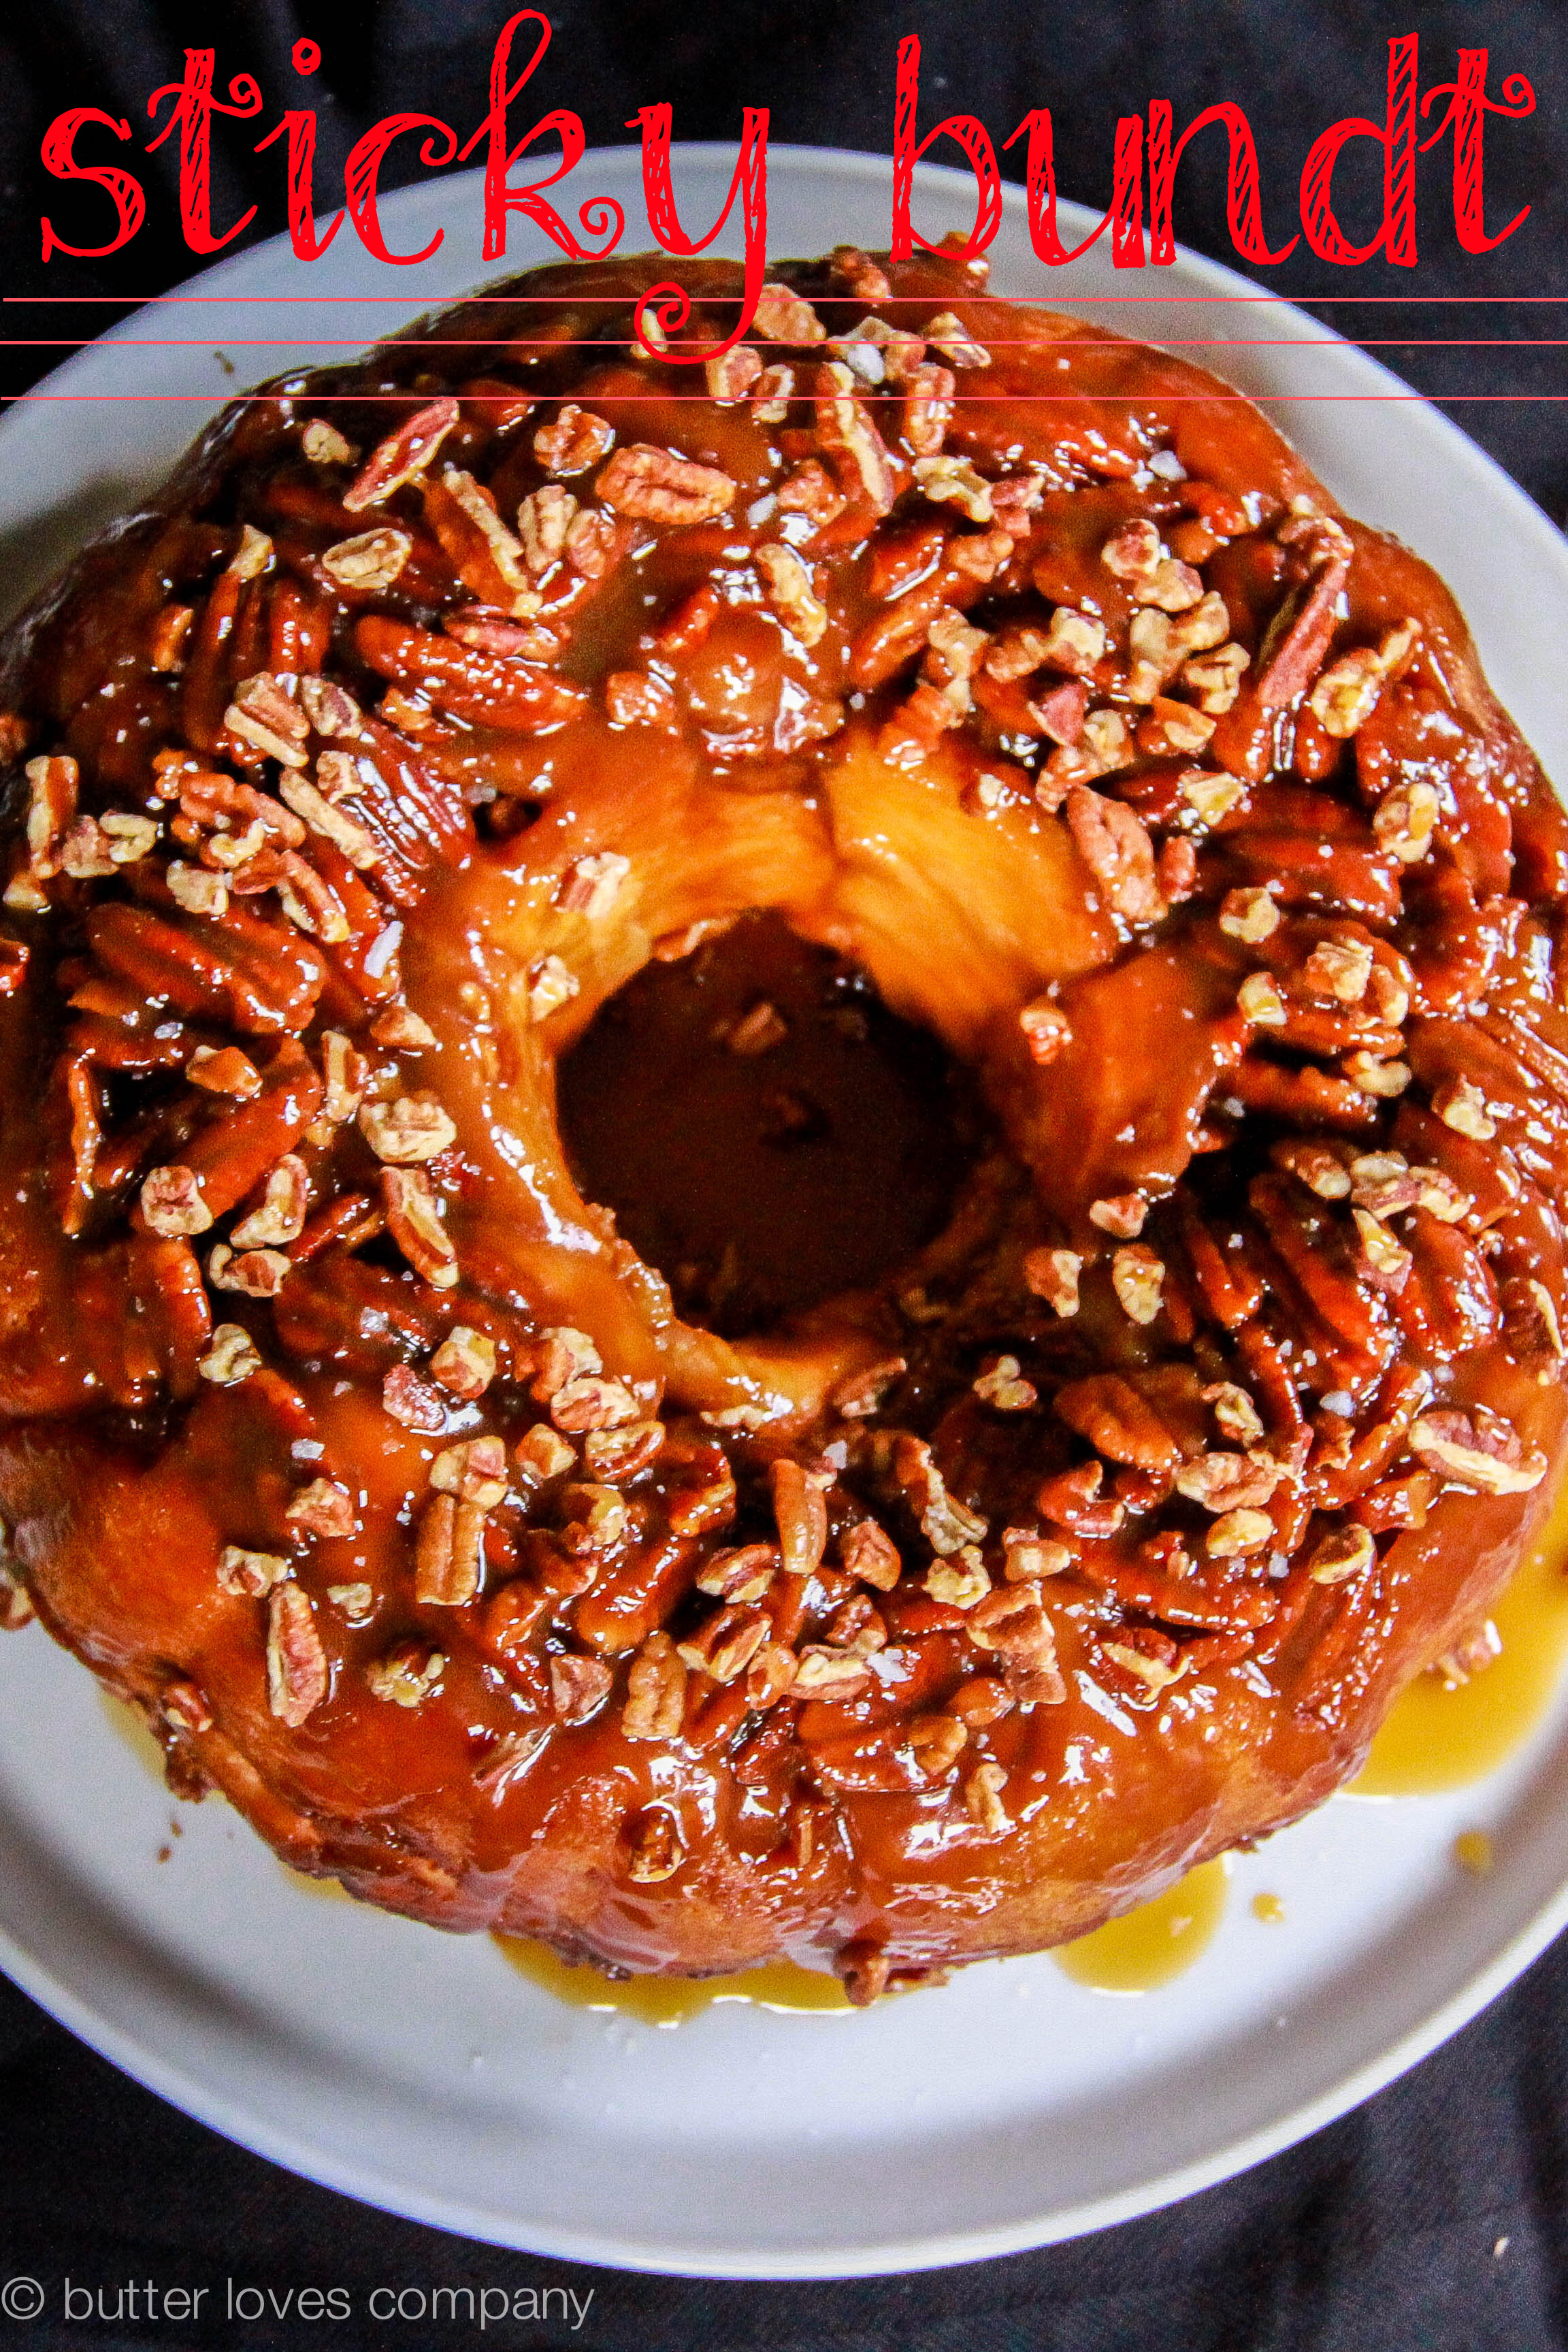
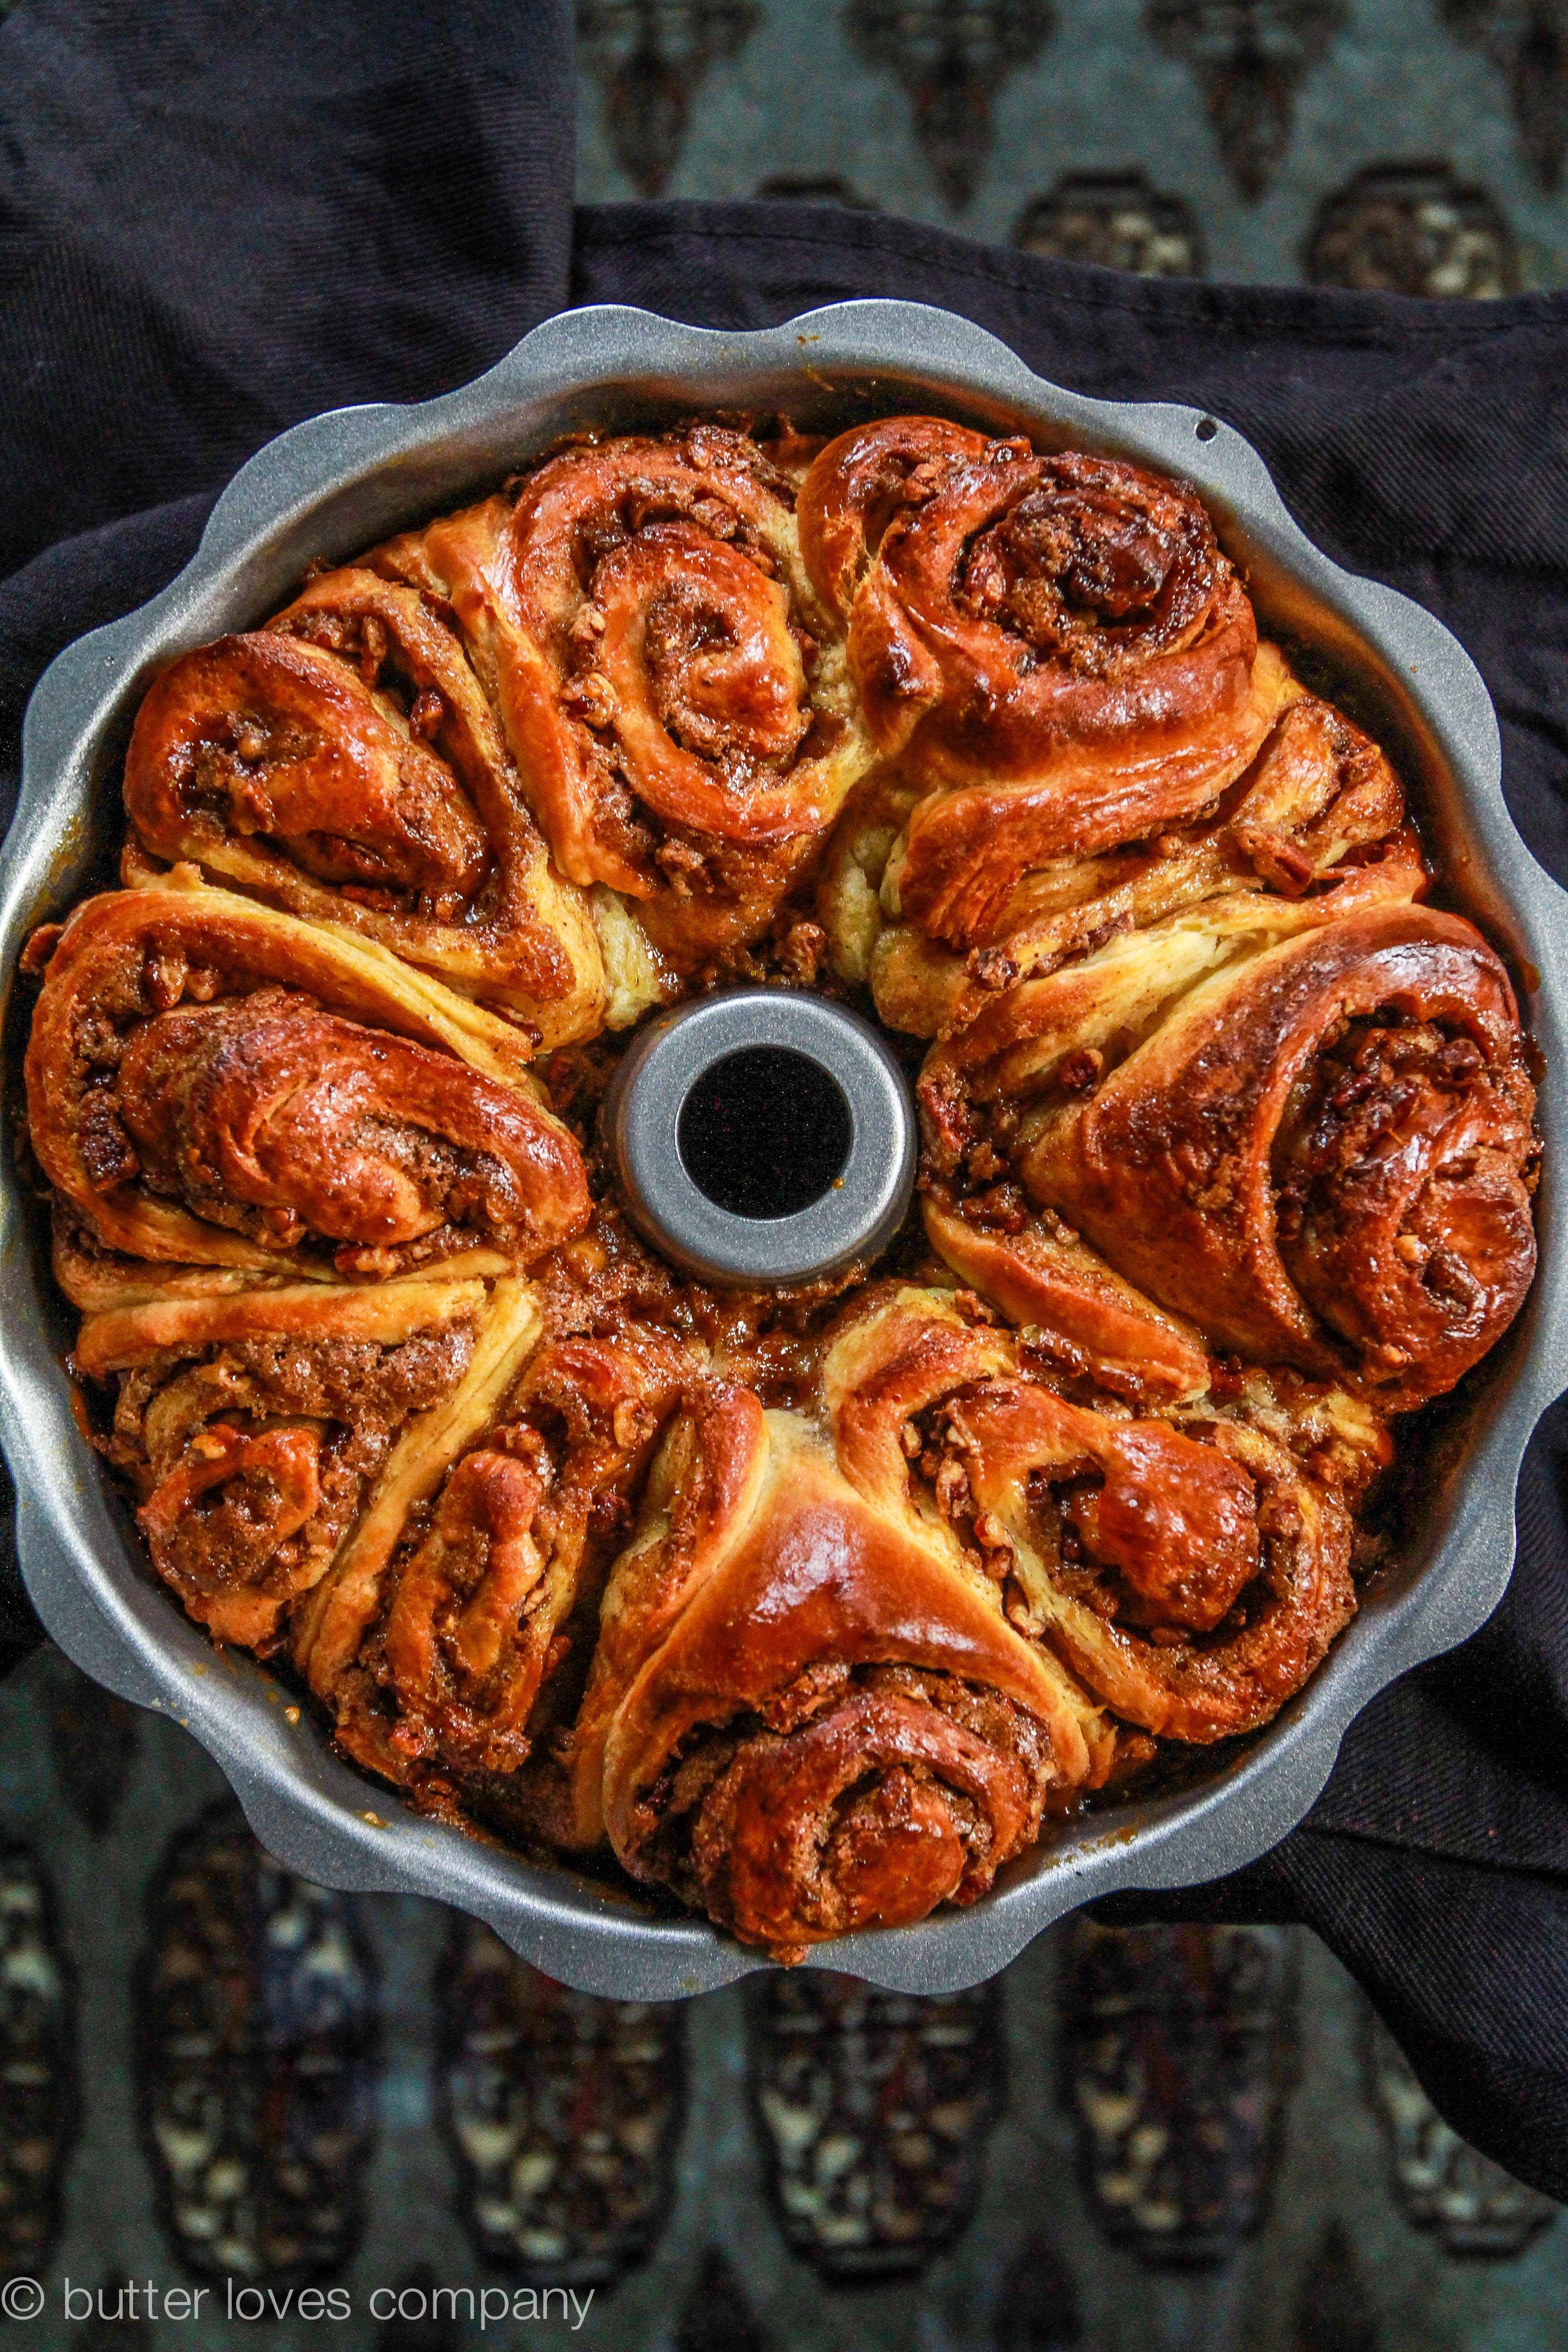
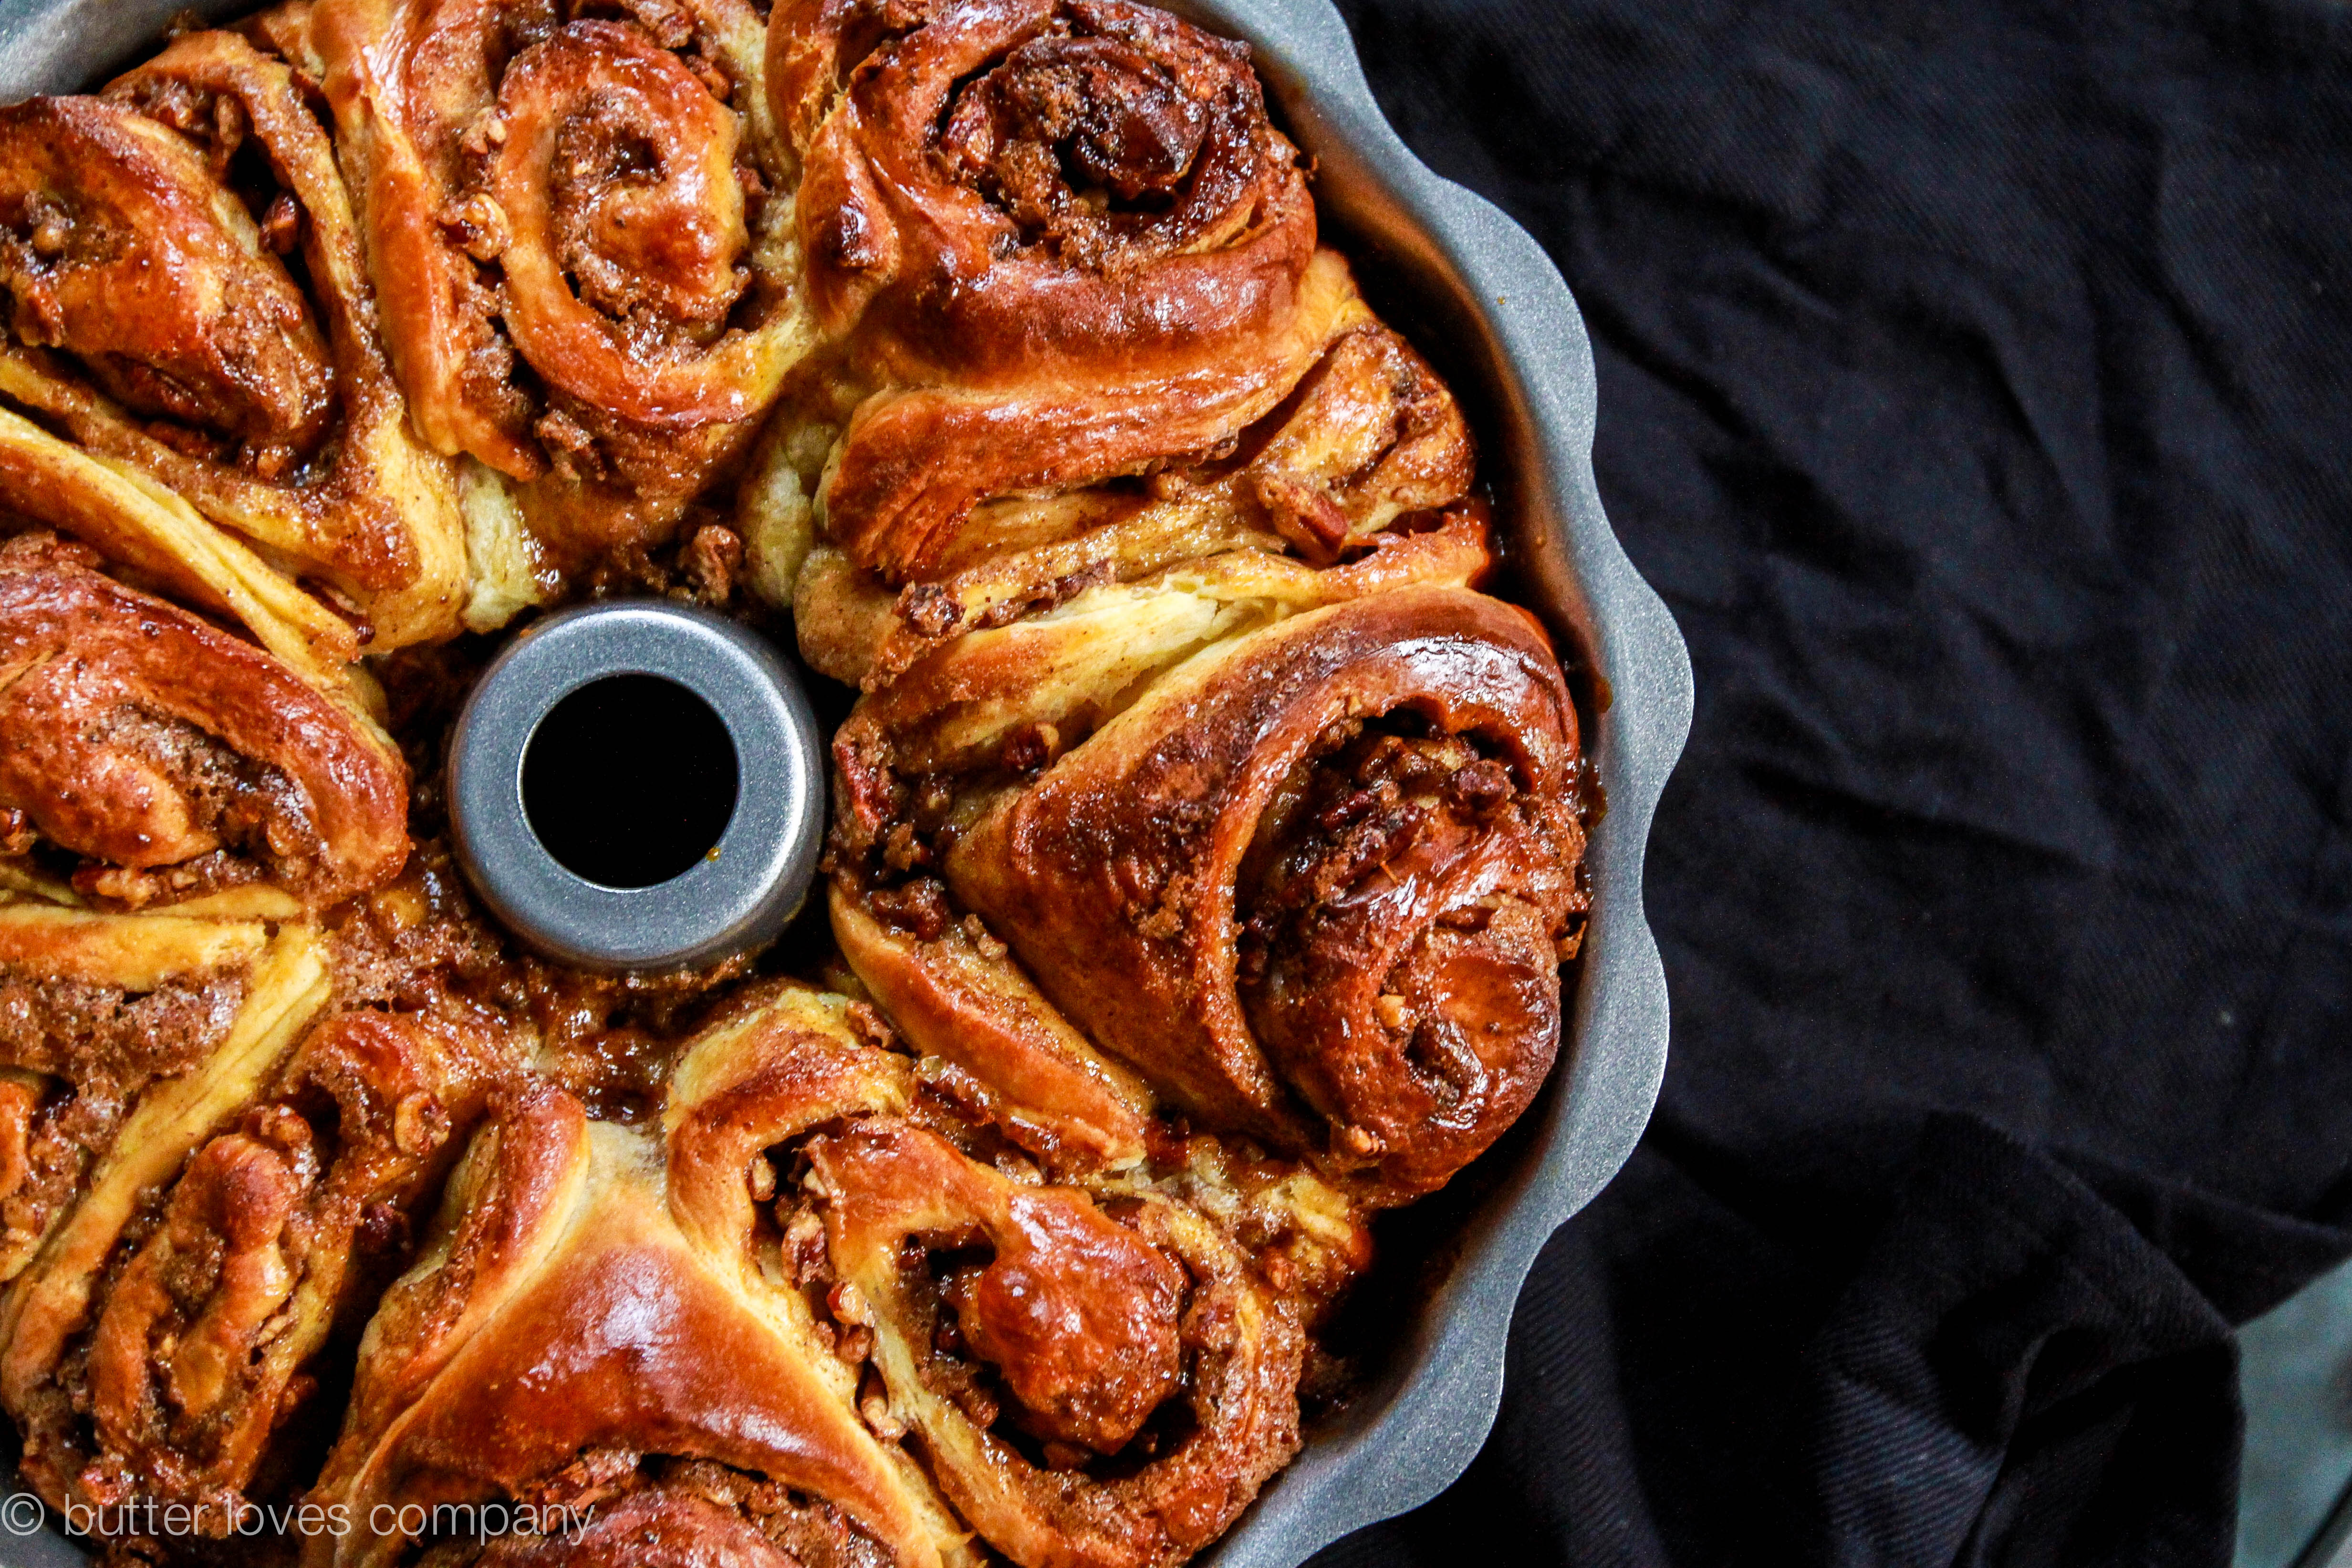
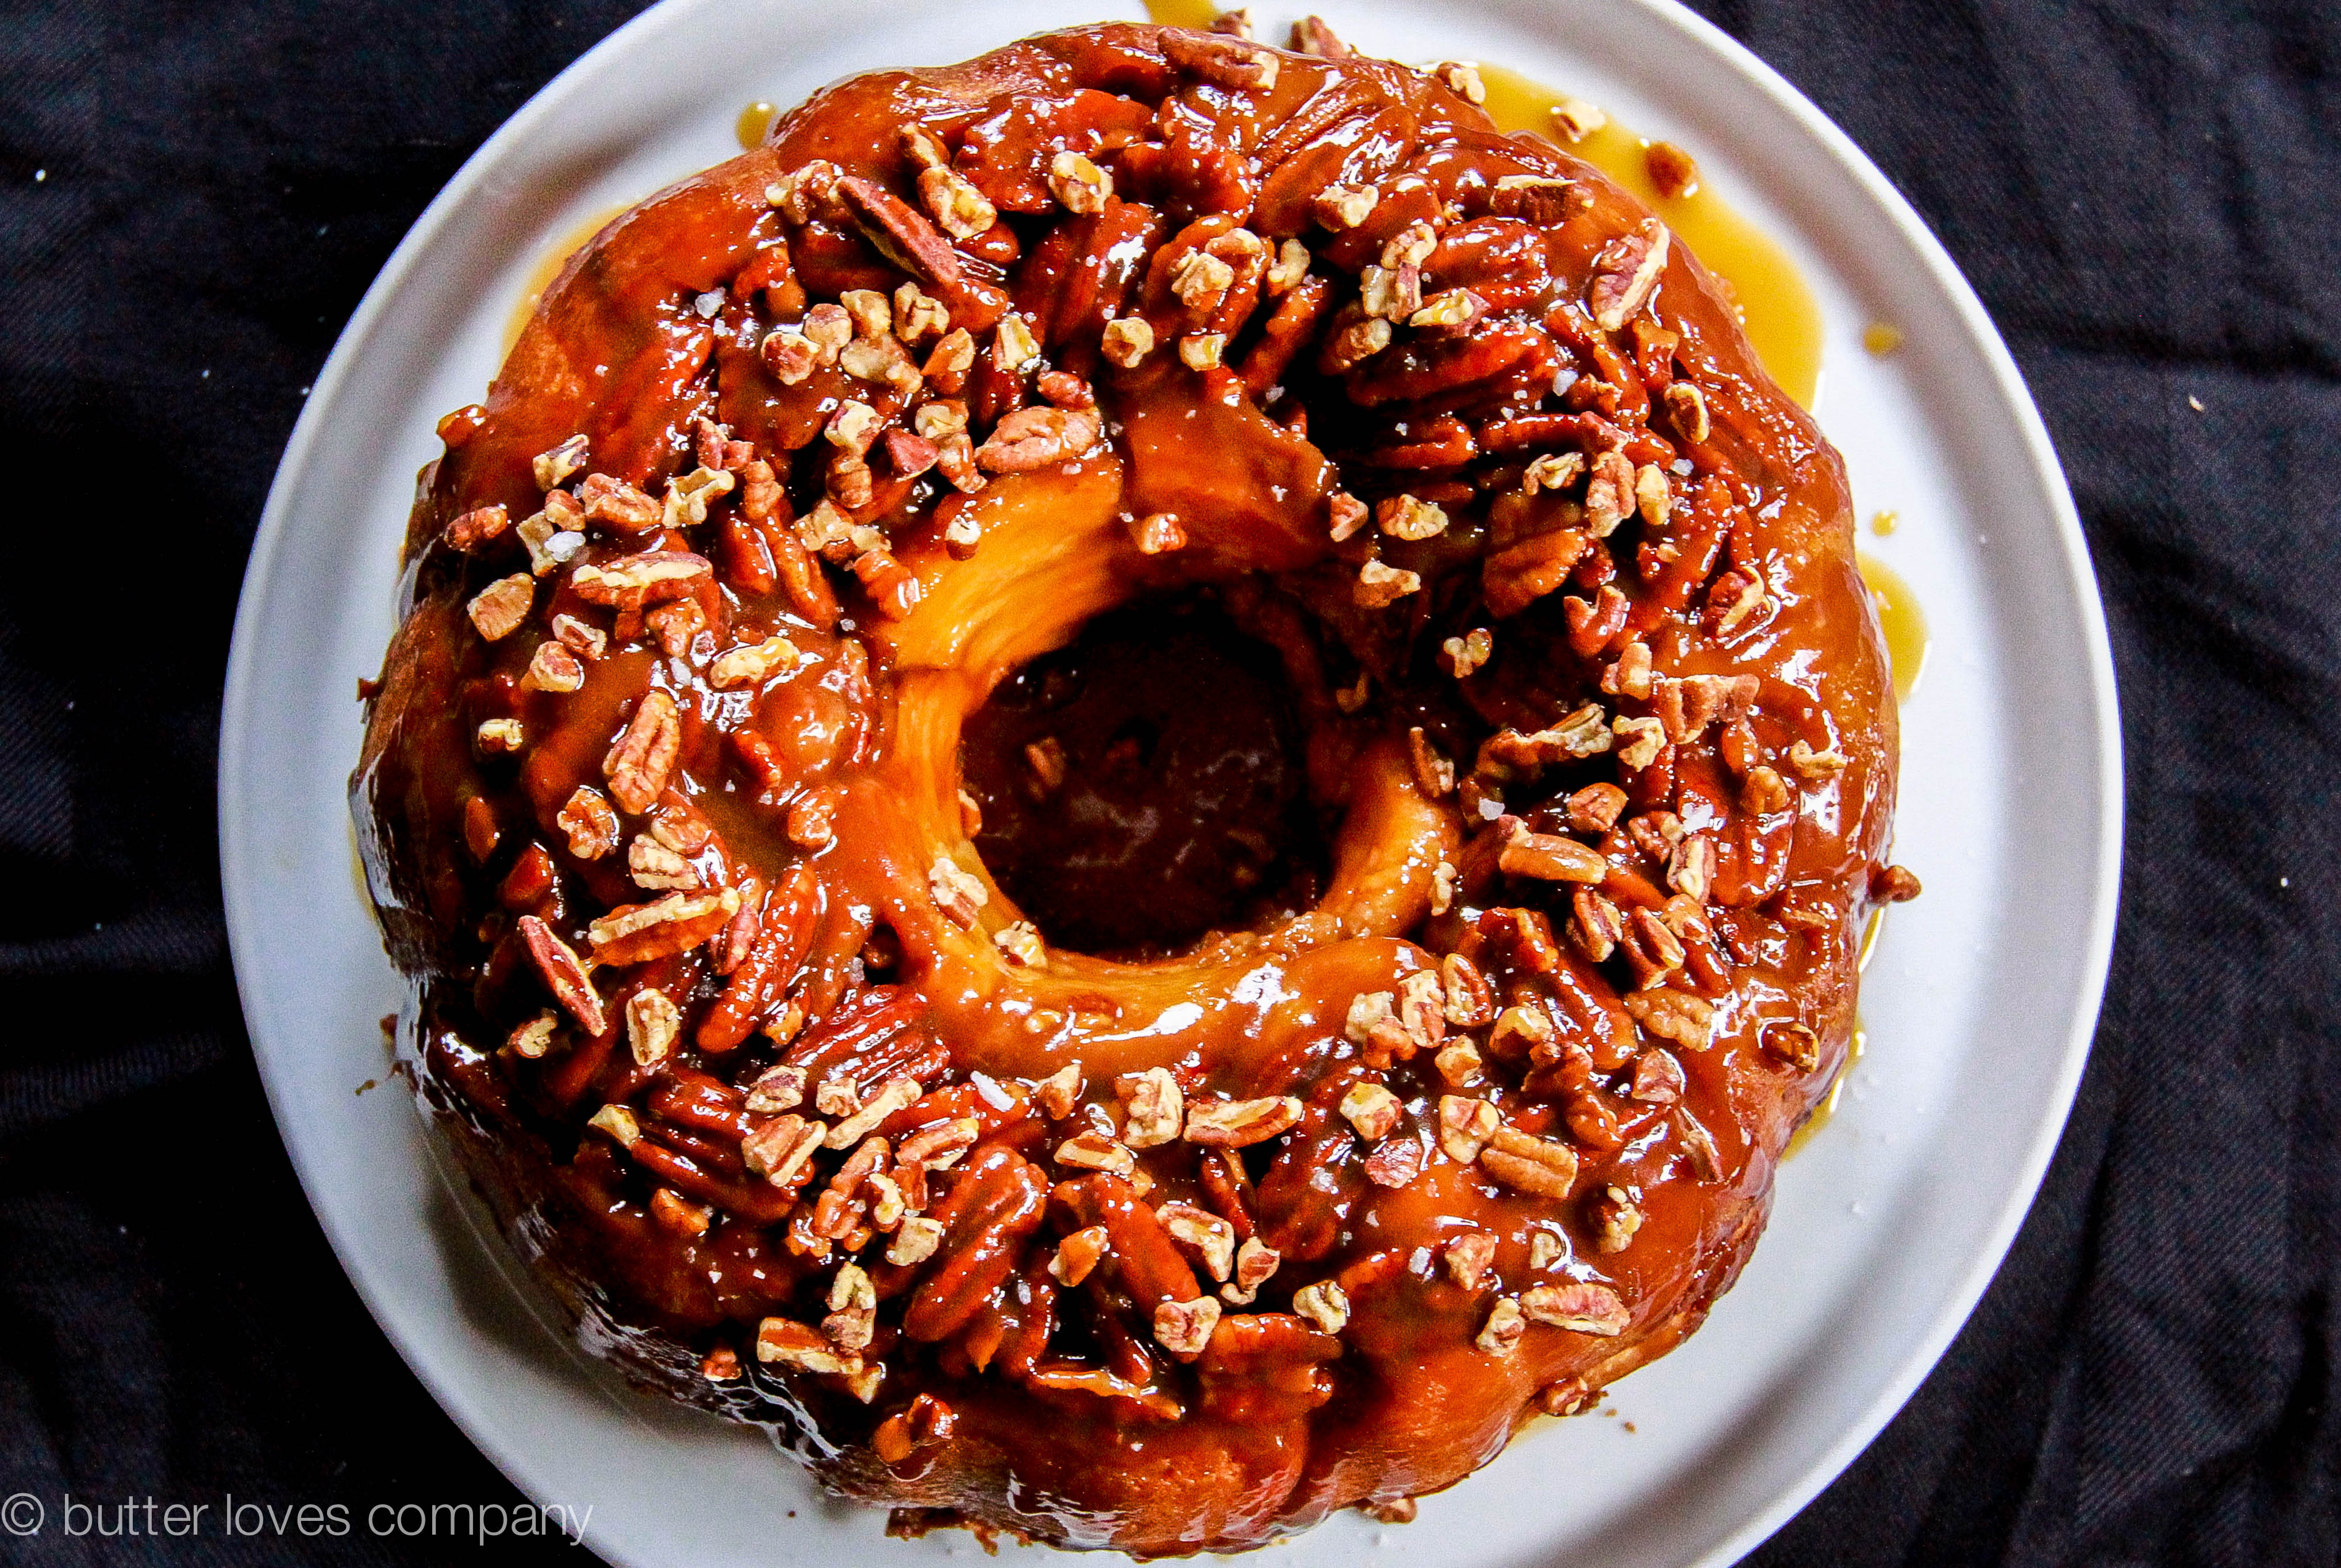
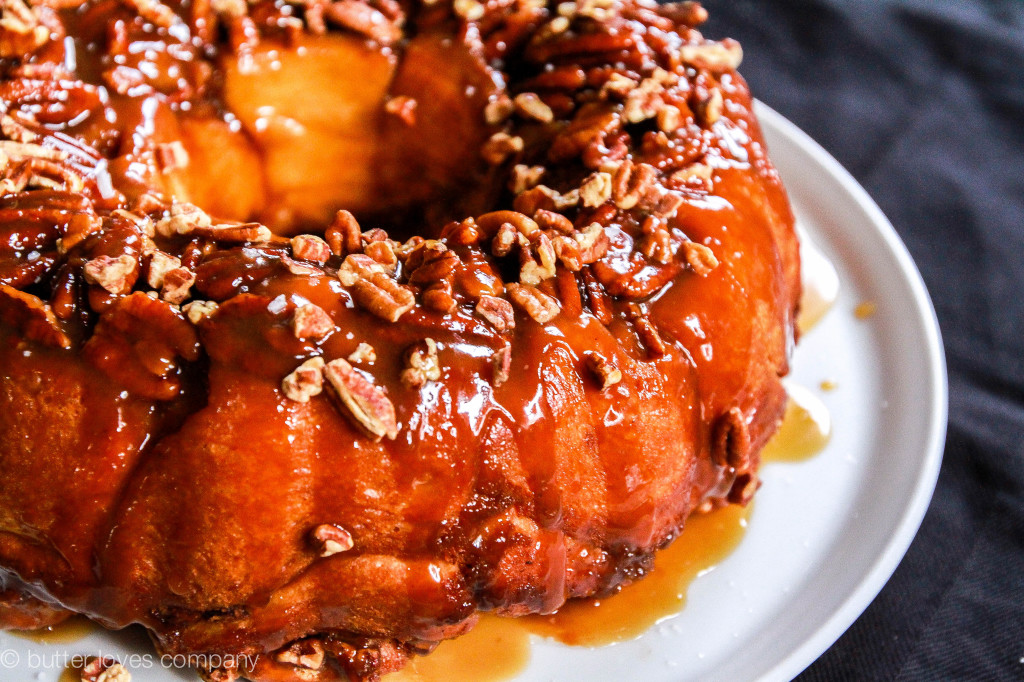
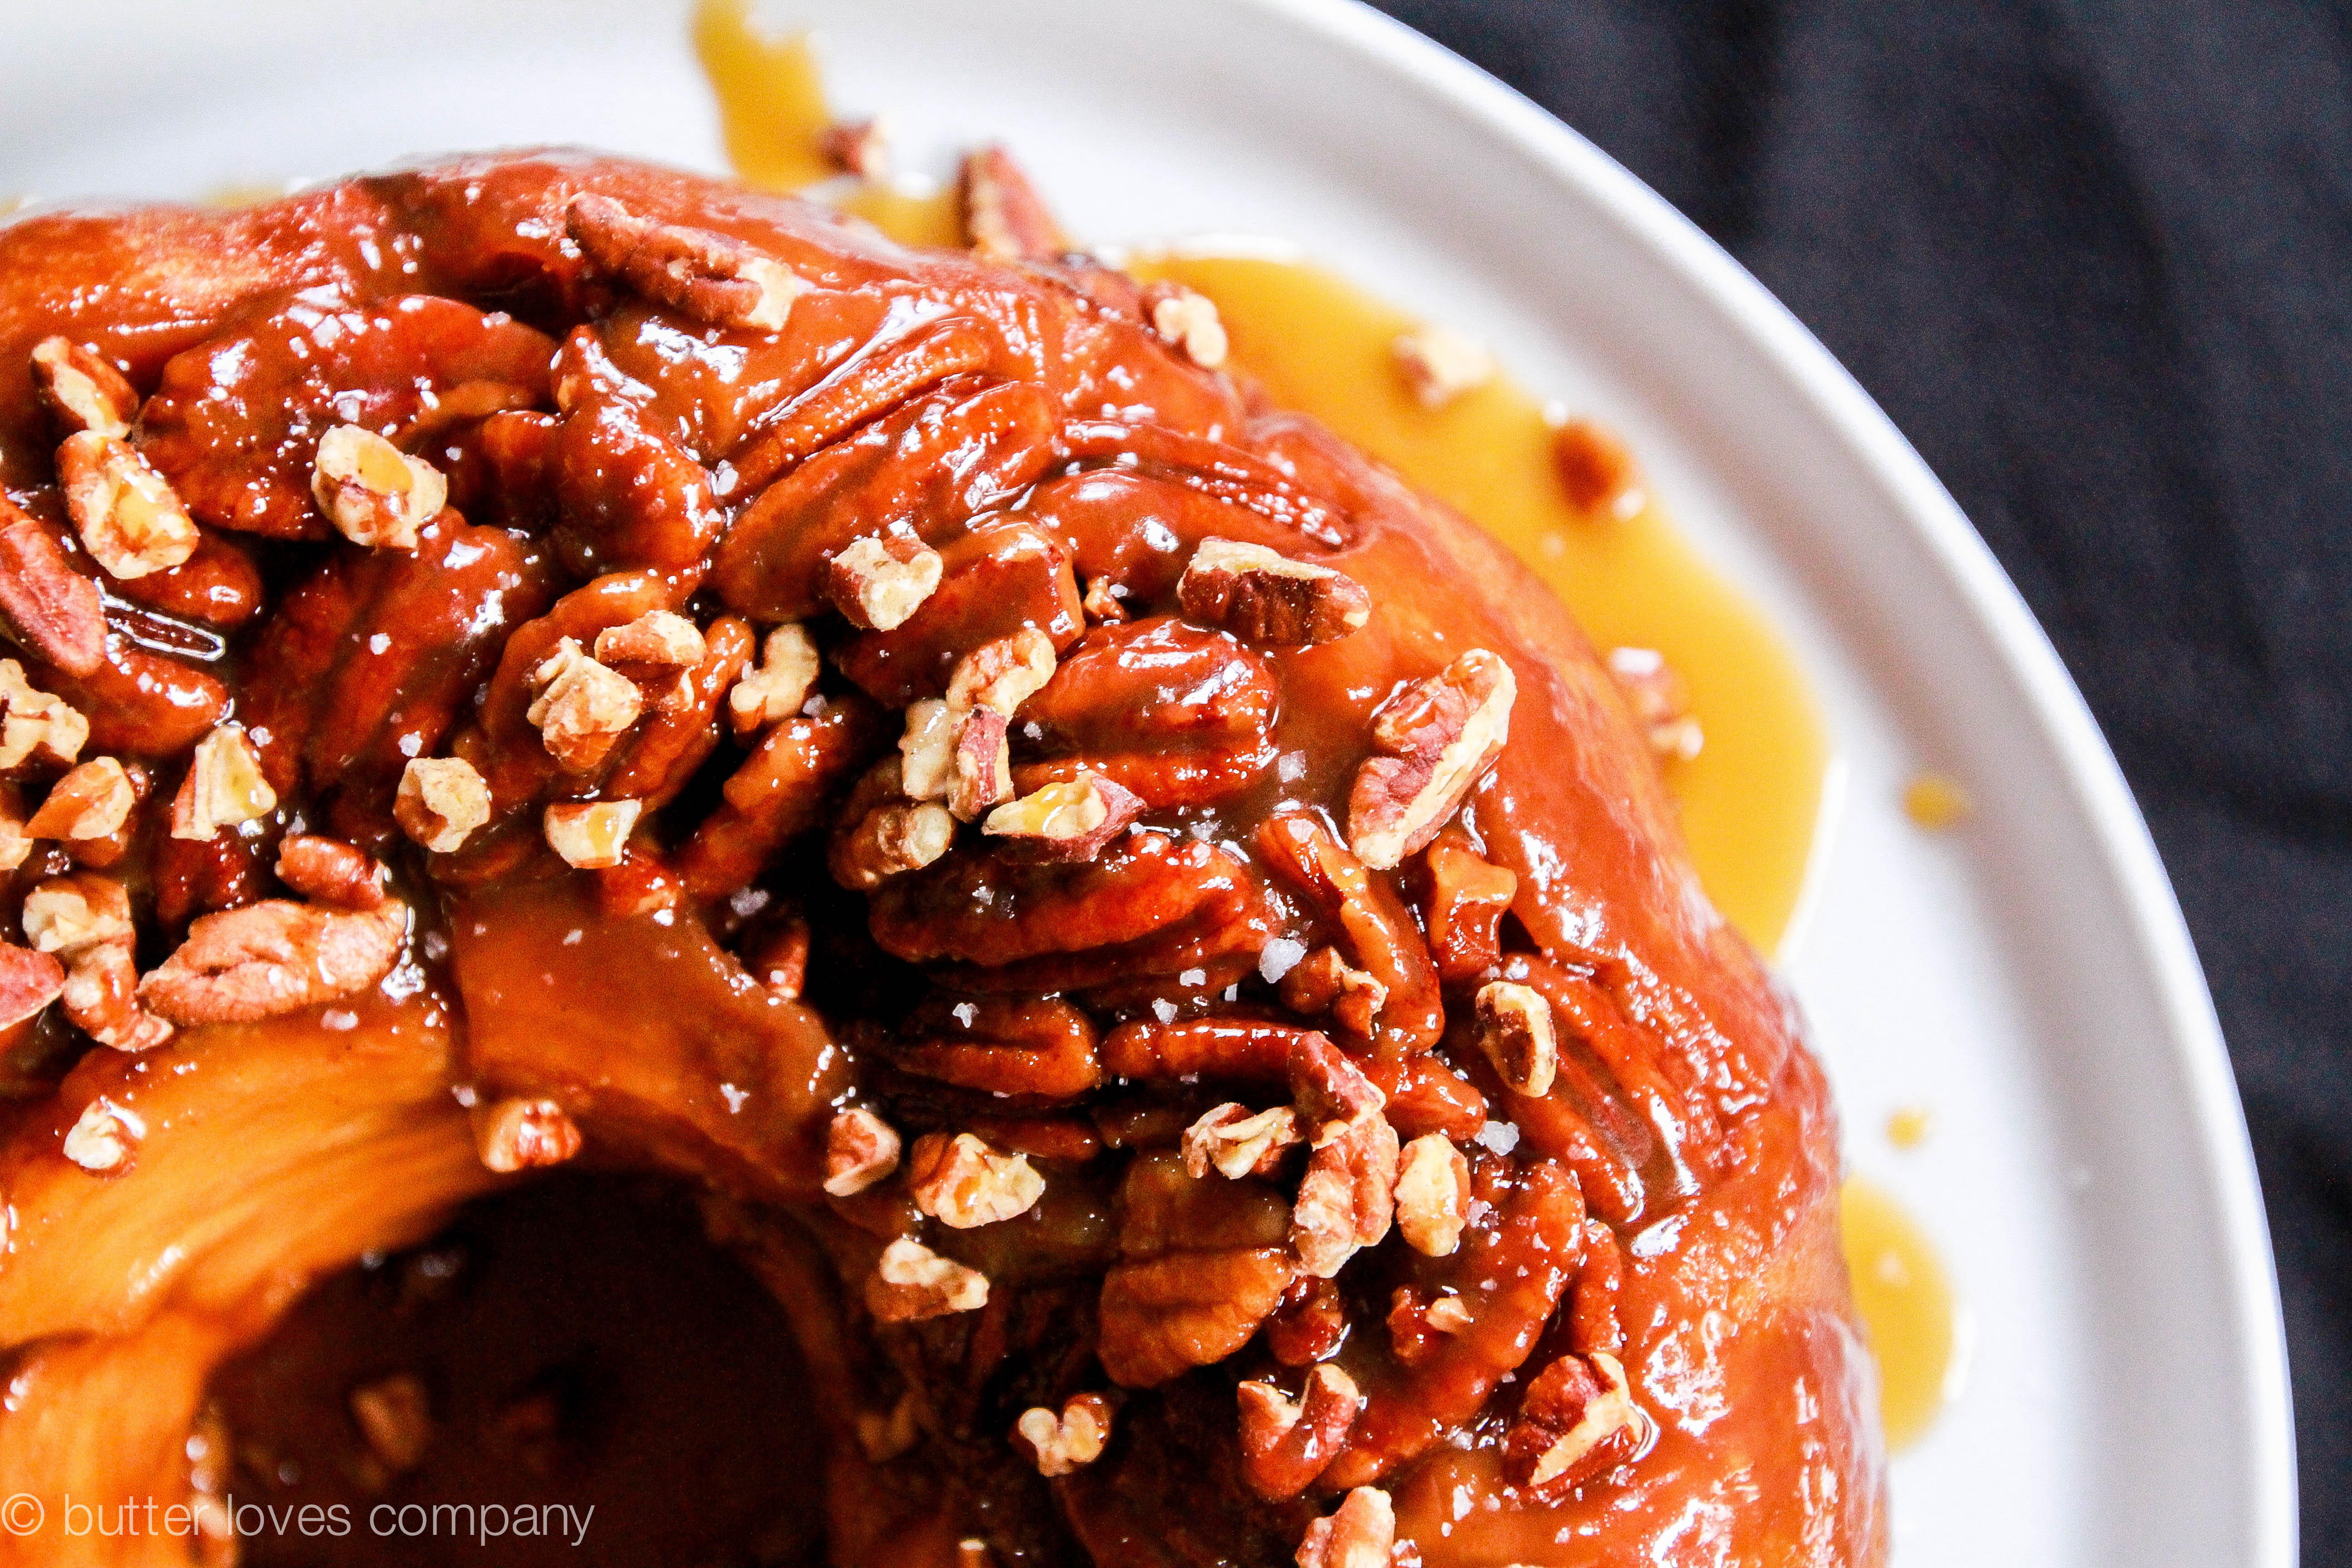
This is a sticky bun/bundt cake hybrid which I’ve aptly named a sticky ‘bun’dt (Get it, get it?). I made a batch of fluffy sticky buns and baked them in a bundt pan literally for the sole purpose of saying sticky bundt all day. Lucky for me, the resulting sticky-sweet, pecan-studded cake tasted amazing, so I’m excited to share the recipe with you while I humbly pat myself on the back. 😉

sticky bun bundt cake 1

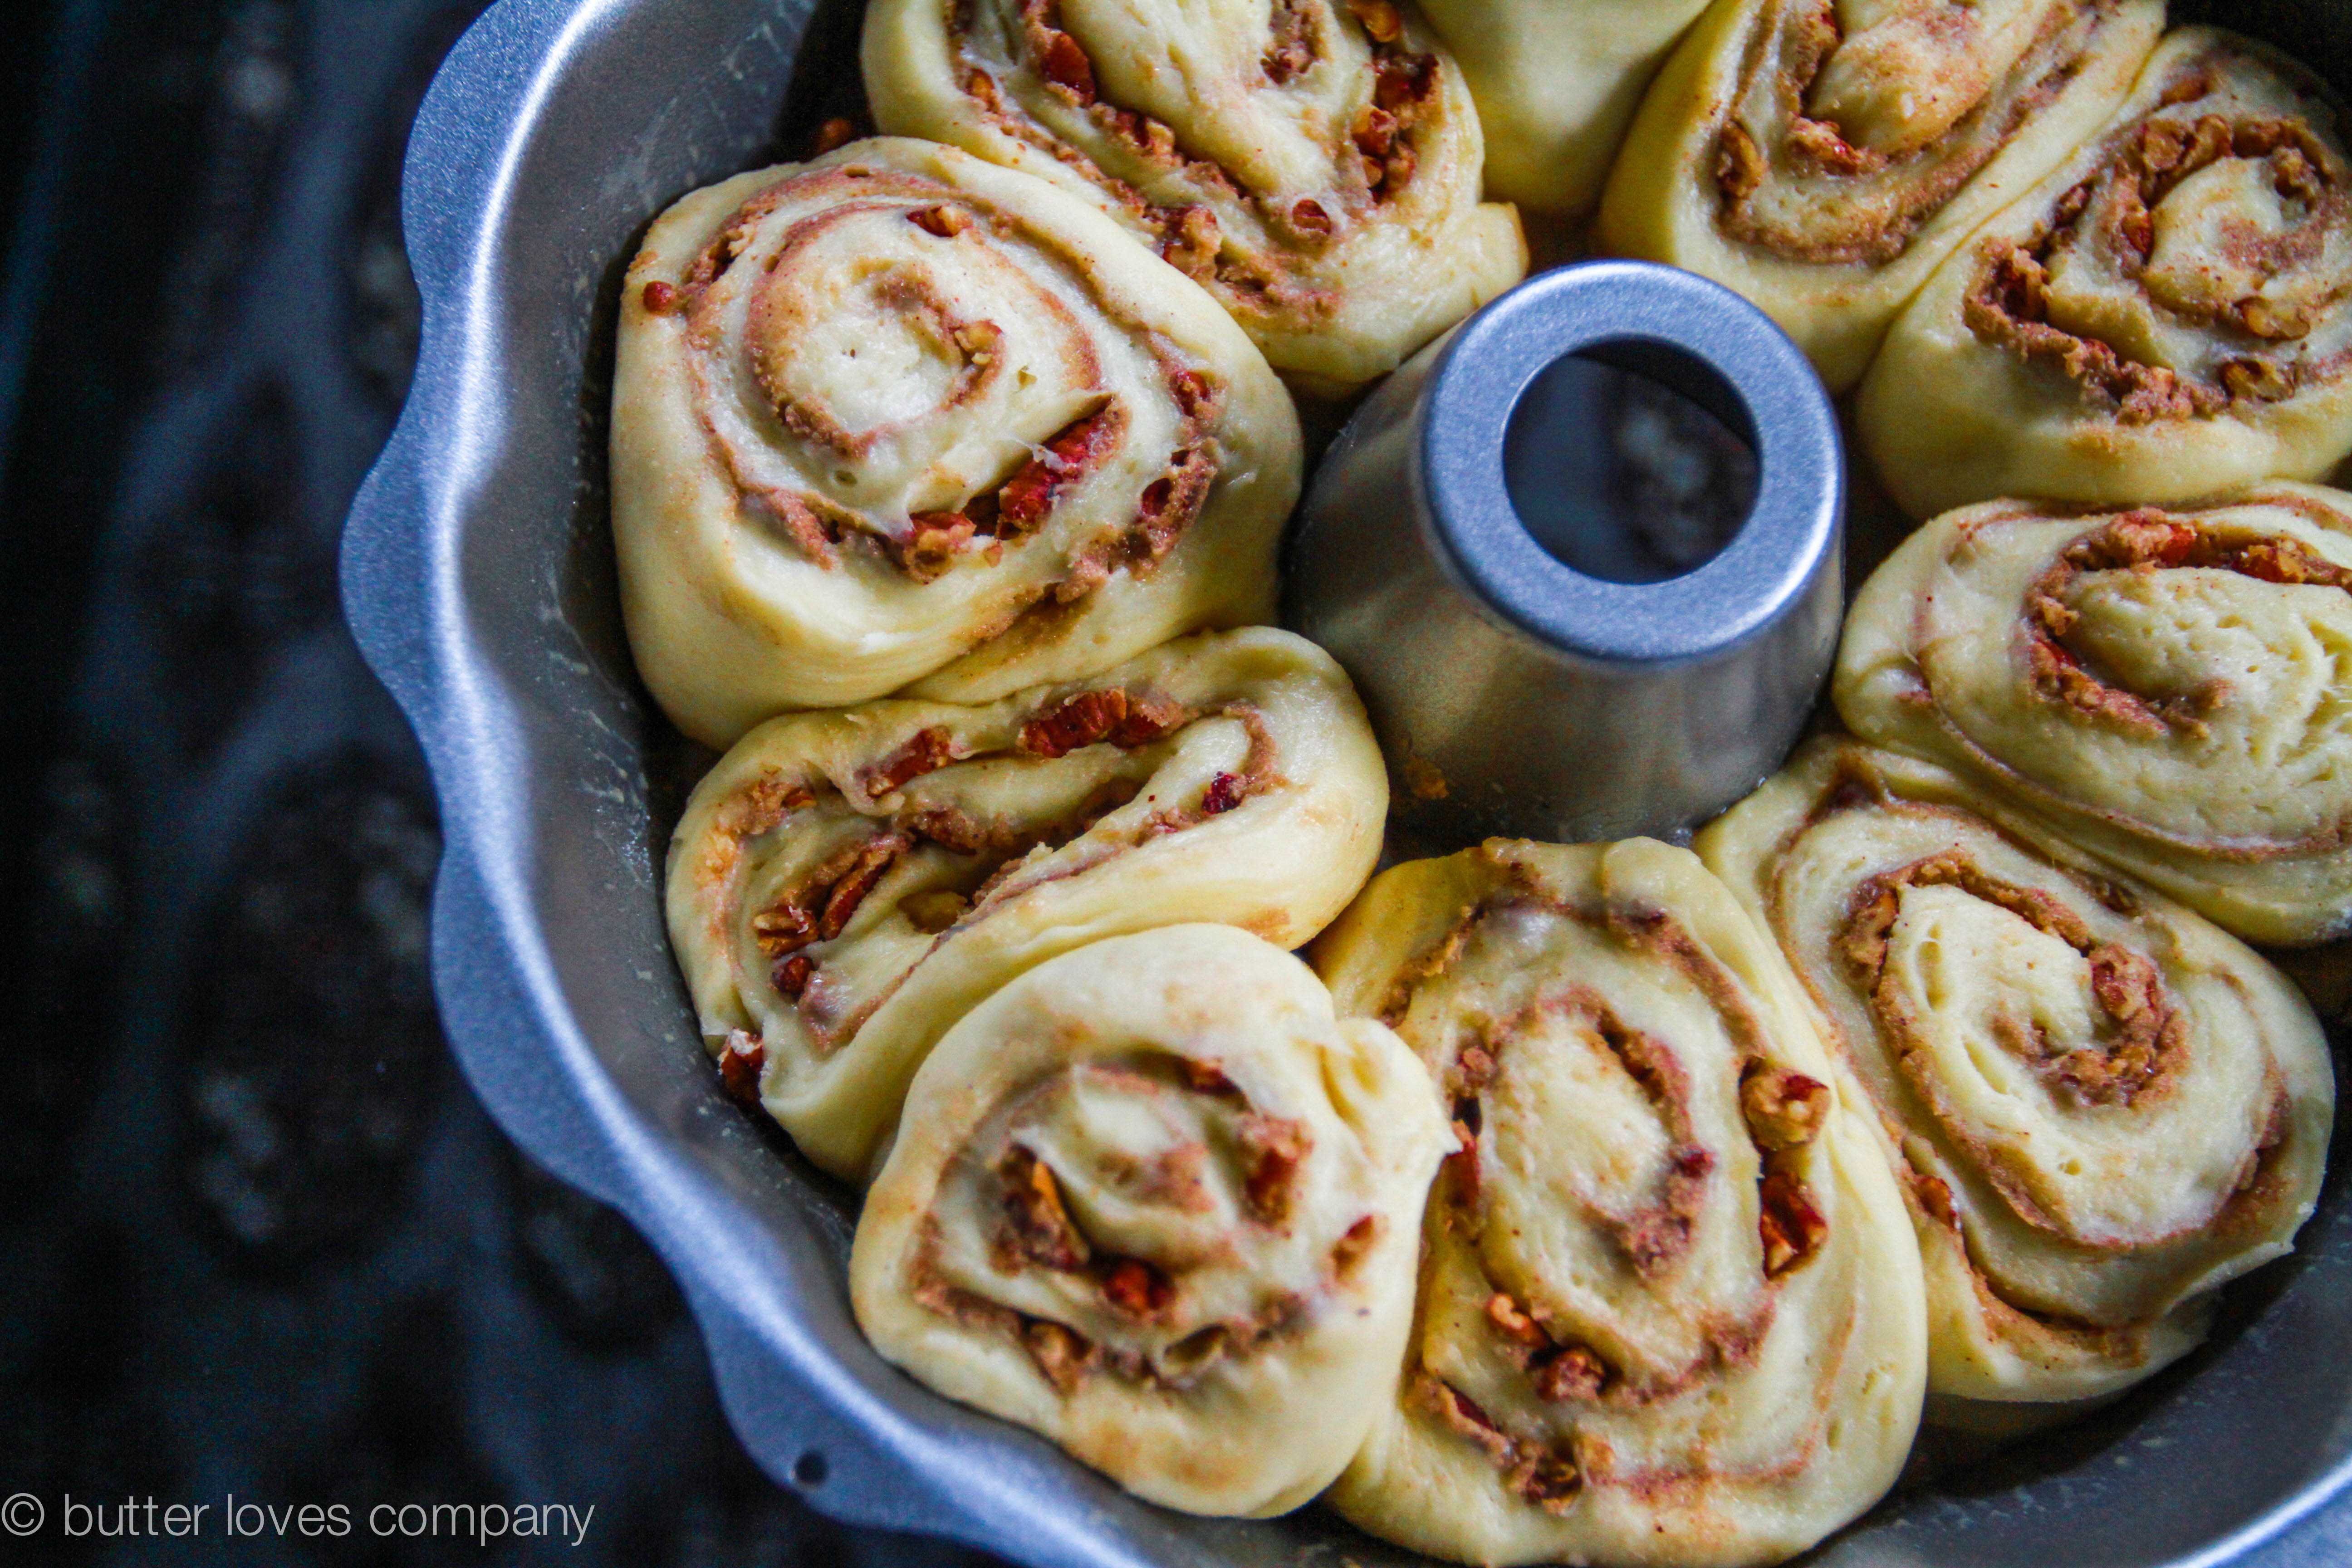
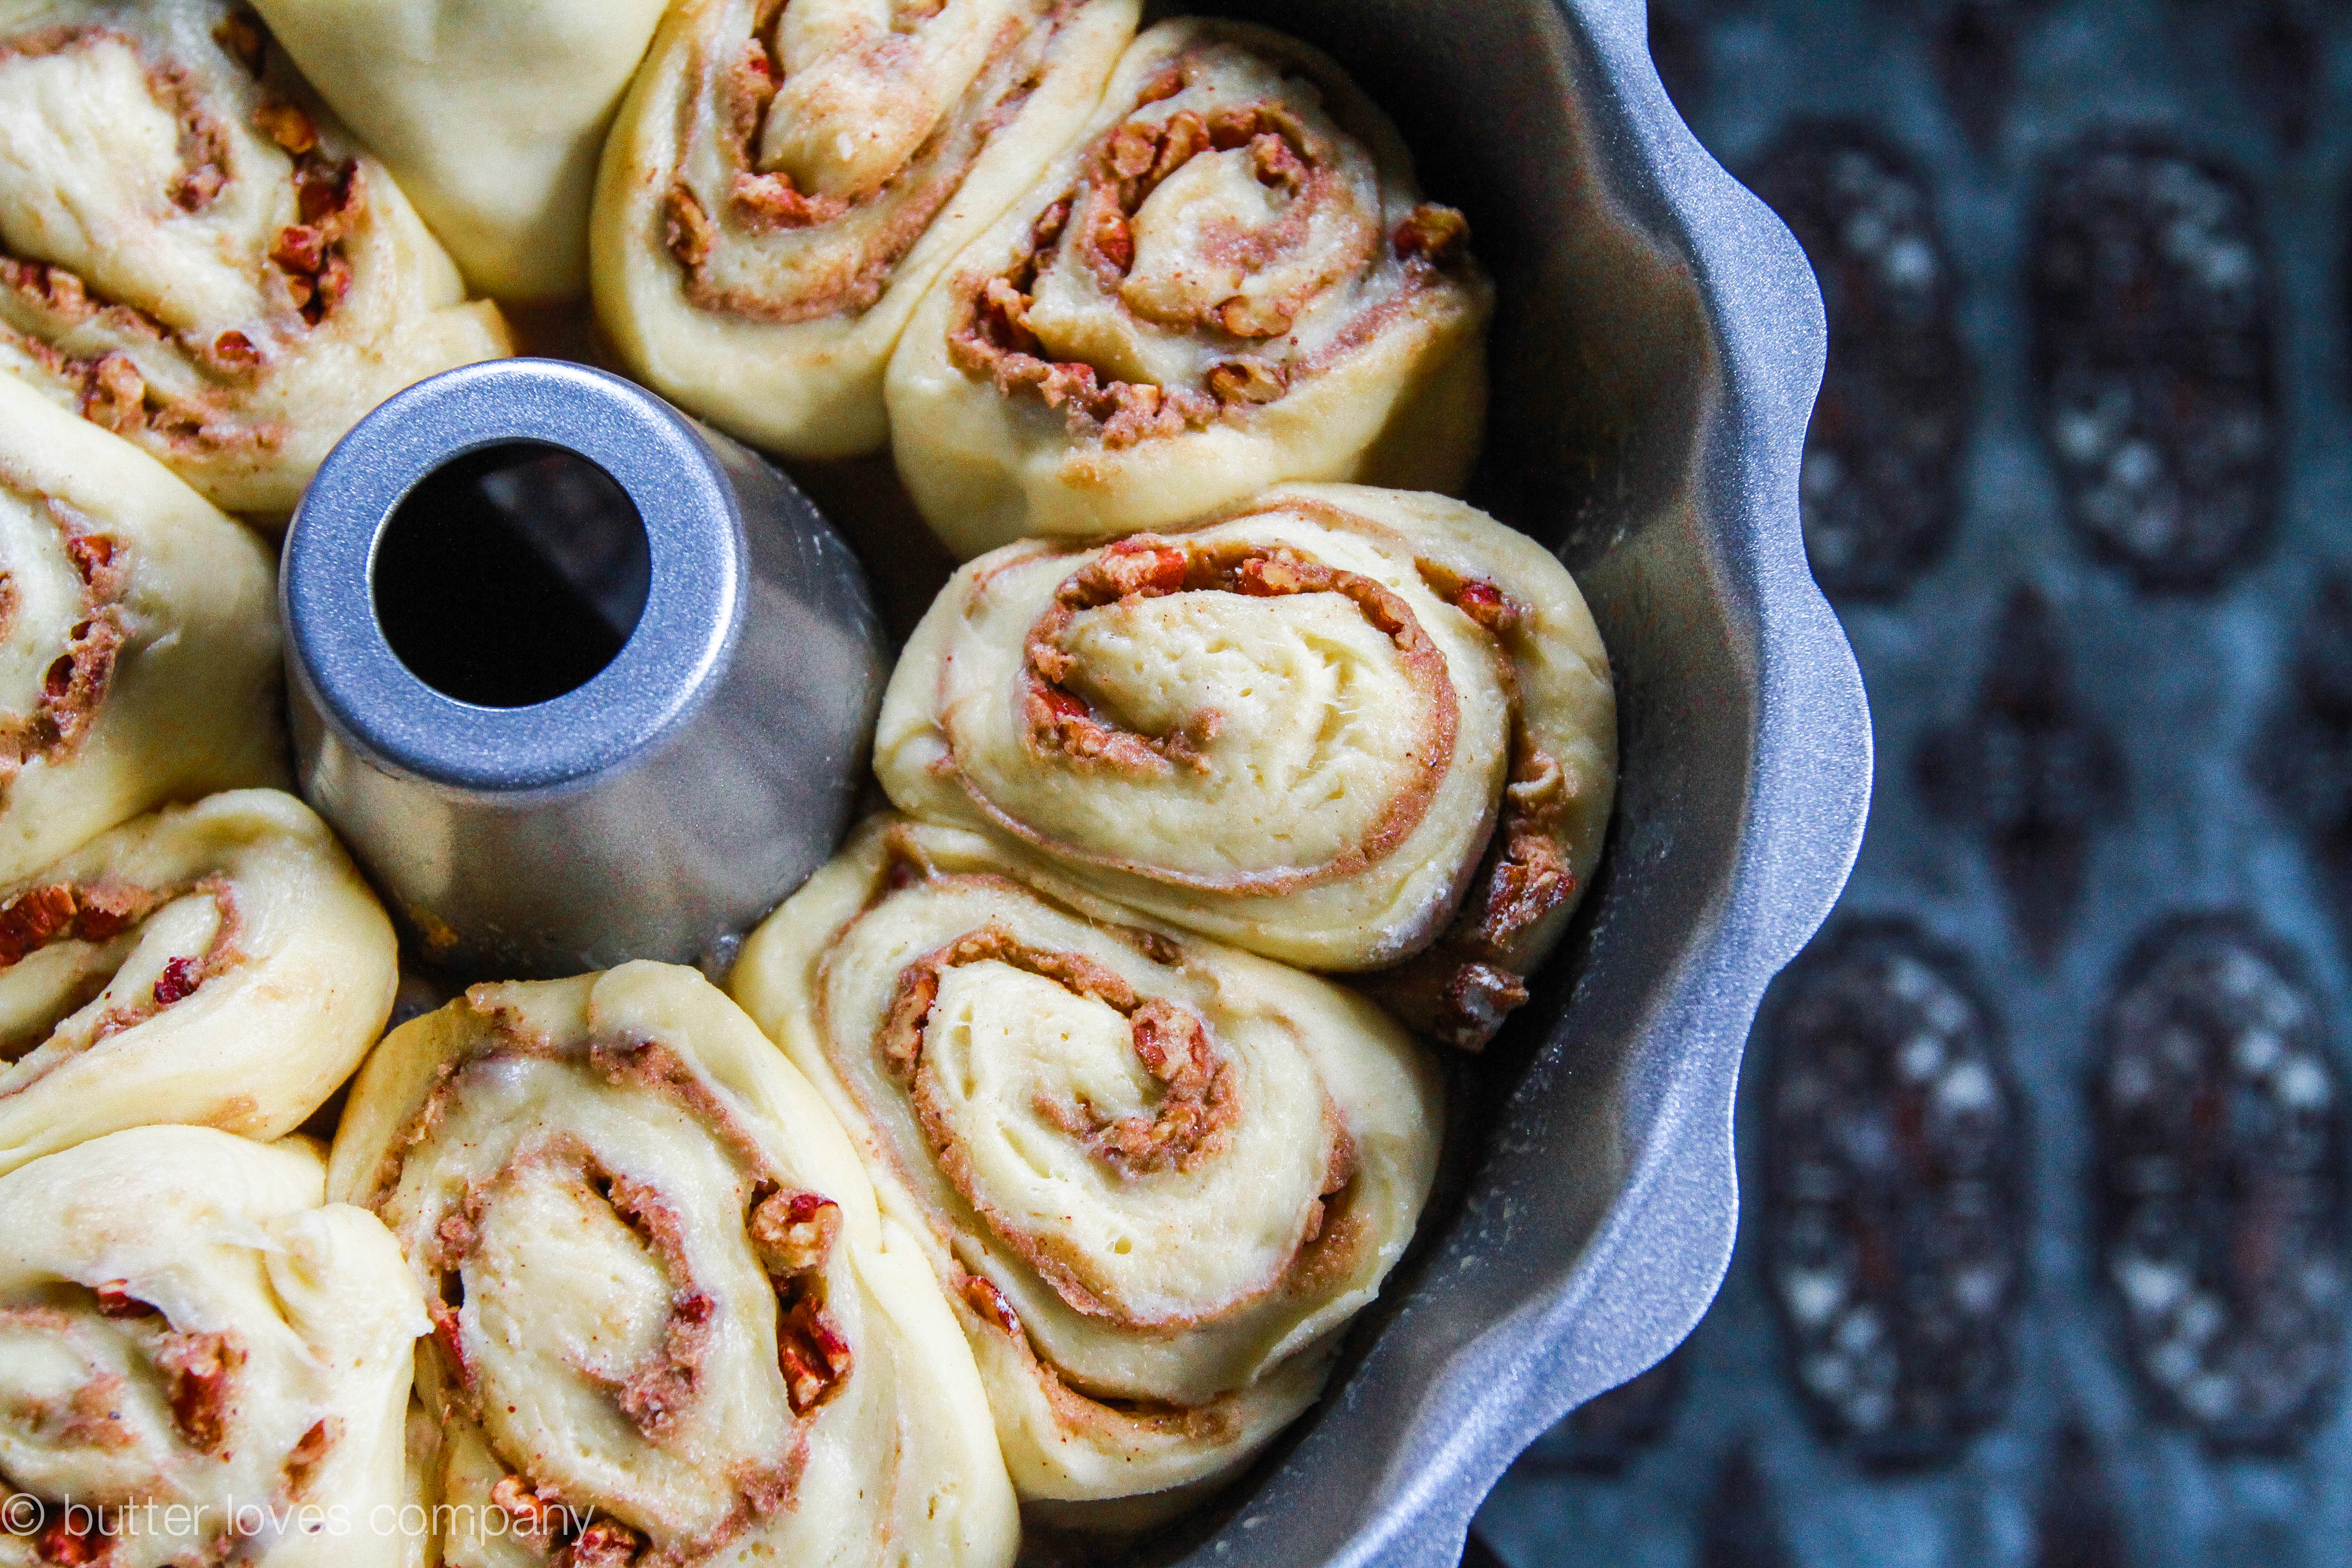
look at these sweet dough pinwheels getting personal! they love each other!

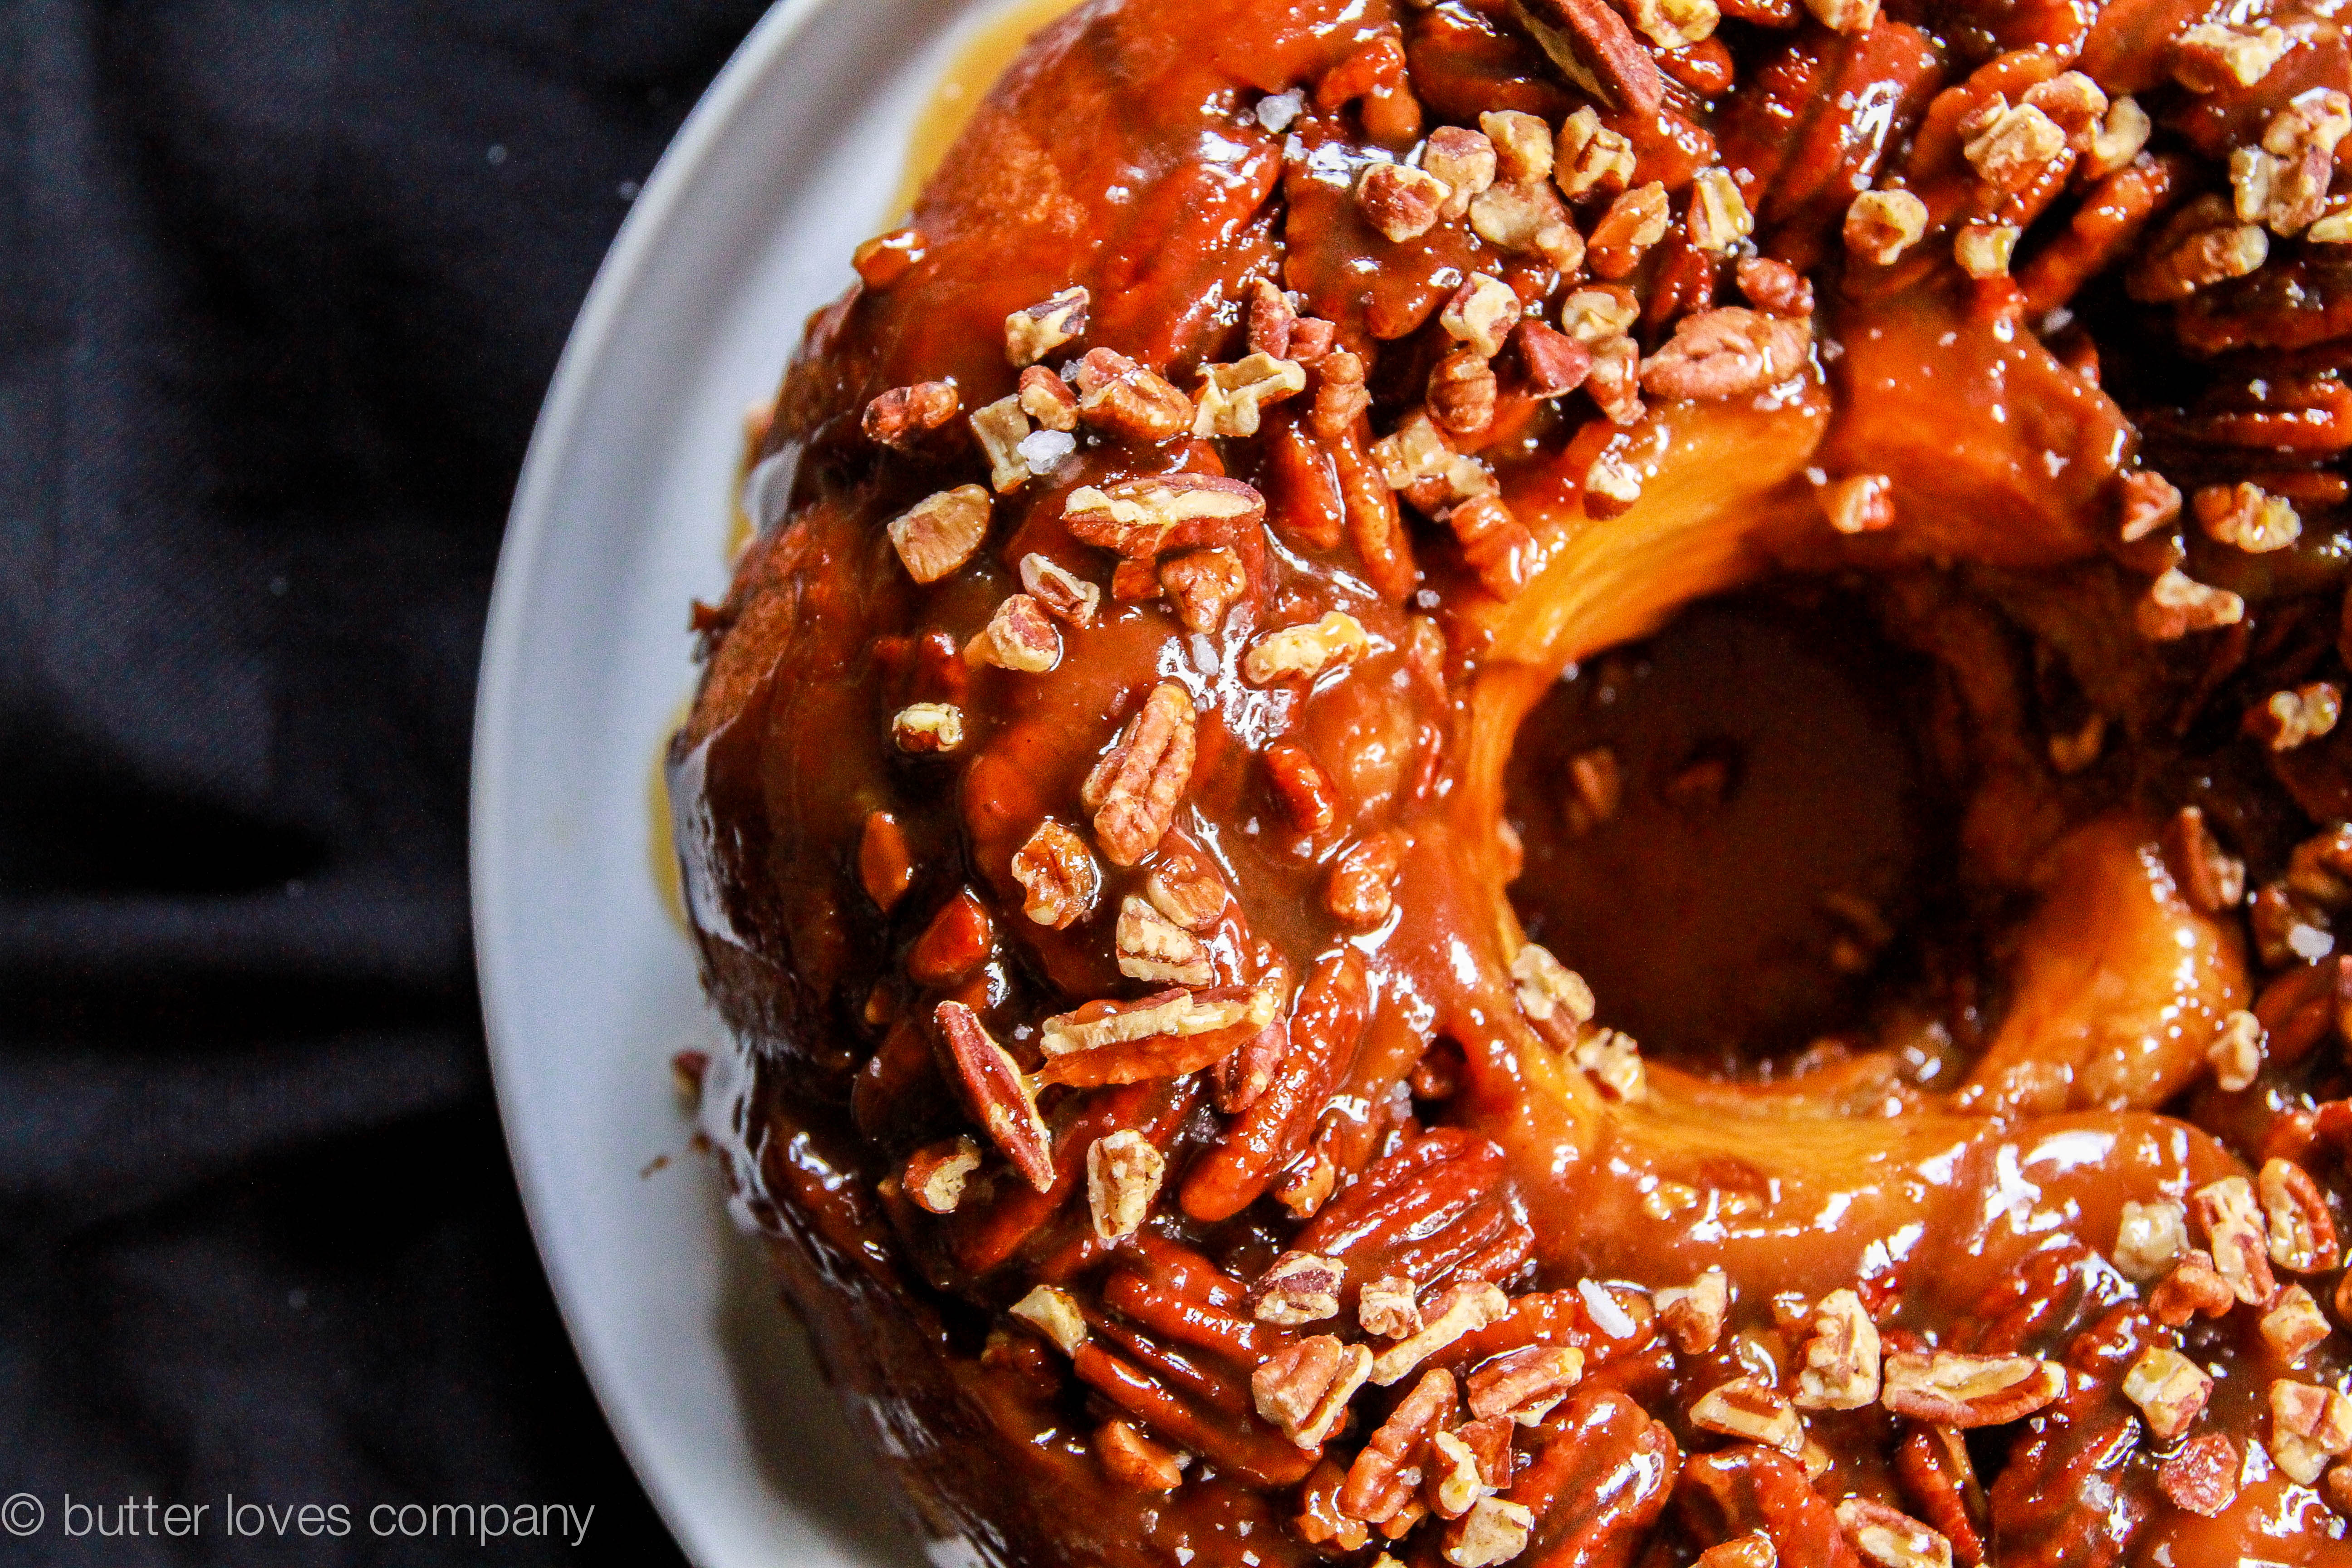
If you are a fan of sticky buns, you’re definitely open to a bit of butter and sugar. Plenty of pecans adhere to a sticky-sweet—but more of a mature not-too-sweet, sweet—dark brown sugar topping, all of which jumps aboard a nutty, buttery cinnamon roll train. Hopefully, the train is headed for a brunch table near you!

Making sticky buns requires a bit of patience as you’ve got to proof the dough twice; first, right after preparing the yeasted sweet dough, and second, after filling and rolling the dough into pinwheeled buns. I promise you this sticky bun bundt cake cake is worth the extra effort as the bundt is as tasty as it is visually stunning.

sticky bun bundt cake 2

There are three main elements to this sticky bun bundt cake: the dough, the filling, and the topping. Broken down into three parts it is totally manageable and you can even prepare and assemble the buns a day ahead of time so you will be able to sleep in and still impress your family and friends at Sunday brunch. Just allow the chilled buns to get to room temperature about an hour and a half before baking in the morning.

sticky bun bundt cake 4

the pecan cinnamon rolls will rise up into these layers and you will feel like a superhero for making this happen.

sticky bun bundt cake 5

sticky bun bundt cake 12

you’ll flip the sticky bundt out of its pan and smell the nuts and sweet butter combined with the warm spices and rich topping.

sticky bun bundt cake 10

sticky bun bundt cake 6

sticky bun bundt cake 11

sticky bundt
Adapted from Bon Appetit, April 2012

prep time: 30–40 minutes (plus time to chill and rise)
cook time: 50 minutes
total time: 5 hours (includes minimum time to chill and rise)
Makes: One 10-inch bundt cake or 10 individual sticky buns prepared in an 8x8x2″ metal baking pan

Ingredients:

Sweet dough:

2/3 cup whole milk
5 tablespoons sugar, divided
1 3/4 teaspoons active dry yeast (from one 1/4-ounce envelope)
2 large eggs, room temperature
2 3/4 cups all-purpose flour
1 teaspoon salt
1/2 cup (1 stick) unsalted butter, cut into 1″ pieces, room temperature, plus 1 tablespoon melted butter for greasing bowl

Topping:

2 cups chopped pecans (I like to keep about 1/2 cup whole to top the bundt, but up to you.)
1/2 cup (1 stick) unsalted butter
3/4 cup (packed) dark brown sugar
1 tablespoon vanilla extract
3/4 cup heavy cream
1/3 cup honey
1/4 teaspoon salt
1/4 teaspoon finely grated orange zest (optional)
2 teaspoons orange liqueur or rum (optional)

Filling/bun assembly:

1/2 cup (1 stick) unsalted butter, room temperature
1/2 cup (packed) dark brown sugar
1 teaspoon vanilla bean paste or extract
3/4 teaspoon ground cinnamon
1/2 teaspoon freshly grated nutmeg
1/8 teaspoon salt
1 large egg (for egg washing buns)
Coarse sea salt (such as Maldon) for finishing

Instructions:

Make the sweet dough:

  1. In a small, microwave-safe bowl, heat milk in microwave until an instant-read thermometer registers 110–115°F. Stir in 1 tablespoon sugar. Sprinkle yeast over milk and whisk to blend. Let sit until yeast is foamy, about 5 minutes. Whisk in eggs until smooth.
  2. Combine remaining 4 tablespoons of sugar, flour, and salt in the bowl of a stand mixer fitted with a dough hook. Add milk mixture and combine on low speed. With mixer still running, add the room-temperature butter, 1 piece at a time, incorporating each piece fully before adding the next one. After you’ve added the last piece, mix on medium speed for 1 minute. Increase speed to medium-high and knead until dough is soft and silky, about 10 minutes.
  3. Brush a medium bowl with melted butter; place dough in bowl. Brush top of dough with remaining melted butter; cover with plastic wrap and let sit room temperature until about doubled in size, about 45 minutes to 1 hour. Transfer to refrigerator and chill dough for 2 hours.

Meanwhile, make the topping:

  1. Preheat oven to 350°F. Toast pecans on a rimmed baking sheet until fragrant and slightly darkened, 10–12 minutes. Let cool completely. Set 1 1/2 cups nuts aside for inside the buns.
  2. Melt butter in a small, heavy saucepan over medium heat. Stir in brown sugar, vanilla, cream, honey, salt, orange zest and liqueur, if using. Bring to a boil, reduce heat to medium, and simmer until glaze is golden brown, glossy, and slightly thickened, 3–4 minutes. Pour a third of the glaze into your bundt pan, tilting to coat bottom and sides. Set aside remaining glaze. Sprinkle 1/2 cup toasted pecans over bottom of pan and let cool.

Make the filling and assemble:

  1. Using an electric mixer on medium speed, beat butter, sugar, cinnamon, nutmeg, and salt in a medium bowl until light and fluffy, 2–3 minutes. Set filling aside.
  2. Remove dough from refrigerator and transfer to a floured work surface. Lightly dust top with flour and roll out the dough into a 12×16″ rectangle about 1/4″ thick. Spread the cinnamon-sugar mixture over dough with a knife or your hands. Sprinkle 1 cup chopped pecans over the cinnamon-sugar mixture.
  3. Beginning with the long edge closest to you, roll the dough tightly into a log. Once you finish rolling, arrange the log seam-side-down on the work surface.
  4. Using a sharp knife (you can wet the knife slightly to help make a clean cut), cut the log crosswise into 10 equal pieces. Don’t worry about making perfect rolls especially if you’ll be putting into a bundt pan. Turn the buns cut-side-up and gently tuck the end of each roll under the bun so it won’t unroll while baking. Place the buns in prepared pan; space them evenly apart. If making the sticky bundt, the buns will touch. If making individual buns in a 8x8x2″ metal baking pan the buns will likely not touch each other. At this point, you can cover and chill buns and remaining glaze separately. Store remaining pecans airtight at room temperature.
  5. Loosely cover pan with plastic wrap or a kitchen towel. Let buns rise in a warm, draft-free area until doubled in size, 45 minutes to 1 hour, or 1 1/2–2 hours if dough has been chilled overnight.
  6. Arrange a rack in middle of oven; preheat to 350°F. Whisk egg with 1/2 teaspoon water in a small bowl. Brush tops of buns with egg wash. Bake, rotating pan halfway through and tenting with foil if browning too quickly, until buns are golden brown, filling is bubbling, and an instant-read thermometer inserted into center of buns registers 185°F, about 50 minutes. Let cool for 5 minutes and then invert onto a platter. Spoon remaining glaze over sticky bundt. Sprinkle with 1/2 cup pecans. Lightly sprinkle with sea salt. Serve sticky bundt warm or at room temperature.

Filed Under: breakfast and breads, desserts and sweets, eat Tagged With: brunch recipes, bundt cake, make ahead, pecans, sticky bundt, sticky buns, sweet dough

« Previous Page
Next Page »

Welcome!

jenna of butterlovescompany

Pull up a chair

Hi! I’m Jenna. Story seeker, food lover, recipe developer based in NYC. Firm believer in making every day delicious! Read more…

looking for something?

  • Email
  • Facebook
  • Instagram
  • Pinterest
  • RSS
  • Twitter

Latest Posts

  • Freezer Meals to Make Before Baby: How We Meal Prepped Before Baby
  • mom’s famous spiced pecans
  • funfetti cookie dough truffles (no-bake)
  • maple coconut cookies
  • snickerdoodle blondies

popular now

fresh peach coffee cake
one skillet chicken and saffron rice
boston cream pie cake
raspberry lime buttermilk cake with coconut cream cheese frosting
plum hand pies
bourbon banana bread

grammin’

Hi! I'm Jenna, founder of butter loves company. From holidays to Tuesdays, let's find a way to make every meal special.
  • Email
  • Facebook
  • Instagram
  • Pinterest
  • RSS
  • Twitter
a2f54ba1dcf0635e58c8be4aa2035ce84863a9d9606a428ab3

© 2013-2019 BUTTER LOVES COMPANY, LLC.

Copyright © 2026 · Foodie Pro Theme by Shay Bocks · Built on the Genesis Framework · Powered by WordPress