butter loves company

new york food blogger and lifestyle influencer

  • home
  • Recipes
  • travel
  • lifestyle
  • cookie orders
  • about
  • contact

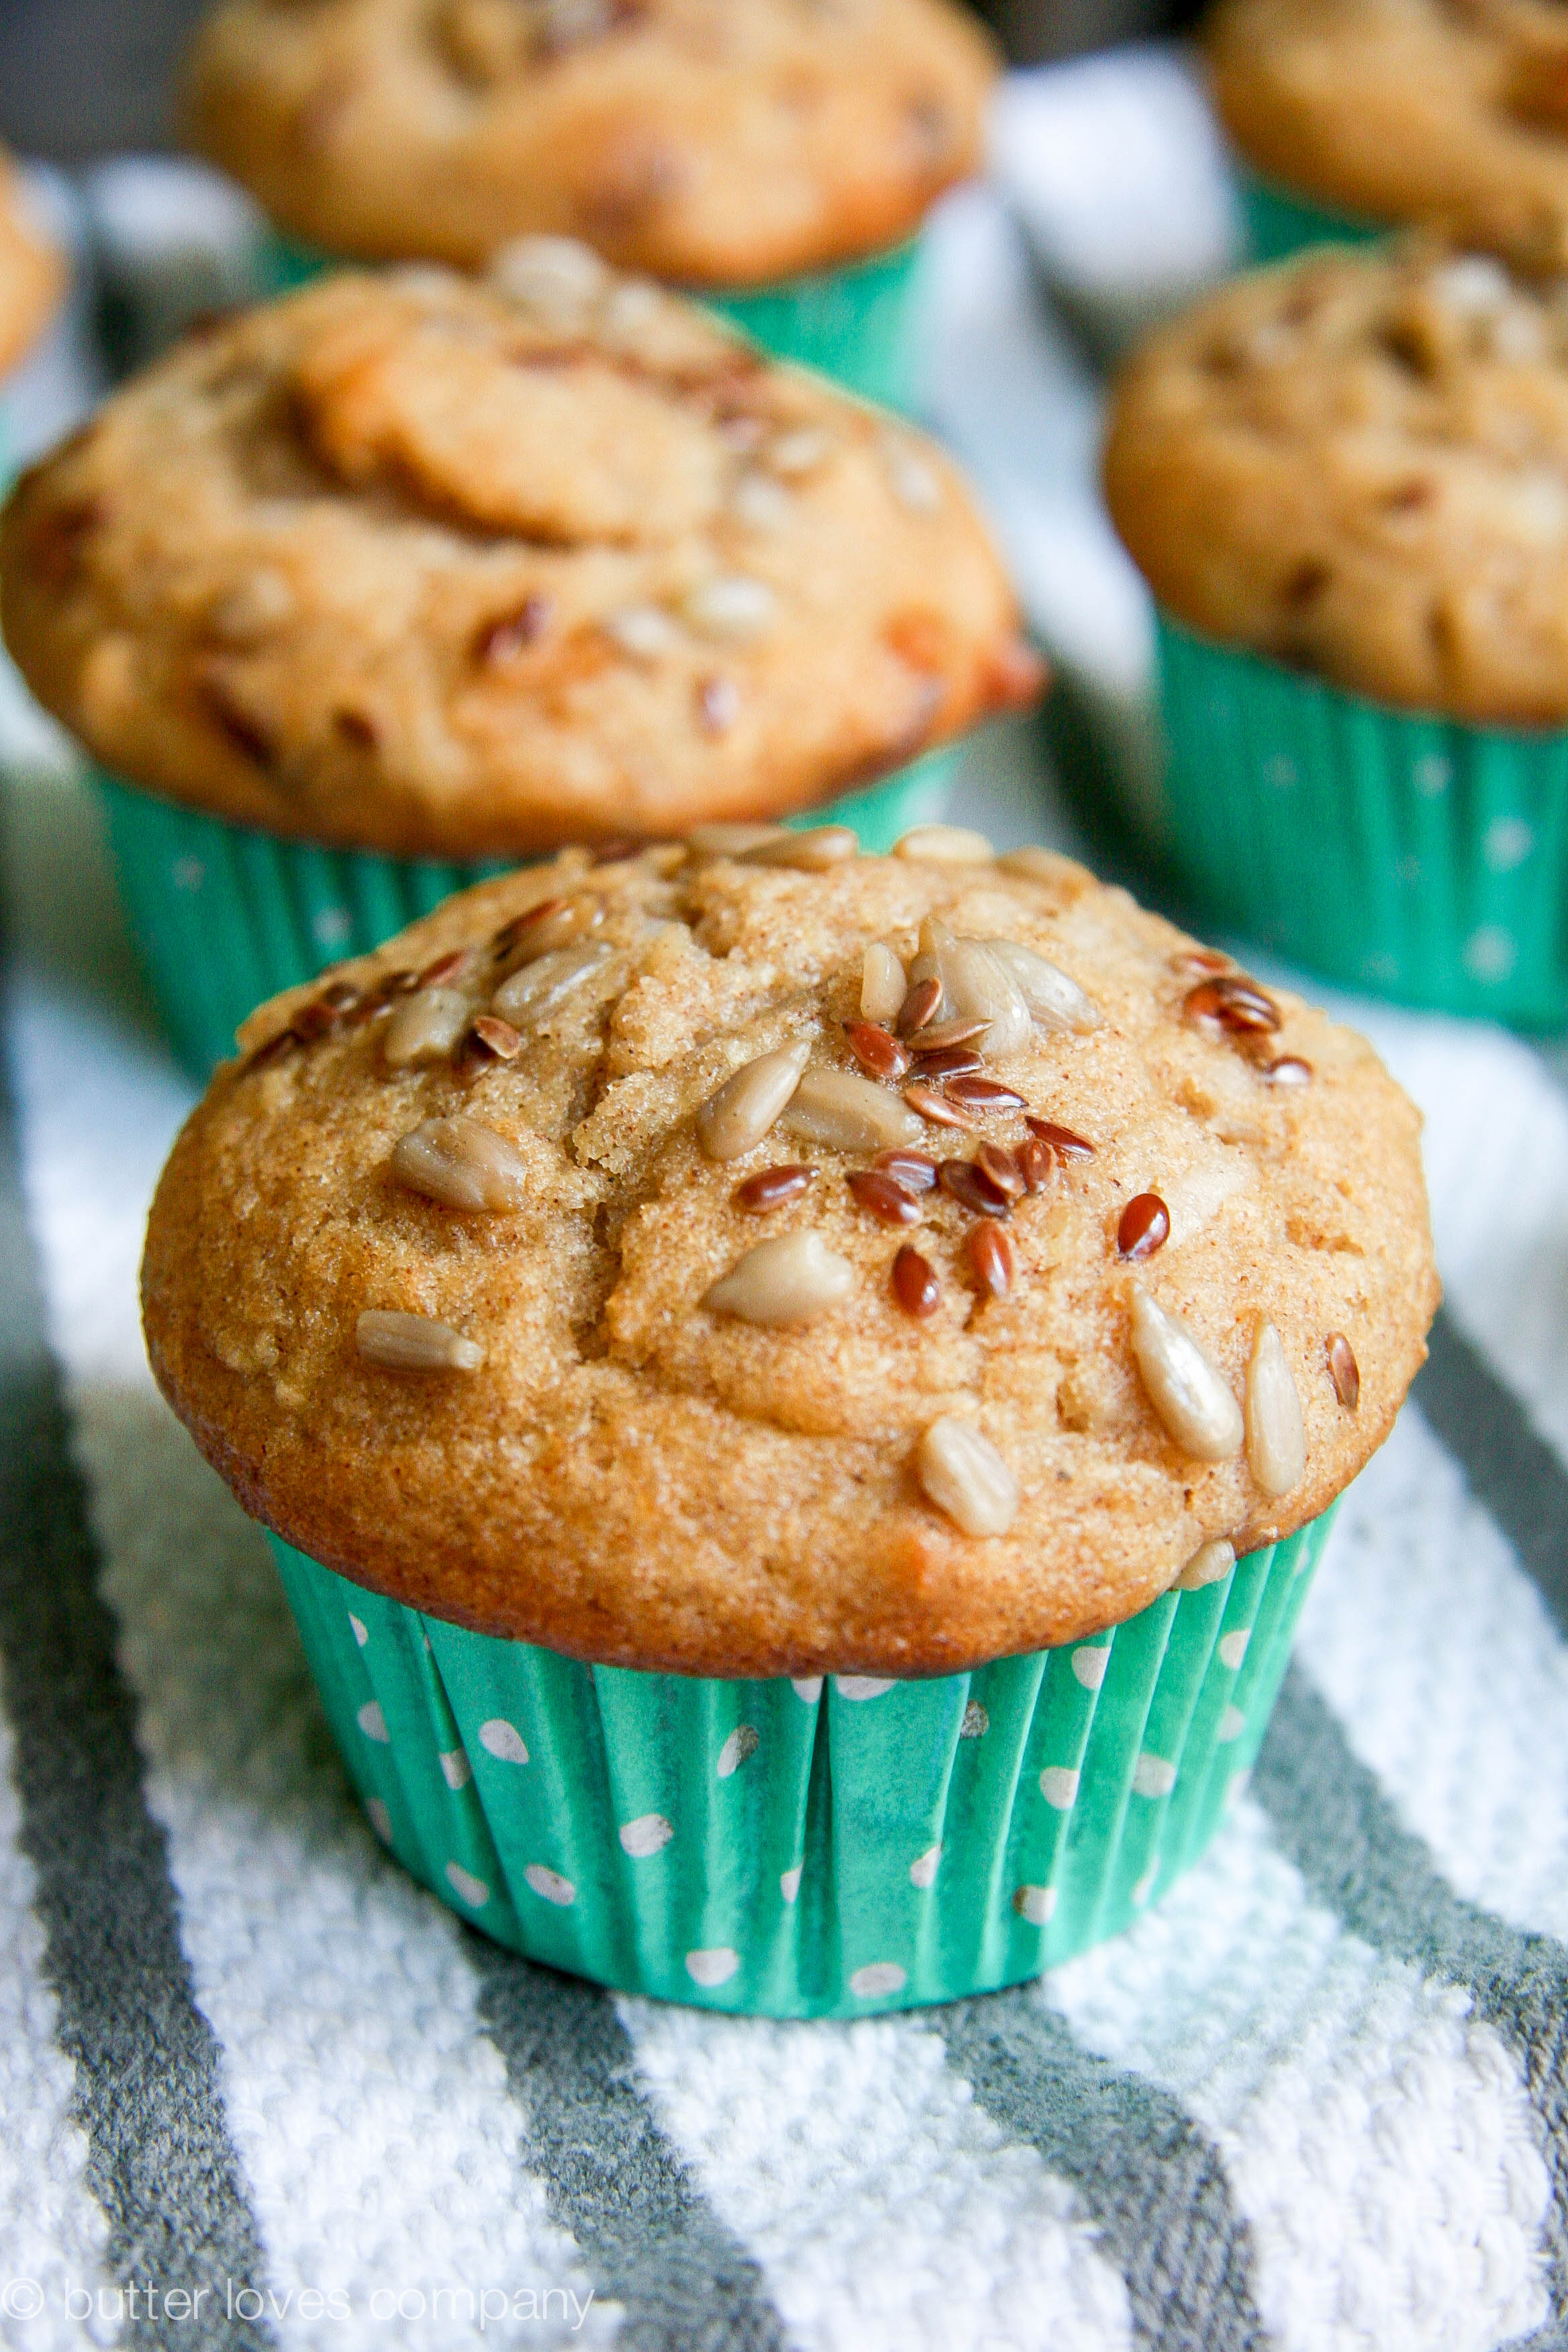
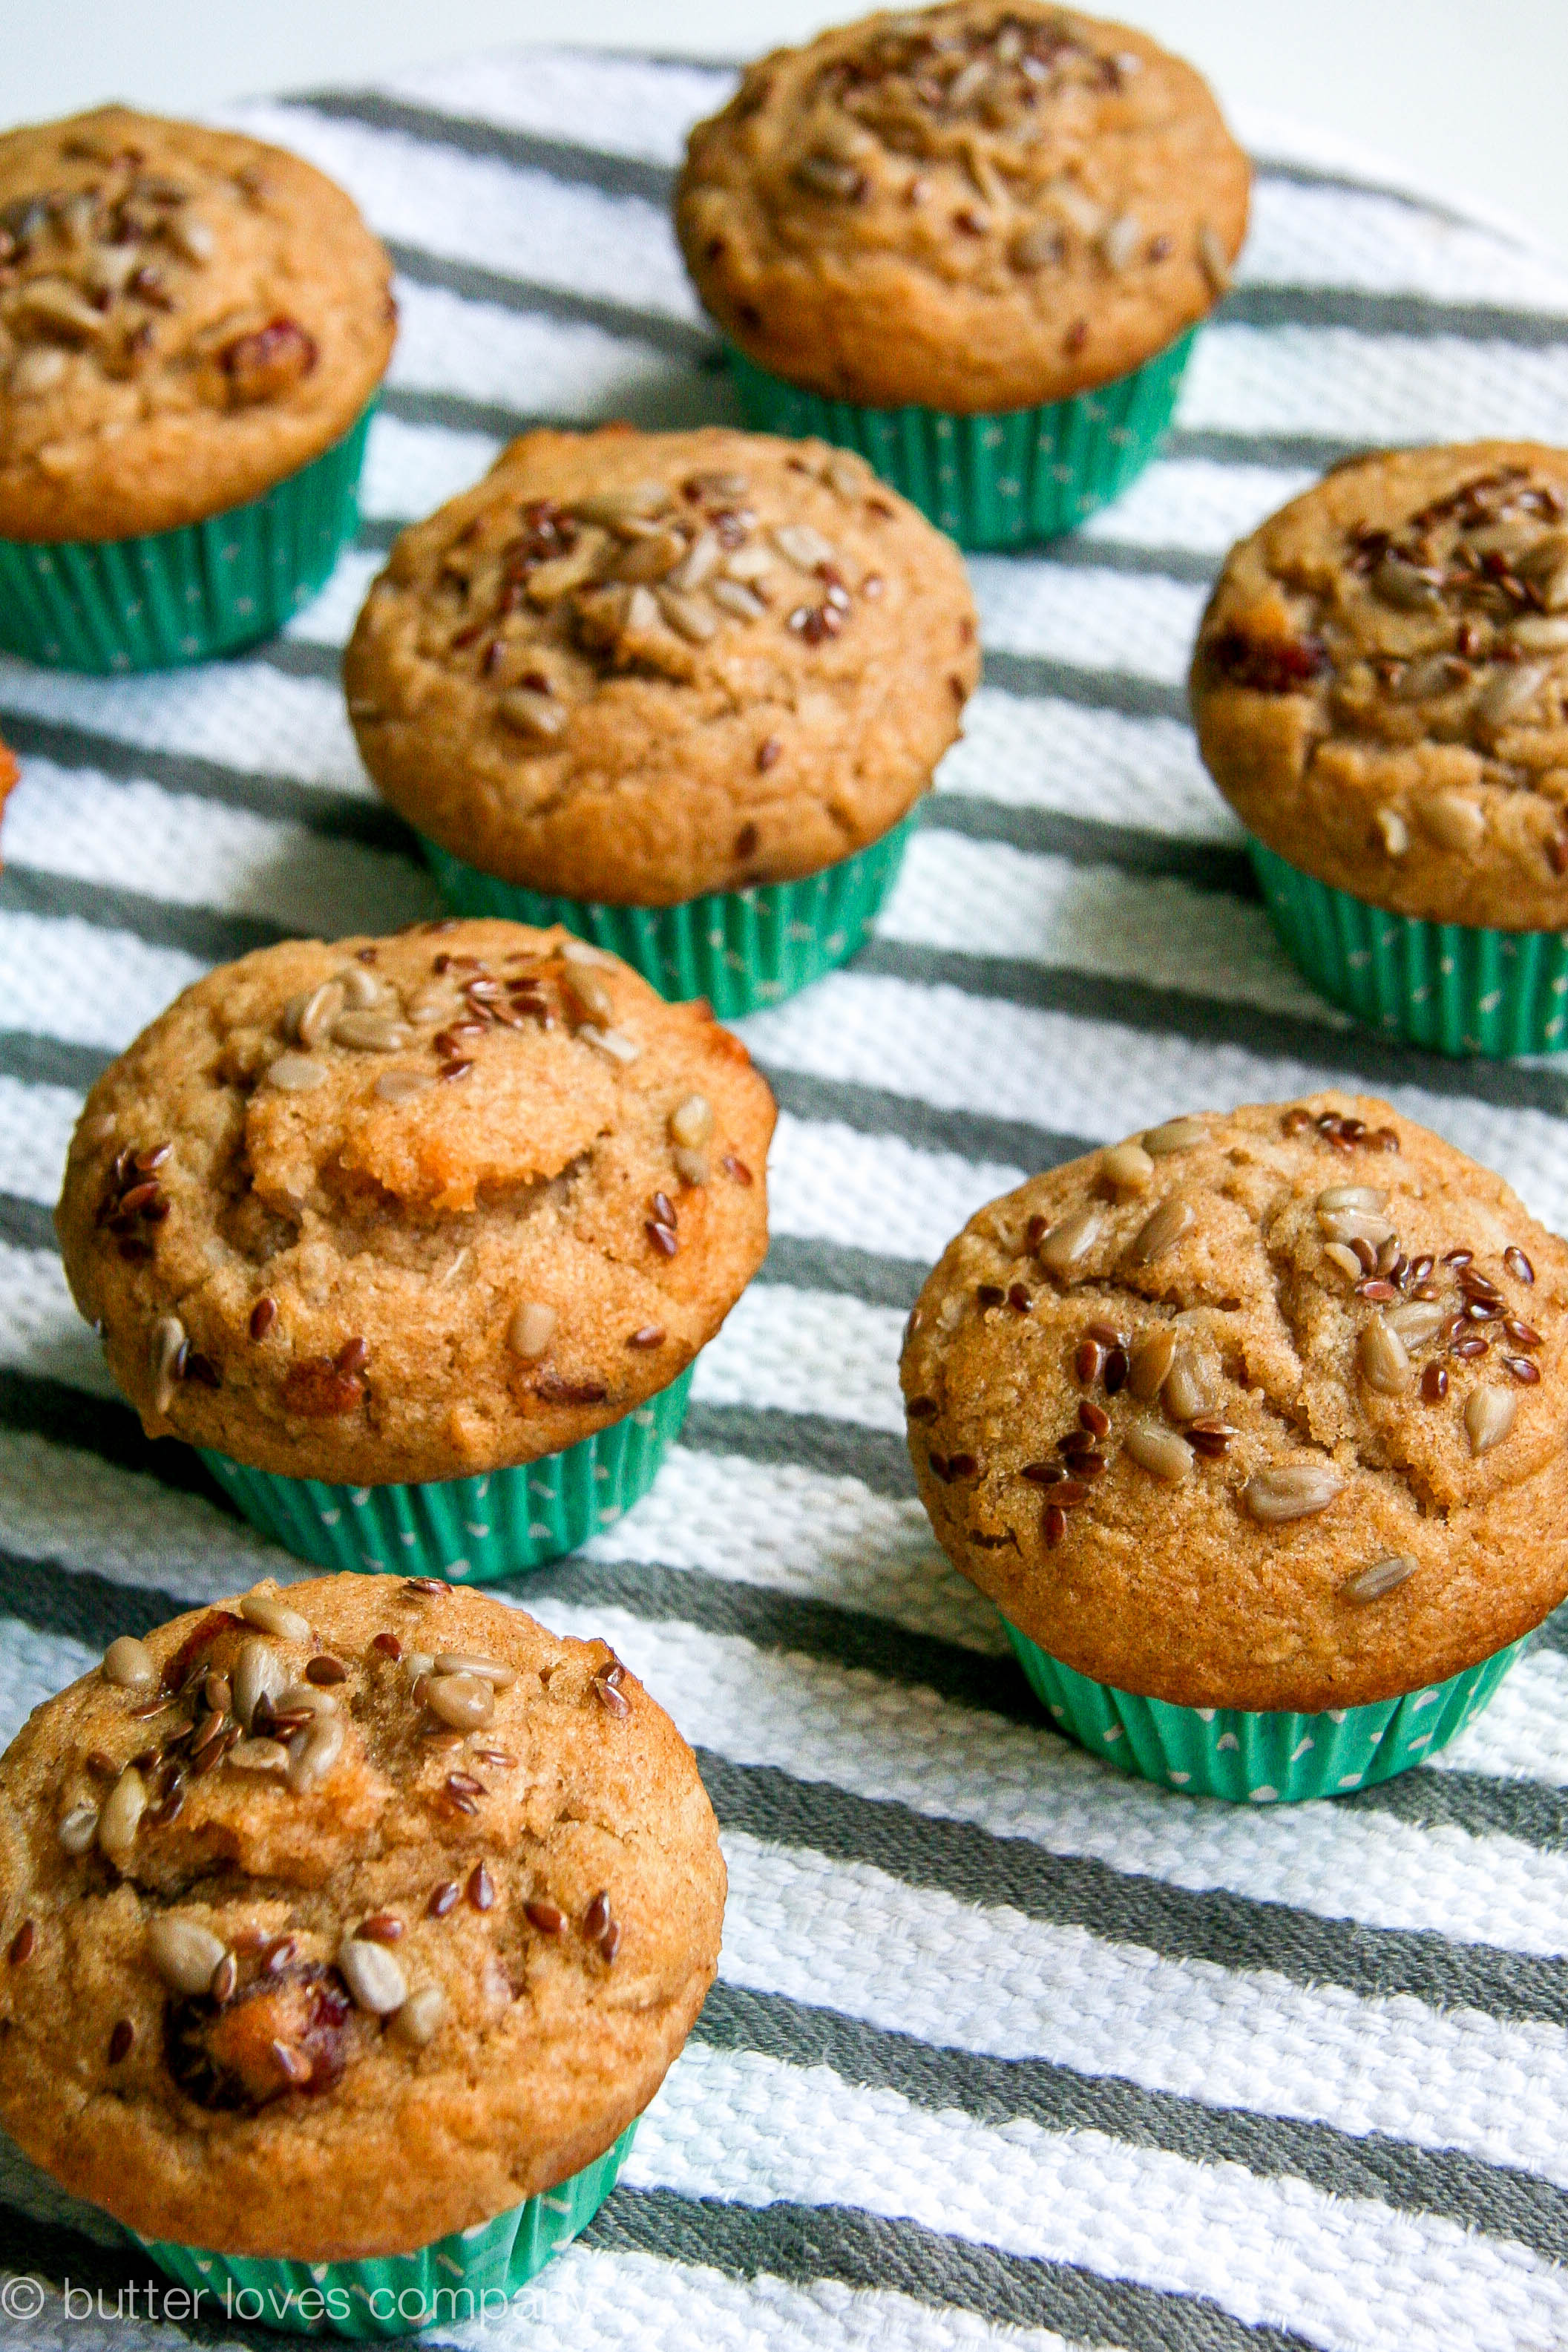
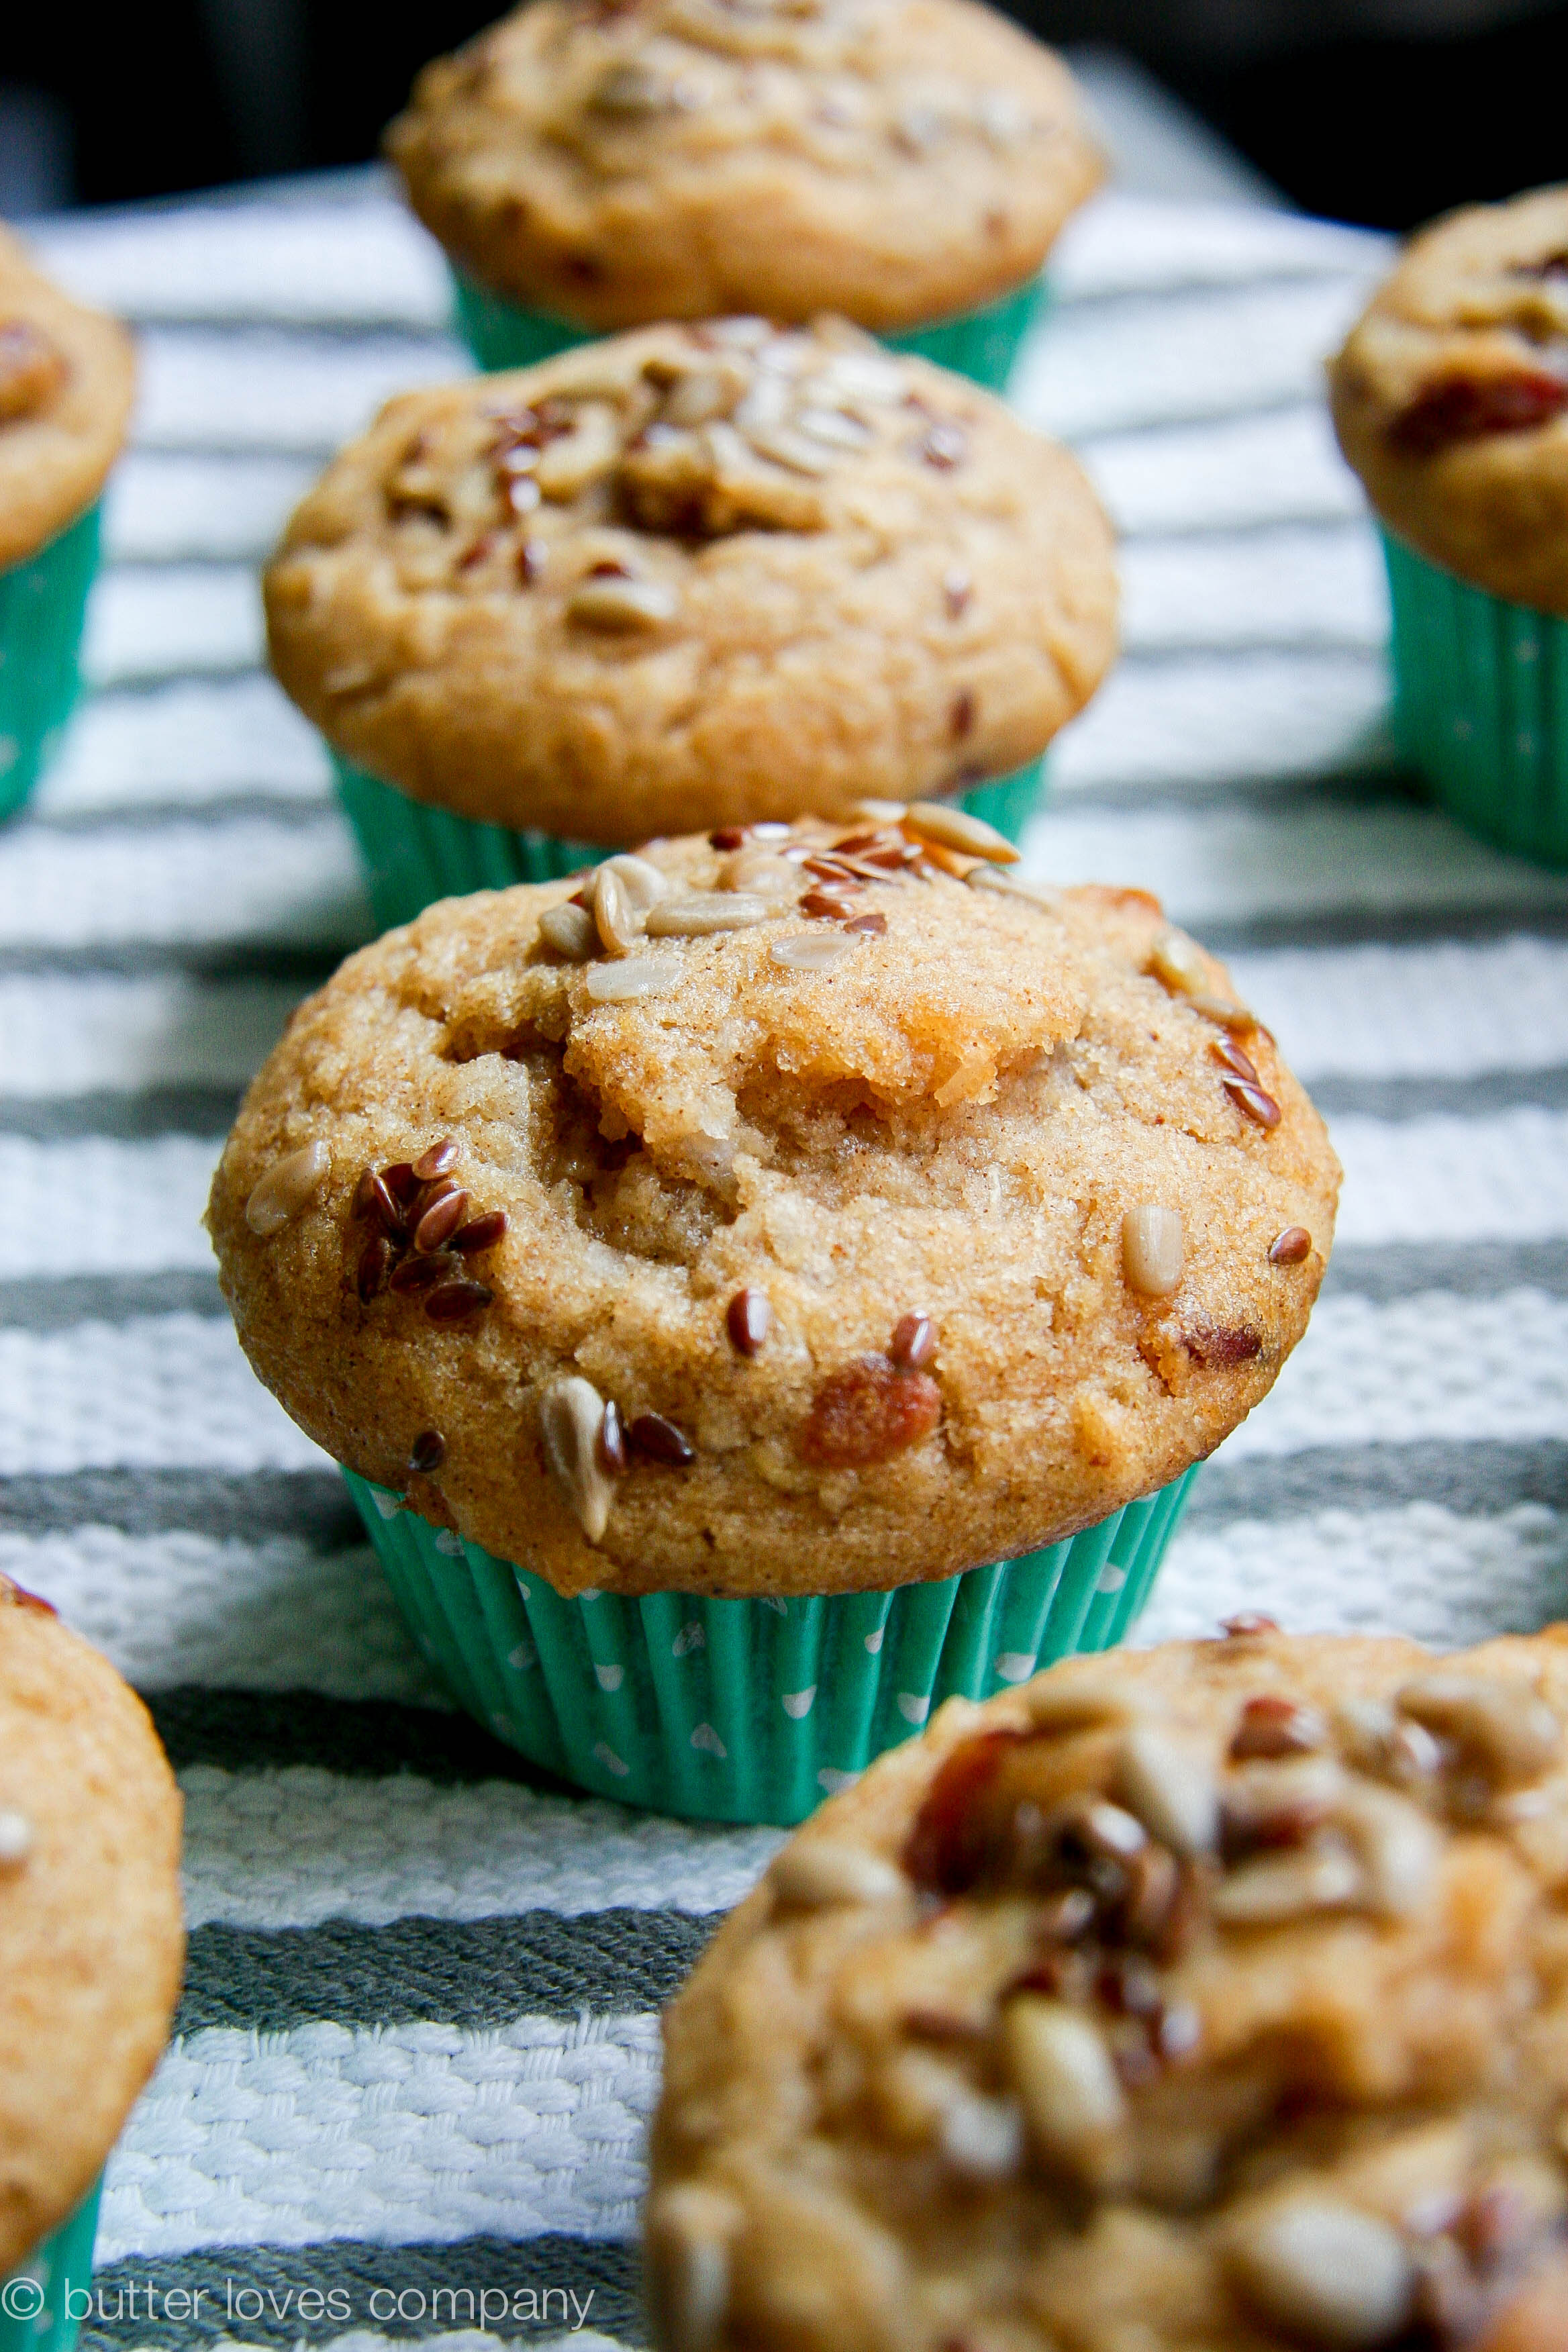
white carrot muffins

June 25, 2014 by Butter Loves Company

white carrot muffins recipe 9 text

I’m fairly convinced New York City is home to about every food option you could ever hope for. 4:00 am waffles? No problem! Questionable street meat? You got it! Ten course tasting menu from a world-renowned chef? Well, it’s definitely there if you have a bulky wallet.

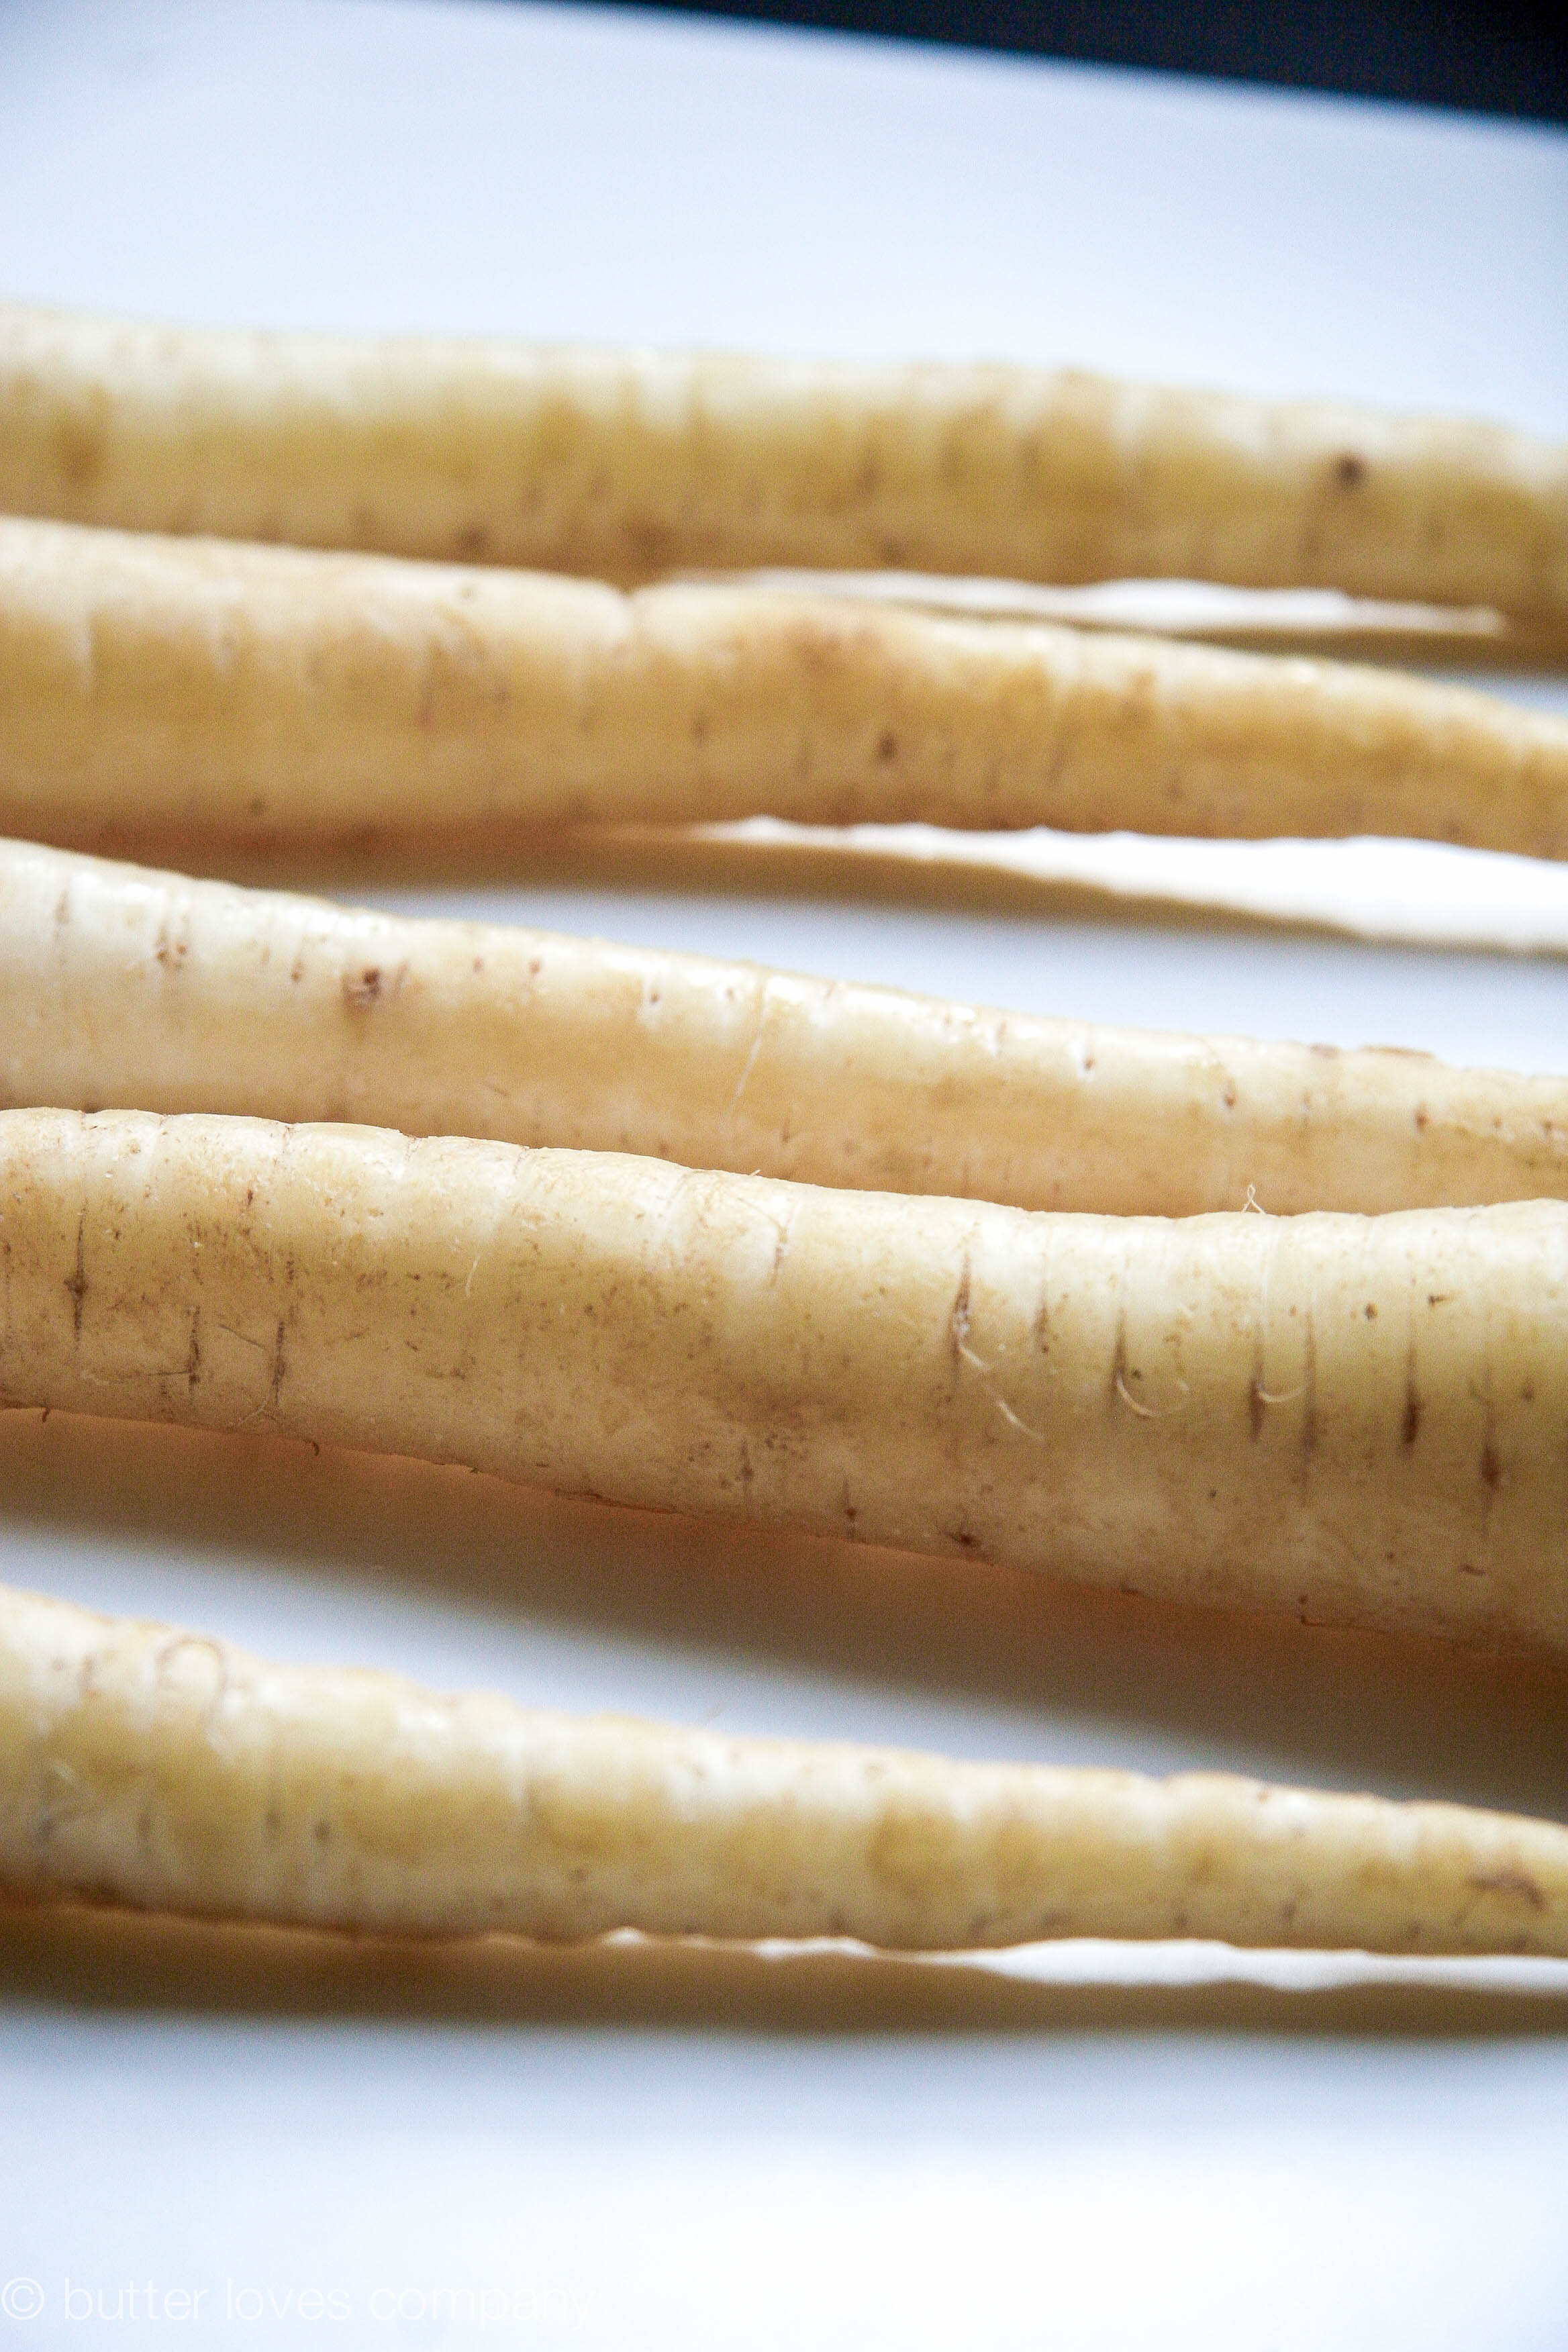
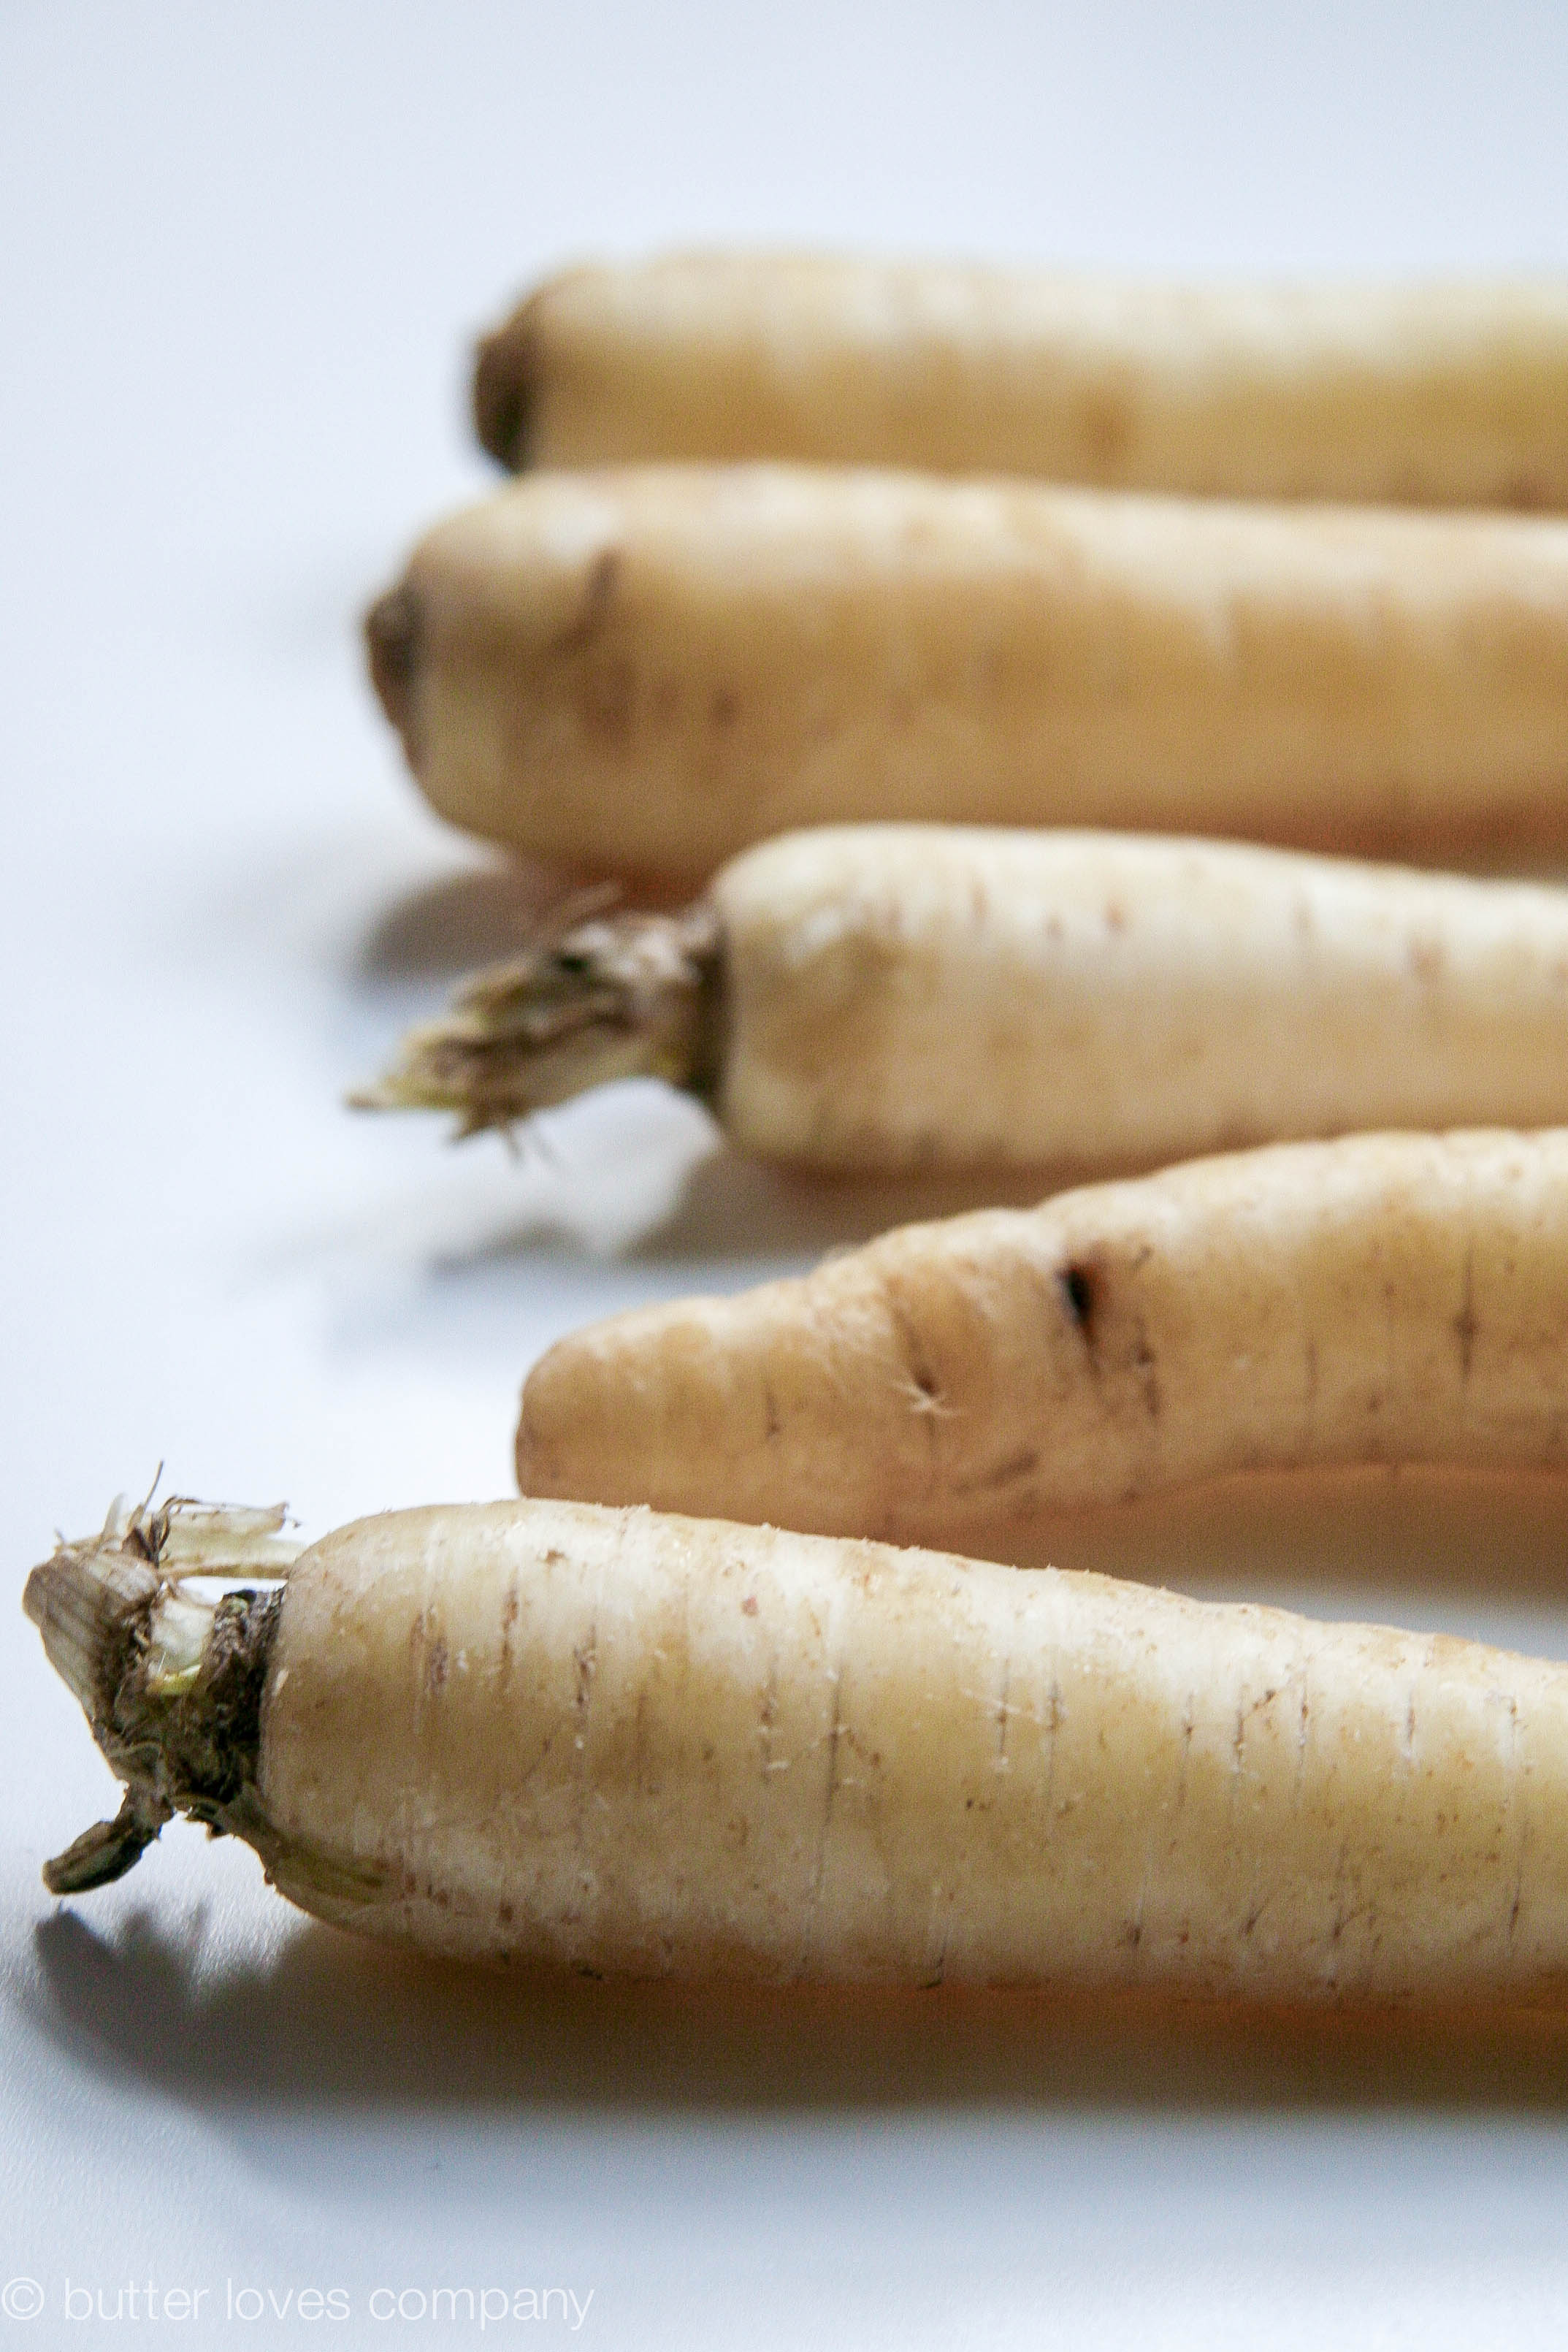
Even with no farm in sight, this past weekend we stumbled upon a market with some of the freshest produce I’ve seen outside of suburban nurseries. The Union Square market was chock full of some of the most vibrant, most reasonably priced fresh fruits, veggies, meats and eggs. One of the stands attracting a flock of photographers consisted of piles and piles of assorted, beautifully colored carrots: sunny yellow, deep purple swirled with orange and bright, bright white.
white carrot muffins recipe 2

I started wondering how these multicolored carrots might work in baked goods that are generally rich with traditional carrots (e.g. carrot cake, carrot muffins, carrot soufflé). I knew that once we got back to Boston I had to find out the answer. Here is the result of my exploration.
white carrot muffins recipe 3

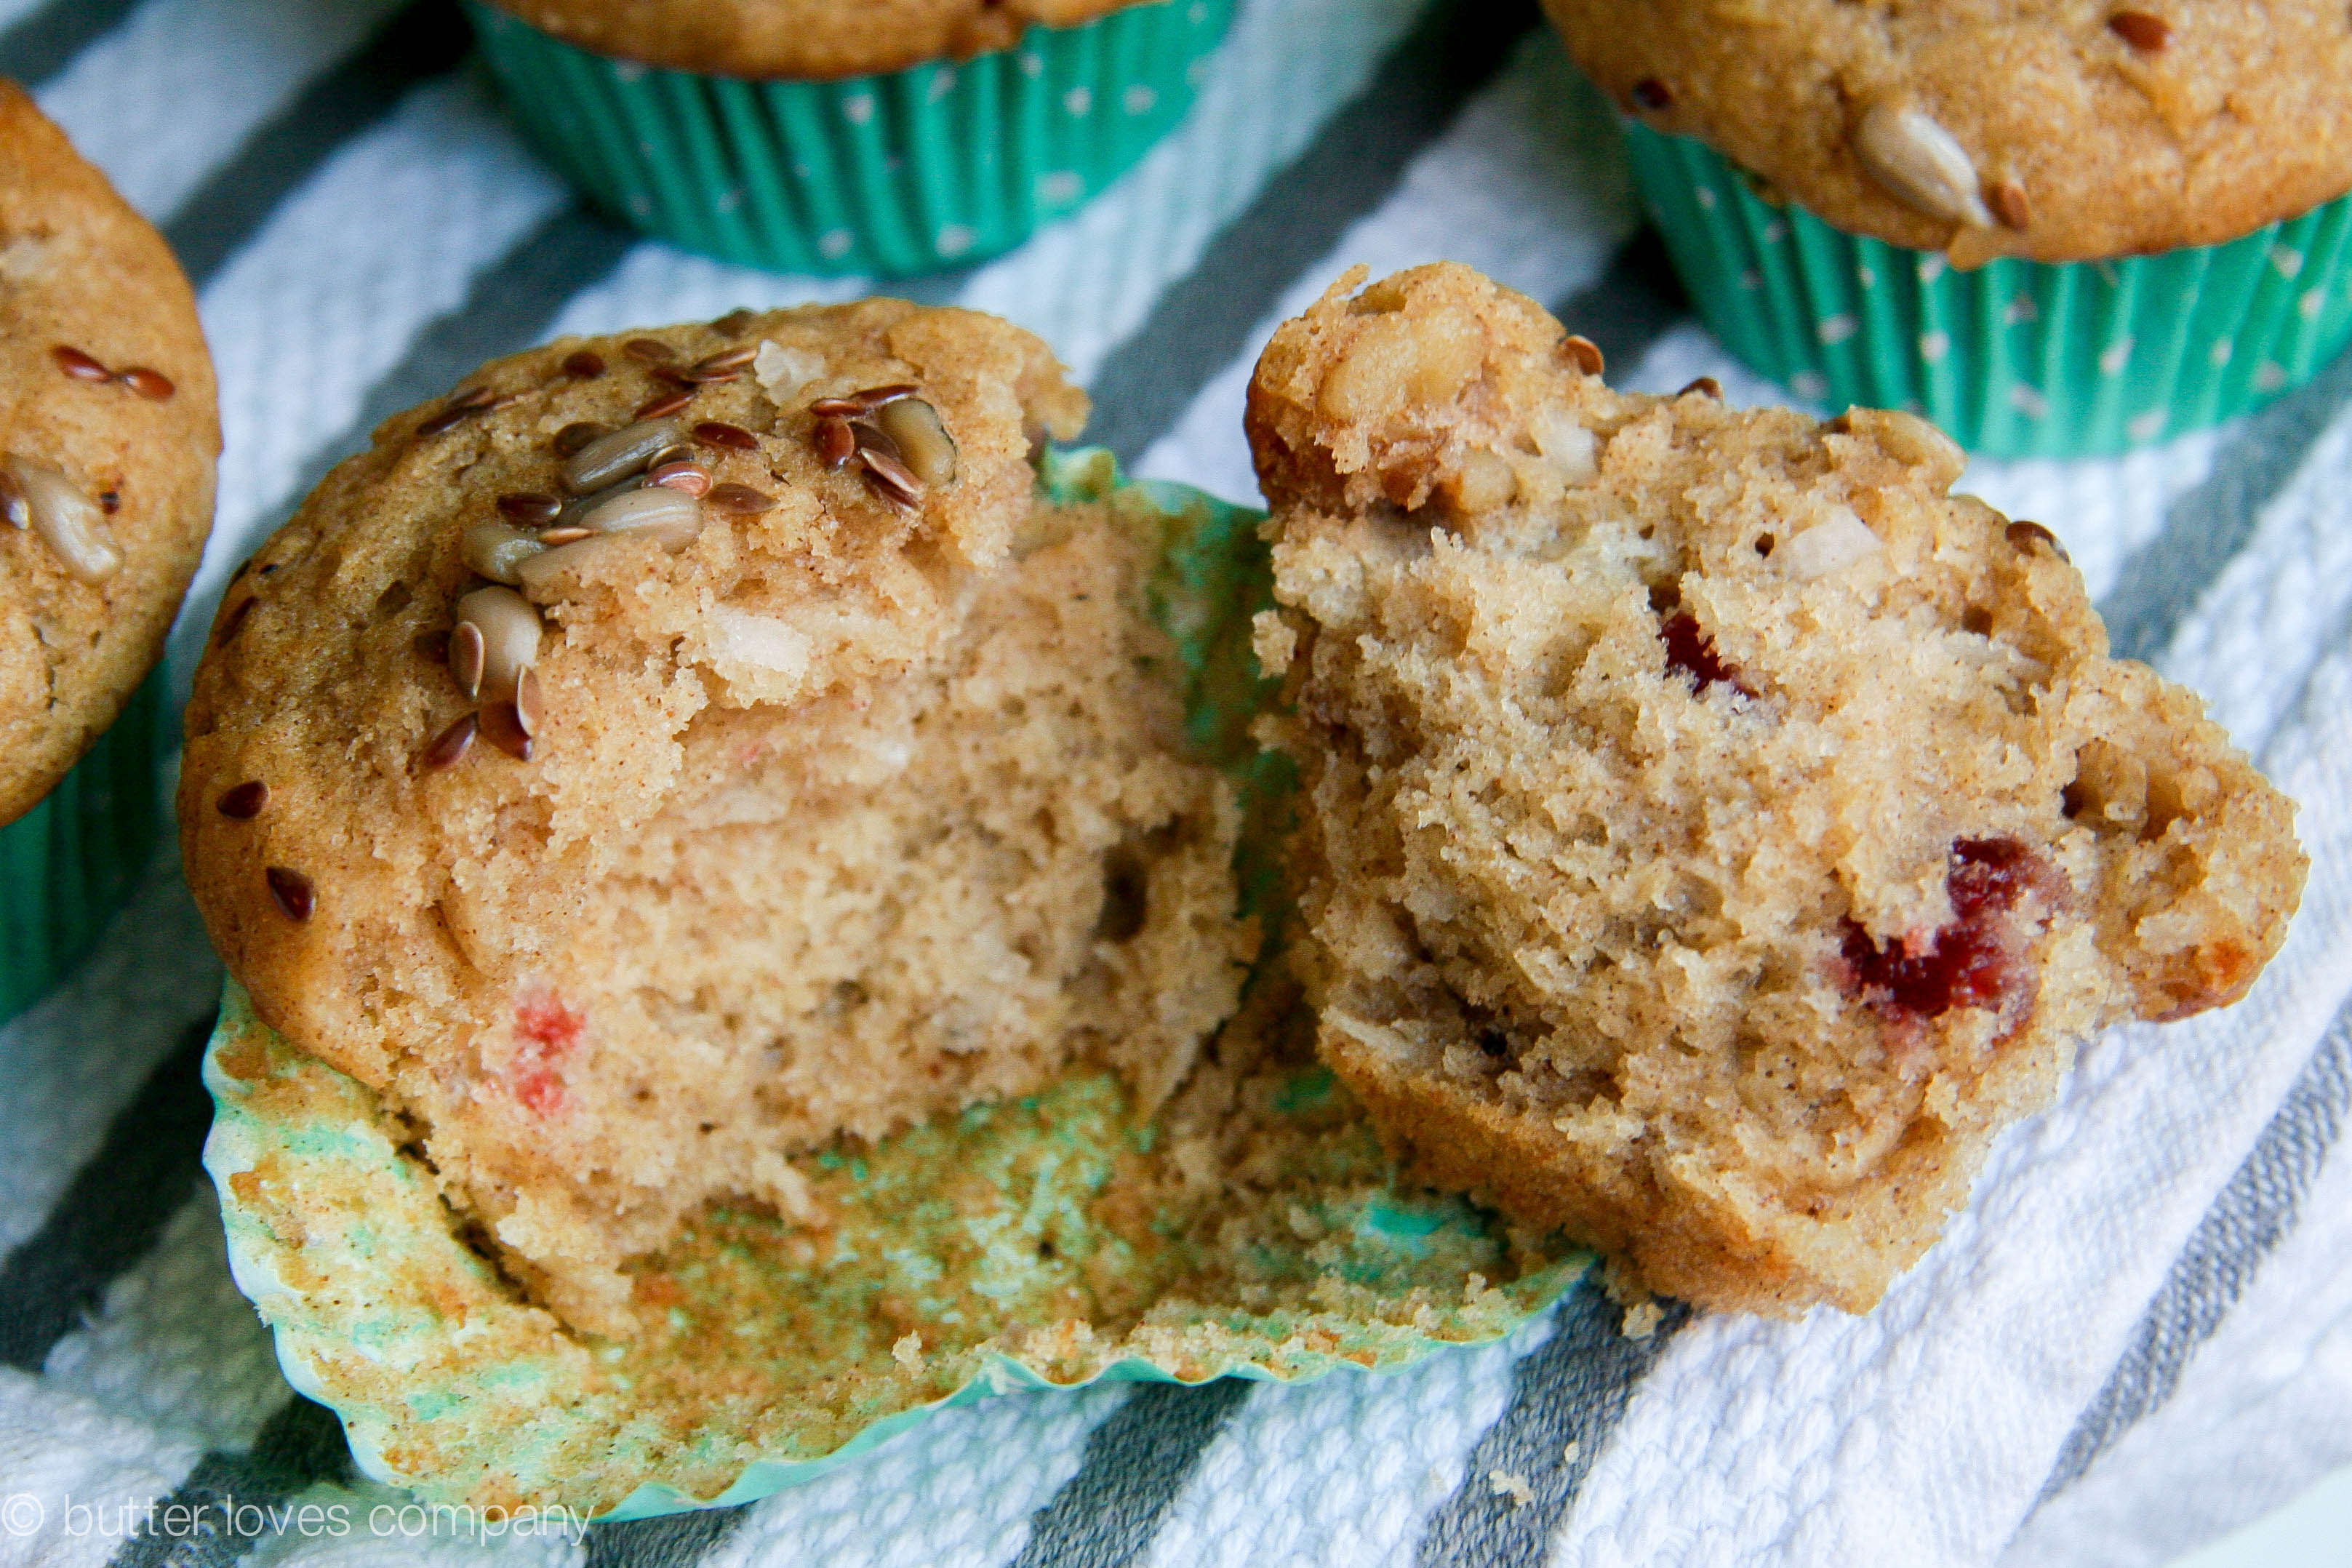
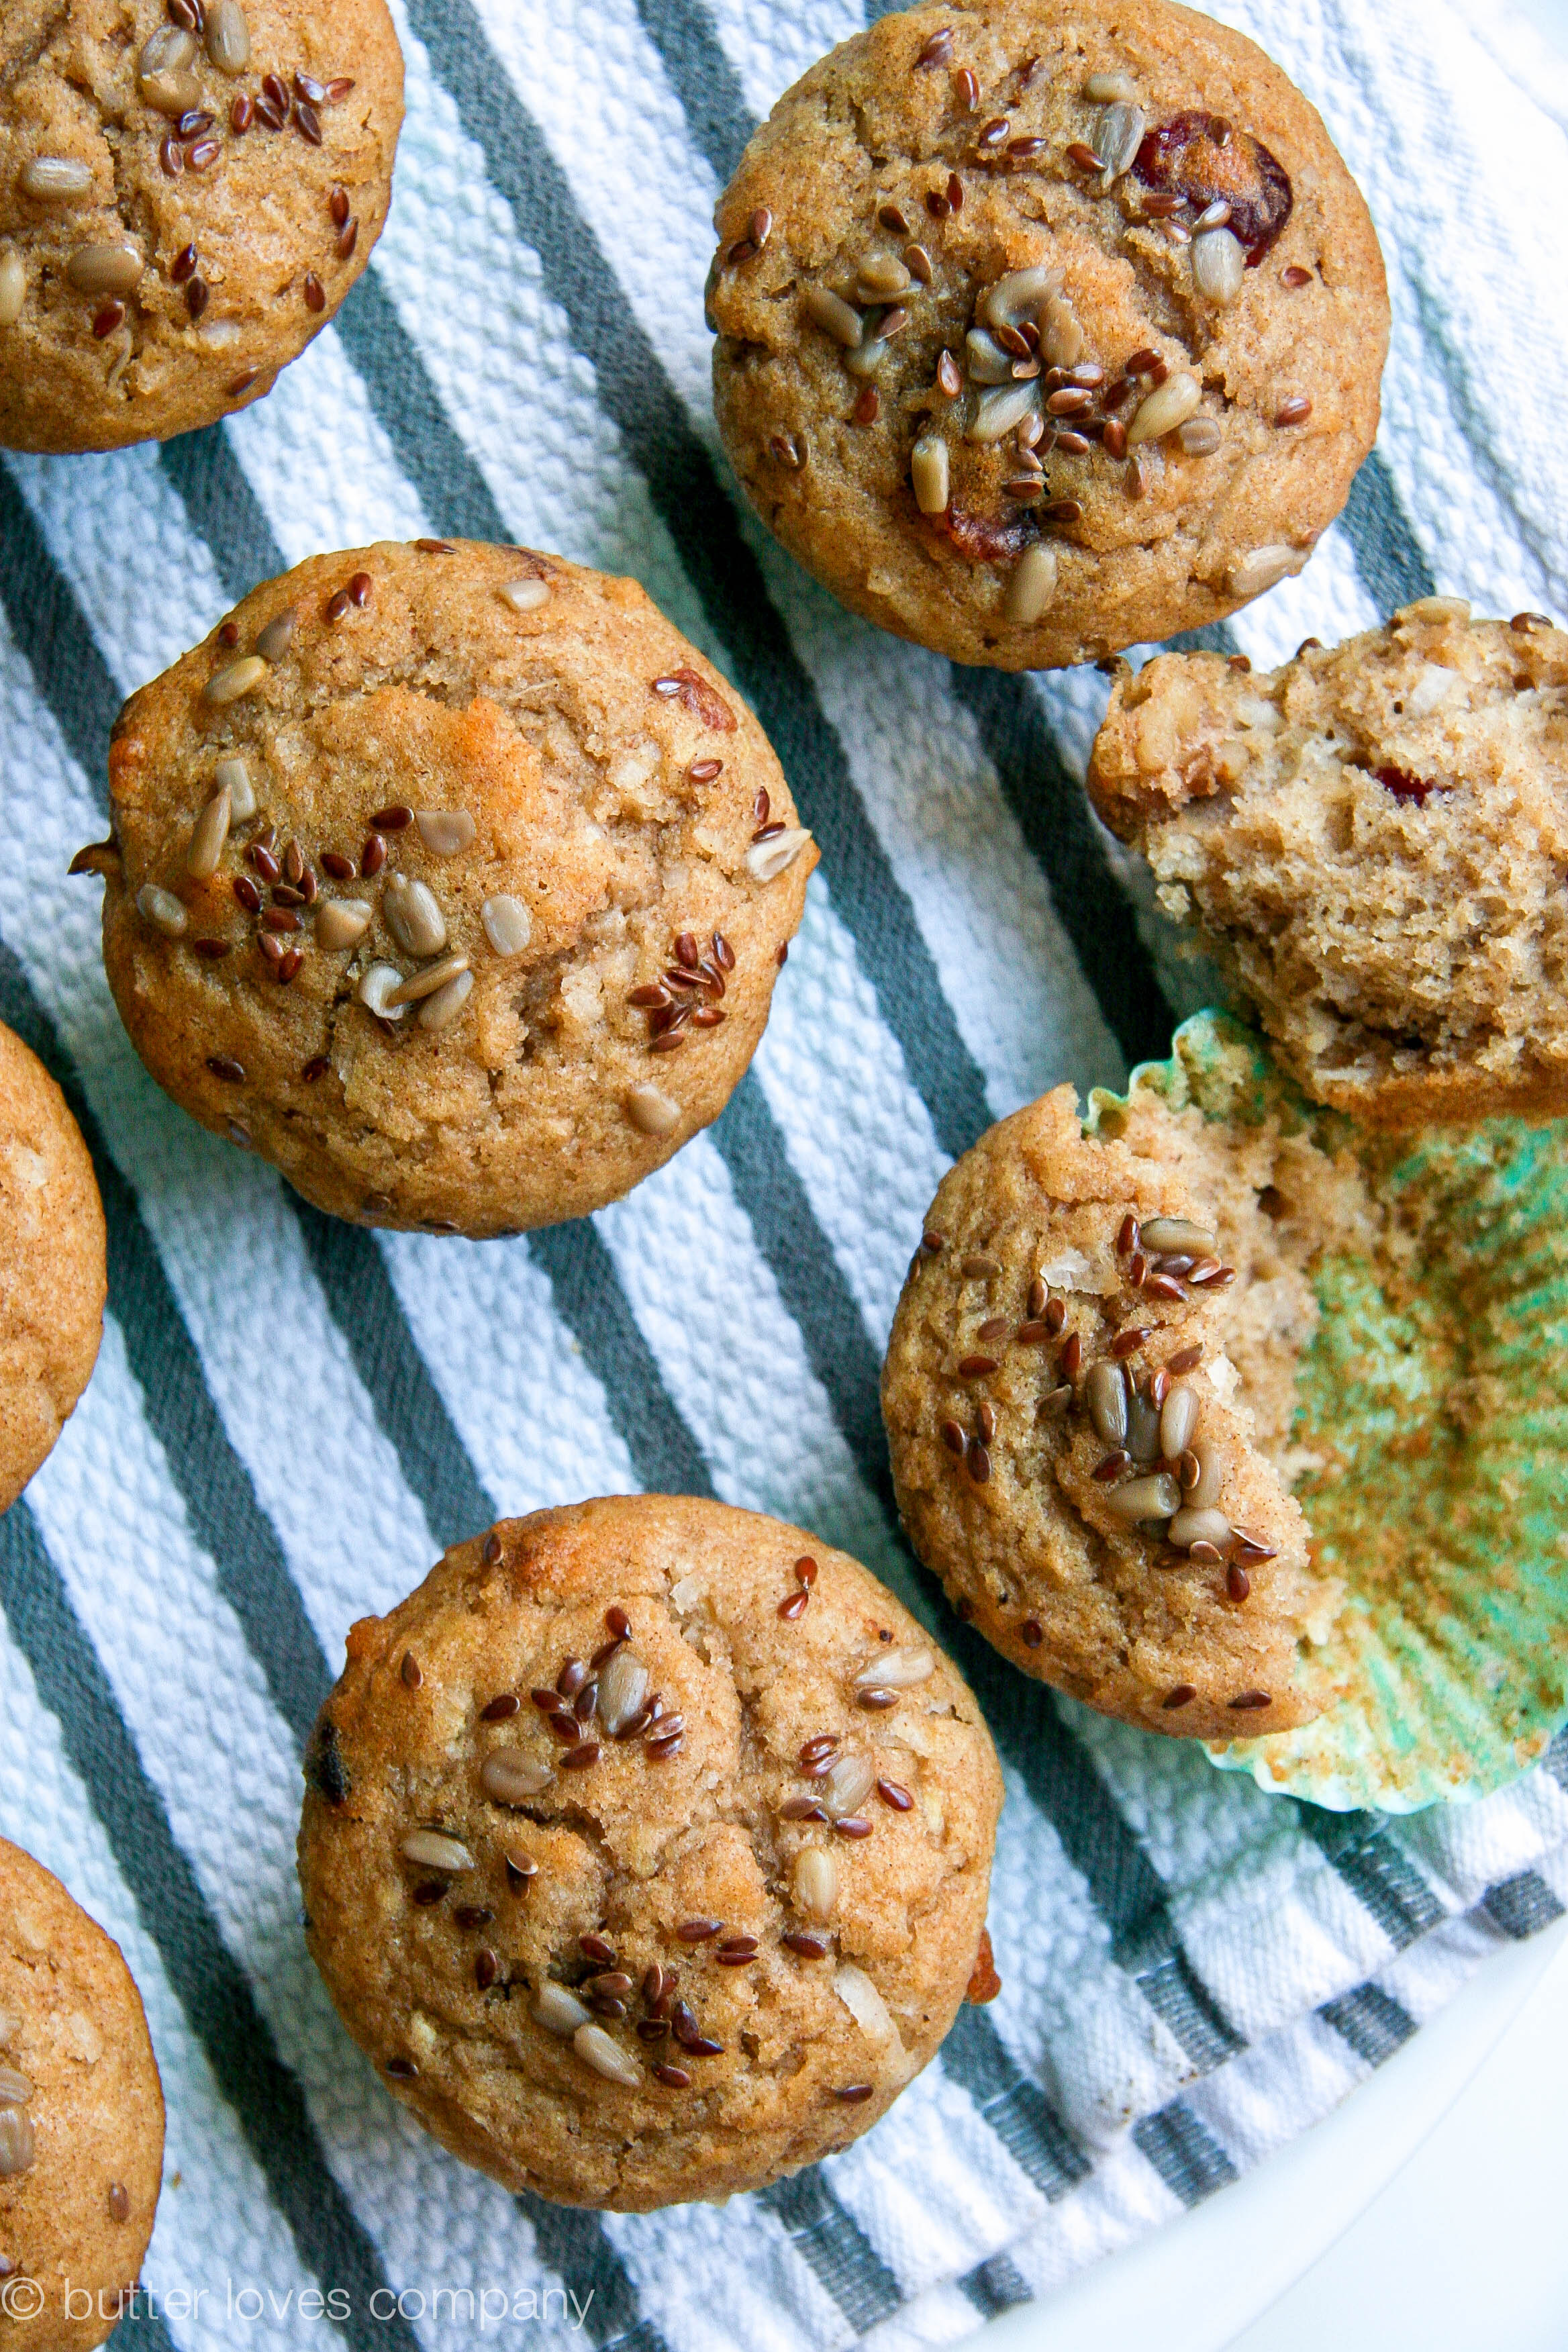
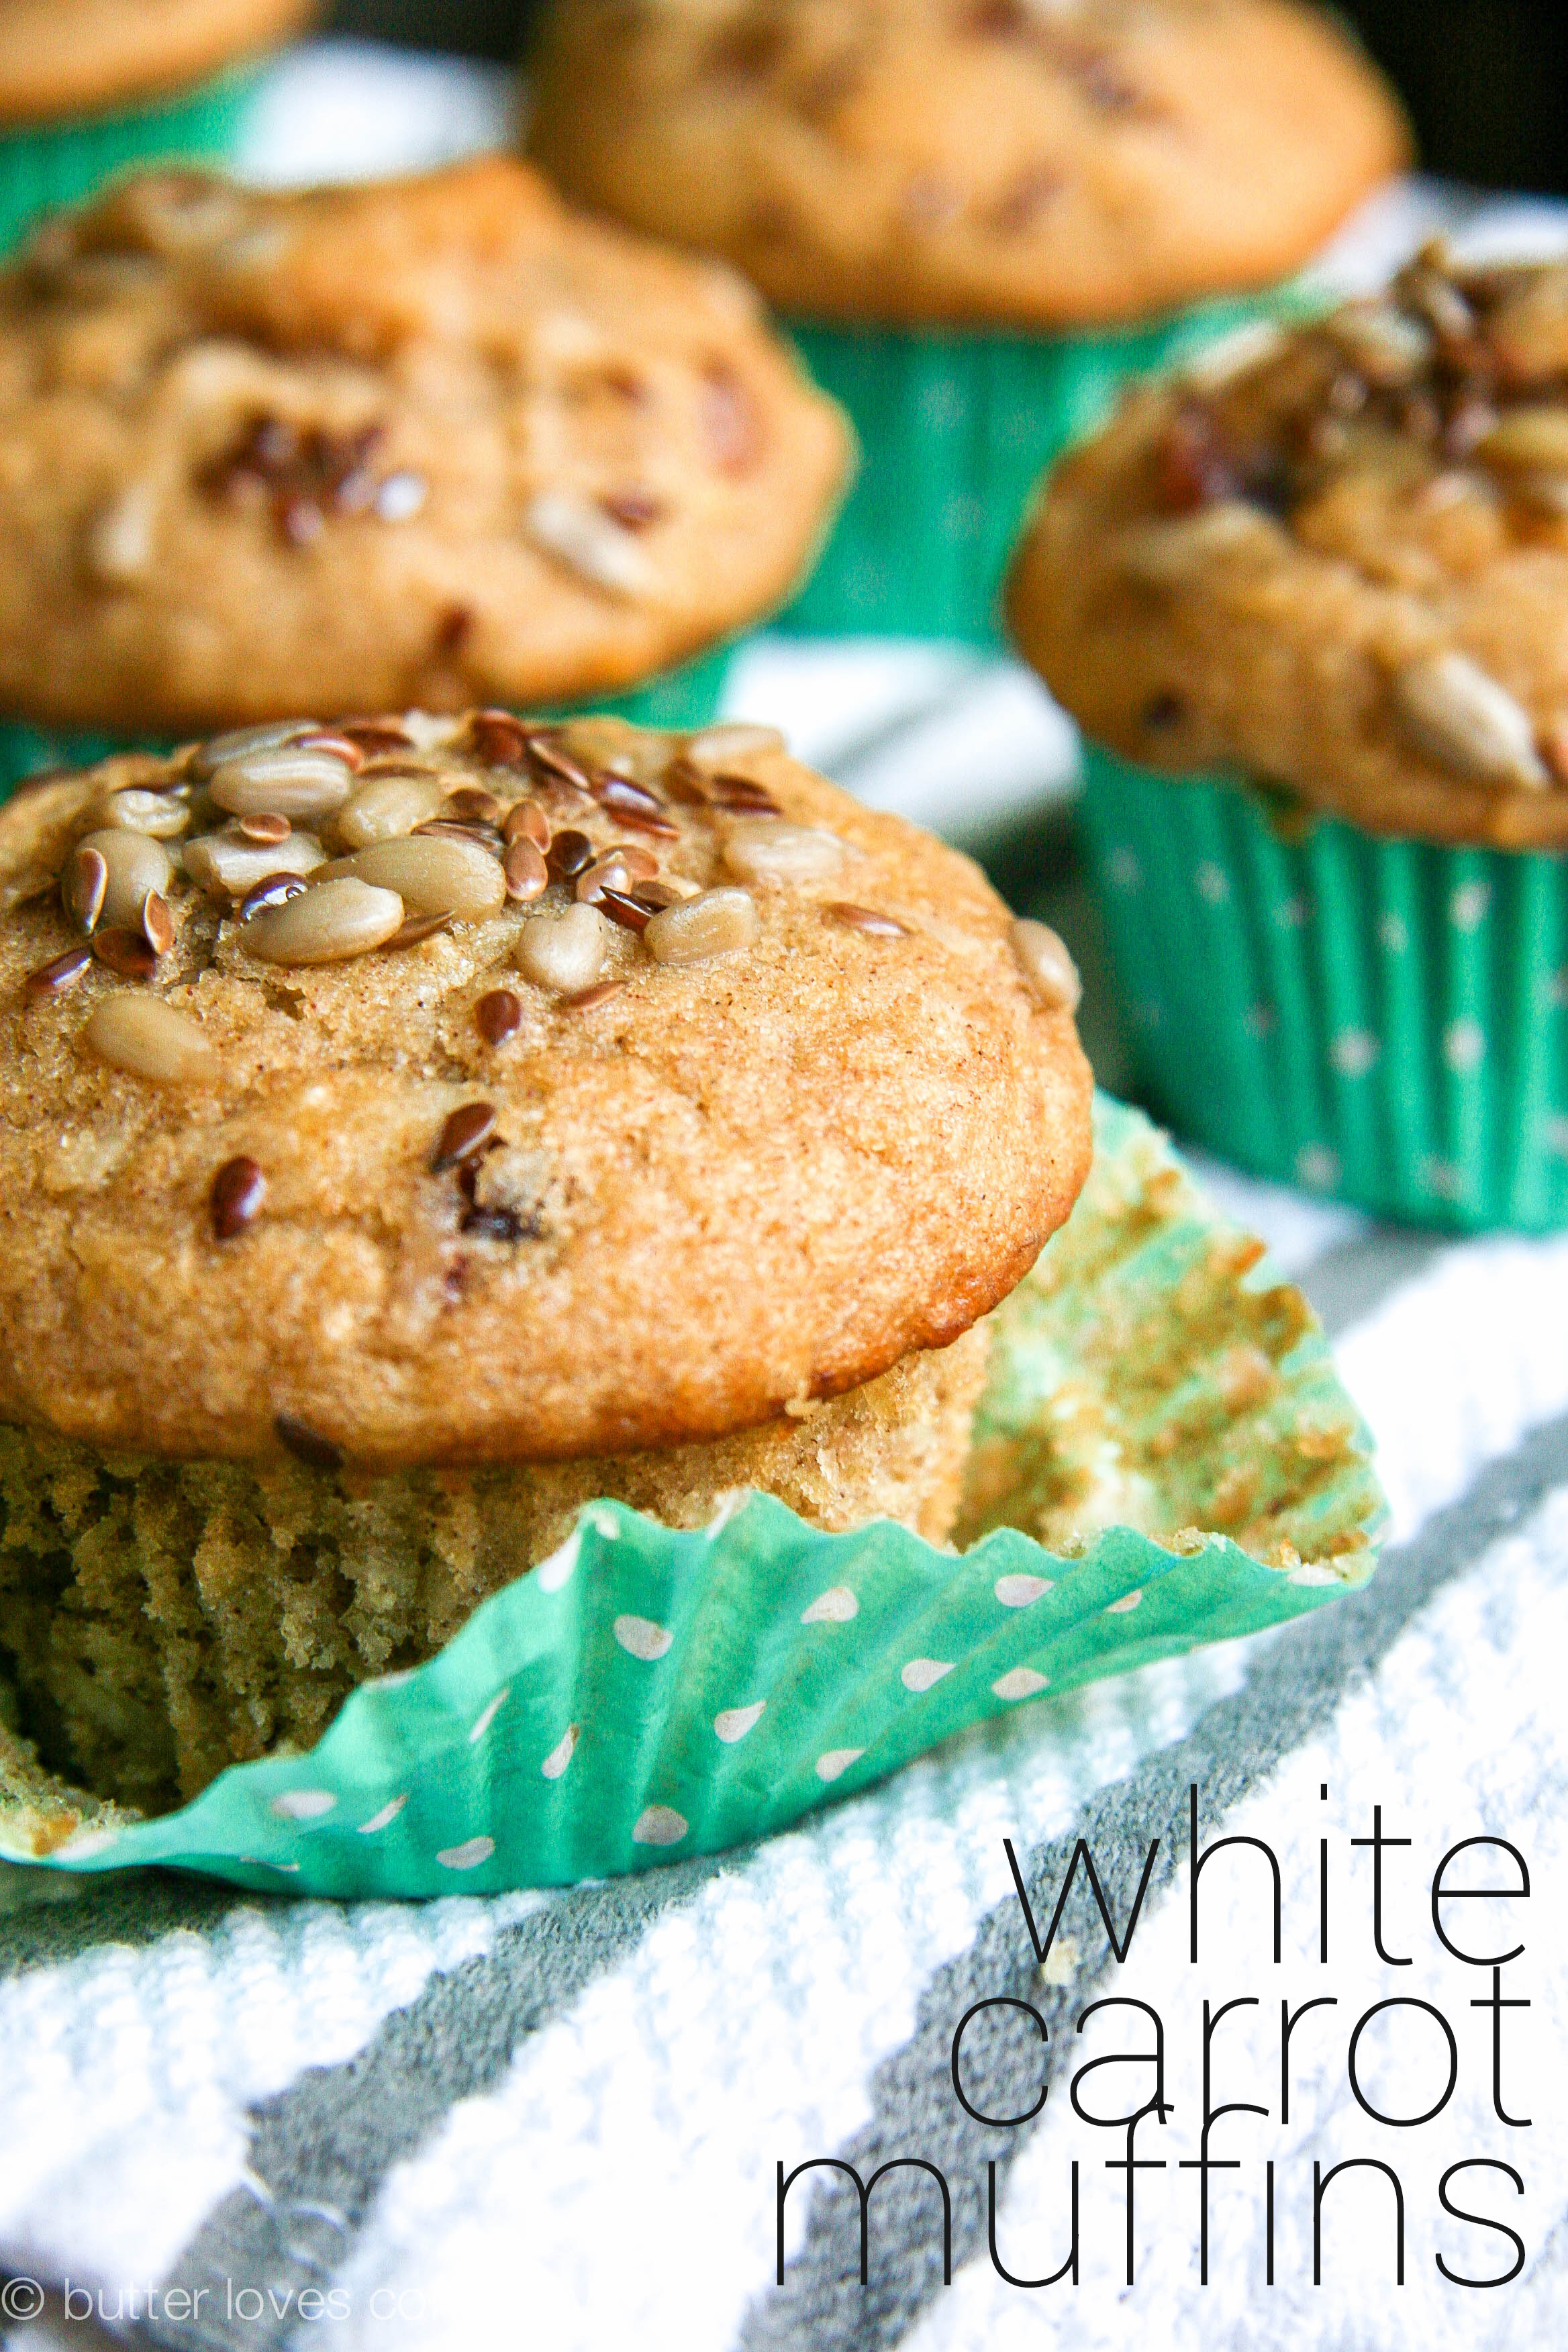
In my opinion the white carrots have a softer flavor than the other varieties, but are perfectly delicate and sweet when kissed with a little spice. If you’re looking for a morning muffin that is ultra-light and fluffy, and not one bit too crumbly, you’ve found it. Of course, because the white carrots can be hard to come by, you can make these with orange carrots just as easily. I haven’t tried making them with the purple variety yet, but if you do, I am dying to know how they come out!
white carrot muffins recipe 4

white carrot muffins recipe 5

white carrot muffins recipe 8

white carrot muffins recipe 6

white carrot muffins recipe 7

white carrot muffins recipe 10

white carrot muffins recipe 12

white carrot muffins
adapted from Dorie Greenspan in “Baking with Julia”

Prep Time: 15 minutes
Cook Time: 20 minutes
Total Time: about 35–40 minutes
Makes 12 muffins

Ingredients:
2 cups all purpose flour
1/2 white granulated sugar
1/3 cup packed light brown sugar
1 tablespoon baking powder
2 teaspoons ground cinnamon
1 teaspoon ground ginger
1/4 teaspoon ground nutmeg
1/4 teaspoon table salt
2/3 cup canola or vegetable oil
3/4 cup whole milk
2 large eggs
1 1/2 teaspoon vanilla extract
1 cup shredded white or orange carrots (from about 3 medium)
1/2 cup sweetened shredded coconut
1/3 cup dried cranberries
1/3 cup roughly chopped walnuts (optional)

Instructions:

  1. Place a rack in the center row of the oven and preheat to 425 degrees F. Grease or line a 12 mold, standard size muffin pan with paper liners and set aside.
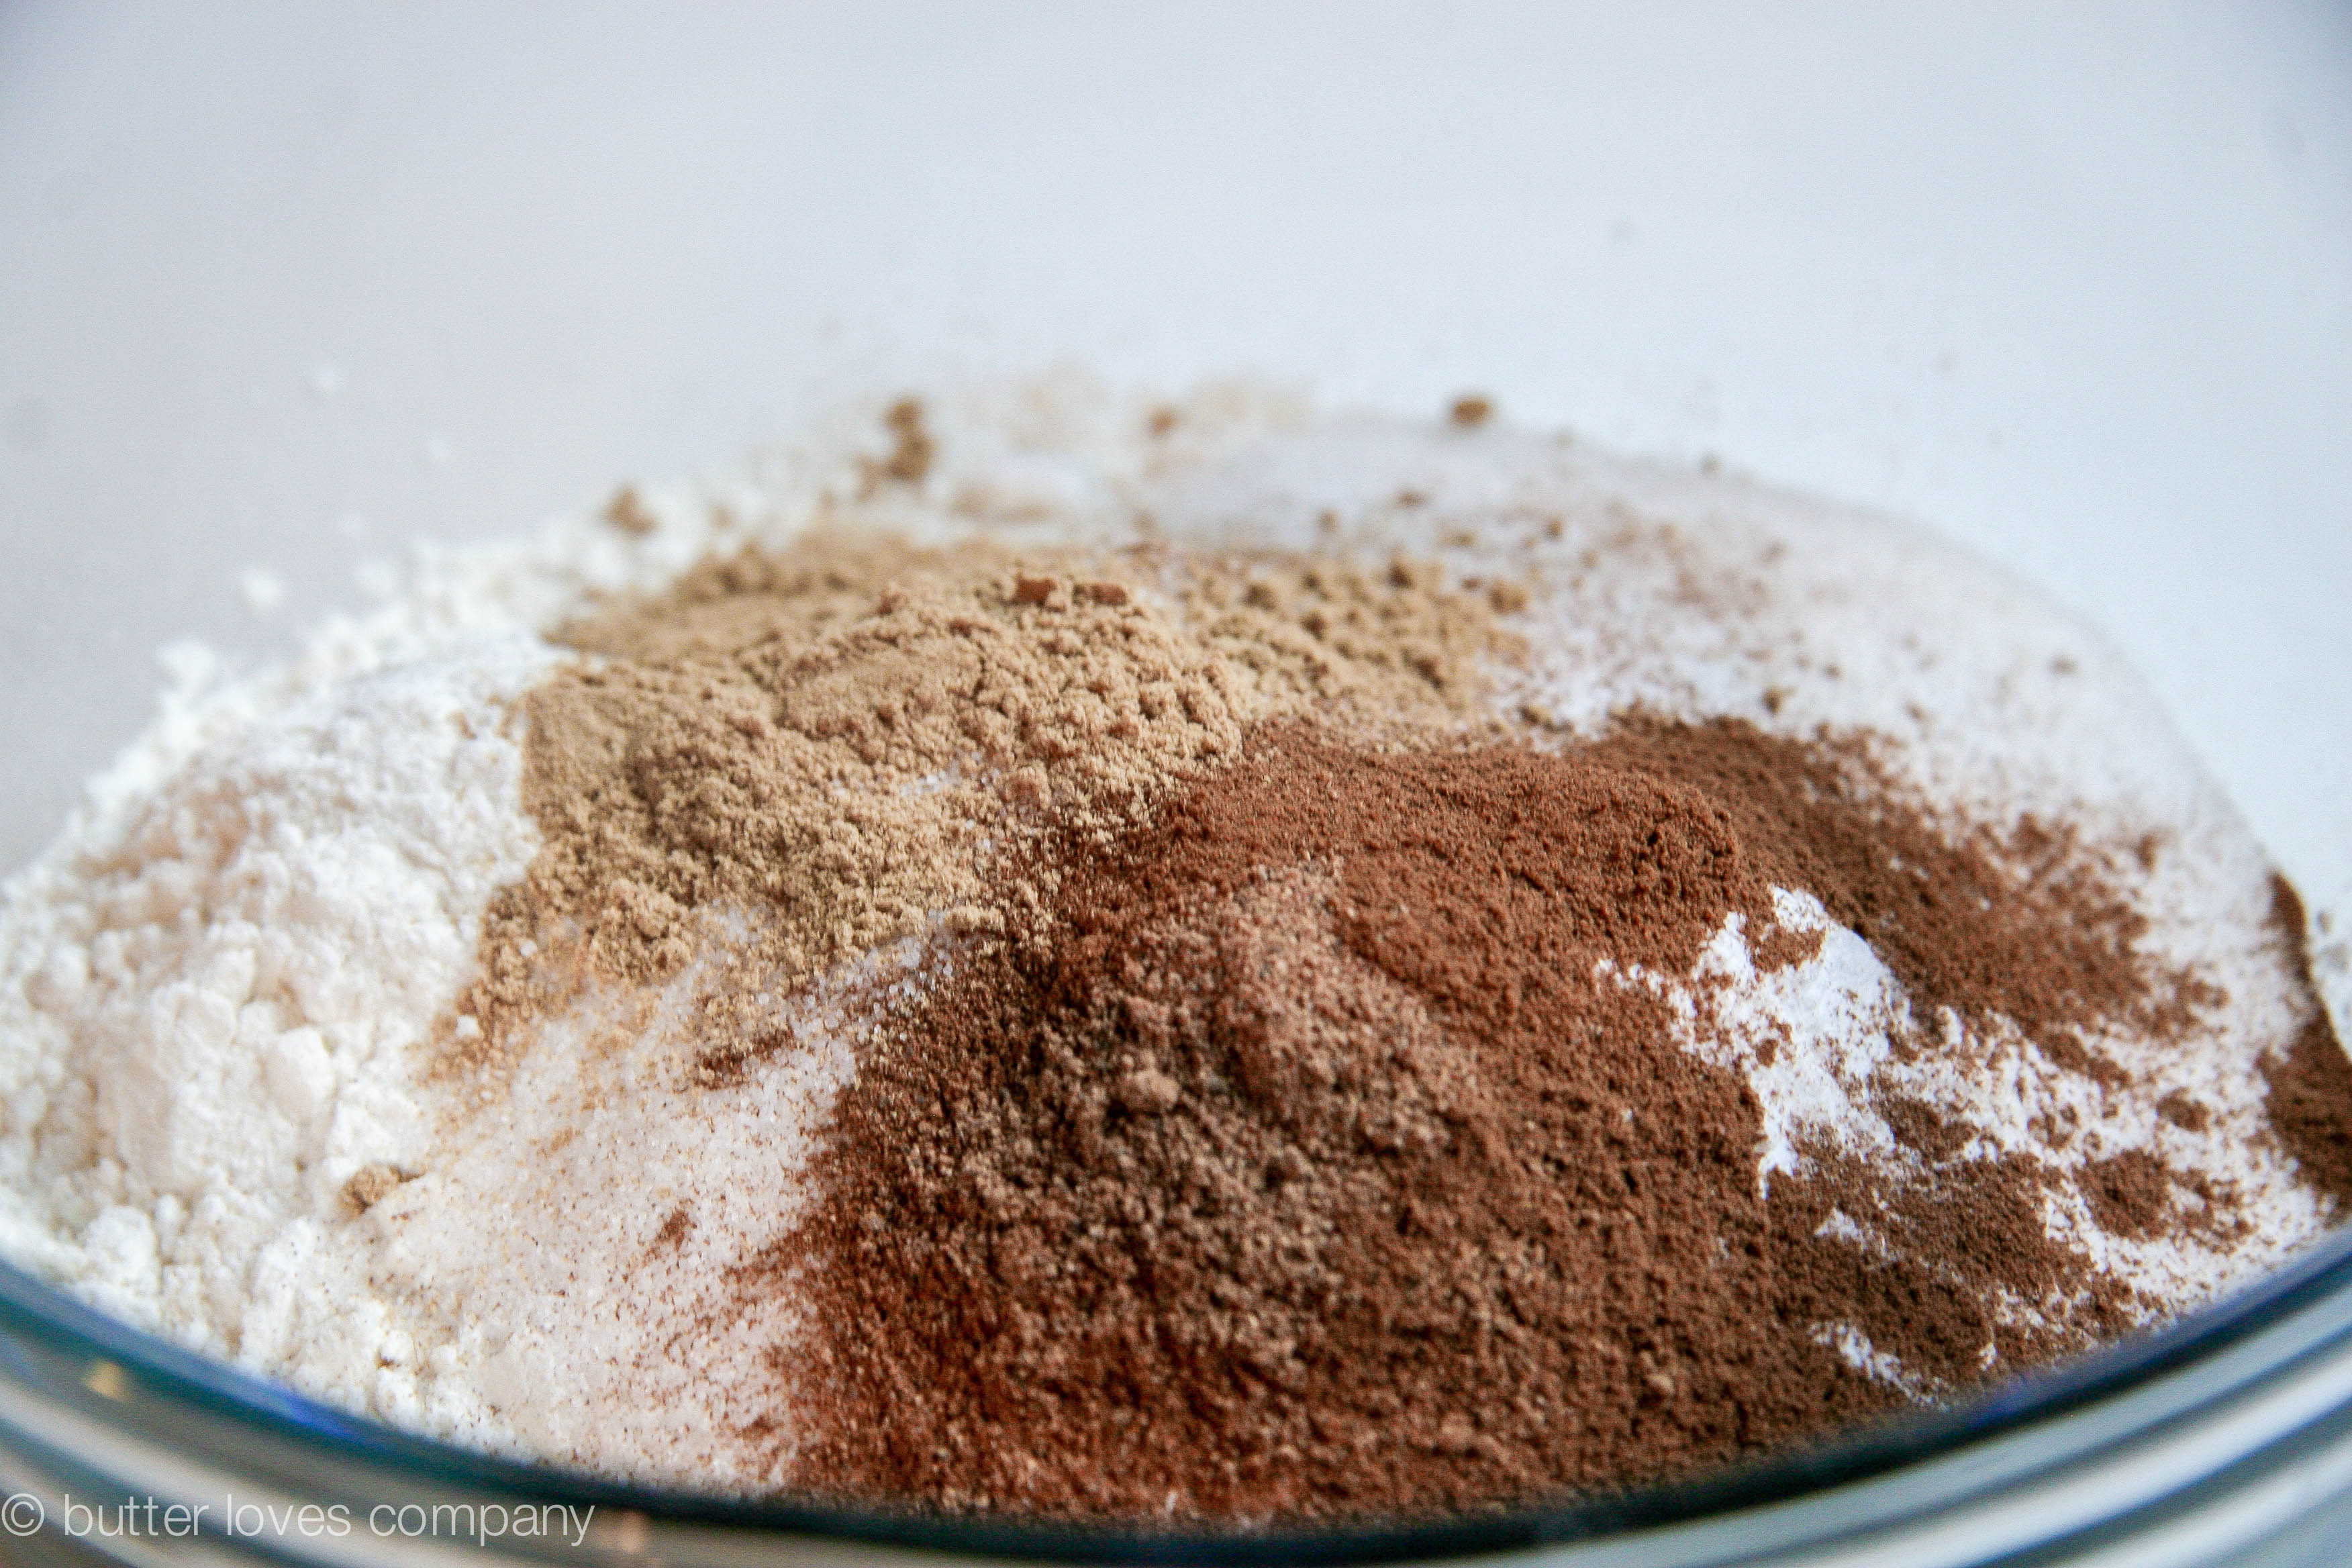
  2. In a large bowl, whisk together the flour and both sugars until combined and free of lumps. Add the baking powder, cinnamon, ginger, nutmeg and salt and combine.
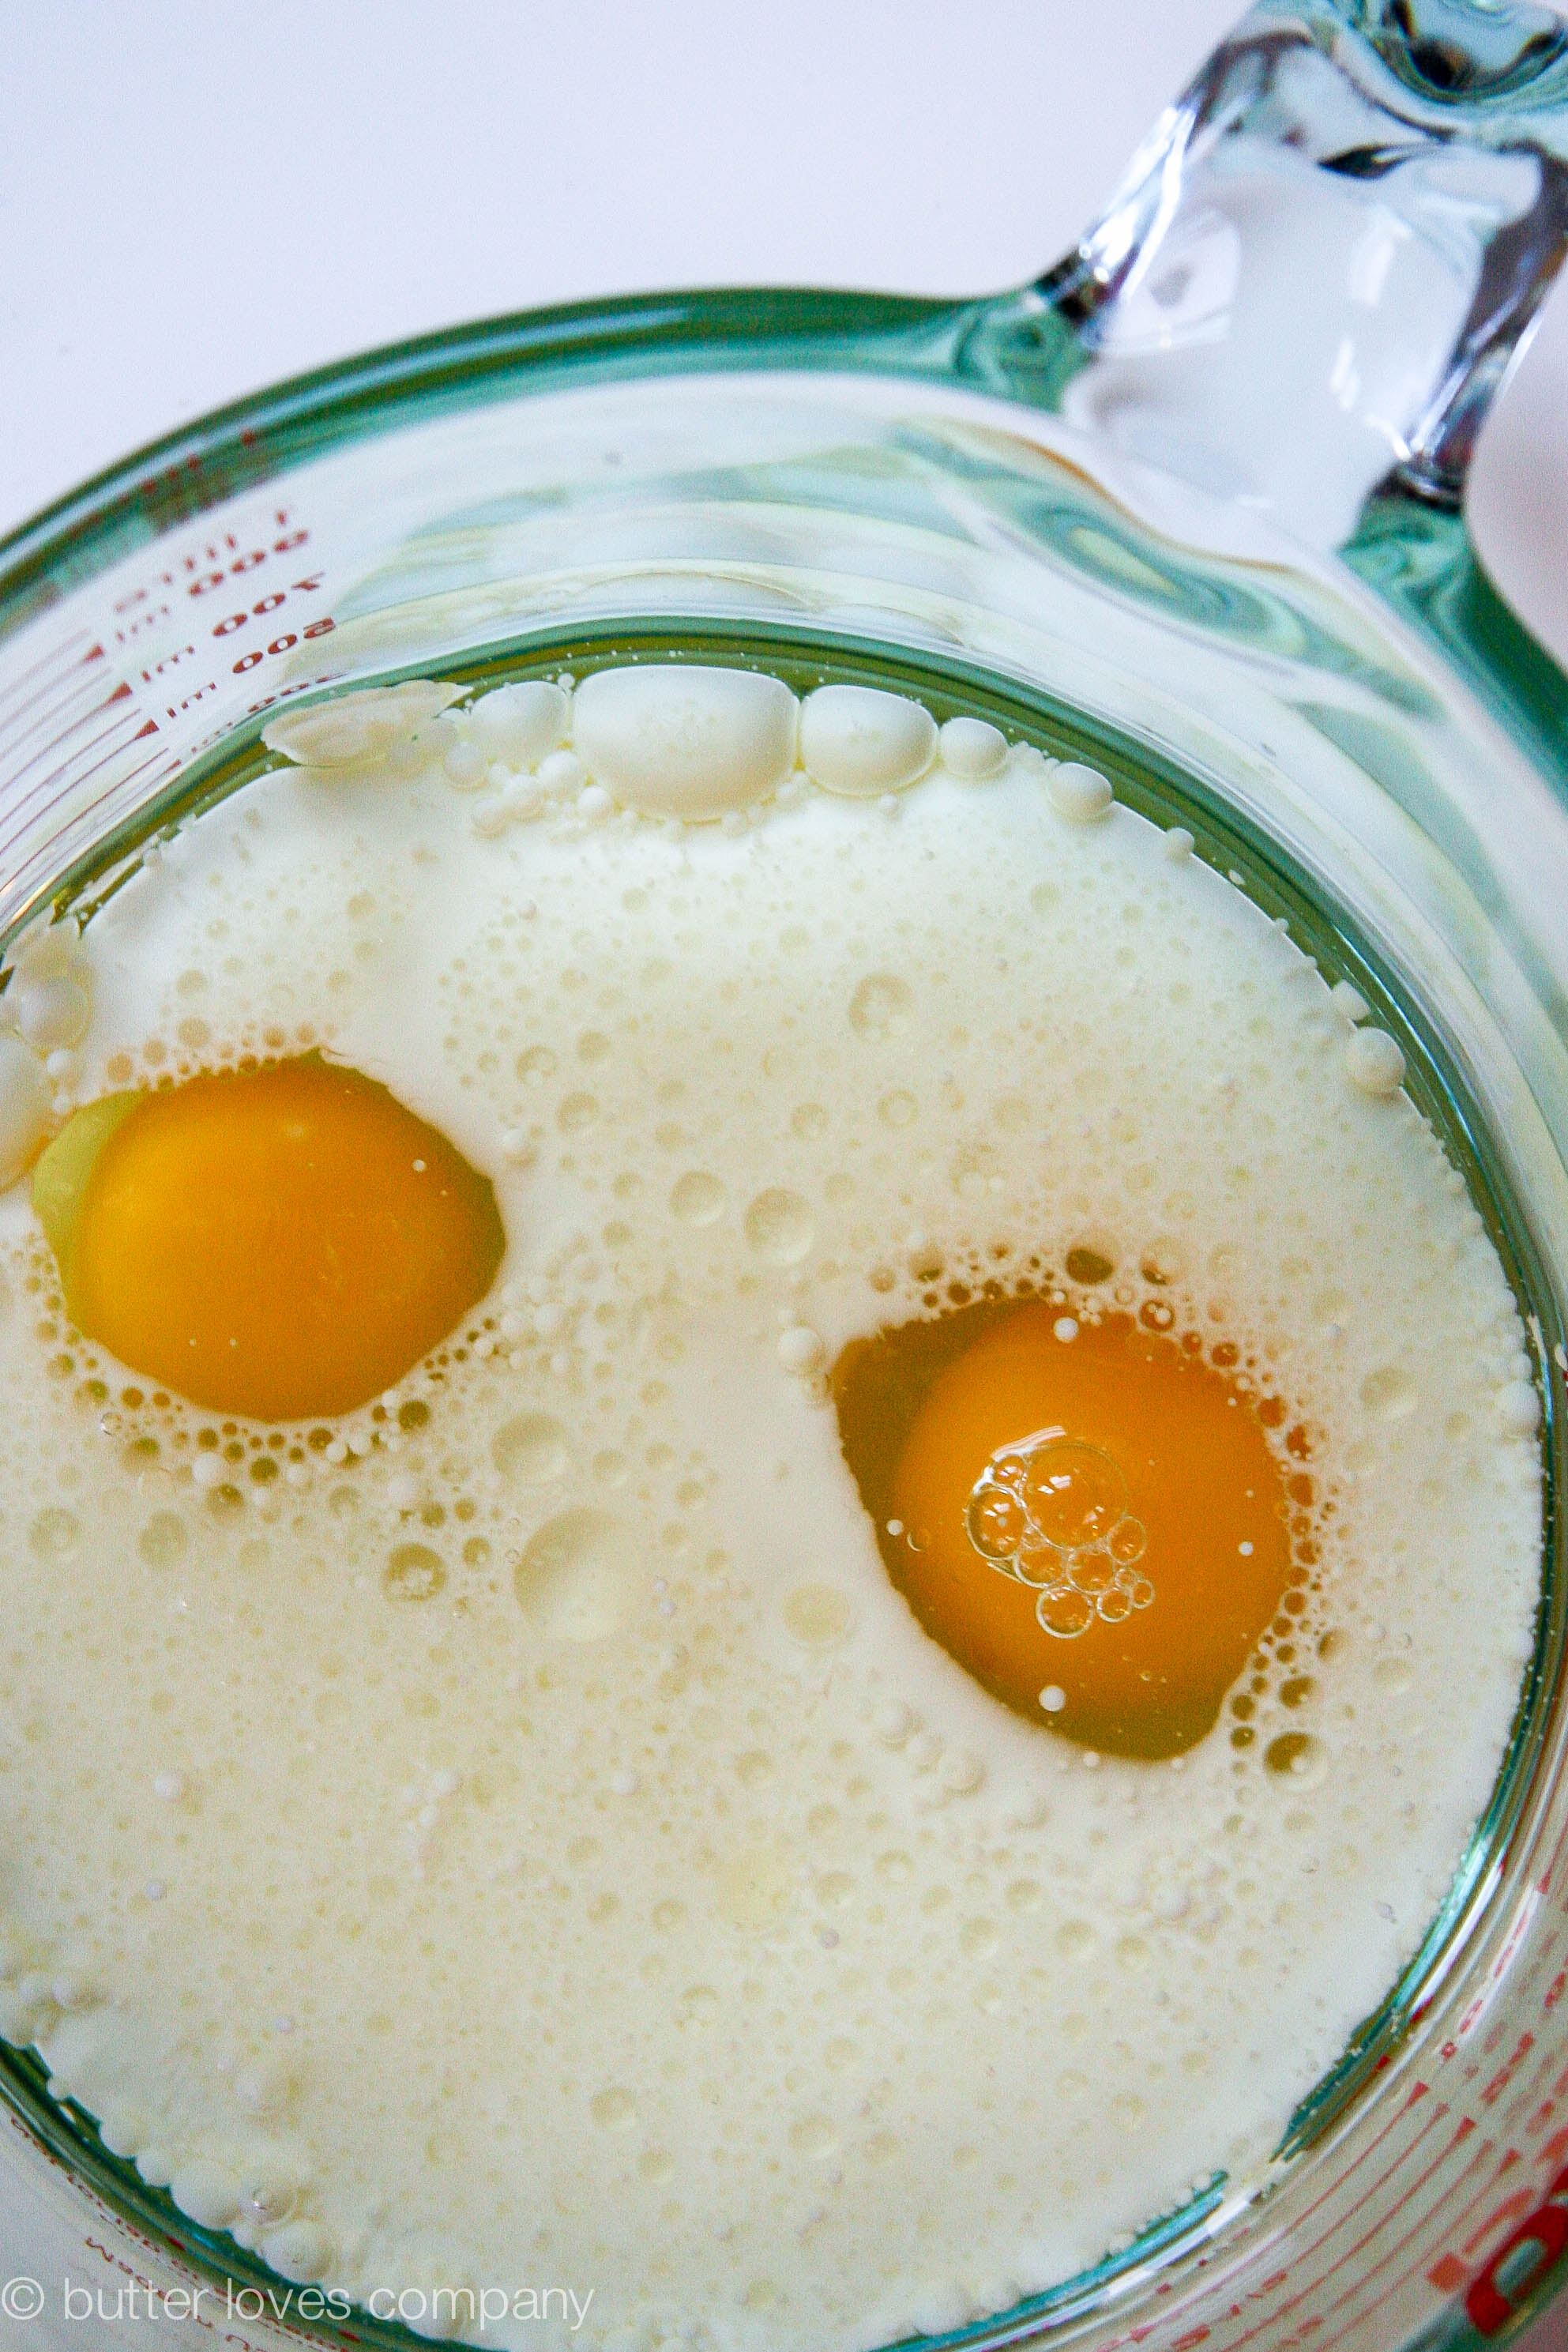
  3. In a large glass measuring cup, or a separate small bowl, whisk together the oil, milk, eggs and vanilla extract until well combined.
  4. Pour this liquid mixture over the dry flour mixture. With a whisk, rubber spatula or spoon, gently but quickly stir ingredients to blend, being cautious not to over mix (better to have some lumps than to over mix in this case). Gently stir in the shredded carrots, coconut, cranberries and walnuts—if using. Divide the batter evenly among the muffin cups.
  5. Bake at 425 degrees F for 8 minutes, then reduce heat to 375 degrees F to cook an additional 8–10 minutes, or until a tooth pick inserted into the center of a muffin comes out clean. Remove and let muffin pan cool on a wire rack for 5 minutes. Remove the muffins and let cool. Enjoy warm or at room temperature. Best if eaten on the day they are made. These last a few days but their texture becomes a bit more dense the longer you wait to eat them.
Filed Under: breakfast and breads, eat Tagged With: breakfast, breakfast bread, carrot, muffins, summer

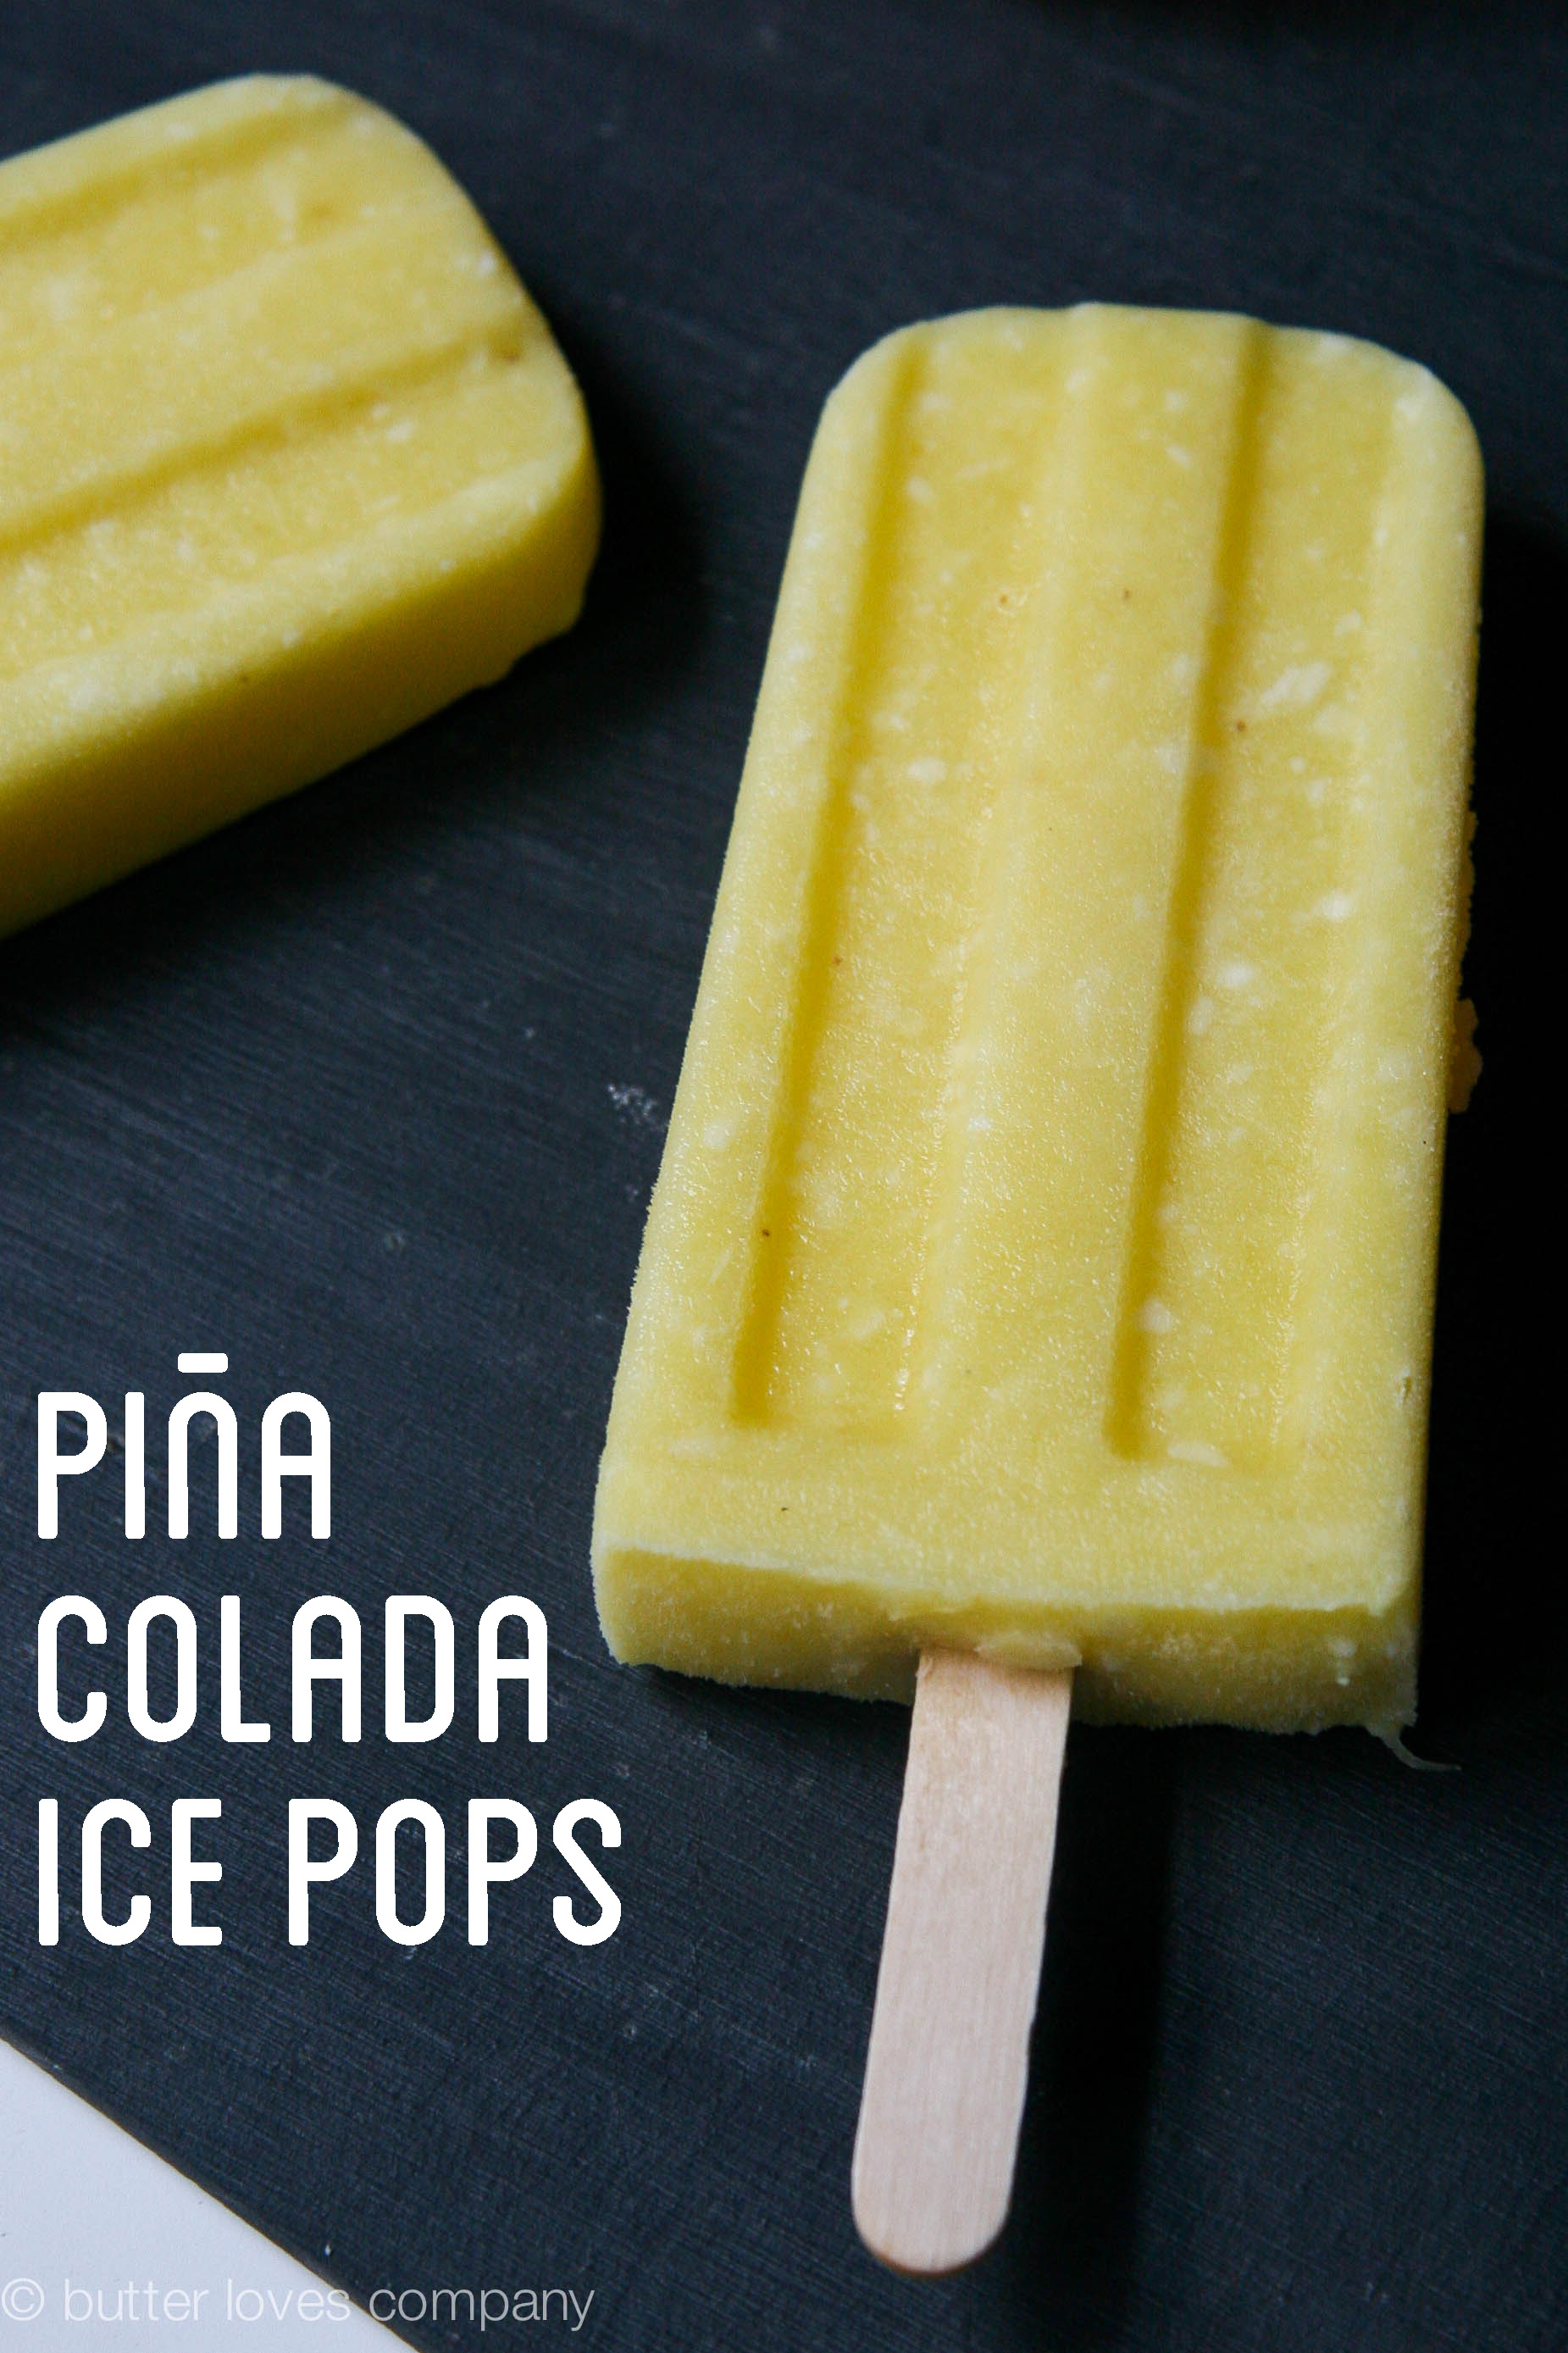
piña colada ice pops

June 17, 2014 by Butter Loves Company

pina colada ice pops 11 text

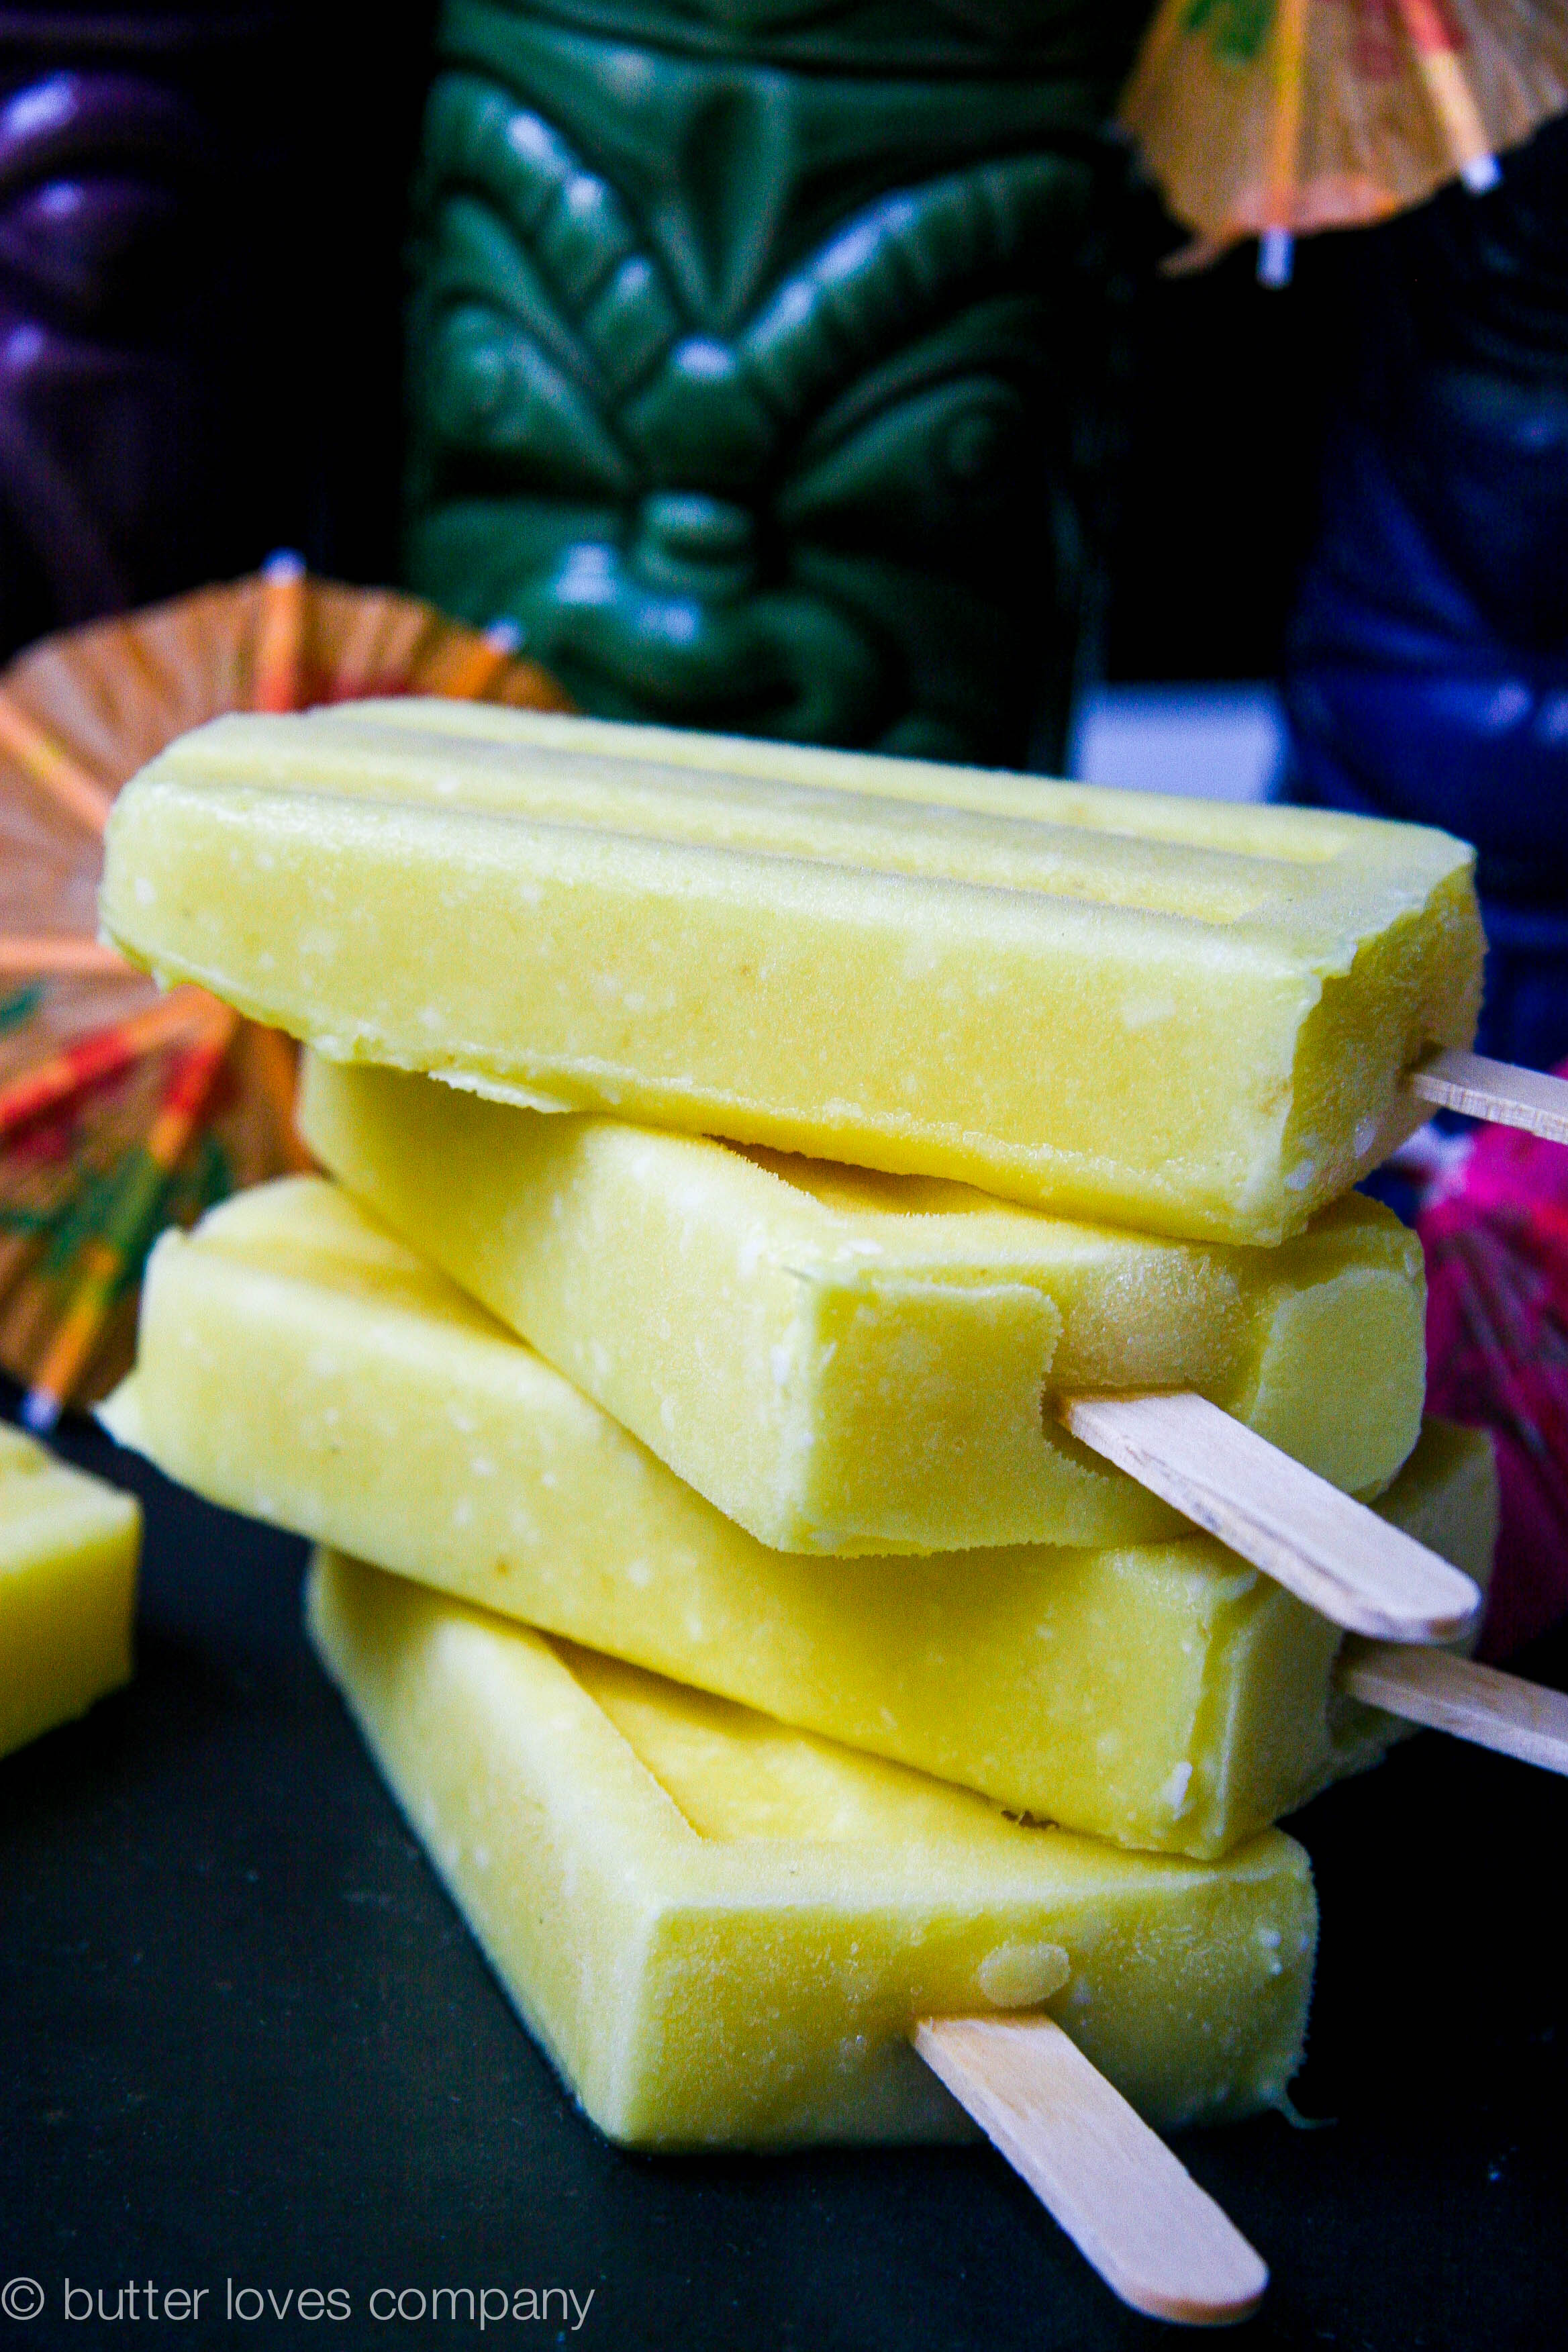
I contemplated calling this recipe “Vacation on a Stick”—it really is!

One lick and you’re transported to a cozy mattress in a covered cabana, on a white sand beach with turquoise waters where Bob Marley tunes sway in your ears.

Or, in my case, one lick and I’m still sitting on my couch on a Sunday, with my eyes glued to the entire second season of “Orange is the New Black,” my feet up on the coffee table and Greg by my side. “Vacation” is in the eye of the beholder and whoever that beholder is should be holding one of these Piña Colada ice pops. (You can thank my dad for my corny genes.)

pina colada ice pops 1

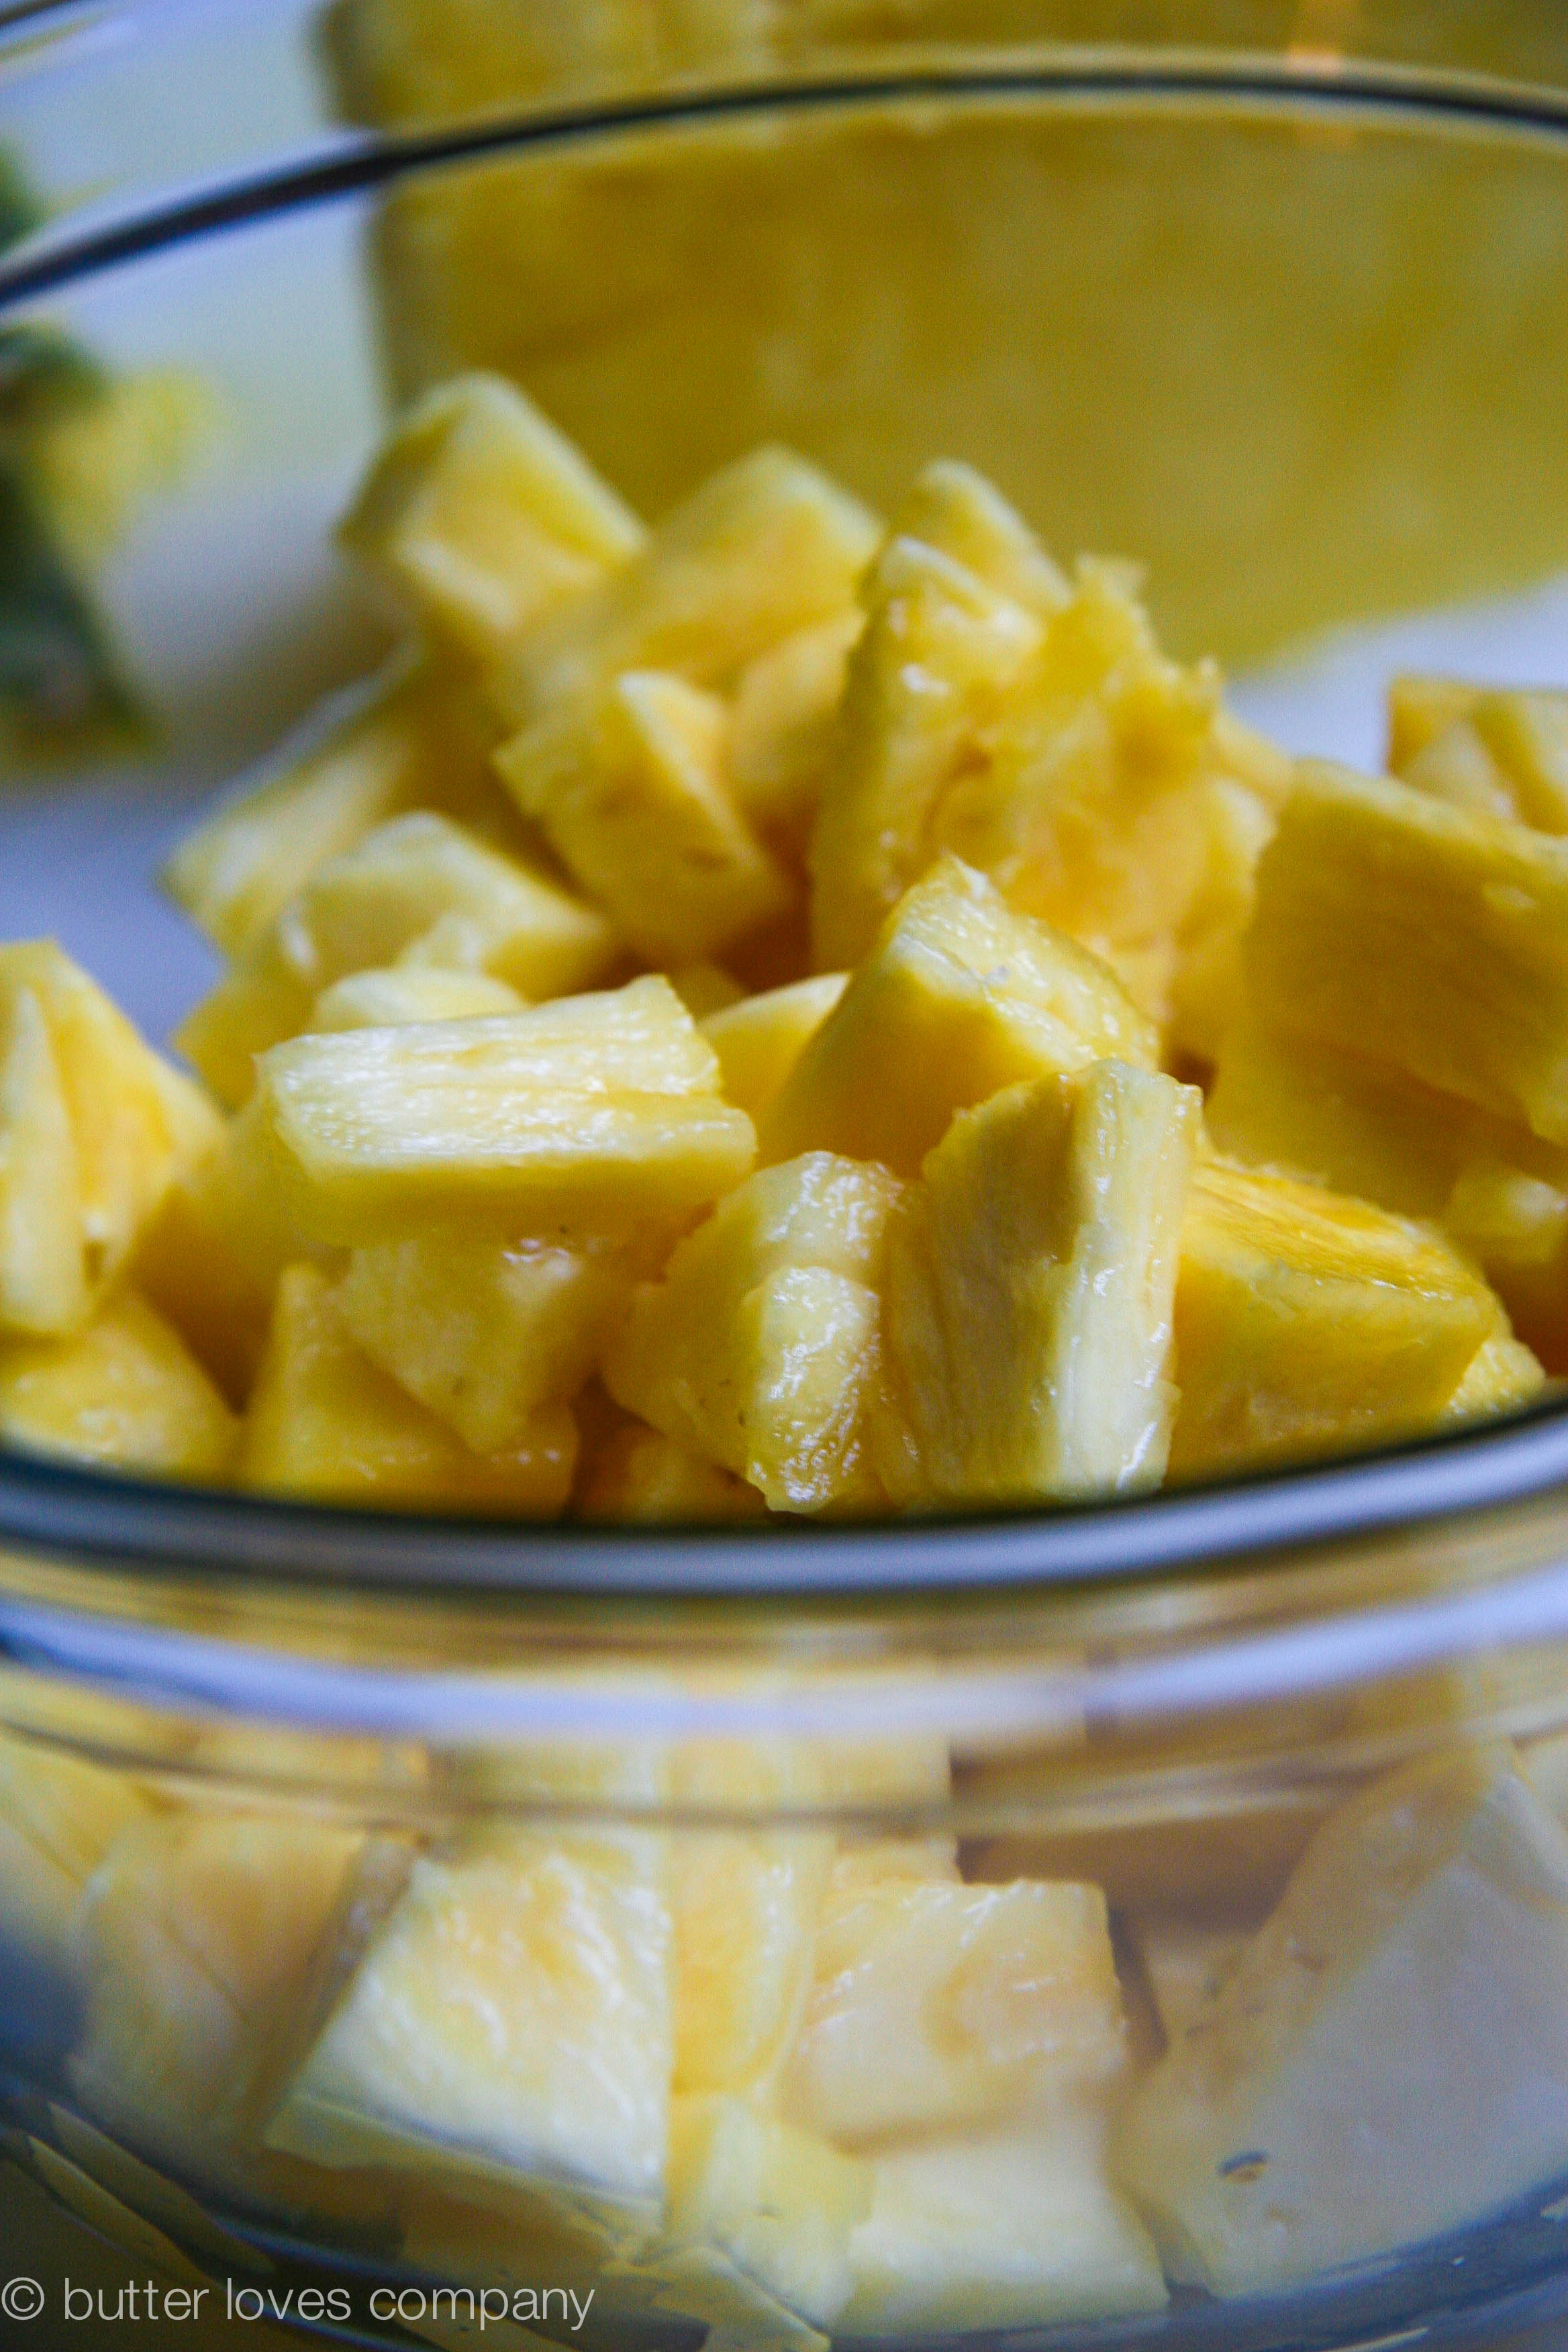
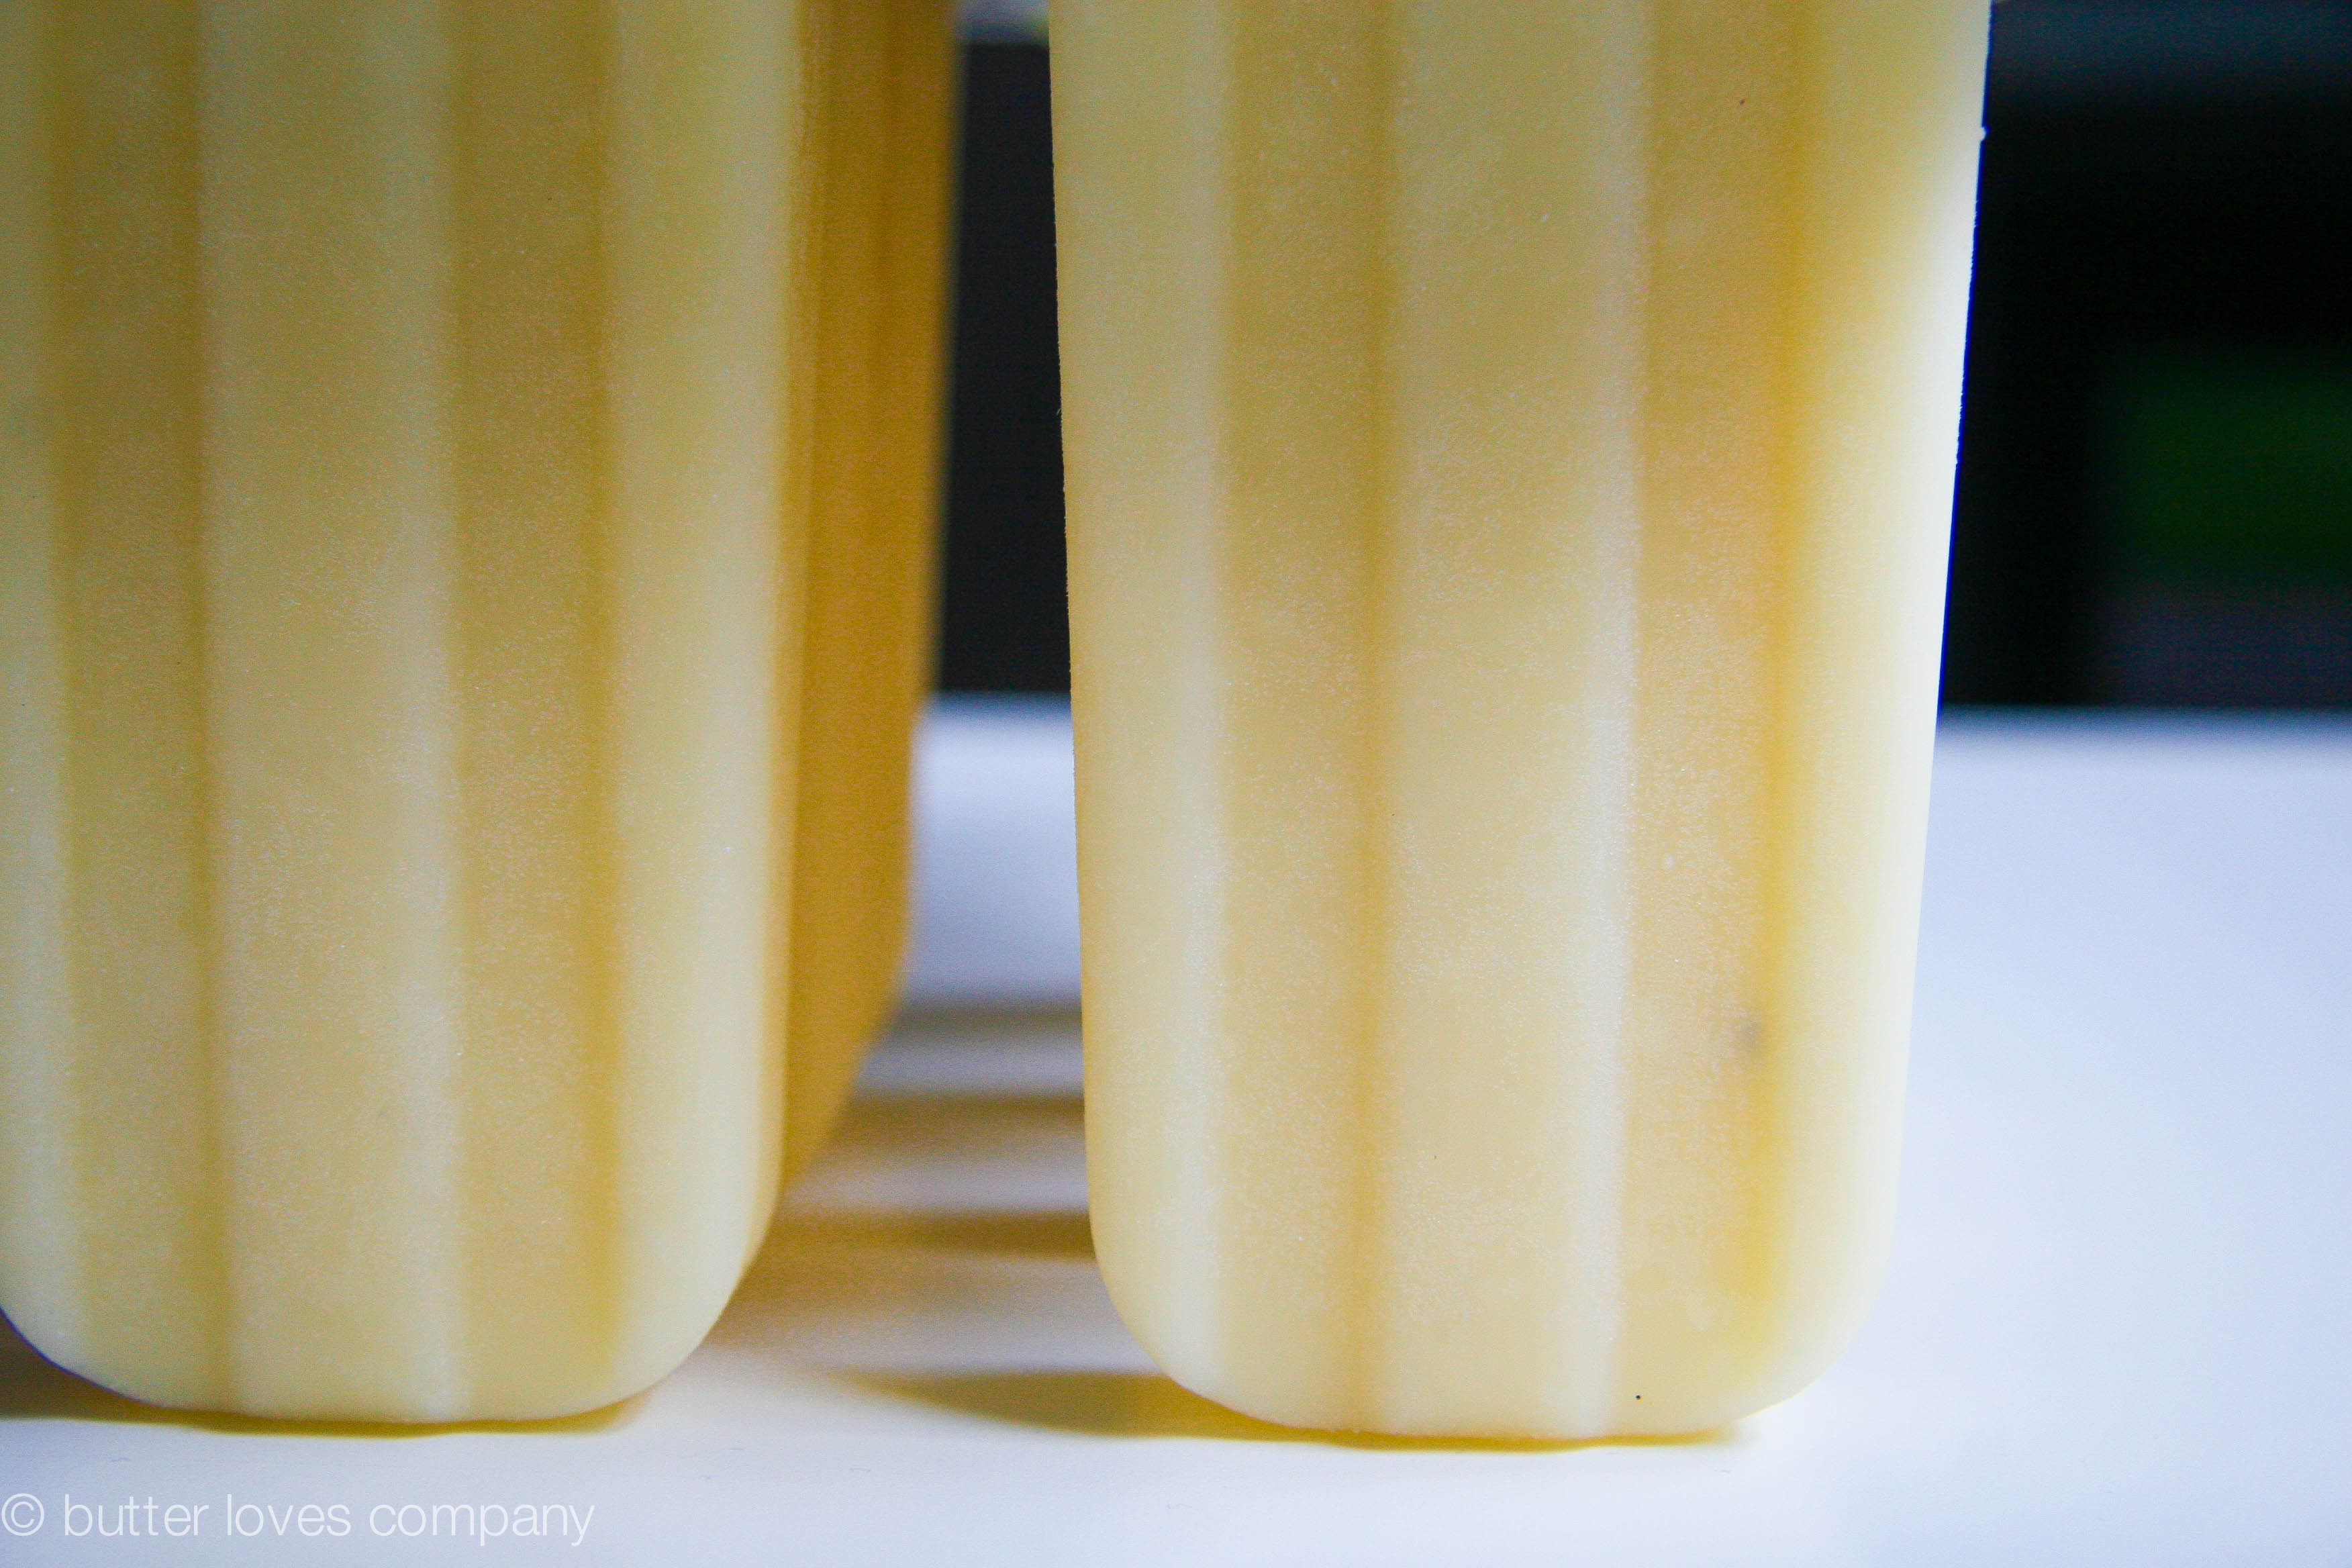
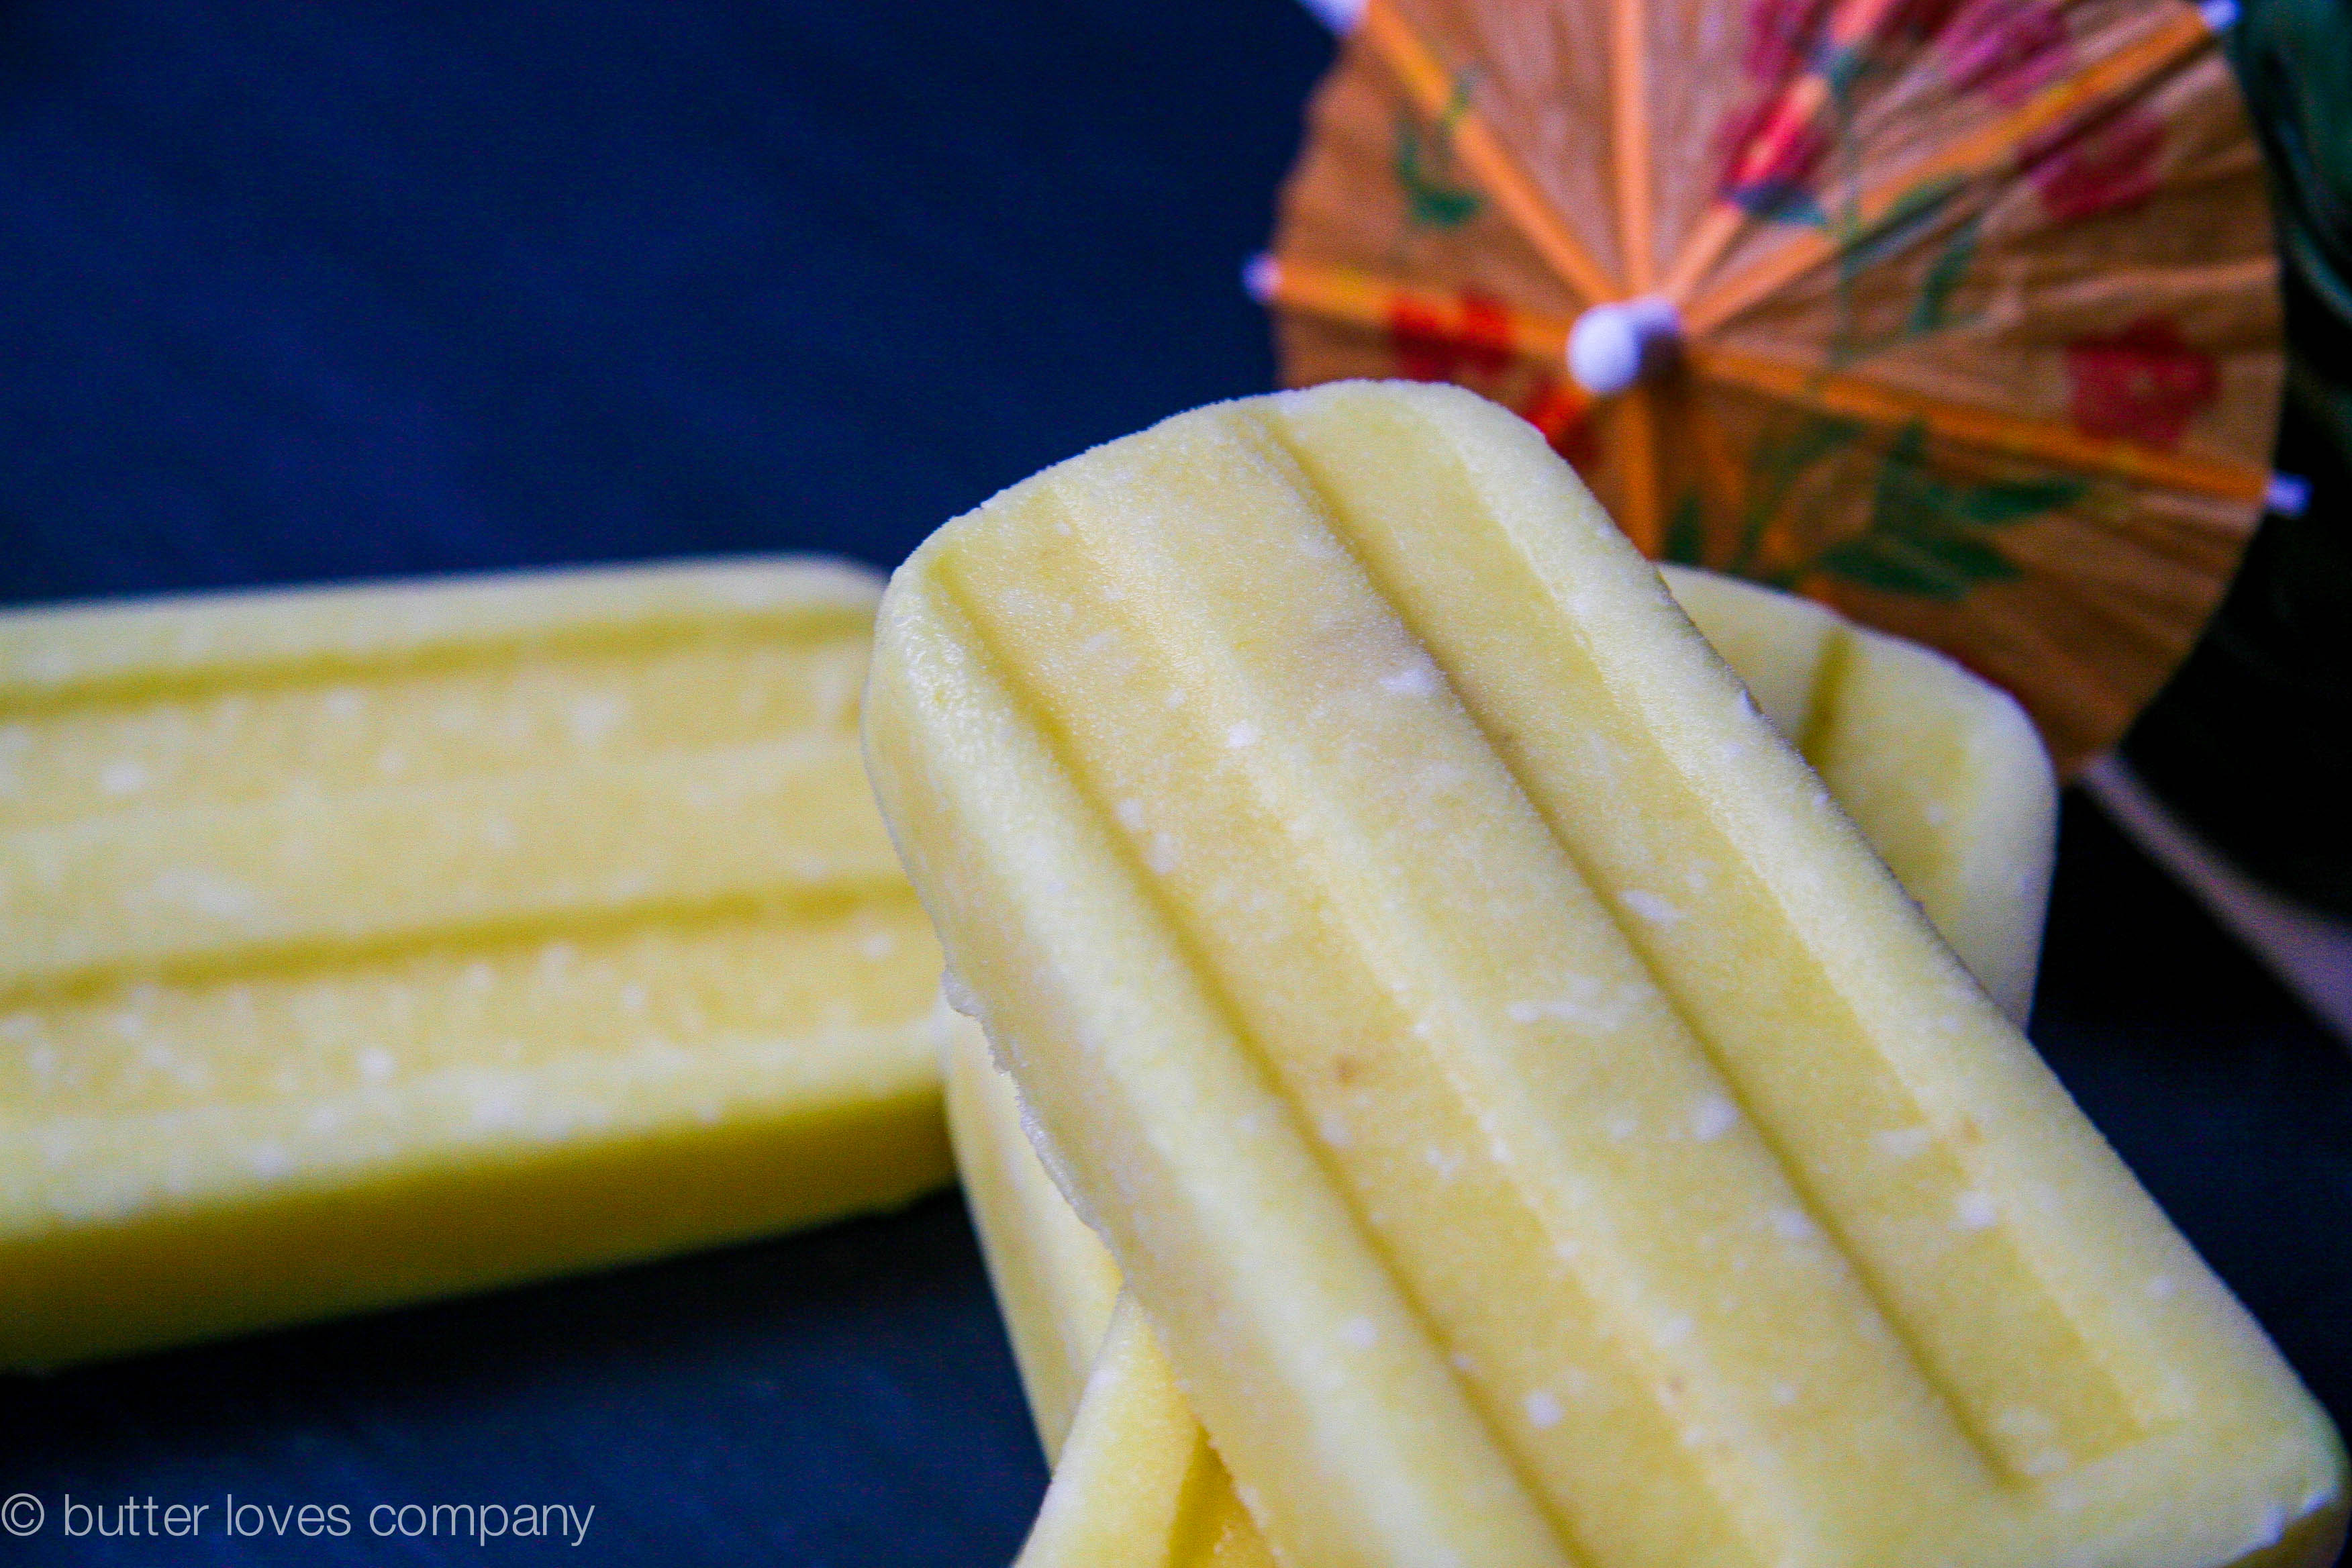
A Piña Colada is a truly classic summer cocktail. Its essence has been married to the concept of rest and relaxation since its creation in Puerto Rico in 1954 (1963 depending on who you believe). Often served frozen, the drink hopped easily from a glass in my head to my new ice pop molds. Fresh, sweet and juicy pineapple is blended with tropical coconut flavors leaving a faint scent of Banana Boat sunscreen in your nose. Spike these with a little rum if you’d like a boozy ice pop (remember this will take a bit longer to freeze). I think they are perfect to serve at a BBQ or as a light and refreshing alternative to a summer dinner party dessert.

pina colada ice pops 2

I personally like my ice pops a little chunky which is why I added the shredded coconut, but I realize many of you may prefer them smooth. To make a smooth ice pop you can do a few things:

  • Omit the shredded coconut altogether. This won’t affect the flavor too dramatically.
  • If you want it really, really smooth you can strain the blended mixture through a sieve over a bowl and only freeze the liquid that is left in the bowl.

pina colada ice pops 3

pina colada ice pops 4

pina colada ice pops 5

pina colada ice pops 6

pina colada ice pops 7

pina colada ice pops 9

pina colada ice pops 8

piña colada ice pops (aka “vacation on a stick”)
Prep Time: 10 minutes
Freeze Time: 24 hours if using rum, at least 4–6 hours if not
Makes: 6-8 ice pops

Ingredients:

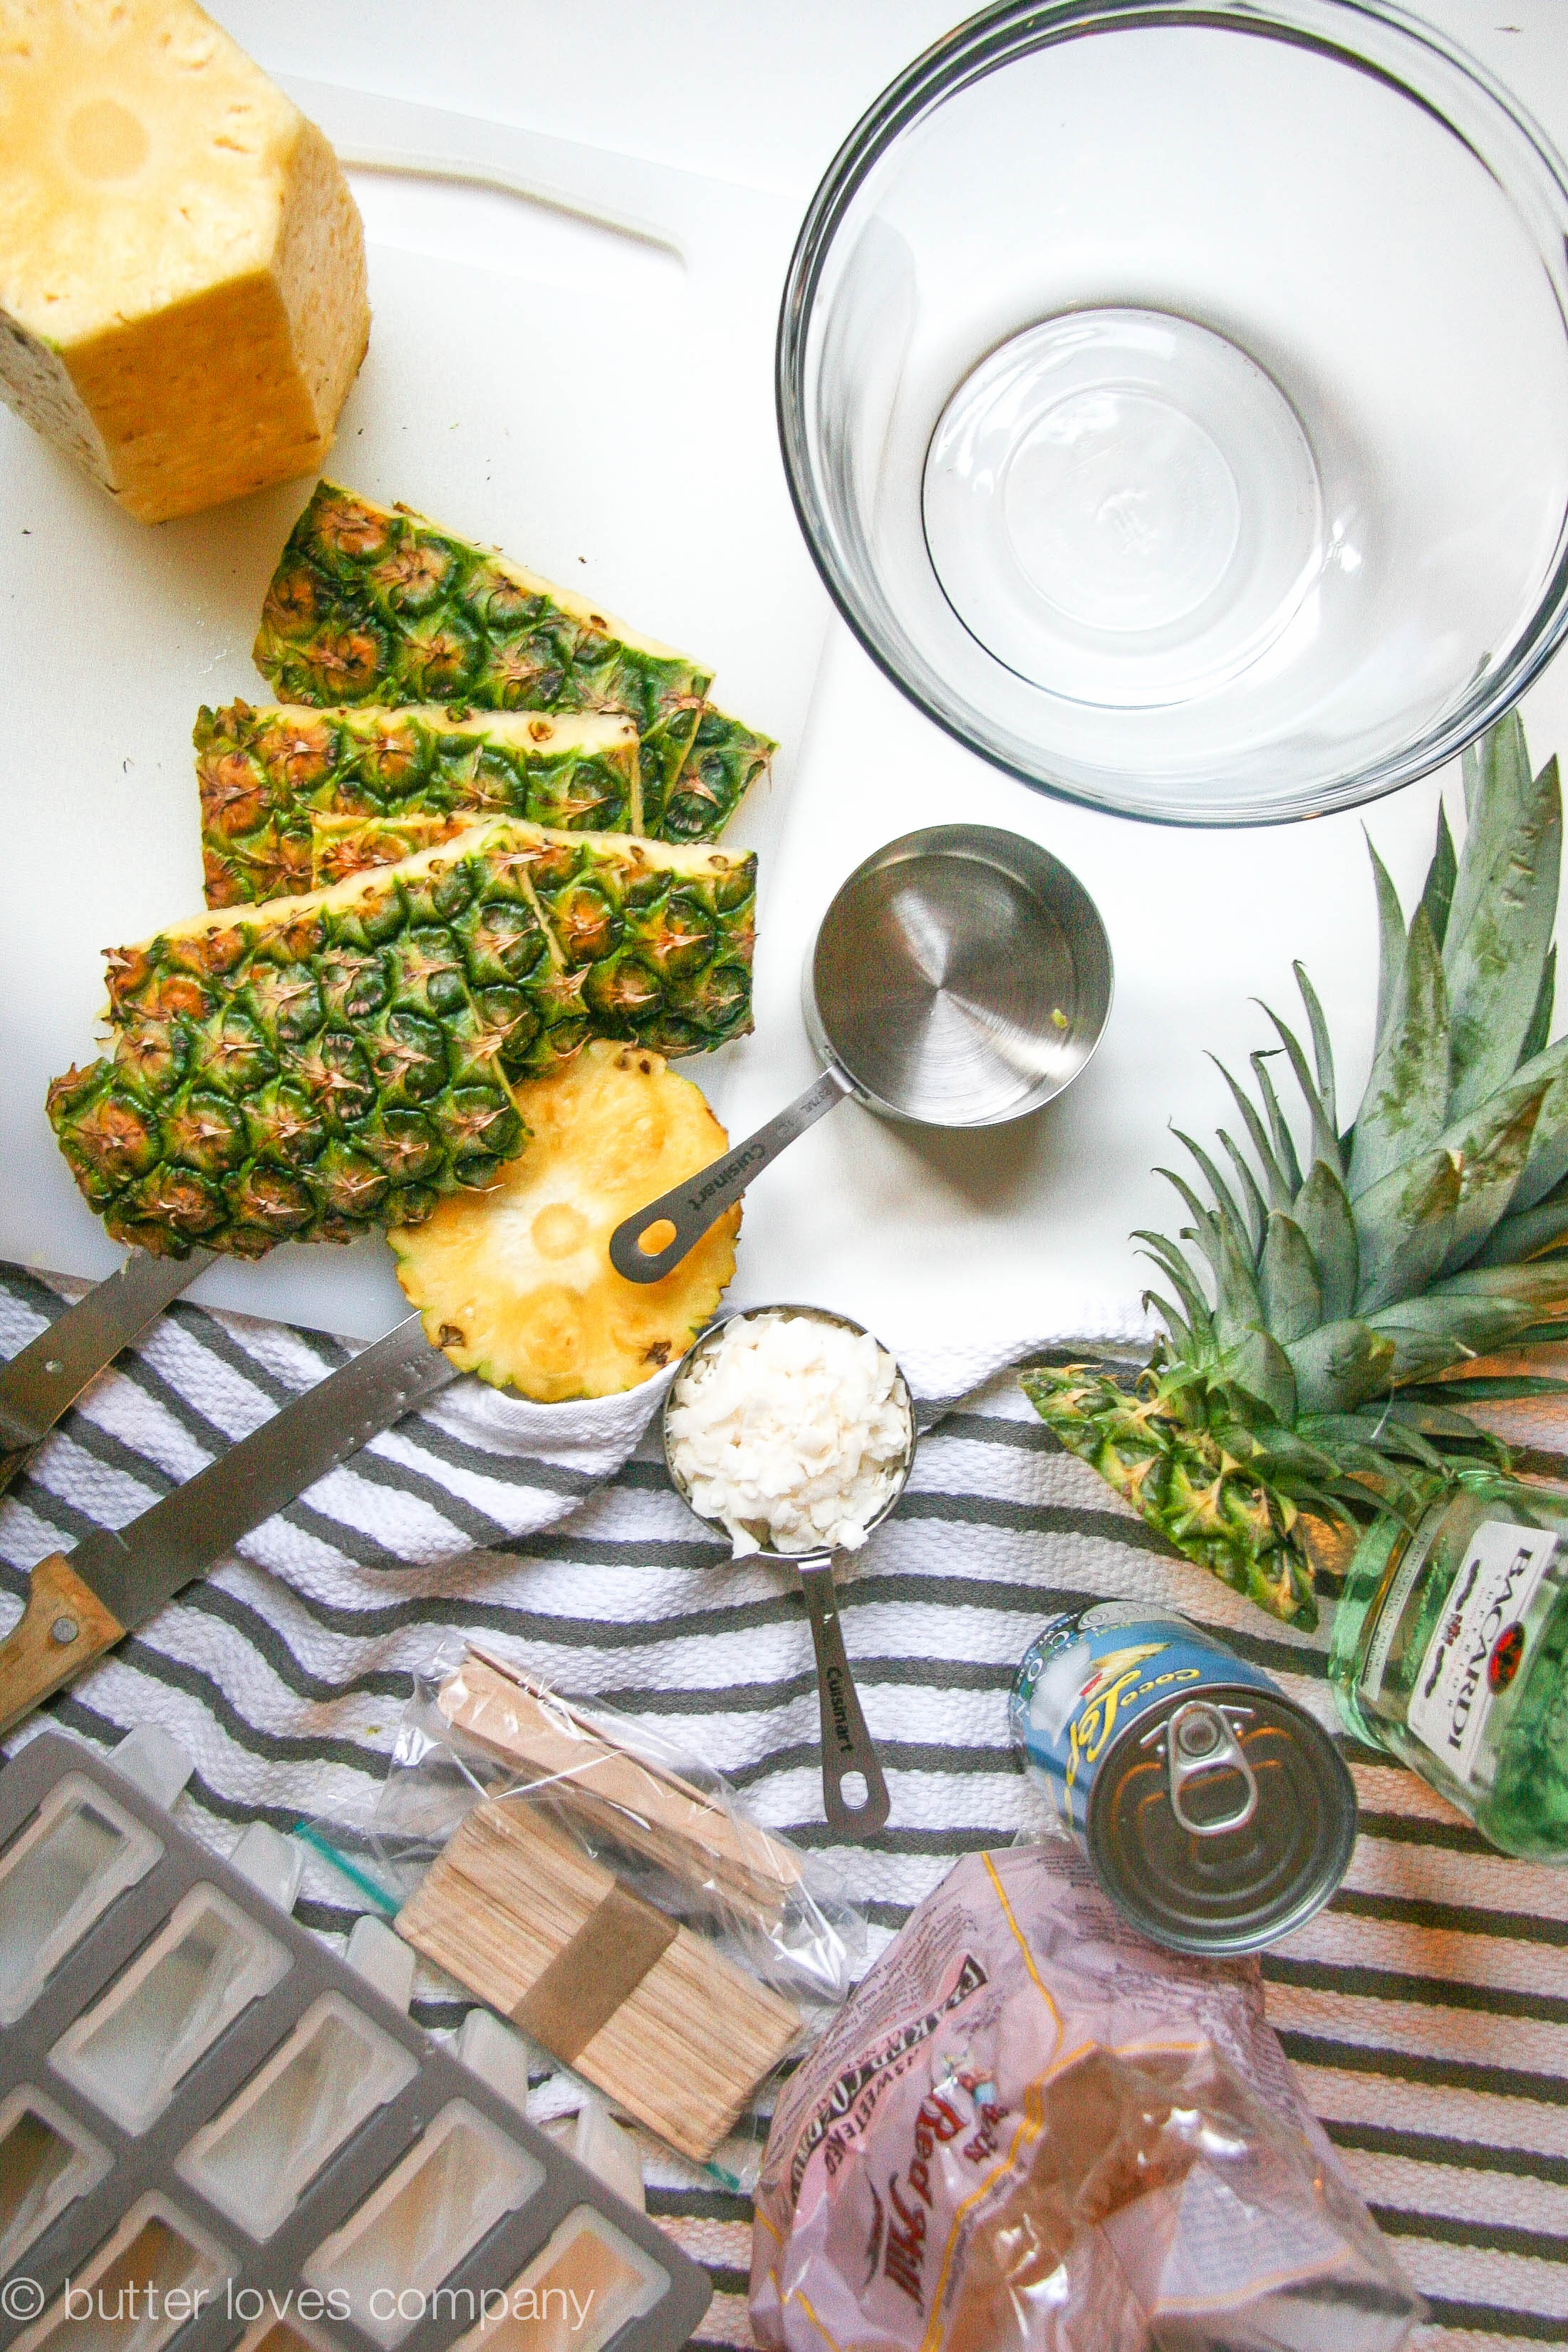
An ice pop mold, or multiple ice cube trays
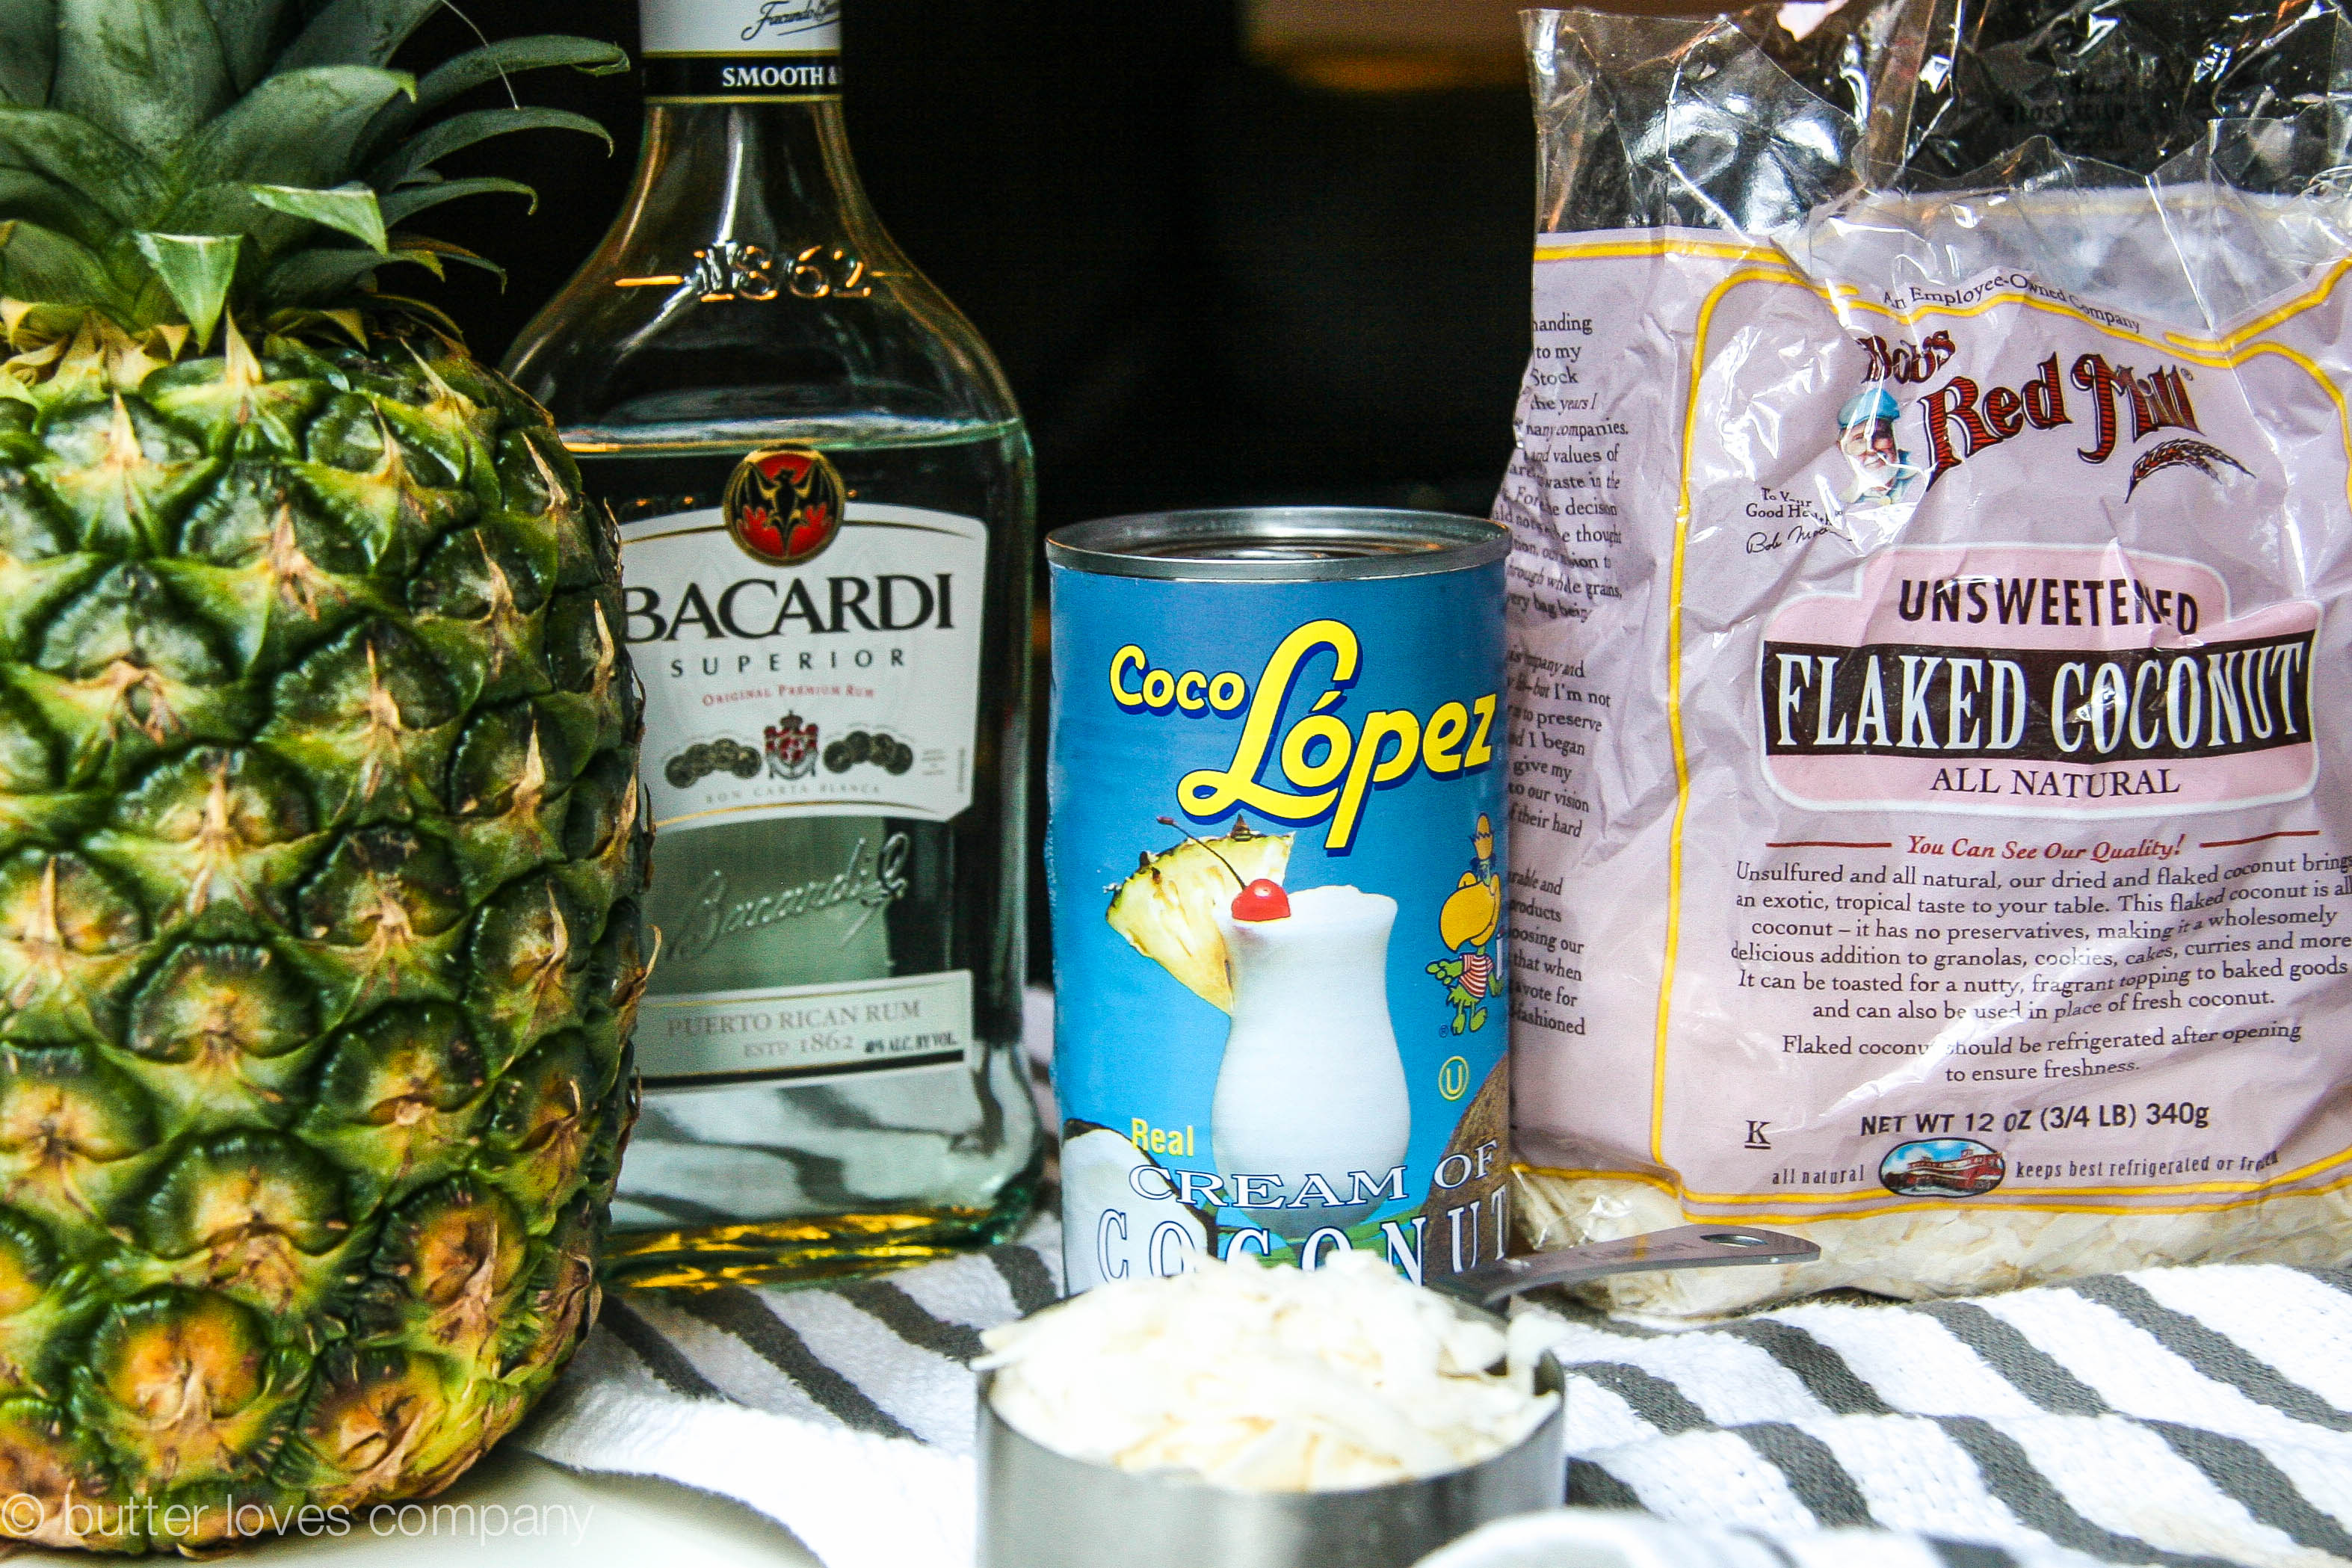
3 cups chopped fresh pineapple, 1 inch chunks are fine
1/3 cup cream of coconut (e.g. Coco Lopez)
1/3 cup coconut water
1/3 cup light rum (optional)
1/2 cup unsweetened shredded coconut

Instructions:

  1. In the work bowl of a food processor or blender, or in a large bowl using a hand mixer, blend the pineapple, cream of coconut, coconut water and rum (if using) until smooth, about 1 minute. Stir in the shredded coconut with a spoon. Pour mixture into ice pop molds, dividing equally, and place in freezer for 30 minutes. Remove and insert wooden ice pop sticks. Place back in the freezer until solid, about 24 hours (4–6 hours if omitting rum).
  2. Once the ice pops are solid, pop them out of their molds and enjoy! If the ice pops are not easily releasing from the molds, you can run warm water around the outsides of the mold to loosen.

Filed Under: desserts and sweets, eat Tagged With: coconut, ice pop, piña colada, pineapple, popsicle, rum, summer, tropical, vacation

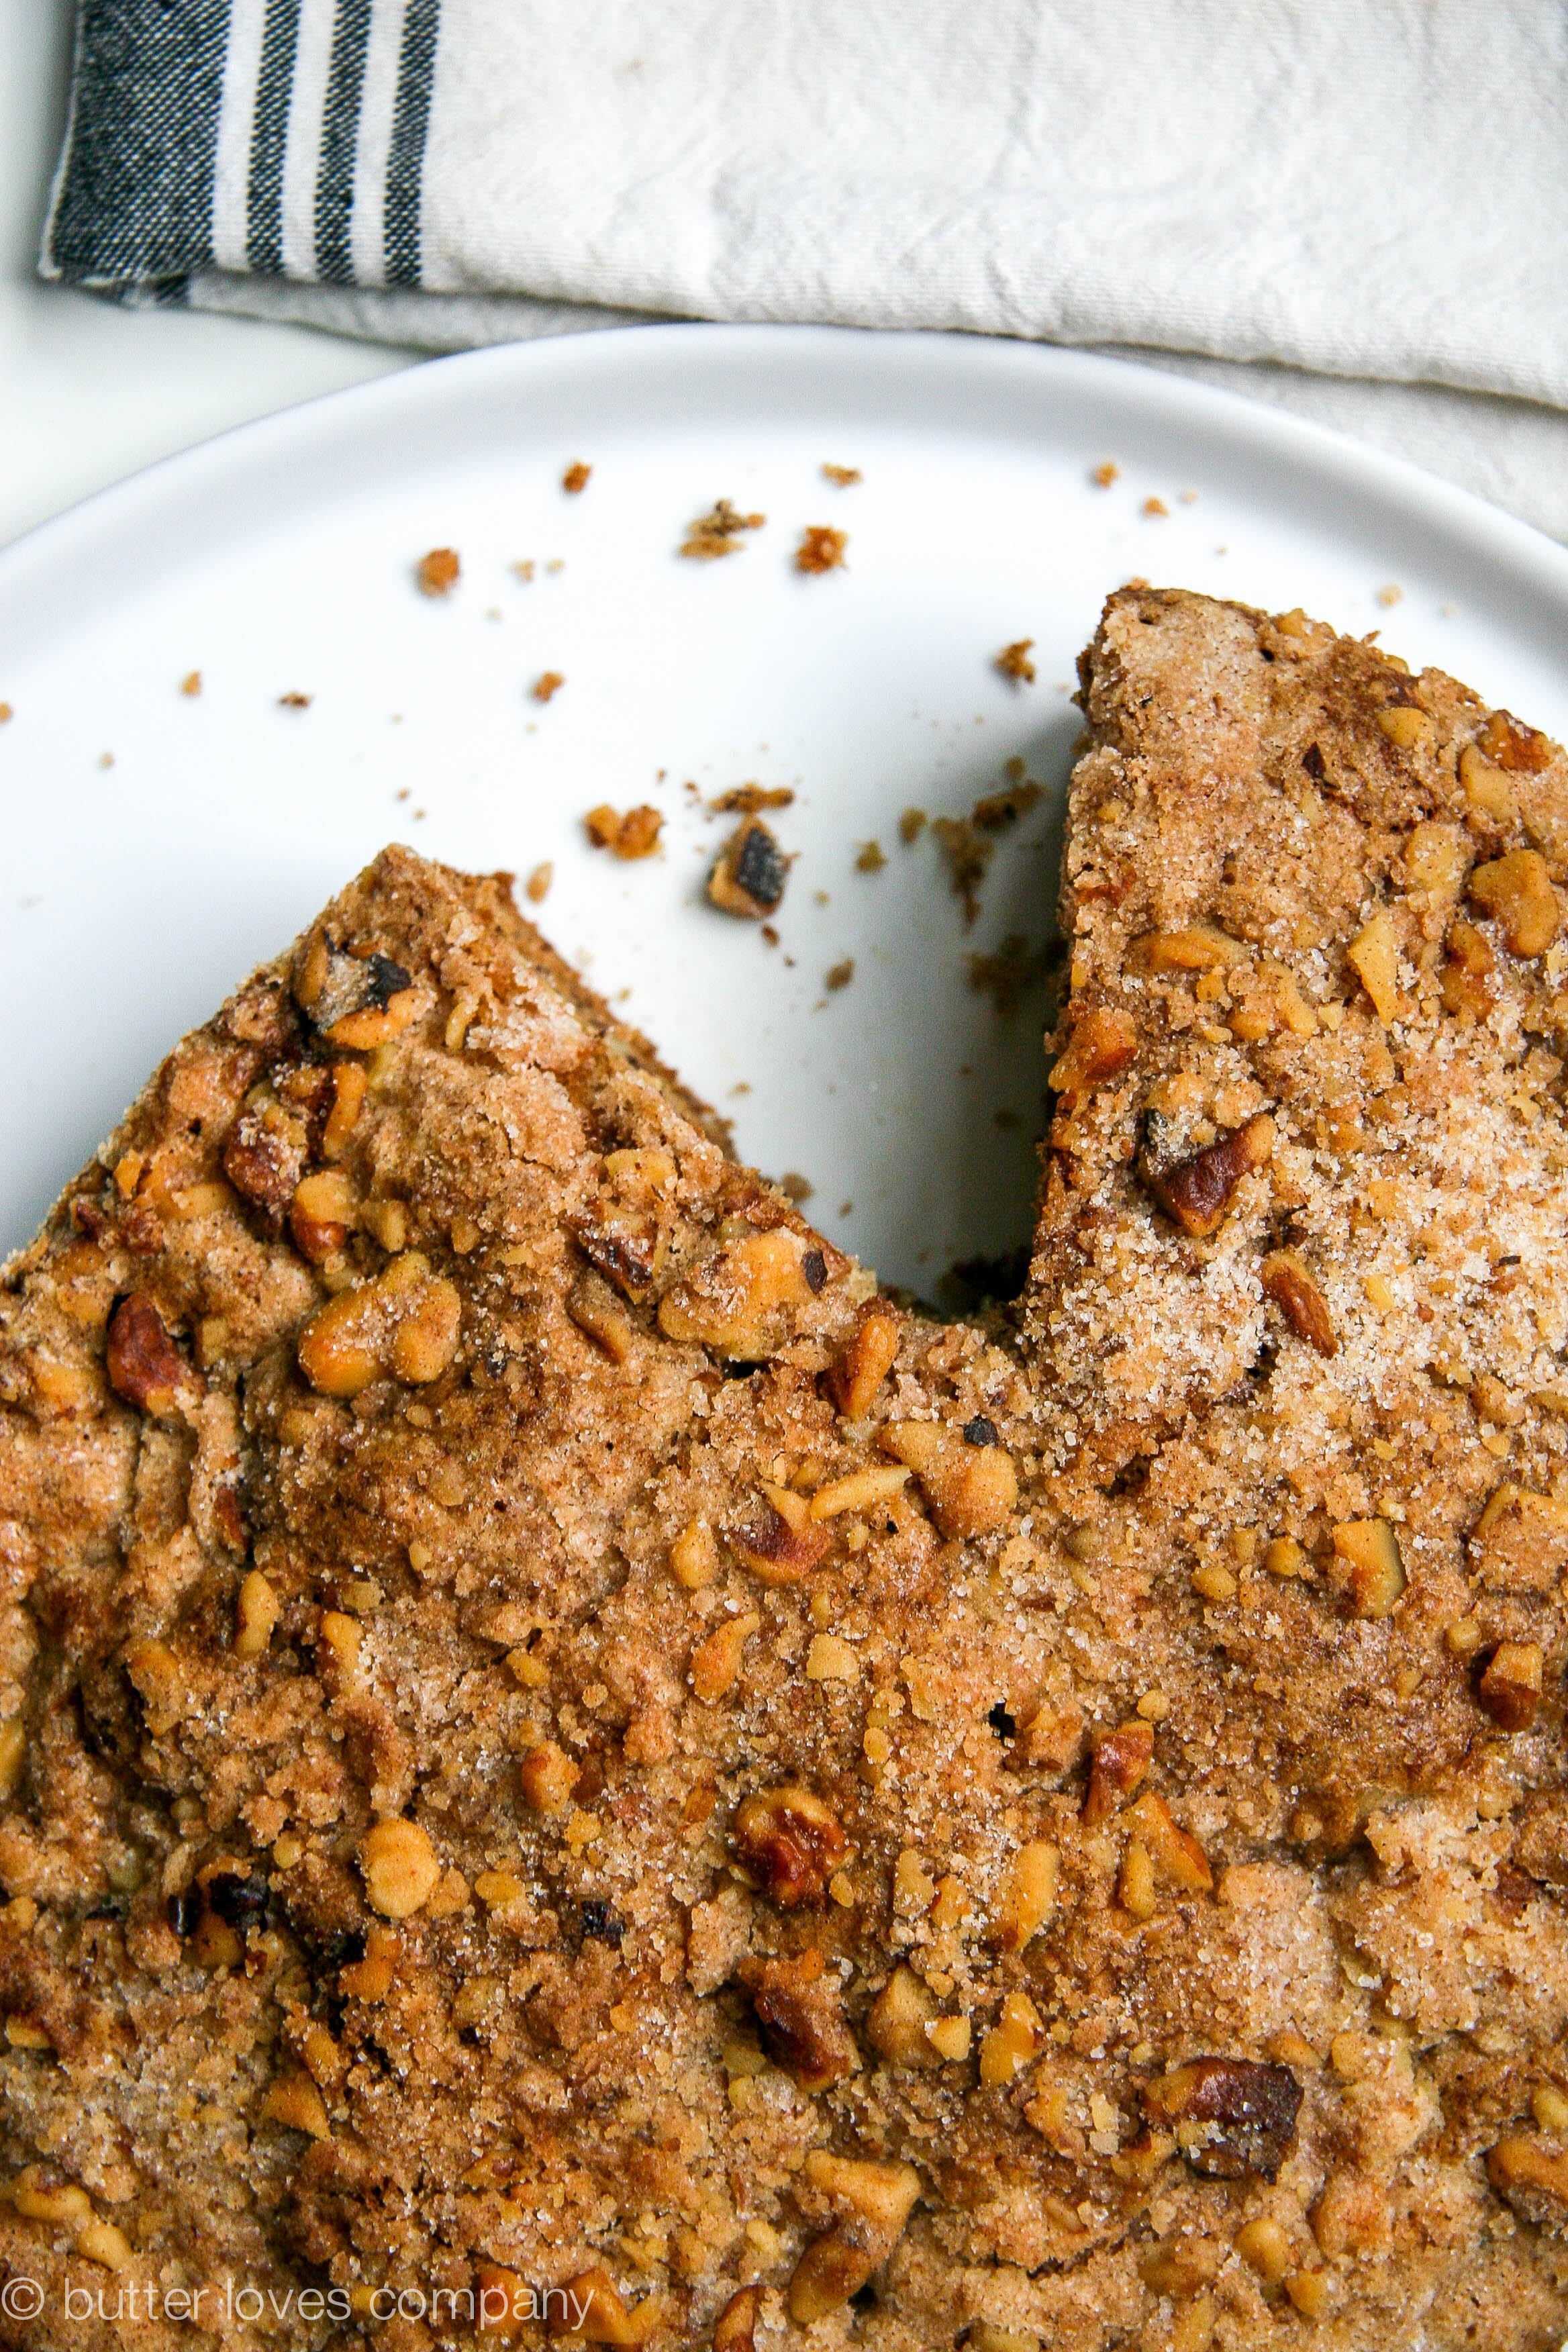
brown butter banana bread, with crumble

June 11, 2014 by Butter Loves Company

brown butter banana bread with crumble 6

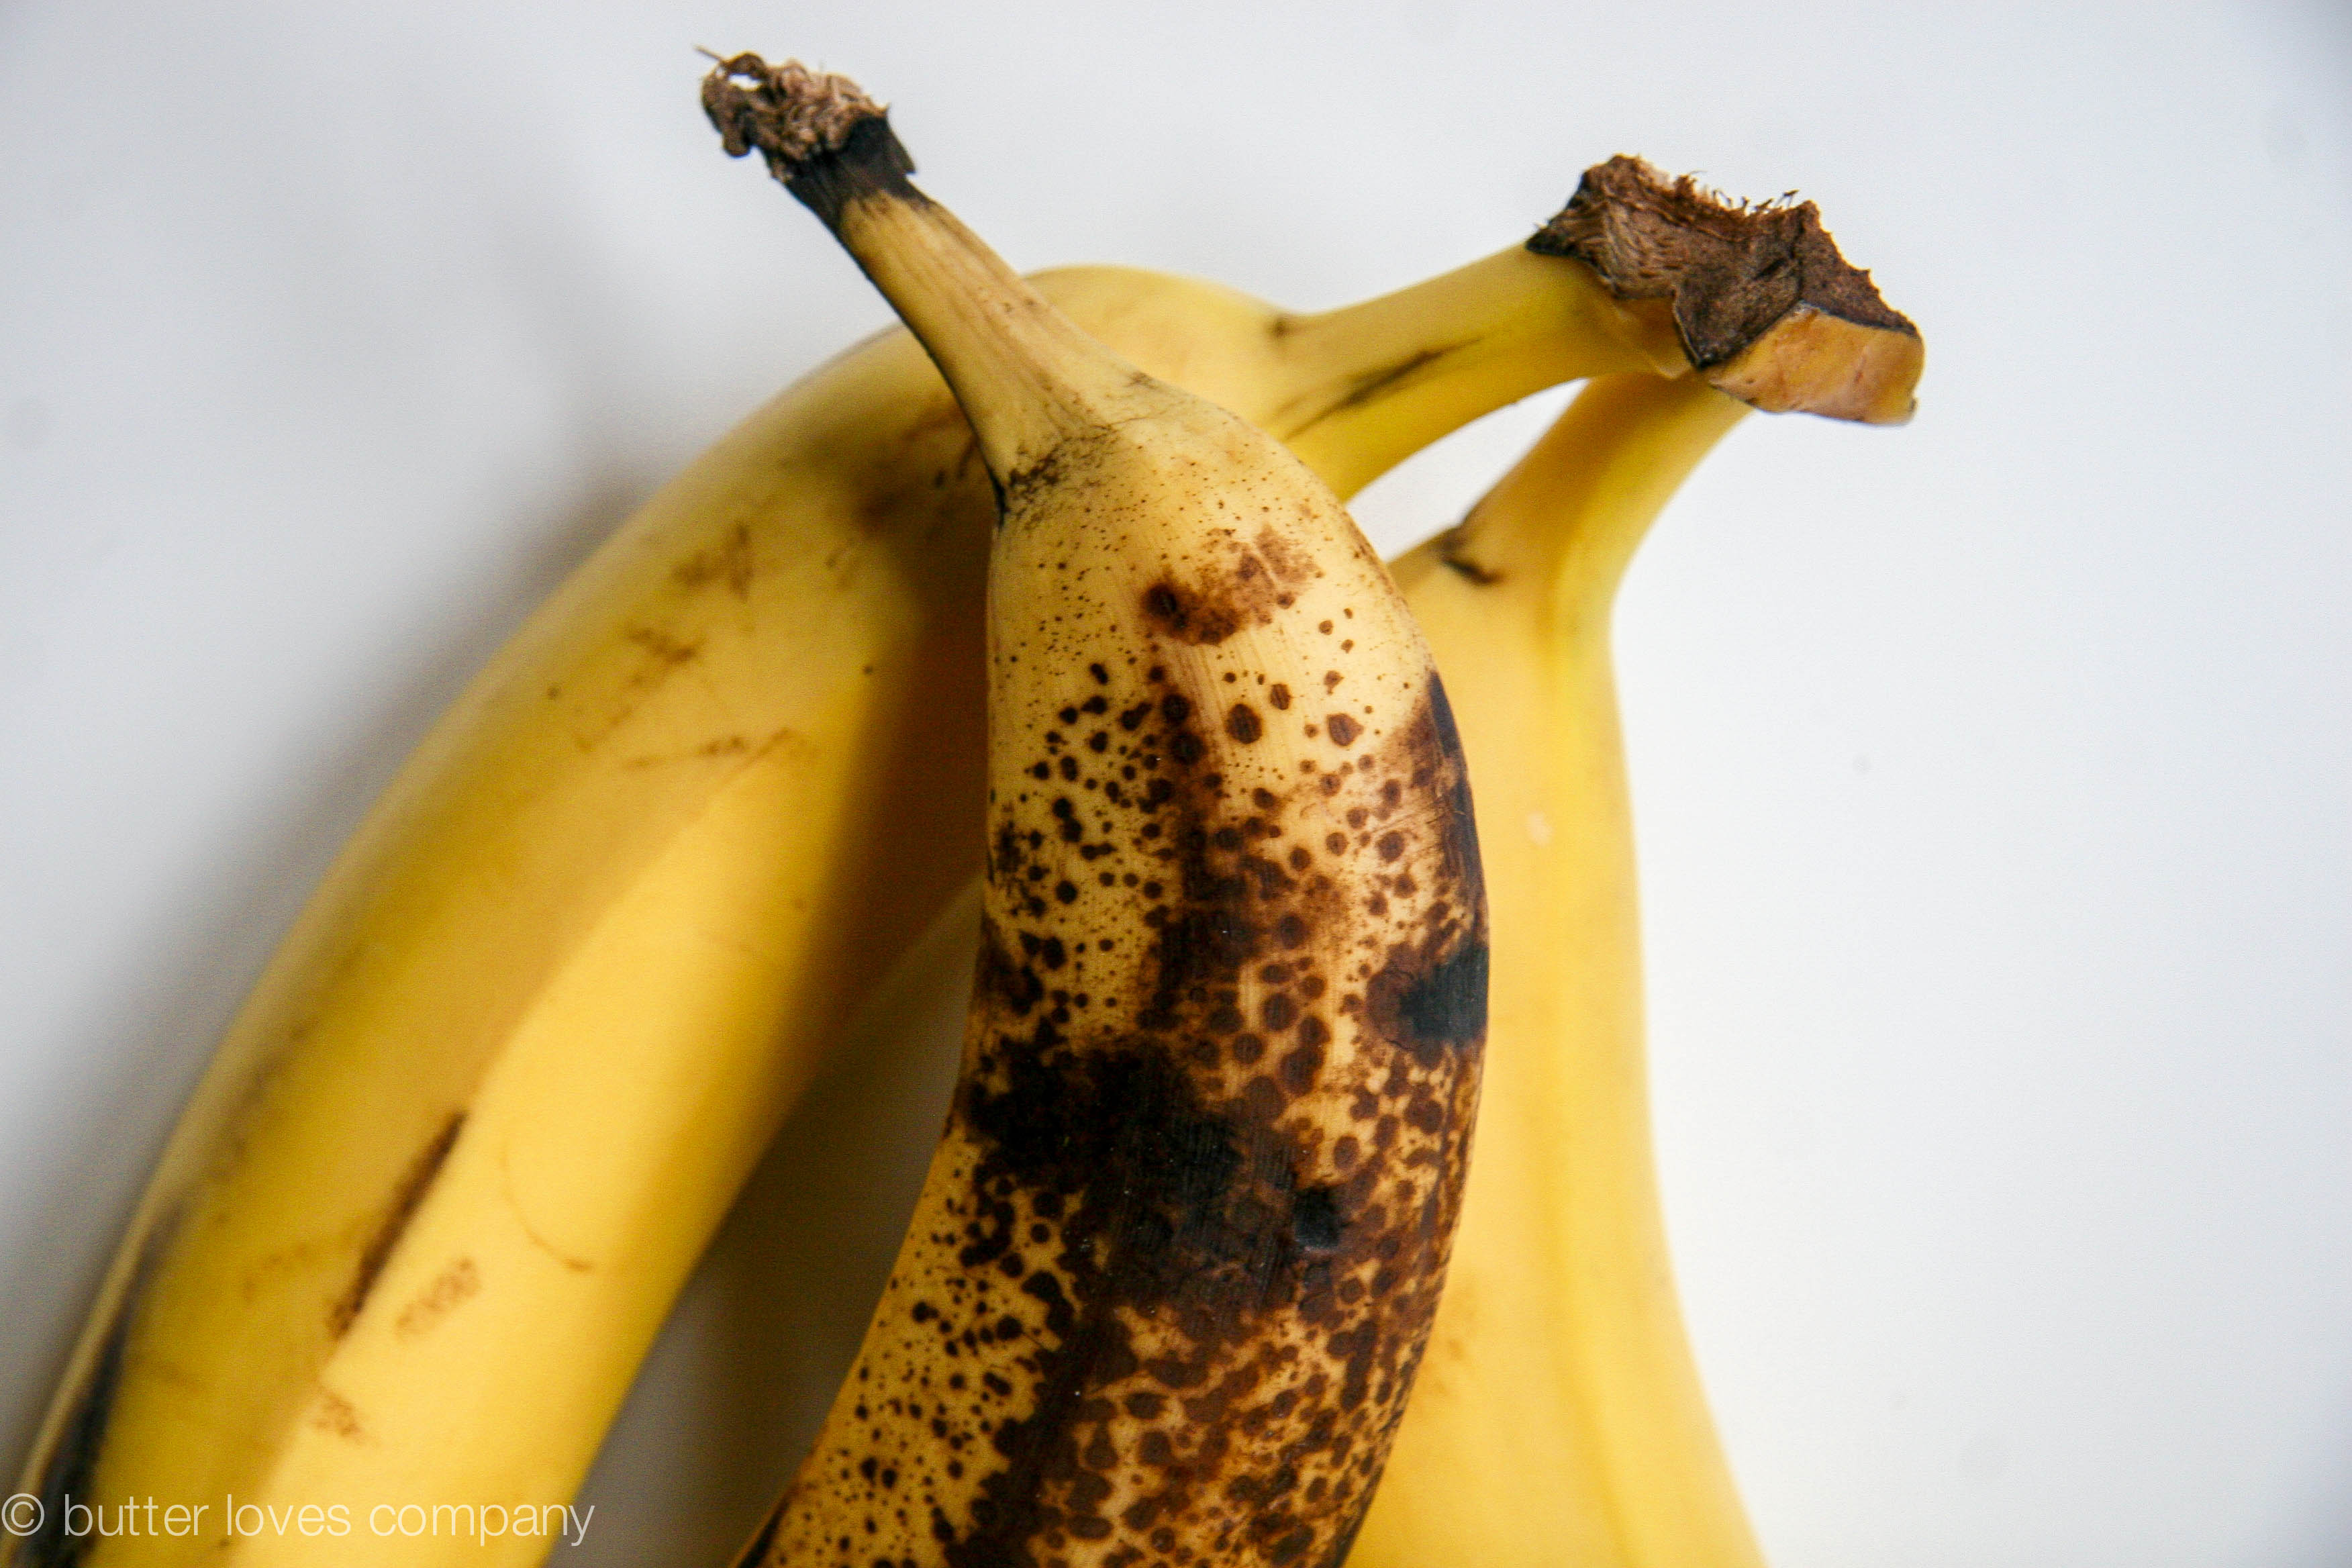
I’m going to go out on a limb and say no one ever plans to make banana bread. I mean, no one ever goes to the grocery store to pick the brownest, most-speckled bananas on the display for the sole purpose of baking moist, delicious breakfast bread . . . Right?

Wrong!

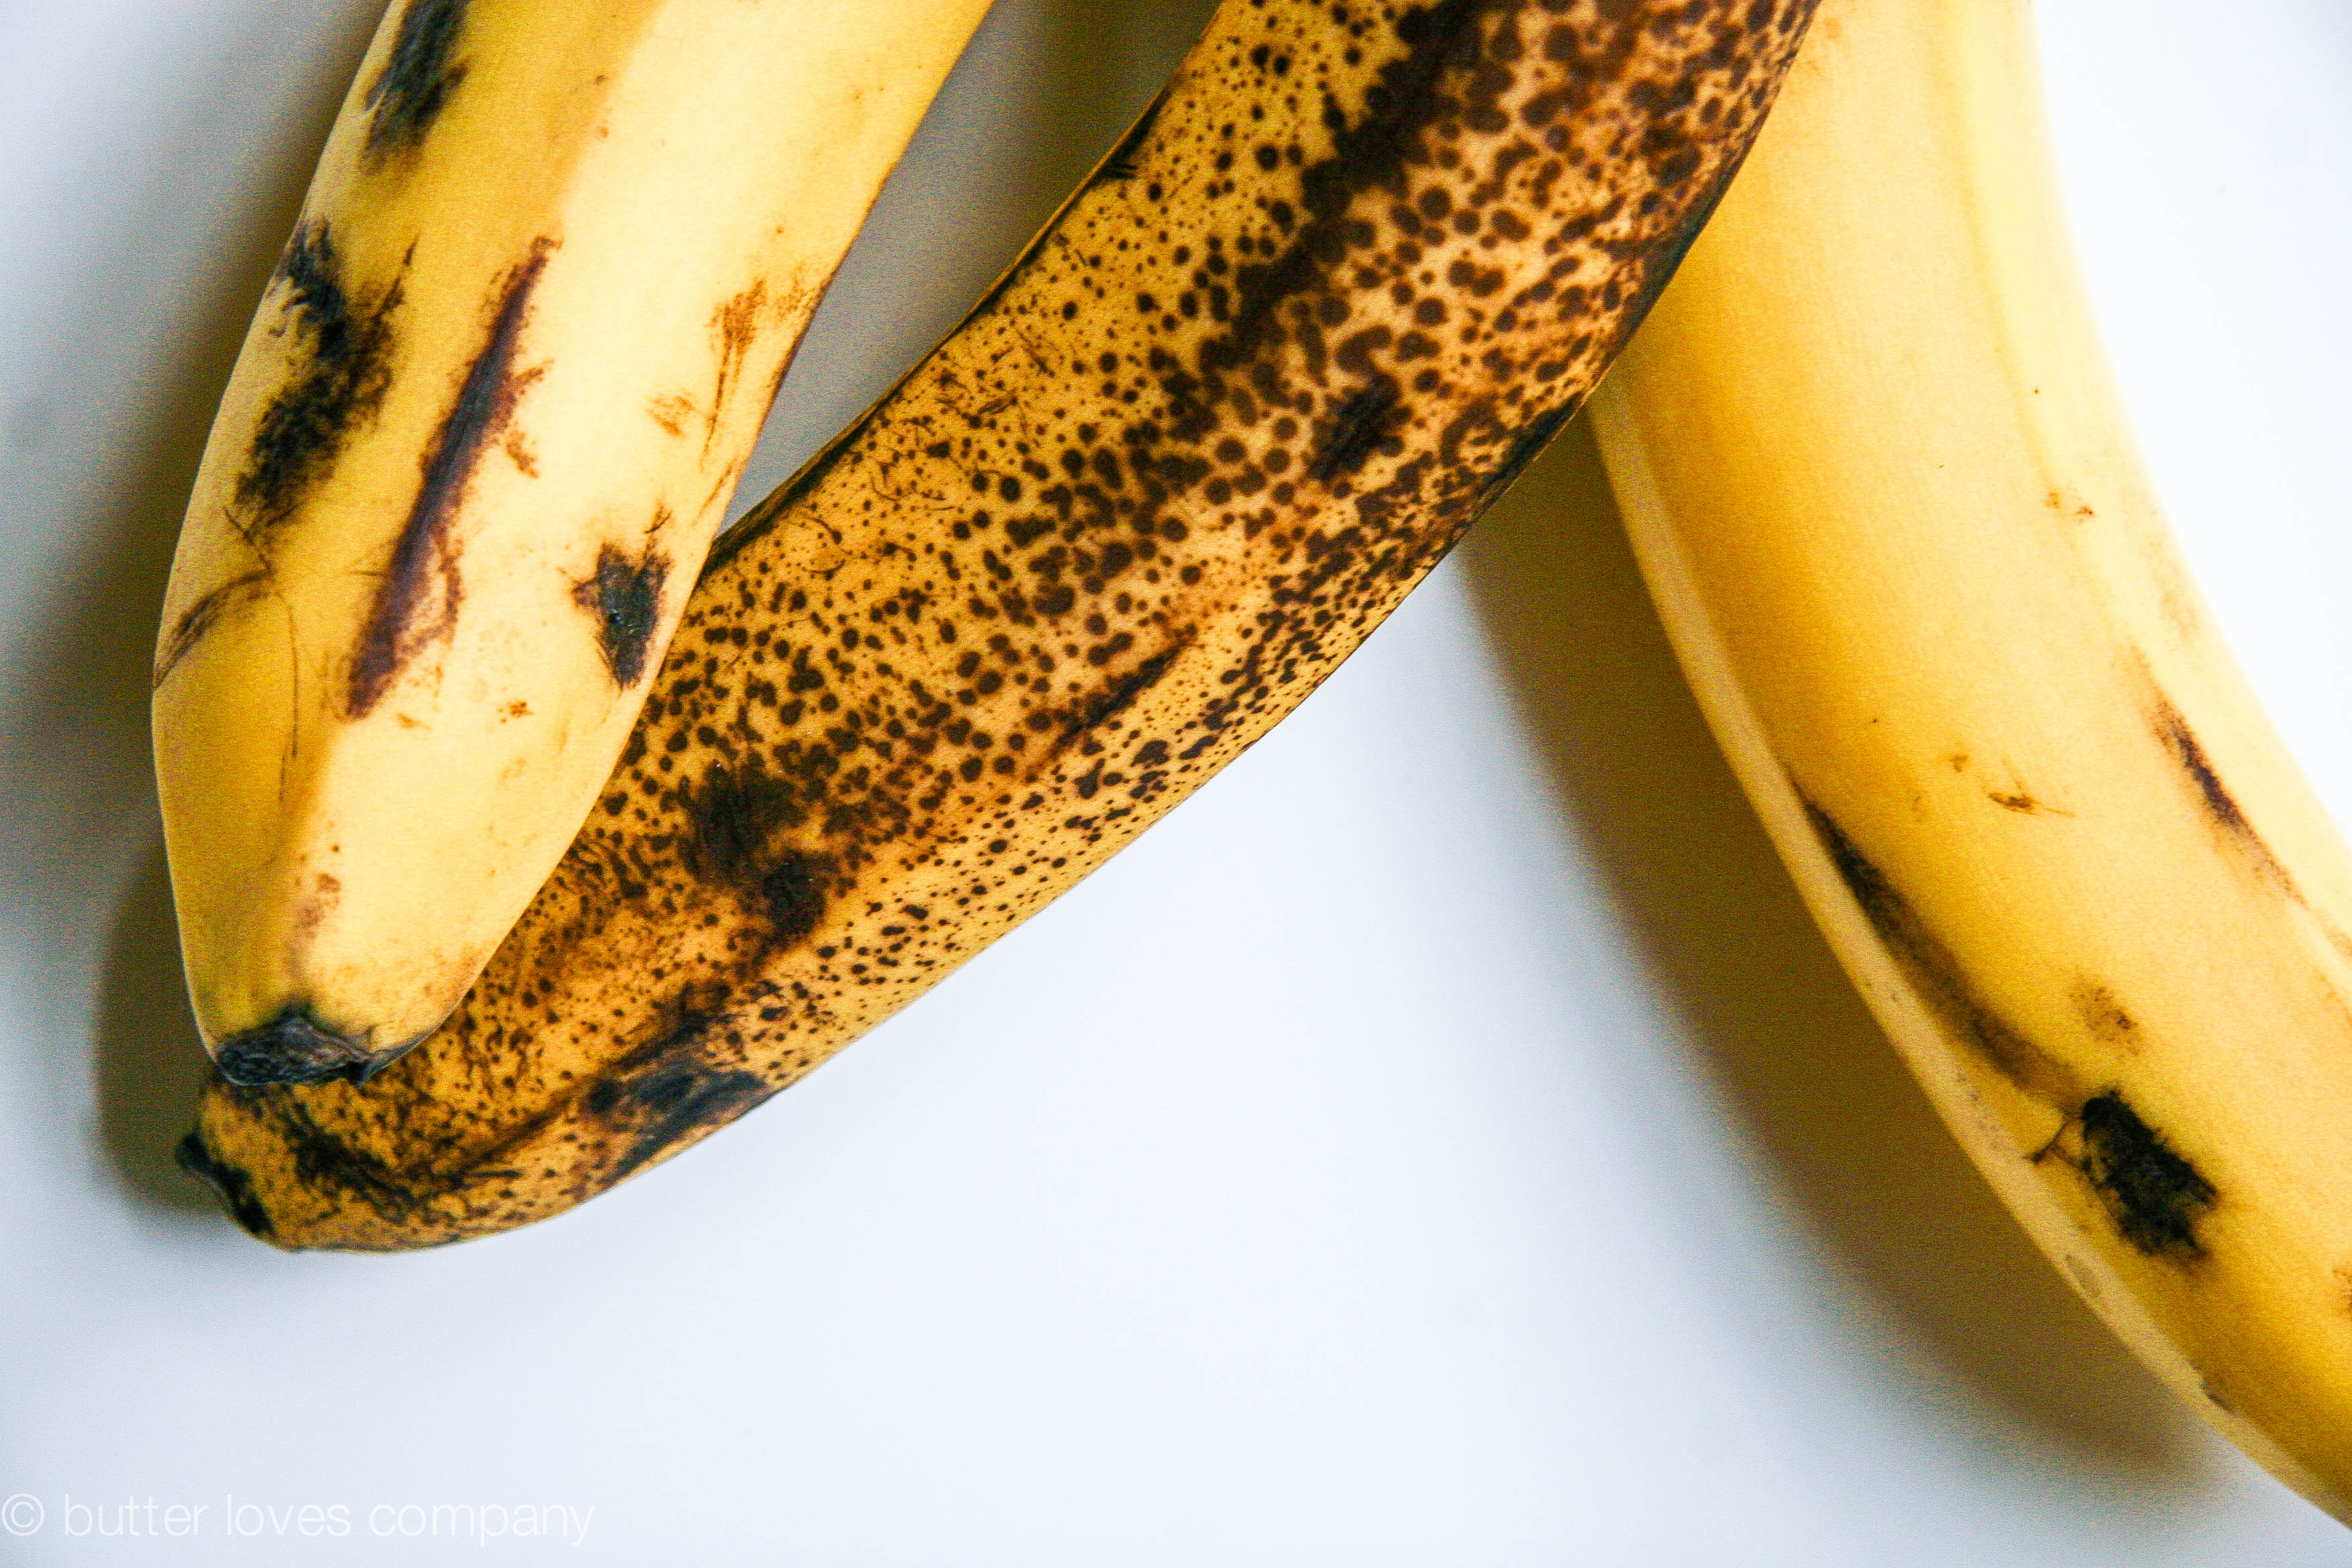
Yesterday I found myself digging through the mounds of bananas at the grocery store, trying to find the most over-ripe, dumpster-bound ’nanners they had. You see, I’ve recently been stockpiling smoothie supplies, which has left me with lots of browning bananas—the byproduct of which has been excessive amounts of banana bread. So when I noticed I had one of these Dalmation-spotted bananas left in the fruit bowl this week, I didn’t want it to go to waste. And that brings us back to yesterday and the aforementioned produce section scavenge. (Disregard the fact that I didn’t want one thing to go to waste, so I went out and bought TWO MORE THINGS. My logic is sensational.)

brown butter banana bread with crumble 1

When I got home, I thought about how—despite having made lots of banana breads in the past—I had never really found the one. Each result was pretty typical: moist, slightly sweet, lightly spiced, even-crumbed banana-y cake. Not sweet enough, too sweet, too dull, too crazy, clingy, not clingy enough . . . wait, ugh, oh right, the bread! This time I wanted to up the banana bread ante so my natural thought process looked a little like free association:

Bananas (duh)! Banana Bread (keep)! Bread! Bread and Butter! Butter! Brown Butter (ohh, yeaahh)! Butter on Pancakes! Banana Pancakes (Jack Johnson?)! Breakfast! Coffee cake (interesting . . .)! Streusel (of course)!

brown butter banana bread with crumble 2

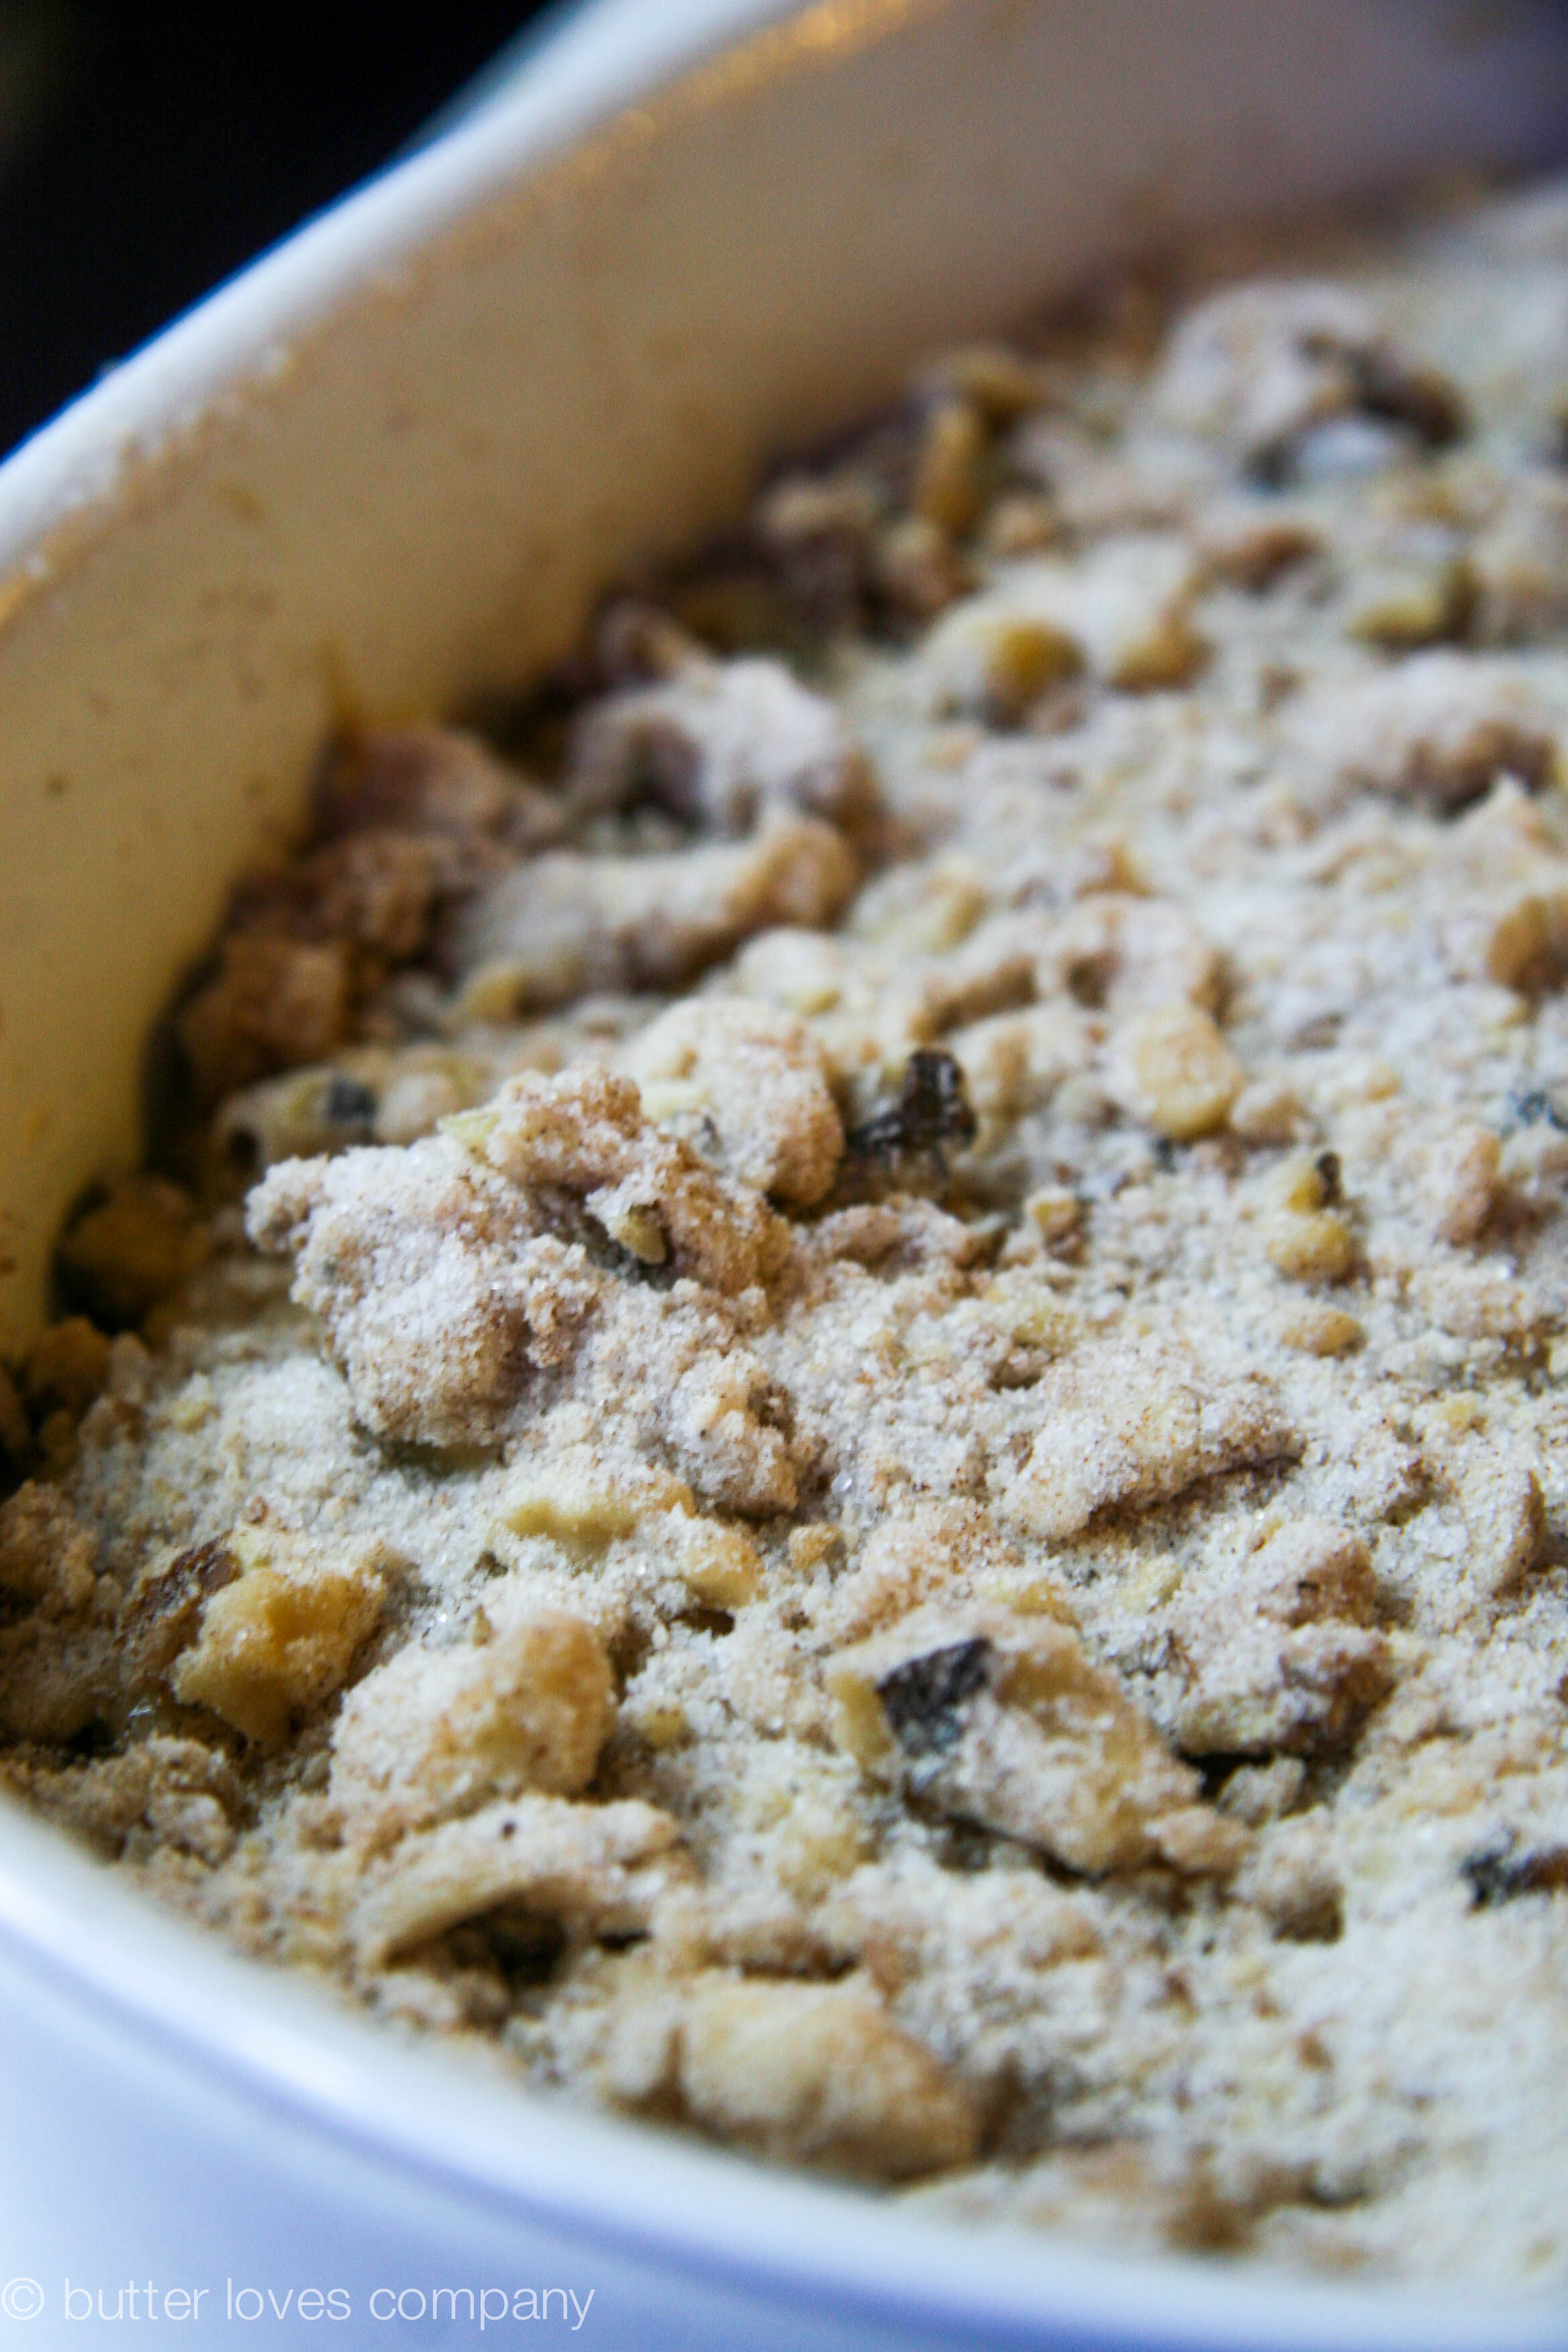
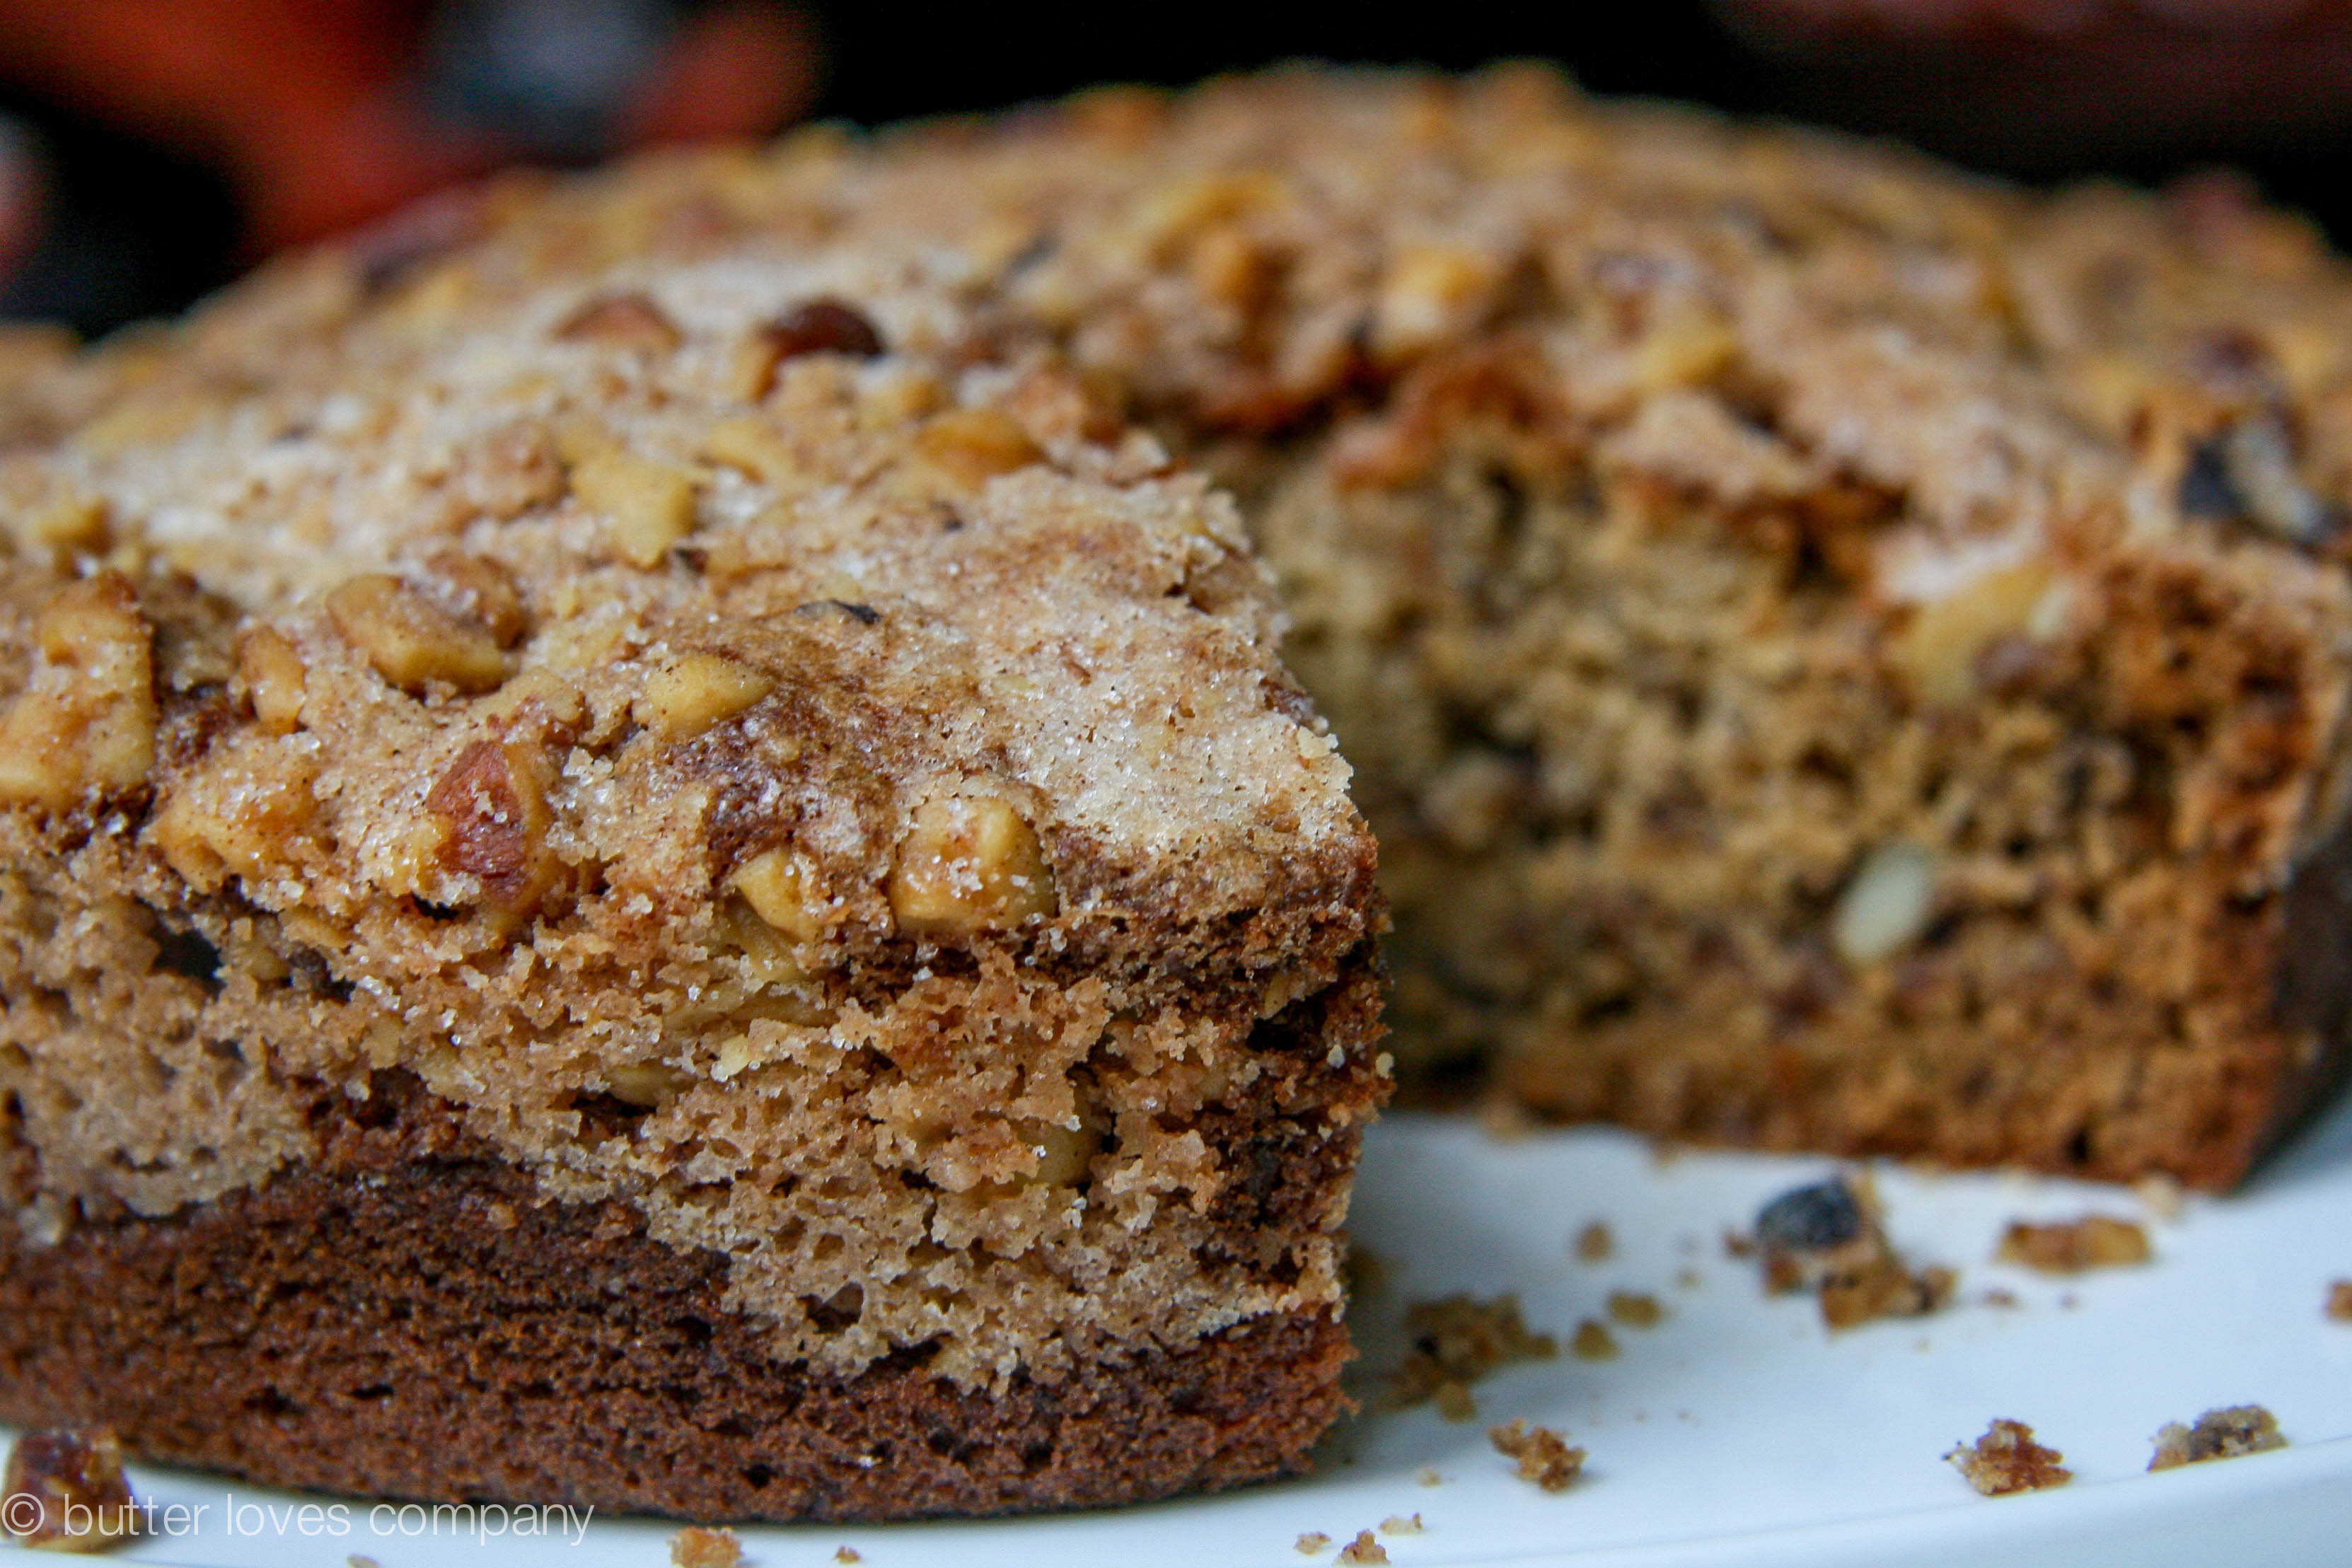
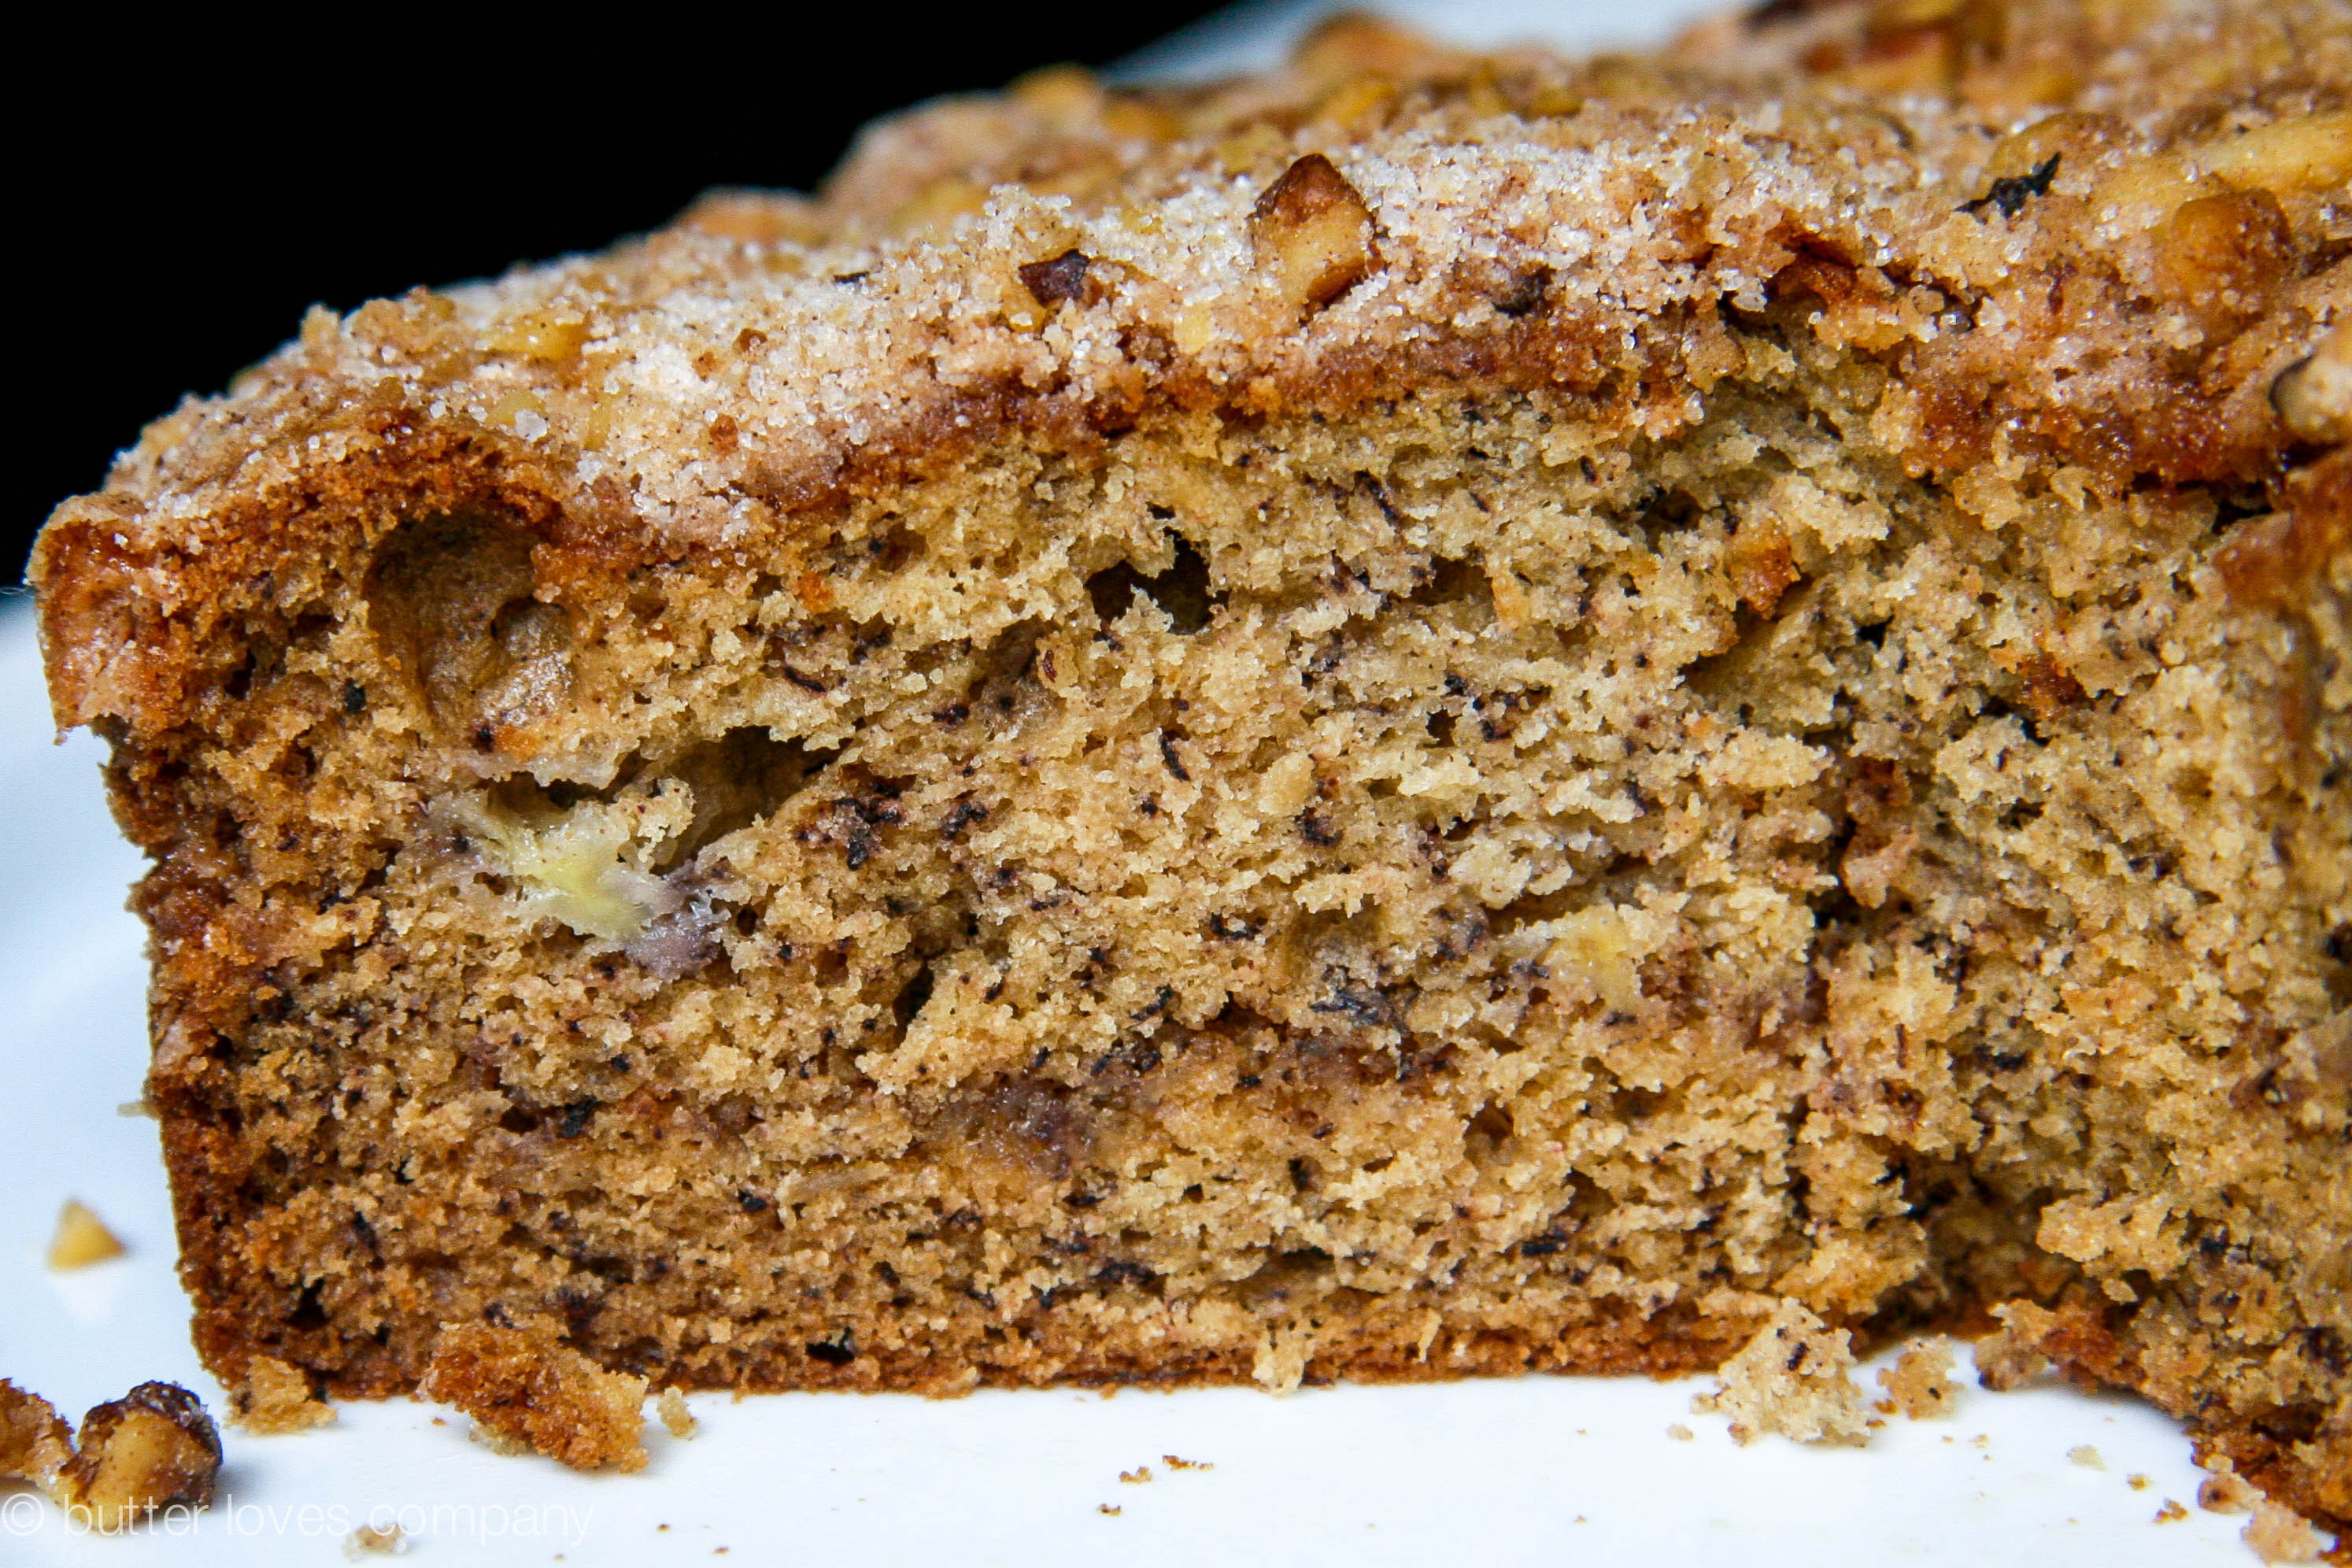
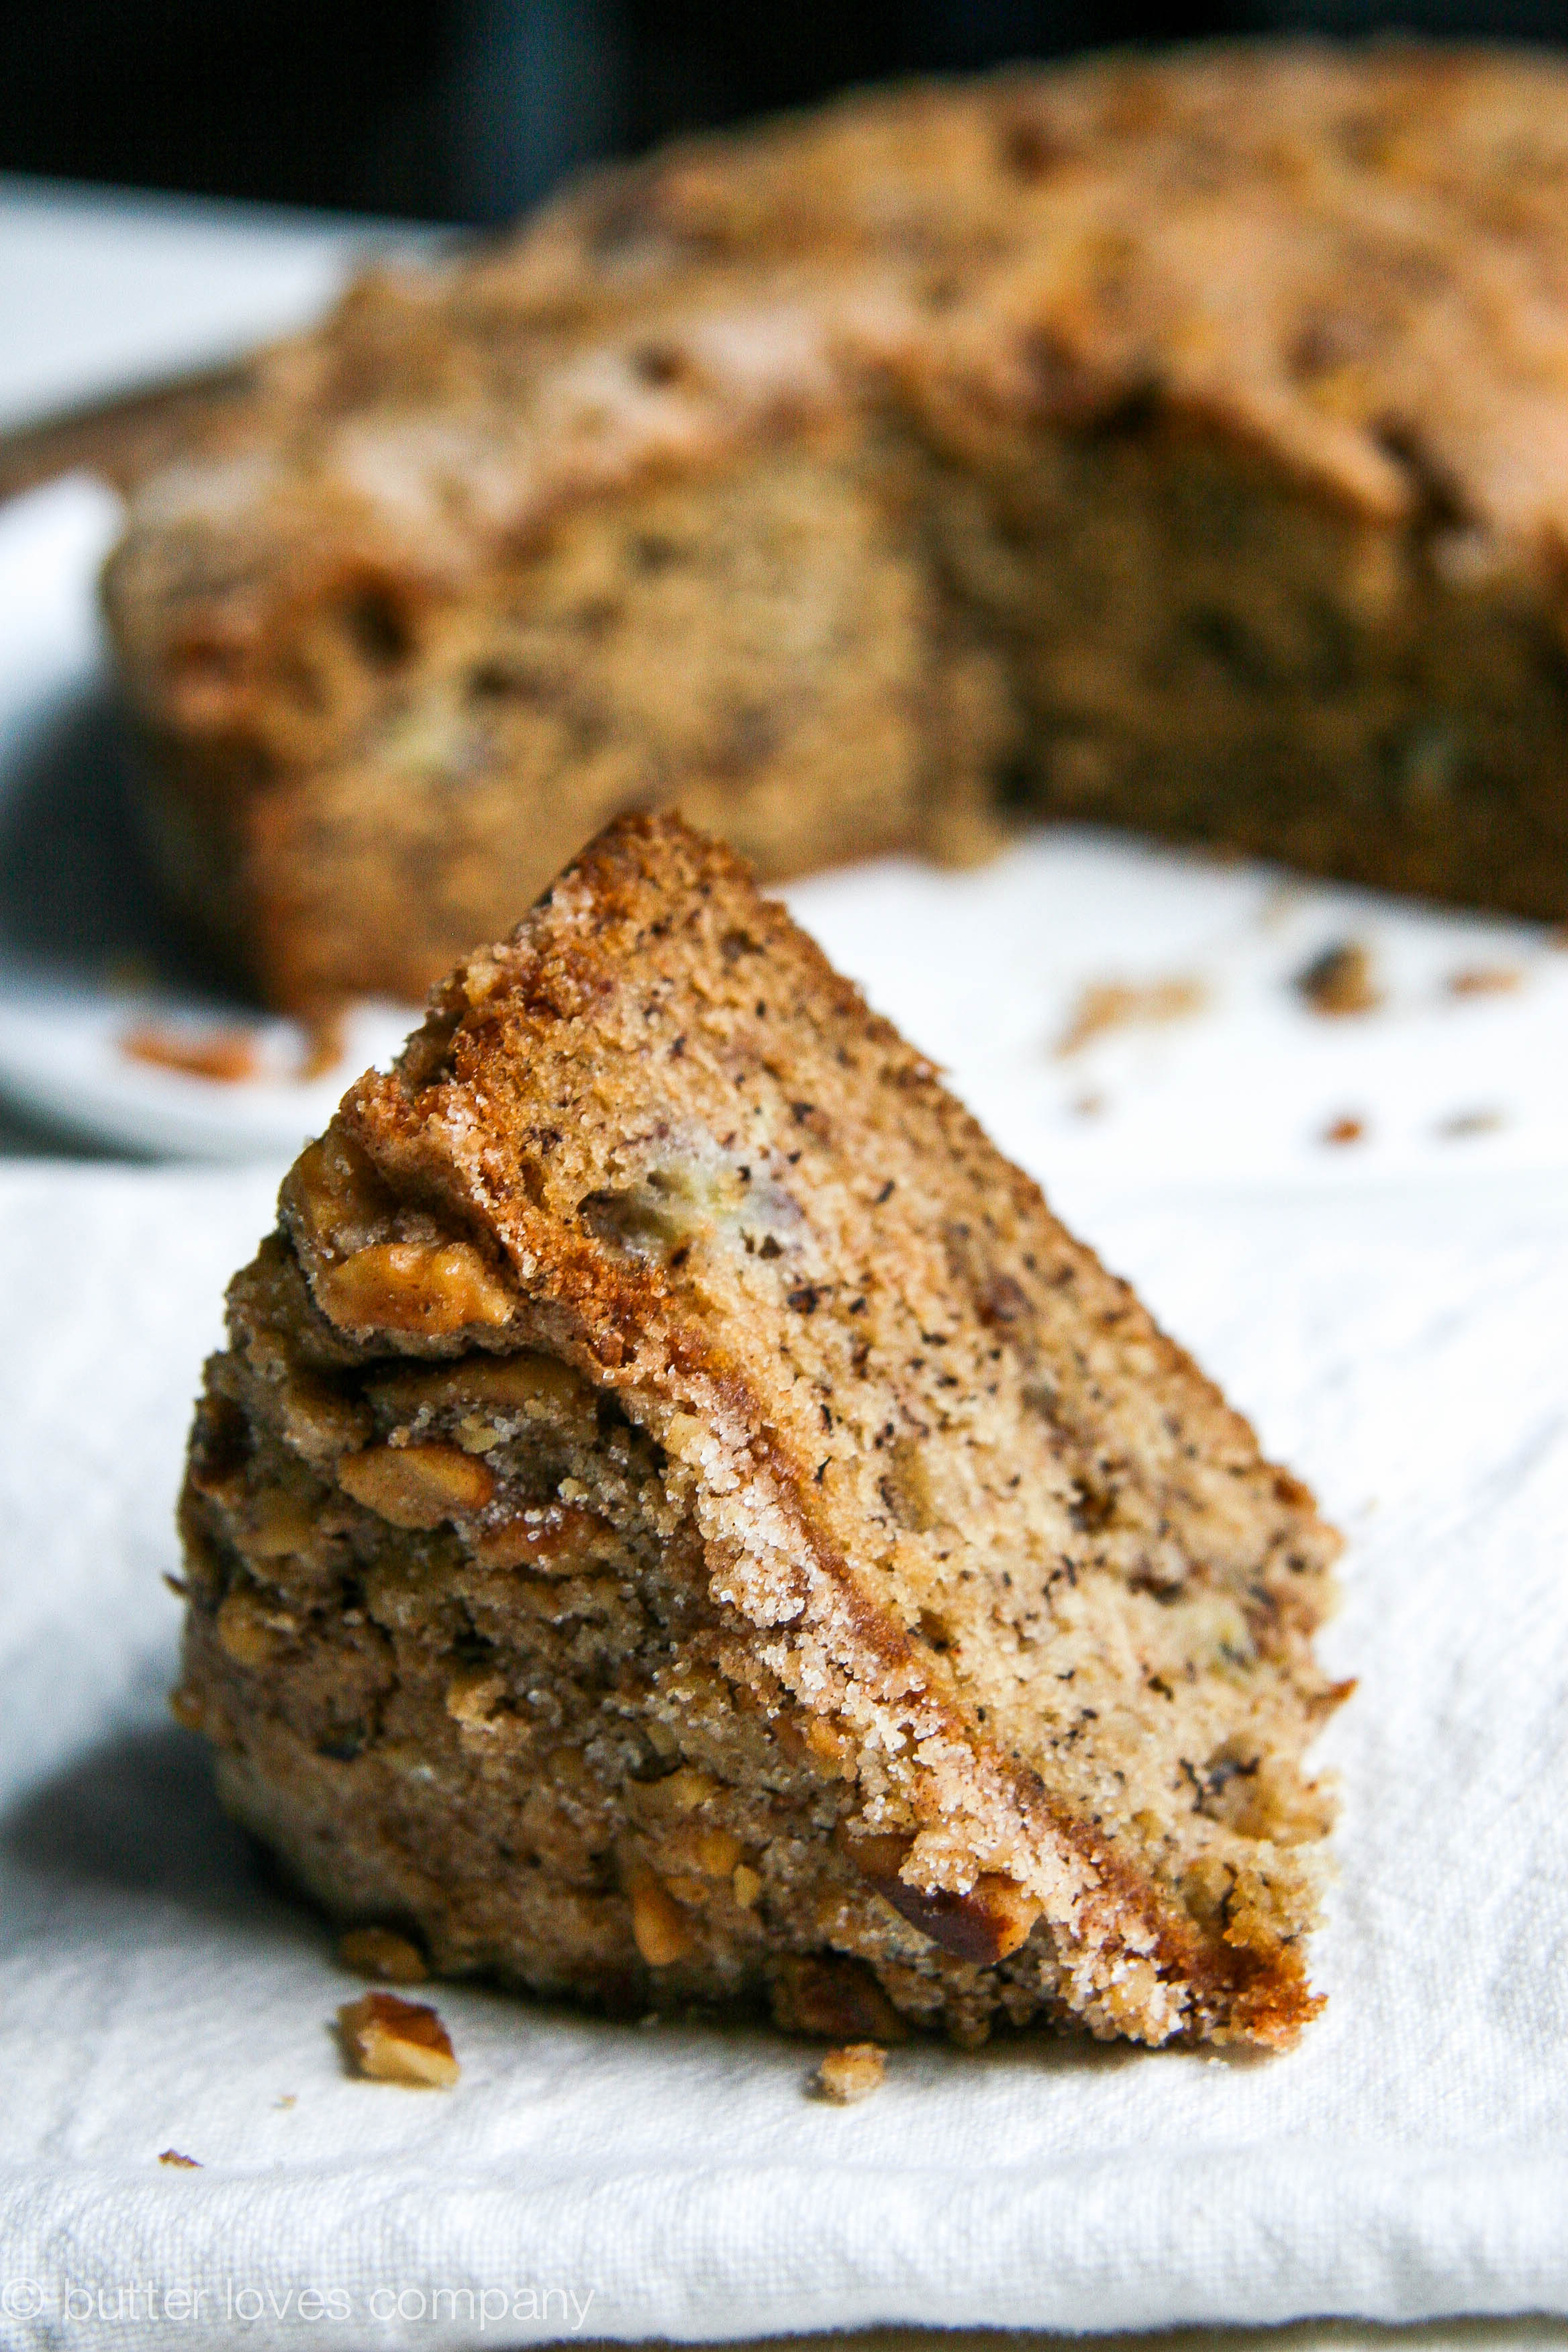
Sweet banana bread with a nutty depth from brown butter and a crunchy cinnamon sugar topping sounded like exactly what I needed and, I would argue, you need it too. If you’re intimidated by the sound of brown butter, stop that. You can do it. You’ll literally just heat the butter until it starts to crackle and foam. Once the crackling subsides, it will start turning golden and you’re in business! So . . . Run! Get to the store, before all the brown bananas run out!!

brown butter banana bread with crumble 3

brown butter banana bread with crumble 4

brown butter banana bread with crumble 5

brown butter banana bread with crumble 9

brown butter banana bread with crumble 8

brown butter banana bread, with crumble
adapted from Joy the Baker

Prep Time: 30 minutes (includes browning and cooling butter)
Cook Time: 45–55 minutes
Total Time: about 1 hour 25 minutes
Makes 1 9 x 5 loaf

Ingredients:

1½ sticks (6 oz.) unsalted butter, cut into tablespoon-sized pieces (we will brown this in step one; it will result in a little over ½ cup brown butter)
2 cups all-purpose flour
½ cup granulated sugar
¼ cup light brown sugar, packed
1 teaspoon baking soda
½ teaspoon salt
½ teaspoon ground cinnamon
¼ teaspoon ground nutmeg
2 large eggs, room temperature
1½ teaspoons vanilla extract
¼ cup well shaken buttermilk (mine was straight from the fridge cold)
1½ cups very ripe bananas, mashed (about 3 medium bananas)

Topping:
½ cup granulated sugar
¼ cup all-purpose flour
¾ cups roughly chopped walnuts (optional)
2 tablespoons (¼ stick) unsalted butter, cold and cut into ½ pieces
1 teaspoon ground cinnamon
Pinch of salt

Instructions:

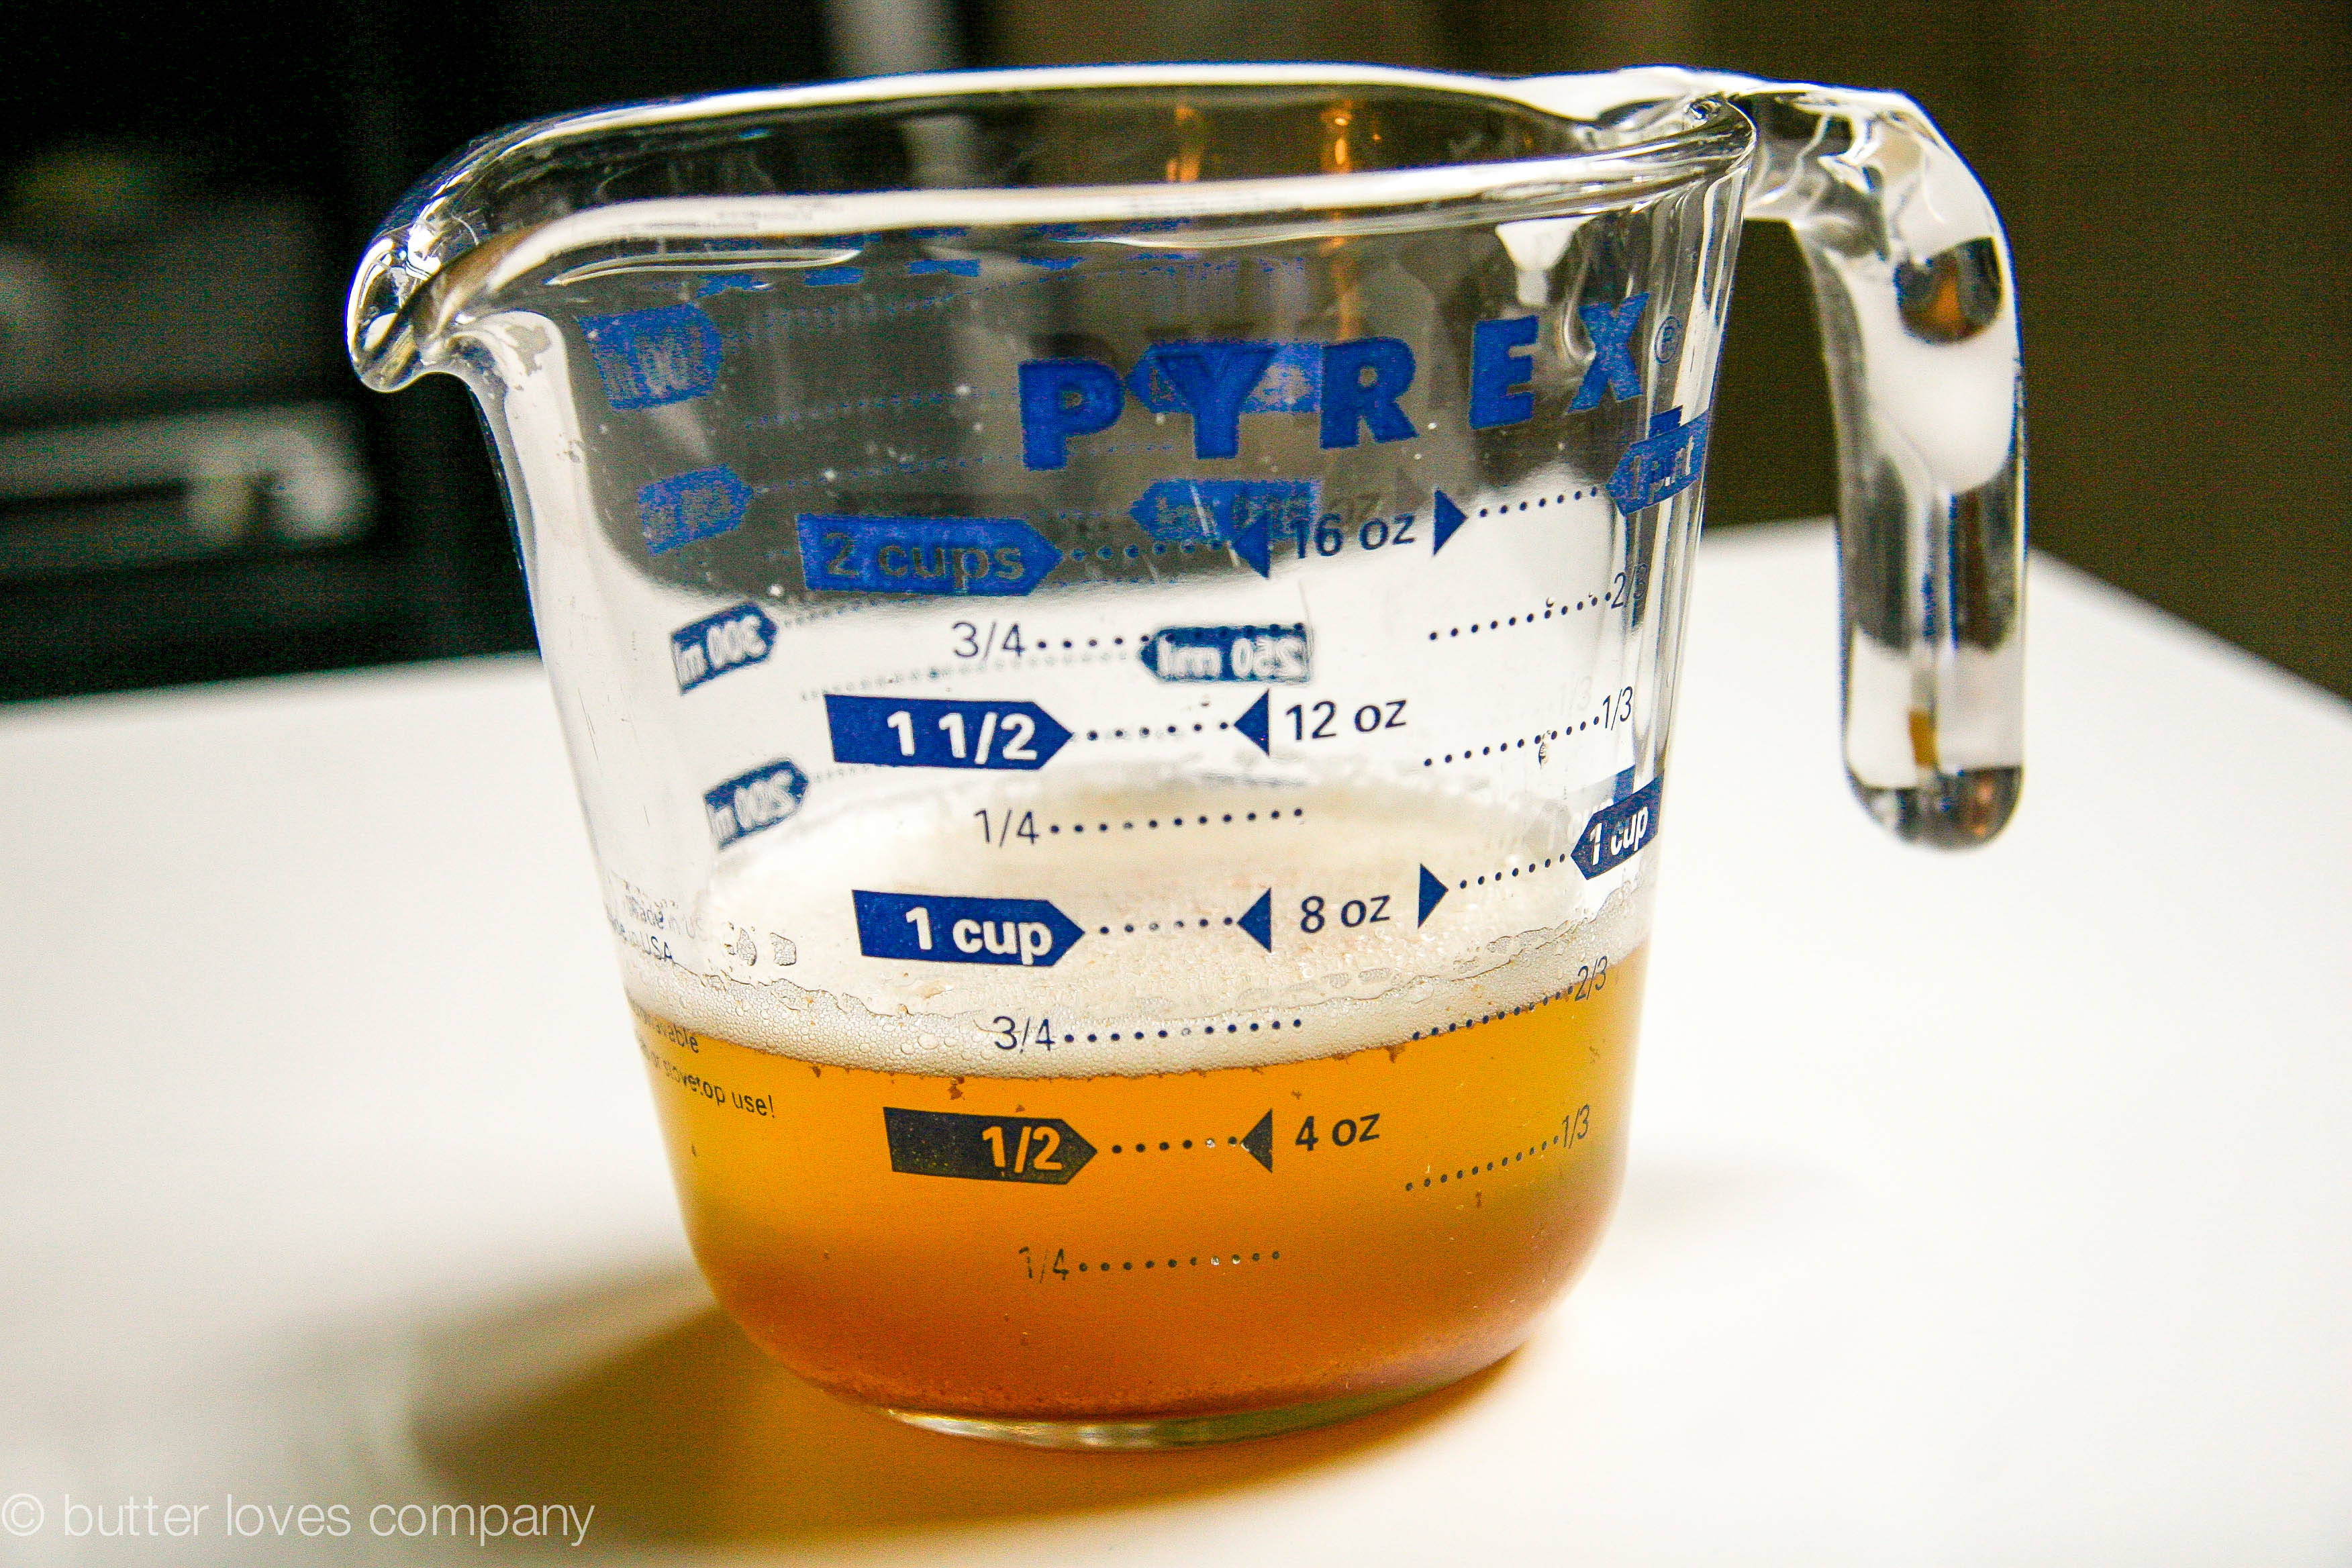
  1. In a small saucepan with a small heatproof bowl nearby, melt the butter—stirring constantly until all of the pieces have melted. About 30 seconds after the butter melts completely, it will begin to bubble and foam. You will hear crackling sounds. Continue to stir constantly. As the foam and crackling begins to subside stir constantly while paying attention to the color and smell of the butter. As soon as it gives off a nutty smell and starts turning light brown take it off the heat to prevent it from burning. Then, quickly, but carefully, pour into the small heatproof bowl. Allow the brown butter to cool at room temp (or in the fridge if you’re in a pinch) while you prepare the rest of the bread.
  2. Preheat the oven to 350 degrees F with a rack in the center. Grease a 9 x 5 inch bread pan or similar sized baking dish.
  3. Prepare the crumble: In a small bowl combine the sugar, flour, walnuts (if using), butter, cinnamon and salt. Use your hands to mix together until the butter begins to stick to the other ingredients to make chunks. Some of the mixture will stay powdery, and that’s okay. Set aside.
  4. Prepare the bread: In a large bowl—or the bowl of an electric mixer fitted with the paddle attachment—whisk together flour, white and brown sugars, baking soda, salt, cinnamon and nutmeg.
  5. In a medium bowl, whisk together eggs, vanilla extract and buttermilk. Add the mashed bananas and then the cooled brown butter.
  6. With the mixer on low speed, add half of the egg mixture into the flour mixture and mix until combined. Add the second half of the egg mixture and mix on low until just combined. Be careful not to over mix.
  7. Spread half of the bread batter into the prepared baking pan. Sprinkle ⅓ of the crumble on top of the batter. Top with remaining half of bread batter, using a knife or spoon to spread if needed. Top evenly with the rest of the crumb topping.
  8. Bake bread for 45–55 minutes, or until a toothpick inserted into the center of the bread comes out clean. Remove from the oven and allow to rest in the pan for 15 minutes before inverting onto a wire rack to cool completely. Enjoy warm or at room temperature for up to 4 days.

Filed Under: breakfast and breads, eat Tagged With: banana, banana bread, breakfast, breakfast bread, brown butter, crumble, streusel

chai tea spiced cake with coconut frosting (dairy-free, plus vegan optional)

June 4, 2014 by Butter Loves Company

chai tea cake with coconut frosting 4

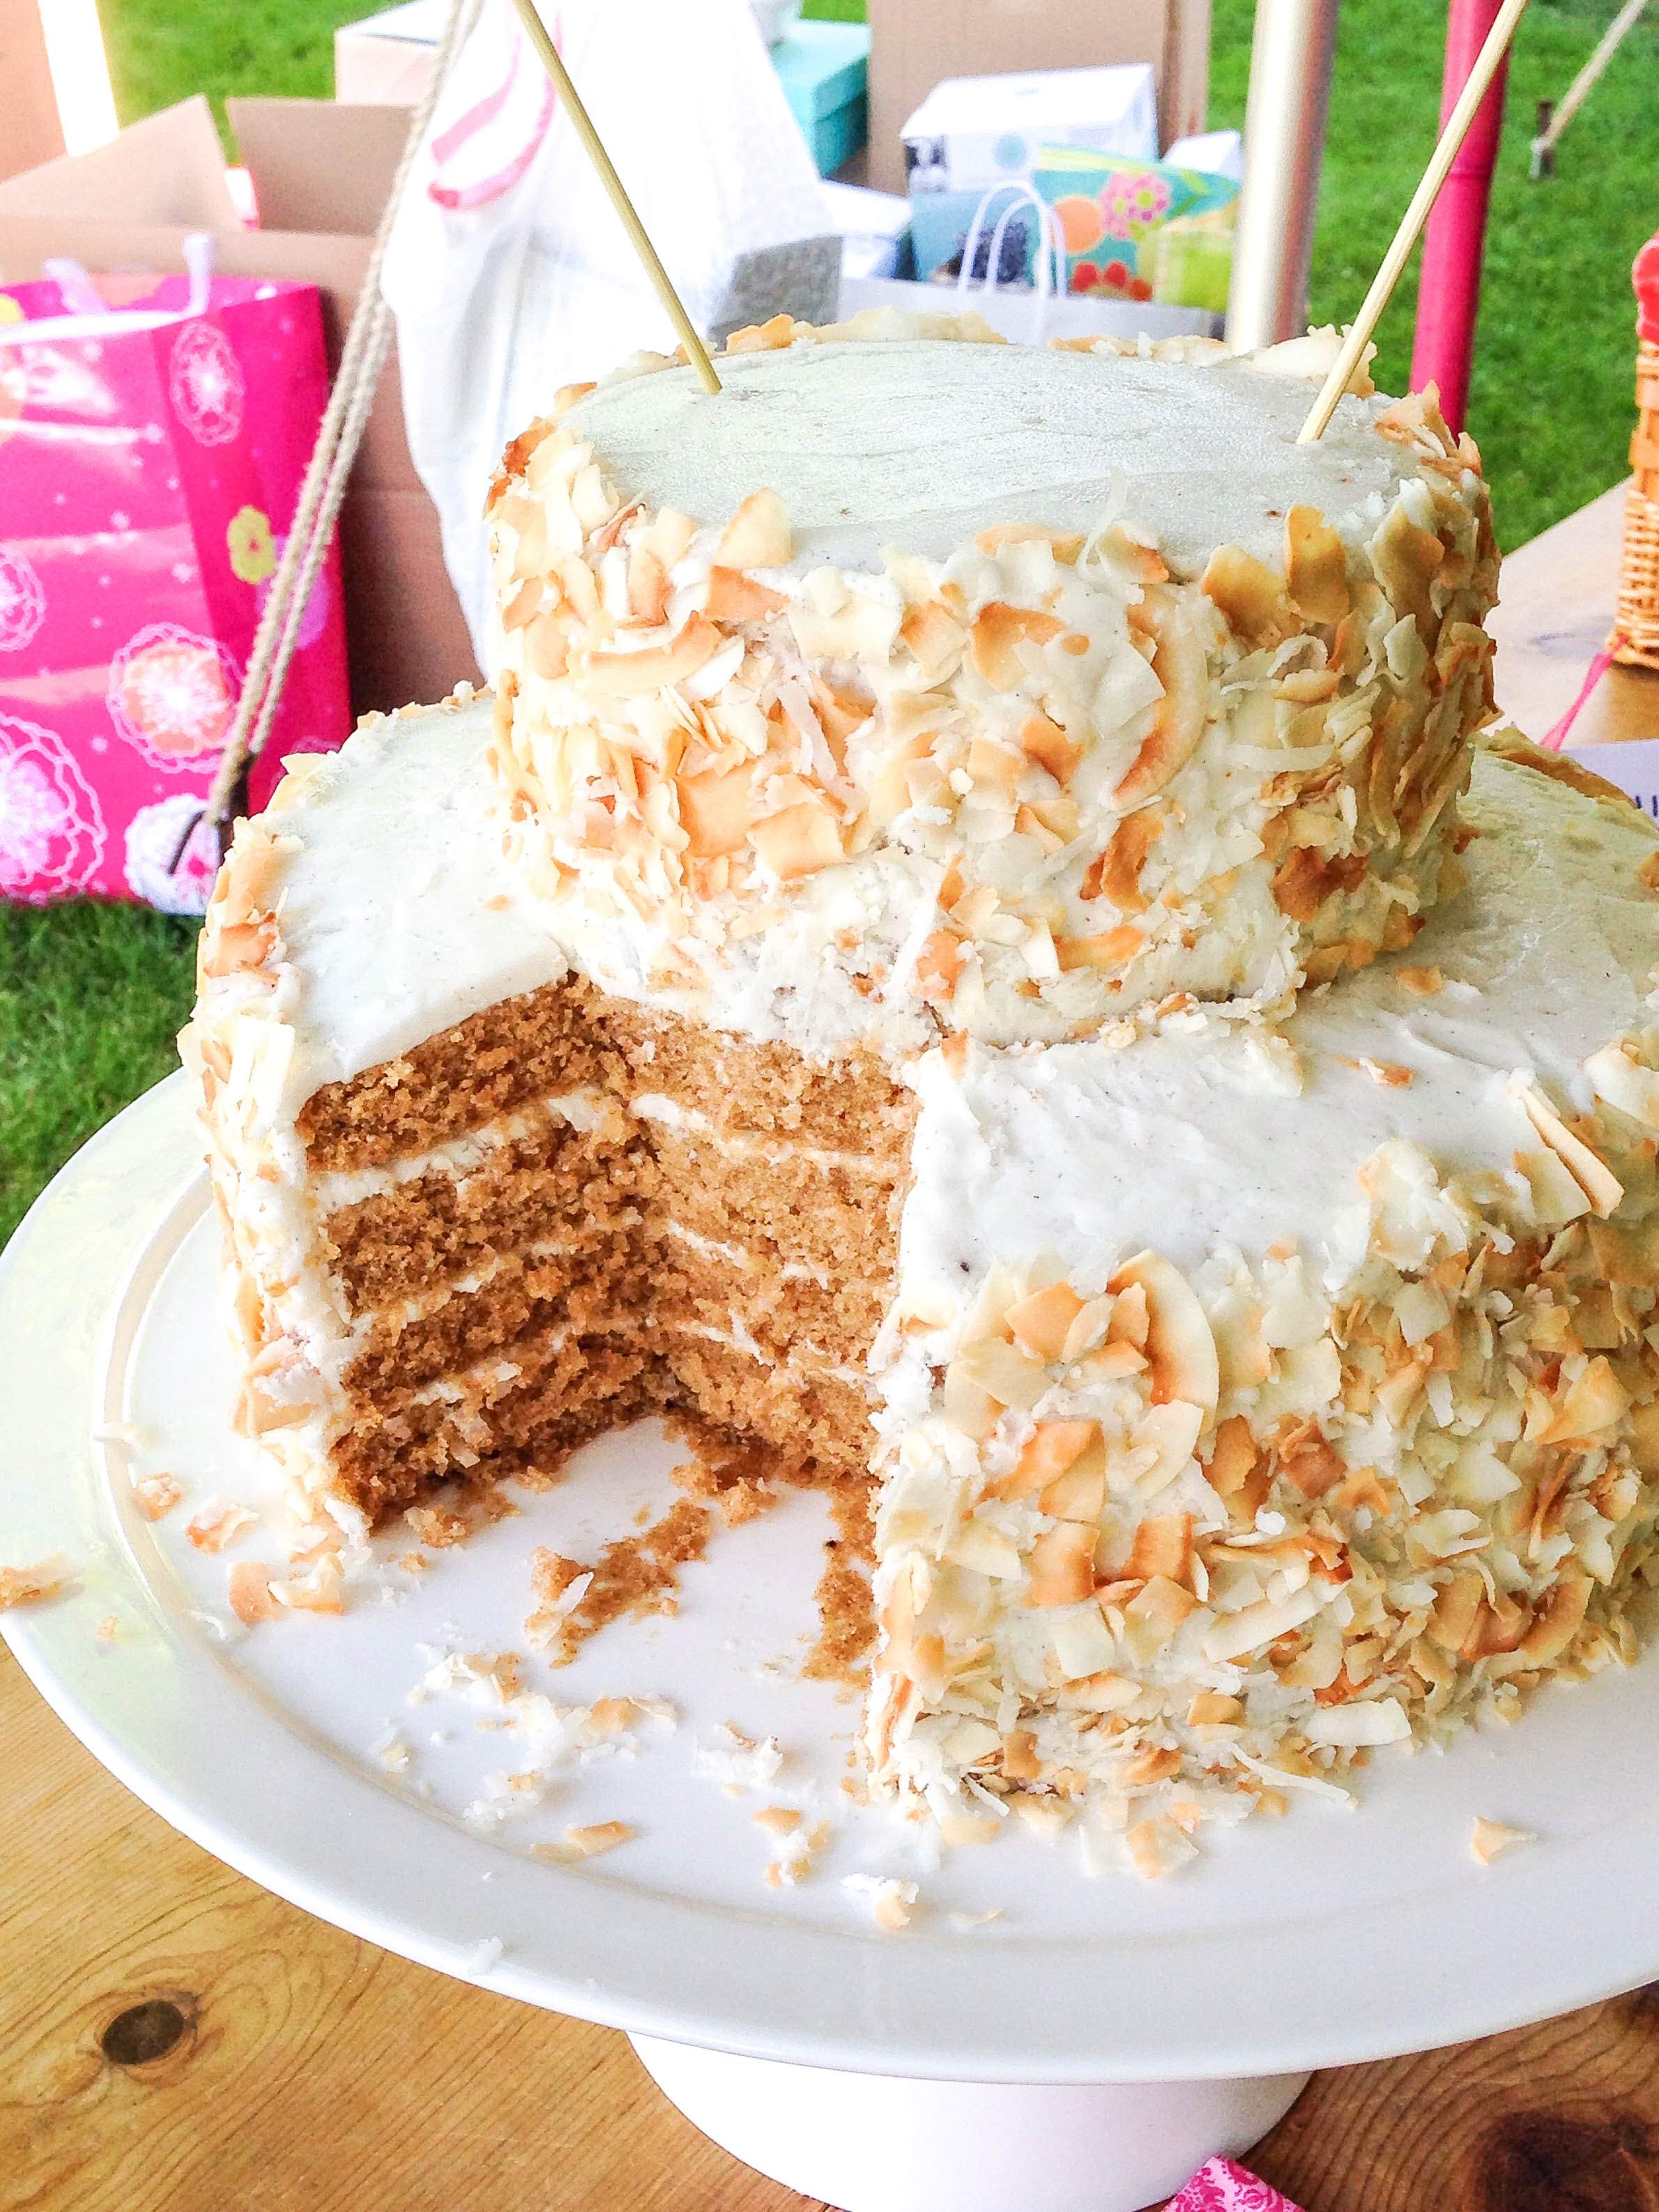
Sometimes my love of baking challenges my sanity. For example, last week I bought five pounds of “vegan buttery sticks.” Am I insane? Why would a girl with a food blog named “butter loves company” be in the Whole Foods check-out line with that much faux-butter? This website is certainly not “vegan buttery sticks love company.”

Well, I can assure you I haven’t completely lost my mind (although you might not be convinced when you read on). The truth is, I was loading up on dairy-free goodies to bake for the bridal shower of a lovely friend of mine. I had researched a bunch of dairy-free and vegan dessert options and one that piqued my interest was a chai tea-spiced cake. It sounded like something the bride-to-be would enjoy.

chai tea cake with coconut frosting 5

I test-drove this cake a few weeks ago with some non-vegan dairy lovers, although that time I did make it with a full-on buttercream. And let me tell you, it was delicious. Like, no leftovers whatsoever delicious. Like, even my relatives who don’t eat sweets cleaned their plates delicious.

The cake would be perfect. I had found a winner. I would just replace the actual butter in the buttercream with the vegan buttery spread and be set with a great tasting cake for the Sunday shower.

chai tea cake with coconut frosting 6

On Saturday night, the handful of other baked goods I was making were done, the chai cake layers were chilling in the fridge and I had reached the tired, baked-all-day deliriousness I love. But I wasn’t finished yet, so I started to mix the frosting. I planned for a honey “butter”cream using the vegan buttery sticks (note: dairy-free, not vegan, as honey is not vegan-friendly).

chai tea cake with coconut frosting 7

I whipped up all the frosting and it was looking light, fluffy and scrumptious. That is, until I took a taste. Nope. No way. Not a chance. I couldn’t believe how far from buttercream it tasted! Tons of confectioners sugar, honey and fresh scraped vanilla beans and it was near flavorless. Greg tasted it and tried to make me feel better with an, “It’s not that bad,” which he followed moments later with the truth. “It tastes and smells like paint,” he admitted.

I scrapped the faux-frosting and washed out my mixer to start again. This time, after the vegan buttery stick betrayal, I grabbed another dairy-free alternative: vegetable shortening. I whipped the frosting up. We tasted it. It was okay. After a few adjustments, including the addition of pureed peach, it was good. This is where you might really start to think I’m insane. While I thought it tasted really good, it was not good enough.

chai tea cake with coconut frosting 8

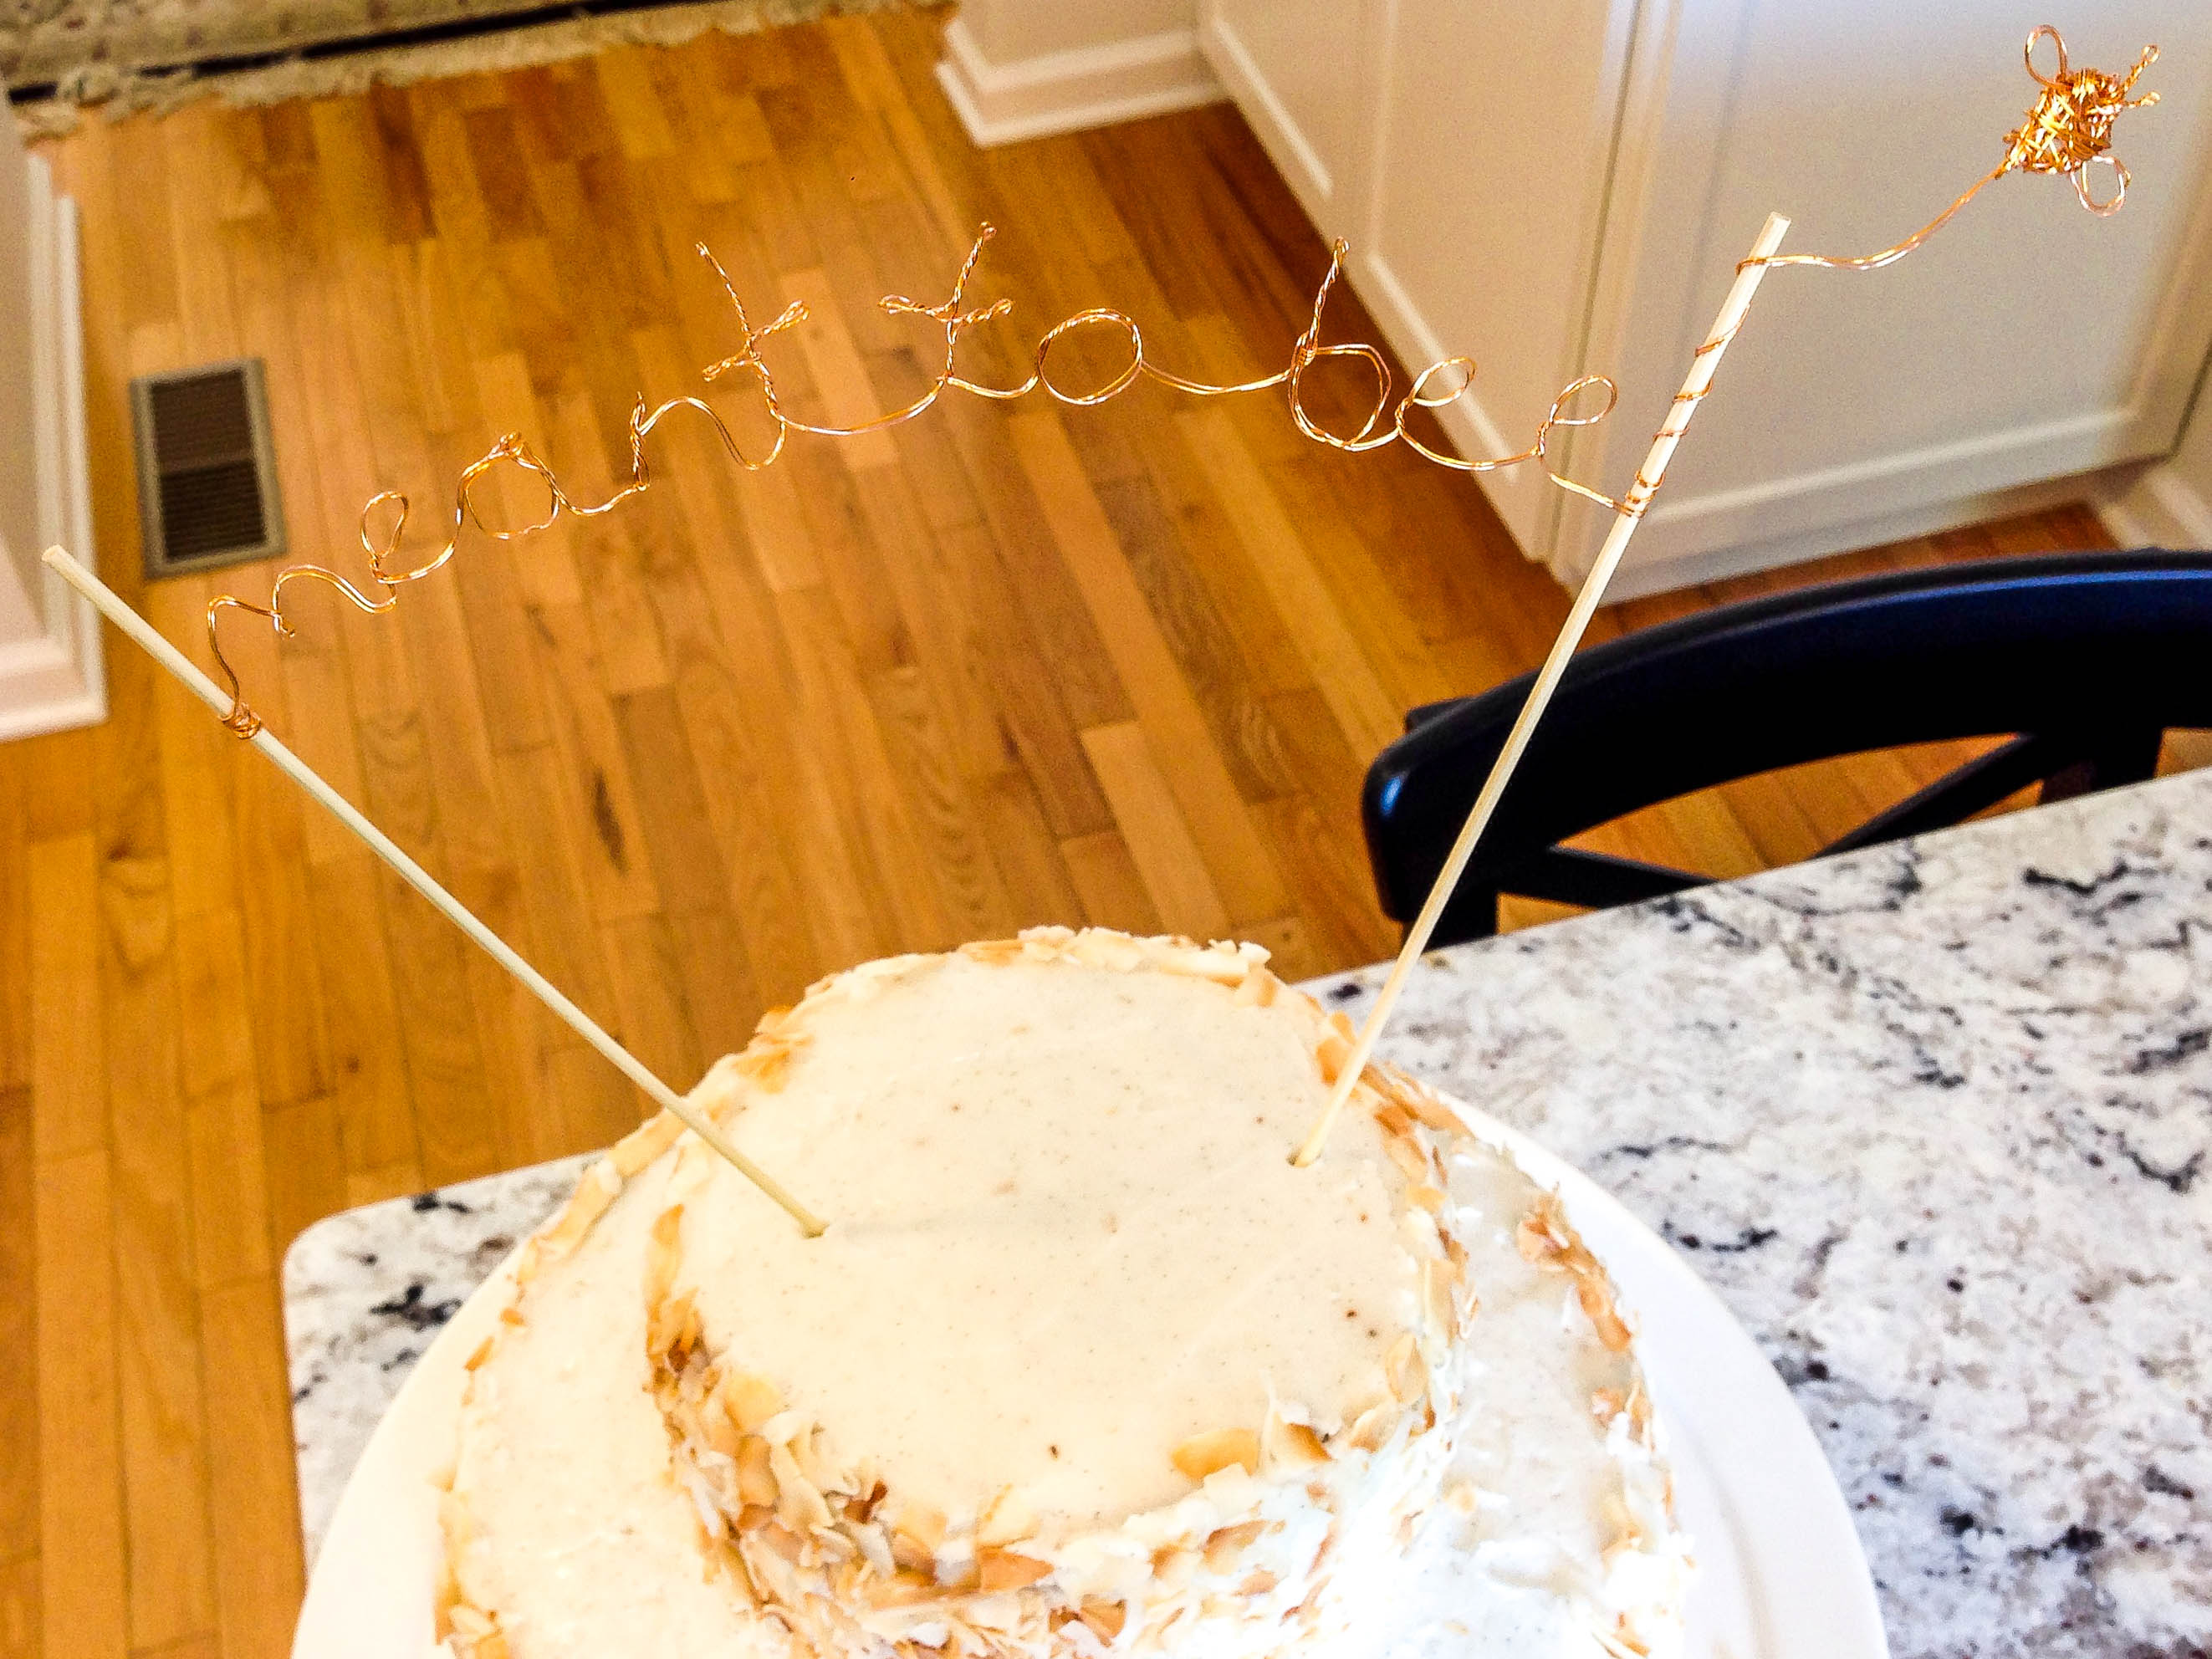
I put this second-attempt-frosting in a Tupperware, in case I had to use it, and [Greg] washed out my mixer so I could start again. I remembered seeing some vegan recipes that used coconut oil as a butter substitute so I decided to try that. I tossed in some vanilla, sugar, coconut extract and shredded coconut, and we had a winner! Even if it left me slightly sleep deprived, it was well worth three tries. I frosted the cake, toasted some coconut for garnish and because I actually am insane, I decided I would make a cake topper. I won’t even tell you what time of night (Ahem. Morning.) it was at that point. I was finally happy with how everything came out and the bride and guests seemed to enjoy it all as well! That’s why baking is so great! It’s hard not to be happy eating cake, and if I can help ignite some smiles, I’ll make three batches of frosting any day.

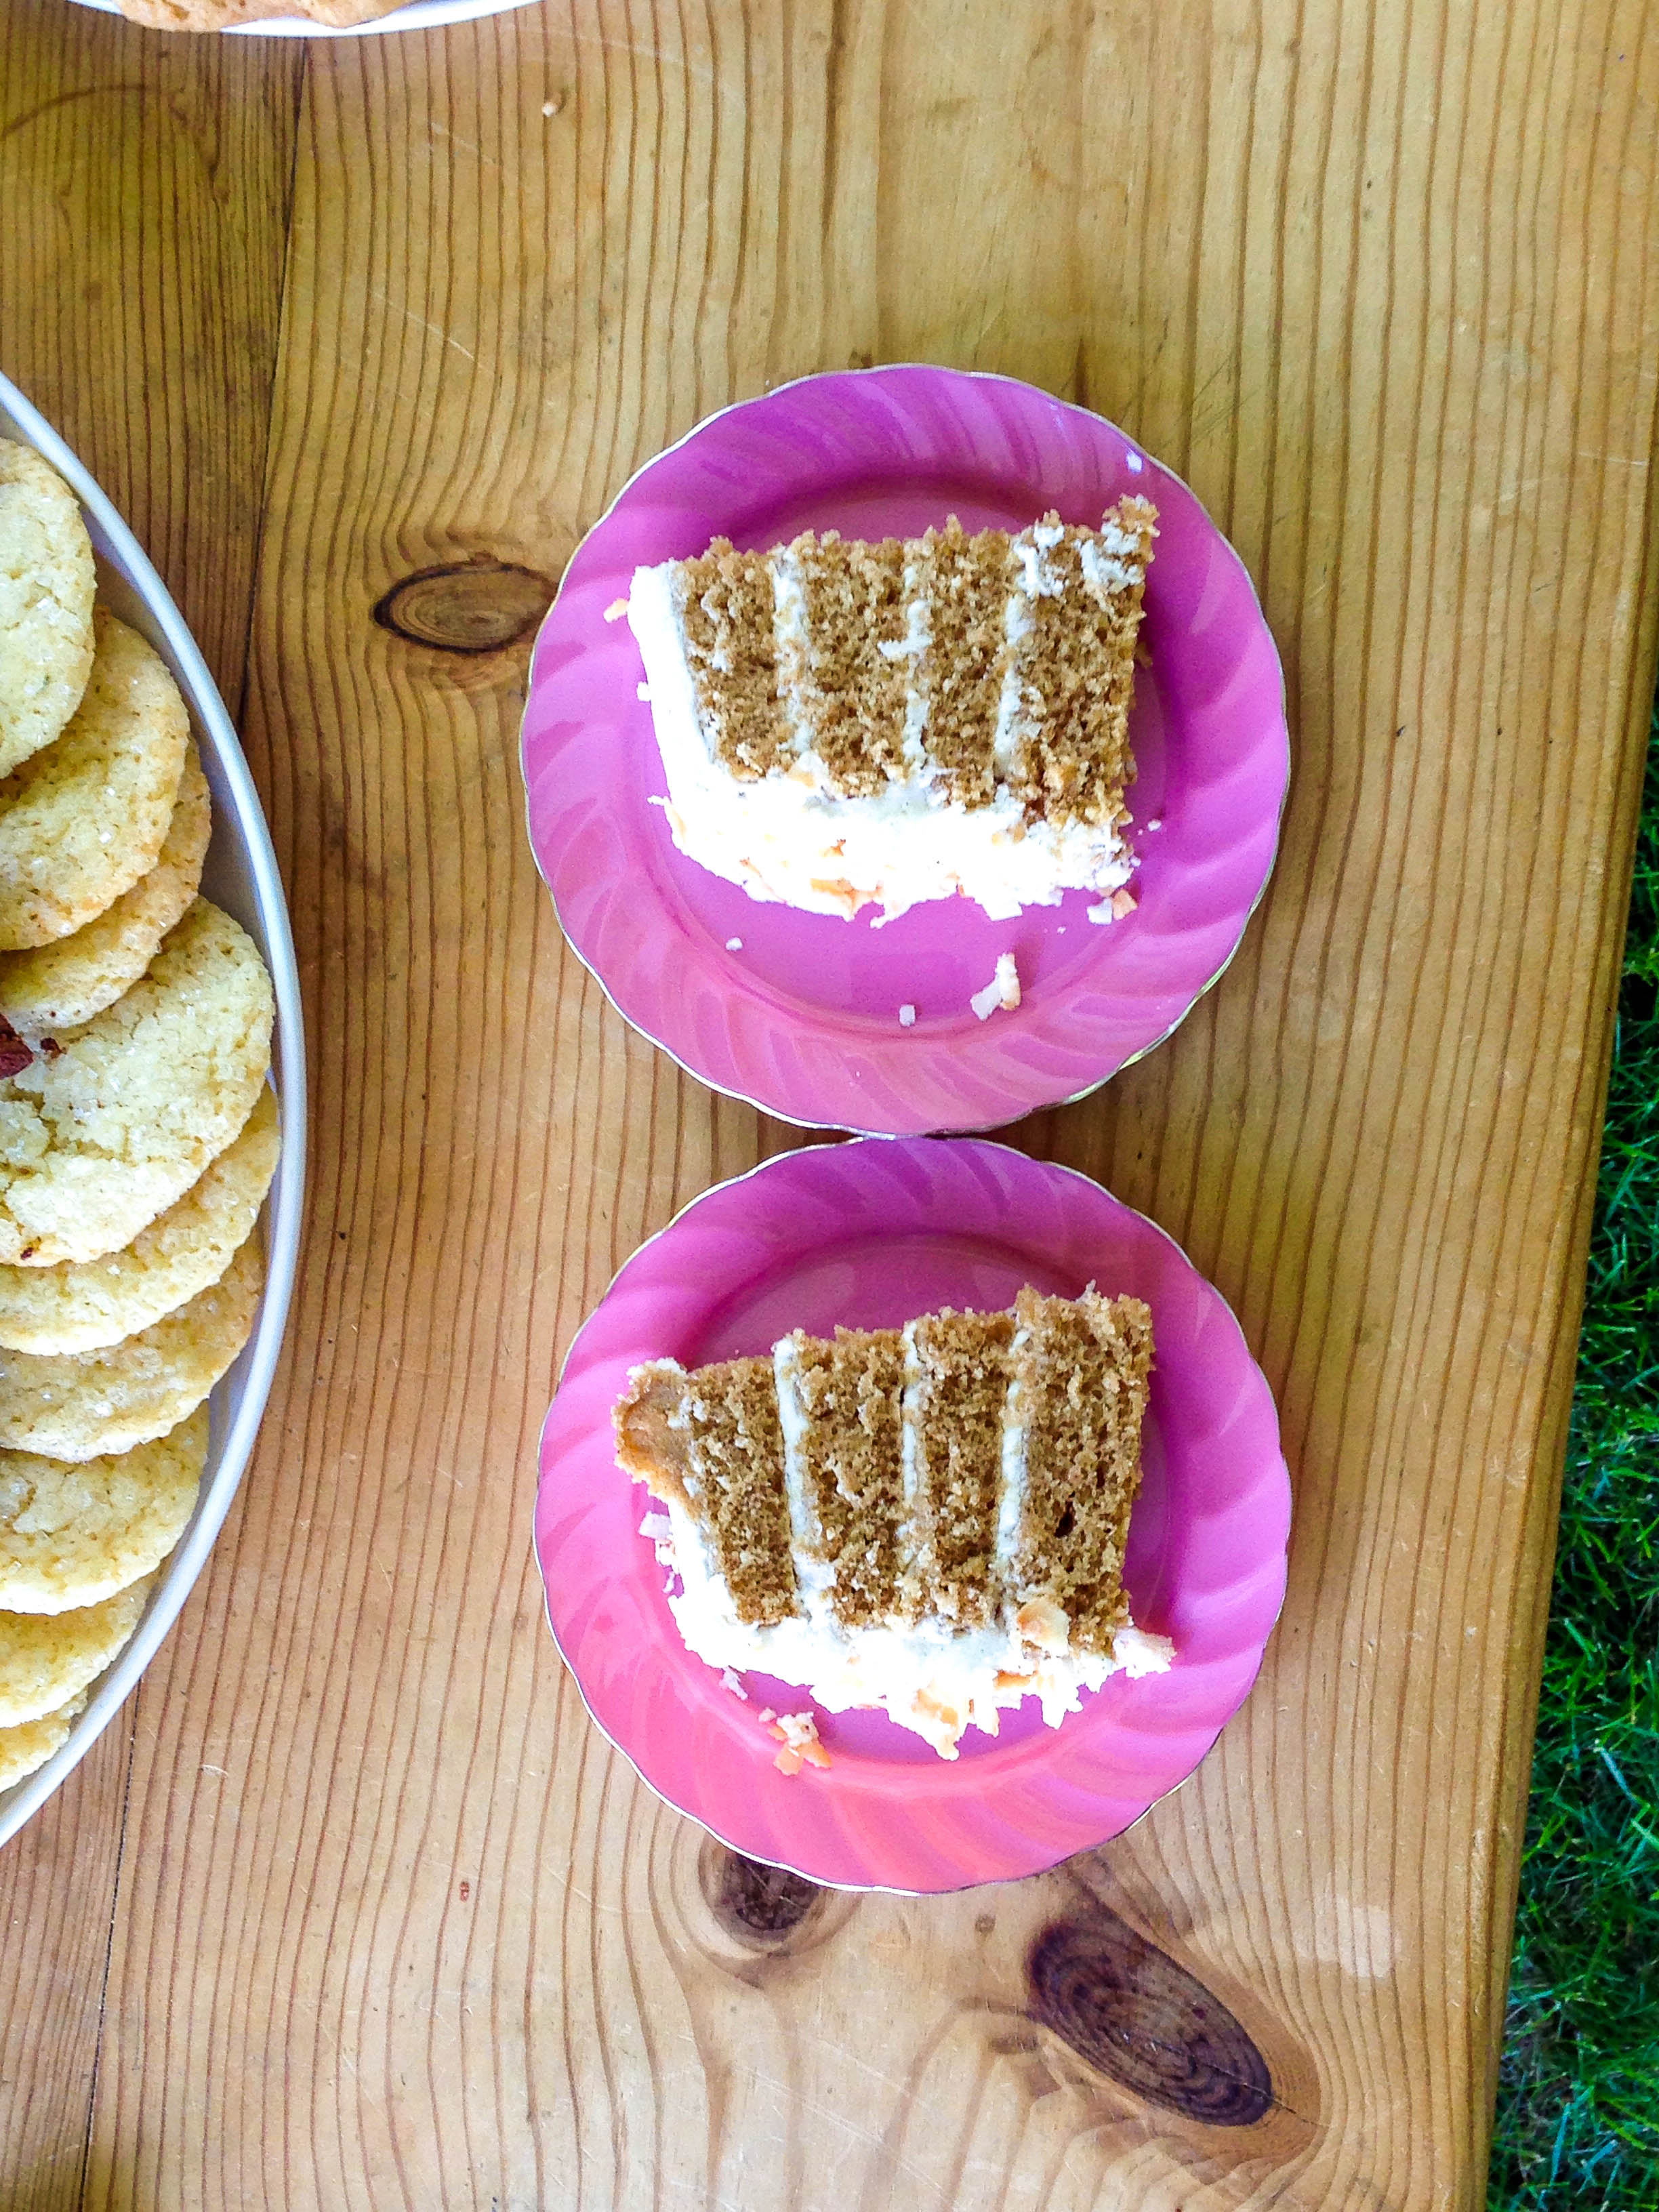
*Note: Photos are from both times I have made this cake. The majority are from the test drive so the frosting is different. The photos with the coconut around the edges are with the frosting listed below.

chai tea cake with coconut frosting 9

chai tea cake with coconut frosting 11

chai tea cake with coconut frosting 12

chai tea cake with coconut frosting 15

chai tea cake with coconut frosting 3

chai tea spiced cake with coconut frosting (dairy-free, plus vegan optional)
adapted from veggieandthebeast.com

Layers of moist, flavorful cakes spiced with cinnamon, ginger, allspice, cloves and cardamom, between dreamy coconut frosting.

Prep time: 20 mins
Cook time: 35 mins
Total time: About 1 hour (plus added time for cooling)
Makes: 1 8-inch layer cake (Either two thick or four thin layers, I chose four. Instructions are for two layers.)

Ingredients:

Cake:
2 cups minus 2 tablespoons unsweetened vanilla almond milk
2 tablespoons apple cider vinegar
3 cups unbleached cake flour, or all-purpose flour
½ tablespoon baking powder
1 teaspoon baking soda
2½ teaspoons ground ginger
1¼ teaspoon ground cinnamon
1 teaspoon ground cardamom
⅛ teaspoon ground allspice
⅛ teaspoon ground cloves
1 teaspoon table salt
1½ cups granulated sugar (vegan option: raw sugar, processed until fine)
¼ cup canola oil
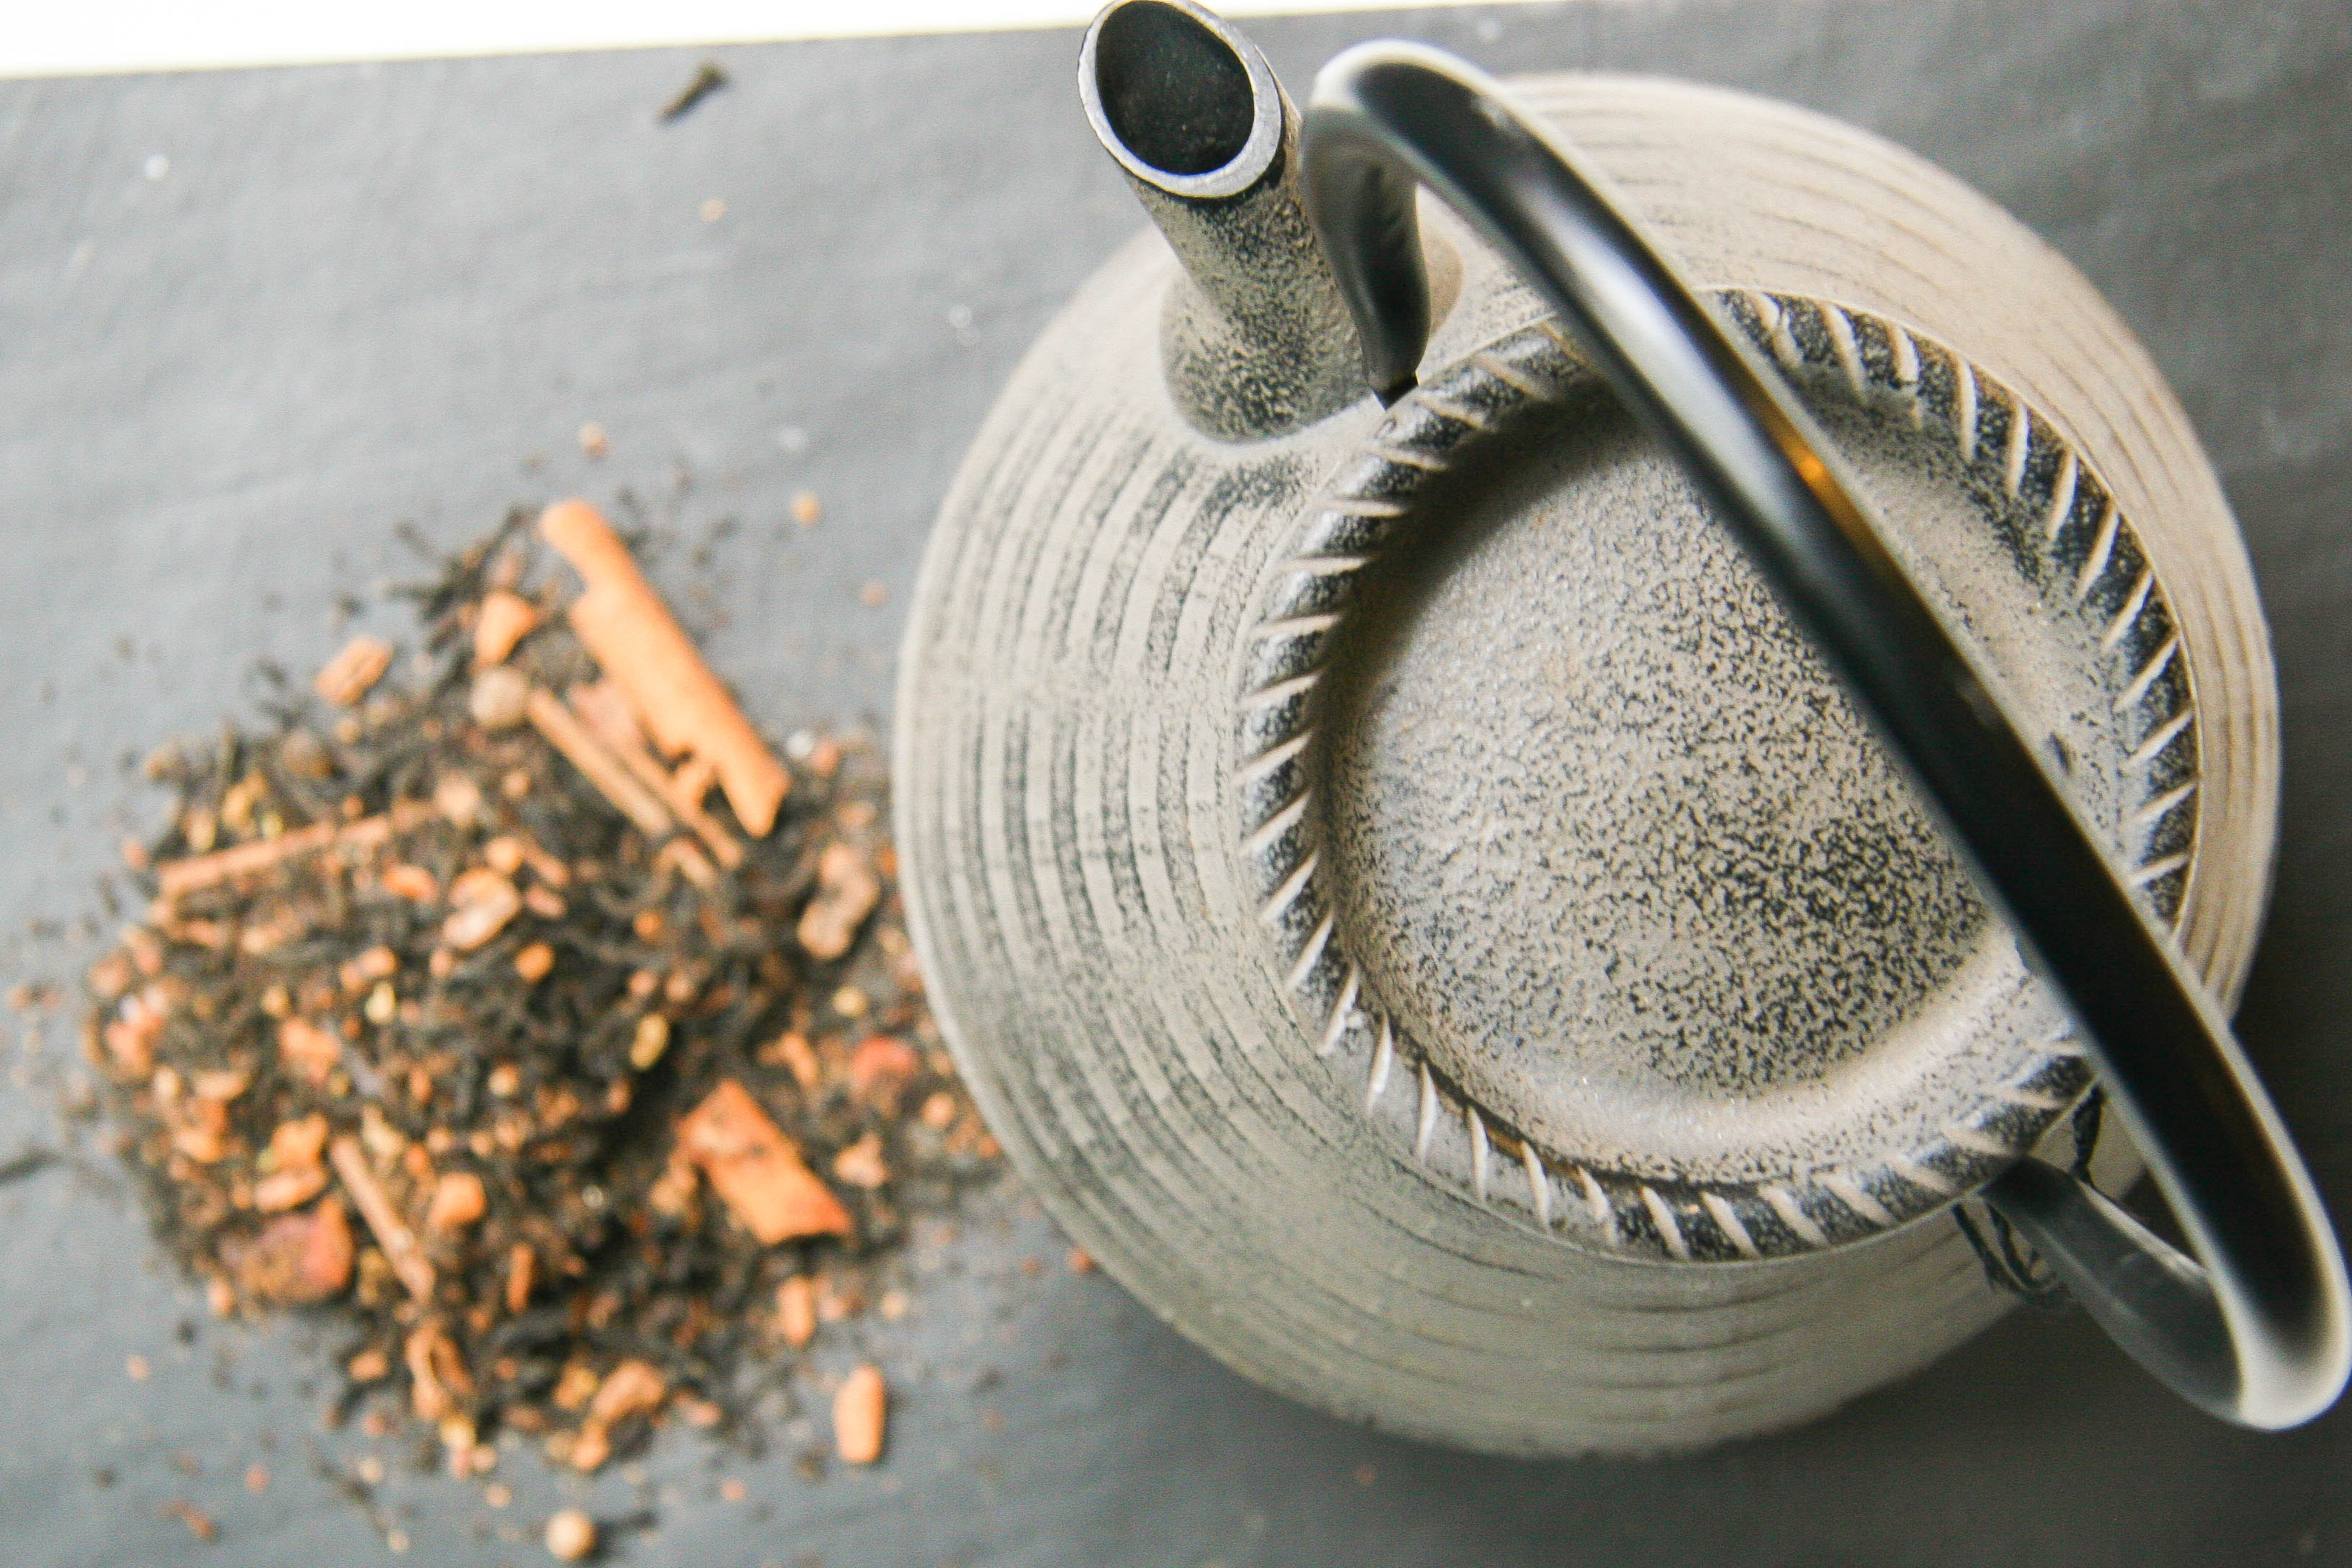
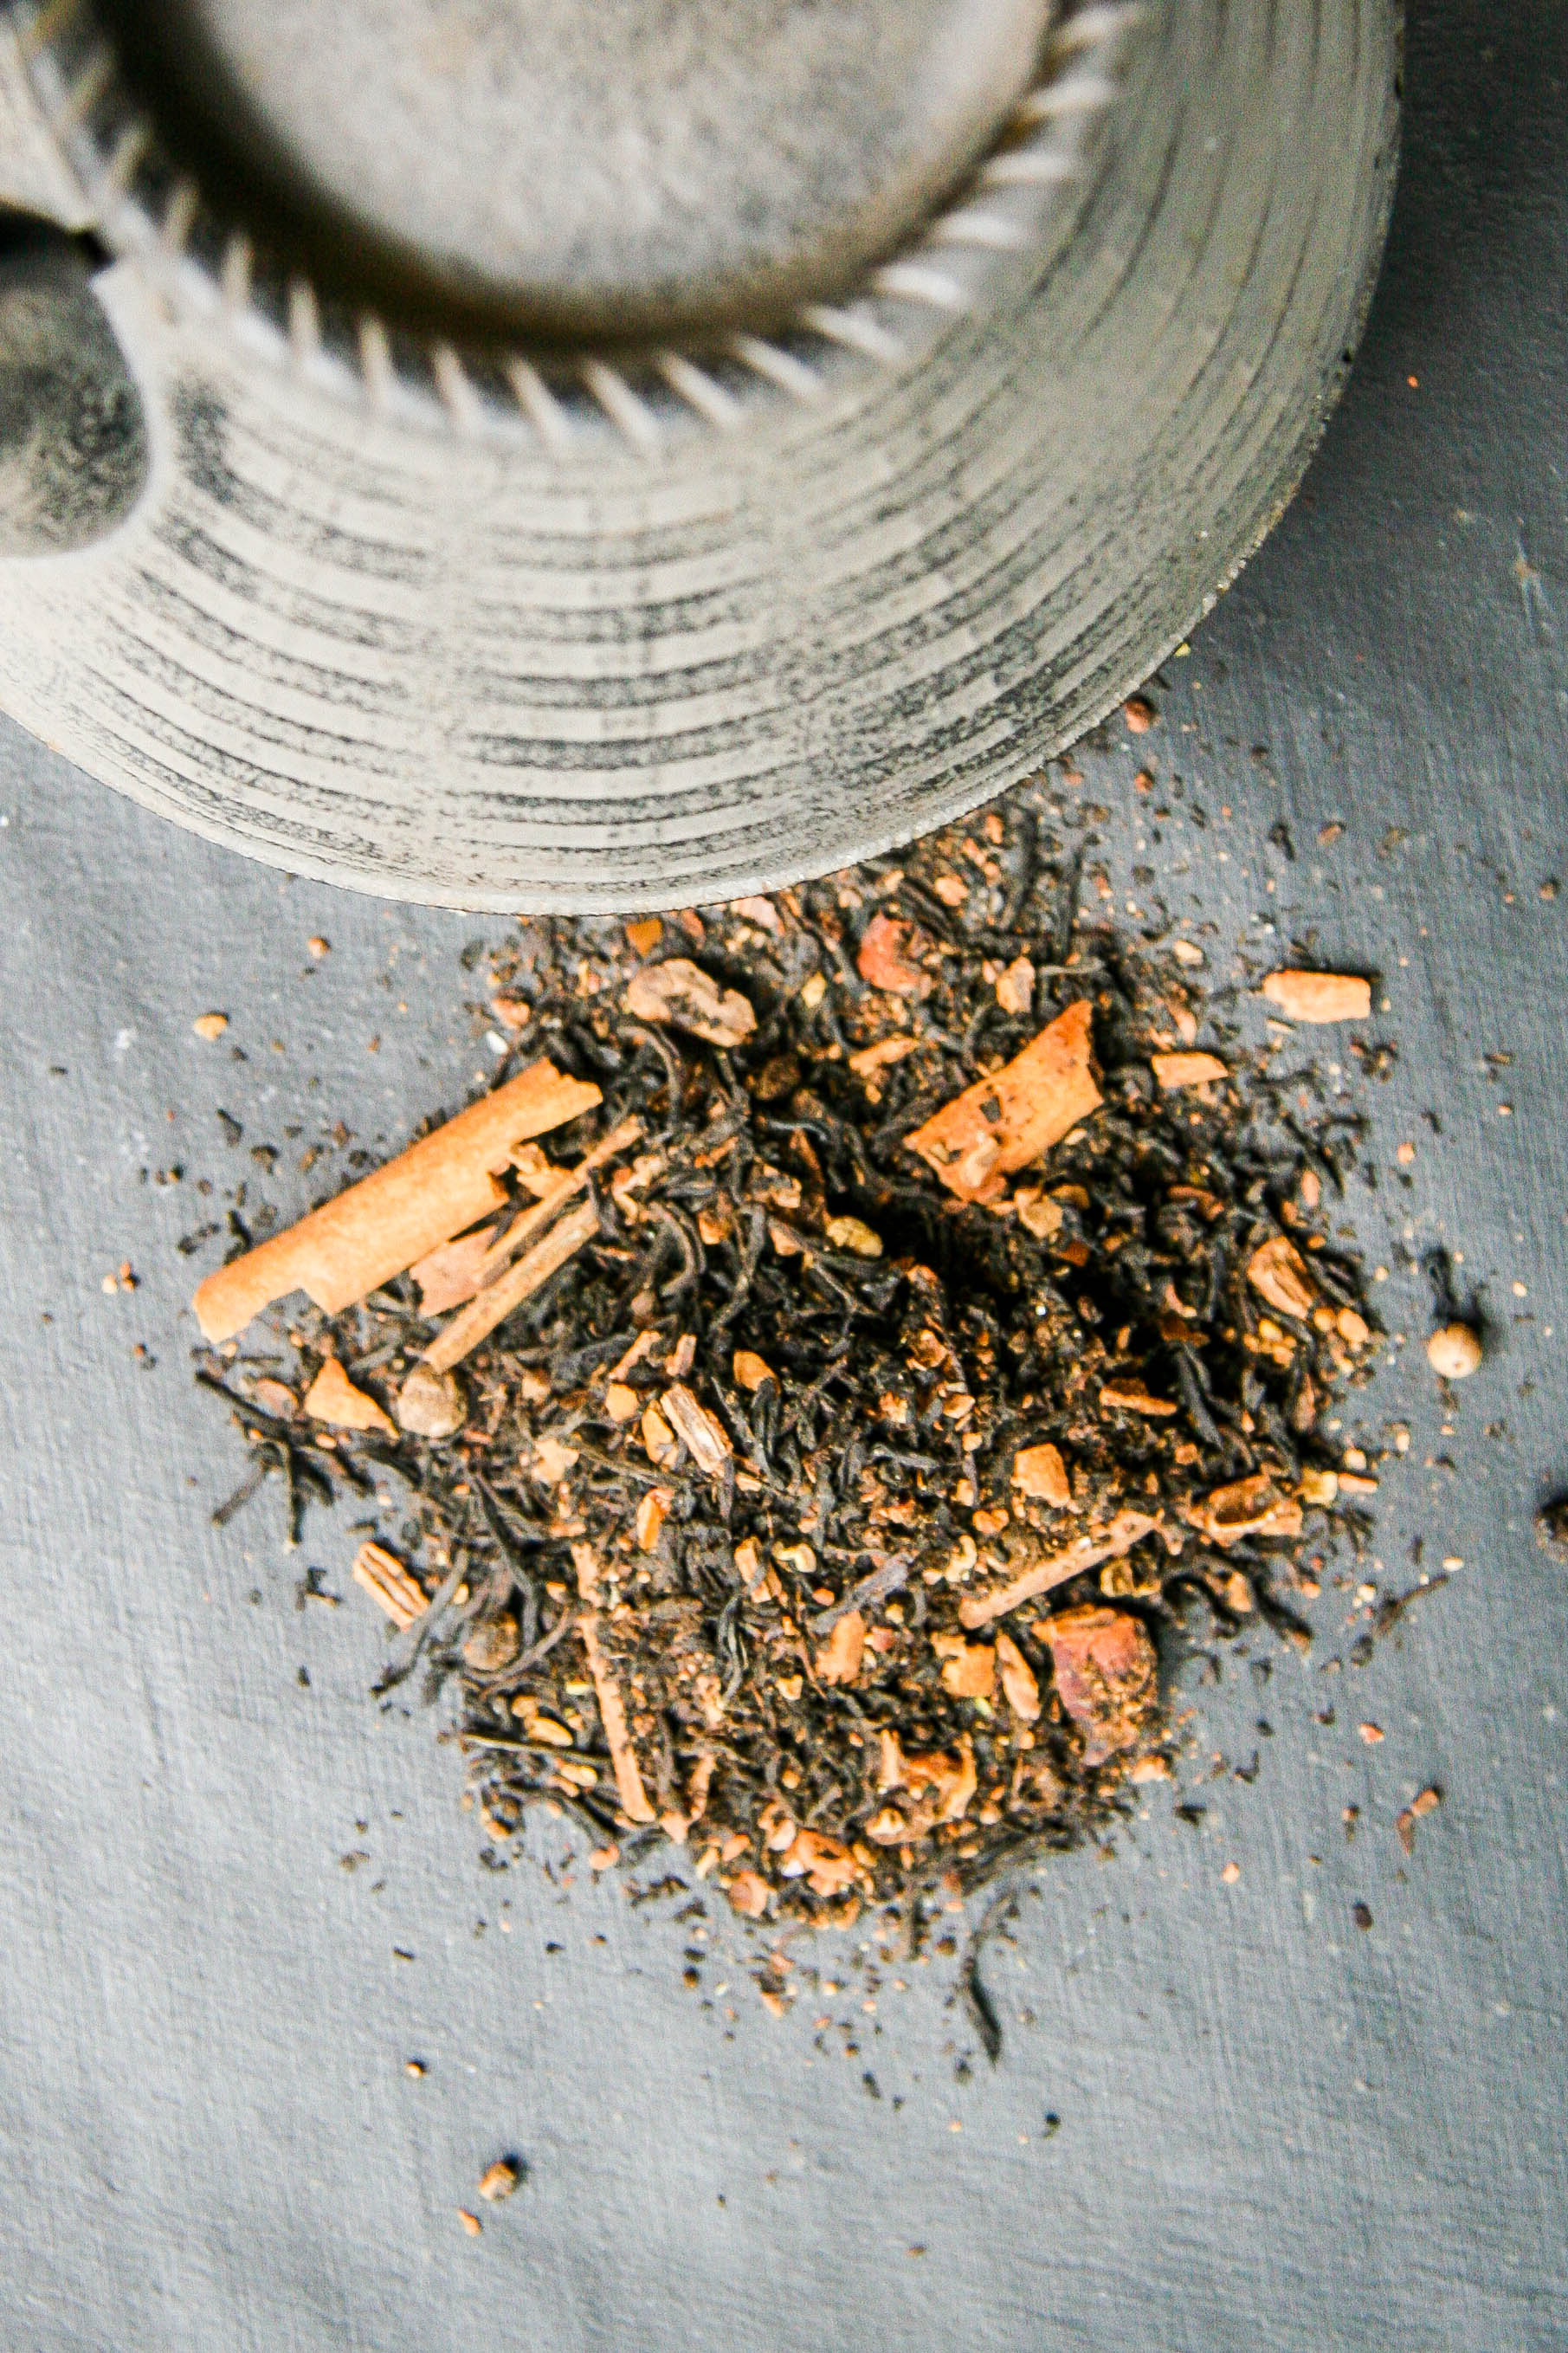
½ cup brewed unsweetened chai tea (steep cup of tea like normal, and then scoop out ½ cup)
1 tablespoon vanilla extract
½ teaspoon almond extract

Coconut Frosting:
1 cup coconut oil, at room temperature (should be solid)
3 cups powdered sugar, sifted (vegan option: ensure it is powdered cane sugar)
1 vanilla bean, split down the middle and scraped, or 1 teaspoon vanilla extract
½ teaspoon coconut extract
½ cup sweetened shredded coconut, plus more to toast and garnish with if desired
2–4 tablespoons unsweetened vanilla almond milk

Instructions:

  1. Make the Cake: Preheat oven to 350 degrees. Grease two 8–inch cake pans and line the bottom with parchment paper, then grease tops of paper. Set aside.
  2. In a small bowl, or a liquid measuring pourer, combine the almond milk and the apple cider vinegar (it will look like it separates and this is totally ok). Set aside for at least 5 minutes.
  3. In a medium bowl, sift together the flour, baking powder, baking soda, spices and salt. Set aside.
  4. In a large bowl, or the bowl of an electric mixer fitted with the paddle attachment, beat together the sugar, oil and chai tea until combined. Add the vanilla and almond extracts and beat on low for 5 seconds to combine.
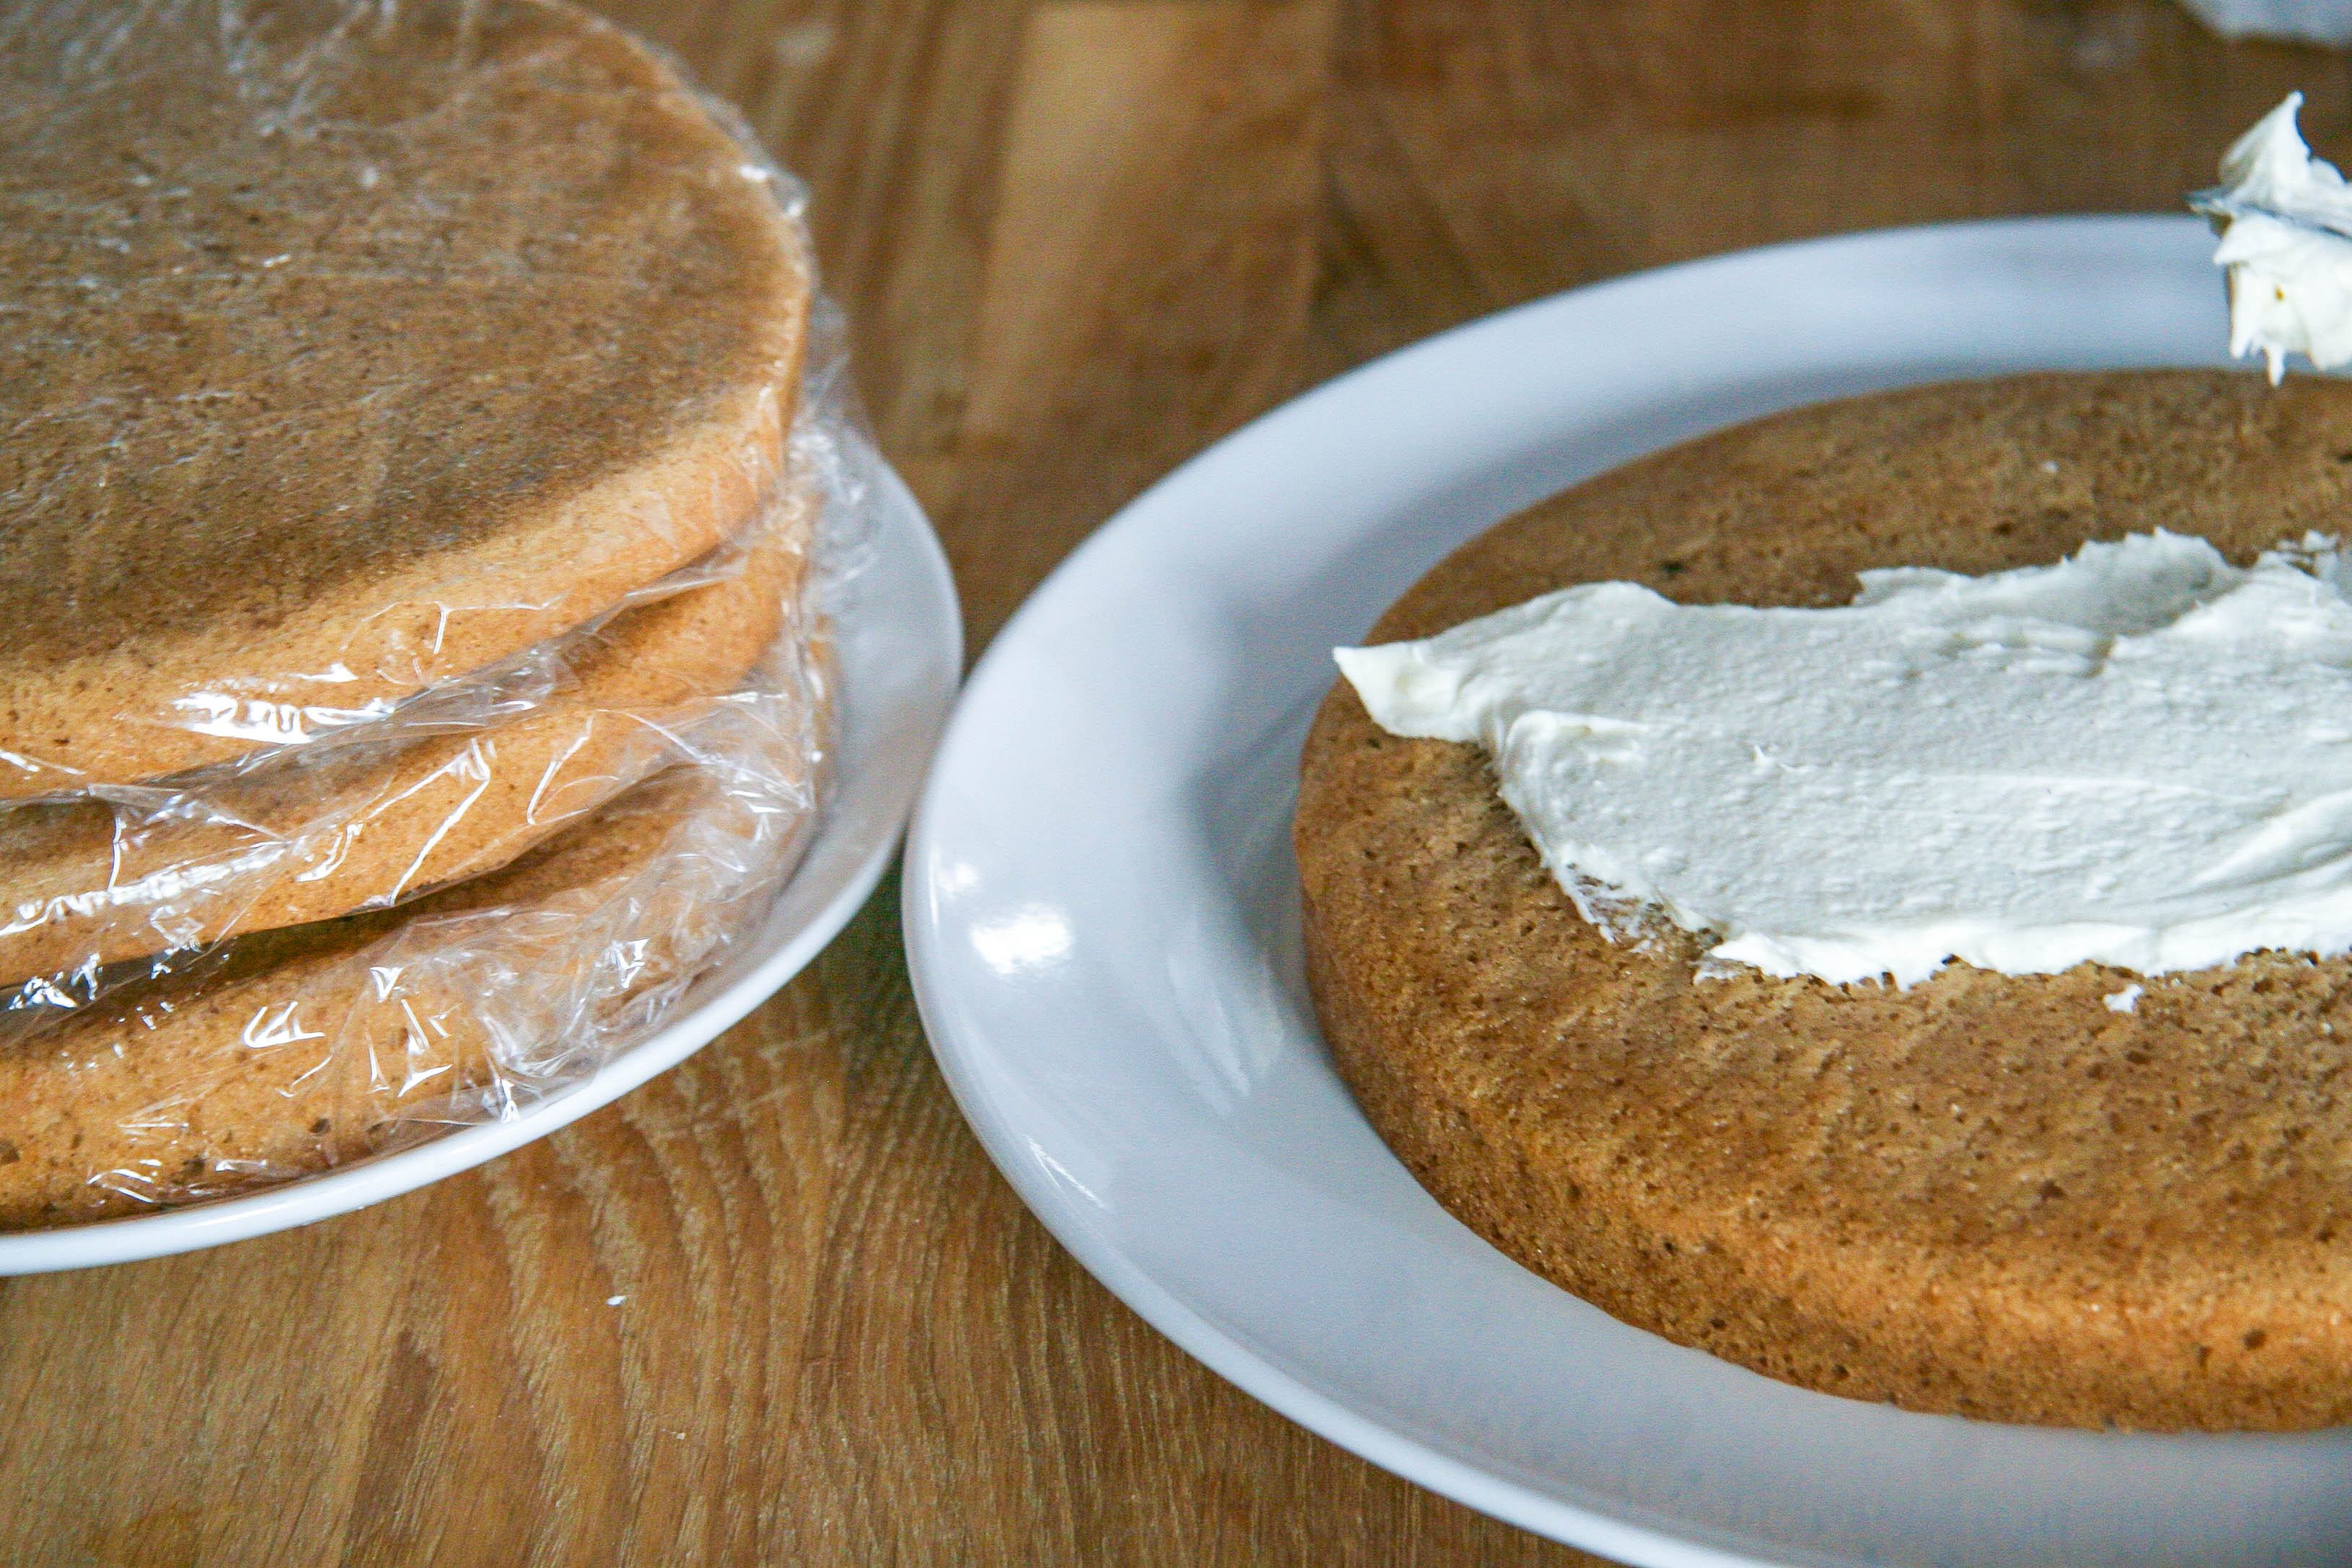
  5. Alternate adding the flour and the almond milk mixtures to the batter, starting and ending with the flour, mixing until smooth and just combined. Divide the batter between the two cake pans. Bake for 30–35 minutes (about 20–25 minutes if you’re making 4 smaller layers). Let sit in the pan for at least 10 minutes before carefully flipping onto a cooling rack to cool completely. Wrap each layer in plastic wrap and refrigerate until you’re ready to frost.
  6. Make the Frosting: In a large bowl with a hand mixer, or in the bowl of an electric mixer fitted with the paddle attachment, beat the coconut oil and powdered sugar until smooth and light. It will likely be a little stiff. Add in the vanilla, coconut extract and shredded coconut and beat until combined. Gradually add the almond milk, a tablespoon at a time, until you’ve reached a creamy, light and spreadable consistency.
  7. Frost the Cake: Place one cake layer on a piece of parchment paper or on a serving plate. Spread about a third of the frosting on the top of the cake, then top with the other cake half. With an offset spatula or knife, cover the cake with a thin layer of frosting to smooth out the edges and the space between the layers (this is also known as the “crumb coat”). Place the cake in the fridge for about 10 minutes until the frosting firms up slightly. Remove and coat entire cake with another layer of frosting. You can also pipe the frosting on in a decorative fashion at this stage. Keep completed cake refrigerated if possible, removing 2–3 hours before serving.

chai tea cake with coconut frosting 4

Filed Under: desserts and sweets, eat Tagged With: cake, chai tea, coconut, dairy-free, spices, vegan, vegan frosting

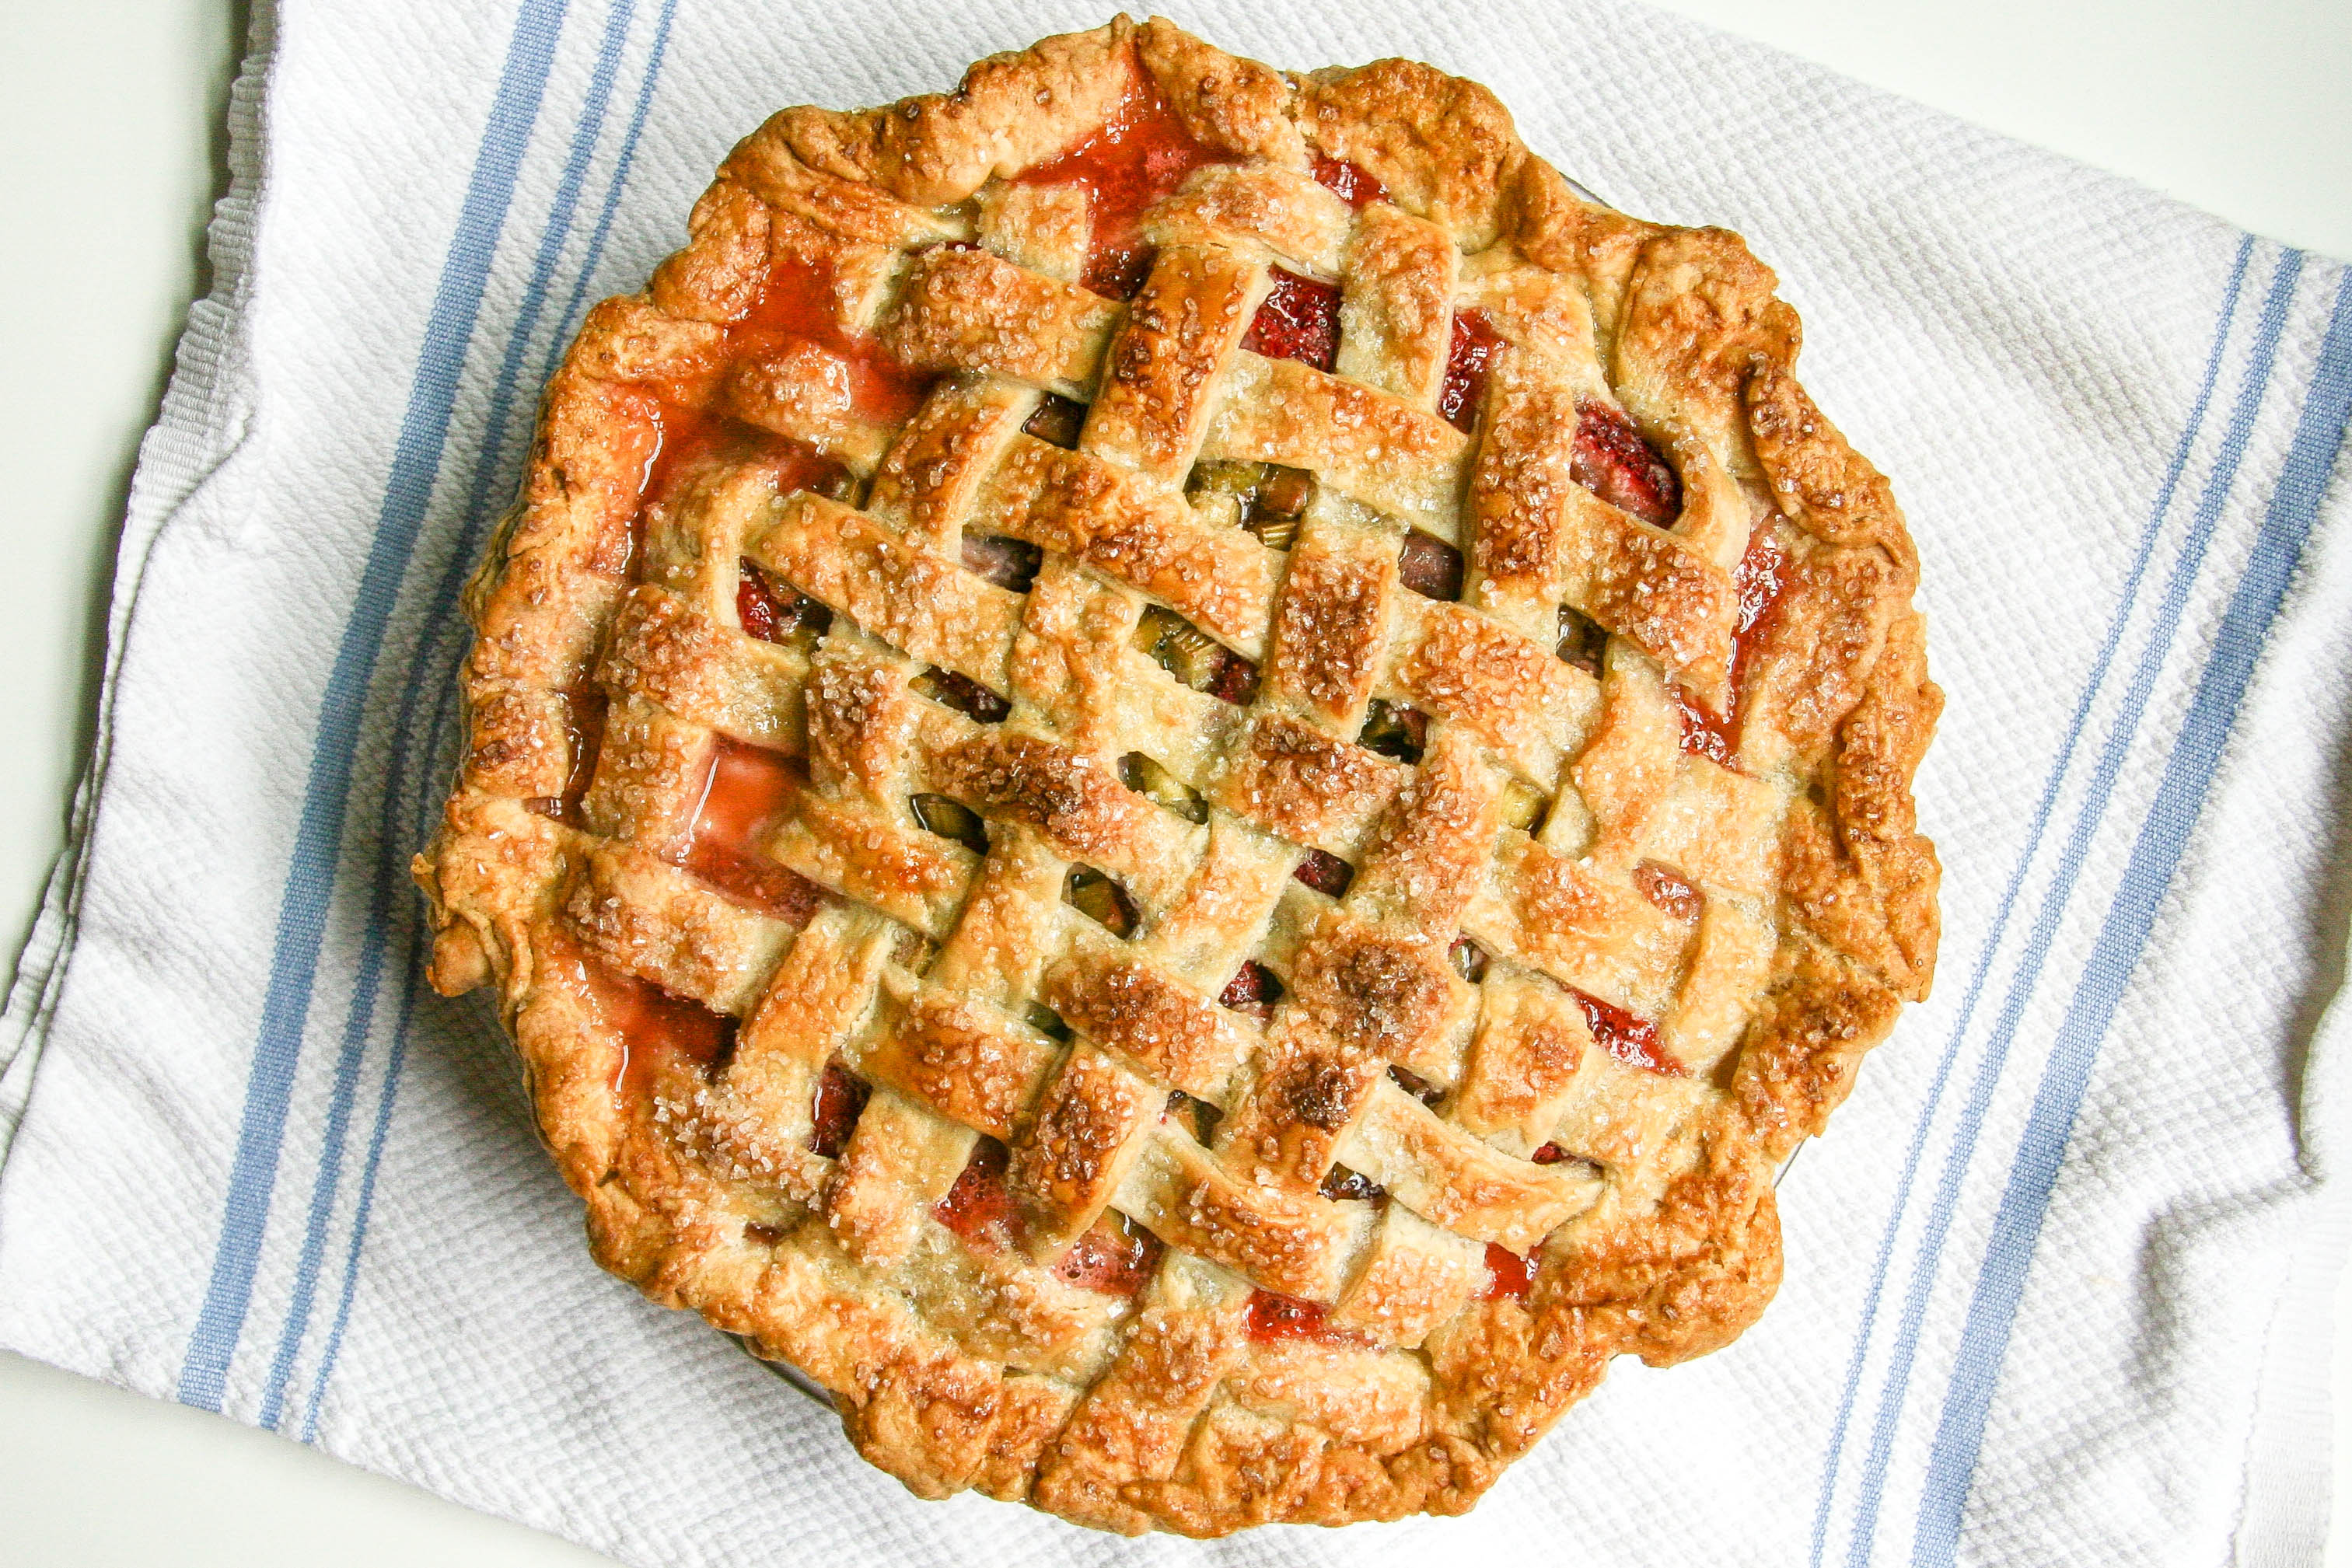
my favorite strawberry rhubarb pie

May 30, 2014 by Butter Loves Company

strawberry rhubarb pie 12

You know those people who know everything there is to know about fresh produce? The ones who can tell you exactly which plant is a perennial versus an annual, which grows better in the shade than the sun and which should be under-watered versus over-watered? The farmer’s market-aficionados who know which is the best time of the year, the month or the week to buy every fruit or veggie because that’s when it’s at the peak of freshness?

I do.

And nope, I’m definitely not one of them.
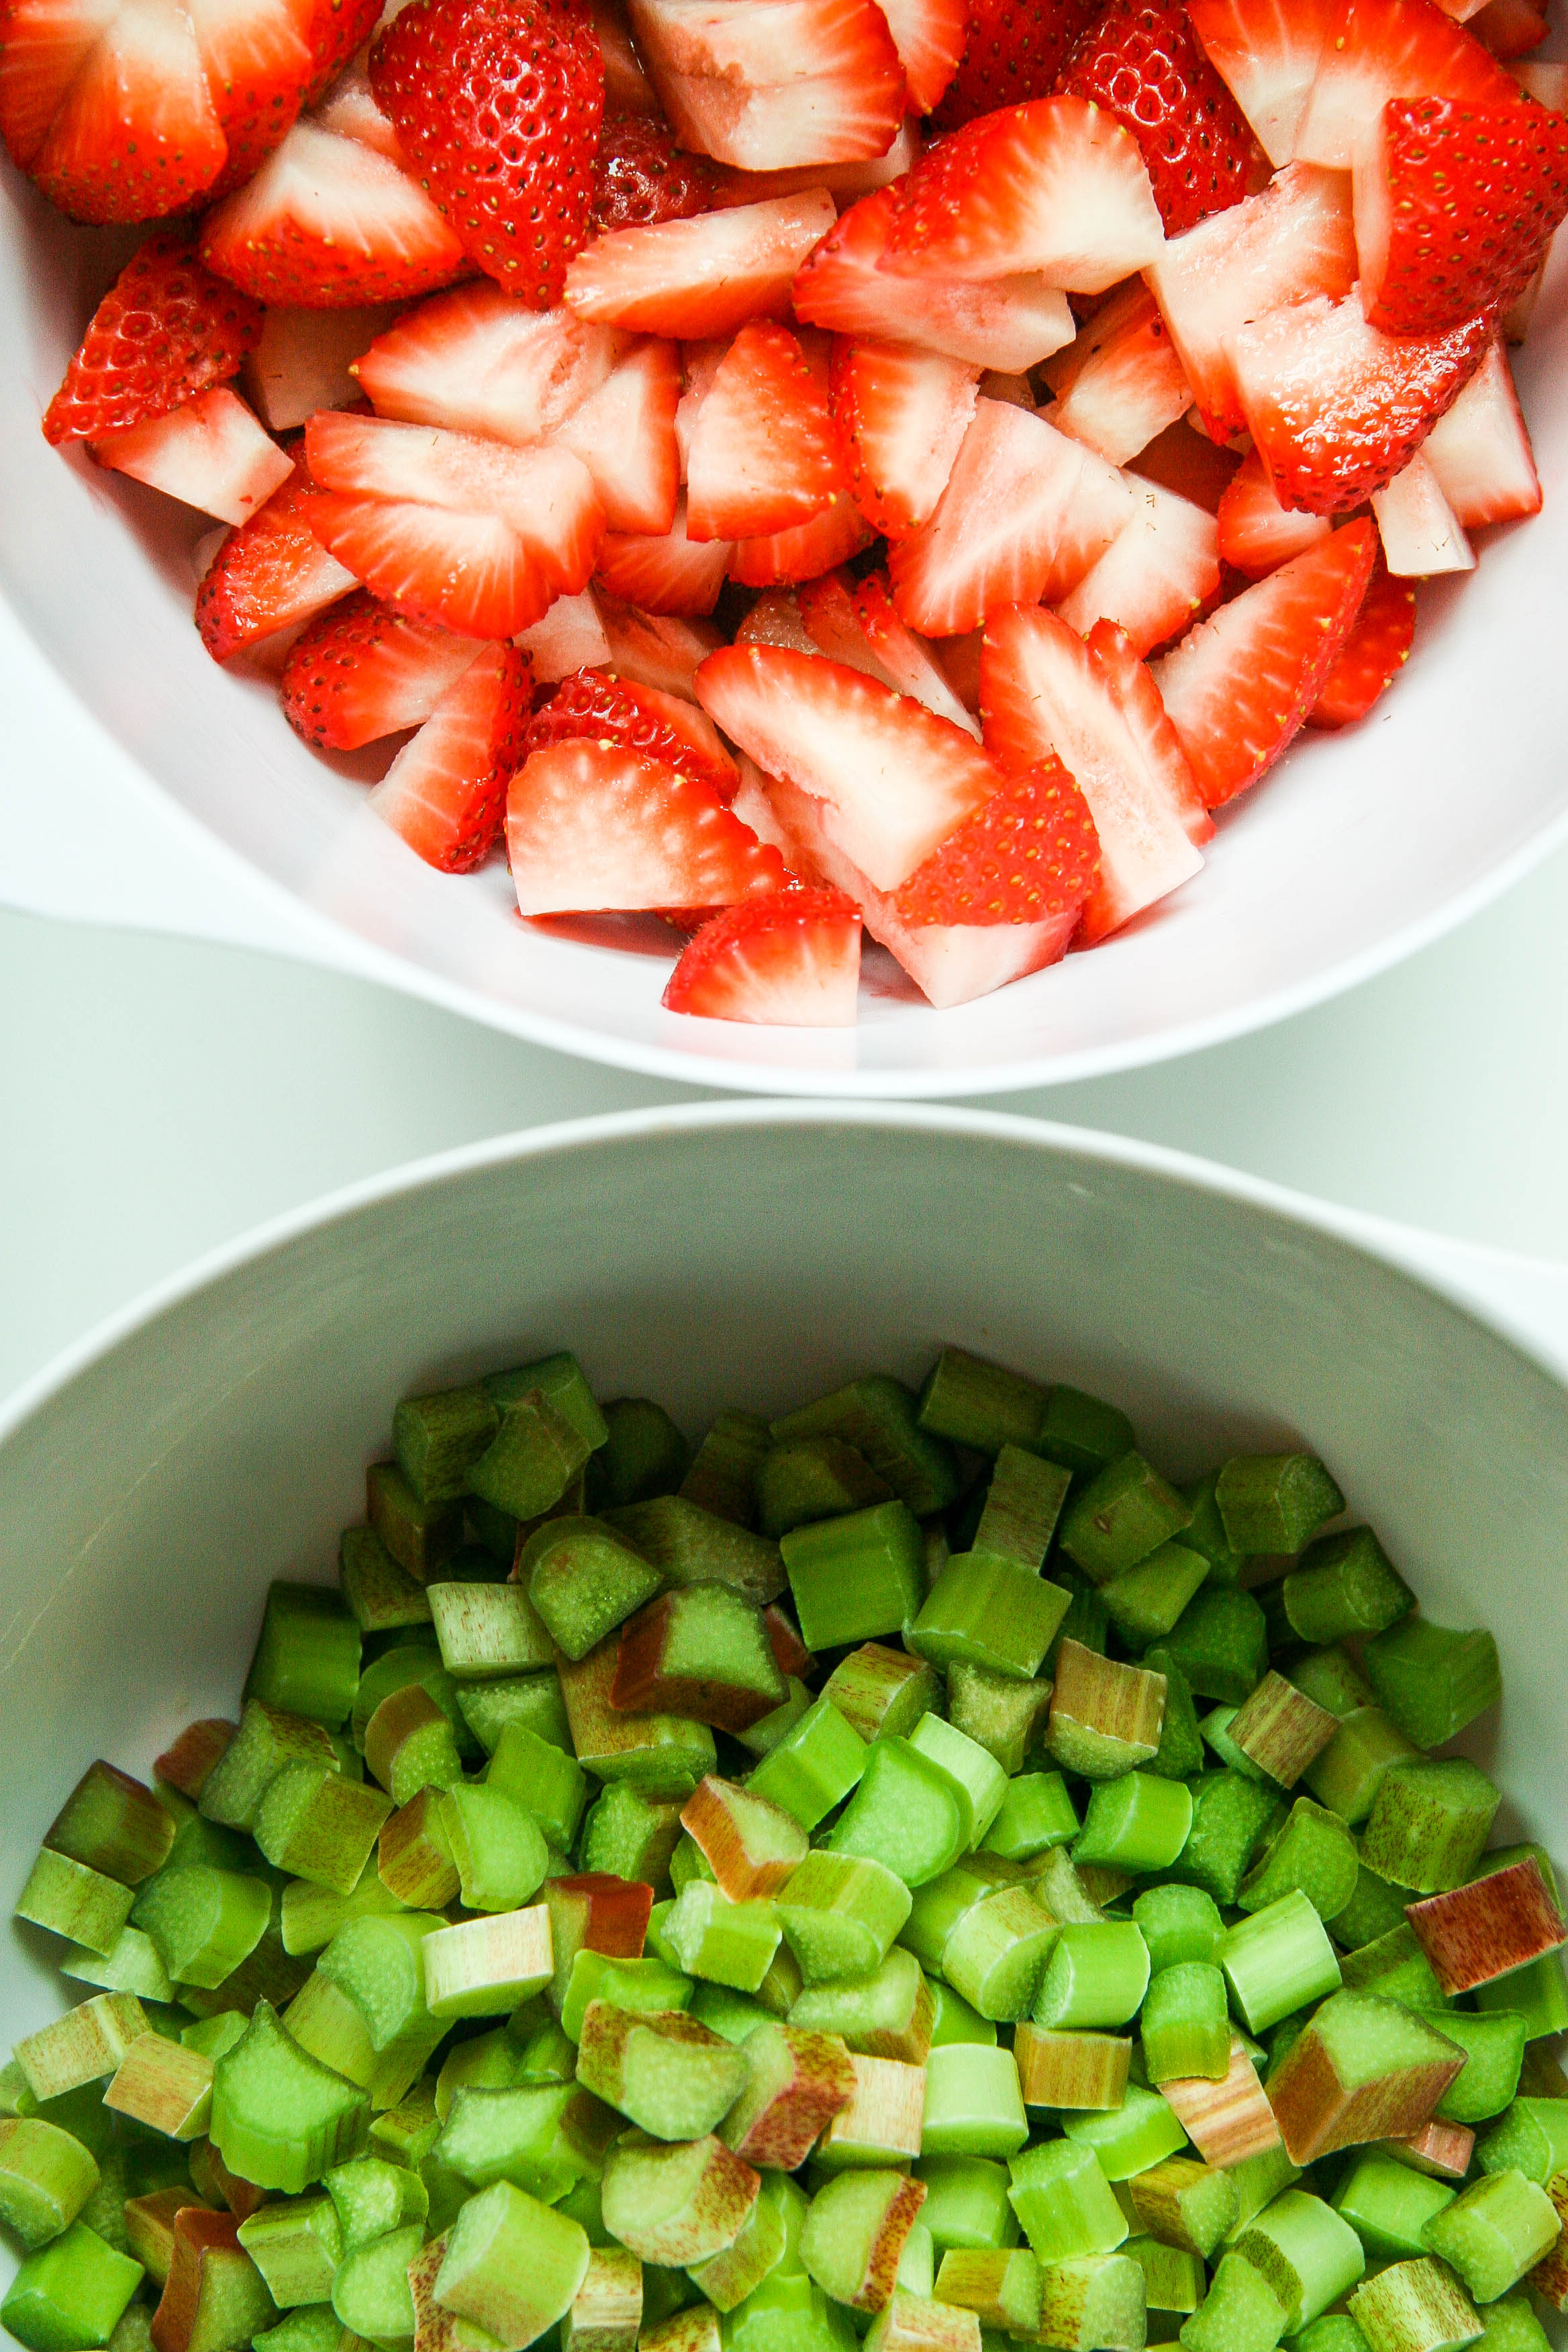
I’m the puppy who follows those people around the farmer’s market looking for tips. Maybe one day, I’ll (creepily) collect enough pointers to come close to being one of those people, but, for now, I’m the one who stands behind them and says, “I’ll have a pound of that too!”

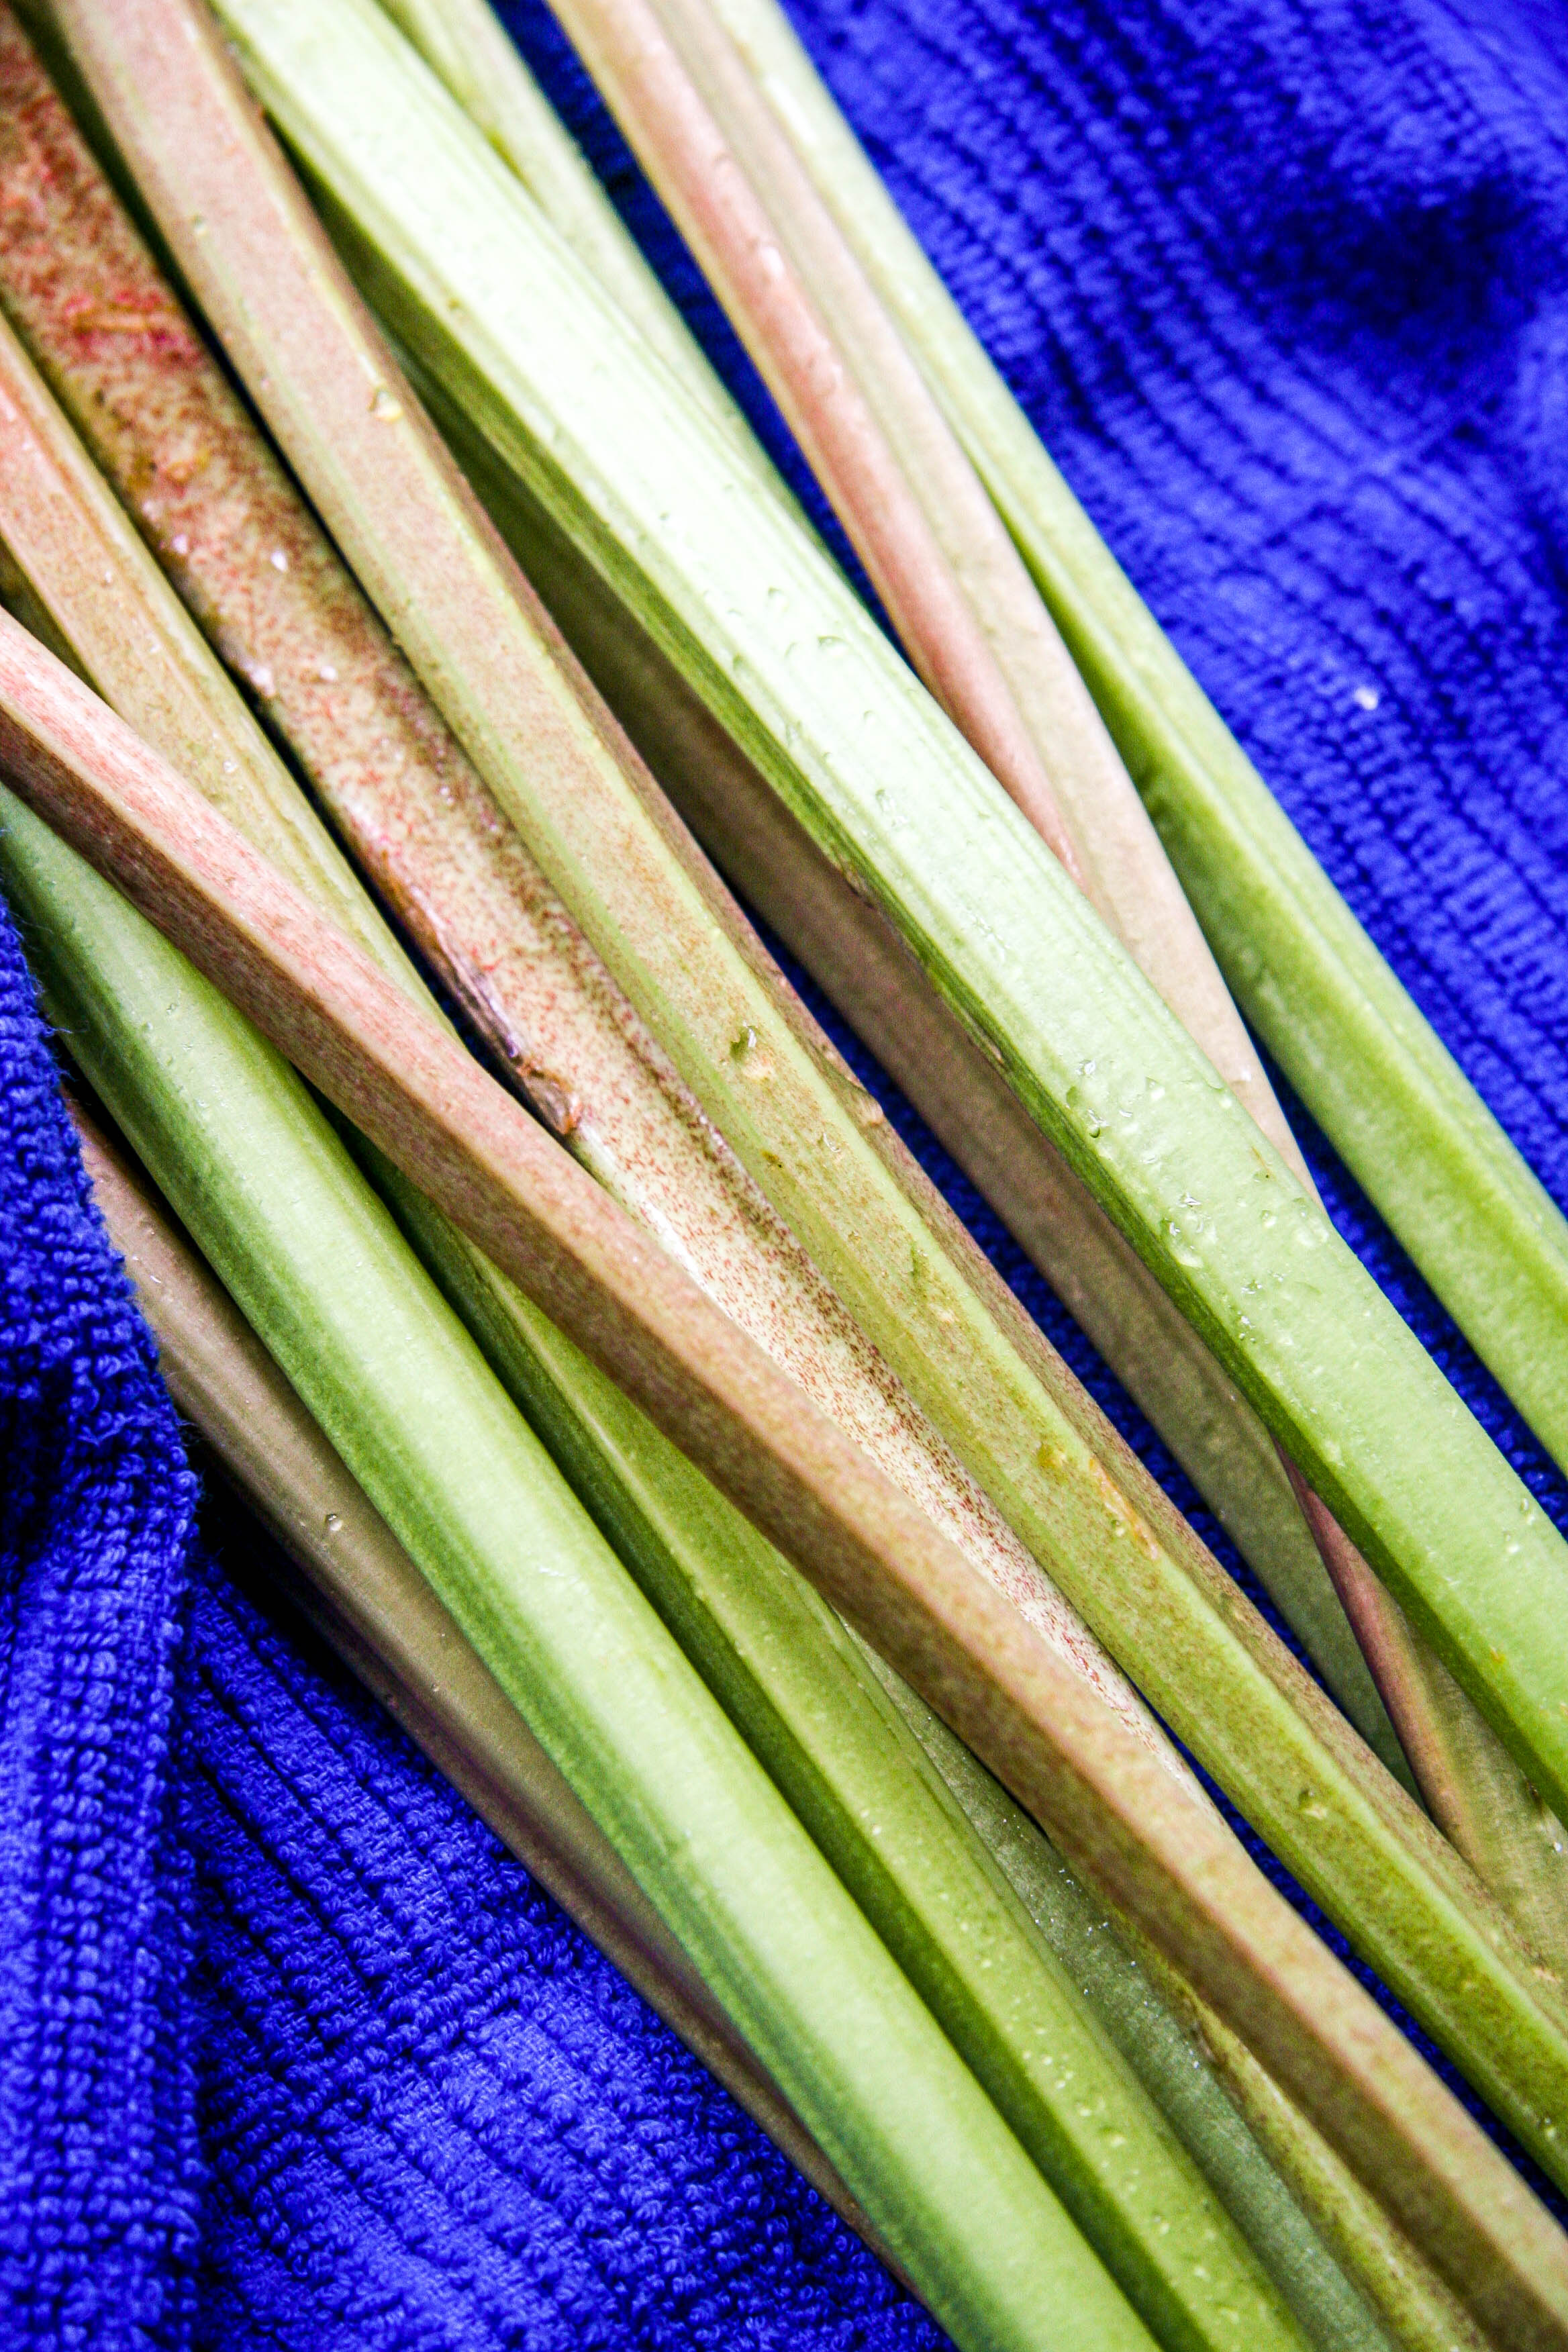
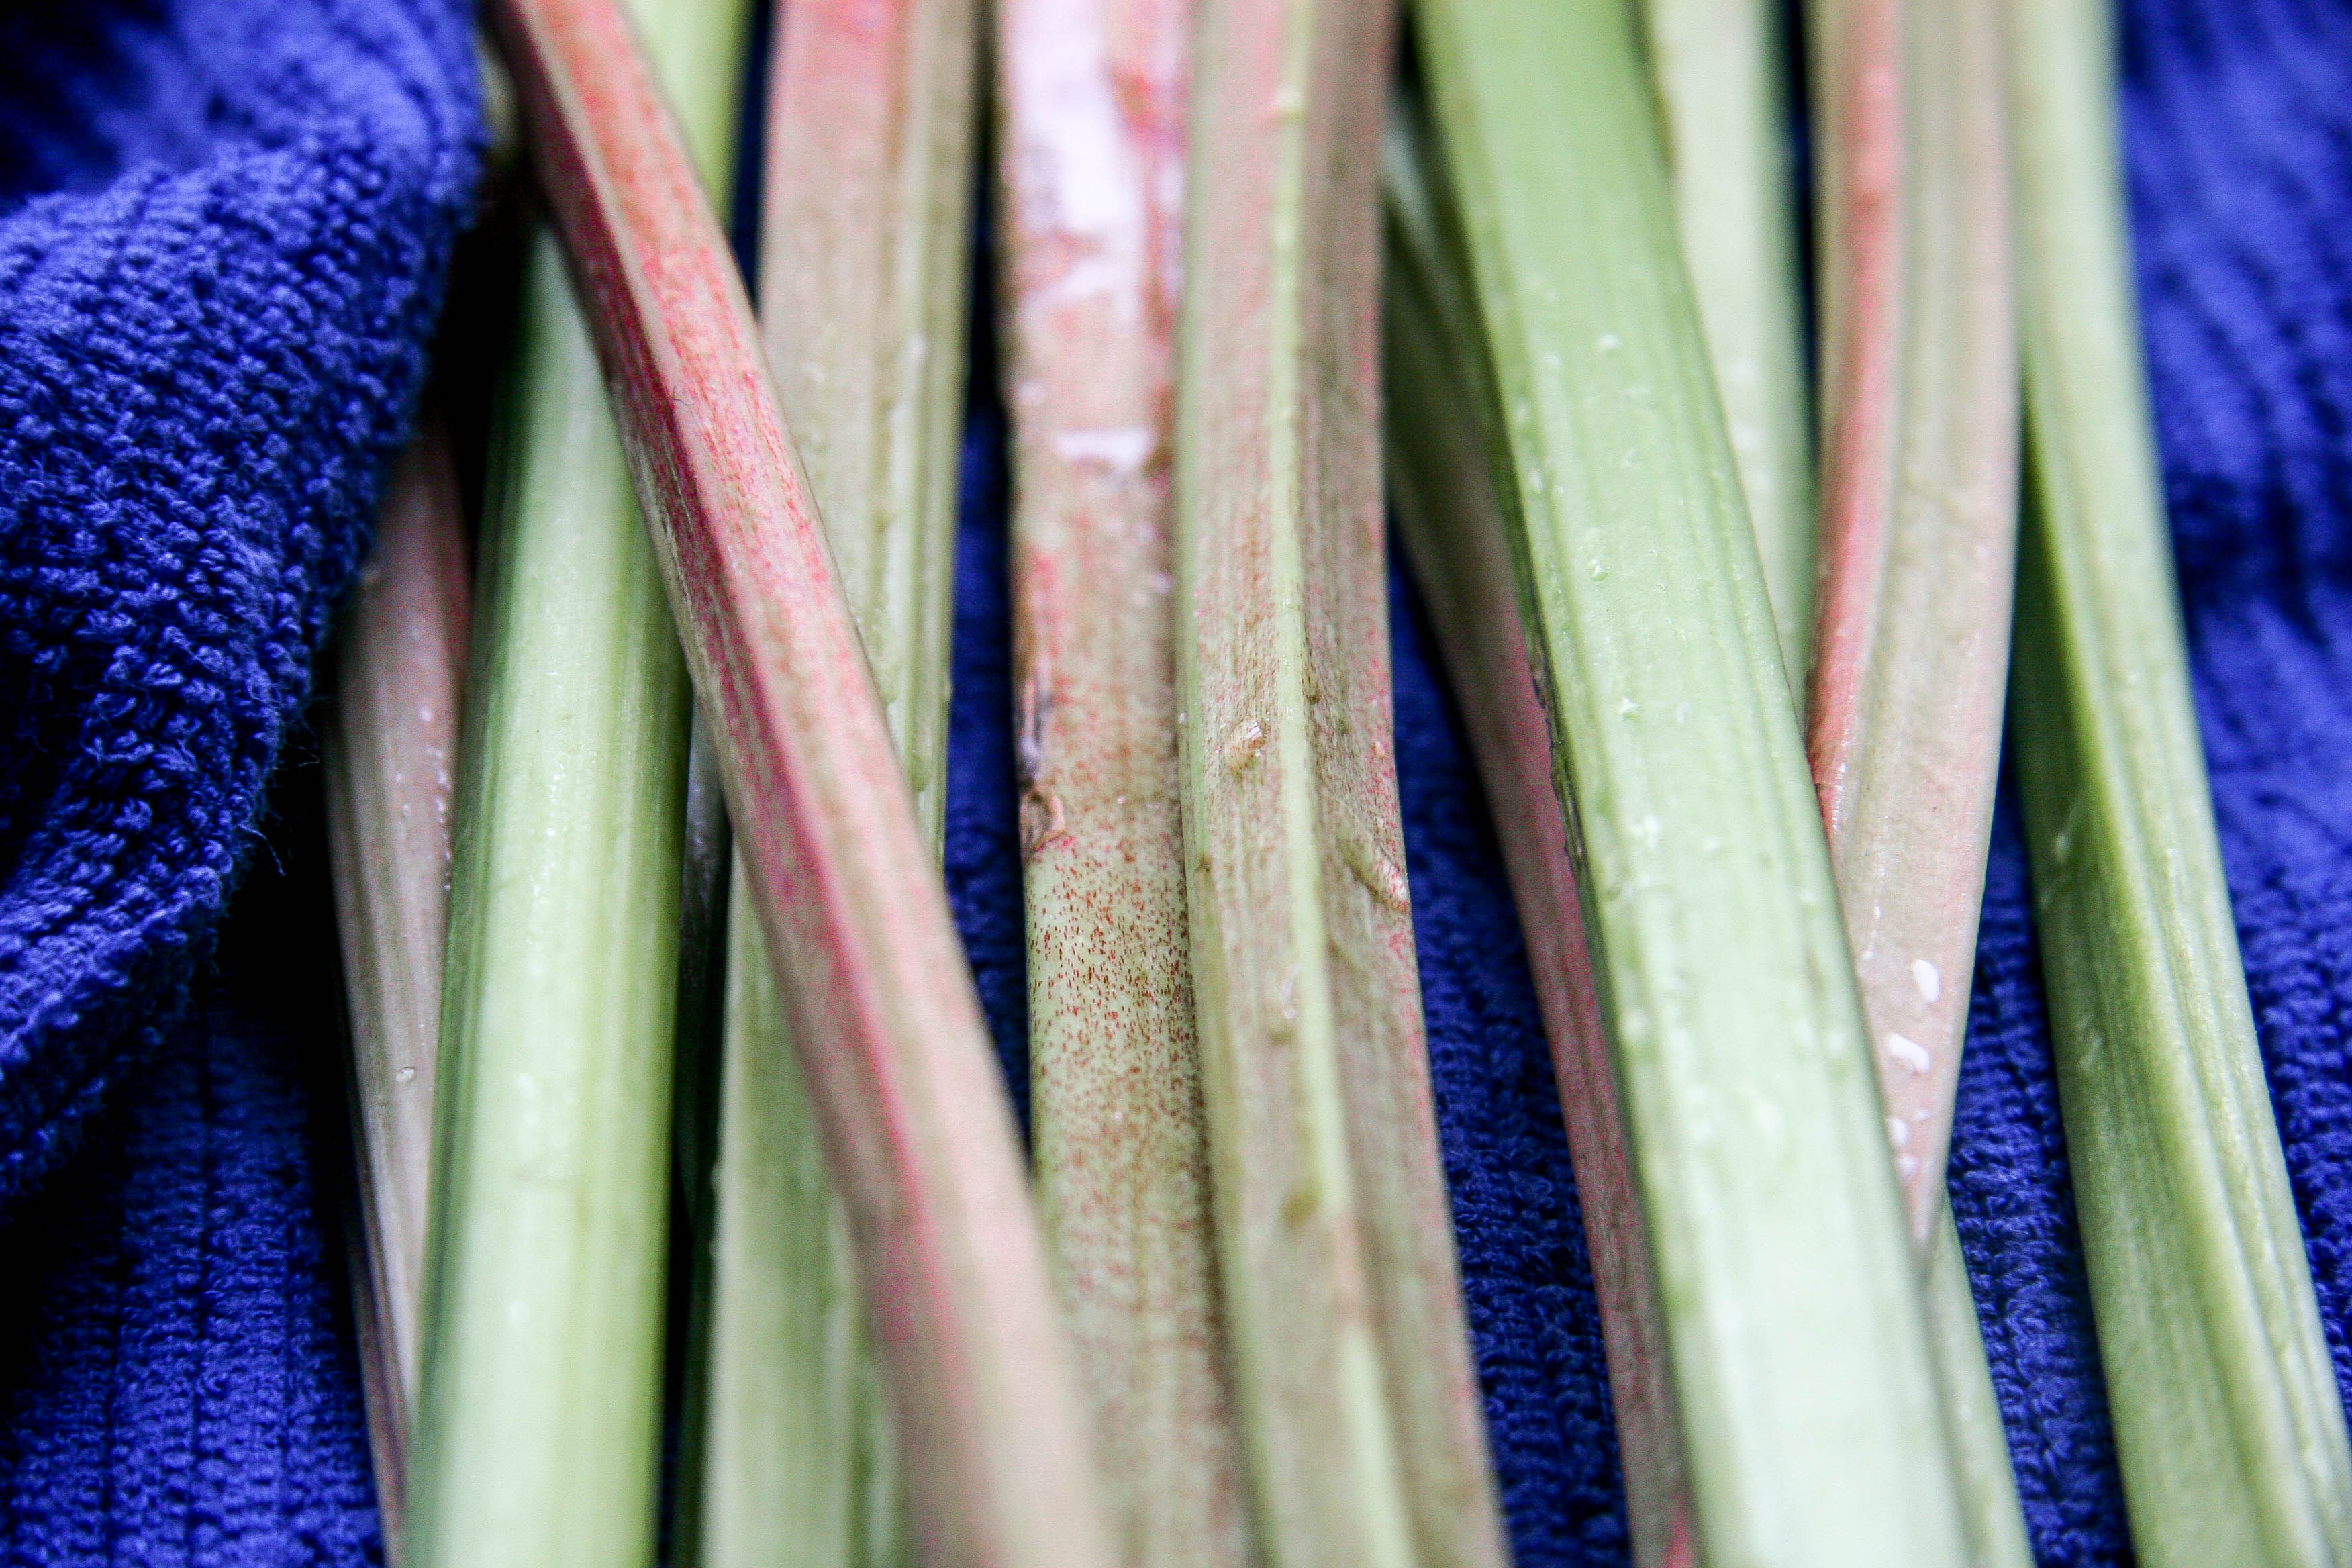
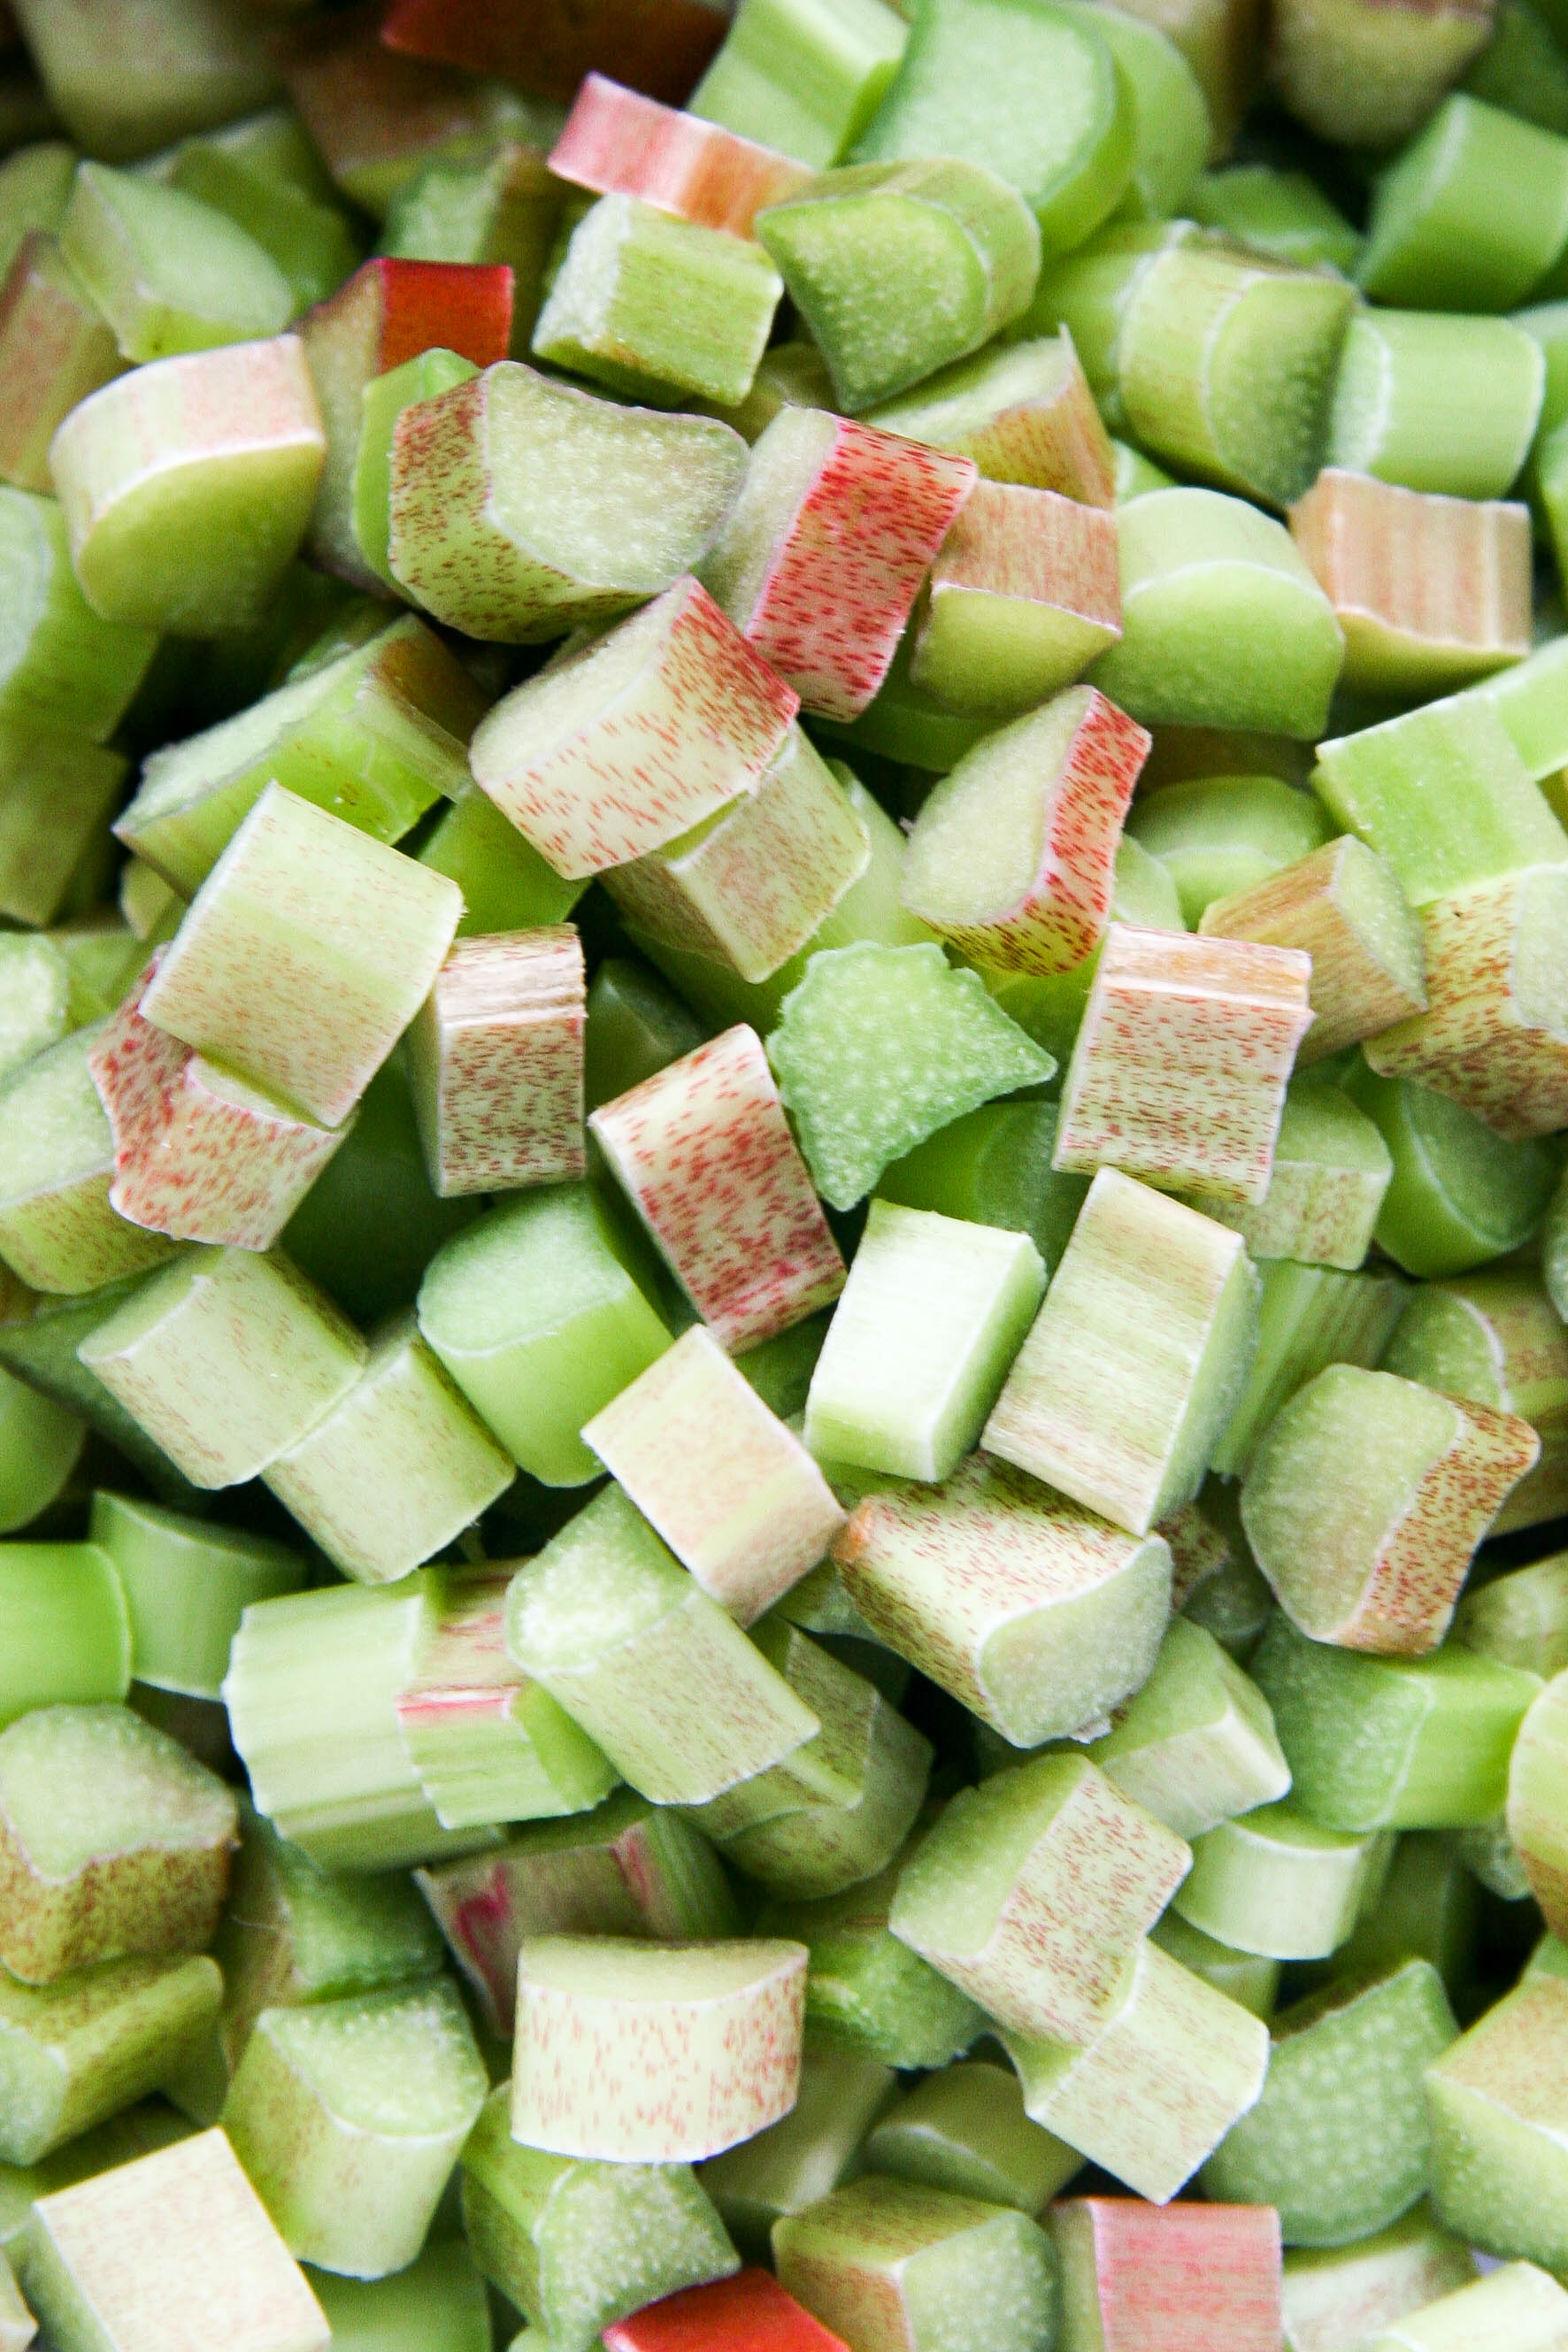
My most recent market-stalking-reward was rhubarb. The woman in front of me “ooohed” at the pile of rhubarb, bought a pound and half and I followed suit. Guess what? The tart, greenish-red vegetable resembling celery stalk happened to be at the height of its season! Which I now know to be between late April and June (around Boston).

strawberry rhubarb pie 1

strawberry rhubarb pie 2

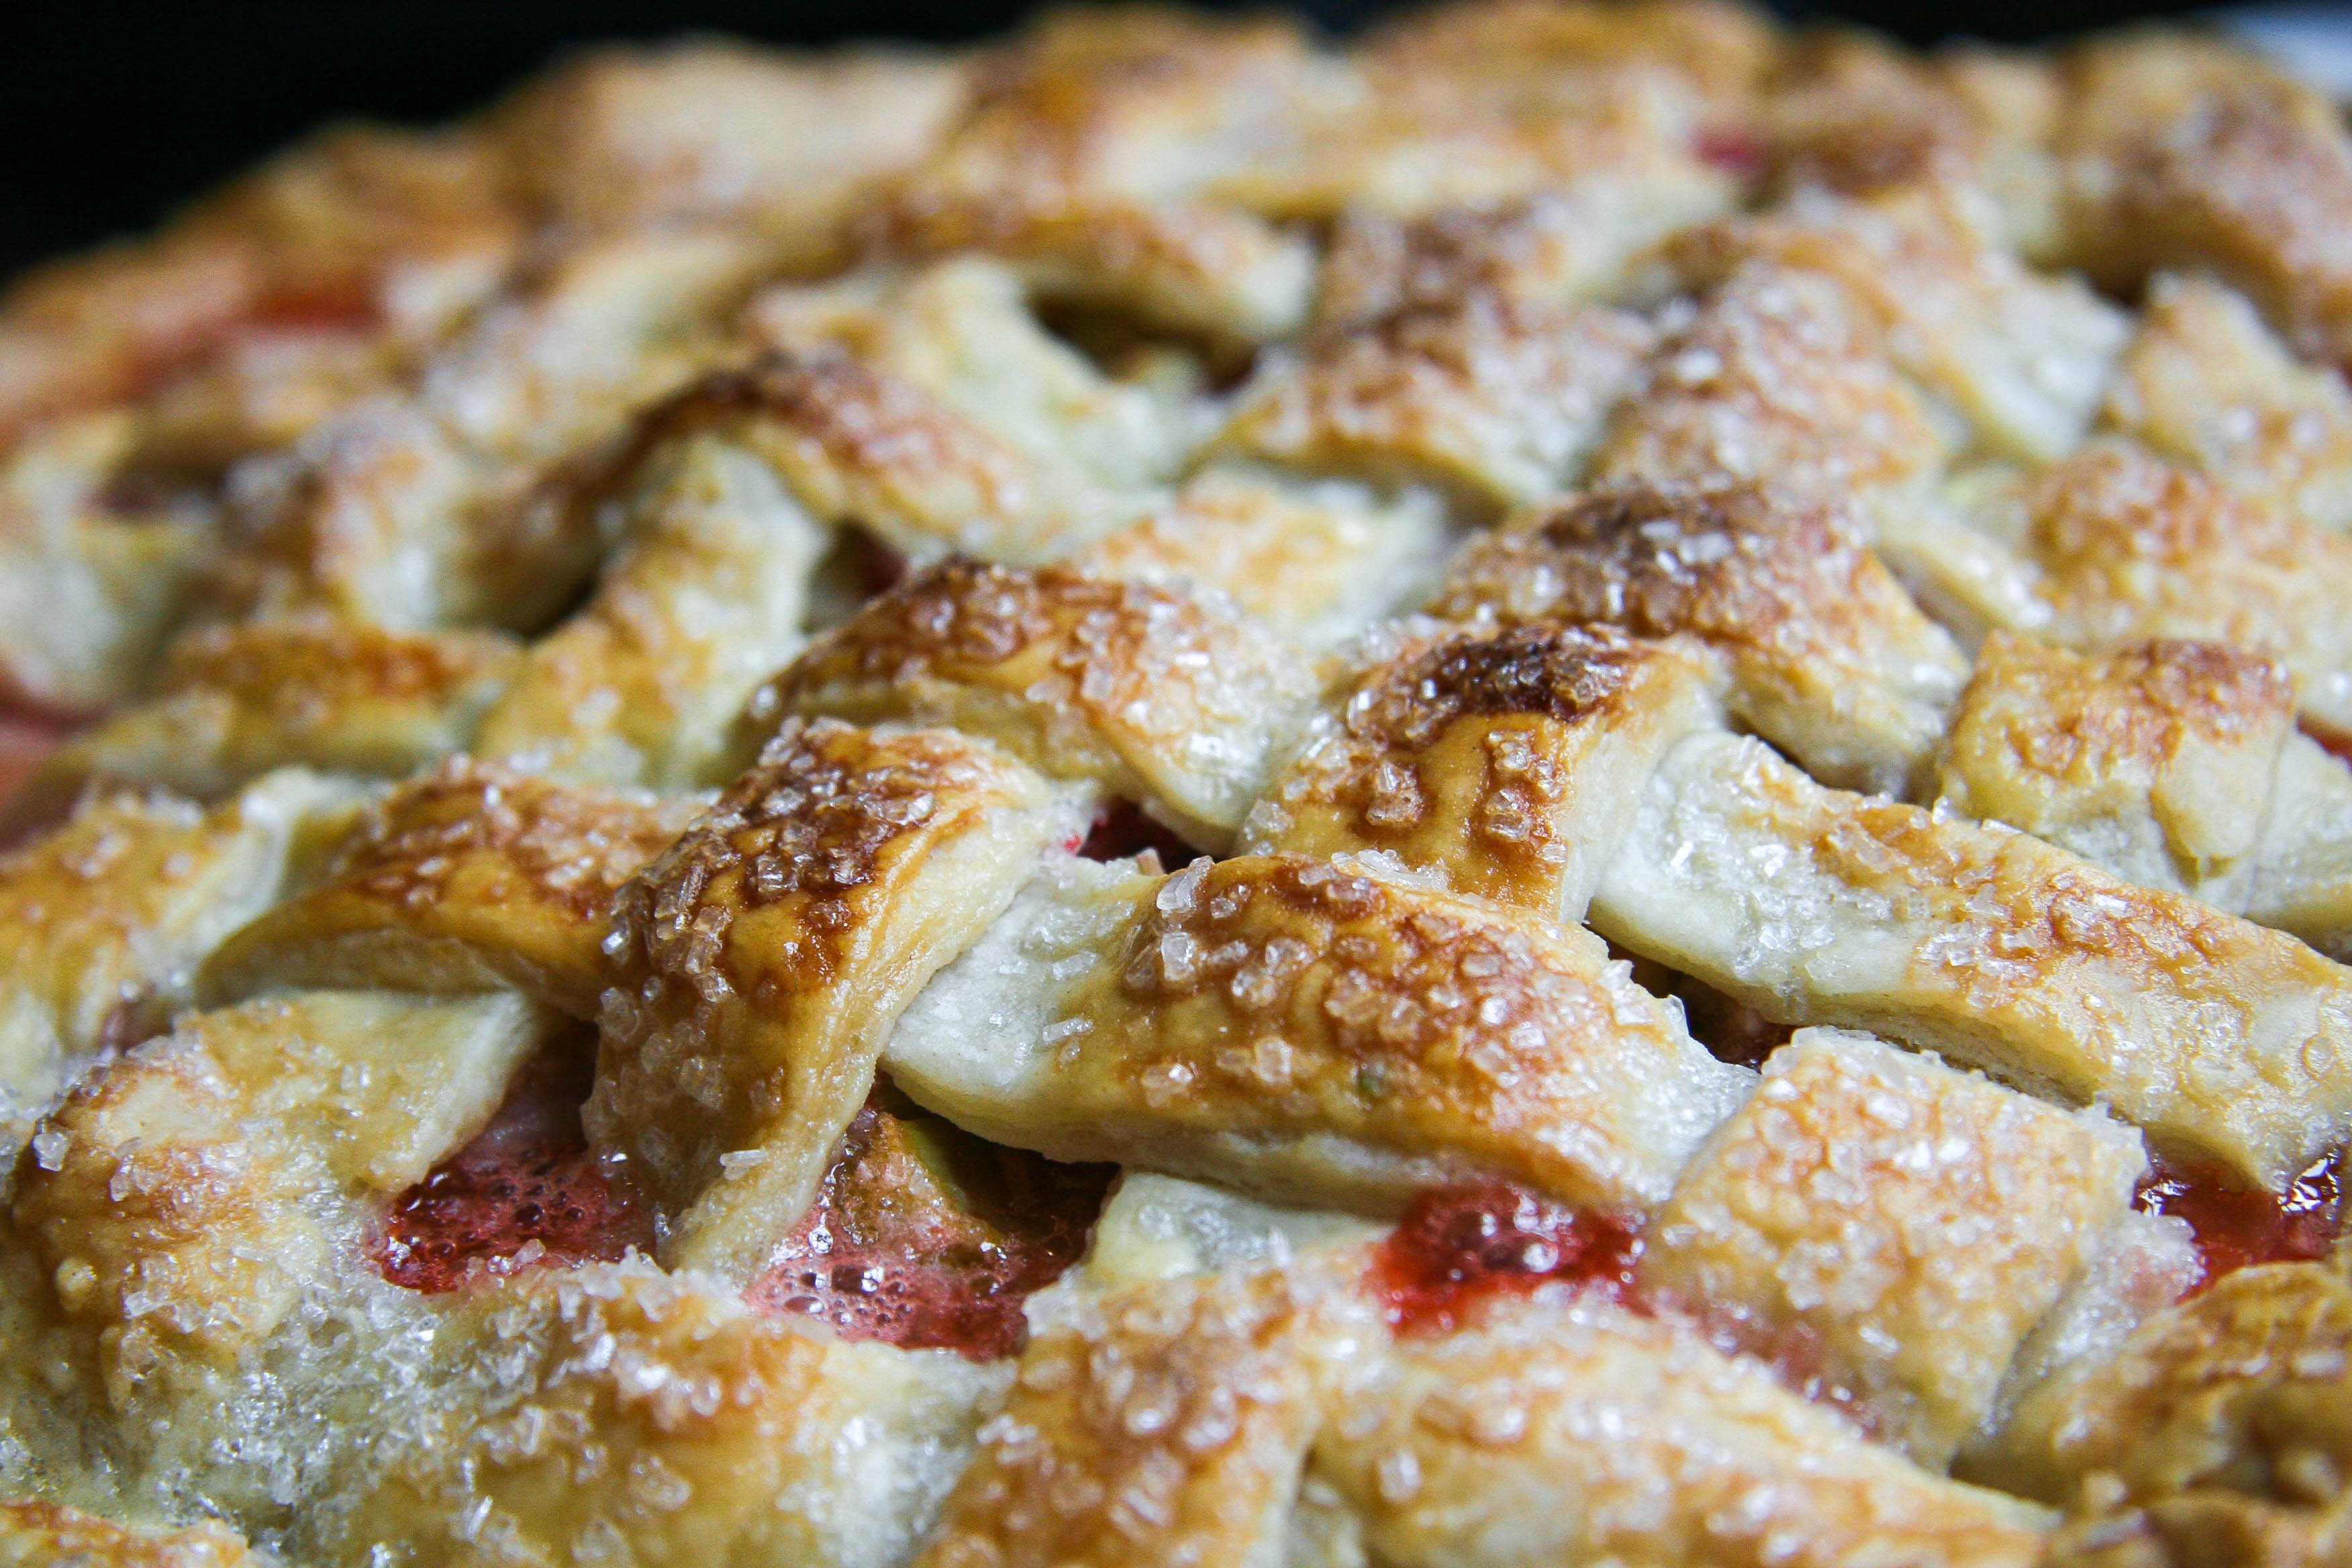
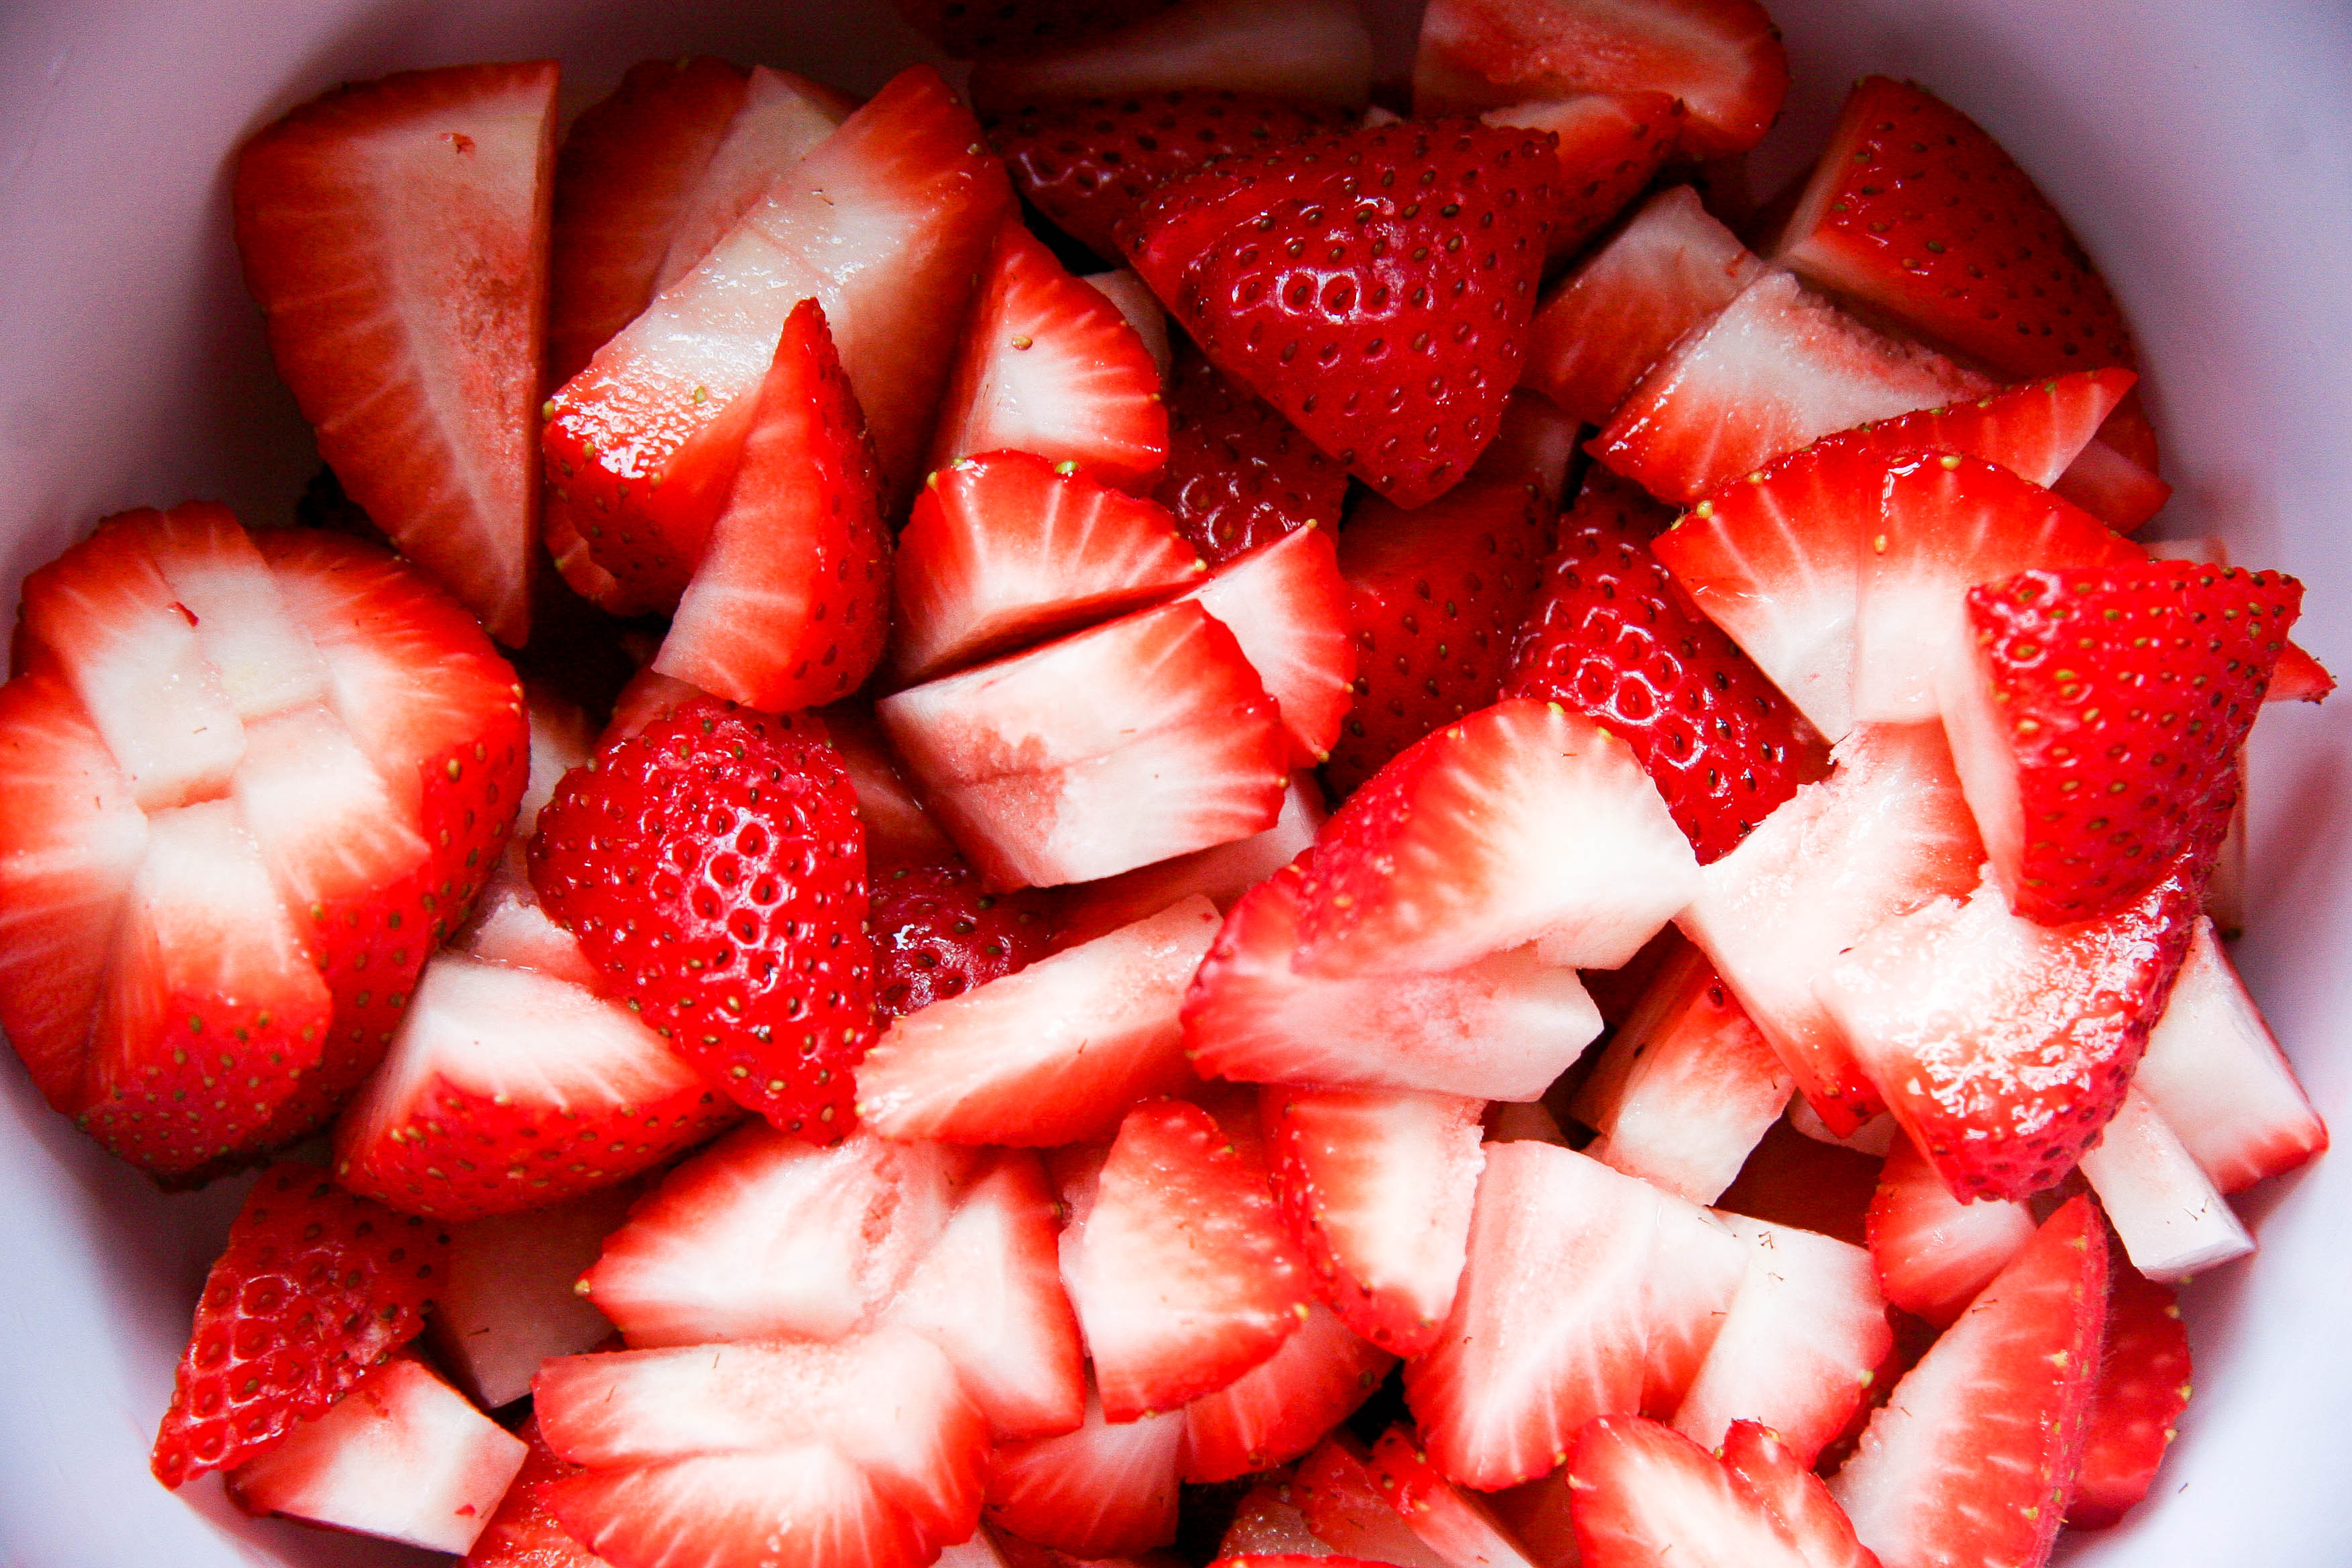
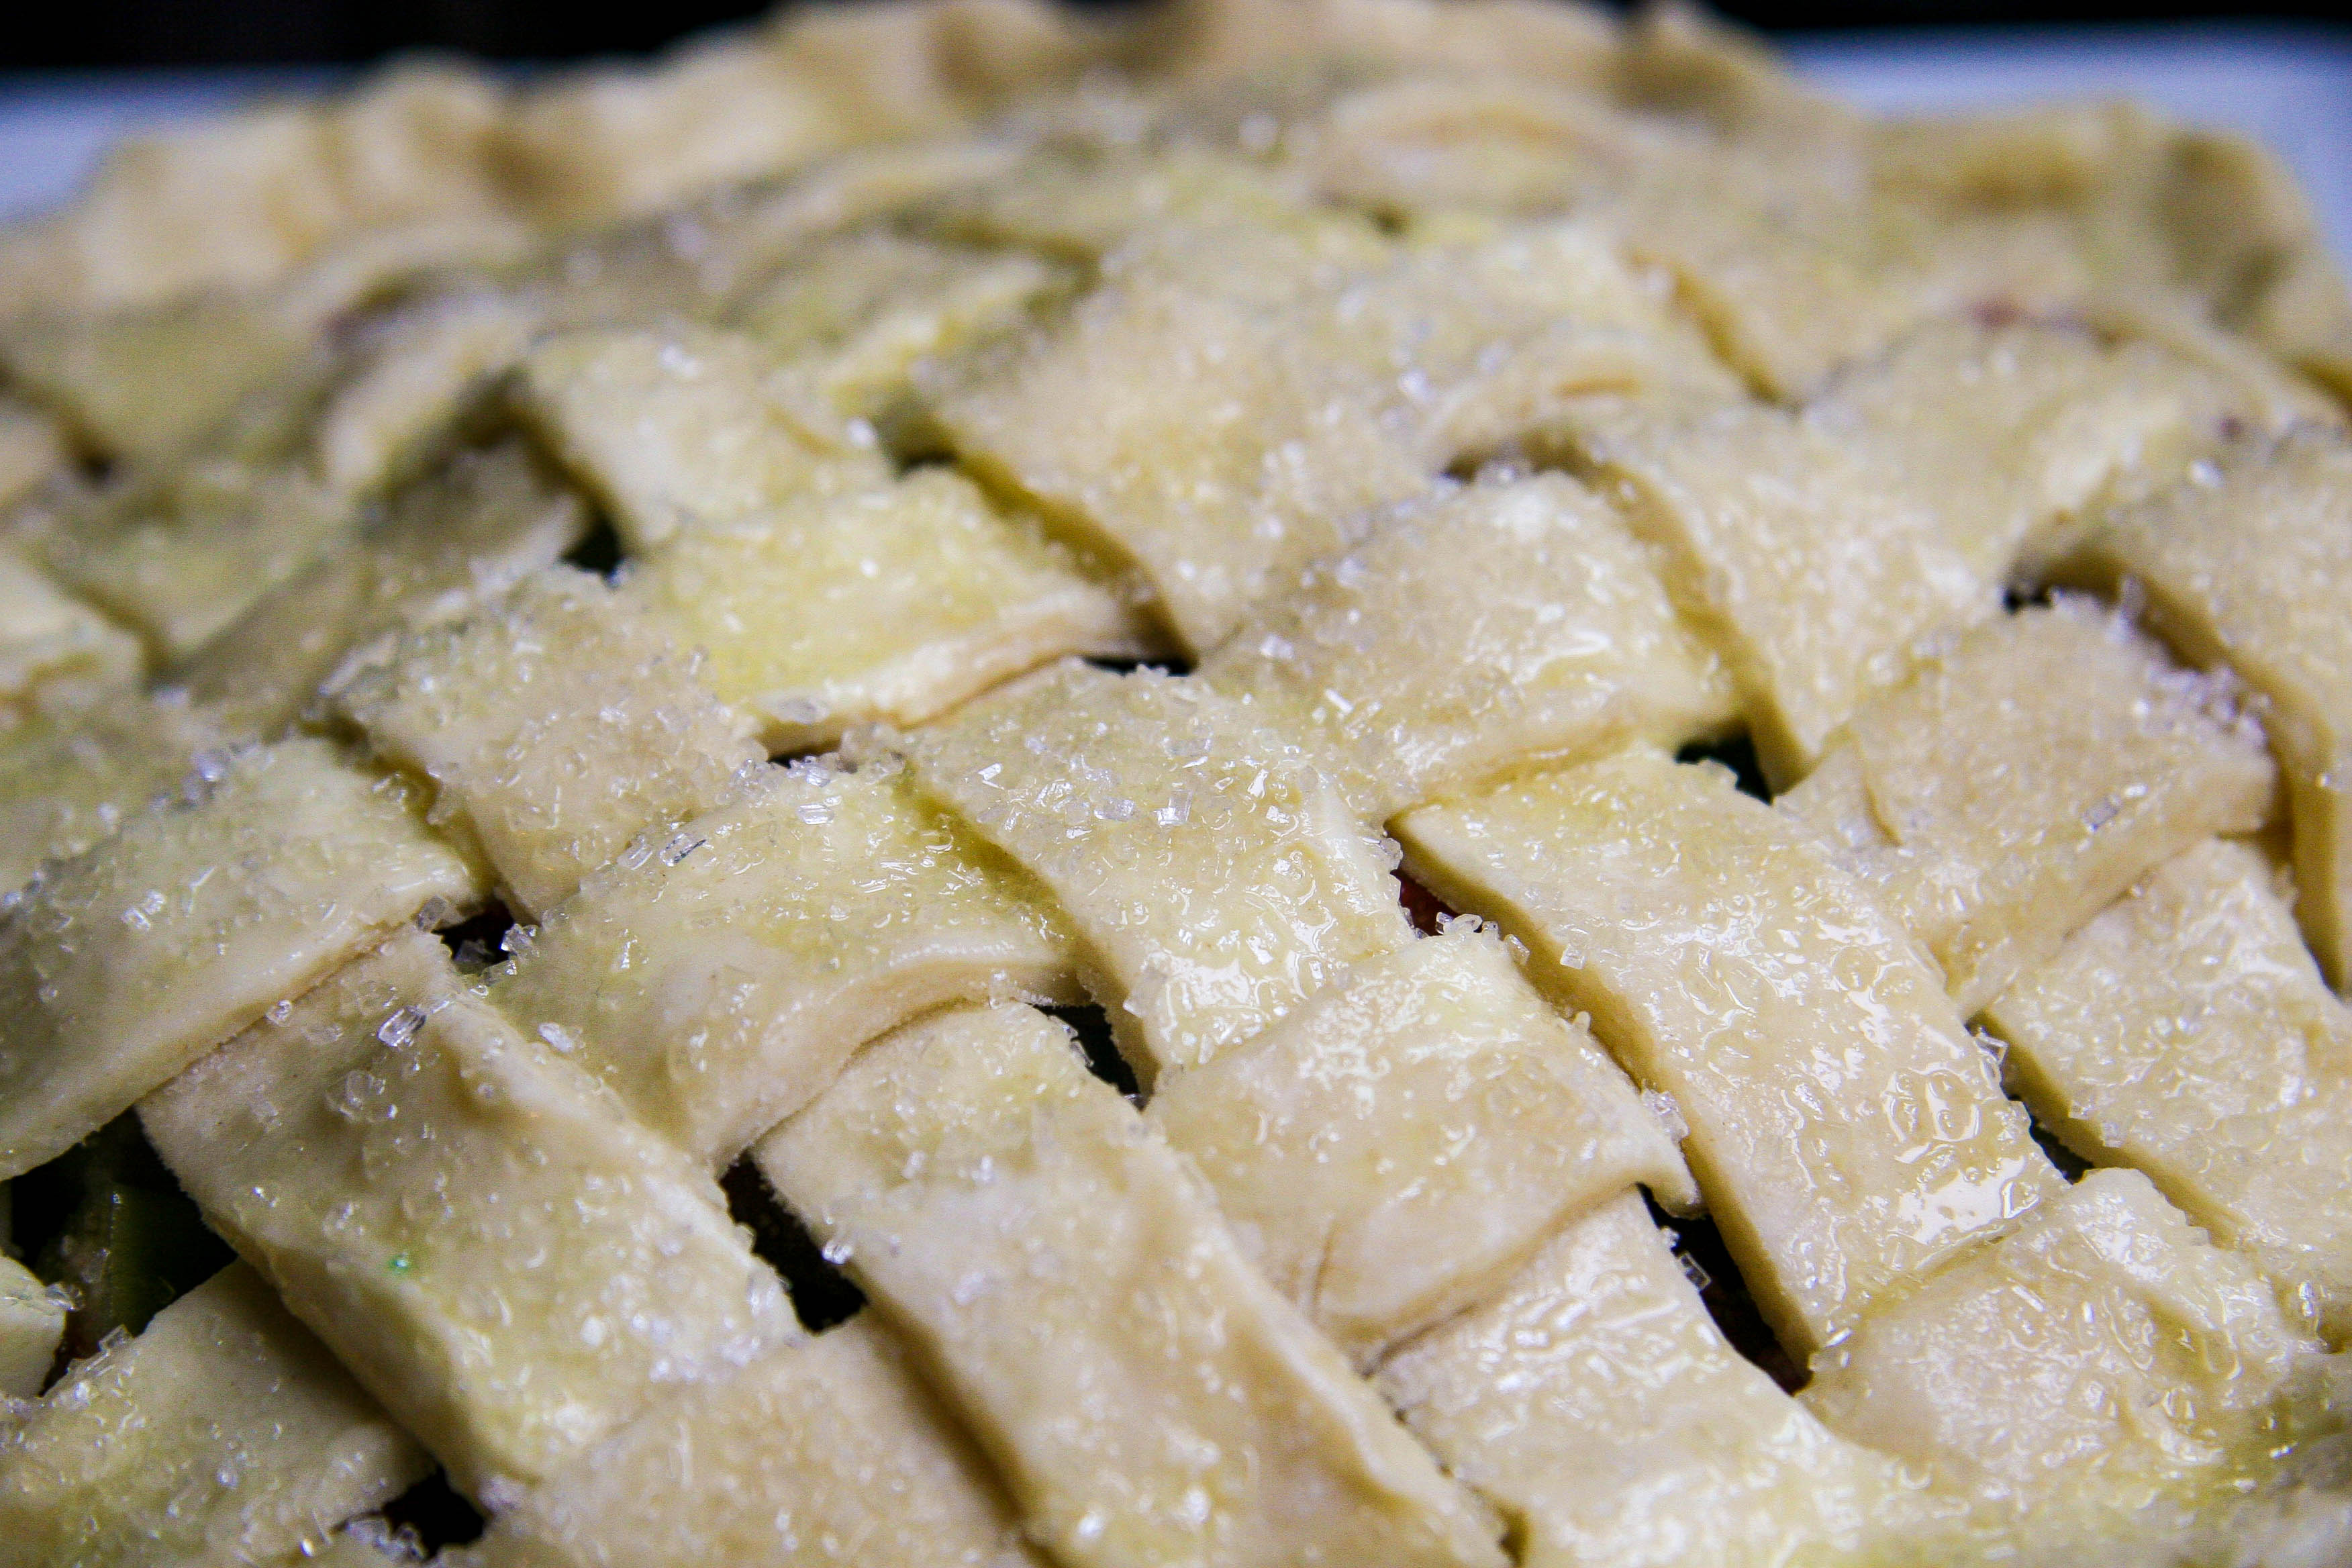
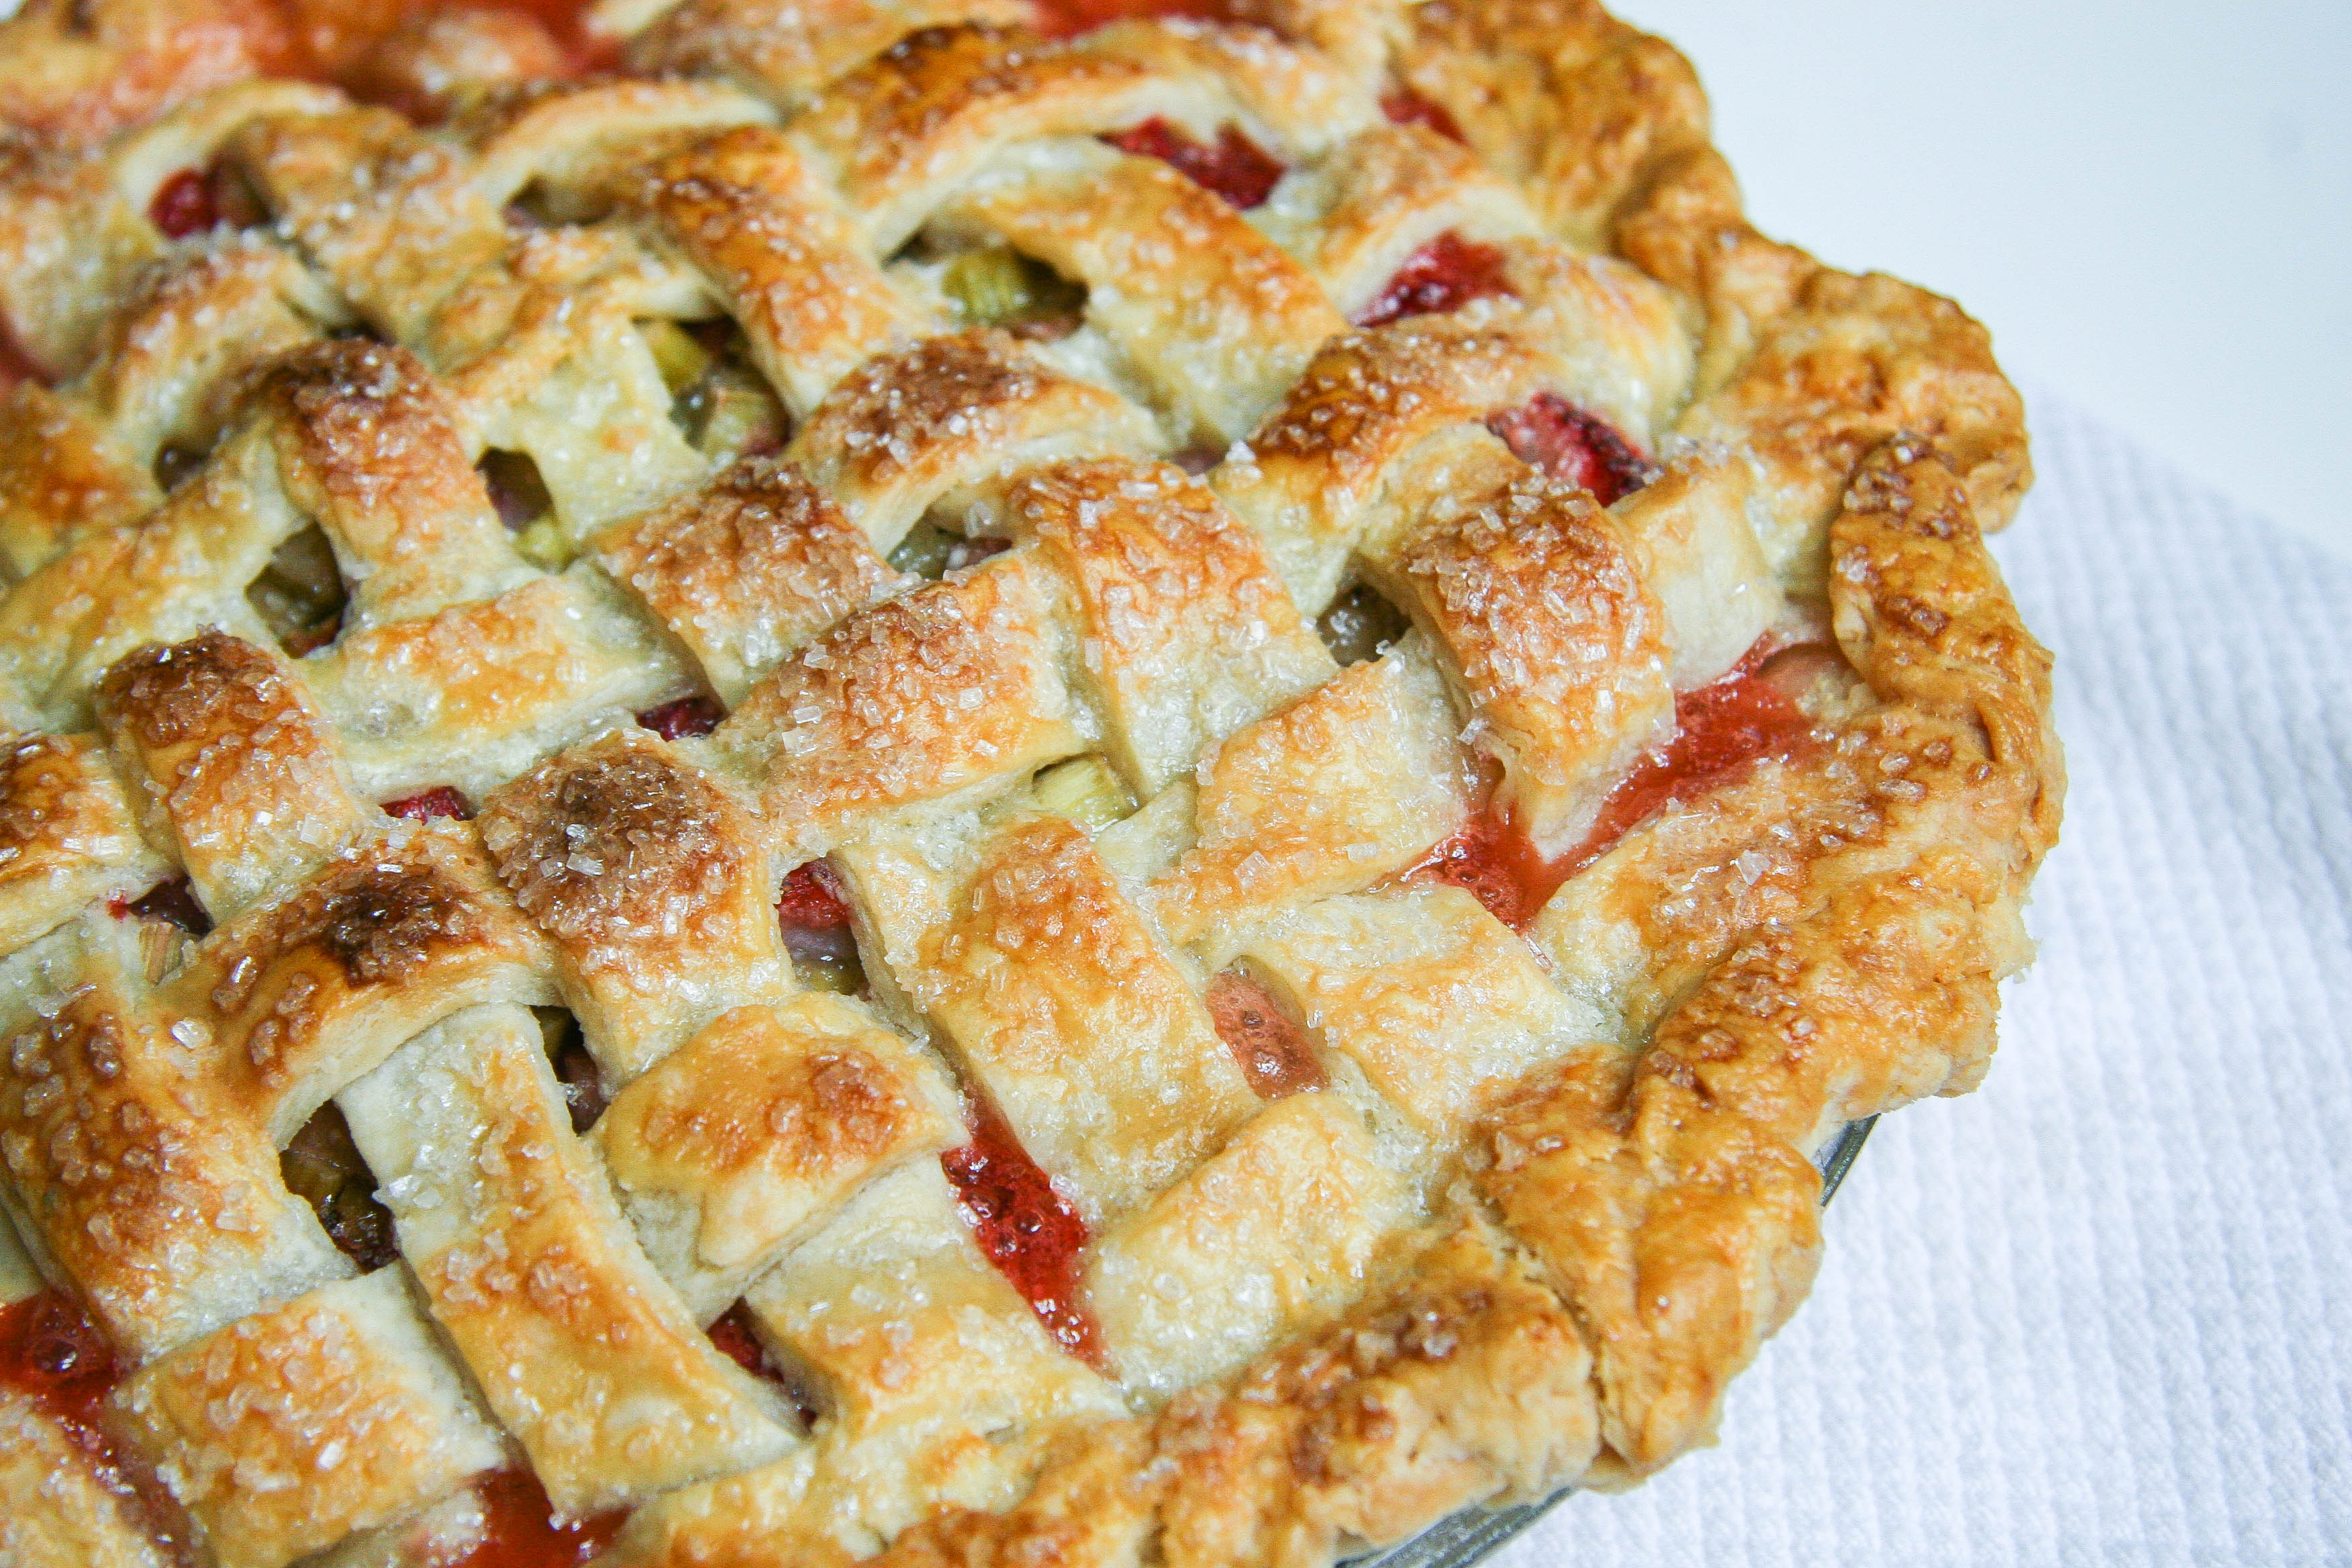
Rhubarb is often linked to strawberry—typically in Strawberry Rhubarb Pie—and it’s no wonder why. Between two flaky, buttery crusts, the sharpness of the rhubarb is balanced by the juices of sweet, sugared strawberries resulting in the perfect spring showcase of fresh-dessert flavors.

strawberry rhubarb pie 3

I’ve made strawberry rhubarb pie only once before and, while it was delicious, it came out very drippy. While I didn’t want to shift completely to the jelly-like viscosity of some store bought pies, I wanted to make sure this pie held its form better.

Deb Perelman of The Smitten Kitchen, not surprisingly, got it just right. Her secret ingredient for thickening the filling is adding a ¼ cup of tiny tapioca pearls. It totally worked. We identified the tiny tapioca balls on our forks—sometimes—but it mostly blended completely into the texture of the fruit and did not change the flavor one bit. I barely changed a thing about Deb’s recipe (I even followed her dough recipe!), so Deb, thank you for the scrumptiousness of this pie!

strawberry rhubarb pie 4

Now, here’s the part where you expect a photo of the inside of the finished pie so you can see the gorgeous pink hues of sweet, tart goodness; proof of a perfect pie slice that’s not too runny and not too gelatinous.

And here’s the part where I disappoint. No strategically placed pie slices smiling for the camera. None. Nothing. I’m sorry! I brought the pie to my parent’s house for a family dinner and after one bite my head was lifted to the pie clouds. One bite and I was swimming through the sky on pie. Before I ever came down from the clouds, we had eaten it all up. And, here’s the part where I beg you to try it anyway. I really don’t think you’ll regret it. And neither will anyone you choose to share with (Or not!).

strawberry rhubarb pie 5

strawberry rhubarb pie 7

strawberry rhubarb pie 9

strawberry rhubarb pie 11

strawberry rhubarb pie 10

strawberry rhubarb pie 12

strawberry rhubarb pie
Adapted, barely, from Deb Perelman of The Smitten Kitchen

Prep Time: 20 minutes (includes rolling out dough, but not making it)
Cook Time: 50 minutes
Total Time: 1 hour 10 minutes (But leave plenty of time for cooling!)
Makes 1 double crusted 9-inch pie

Because rhubarb is tart, the resulting pie isn’t crazy sweet. If you are looking for a pie on the sweeter side, Deb recommends upping the white sugar to ¾ cup. I did not up the sugar and, honestly, think it is just perfect with the ratios listed below.

Ingredients:

1 All Butter, Really Flaky Pie Dough or double-crust pie dough of your choice (Store bought is okay!), divided in two and chilled
3 ½ cups (about 1 ½ pounds, untrimmed) rhubarb, in ½-inch thick slices
4 cups (about 1 pound) strawberries, hulled and sliced into 4–6 pieces if big, halved if tiny
½ cup granulated sugar
¼ cup light brown sugar
1 tablespoon lemon juice
1 teaspoon finely grated lemon zest
¼ teaspoon salt
¼ cup quick-cooking tapioca
2 tablespoons unsalted butter, cut into small pieces
1 large egg yolk beaten to blend with 1 teaspoon water (for glaze)
Sparkling sugar, optional (for topping)

Instructions:

  1. Preheat oven to 400 degrees. On a well-floured counter, roll half of chilled pie dough into a 12-inch circle and carefully transfer to a 9-inch pie plate. Refrigerate while you prepare the filling.
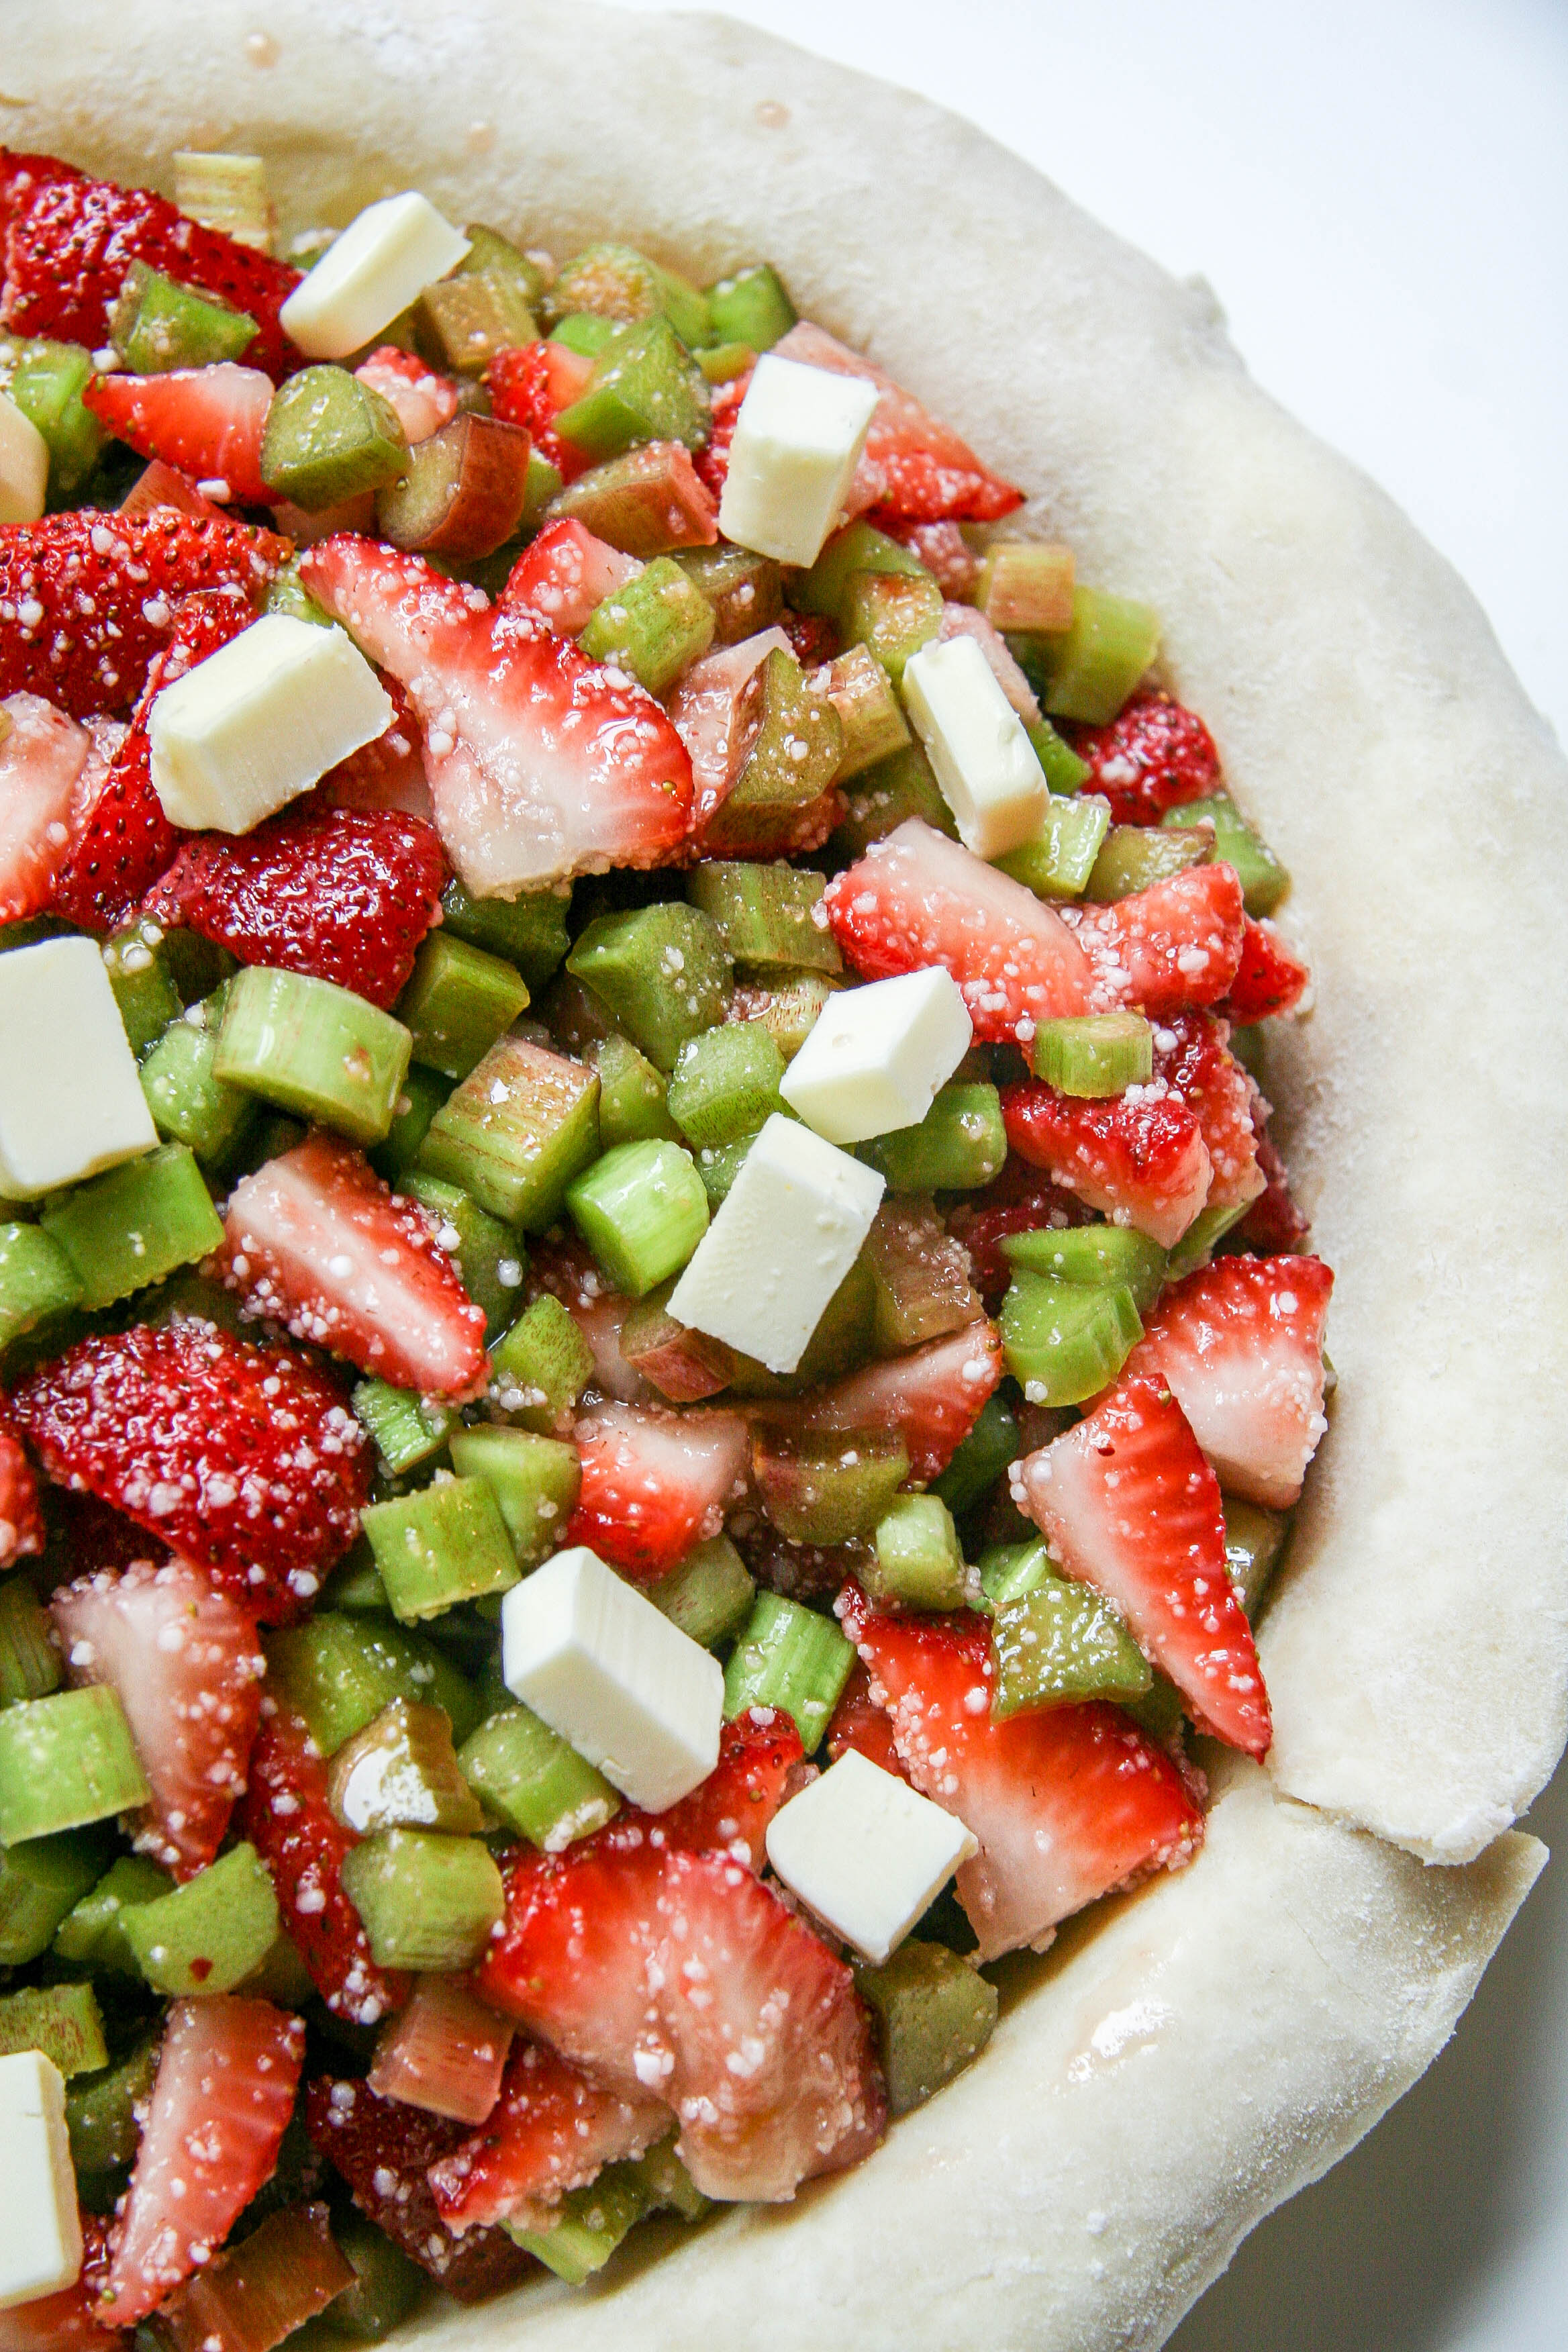
  2. Stir together rhubarb, strawberries, sugars, lemon juice and zest, salt, and tapioca in a large bowl. Roll second half of chilled pie dough into an 11-inch circle and place on a sheet of parchment paper. Cut into 1-inch strips if making a lattice top or cut decorative slits in it if keeping a full crust. I like to weave my lattice tops on the parchment paper similar to the technique used in this old school video, rather than trying to weave it over the filling. Then I slide the full weave onto the pie during the next step. Return dough-topped parchment to the refrigerator for a few minutes to firm up.
  3. Remove pie plate from the refrigerator and pile strawberry-rhubarb filling into it, spreading into the sides. Dot the top with the 2 tablespoons of butter pieces.
  4. Remove pie top from the refrigerator and slide it off the parchment, centering it on top of the pie. Trim top and bottom pie dough so that the dough hangs over the pie plate edge only ½-inch. Tuck the rim of dough underneath itself and crimp it decoratively. Transfer pie to a baking sheet, brush egg yolk mixture over dough and sprinkle with sugar.
  5. Bake for 20 minutes then reduce temperature to 350 degrees and bake for an additional 25 to 30 minutes, until the pie is golden and the juices bubble visibly. Transfer the pie to wire rack to cool. Allow the pie to cool for at least 2–3 hours before cutting to allow the juices to firm up a little bit.


Filed Under: desserts and sweets, eat Tagged With: dessert, fruit, pie, rhubarb, spring, strawberry

homemade oreo cookies

May 24, 2014 by Butter Loves Company

homemade oreos recipe 8

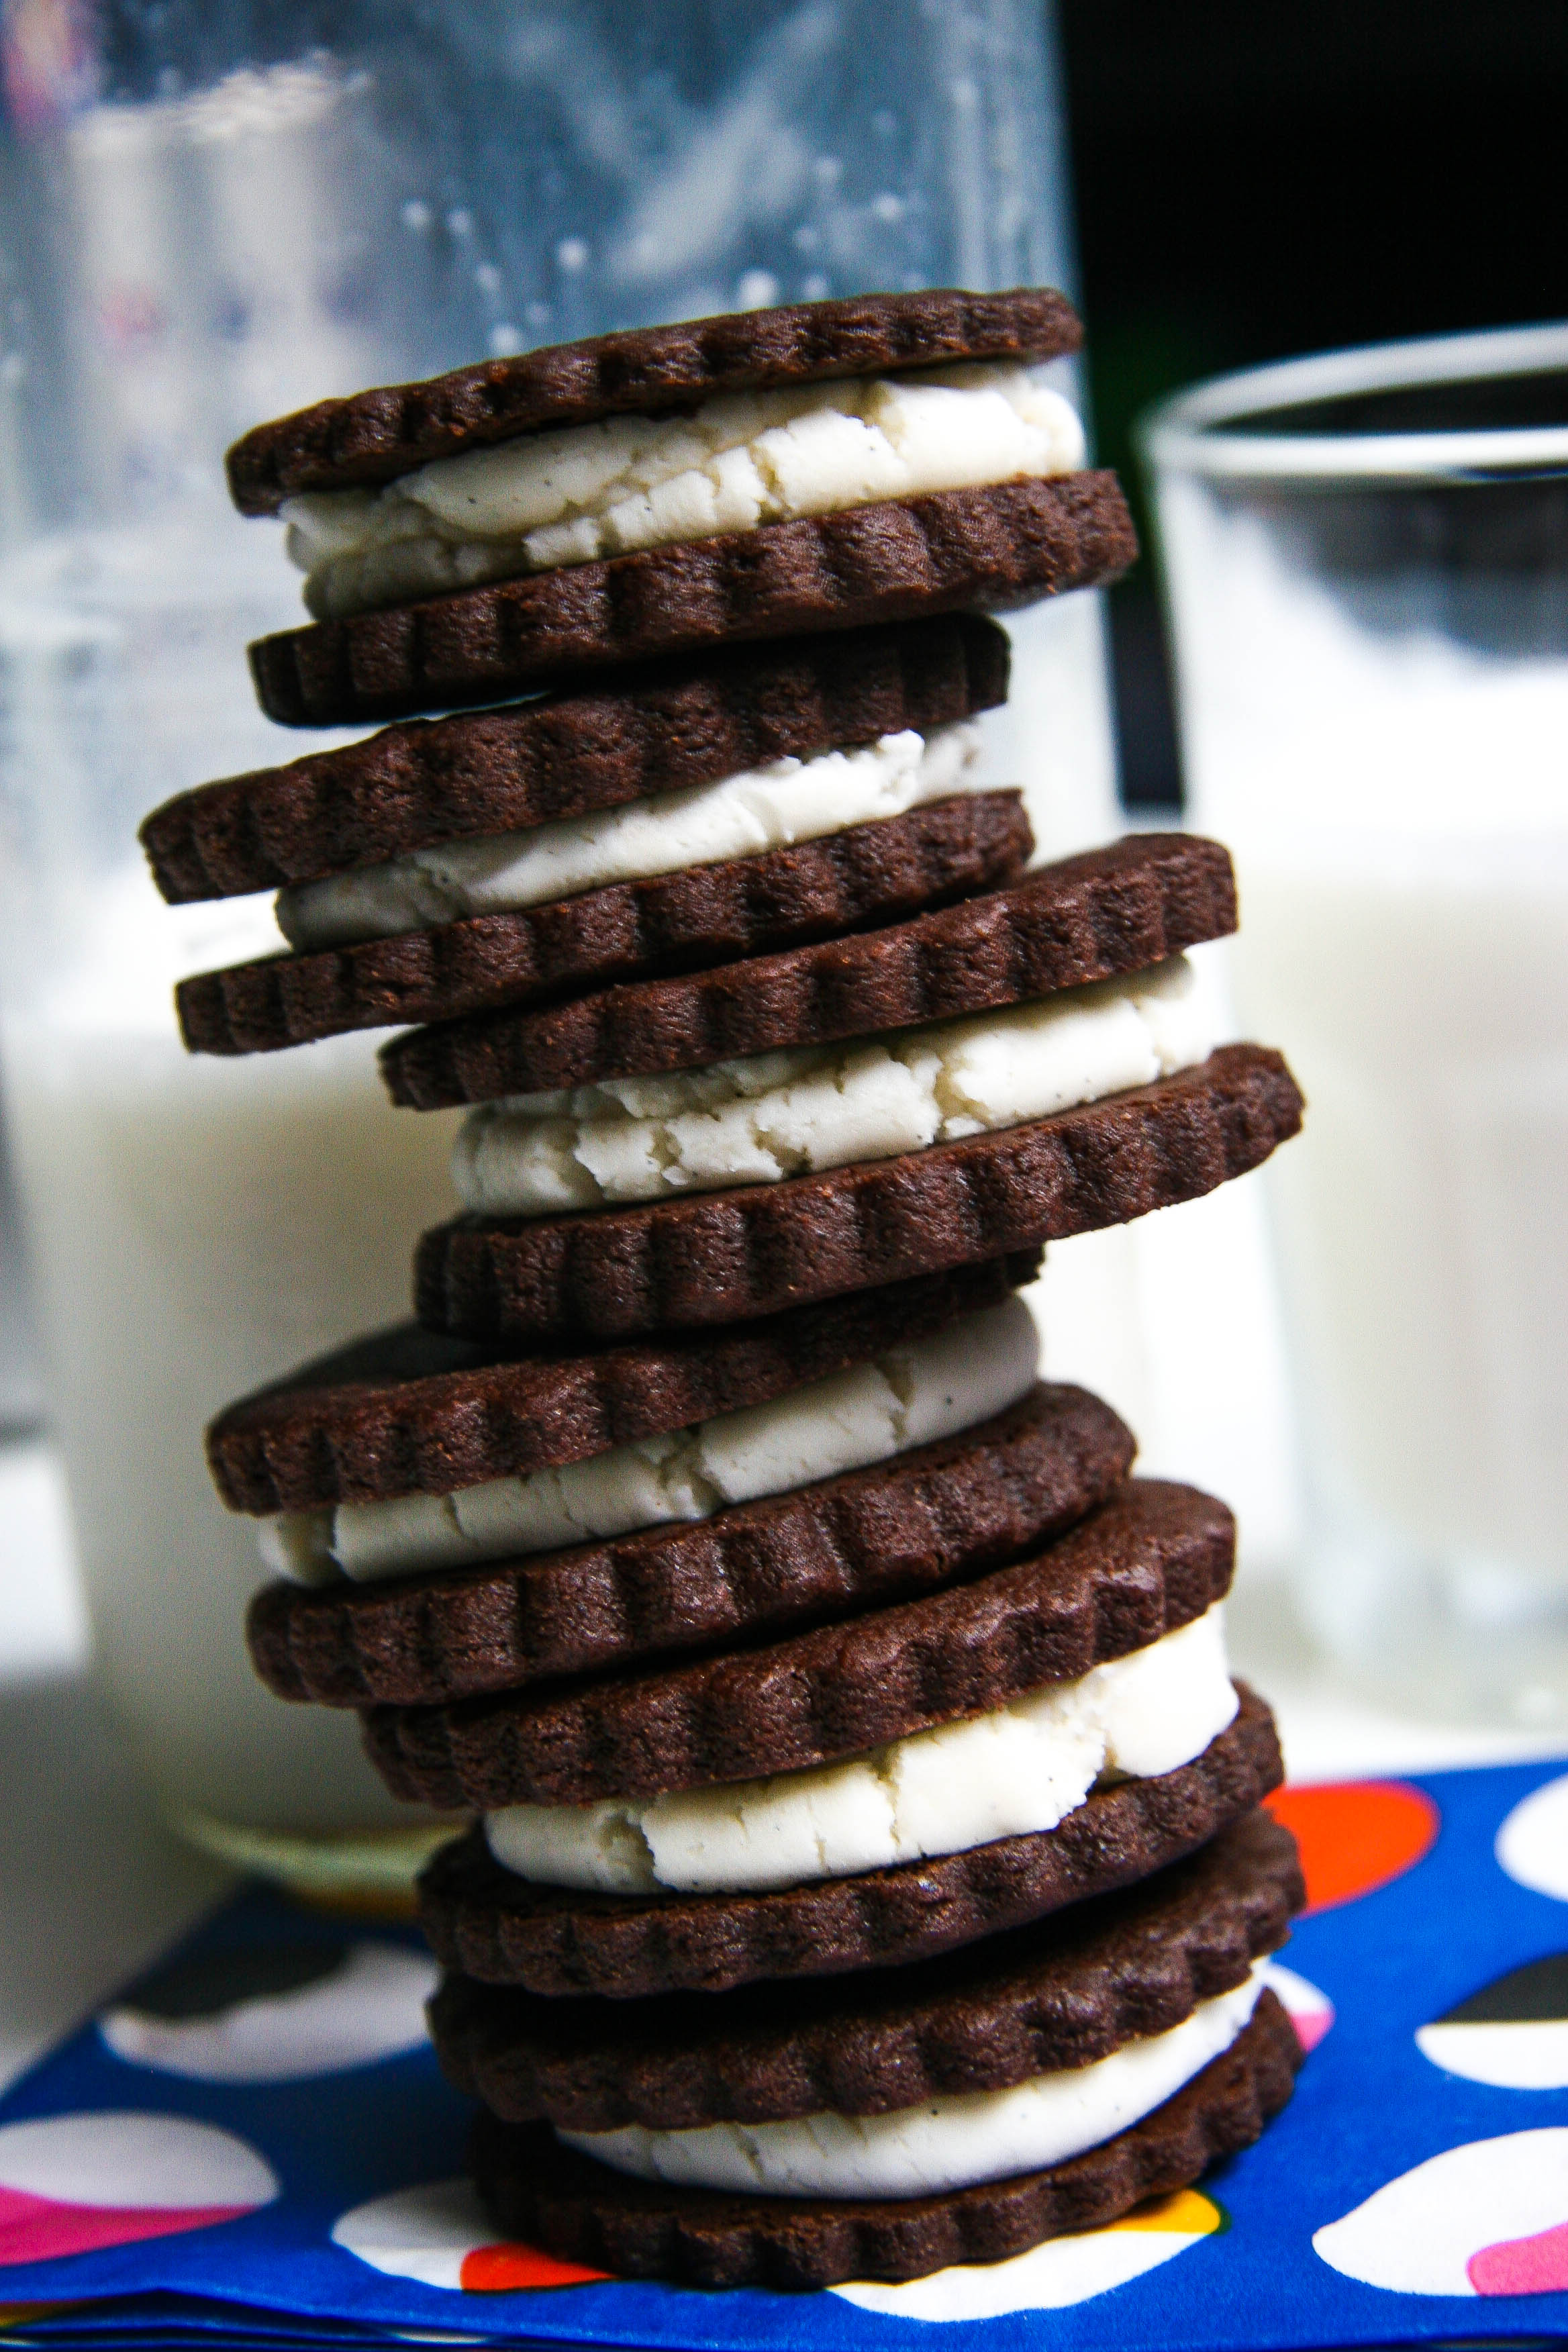
Here’s the st-Oreo . . .

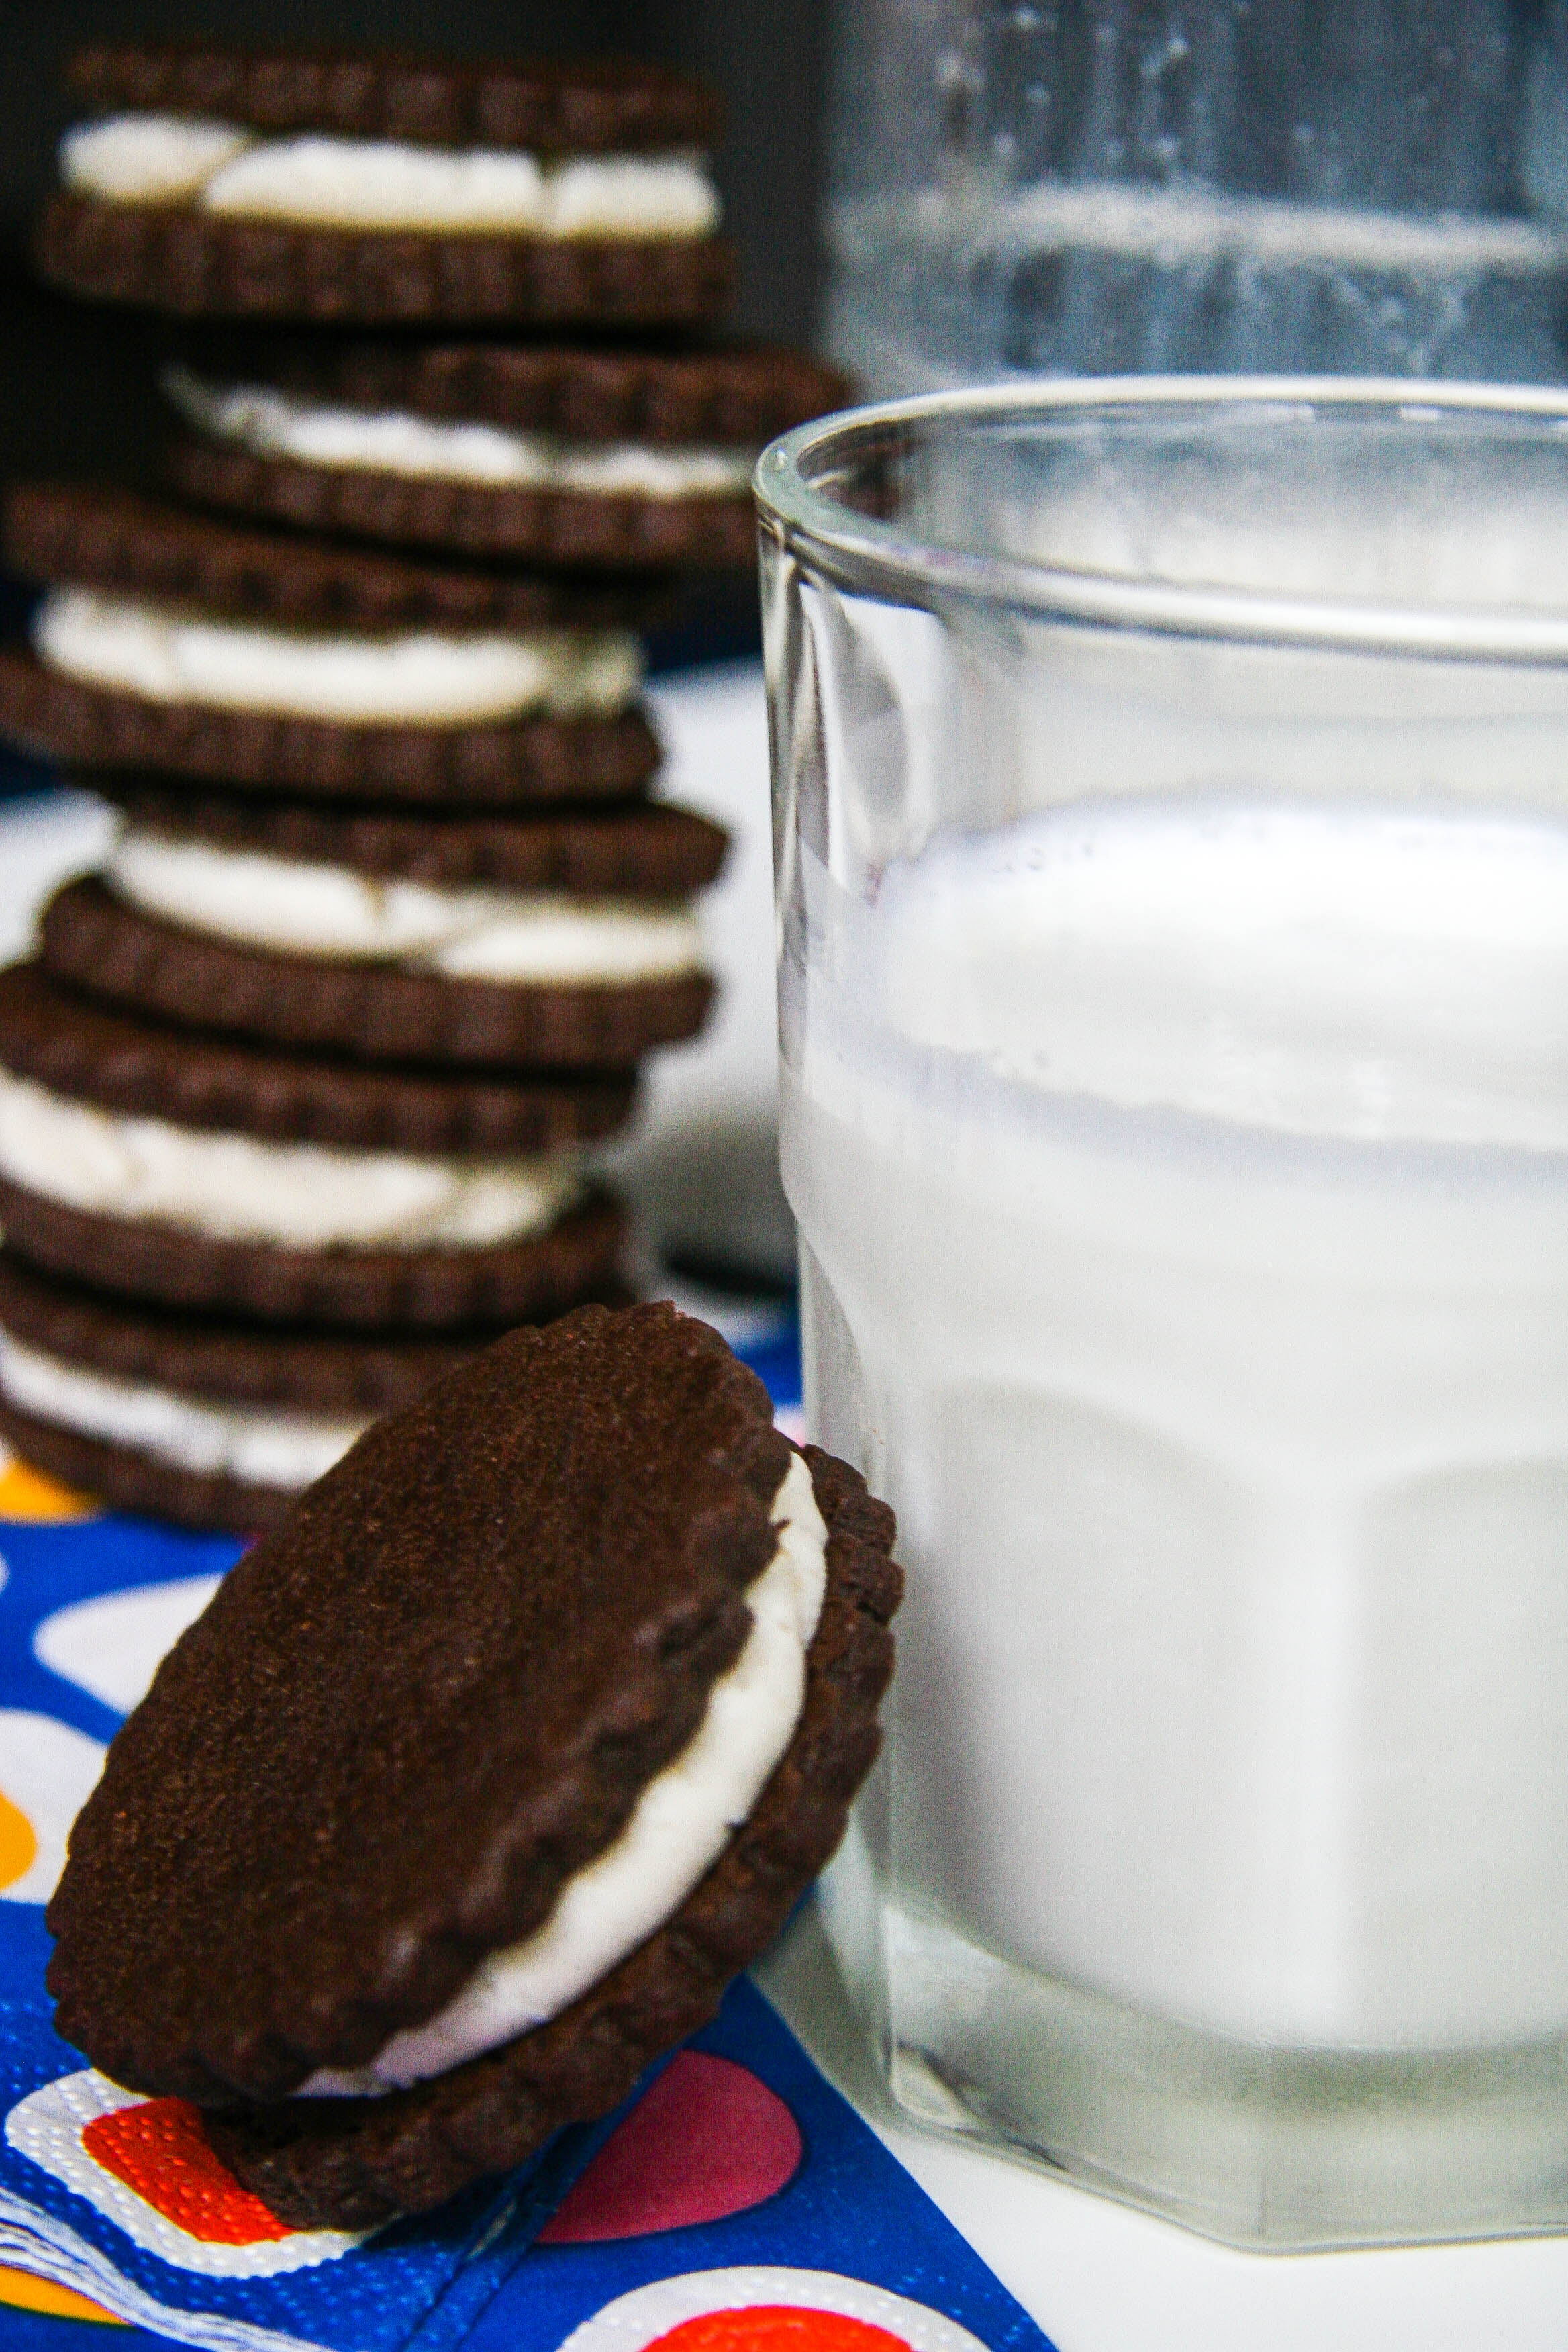
“Milk’s favorite cookie” will forever remind me of days at my friend Maura’s house—a convenient stone’s throw away from my parent’s house—which was always lively and where the Oreos were bountiful. I’d hang out with Maura and her four siblings, possibly after a game of jail break (i.e. chasing each other around the neighborhood, hopping fences, skinning knees), and we’d demolish sleeve after sleeve of Oreos.

But aside from the sheer volume of Oreos I consumed with Maura’s family, I think the biggest reason the cream filled chocolate sandwich cookie, to this day, reminds me of the her house is because of her family’s peculiar Oreo preference.

They always chose single stuffed. (gasp)

Now for me, when it comes to Oreos, I always considered Double Stuf far superior to single stuffed, and I thought that was universal opinion. But, apparently, people have interests in all sorts of chocolate to cream ratios. As a child, these are the things that stick.

Wouldn’t it be great to have a sleeve of Oreos that would satisfy all the stuffers?—the single, the double, and hey, even the triple!

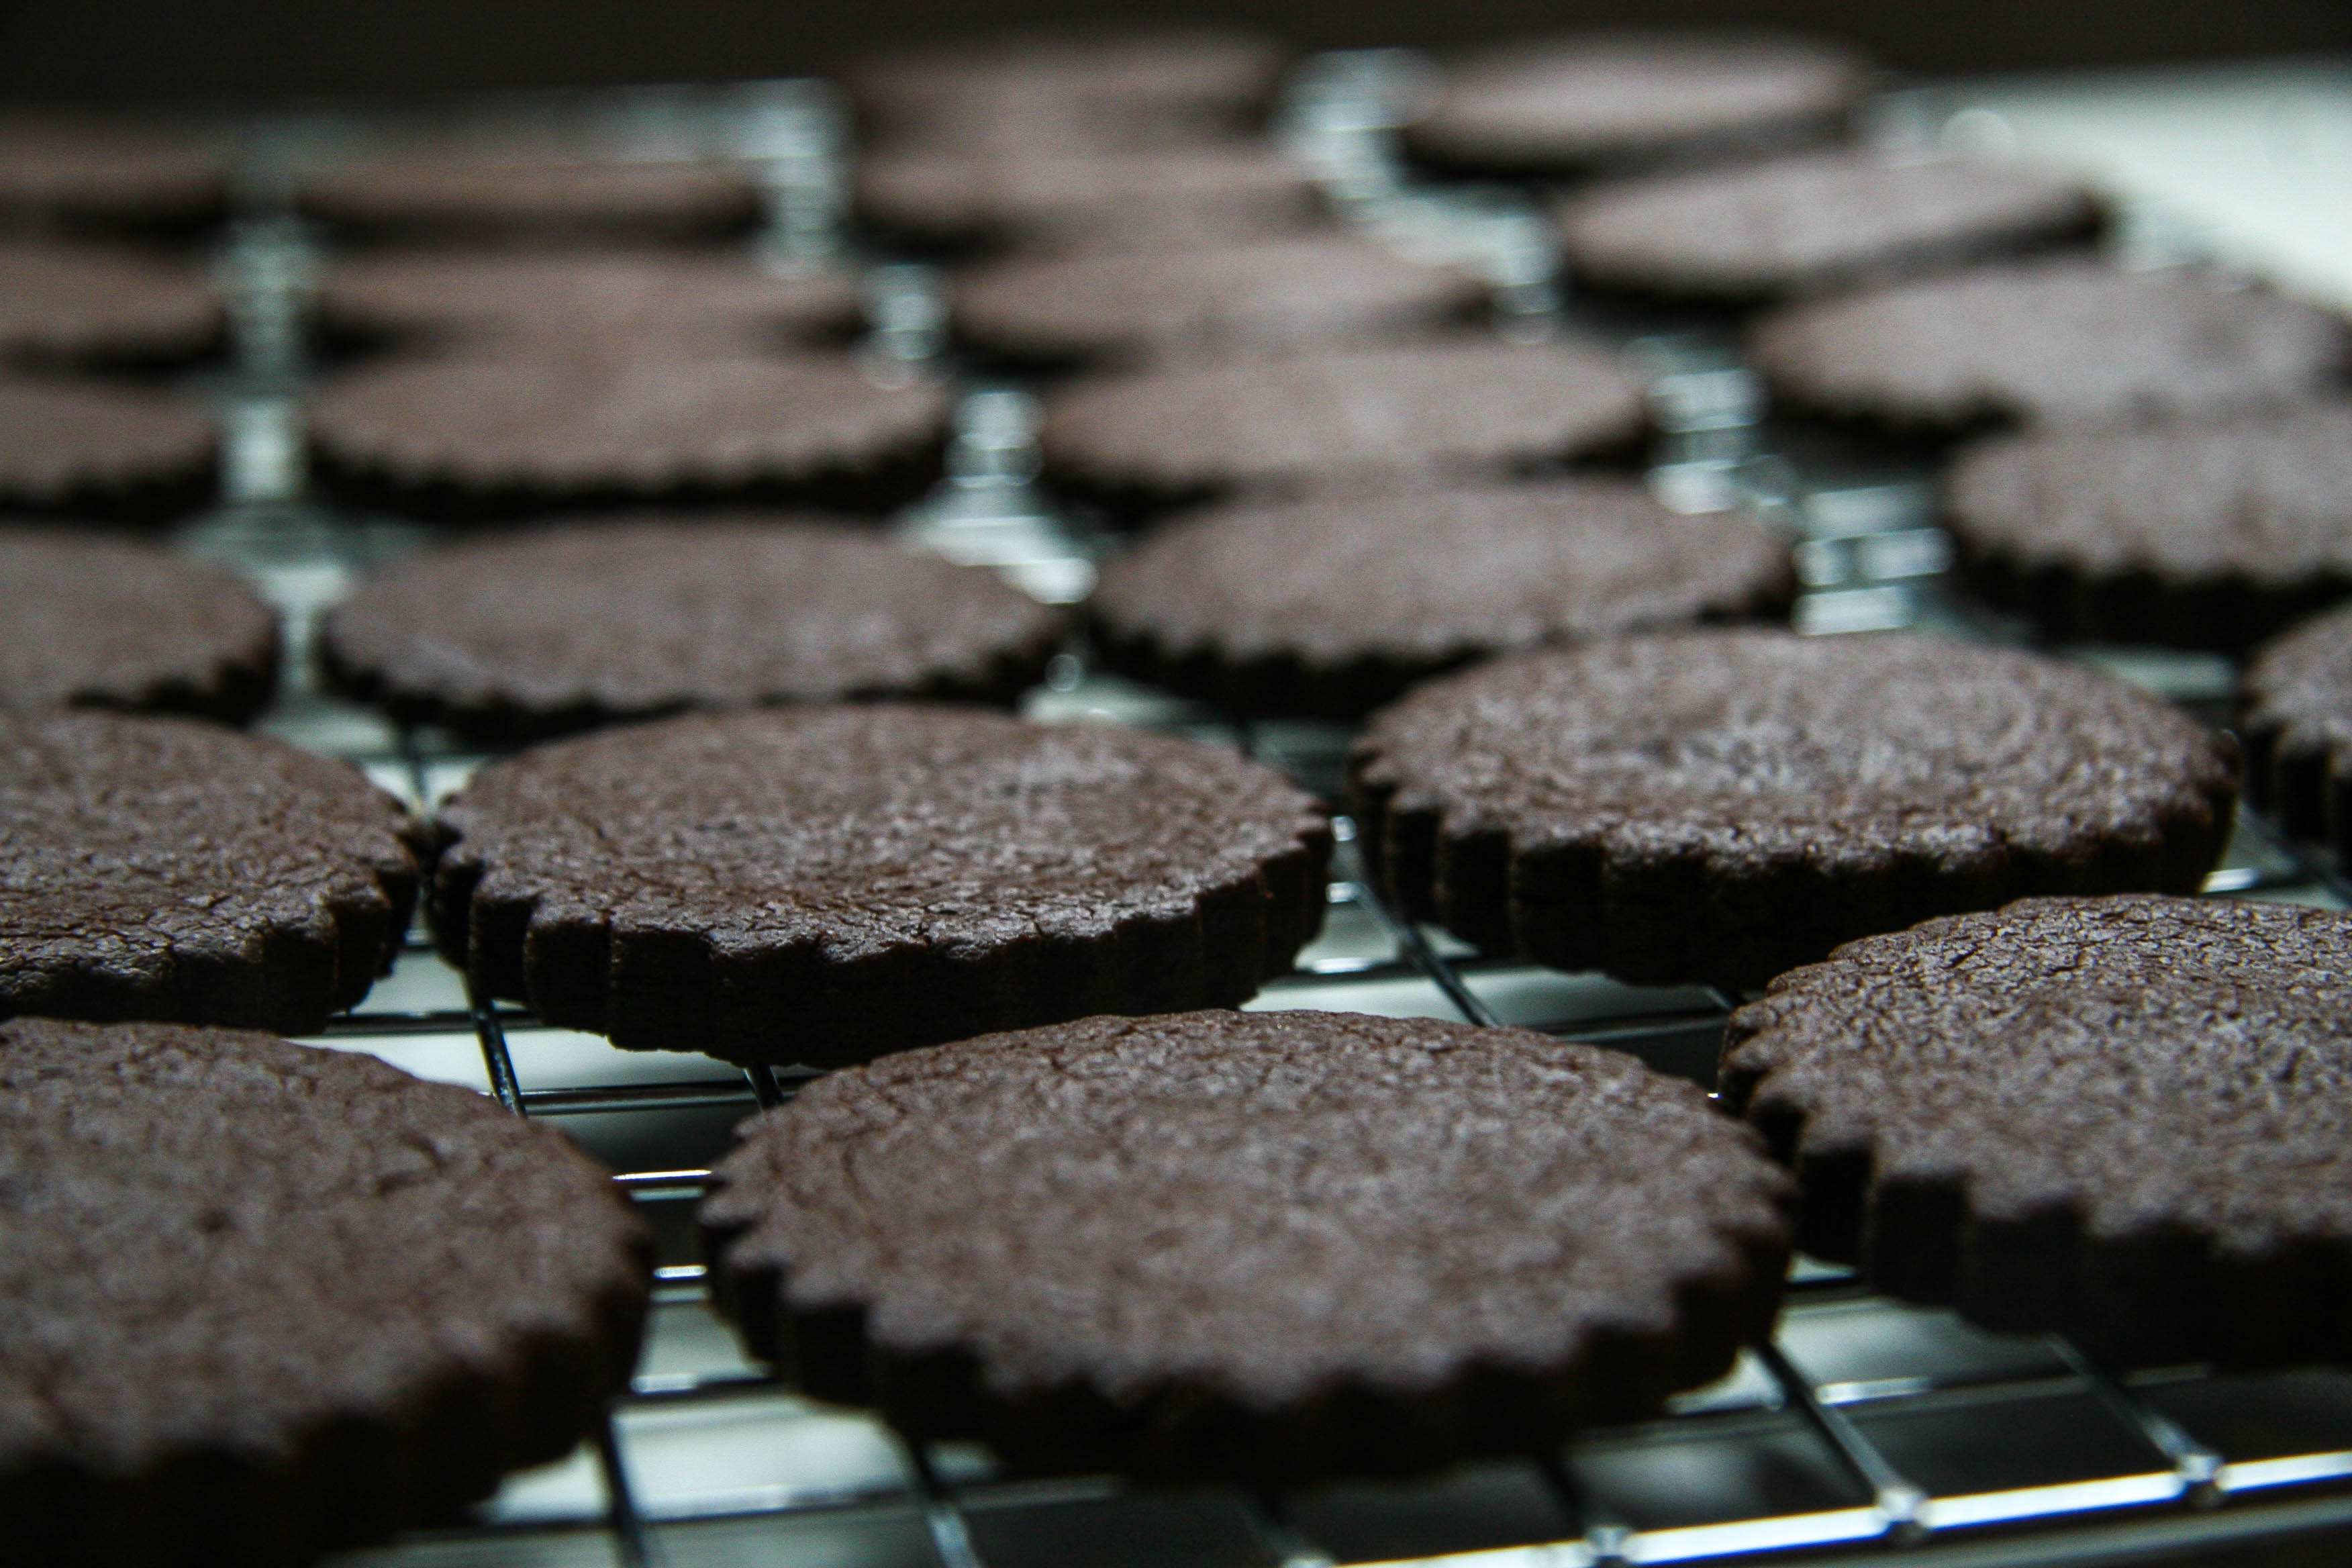
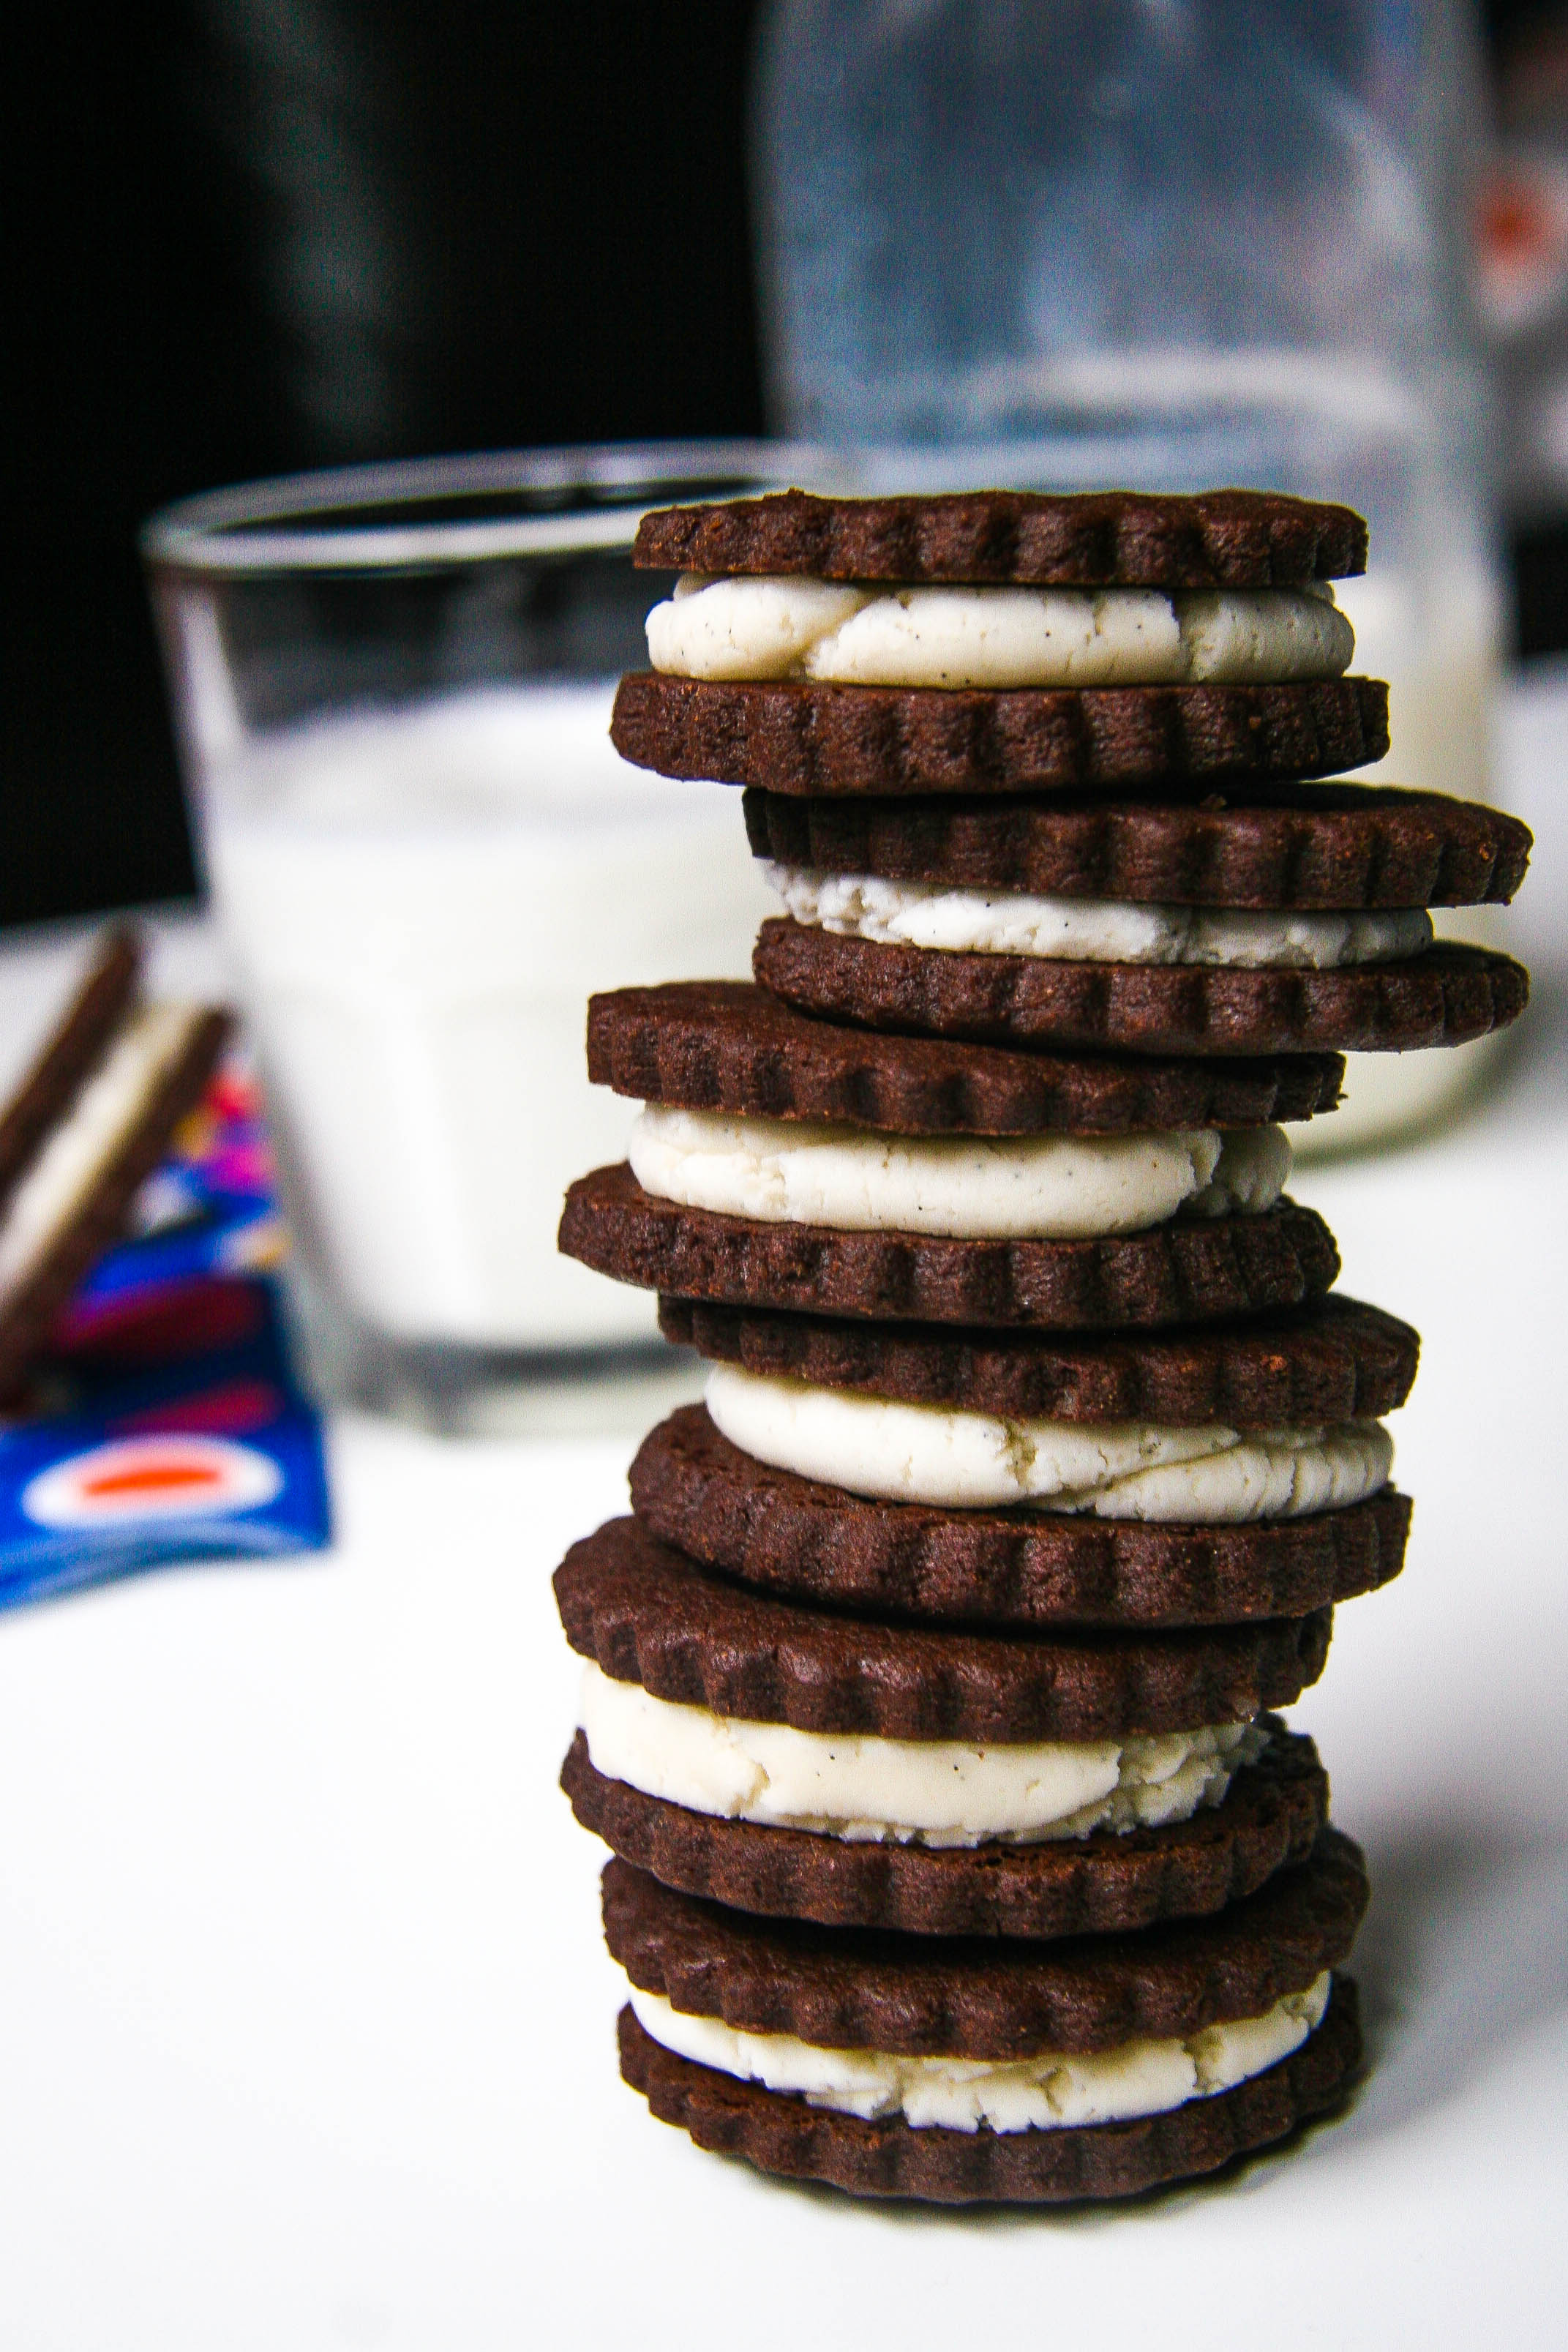
Well now you can. And homemade Oreos are so much easier to make than you might think plus you can fill them with vanilla cream to your heart’s desire. These are super-simple and they taste just like the Oreos you remember . . . maybe even a little better ;-).

Now, tell me, what’s your favorite Oreo? Single stuffed or Double Stuf?

homemade oreos recipe 1

homemade oreos recipe 2

homemade oreos recipe 3

homemade oreos recipe 4

homemade oreos recipe 7

homemade oreo cookies
adapted from Thomas Keller’s Bouchon Bakery Cookbook

Prep Time: 20 minutes
Cook Time: 15 minutes
Total Time: 1 hour 35 minutes (Includes chill time)
Makes: about 14-16 2-inch sandwiches

Ingredients:

1 cup minus 2 tablespoons all purpose flour
½ cup plus 1 tablespoon unsweetened cocoa powder
2/8 teaspoons baking soda
4 oz. (1 stick) unsalted butter, softened
½ teaspoon table salt
½ cup granulated sugar

For the filling
2 oz. (1/2 stick) unsalted butter, softened
¼ cup vegetable shortening
2 cups confectioners sugar
2 teaspoons vanilla extract or vanilla bean paste

Instructions:

  1. In a medium bowl, whisk together the flour, cocoa and baking soda to combine. Set aside.
  2. In the bowl of an electric mixer fitted with the paddle attachment, beat the butter on medium-low speed until smooth. Add the salt and mix again for 15 seconds. Add the sugar and mix again on medium-low for about 2 minutes. Scrape down the sides and bottom of the bowl with a spatula.
  3. Add the flour mixture to the butter mixture in 2 additions, mixing on low speed after each addition until just combined (after the second addition, the dough should come together).
  4. Grab the dough into a ball and turn onto a sheet of plastic wrap. Using the heel of your hand, form the dough into a roughly 6-inch square block. Wrap snug with the plastic and refrigerate until firm, at least 1 hour and up to 2 days (or it can be frozen at this point for up to 1 month).
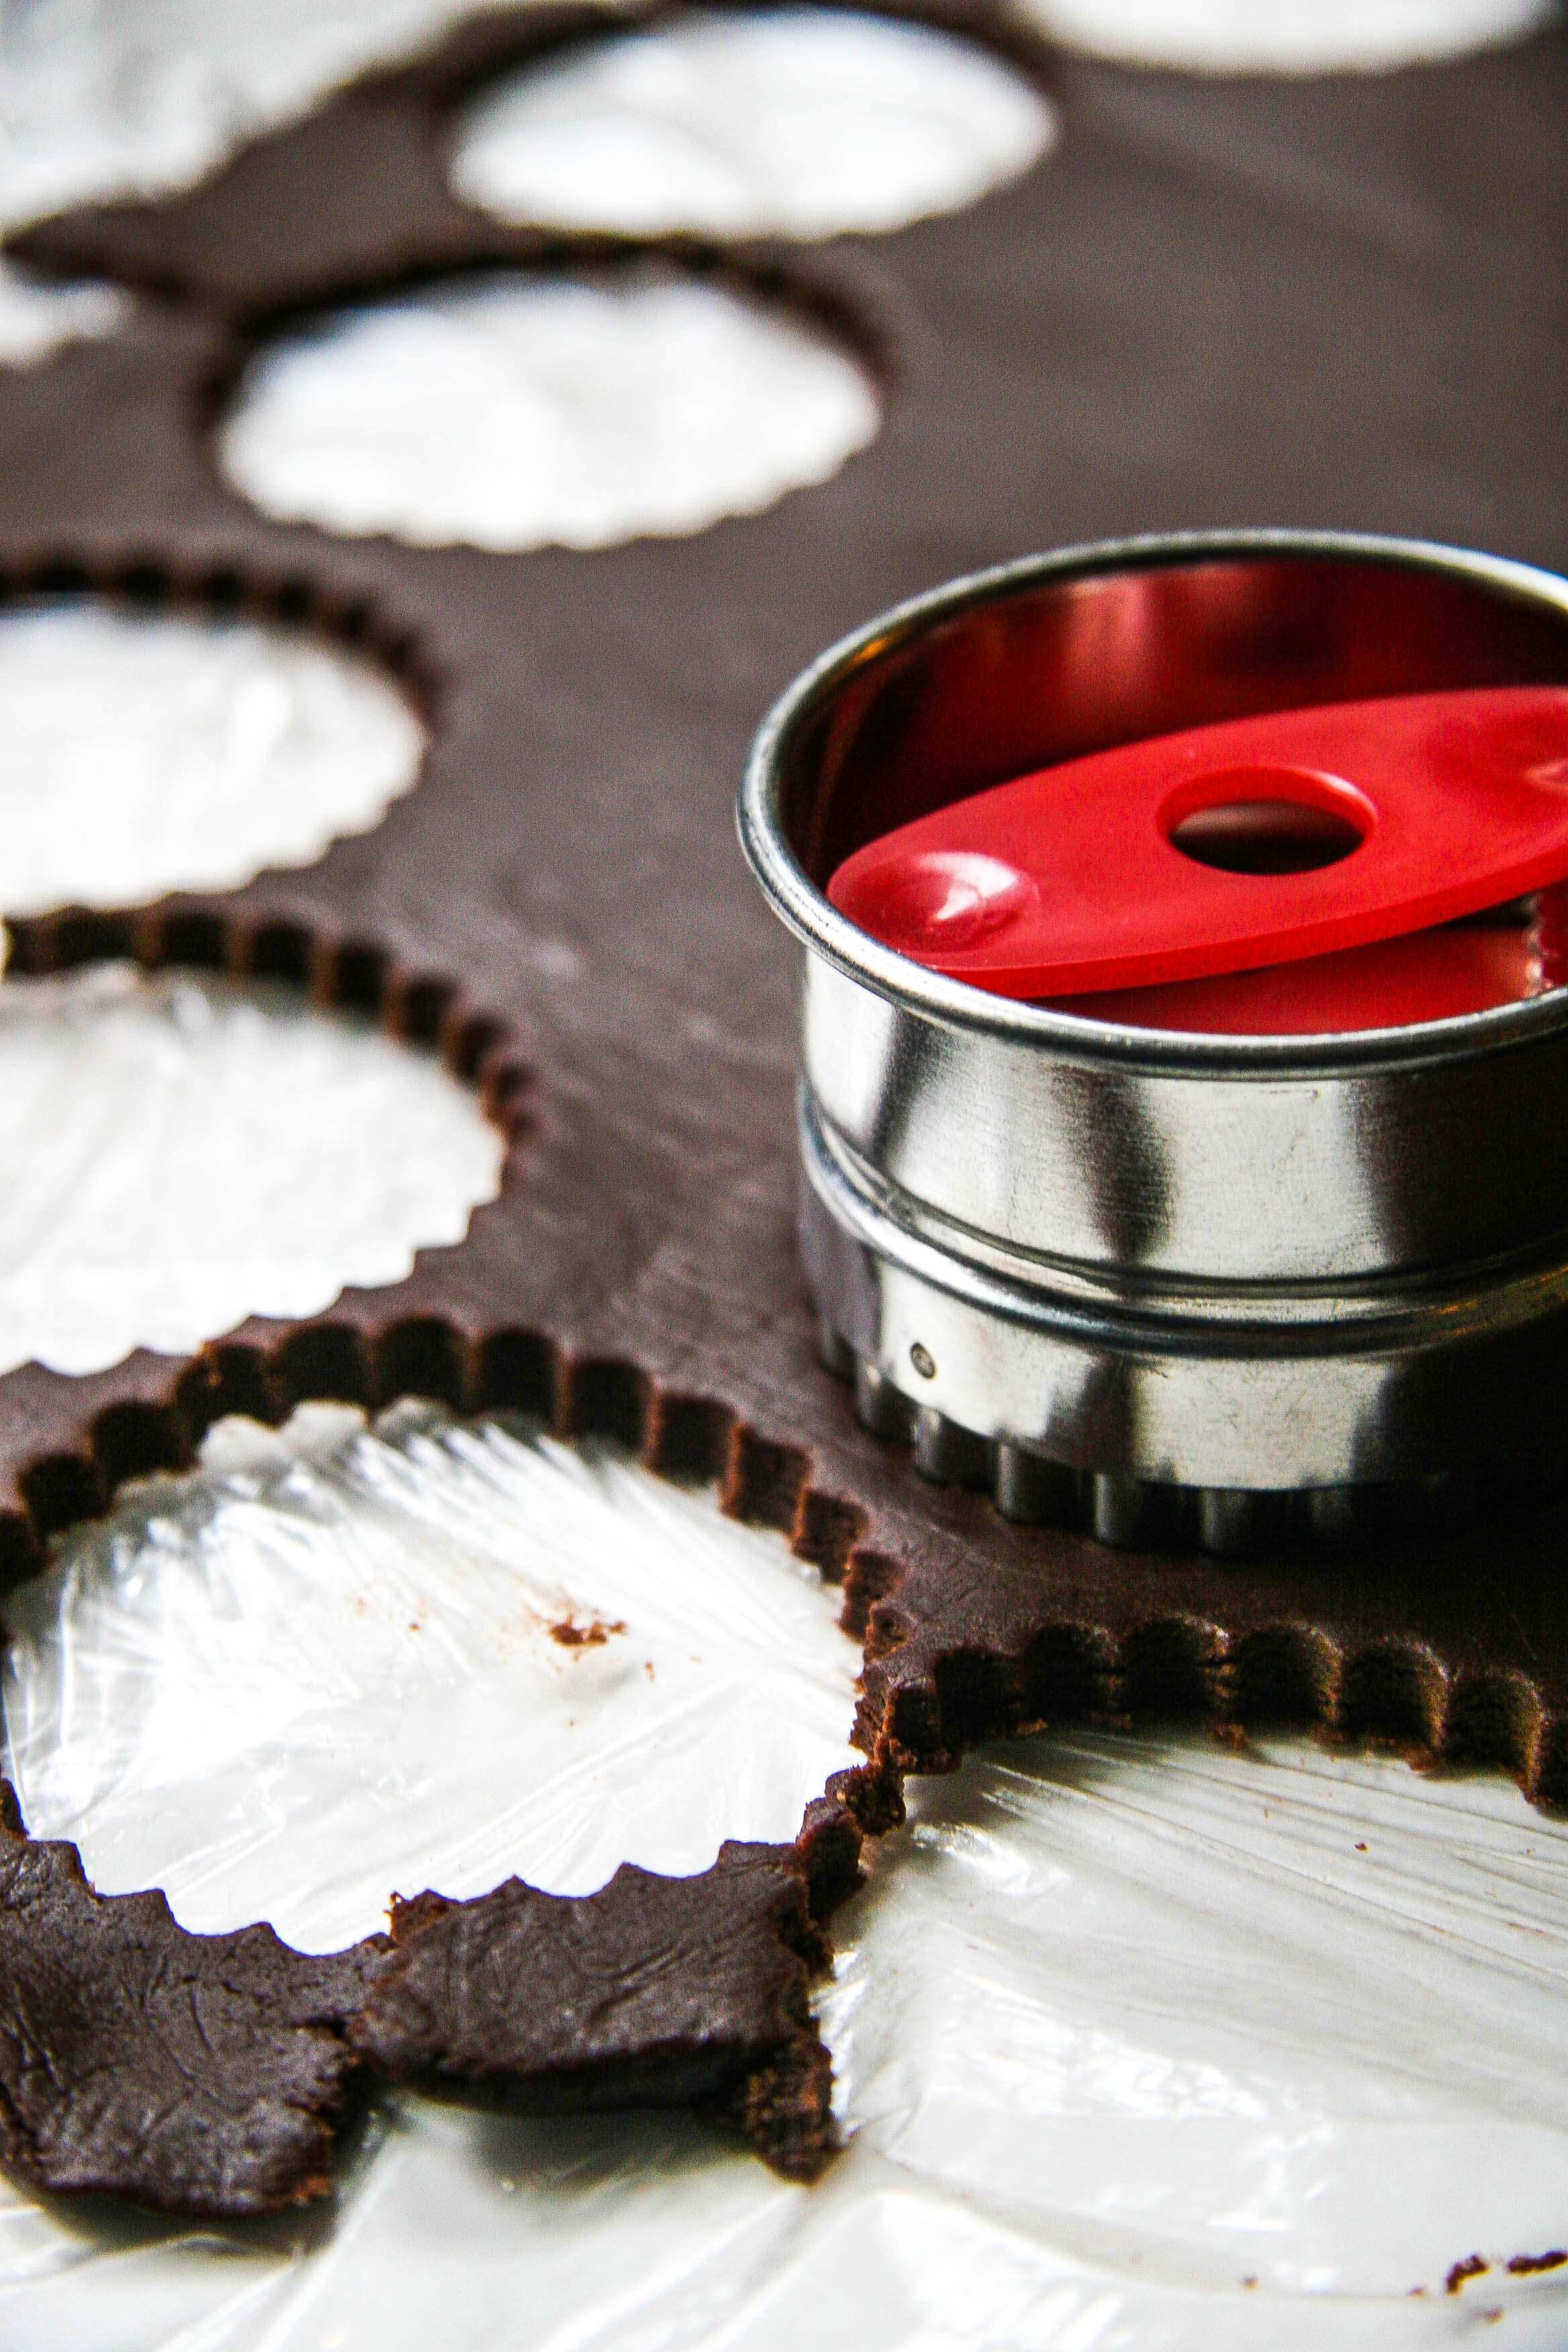
  5. Preheat the oven to 325 degrees F and line 2 cookie sheets with parchment paper. Unwrap the dough but leave it on the plastic. Cover the top with a separate piece of plastic (so the dough is between the two sheets). With a rolling pin, roll out the dough as it is between the plastic until it is about 1/8 inch thick (It may be tough to roll at first, but it will get easier. If the dough gets too soft, return it to the fridge for a few minutes). Cut 2-inch rounds out of the dough with a cookie cutter or the top of a drinking glass and place on the prepared cookie sheets, leaving ¾ inch between each.
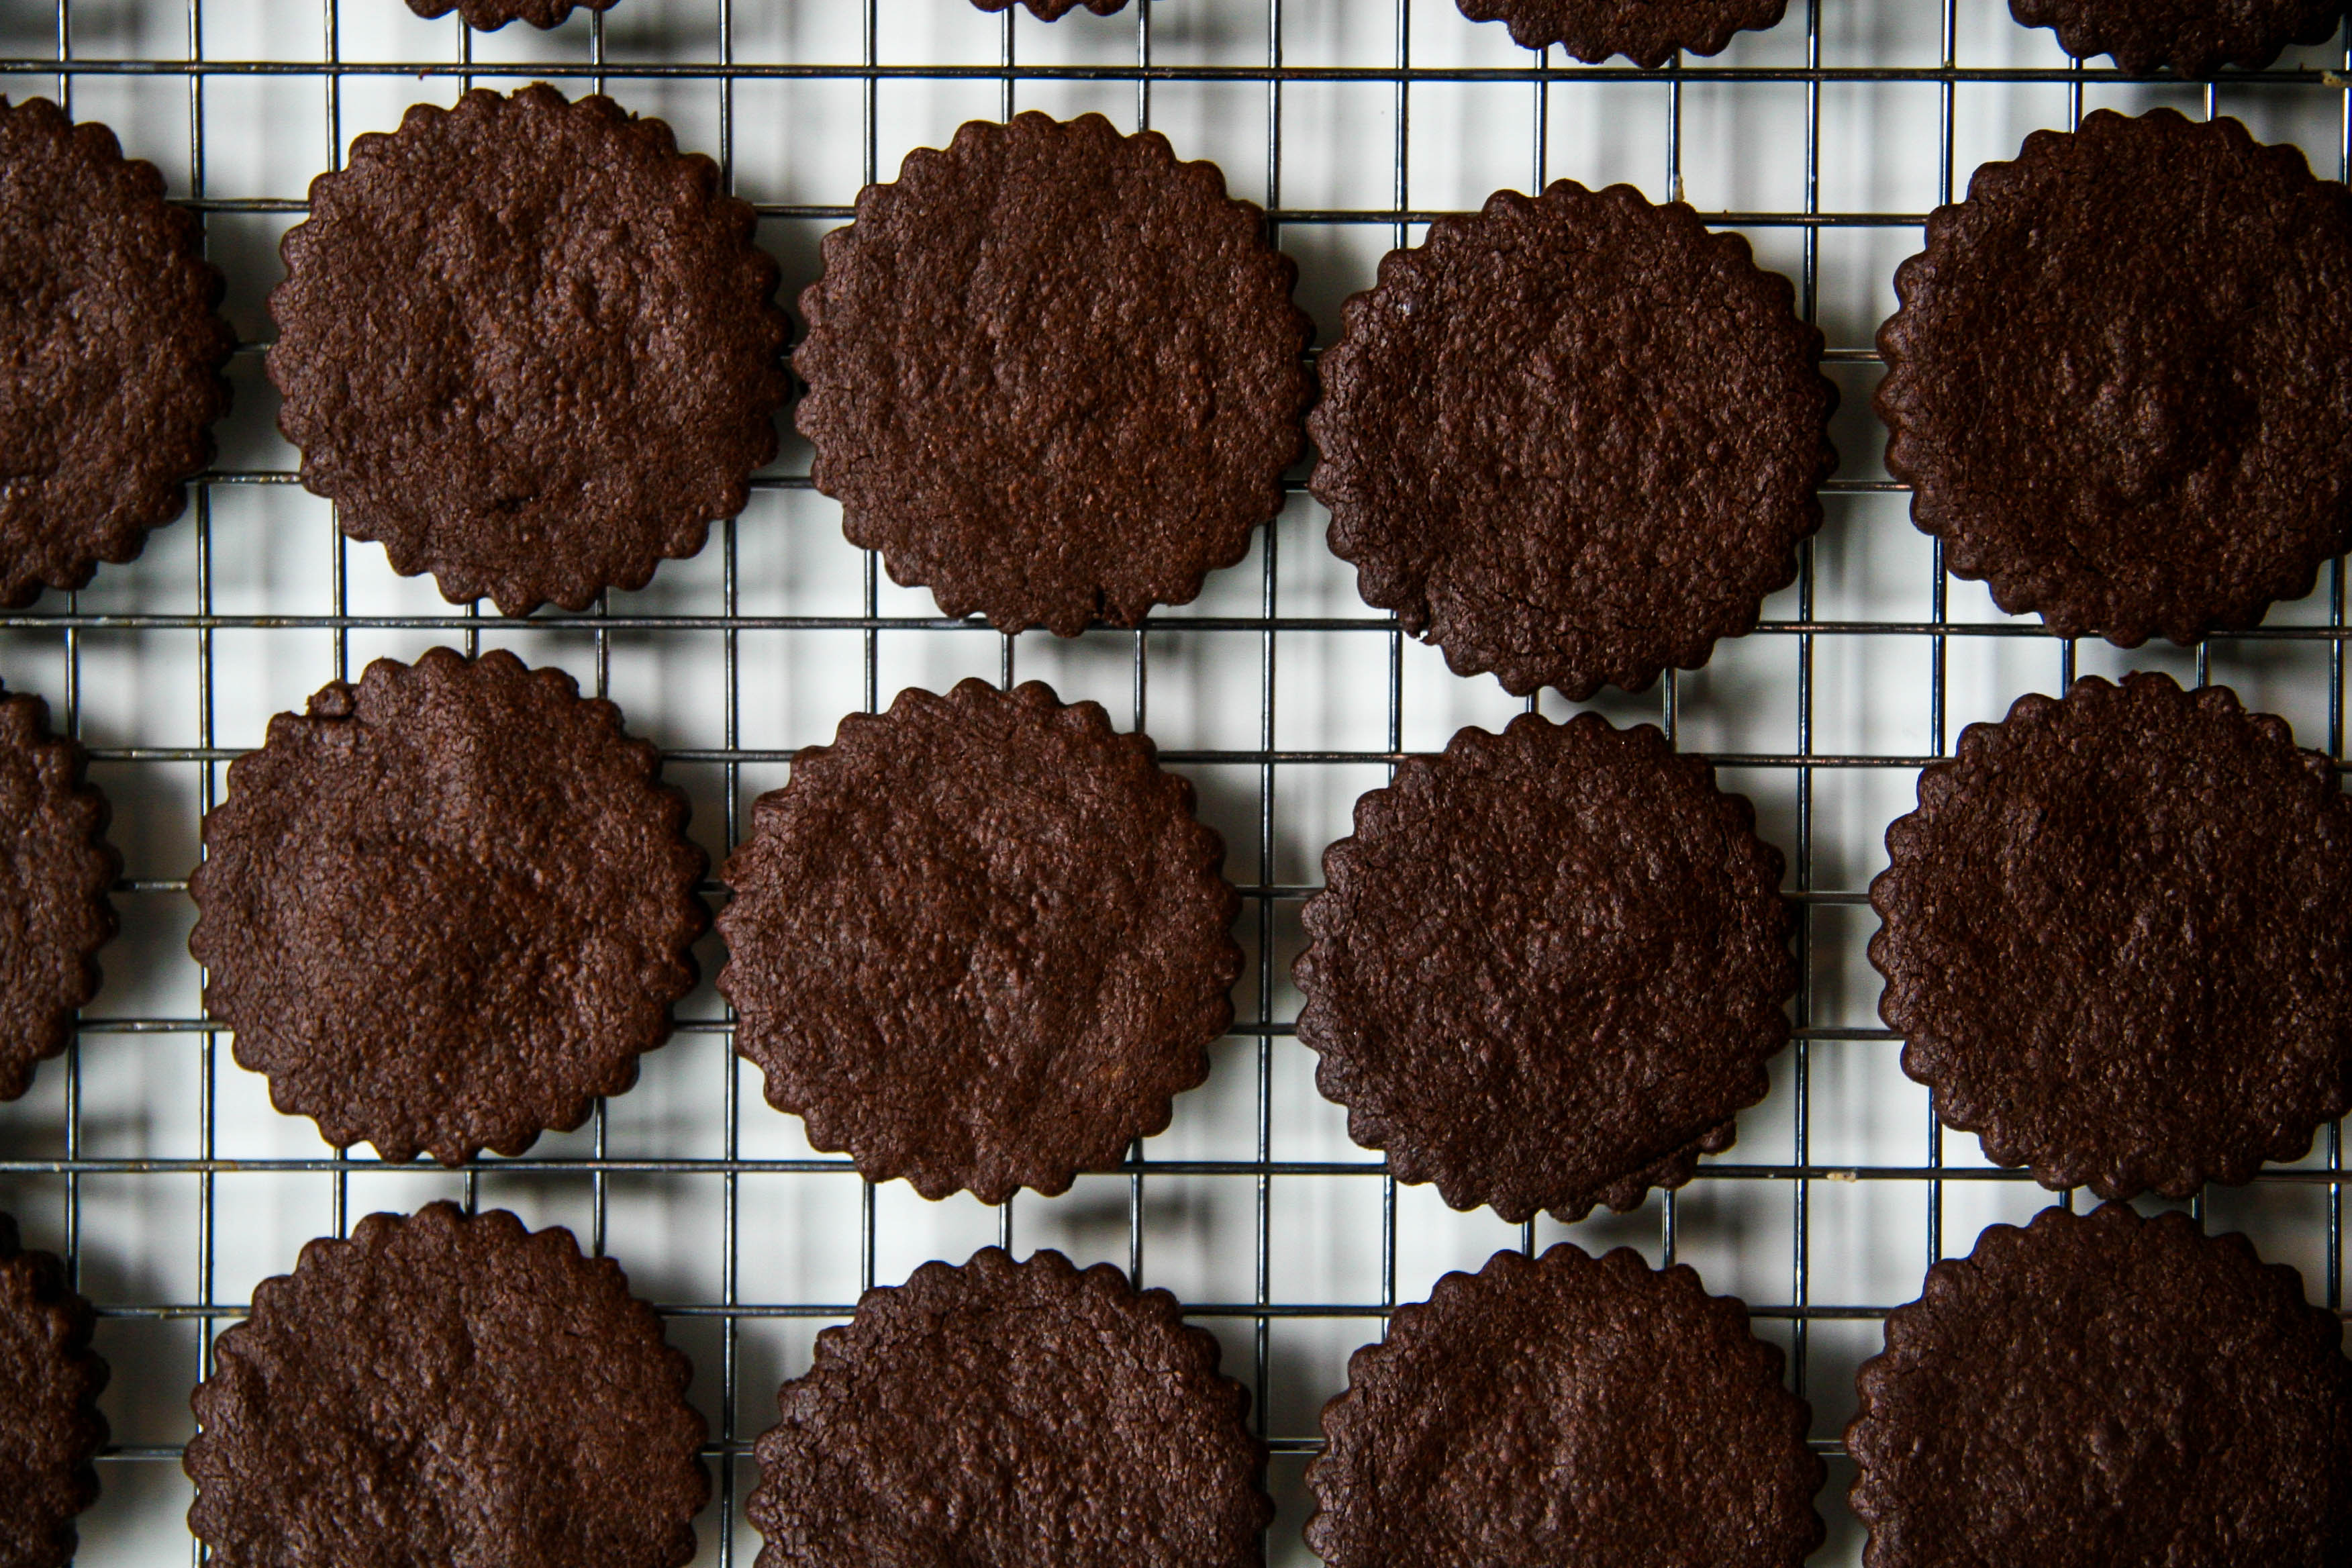
  6. Bake for 15-17 minutes, turning the pans around halfway through the cooking time. The cookies are ready when you smell lots of chocolate and there are very small cracks on the surface. Let the cookies cool on the pan for 5 minutes and then transfer them to a rack to cool completely.
  7. Prepare the cream: In the bowl of an electric mixer fitted with the paddle attachment (or in a medium bowl with a hand mixer), on low speed beat the butter and shortening together until smooth, about 45 seconds. With the mixer still on low, gradually add the confectioners sugar and vanilla. Turn up the speed to high and mix until fluffy, about 2-3 minutes. Place cream in a pastry bag fitted with a ½ round tip.
  8. Assemble cookies: Once the cookies are cool, turn half of them upside down. Pipe dollops of the vanilla cream on the centers of the upside down cookies. Top each with a second cookie and press down lightly to sandwich the cookie. Continue until you have filled all the cookies.

Filed Under: desserts and sweets, eat Tagged With: chocolate, cookies, copy-cat, homemade oreos, oreo, vanilla cream

jerk shrimp

May 17, 2014 by Butter Loves Company

jerk shrimp recipe 6

There are two kinds of jerks in this world. The first is the kind that, on a rainy day, accelerates their car through a puddle to drench pedestrians walking on an adjacent sidewalk. Bitter? Me? No way. And the second, ladies and gents, is the seasoning.  If only it were limited to that, the world would be a happier place!

Anyways, today, we’ll be talking about the latter. The dry or wet—in this case wet—meat, poultry or seafood—in this case seafood—Jamaican marinade with a signature sweet heat. When I showed this recipe for jerk shrimp from Family Table to Greg, he told me it was right up his alley; which is funny because he is neither a jerk nor a shrimp.

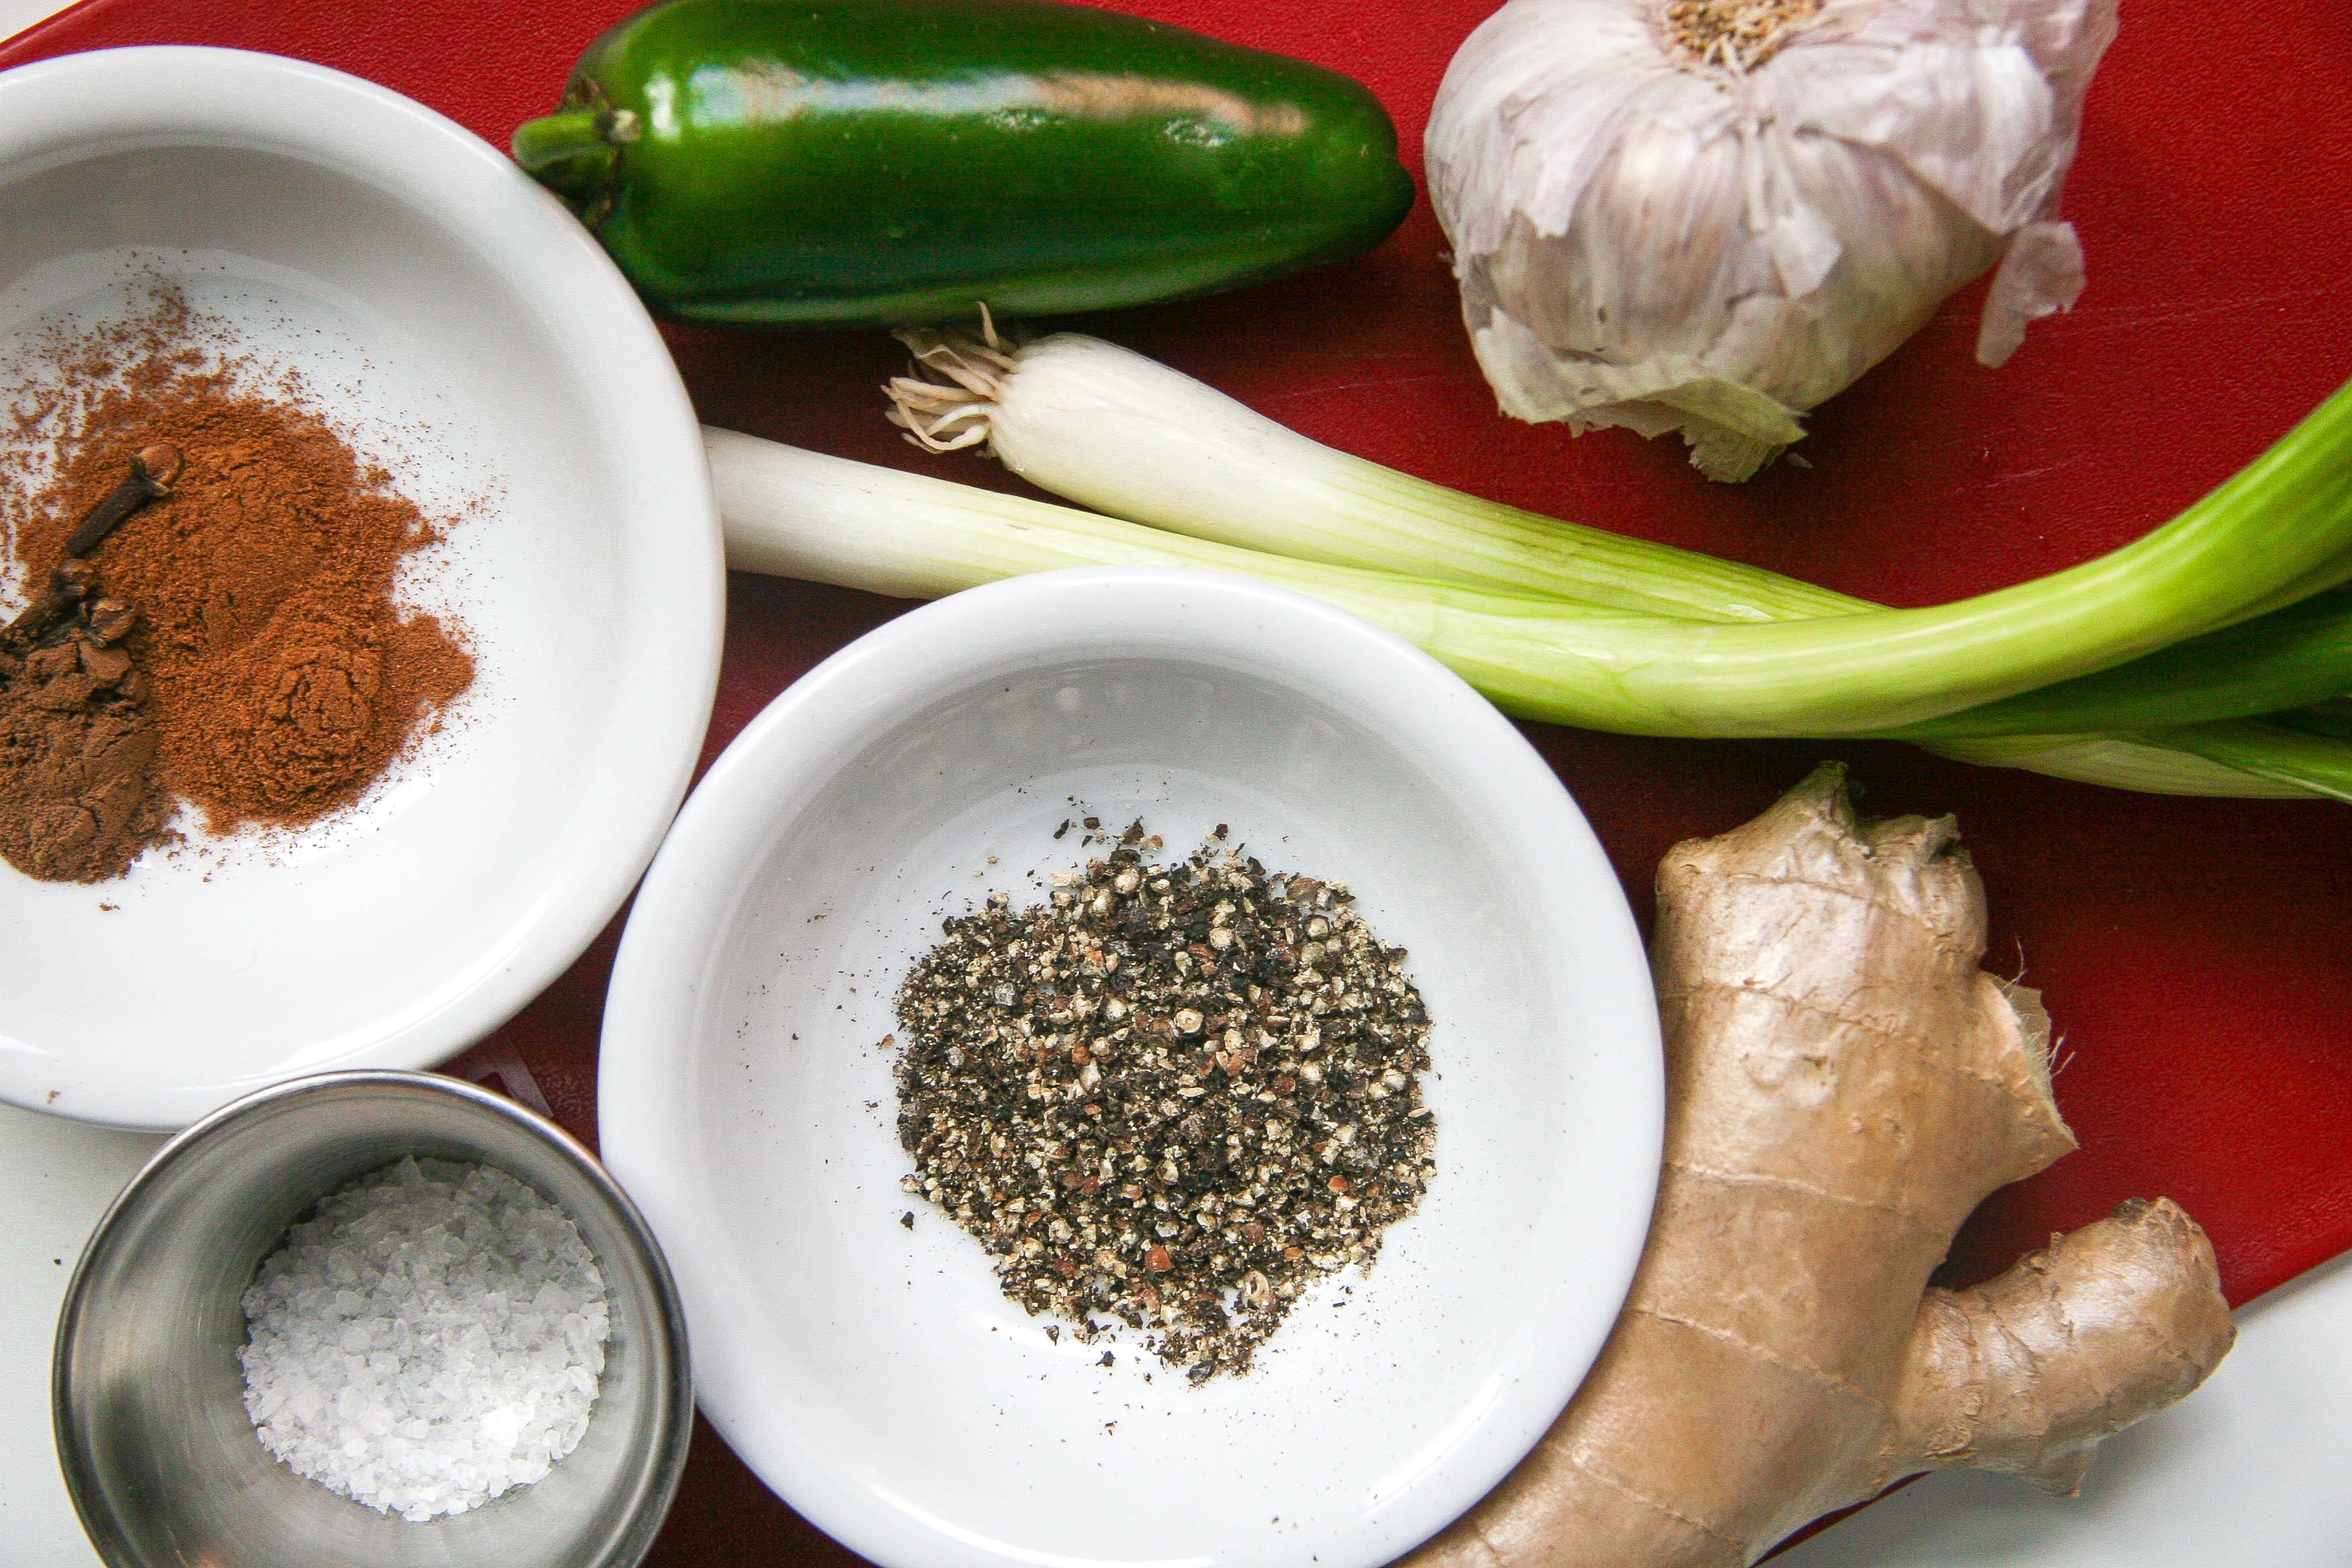
What jumped out at him though were the bold flavors of the seasoning’s ingredients: spicy ginger and jalapeno, warm cloves, cinnamon and allspice, salty soy sauce, garlic and scallions. If you’re like me and are wondering why jerk is called jerk, my research says the terms comes from the word charqui, a Spanish term of Quechua (native South American) origin for jerked or dried meat. The term eventually evolved to jerky in English; hence beef jerky.

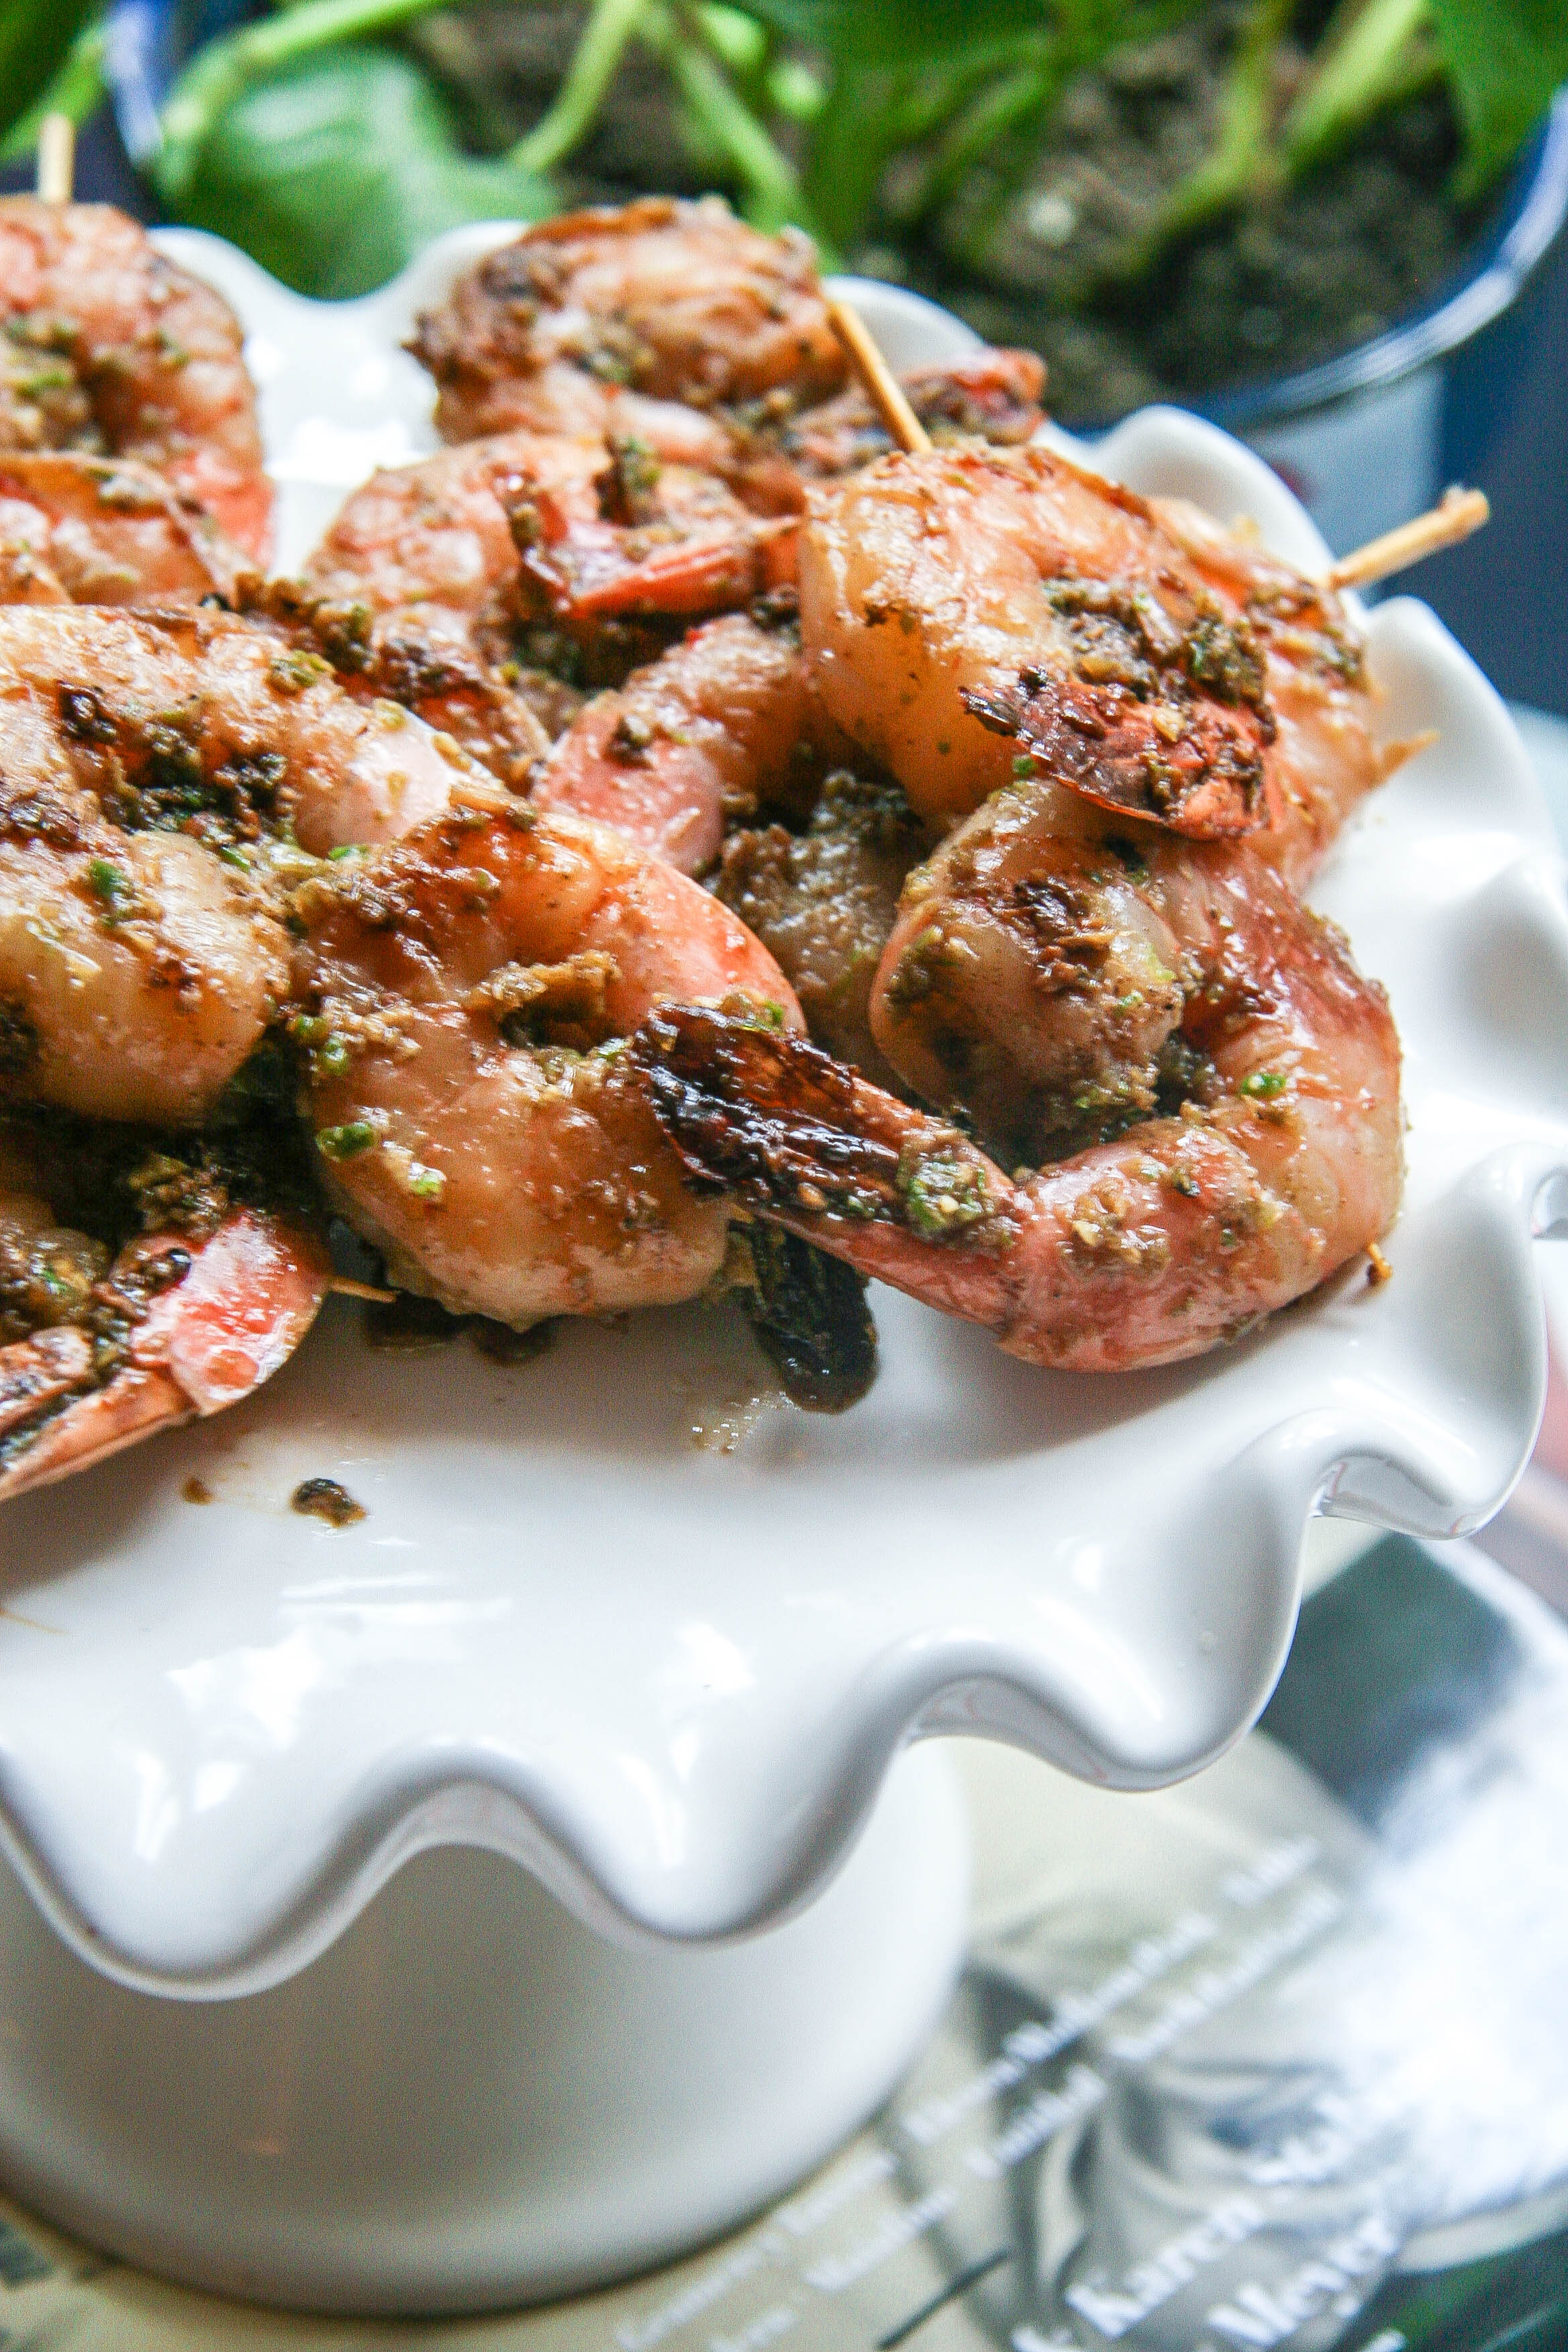
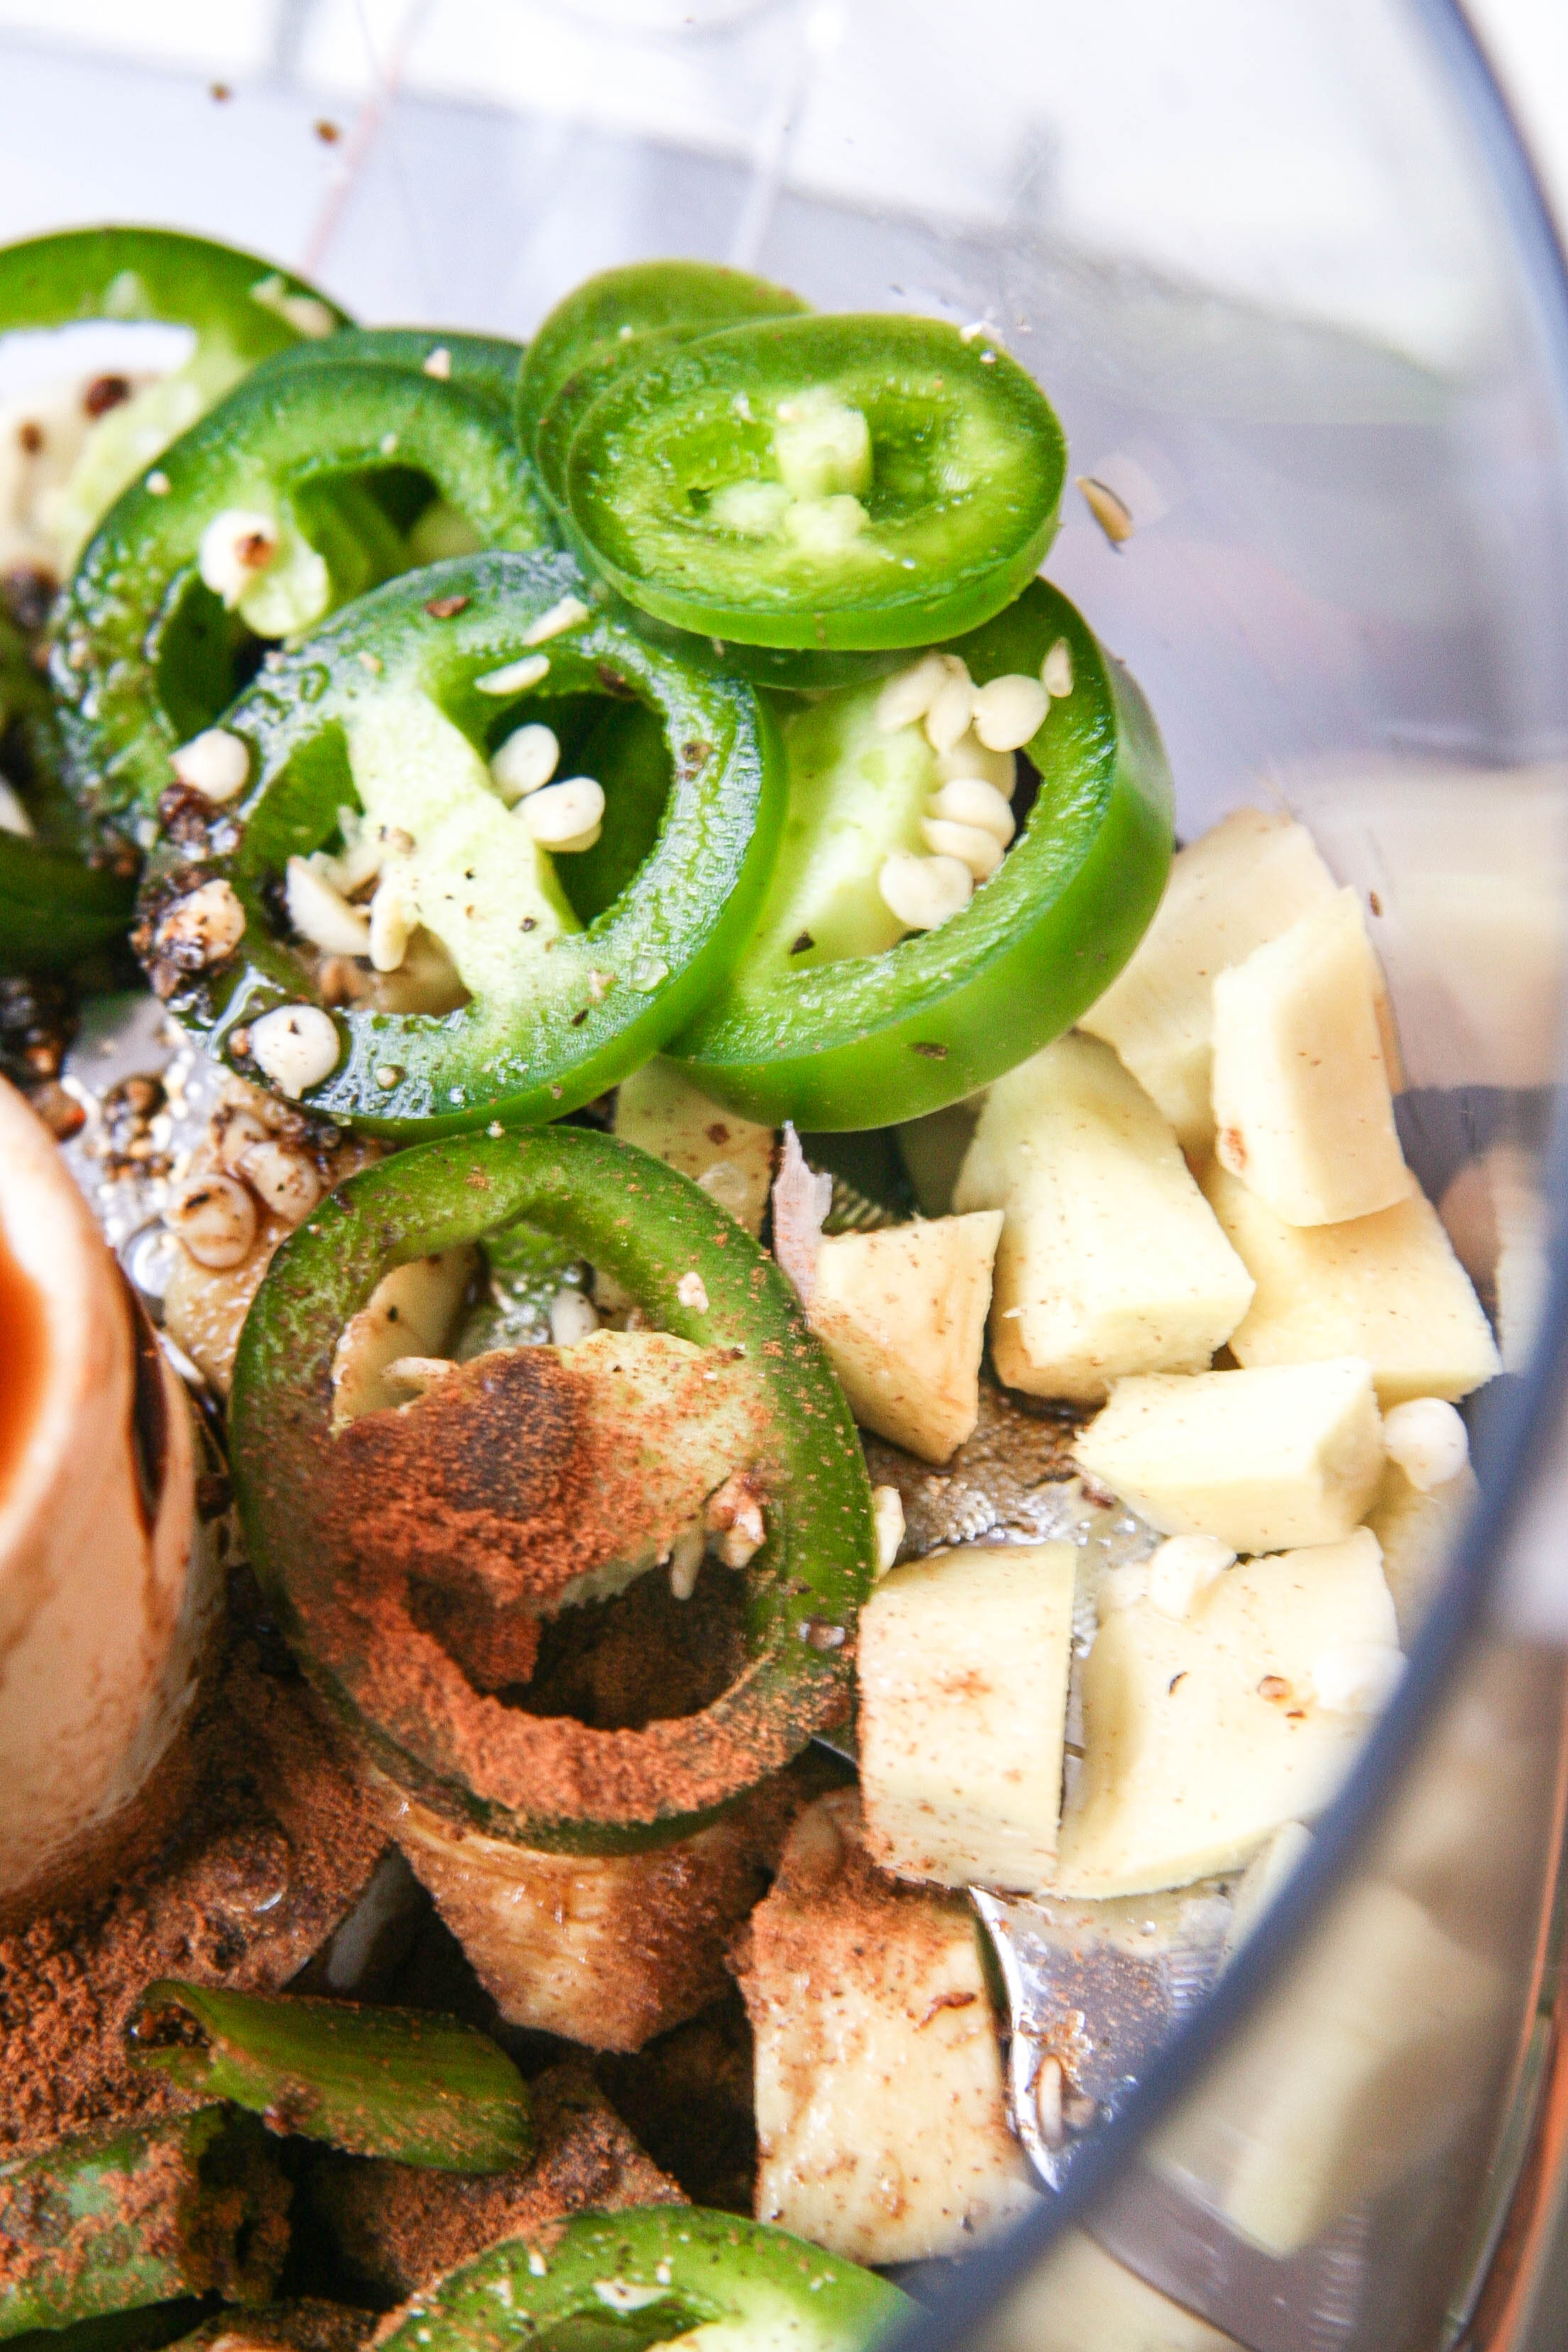
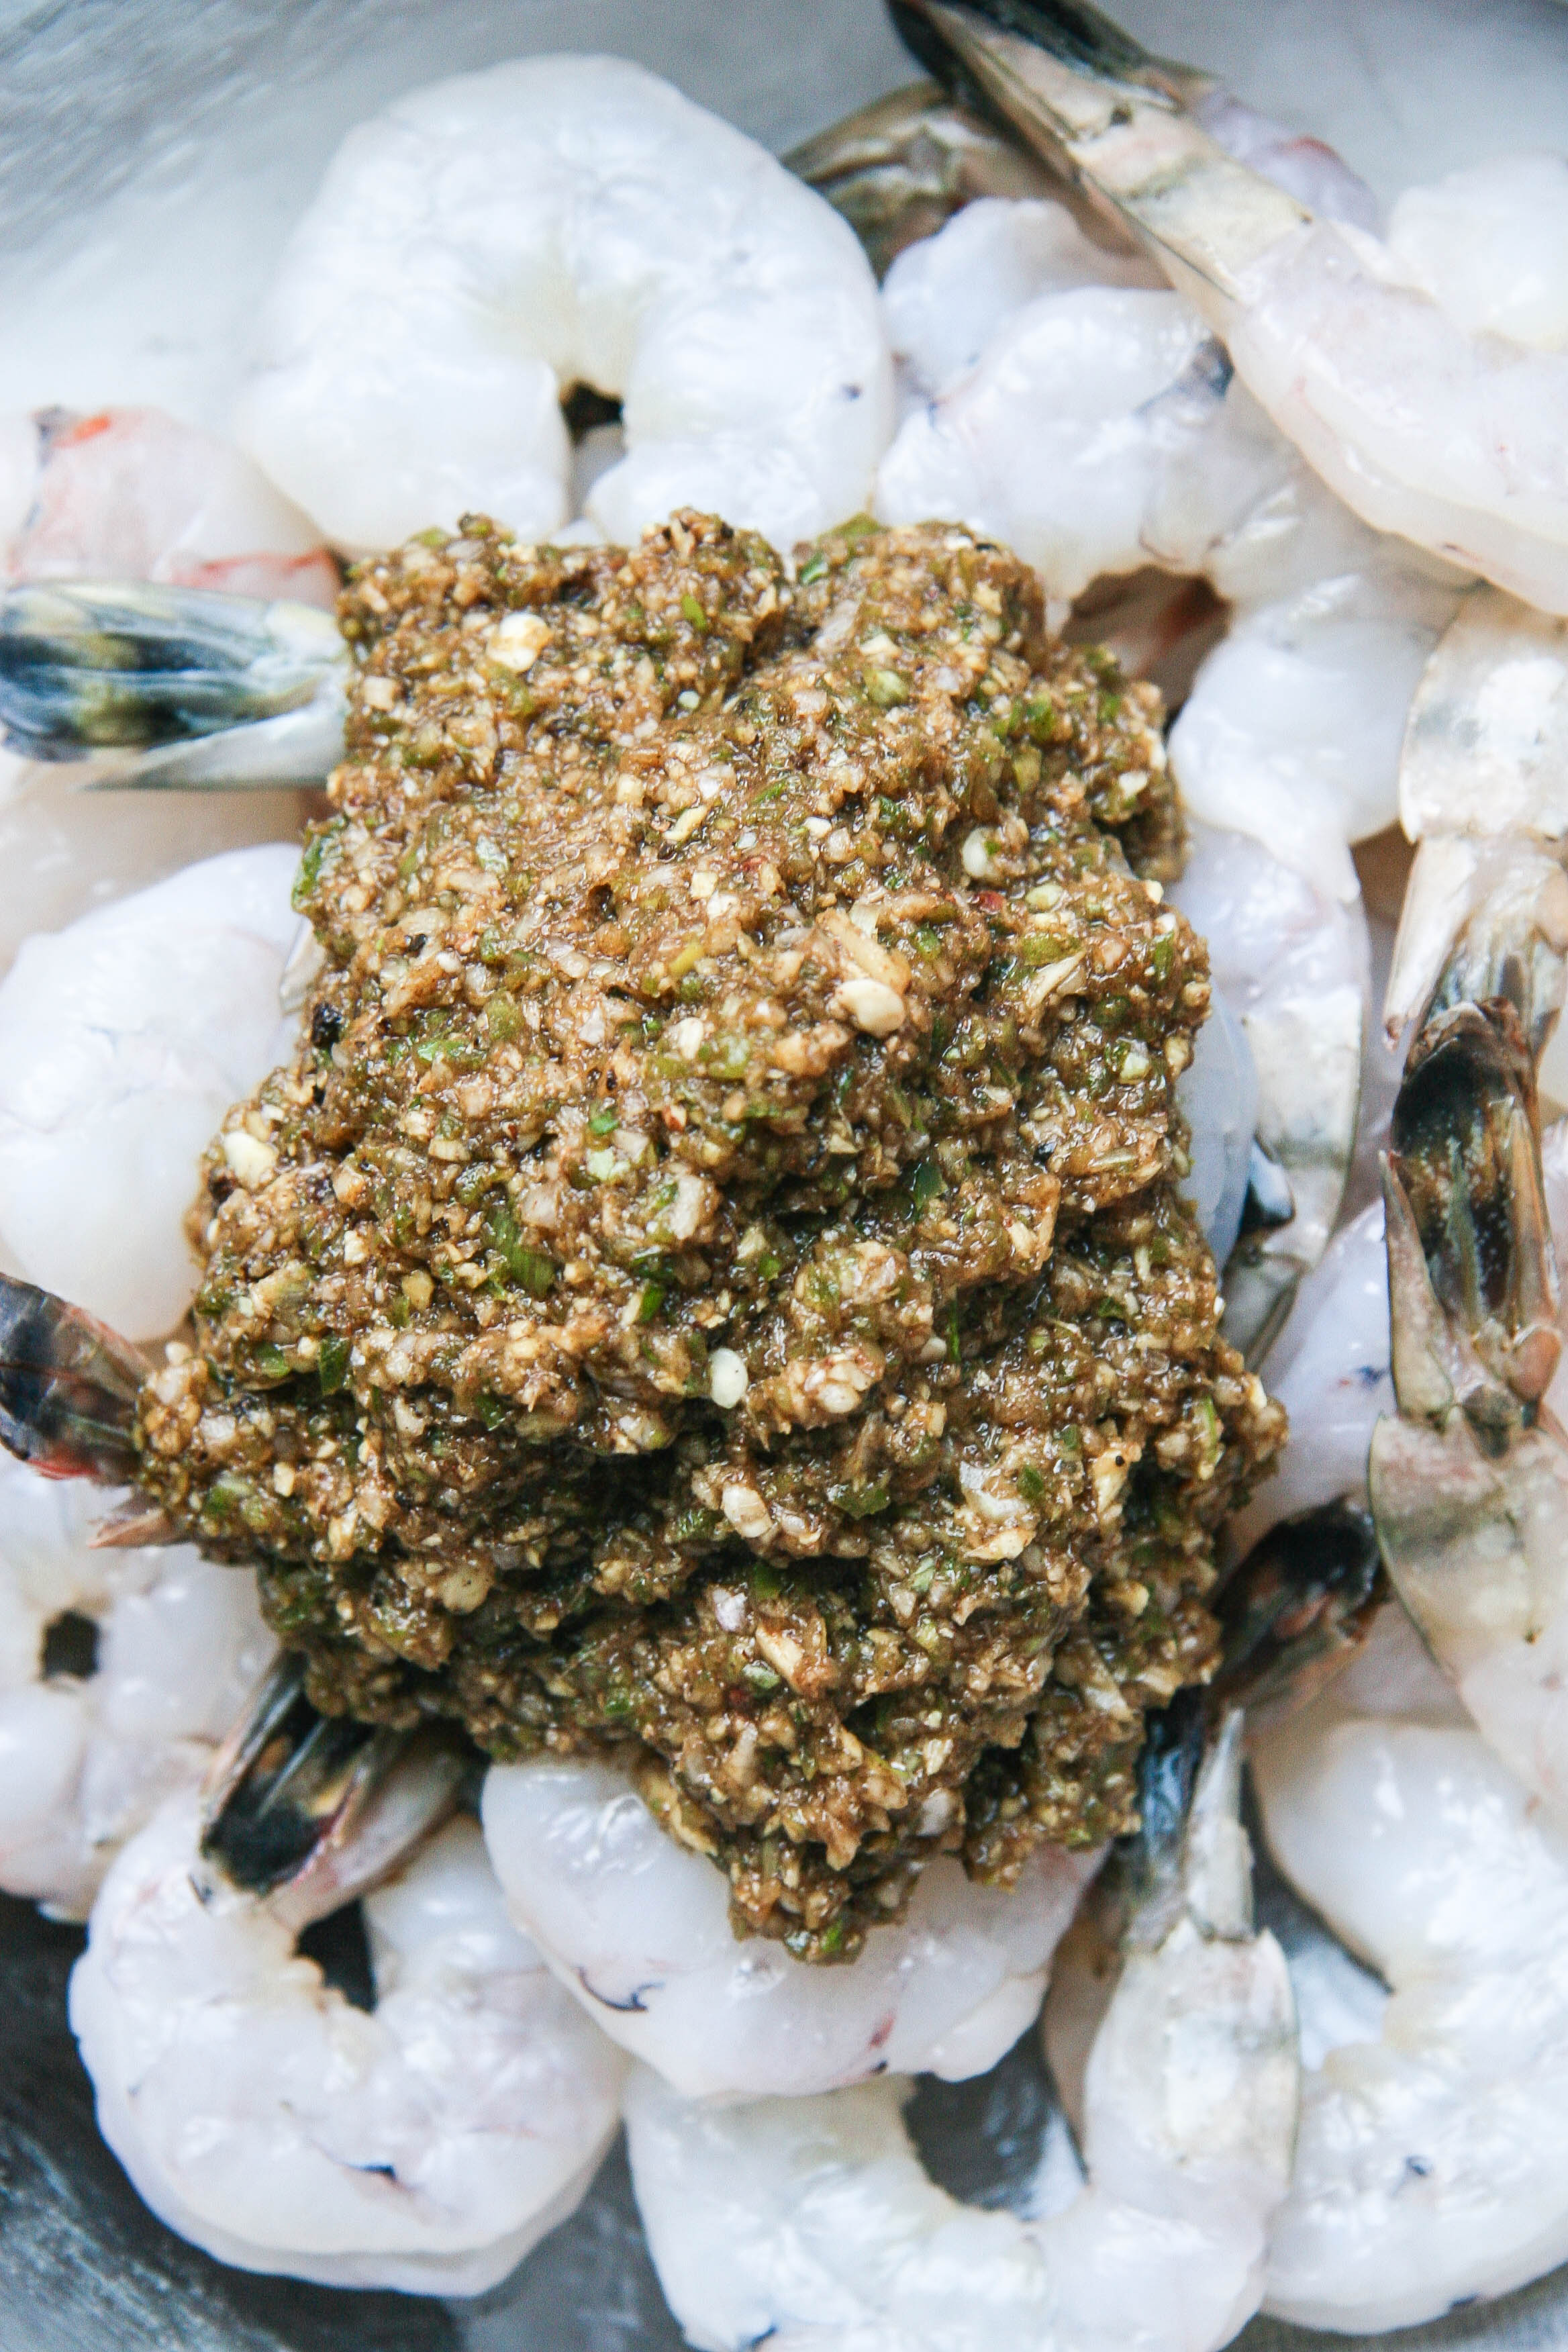
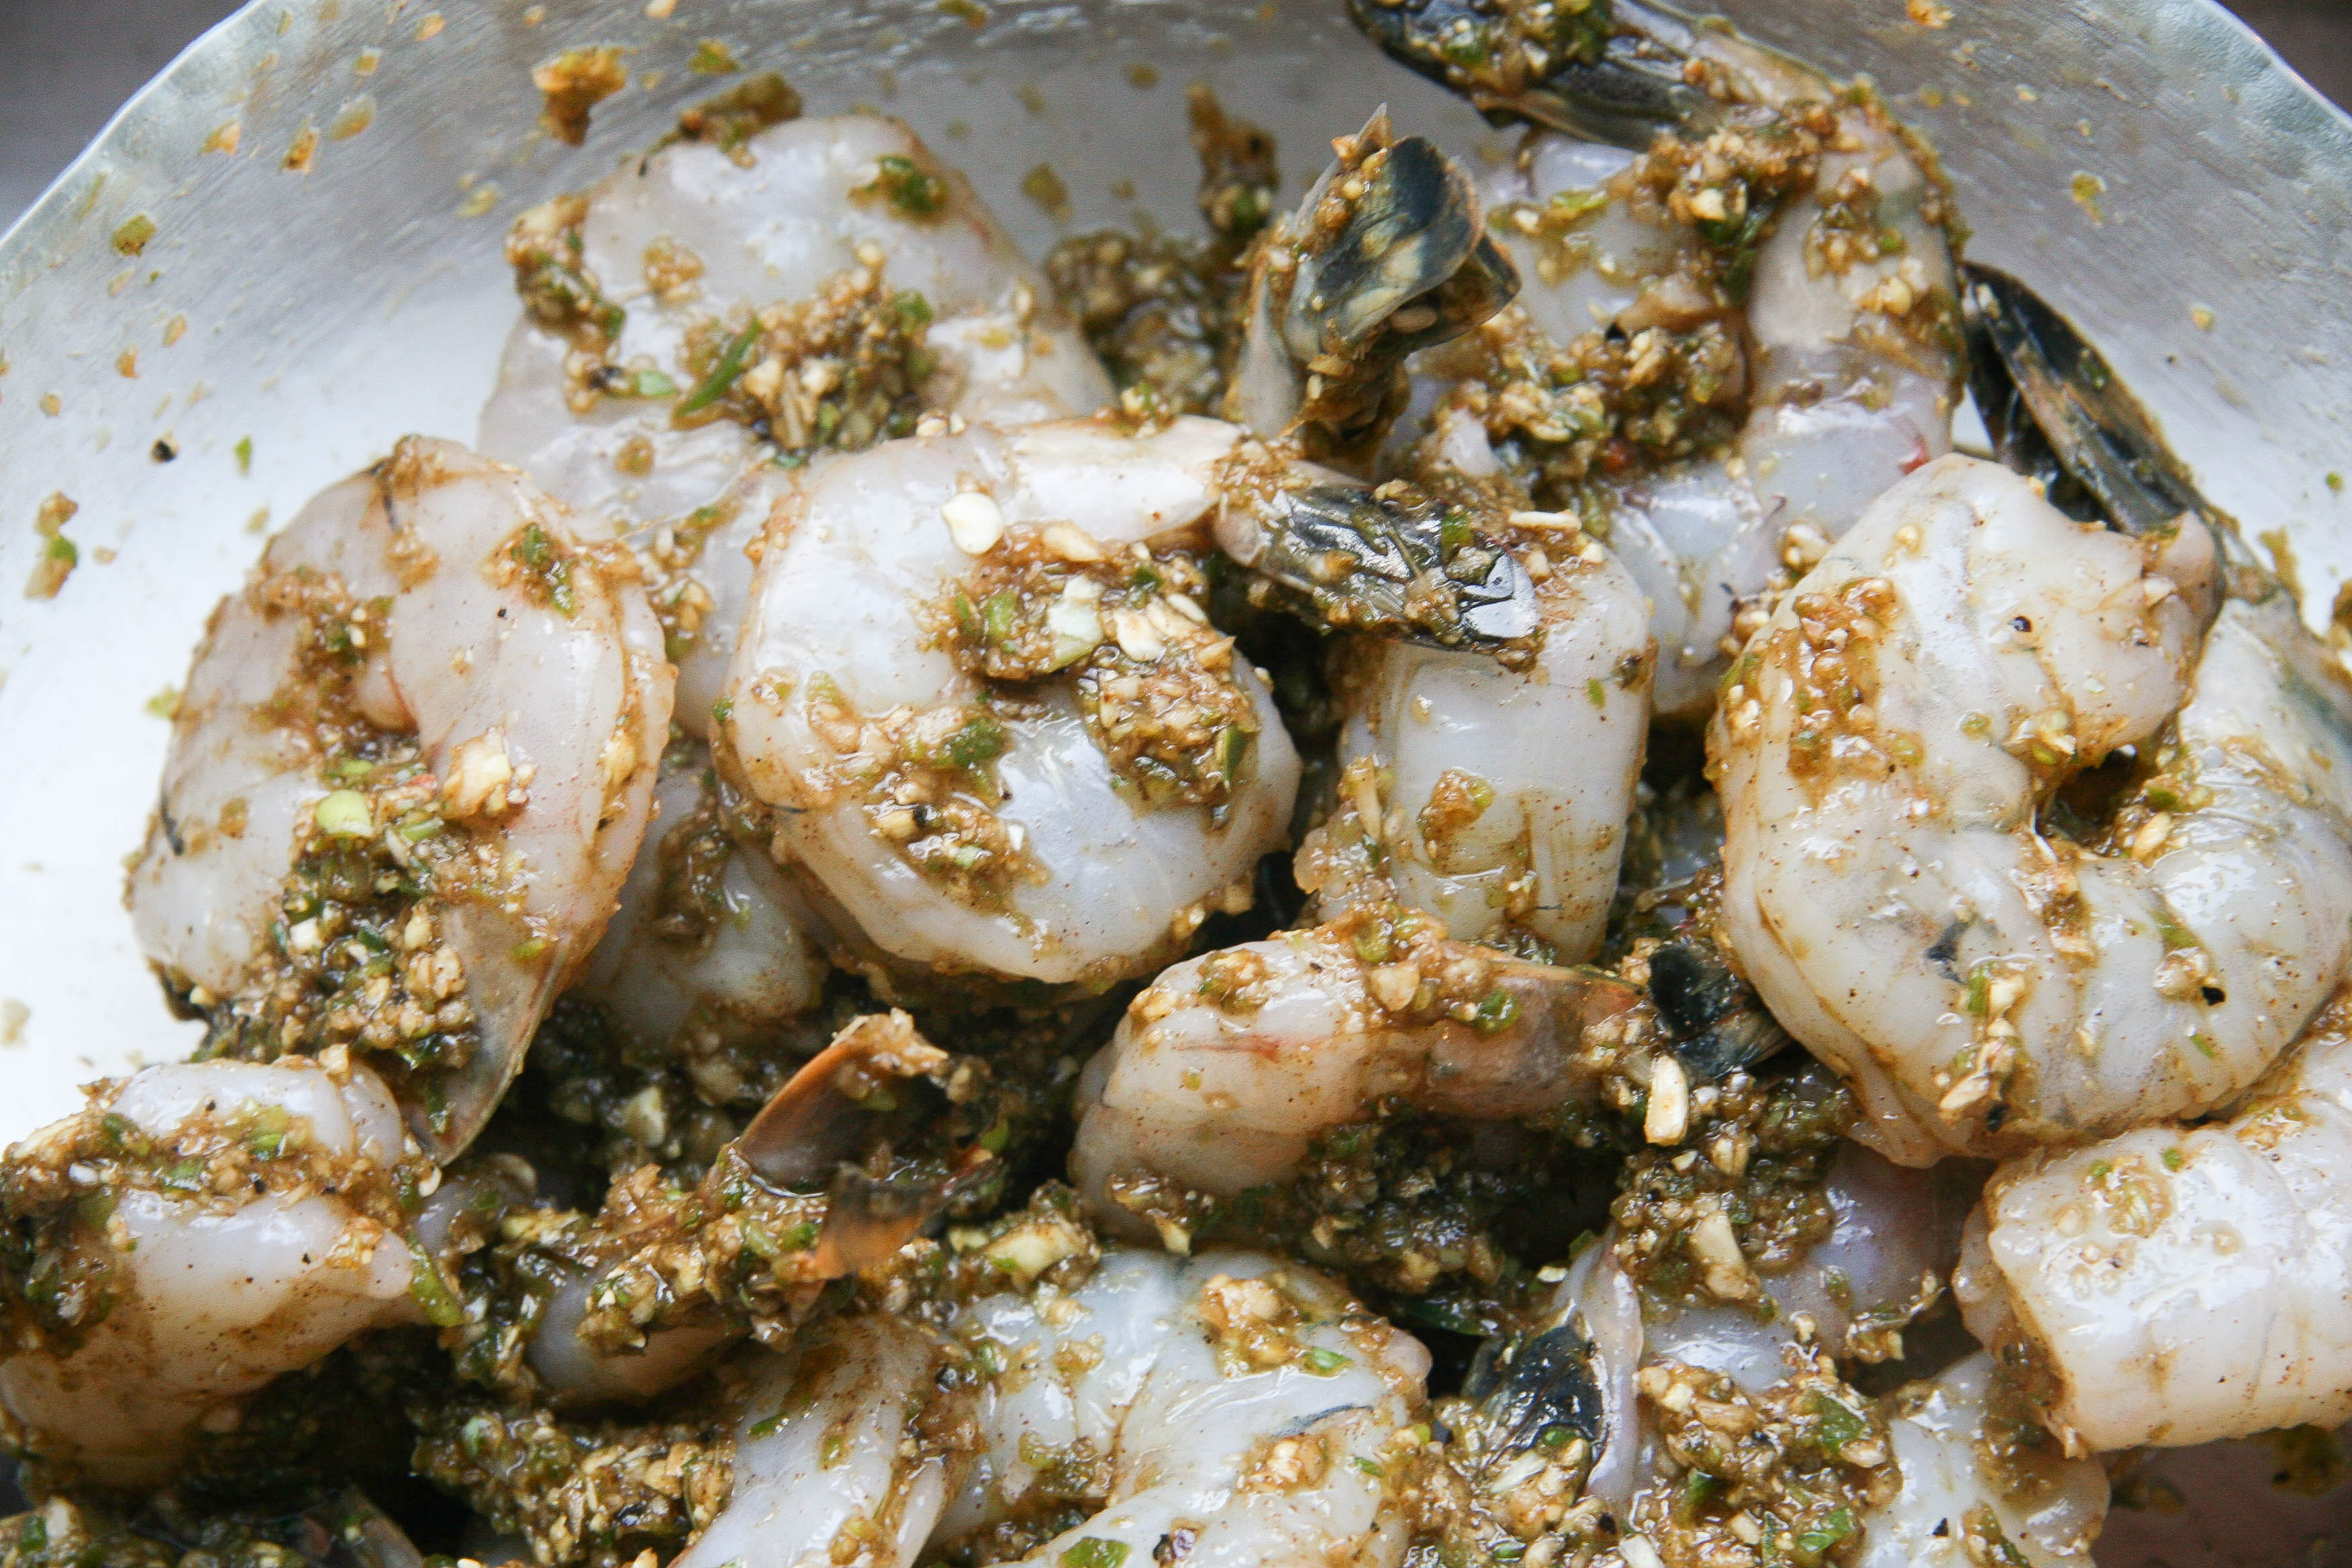
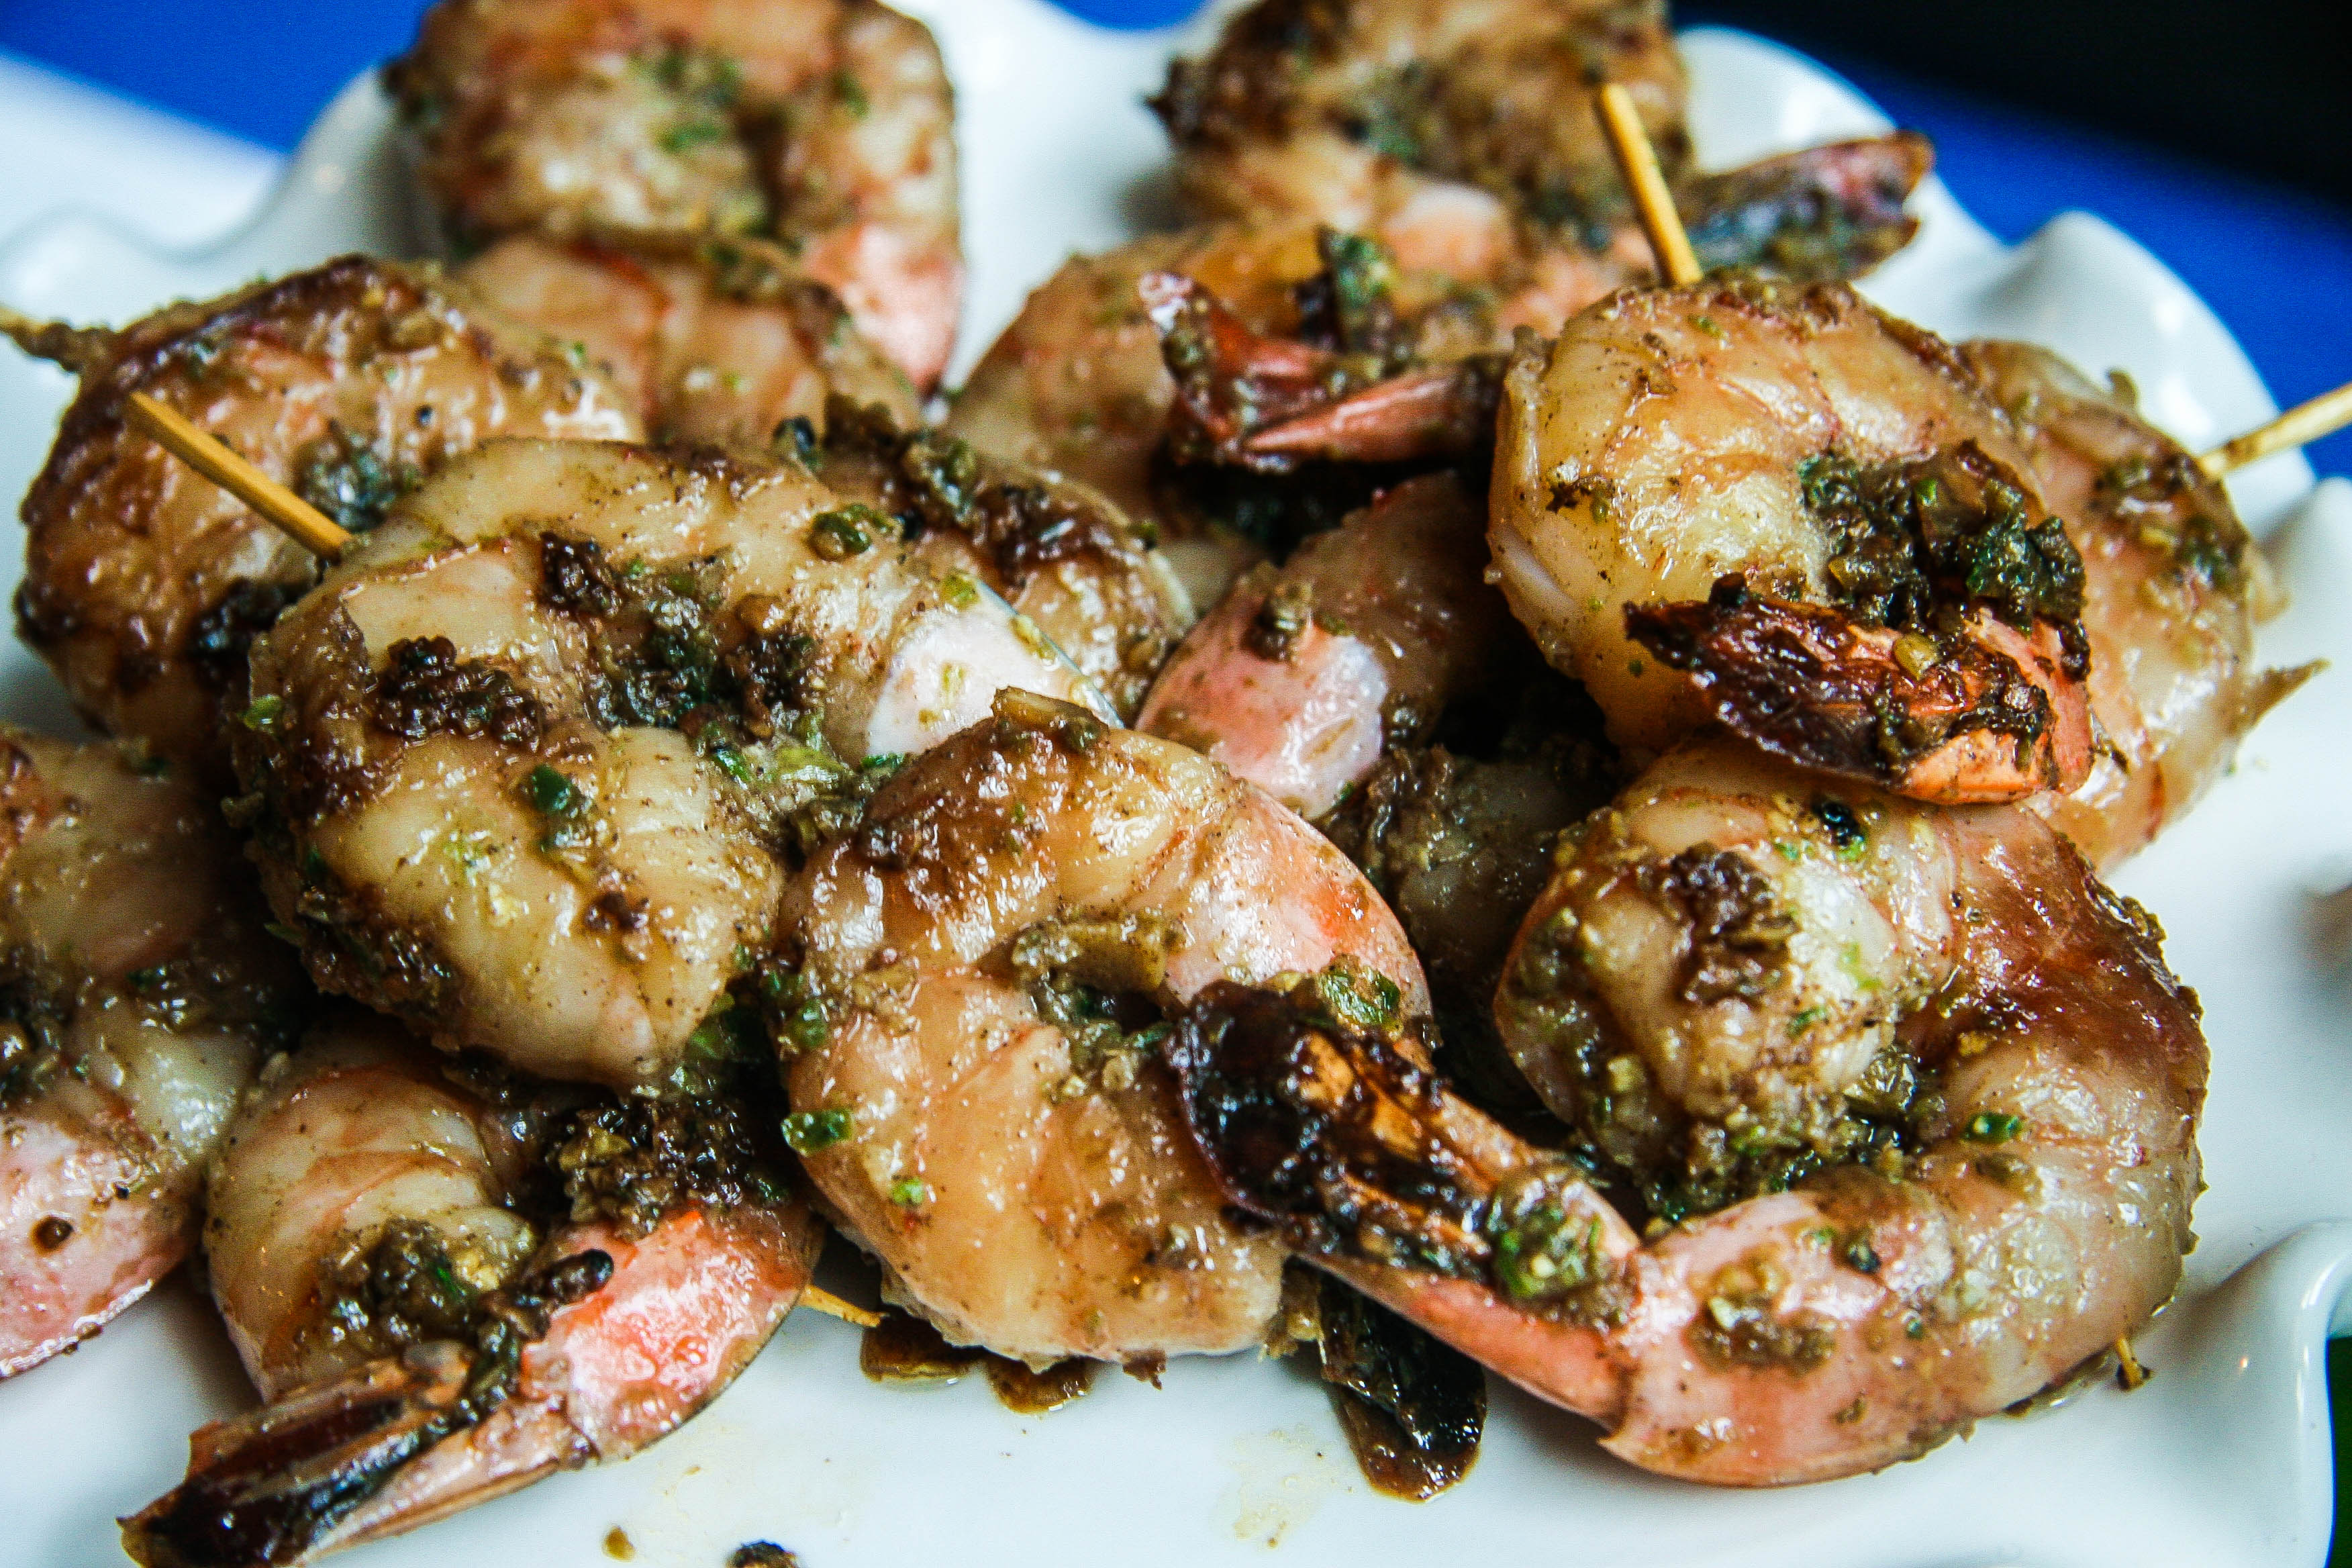
While this jerk shrimp may not be the most traditional jerk, it is easy and tasty. All you do is throw the ingredients in a food processor or blender until they form a paste. Then, slather over raw shrimp and refrigerate for an hour. Finally, you sauté the shrimp in a saucepan turning once (keep in mind that shrimp cook super fast) and voila! The original recipe calls for fresh Italian parsley, which I omitted because I didn’t have any and am honestly not the herb’s number-one-fan. After just one hour of marinating, the result is shrimp with layers of flavor and a slight, lingering heat. The shrimp are great on top of salads, in a pita or as an appetizer served alongside a simple yogurt dip.

jerk shrimp recipe 1

jerk shrimp recipe 3

jerk shrimp recipe 2

jerk shrimp recipe 4

jerk shrimp recipe 5

jerk shrimp recipe 7

jerk shrimp
Adapted, barely, from Family Table

Prep Time: 10 minutes
Cook Time: 5-10 minutes
Total Time: 1 hour 15 minutes
Makes 1 pound shrimp (about 4 entrée servings or more if used as an app)

Ingredients:

½ cup coarsely chopped scallion (about 2-3)
¼ cup coarsely chopped peeled fresh ginger
¼ cup chopped fresh Italian parsley (I omitted)
8 garlic cloves, peeled
1 coarsely chopped jalapeno, seeds included
¼ teaspoon salt, plus more to taste
¾ teaspoon ground cinnamon
¼ teaspoon ground cloves
¼ teaspoon ground allspice
2 tablespoons canola or vegetable oil
2 tablespoons soy sauce, low-sodium if you have it
¼ teaspoon sugar
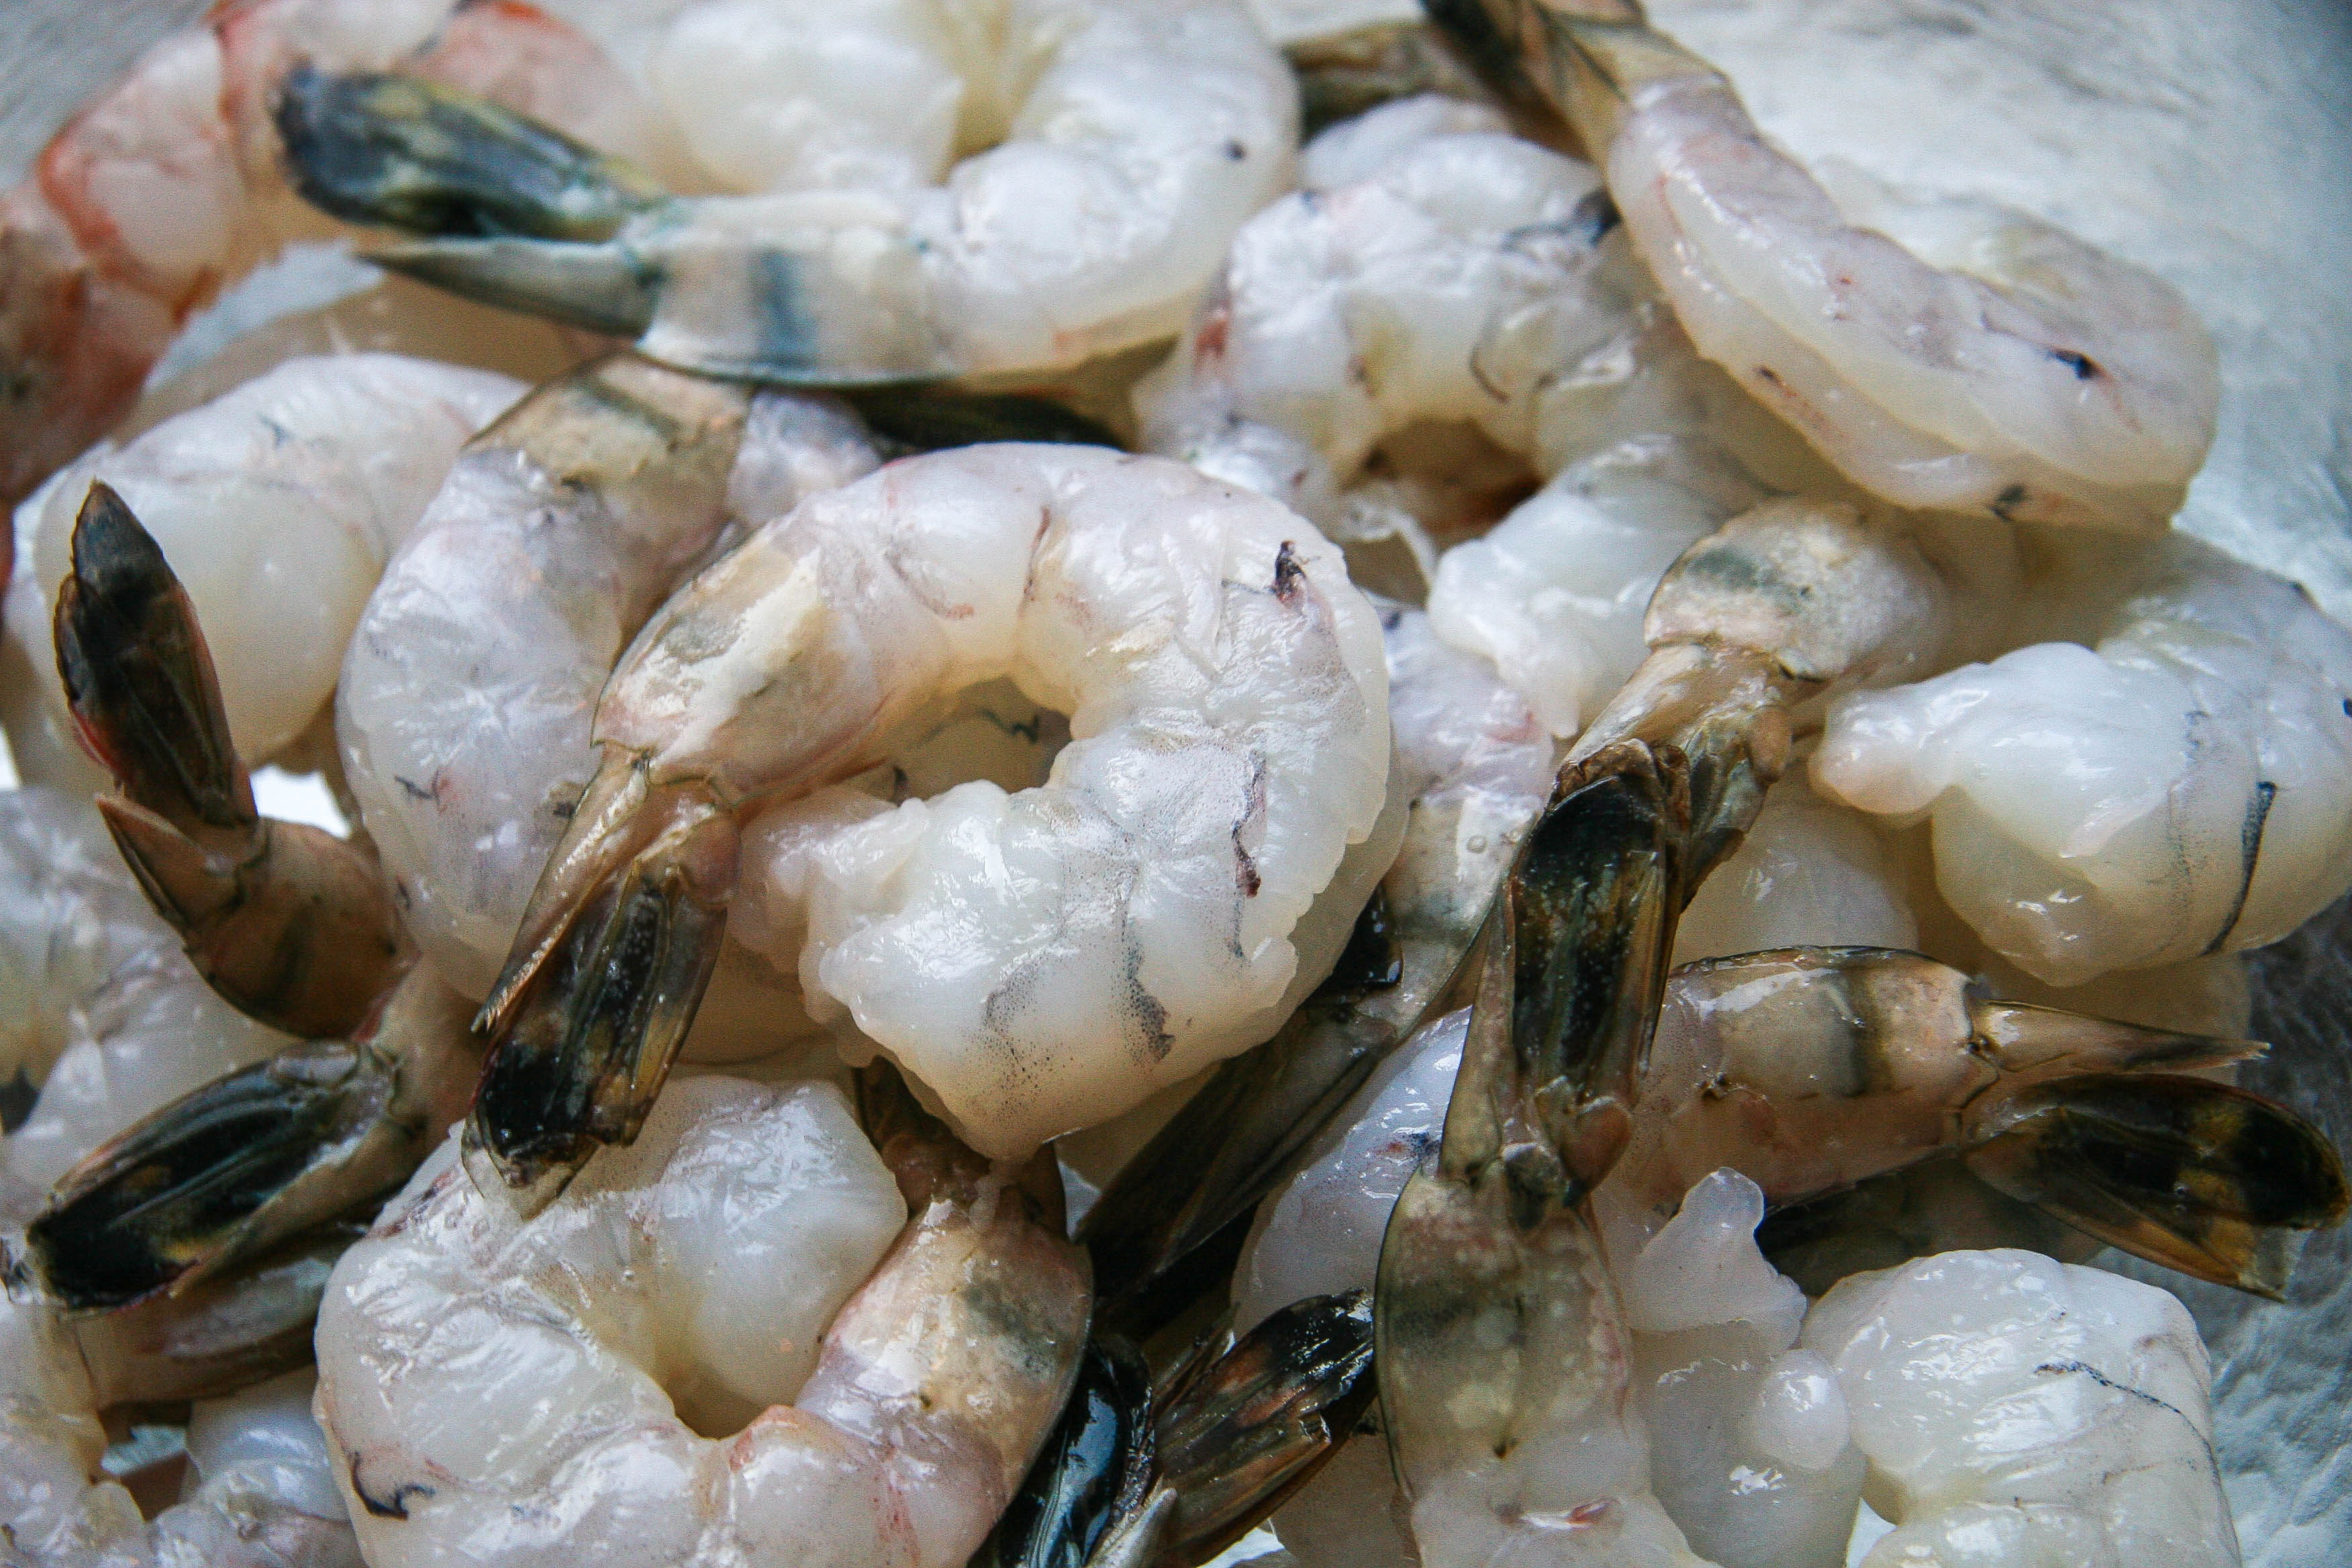
1 pound raw shrimp, peeled and deveined (20-24 medium, 25-30 small)

Instructions:

  1. Place shrimp in a medium sized bowl.
  2. In the work bowl of a food processor or in a blender, combine all ingredients from the scallion down to the sugar. Process until it resembles a paste. Pour over shrimp and stir to coat. Cover the bowl with plastic wrap and refrigerate for 1 hour.
  3. Remove the shrimp from the refrigerator. Heat a large non-stick skillet over medium heat and add 1-2 tablespoons olive or canola oil (just enough to coat the bottom of the pan). Remove the shrimp from the bowl, skewer if desired, and put them in the pan (you can do this in batches if not all the shrimp fit in a single layer). Cook the shrimp, turning once, until browned on both sides, about 2 ½ minutes per side. Enjoy!

Filed Under: appetizers, eat, mains Tagged With: easy appetizers, jerk, jerk seasoning, marinated, seafood, shrimp

party biscotti

May 8, 2014 by Butter Loves Company

party biscotti cake batter biscotti 4

You might be sitting there thinking “Ugh, she’s posting about biscotti? How lame!”

And, in some cases, you might be right. Biscotti doesn’t have a reputation for being a fun food. No childhood birthday party has ended with a “Happy Birthday! Time for dessert! Bring out the biscotti!” (Maybe it has ended that way, actually . . . “Did they say biscotti? Sorry Suzy, I need to go home . . . and . . . um . . . clean my fish tank.) I think this is just because biscotti hasn’t shown up to the party wearing sprinkles—Until now!

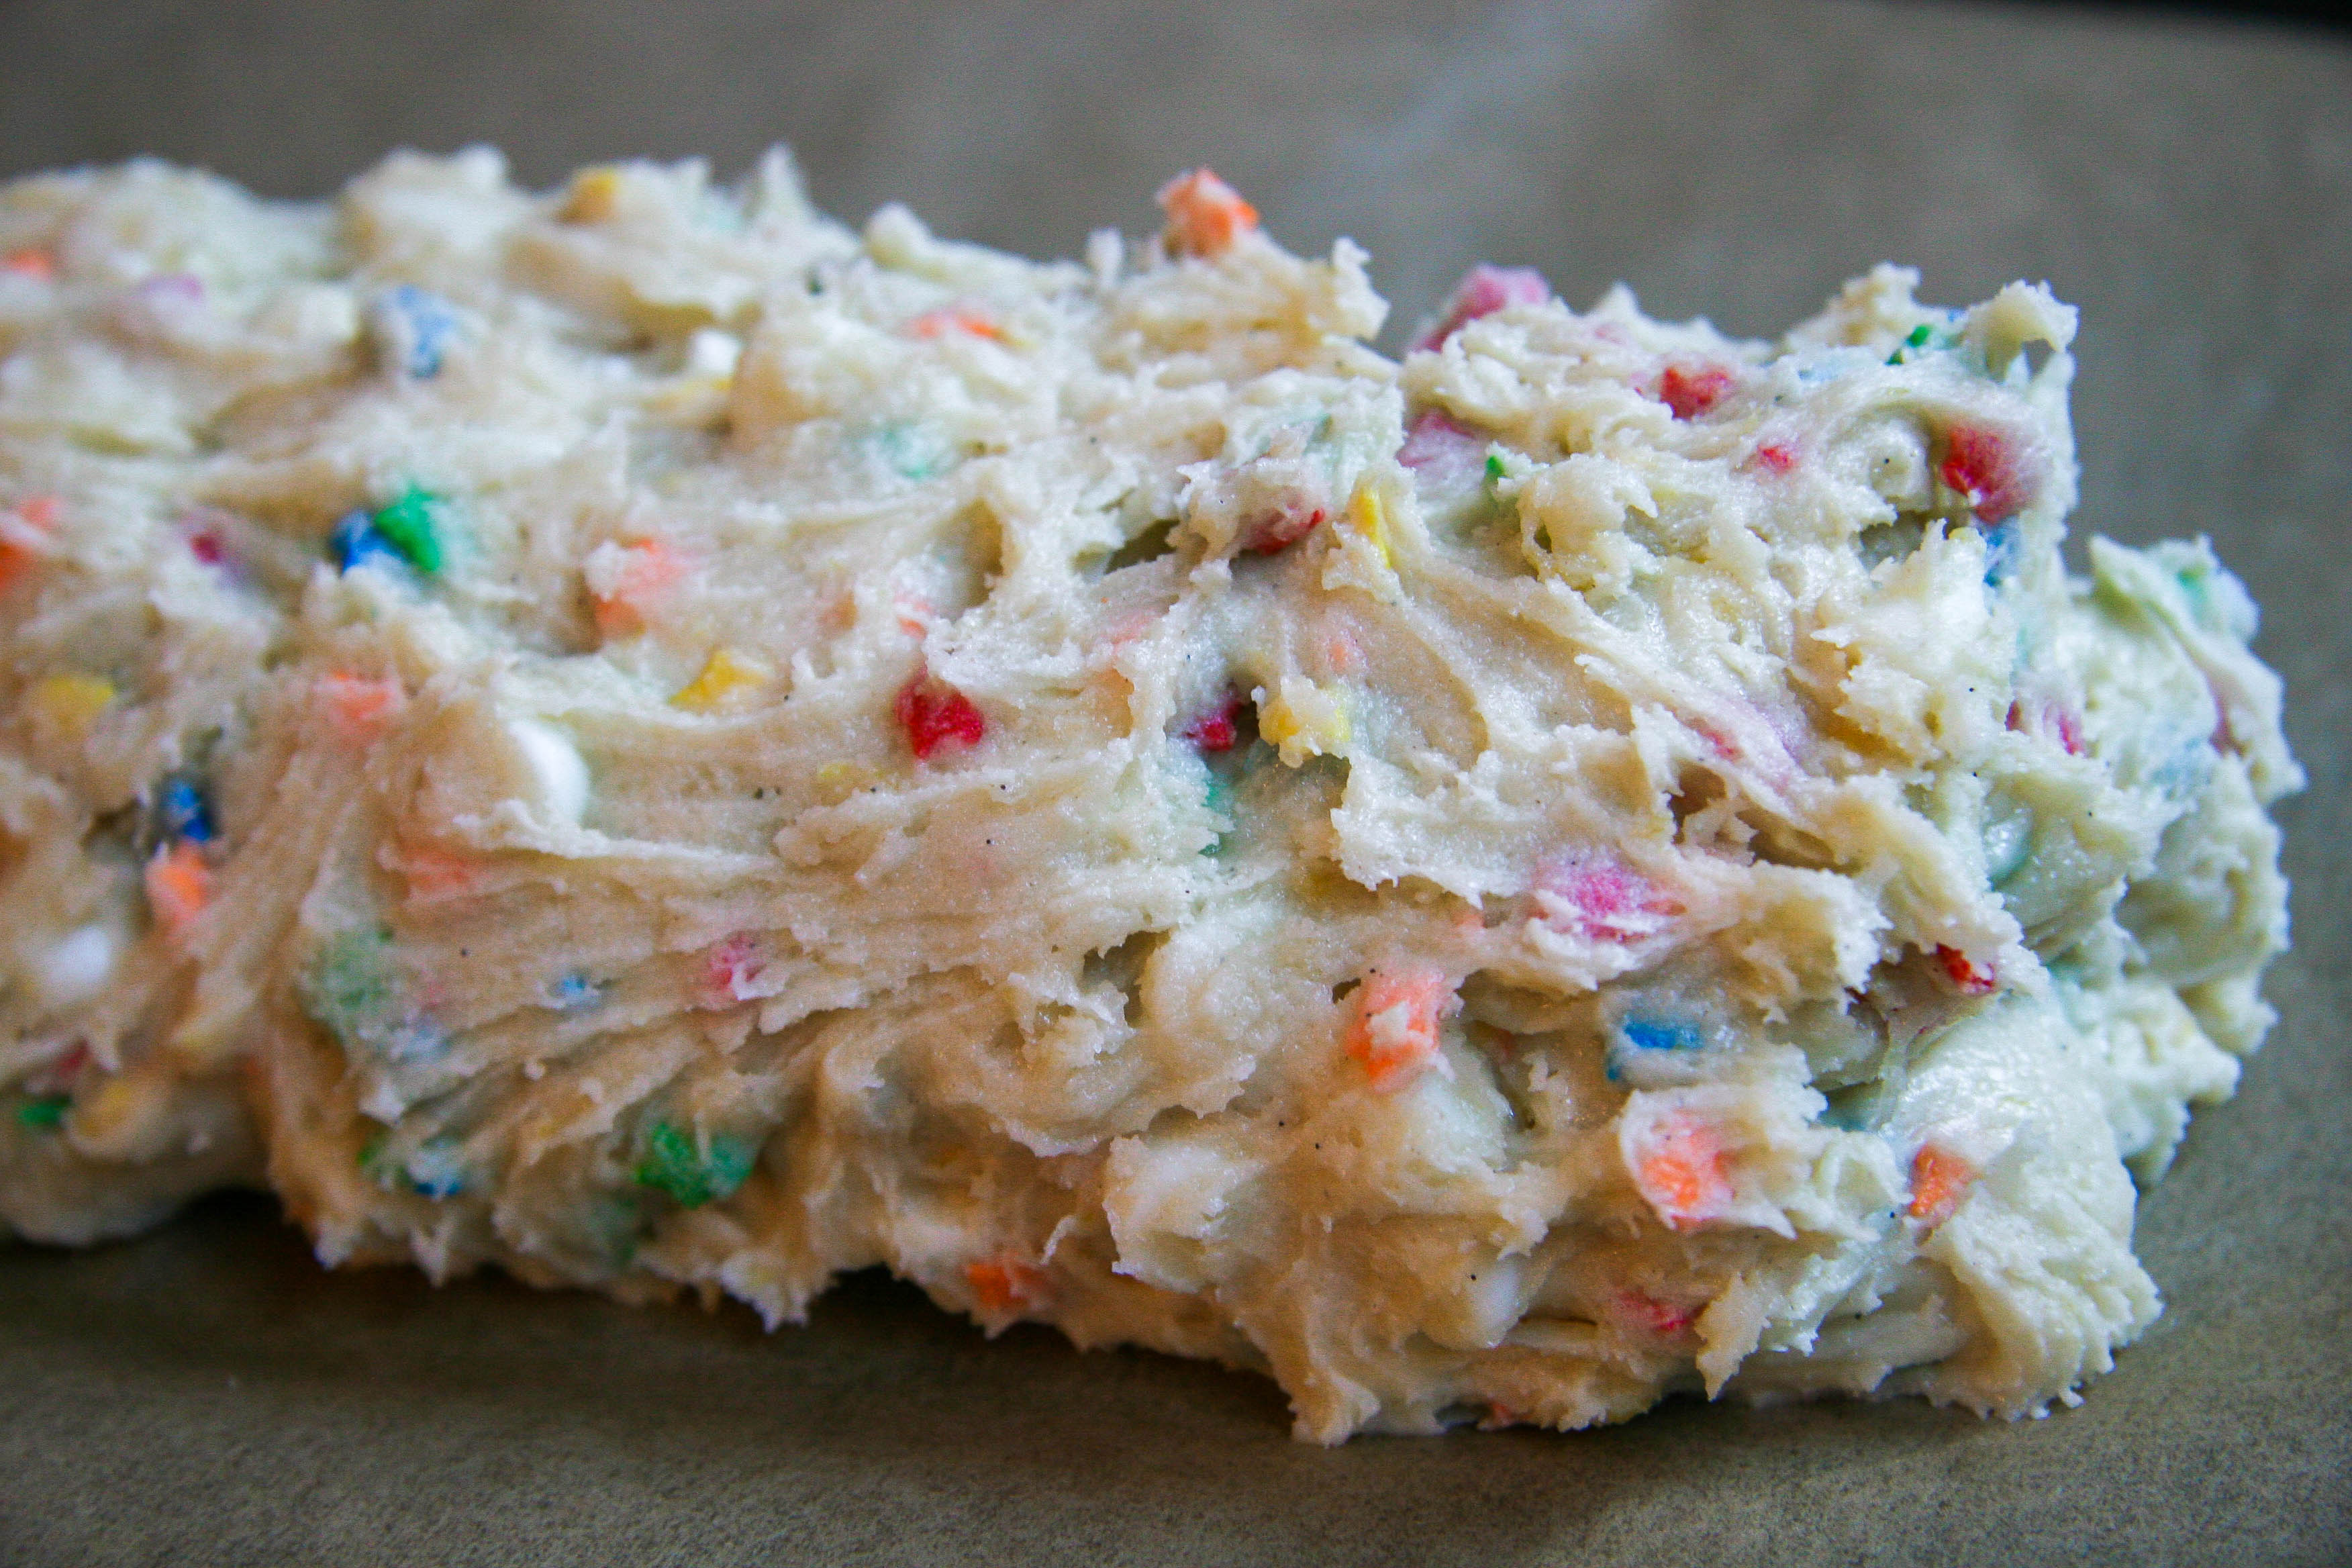
Maybe my eyes were still blinking sparkly lights after my recent girls’ weekend in Las Vegas, but when I decided to make biscotti this week I wanted something a little more fun than the average fruits and nuts. I wanted something that was colorful and would be welcomed for a celebration or just with a cup of coffee. And for whatever reason, I also wanted something reminiscent of birthday cake batter.

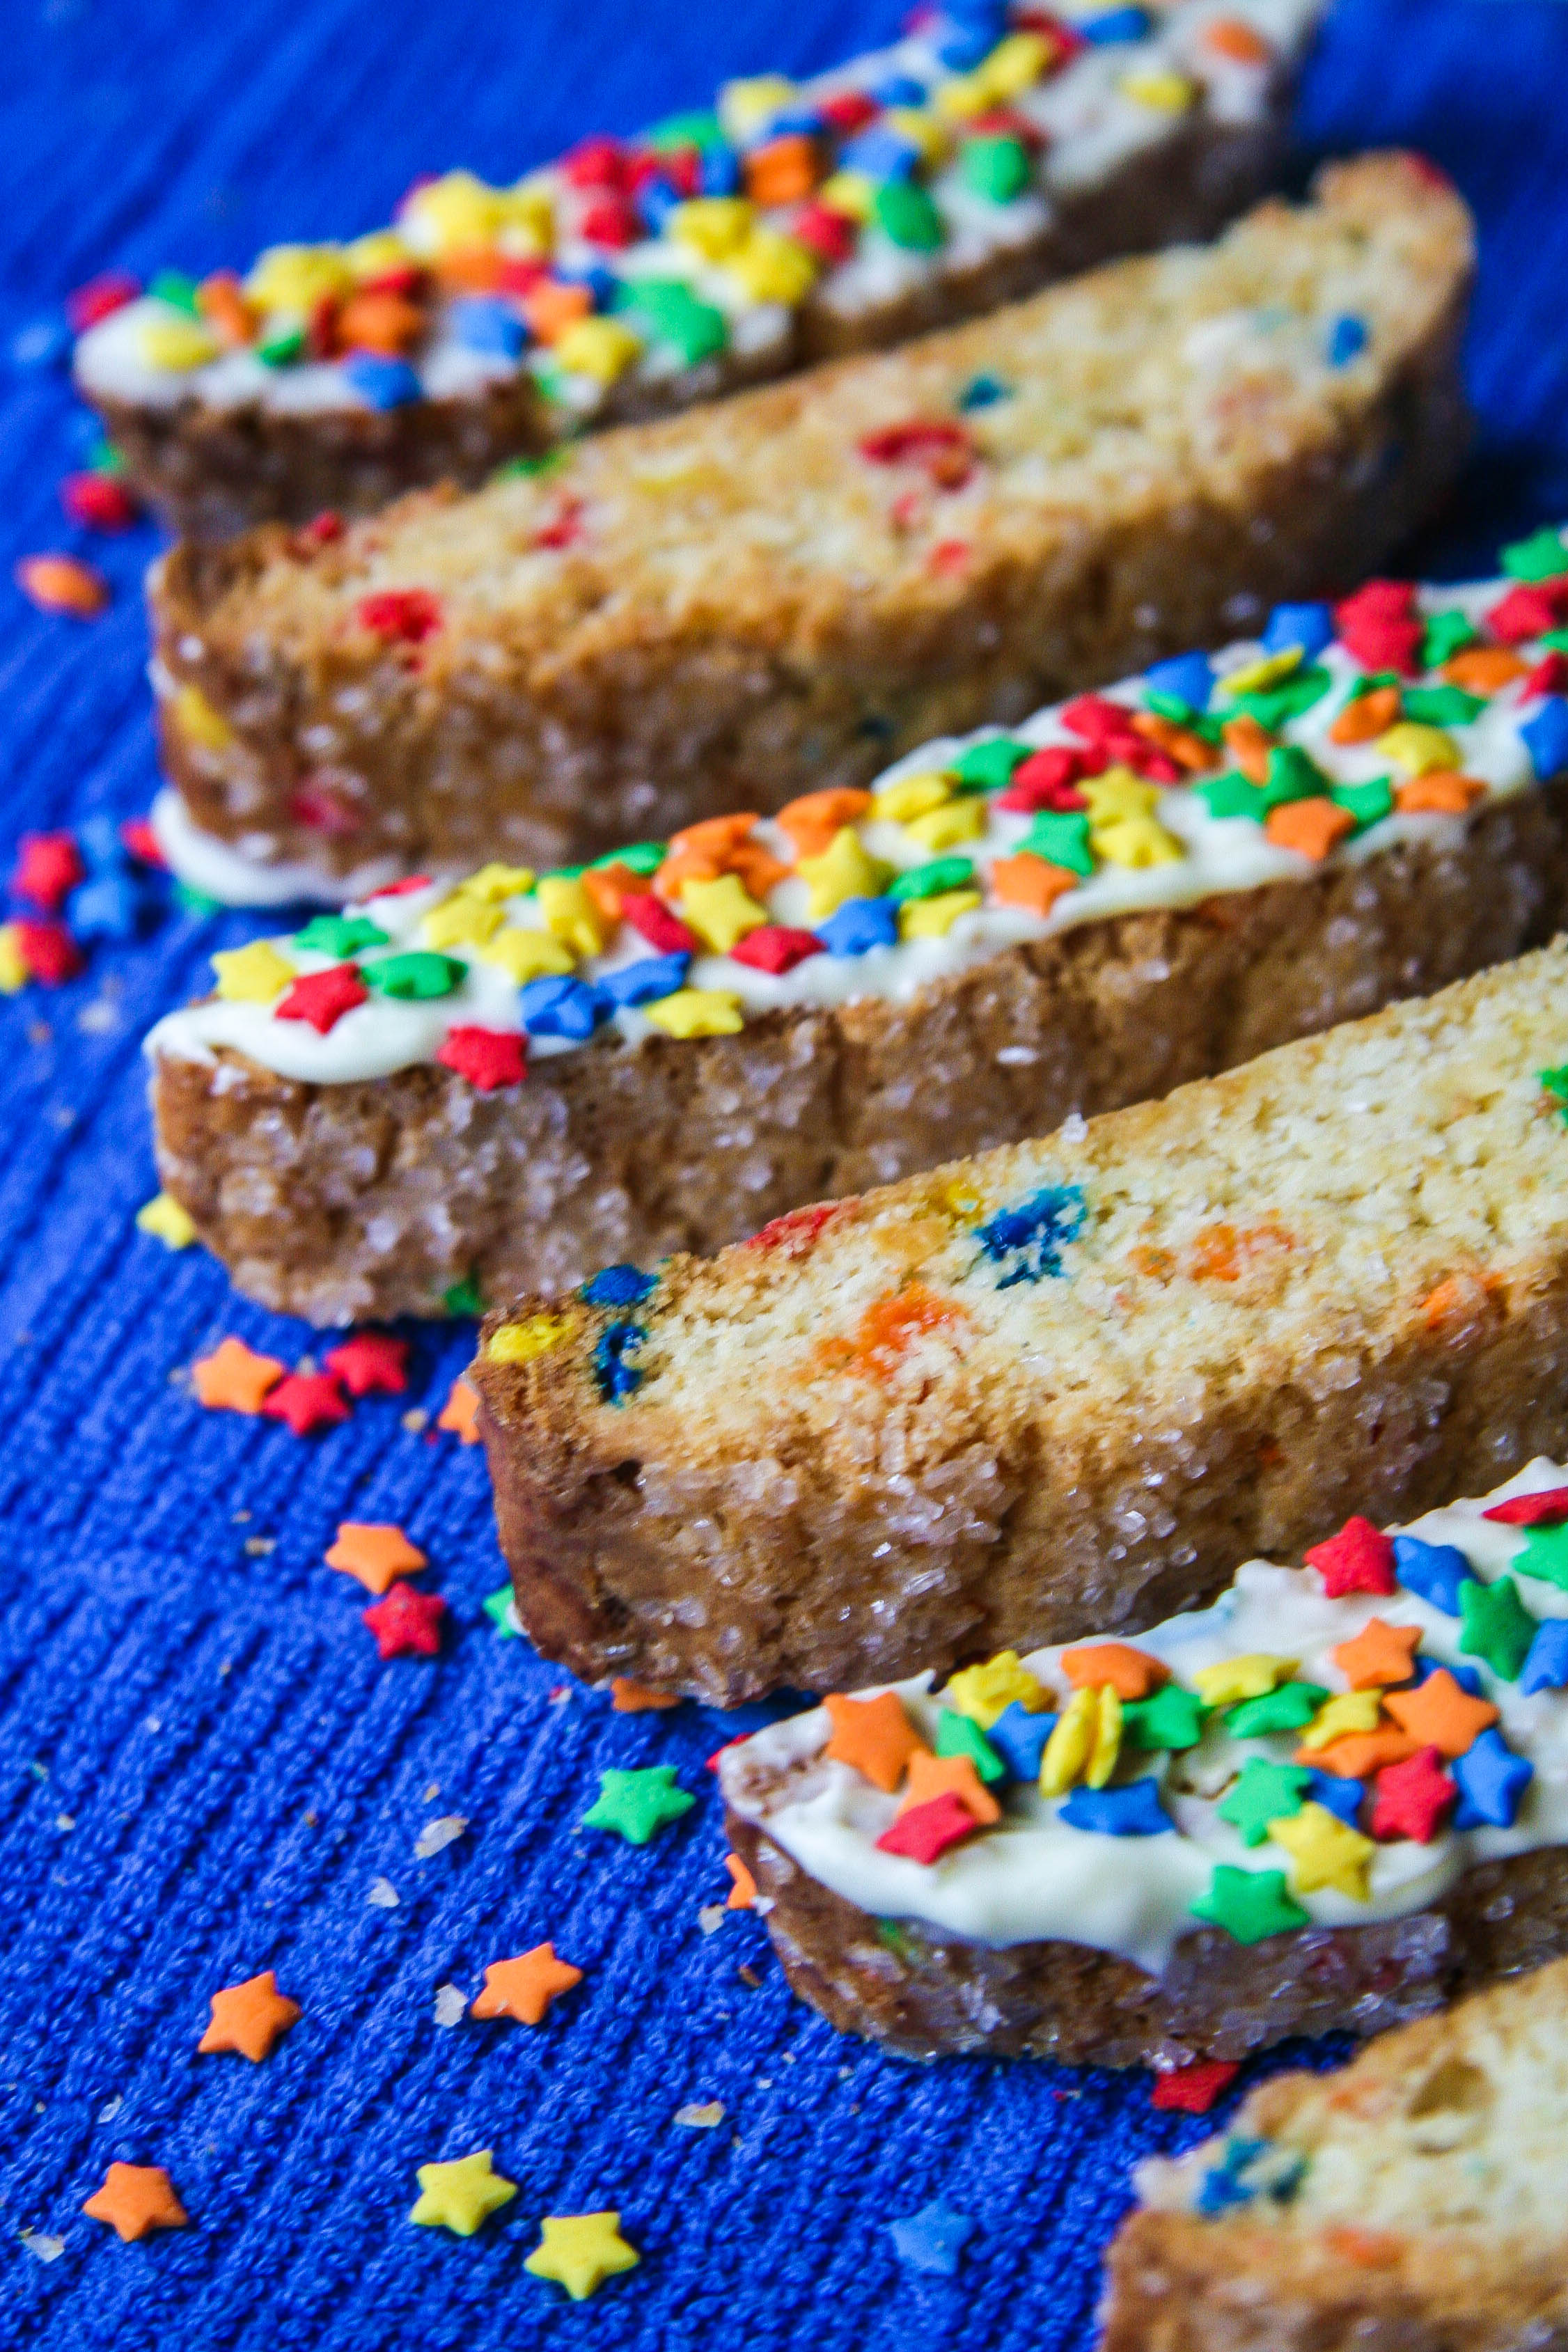
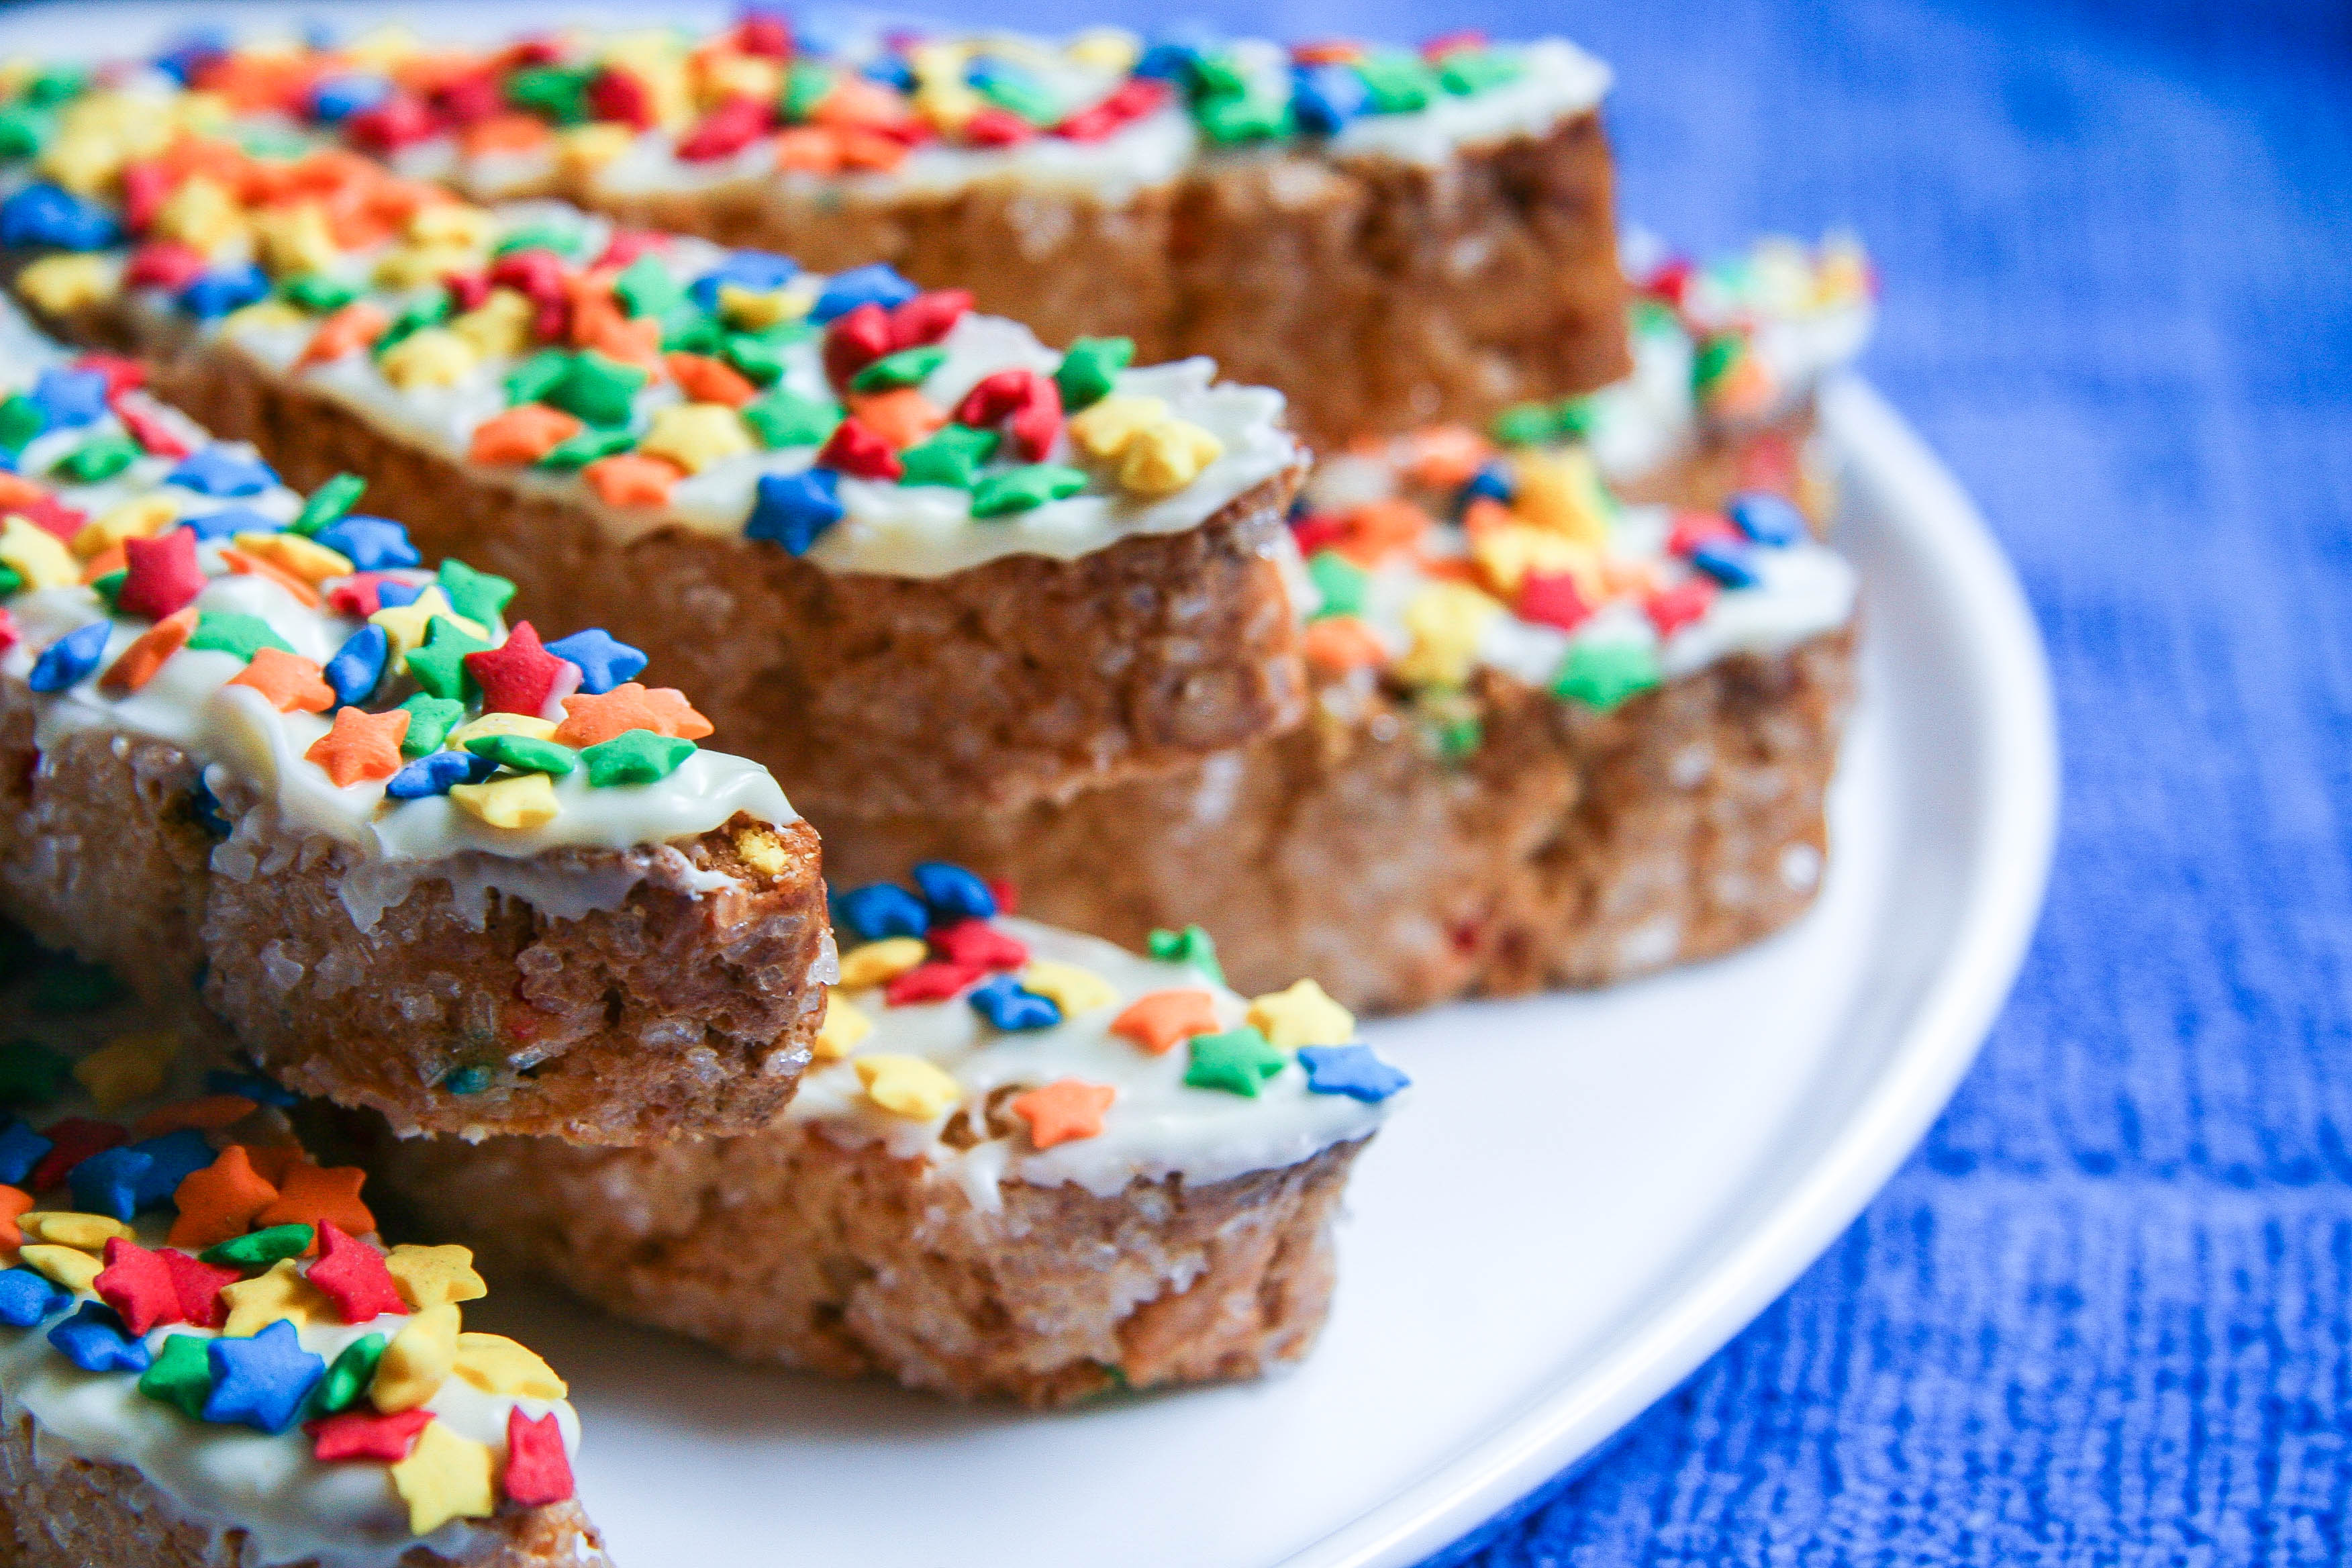
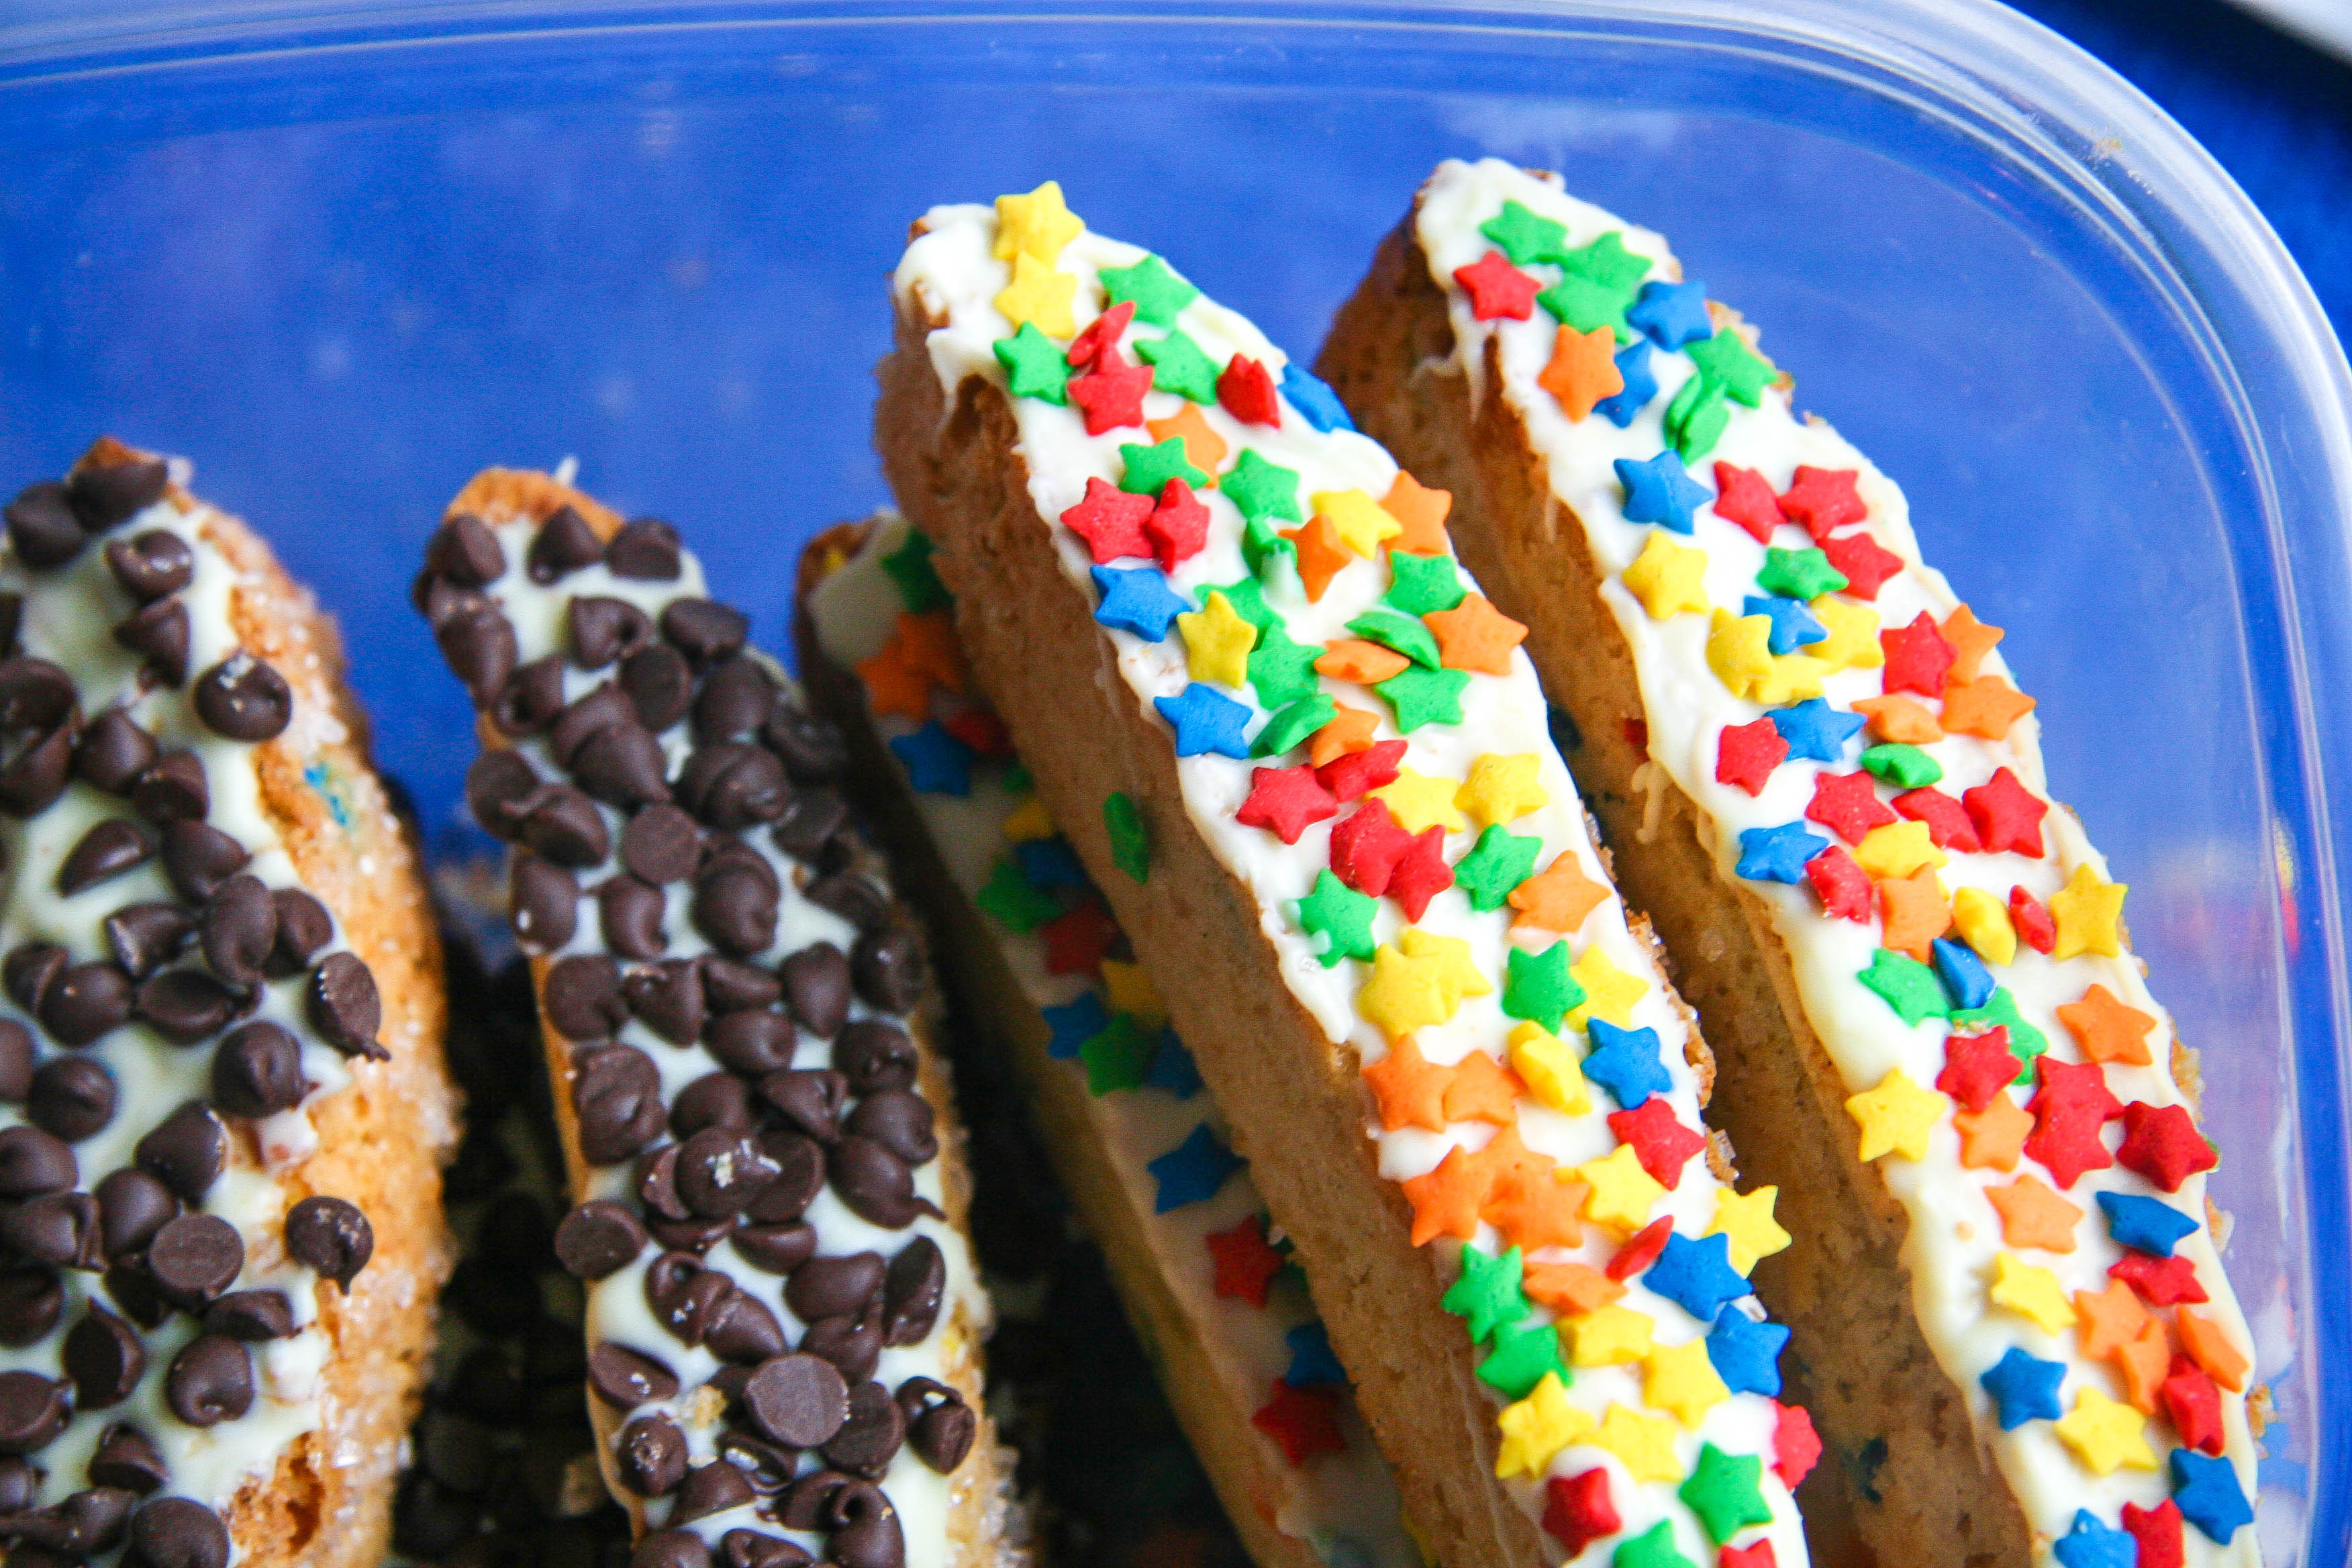
I mixed up biscotti with a combination of vanilla bean, touches of almond and lemon zest, creamy white chocolate chips and sprinks (yes, I did that) both inside and out.

And after a few test batches, “party biscotti” was born.

The word “Biscotti” comes from the Italian roots ‘bis’ and ‘cotti,’ meaning twice-baked. As its name suggests, the dough hits the oven twice: first in logs and second sliced into rectangles after the logs have been partially cooked. Because these are supposed to be crunchy and somewhat dry they’re long lasting making them a perfect cookie jar cookie. As a note, biscotti is the plural term for biscotto. In the U.S. I tend to hear the cookie referred to as biscotti whether referring to one or a full platter.

Fun fact: In Italy, Biscotti is also the generic term for any cookie. So, in Italy, if you bring a plate of biscotti to a kid’s party, you’re always super cool. Well played, Italy.

party biscotti cake batter biscotti 3

party biscotti cake batter biscotti 1

party biscotti cake batter biscotti 6

party biscotti cake batter biscotti 5

party biscotti cake batter biscotti 7

party biscotti
Adapted from Giada de Laurentiis

Prep Time: 30 minutes
Cook Time: 45 minutes
Total Time: 1 hr. 45 minutes (including cool time)
Makes: About 2 dozen biscotti

Ingredients:

2¼ cups all-purpose flour
1½ teaspoons baking powder
½ cup (1 stick) unsalted butter, softened
¾ cup sugar
1 teaspoon grated lemon zest
¼ teaspoon salt
2 large eggs
1 teaspoon vanilla bean paste or vanilla extract
¼ teaspoon almond extract
1 cup white chocolate chips or coarsely chopped white chocolate (I tried both and actually preferred the chips)
¼ cup rainbow sprinkles
1 egg, lightly beaten, for egg wash
¼ cup sparkling sugar, for topping egg wash (granulated sugar will also work)
1 cup white chocolate chips or coarsely chopped white chocolate, for garnish (optional)
Additional sprinkles or small candies for garnish (optional)

Instructions:

  1. Preheat the oven to 350 degrees F and line a baking sheet with parchment paper.
  2. In a small bowl, whisk together the flour and baking powder to blend. In a large bowl or the bowl of an electric mixer fitted with the paddle attachment, on medium speed, beat the butter and sugar together until light and fluffy. Add the lemon zest and salt until blended. Beat in the eggs 1 at a time, followed by the vanilla and almond extracts.
  3. With the mixer on low, add the flour mixture to the butter and sugar mixture and beat just until blended. Mix in the white chocolate and sprinkles with the mixer on low, or by hand.
  4. Form the dough into two 8-inch long, 3-inch wide logs on the prepared baking sheet. Brush with egg wash and sprinkle tops with sugar. Bake until lightly golden, about 35 minutes. Cool on sheet for 20 minutes.
  5. Place the logs on the cutting board. Using a sharp serrated knife cut the logs into ¾-inch-thick slices. Place the biscotti, cut side down, back onto the baking sheet. Bake the biscotti until they are pale golden, about 6 minutes. Gently flip the biscotti over and cook with the other side facing up until pale golden, another 4–6 minutes. Transfer the biscotti to a rack and cool completely.
  6. In a bowl set over a saucepan of simmering water stir the white chocolate with a rubber spatula or metal spoon until the chocolate melts. Dip one side of the biscotti into the melted chocolate. Gently shake off the excess chocolate. Dip or sprinkle with desired topping and place the biscotti on the baking sheet for the chocolate to set. Allow the chocolate to harden before serving or storing.

Filed Under: breakfast and breads, desserts and sweets, eat Tagged With: birthday cake, biscotti, biscotti recipe, cake batter, coffee cookie, cookies, make ahead, sprinkles, white chocolate

lemon loaf with lavender glaze

April 30, 2014 by Butter Loves Company

lemon loaf with lavender glaze 6

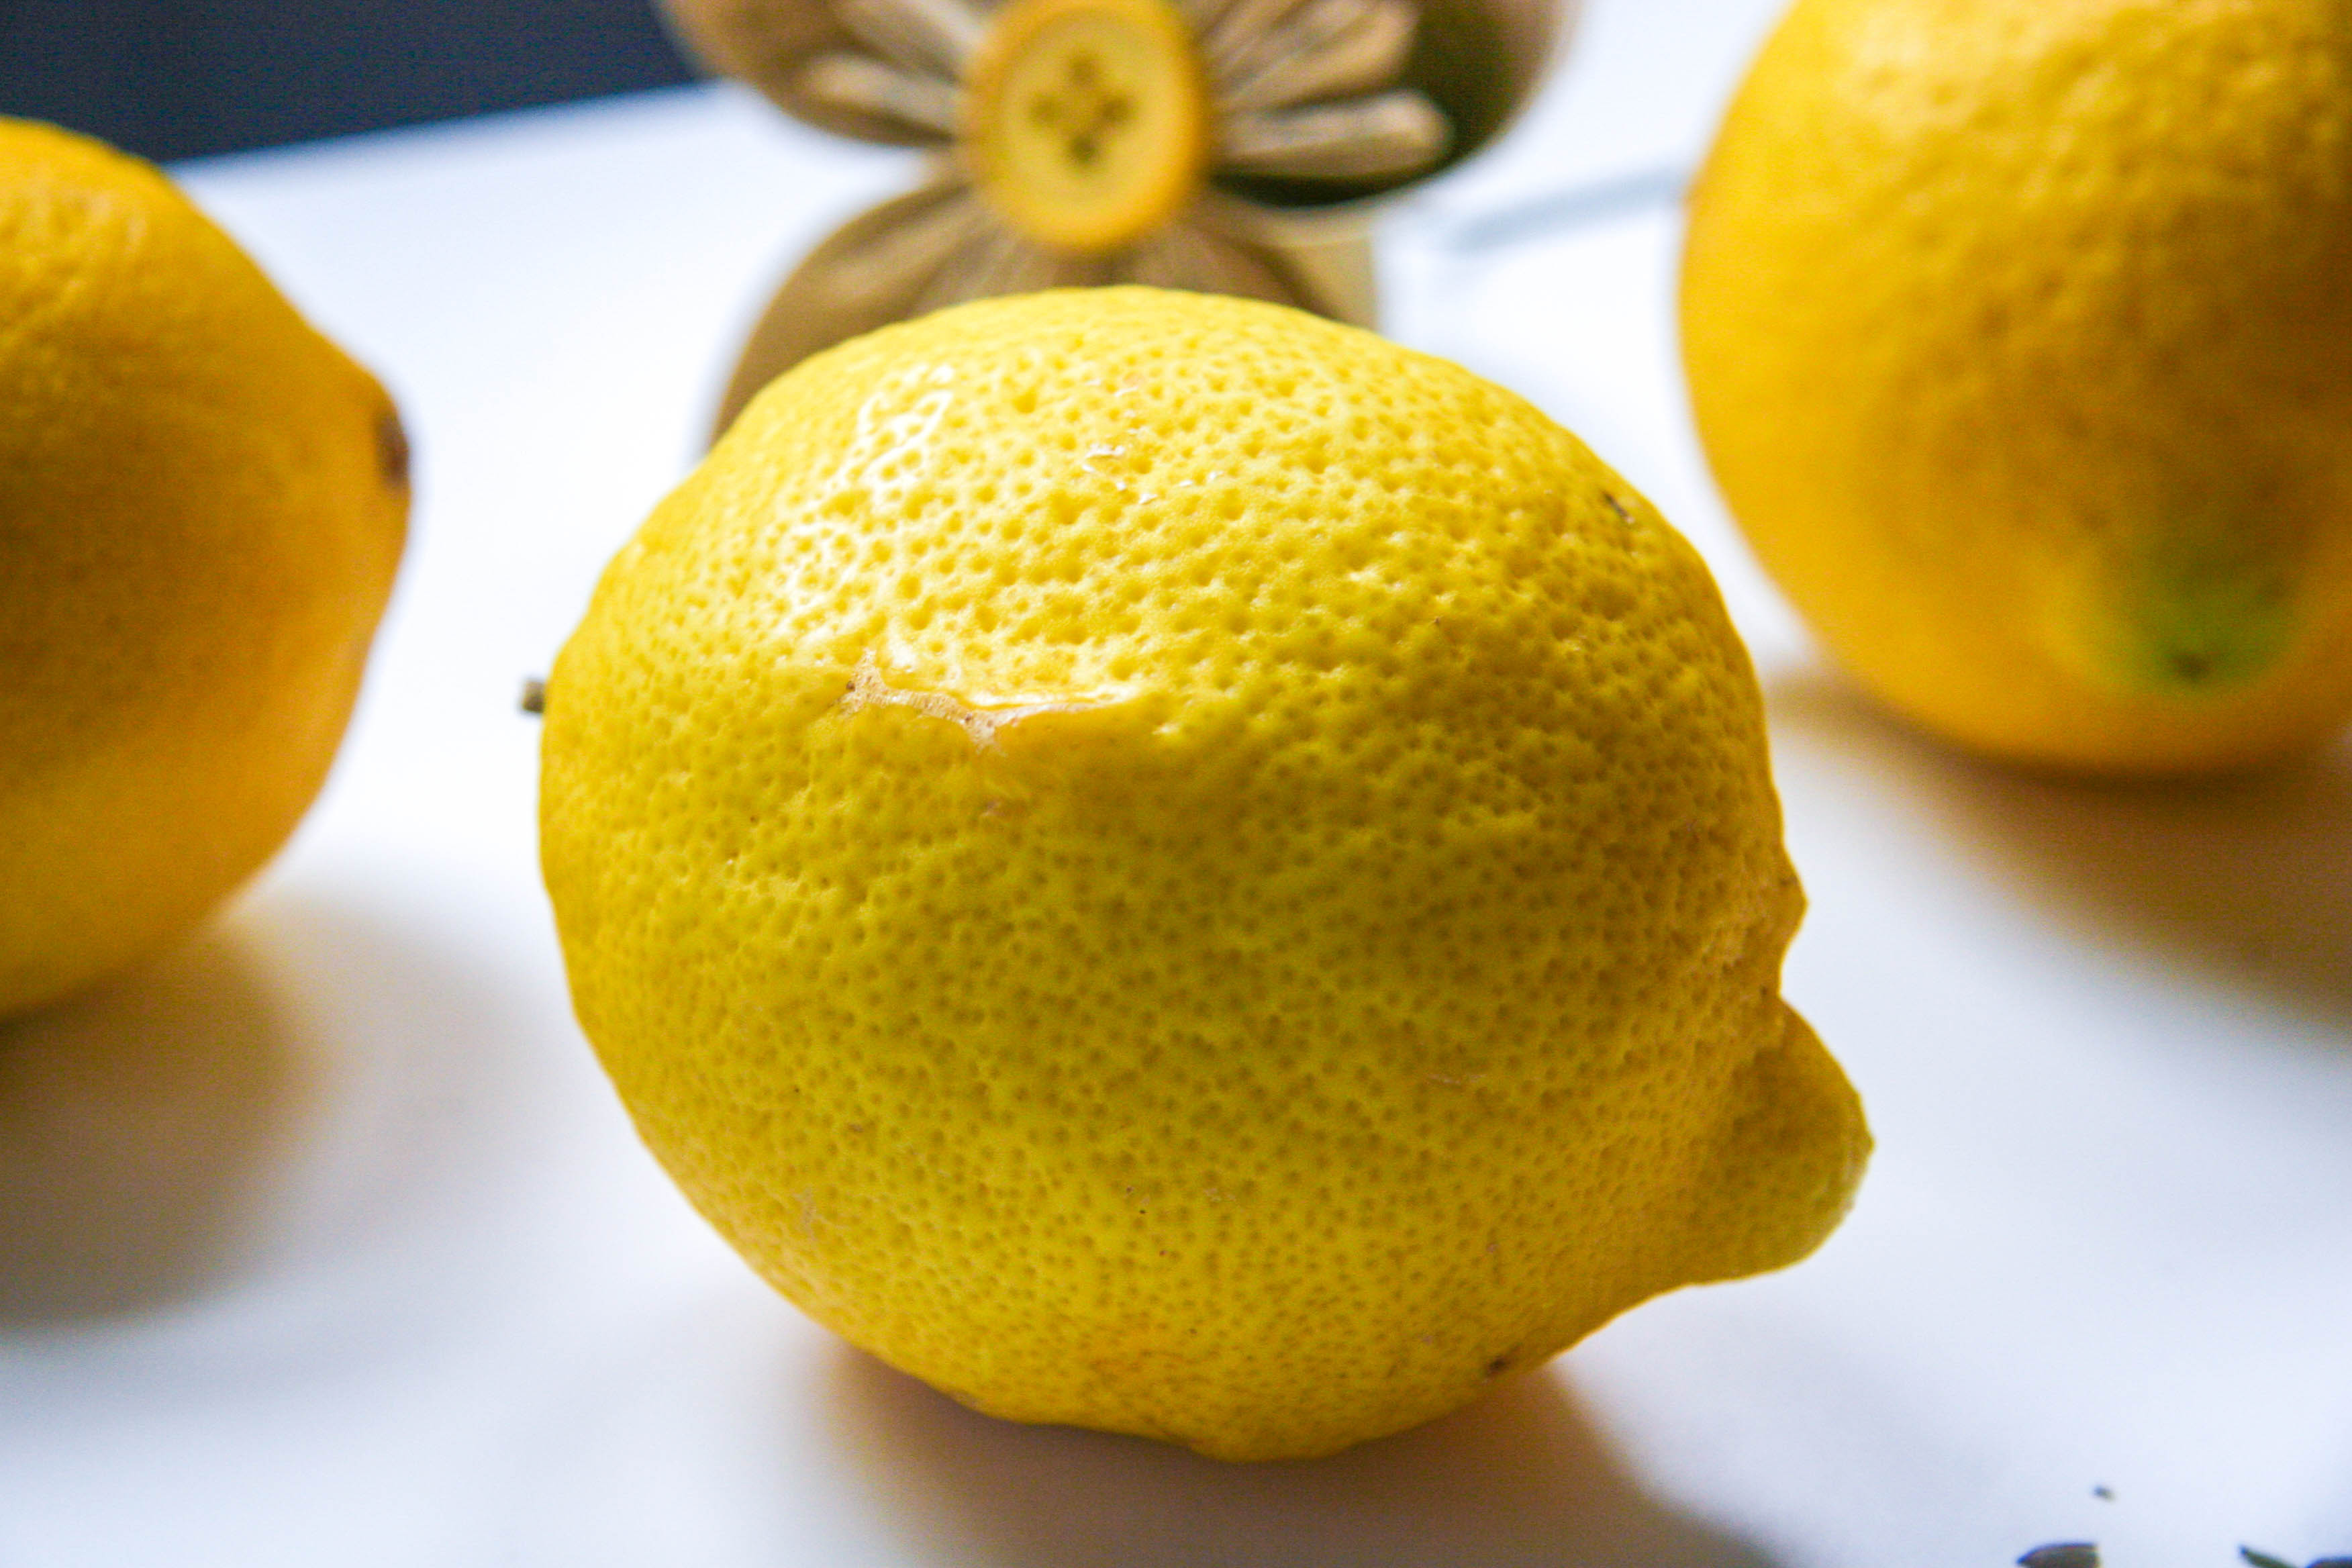
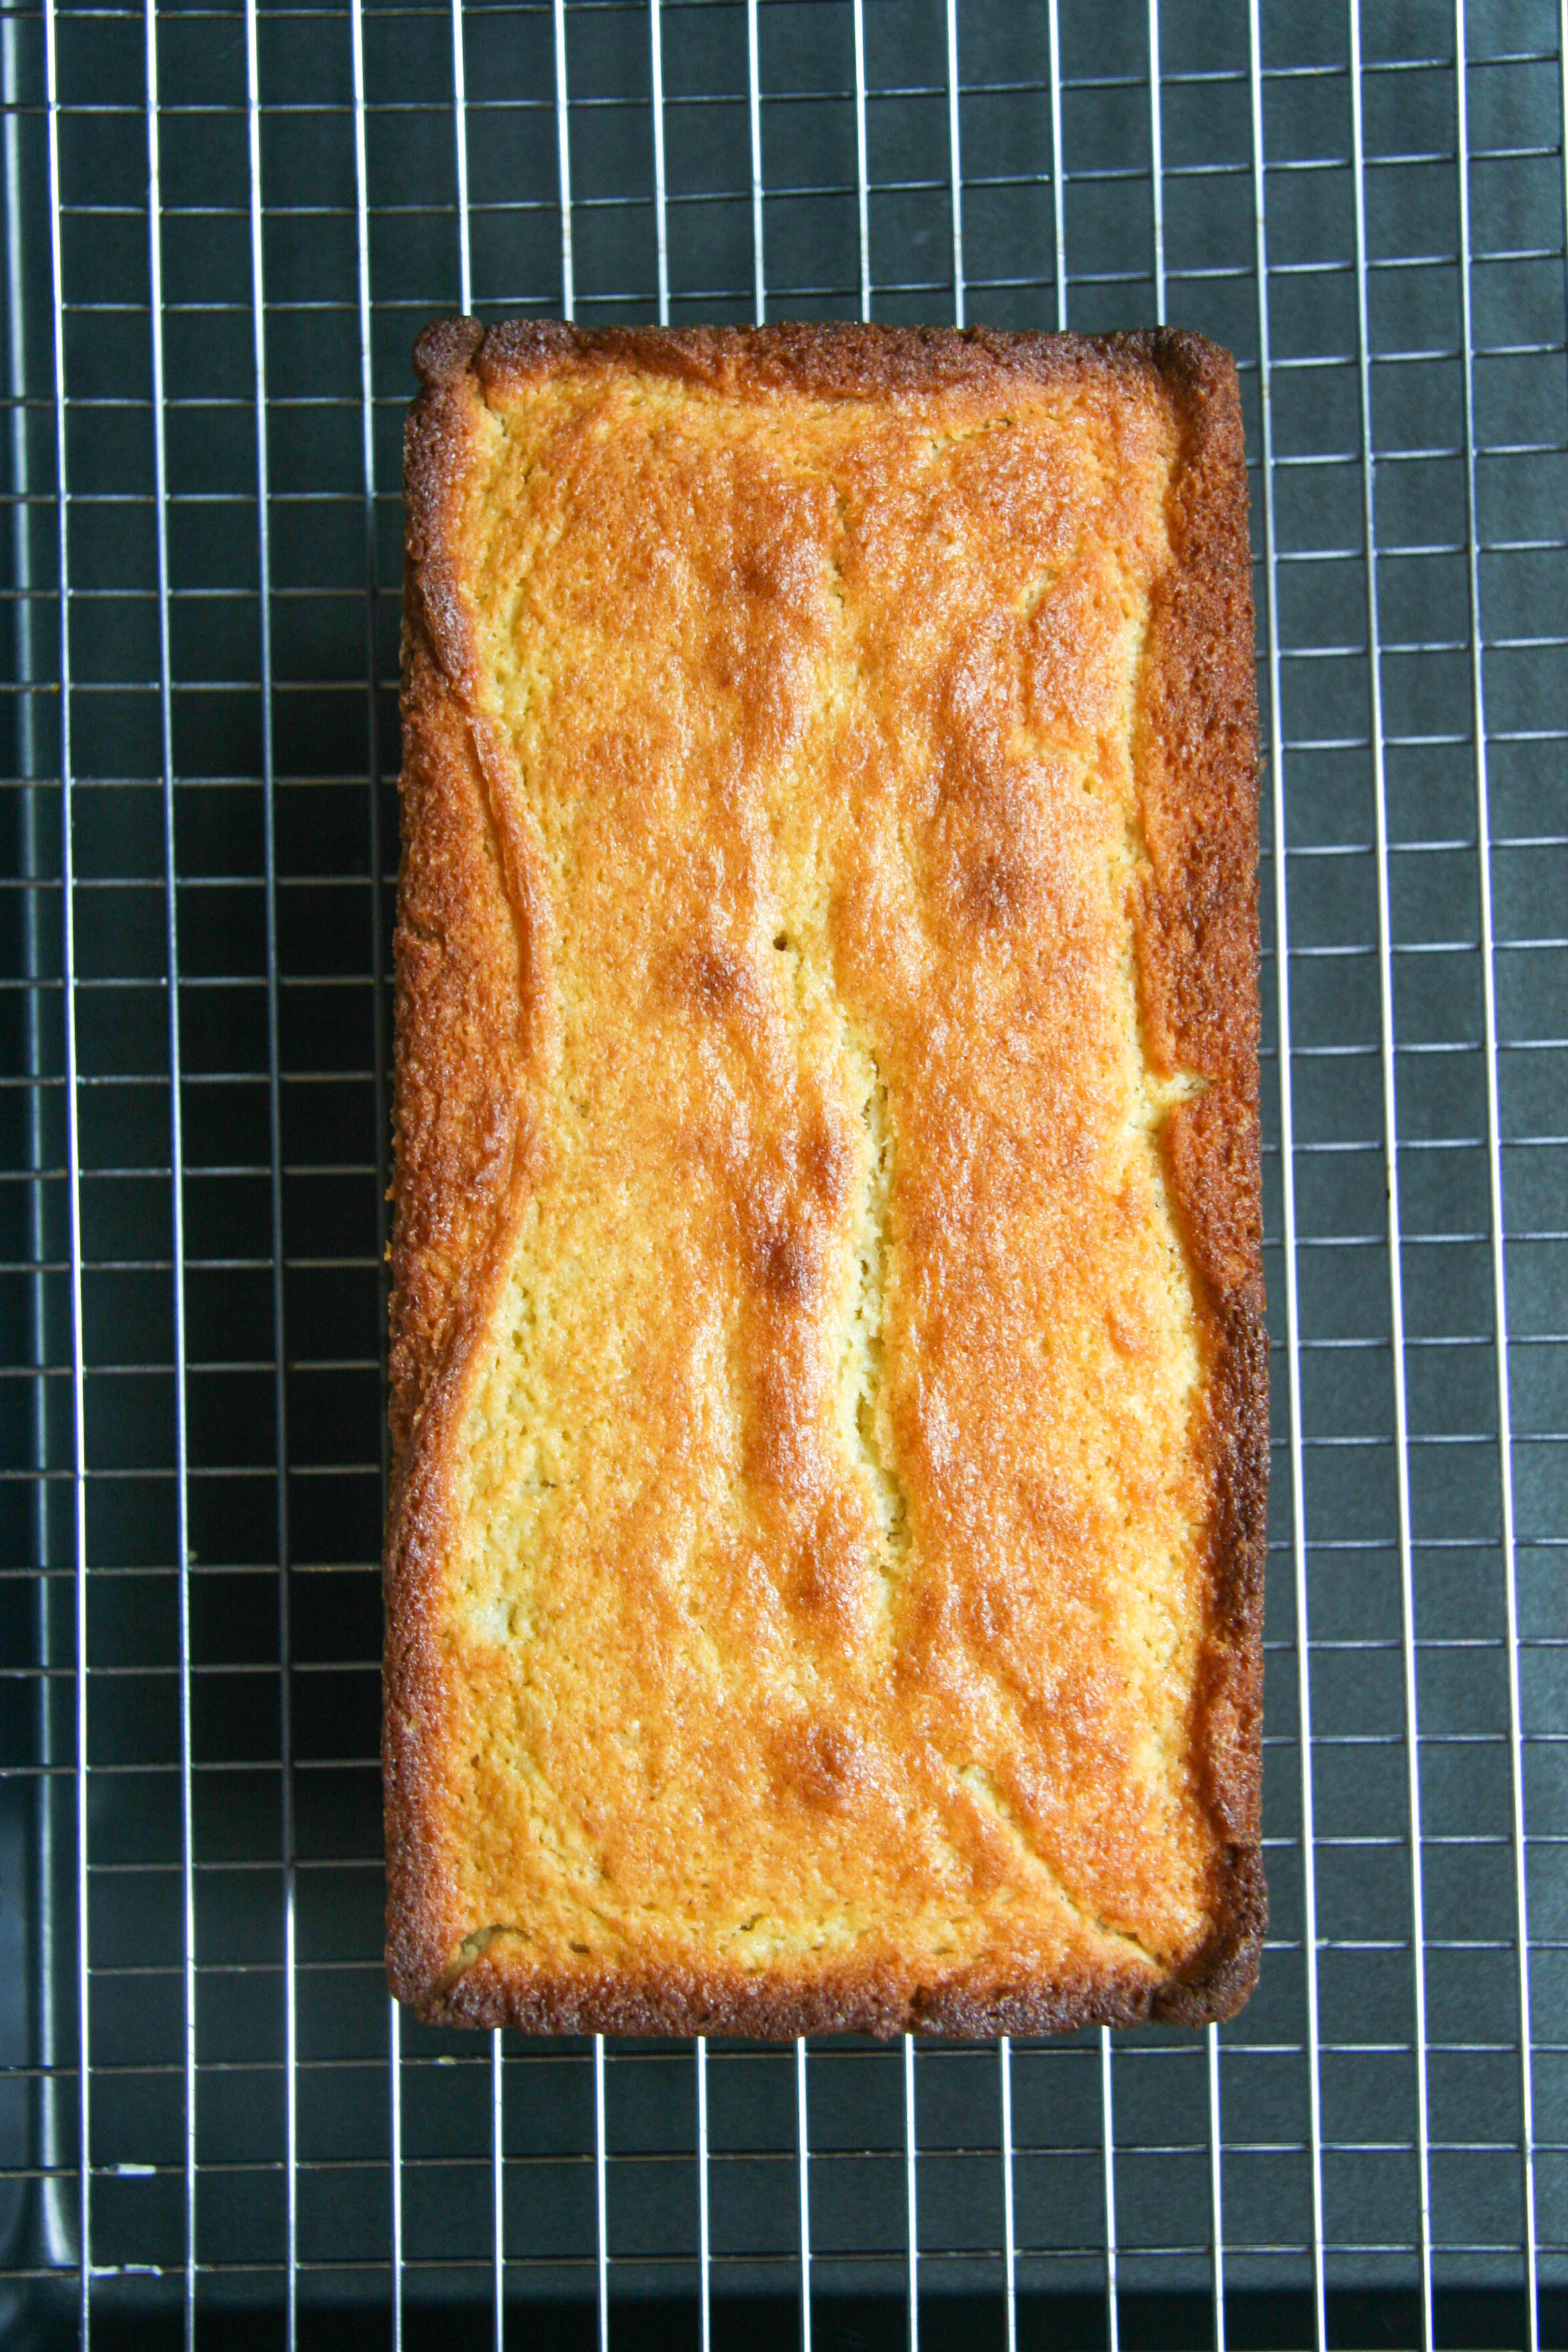
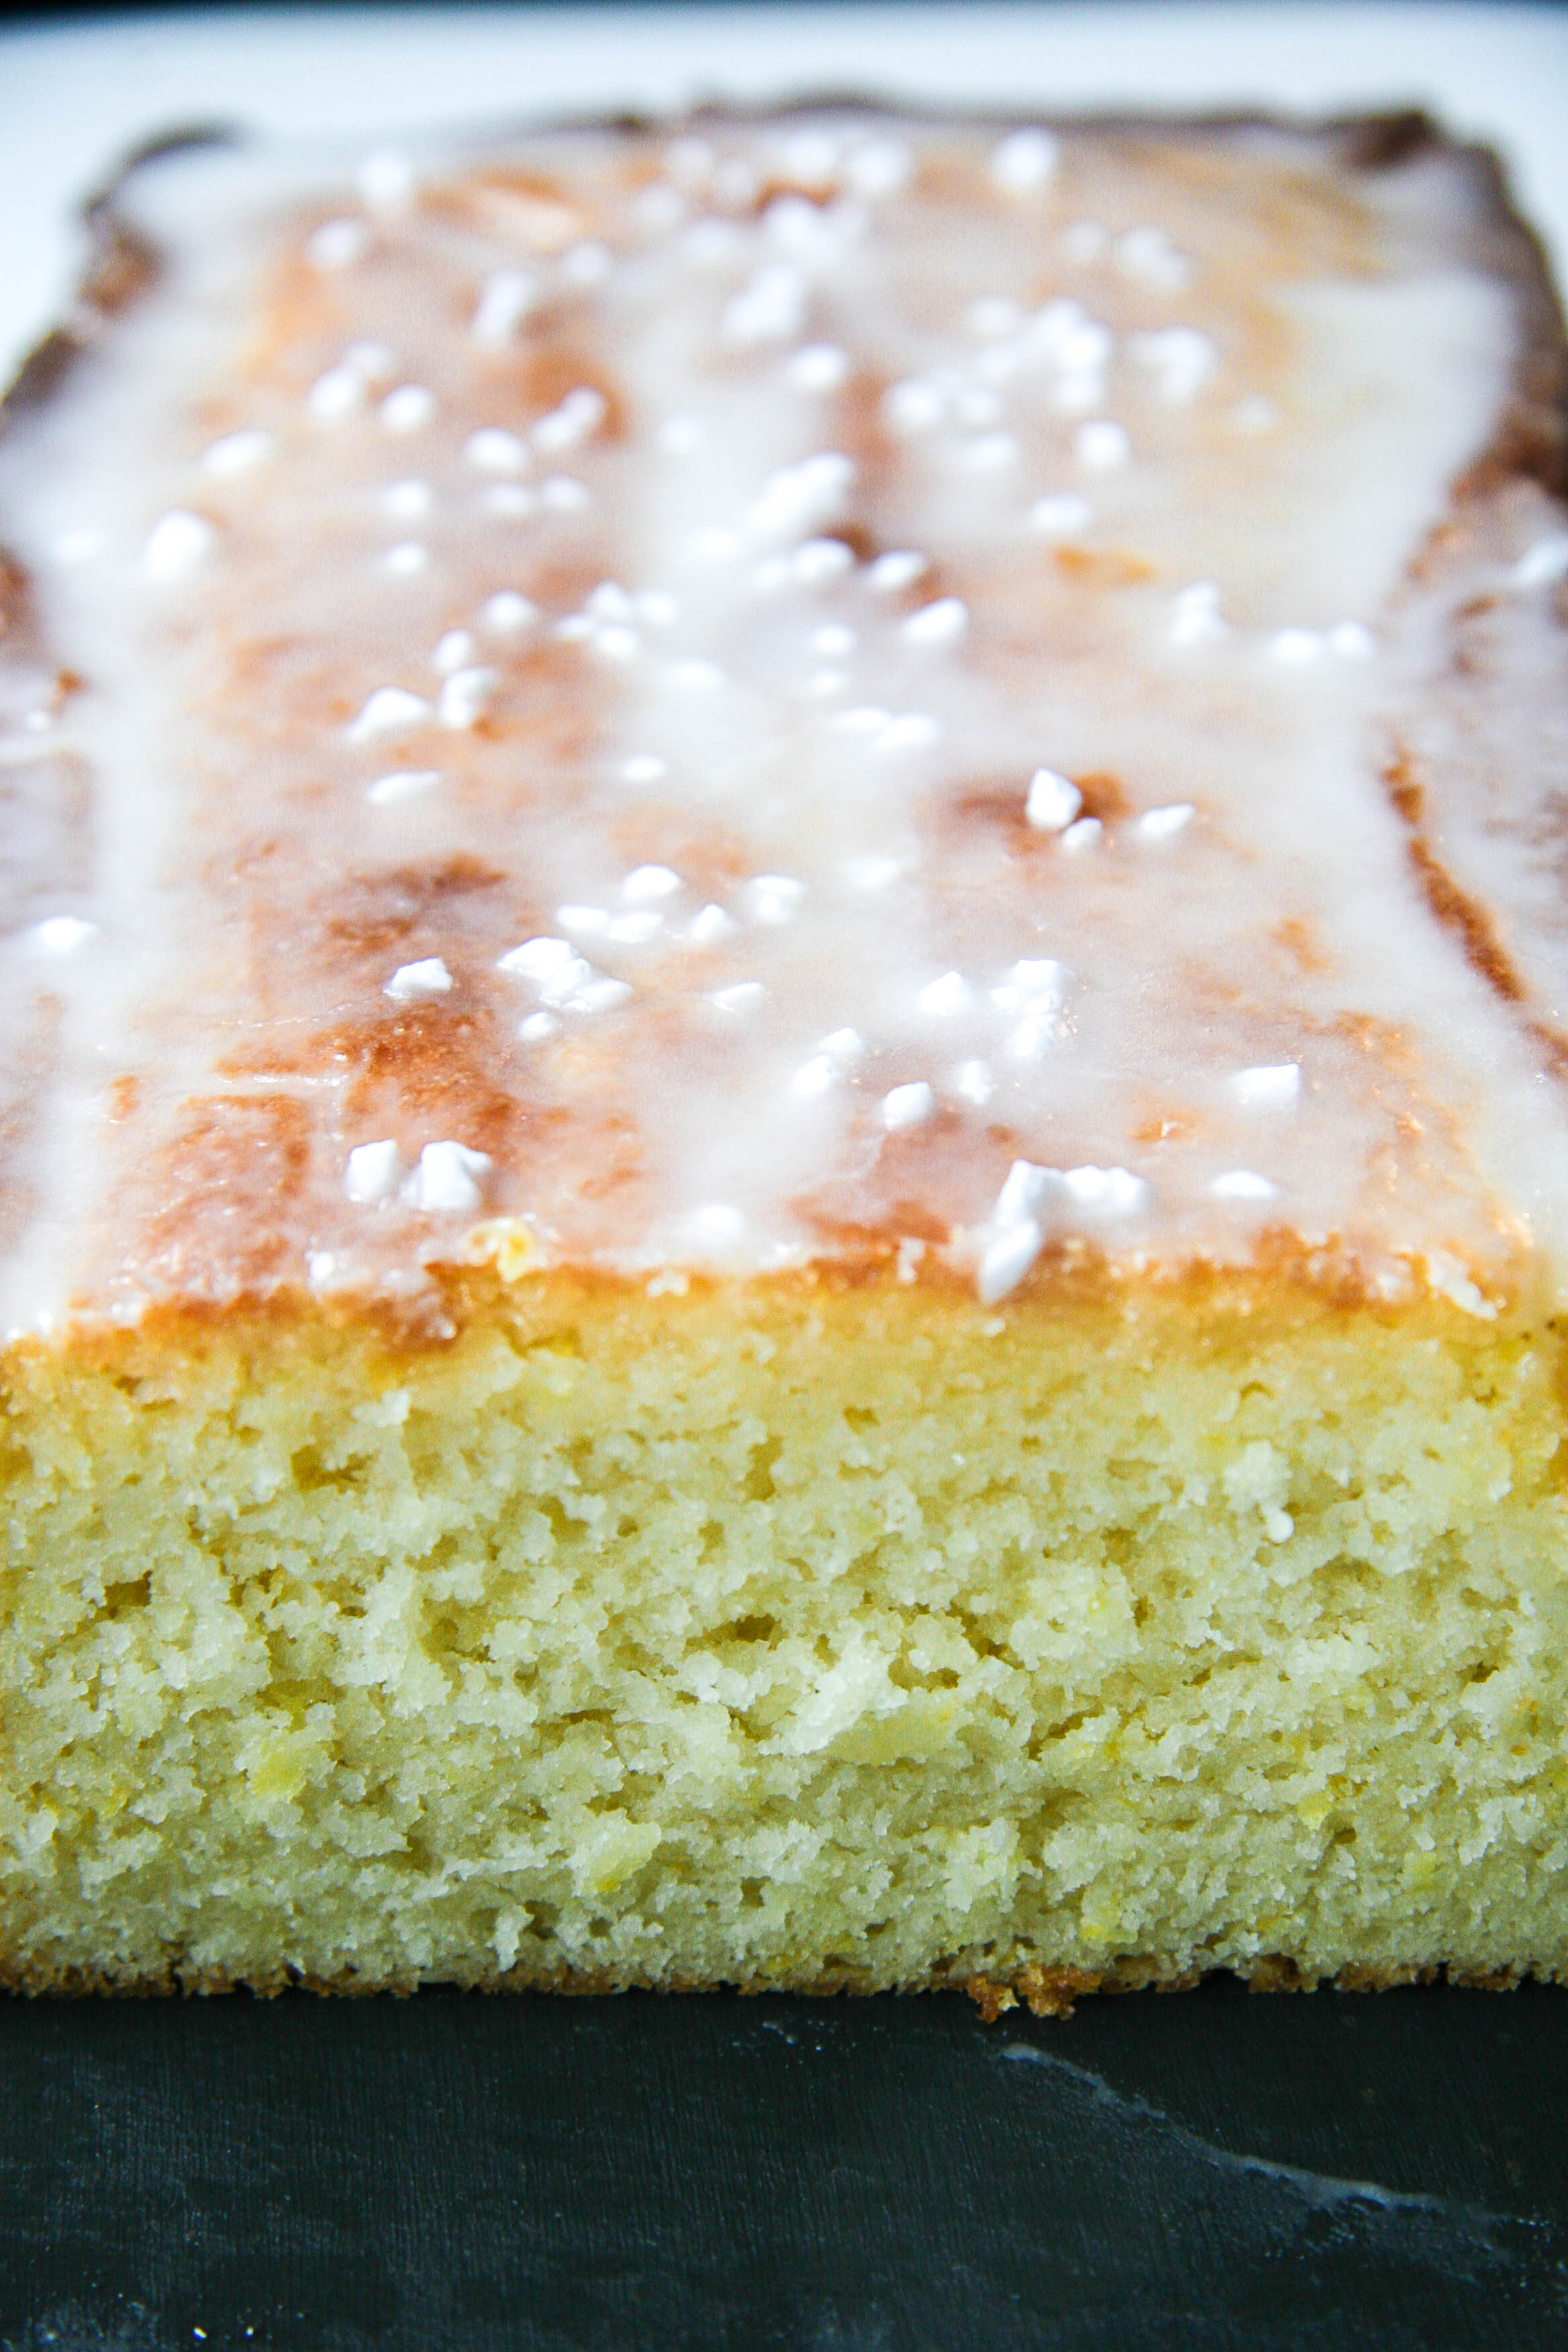
Since, after three days, we’ve officially finished the final crumb of this bread, I thought it was time you all should know about it. Three days is actually a pretty impressive length of time, which I’ll attribute to my trying to be “good” about my sweet intake this week. I consider this a success even if only for the fact that each time I ate it I actually cut a slice and put it on a plate, rather than jabbing a fork into the loaf for a bite each time I passed its platter. (Does anyone else leave a fork on the serving plate ready for this move at any time?) If When I make this again, I’d estimate a one- to two-day counter life based on deliciousness alone.

lemon loaf with lavender glaze 1

This loaf was the result of yet another ‘Buttermilk Conundrum,’ as I like to call it. I often purchase buttermilk for a recipe that only requires a half-cup of it. Before I know it, the carton has taken up residence in my fridge until I finally realize expiration is approaching and google, “what to do with leftover buttermilk.” It’s a classic tale—a Buttermilk Conundrum.
lemon loaf with lavender glaze 2

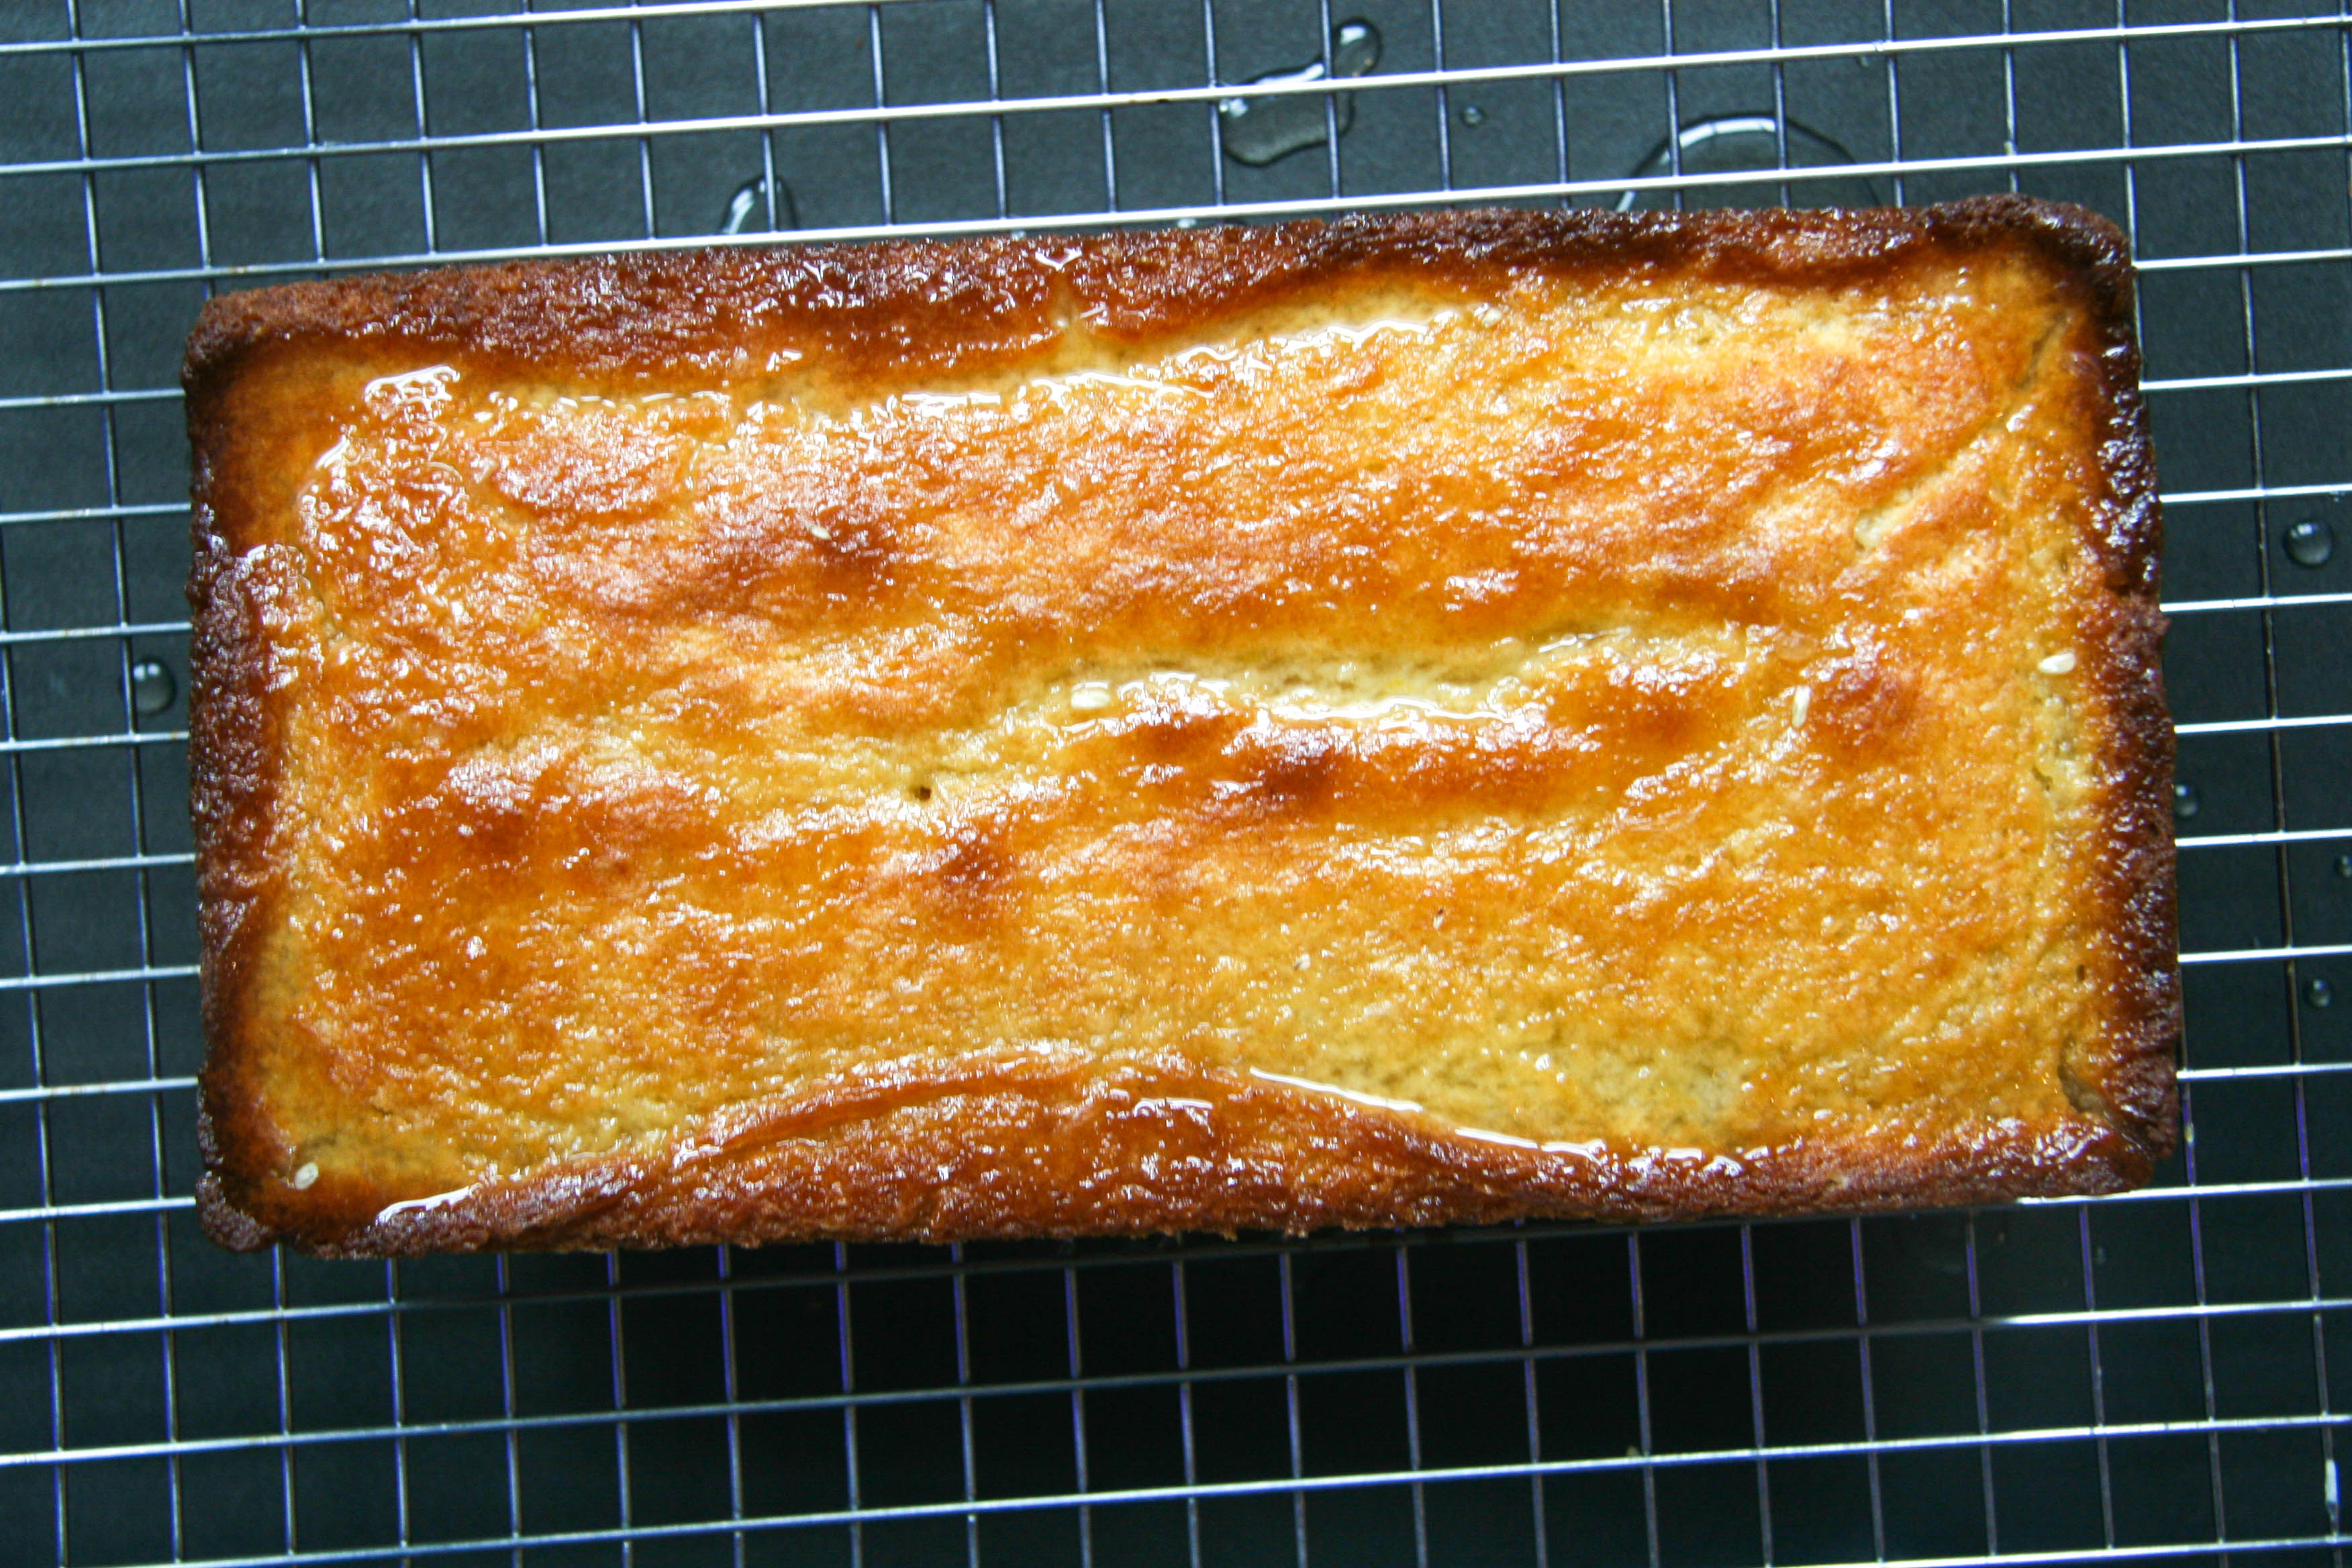
Well my Google search was a little more targeted this time knowing I also had lemons in the fridge, it was early on a rainy Saturday morning and I much preferred to stay in pajamas than put on real-people-clothes to go to the store for anything. I found a well-reviewed Ina Garten lemon cake recipe as a starting point. Her recipe made two loaves, which we didn’t need in the apartment (see, I was being good!), so I started to tweak a little bit as I scaled the recipe down. It turned out to be quite good with a perfect bread loaf texture—moist with a tight but not-too-dense crumb. There was a noticeable citrus flavor—without it being too bitter or too tart—from the additions of lemon zest in the cake and lemon juice in a syrup spooned over the warm loaf after it comes out of the oven. I decided to call it a bread versus a cake solely to make Greg and me feel better about having it for breakfast.
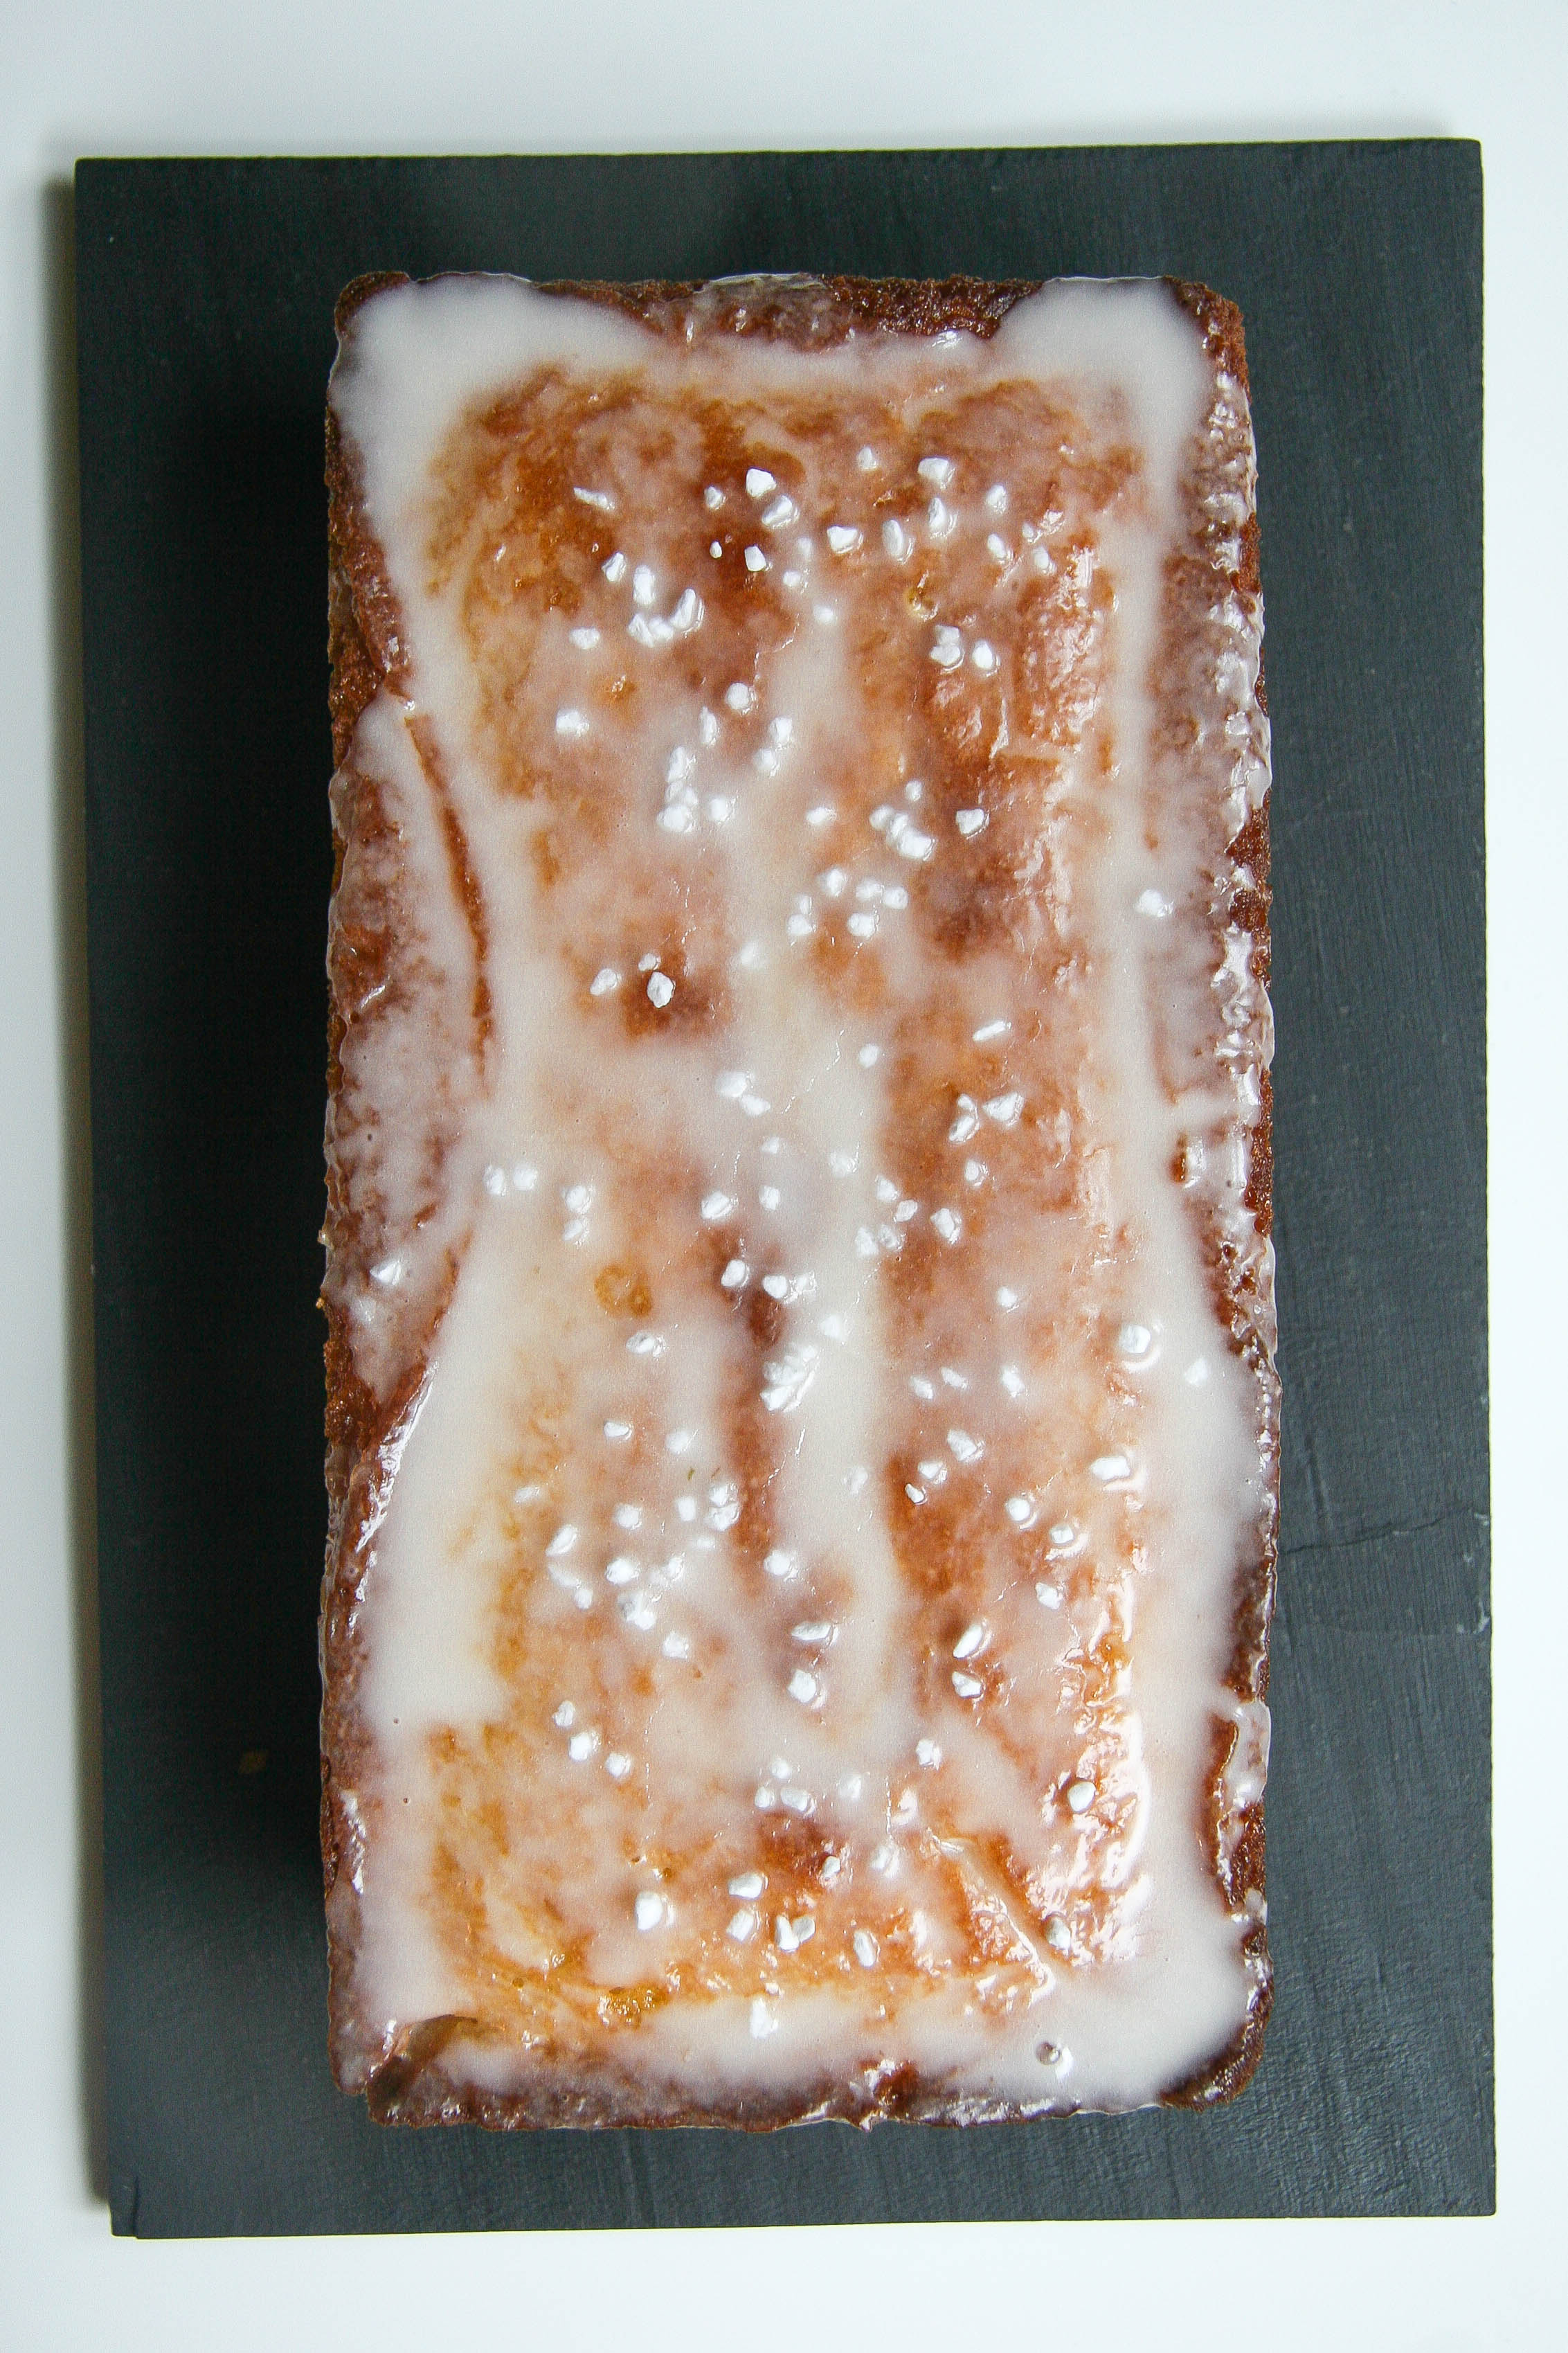
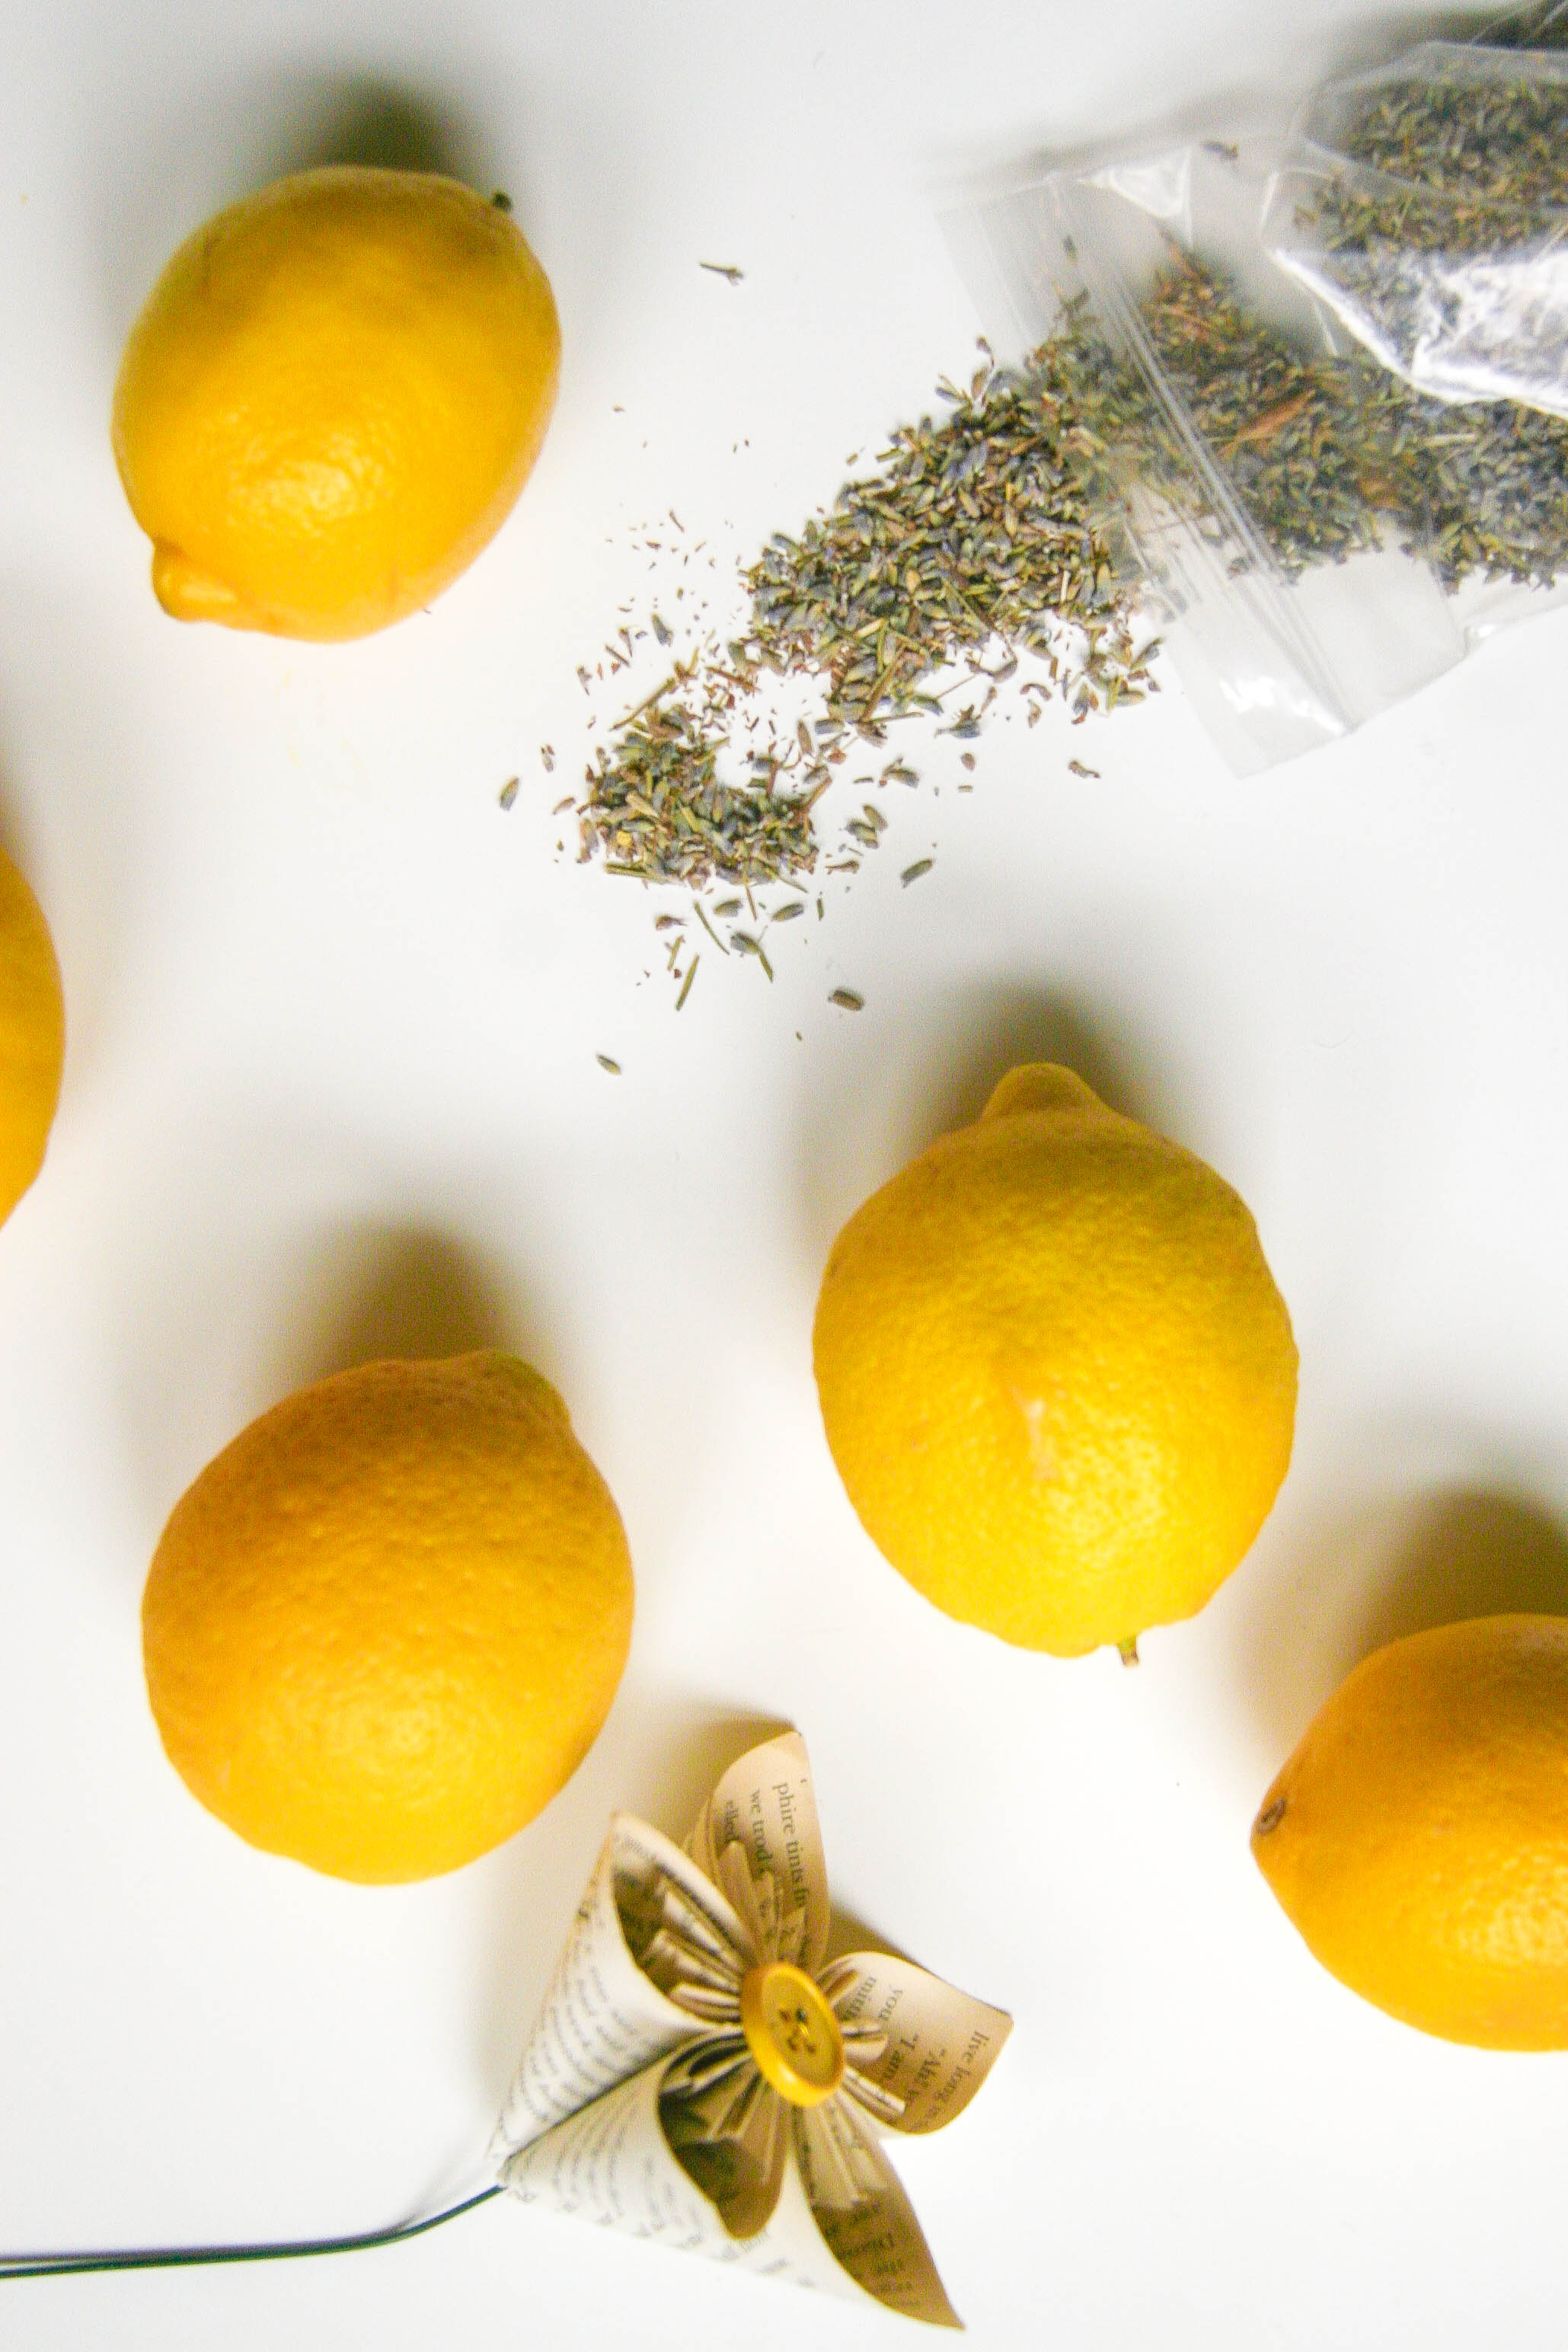
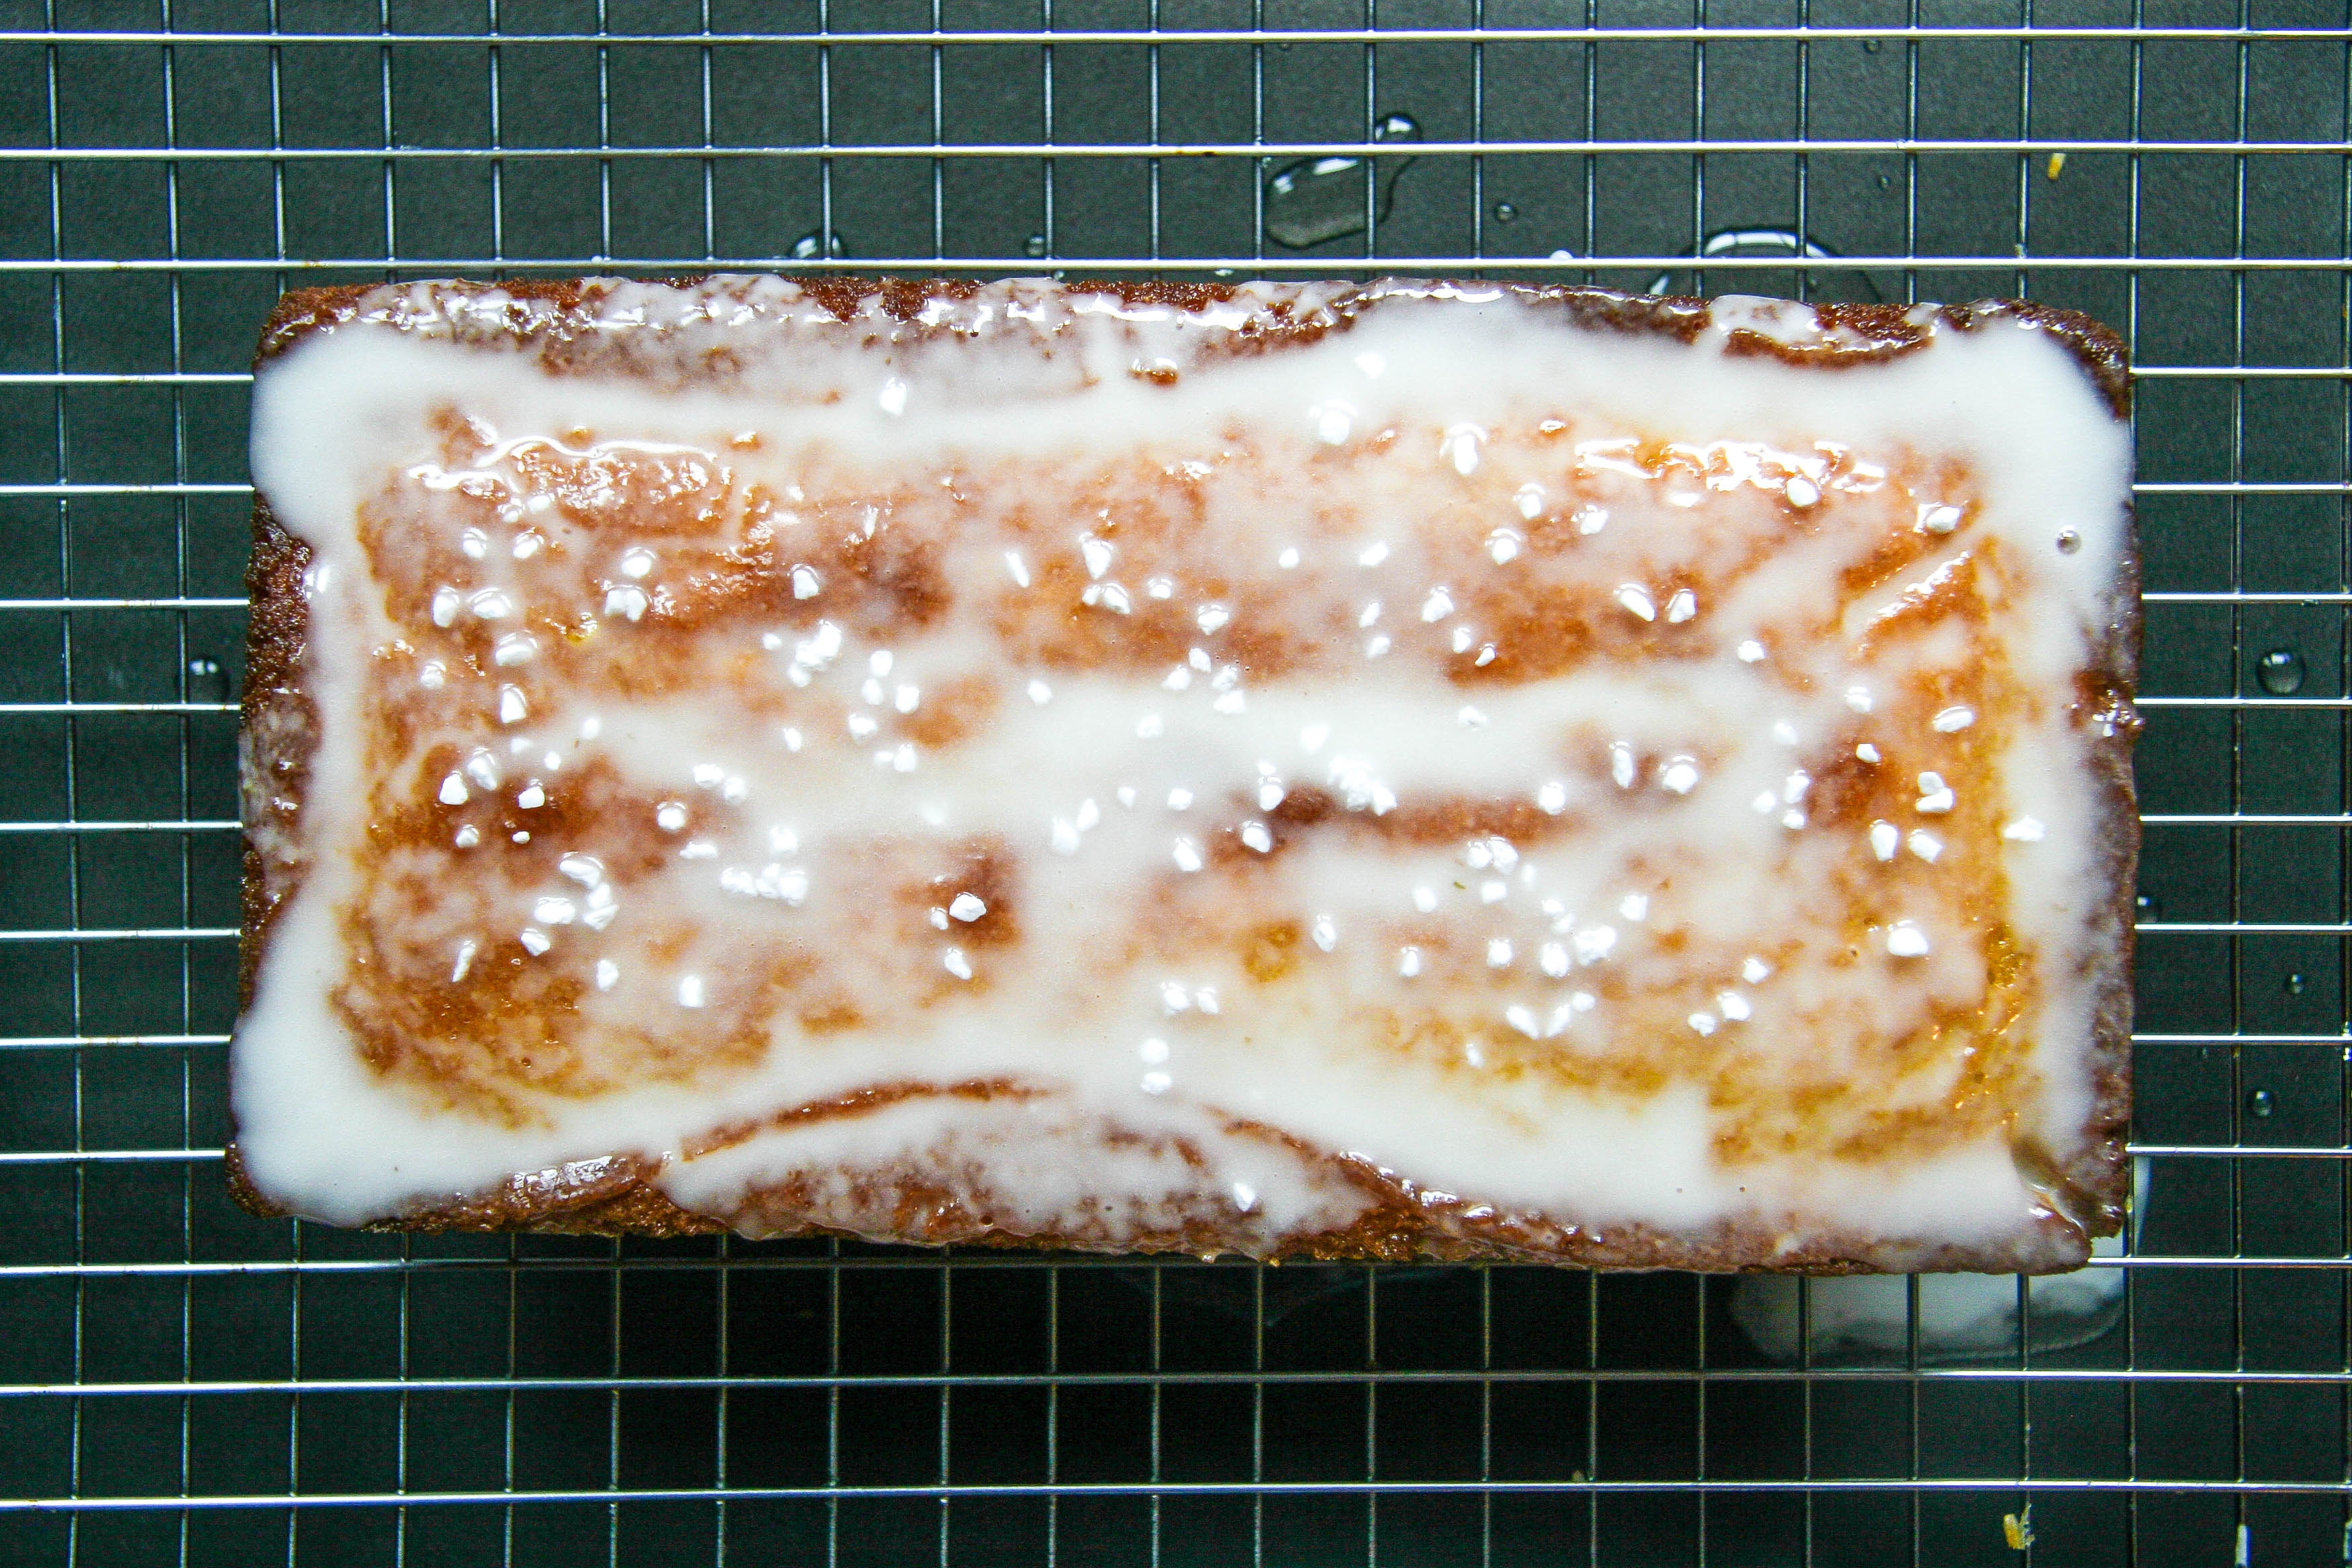
Once the loaf cooled completely, I topped it with a lavender glaze to play around with some dried cooking lavender in my cabinet. It added a subtle floral note, which was a nice compliment to the citrus. If you don’t have lavender, a simple lemon glaze or powdered sugar and milk glaze would have also been super as the bread itself is the star here.

lemon loaf with lavender glaze 3

lemon loaf with lavender glaze 4

emon loaf with lavender glaze 5

lemon loaf with lavender glaze 8

Lemon Loaf with Lavender Glaze
Adapted from Ina Garten

Prep Time: 10 minutes
Cook Time: 45 minutes
Total Time: About 1 hour 30 minutes (including cool time)
Makes one 8-inch loaf

Ingredients:

For the Cake:

1 stick (¼ pound/8 tablespoons) unsalted butter, softened
1¼ cups granulated sugar, divided
2 extra-large eggs, at room temperature
¼ cup grated lemon zest (from about 3 lemons)
1½ cups flour
¼ teaspoon baking powder
¼ teaspoon baking soda
½ teaspoon table salt
¼ cup plus 2 tablespoons fresh lemon juice, divided (from about 2 lemons)
½ cup well-shaken buttermilk
½ teaspoon pure vanilla extract

For the Glaze:

½ cup milk
1 tablespoon dried lavender (from a food store, not a flower store)
1 cup confectioner’s sugar

Directions:

  1. Preheat the oven to 350 degrees F. Butter and flour an 8 x 4 x 3 inch loaf pan (or comparable size), or coat with a non-stick baking spray.
  2. Cream the butter and 1 cup granulated sugar in the bowl of an electric mixer fitted with the paddle attachment until light and fluffy, about 5 minutes. With the mixer on medium speed, add the eggs, 1 at a time, and then the lemon zest.
  3. In a small bowl, sift together the flour, baking powder, baking soda, and salt. In another bowl, combine 2 tablespoons lemon juice, the buttermilk and vanilla. Add the flour and buttermilk mixtures alternately to the batter—beginning and ending with the flour. Spoon into loaf pan, smooth the top and bake for 45–55 minutes, until a cake tester comes out clean. Allow the cake to cool for 10 minutes in the pan while you prepare the lemon syrup.
  4. To prepare the lemon syrup, combine ¼ cup granulated sugar with ¼ cup lemon juice in a small saucepan and cook over low heat until the sugar dissolves. Remove from heat.
  5. Remove the cake from the pan and set it on a rack set over a tray or sheet pan. Spoon the lemon syrup over it. Allow the cake to cool completely.
  6. To prepare the glaze, heat the milk in a saucepan over medium heat until it starts to boil. Remove the pan from heat and add the dried lavender. Let the mixture steep for 5–8 minutes then strain the milk into a small bowl or cup to remove the dried lavender. Whisk the confectioner’s sugar into the milk, a tablespoon at a time, until you get a smooth glaze. Pour or spoon over the cooled loaf.

Filed Under: breakfast and breads, desserts and sweets, eat Tagged With: bread, breakfast bread, buttermilk, cake, citrus, glaze, lavender, lemon

one skillet chicken and saffron rice

April 27, 2014 by Butter Loves Company

one pot chicken and saffron rice 4

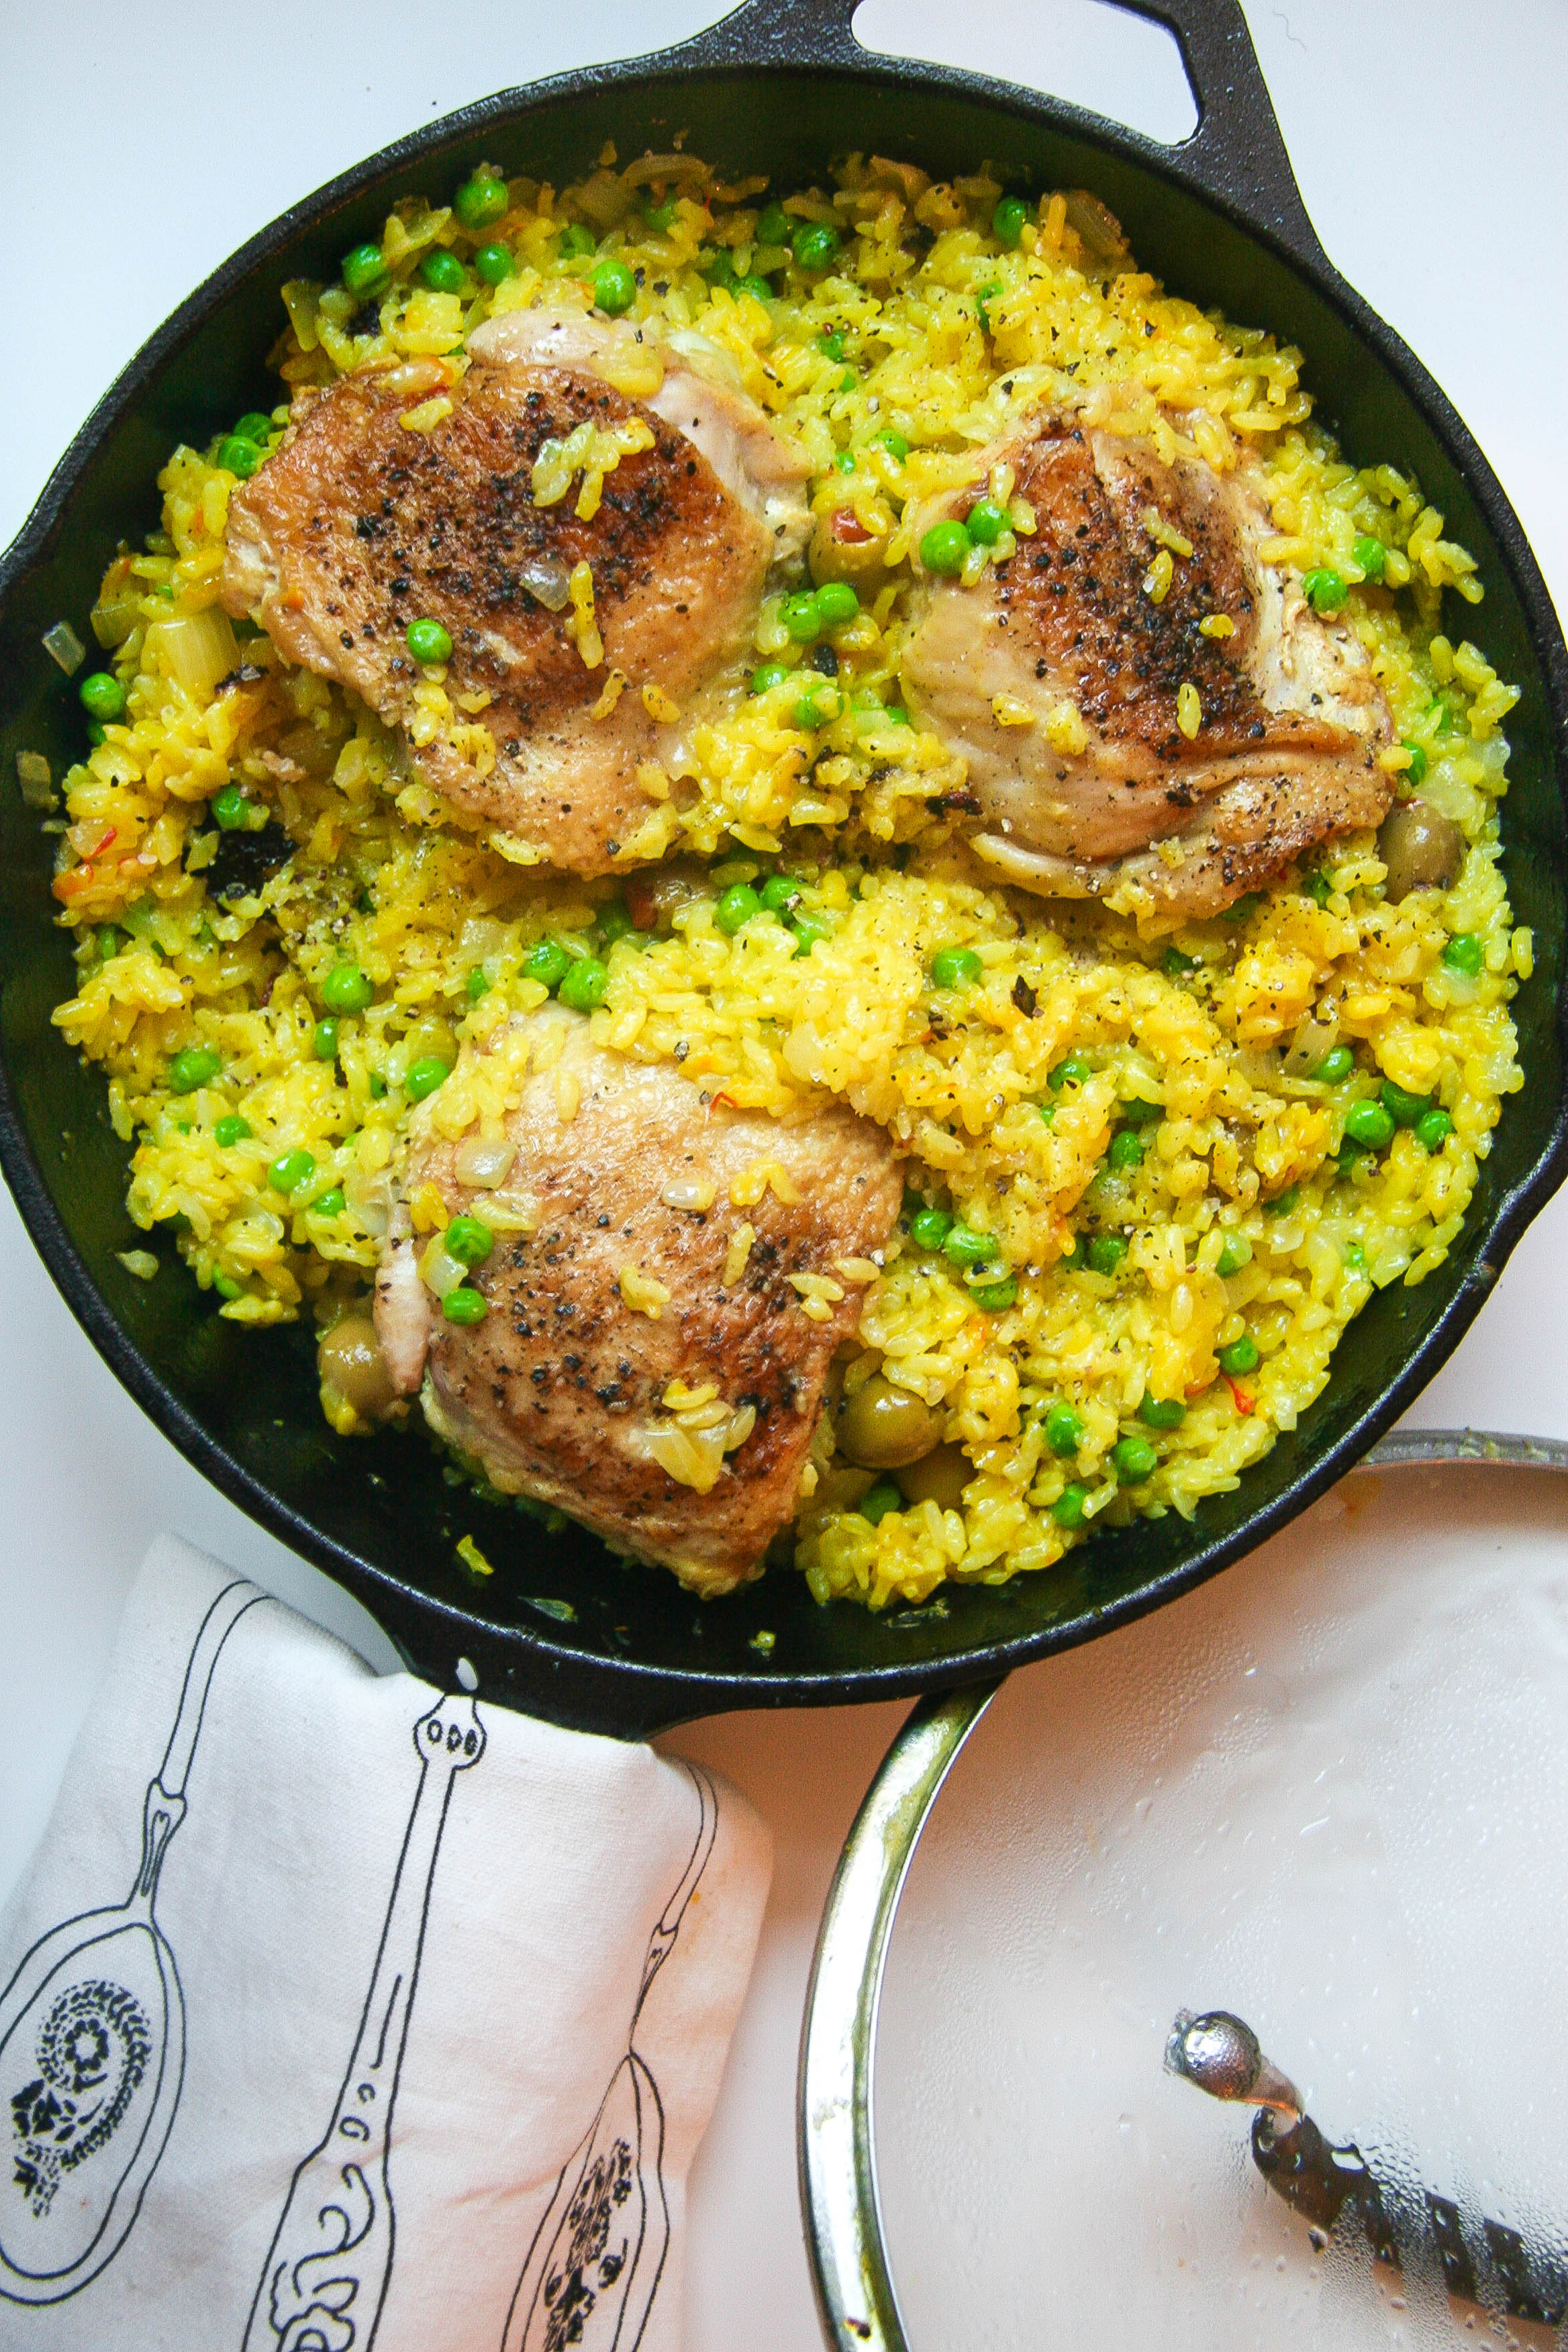
This chicken and saffron rice in my new cast iron skillet instantly spirited me back to weeknight dinners my mom used to make when I lived at home. The fall-off-the bone chicken, the yellow sticky rice enhanced by the mysterious flavor of saffron, the pops of green peas and the salty Spanish pimiento stuffed olives. Not to mention, the crispy burnt bits of rice that get stuck to the bottom of the pan during cooking—everything about it reminded me of my mom and full-blooded Portuguese grandmother. I don’t know if the dish is traditionally Portuguese, but it was our Portuguese.

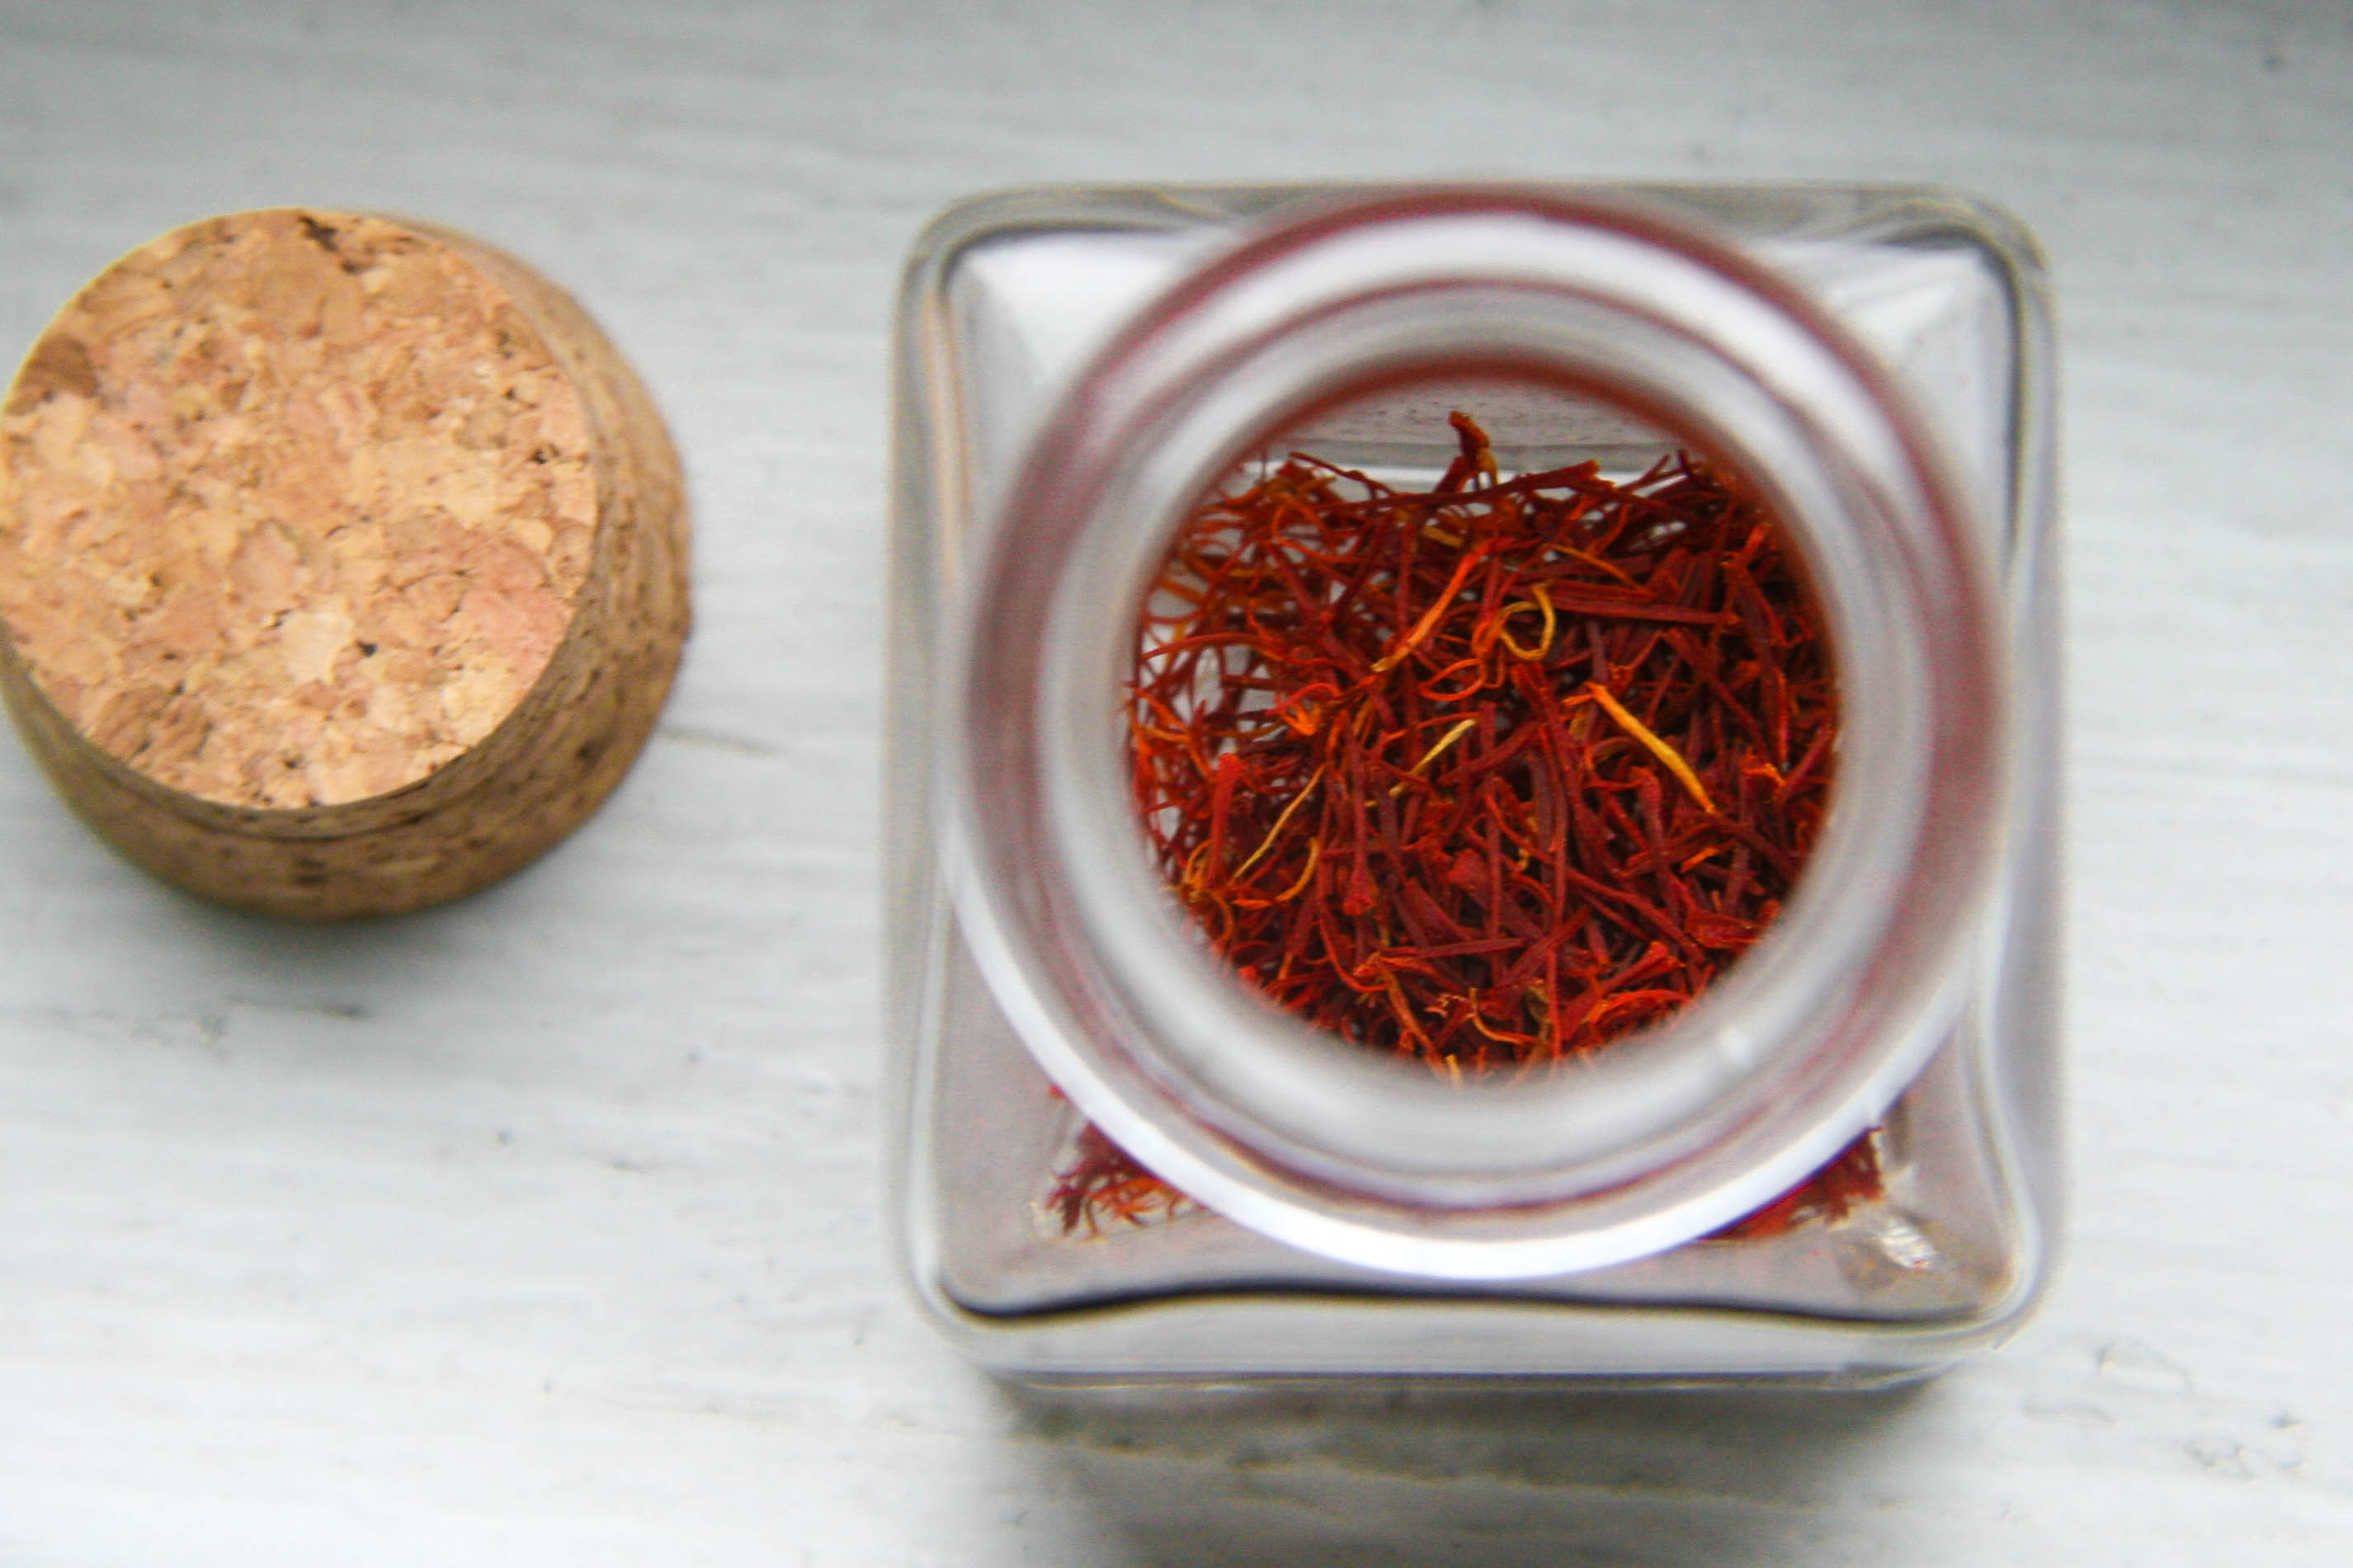
Adapted from Mark Bittman’s Chicken and Rice recipe from the book “How to Cook Everything,” this one-pot recipe a weeknight staple you’ll want make over and over. Saffron can be a bit pricey, but it really only takes a pinch to flavor the whole dish. I always find mine at a discount at TJ Maxx or Homegoods. Your senses will be shocked at how just a little bit of the red threaded spice will transform the flavor, color and aroma of plain white rice. If you can’t find saffron you can still make this dish successfully. Feel free to experiment with different spices or veggies you have hanging around.

one pot chicken and saffron rice 6

one pot chicken and saffron rice 3

one pot chicken and saffron rice 5

one pot chicken and saffron rice 7

One Skillet Chicken and Saffron Rice
Adapted from Mark Bittman

Prep Time: 5 minutes
Cook Time: 45 minutes
Total Time: About 1 hour
Makes: 4 servings

Ingredients:

2 tablespoons olive oil
2–3 pounds skin-on, bone-in chicken (thighs, breasts and/or drumsticks)
Salt and freshly ground black pepper
½ teaspoon hot Spanish paprika, optional
2 medium onions, diced (I diced this while the chicken was cooking in step 1 to save time)
1 tablespoon minced garlic (I also minced this while the chicken was cooking; one point for efficiency!)
1½ cups short- grain white rice
Pinch saffron threads*
3½ cups water, chicken stock or vegetable stock, or more as needed
1 cup frozen peas
½ cup Spanish Manzanilla Olives

Instructions:

  1. Put the oil in a large skillet over medium-high heat. Season the chicken skin with salt, pepper and the paprika—if using. When the oil is hot, add the chicken skin side down. Sprinkle the bottoms with salt and pepper and cook undisturbed—adjusting the heat so it doesn’t burn but is consistently sizzling—until the pieces release easily from the pan, 5 to 10 minutes. Then turn and rotate the chicken every few minutes to brown evenly. Once the chicken pieces brown, let cook for another 5 to 10 minutes then remove them from the pan.
  2. Reduce the heat under the skillet to medium and pour or spoon off the oil until only about 2 tablespoons remain. Add the onions to the pan and cook—stirring frequently—until they soften, 3 to 5 minutes. Add the garlic and rice and stir to coat the rice with a nice glossy sheen. Crumble in the saffron threads, if using.
  3. Return the chicken to the pan, add the water and stir gently to combine everything. Bring the mixture to a boil then reduce the heat so it bubbles gently but steadily. Cover the skillet and cook undisturbed for 20 minutes—then check the rice and chicken. The goal is to have the liquid absorbed, the rice tender and the chicken cooked through. If the water has been absorbed but the rice is not cooked, add another ¼ cup water and cook for another 5 to 10 minutes. The meat is done when a quick-read thermometer inserted into the thickest part of the thigh reads 155–165°F.
  4. Remove the skillet from the heat. Taste the rice and salt and pepper if needed. Stir in the peas and olives then cover the pan again and let it sit for 5 to 15 minutes. Serve.

* If you don’t have saffron you can still make this dish, but I would encourage you to use the 3½ cups of stock versus water to add more flavor to the rice.

Filed Under: eat, mains Tagged With: chicken, easy, one pot, one skillet, rice, saffron, weekday

« Previous Page
Next Page »

Welcome!

jenna of butterlovescompany

Pull up a chair

Hi! I’m Jenna. Story seeker, food lover, recipe developer based in NYC. Firm believer in making every day delicious! Read more…

looking for something?

  • Email
  • Facebook
  • Instagram
  • Pinterest
  • RSS
  • Twitter

Latest Posts

  • Freezer Meals to Make Before Baby: How We Meal Prepped Before Baby
  • mom’s famous spiced pecans
  • funfetti cookie dough truffles (no-bake)
  • maple coconut cookies
  • snickerdoodle blondies

popular now

fresh peach coffee cake
one skillet chicken and saffron rice
boston cream pie cake
apple galette or free form apple tart or lazy man's apple pie
raspberry lime buttermilk cake with coconut cream cheese frosting
plum hand pies

grammin’

Hi! I'm Jenna, founder of butter loves company. From holidays to Tuesdays, let's find a way to make every meal special.
  • Email
  • Facebook
  • Instagram
  • Pinterest
  • RSS
  • Twitter
a2f54ba1dcf0635e58c8be4aa2035ce84863a9d9606a428ab3

© 2013-2019 BUTTER LOVES COMPANY, LLC.

Copyright © 2026 · Foodie Pro Theme by Shay Bocks · Built on the Genesis Framework · Powered by WordPress