butter loves company

new york food blogger and lifestyle influencer

  • home
  • Recipes
  • travel
  • lifestyle
  • cookie orders
  • about
  • contact

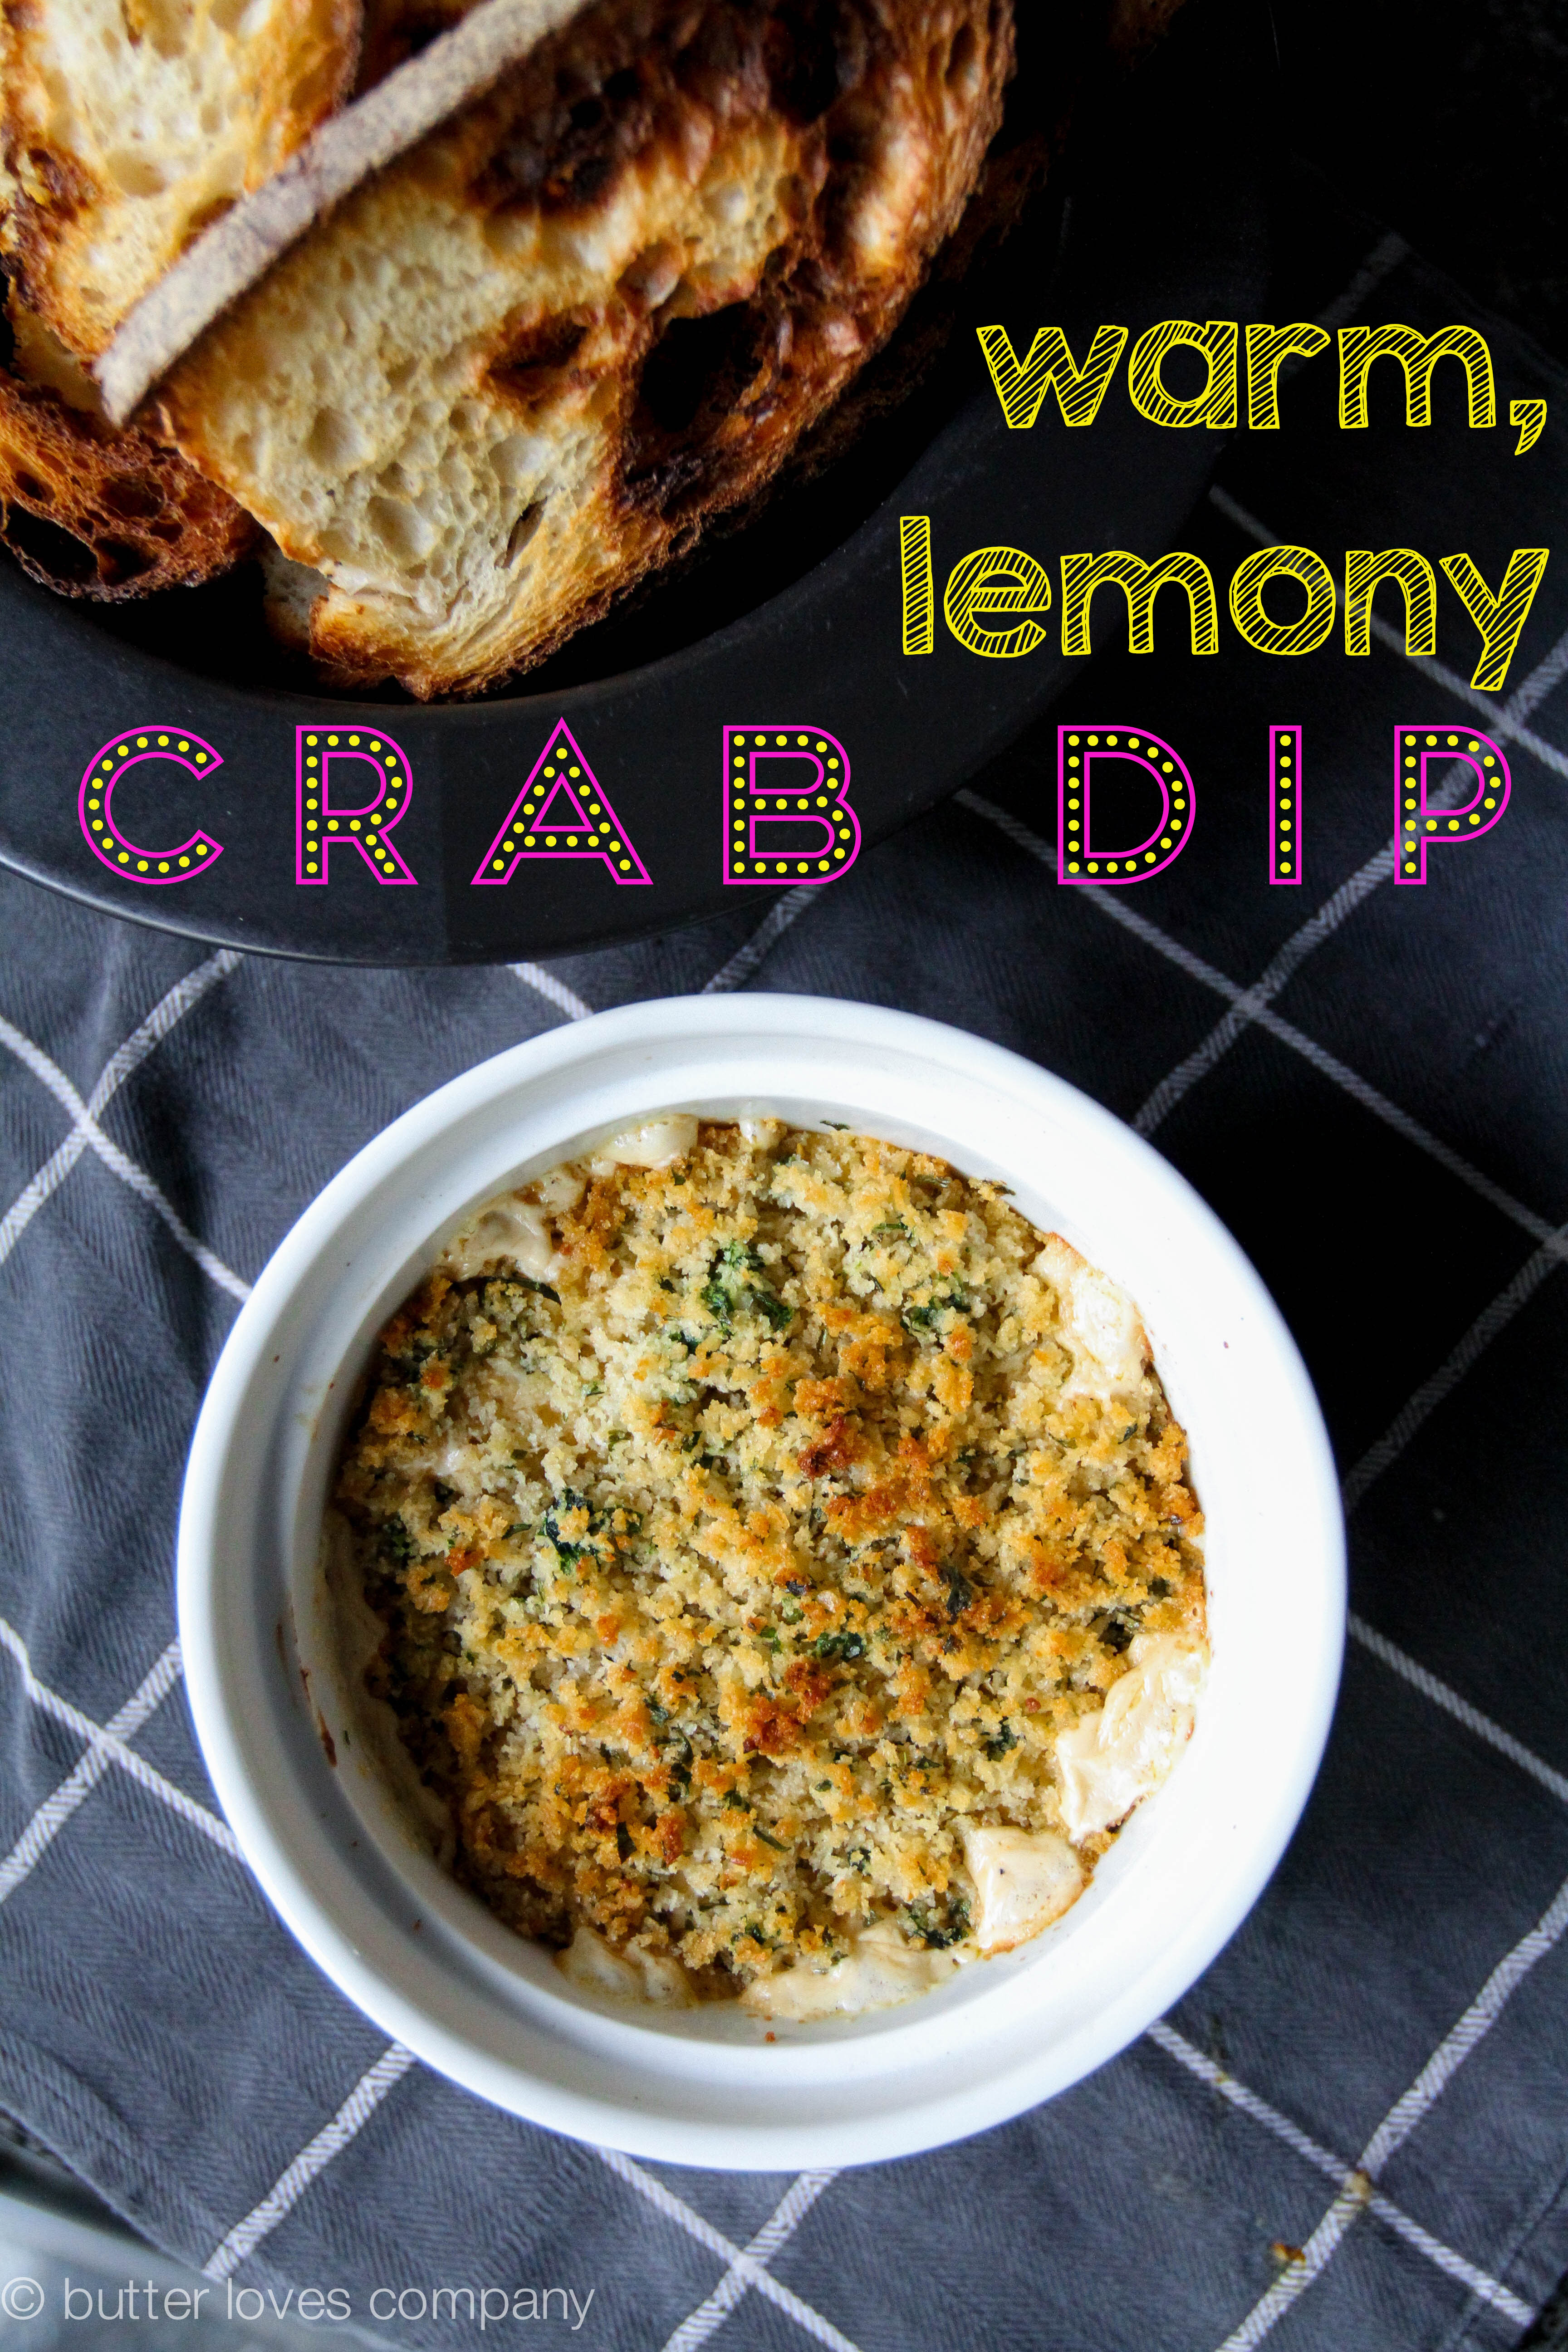
warm, lemony crab dip

November 18, 2014 by Butter Loves Company

crab-dip-lemon-appetizer-recipe-10 copy

Circa late-fall 2002, I was preparing to put on my first ‘cocktail party.’ I was around 15 years old and the ‘cocktail’ menu consisted of childhood staples such as Sunny Delight, Arizona Iced Tea and Surge—the seemingly radioactive green soda that was later banned due to its high caffeine content. I flipped through my mom’s copy of the cookbook, Finger Foods, marking up every page that jumped out at me as perfect for my teen attendees. I most definitely went through an entire stack of Post-its. What can I say? I’m a sucker for bite-sized foods and vehicles for consuming bread.
crab-dip-lemon-appetizer-recipe-1

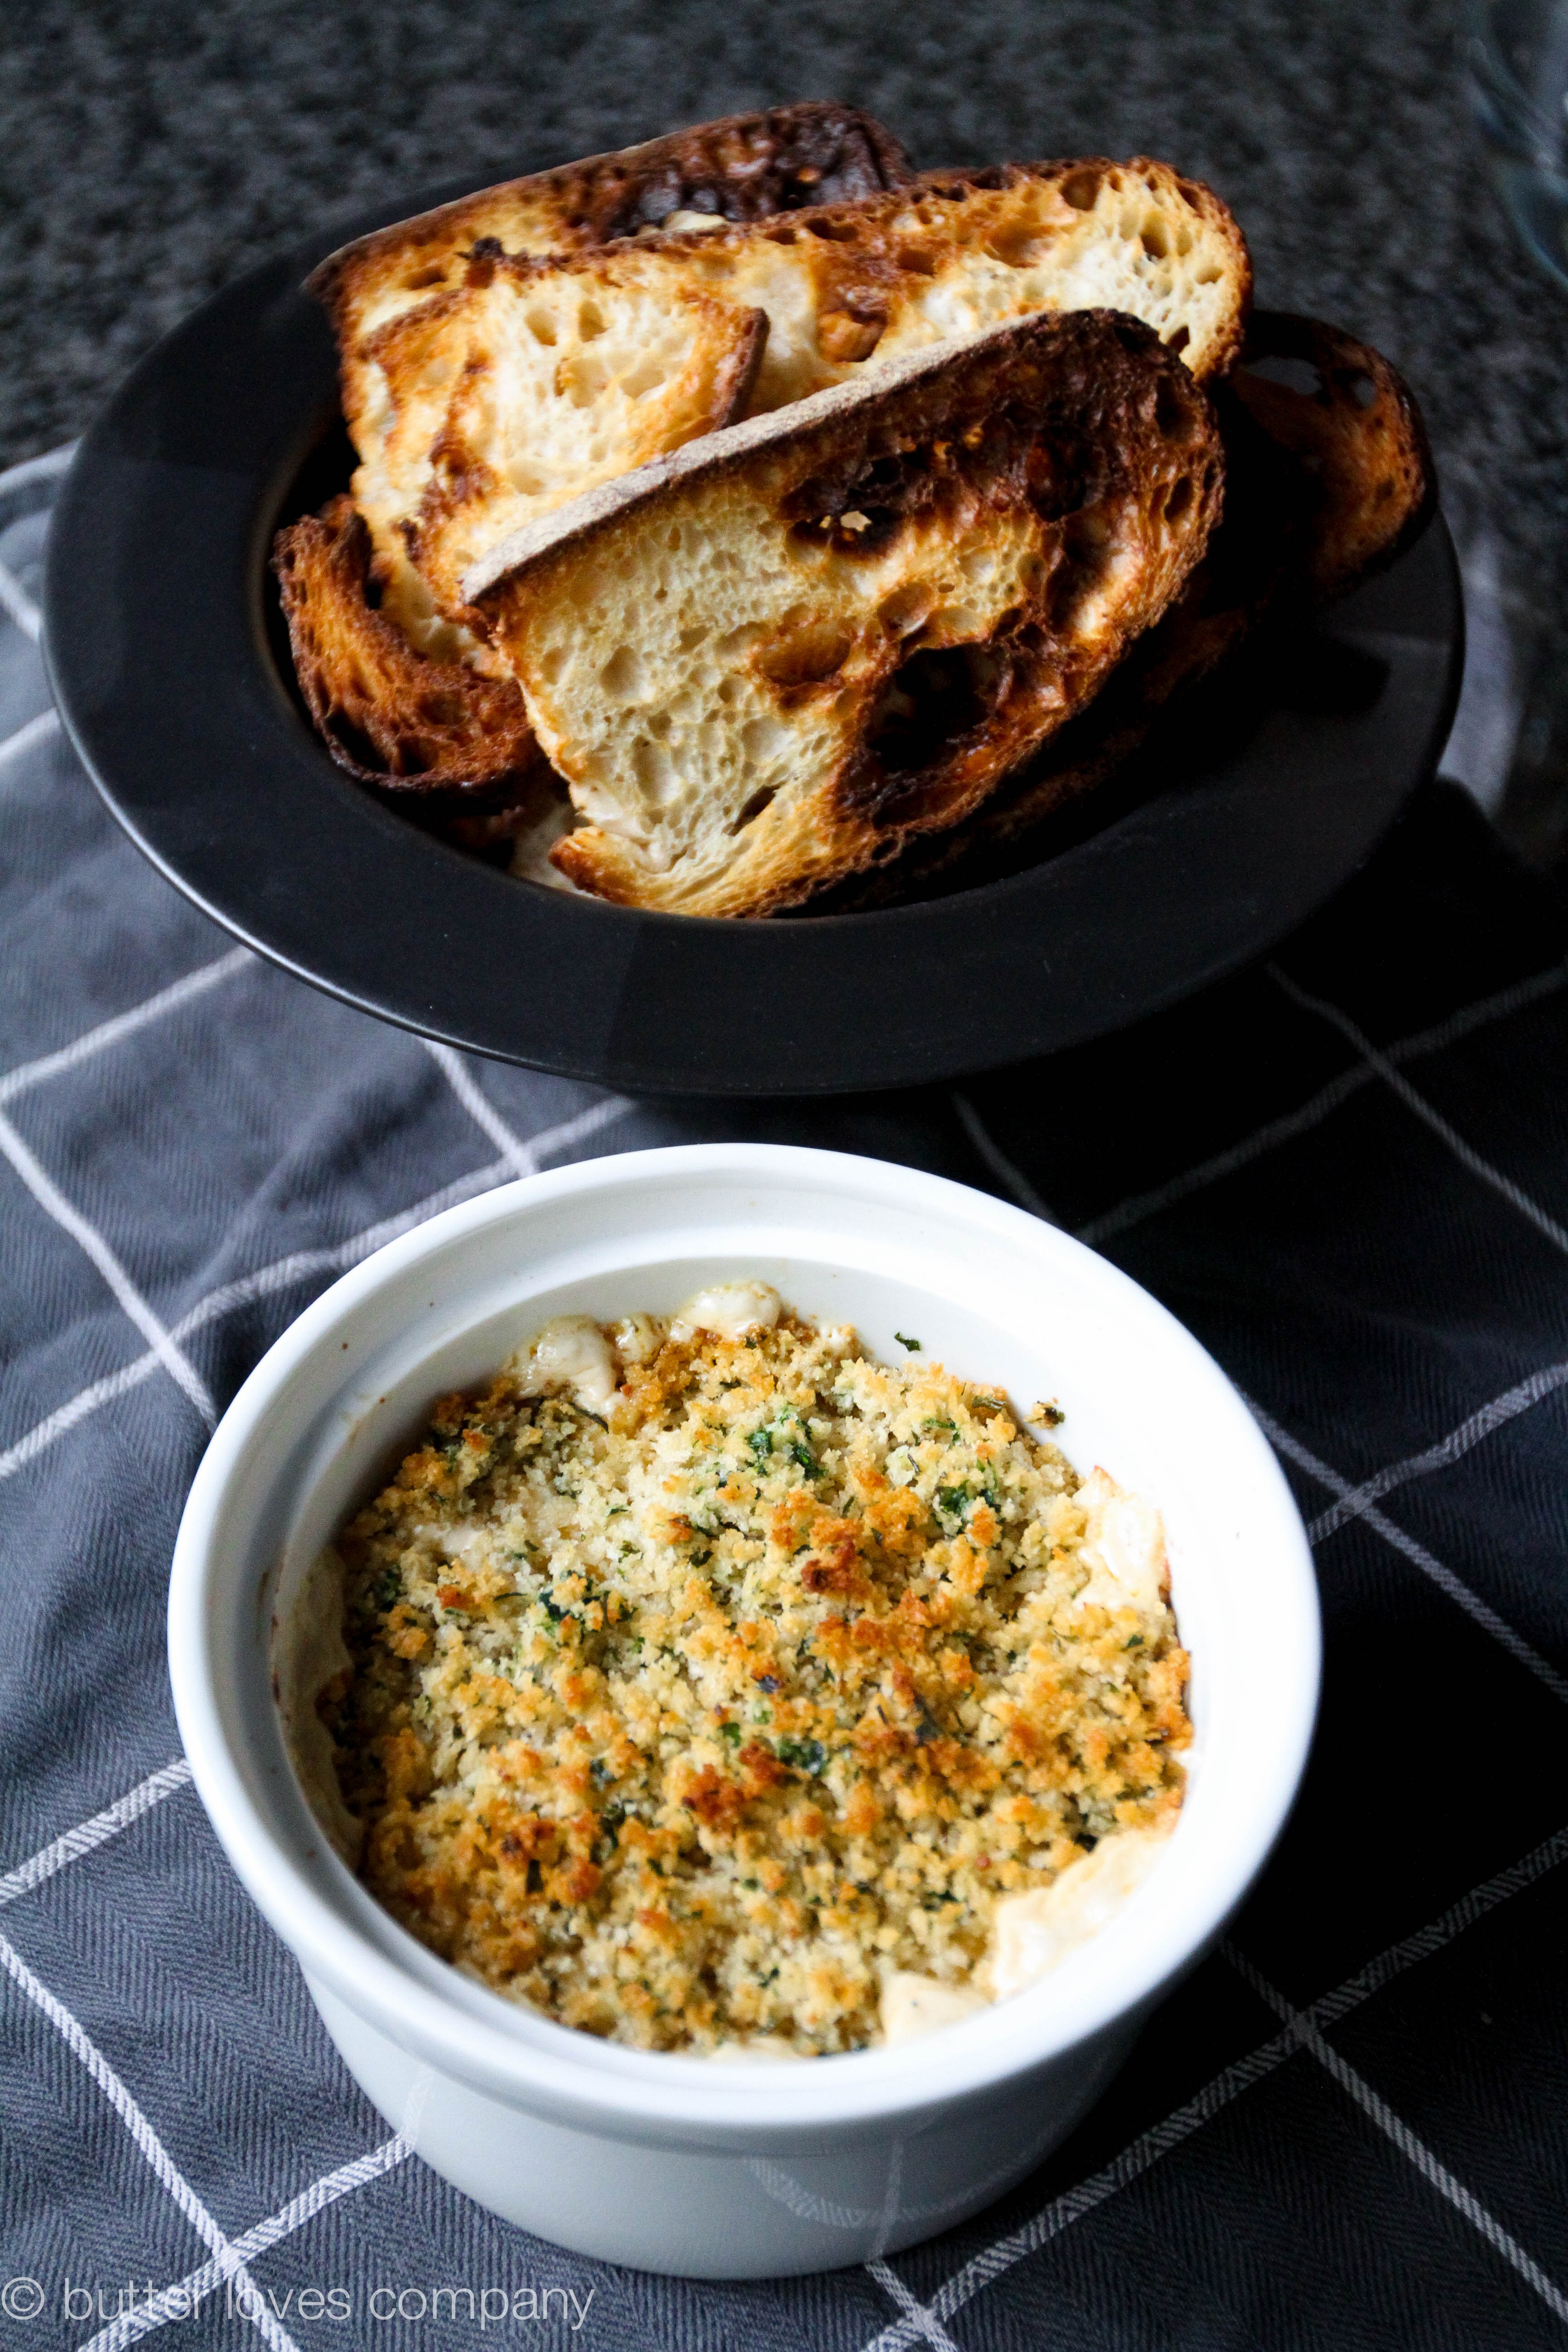
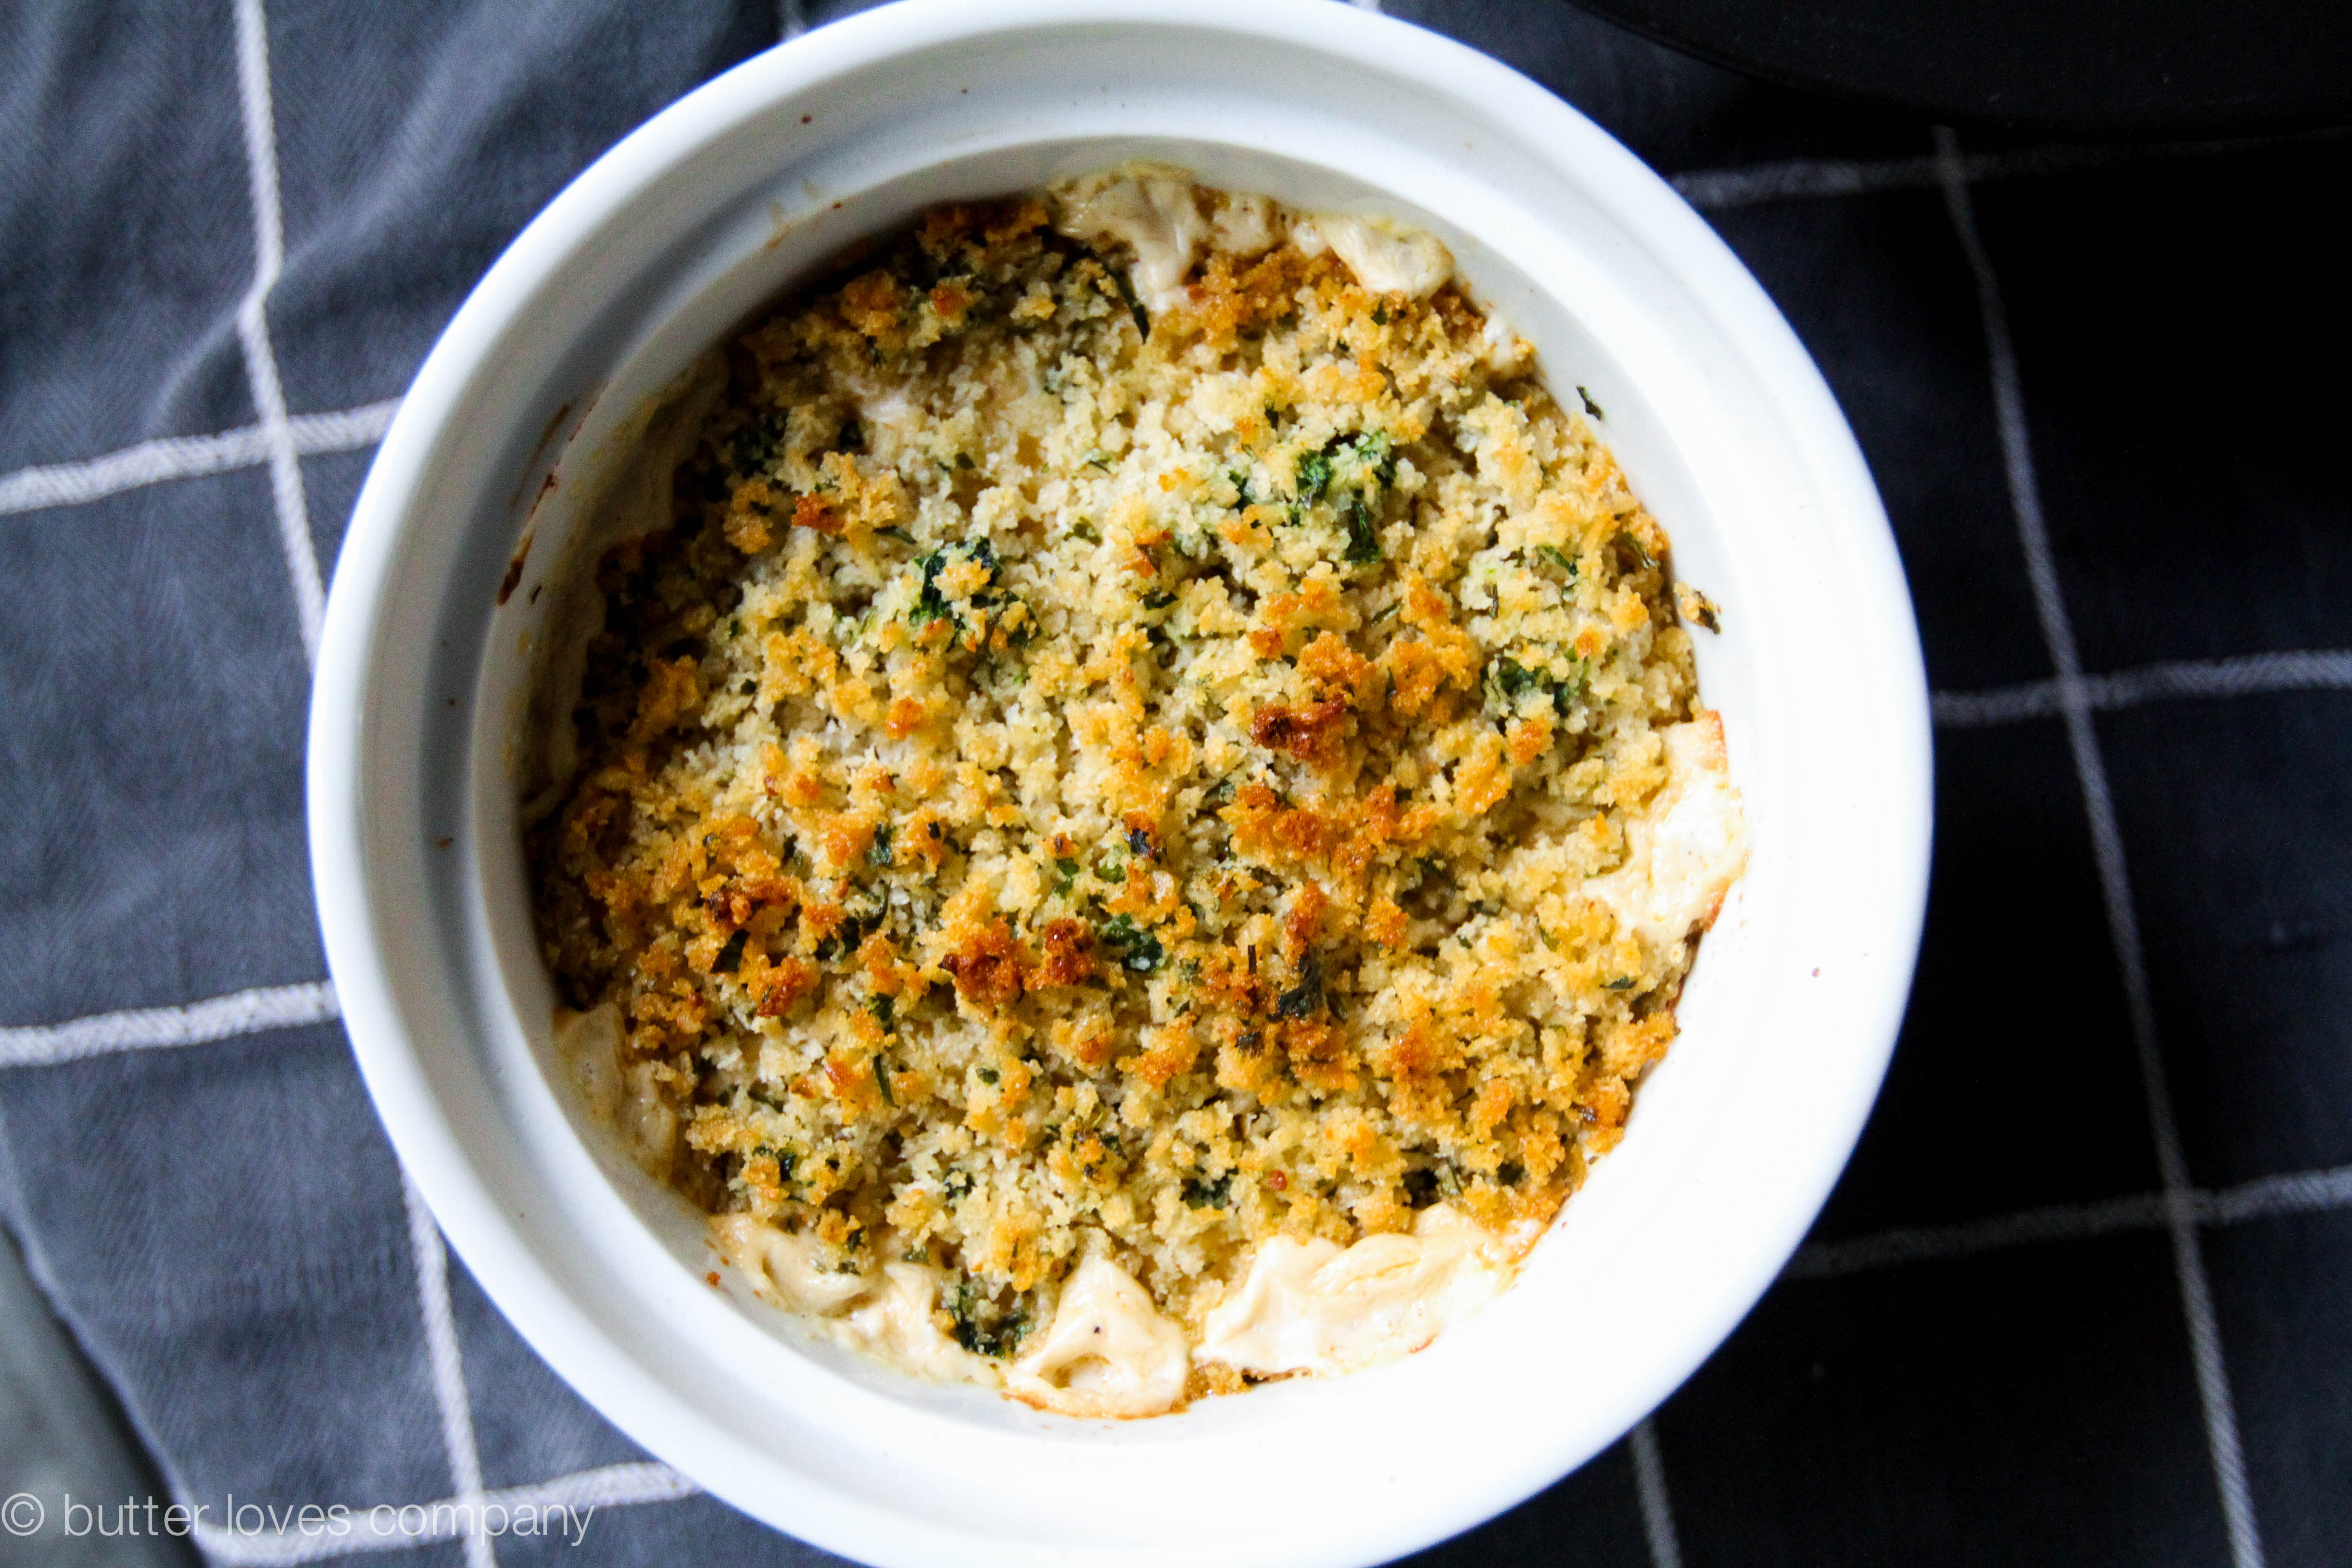
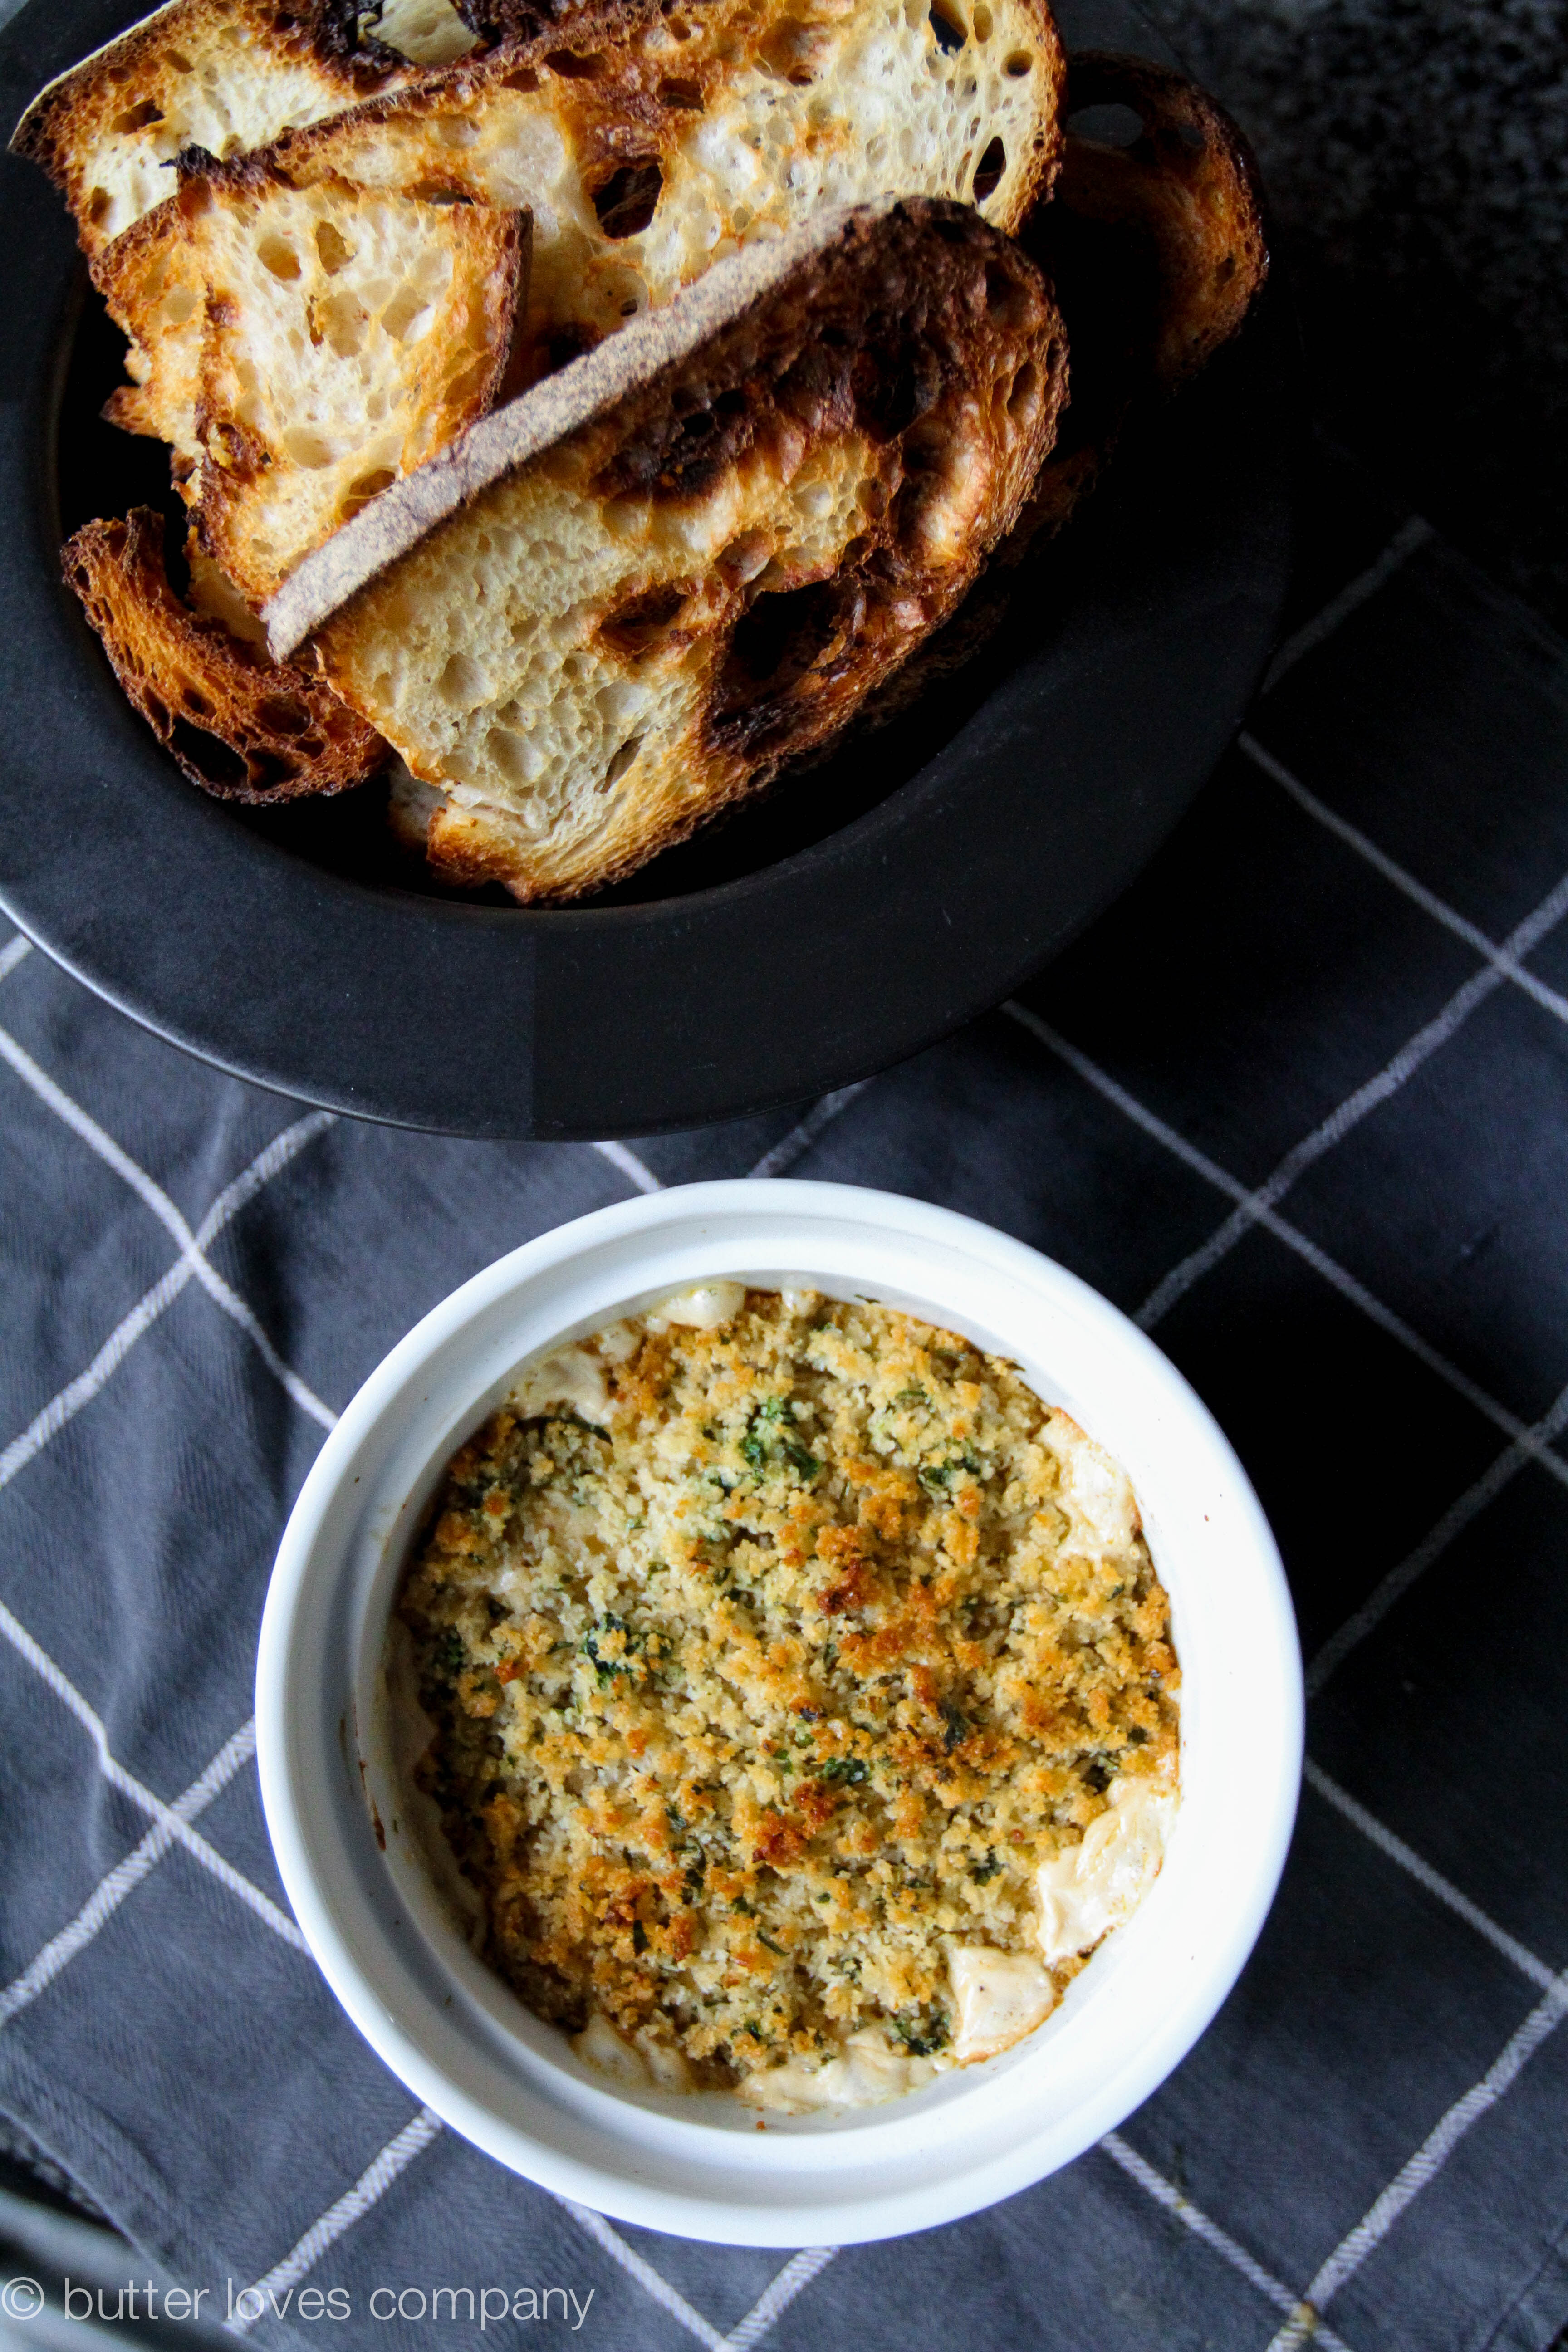
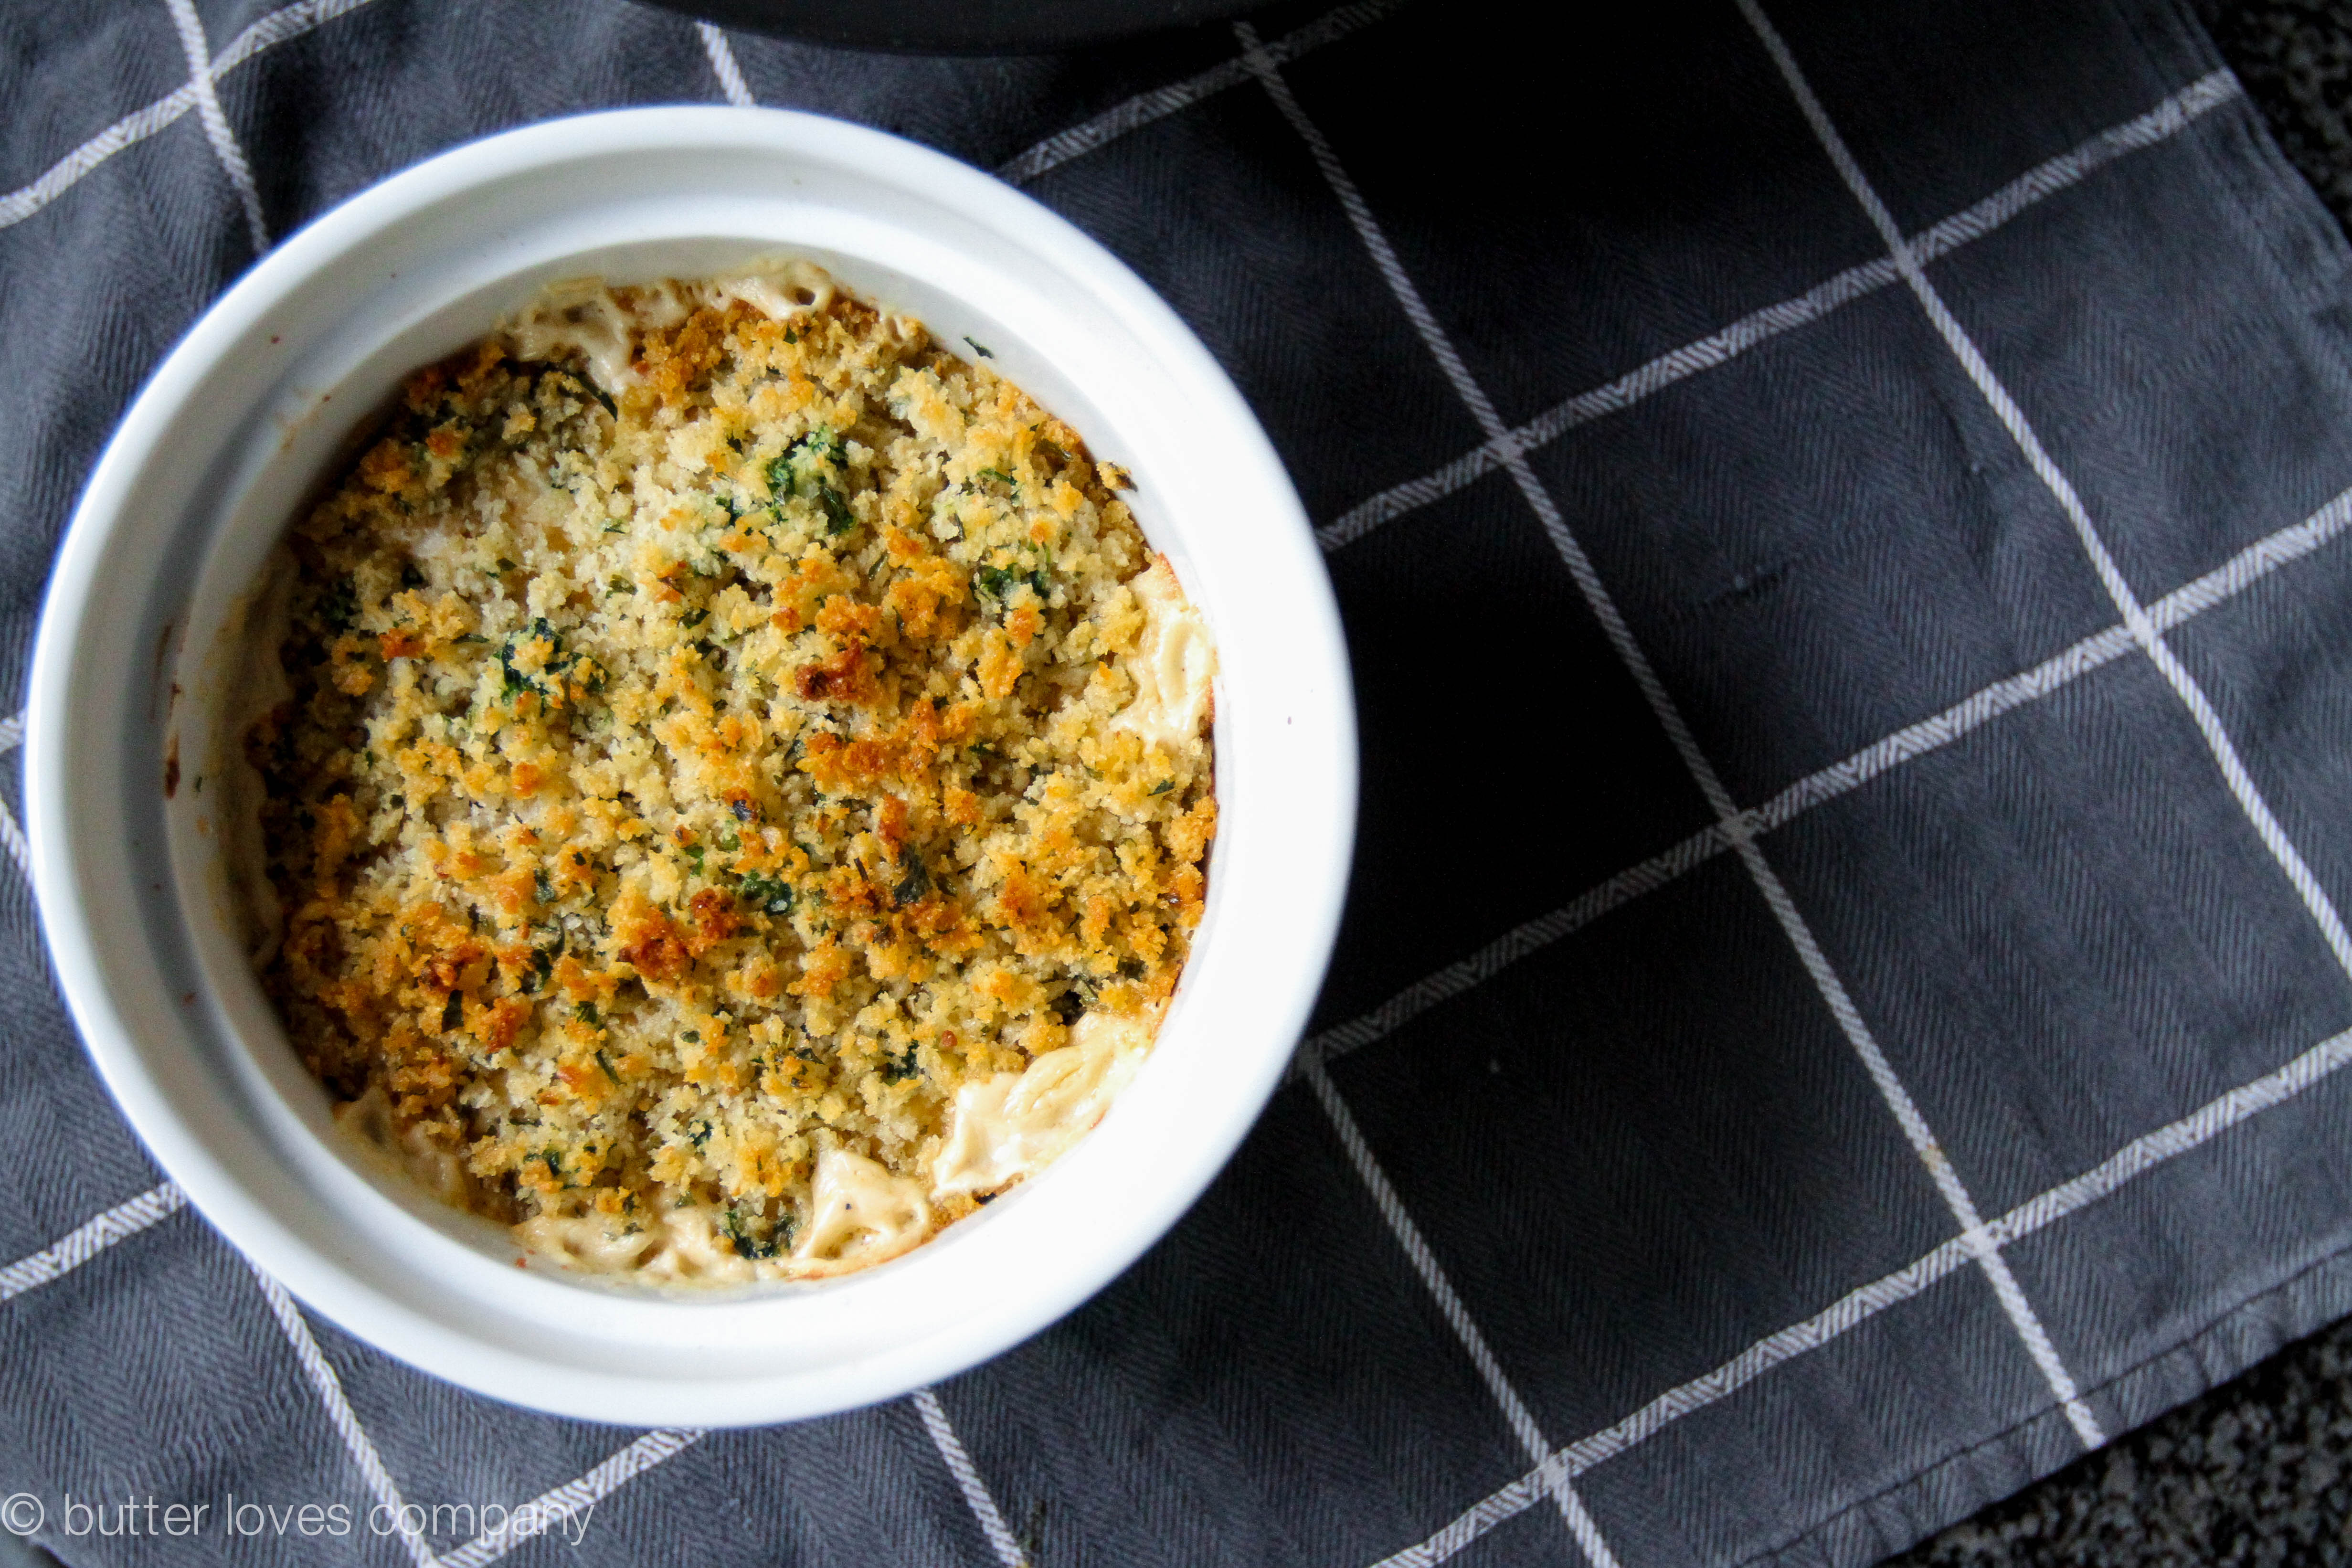
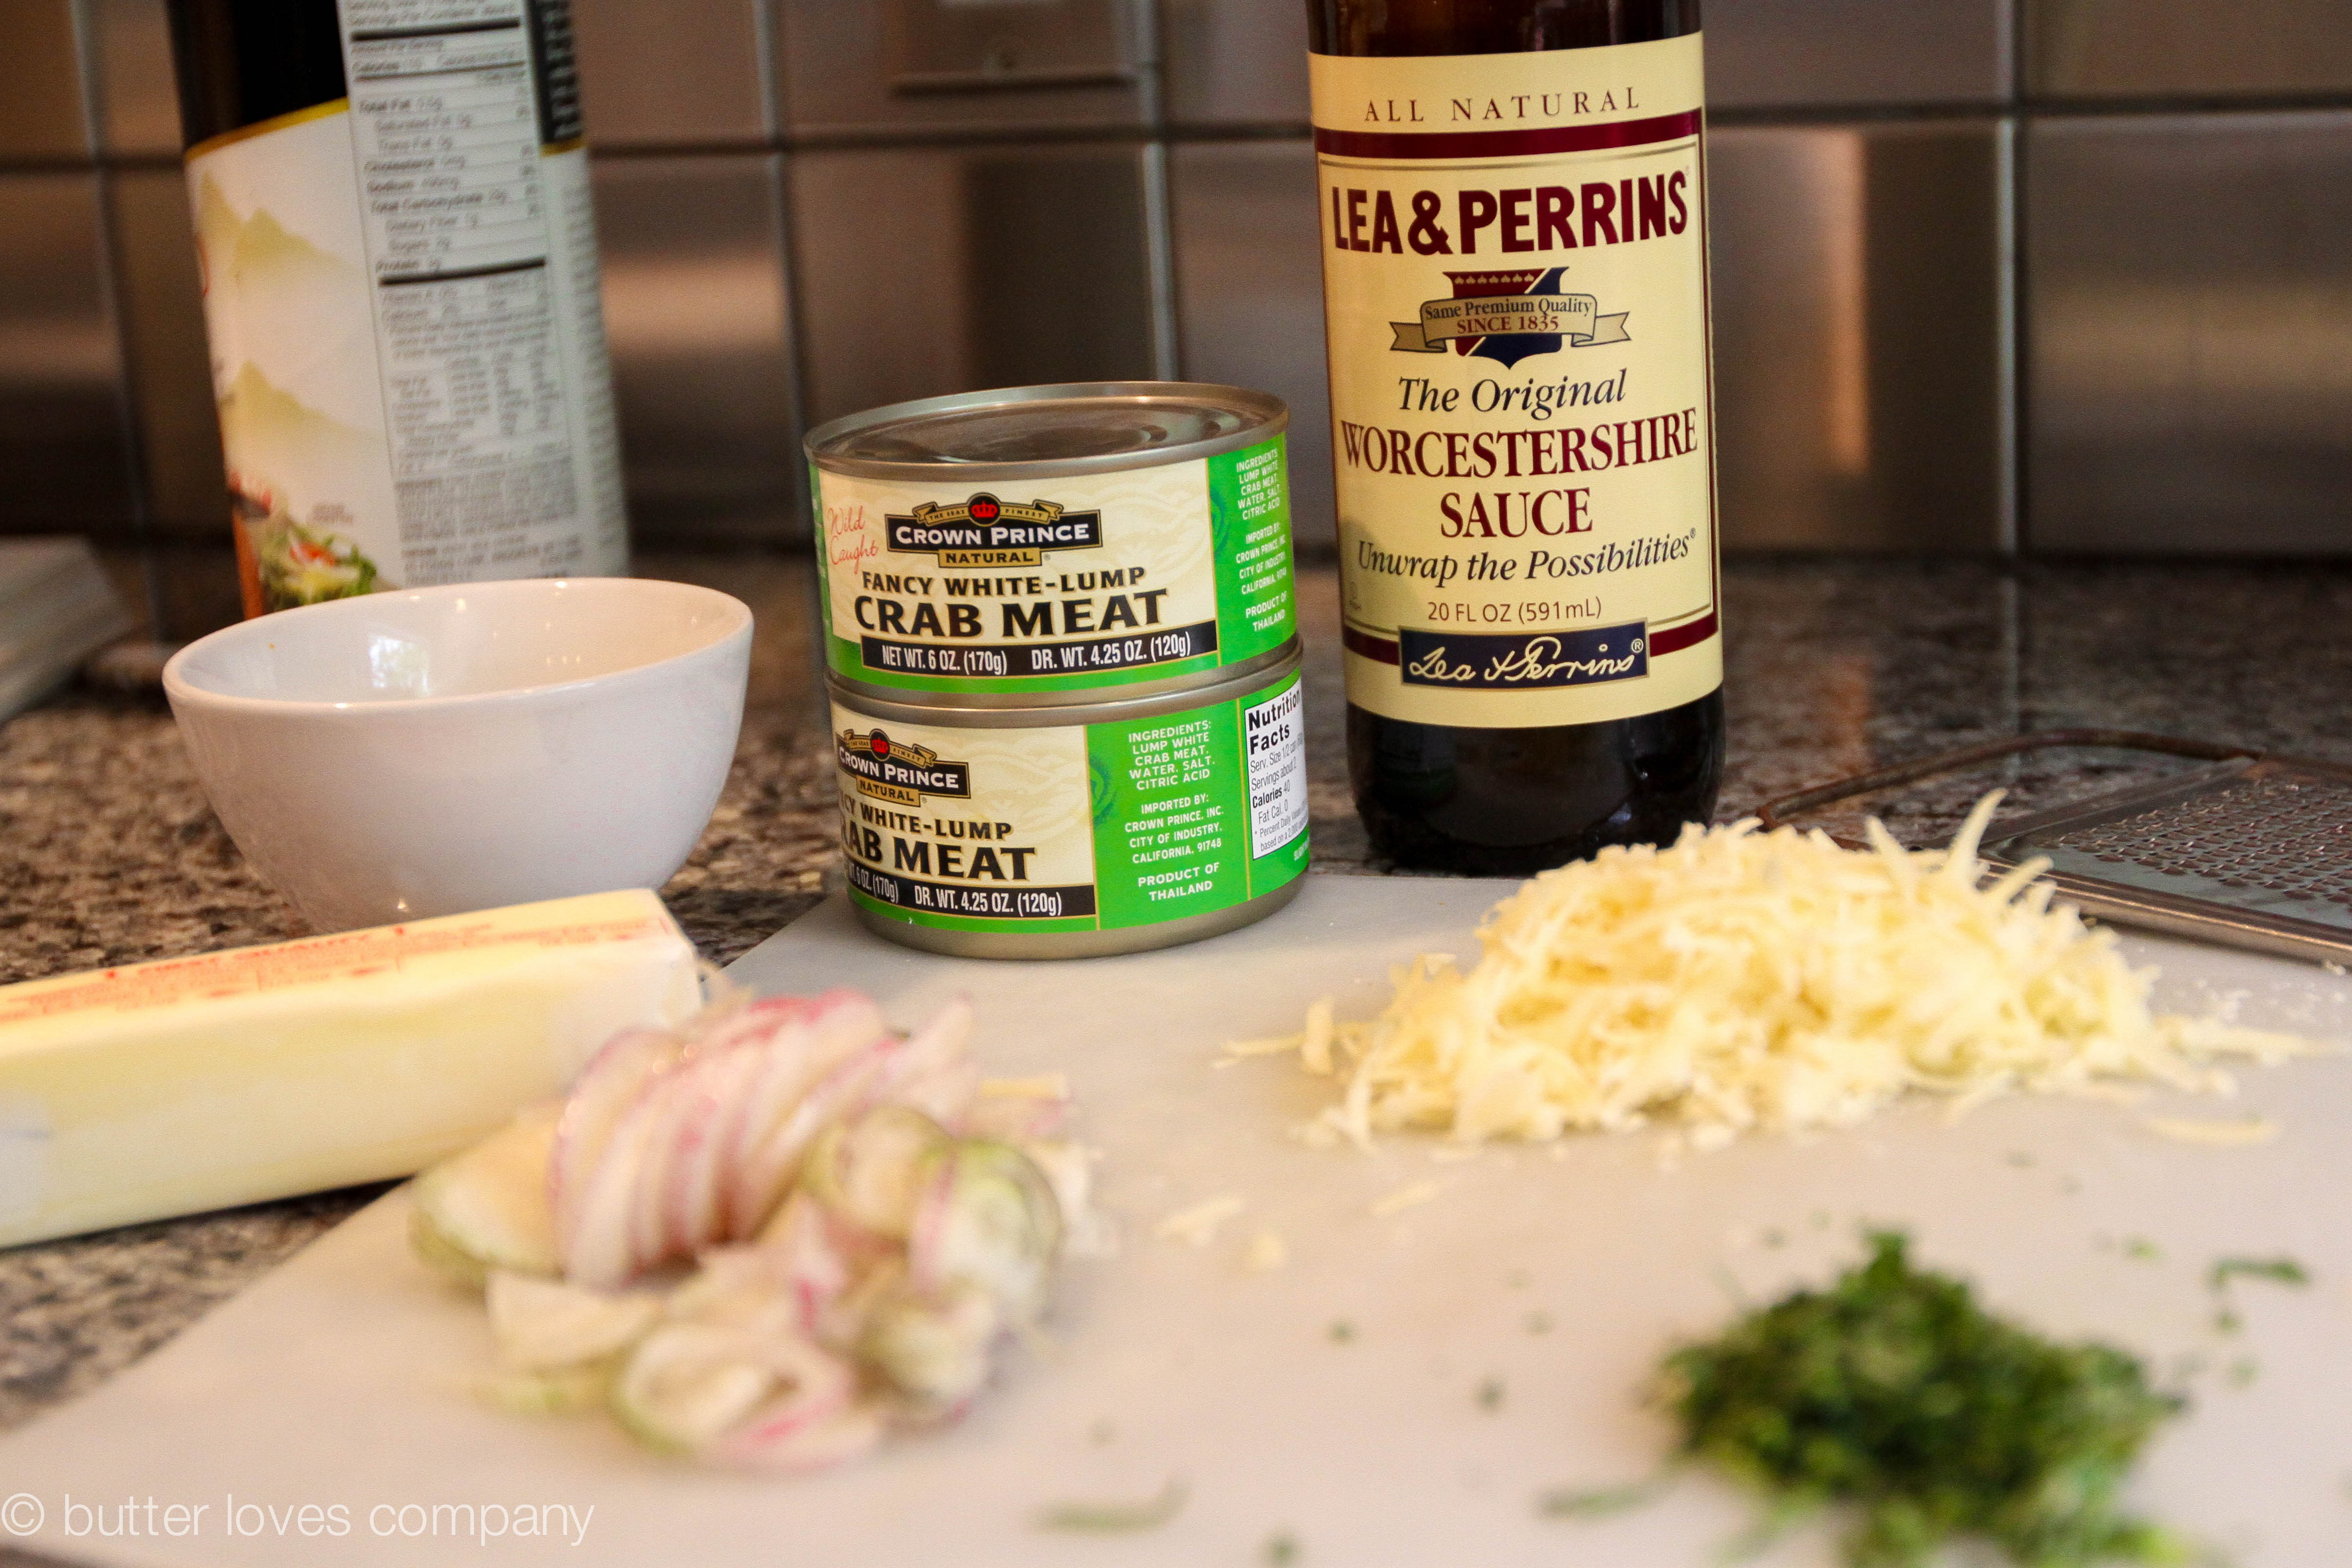
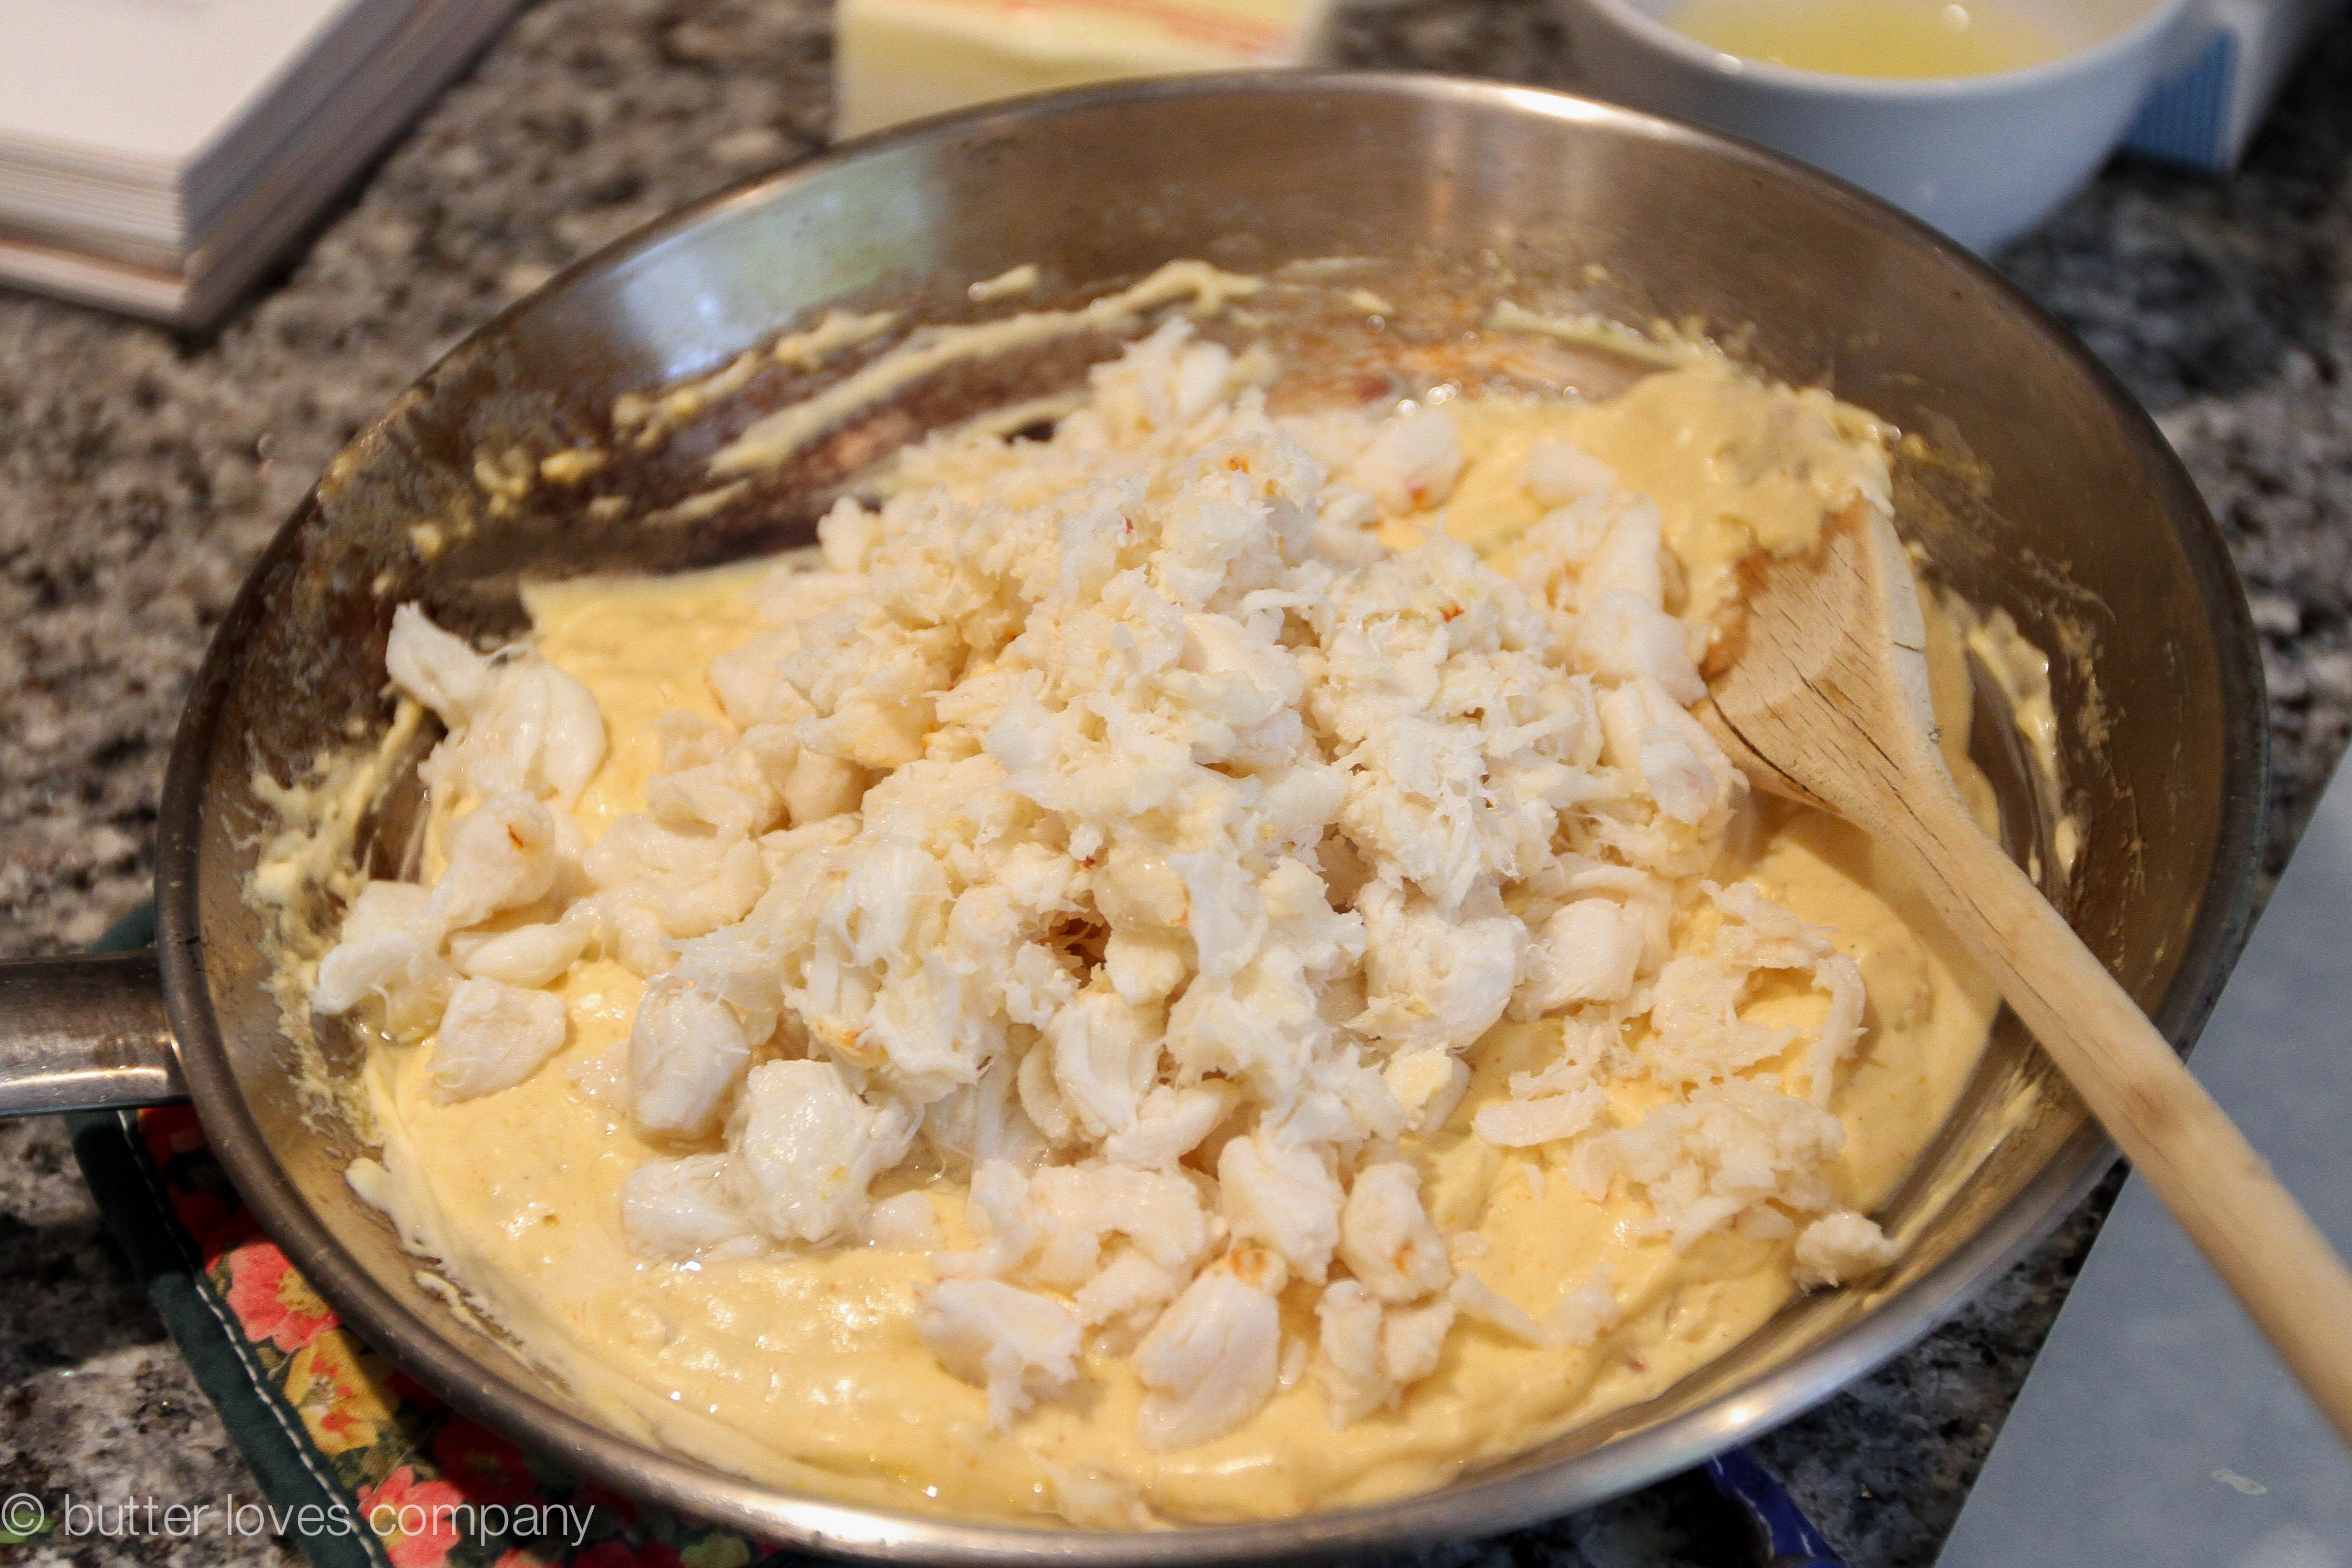
Flash forward to a few weeks ago, I was planning for another cocktail party—this time for adults—and once again scanned my mom’s cookbook wall for inspiration. The same blue Post-its that were stuck on during the Fall of 2002 jutted out of Finger Foods. Turns out, I hadn’t made all 200 recipes I had marked for that ‘cocktail party’ years ago (shocker). Among those that didn’t make the initial cut was this warm, lemony crab dip. Because crab may very well be the queen of the cocktail party, I decided to test the recipe. I added more crab than the recipe called for because I’m always disappointed by wimpy dips. Oh boy, was it just the perfect bread topper in all its warm, creamy, savory, lump crab-filled glory. Chopped tarragon added a sophisticated can’t-put-my-finger-on-it complement to the citrus and a pinch of cayenne enhanced the creaminess of the heavy base with just enough heat.
crab-dip-lemon-appetizer-recipe-3

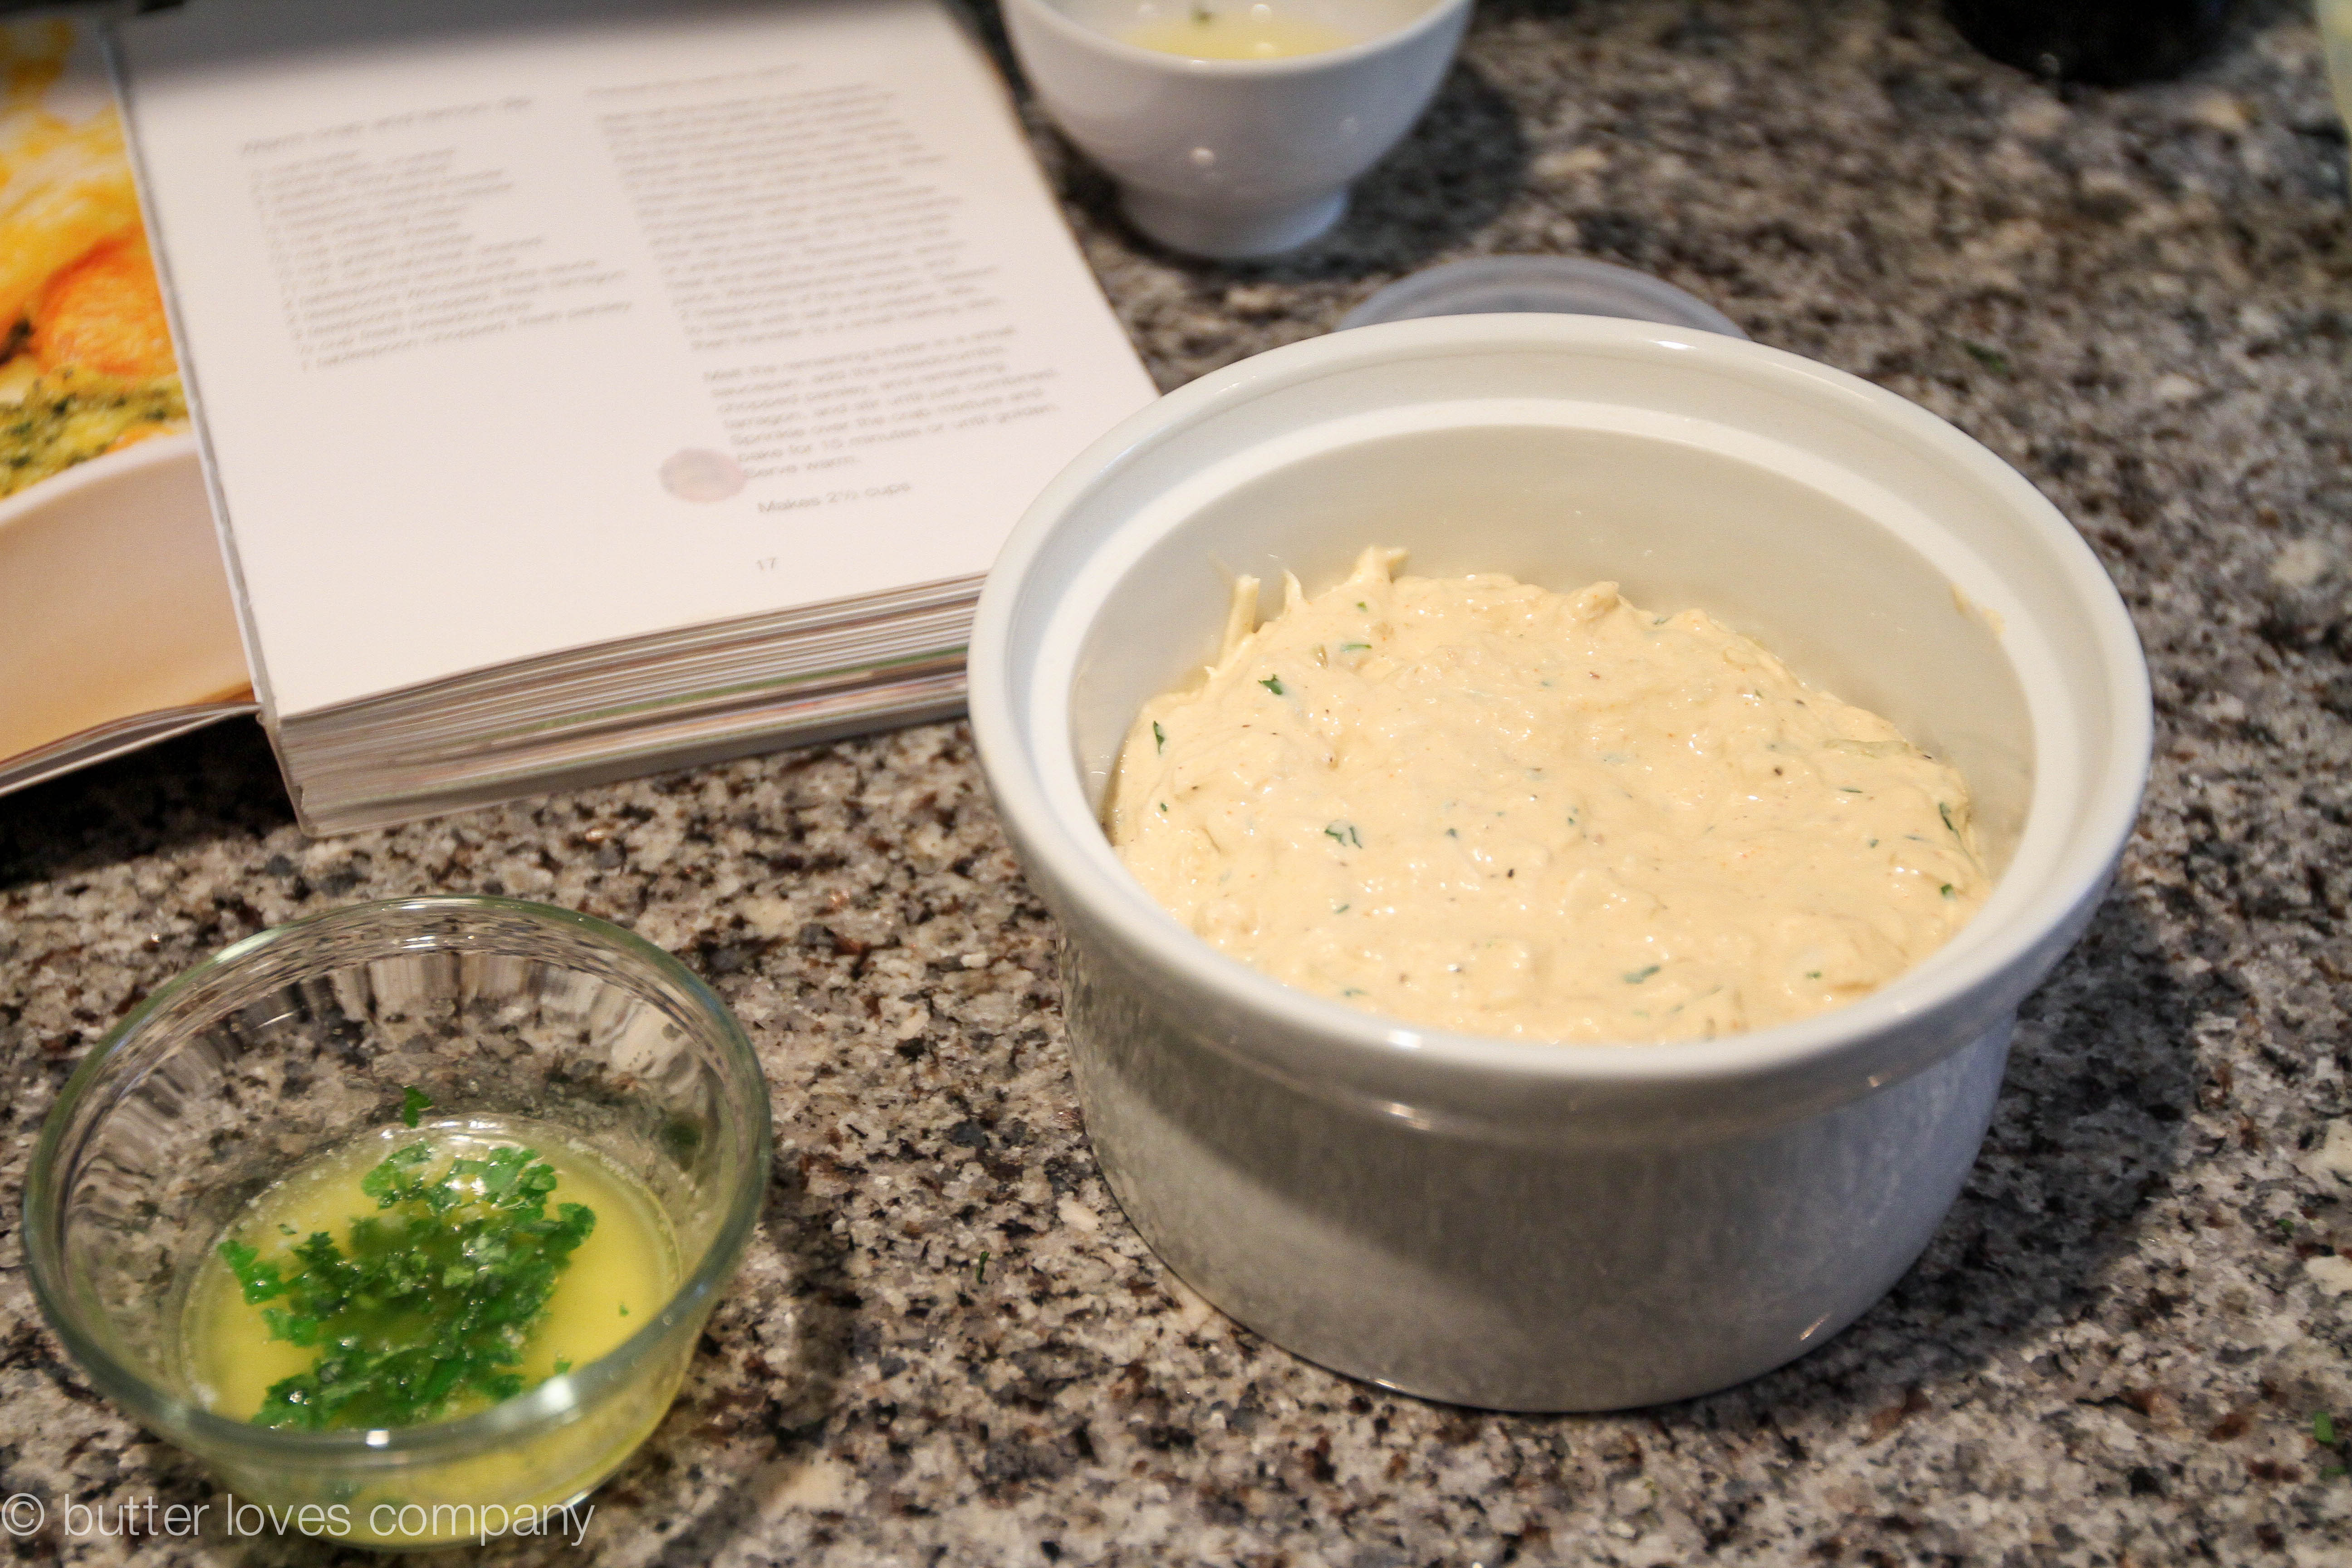
Now, my cocktail party attendees must be scratching their heads because they didn’t see this dip last Saturday. It passed the test run with rave reviews and I promise it was absent only because the table had hit its dip quota. Don’t worry though because Finger Foods is still on the kitchen shelf for next time; a Post-it marked “delicious” sticking out of page 17.
crab-dip-lemon-appetizer-recipe-5

crab-dip-lemon-appetizer-recipe-6

crab-dip-lemon-appetizer-recipe-7

crab-dip-lemon-appetizer-recipe-8

crab-dip-lemon-appetizer-recipe-12

crab-dip-lemon-appetizer-recipe-11

crab-dip-lemon-appetizer-recipe-13

warm, lemony crab dip
adapted from Bay Book’s Finger Foods

prep time: 20 minutes
cook time: 20 minutes
total time: 40–45 minutes
makes 2 1/2 cups

Ingredients:

1/3 cup unsalted butter
2 cloves garlic, minced
3 shallots, thinly sliced
1 teaspoon mustard powder
1/2 teaspoon cayenne pepper
1/2 cup heavy cream
2/3 cup cream cheese
1/2 cup cheddar cheese, grated
14-oz. lump crabmeat (drained if using canned)
2 tablespoons fresh lemon juice
2 teaspoons Worcestershire sauce
3 teaspoons chopped, fresh tarragon
3/4 cup fresh breadcrumbs (I used Panko)
1 tablespoon chopped, fresh parsley

Instructions:

  1. Center a rack in the middle of the oven and preheat to 325 degrees. Grab a small baking dish out and set it aside for later (must fit 2 1/2 cups).
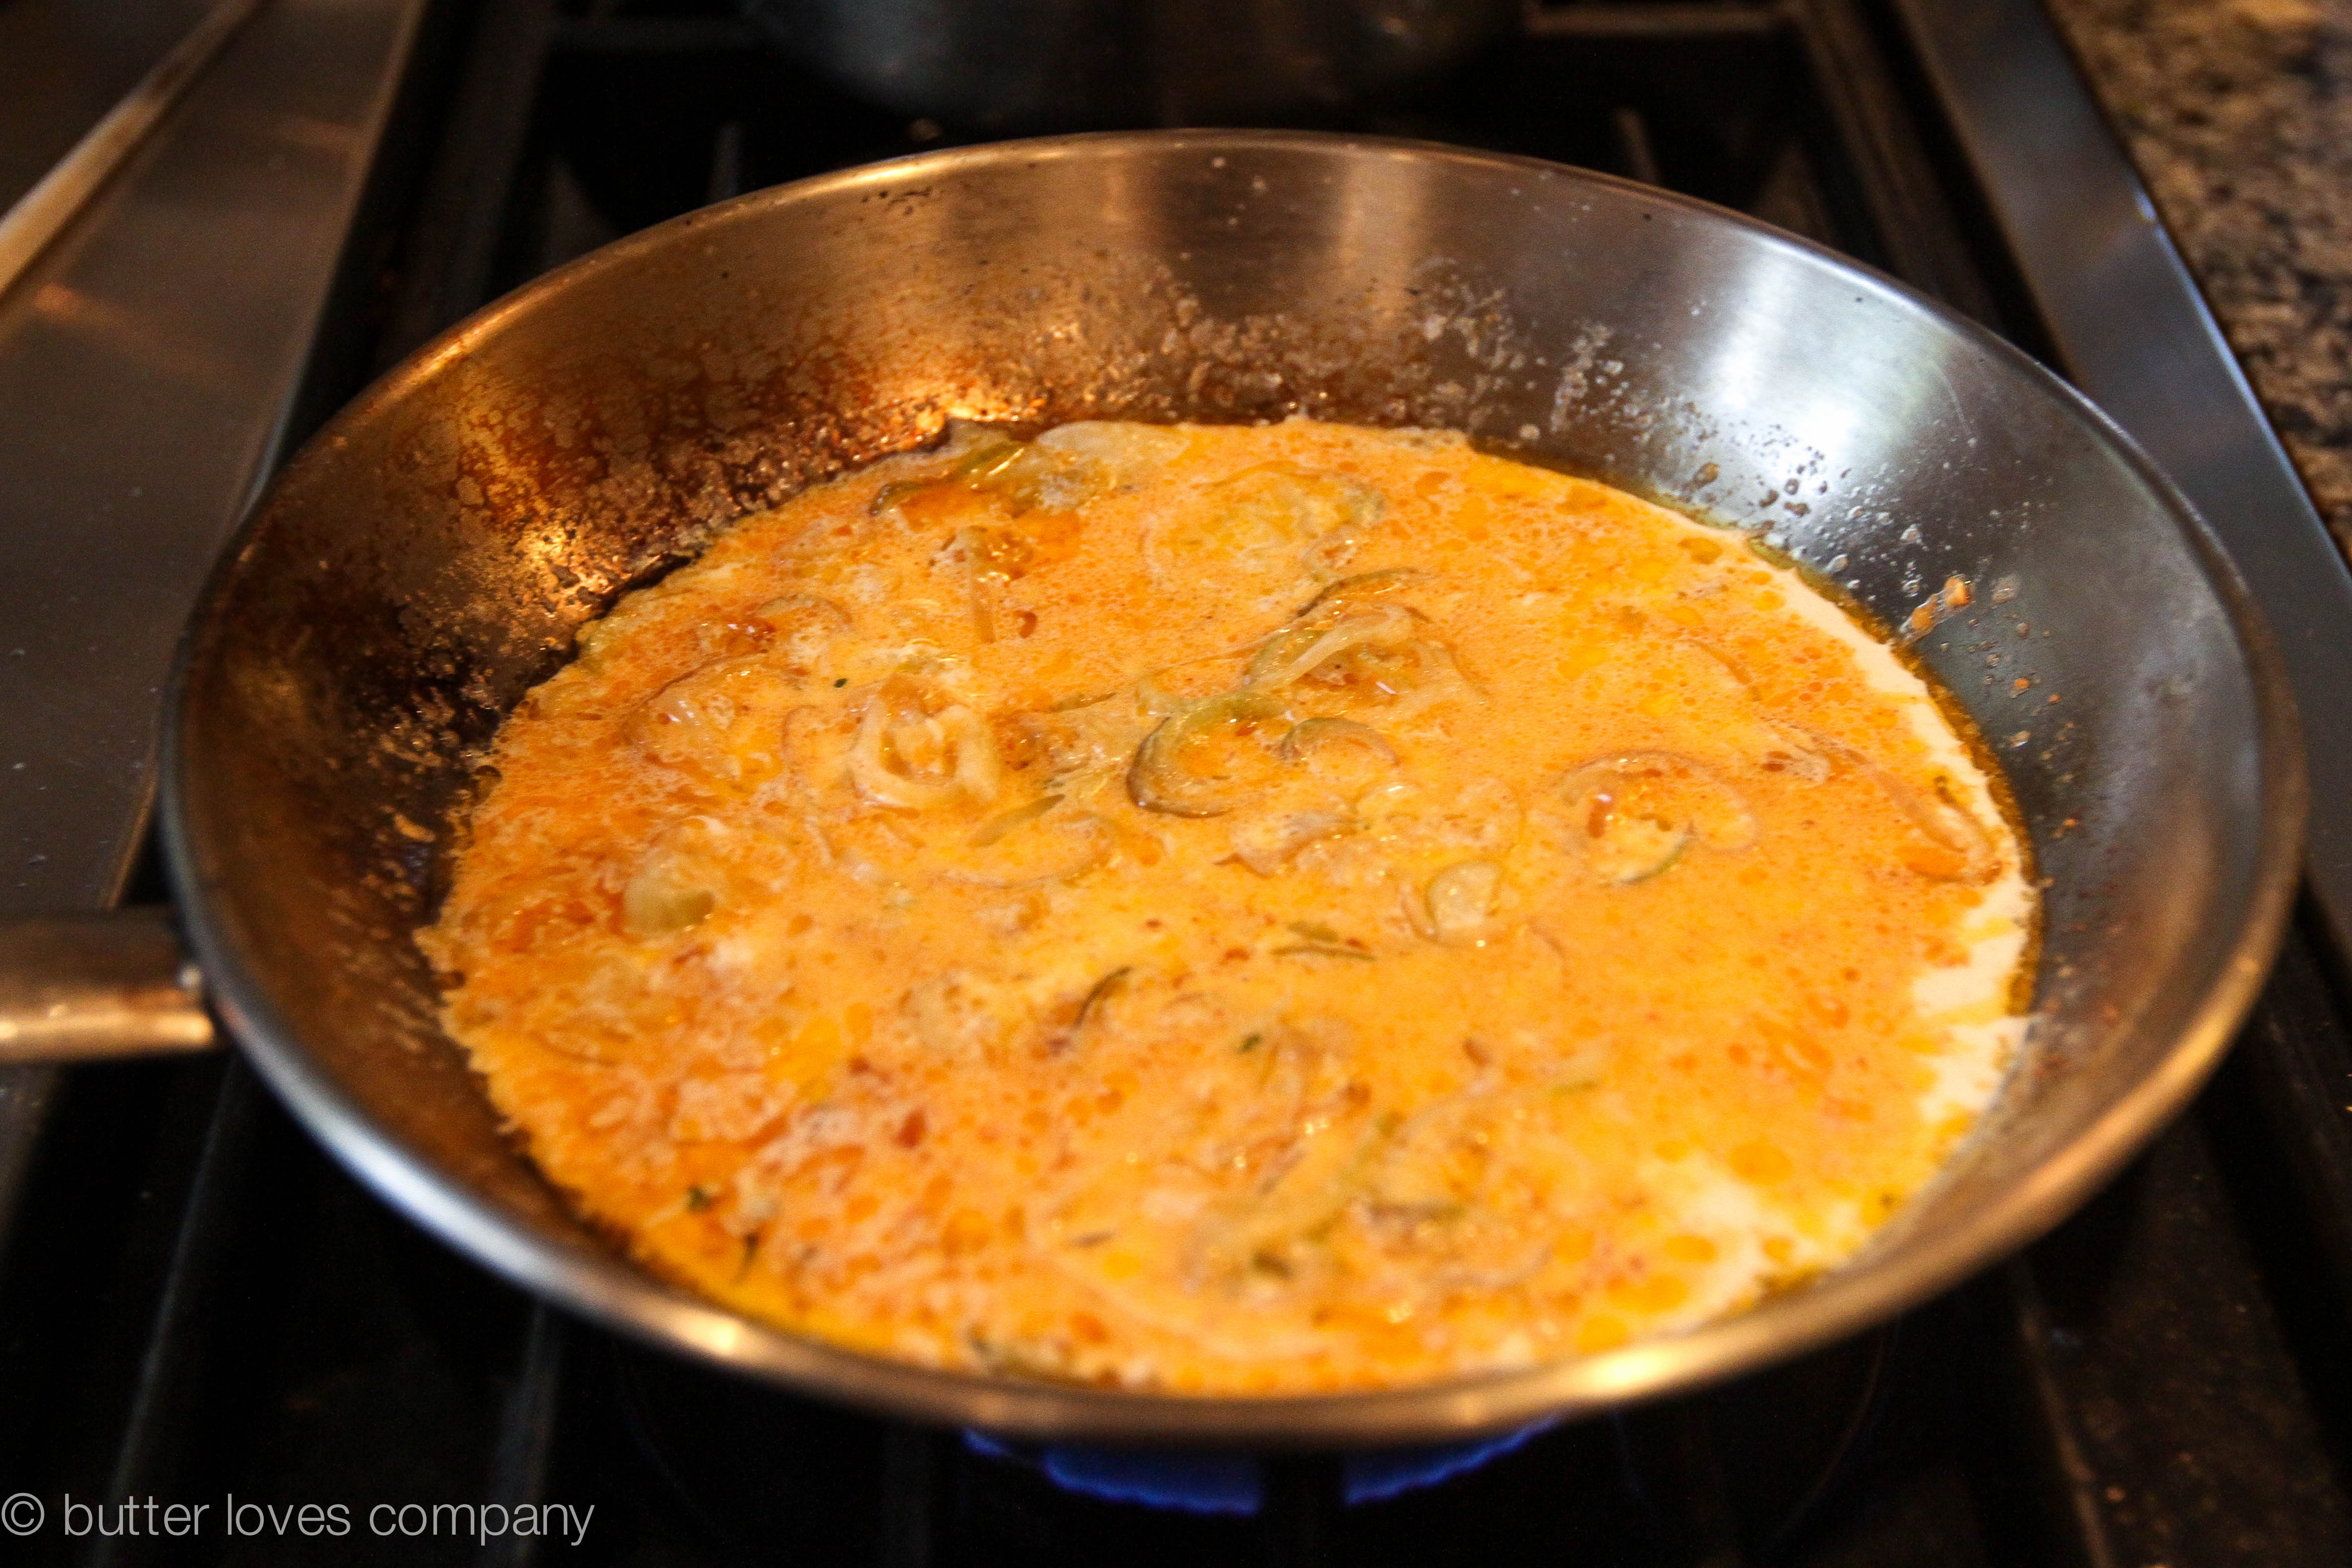
  2. Melt half the butter in a medium saucepan over medium heat. Add the garlic and shallots to the saucepan and cook until just softened, about 3 minutes. Stir in the mustard powder, cayenne, and whipping cream. Bring to a simmer and slowly whisk in the cream cheese, a little bit at a time. When the cream cheese is completely incorporated, whisk in the cheddar and stir constantly over very low heat until smooth, about 1–2 minutes. Remove from heat and add in the crabmeat, lemon juice, Worcestershire sauce, and 2 teaspoons of the tarragon. Season to taste with salt and pepper. Stir well and then transfer into your small baking dish.
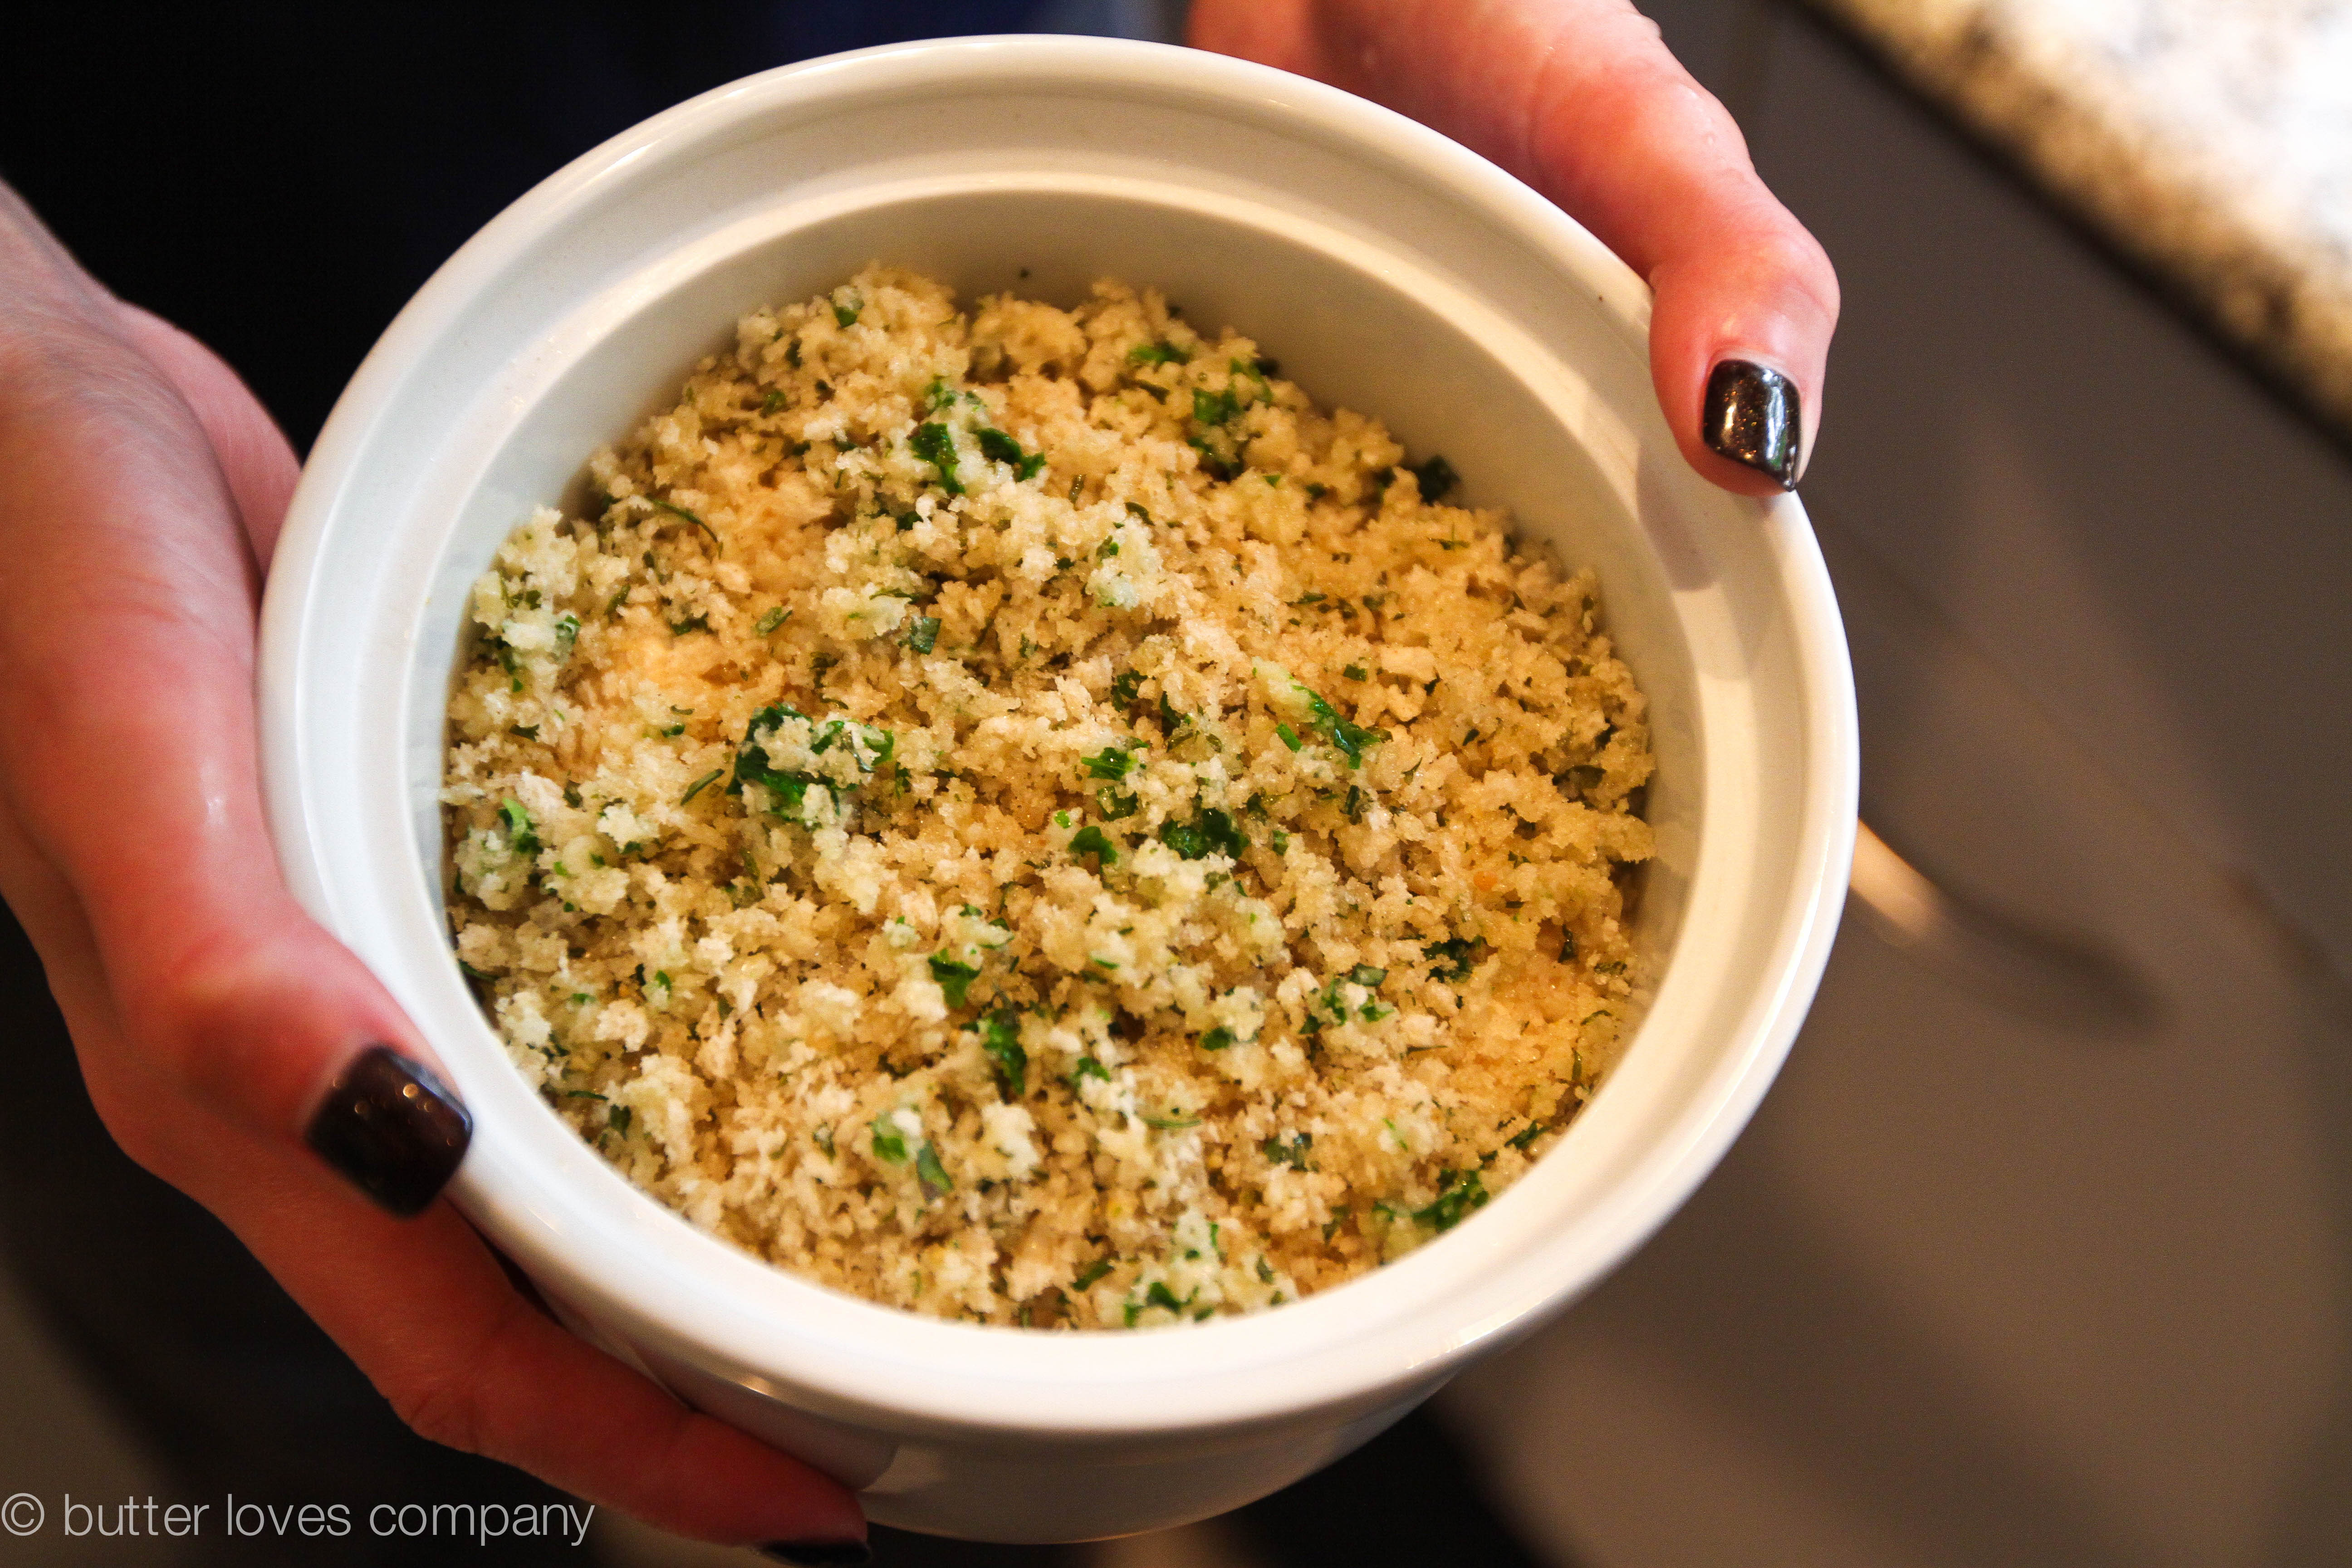
  3. Melt the remaining butter in the microwave in a separate small microwave safe bowl. Add the breadcrumbs, chopped parsley, and remaining tarragon, and stir until combined. Sprinkle over the crab mixture and bake for 15–20 minutes or until bubbling and golden. Serve warm with toasted bread or crackers.
Filed Under: appetizers, eat Tagged With: cocktail party, crab, crowd-pleaser, dip, easy appetizers, lemon, seafood, warm dip

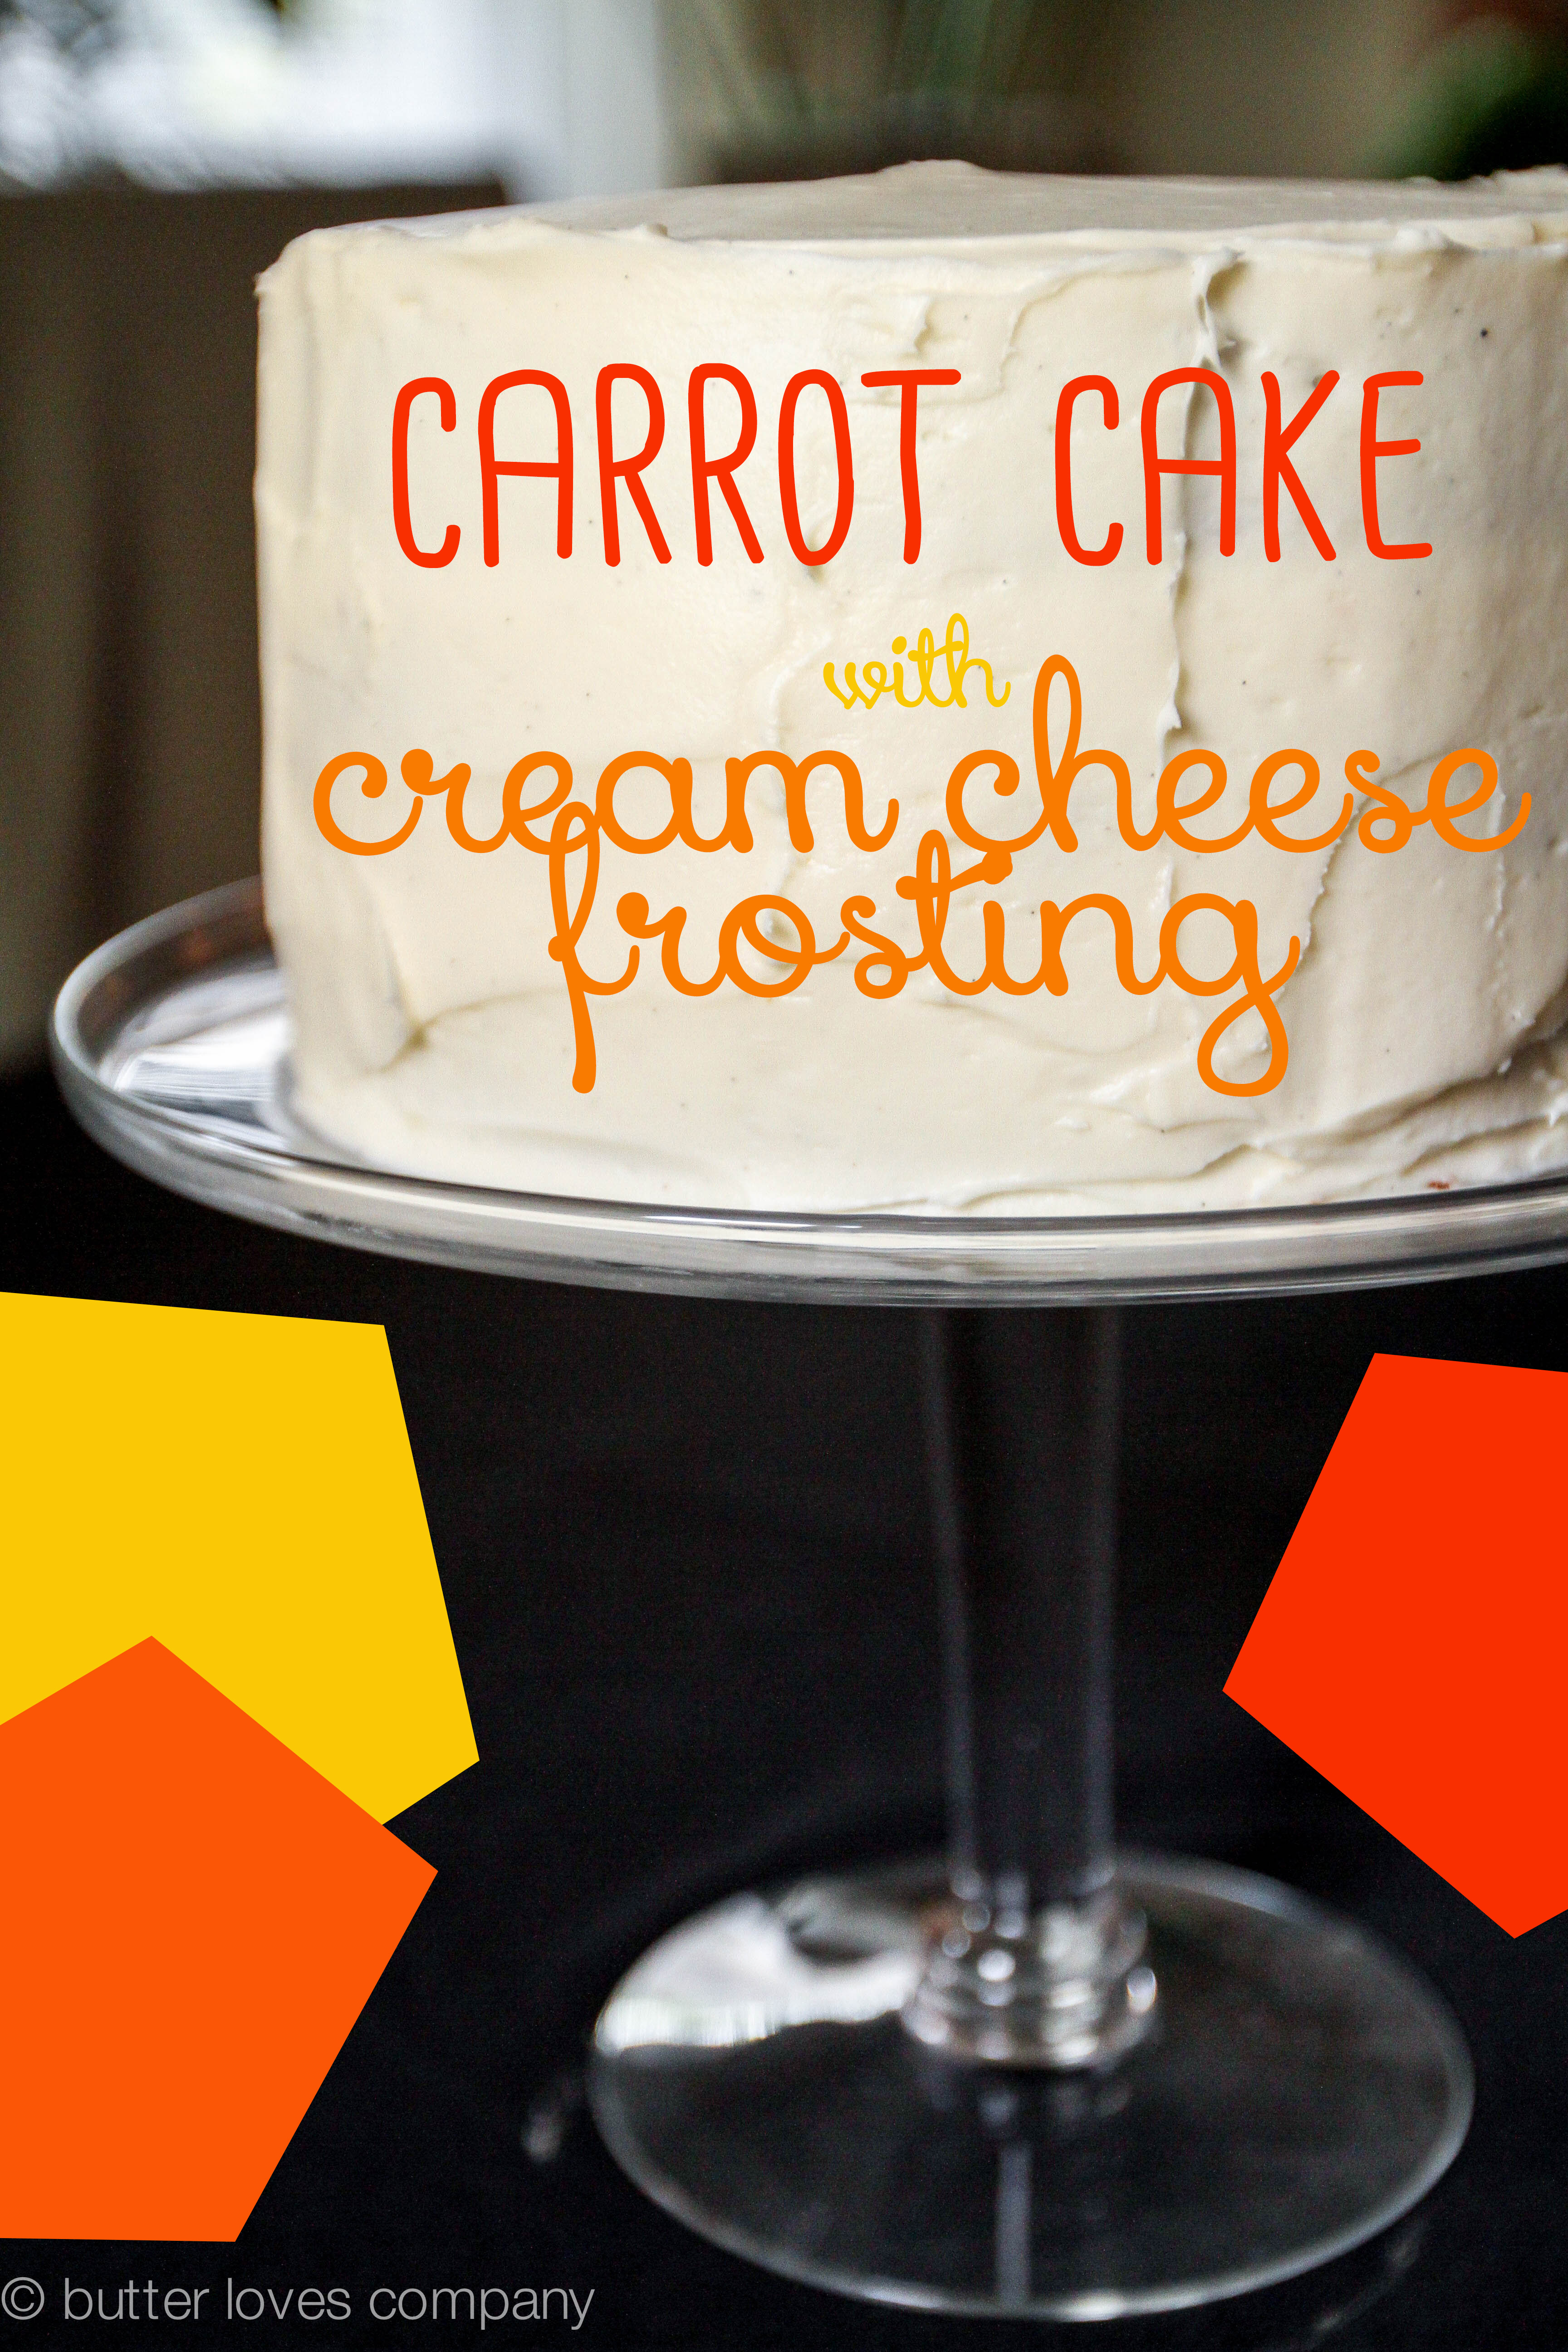
go-to carrot cake with cream cheese frosting

October 29, 2014 by Butter Loves Company

carrot-cake-silver-palate-cream-cheese-frosting-10 copy

This carrot cake recipe has been in my family for longer than I can remember. It makes regular appearances at Easter and is often requested in the fall when it seems like just about everyone in my family was born. Let me tell you, it has spoiled many bakery carrot cakes for me. It’s not that the bakery cakes are so bad; it’s just that they aren’t this good. If you’ve ever had a carrot cake that was too dry, too bland, too dense, too light or any of the other “too’s,” you should try this one out. It may be your new go-to.

carrot-cake-silver-palate-cream-cheese-frosting-1

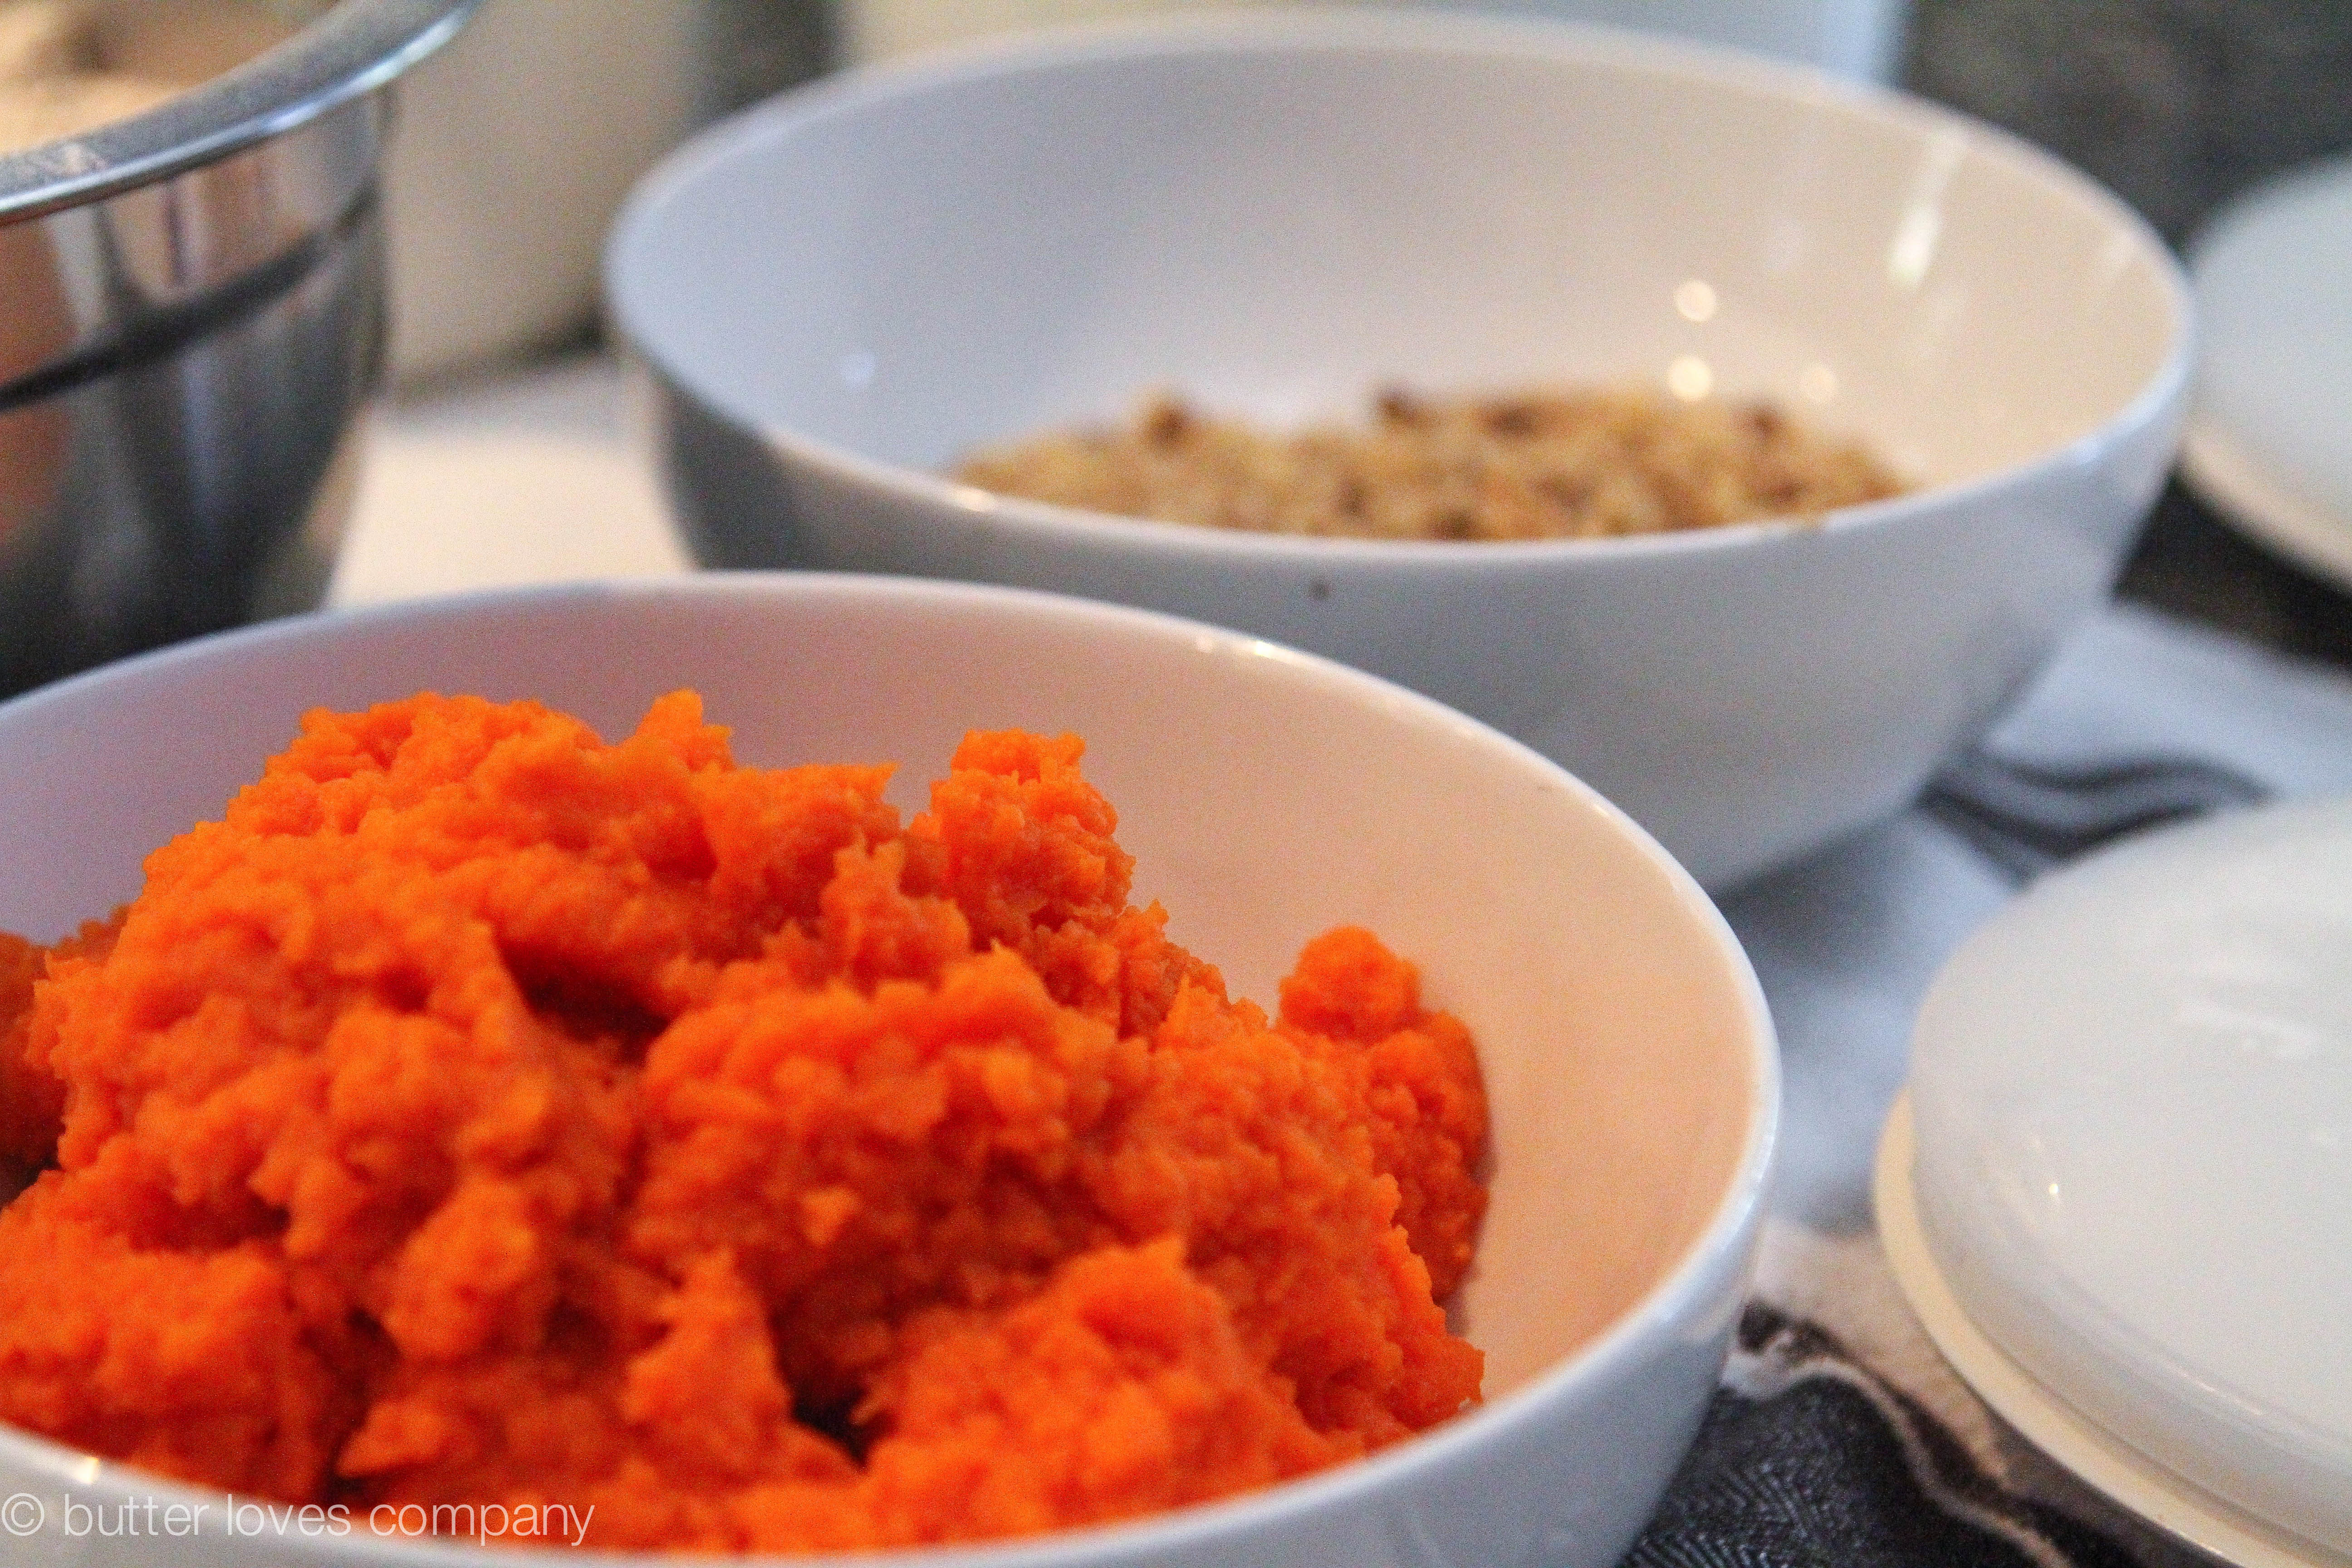
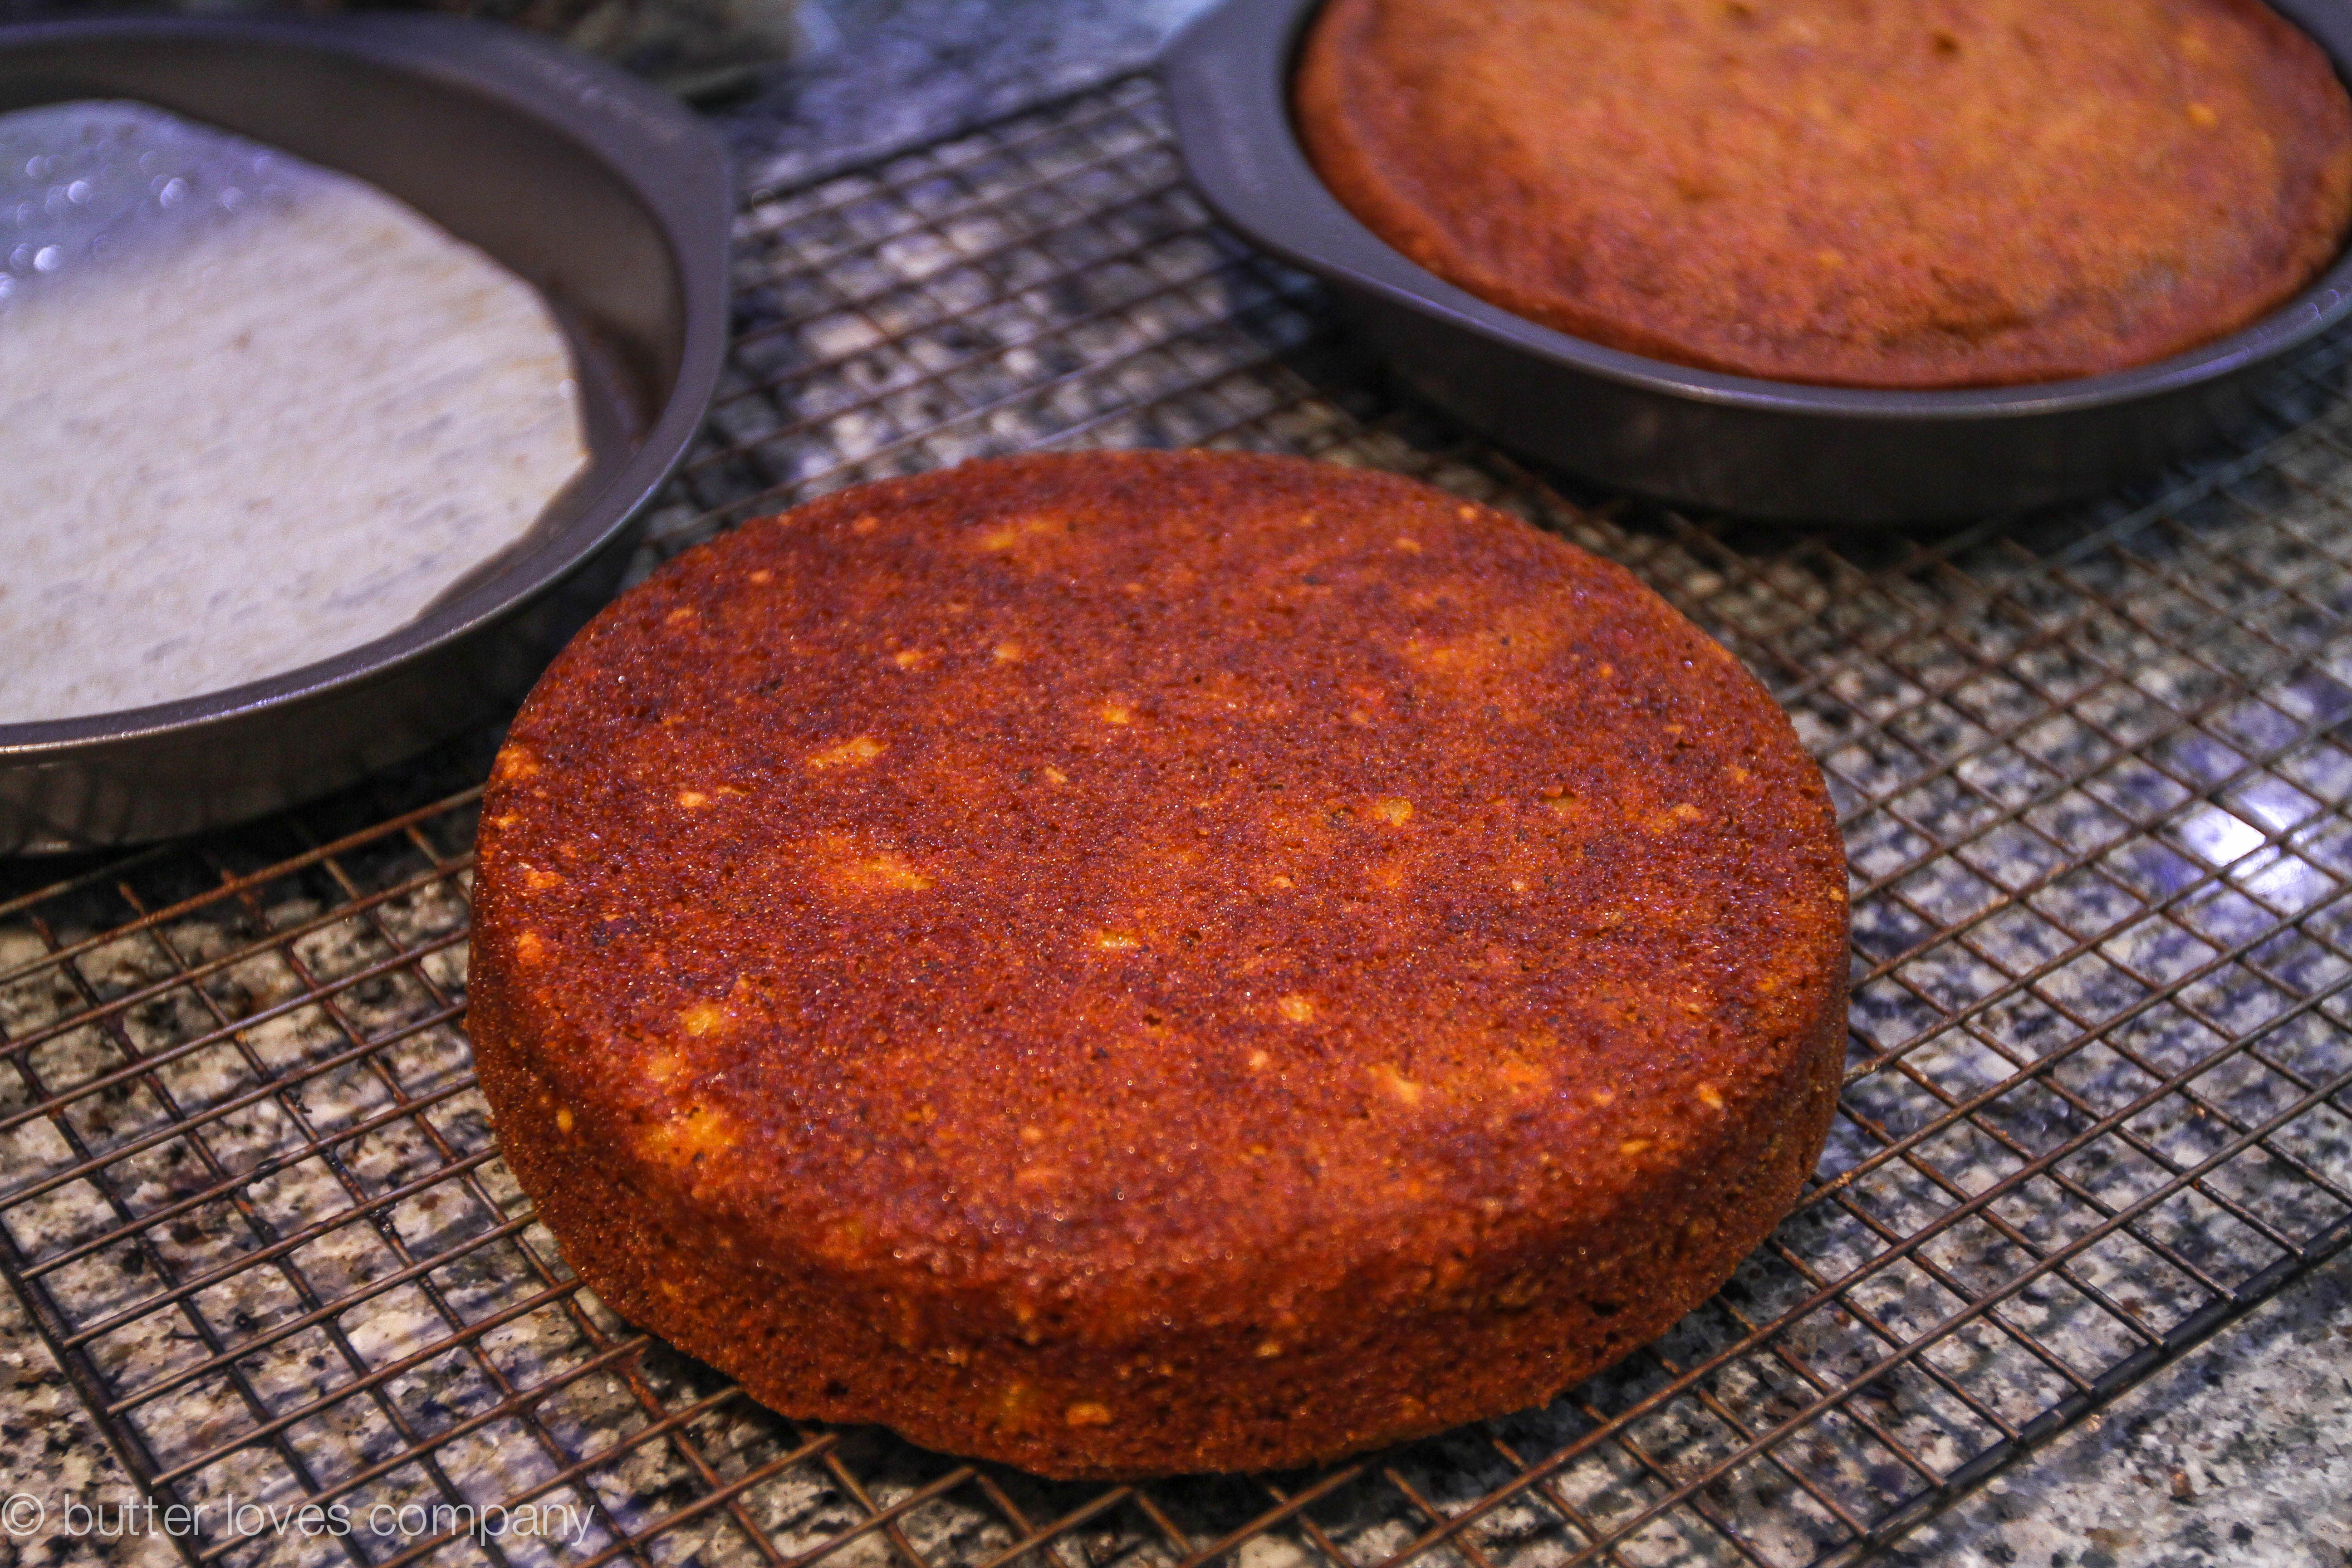
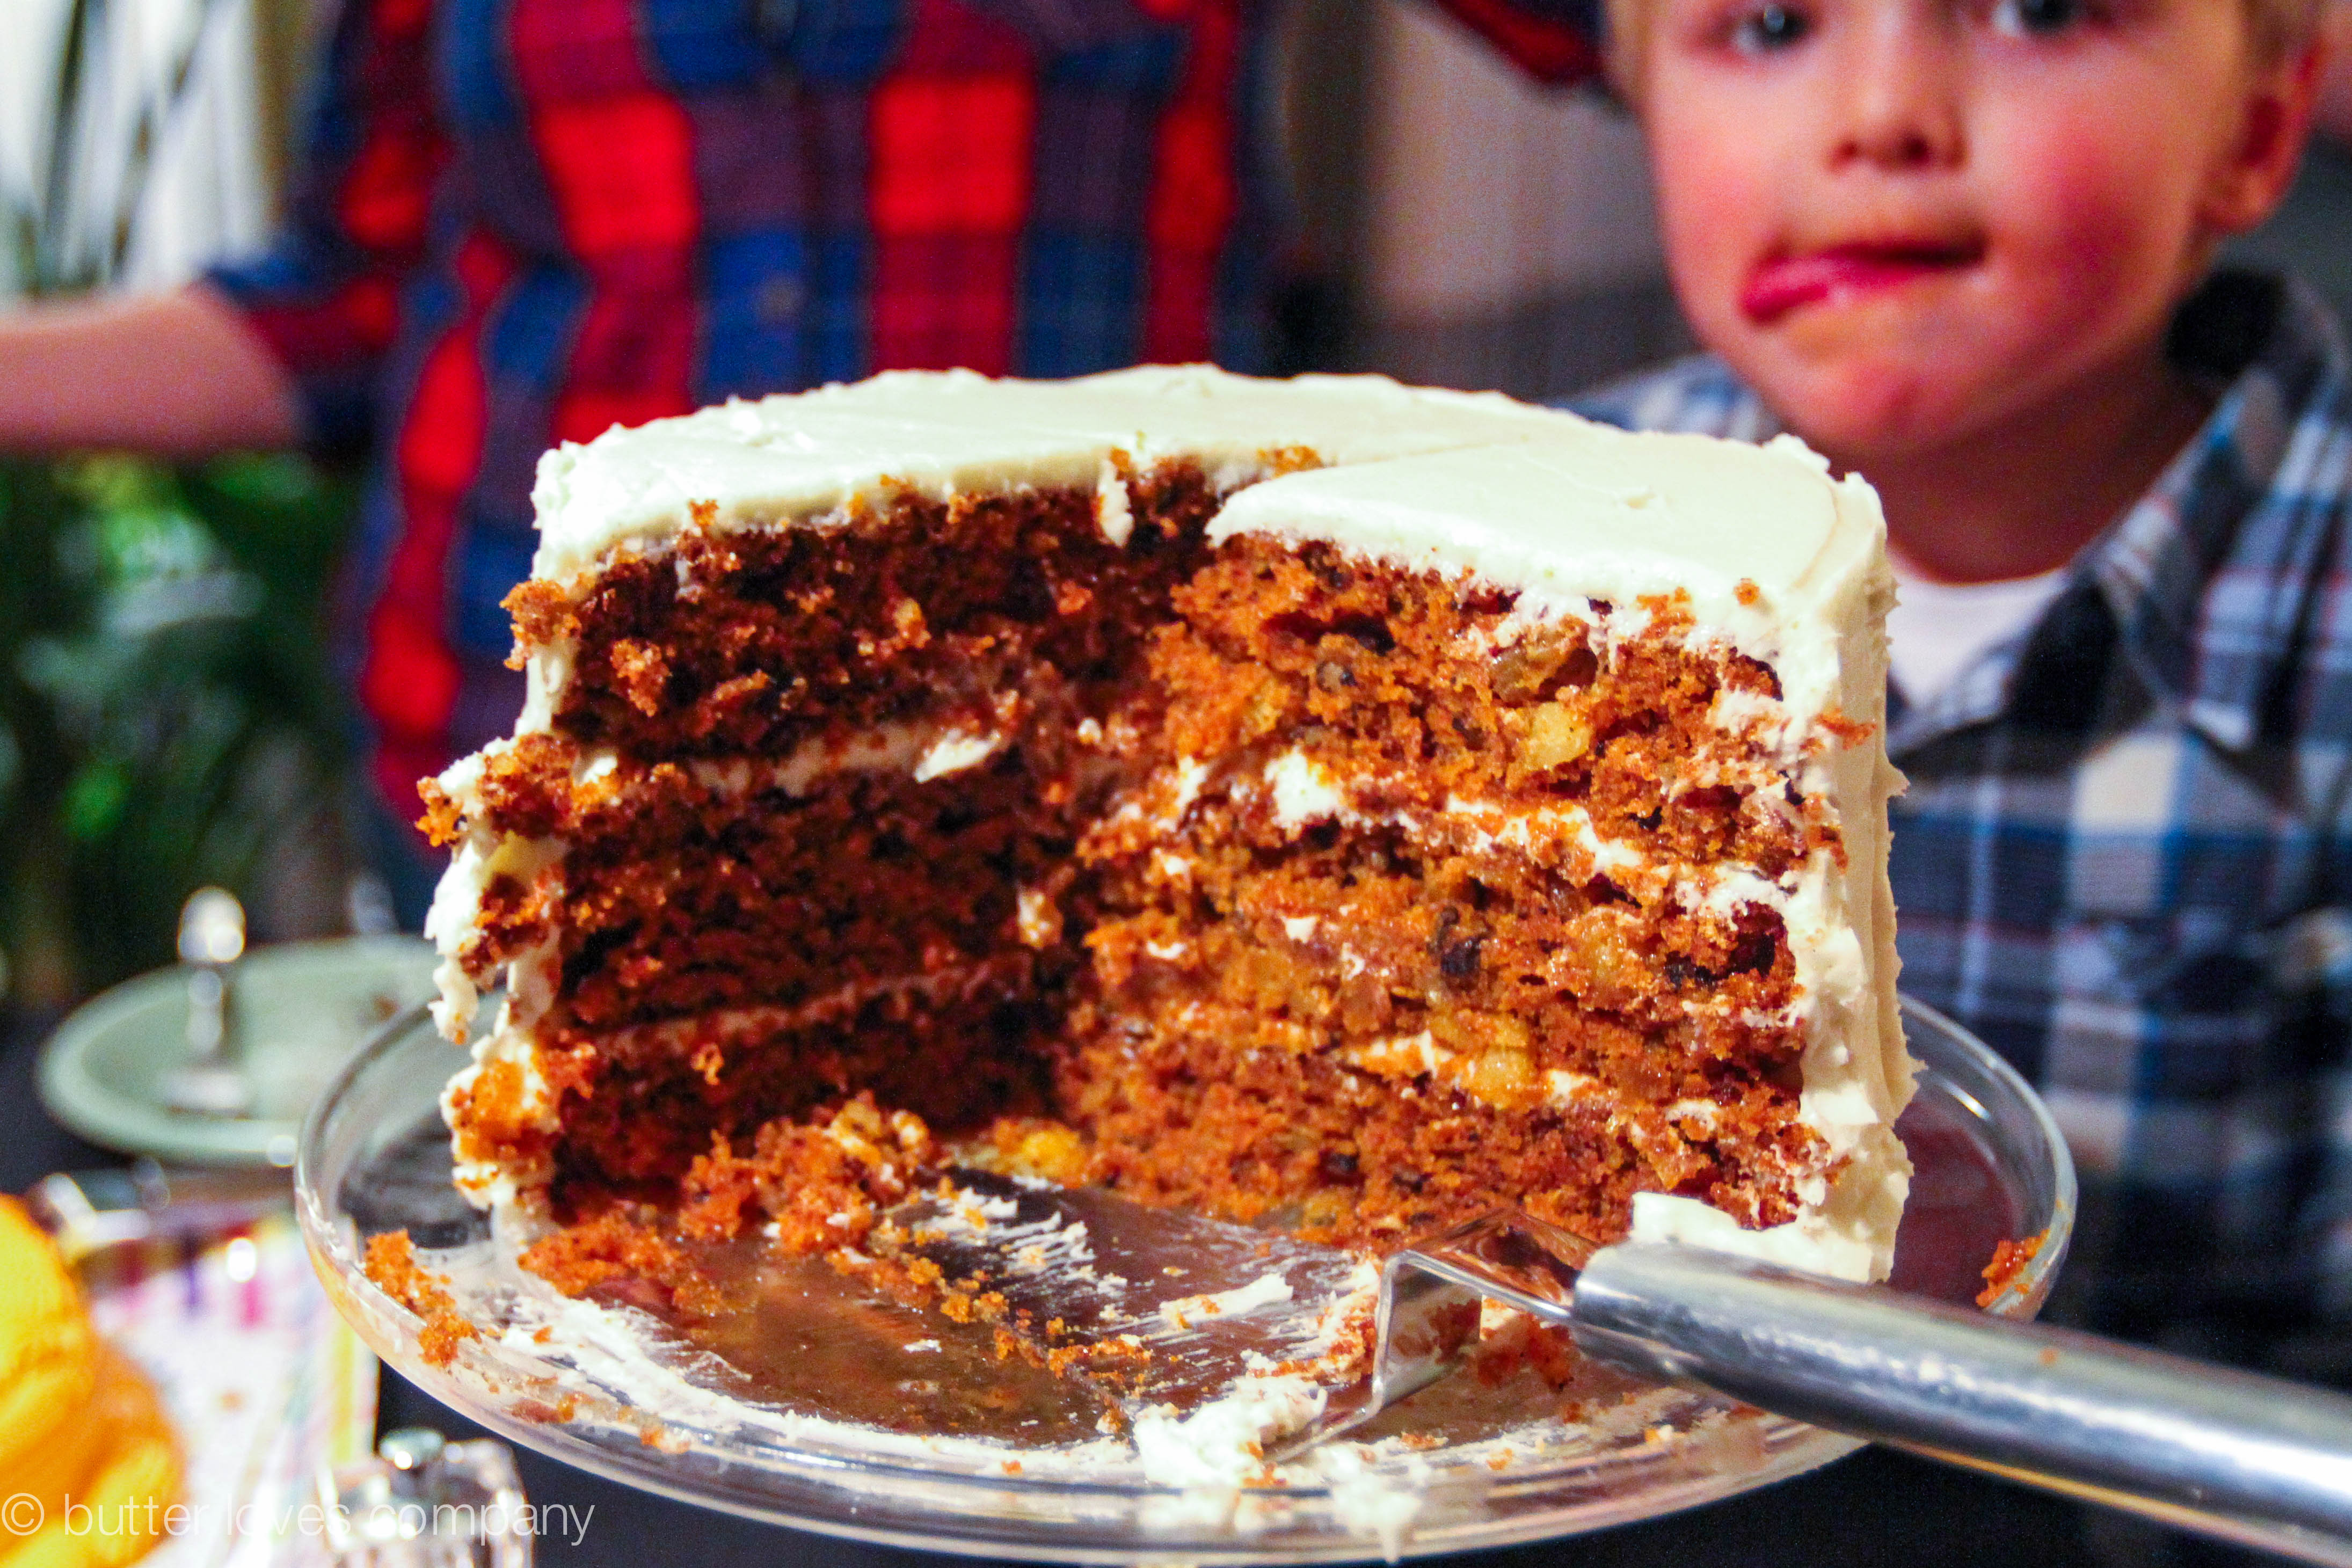
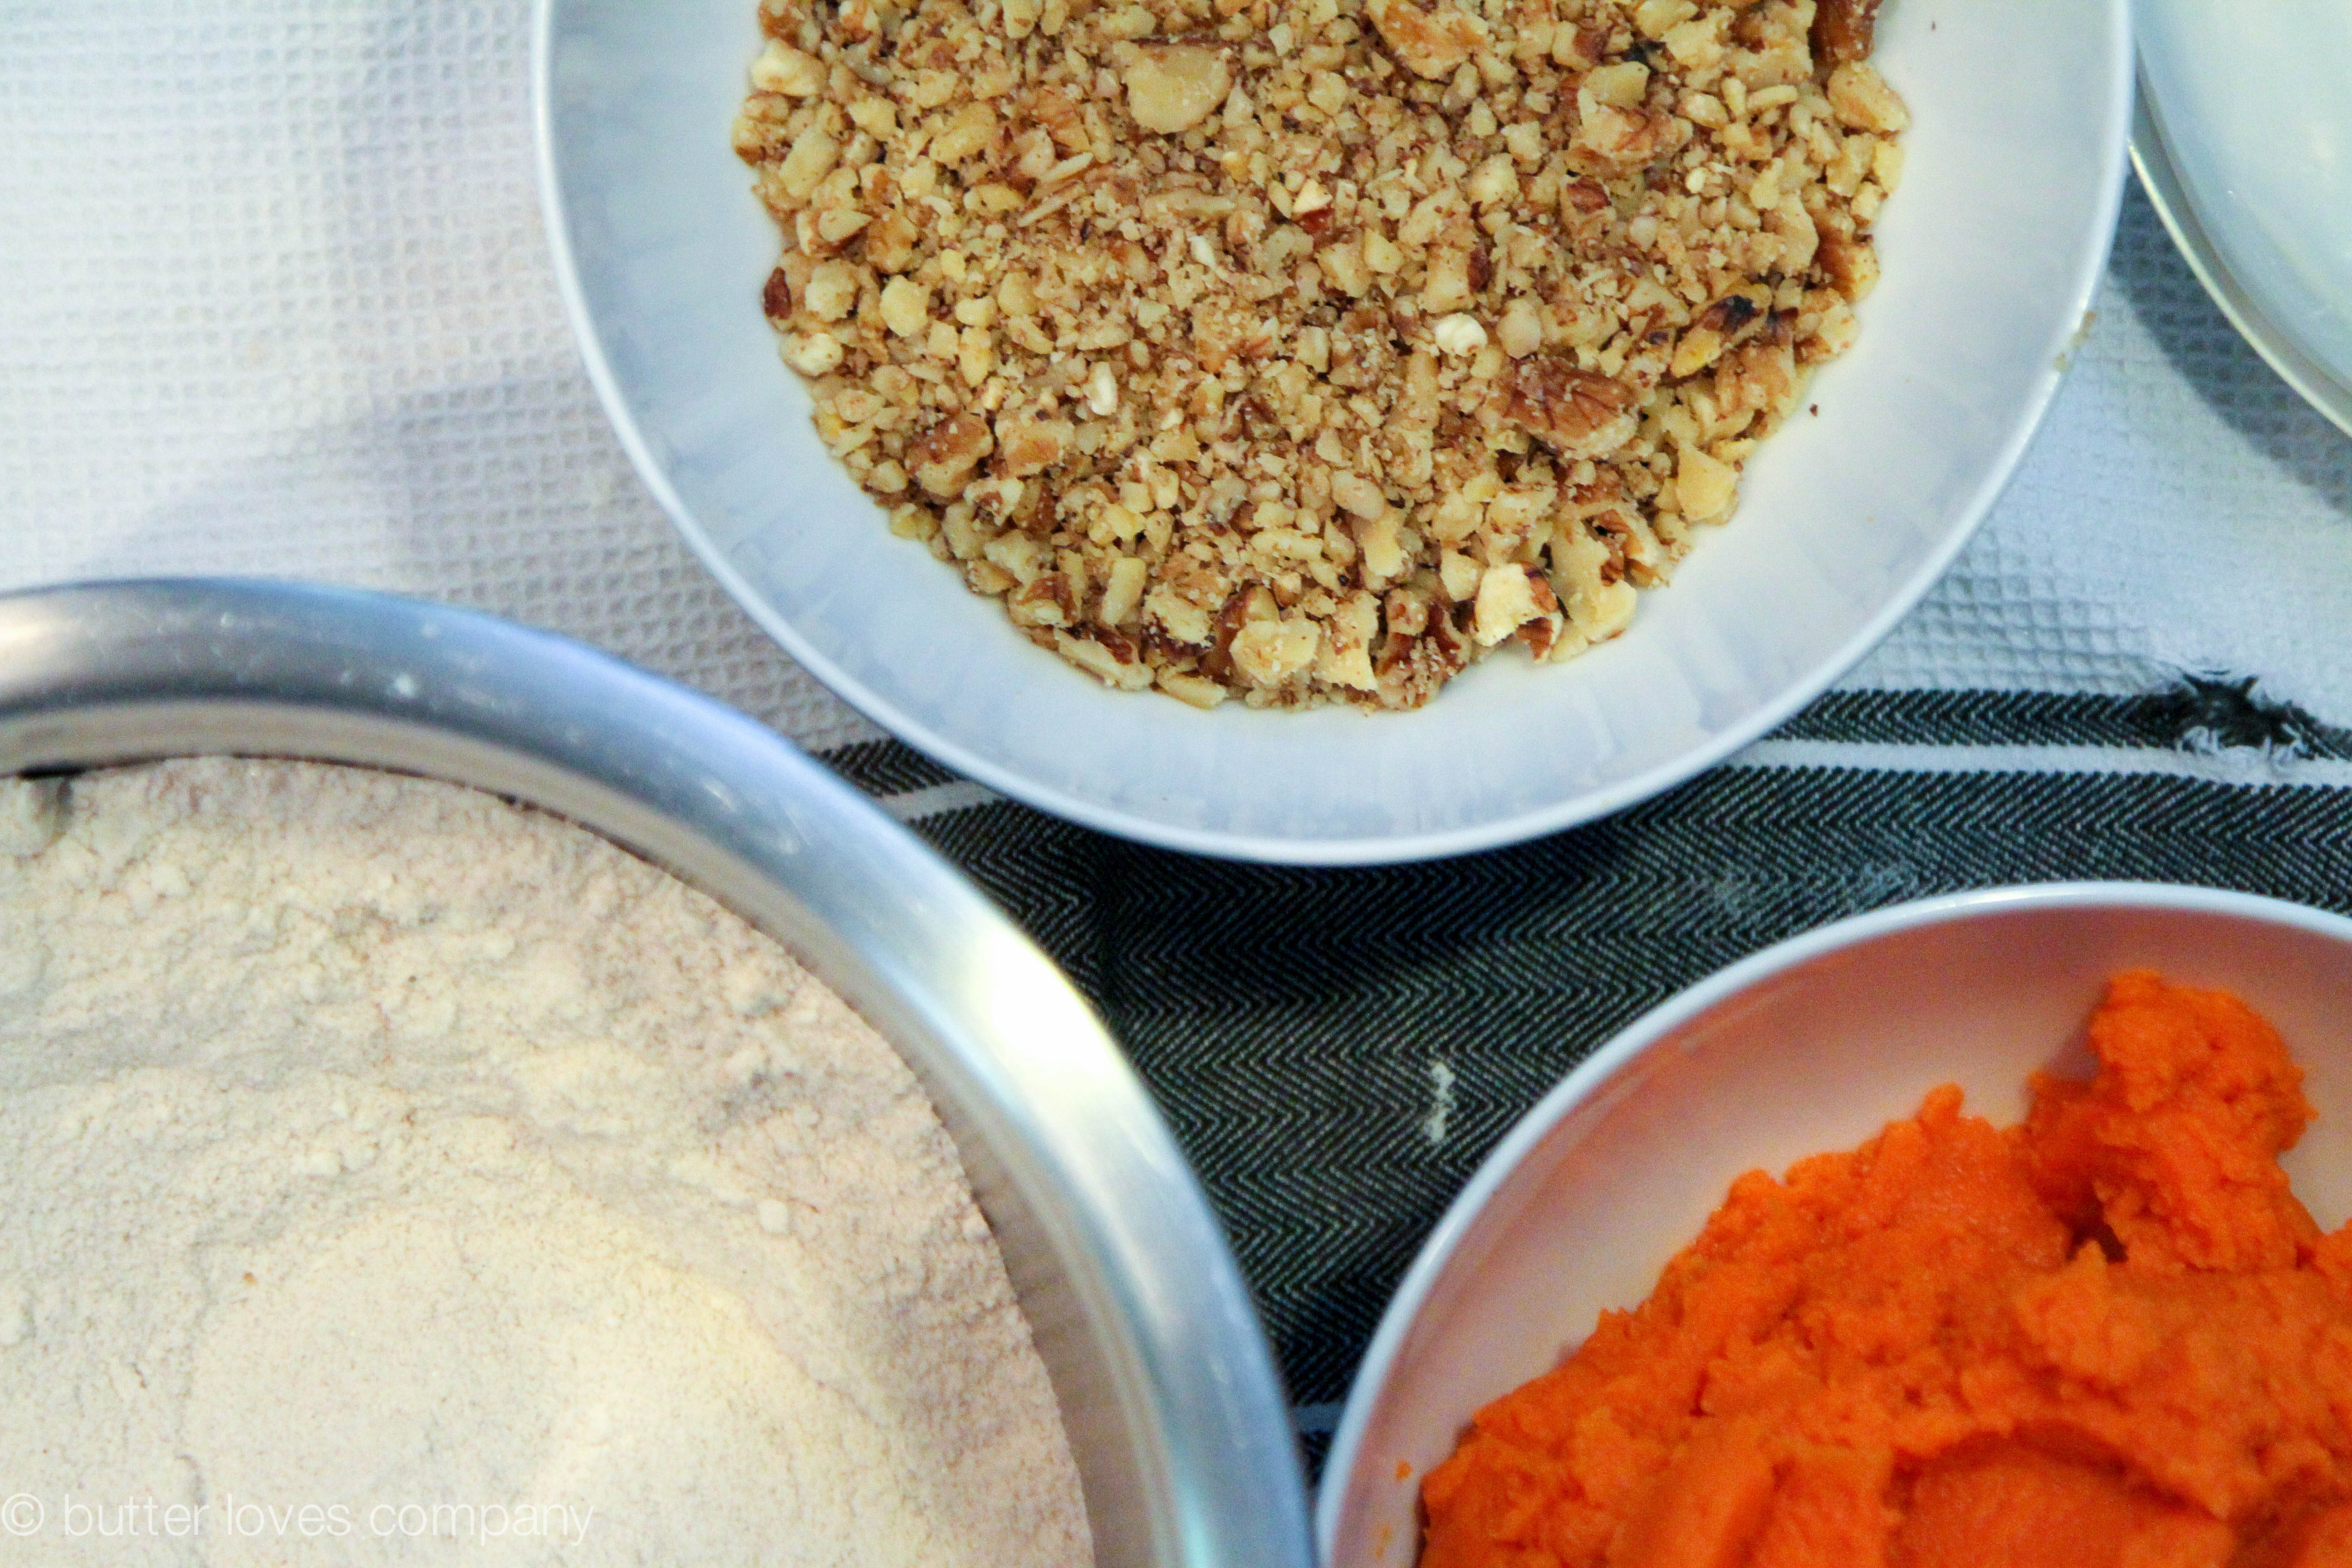
One of the keys to this recipe from the Silver Palate Cookbook is that the carrots are cooked and puréed before they are mixed into the batter. The result is an extremely moist cake that is sturdy and rich but not too dense. The cake is sweet with a cinnamon spice and textured with coconut and walnuts (if you desire, which I always do). I doubled the cream cheese frosting recipe from the original recipe, because…just because. It can never hurt to have a little extra, but not having enough would be sinful. Put cream cheese frosting on anything and you won’t make any enemies.

carrot-cake-silver-palate-cream-cheese-frosting-2

We’ve eaten this twice in the last month; the first for my brother’s birthday and more recently for my grandmother’s. Because my grandmother doesn’t care for coconut, I made hers—the one pictured— without it. You’ll see notes about my adjustments following the recipe.

carrot-cake-silver-palate-cream-cheese-frosting-3

carrot-cake-silver-palate-cream-cheese-frosting-4

carrot-cake-silver-palate-cream-cheese-frosting-5

some people definitely only like carrot cake for the cream cheese frosting…and that’s okay.

carrot-cake-silver-palate-cream-cheese-frosting-6

carrot-cake-silver-palate-cream-cheese-frosting-7

carrot-cake-silver-palate-cream-cheese-frosting-8

carrot-cake-silver-palate-cream-cheese-frosting-13

pardon the poor lighting, but that’s a face that likes this cake!

go-to carrot cake with cream cheese frosting
From the Silver Palate Cookbook

prep time: 20 minutes
cook time: 35–50 minutes
total time: 1 hour, plus another 2 for cooling
makes one 2-layer 9-inch cake or 3-layer 8-inch cake

Ingredients:

CAKE:
Butter, for greasing the pan
3 cups unbleached all-purpose flour
3 cups granulated sugar
1 teaspoon salt
1 tablespoon baking soda
1 tablespoon ground cinnamon
1-1⁄2 cups canola or vegetable oil
4 large eggs
1 tablespoon vanilla extract
1-1/2 cups shelled walnuts, chopped
1-1/2 cups shredded coconut*
1-1/3 cups puréed cooked carrots (to cook: Chop peeled carrots into chunks and boil in water until a knife can cut through a chunk with little resistance)
3/4 cup drained crushed pineapple

CREAM CHEESE FROSTING:
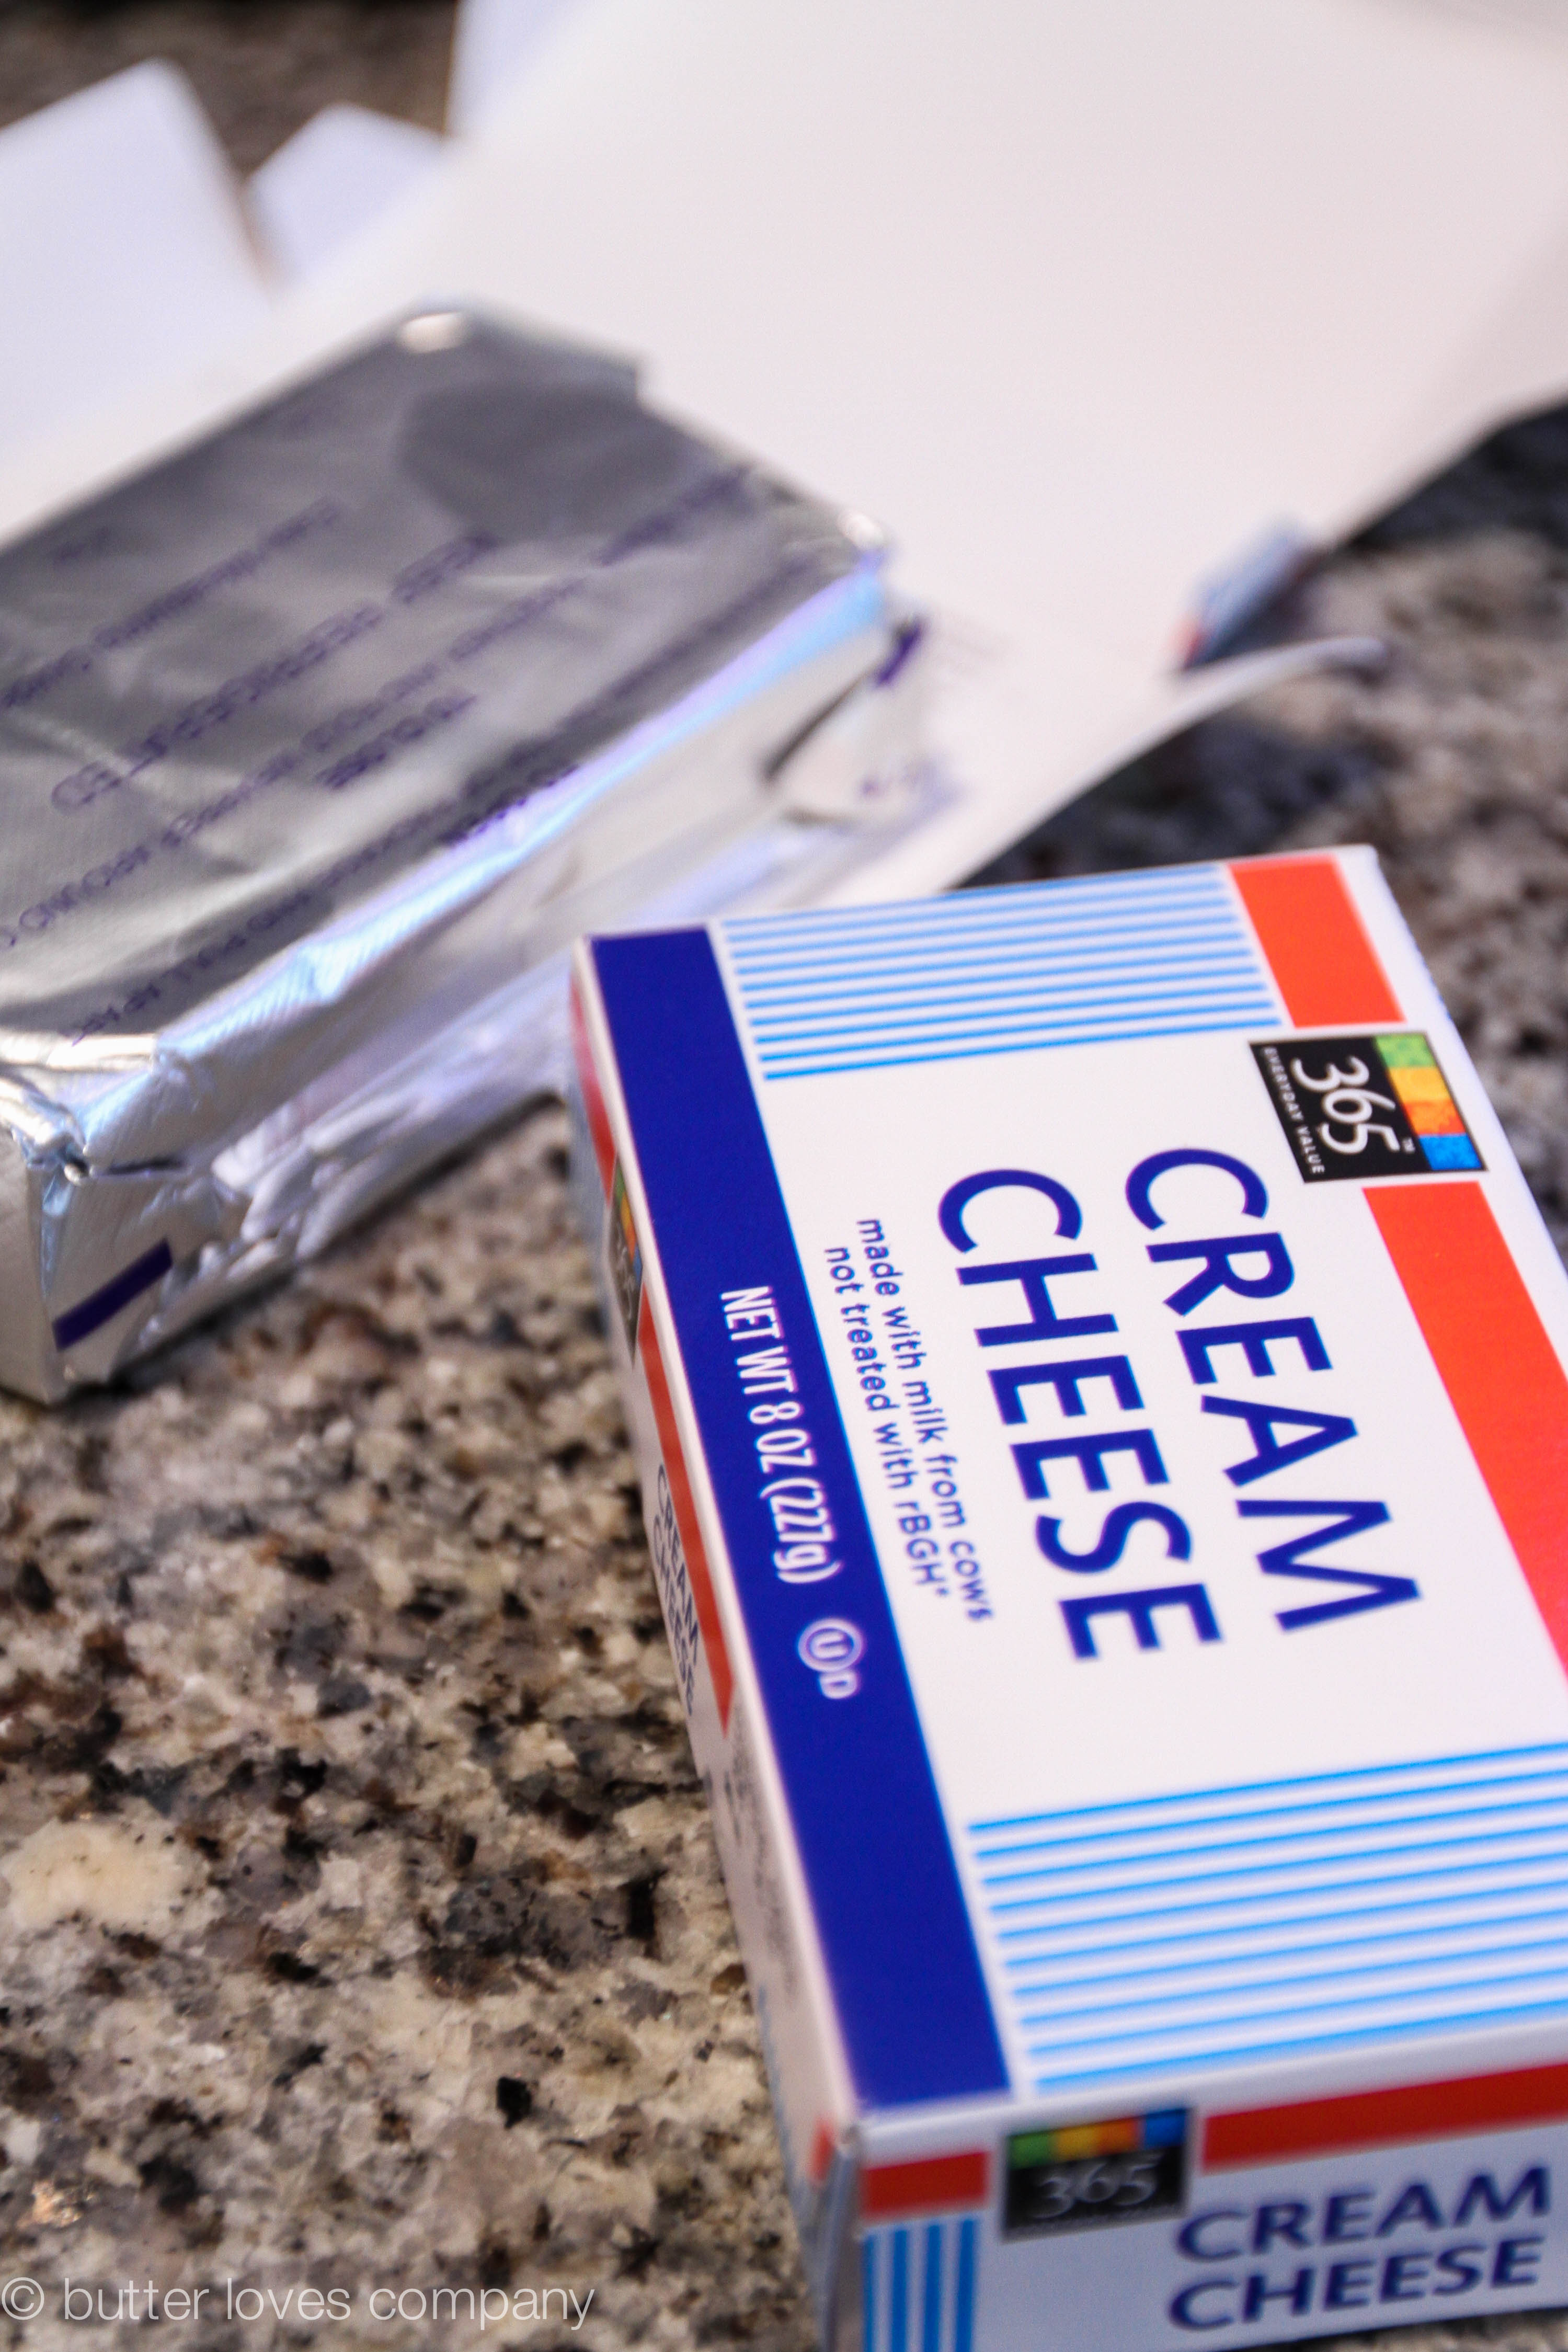
16 ounces cream cheese, at room temperature (2 standard packages)
12 tablespoons unsalted butter, room temperature
6 cups confectioners’ sugar
2 teaspoons vanilla extract
1 tablespoon lemon juice (optional)

Instructions:

  1. Preheat the oven to 350°F. Grease two 9-inch pans or three 8-inch pans. Line the bottom of each pan with parchment paper and then grease the top of the parchment paper.
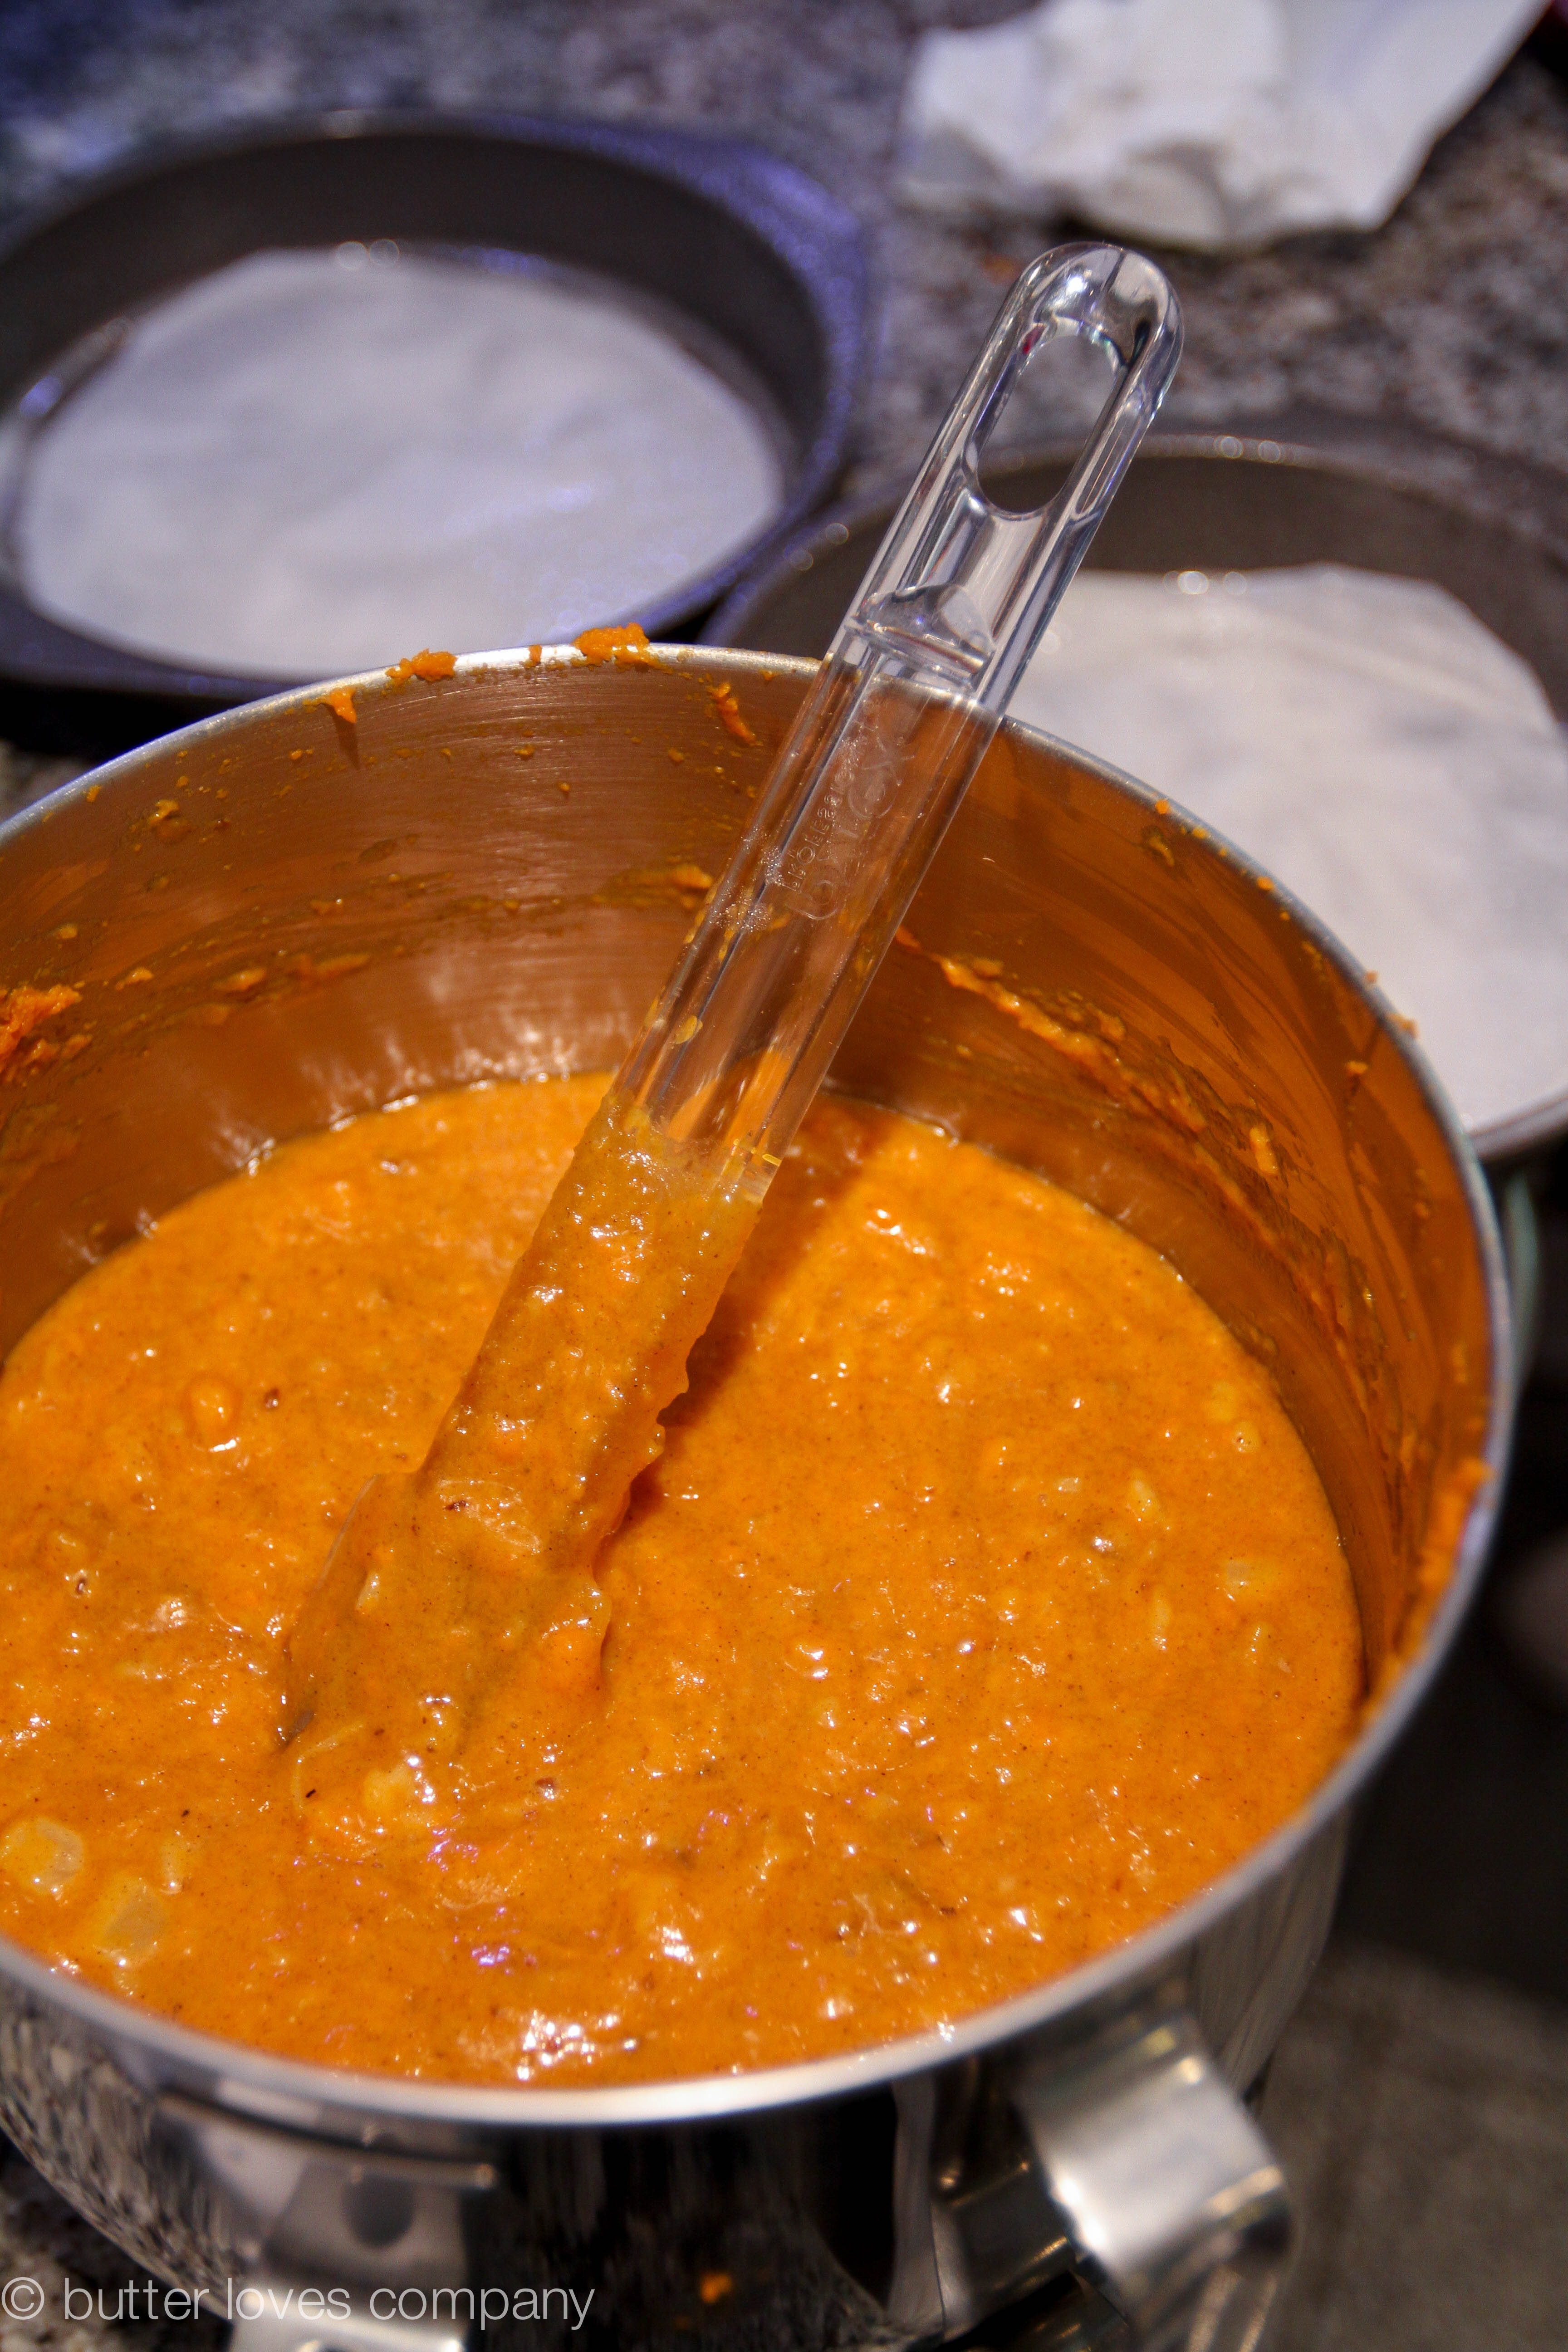
  2. In a large bowl, or the bowl of your electric mixer fitted with the paddle attachment, sift together the flour, sugar, salt, baking soda and ground cinnamon. Add the oil and vanilla followed by the eggs, one at a time, mixing to combine after each addition. With the mixer on low speed add the walnuts, coconut, carrots and pineapple (fold them in gently if you are not using a stand mixer).
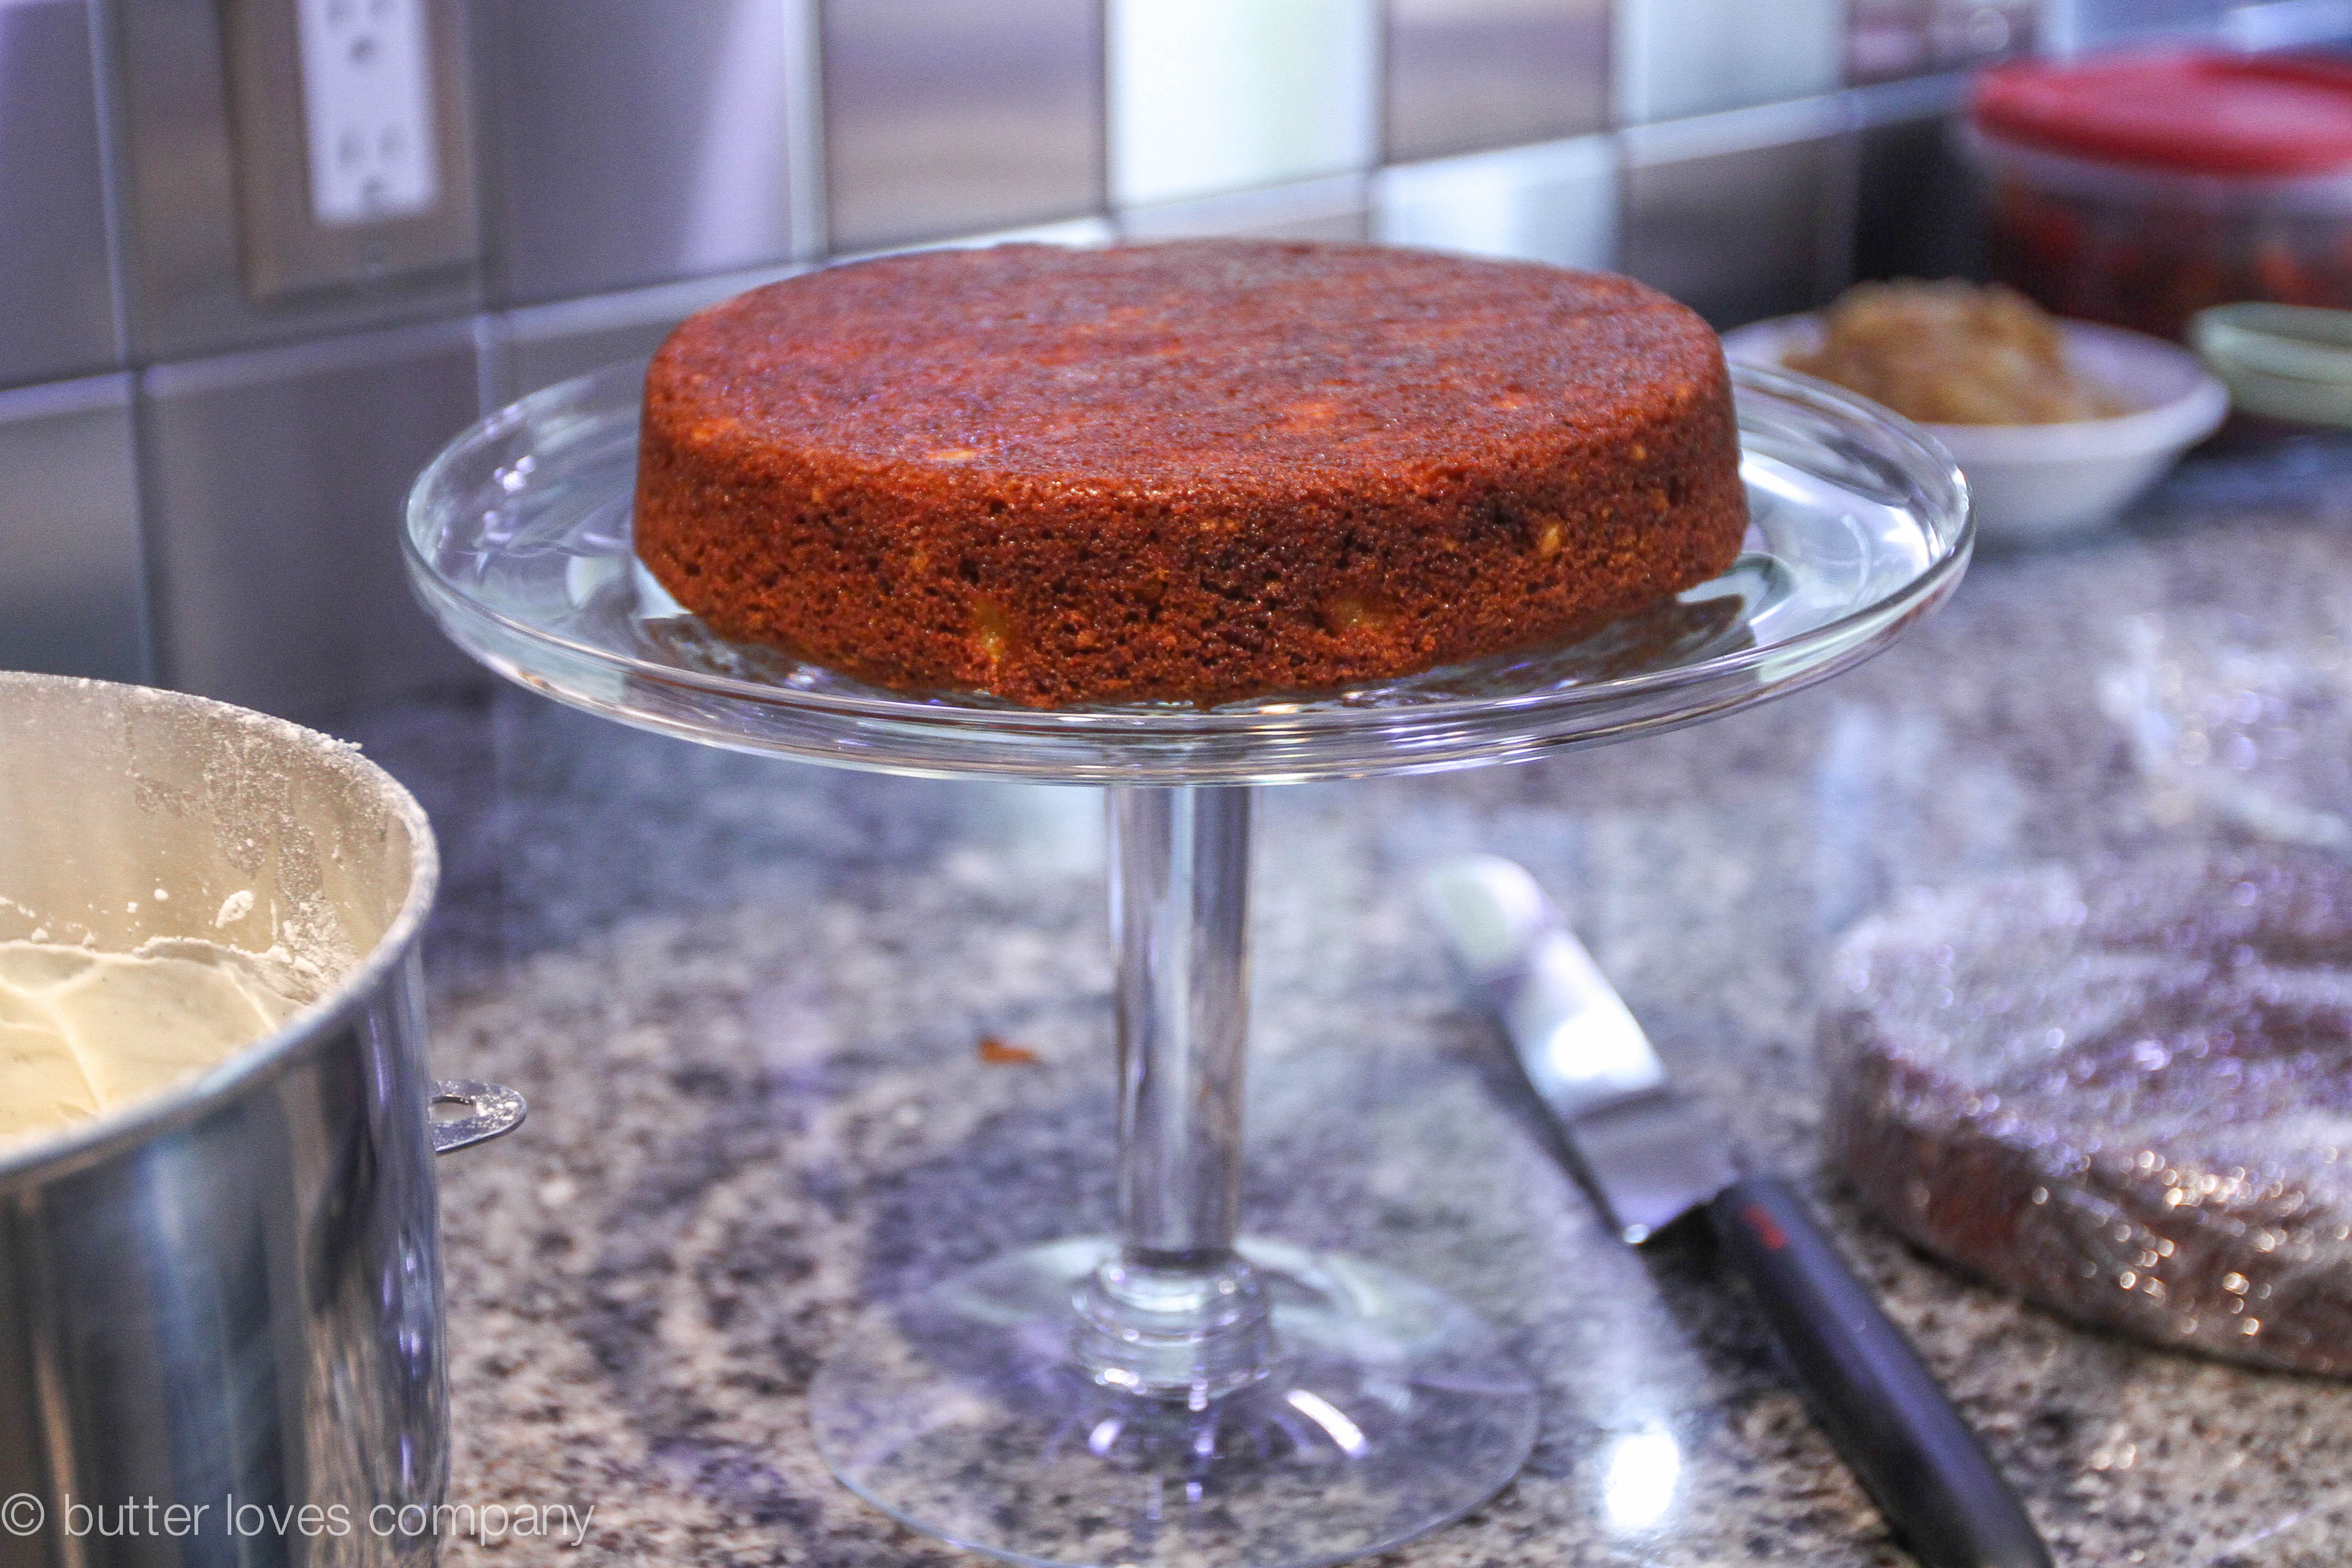
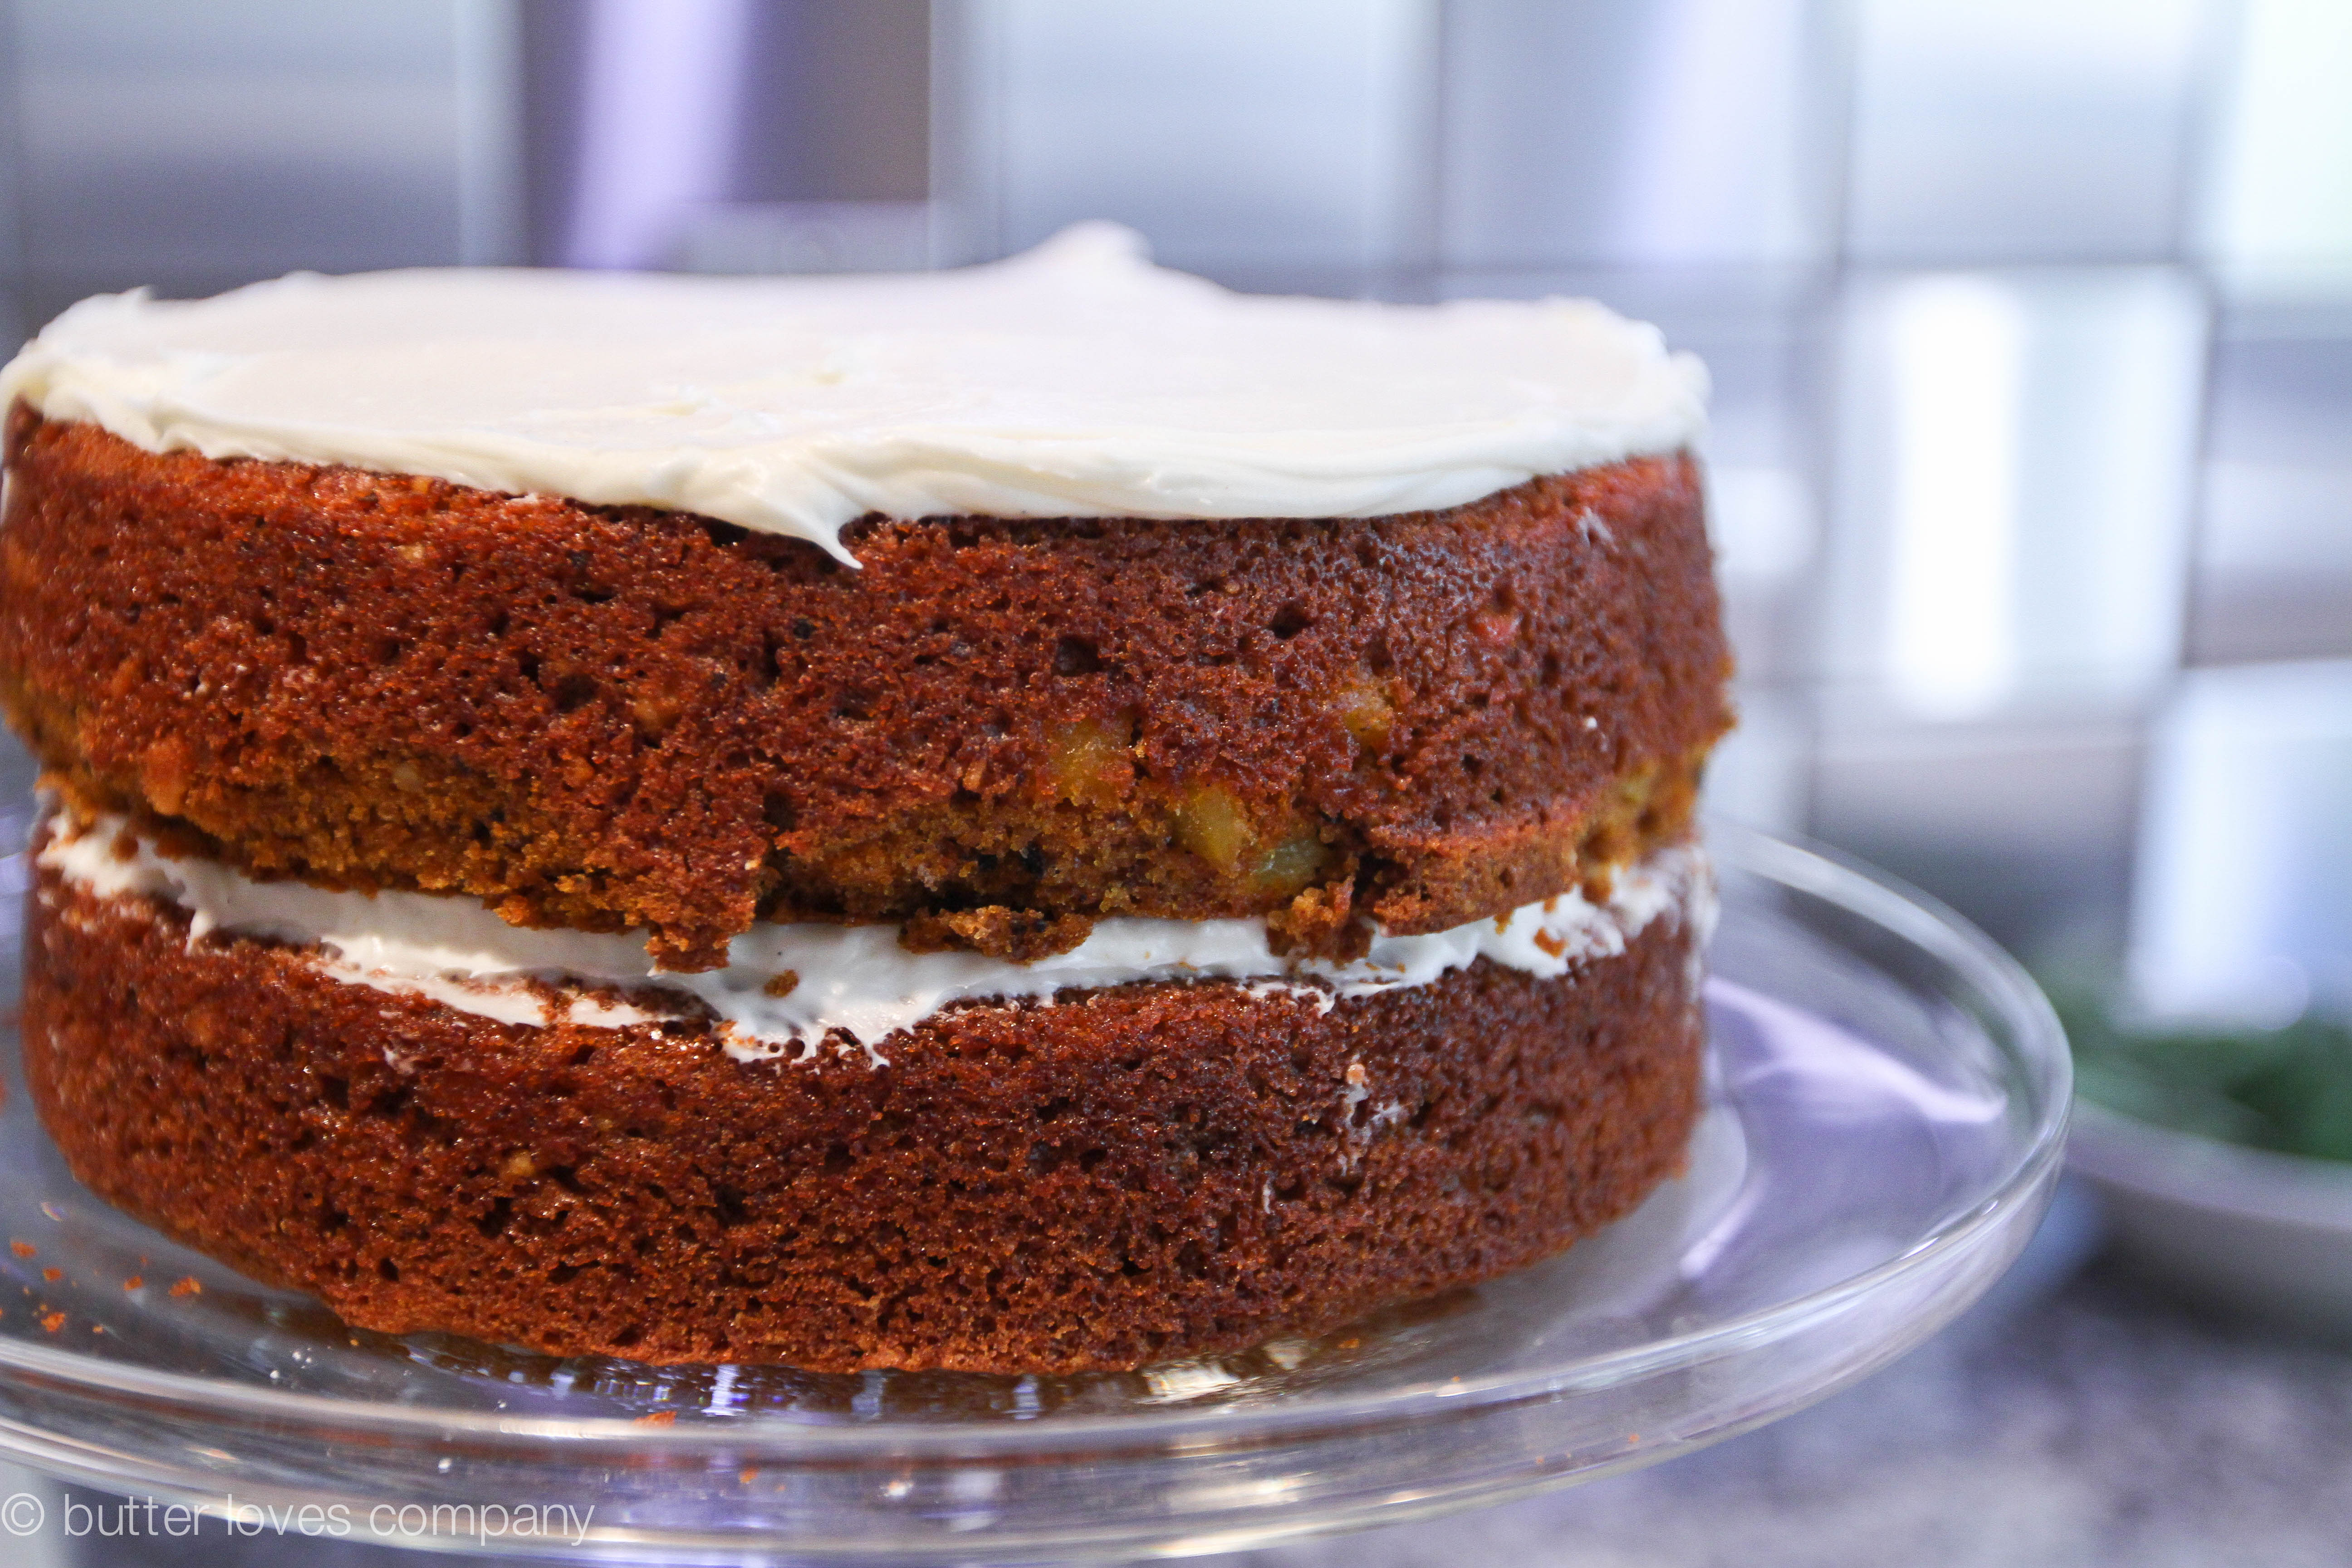
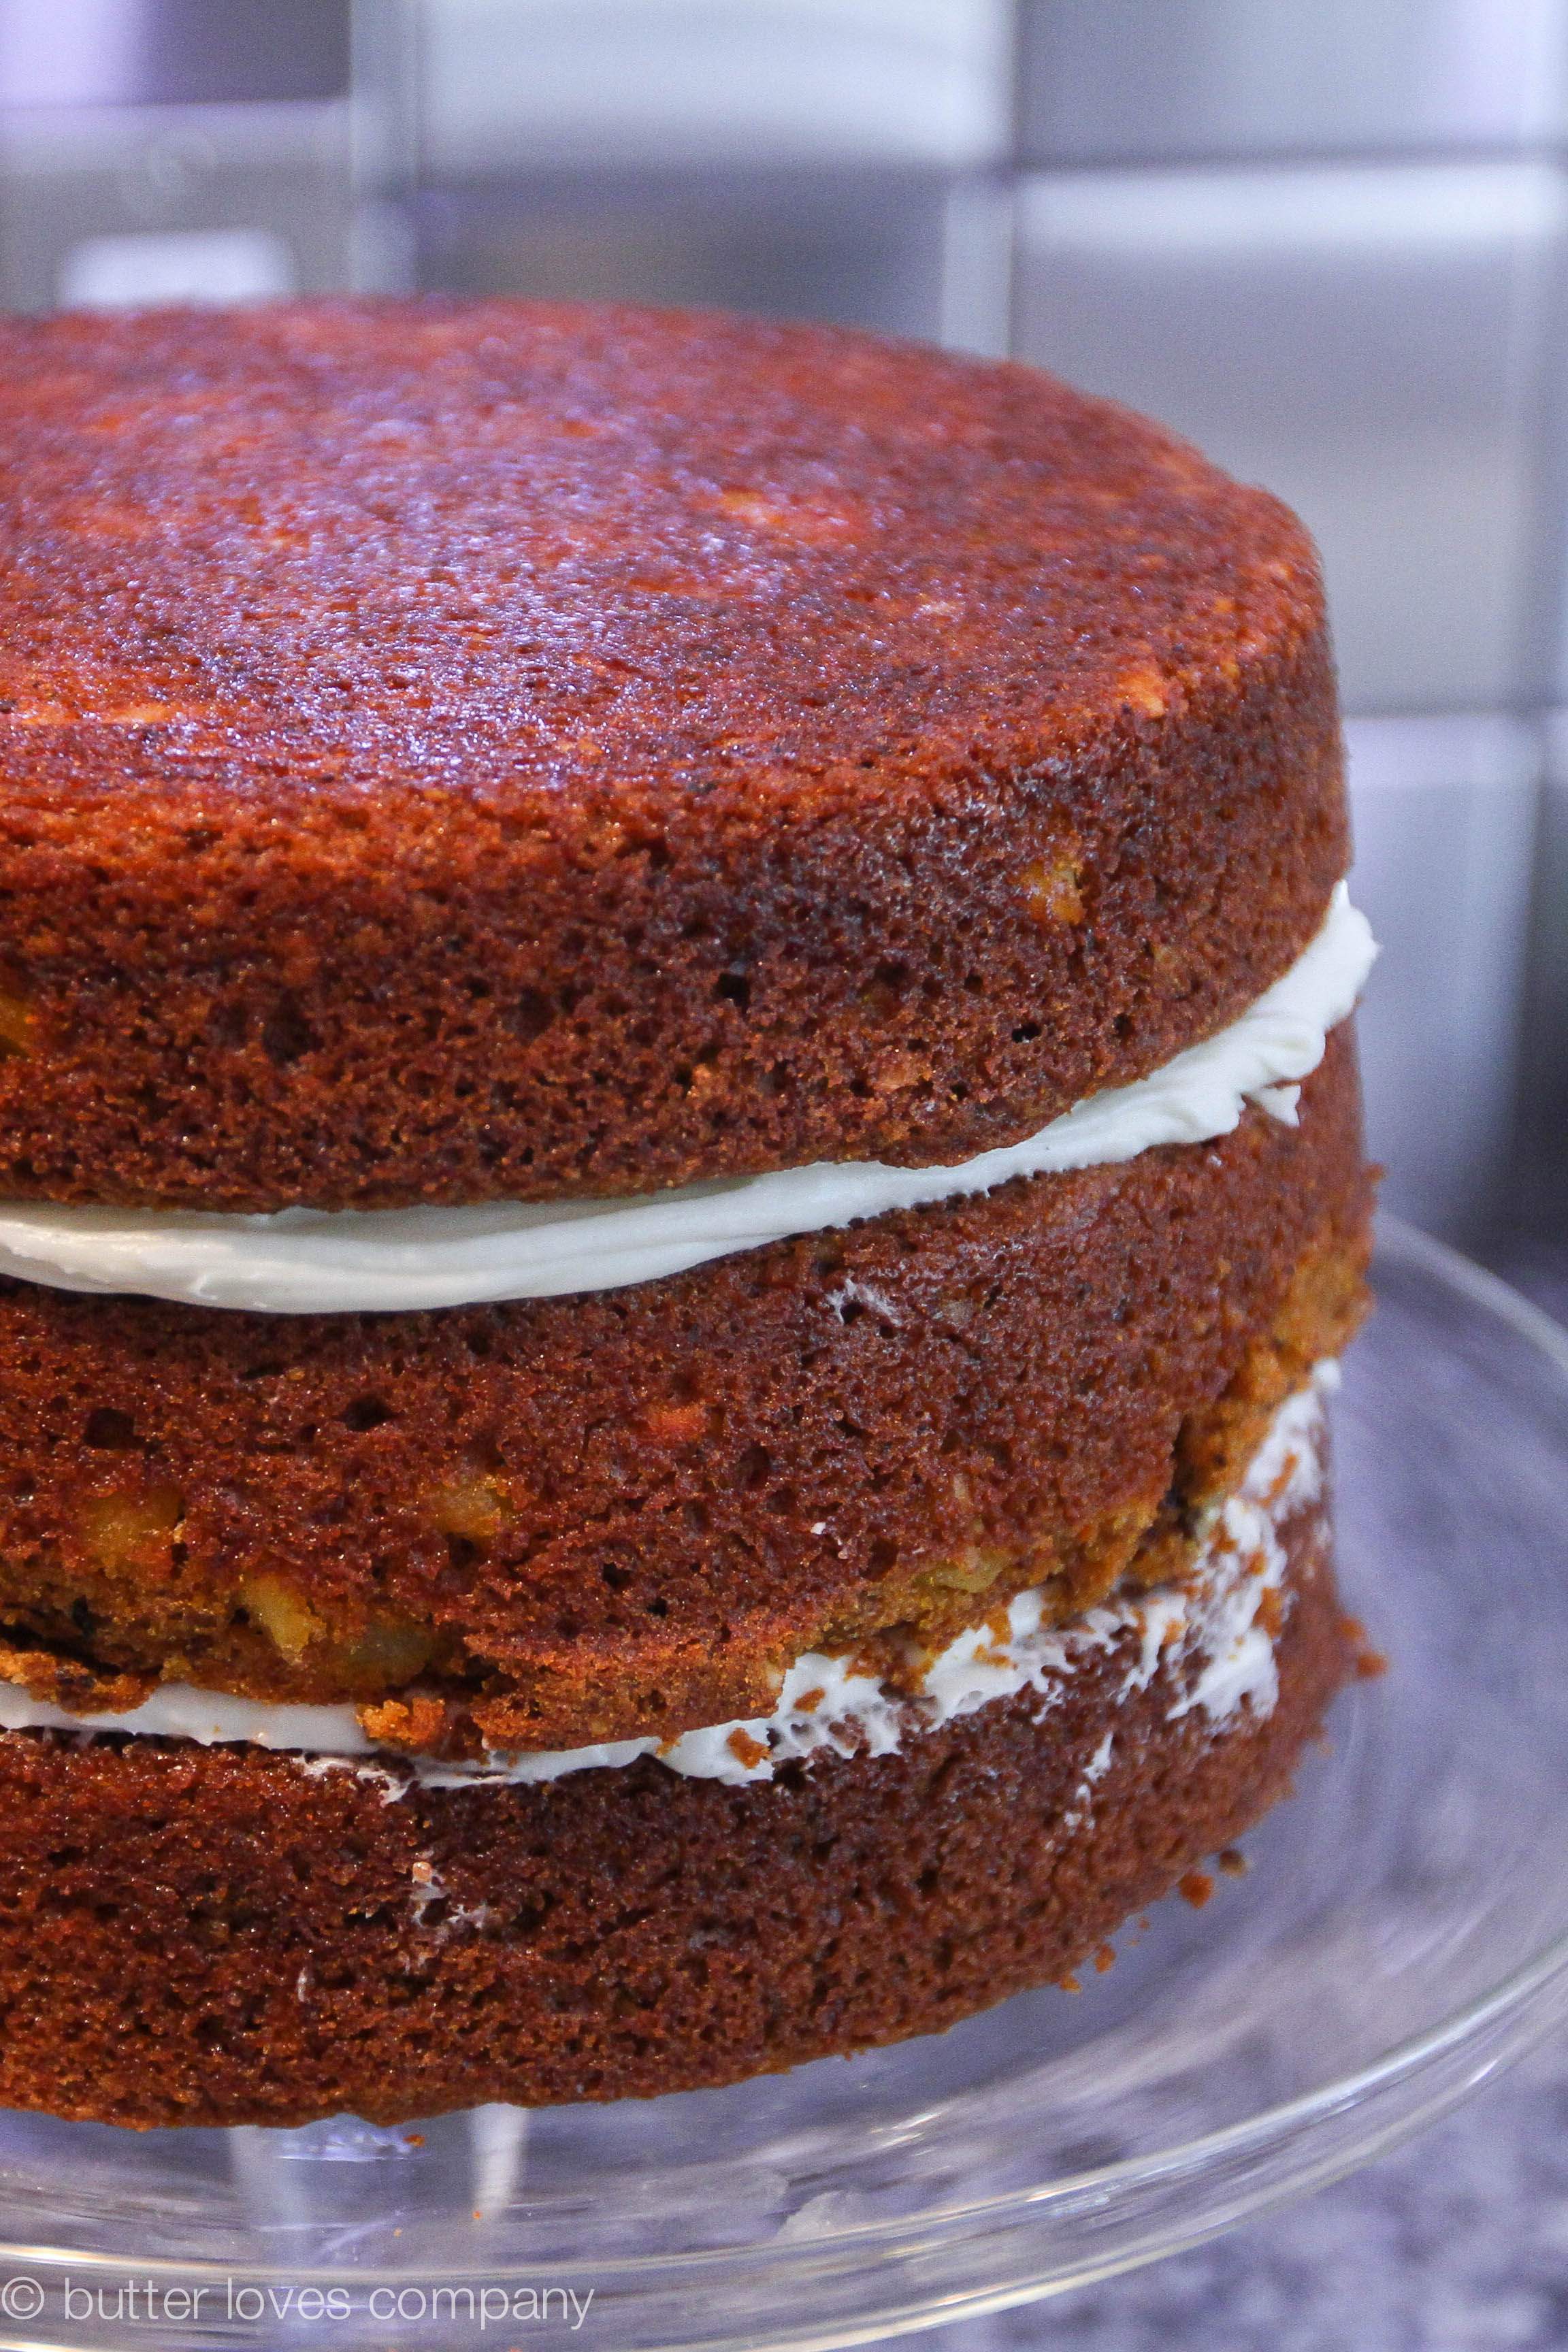
  3. Divide the batter among the prepared pans. Set on the center rack of the oven and bake until the edges have pulled away from the sides and a cake tester inserted in the center comes out clean, 45–50 minutes for 9-inch cakes and 35–40 minutes for 8-inch cakes. Cool on a cake rack for 2 hours. Fill and frost the cake with the cream cheese frosting (recipe below).
  4. Make cream cheese frosting by creaming together the cream cheese and butter in a large bowl, or the bowl of your electric mixer fitted with the paddle attachment. With the mixer on low speed, slowly sift in the confectioners’ sugar and continue beating until fully incorporate. Slowly is the key word here, unless you want to be wearing a LOT of confectioner’s sugar. Once the sugar has been incorporated, increase the speed to medium until the mixture is smooth and free of lumps. Stir in the vanilla, and lemon juice (if using).

*To make the cake with no coconut: Omit shredded coconut and up the amount of pureed cooked carrots from 1-1/3 cups to 2 cups. That’s it!

**You can make the cake layers two days in advance. Let cook completely and then wrap in two layers of plastic wrap and refrigerate until you are ready to assemble. The assembled cake also keeps well in the refrigerator for a solid few days (I can vouch for at least 5).

Filed Under: desserts and sweets, eat Tagged With: cake, carrot cake, celebration cake, cream cheese, frosting, make ahead

apple pie buttermilk biscuits

September 17, 2014 by Butter Loves Company

apple-pie-biscuits-joy-the-baker-bootcamp-14 copy

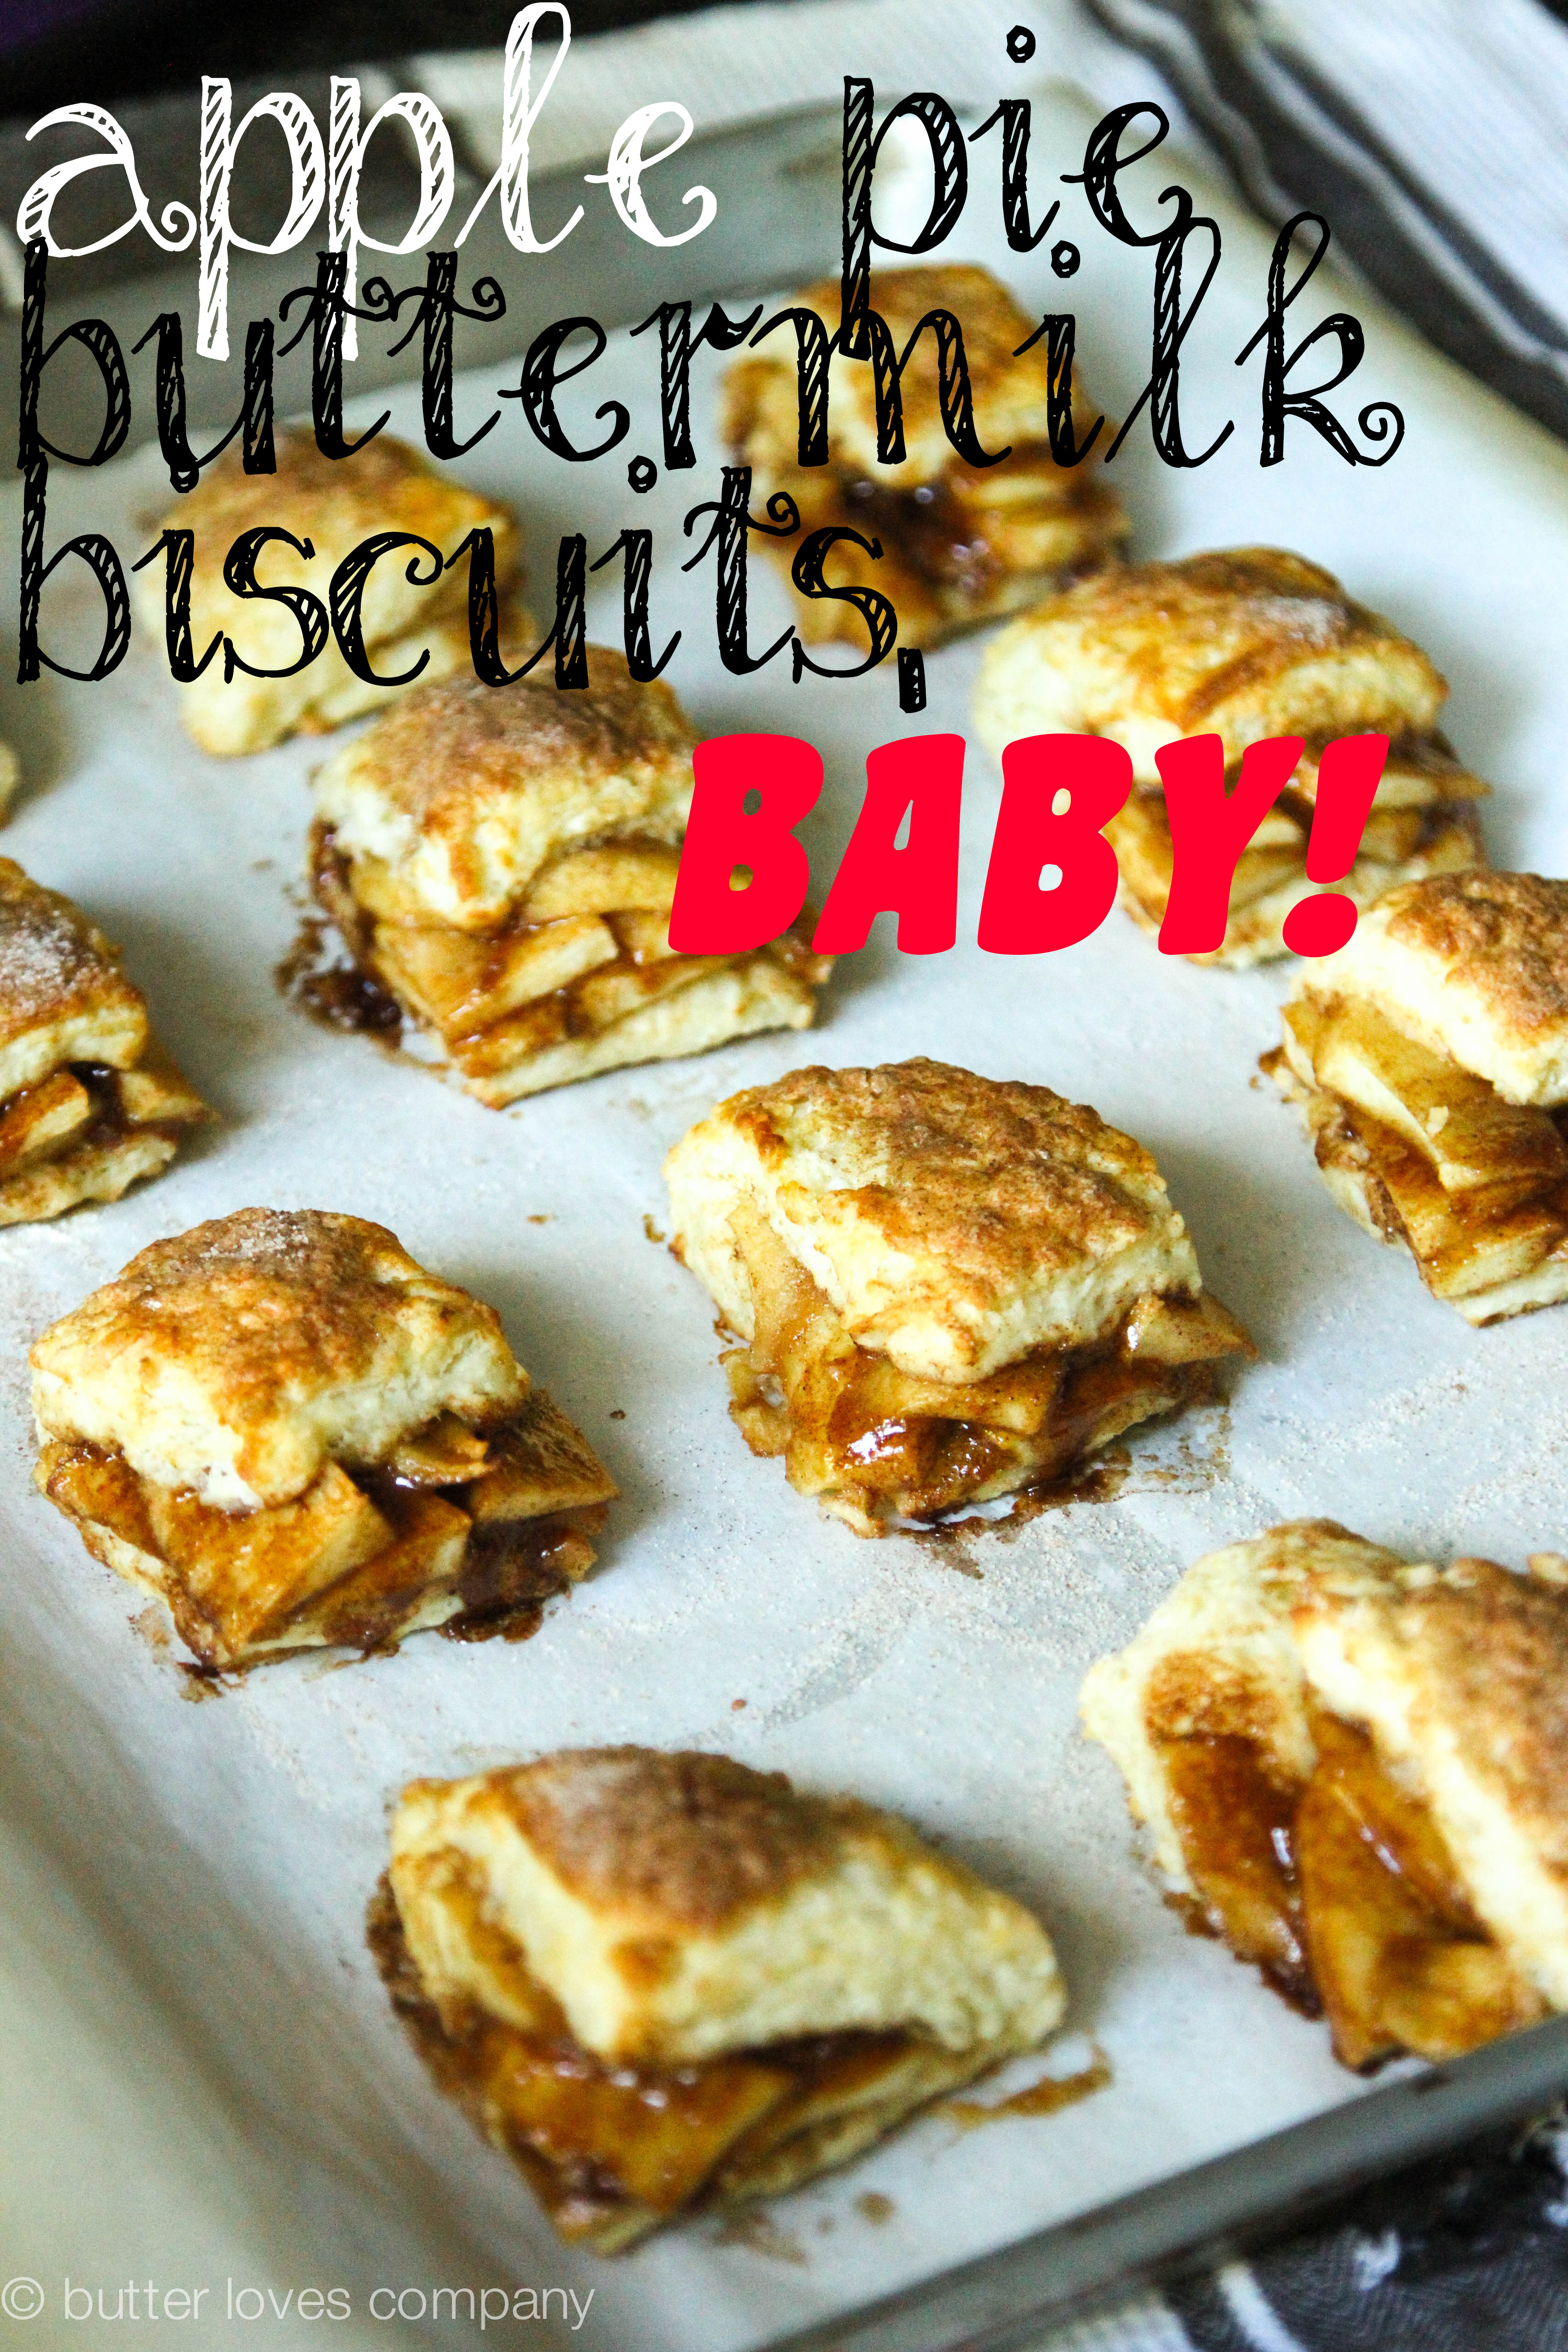
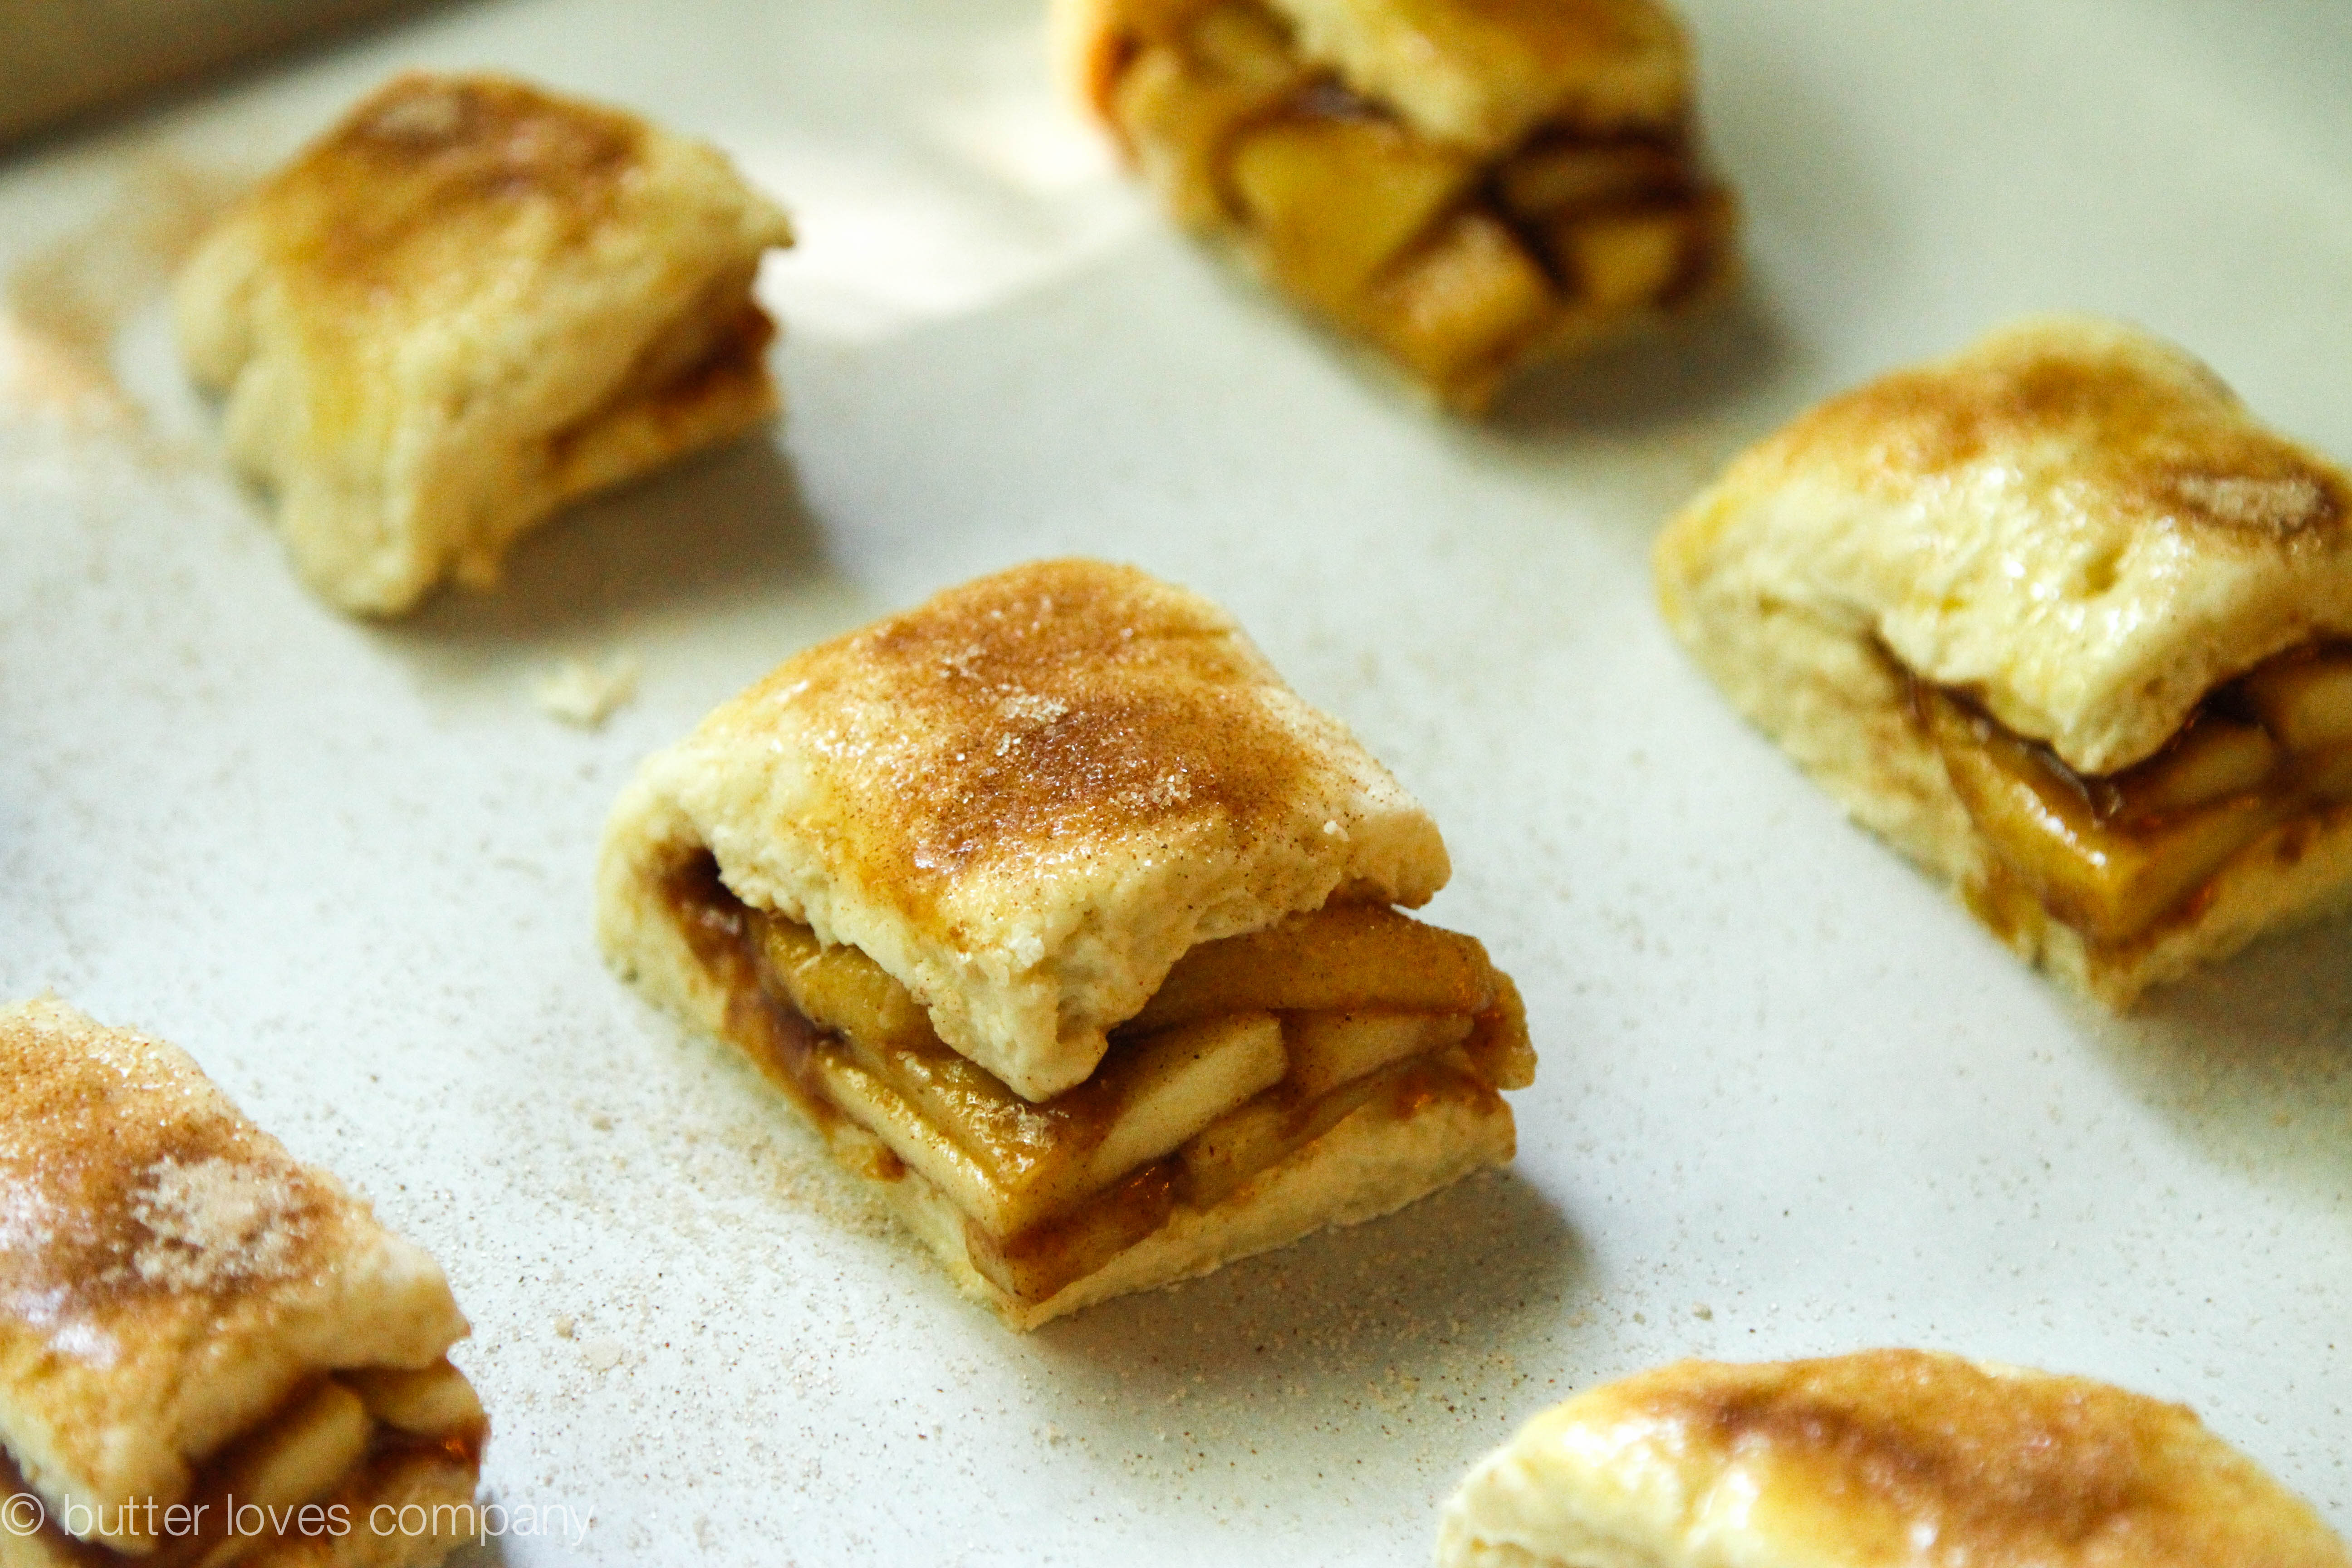
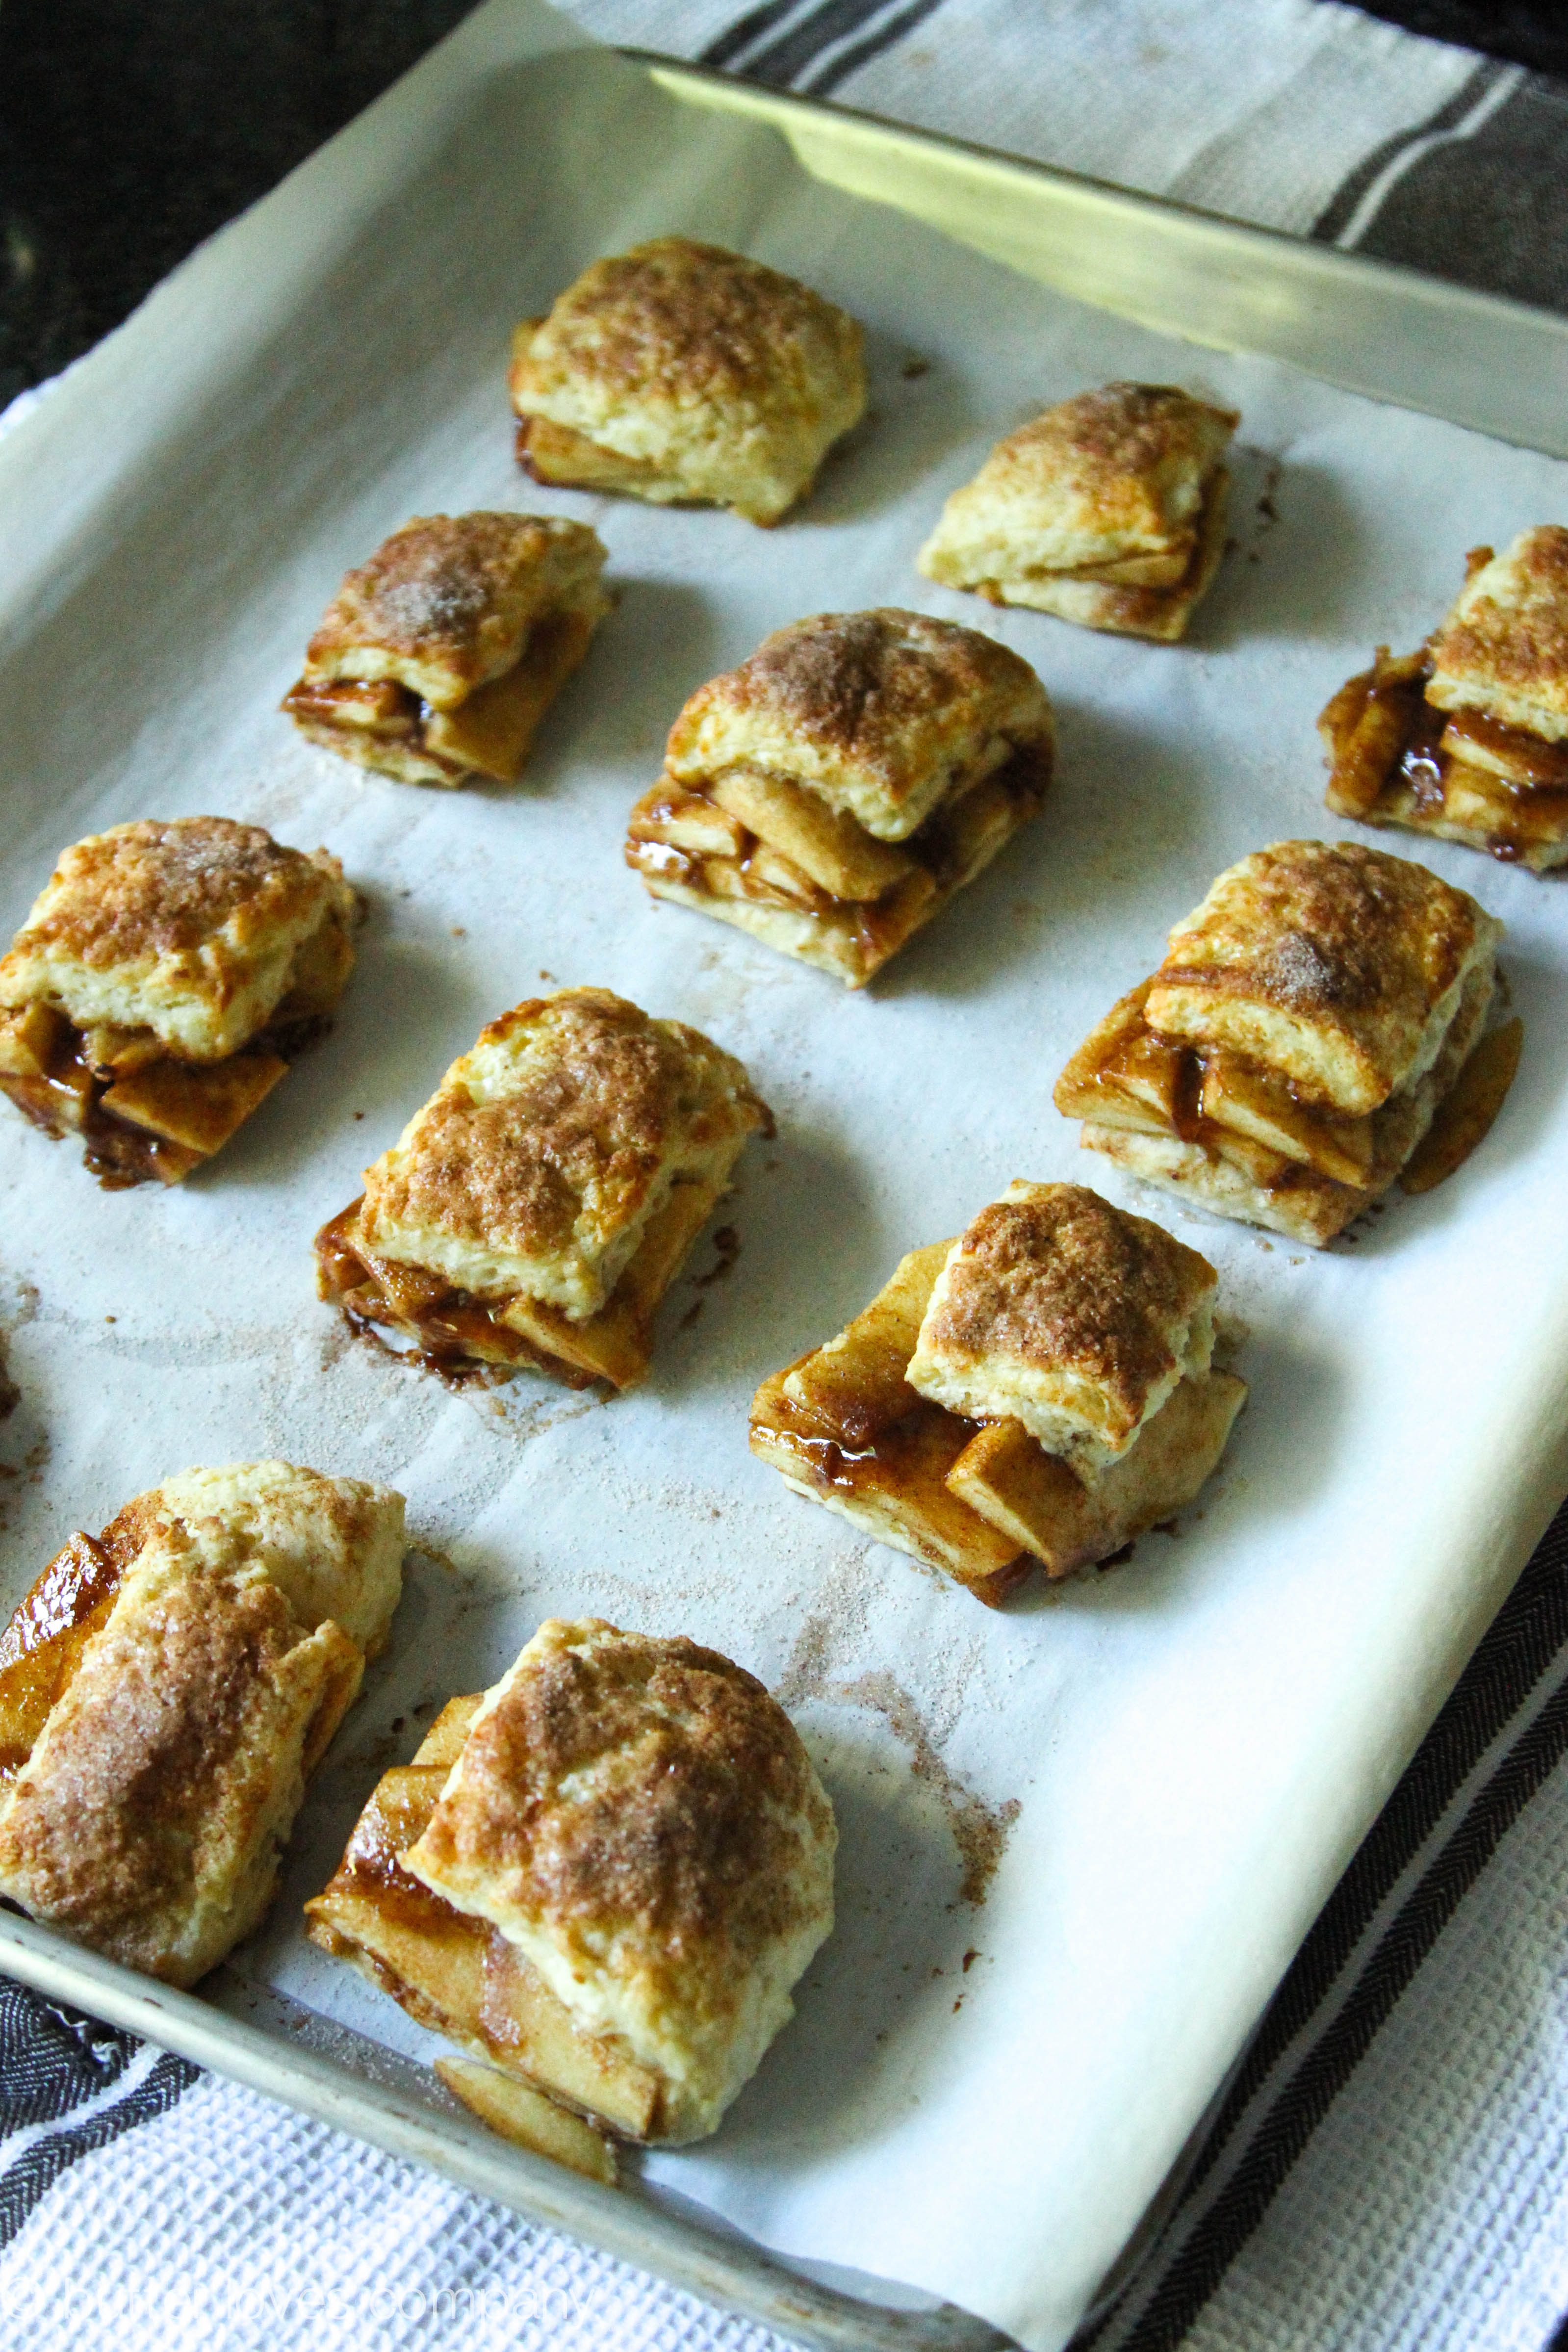
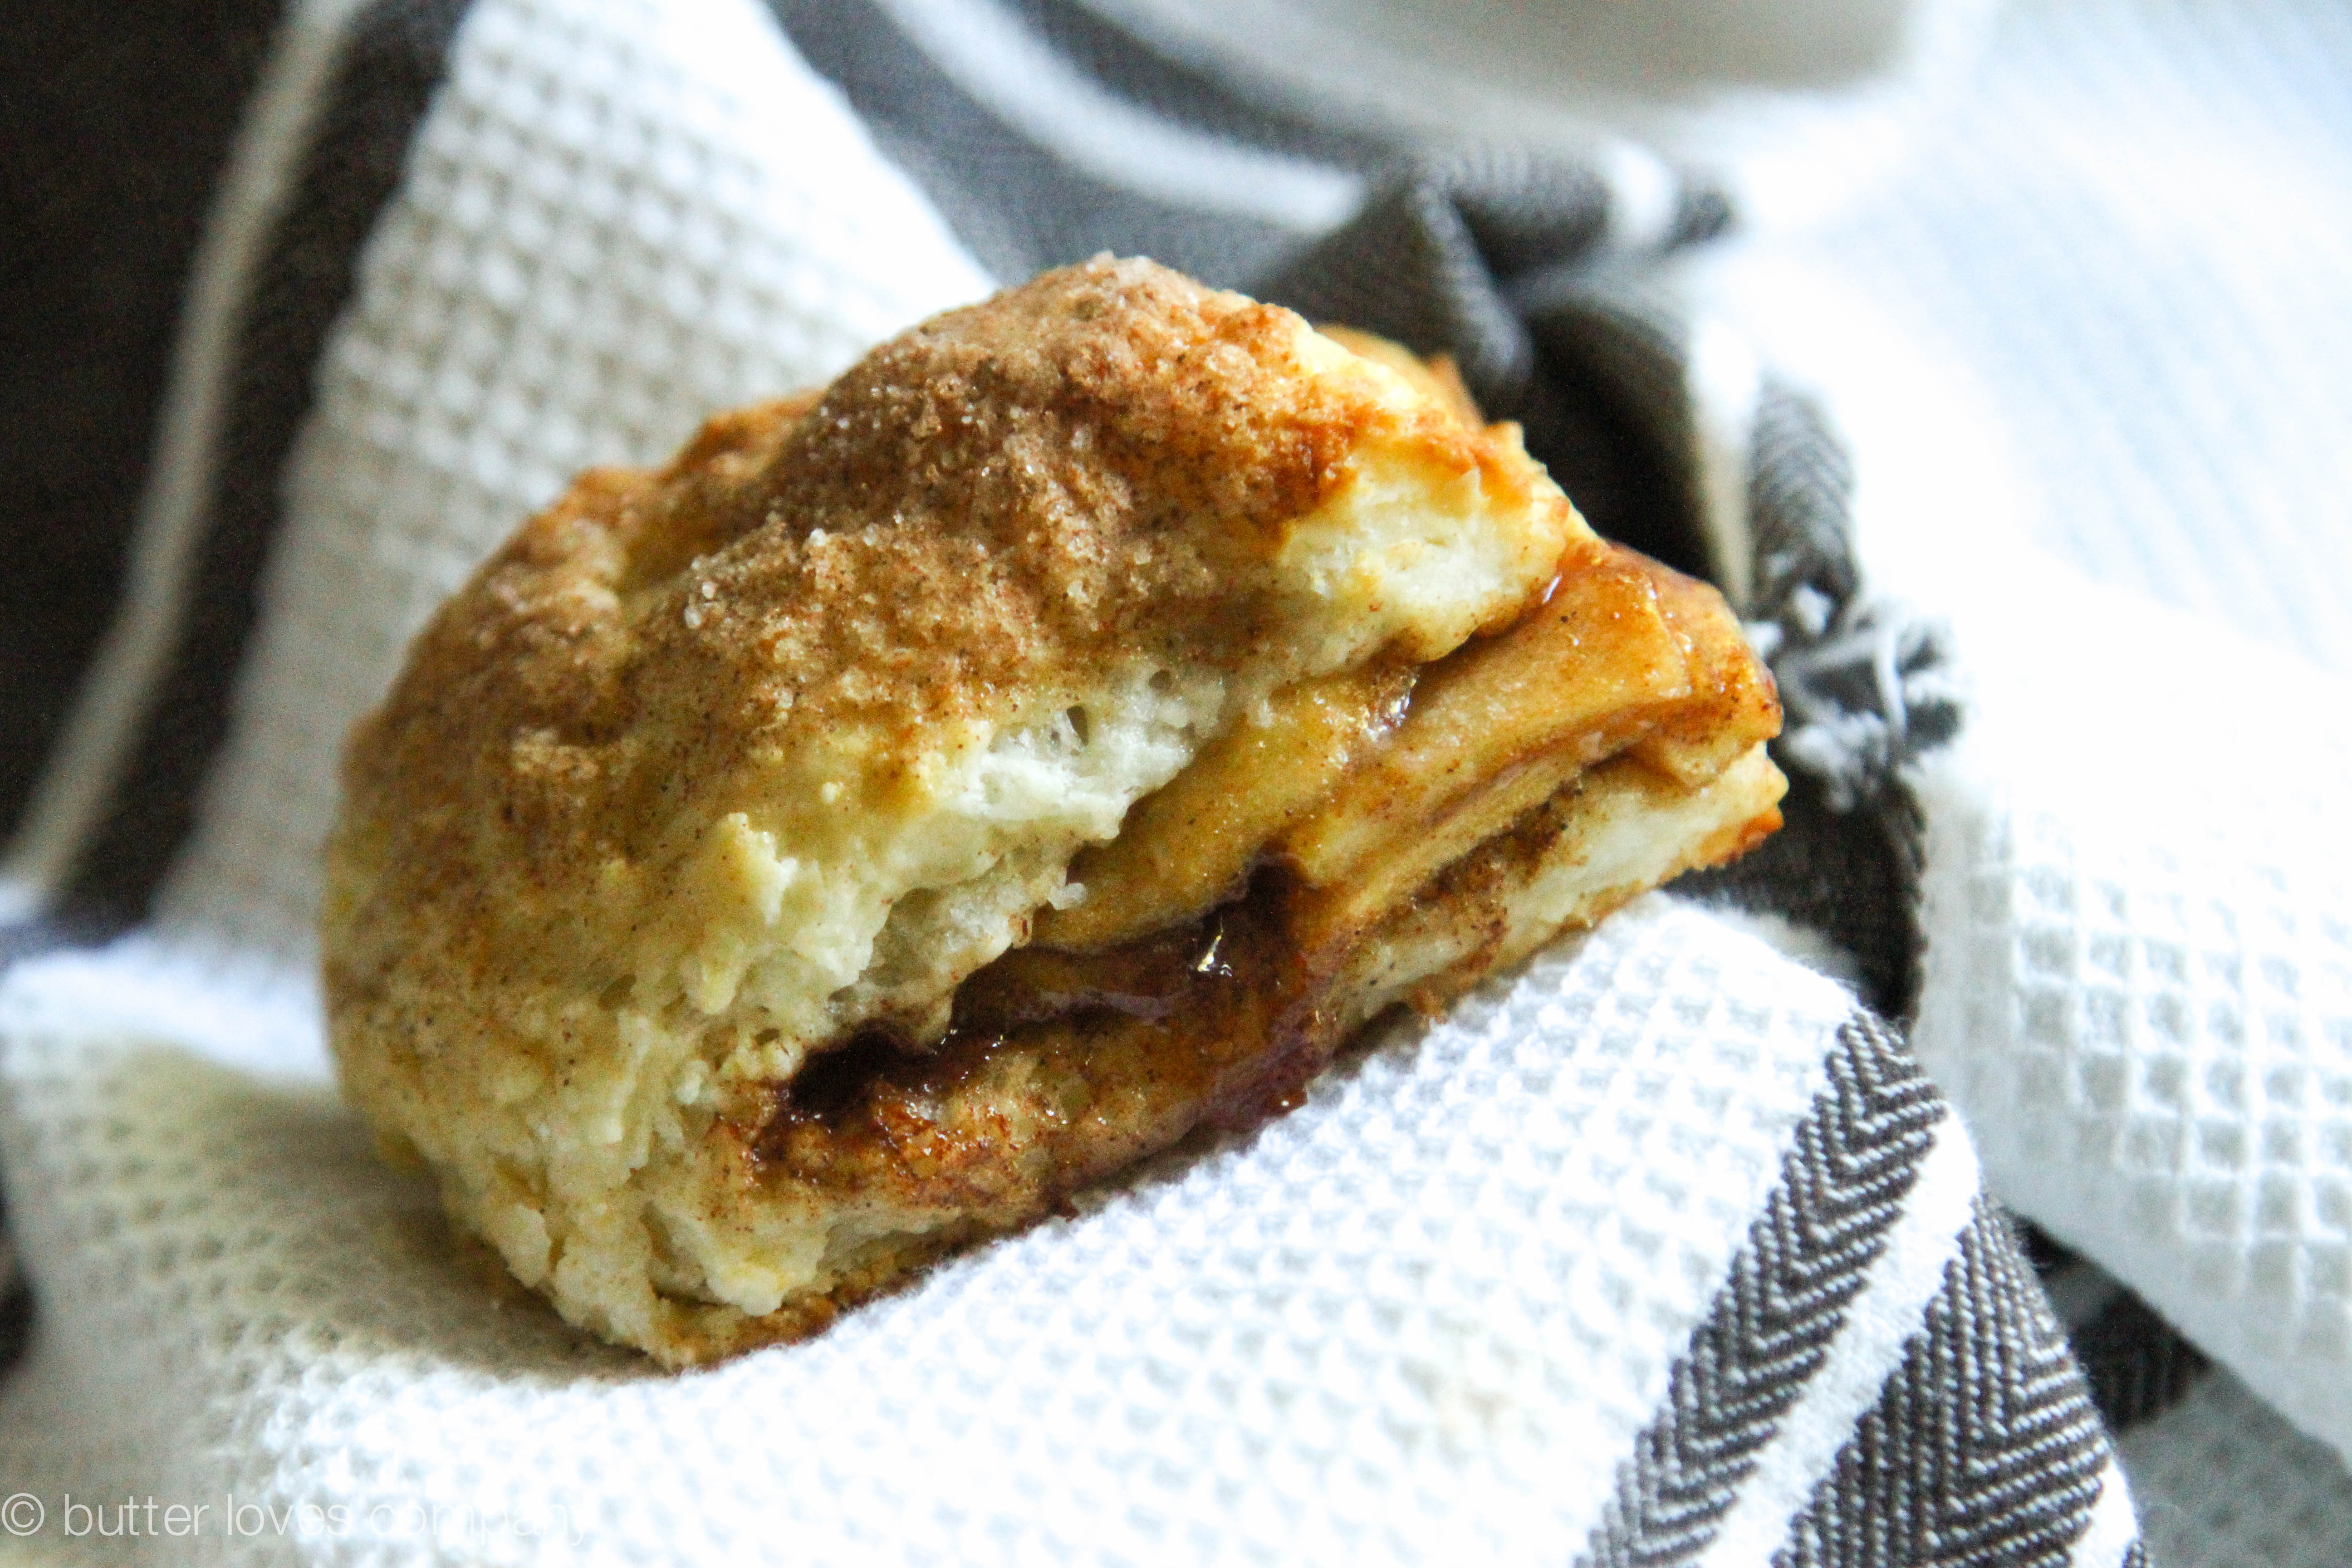
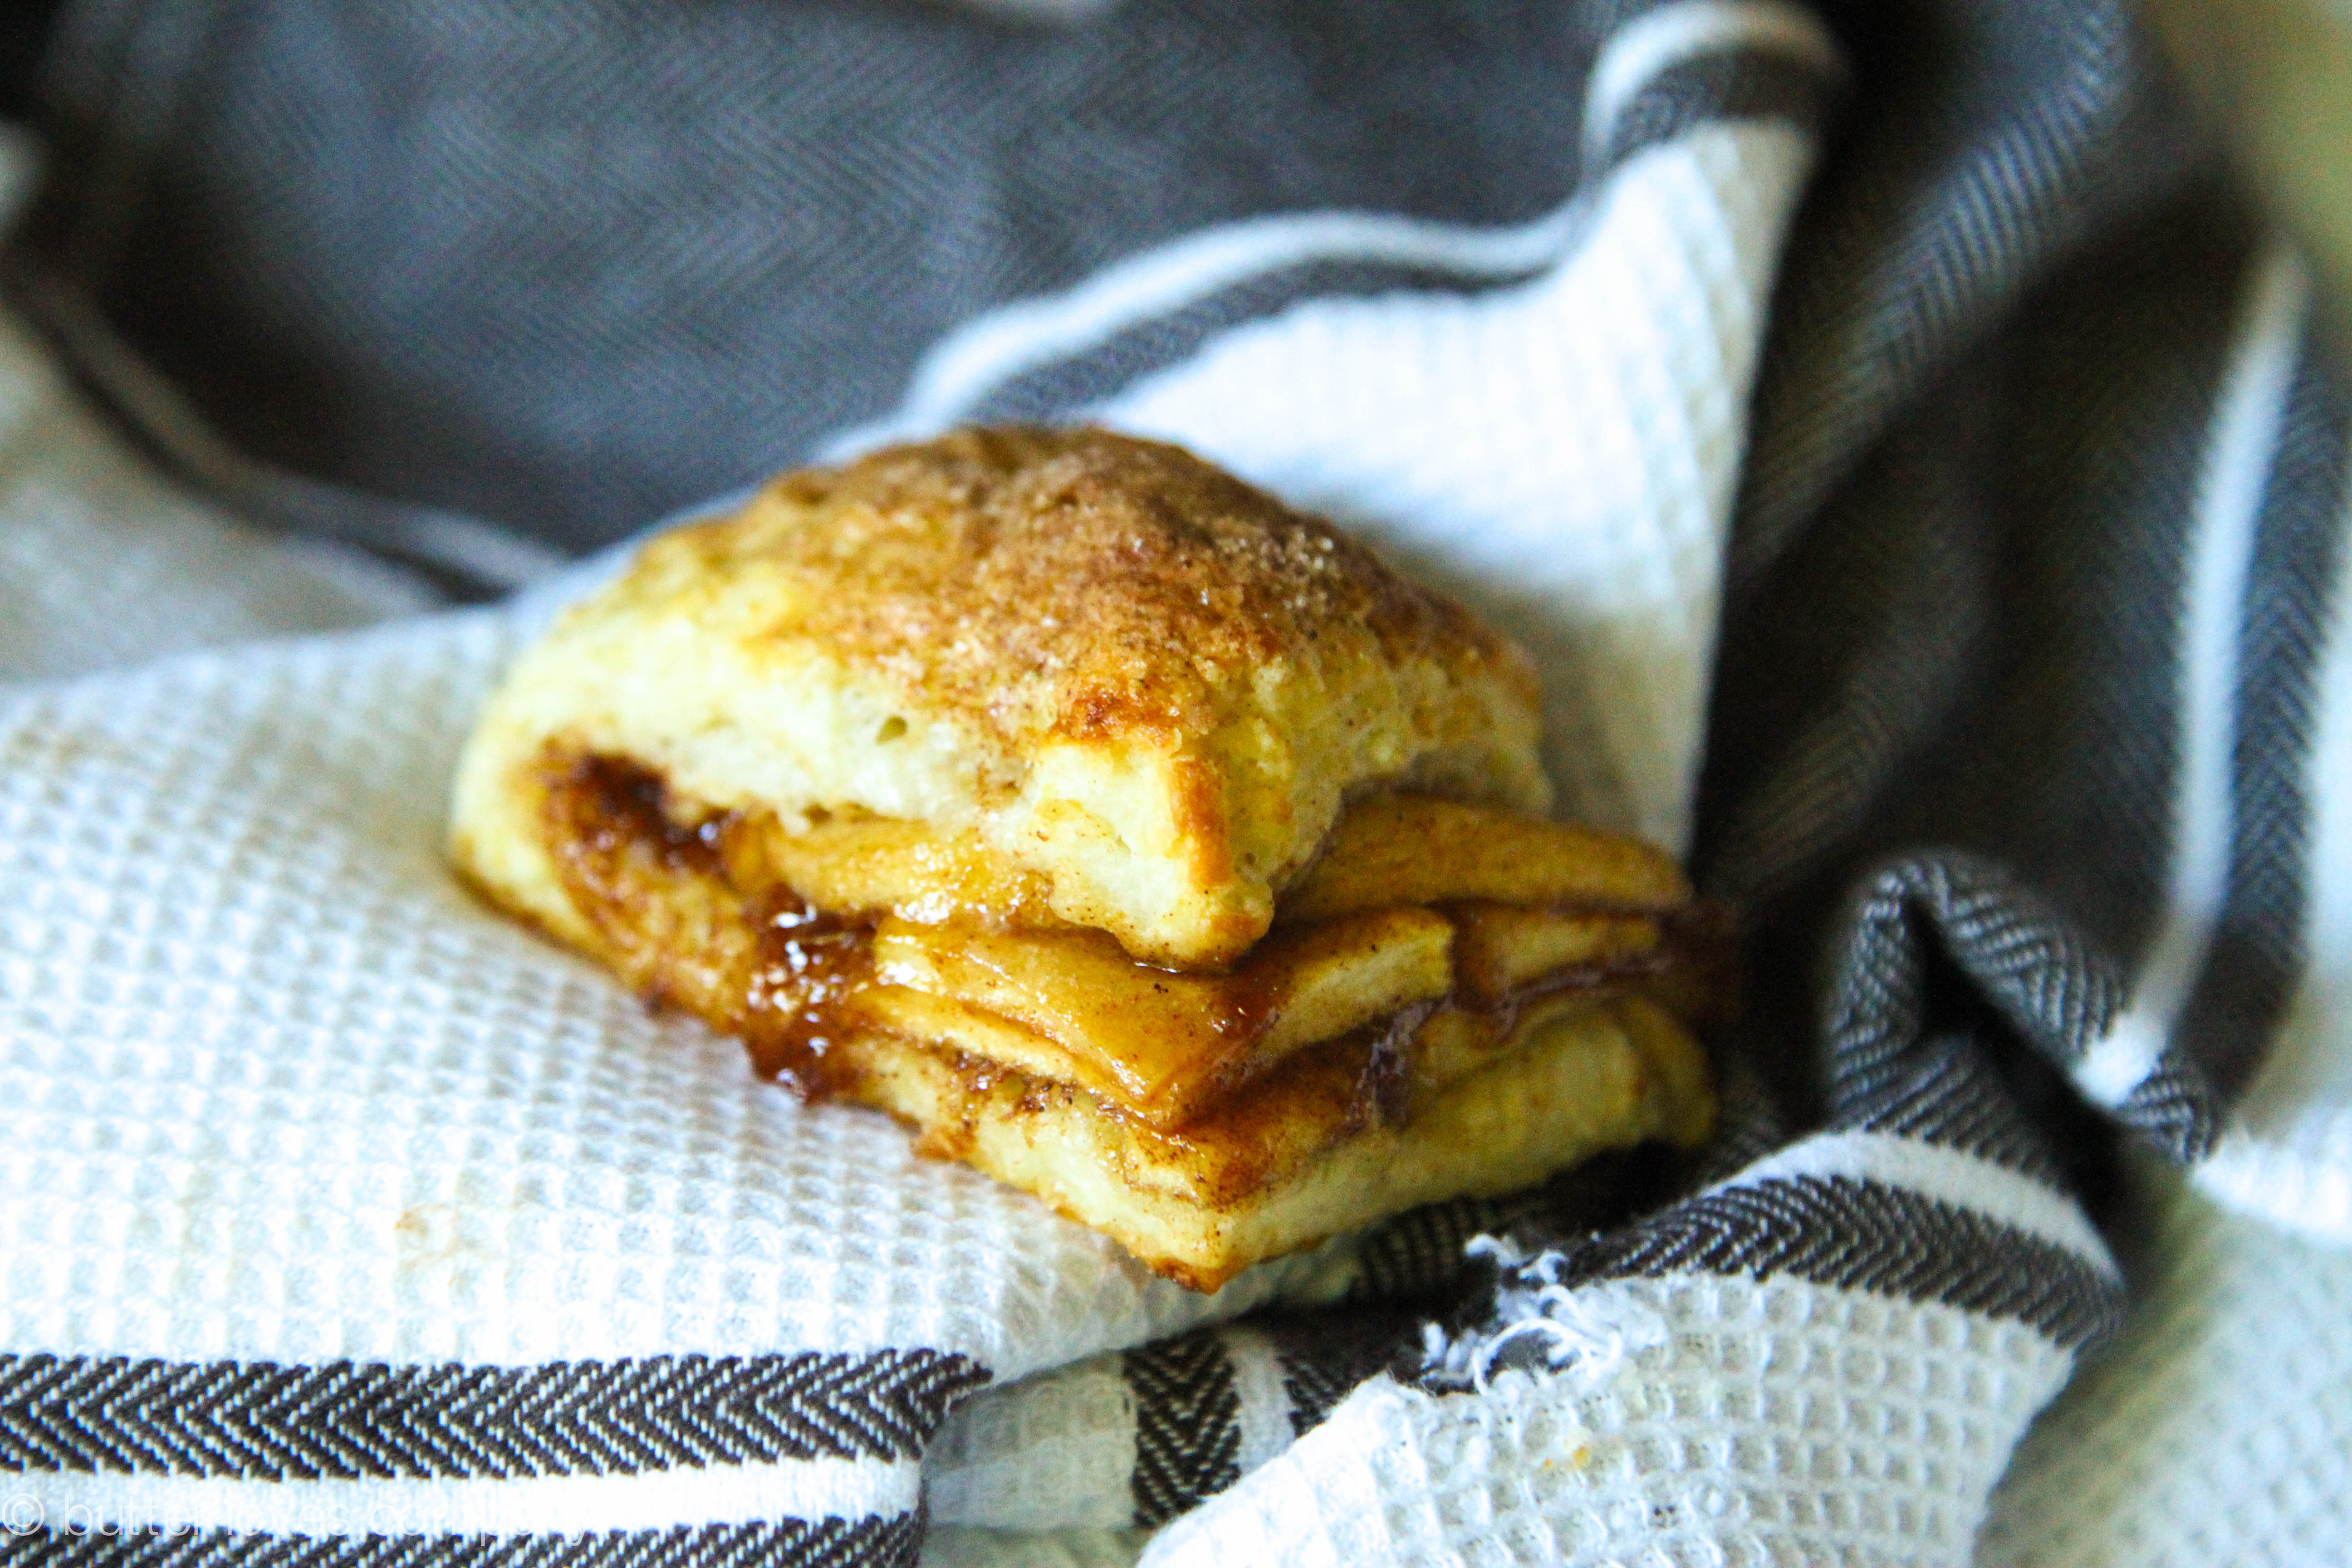
If you’ve ever found yourself craving apple pie for breakfast, these biscuits are for you. These fluffy treats are portable, completely 8am acceptable versions of apple pie with a sweet cinnamon apple filling folded into two fluffy, buttery buttermilk biscuit layers. Shopping for and making this recipe is extremely easy as it requires just one apple, one spice and no electric mixer of any sort. Let’s consider this our simple stepping stone into the various apple-ly pies and treats we make in the coming months. Prepare to have a super awesome smelling kitchen!

apple-pie-biscuits-joy-the-baker-bootcamp-1

I made these last Sunday as part two of the Joy the Baker and King Arthur Flour Baking Boot Camp series. The concept of the series is simple: four recipe challenges using four different King Arthur Flours + photos + Instagram #bakingbootcamp = a chance to win awesome baking prizes. If you’re interested in participating you can find out more details on Joy’s blog. Also, if you have an Instagram account, I would love to see your results. I’m @butterlc. Let’s be web buds!

apple-pie-biscuits-joy-the-baker-bootcamp-2

This challenge featured self-rising flour, which I learned is made using soft wheat flour rather than the hard wheat flour that goes into all-purpose flour. This causes it to have a lower protein content (8.5%) than all-purpose flour (11.7%) which aids in making the flour light, and resulting tender and fluffy biscuits. Apparently, this type of flour also already contains non-aluminum baking powder and a dash of salt. Whoop, whoop! Cheers to learning! Love this stuff.
apple-pie-biscuits-joy-the-baker-bootcamp-4

I don’t know about you but I had five types of flour on hand, but self-rising was not one of them. Luckily, you can make your own using this easy formula: 1 cup all-purpose flour + 1 1/2 teaspoons baking powder + 1/4 teaspoon salt. Whisk this mixture together until thoroughly combined. You will need a double batch of this for the recipe below.

Aside from having these on a casual Sunday, I can picture serving them with brunch on a crisp fall day, or even into the Thanksgiving holiday season.

*Truthfully, if you find yourself craving apple pie for breakfast, please also feel free to eat the stinkin’ pie. I know I have. That’s the beauty of being an “adult.”

apple-pie-biscuits-joy-the-baker-bootcamp-5

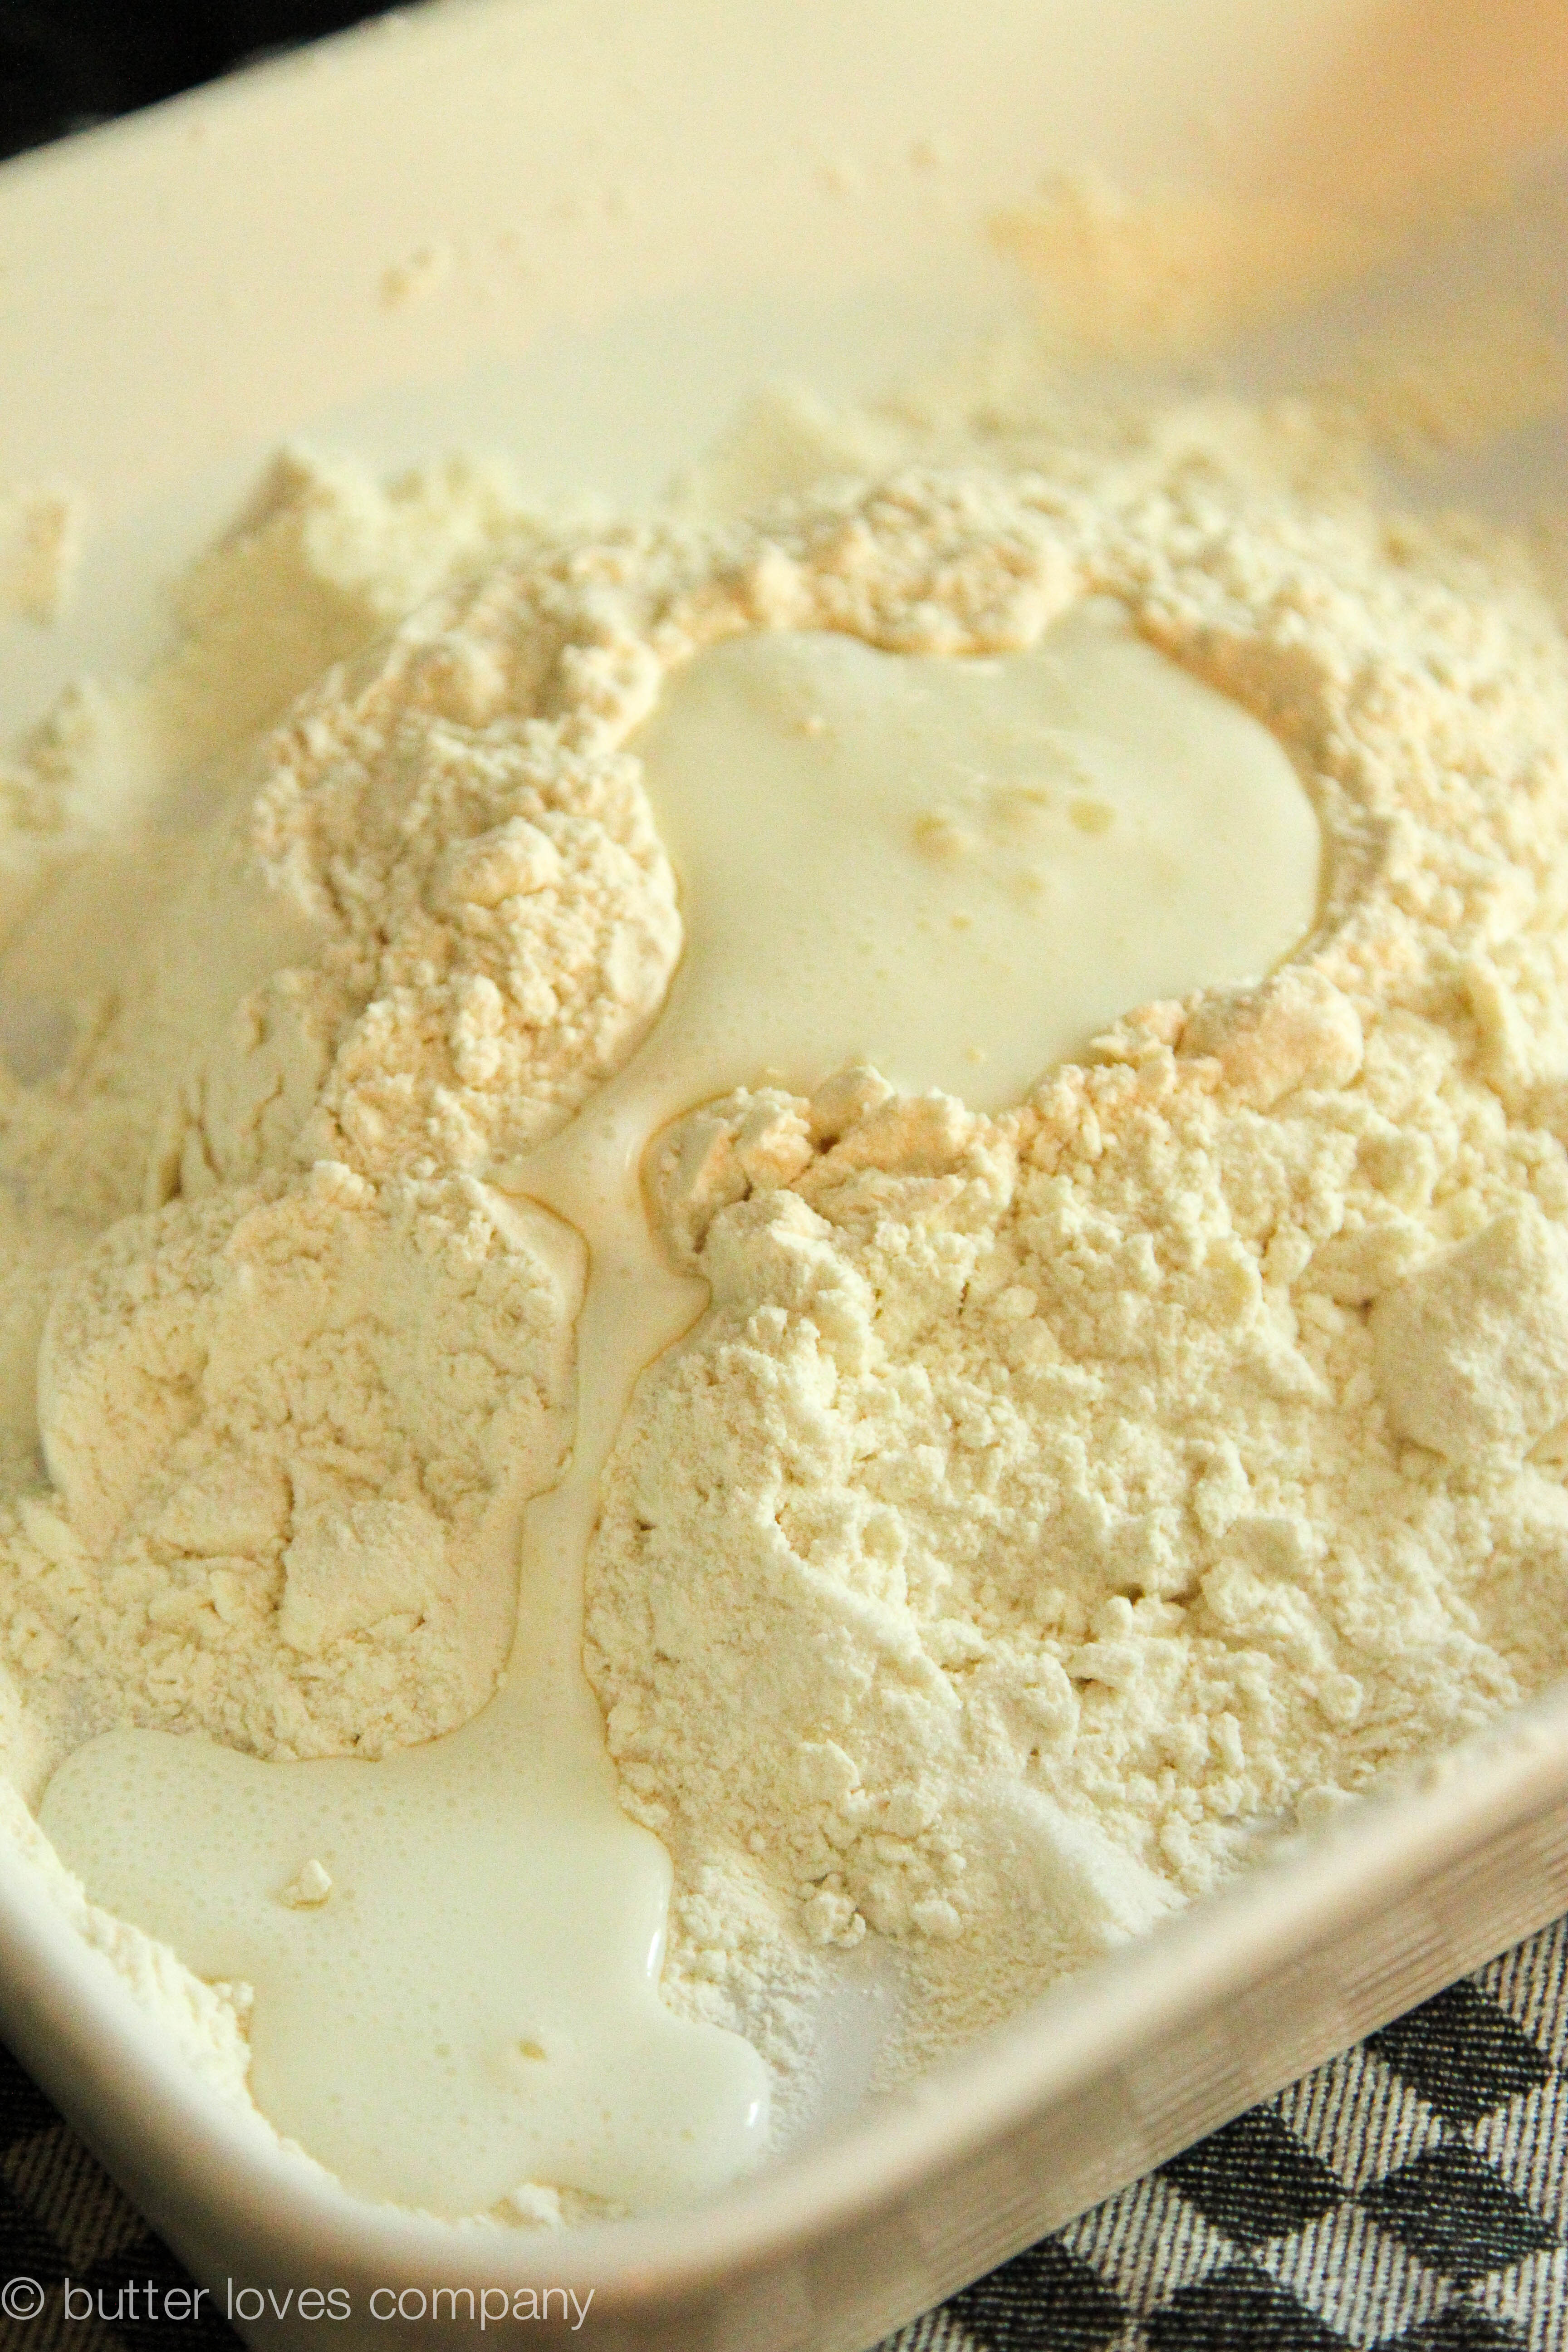
buttermilk lava!

apple-pie-biscuits-joy-the-baker-bootcamp-6

your dough will start coming together.

apple-pie-biscuits-joy-the-baker-bootcamp-7

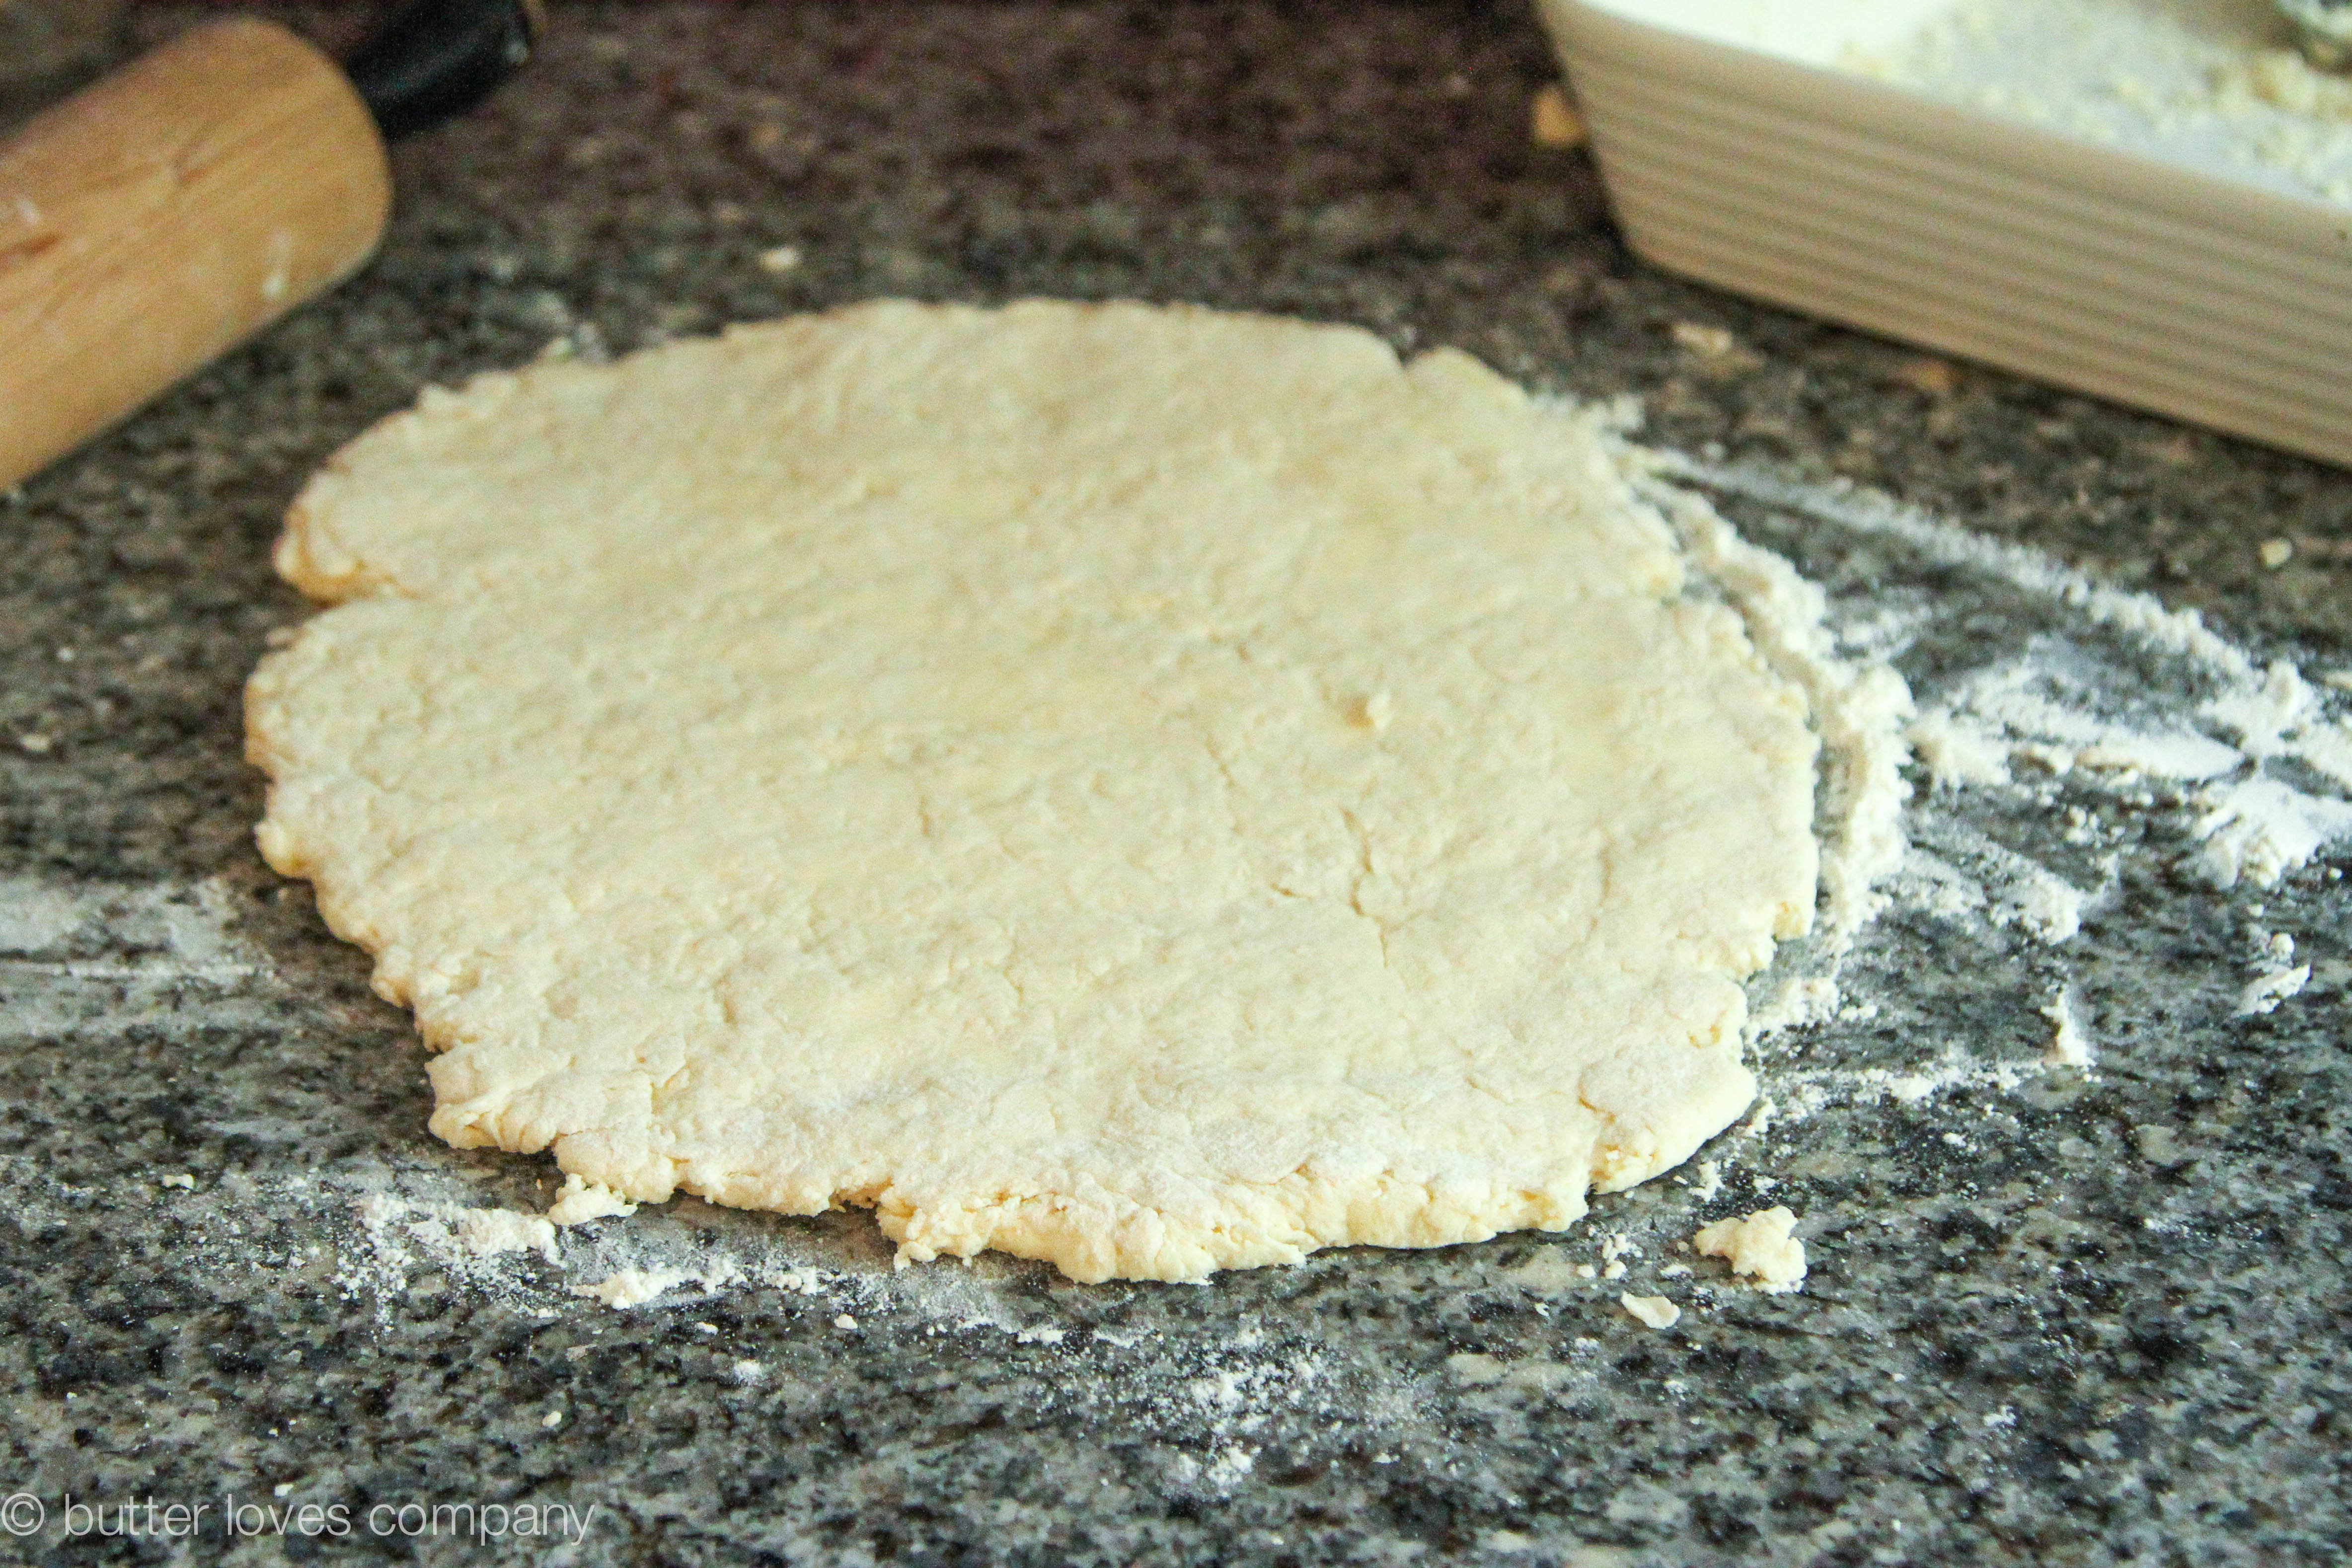
roll out the dough

apple-pie-biscuits-joy-the-baker-bootcamp-8

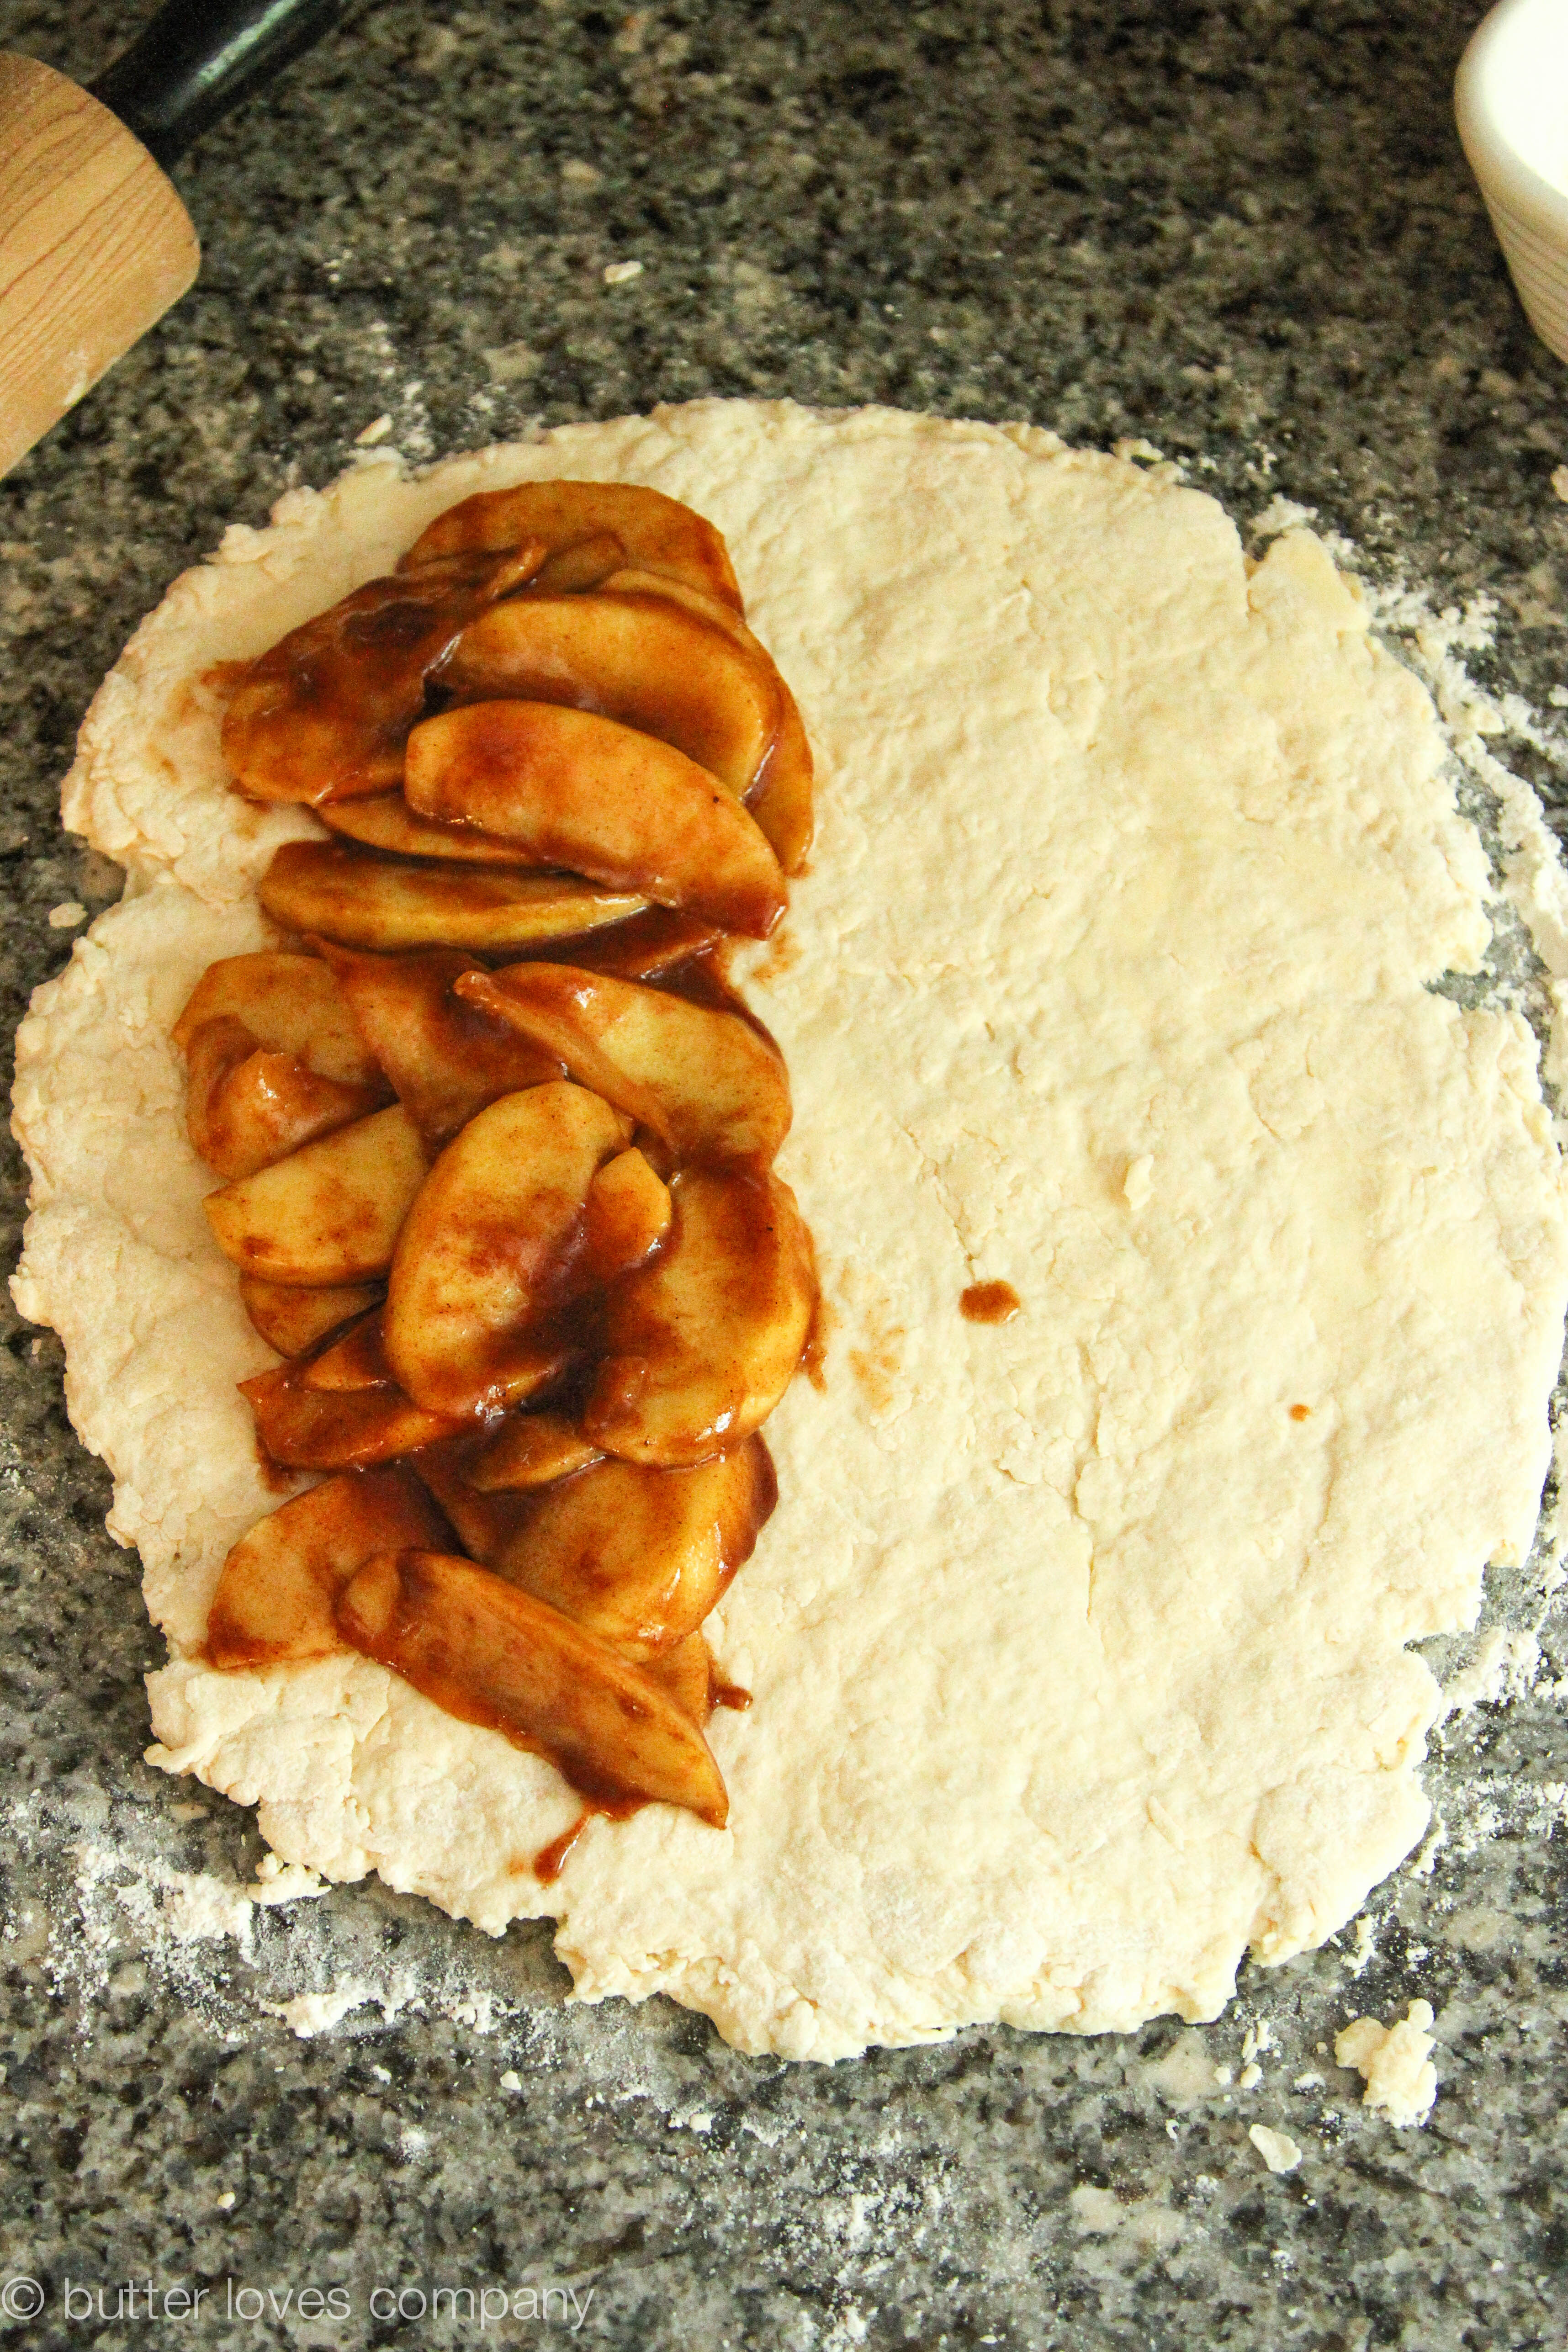
add your sweet apple filling

apple-pie-biscuits-joy-the-baker-bootcamp-9

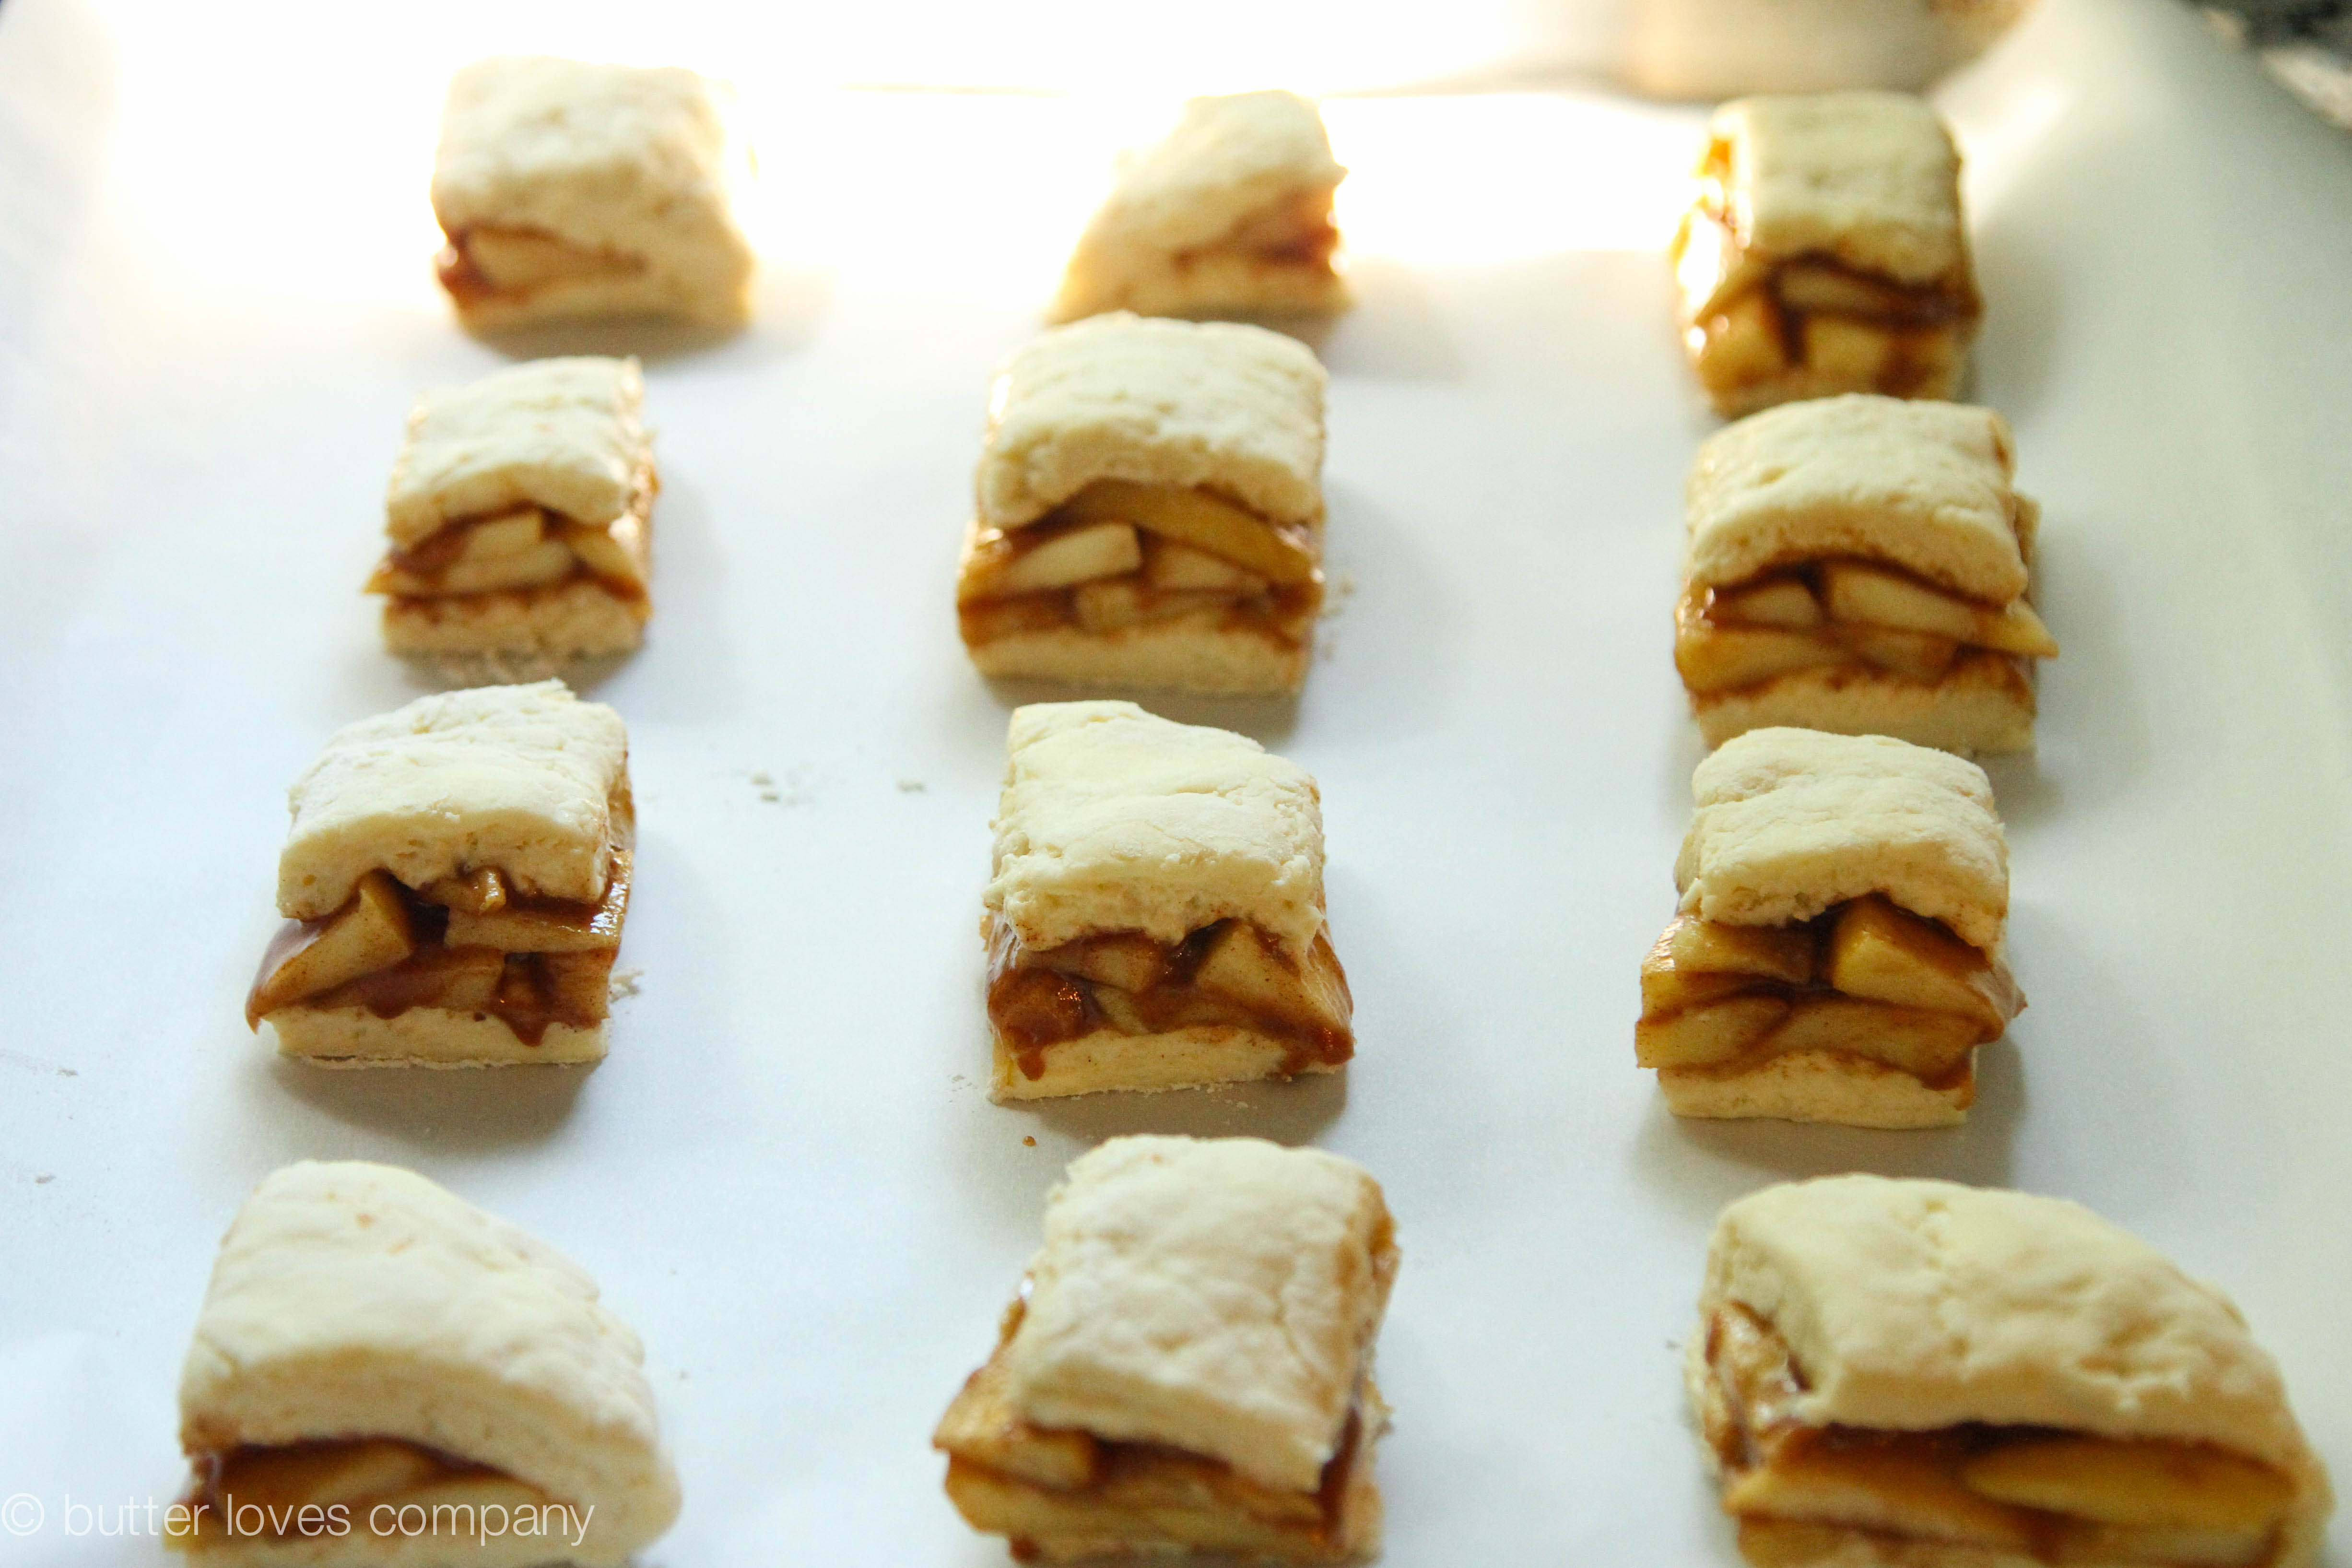
cut and place on a cookie sheet pan

apple-pie-biscuits-joy-the-baker-bootcamp-12

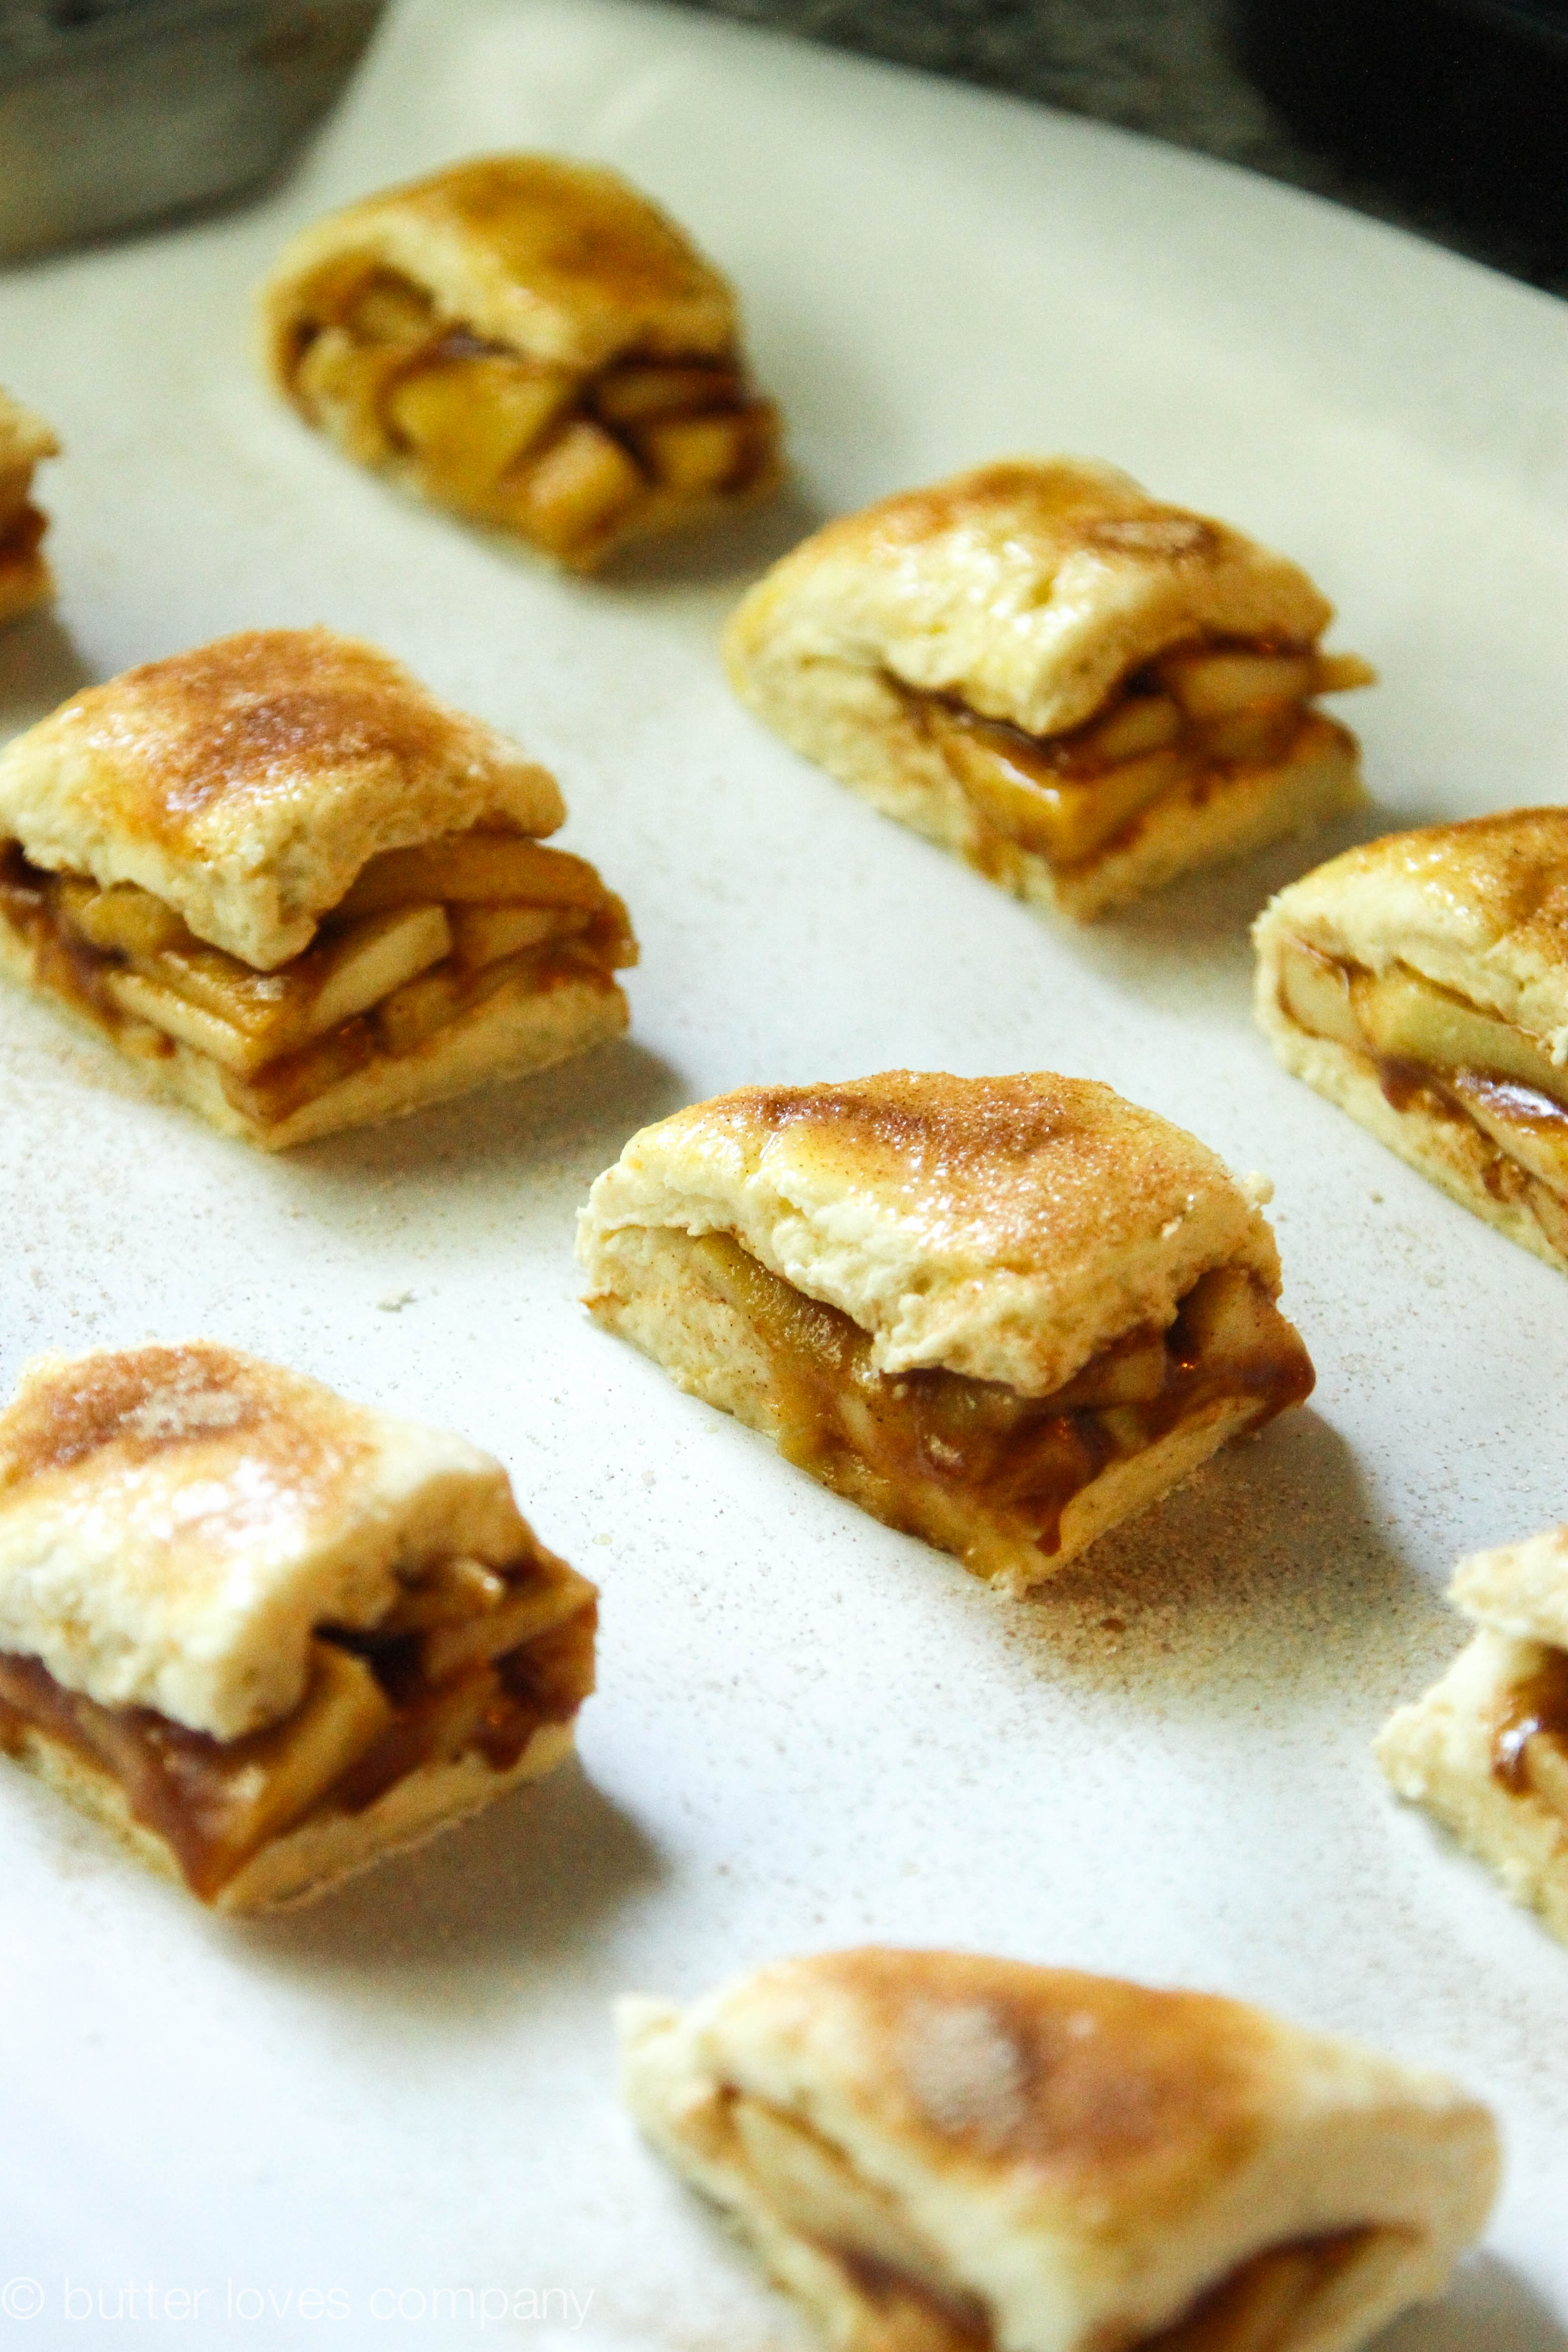
sprinkle tops with cinnamon sugar, because that can only make things better

apple-pie-biscuits-joy-the-baker-bootcamp-11

apple-pie-biscuits-joy-the-baker-bootcamp-13

biscuits.

apple-pie-biscuits-joy-the-baker-bootcamp-16

I love how the apple peeks out!

apple pie buttermilk biscuits
Joy the Baker

prep time: 15 minutes
cook time: 12–14 minutes
total time: 30–40 minutes
makes 12 biscuits

Ingredients:

For the Apples:
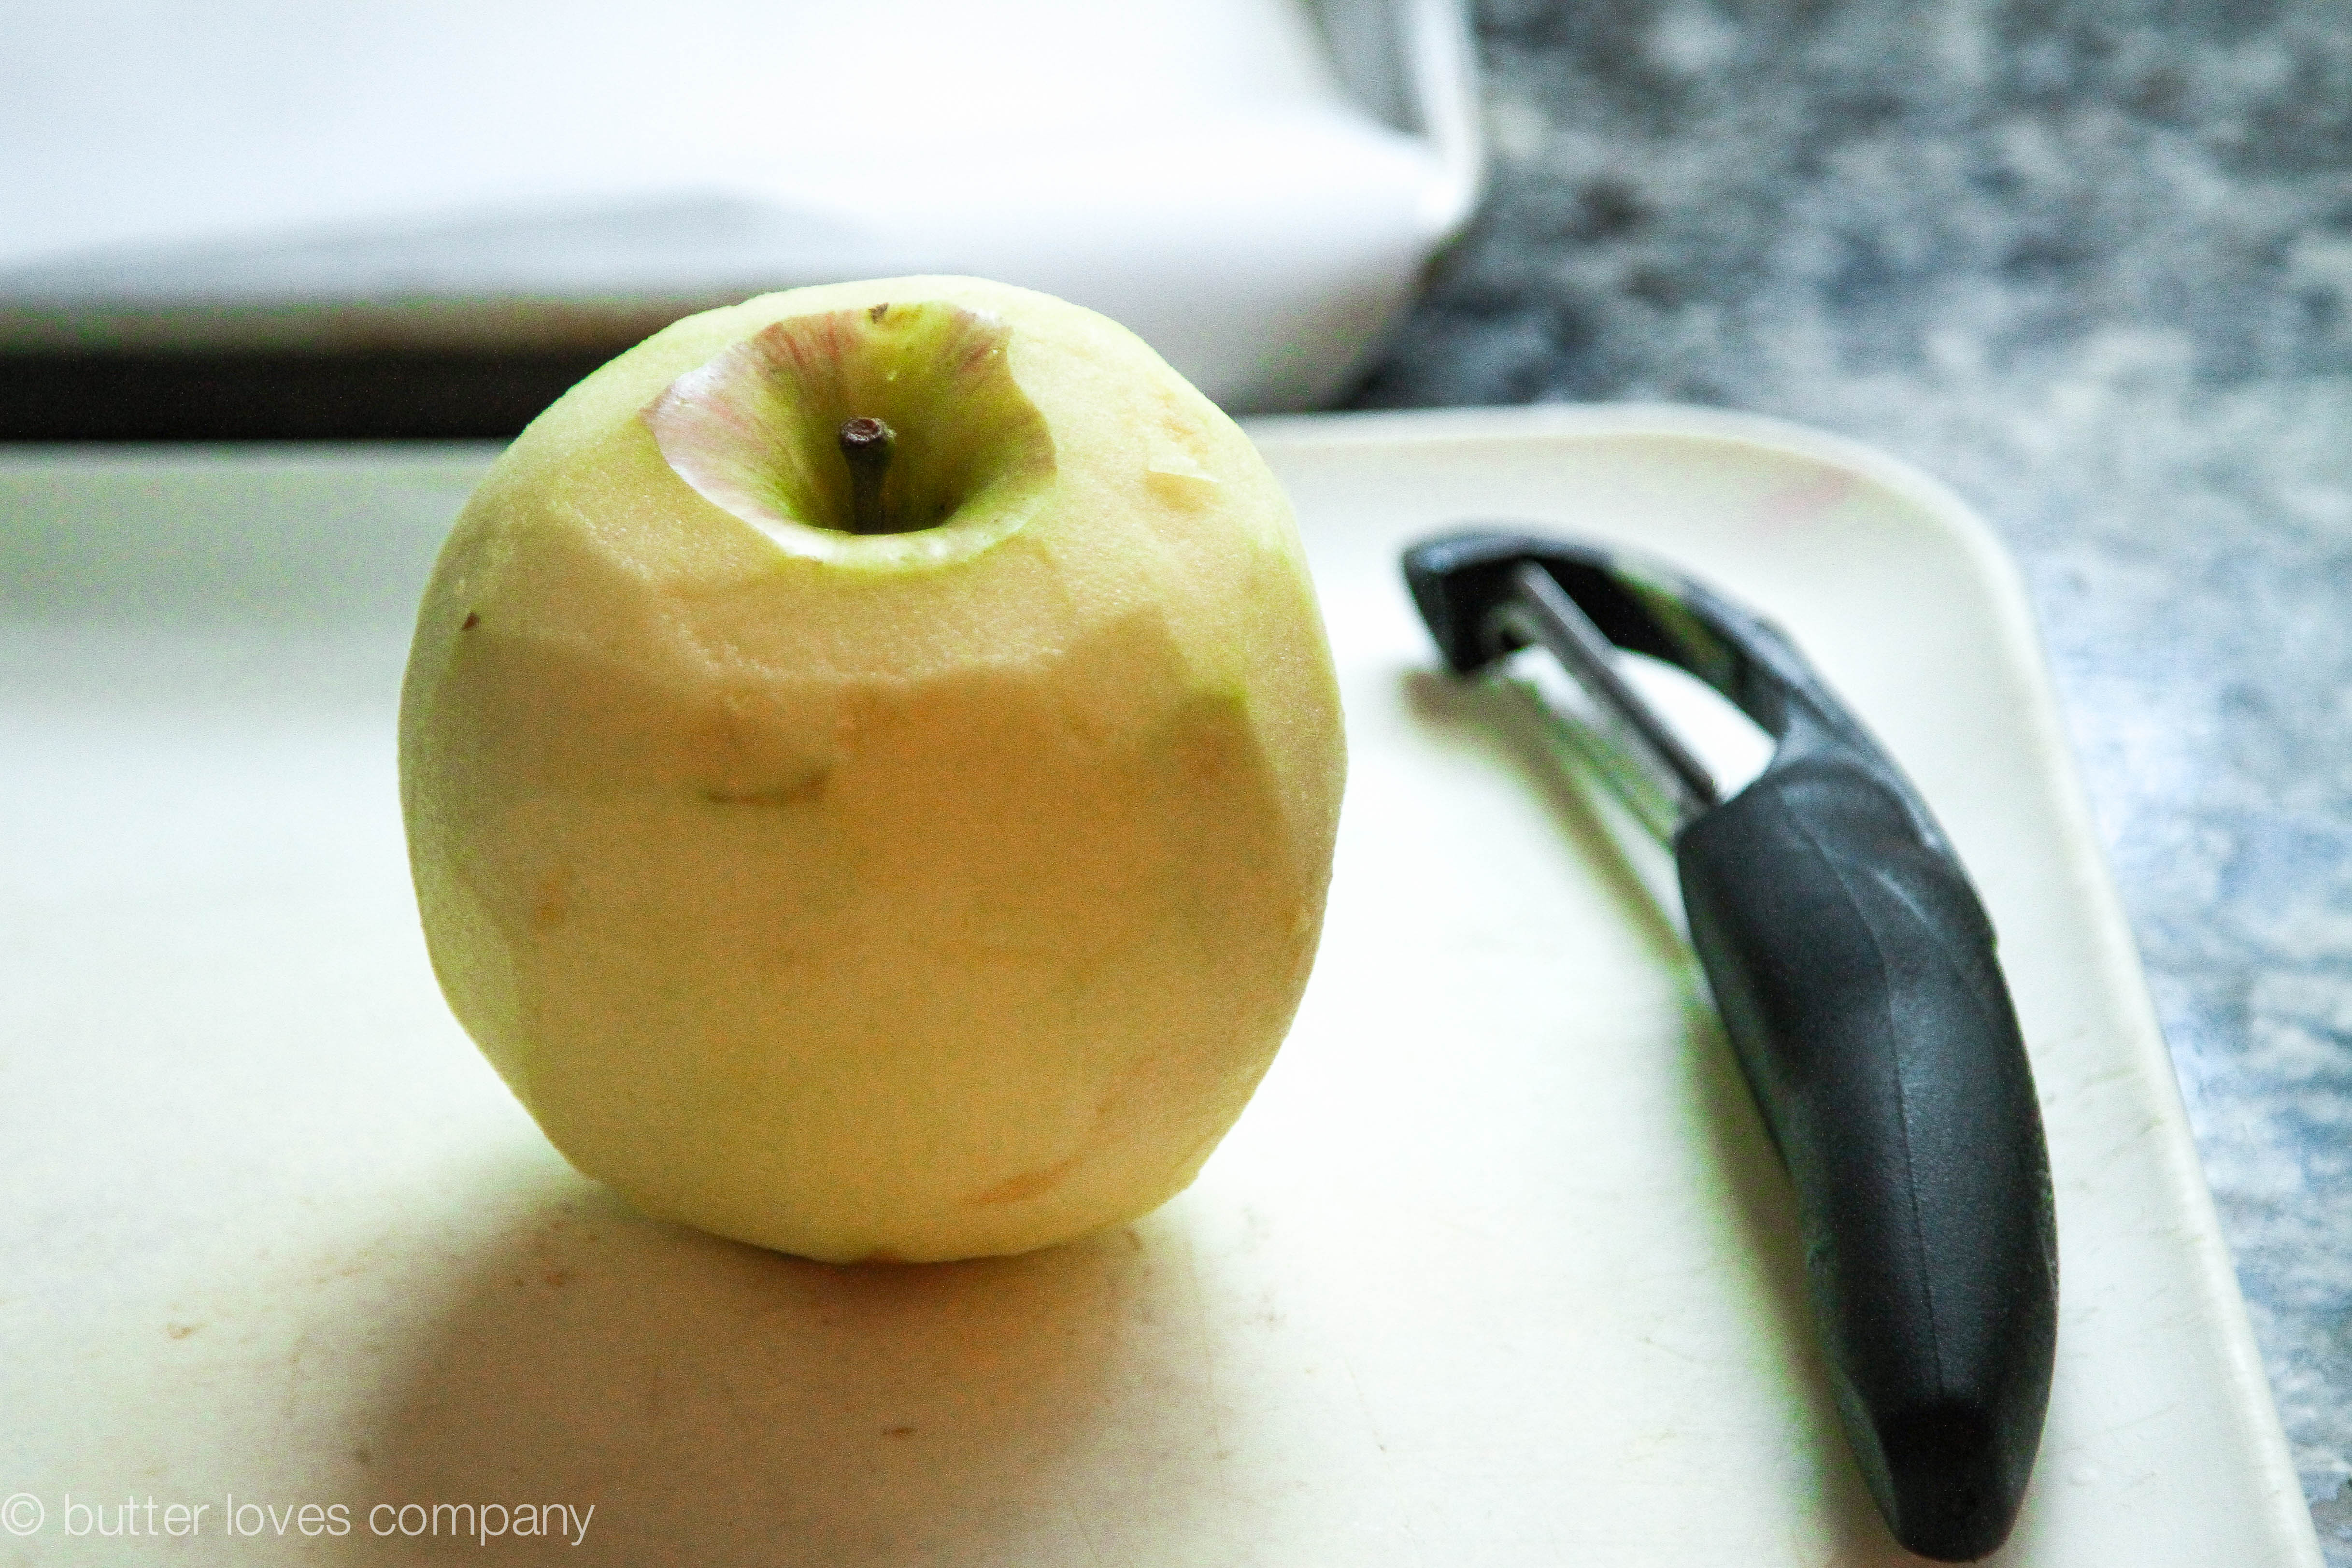
1 Fuji or other baking apple of choice, peeled, cored and sliced very thin
2 tablespoons unsalted butter
1 teaspoon ground cinnamon
2 tablespoons packed brown sugar (I was generous with this)
For the Biscuits:
2 cups King Arthur Unbleached Self-Rising Flour, or your own self-rising flour mixture (directions above)
1/4 cup cold unsalted butter, cut into small cubes
2 tablespoons granulated sugar
2/3 to 3/4 cup cold buttermilk
For the Topping:
1 large egg, beaten
2 tablespoons granulated sugar
1/2 teaspoon ground cinnamon
pinch of salt

Instructions:

  1. Place a rack in the center of the oven and preheat to 425°F. Line a baking sheet with parchment paper and set aside.
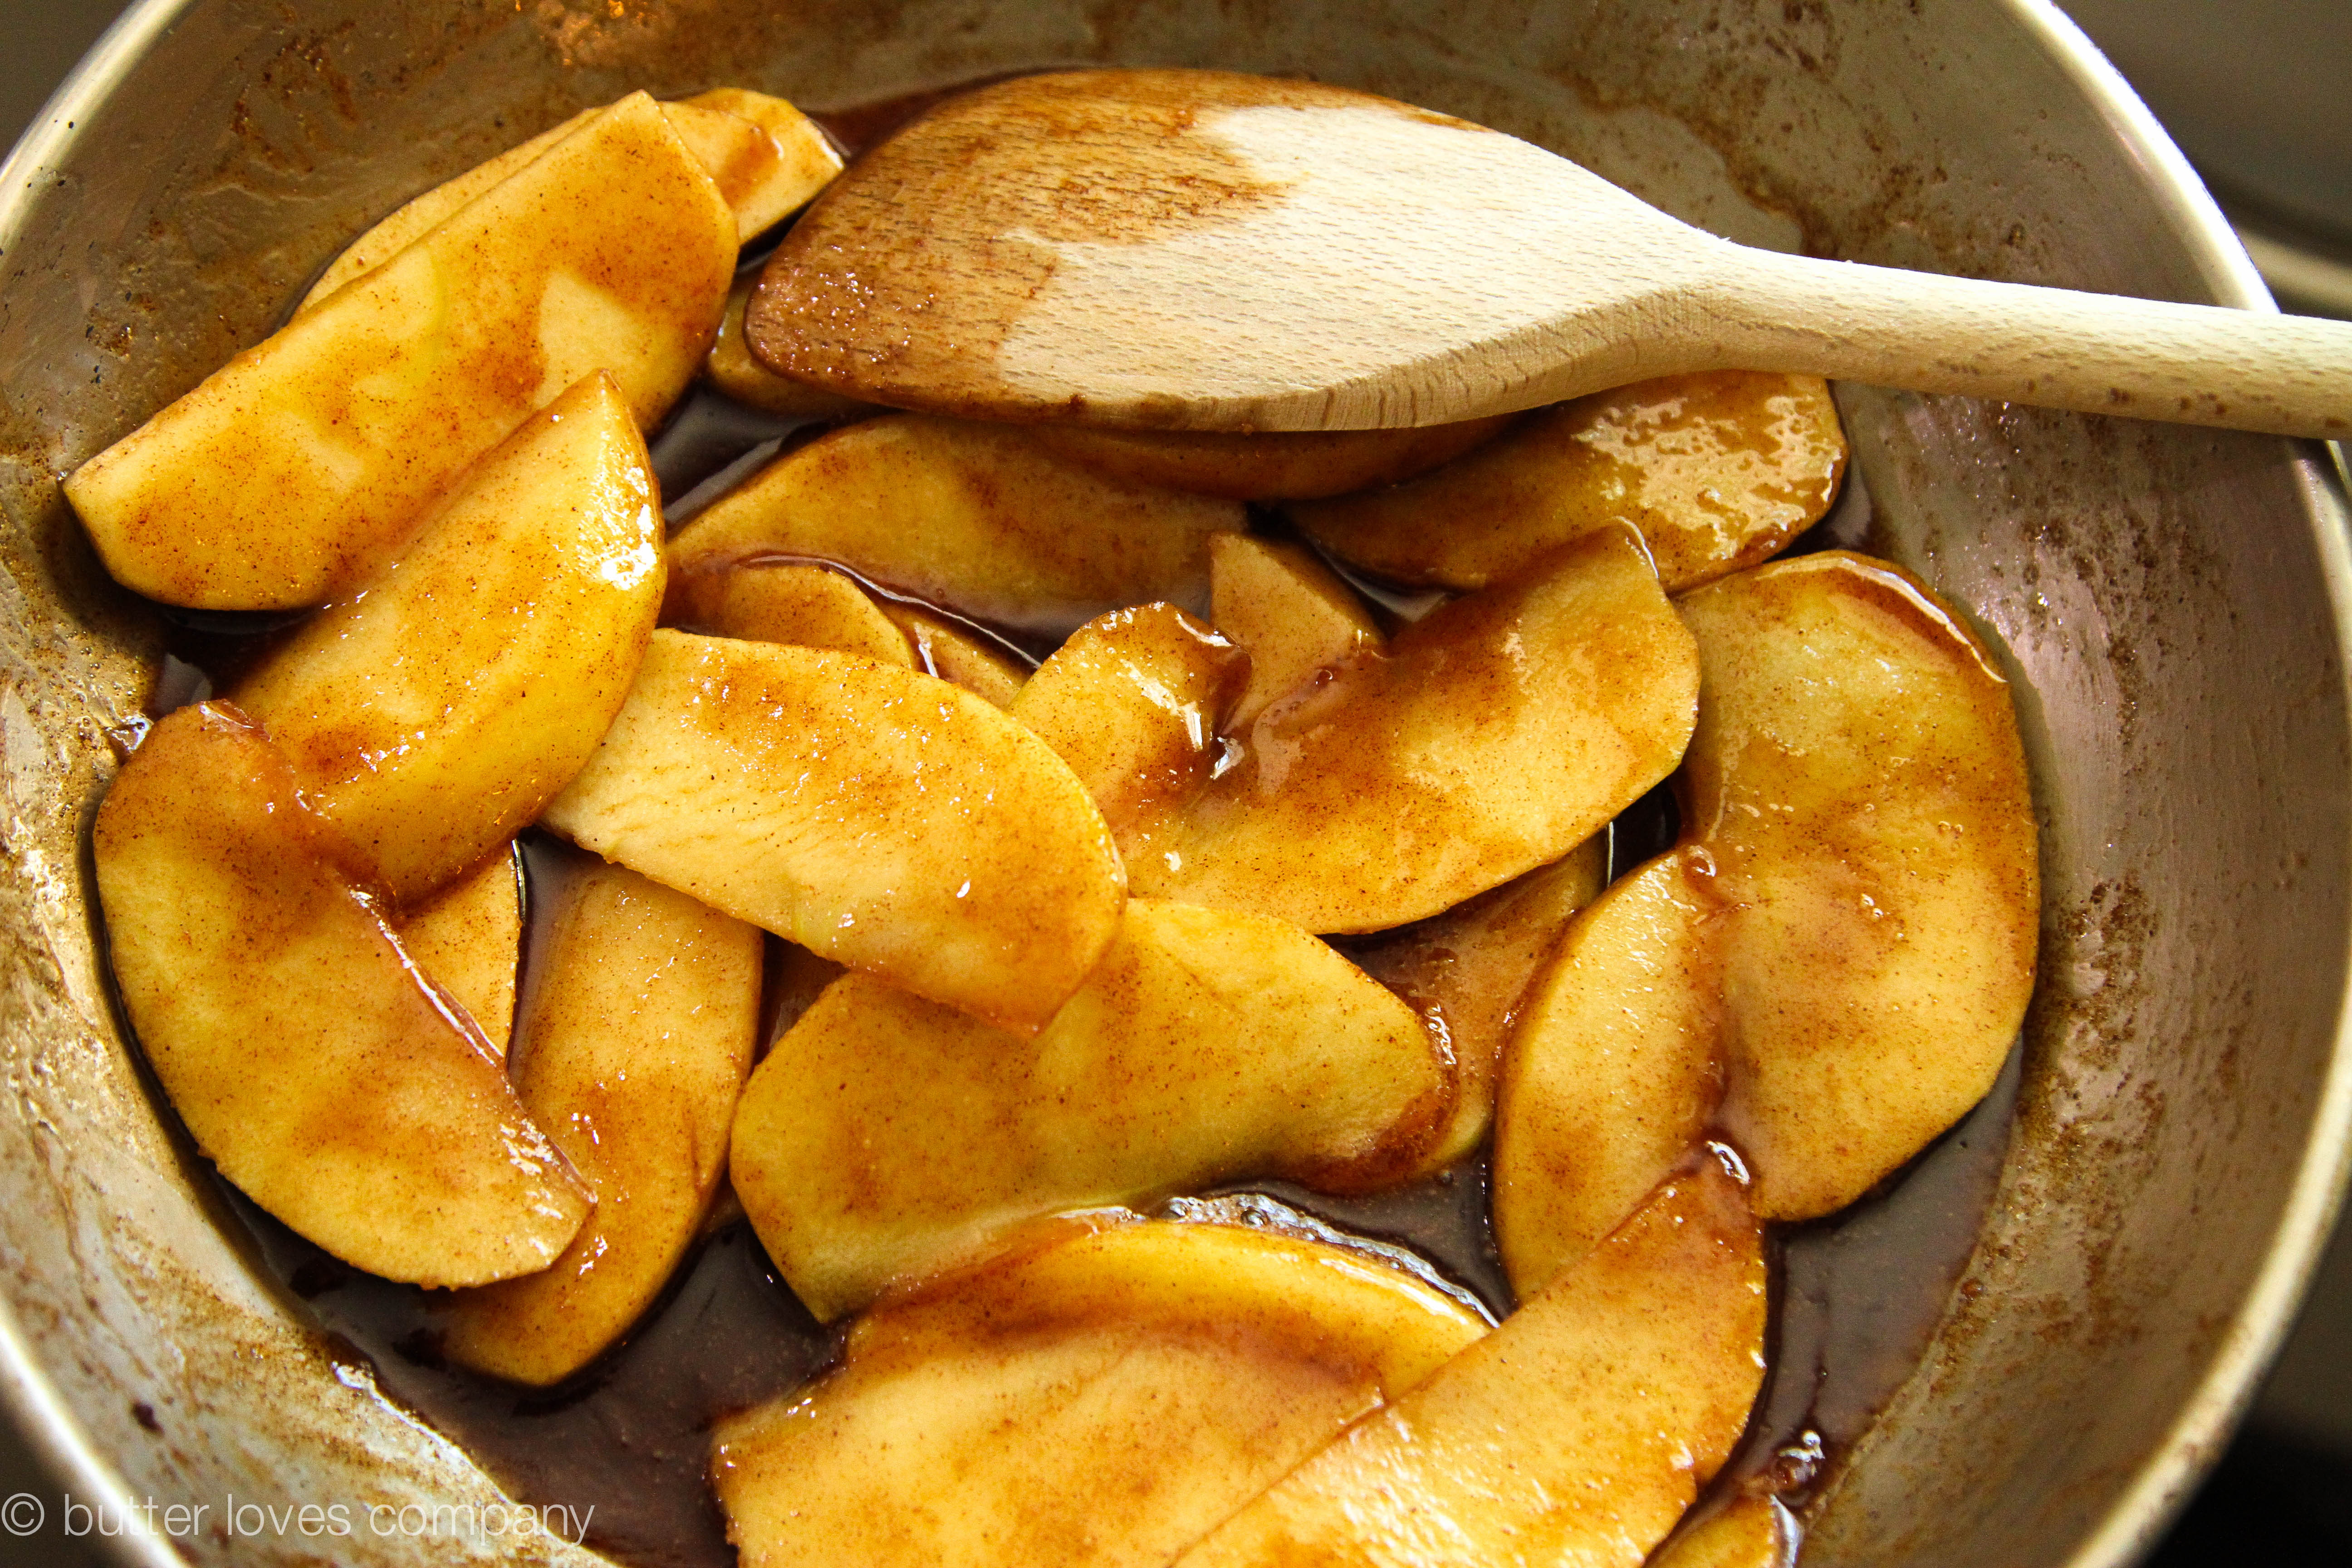
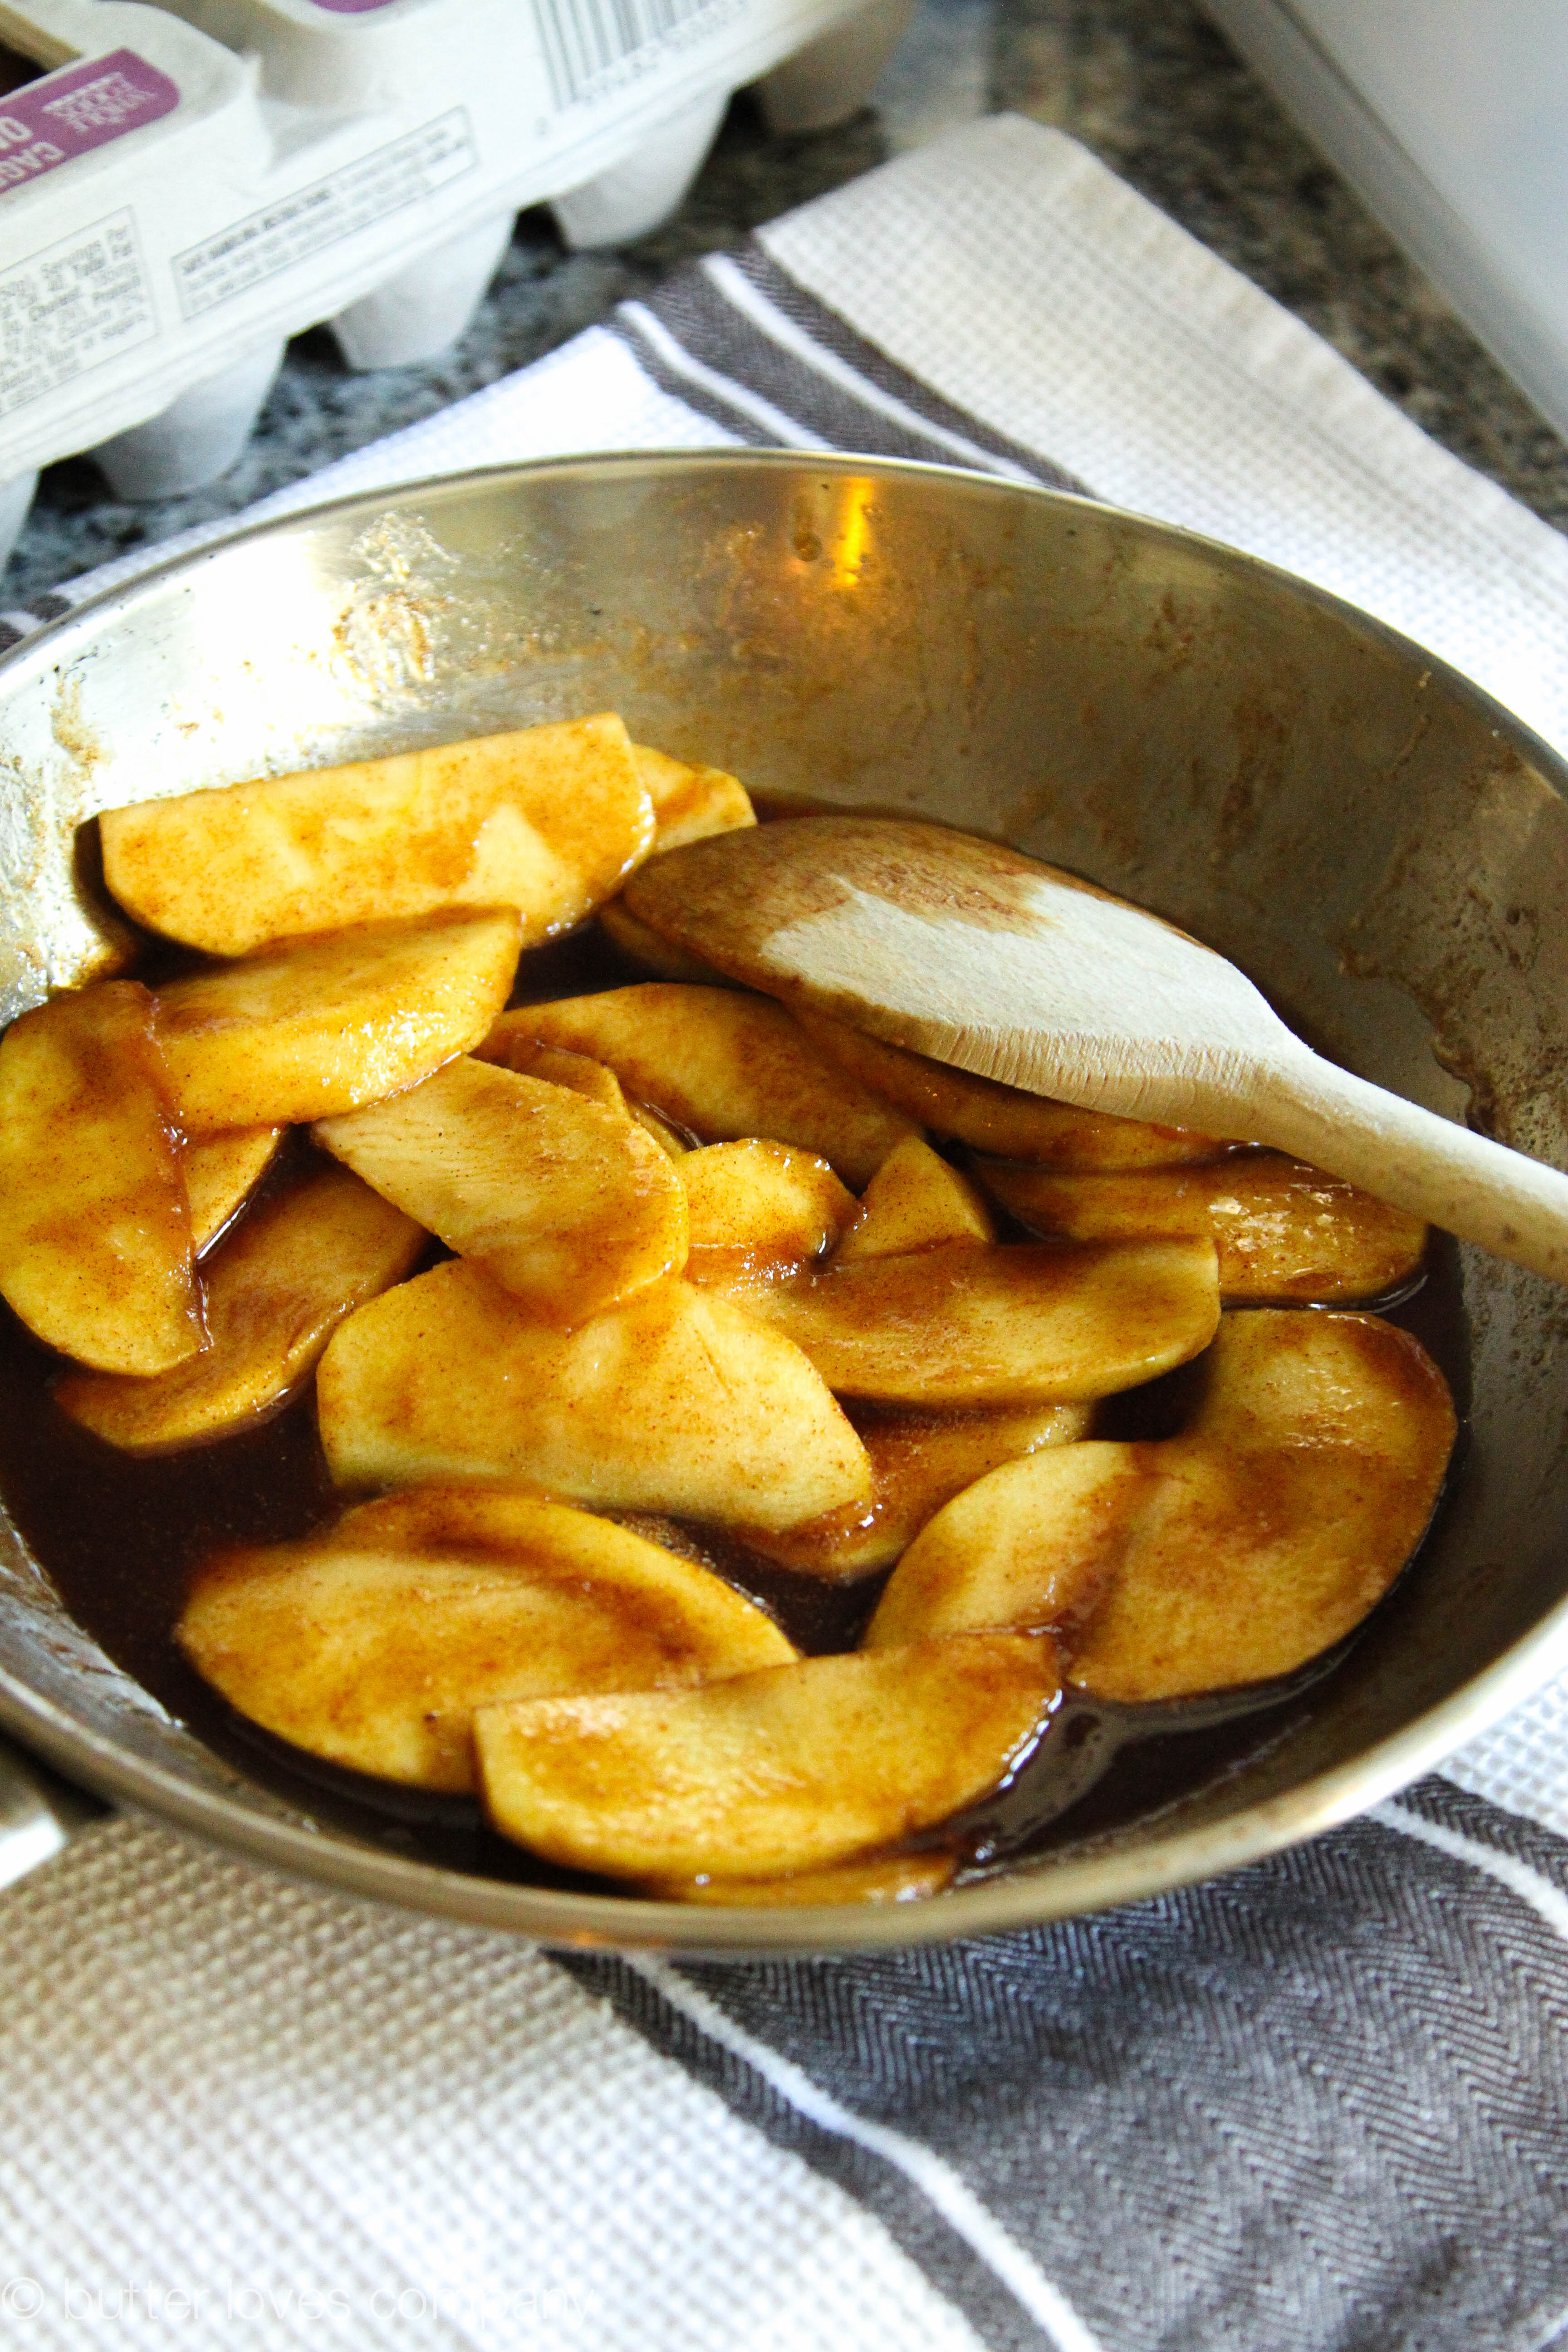
  2. Prepare the apples: Melt butter in a medium skillet over medium heat. Add the apples, cinnamon and brown sugar. Toss the apples until the sugar is melted and the mixture on the apples is warm and glossy. The apples will be coated but won’t be cooked through. Remove from the heat and set aside to cool.
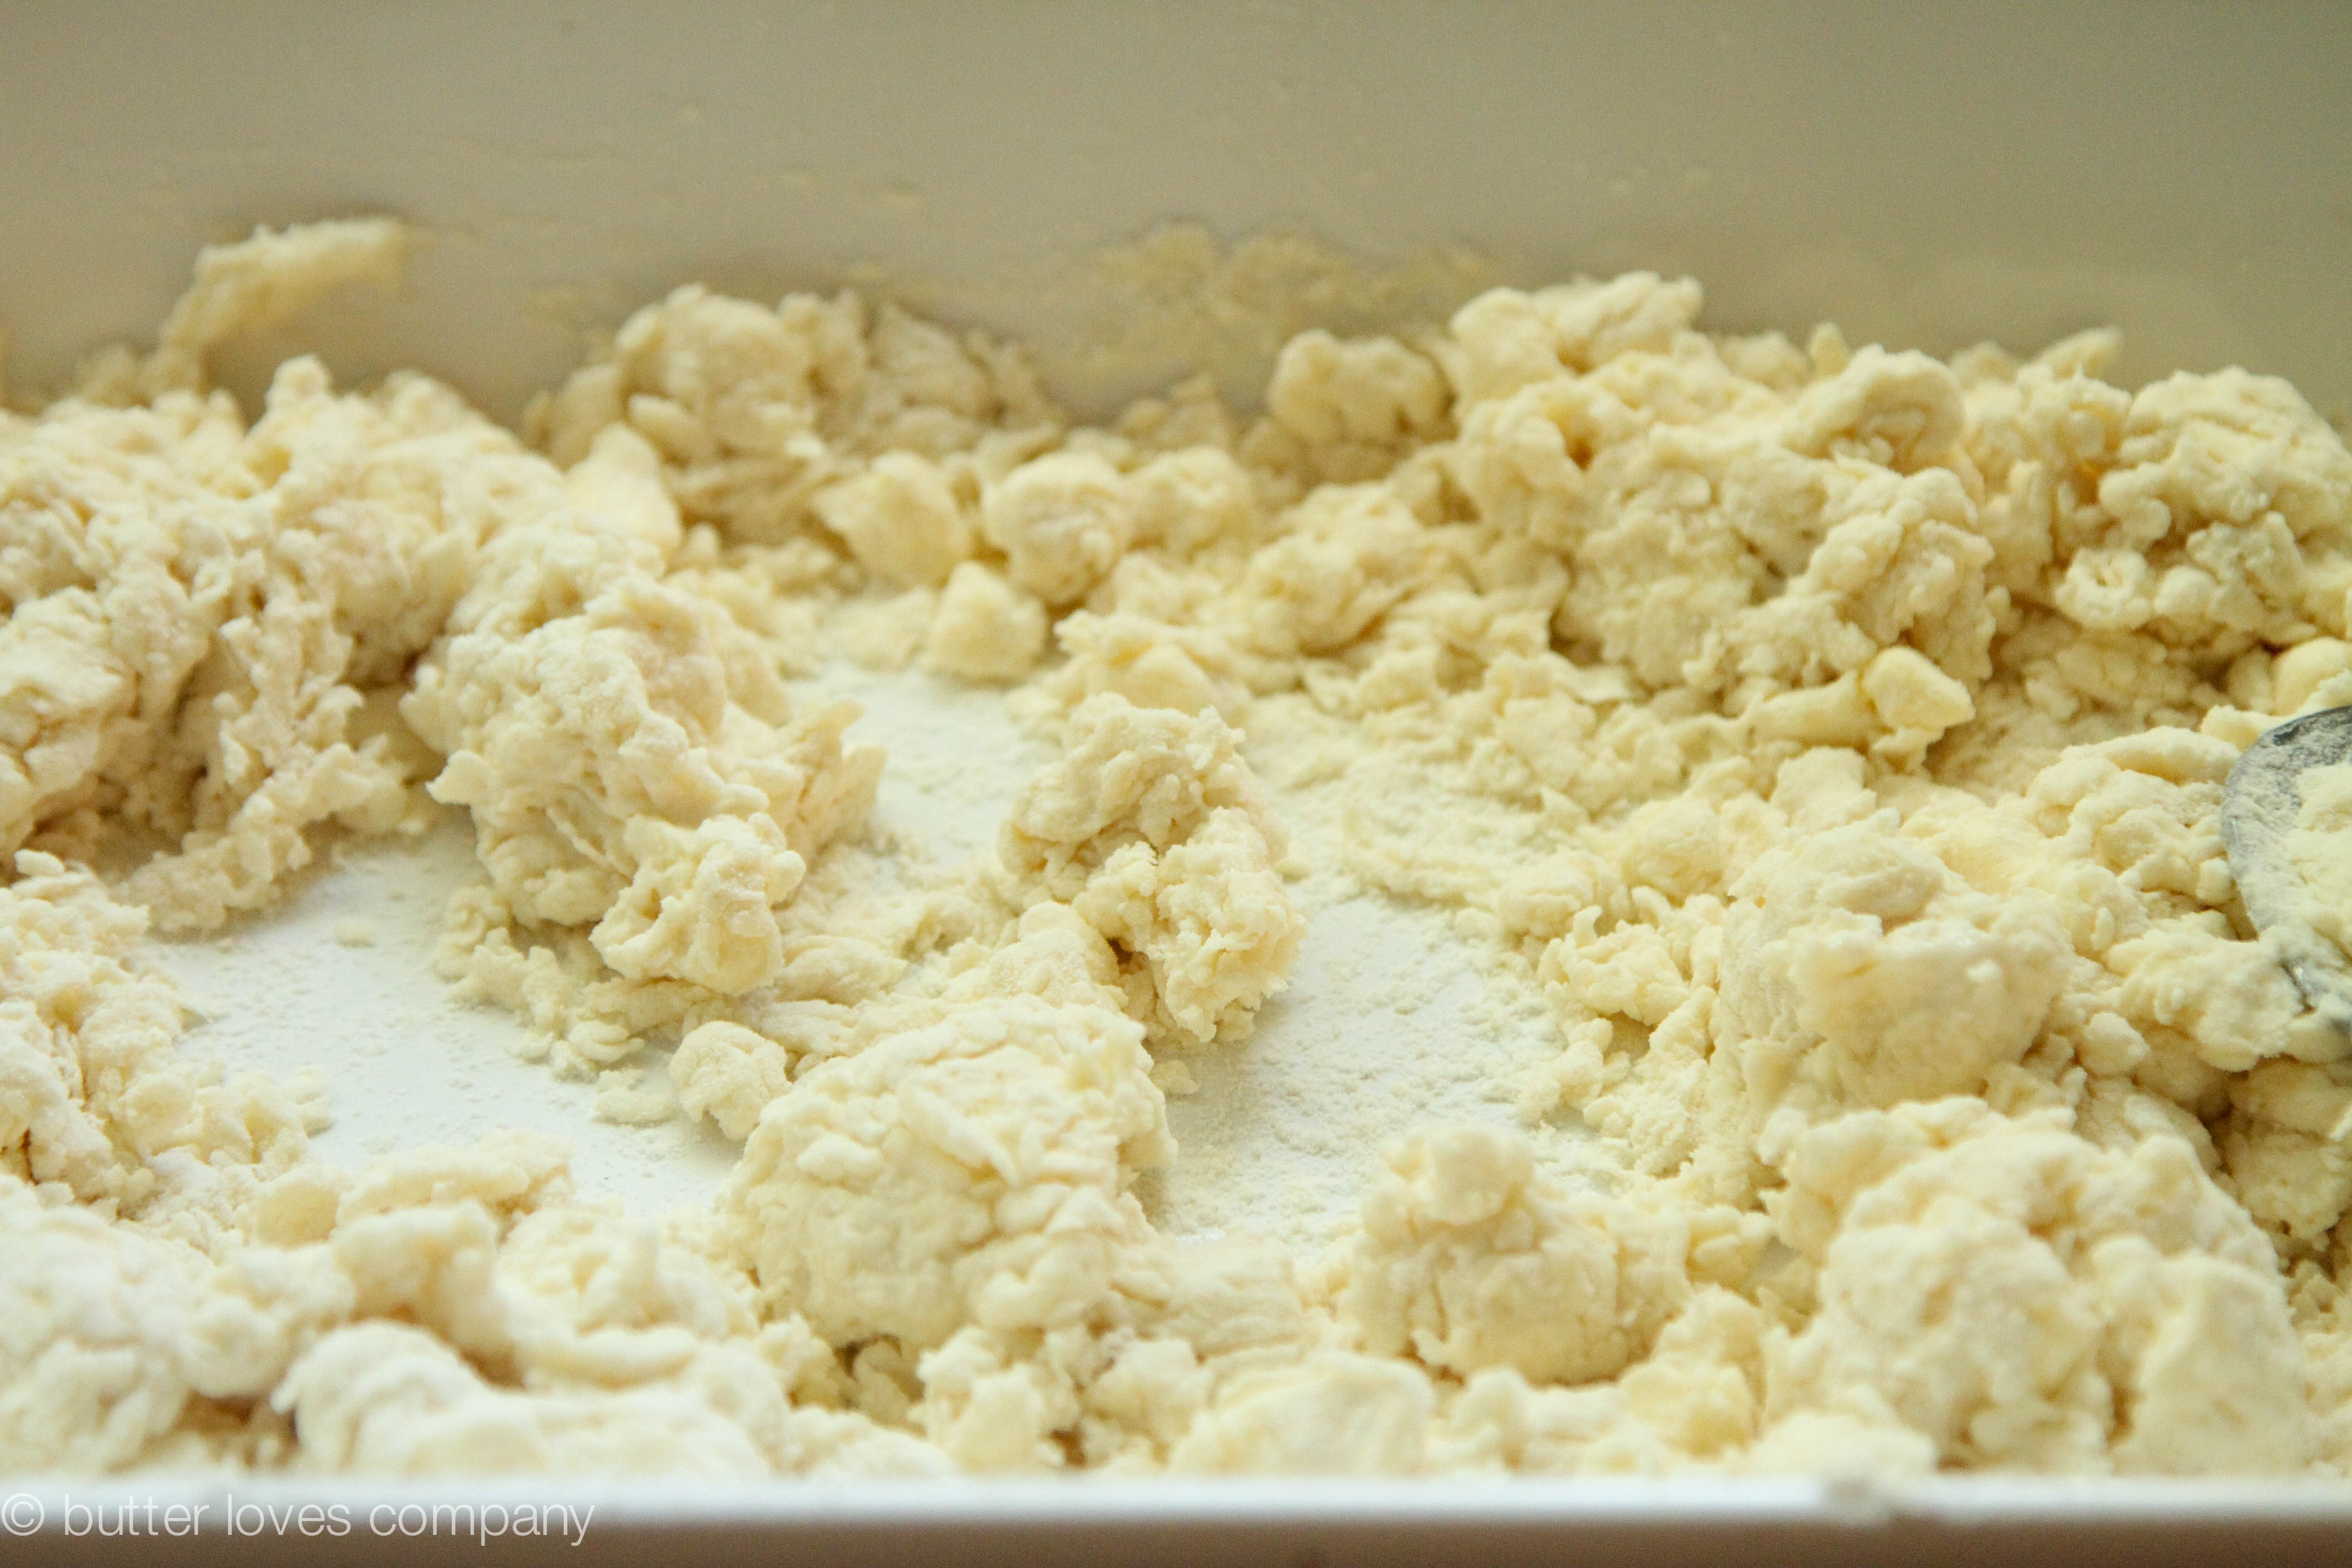
  3. Prepare the biscuit dough: Place flour in a medium bowl. I used a baking dish with a nice flat bottom and wide top so I could get my hands in easily. Add the cold butter cubes and use your fingers to quickly break the butter down into the flour until some of the butter bits are oat-sized and others pea-sized. Stir in the granulated sugar.
  4. Create a well in the center of the flour mixture and pour in 2/3 cup buttermilk. Stir the mixture together until it is well moistened and holds together if you gently gather it together into a ball. Add the remaining buttermilk as needed. If you’re using your own homemade self-rising flour, you’ll want to add the full 3/4 cup of buttermilk.
  5. Lightly dust a work surface with all-purpose flour. Gently gather the dough into a ball and transfer it to the floured surface. Pat it into a small rectangle.
  6. Assemble: Use a rolling pin to gently roll the dough into a rectangle 1/2-inch thick, about 7-inches x 10-inches. Arrange the cooled apples in a single layer over one half of the rolled-out biscuit dough. Fold the empty side of the dough over the apples and gently seal in the apples by pressing the edges of the dough together. You can use your hands to pat the dough into a 6-inch x 8-inch rectangle and smooth the edges.
  7. Use a sharp knife to slice the dough into 12 squares. Use a spatula to place each biscuit onto the prepared baking sheet, about 2-inches apart.
  8. In a small bowl, whisk together sugar for topping, cinnamon and salt.
  9. Brush each biscuit top with beaten egg and sprinkle generously with the cinnamon sugar mixture.
  10. Bake for 12 to 14 minutes until the biscuits are risen and golden brown. Remove from the oven and serve warm, or cool completely before storing in an airtight container. Biscuits are best enjoyed within two days of baking.

apple-pie-biscuits-joy-the-baker-bootcamp-17

Filed Under: breakfast and breads, eat Tagged With: apple pie, apples, autumn, baking bootcamp, biscuits, breakfast, buttermilk, fall, king arthur flour

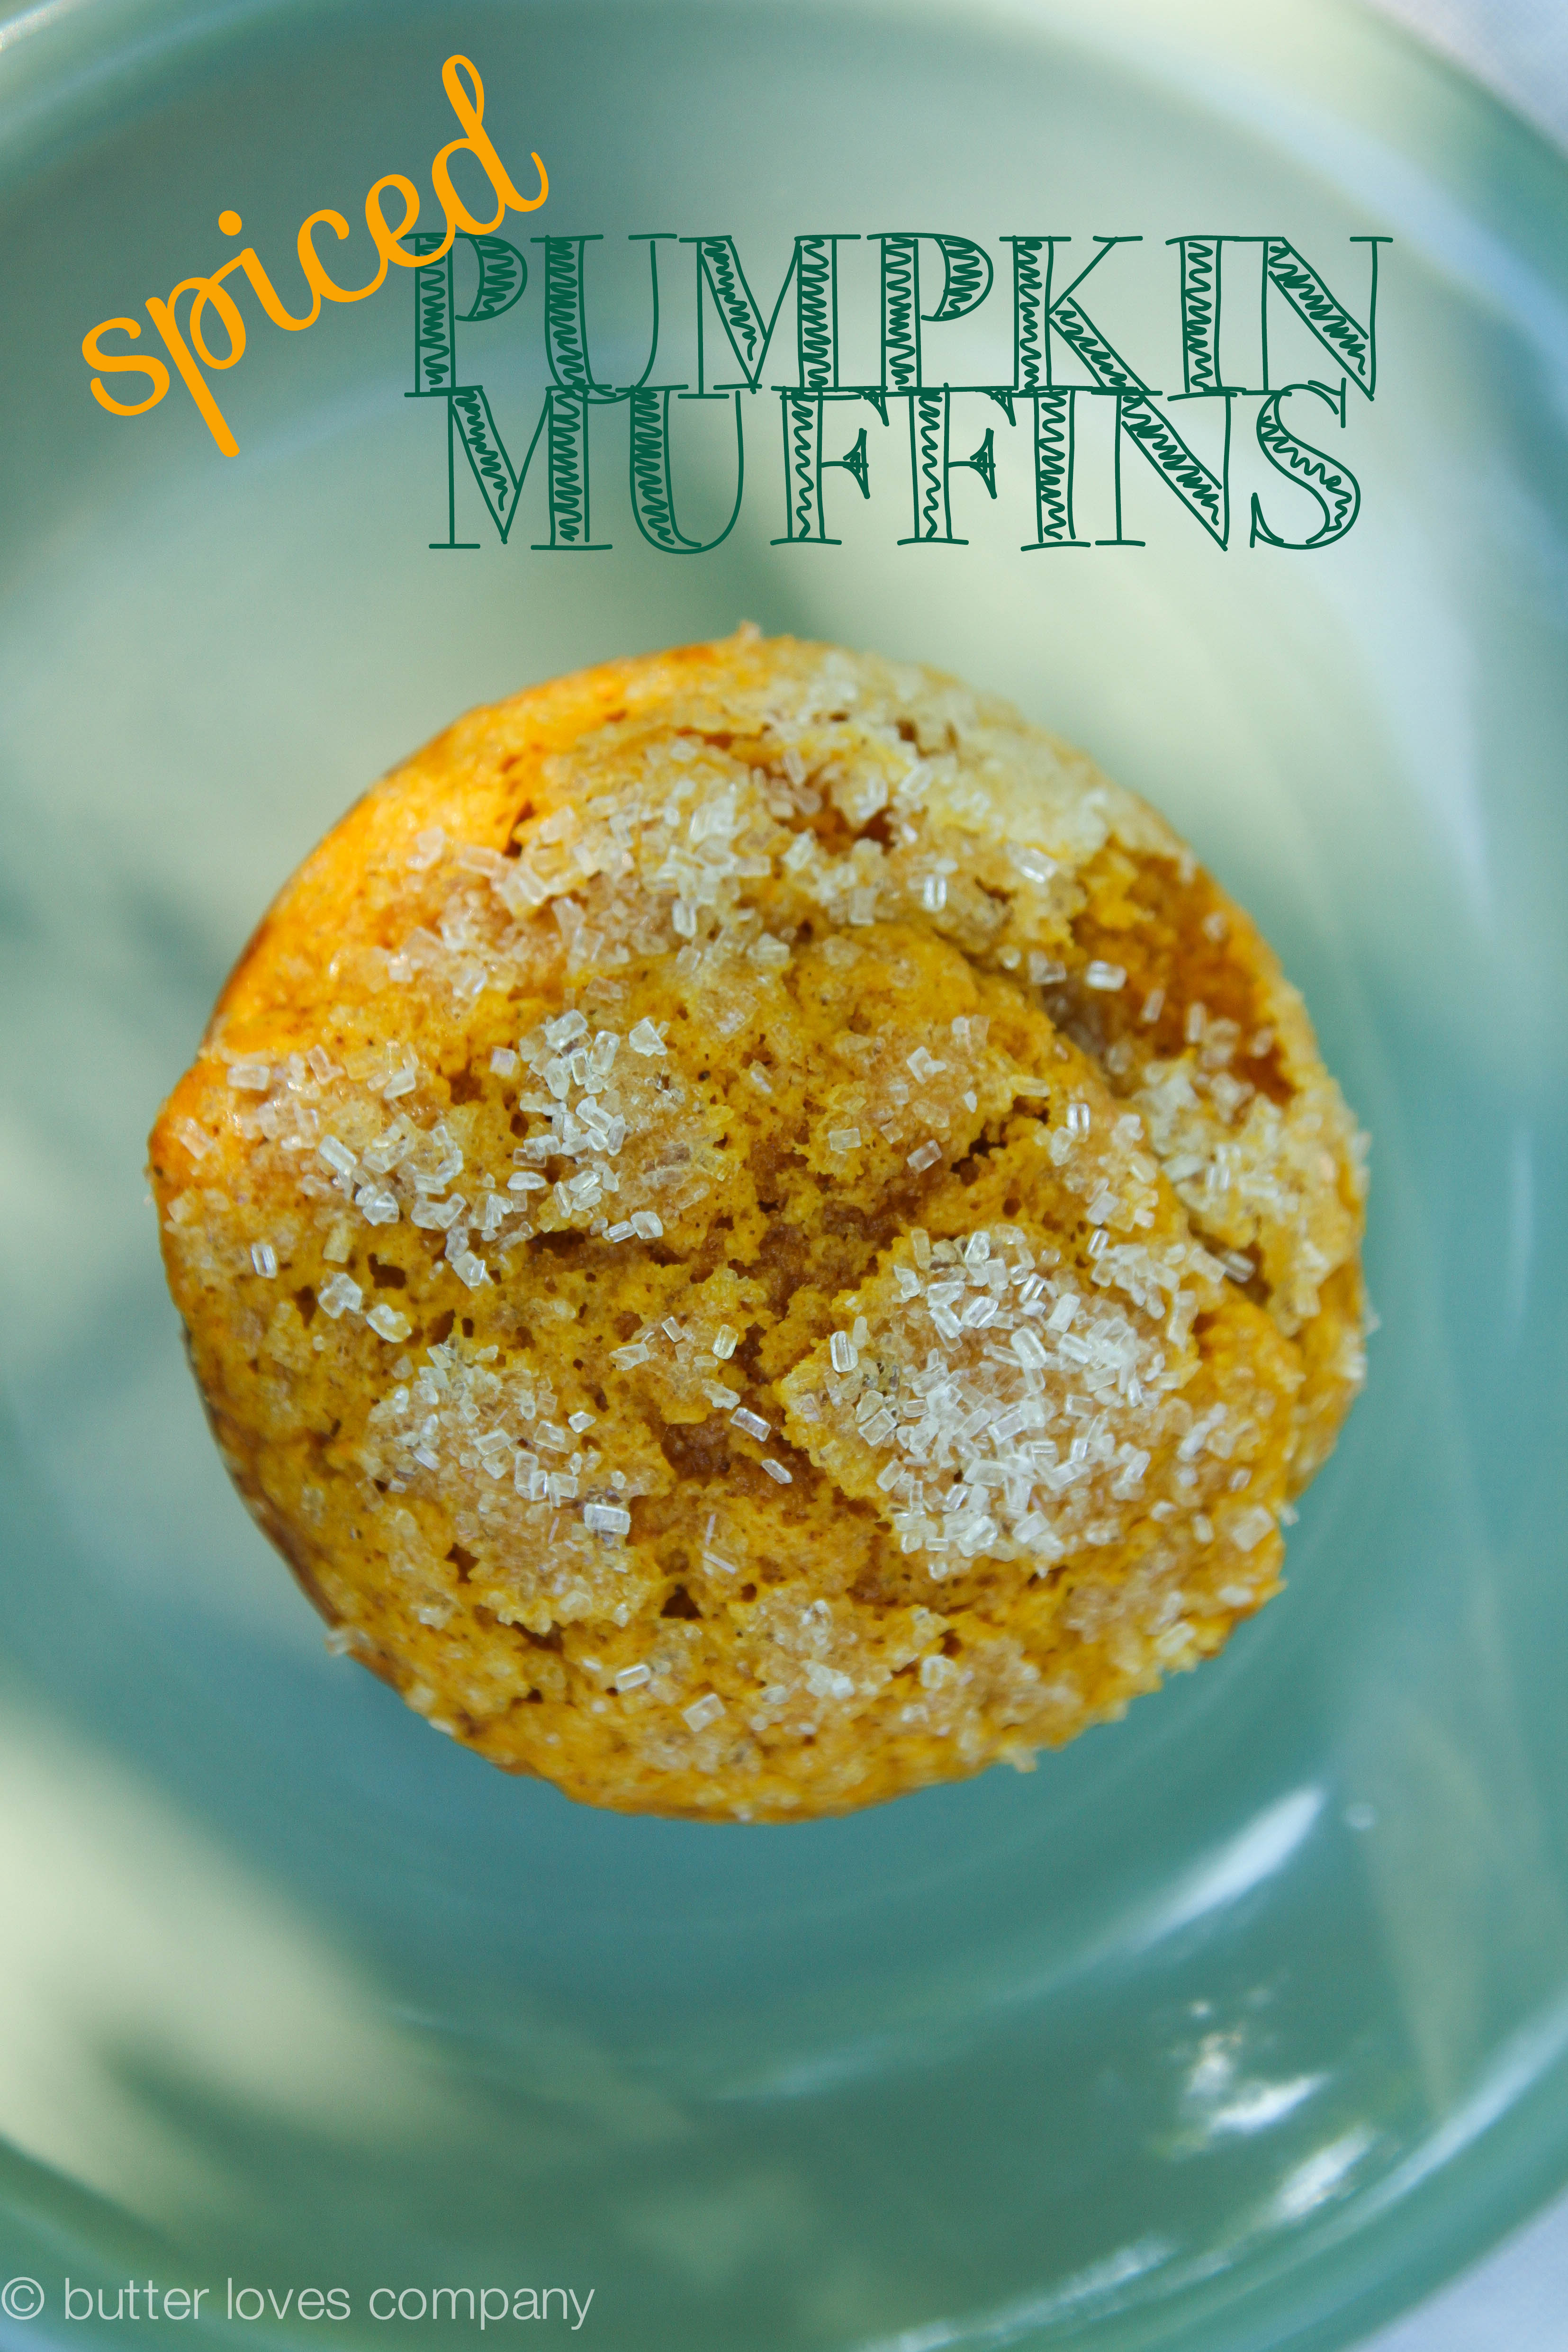
spiced pumpkin muffins

September 8, 2014 by Butter Loves Company

spiced-pumpkin-muffins-recipe-1 title

If someone asked you what your favorite season was, what would you say? I would most definitely shout FALL!!! Here’s the short list of reasons why:

  • A Break from Humidity: Anyone who knows me knows how much I hate humidity. Autumn brings a welcome reprieve from summer’s oppressive and unattractive face dew (aka sweat). Holding a cell phone to your ear while walking casually should not leave you sweaty. It just shouldn’t. Am I right?
  • Boots: Love, love, love ’em. Comfortable, cute, practical—as soon as Labor Day passes, I am so like, ‘Bring on the Booties!’ Boots > Flip Flops, any day.
  • Apple Picking: Did you know people come to New England to look at the leaves fall off the trees? Leaf peeping is a real thing! As a Boston native, I think I sometimes under-appreciate the beauty of nature’s red and orange hues. One thing I always appreciate though is apple picking. I turn into a total kid when it comes to plucking these sweet little beauties from the orchard trees. I especially love climbing up the trees to find that perfect apple (boots on, obviously). As a couple of added bonuses, apple picking usually means cider donuts and always means apple desserts made fresh with your bounty.
  • Football: My family and boyfriend are probably rolling their eyes right now, but I would say my love of the start of football season is actually a love of game day foods. A day of cooking and eating with friends in cozy clothes sounds amazing to me. Don’t ask me the score. I’m too busy stuffing my face with nachos.
  • All Things Pumpkin (except the latte—don’t throw tomatoes at me fellow Fall lovers): I love fall baking because of the aforementioned fresh apples, but I also love it for the pumpkin! Warm spices like cinnamon, nutmeg, and cloves take center stage with recipes featuring this orange squash. Baking with pumpkin always guarantees delicious, moist results. Let me prove it with these moist, fluffy yet chewy, pumpkin-rich muffins . . .

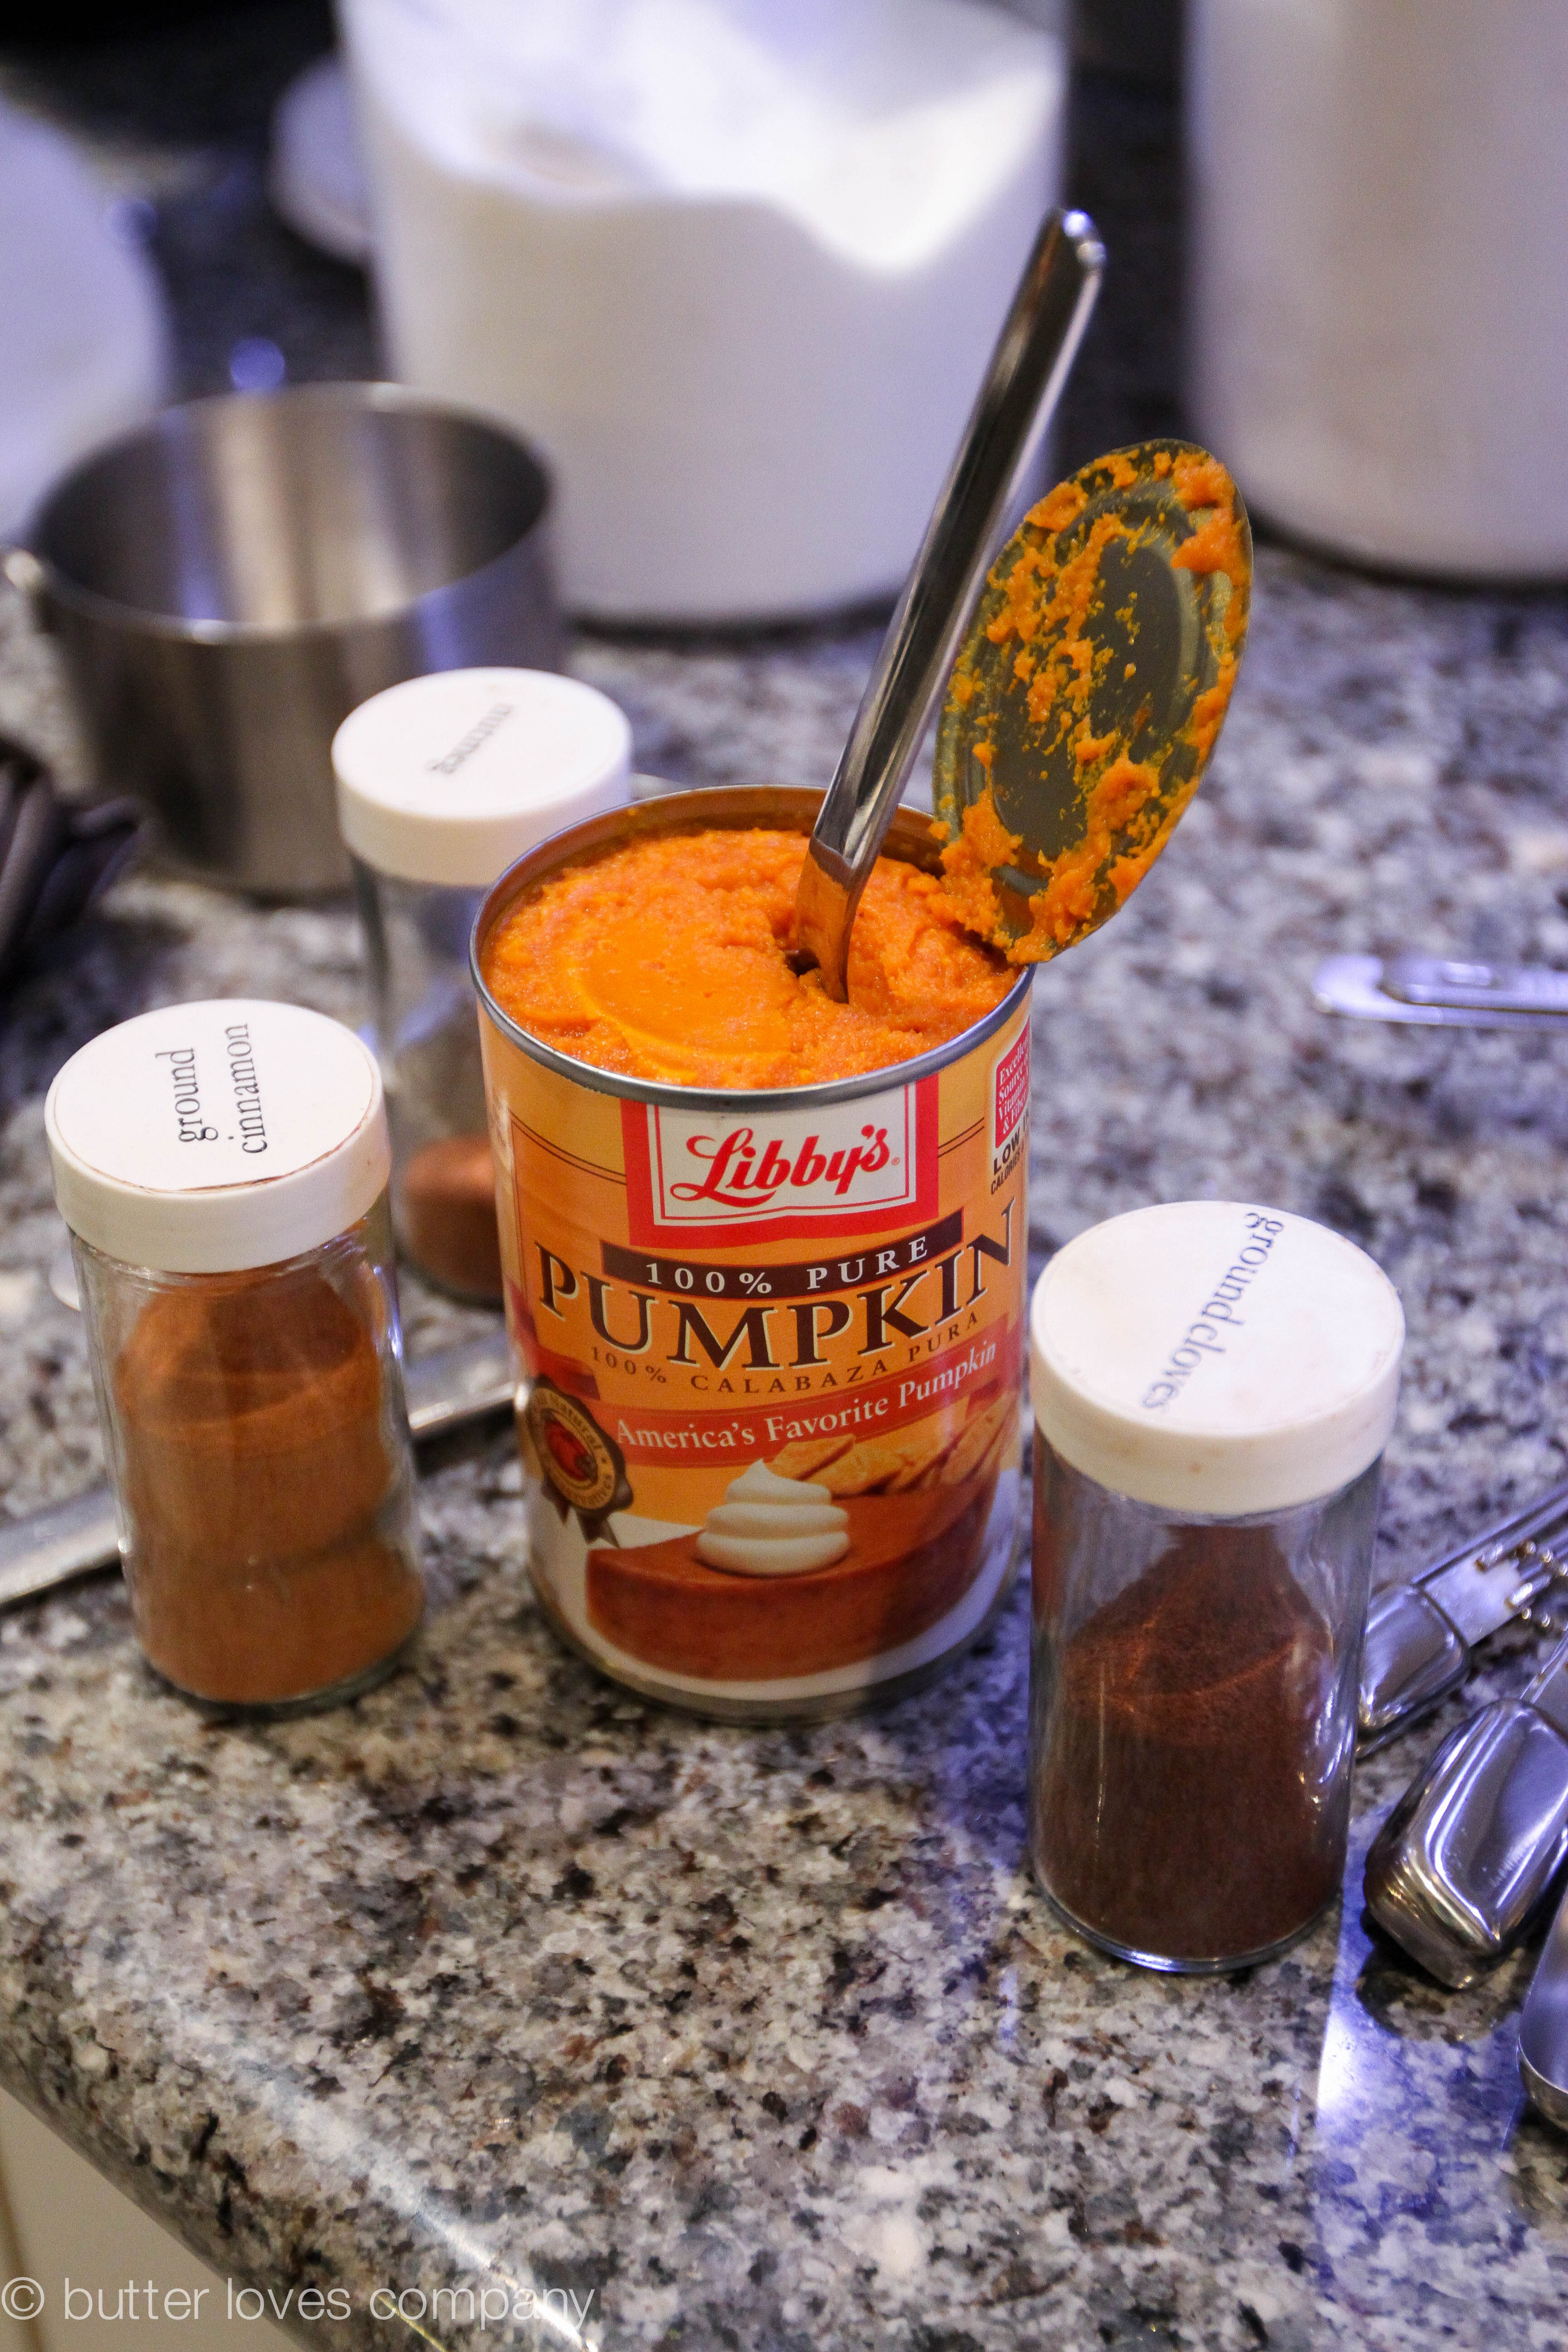
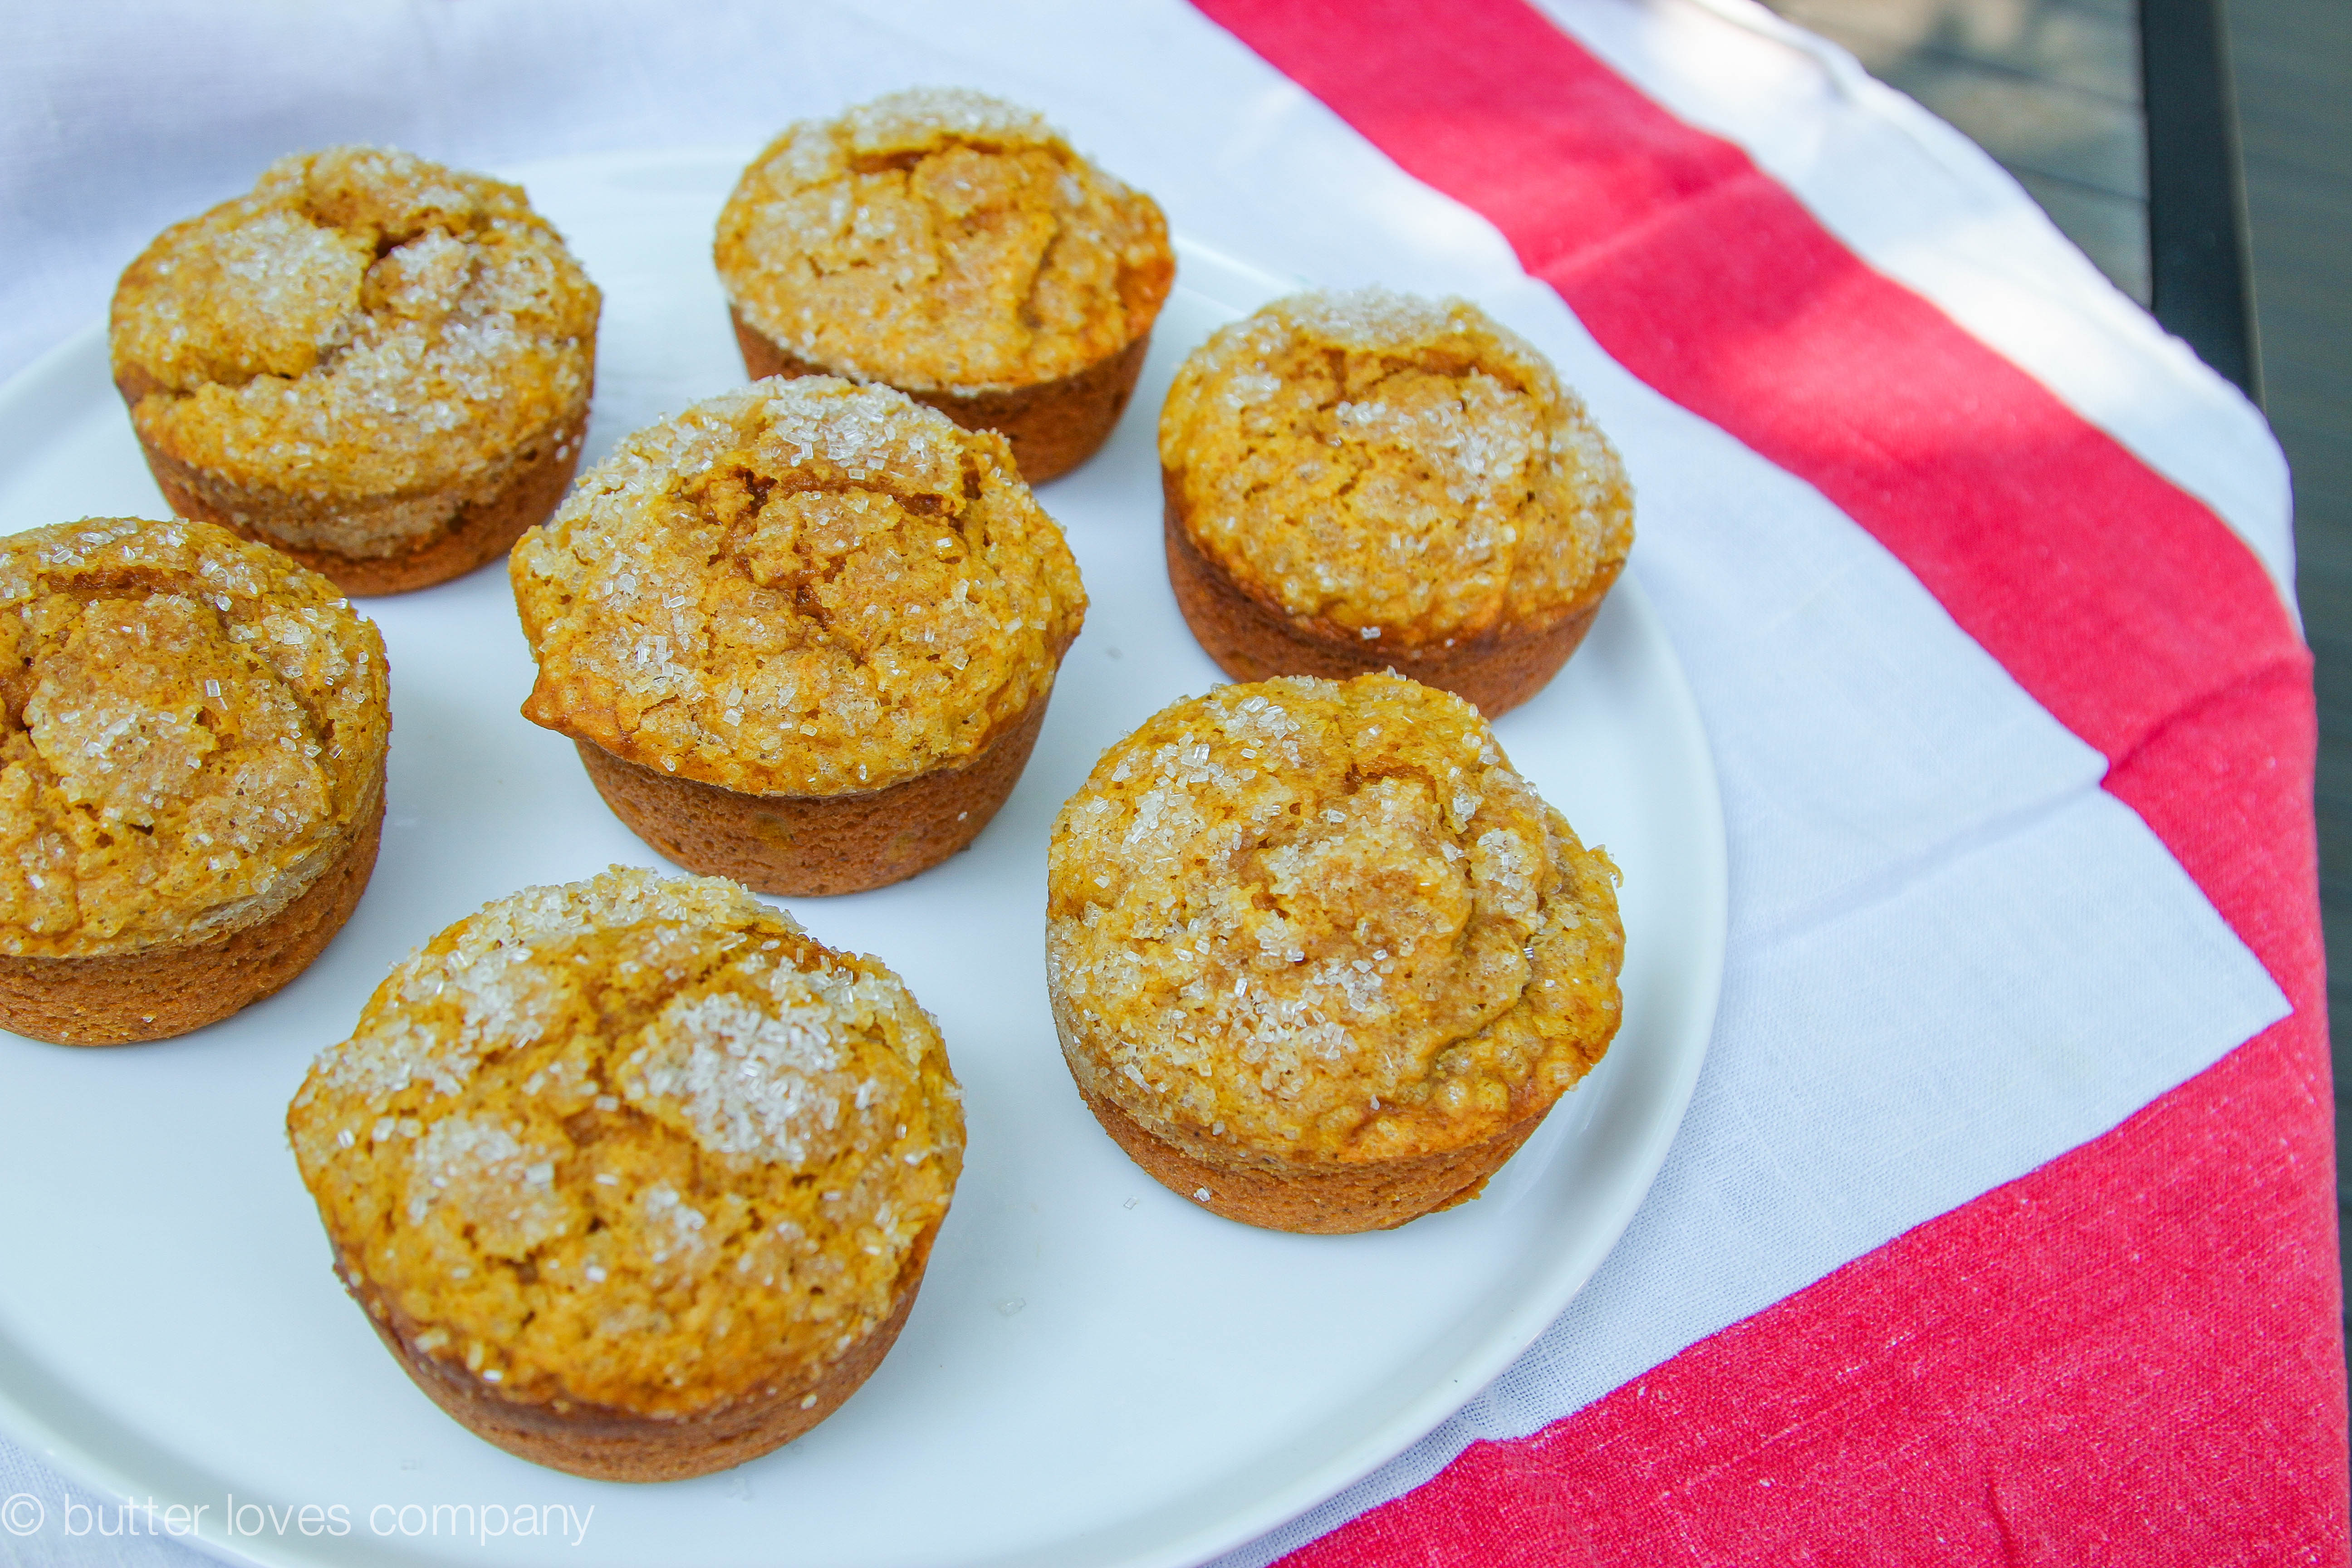
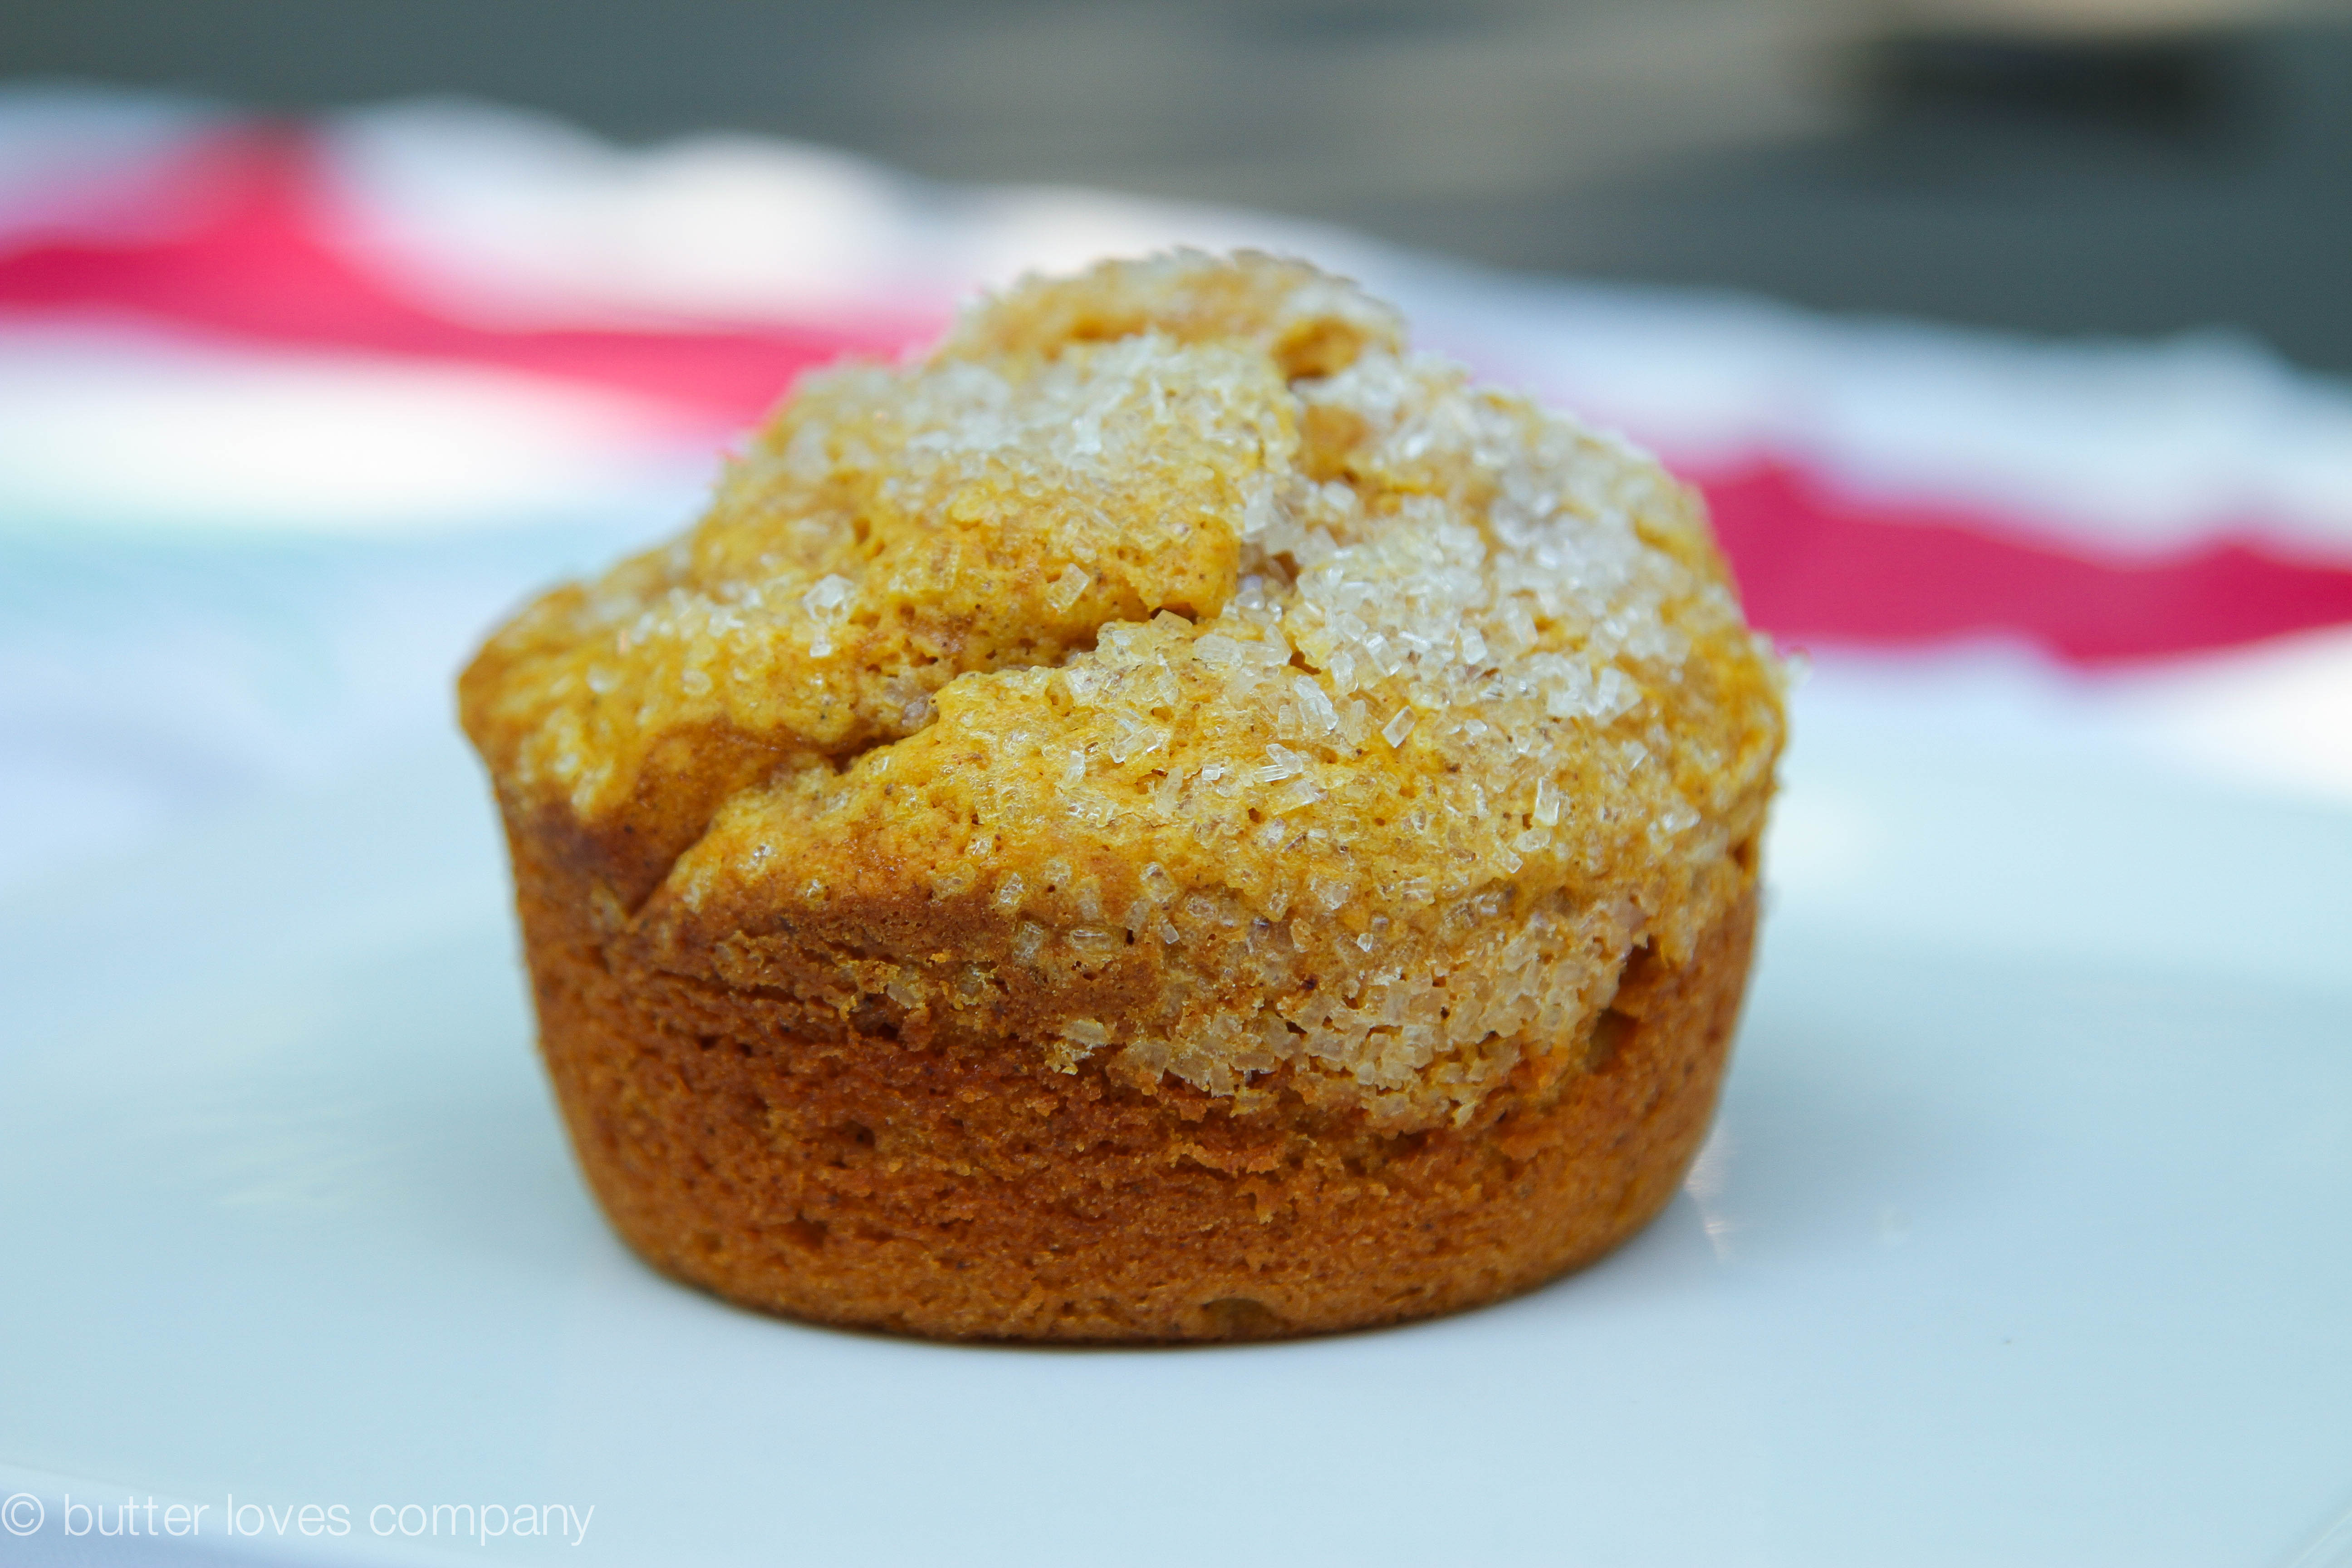
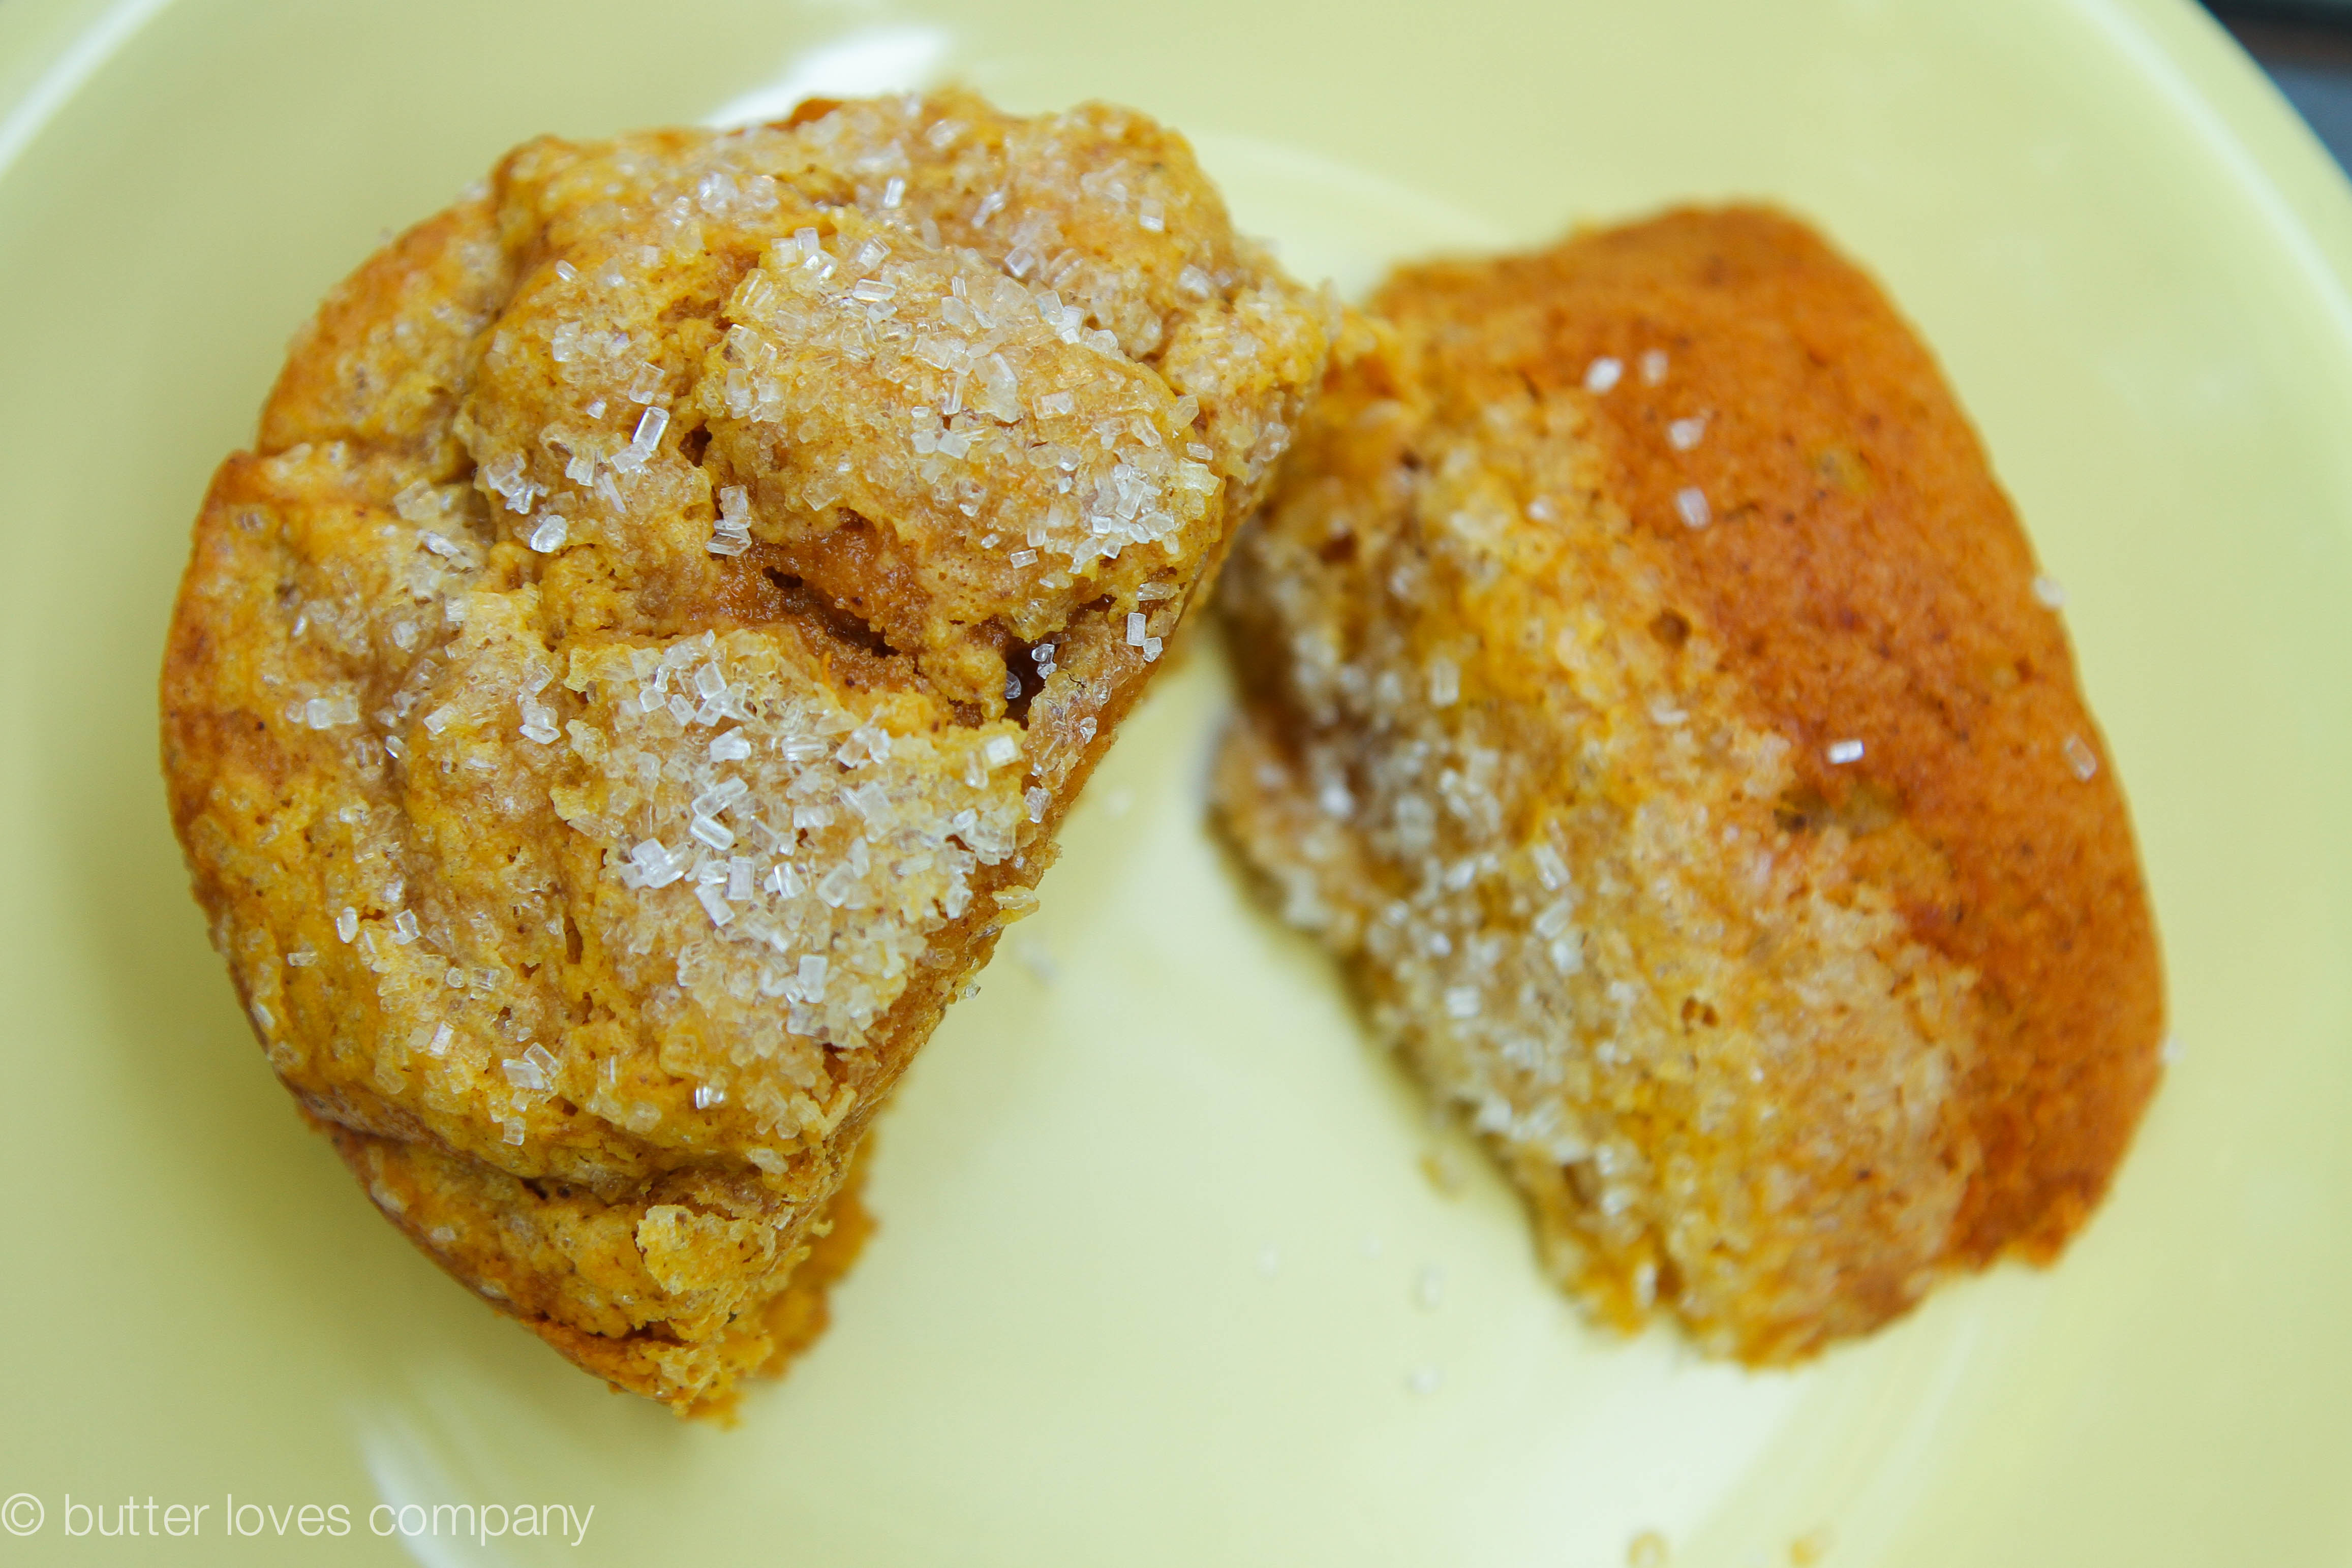
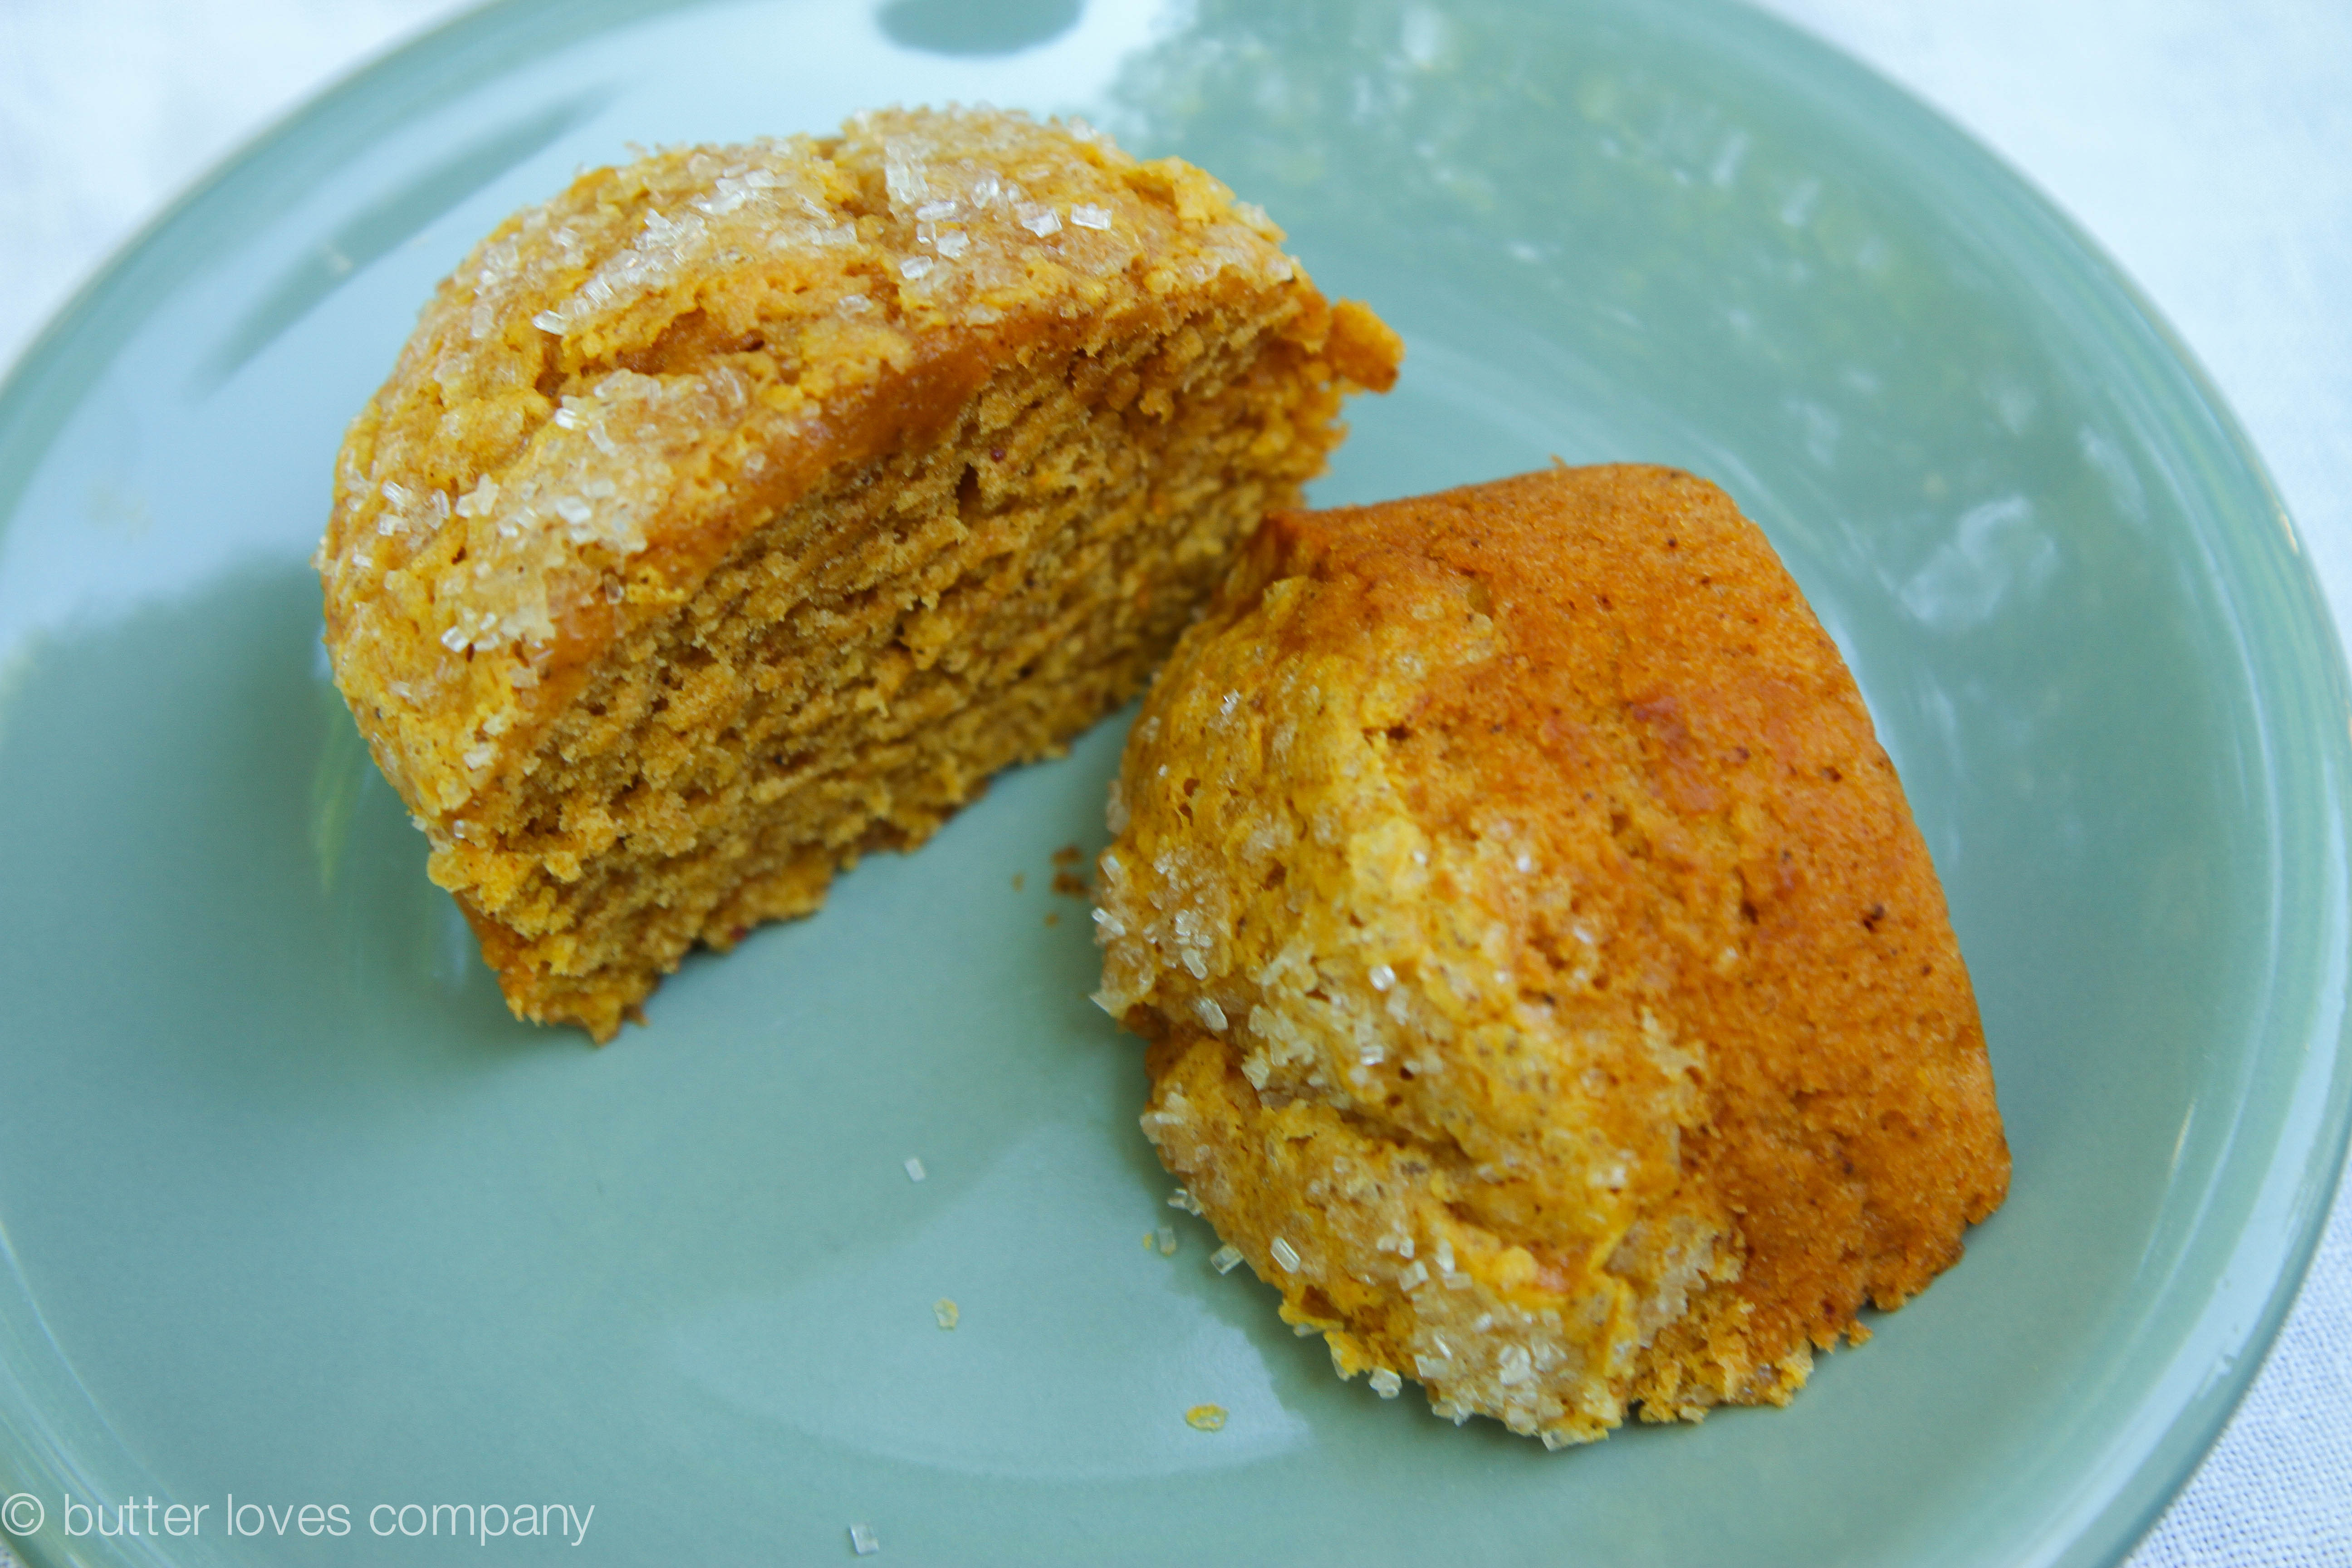
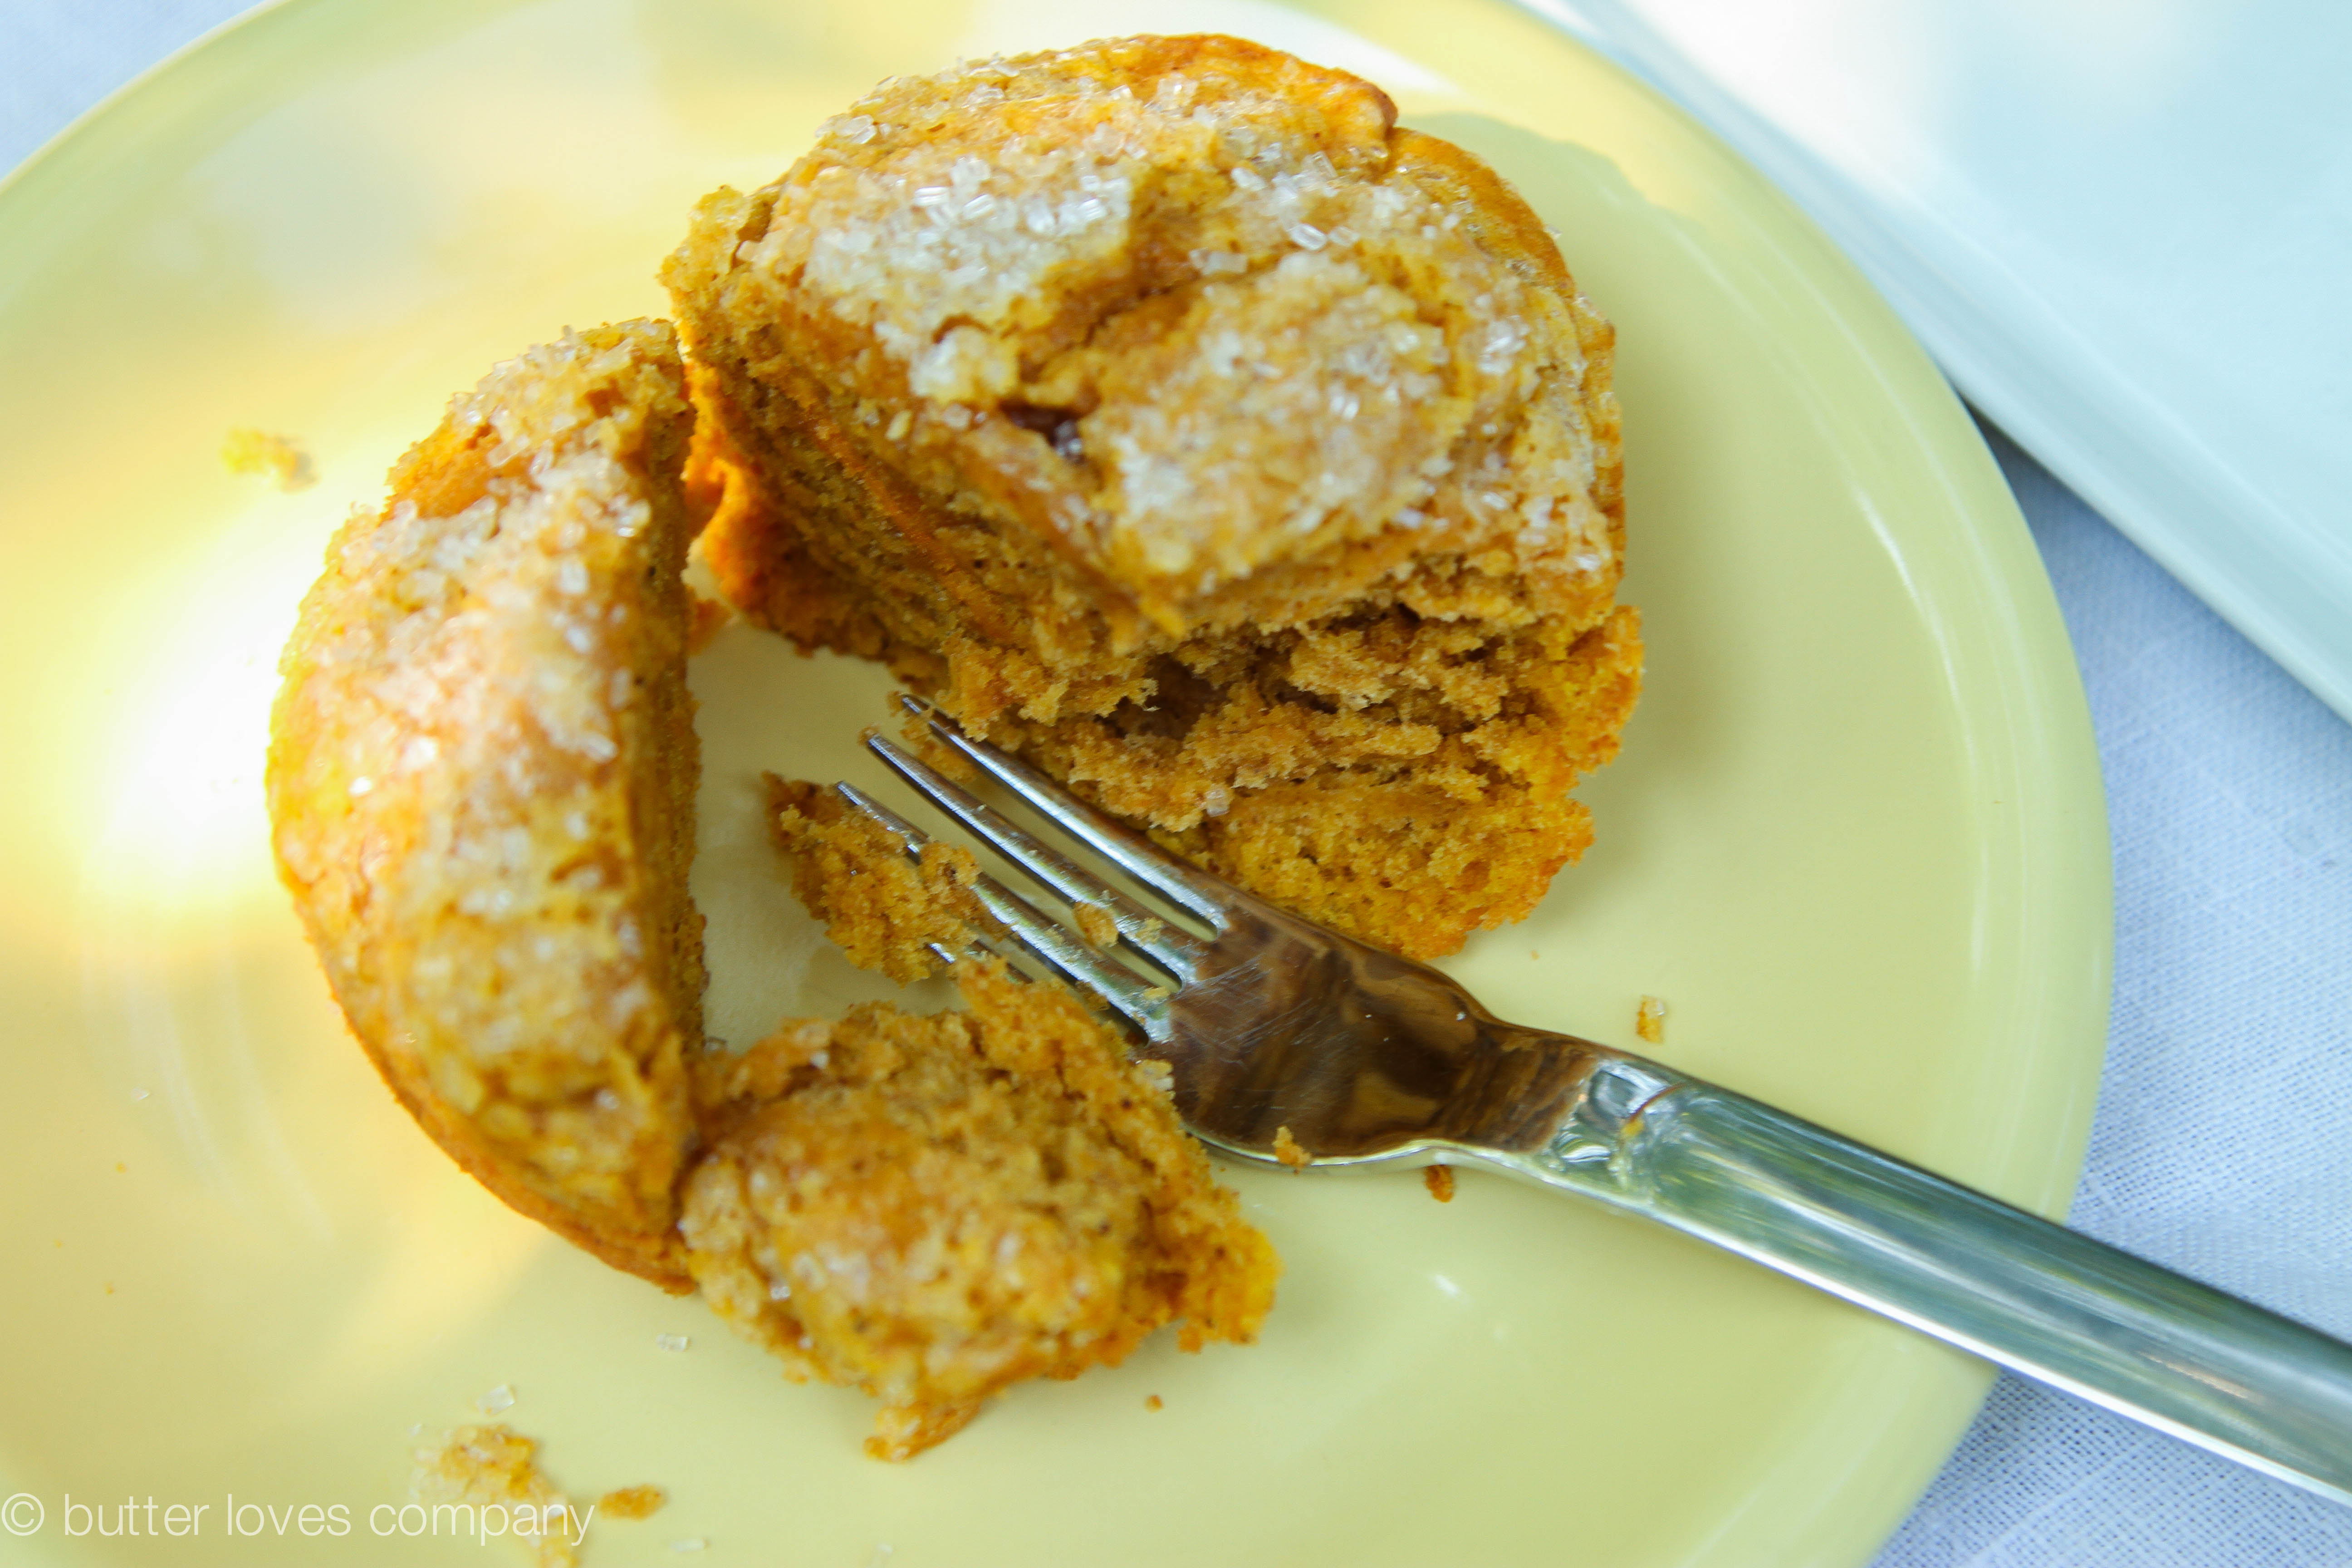
Two years ago, during the fall and early winter, there was a shortage of canned pumpkin. I think I only made four batches of pumpkin muffins that season! Literally devastating. Too dramatic? No way. Ever since, I’ve hoarded canned pumpkin like it was gold. You all will get to reap the benefits of this because I’ll share a number of my fall favorites over the next few weeks beginning with these simple to make spiced pumpkin muffins. No complex ingredients here. Just good ol’ pumpkin lovin’ deliciousness. I was also a little heavy handed with the warm spices, but I can’t say I regret it.

spiced-pumpkin-muffins-recipe-2

spiced-pumpkin-muffins-recipe-4

spiced-pumpkin-muffins-recipe-7

spiced-pumpkin-muffins-recipe-8

spiced-pumpkin-muffins-recipe-10

spiced-pumpkin-muffins-recipe-12

spiced pumpkin muffins
adapted from bon appetit, november 1995 via epicurious

prep time: 10 minutes
cook time: 34-38 minutes
total time: about 45-50 minutes
makes 12 jumbo muffins or 18 regular sized

Ingredients:

3 cups granulated sugar
1 cup vegetable oil
3 large eggs
1 16-ounce can solid pack pumpkin
(plain, not spiced)
3 cups all–purpose flour
1 teaspoon ground cloves
1 teaspoon ground cinnamon
1 teaspoon ground nutmeg
1 teaspoon salt
1 teaspoon baking powder

Instructions:

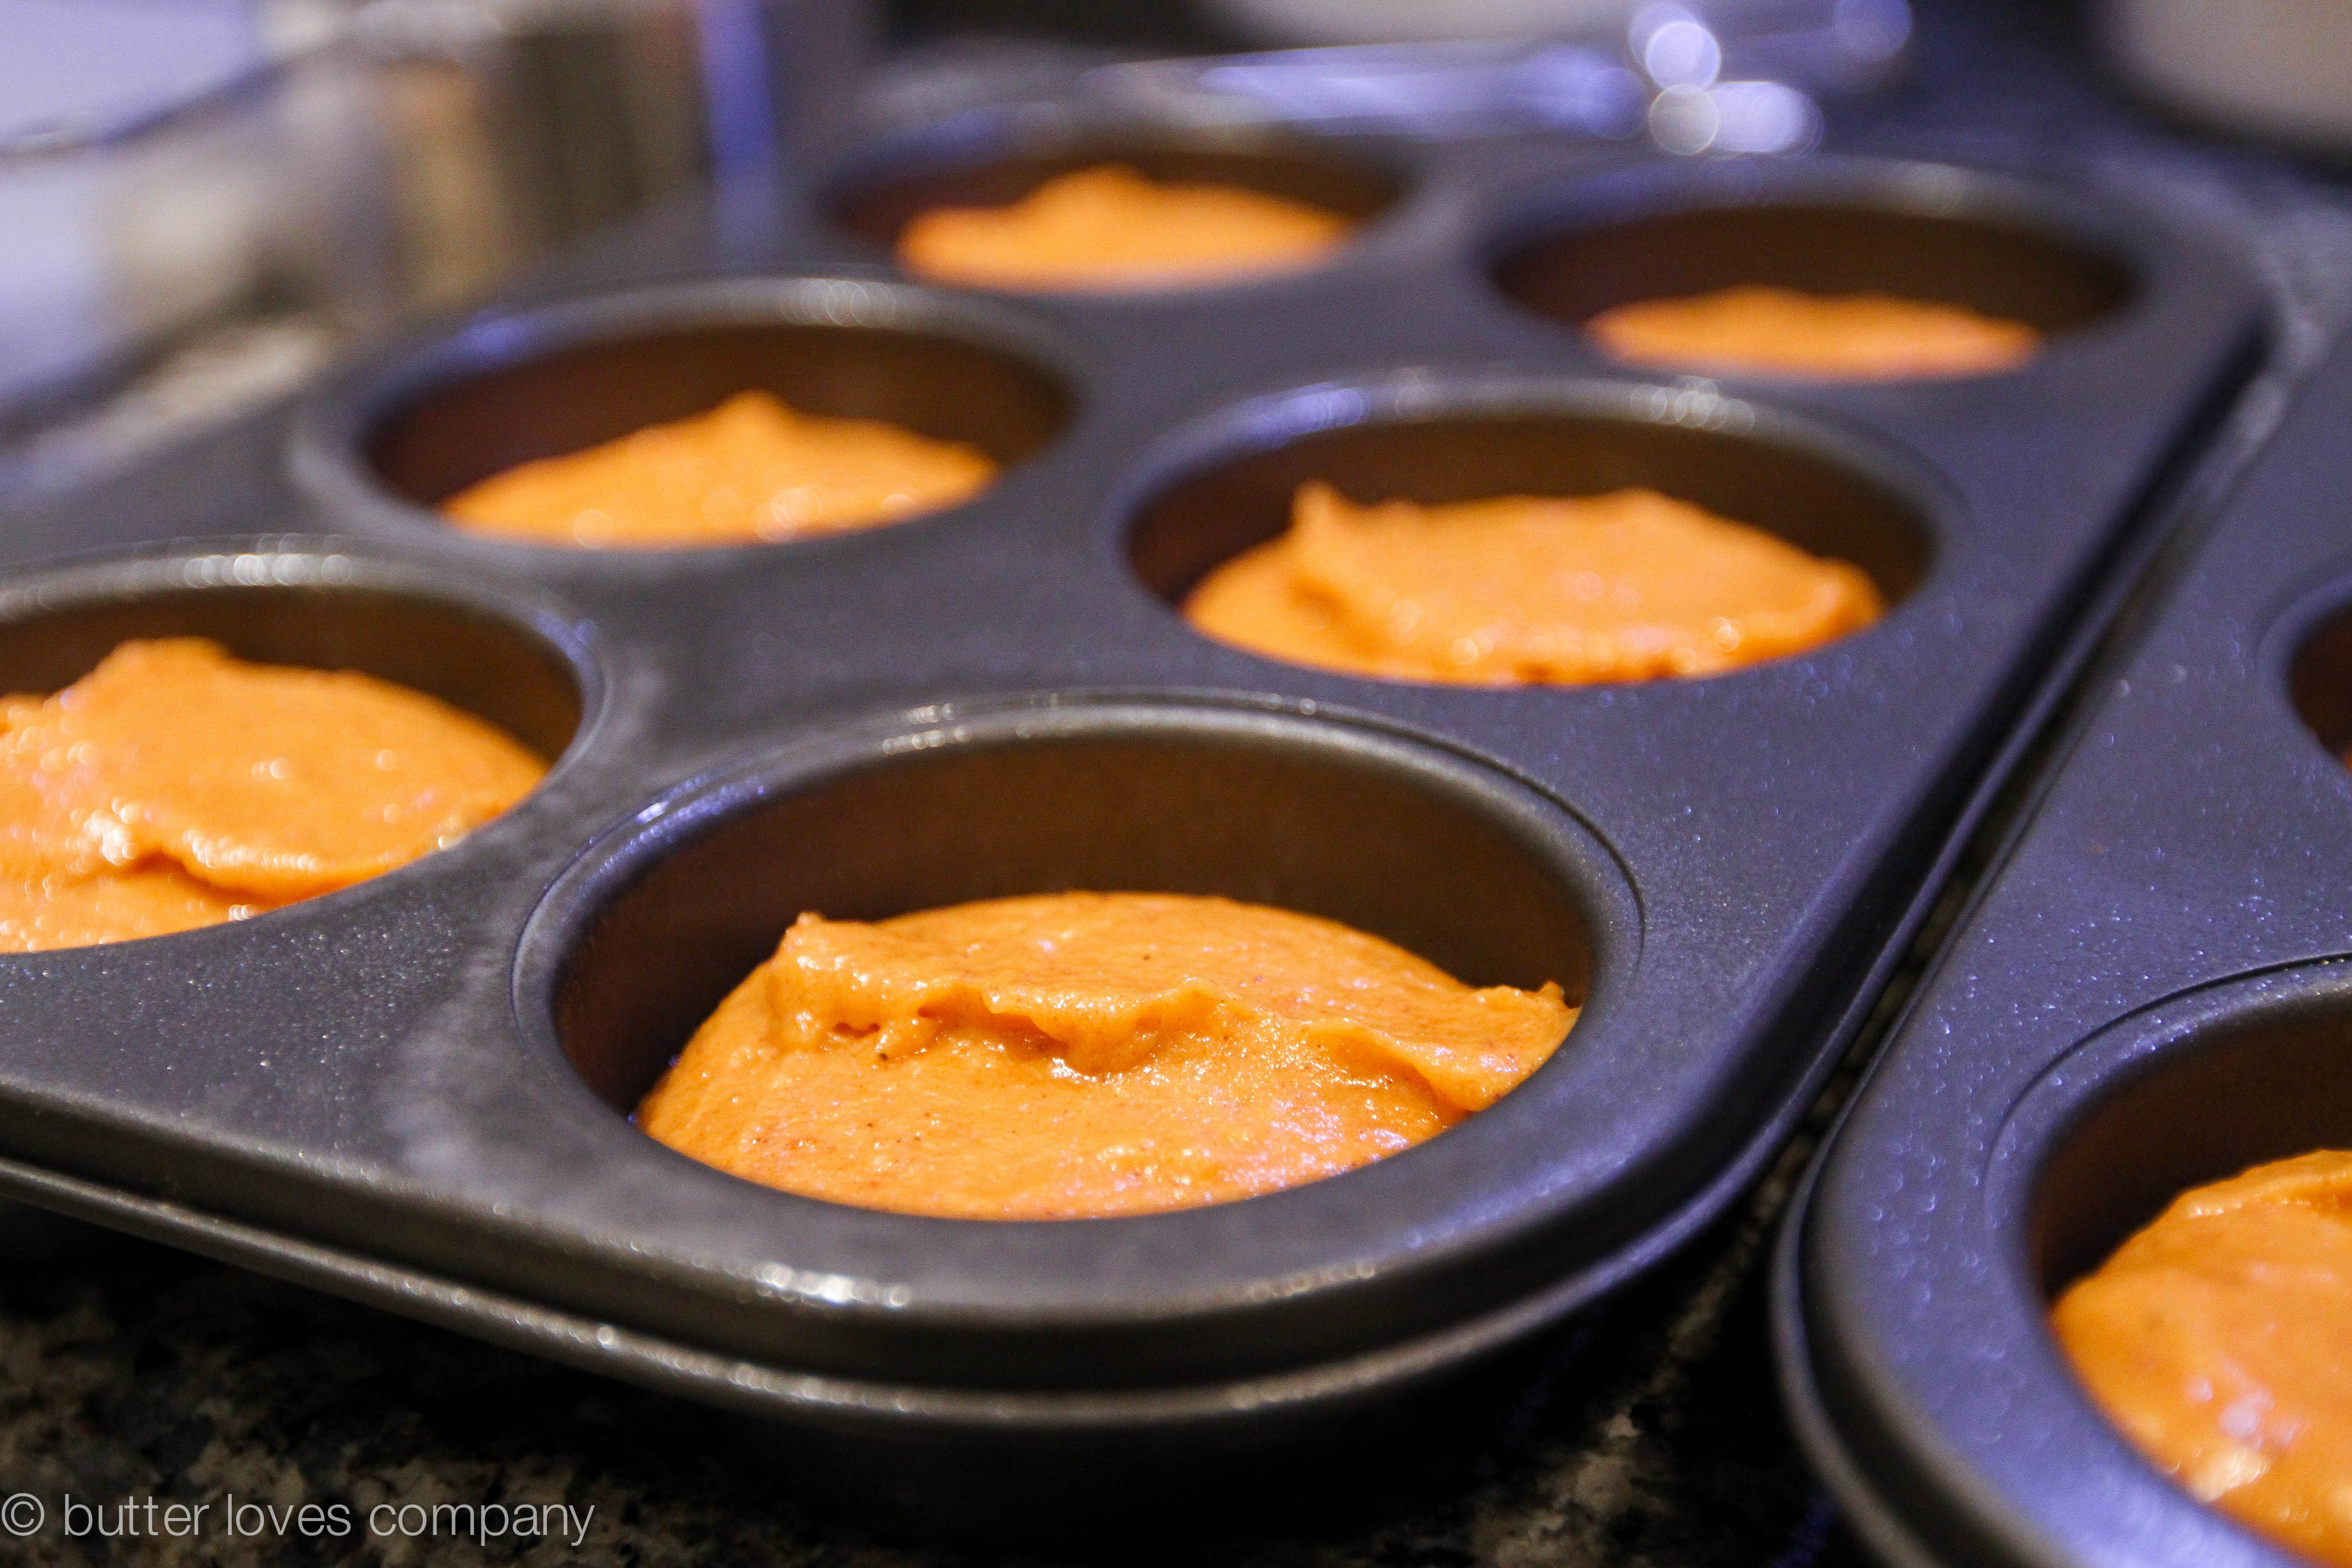
  1. Preheat the oven to 350°F. Spray two jumbo holed muffin pans
    (six muffins per pan) with non-stick baking spray (or alternatively, butter and flour the pans)*. In the bowl of an electric mixer fitted with the paddle attachment, beat sugar and oil on medium speed to blend. Add eggs, mixing after each addition, and then add pumpkin. Mix until combined and smooth.
  2. In a separate medium bowl, whisk together flour, cloves, cinnamon, nutmeg, salt and baking powder. With the stand mixer on low speed, mix the flour mixture into the pumpkin mixture in two additions, until just combined.
  3. Divide batter equally between prepared muffin pans. Bake until toothpick inserted into the center of one of the center muffins comes out clean, about 34–38 minutes. Allow the muffins to cool in the pans for 5 minutes. Transfer muffins to wire racks to cool completely or for as long as you can resist.

*If using standard muffin pans, you’ll want to follow the recipe exactly and once the muffins are in the oven begin testing them after 18–20 minutes.

spiced-pumpkin-muffins-recipe-13

Filed Under: breakfast and breads, eat Tagged With: autumn, cinnamon, fall, muffins, pumpkin, spiced

6-inch super s’mores cake

August 14, 2014 by Butter Loves Company

smores-layer-cake-recipe-14 copy

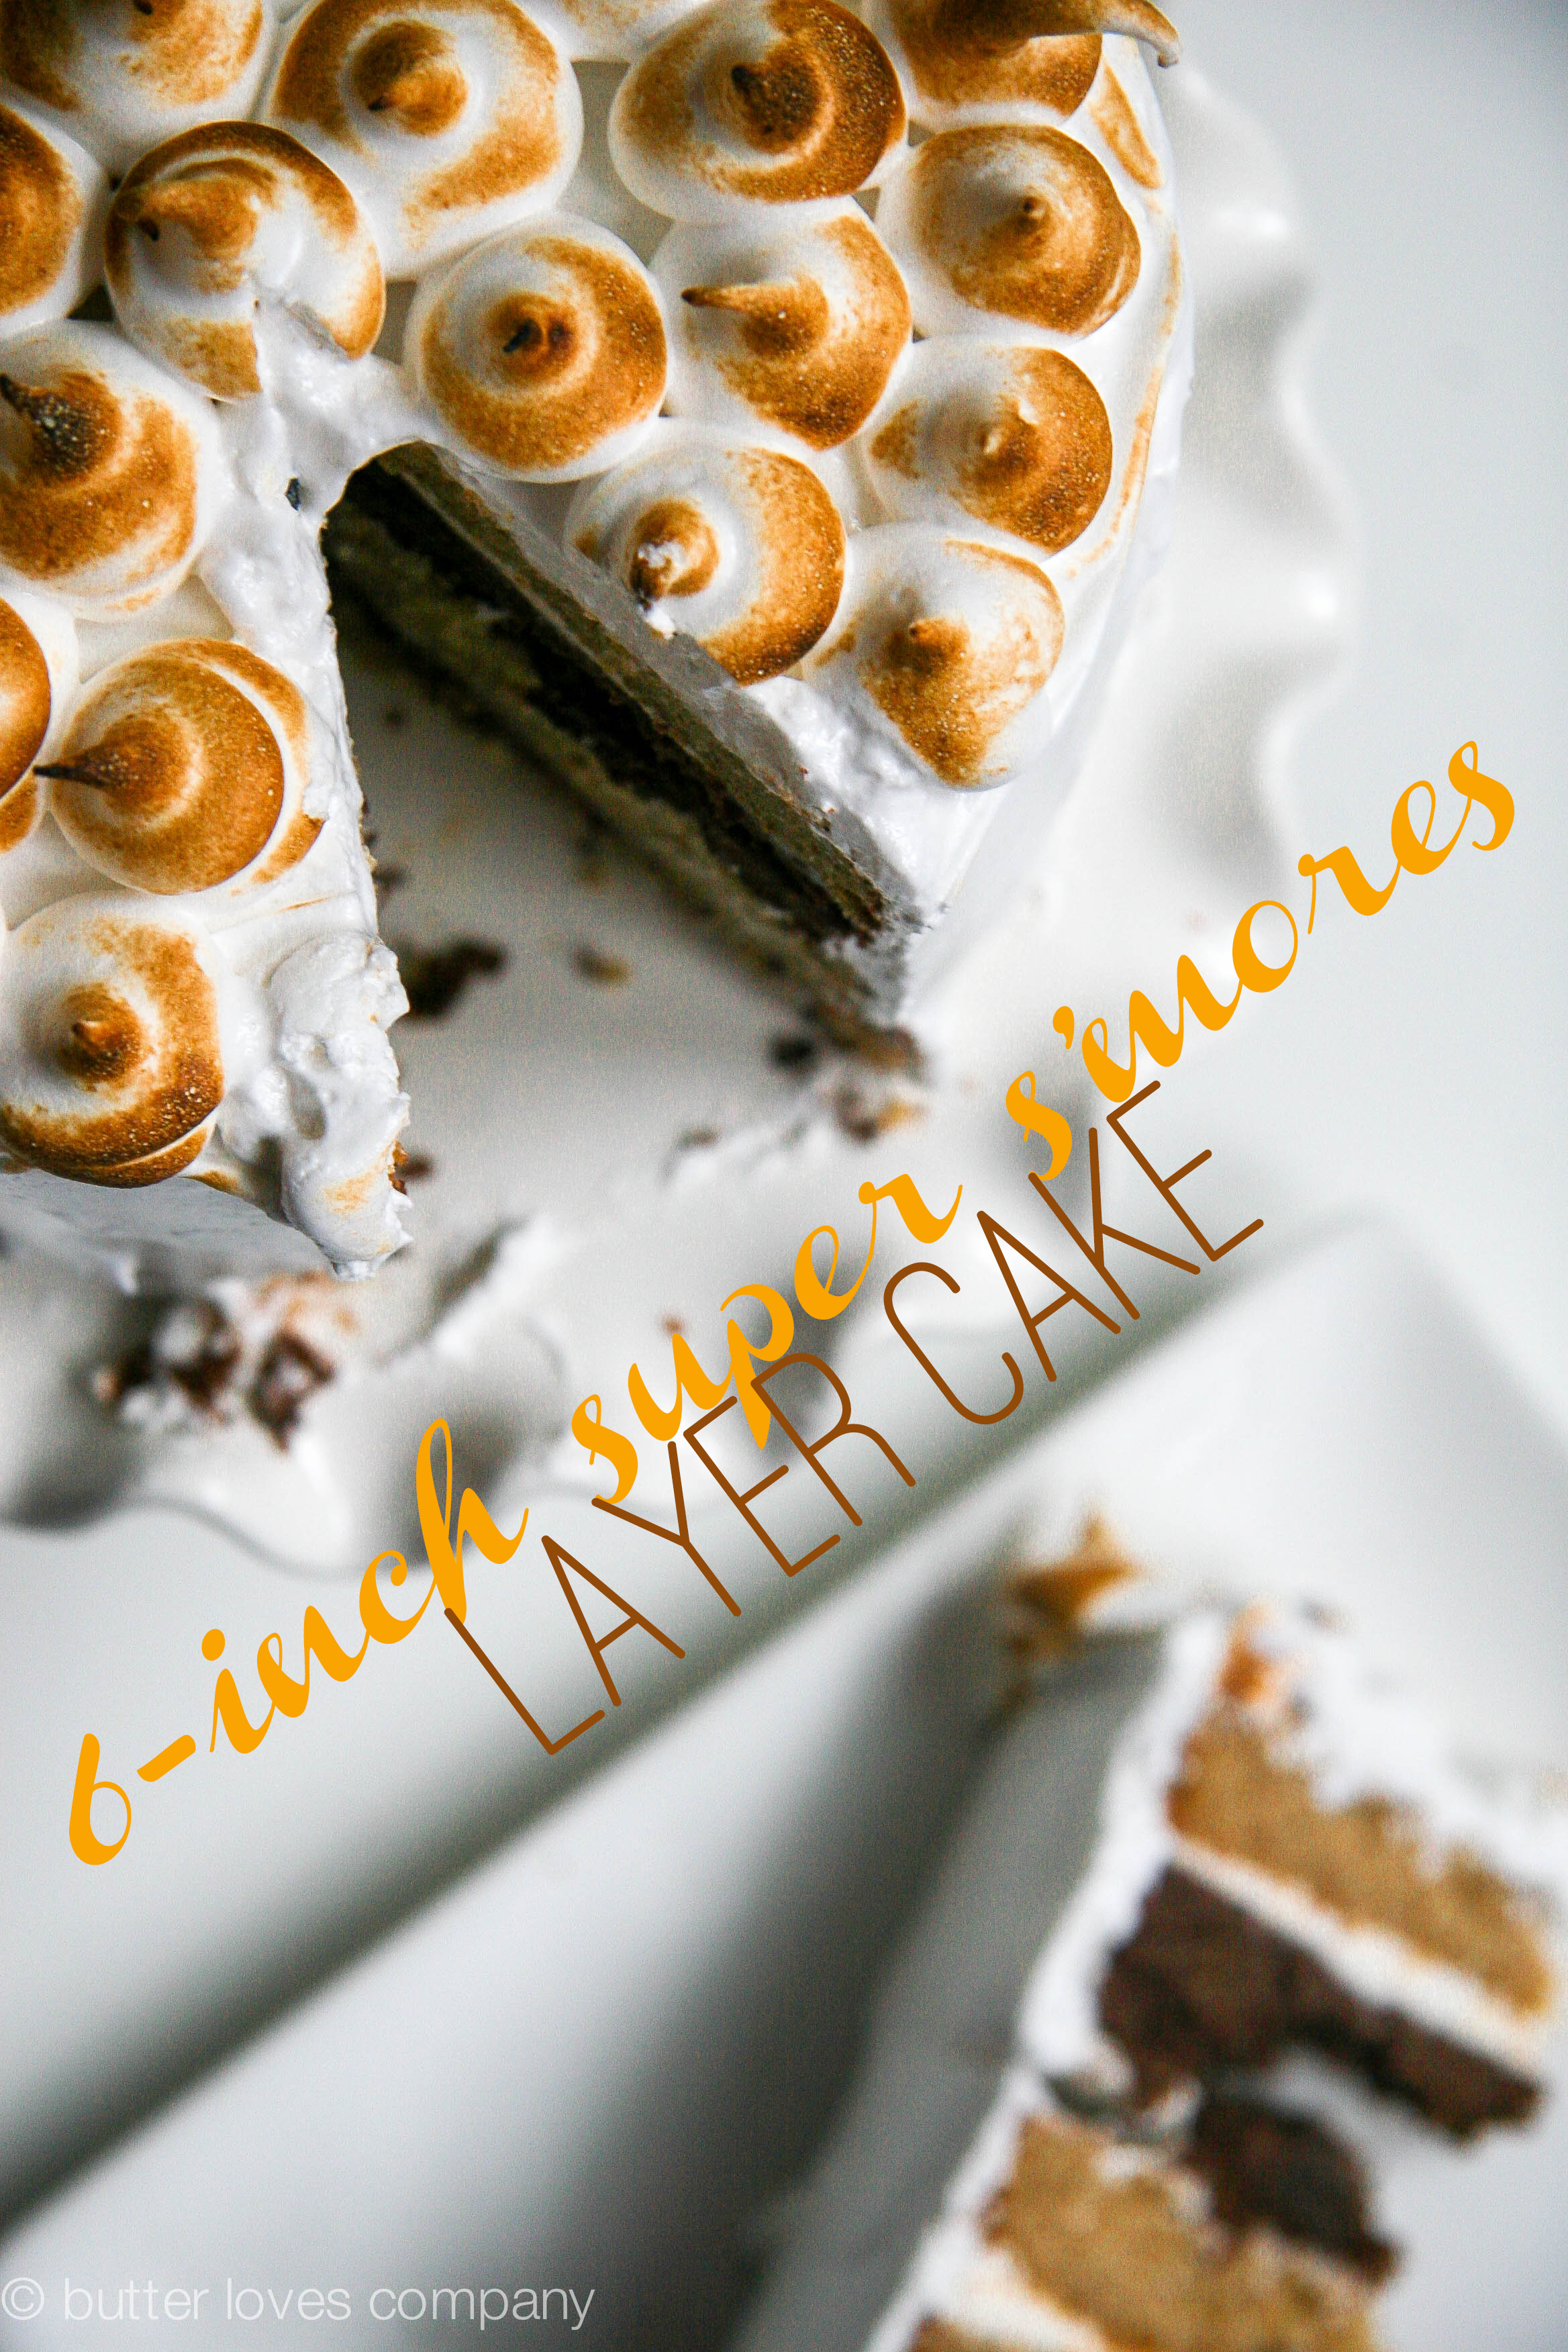
Let me start by saying, I cannot eat this s’mores cake without singing my sugar- and butter-laden version of Britney Spears’ Gimme More, aptly retitled, “Gimme S’more.” So far my debut as a pop star has only hit the living room, but I’m considering going on tour. And trust me, if I brought this cake, you’d buy tickets. You. Totally. Would.

smores-layer-cake-recipe-1

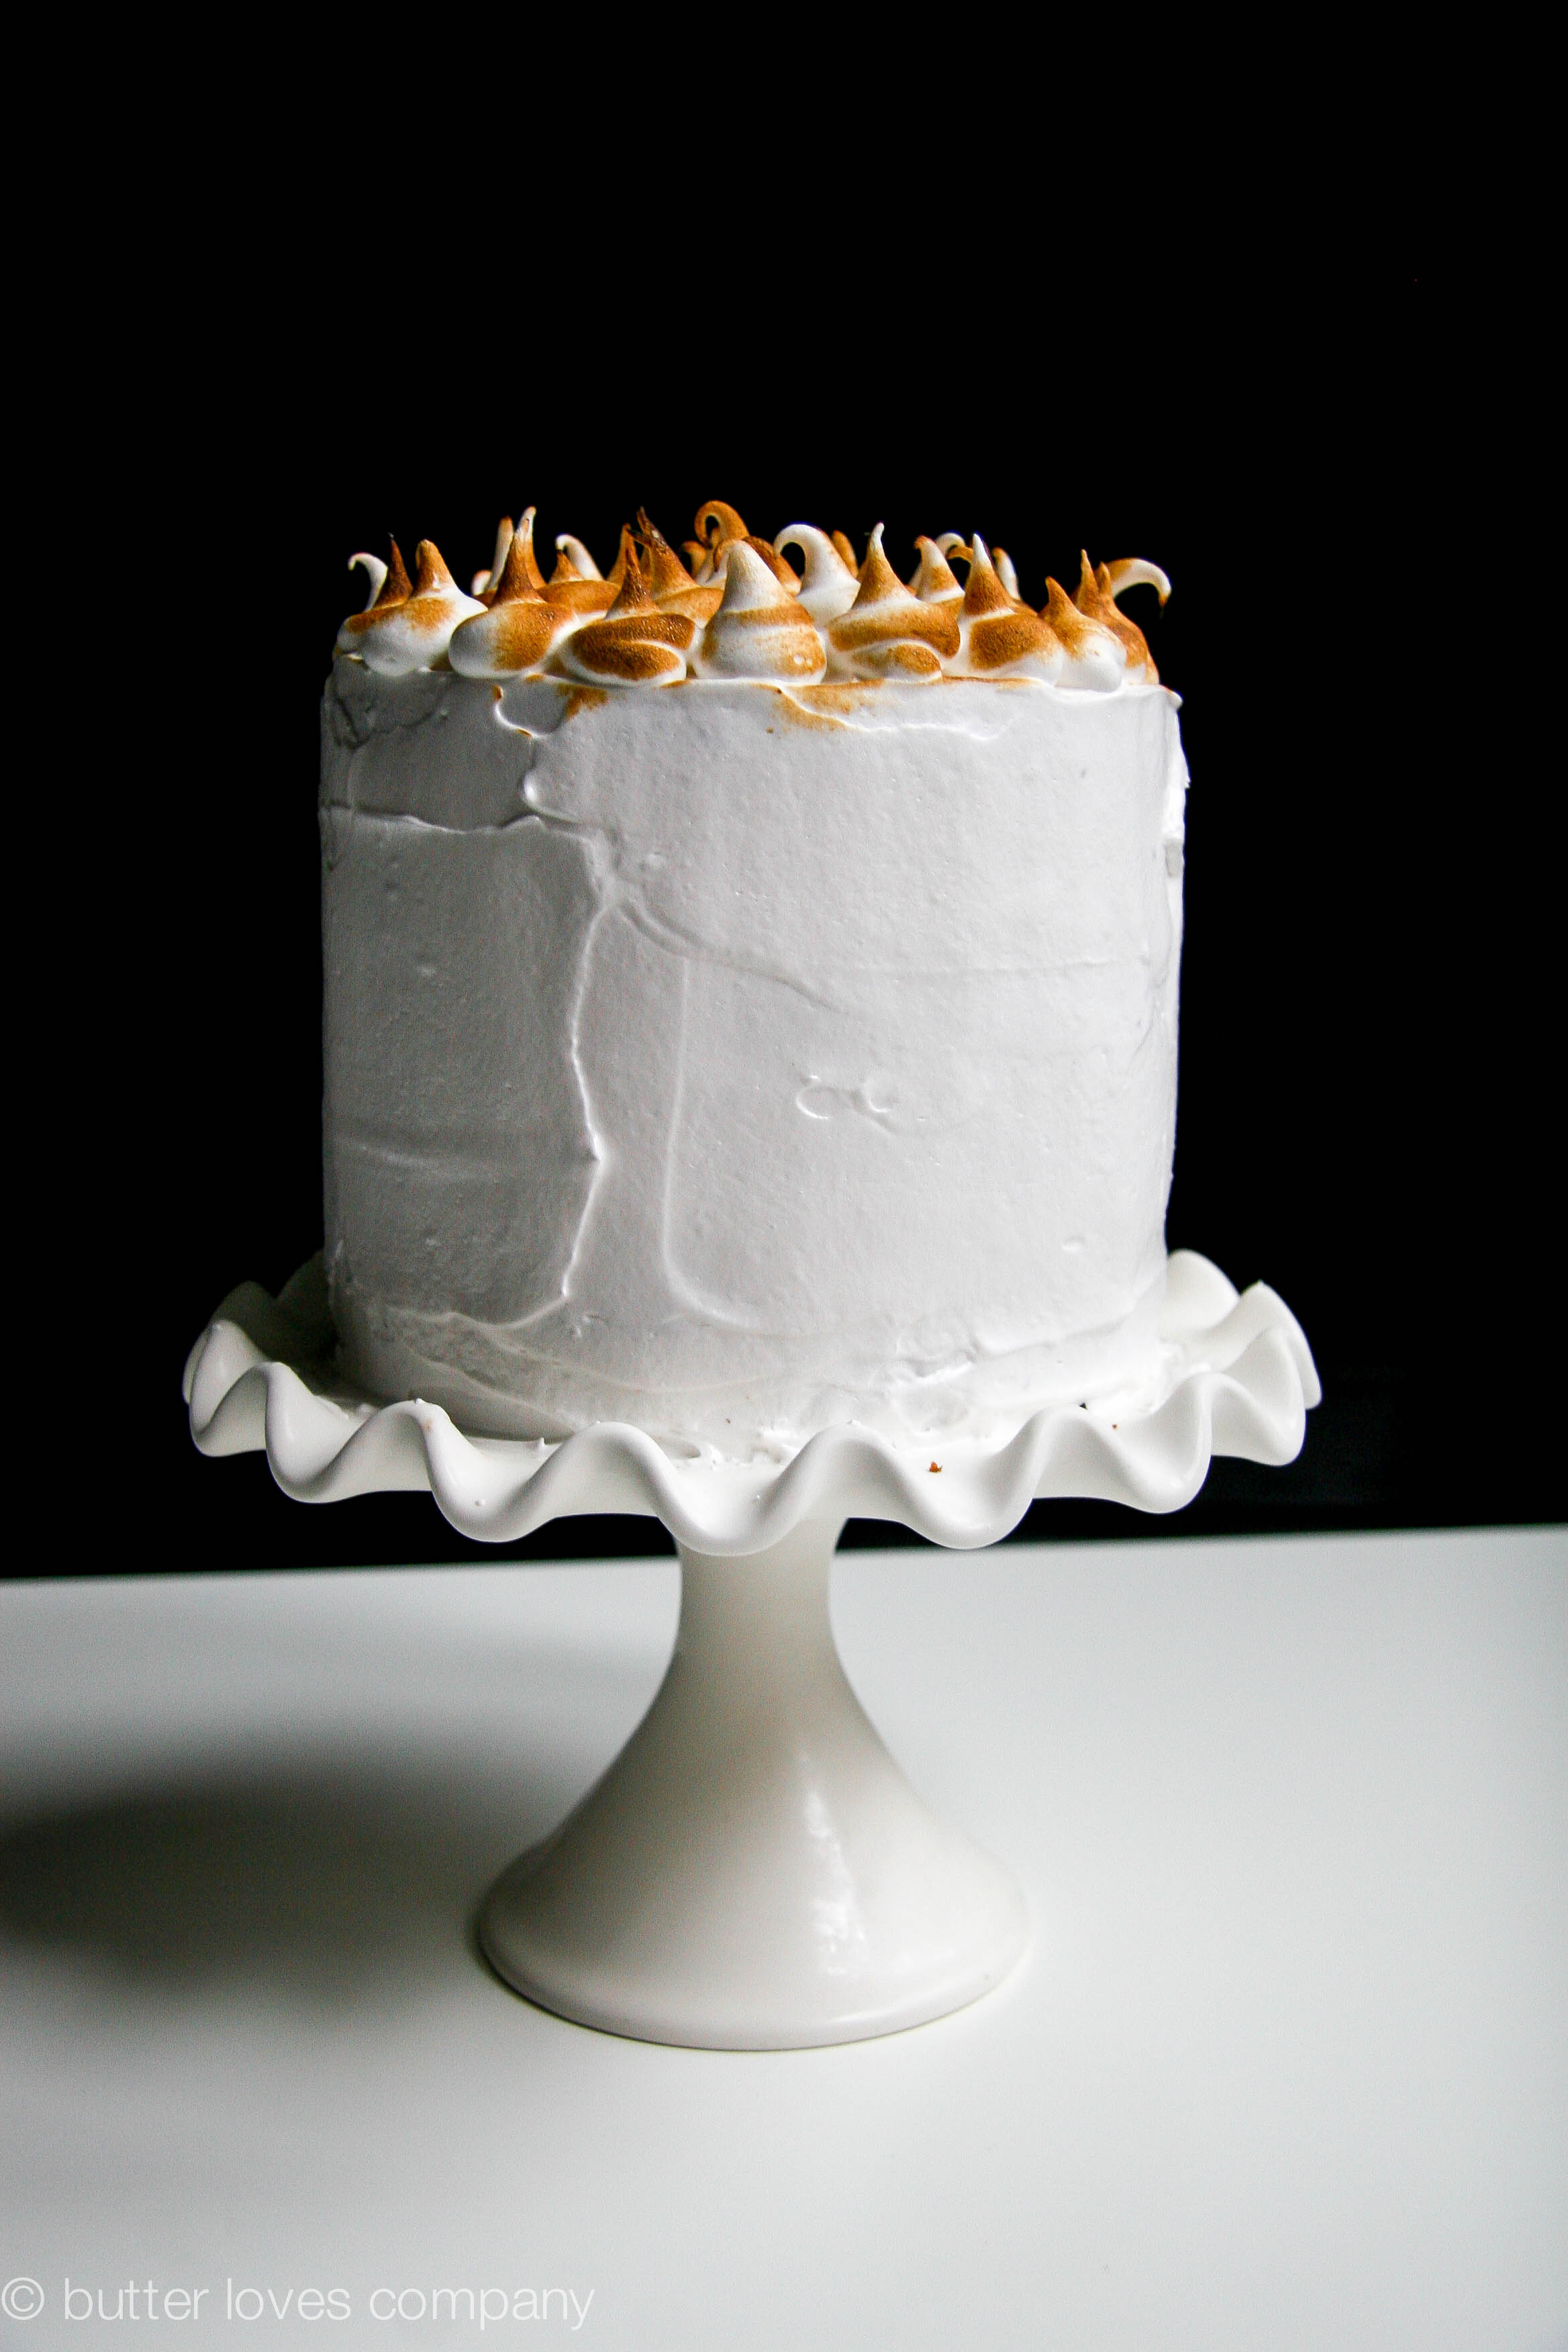
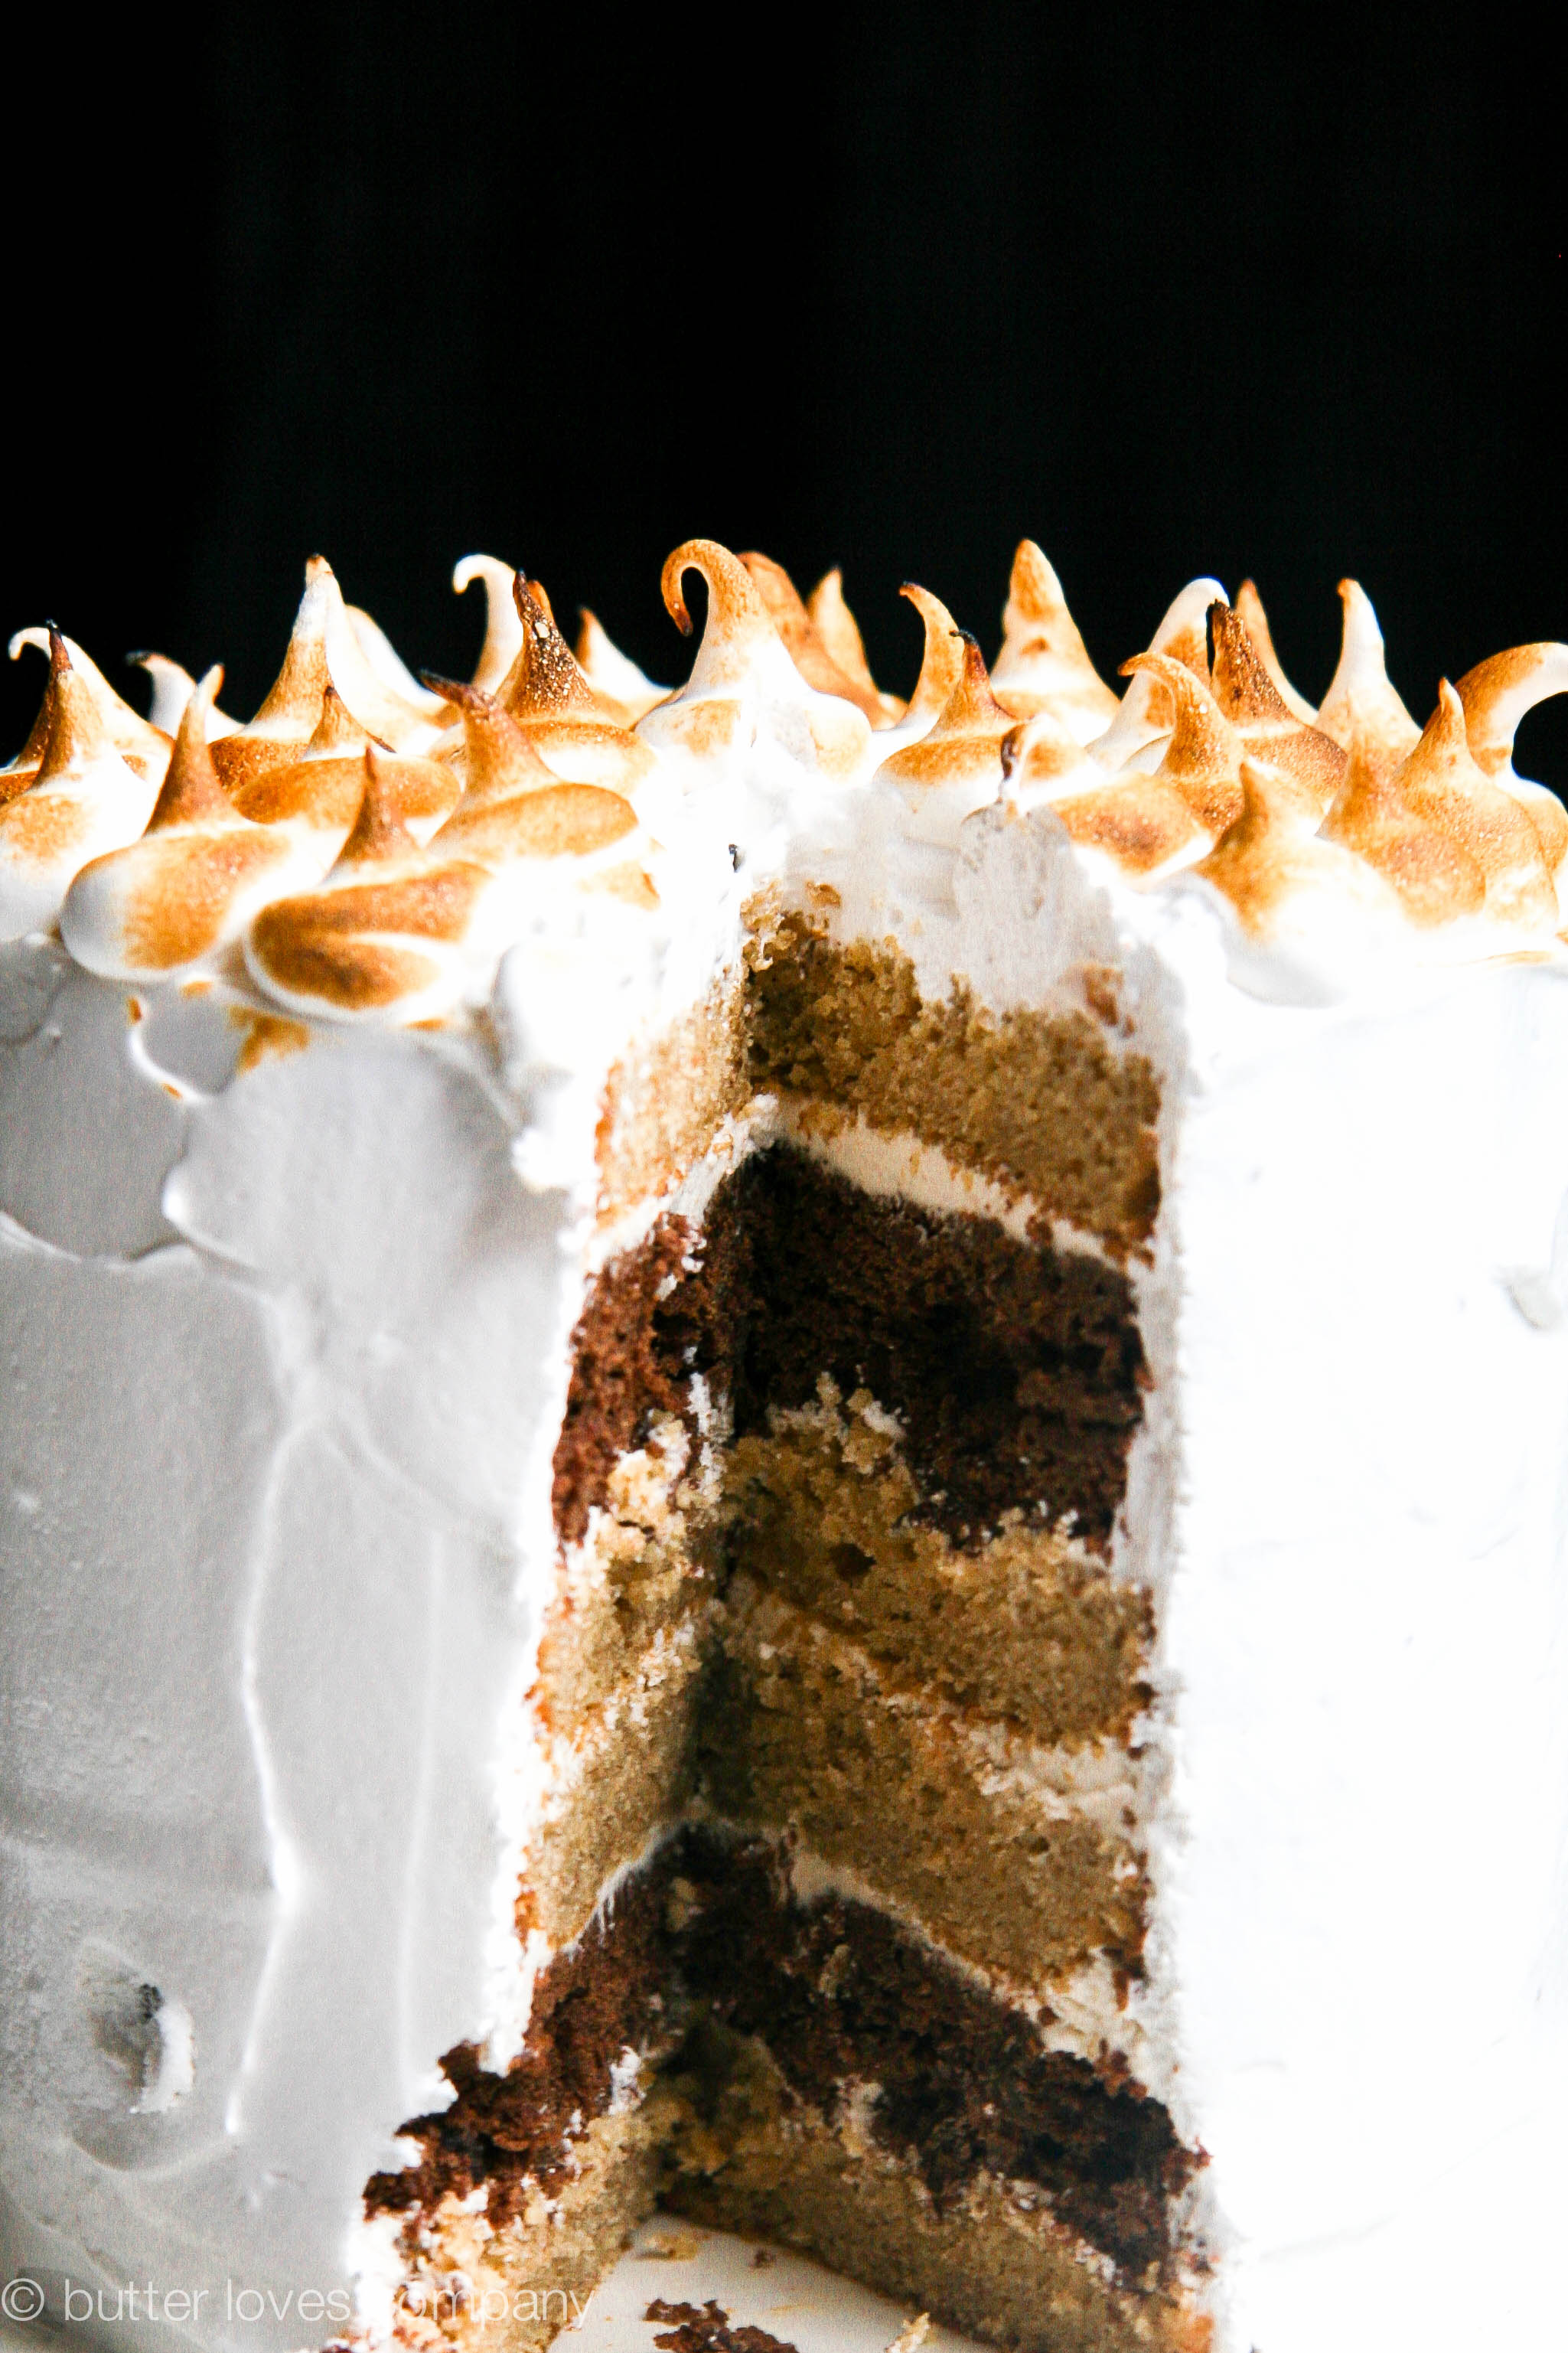
S’mores epitomize summer. The ultimate campfire food, these gooey treats are best eaten after a fire-roasted hot dog, on a sticky night and with no shoes on. Three simple ingredients: chocolate, marshmallows and graham crackers combine to create the perfect sweet, creamy, crunchy, decadent and airy 4 x 4 inch square. For us city dwellers who still want to have ‘s’more’ summer fun but don’t have grills or fire pits to perfectly roast our marshmallows on, a kitchen torch is truly a game changer. It opens up the door for both regular s’mores and also their haute cuisine big sister, this s’mores cake (brought to you by my Tuesday night baking impulse, and apparent delirium).
smores-layer-cake-recipe-3

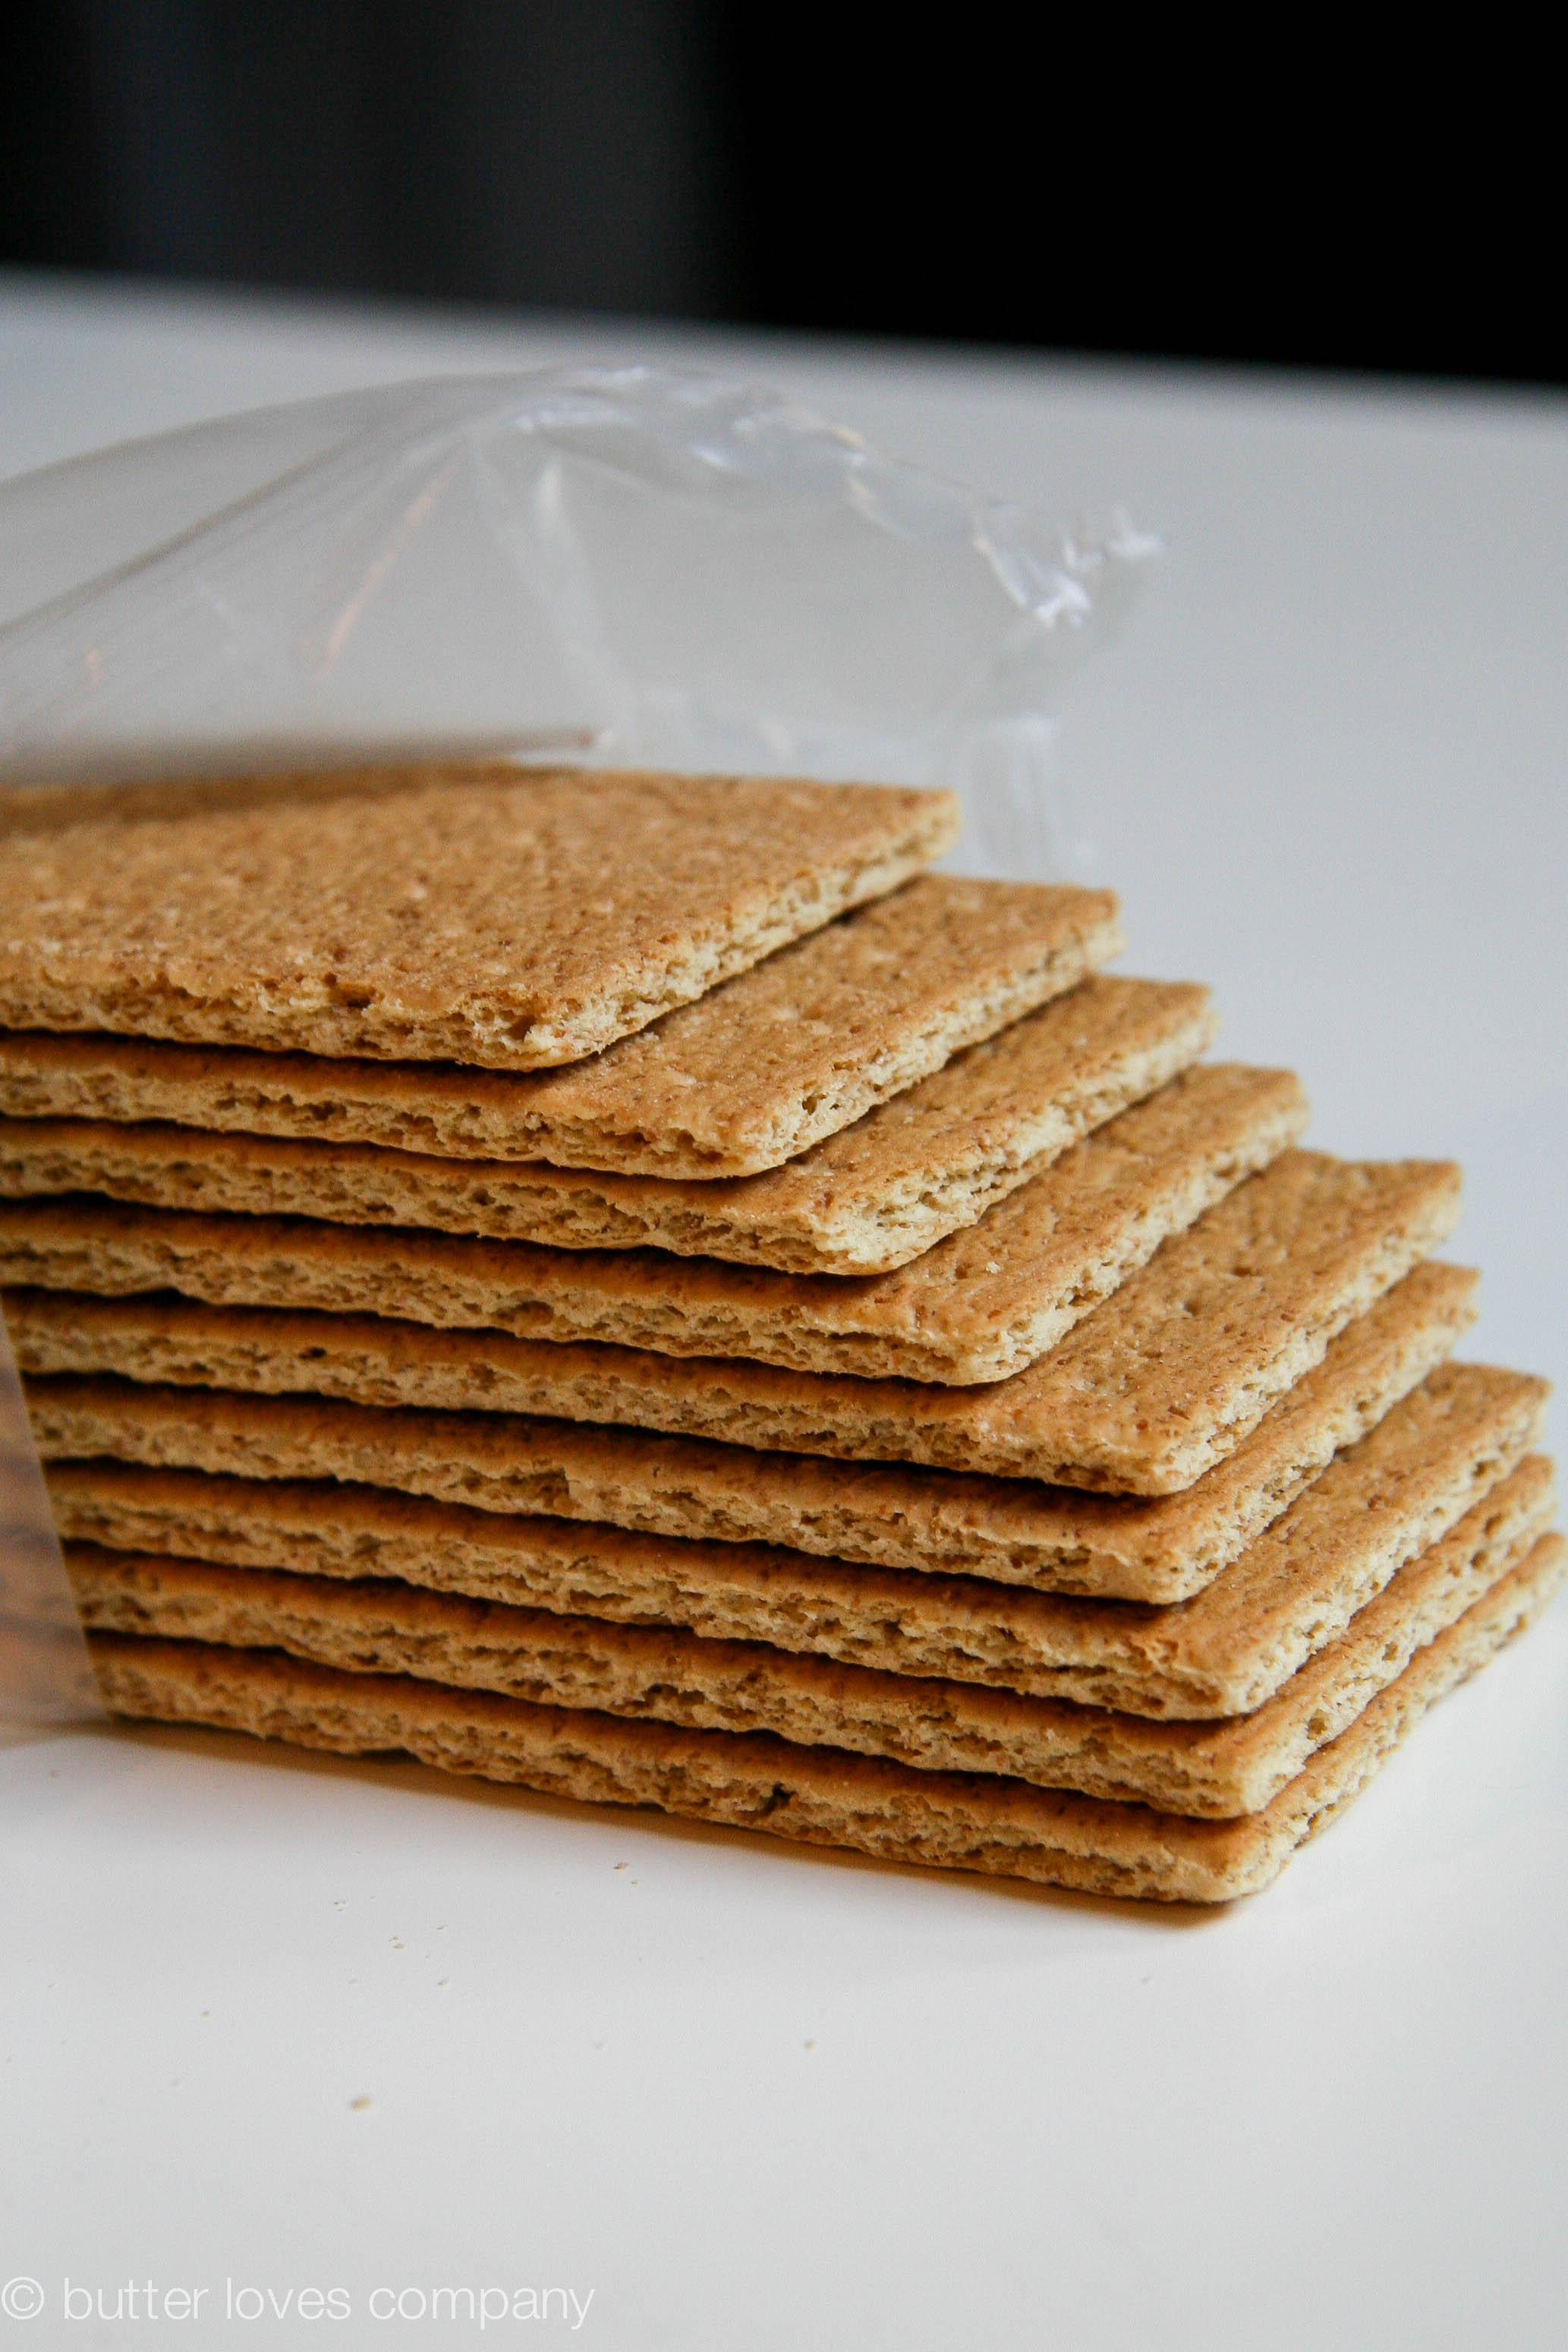
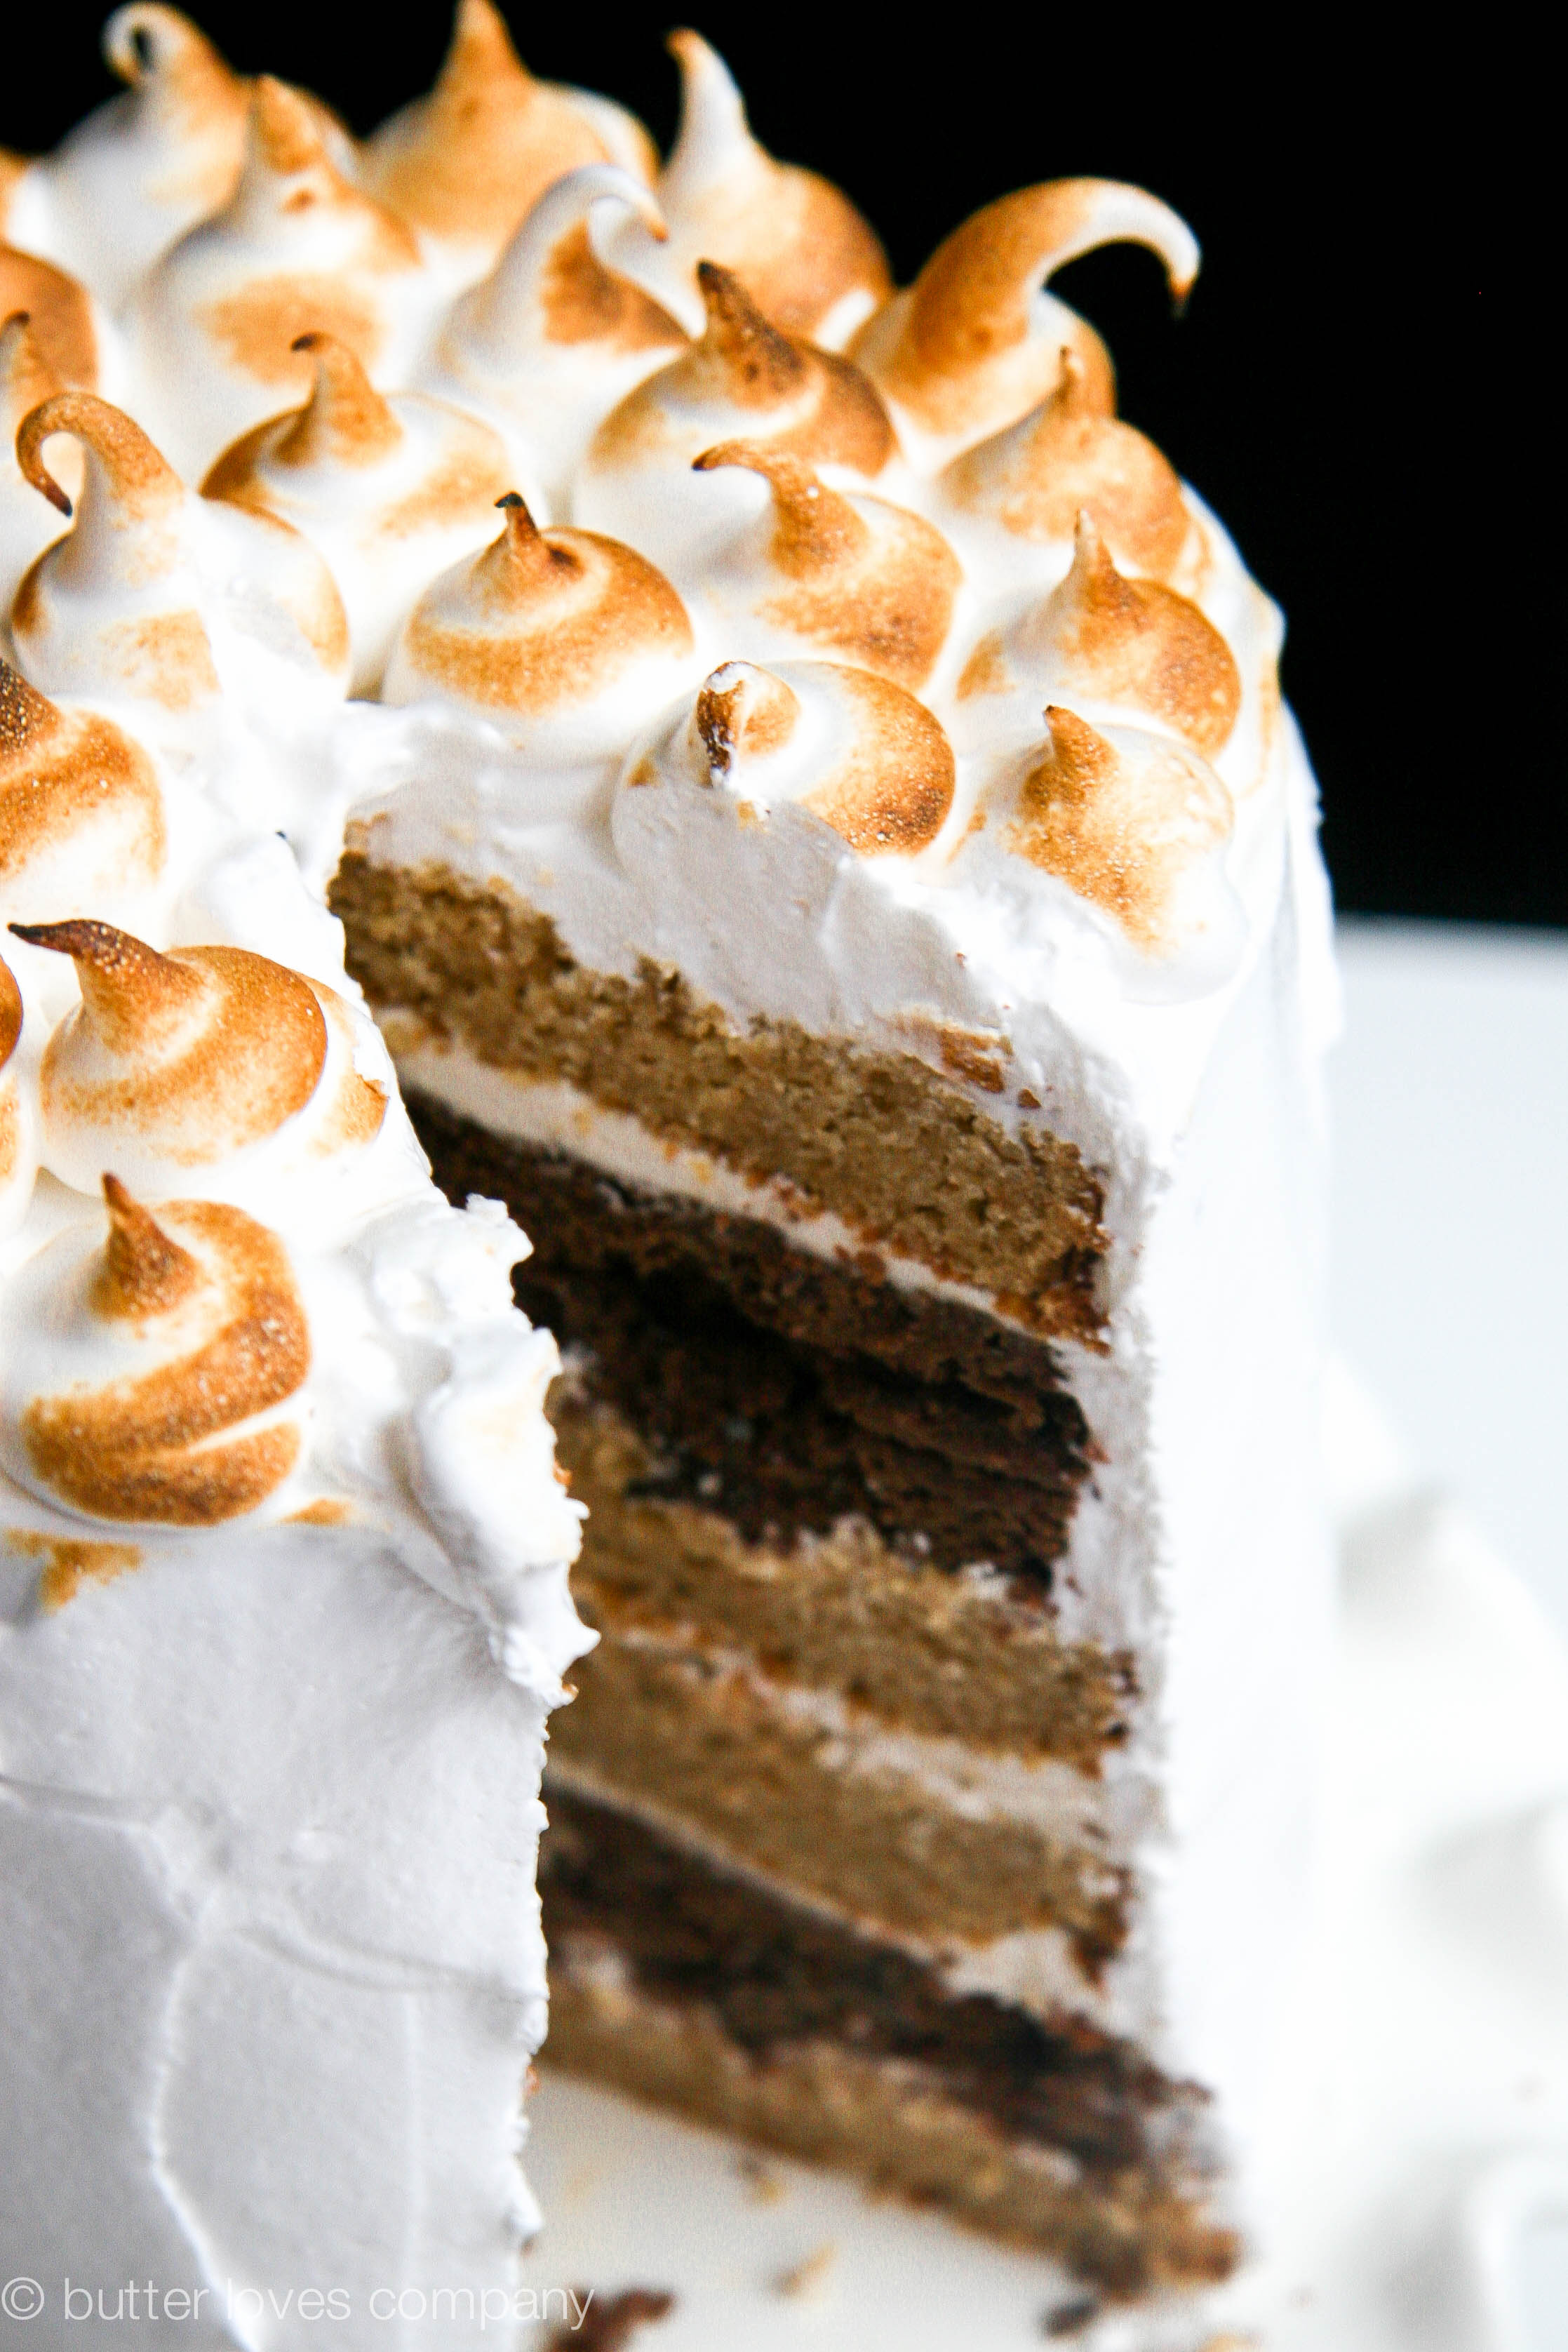
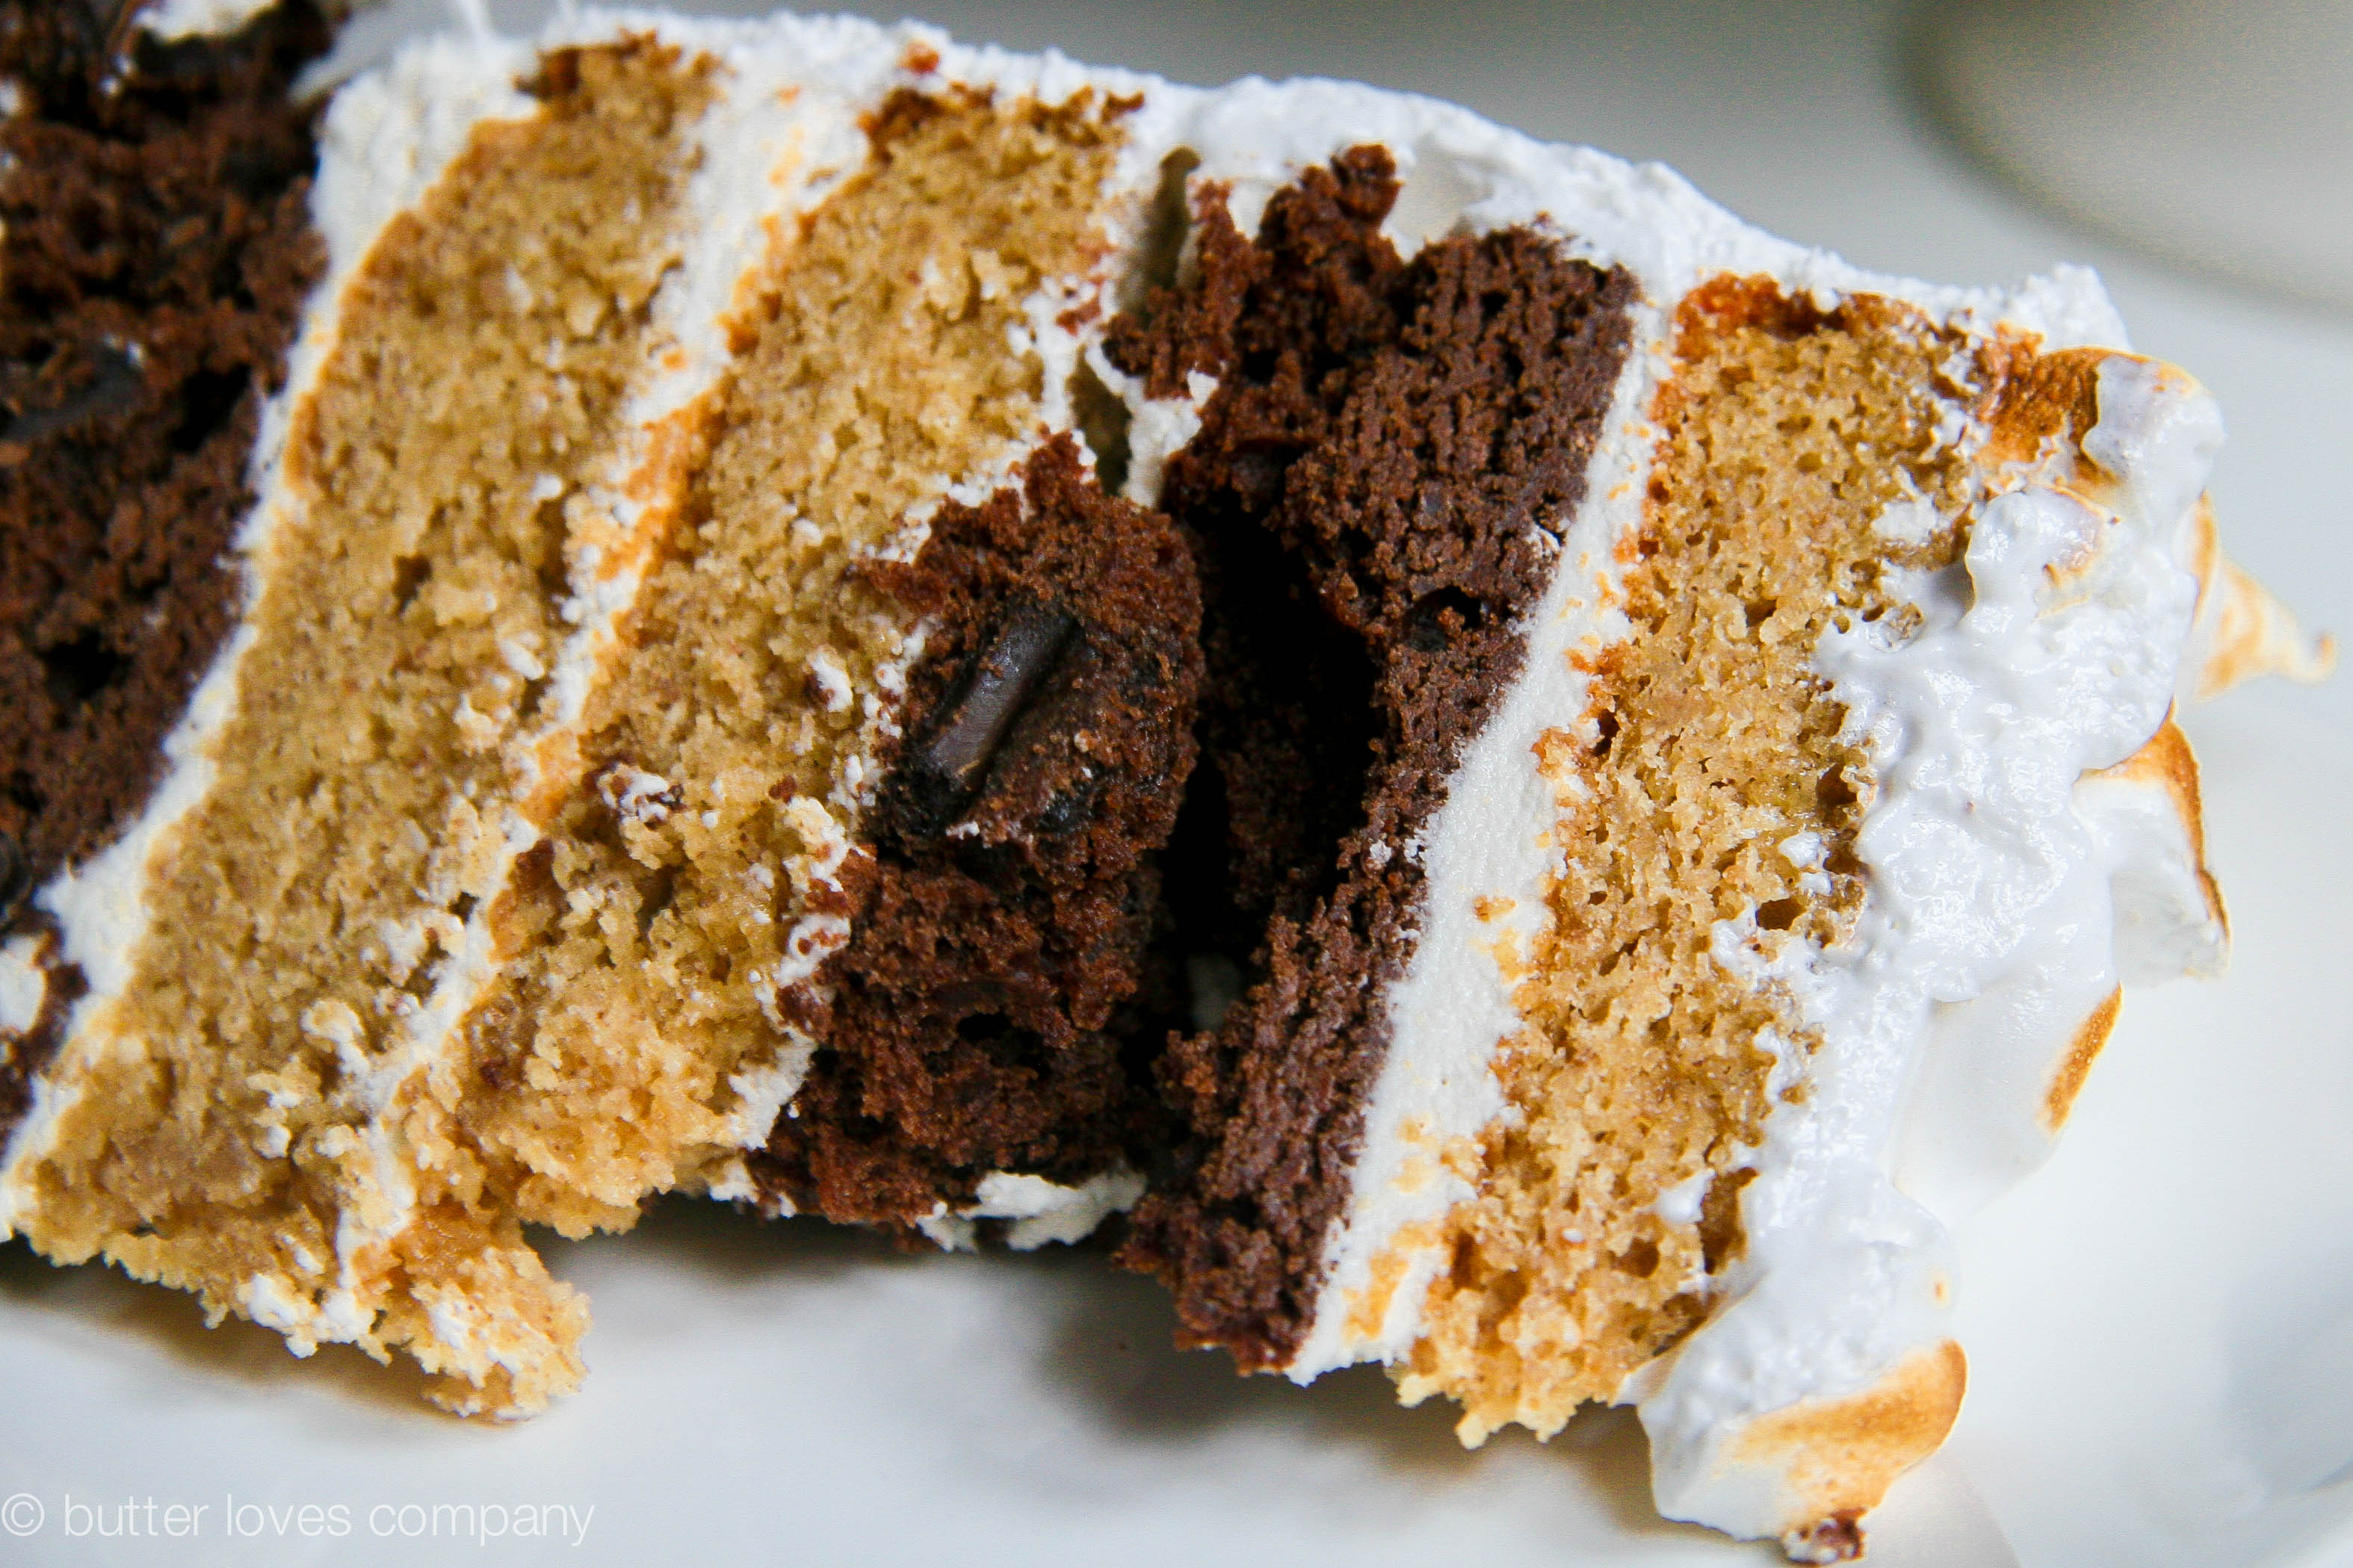
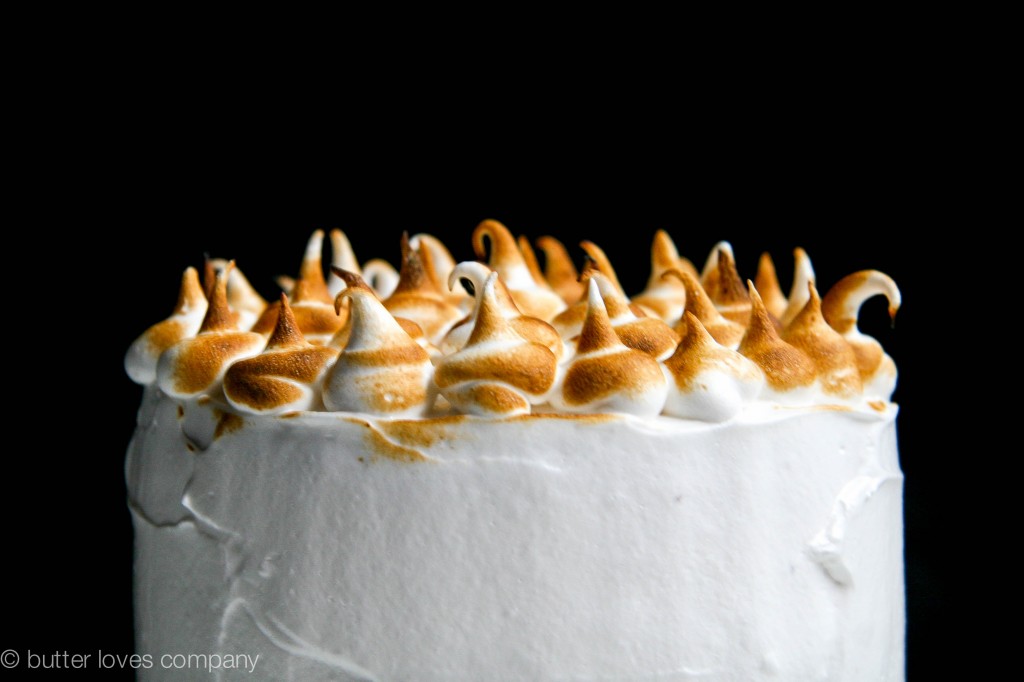
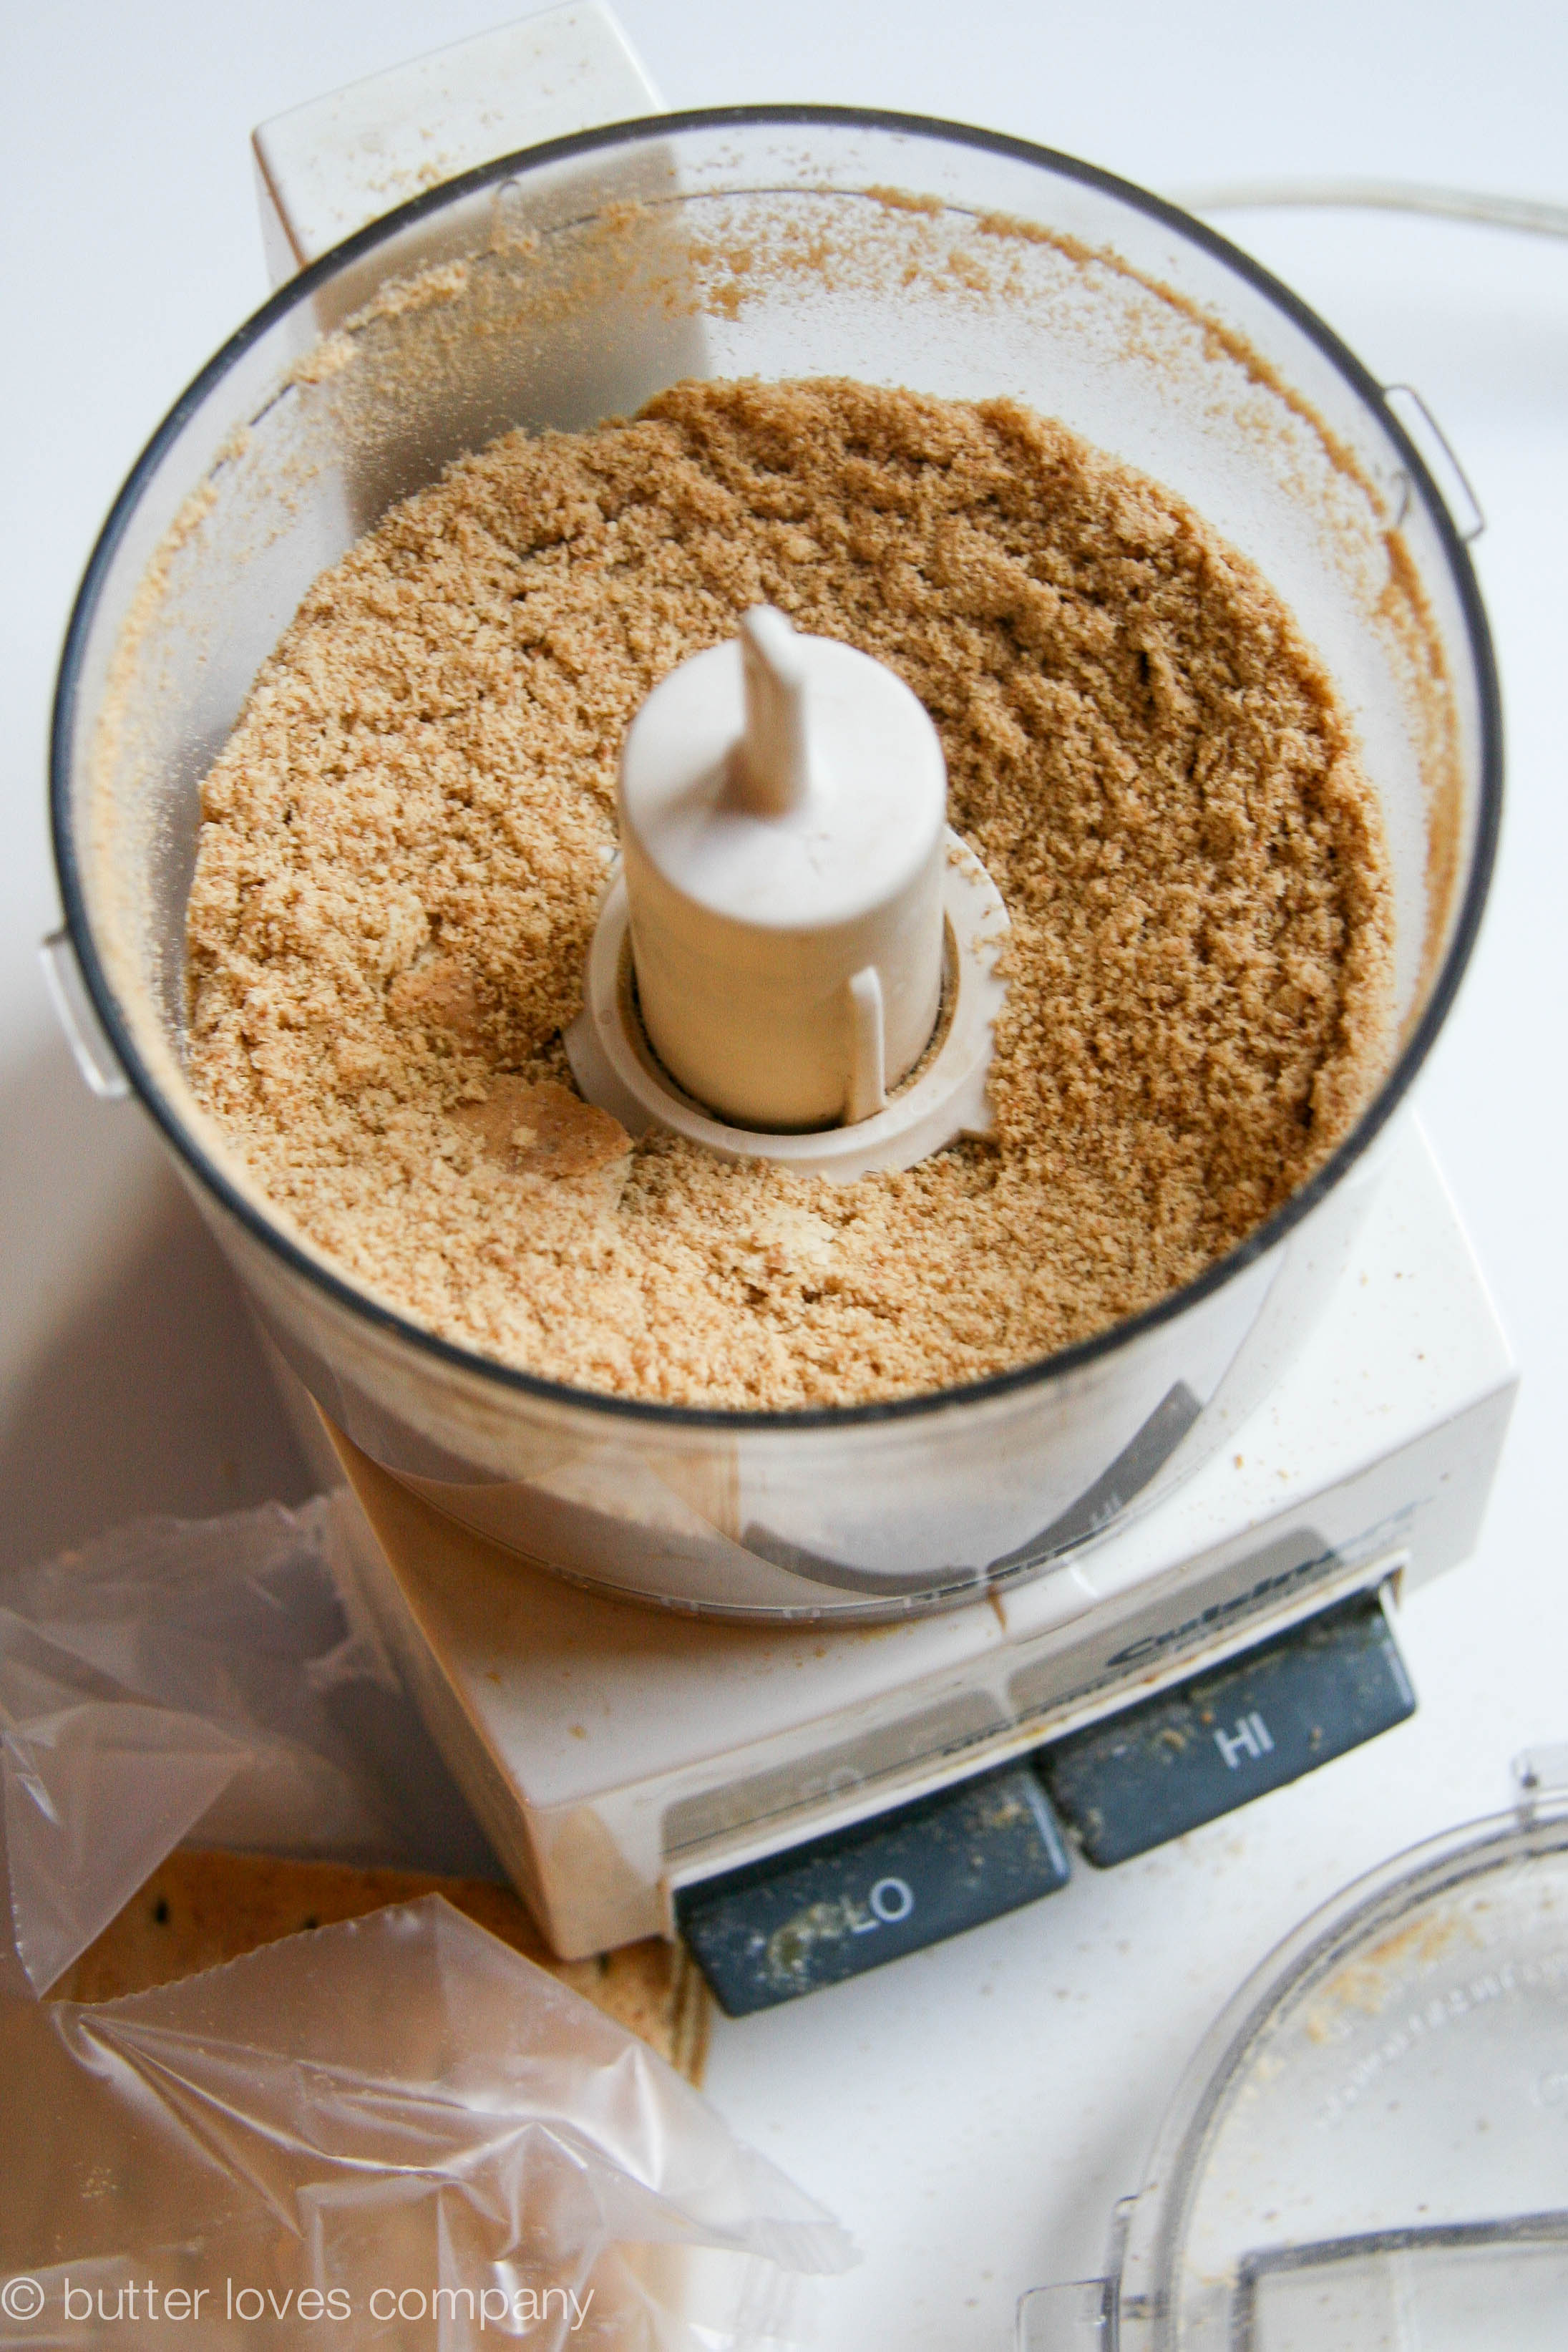
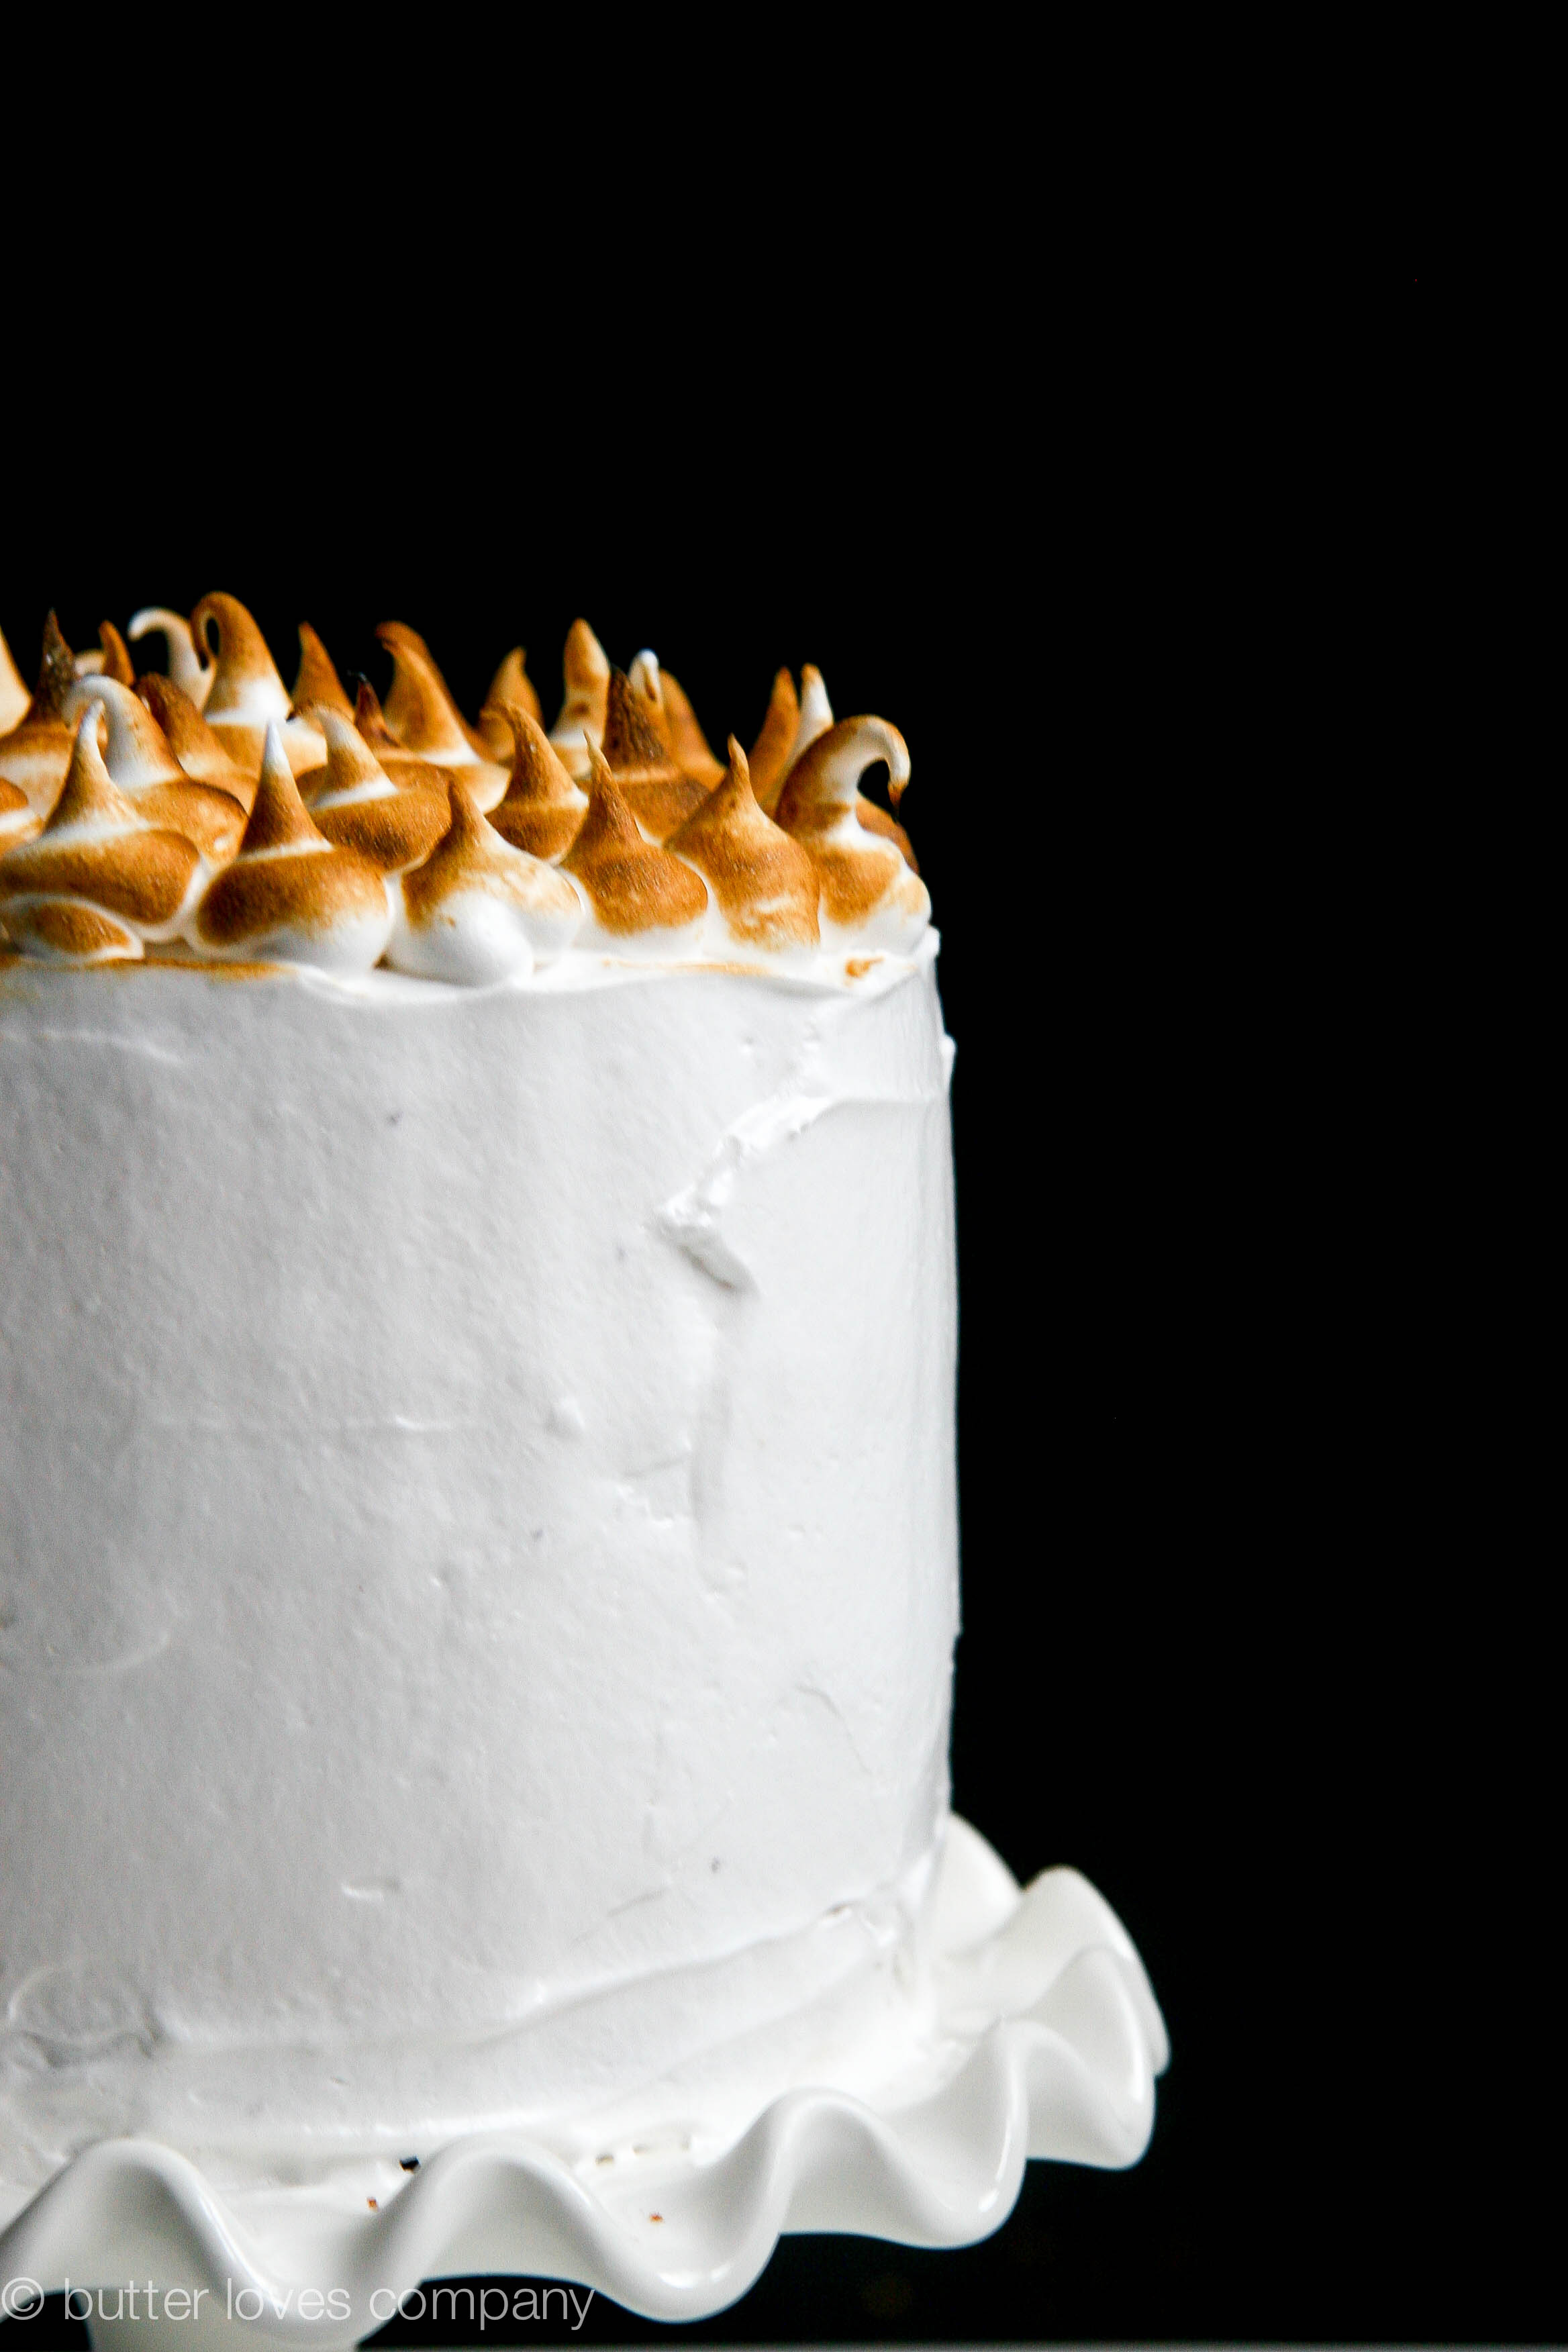
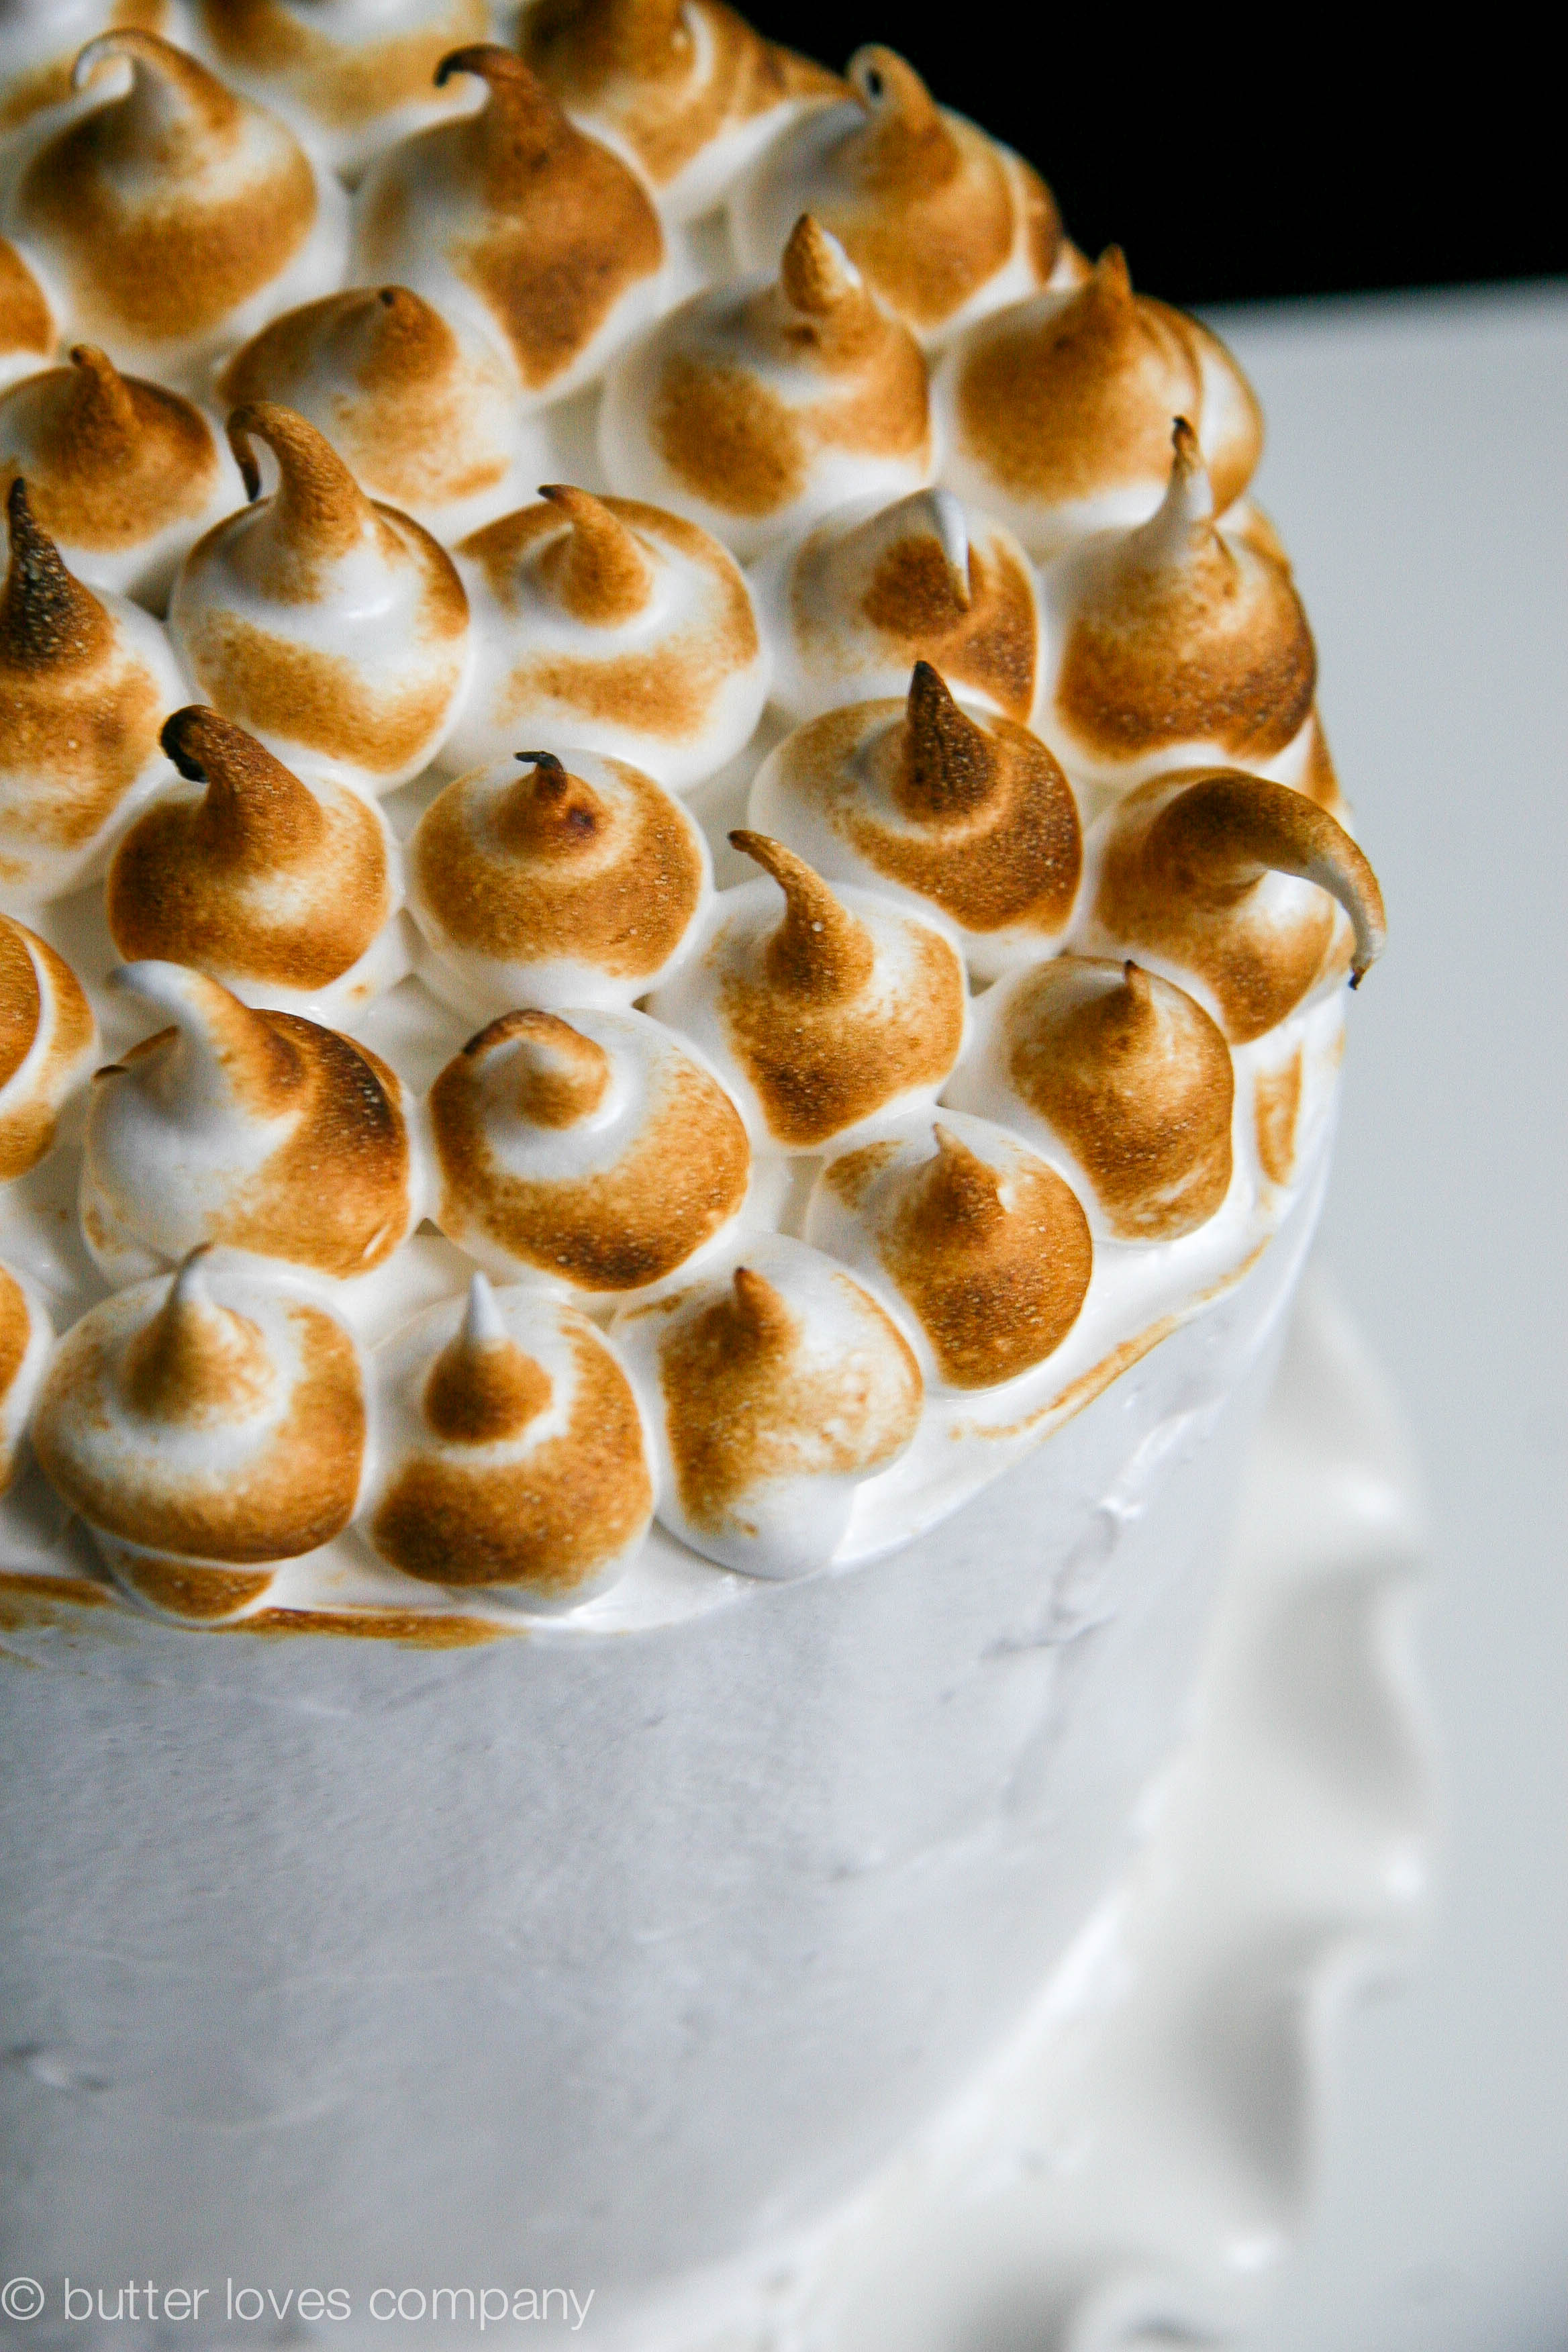
To give this cake that true s’mores feel graham crackers are ground up and added to the batter to make sweet cinnamon spiced layers, chocolate chips and ample cocoa powder are used in place of chocolate bars to add depth and crunch to the chocolate layers and a sweet and stretchy marshmallow Fluff filling seals the layers together. Lastly, a light, airy meringue topping coats the entire cake. The BEST, I repeat, BEST part about making this cake is using the kitchen torch to “roast” the topping. Once you start in with the torch, you’ll be amazed that the smell is identical to that of roasting marshmallows around a campfire.

smores-layer-cake-recipe-9

Full disclosure: When I made this cake I used large chocolate chunks and also overcooked the chocolate layer slightly. It was drier than I prefer and I felt the large chunks of chocolate made the cake too hard to cut through (you can tell in the pictures). My updates are reflected in the recipe below and I recommend you check fairly frequently for doneness; which is when the outside edge of the cake is fully set and a toothpick inserted into the center of the cake comes out mostly clean (it won’t come out completely clean due to the chocolate chips in the batter). You should not feel like you are inserting the toothpick into jiggly pudding. One thing to remember, the cake will set up a little more as it cools in the pan.
smores-layer-cake-recipe-8

smores-layer-cake-recipe-4

smores-layer-cake-recipe-12

smores-layer-cake-recipe-13

smores-layer-cake-recipe-11

6-inch super s’mores layer cake

graham cracker cake and meringue topping adapted from Deb Perelman’s ‘Smitten Kitchen Cookbook’
brownie cake adapted from Bite Me More
marshmallow Fluff filling adapted from Sally’s Baking Addiction

prep Time: 45 minutes
cook Time: 60 minutes (if cooking graham and chocolate cakes one after the other)
total Time: Solid 3 hours between prep, cook, speed cooling, and assembling
makes one, three layer, 6-inch cake (two graham layers, one chocolate layer), or if you choose to slice each cake layer in half horizontally, it will make a six layer, 6-inch cake, as pictured.

Ingredients:

Graham Cracker Cake:

8 tablespoons (1 stick) unsalted butter, softened
1 cup all-purpose flour
1 cup honey graham cracker crumbs, finely processed to a powder (from about 7 standard graham cracker sheets)
1 teaspoon baking powder
1/2 teaspoon baking soda
1/2 teaspoon salt
1/2 teaspoon ground cinnamon
1/3 cup granulated sugar
1/2 cup dark brown sugar
2 large eggs at room temperature
3/4 cup milk
1/3 cup plain Greek yogurt or sour cream

Brownie Cake:

8 tablespoons (1 stick) unsalted butter, melted
1/2 cup granulated sugar
1/2 cup light brown sugar
2 large eggs at room temperature
1 1/2 teaspoons vanilla extract
3/4 cups all-purpose flour
1/2 cup cocoa powder, sifted
1/2 teaspoon baking powder
1/2 teaspoon kosher salt
3/4 cup semi-sweet chocolate chips

Marshmallow Filling:

4 tablespoons (1/2 stick) unsalted butter, softened
3/4 cup marshmallow cream (Fluff)
1/2 teaspoon vanilla extract
2 tablespoons heavy cream
3/4–1 cup confectioners’ sugar
1/4 teaspoon salt

Meringue Topping:

4 large egg whites
1 cup granulated sugar
1/4 teaspoon cream of tartar
1 teaspoon vanilla extract

Instructions:

To Make the Graham Cracker Cakes:

  1. Preheat oven to 350°F. Grease or spray two 6-inch round cake pans with non-stick spray. Line the bottoms with parchment paper and then grease the paper.
  2. In a medium bowl mix together flour, graham cracker crumbs, baking powder, baking soda, salt and cinnamon. Set aside. In a large bowl—or the bowl of your electric mixer fitted with the paddle attachment—mix butter, sugar and brown sugar until fluffy. Add eggs one at a time, scraping the bowl after each addition. Mix a third of the flour mixture into the butter mixture, then add the milk, then another third of dry mixture, and then the yogurt or sour cream, and lastly, the rest of the dry mixture. Mix completely.
  3. Divide batter between prepared cake pans. Bake for 25 to 30 minutes, or until a toothpick inserted into the cake’s center comes out clean. Cool in pan for 10 minutes on wire rack. Then invert onto rack and remove the cakes. Cool completely.

To Make the Brownie Cake:

  1. Preheat oven to 350°F. Grease or spray one 6-inch round cake pan with non-stick spray. Line the bottom with parchment paper and then grease the paper.
  2. In a large bowl—or the bowl of your electric mixer fitted with the paddle attachment—mix melted butter, sugar and light brown sugar until combined. Add eggs, one at a time, and vanilla and continue to mix until smooth. Add flour, cocoa powder, baking powder, salt and chocolate chips, stirring until flour has become completely mixed in and smooth.
  3. Pour into prepared pan and bake 20 to 25 minutes or until the edges of the cake have set and a toothpick inserted into the center of the cake comes out easily and with minimal batter (it will have some chocolate on it because of the chocolate chips). Cool in pan for 10 minutes on wire rack. Then invert onto rack and remove the cakes. Cool completely.

To Make the Marshmallow Filling:

  1. In a medium bowl using a handheld or stand mixer fitted with a paddle attachment, beat the butter, marshmallow cream, vanilla, and cream on medium speed until completely smooth. Add 3/4 cup powdered sugar and salt. Mix on low speed to incorporate and then increase speed to high to beat another minute. Add 1/4 cup more powdered sugar if the filling is too runny.

To Make the Meringue Topping:

  1. Fill a medium saucepan part way with water and bring to a simmer. Place egg whites, sugar and cream of tartar in a heat-proof bowl. Place bowl over simmering water and whisk mixture until sugar is dissolved and egg whites are warm to the touch, about 3 minutes.
  2. Transfer to the bowl of a stand mixer fitted with the whisk attachment. Whisk until glossy peaks form, about 5 minutes. Add vanilla extract and mix to combine. Best if used right away.

To Fill and Assemble:

  1. Arrange one graham cracker cake layer on the center of a cake stand or serving plate. With a knife or offset spatula, spread about 1/2 the marshmallow filling across the top of the cake. Place the chocolate brownie layer on top of the filling and spread the other half of the marshmallow filling across the top. Top with second graham cracker cake layer.
  2. Now, spread a thin layer of the meringue topping over the top and sides of the assembled cake. Refrigerate cake for 10 minutes to set. Once set, remove the cake from the fridge and generously frost the top and sides with more meringue, reserving some for the top. Fill a piping bag, or zip lock bag with a corner cut off, with the rest of the frosting. Pipe dollops onto top of cake. Torch top with a kitchen torch. I have also heard you can set the cake under the broiler for 5 minutes to brown the top of the merengue; however I have not tried this and, if you do, I would ensure your cake plate is oven safe.

smores-layer-cake-recipe-6 


Filed Under: desserts and sweets, eat Tagged With: celebration cake, chocolate, graham crackers, marshmallow, s'mores, summer

almond apricot olive oil cake

August 10, 2014 by Butter Loves Company

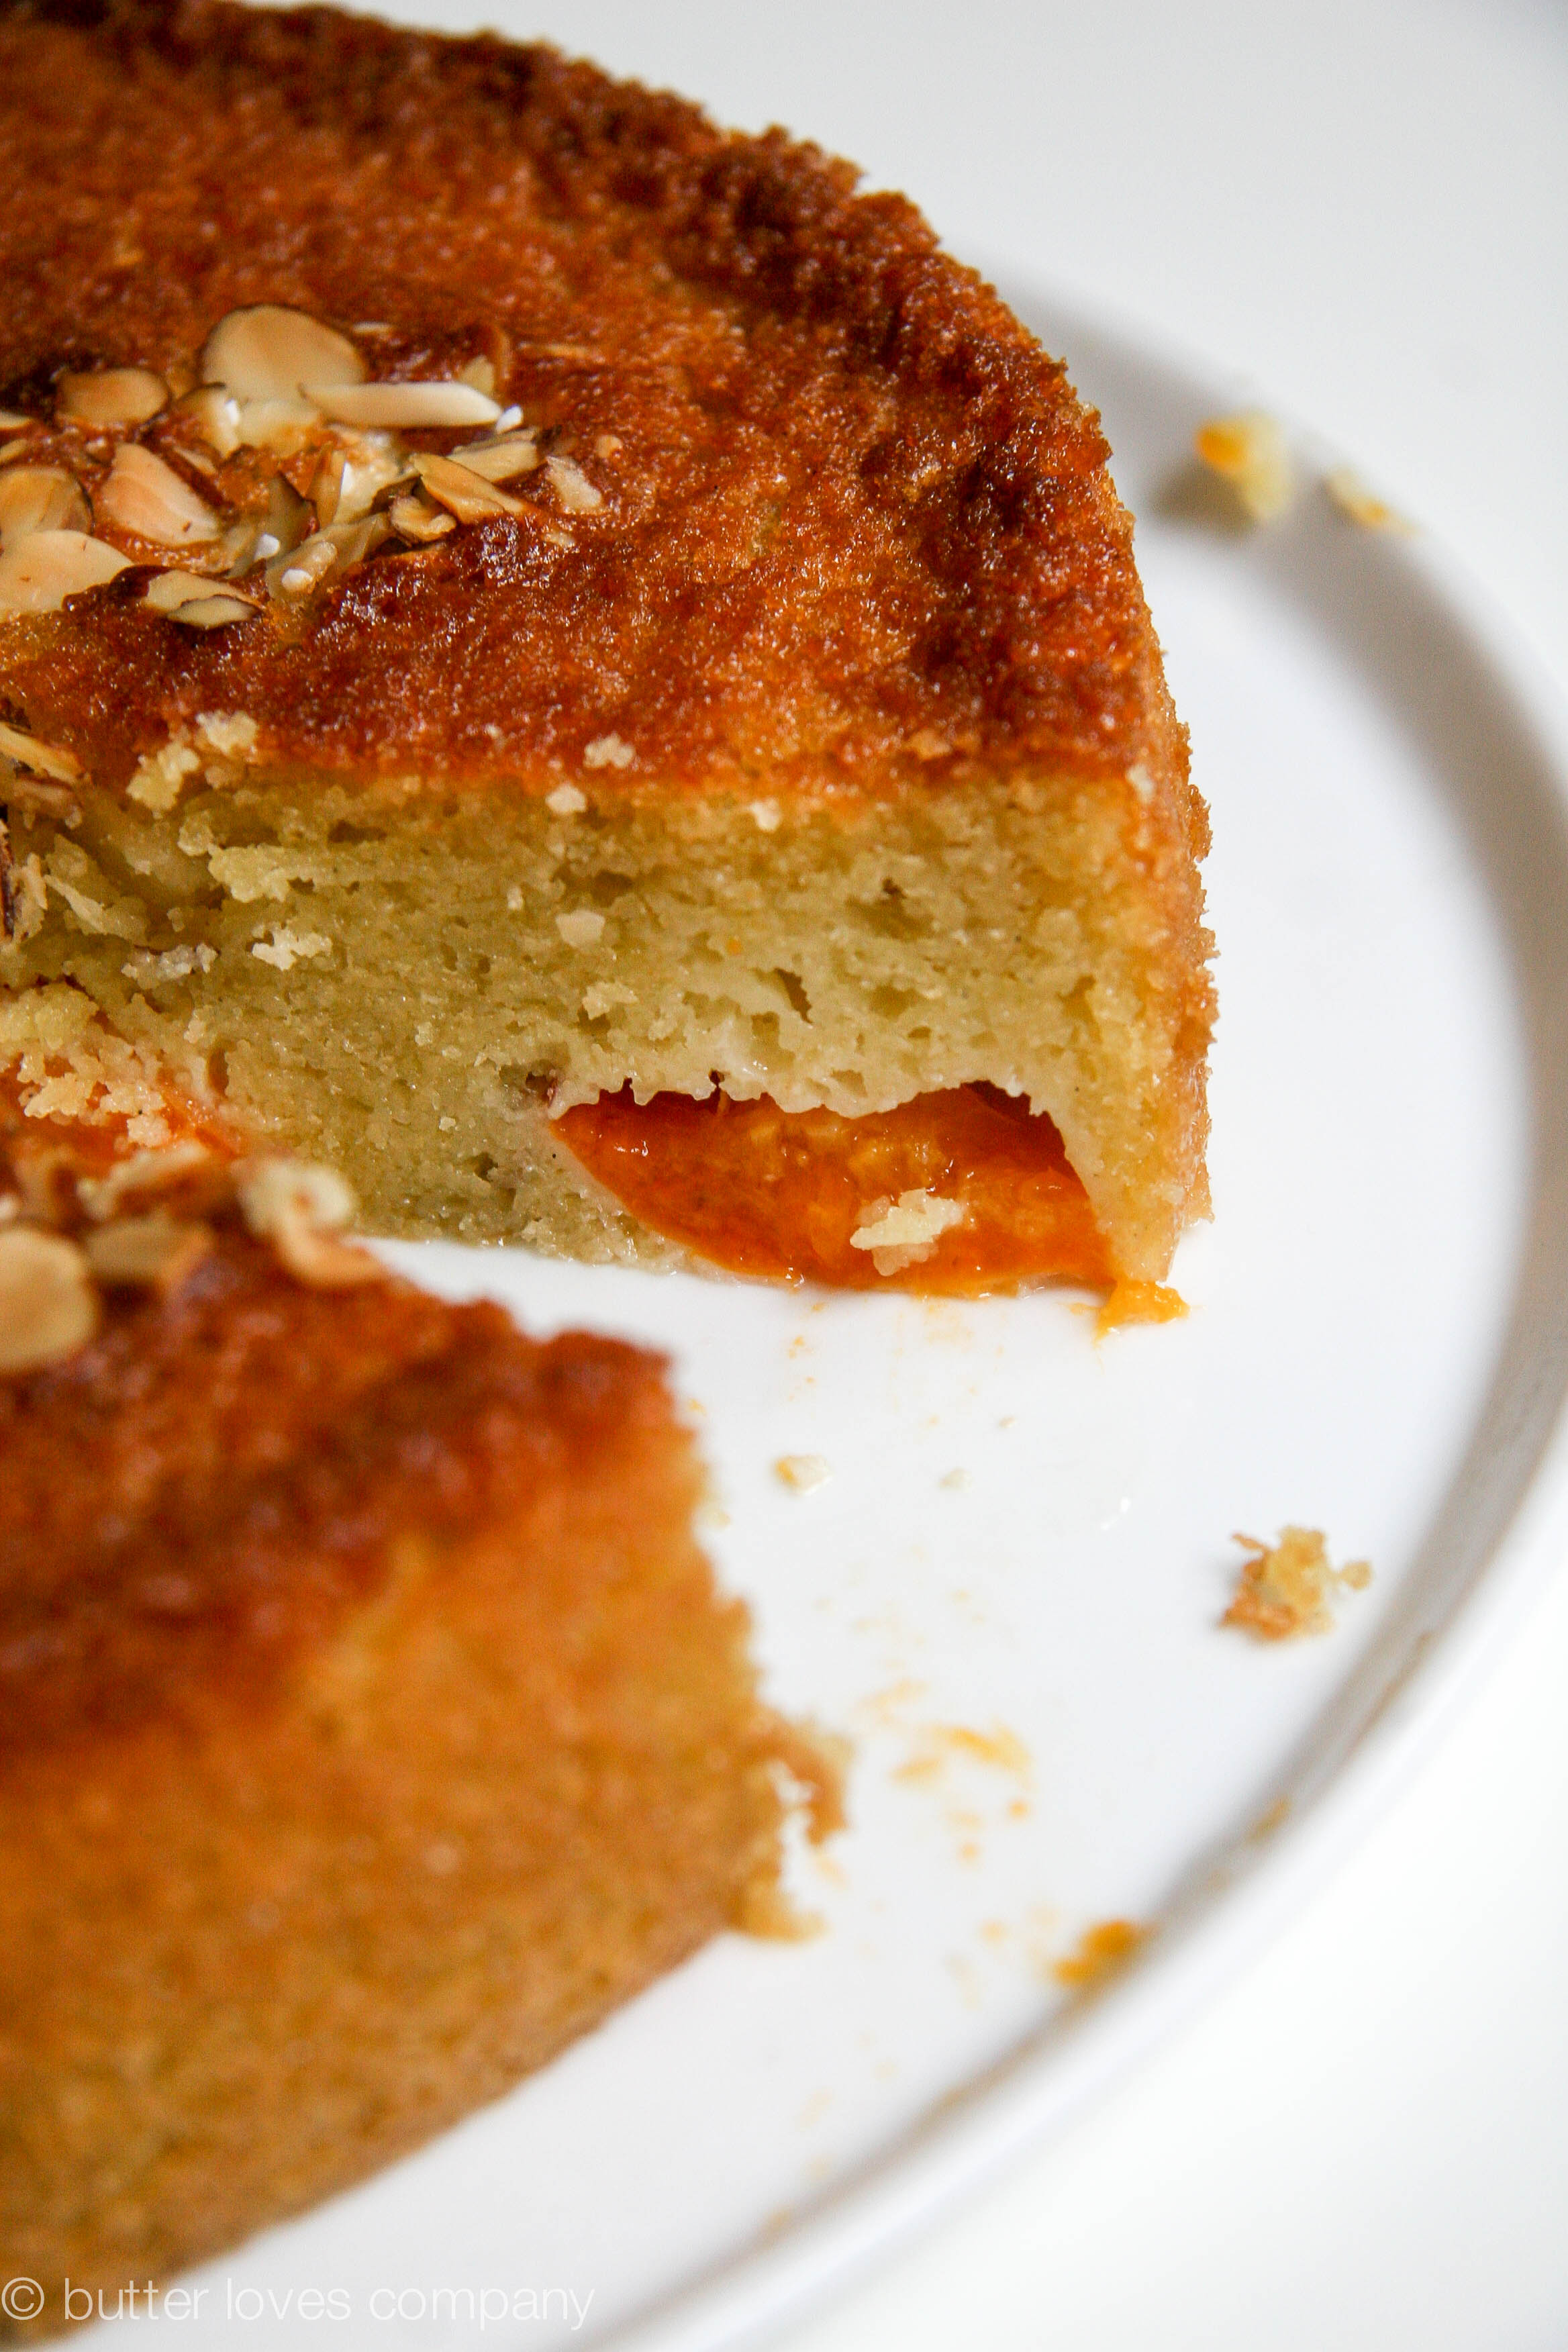
almond-apricot-olive-oil-cake-recipe-9

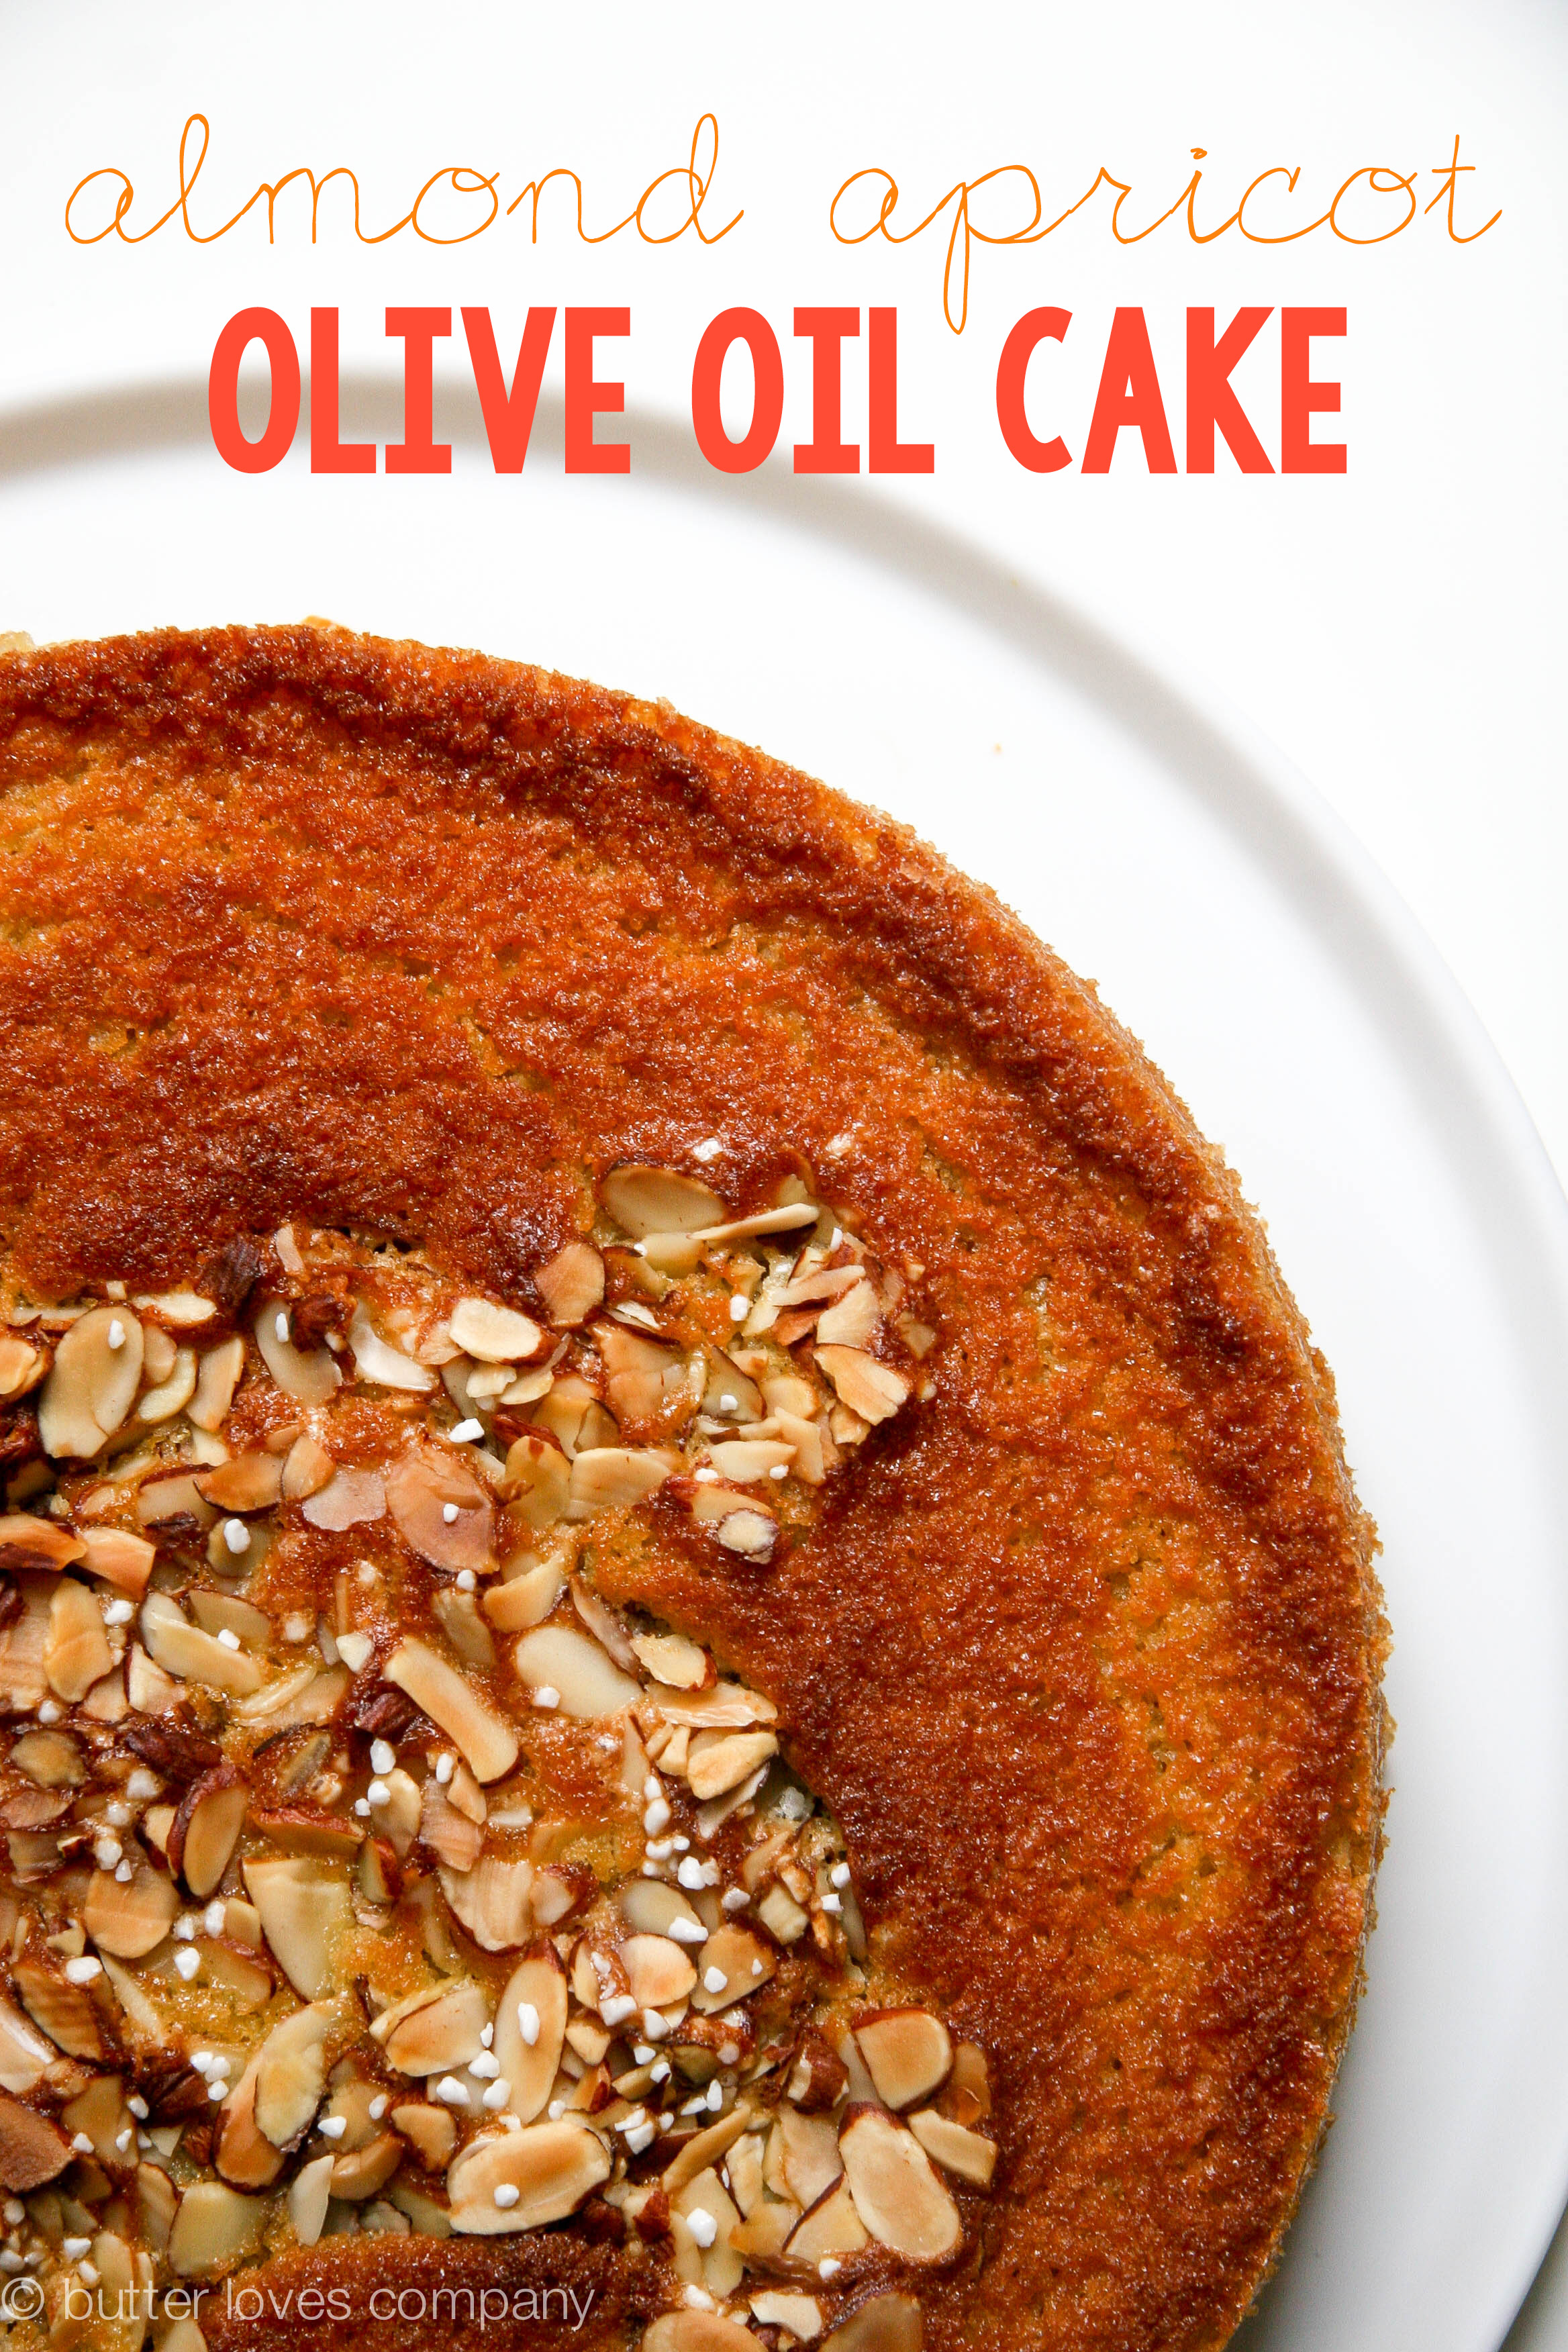
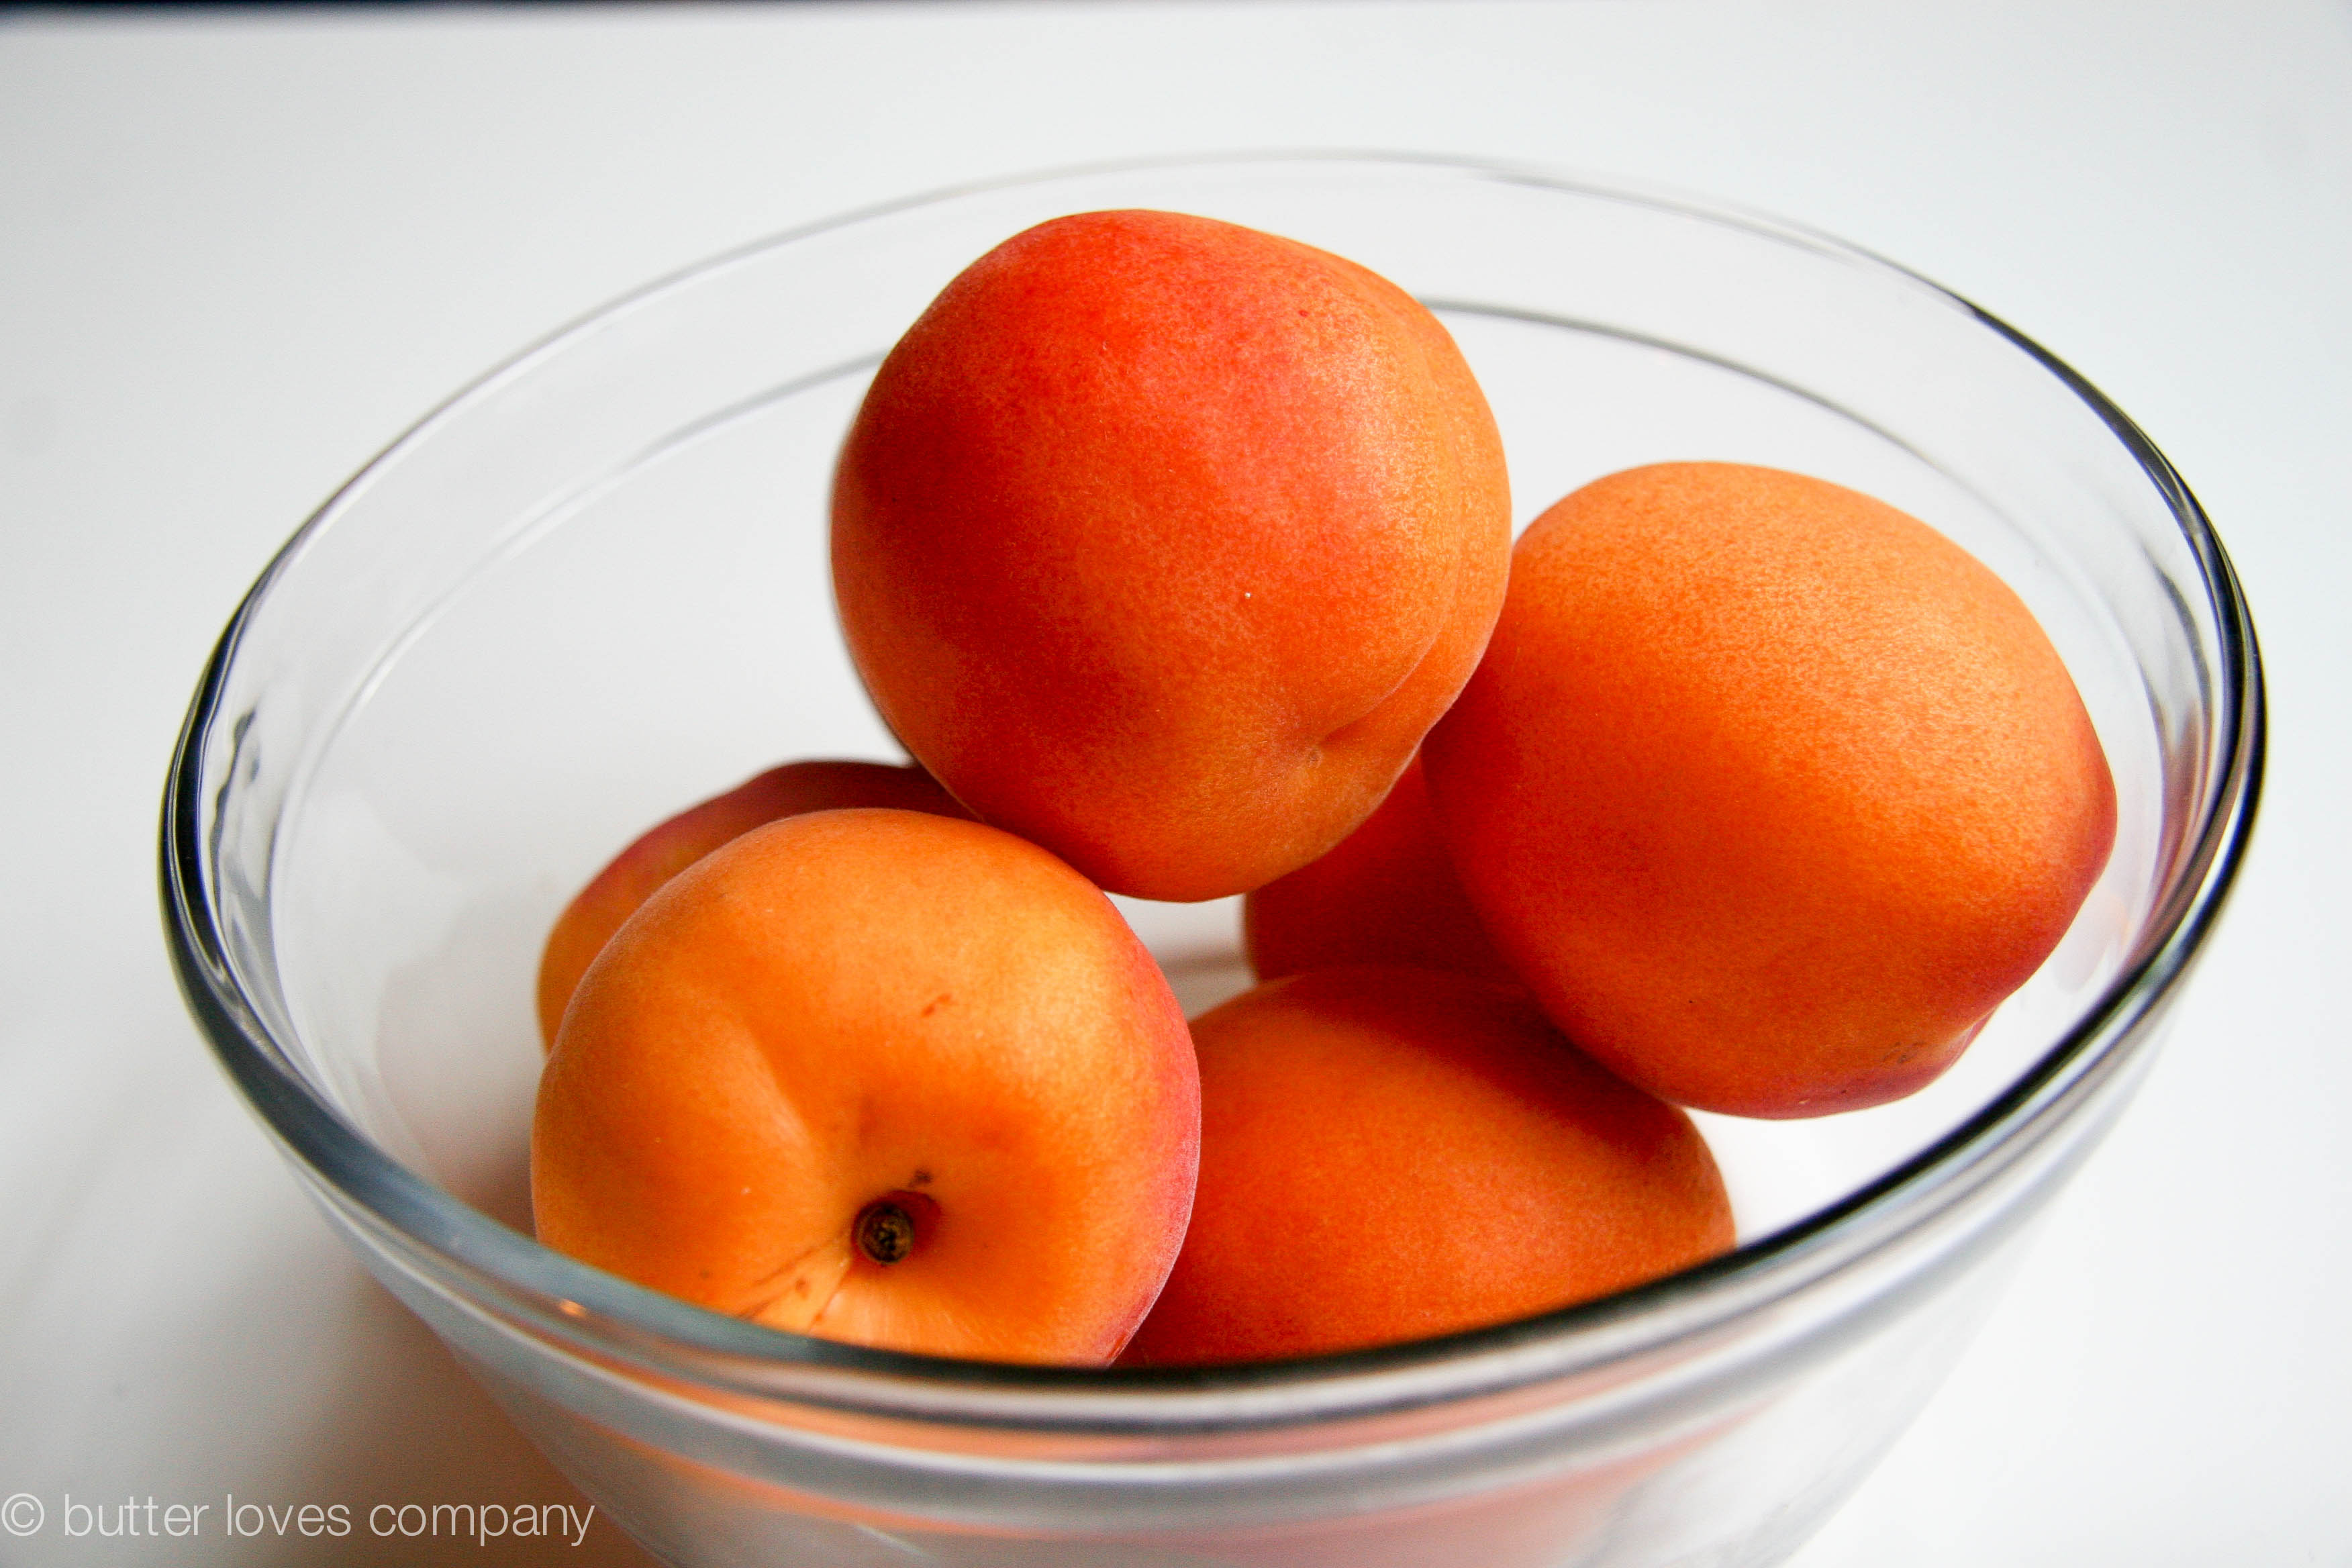
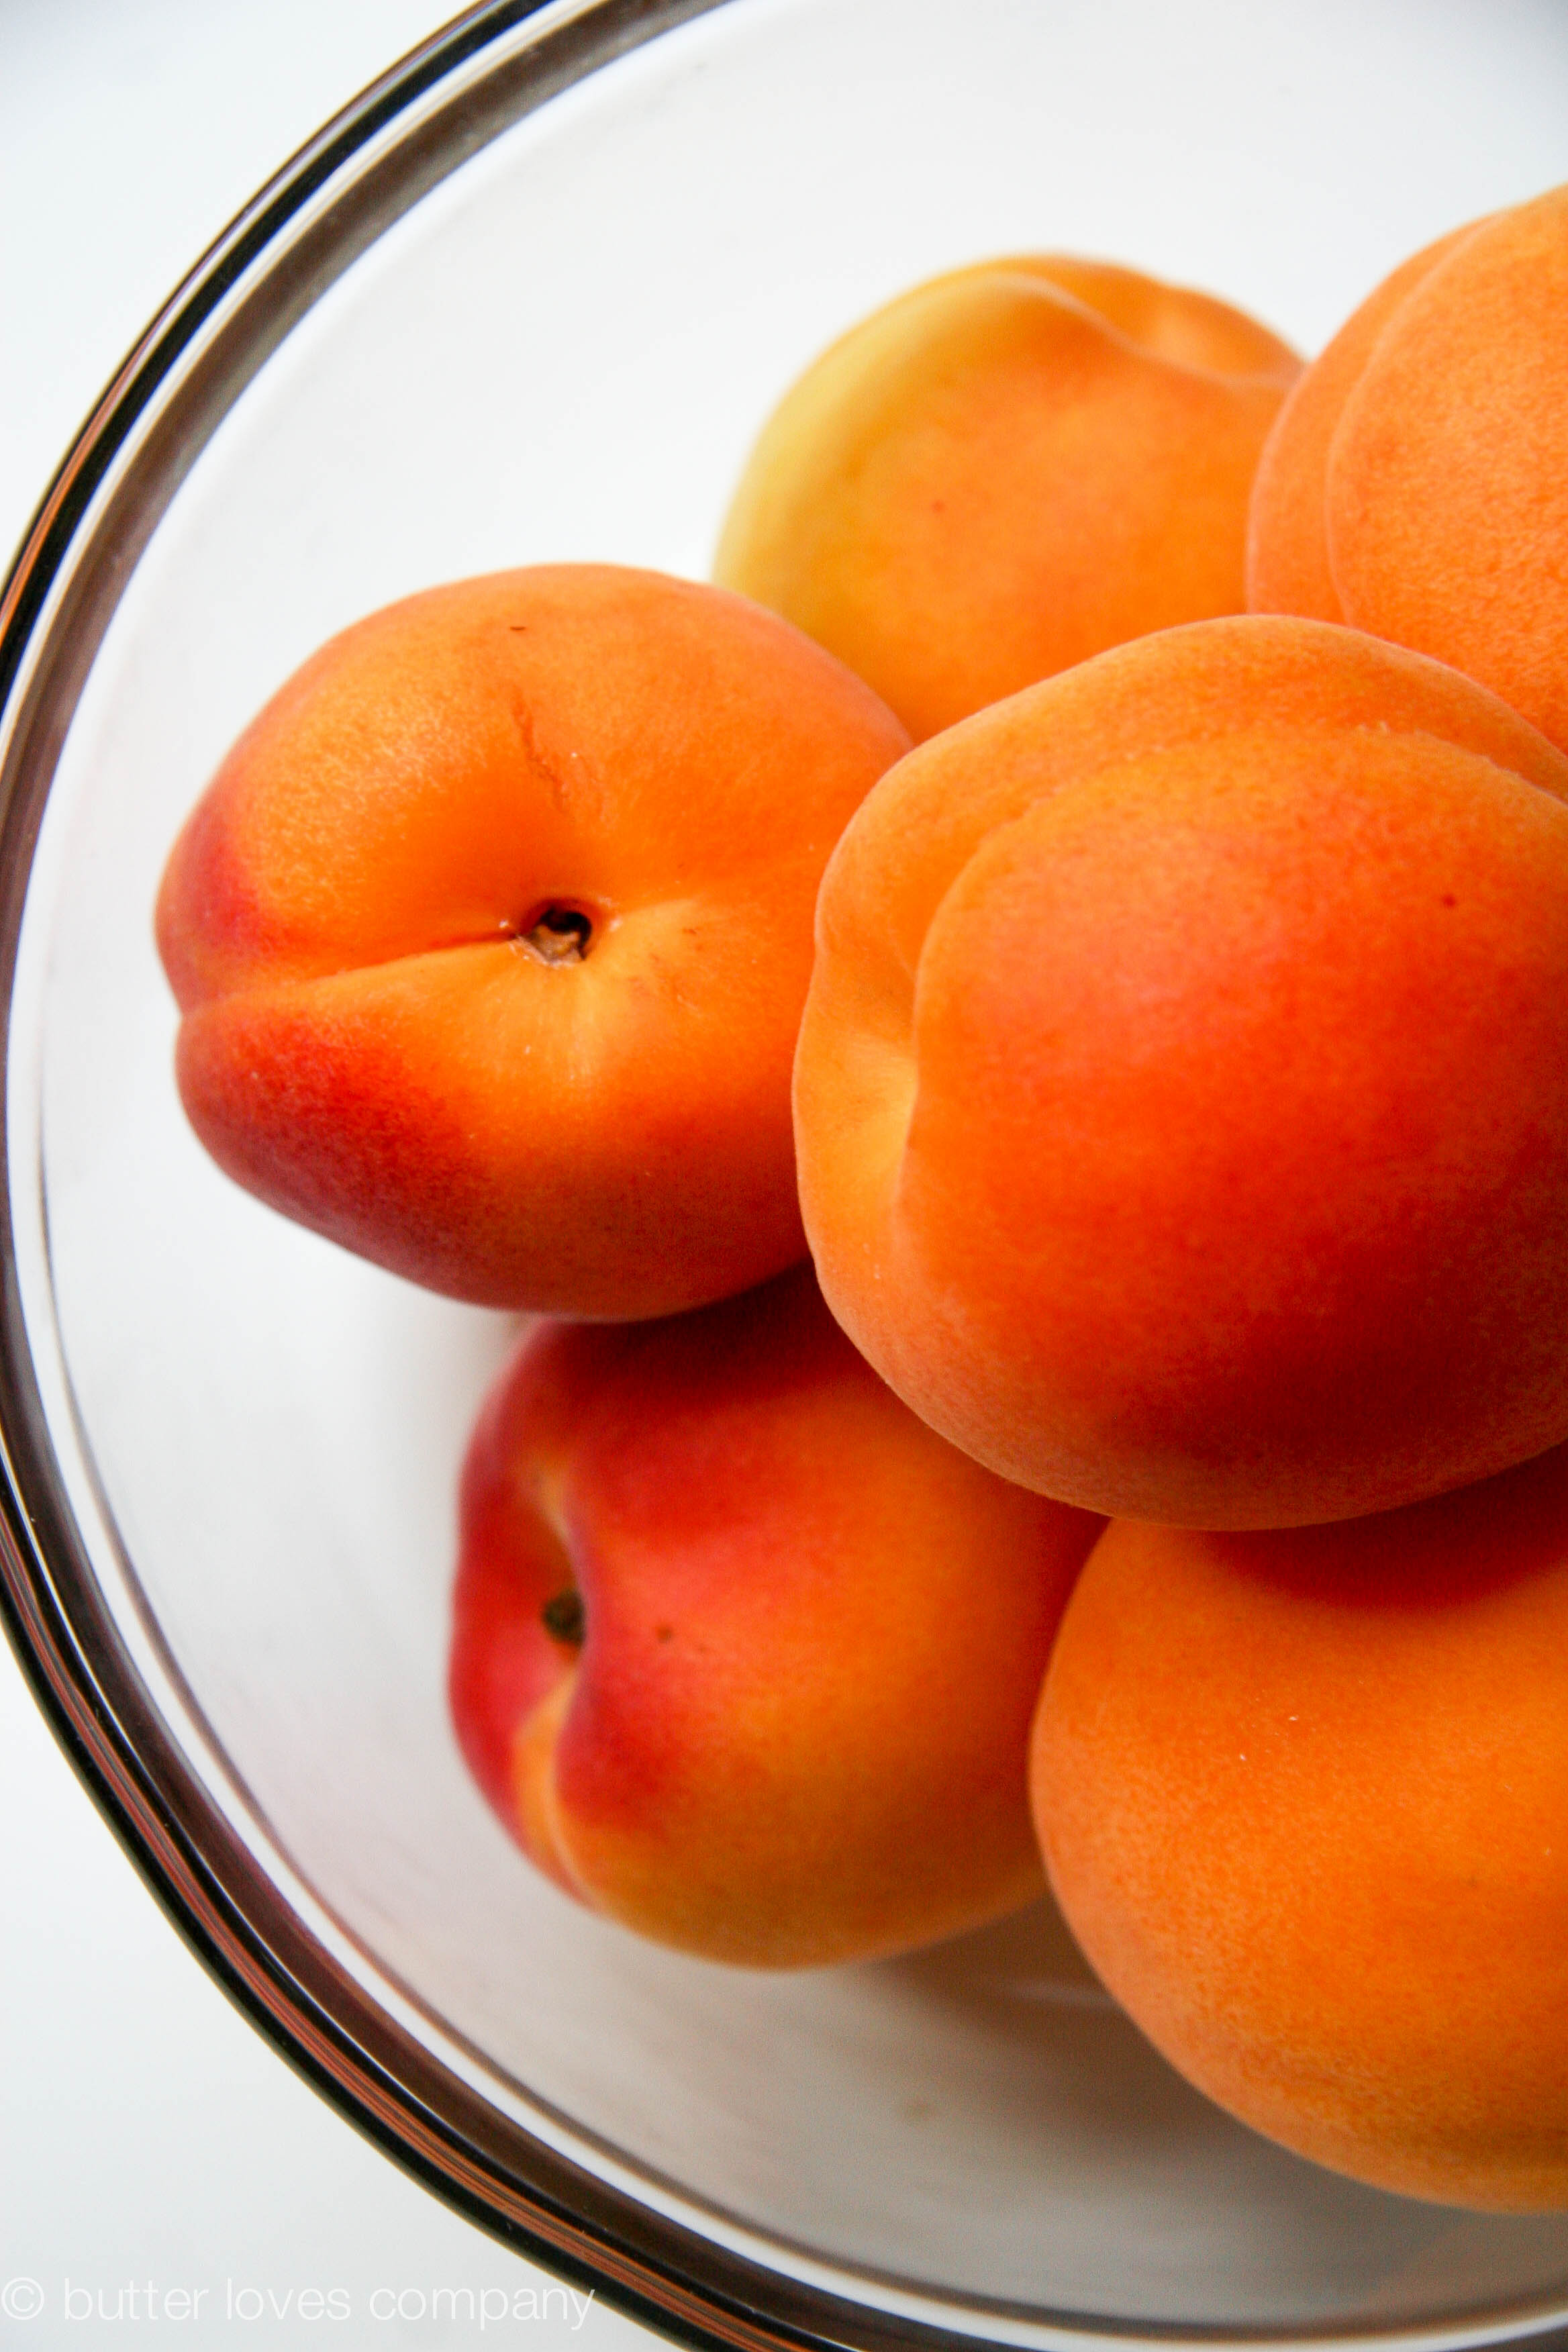
This cake was inspired by a recent trip to Italy. Not by me (Wah!), but by a dear friend of mine. After returning to the States, she told me about an apricot cake that she and her fiancé had loved during their time in Tuscany and was hoping I knew how to make it. I didn’t, but since I’m always up for a challenge I figured, why not give it a shot!

almond-apricot-olive-oil-cake-recipe-1

I scoured the Internet for the best olive oil cakes and one kept coming up over and over again—the famous olive oil cake from Maialino NYC. Since this is such a well-respected Italian eatery, I figured it couldn’t be a bad start. Instead of the orange juice and zest accents they add to their cake, I decided I would use apricots and pair them with a flavor I thought would complement their tartness: almond. Three cake trials, a handful of tweaks and a bottle of olive oil later, I had my winner.

almond-apricot-olive-oil-cake-recipe-2

I can totally picture you and I ordering a piece of this cake from a tiny family-owned bakery as we stroll the quaint, winding streets of Venice on a bright morning. We’d stop in a Café for a morning cappuccino and talk to the cute Italian grandma behind the counter. She’d tell us that the almond apricot olive oil cake has been in her family for years because of her grandmother’s love of apricots. She’d explain how every time she makes it she cuts each apricot into exactly eight pieces. She’d emphasize how important the quality of the olive oil is to the almost pudding-like texture of the cake and how the best comes from her great-great uncle’s olive oil vineyard. We’d understand maybe half of what she said because of her adorable accent. We’d laugh and hug and she would invite us over for dinner after our romantic gondola ride through the canals. To cap things off we’d sip on Italian table wine and eat cheese and more delicious almond apricot olive oil cake.

I can totally picture it and it would be perfect. Let’s go!

almond-apricot-olive-oil-cake-recipe-3

almond-apricot-olive-oil-cake-recipe-4

almond-apricot-olive-oil-cake-recipe-5

almond-apricot-olive-oil-cake-recipe-6

almond-apricot-olive-oil-cake-recipe-7

almond-apricot-olive-oil-cake-recipe-8

almond-apricot-olive-oil-cake-recipe-12

almond apricot olive oil cake

adapted from Maialino NYC’s famous olive oil cake

prep time: 20 minutes
cook time: 1 hour
total time: 1 hour 20 minutes (does not include 2 hours cool time)
makes a 9-inch round cake

Ingredients:

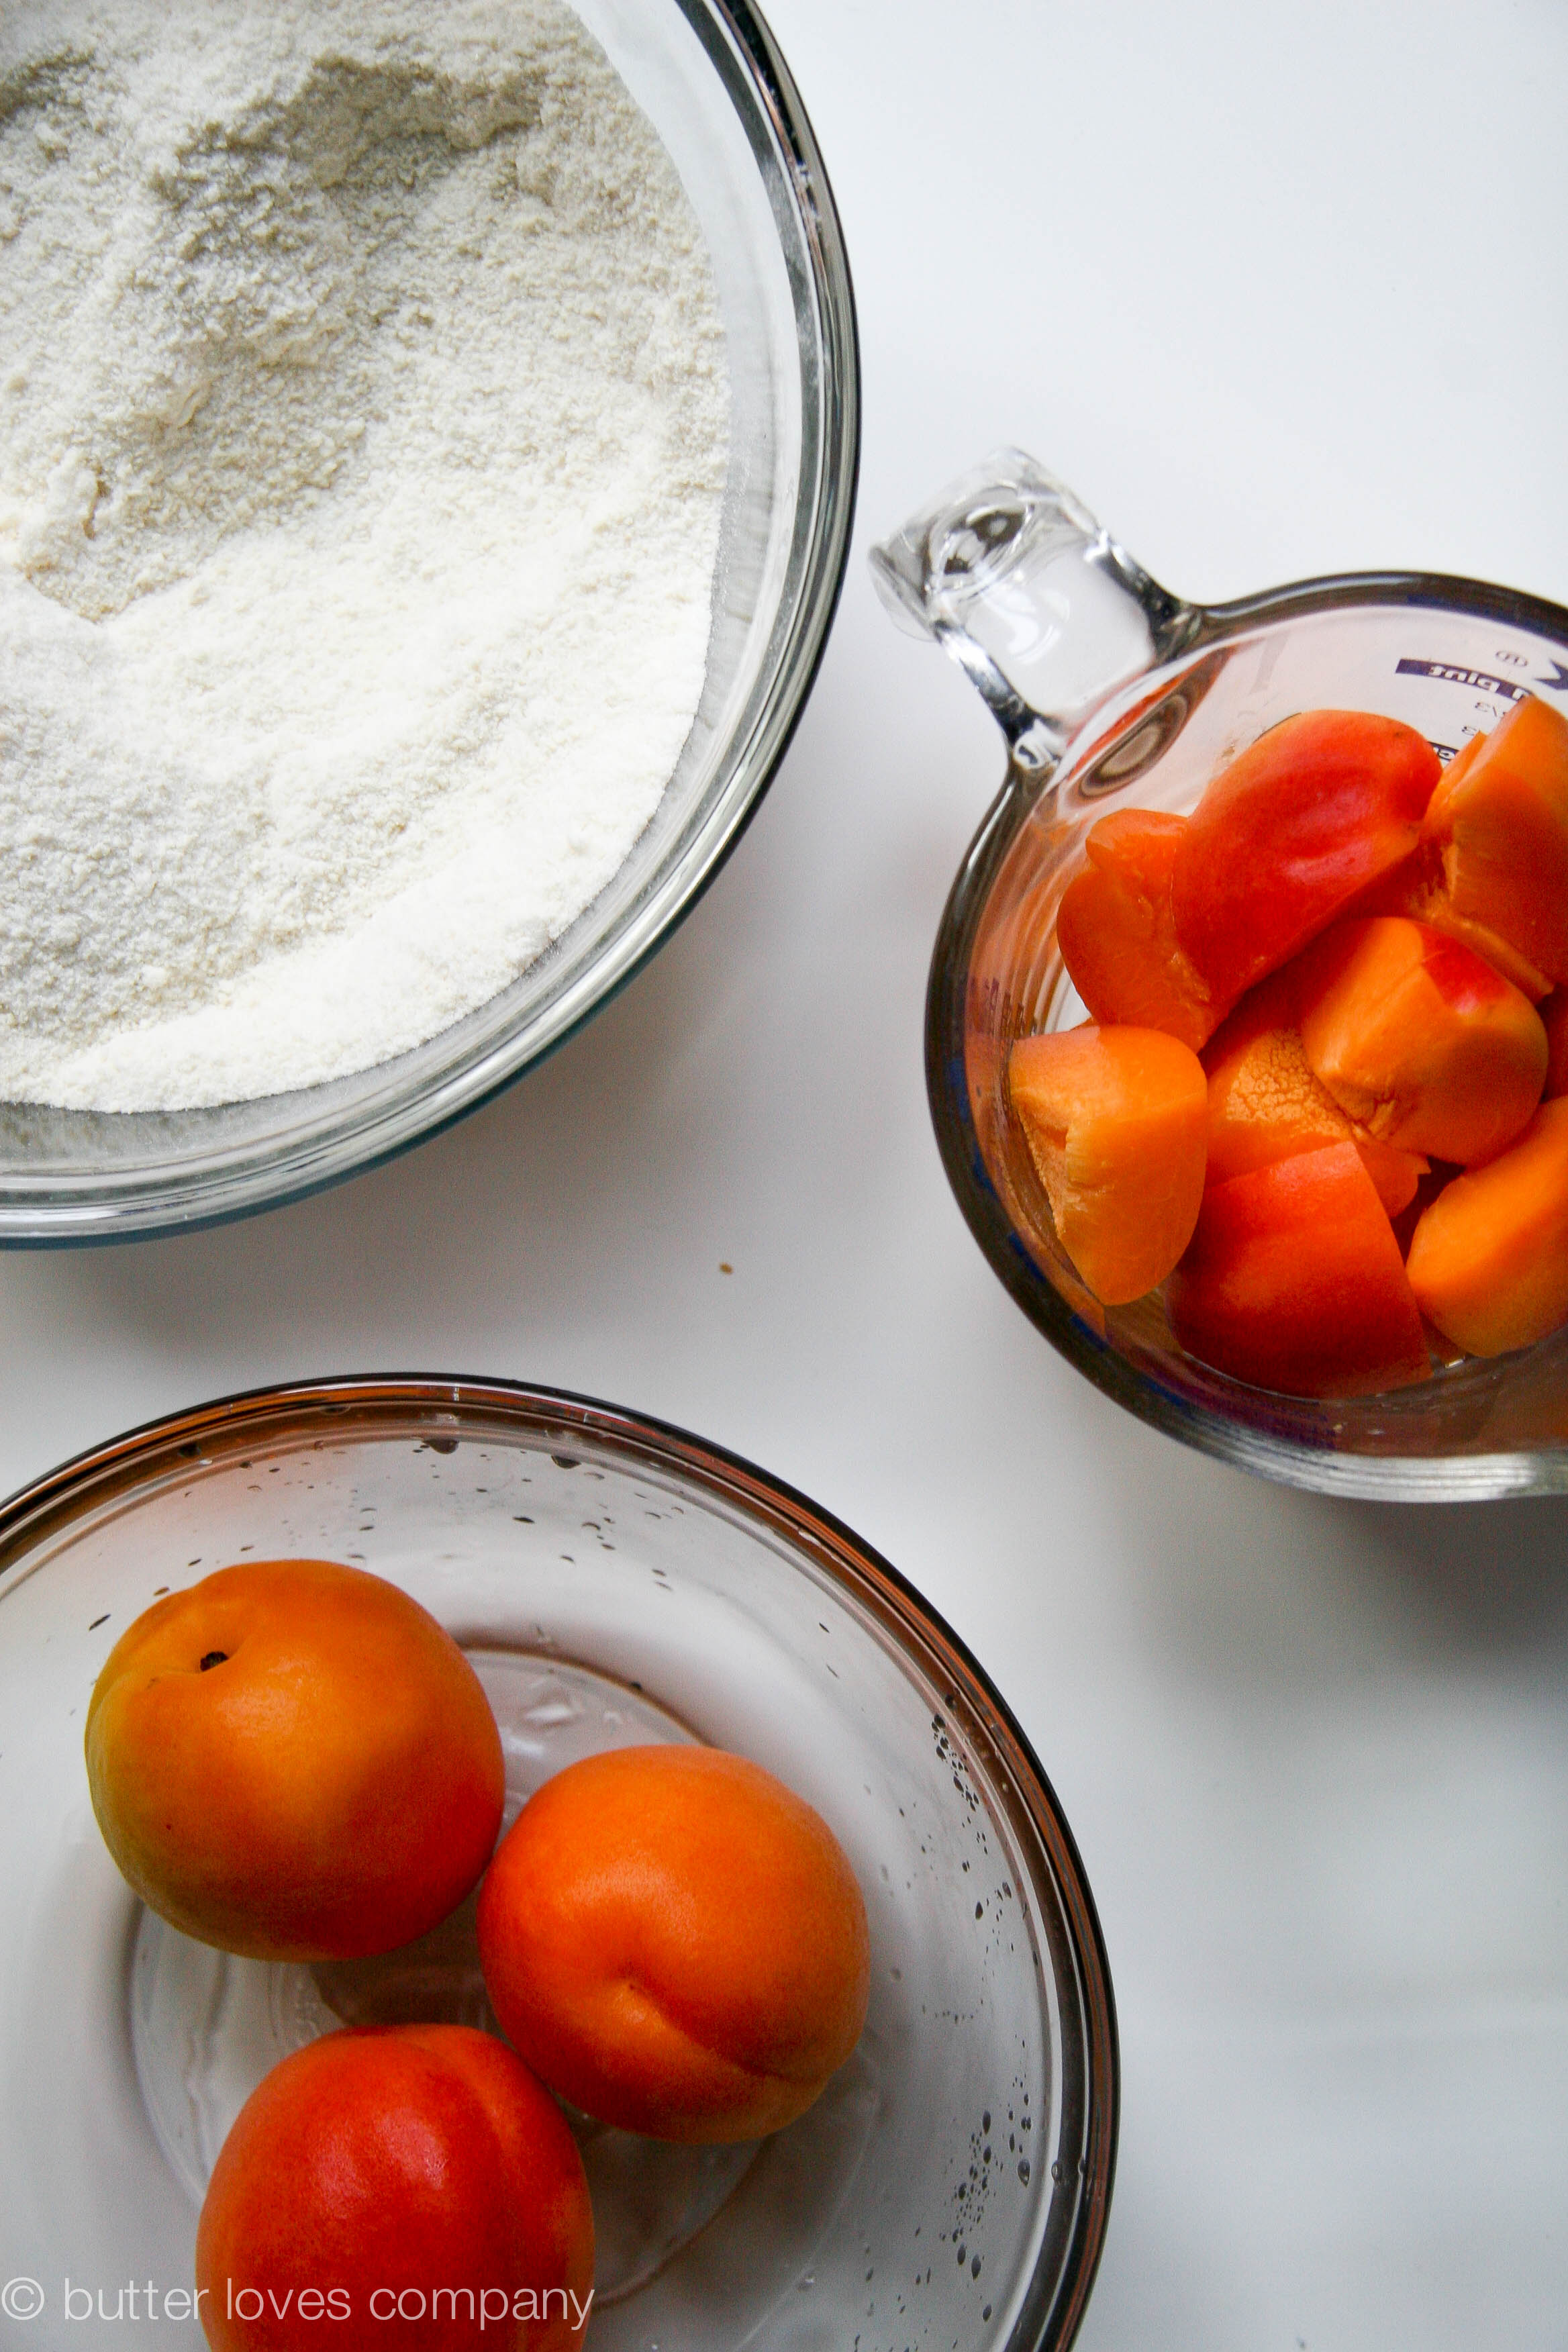
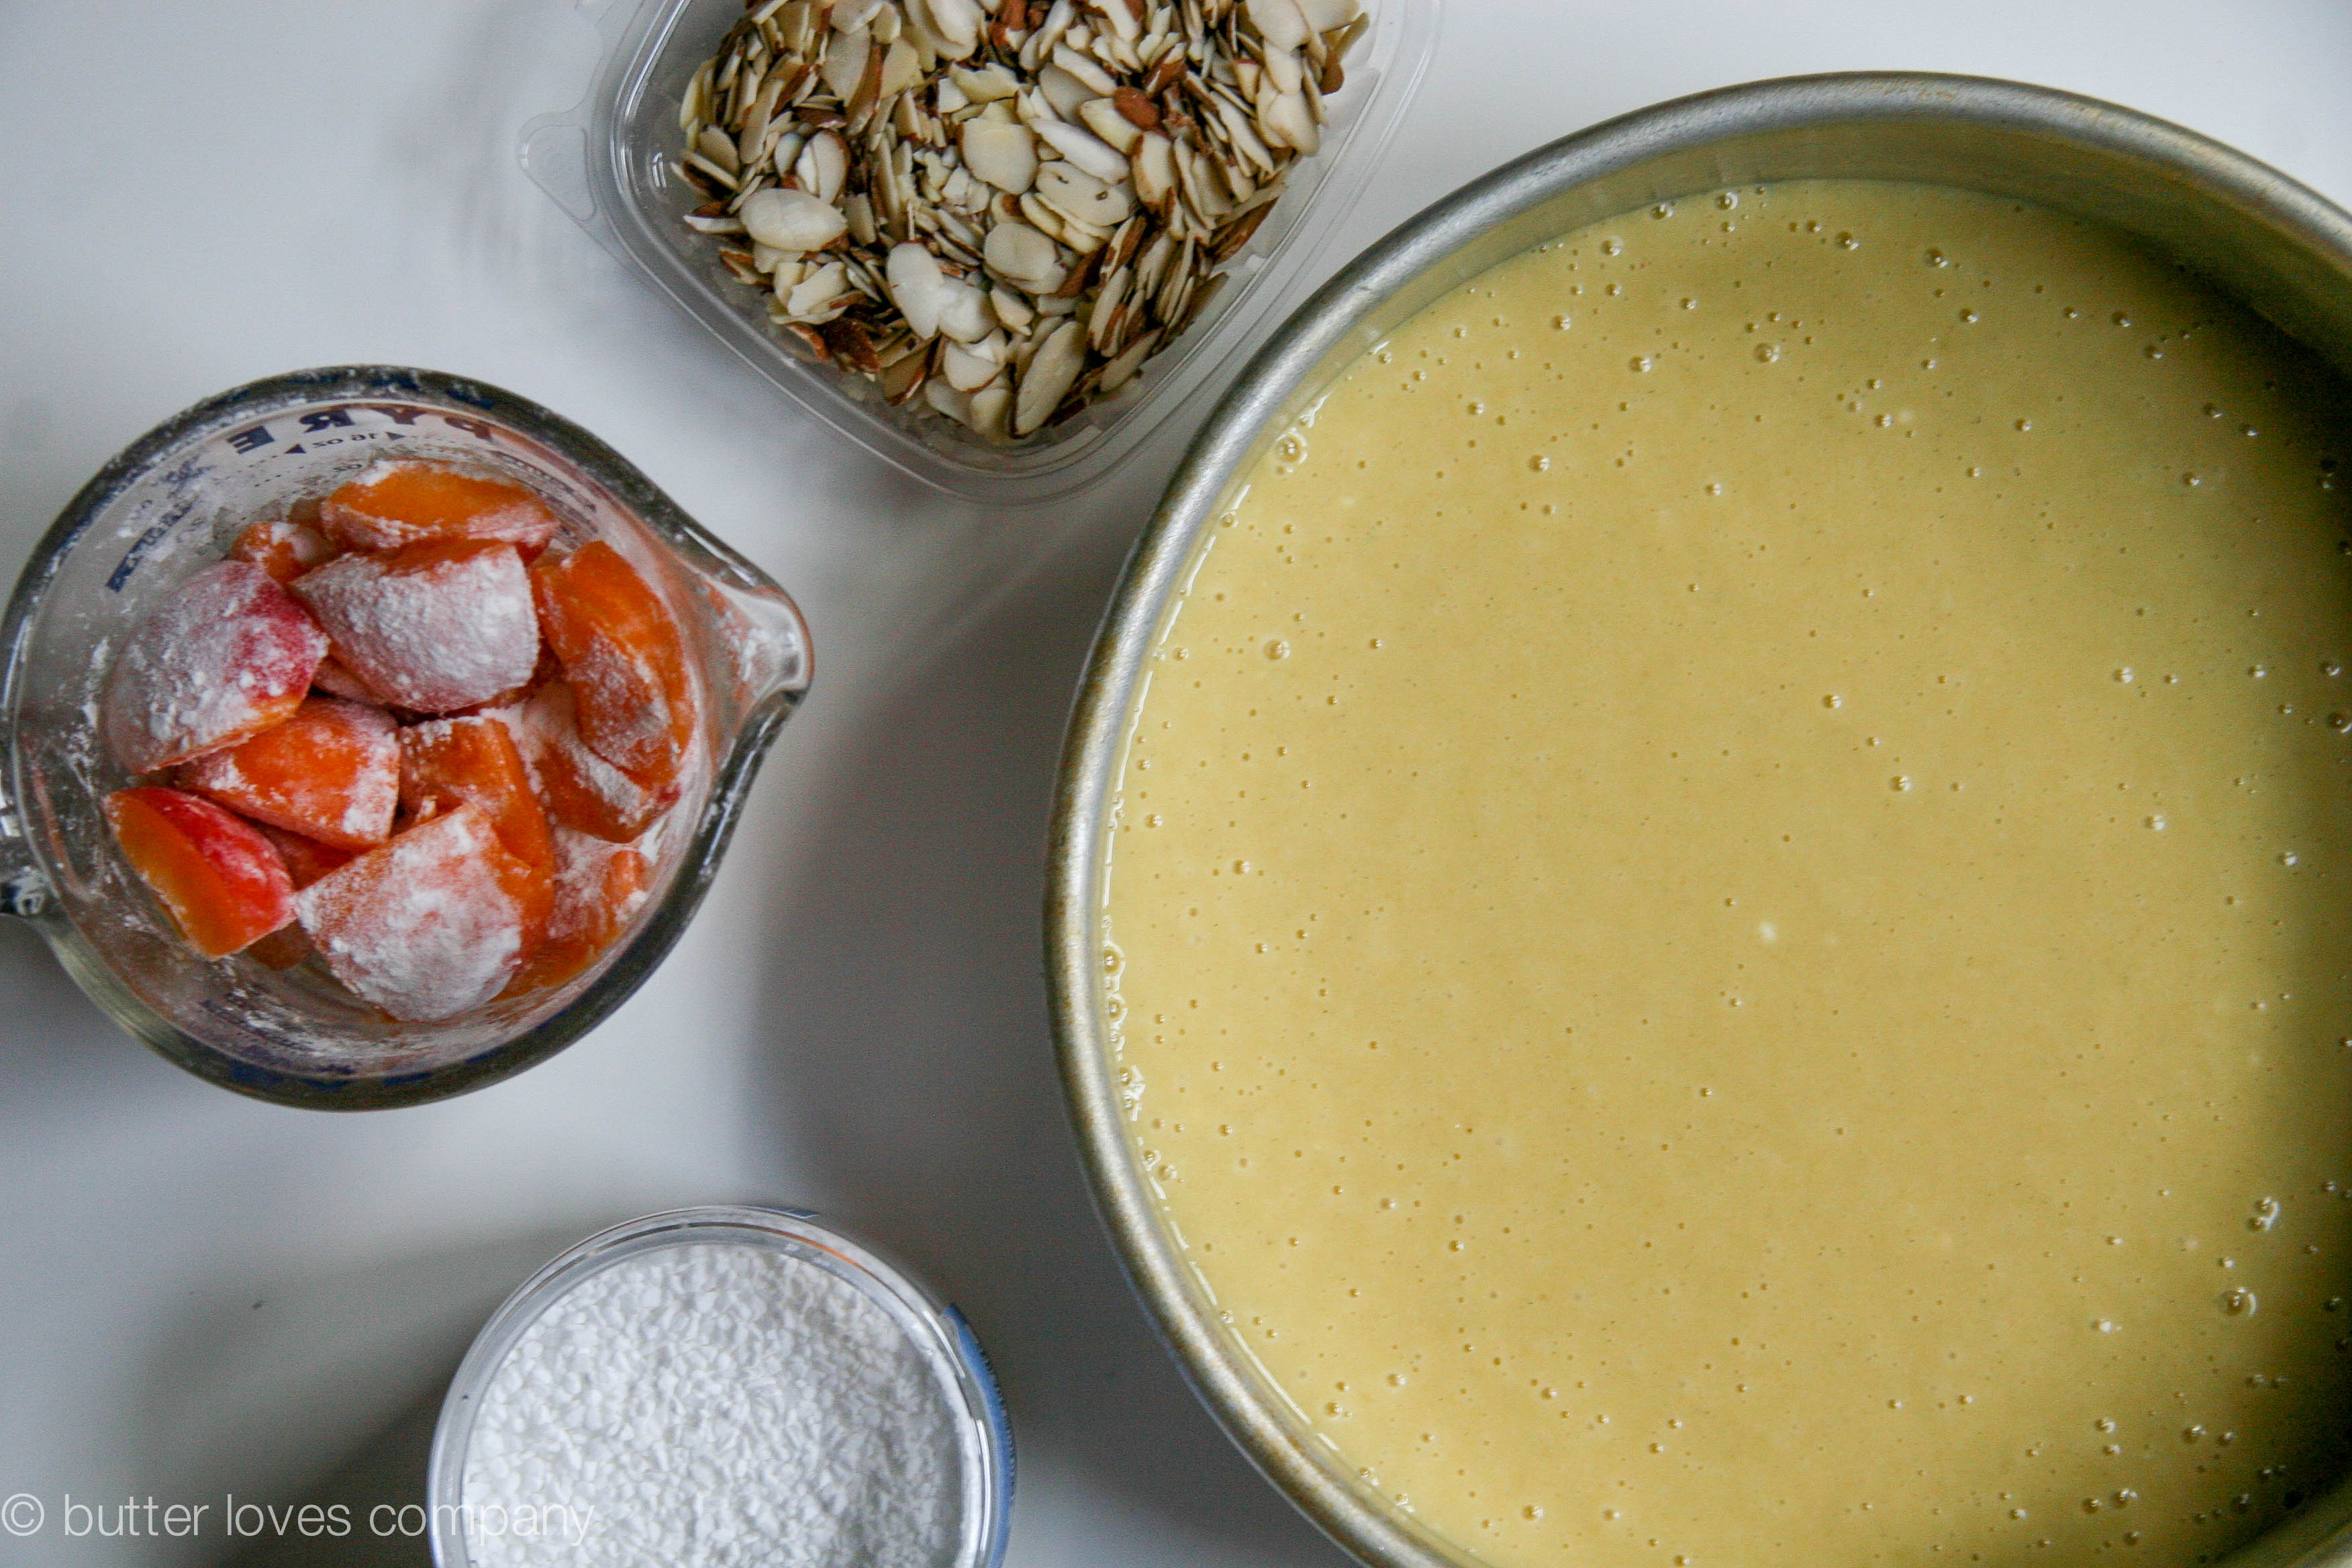
1 1/2–2 cups fresh apricots (about 3, pitted and cut into 8 pieces each)
1 1/2 cups all-purpose flour, plus a little more to coat the apricots
3/4 cup fine almond meal or almond flour (this is best for flavor but if you don’t have it, you can use another 1/2 cup all-purpose flour)
1 3/4 cup sugar
1 1/2 teaspoon salt
1/2 teaspoon baking soda
1/2 teaspoon baking powder
1 cup olive oil (extra virgin preferred)
1 1/4 cup unsweetened vanilla almond milk
1/2 cup plain Greek yogurt
3 large eggs
1 teaspoon vanilla extract or paste
1/2 teaspoon almond extract
1/2 cup sliced almonds, for topping

Instructions:

  1. Heat the oven to 350°F. Oil, butter or coat with cooking spray a 9-inch cake pan that is at least 2 inches deep. Line the bottom with parchment paper and then spray the paper. If your cake pan is less than 2 inches deep, divide between 2 pans and start checking for doneness at 30 minutes.
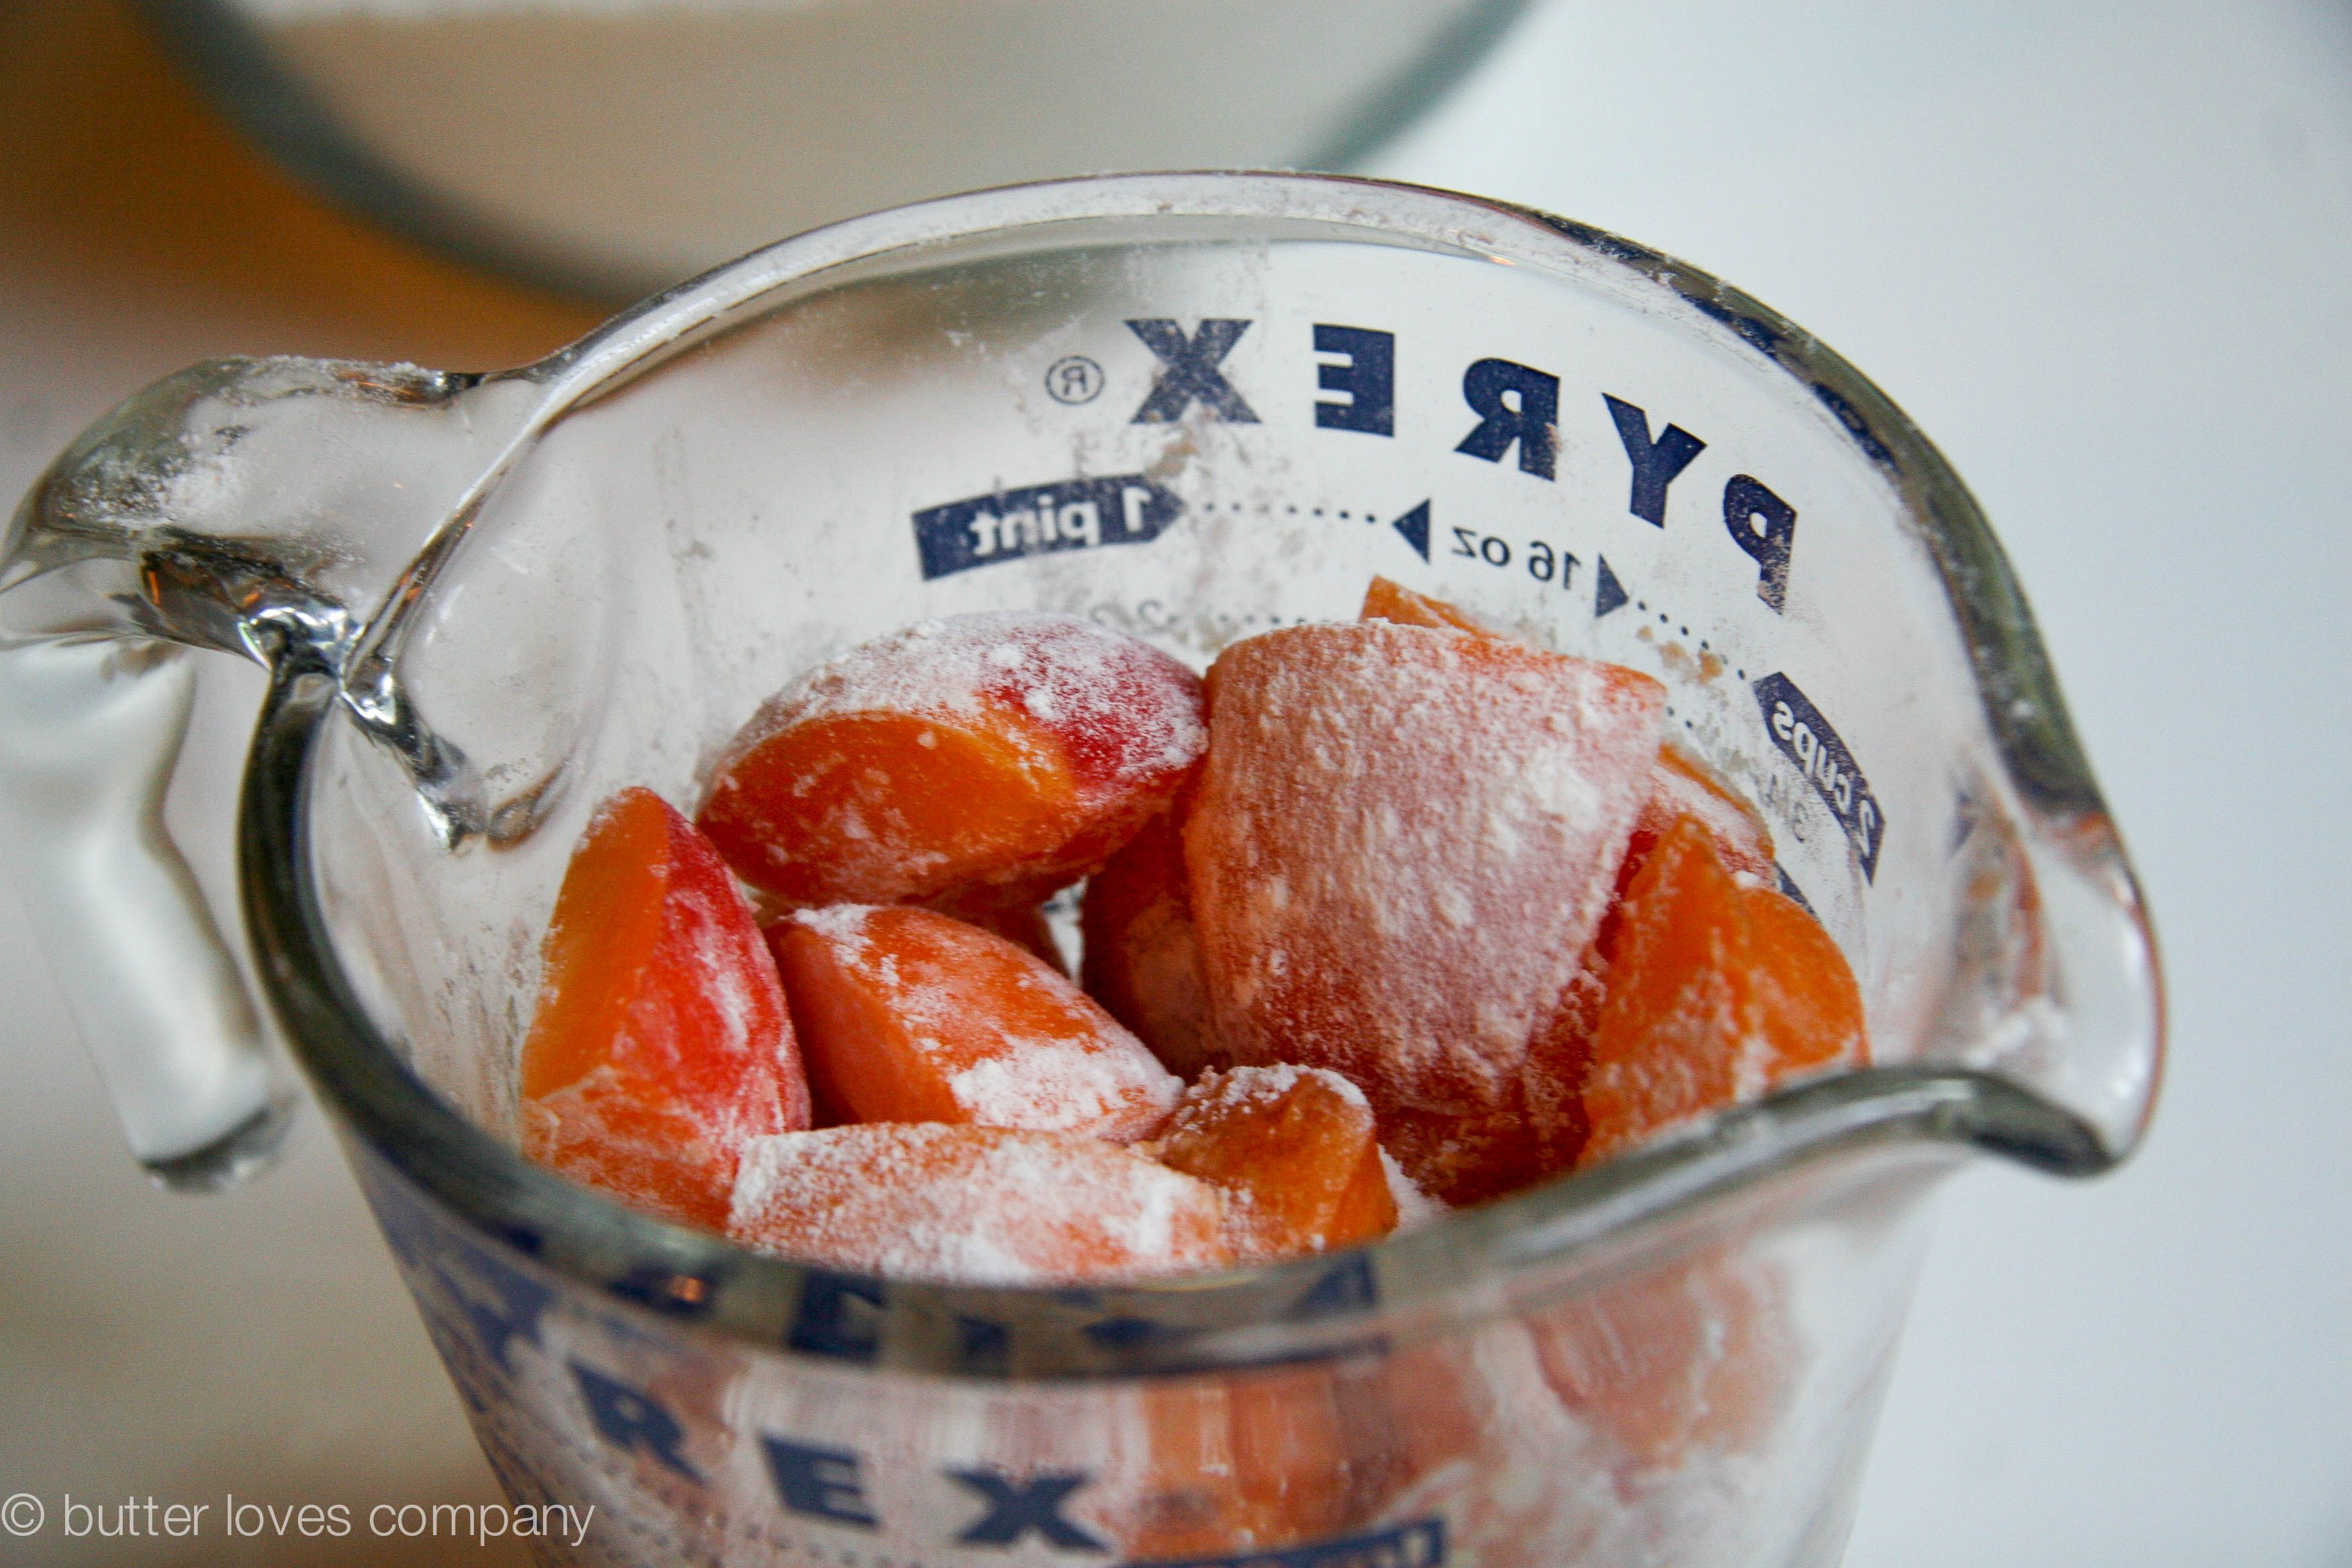
  2. In a small bowl, toss the chopped apricots with a little flour—about 1/4 cup—to coat the outsides. In a medium bowl, whisk the flour, almond flour, sugar, salt, baking soda and baking powder until combined. In another large bowl—or the bowl of an electric mixer fitted with the paddle attachment—mix the olive oil, almond milk, yogurt, eggs, vanilla and almond extracts until completely combined. Add the dry ingredients to the wet ingredients; mix until just combined.
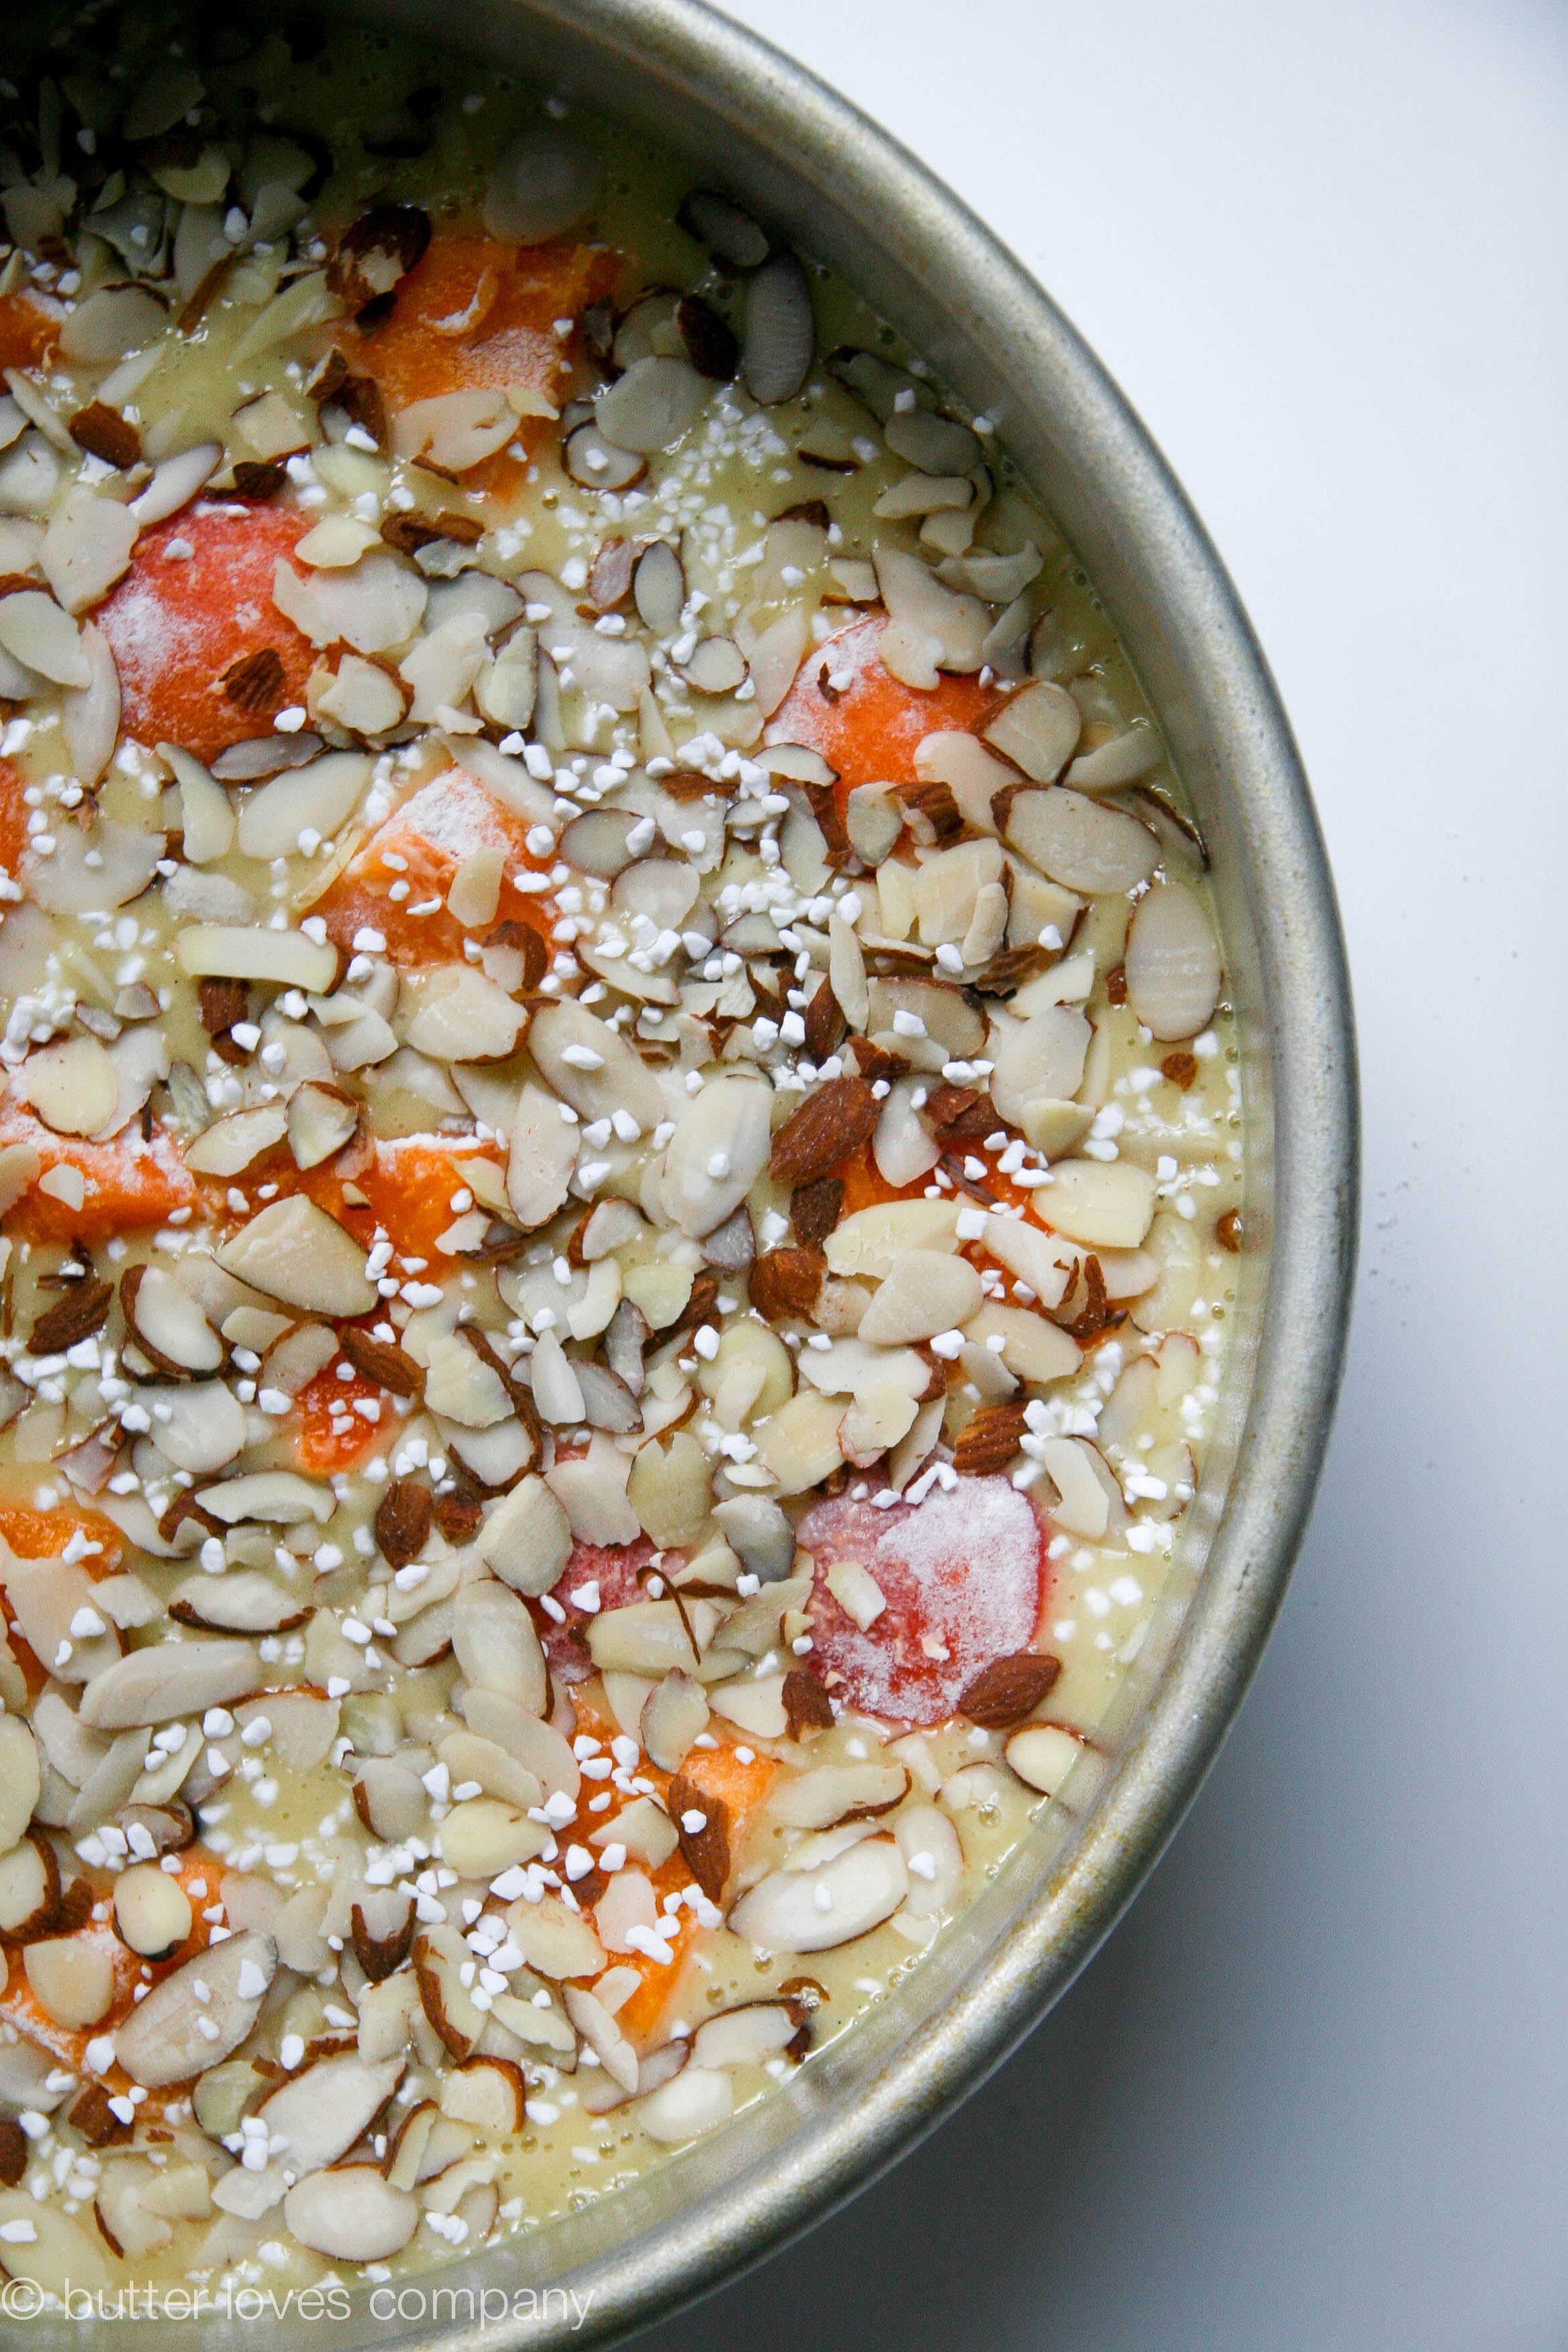
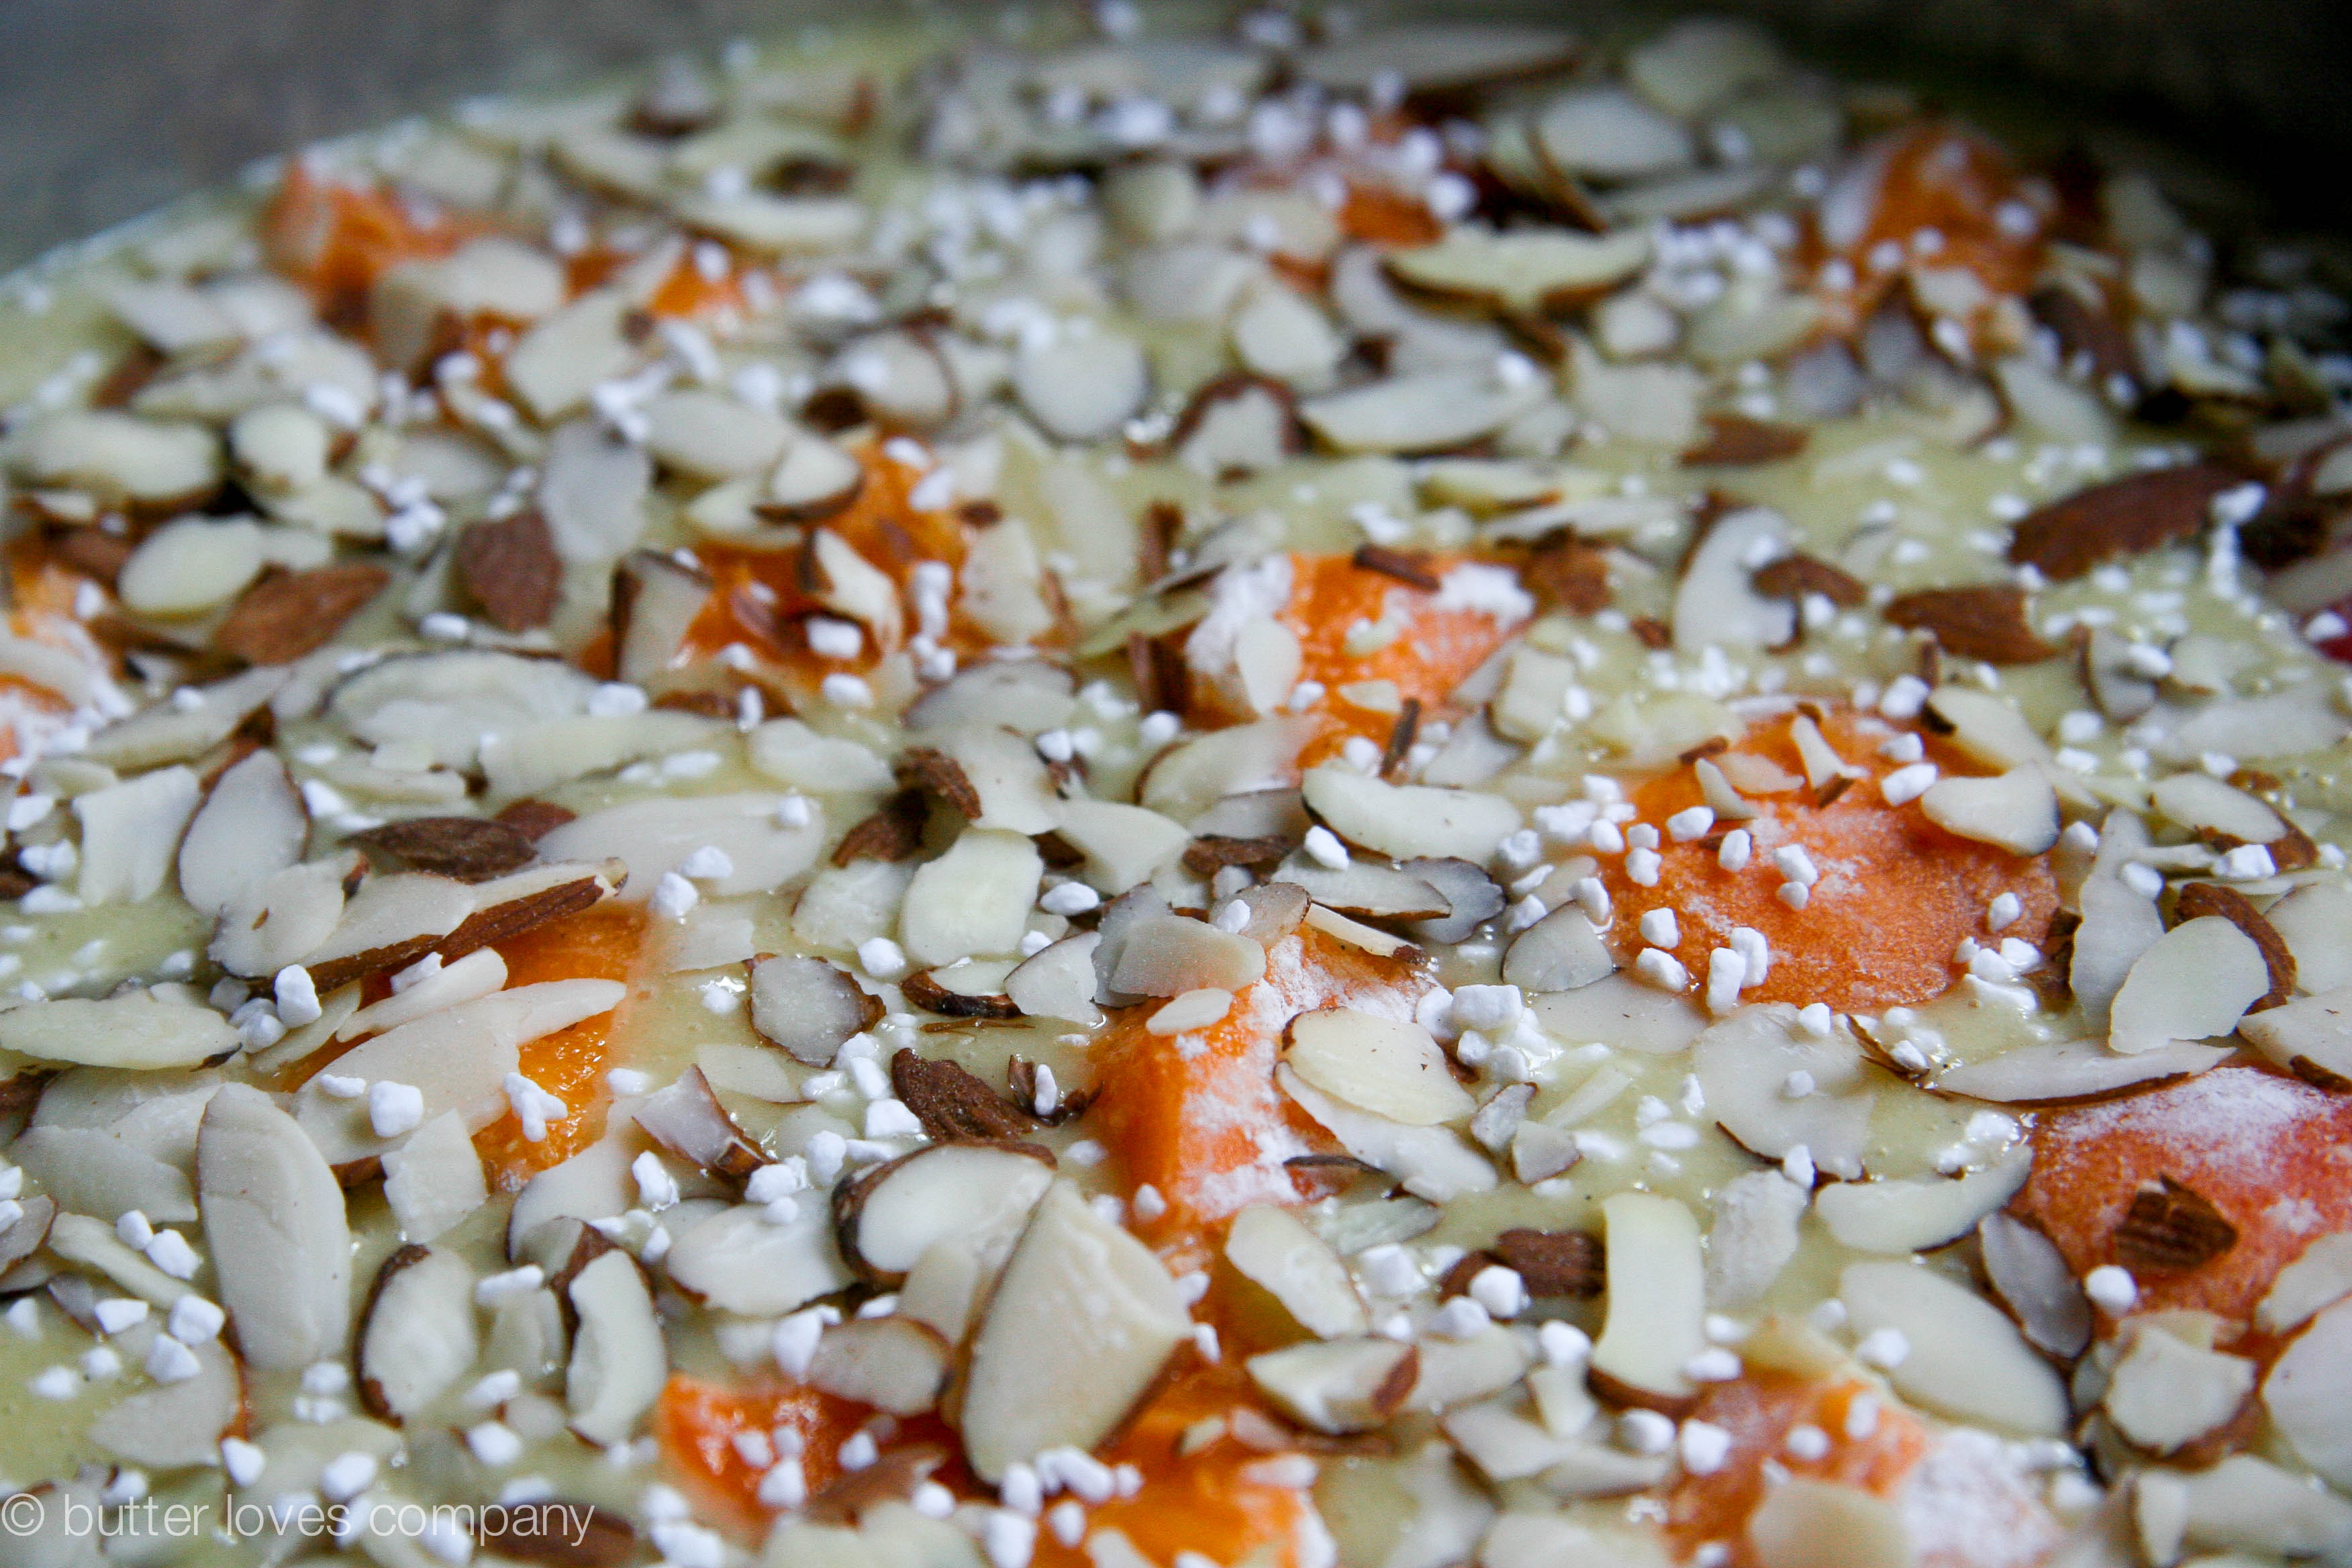
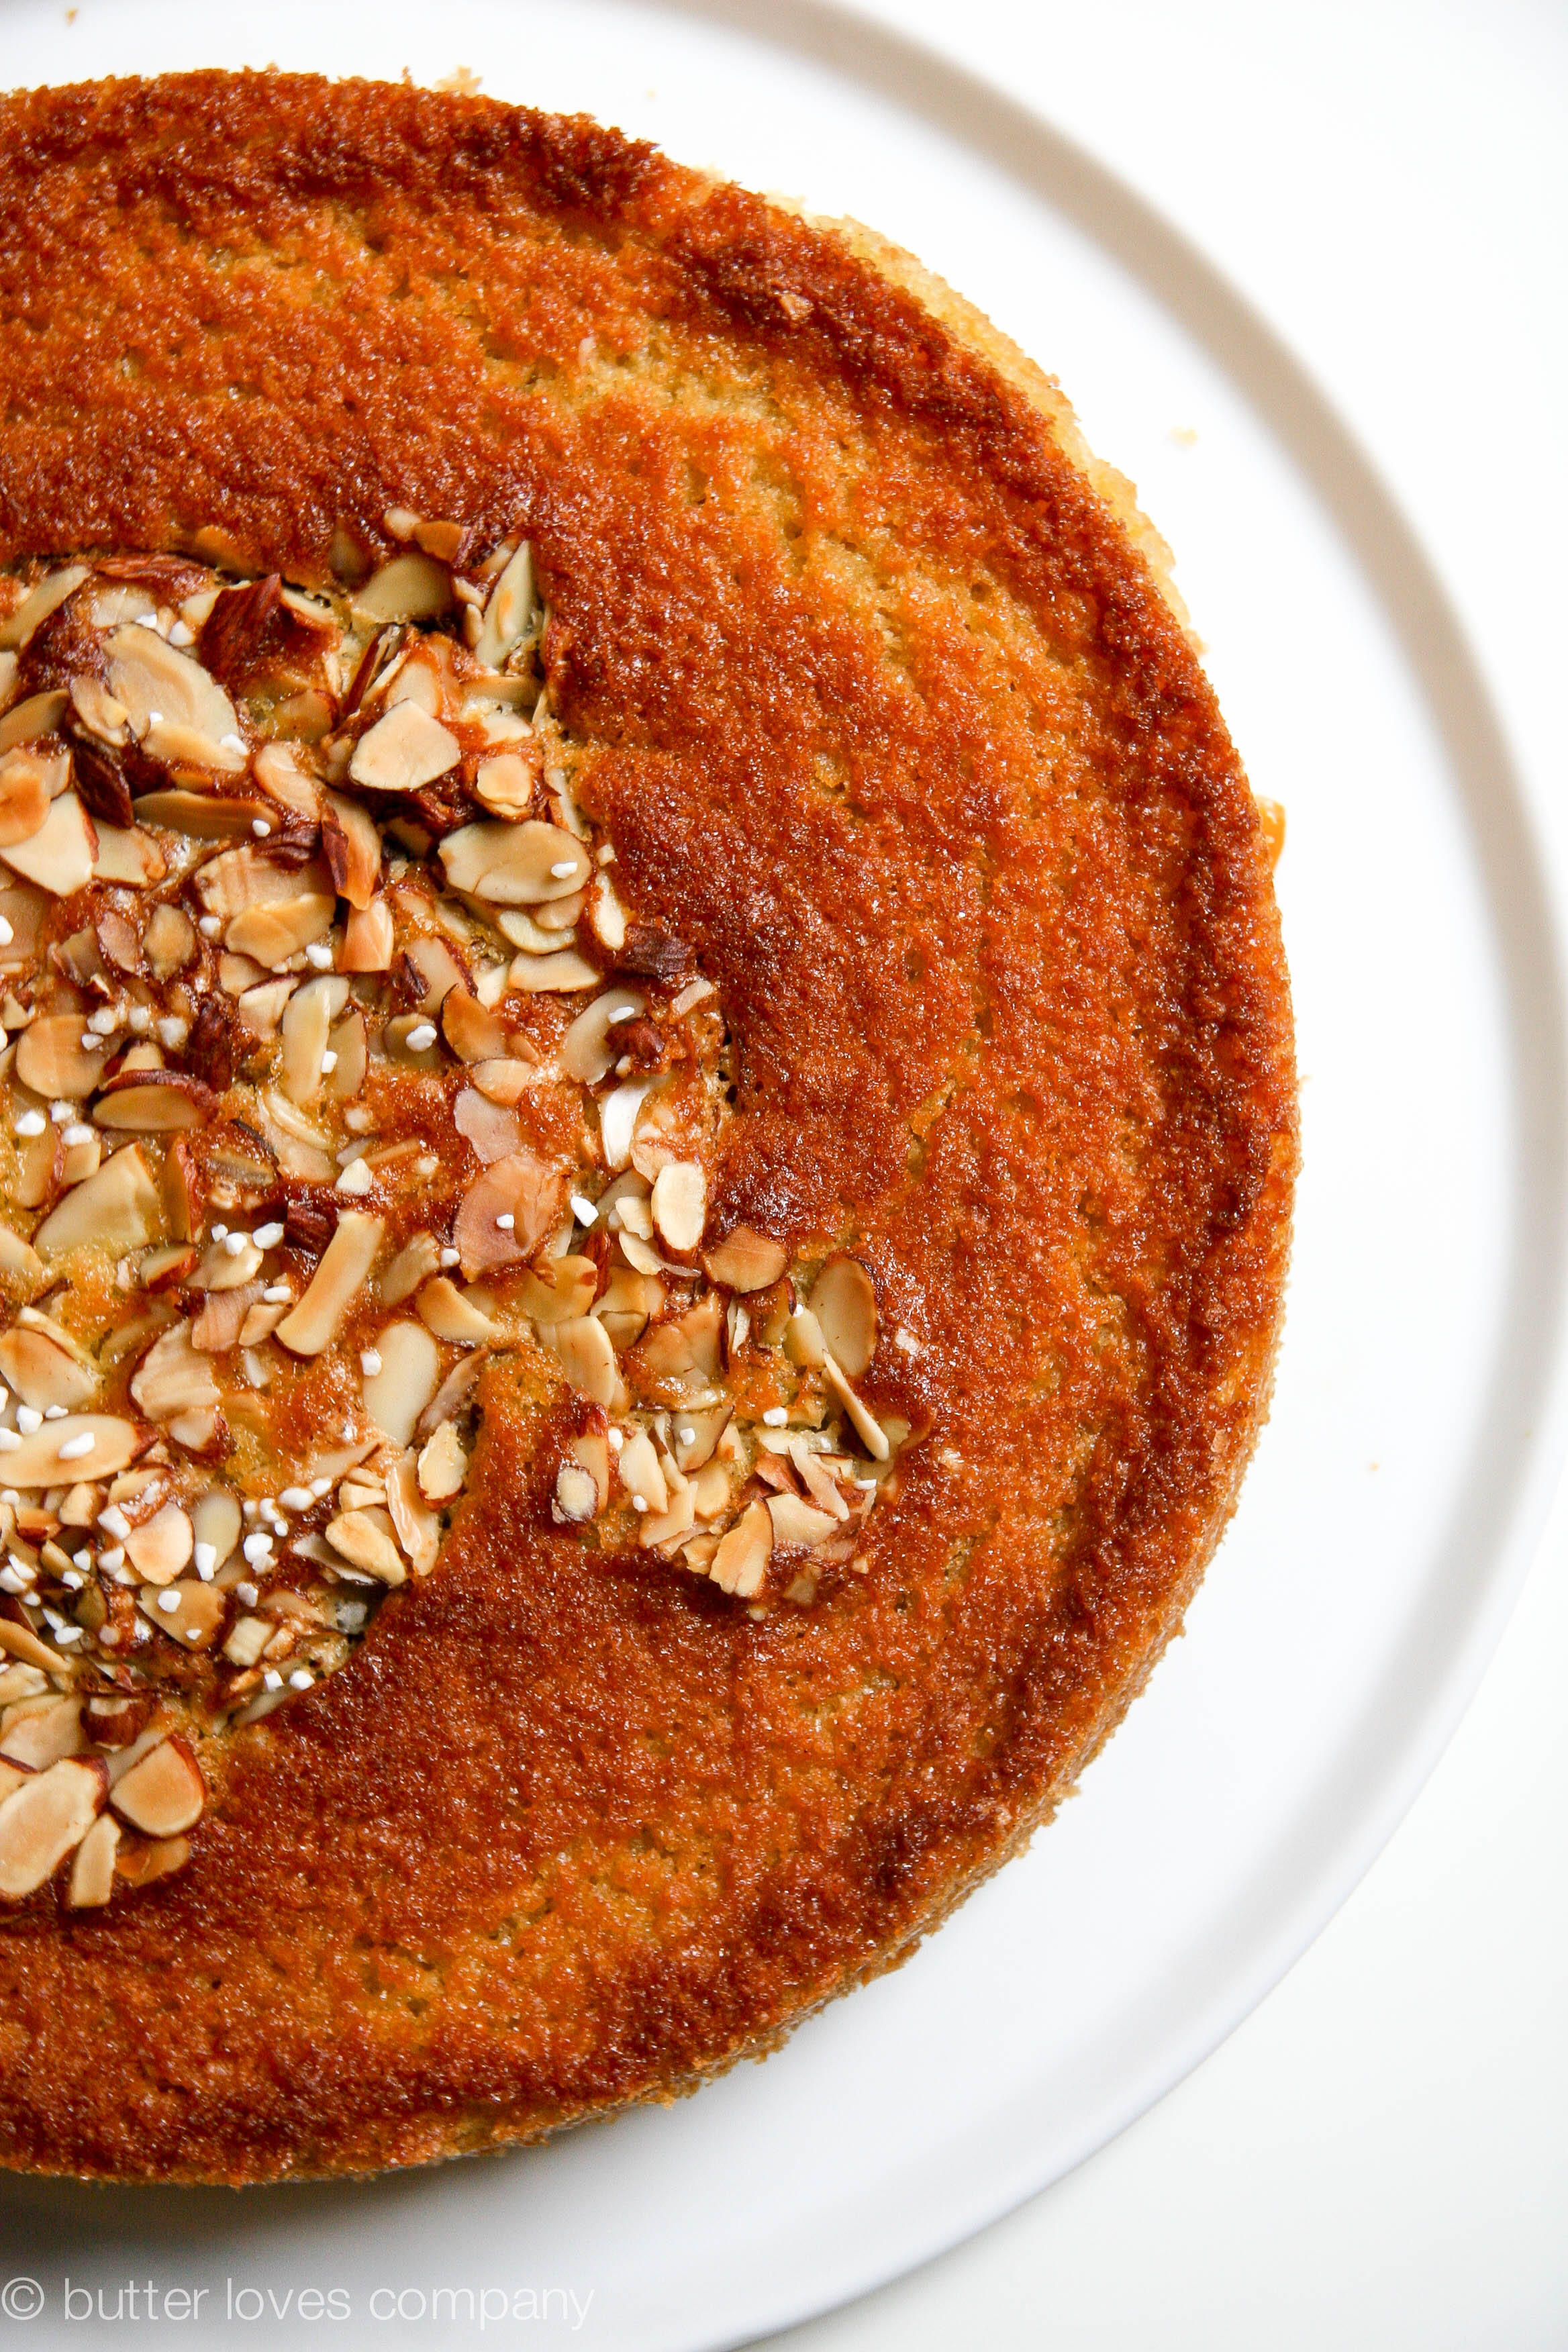
  3. Pour the batter into the prepared pan and then scatter the floured apricots across the top of the cake. Sprinkle the cake evenly with sliced almonds. Bake the cake for 1 hour, until the top is golden and a cake tester or toothpick inserted into the center of the cake comes out clean. Transfer the cake in its pan to a wire rack and let cool for 30 minutes.
  4. Run a knife around the edge of the pan, invert the cake onto the rack and then flip it back onto a serving plate. Let the cake cool completely before cutting, about 2 hours. Store at room temperature or in the fridge.

Filed Under: breakfast and breads, desserts and sweets, eat Tagged With: apricot, breakfast, cake, fresh apricot, italian cake, italy, olive oil, tuscany

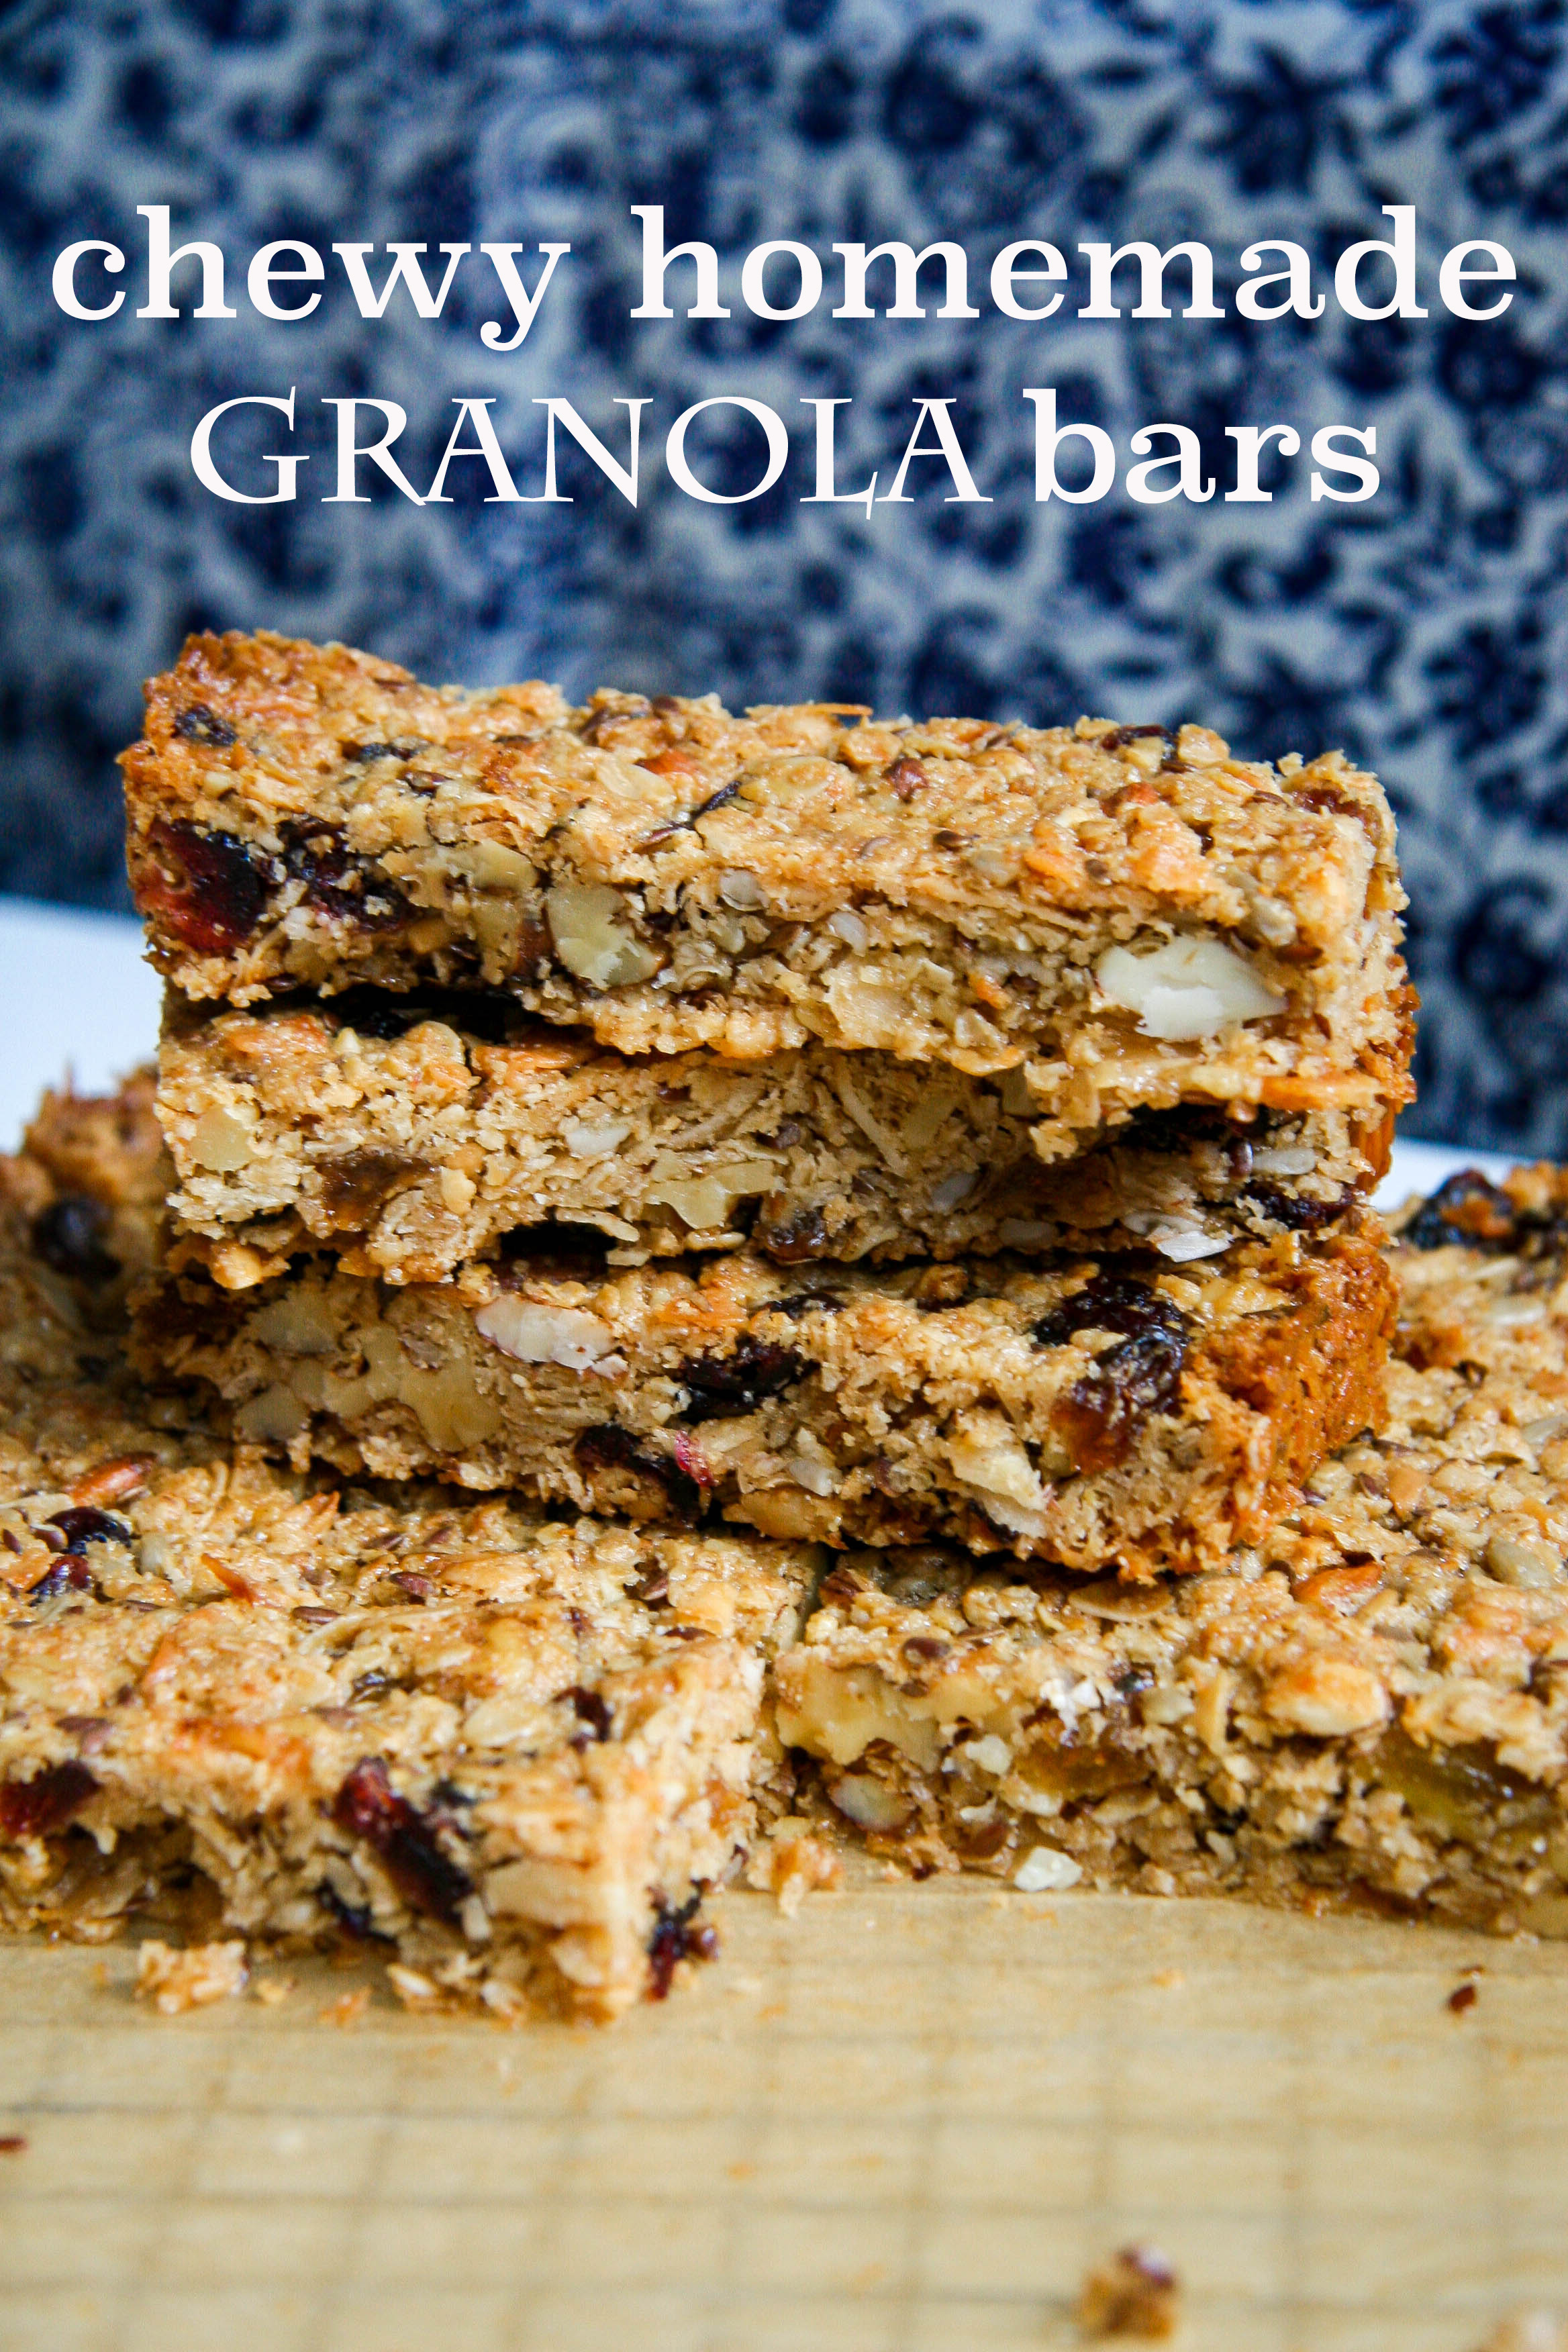
chewy homemade granola bars

July 29, 2014 by Butter Loves Company

chewy-homemade-granola-nature-bars-recipe-13

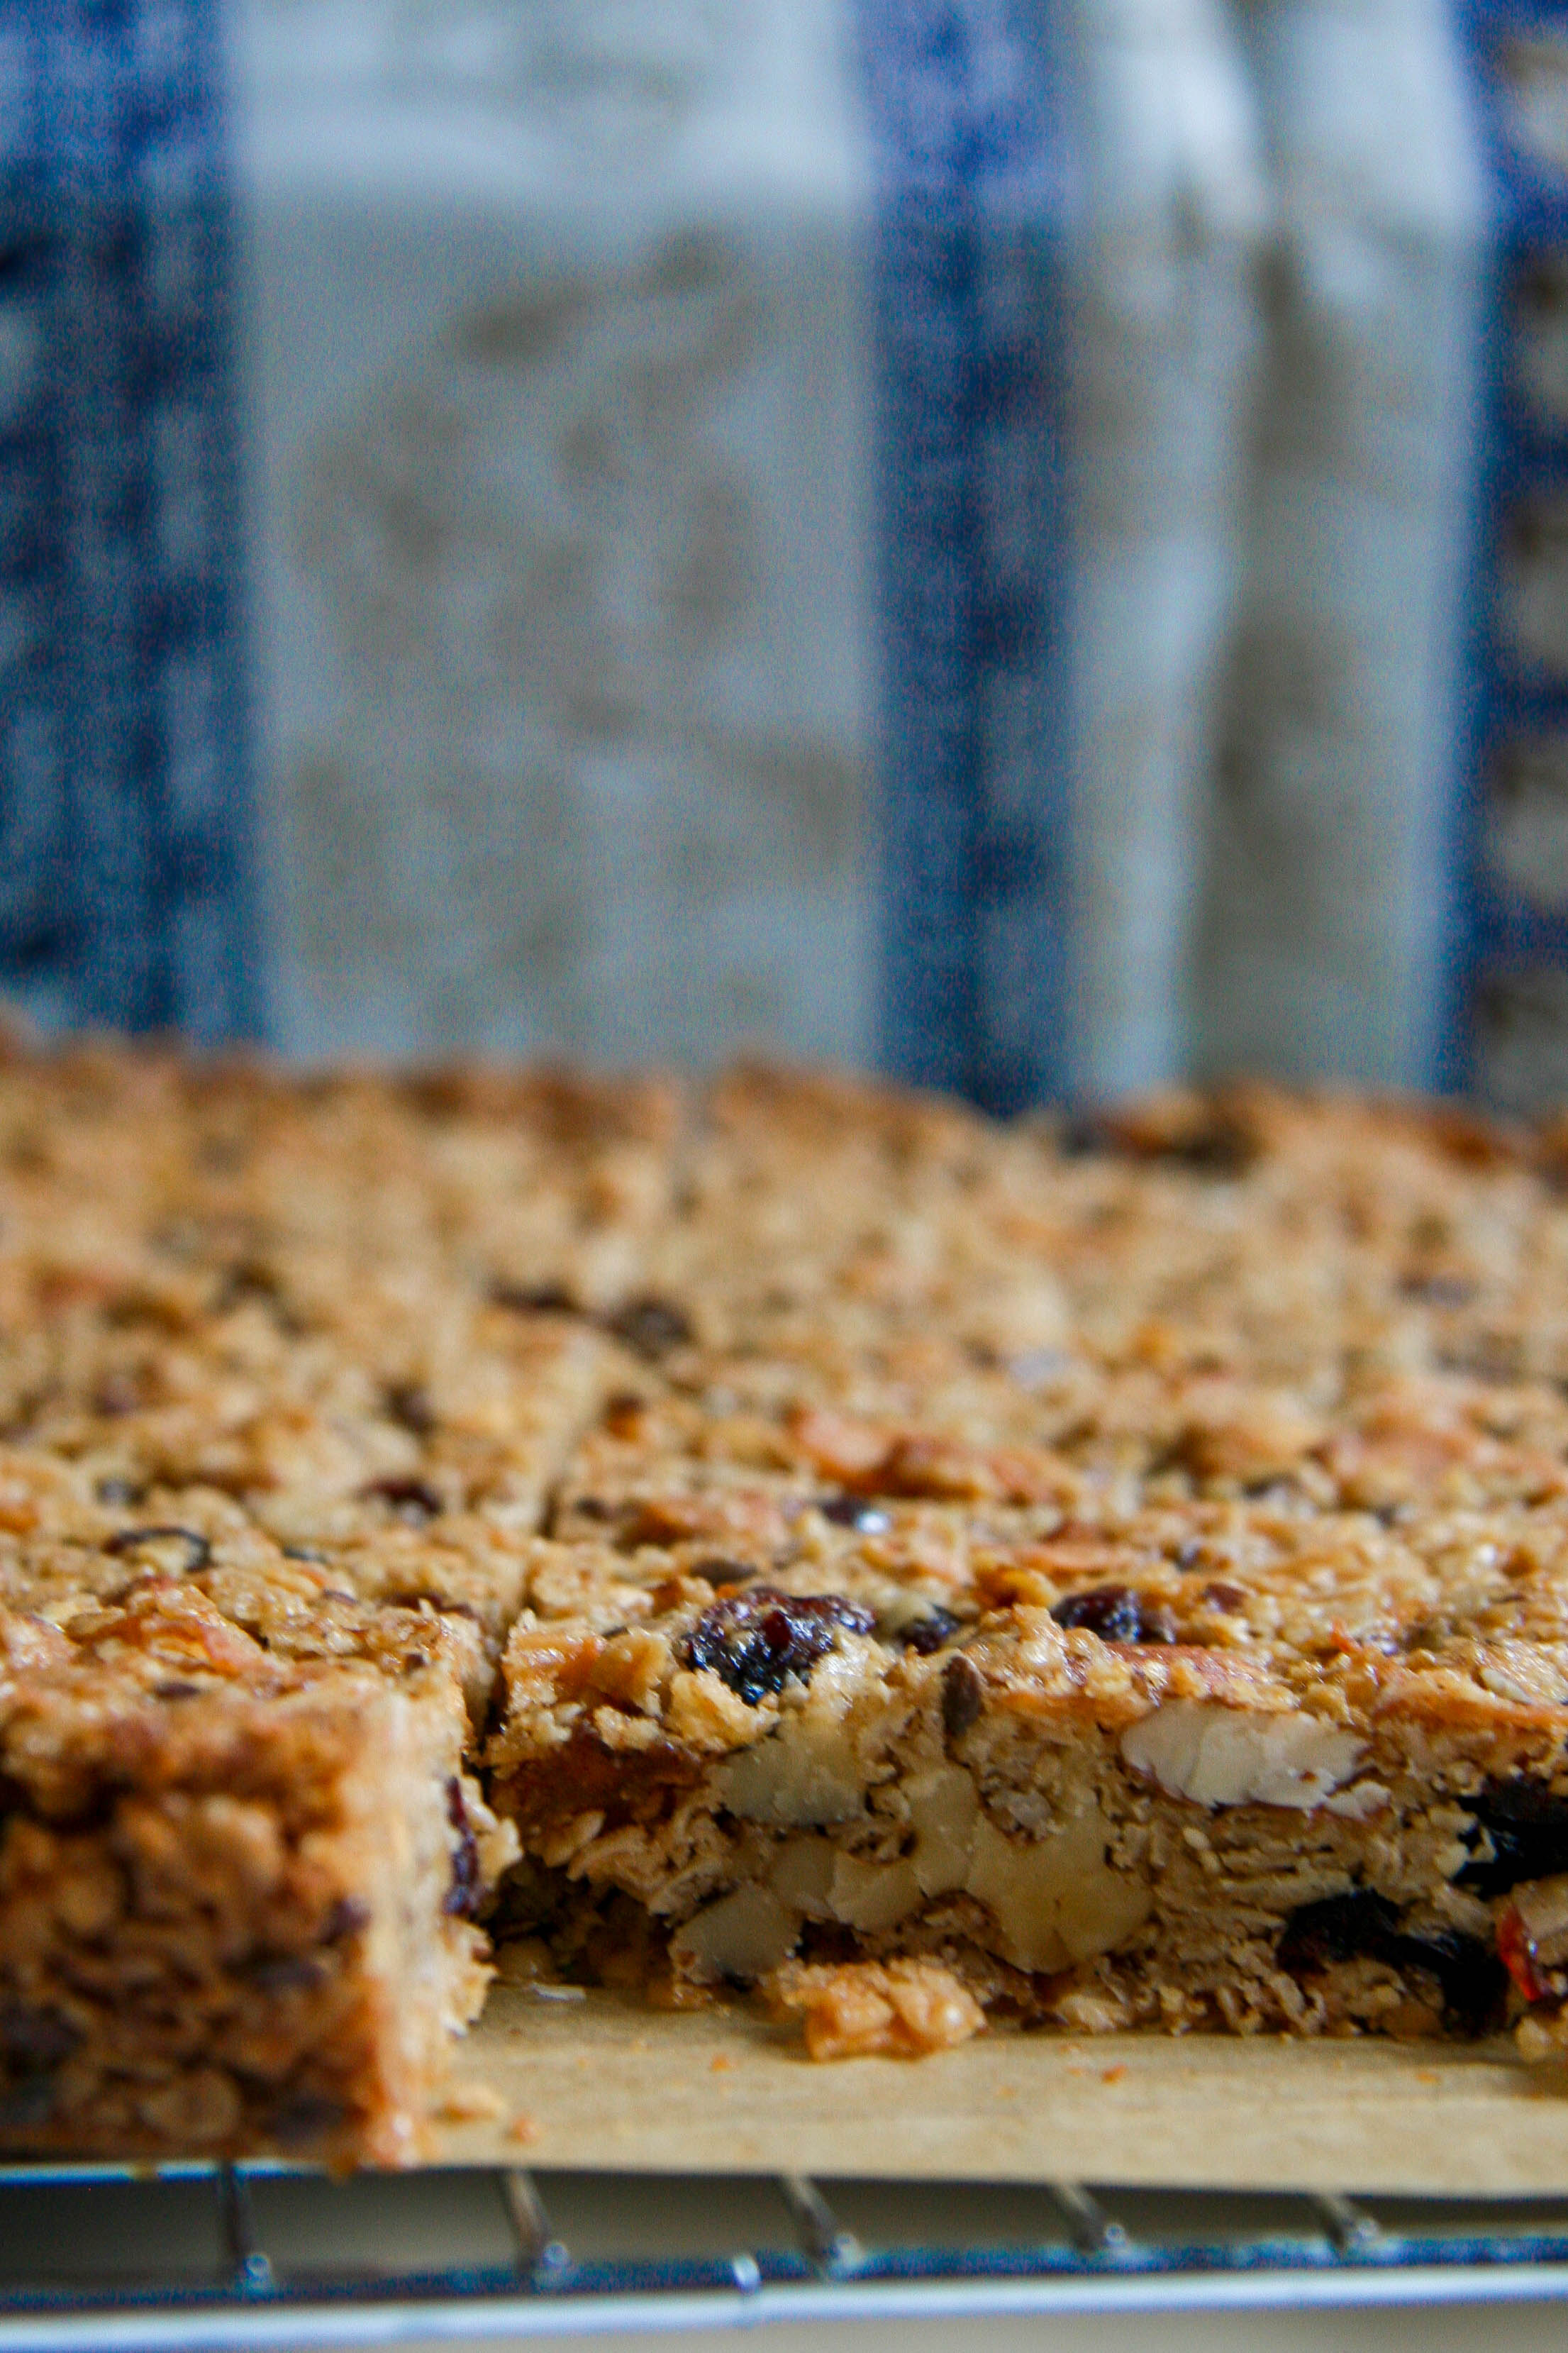
Raise your hand if you’re the sleep in until the last minute, get ready quick, eat a grab-and-go breakfast type. Like the “if I wear that thing that needs no ironing, I can stay in bed for exactly 7 minutes more” type. Or even the “eh, shower schmower…I’ll skip for the extra 10 minutes of rest” type. If you’re hand is up, take that hand and go ahead, hit that snooze button one more time. I’ve got you covered with this homemade granola bars recipe.

Granola bar for you, and you, and you, and you! Granola bar for me, for sure!

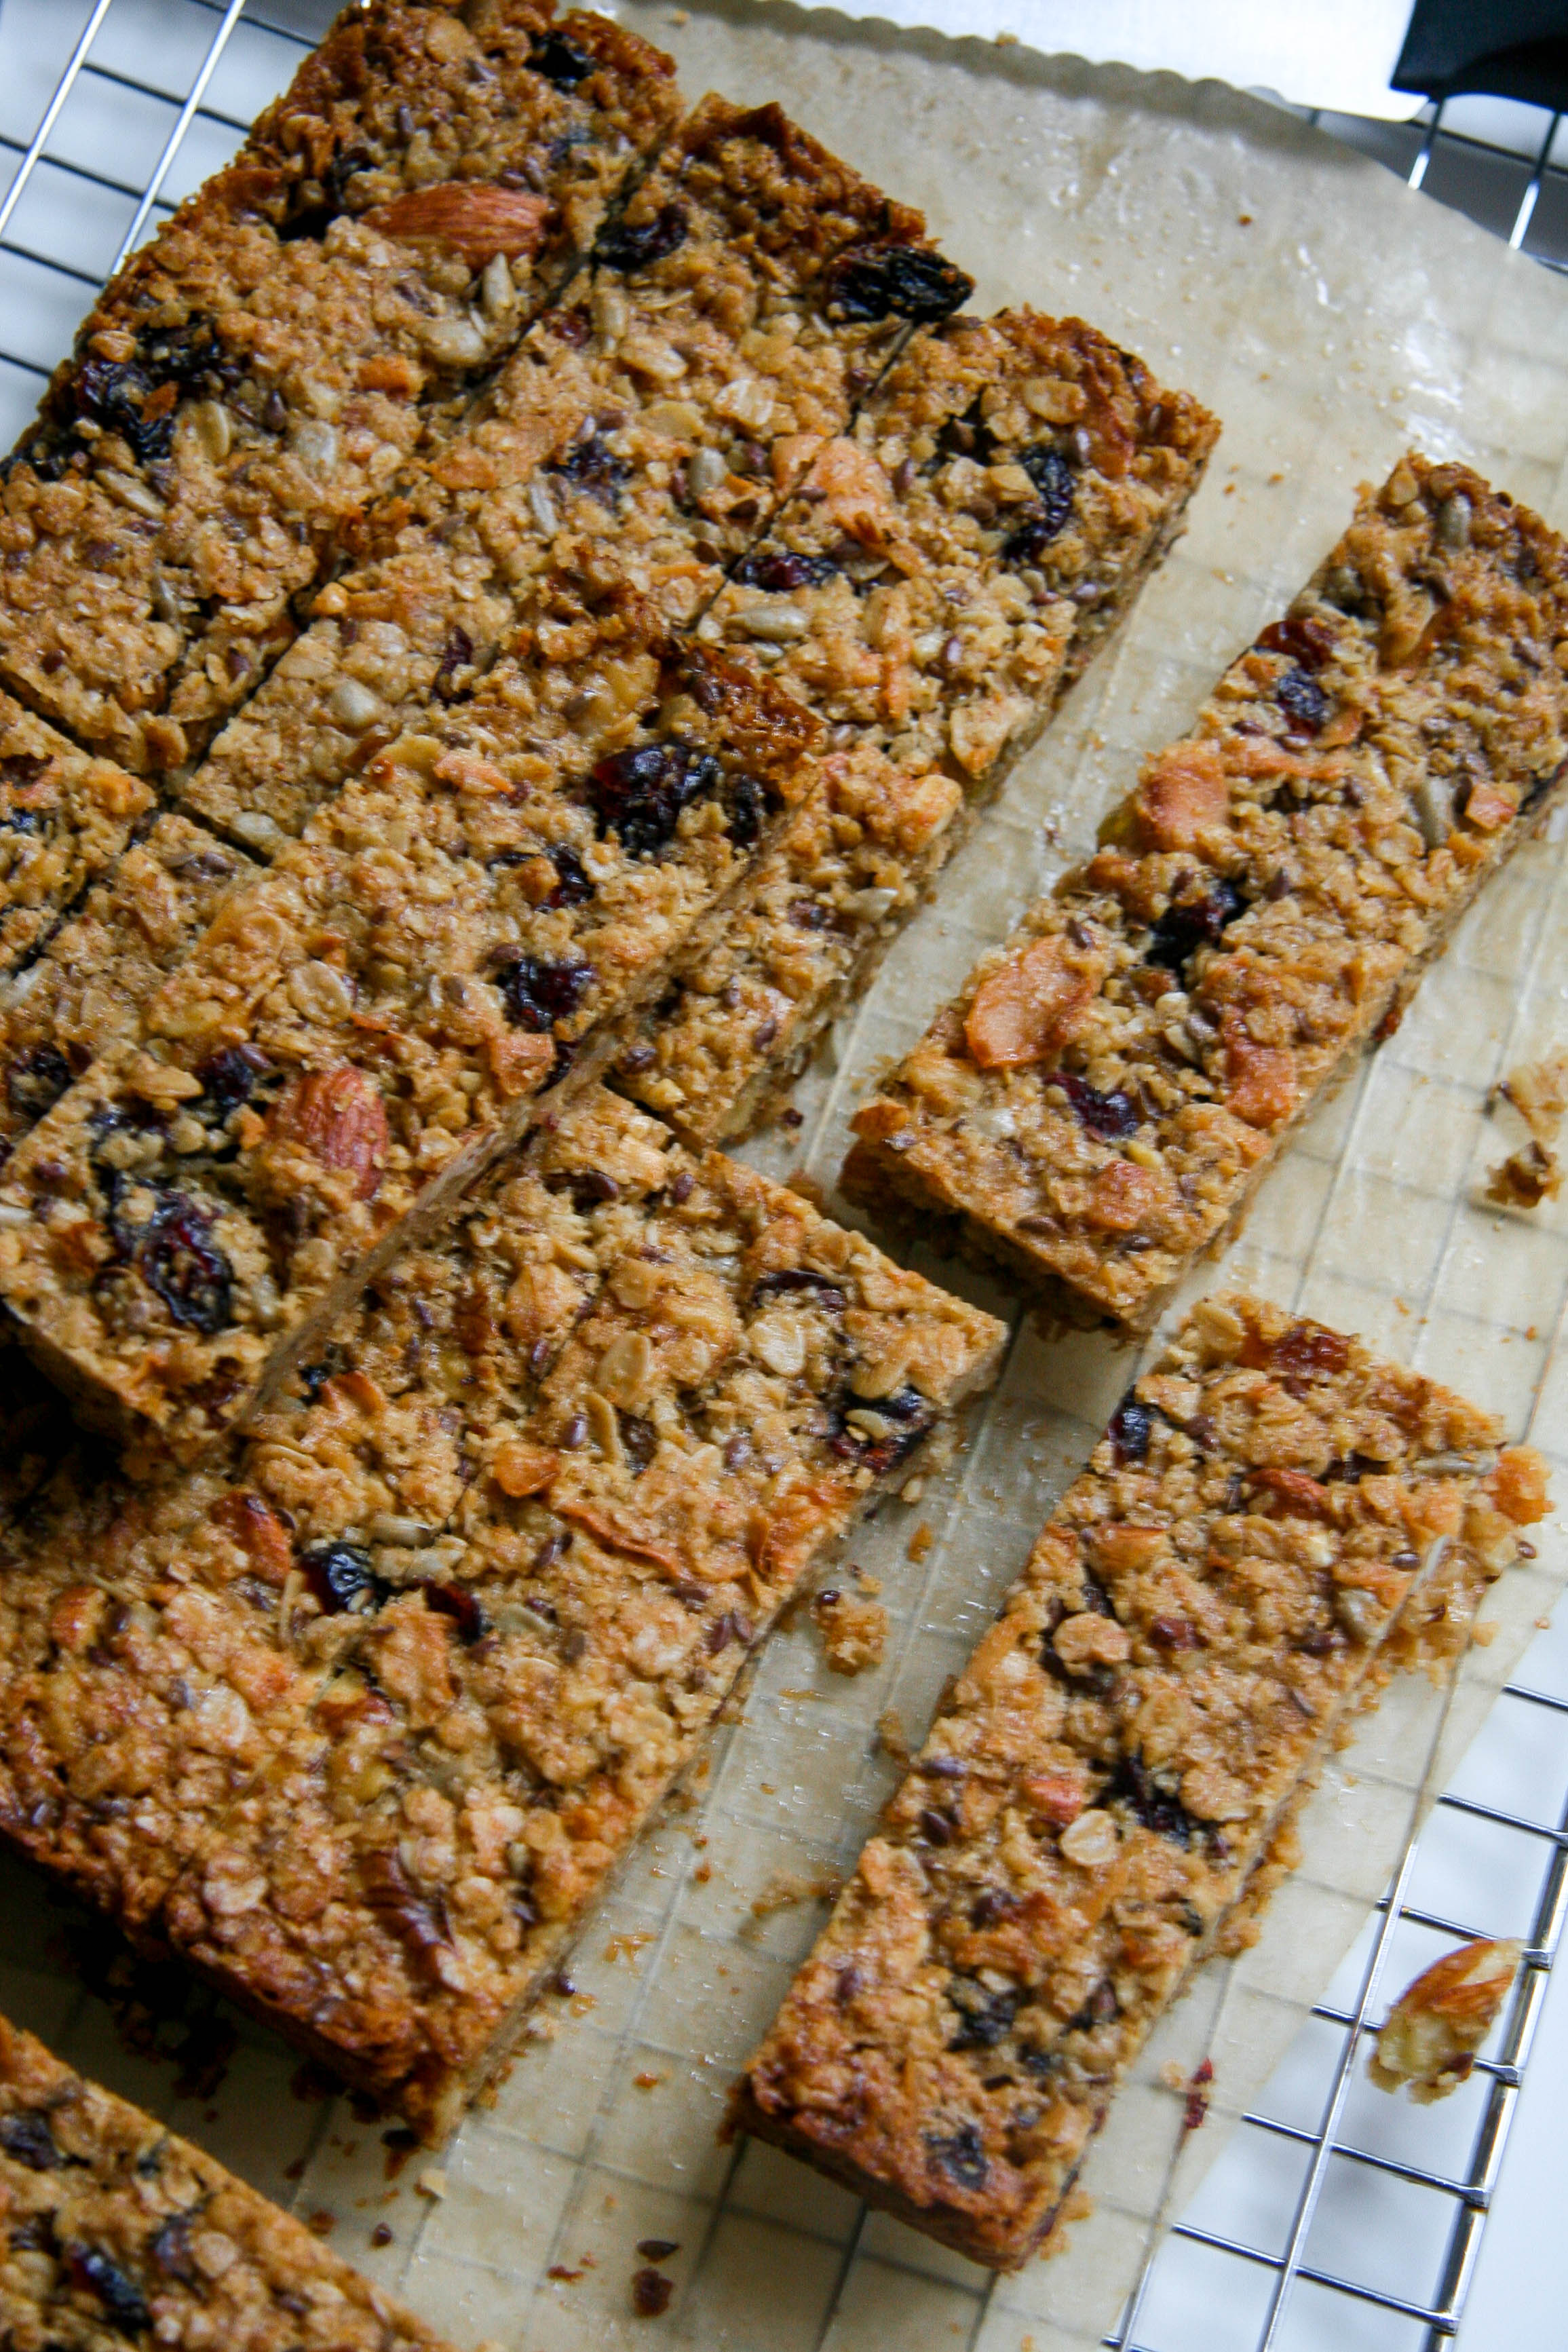
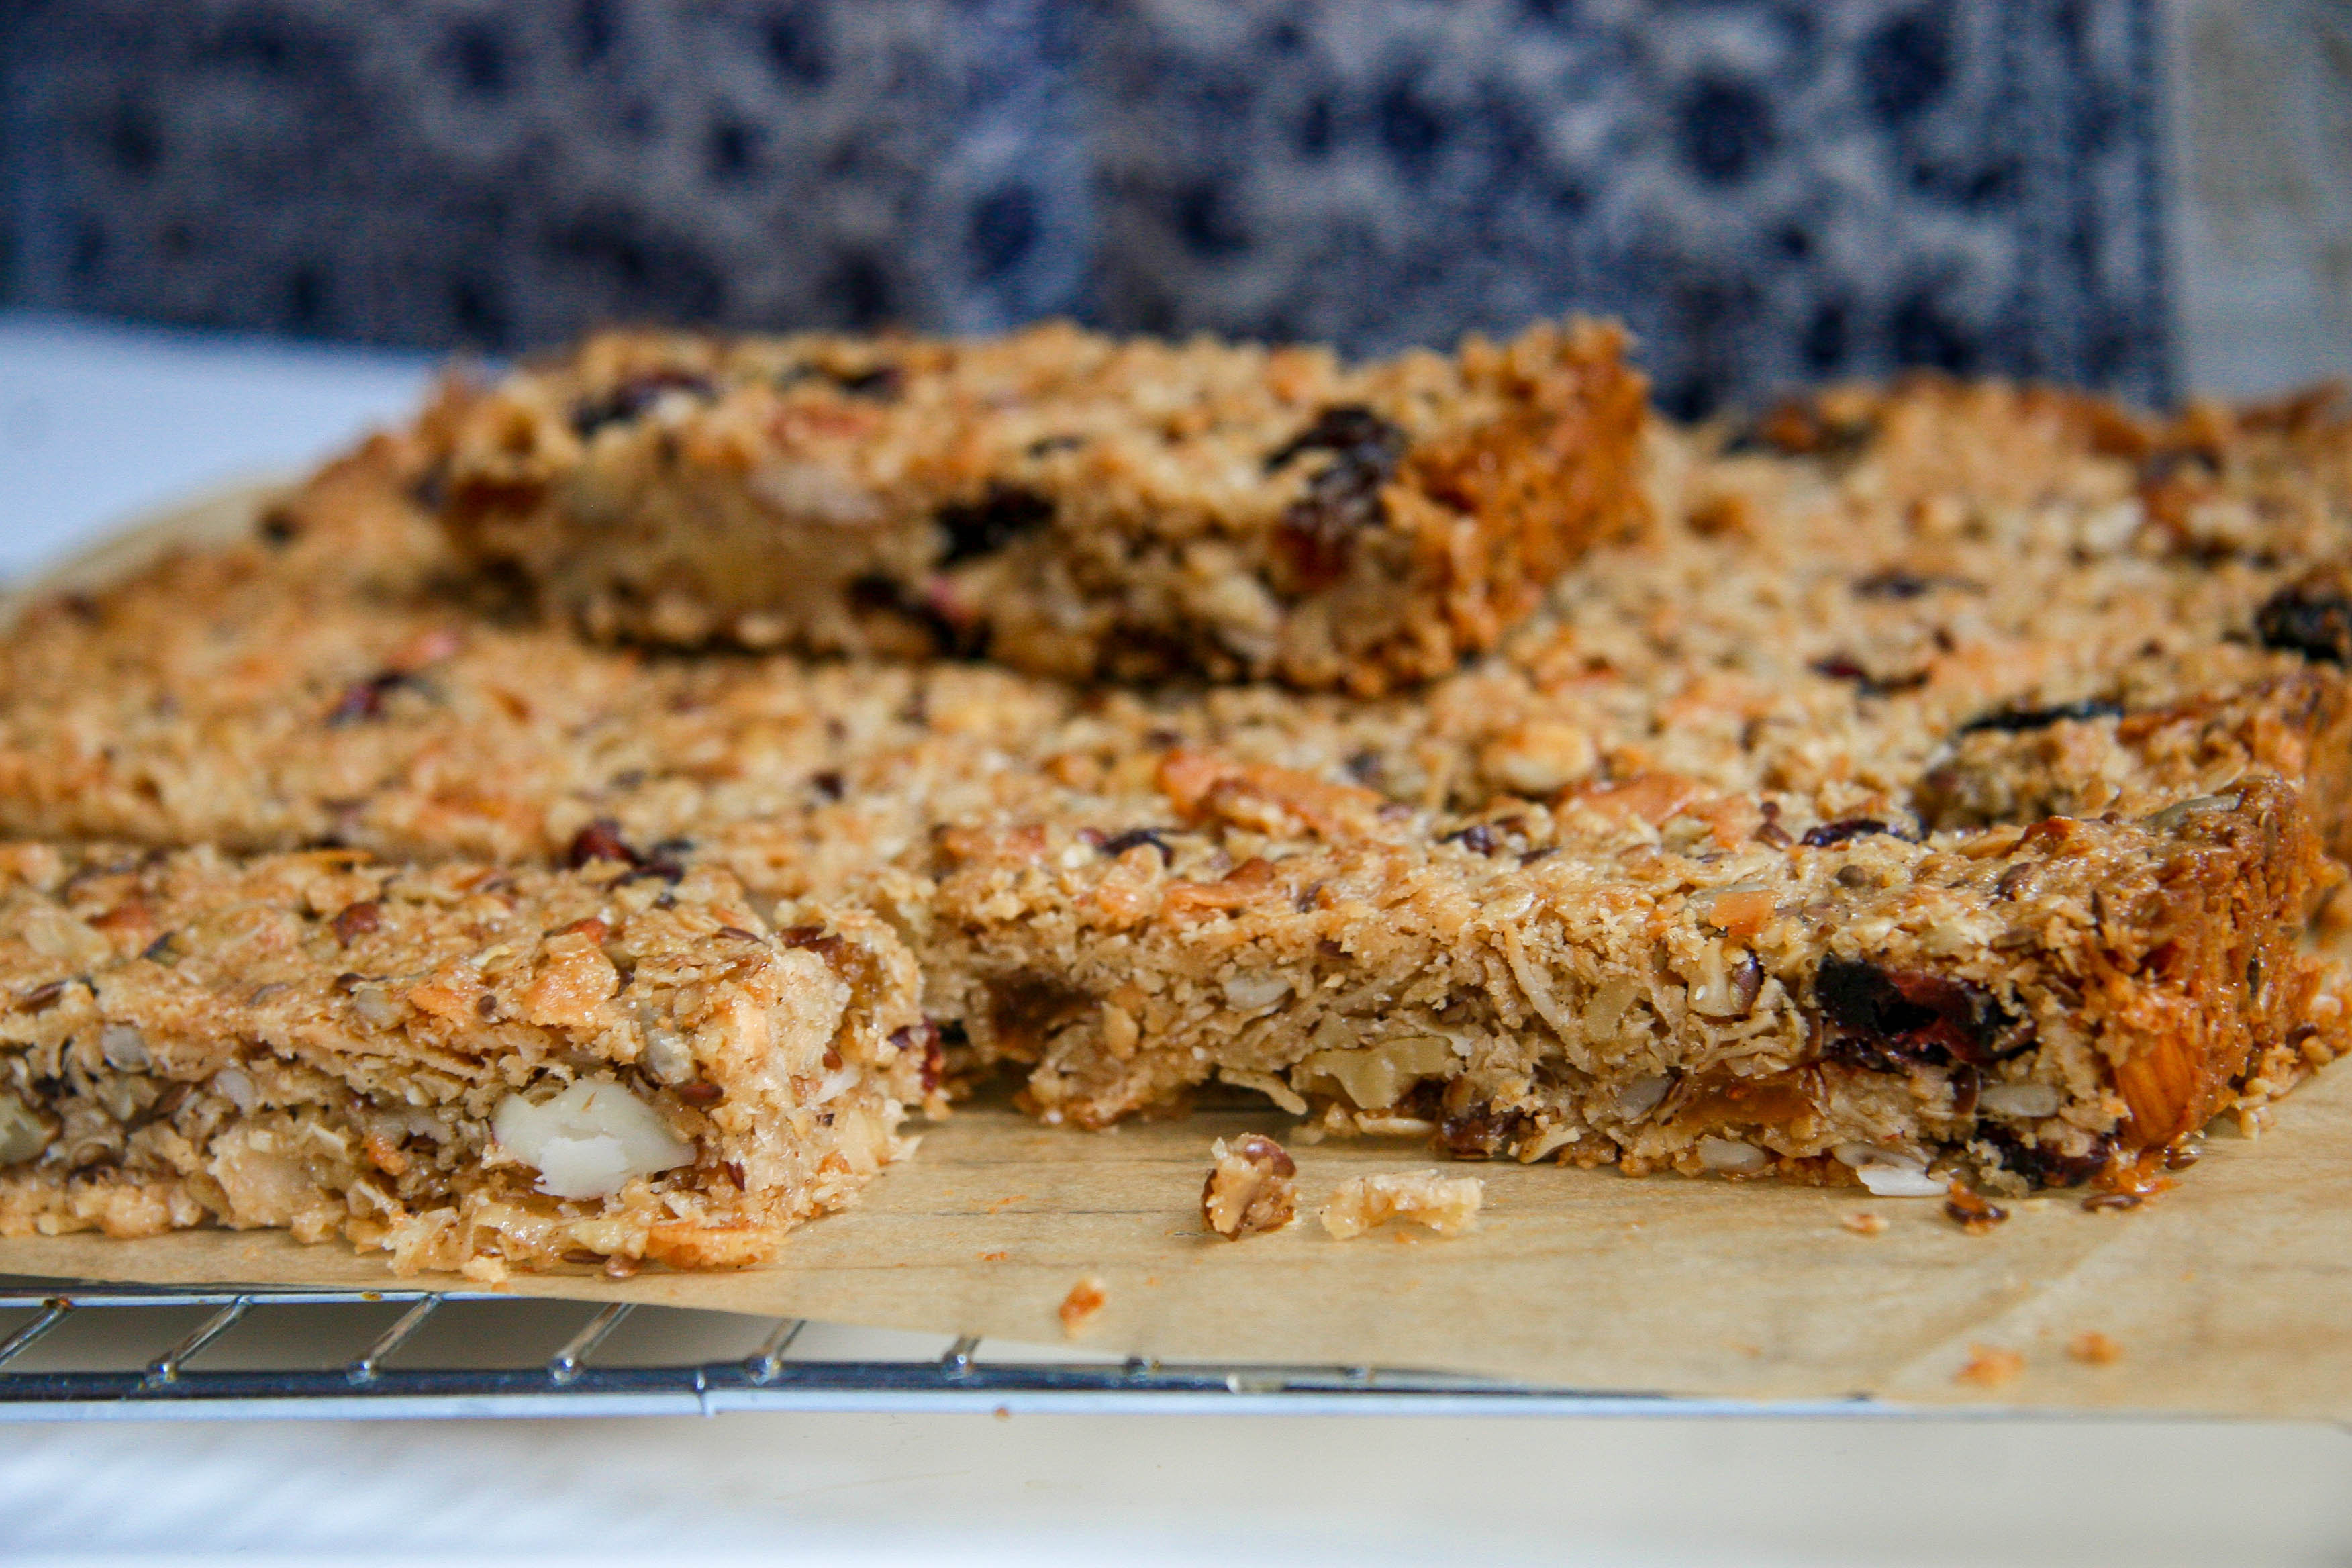
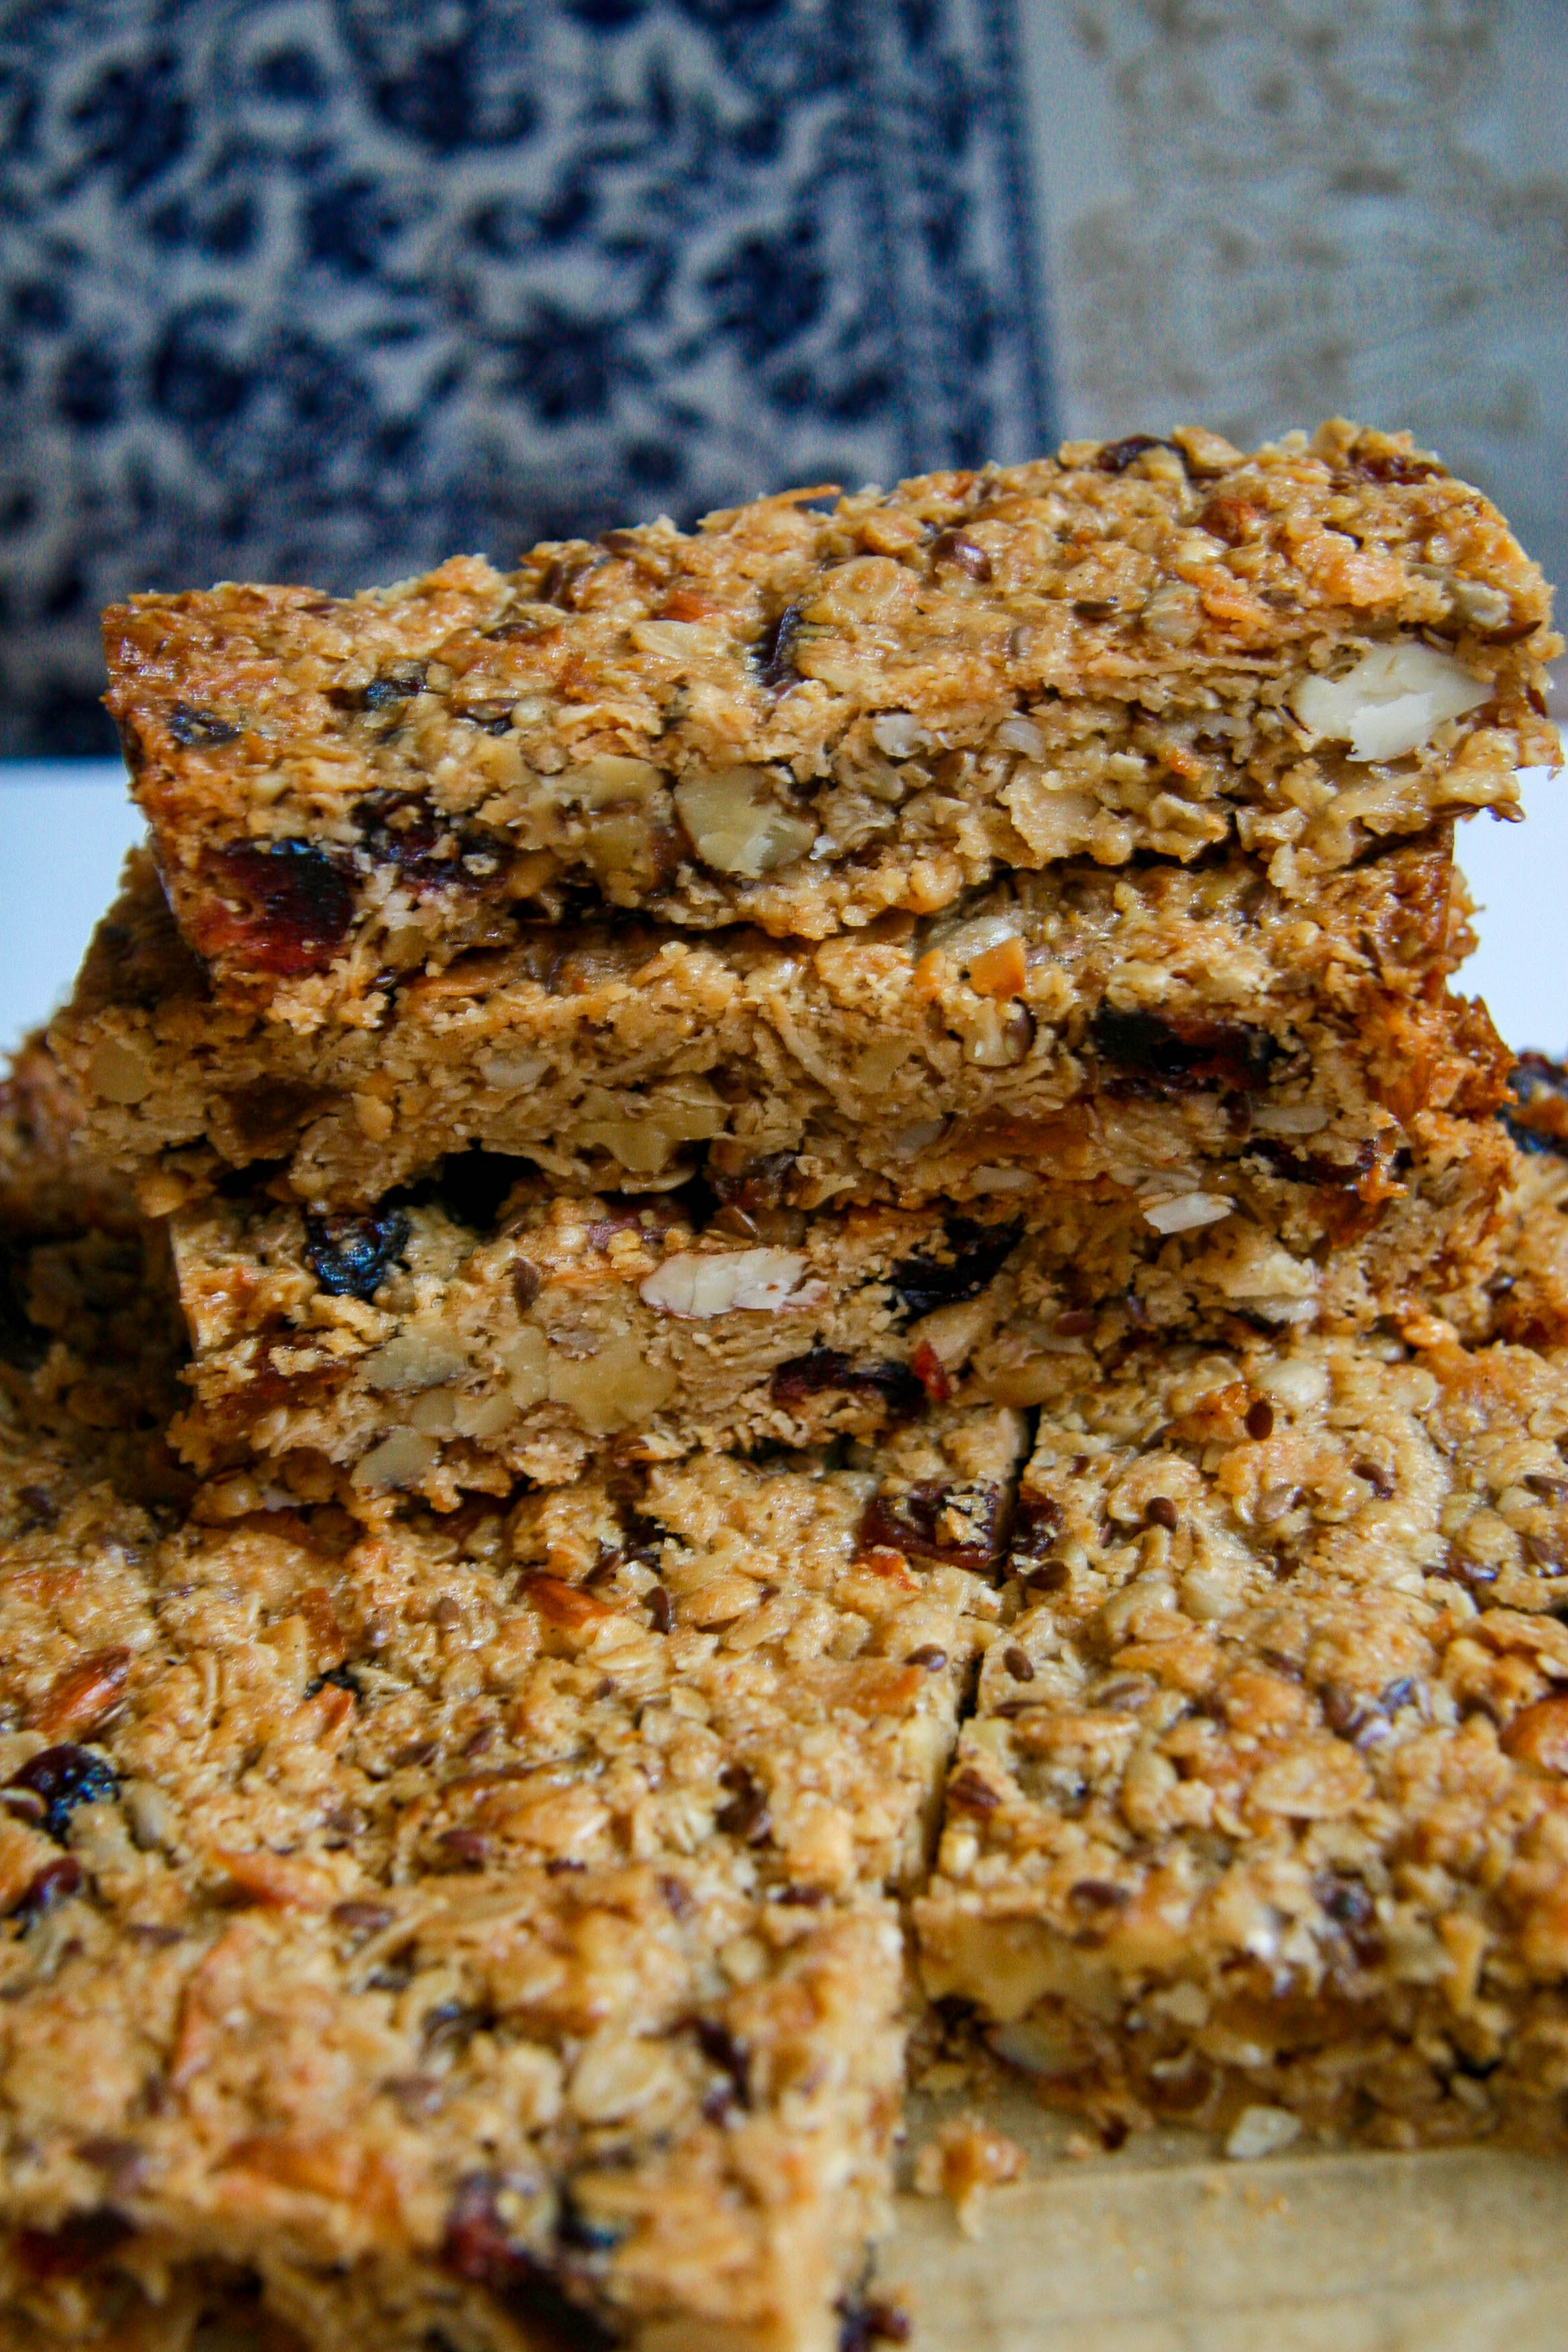
These chewy, wholesome, customizable, homemade breakfast bars are dreamy. Not only because they’re a cinch to make and also freeze and store well to save you precious Zs for weeks to come. But also, on top of that, they’re delicious and can be studded with any combination of your favorite nuts, fruits, chocolate chips, seeds, sprinkles or candies!

chewy-homemade-granola-nature-bars-recipe-1

After spending too much money—on my walk to work—on granola bars to satisfy my ‘I-didn’t-have-time-to-eat-breakfast’ appetite—and only half enjoying their taste, no less—I decided I needed to tackle making my own. I was so excited—as I hope you’ll be too—when I realized how easy they were to make and how many different flavor combinations could result from one basic recipe. Think of this more as a guide than a recipe. 

chewy-homemade-granola-nature-bars-recipe-3

As a heads up, these bars do call for butter, but when you think about the amount of butter in the recipe divided across an entire tray, the butter content in one bar is really not that bad. A super-healthy version will come your way soon. Promise.

chewy-homemade-granola-nature-bars-recipe-2

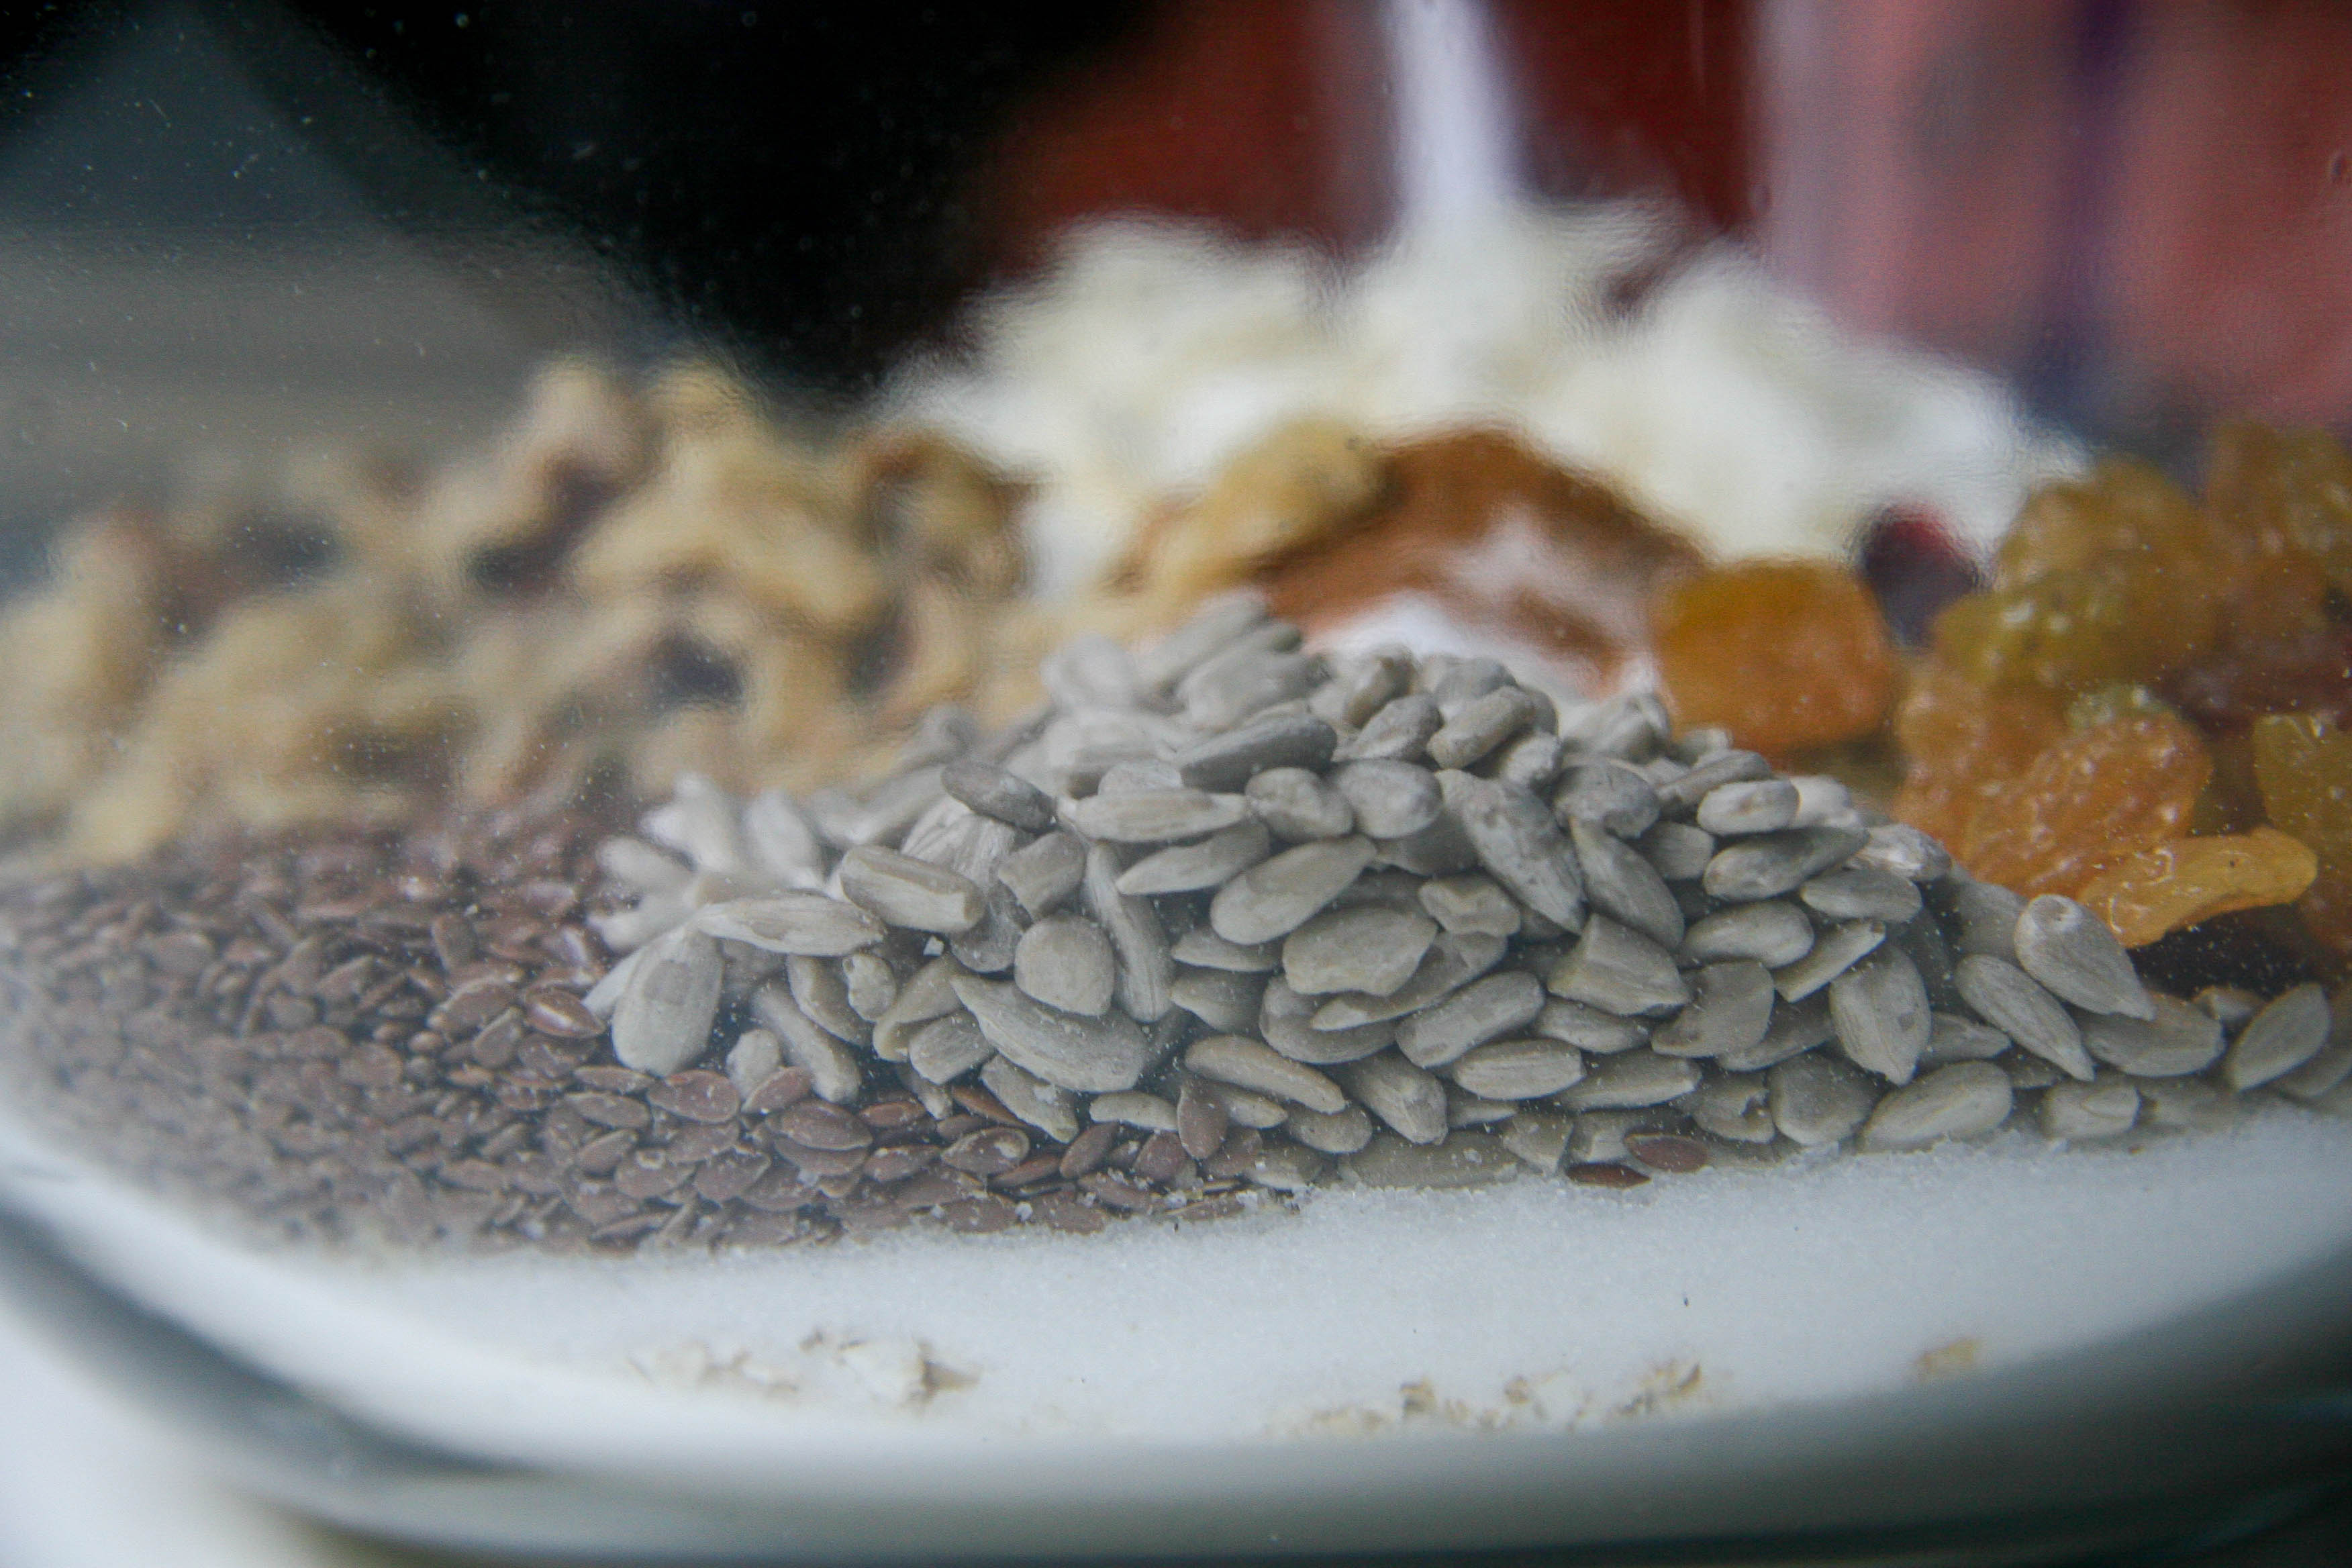
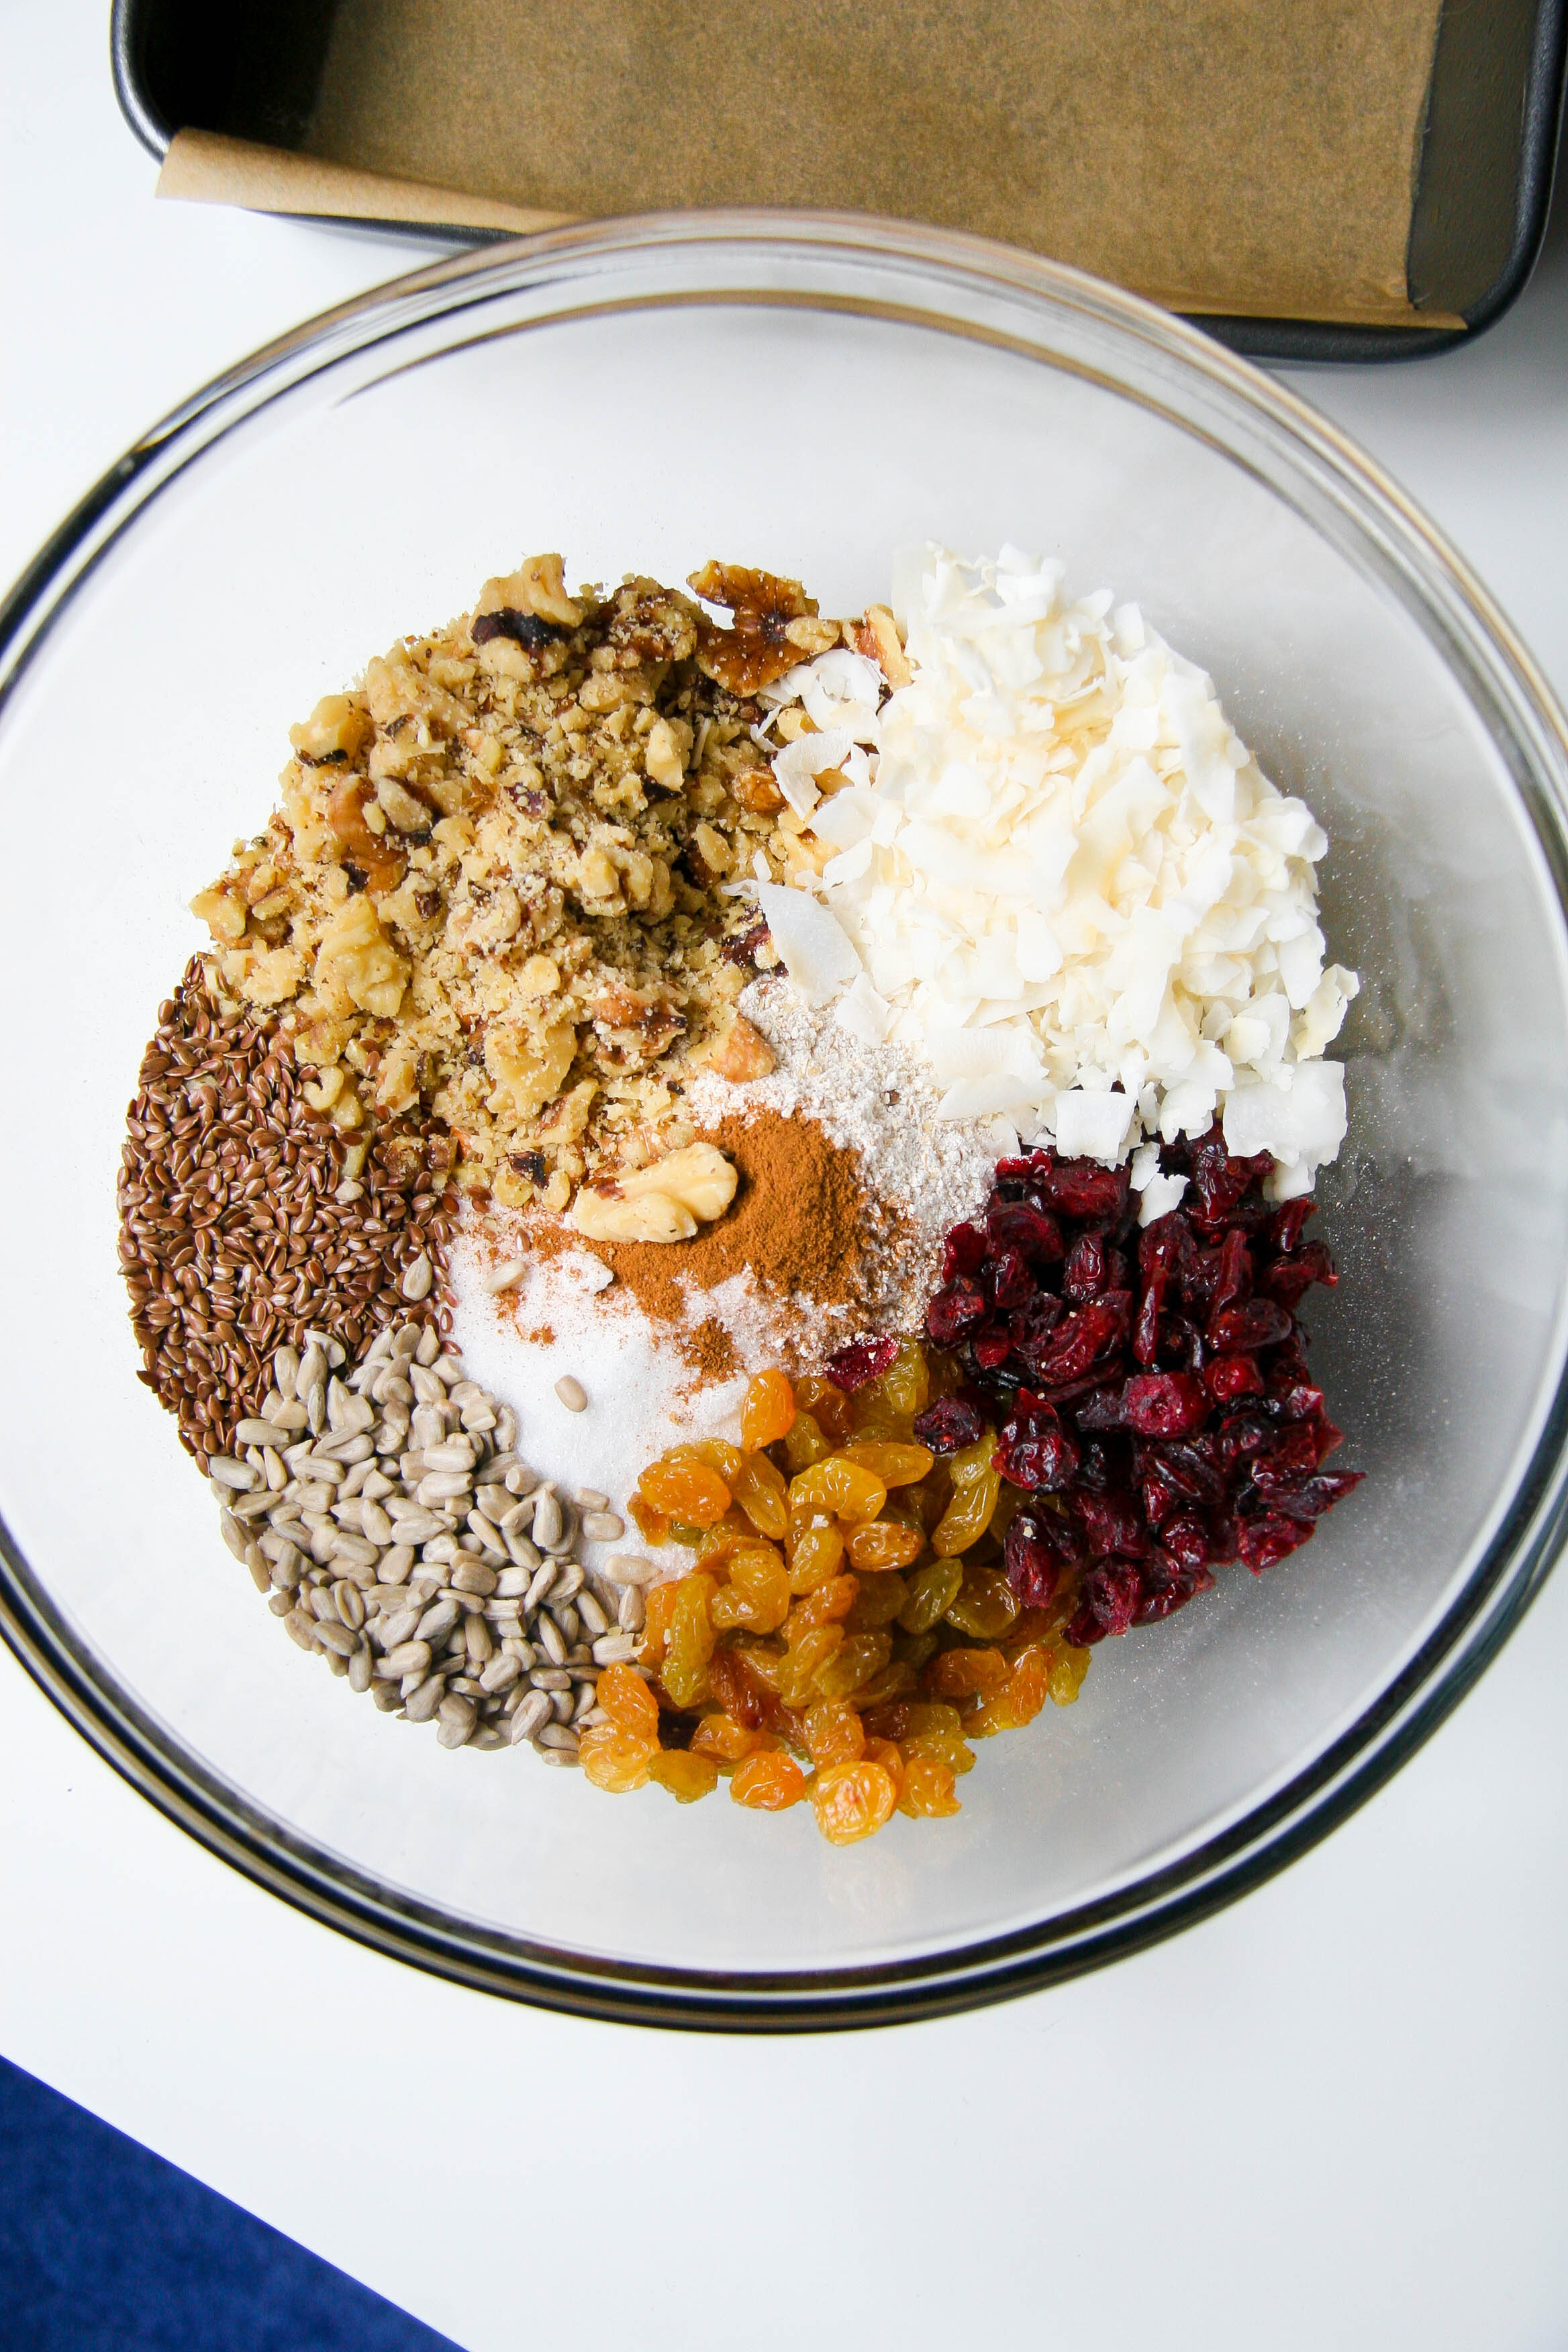
For this batch, I chose to use dried cranberries, golden raisins, lightly chopped walnuts, sunflower seeds, flax seeds and shredded coconut.

chewy-homemade-granola-nature-bars-recipe-4

chewy-homemade-granola-nature-bars-recipe-5

chewy-homemade-granola-nature-bars-recipe-7

chewy-homemade-granola-nature-bars-recipe-8

chewy-homemade-granola-nature-bars-recipe-11

chewy-homemade-granola-nature-bars-recipe-12

chewy-homemade-granola-nature-bars-recipe-9

chewy homemade granola bars
adapted from the smitten kitchen recipe which is adapted from king arthur flour

prep time: 10 minutes
cook time: 35 minutes
total time: 45 minutes (not including cool time after baking)
makes 12 to 16 bars

Ingredients:

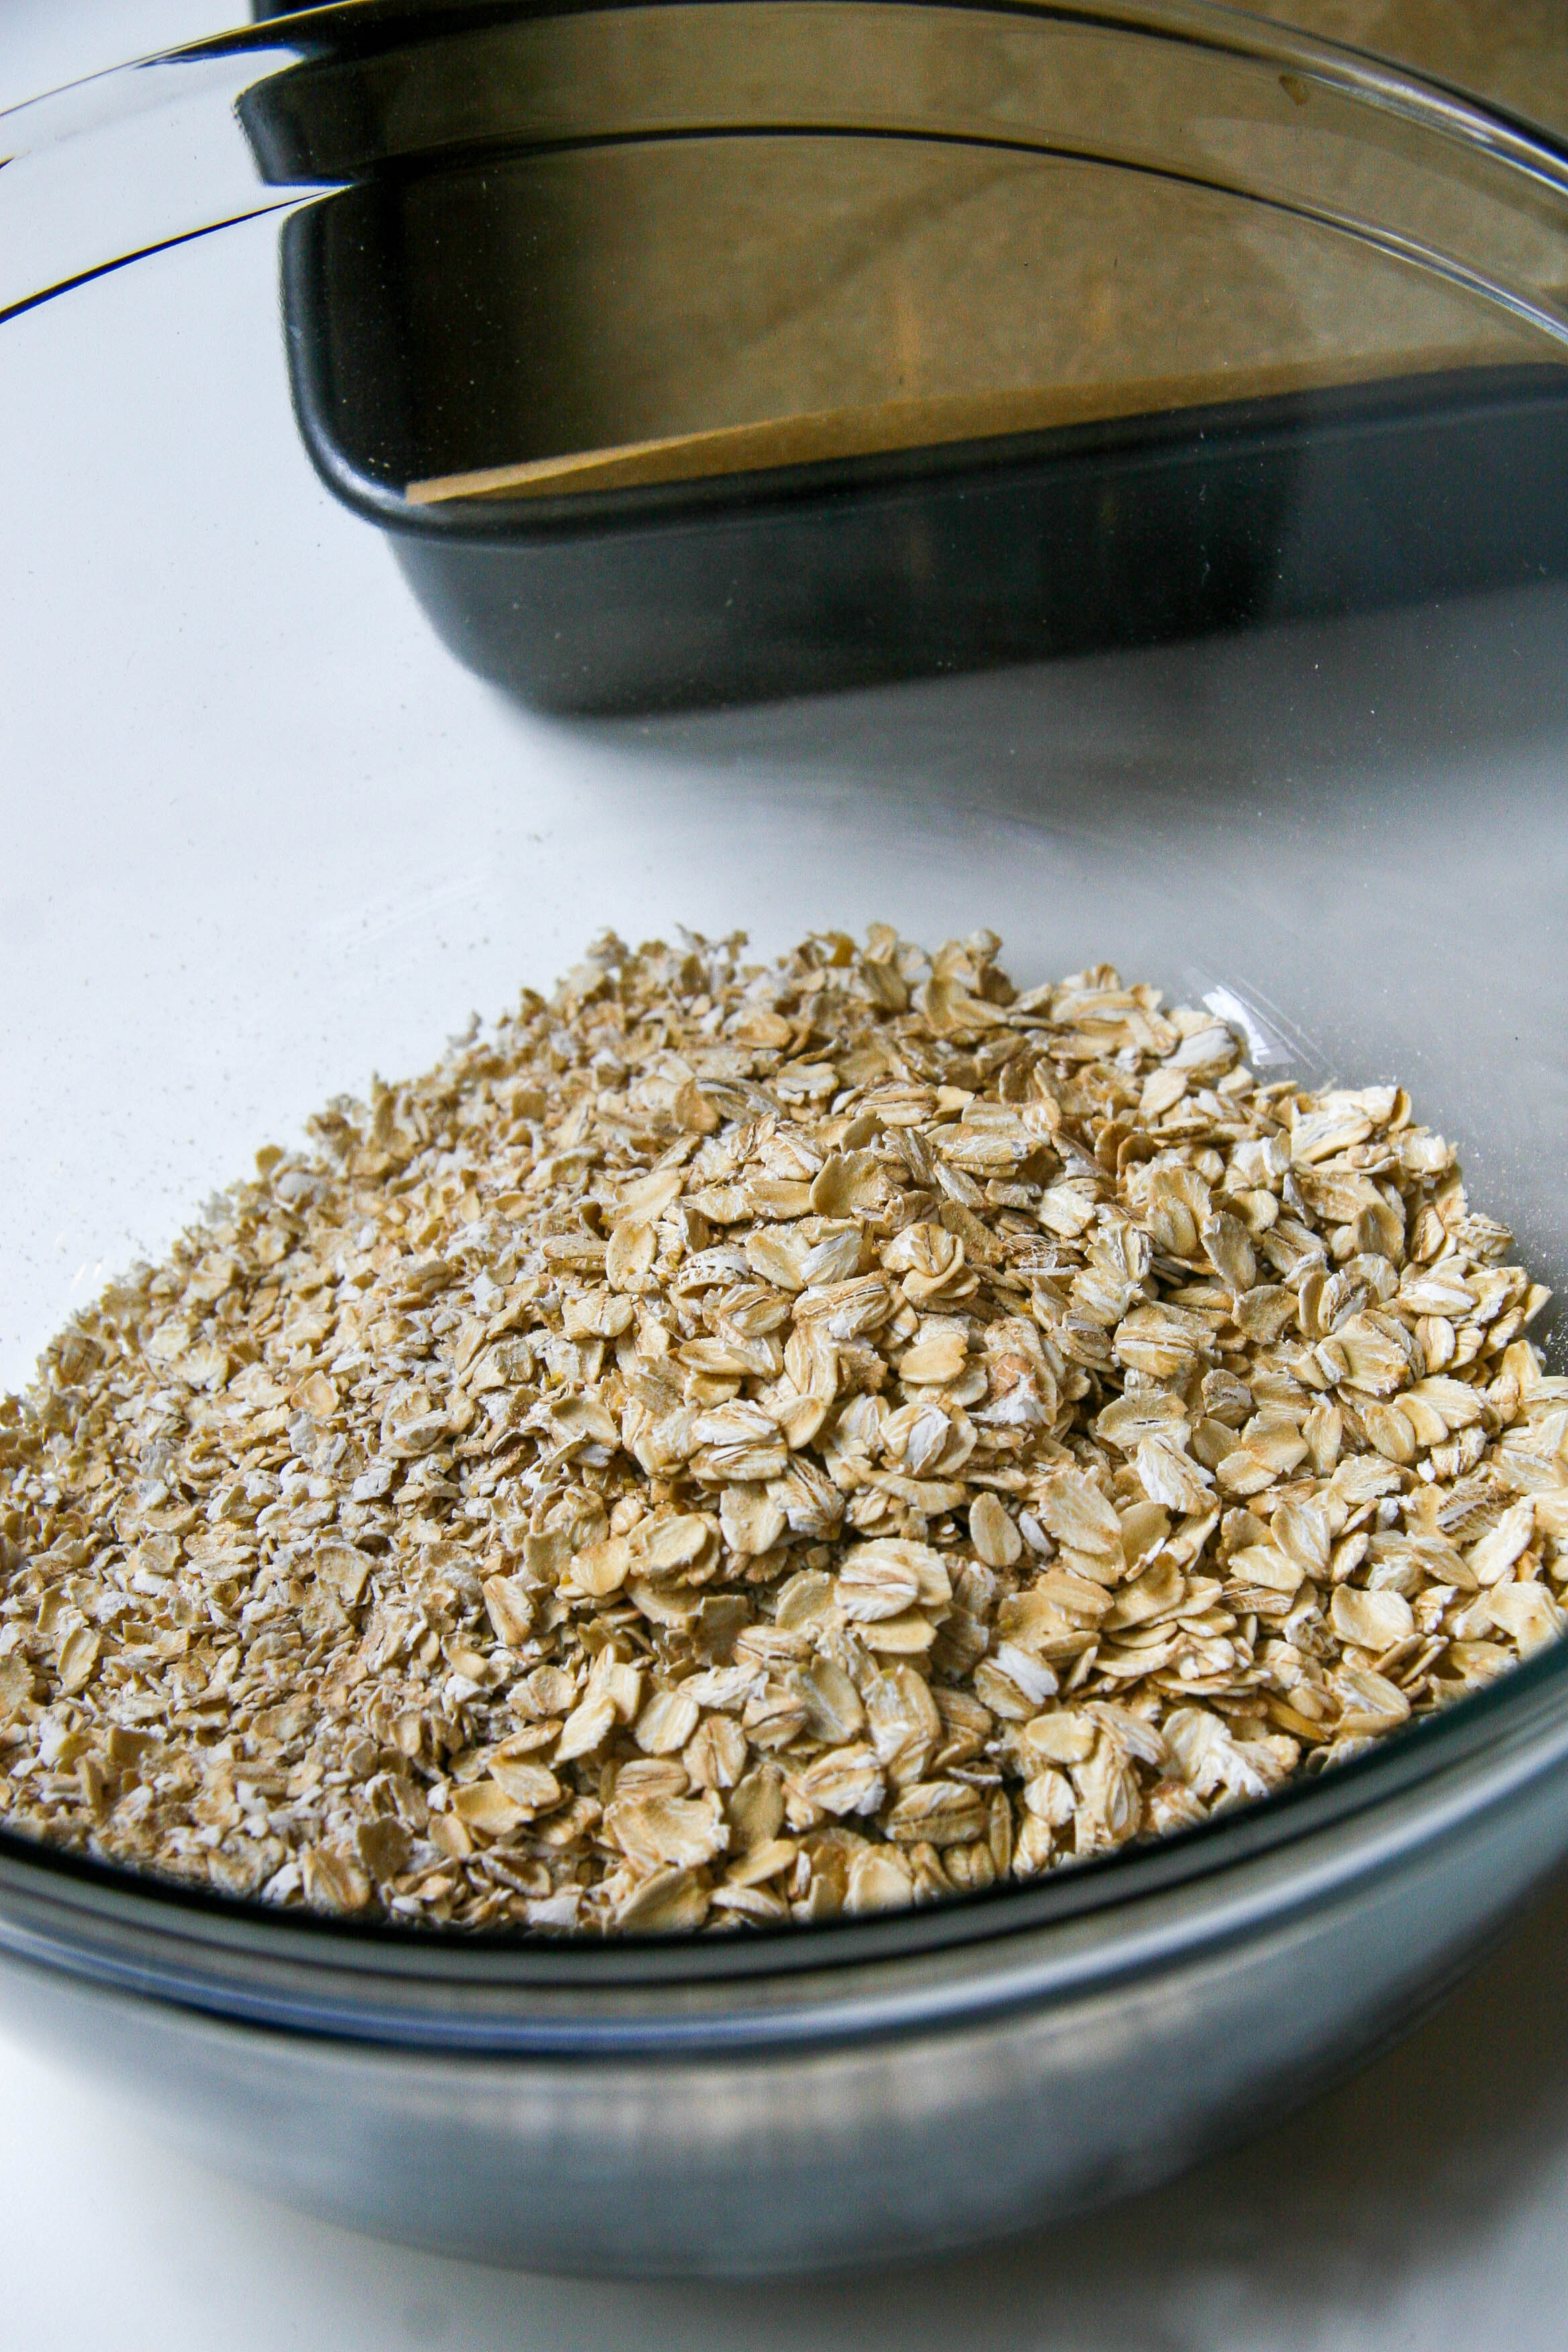
1 2/3 cups 1-minute rolled oats (aka instant oats; I used old fashion oats for 1/3 cup of this because I had them on hand and was interested in the texture. Feel free to try that combination or use all instant.)
1/2 to 3/4 cup granulated sugar (less for mild sweetness, more for sweeter bars)
1/3 cup oat flour (or 1/3 cup oats, ground into a powdery texture in a food processor or blender)
1/2 teaspoon salt
1/4 teaspoon ground cinnamon
2 to 3 cups assorted dried fruits, nuts, seeds, chocolate chips, sprinkles or candies (pick any of your favorites until they total 10 to 15 ounces)
1/3 cup peanut butter or another nut butter (optional)
1 tablespoon vanilla extract (optional)
6 tablespoons melted butter
1/4 cup honey or maple syrup
2 tablespoons light corn syrup
1 tablespoon water

Instruction:

  1. Preheat the oven to 350°F. Line an 8″ x 8″ x 2″ baking pan with a piece of parchment paper to cover the bottom and two opposite sides (you are creating “handles” that will help you remove the granola bars later). Lightly grease, with butter or a non-stick spray, the parchment paper and the exposed pan.
  2. In a large bowl, stir together the rolled oats, sugar, oat flour, salt, cinnamon and desired fruits and nuts. Set aside.
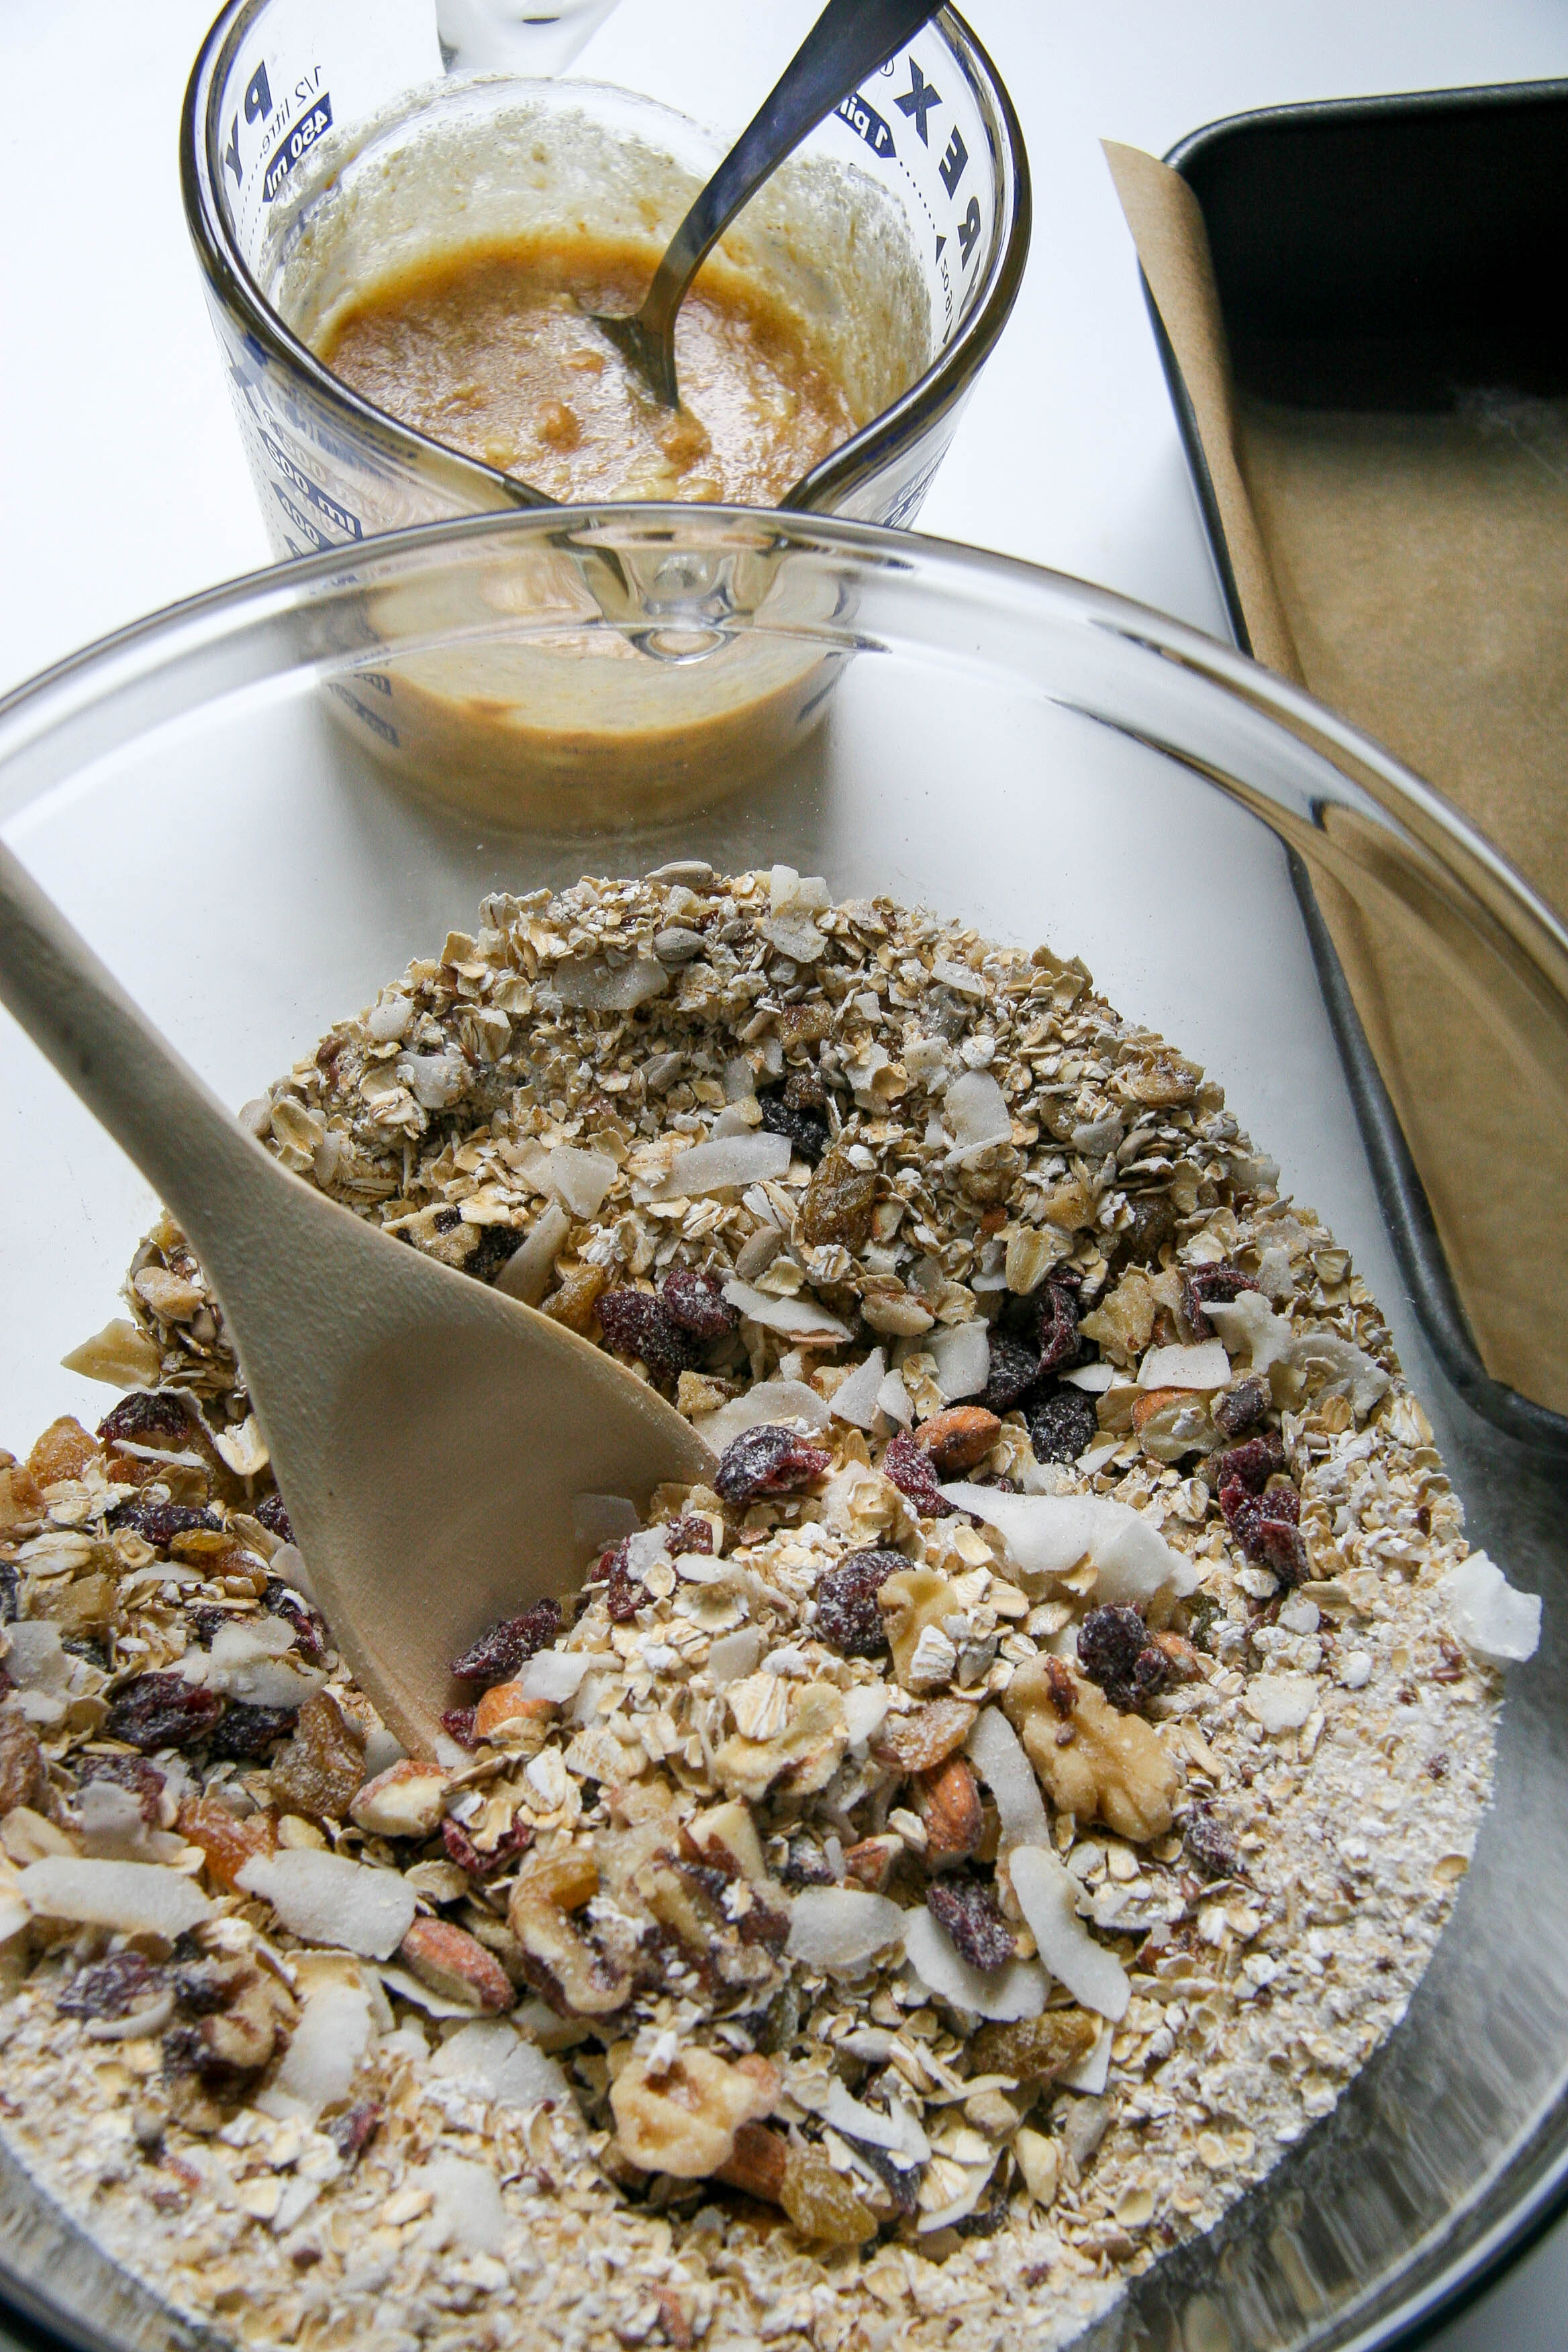
  3. In a small bowl, whisk together the vanilla, melted butter, honey or syrup, corn syrup and water. If using peanut butter, toss that in with the wet ingredients now.
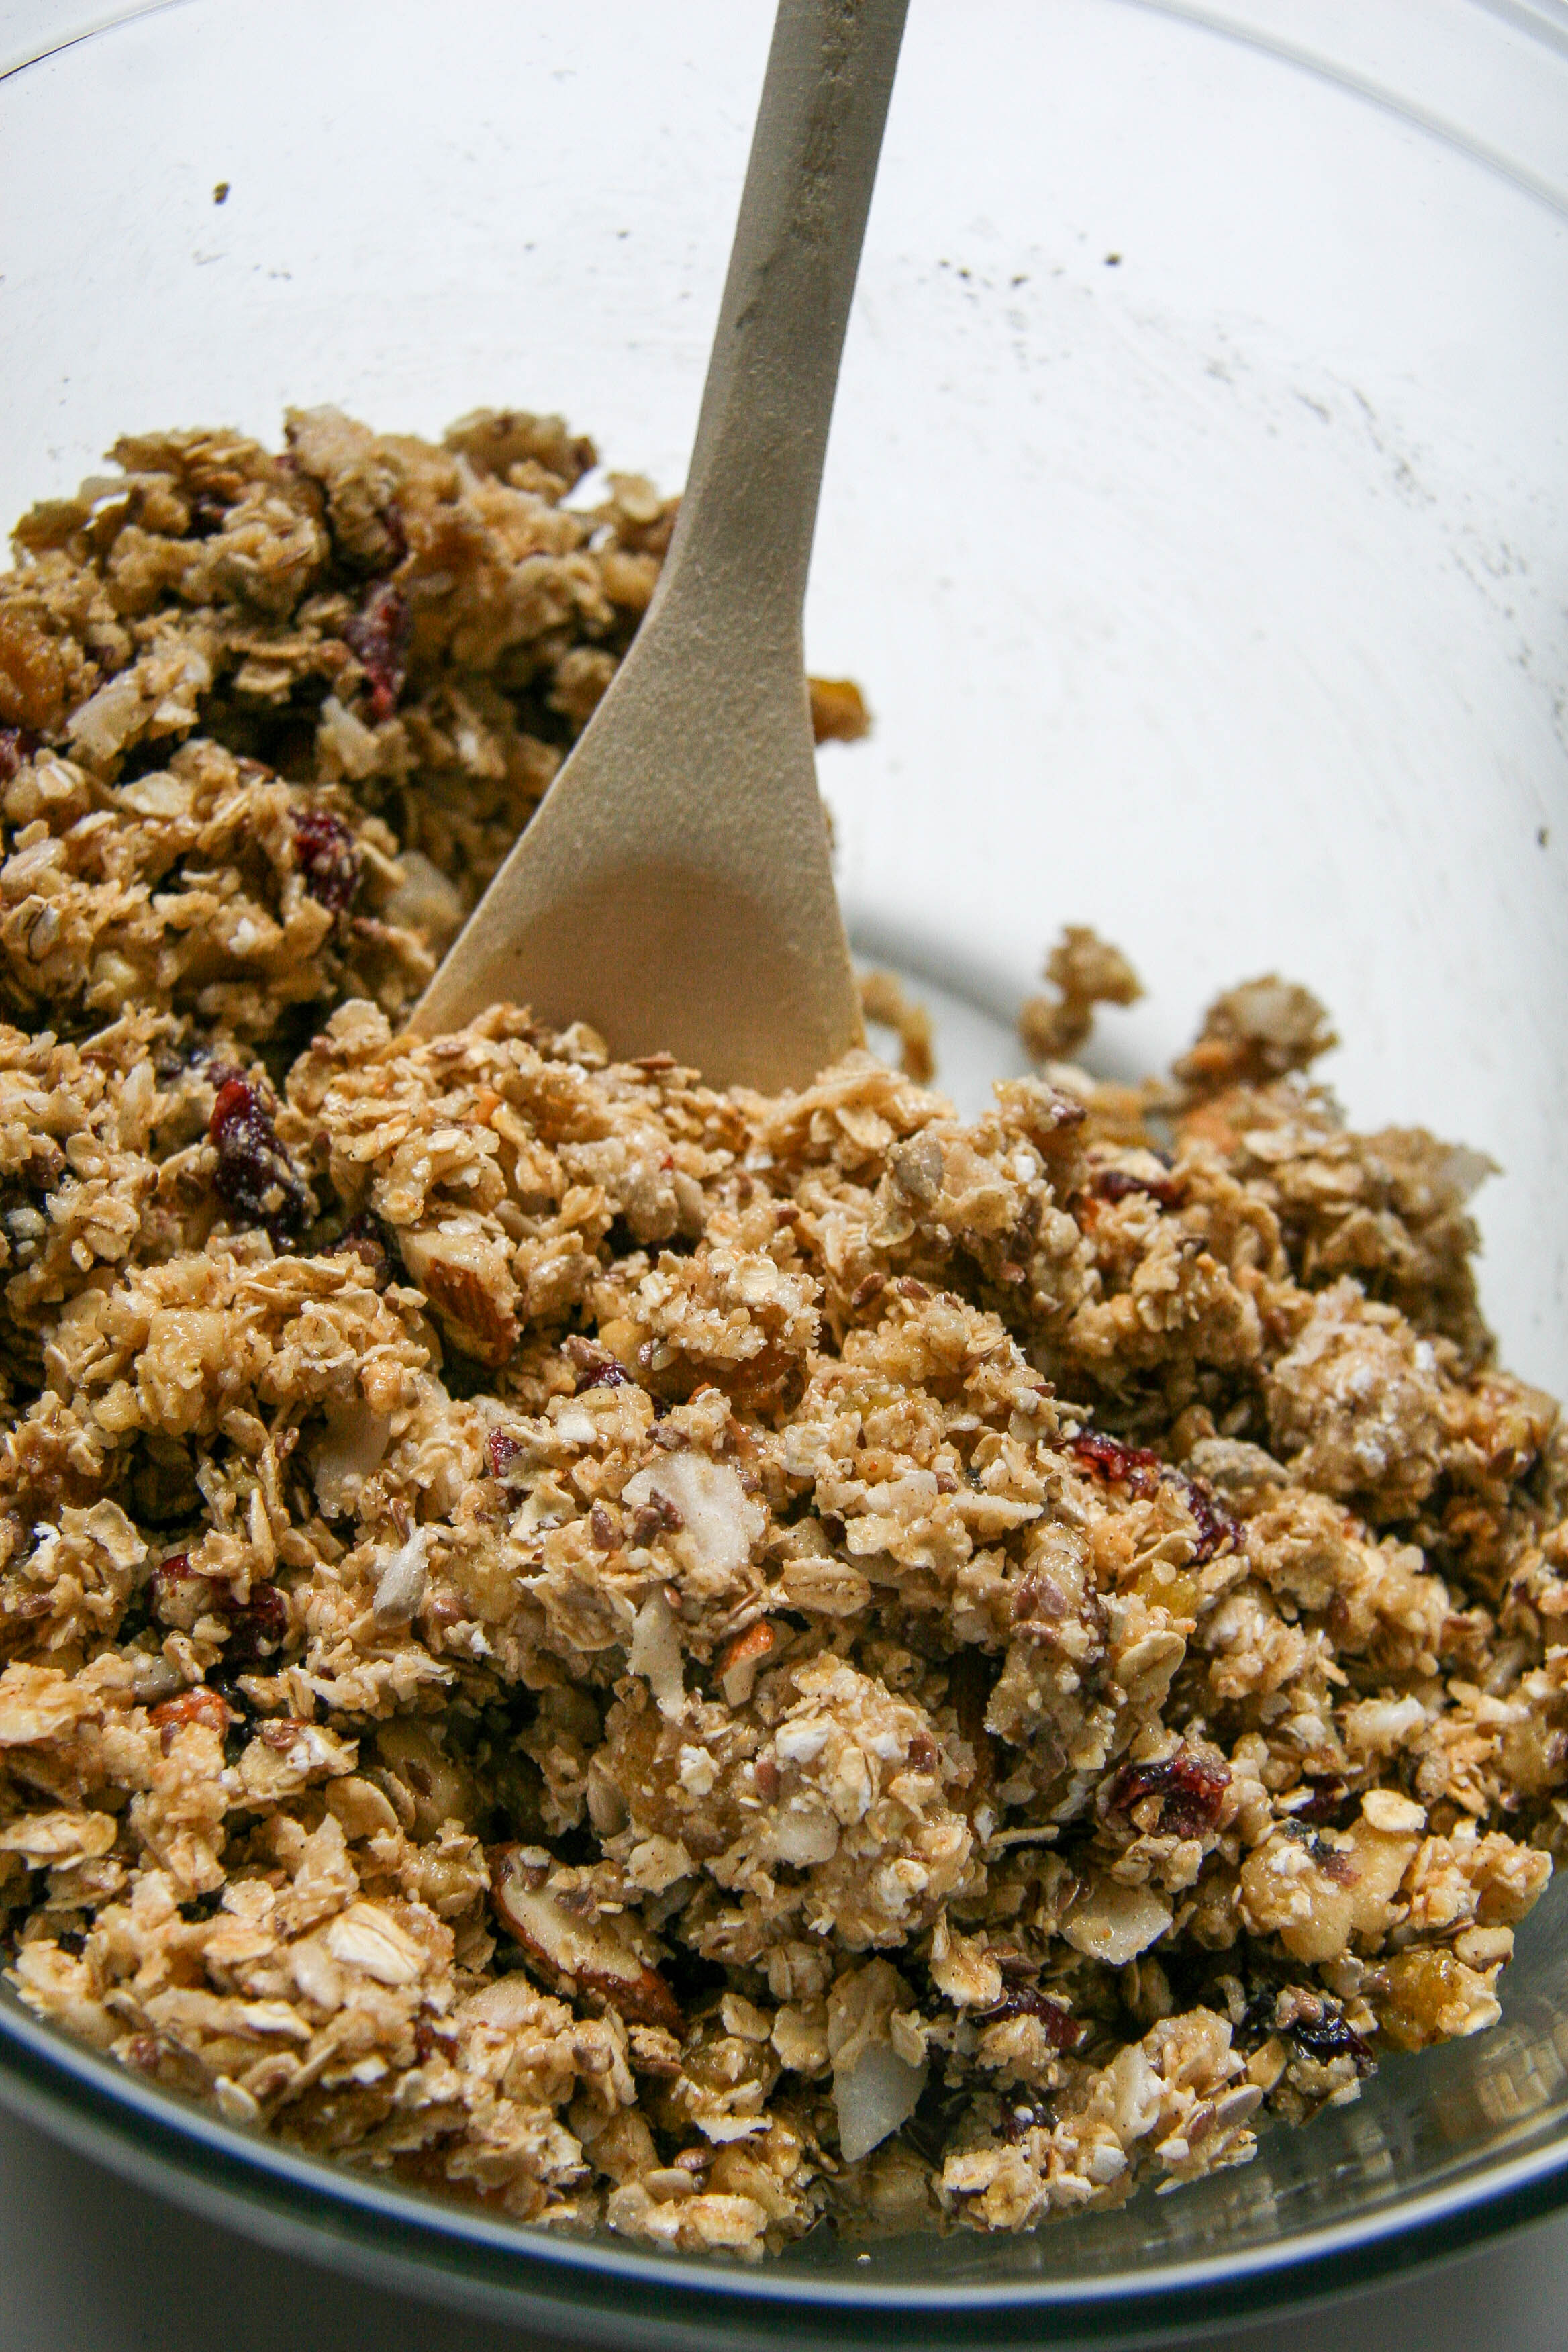
  4. Pour the wet ingredients into the bowl with the dry and stir until all of the oats have been coated with the wet ingredients and the mixture starts coming together in chunks. Spread mixture into the prepared pan and press firmly across the top and into all corners and edges. Smooth down the top for a flat, even final product.
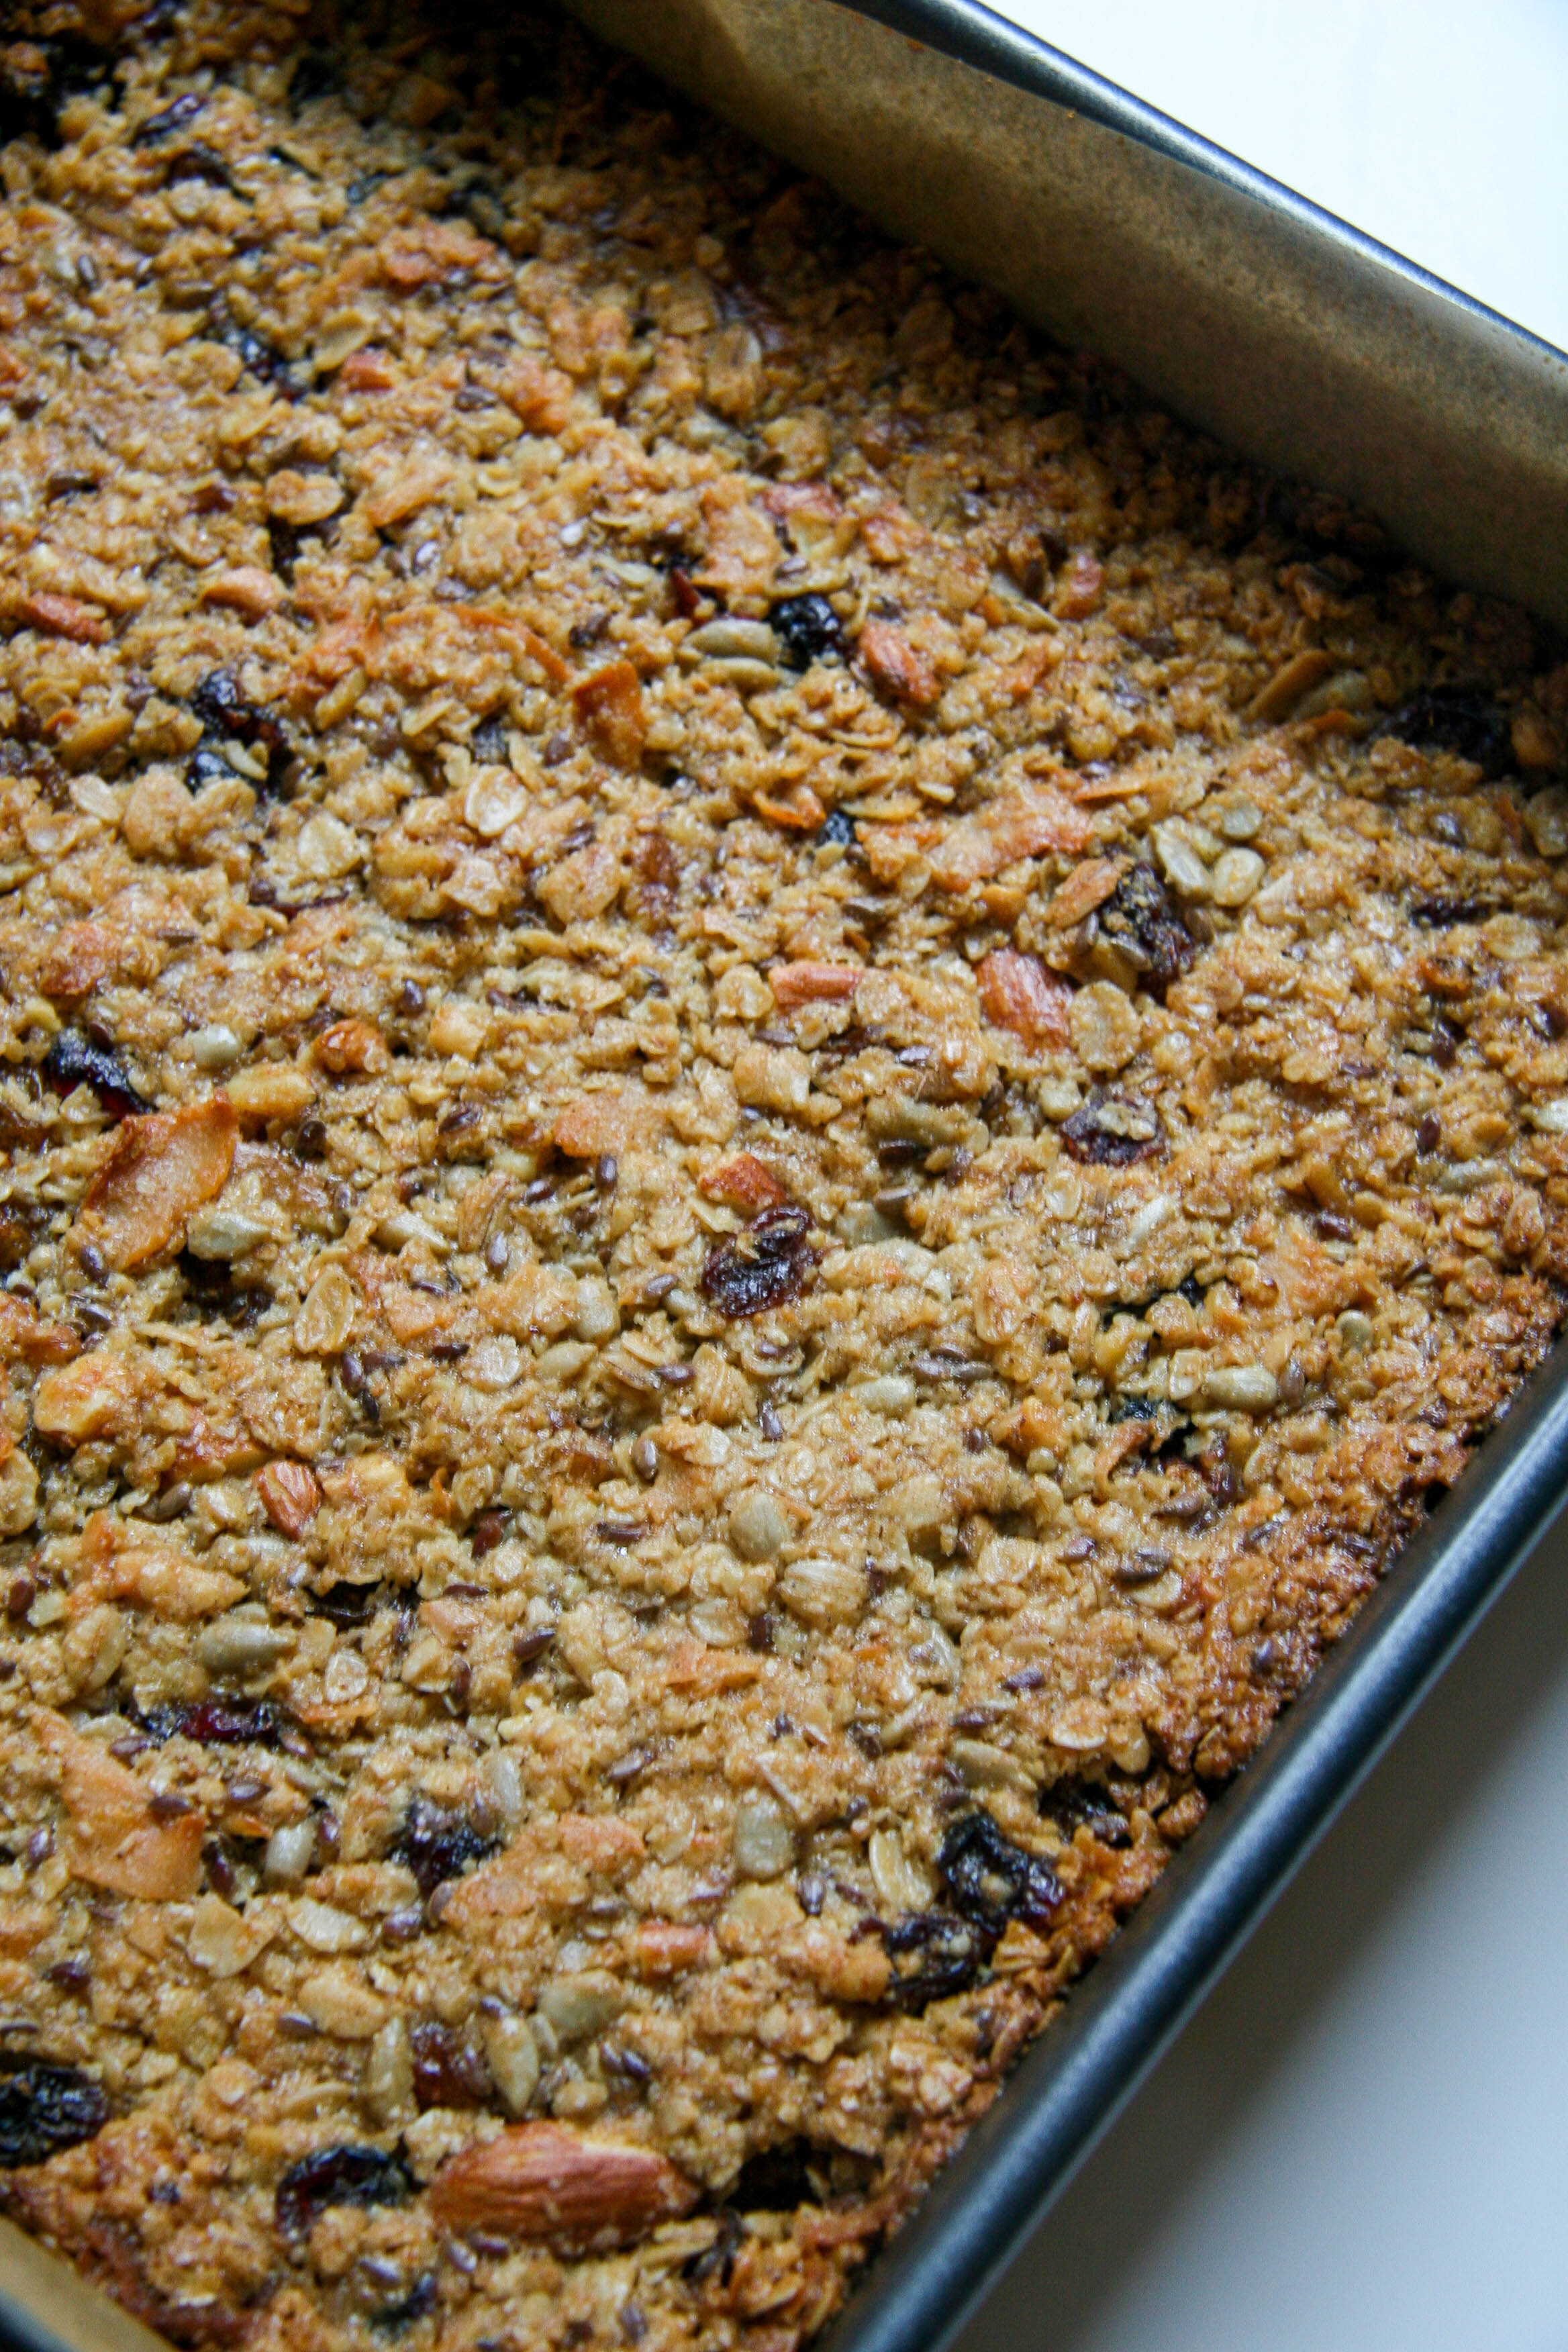
  5. Bake the bars for 25 to 35 minutes until they’re brown around the edges and a deep golden color on top. They may seem soft and almost under-baked in the center, but they’ll set completely once fully cooled.
  6. Cool the bars—in the pan—completely on a cooling rack. Once cool, lift the bars out of the pan using the parchment paper “handles” and then double check that they are totally cool in the middle. If yes, use a serrated knife to cut the bars into squares or rectangles—or triangles if you’re so inclined. To store, wrap the bars individually in plastic or stack them in an airtight container and leave at room temperature or in the refrigerator. The bars will seem hard when you take them right out of the fridge, but they come back to their chewy state in about 10 minutes. Remember, they also freeze well.

Filed Under: breakfast and breads, eat Tagged With: breakfast, dried fruit, easy, granola, make ahead, nature bars, nuts, oats, on the go

homemade sweet corn polenta with tomato onion ragoût

July 17, 2014 by Butter Loves Company

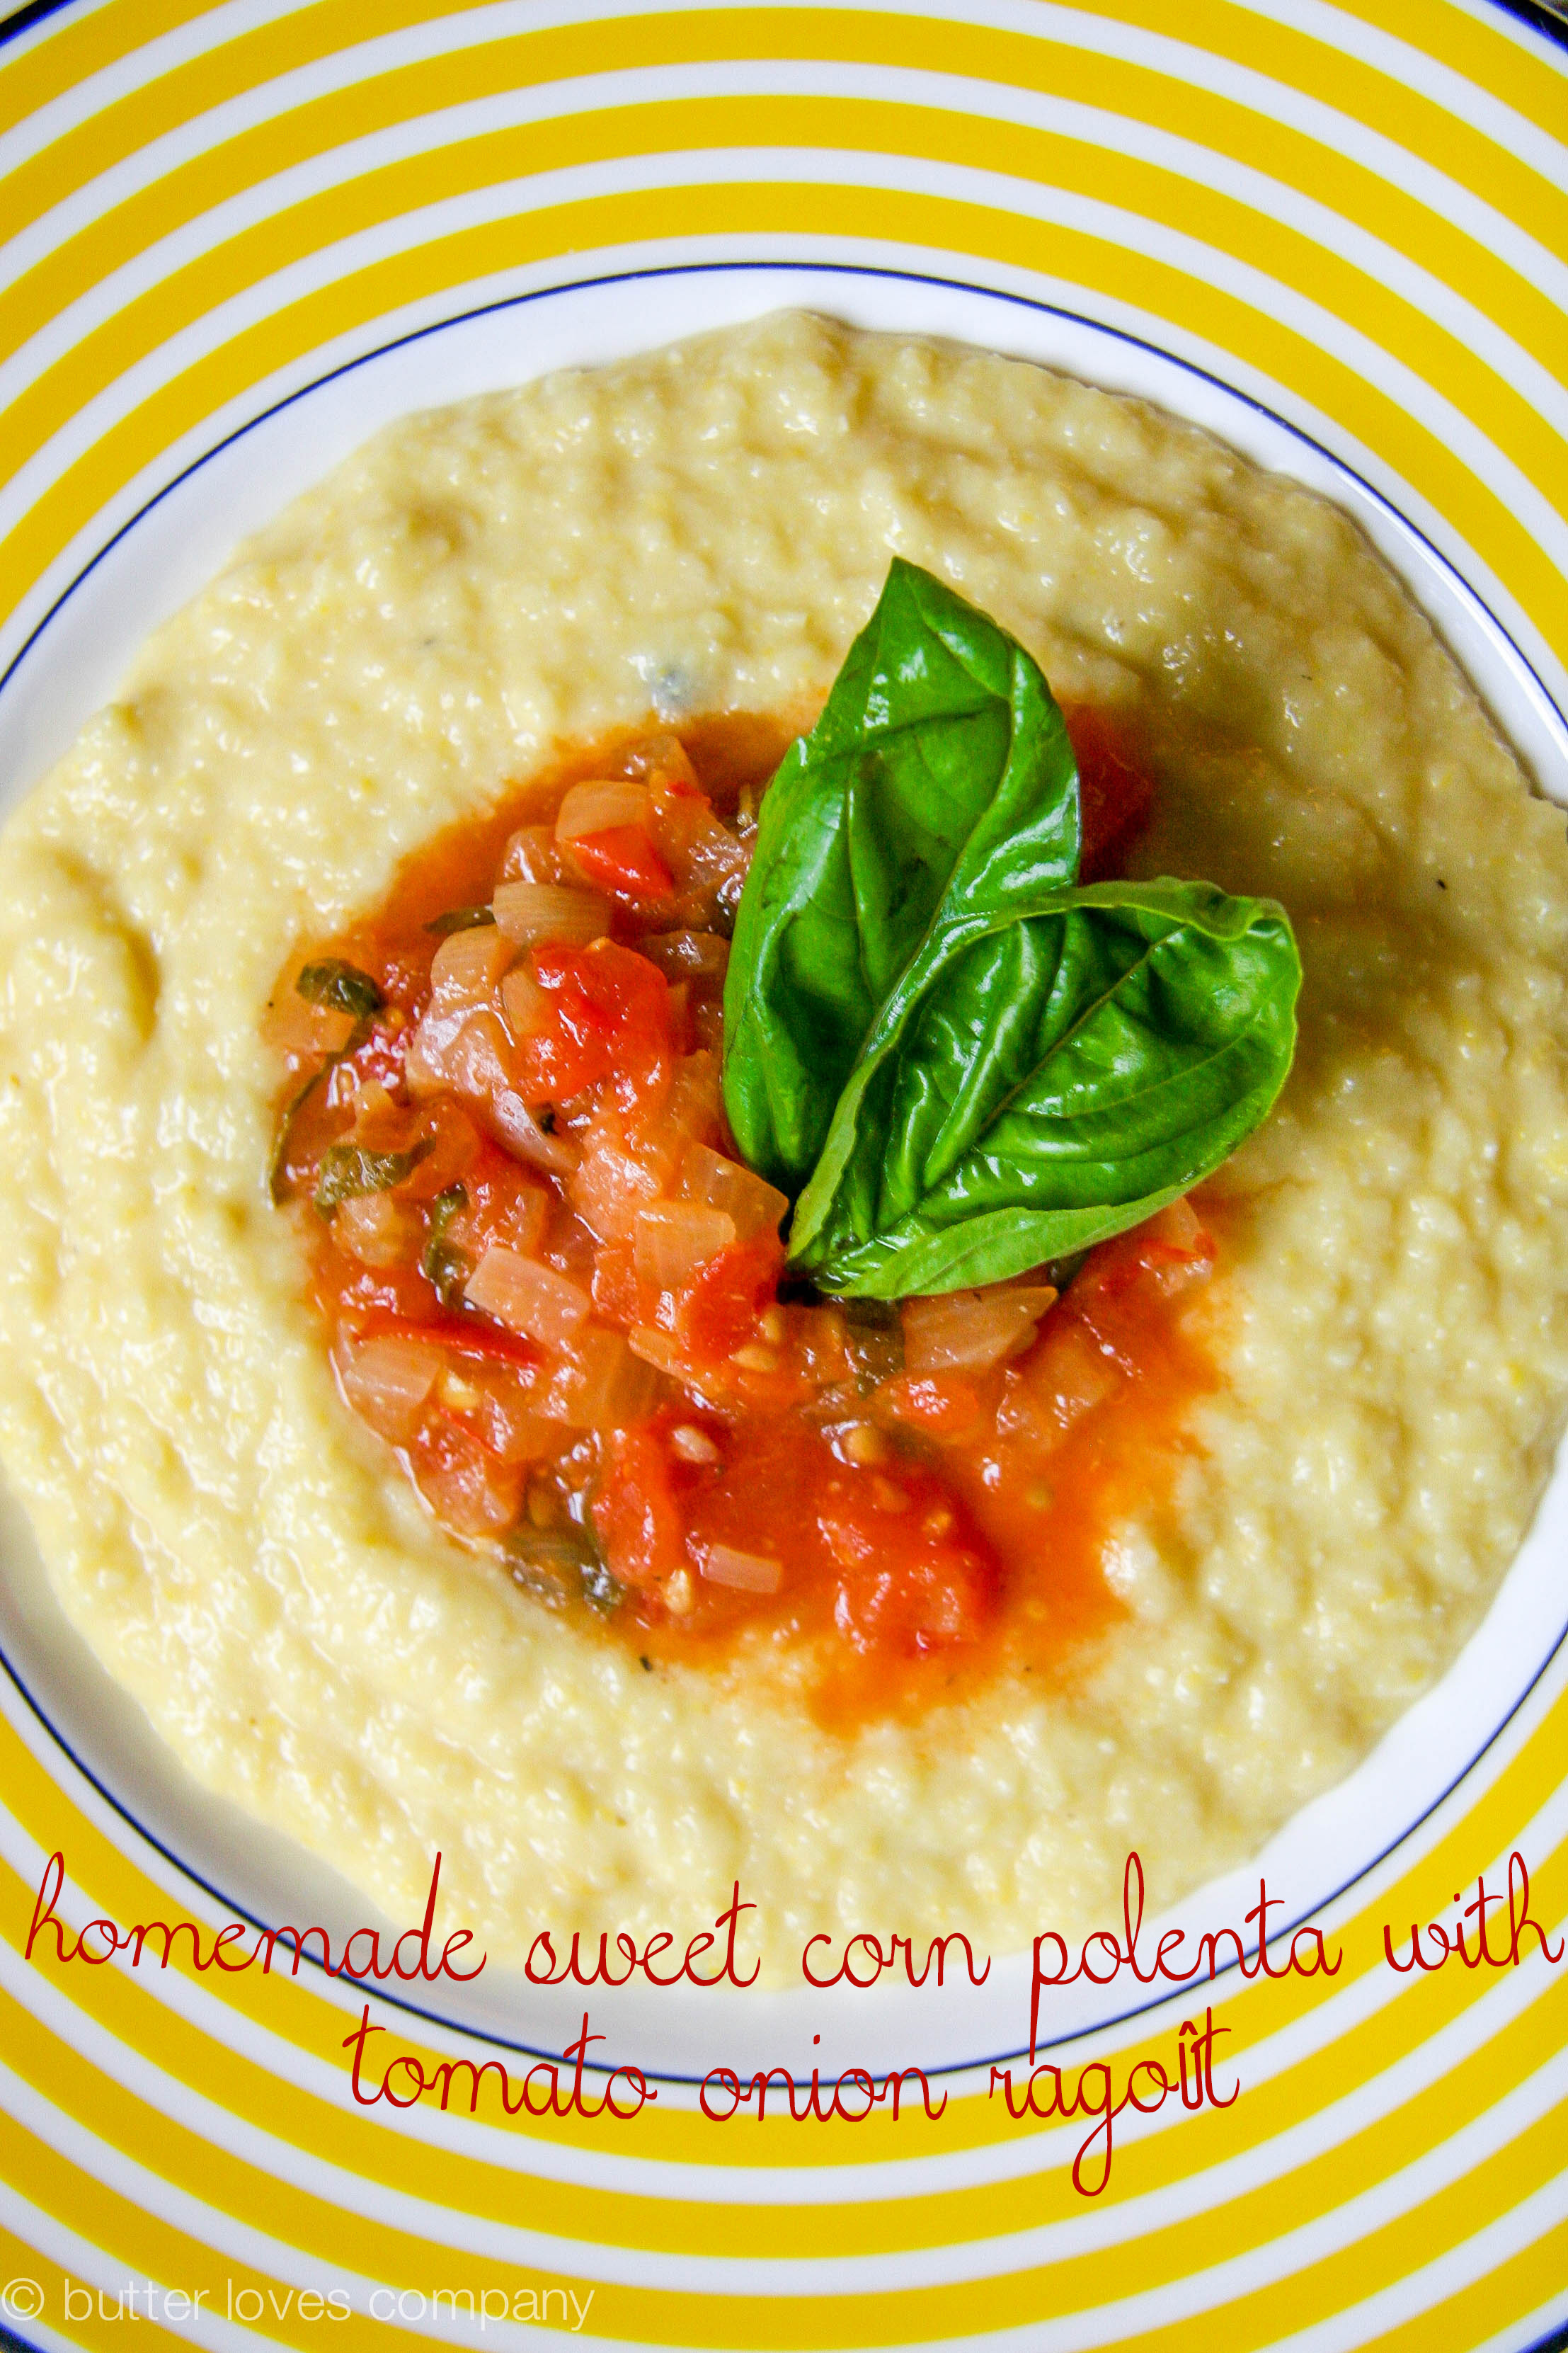
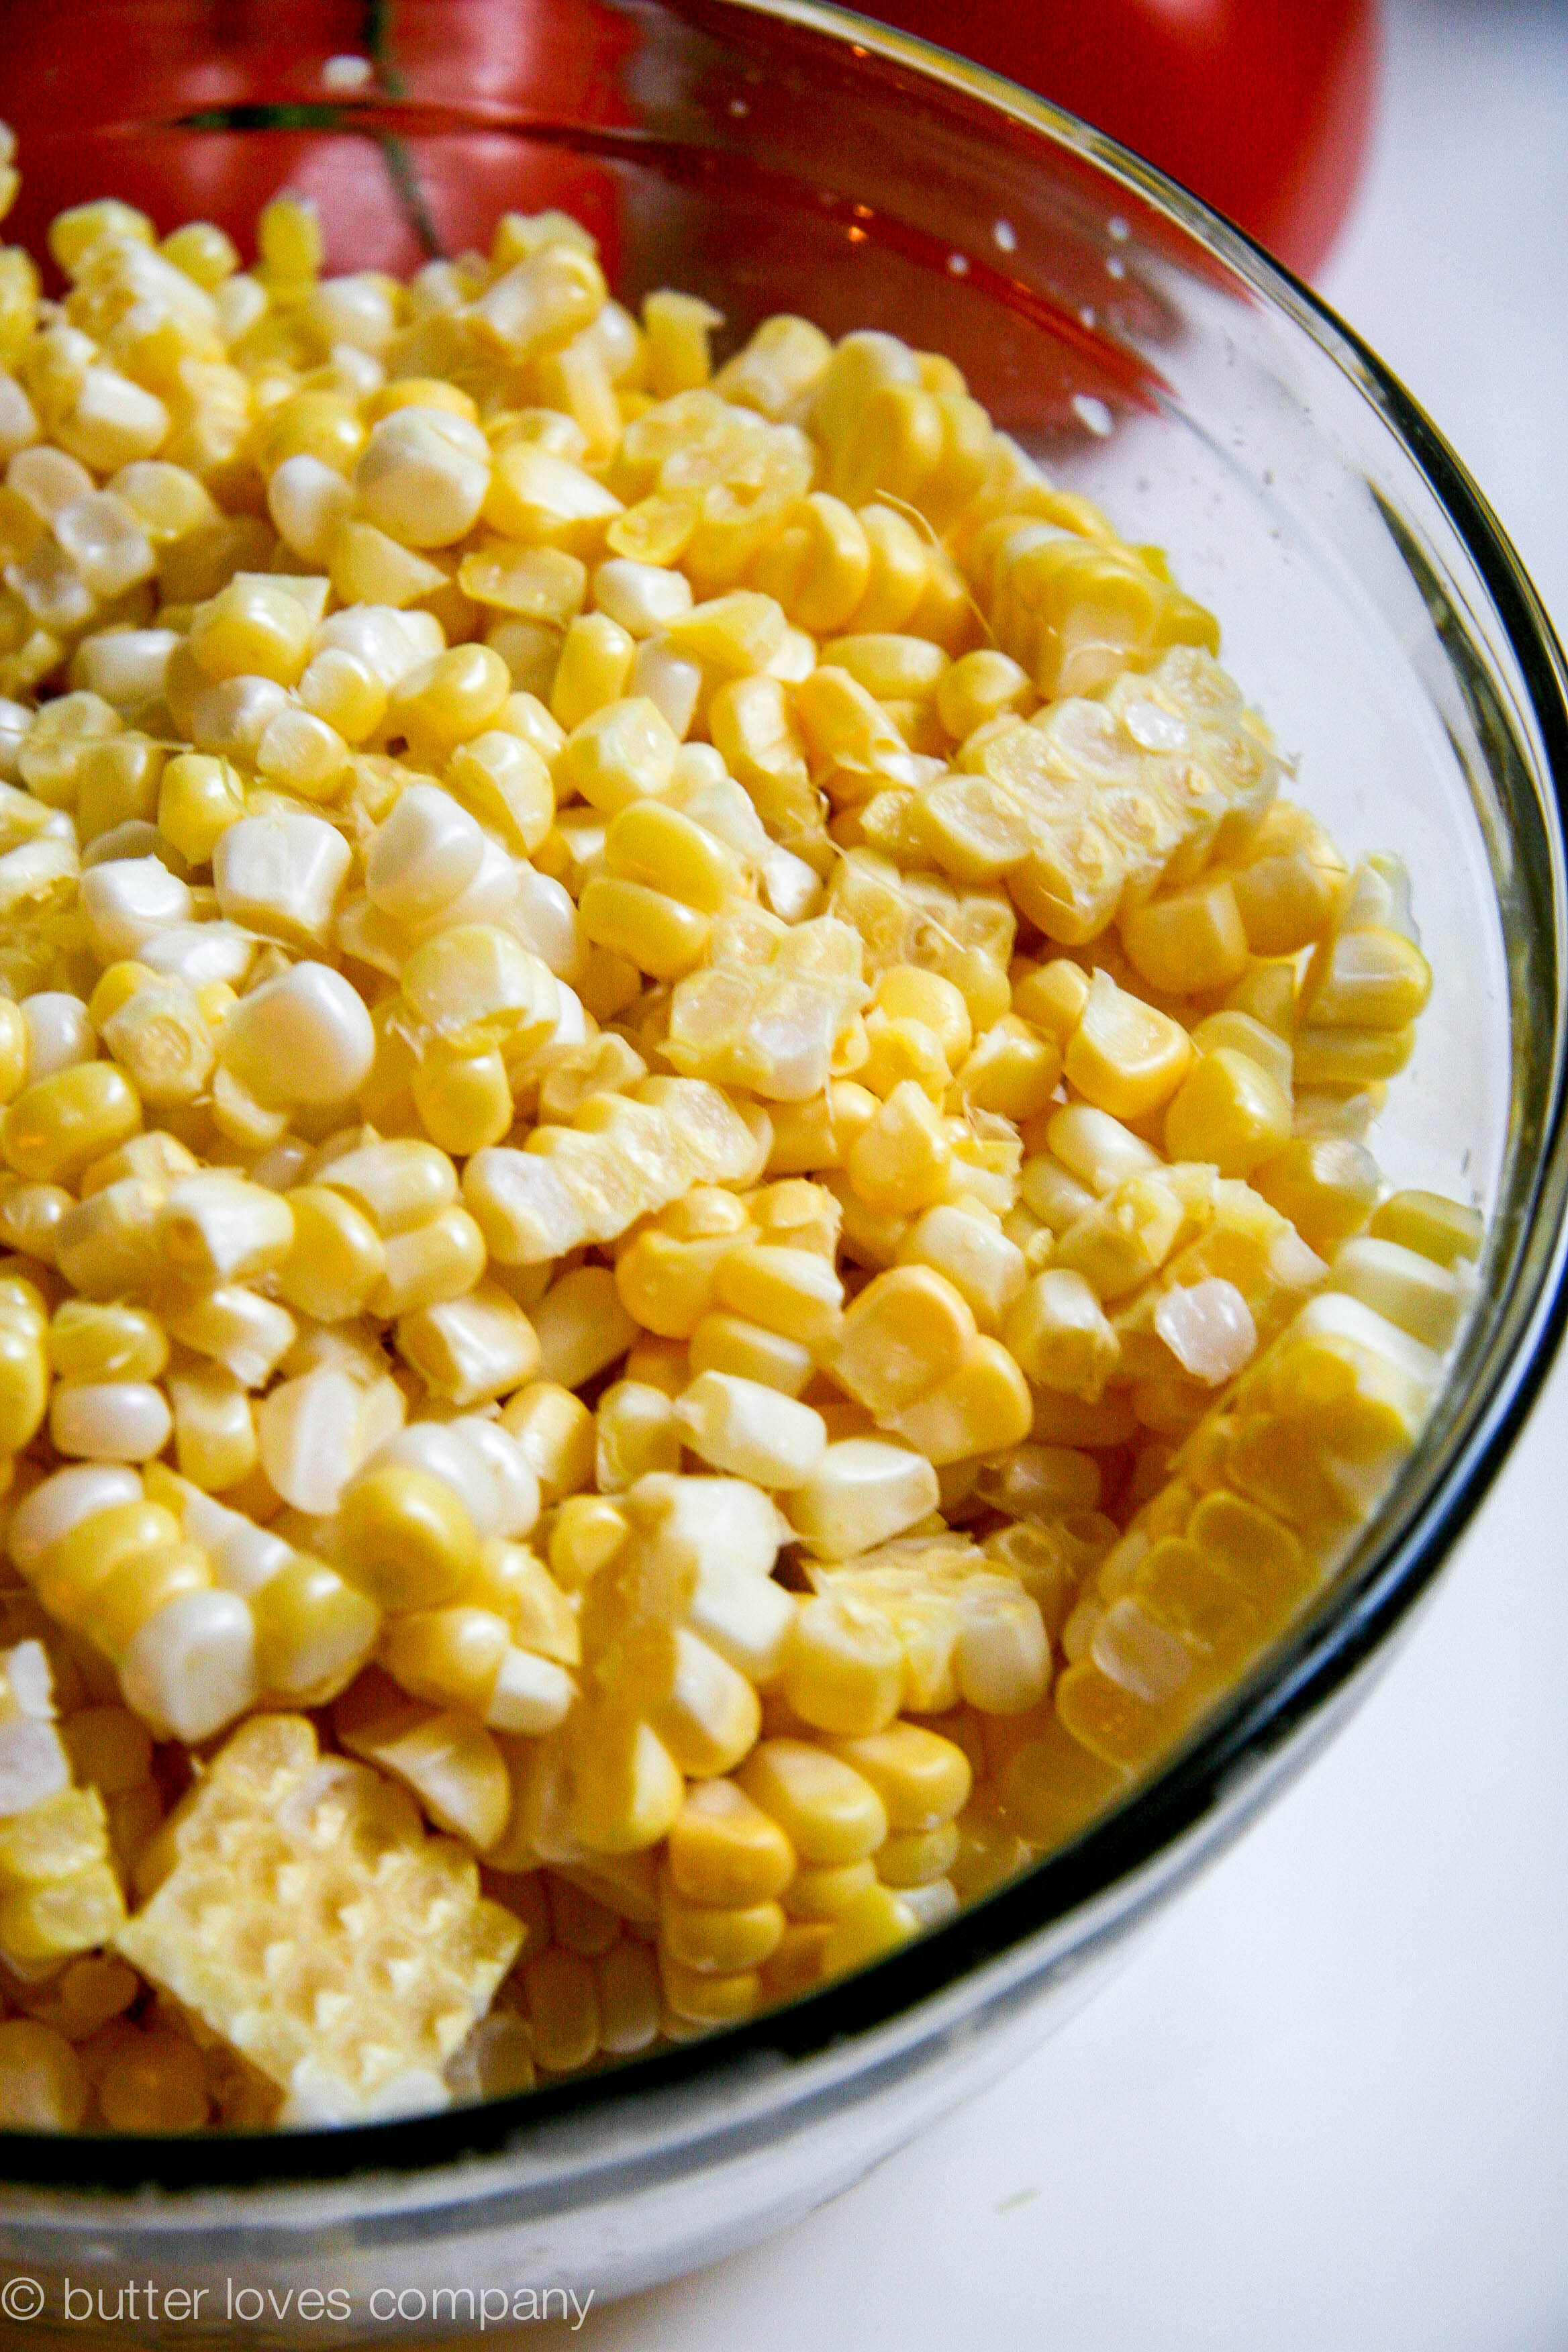
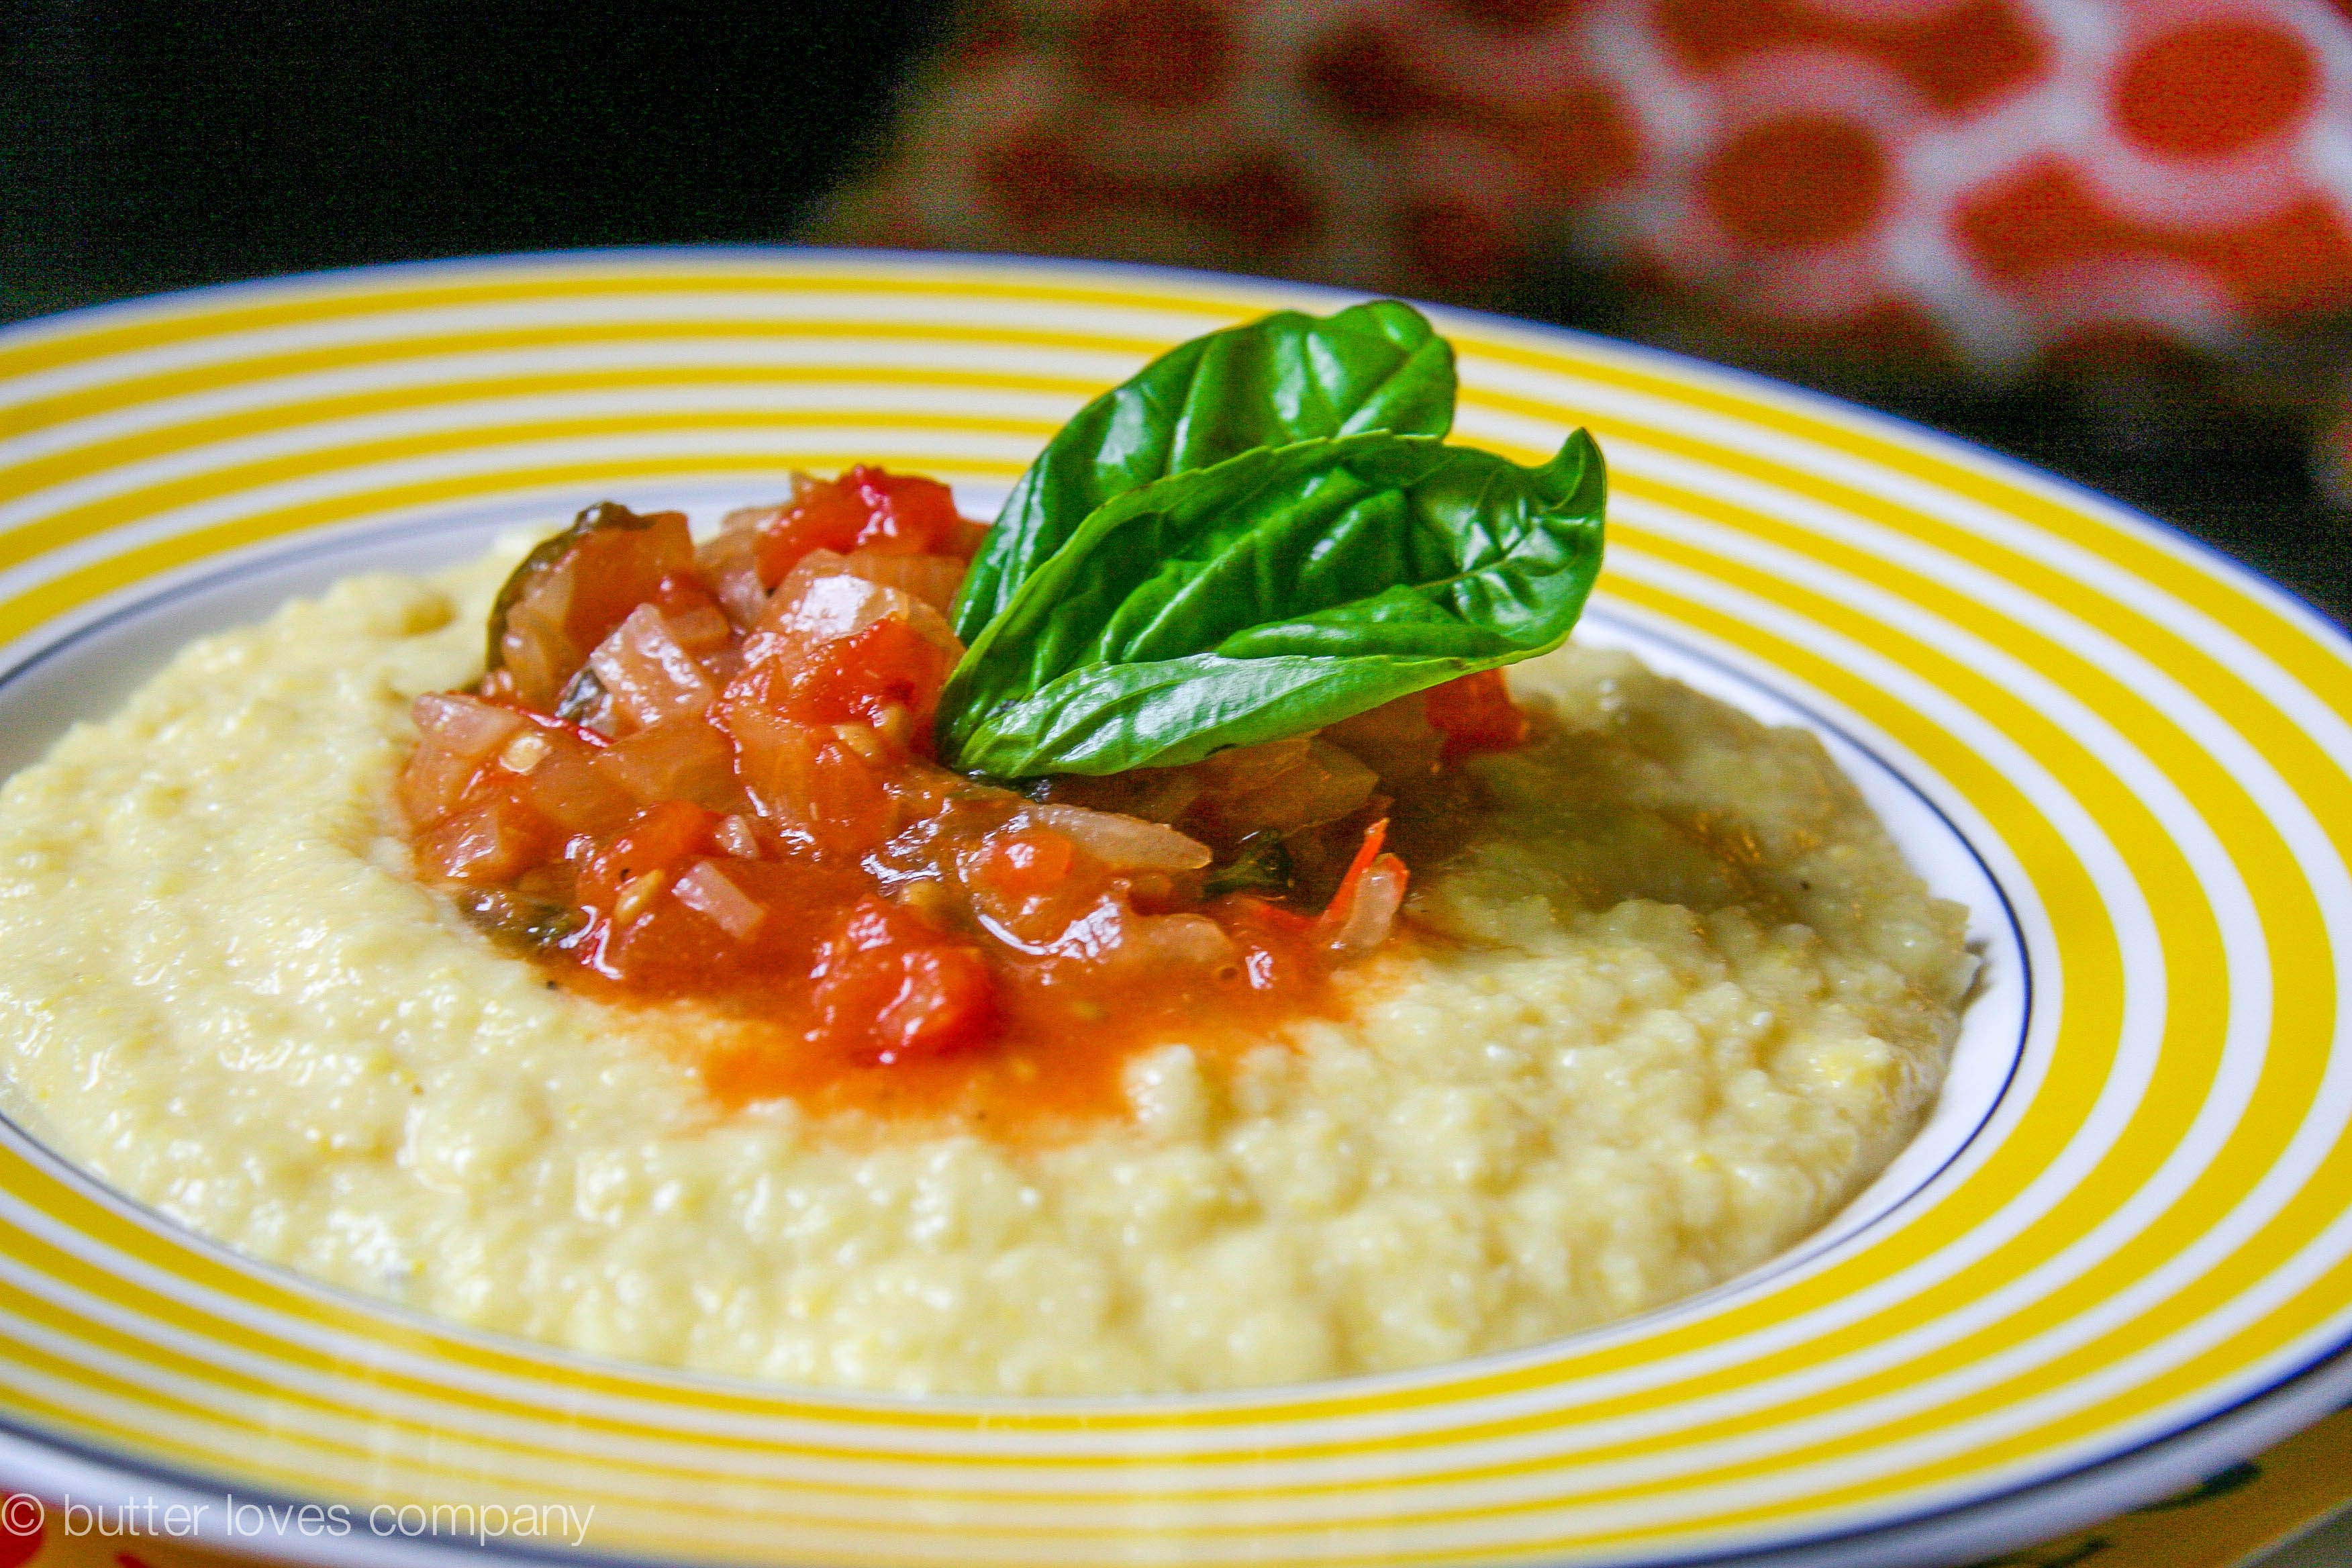
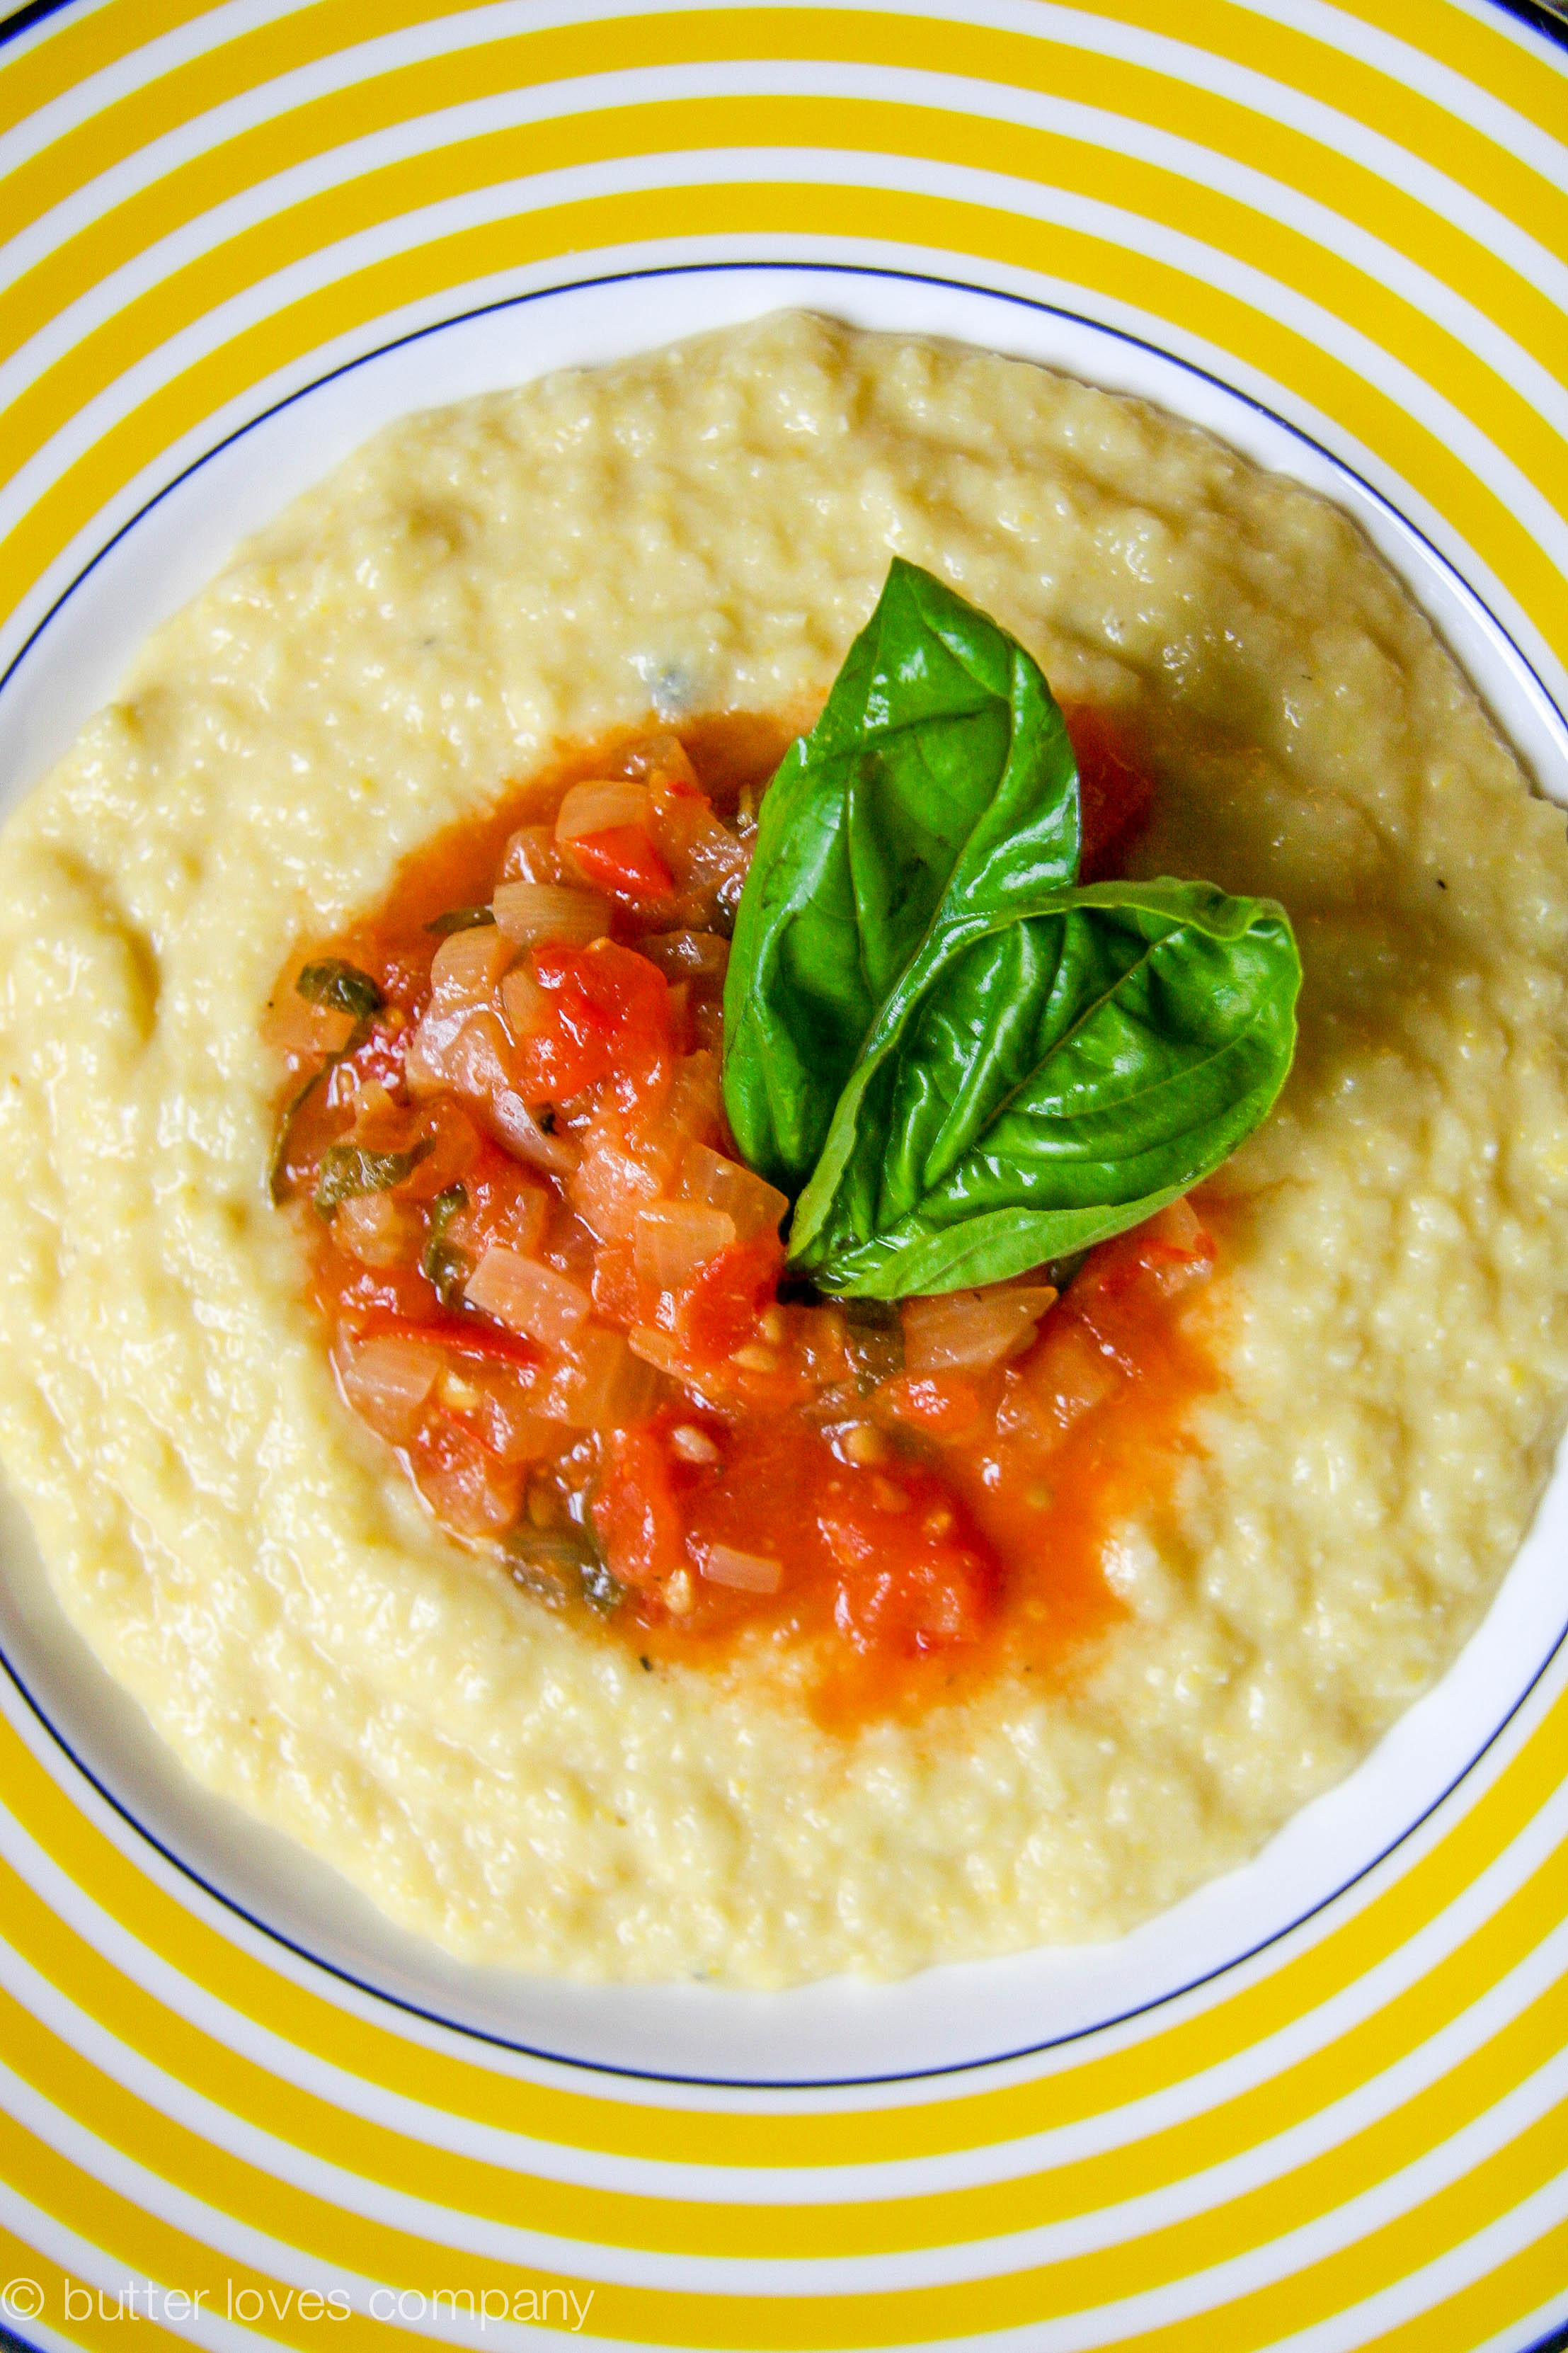
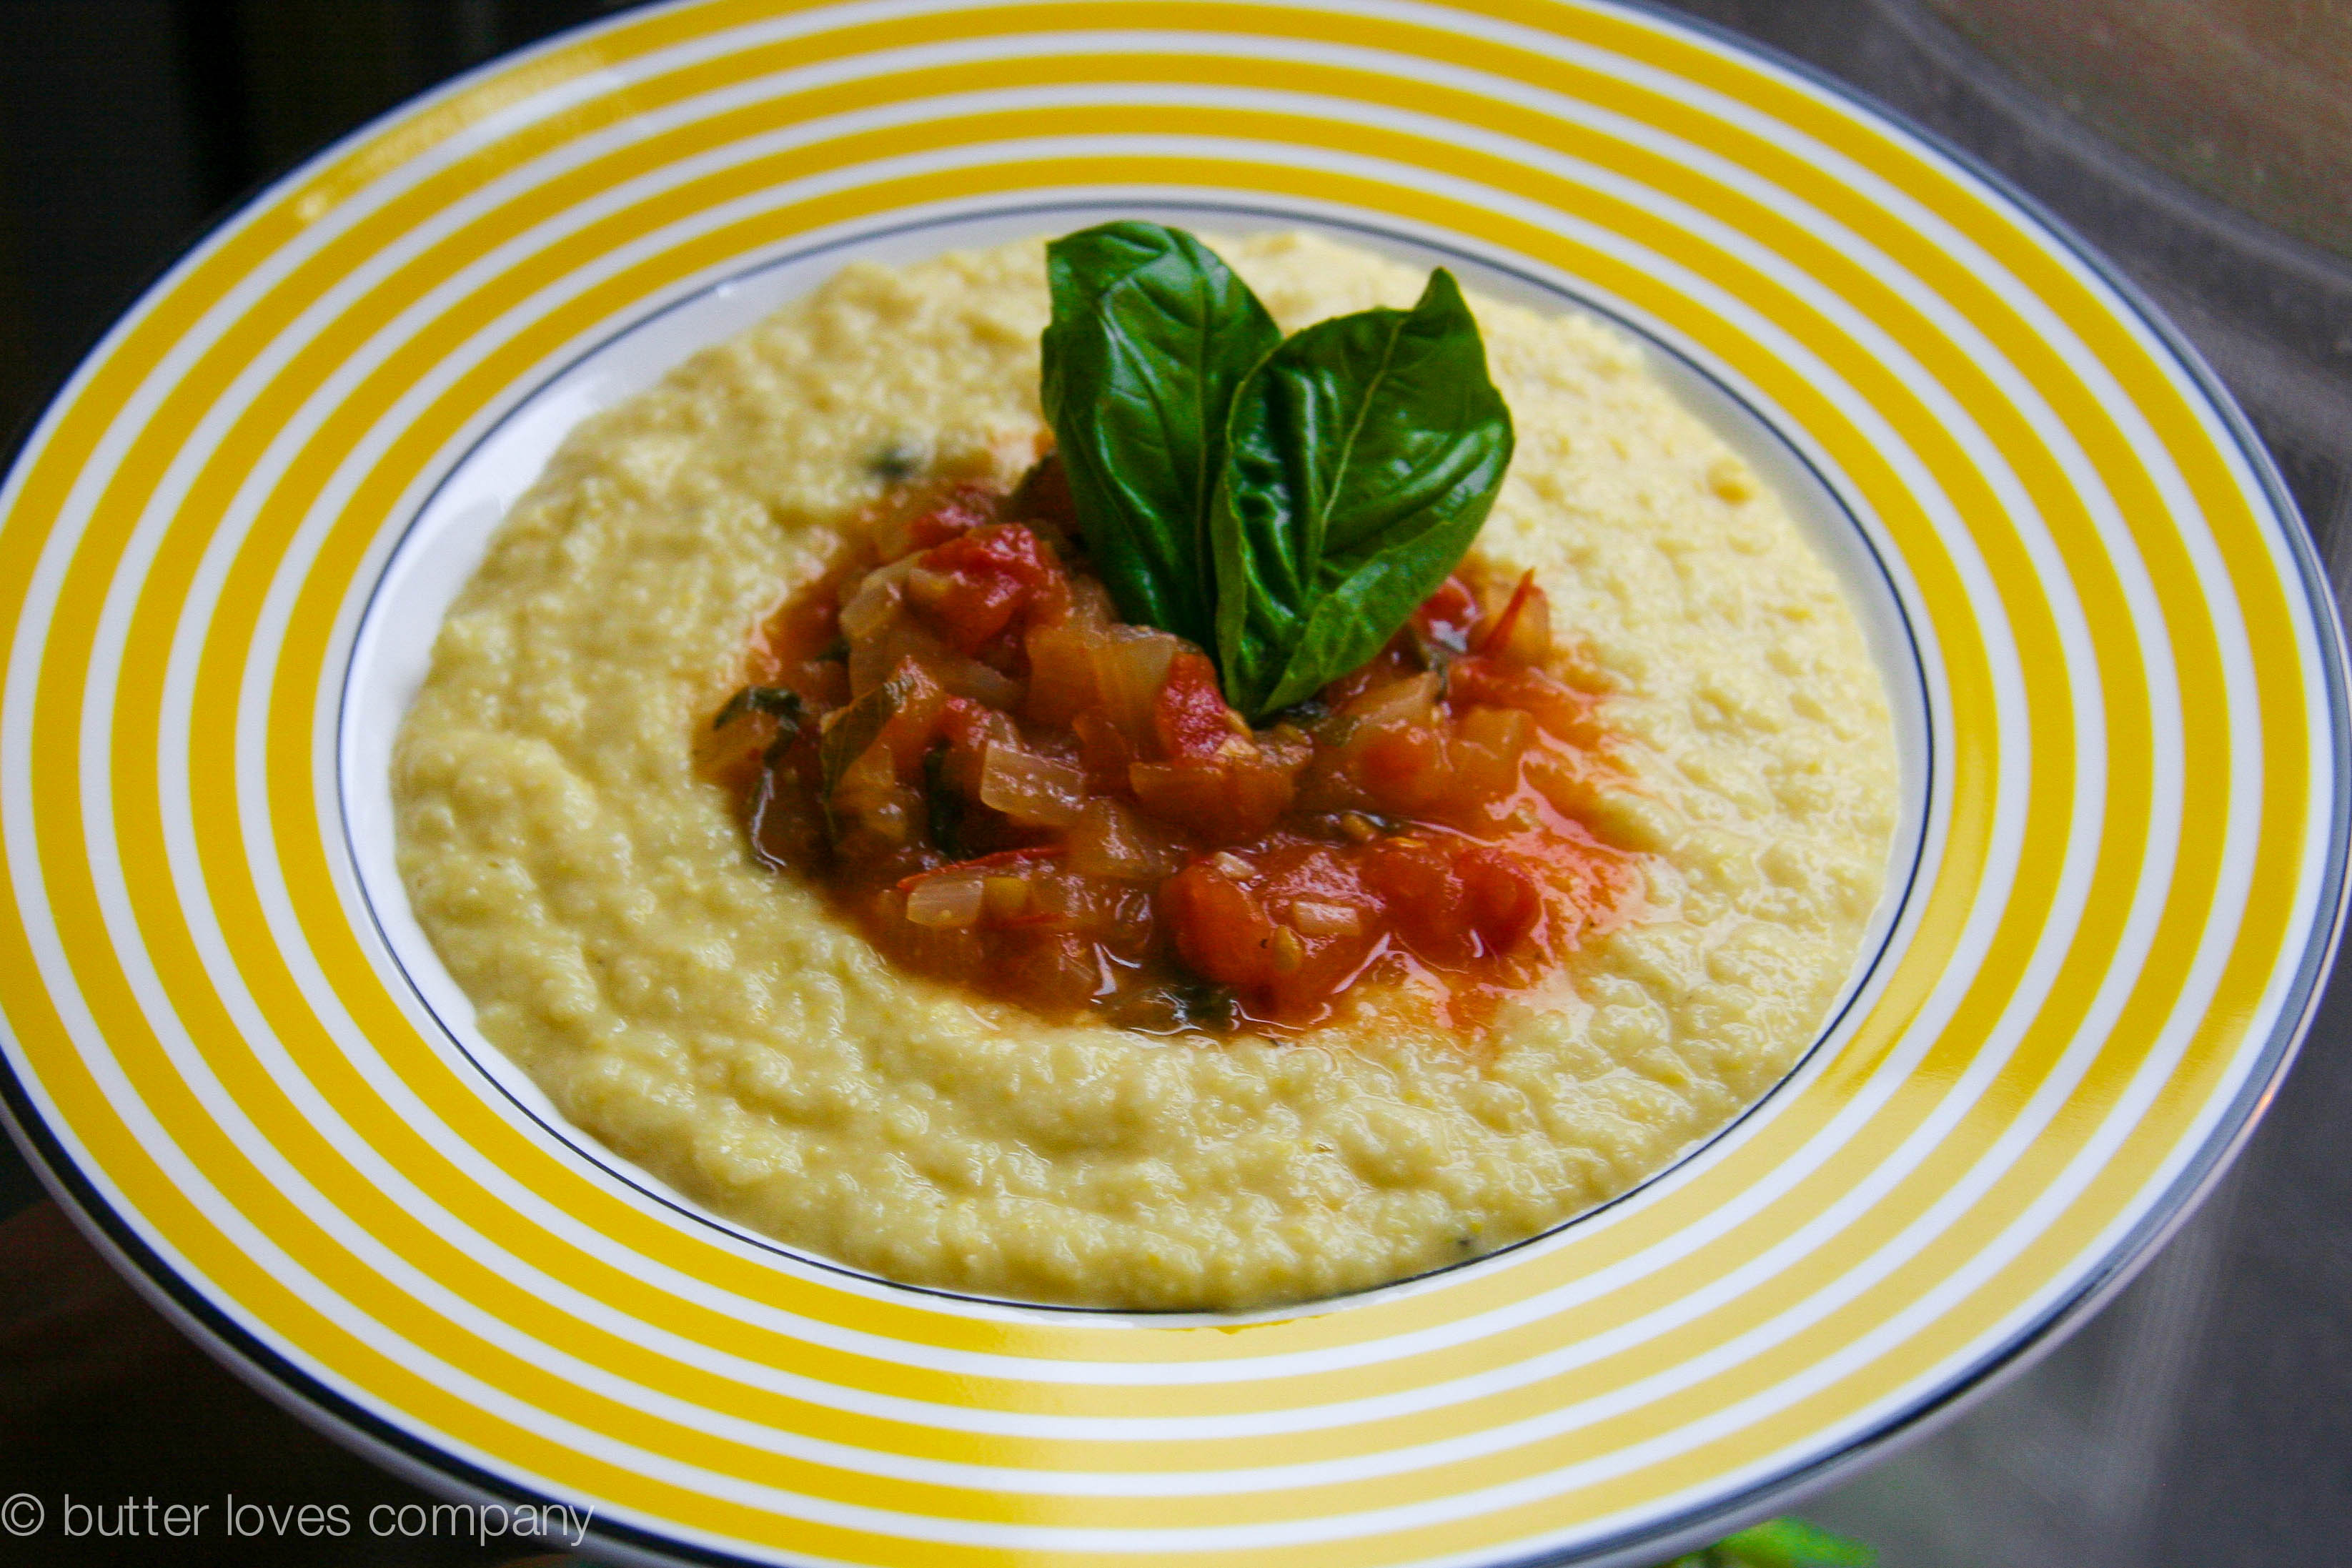
homemade fresh corn polenta with tomato onion ragout 10 copyOdds are you’ve had at least one corn dish so far this summer. Grilled on the cobb, boiled on the cob, off the cobb on a salad, in a salsa, in a pasta dish, Mexican-style smothered in cojita cheese, cayenne and lime (one of my favorite ways)—the options are nearly endless through corn’s summer season. But have you had a plate of warm, sweet, fresh corn polenta yet? Did you know you could make fresh corn polenta? Did you know you could make it very easily? I certainly didn’t.

homemade fresh corn polenta with tomato onion ragout 1

My polenta experiences, like many of yours perhaps, have been that of sometimes gummy, sometimes watery, cornmeal porridge. But seeing as cornmeal is just coarse flour made from dried corn, it does seem logical that you could make a fresher version.

The thought first crossed my mind when I stumbled upon a recipe for sweet corn polenta in Yotam Ottolenghi’s gorgeous vegetarian cookbook, Plenty. As a side note, I’ve spent the past few years flirting with this cookbook from the acclaimed British restaurateur each time I’ve walked into a bookstore. Seeing as I’m dating a former English major who works in publishing, I’ve found myself in bookstores quite often. I rarely read novels or your typical nonfiction books (a pain point for half of those in our relationship 🙂 ), but I do read cookbooks. A lot. And this was one I’ve been wanting to get my hands on.

homemade fresh corn polenta with tomato onion ragout 2

As I read more and more of my favorite bloggers confirming the excellence of Ottolenghi’s unique recipes (see here, here, or here, for example) it became clear it was time for me to take the plunge. We had our first date the other night and it was glorious. Greg declared the result of my rendezvous hands down the best polenta he had eaten in his life. I agreed. After a very simple cook, blend, reduce process, the result was a remarkably creamy, cheesy and sweet polenta unlike any polenta made from dried cornmeal. I completed the meal with a quick, slightly spicy, slightly acidic vegetable ragoût. As a bonus, it reheated well, which is also a quality that dried polenta doesn’t always possess.

The original recipe called for mixing feta into the ground corn and eggplant into the ragoût but I didn’t have either on hand so I substituted with Parmesan and extra tomato and onions. I encourage you to top with any veggie sauce you enjoy since this polenta is a great vehicle for yummy sauce. Or you can top it with meat. Whatever you top it with, please let me know in the comments section how it comes out!

homemade fresh corn polenta with tomato onion ragout 3

homemade fresh corn polenta with tomato onion ragout 4

homemade fresh corn polenta with tomato onion ragout 5

homemade fresh corn polenta with tomato onion ragout 6

homemade fresh corn polenta with tomato onion ragout 9

homemade fresh corn polenta with tomato onion ragout 10

homemade fresh corn polenta with tomato onion ragout 12

homemade fresh corn polenta with tomato onion ragout 9

homemade sweet corn polenta with tomato onion ragoût
adapted from Plenty, by Yotam Ottolenghi

prep time: 20 minutes
cook time: 40 minutes
makes 4 entrée servings

tomato and onion ragoût

Ingredients:

2 tablespoons olive oil
2 cloves garlic, minced
2 cups sweet white onions, diced
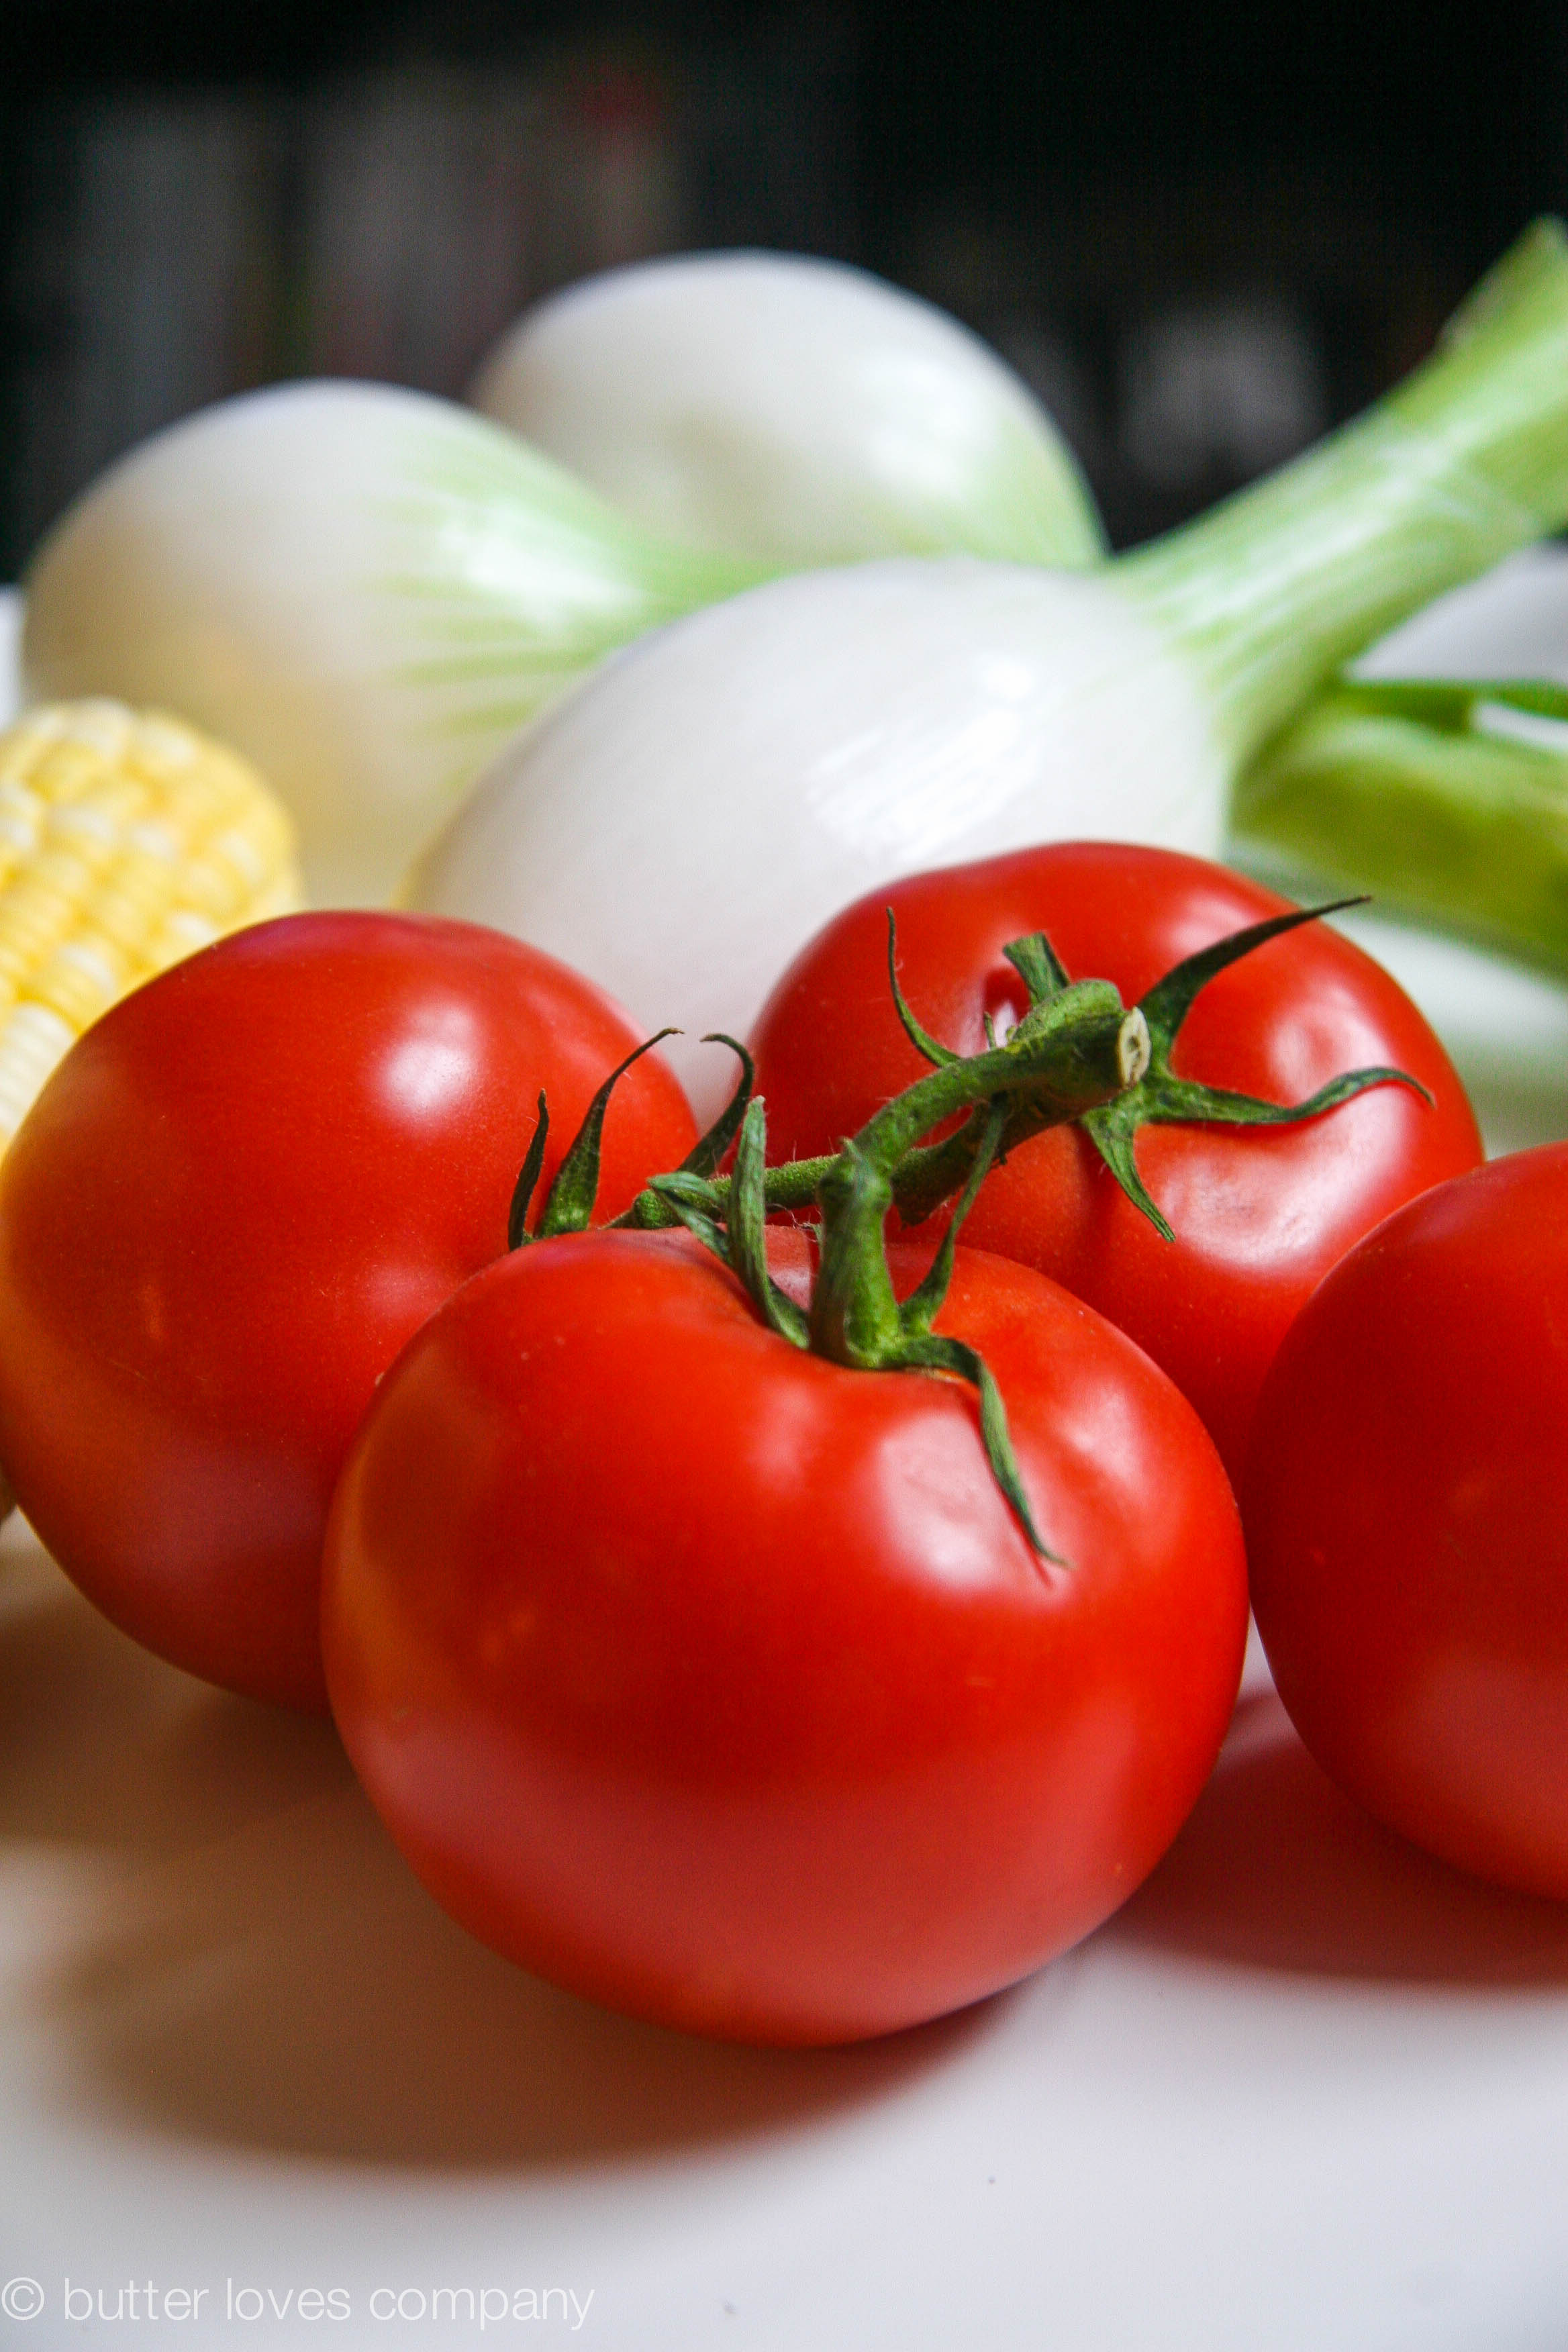
4 cups diced tomatoes (fresh or canned, if fresh it will be about 5 small tomatoes)
1/4 cup dry white wine
1/2 teaspoon salt
1/2 teaspoon sugar
1/4–1/2 teaspoon red pepper flakes (depending on your spice tolerance)
1 teaspoon chicken bouillon, if you have it
1/3 cup fresh basil, sliced into 1/4 inch ribbons

Instructions:

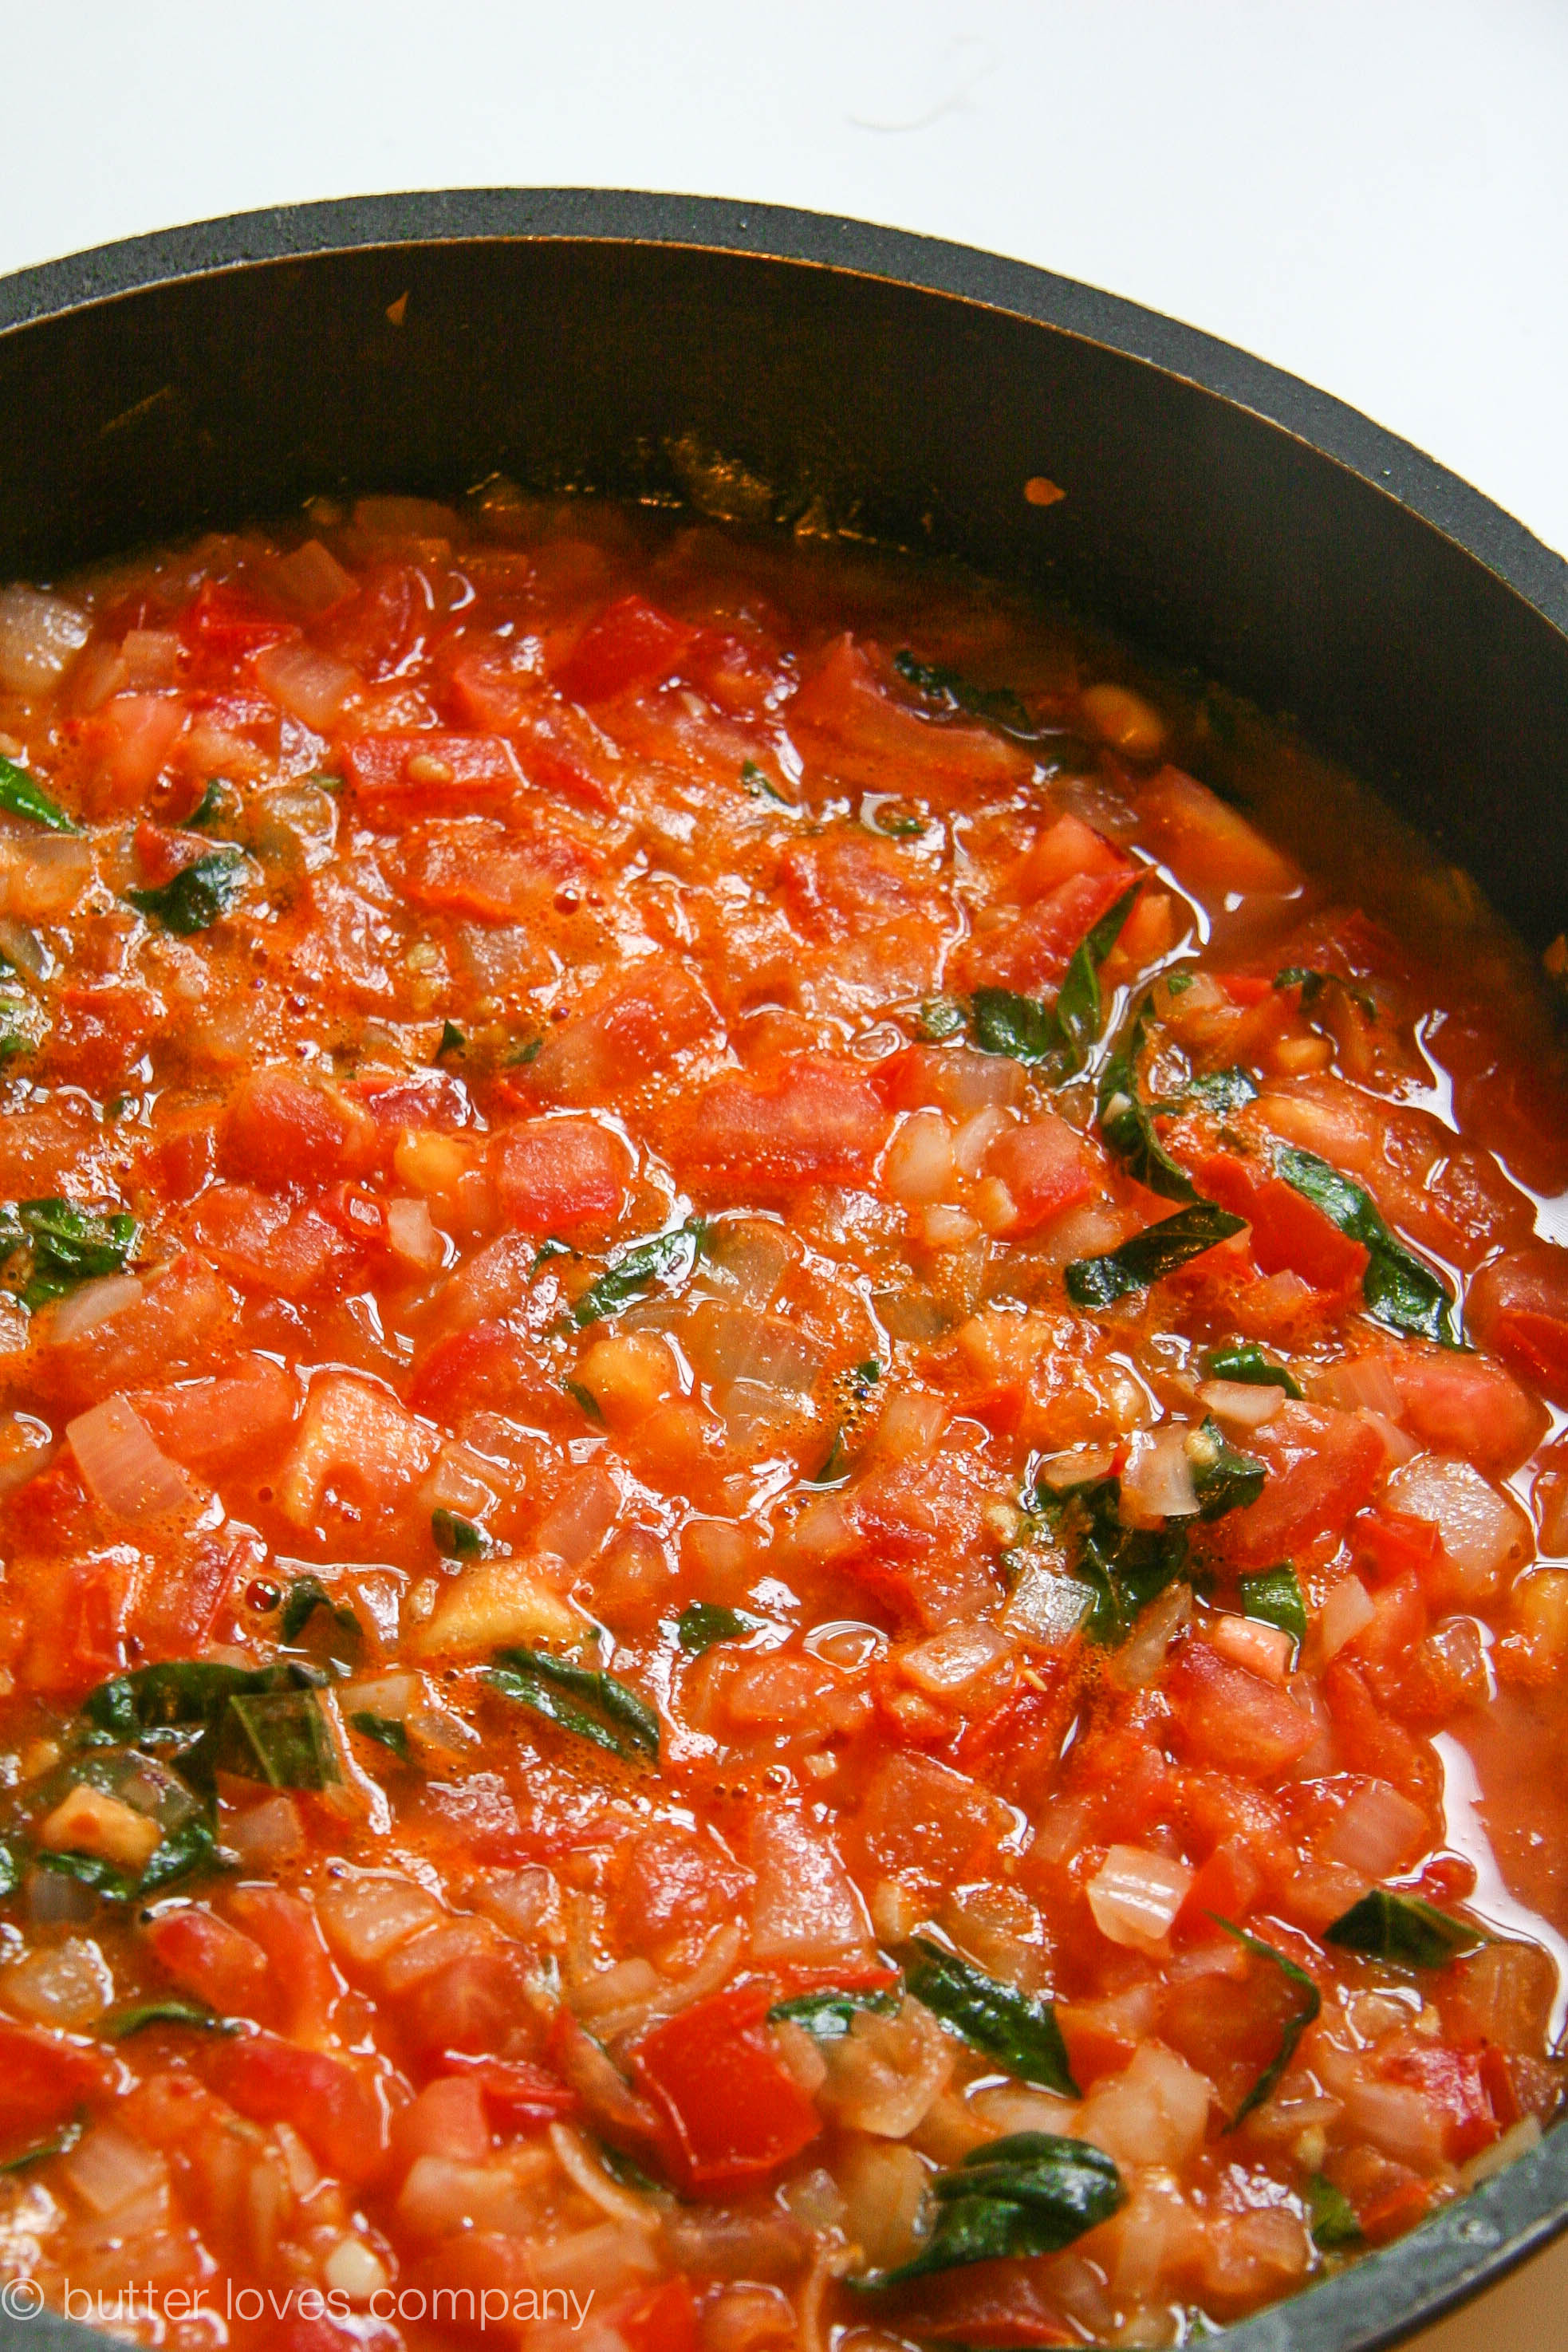
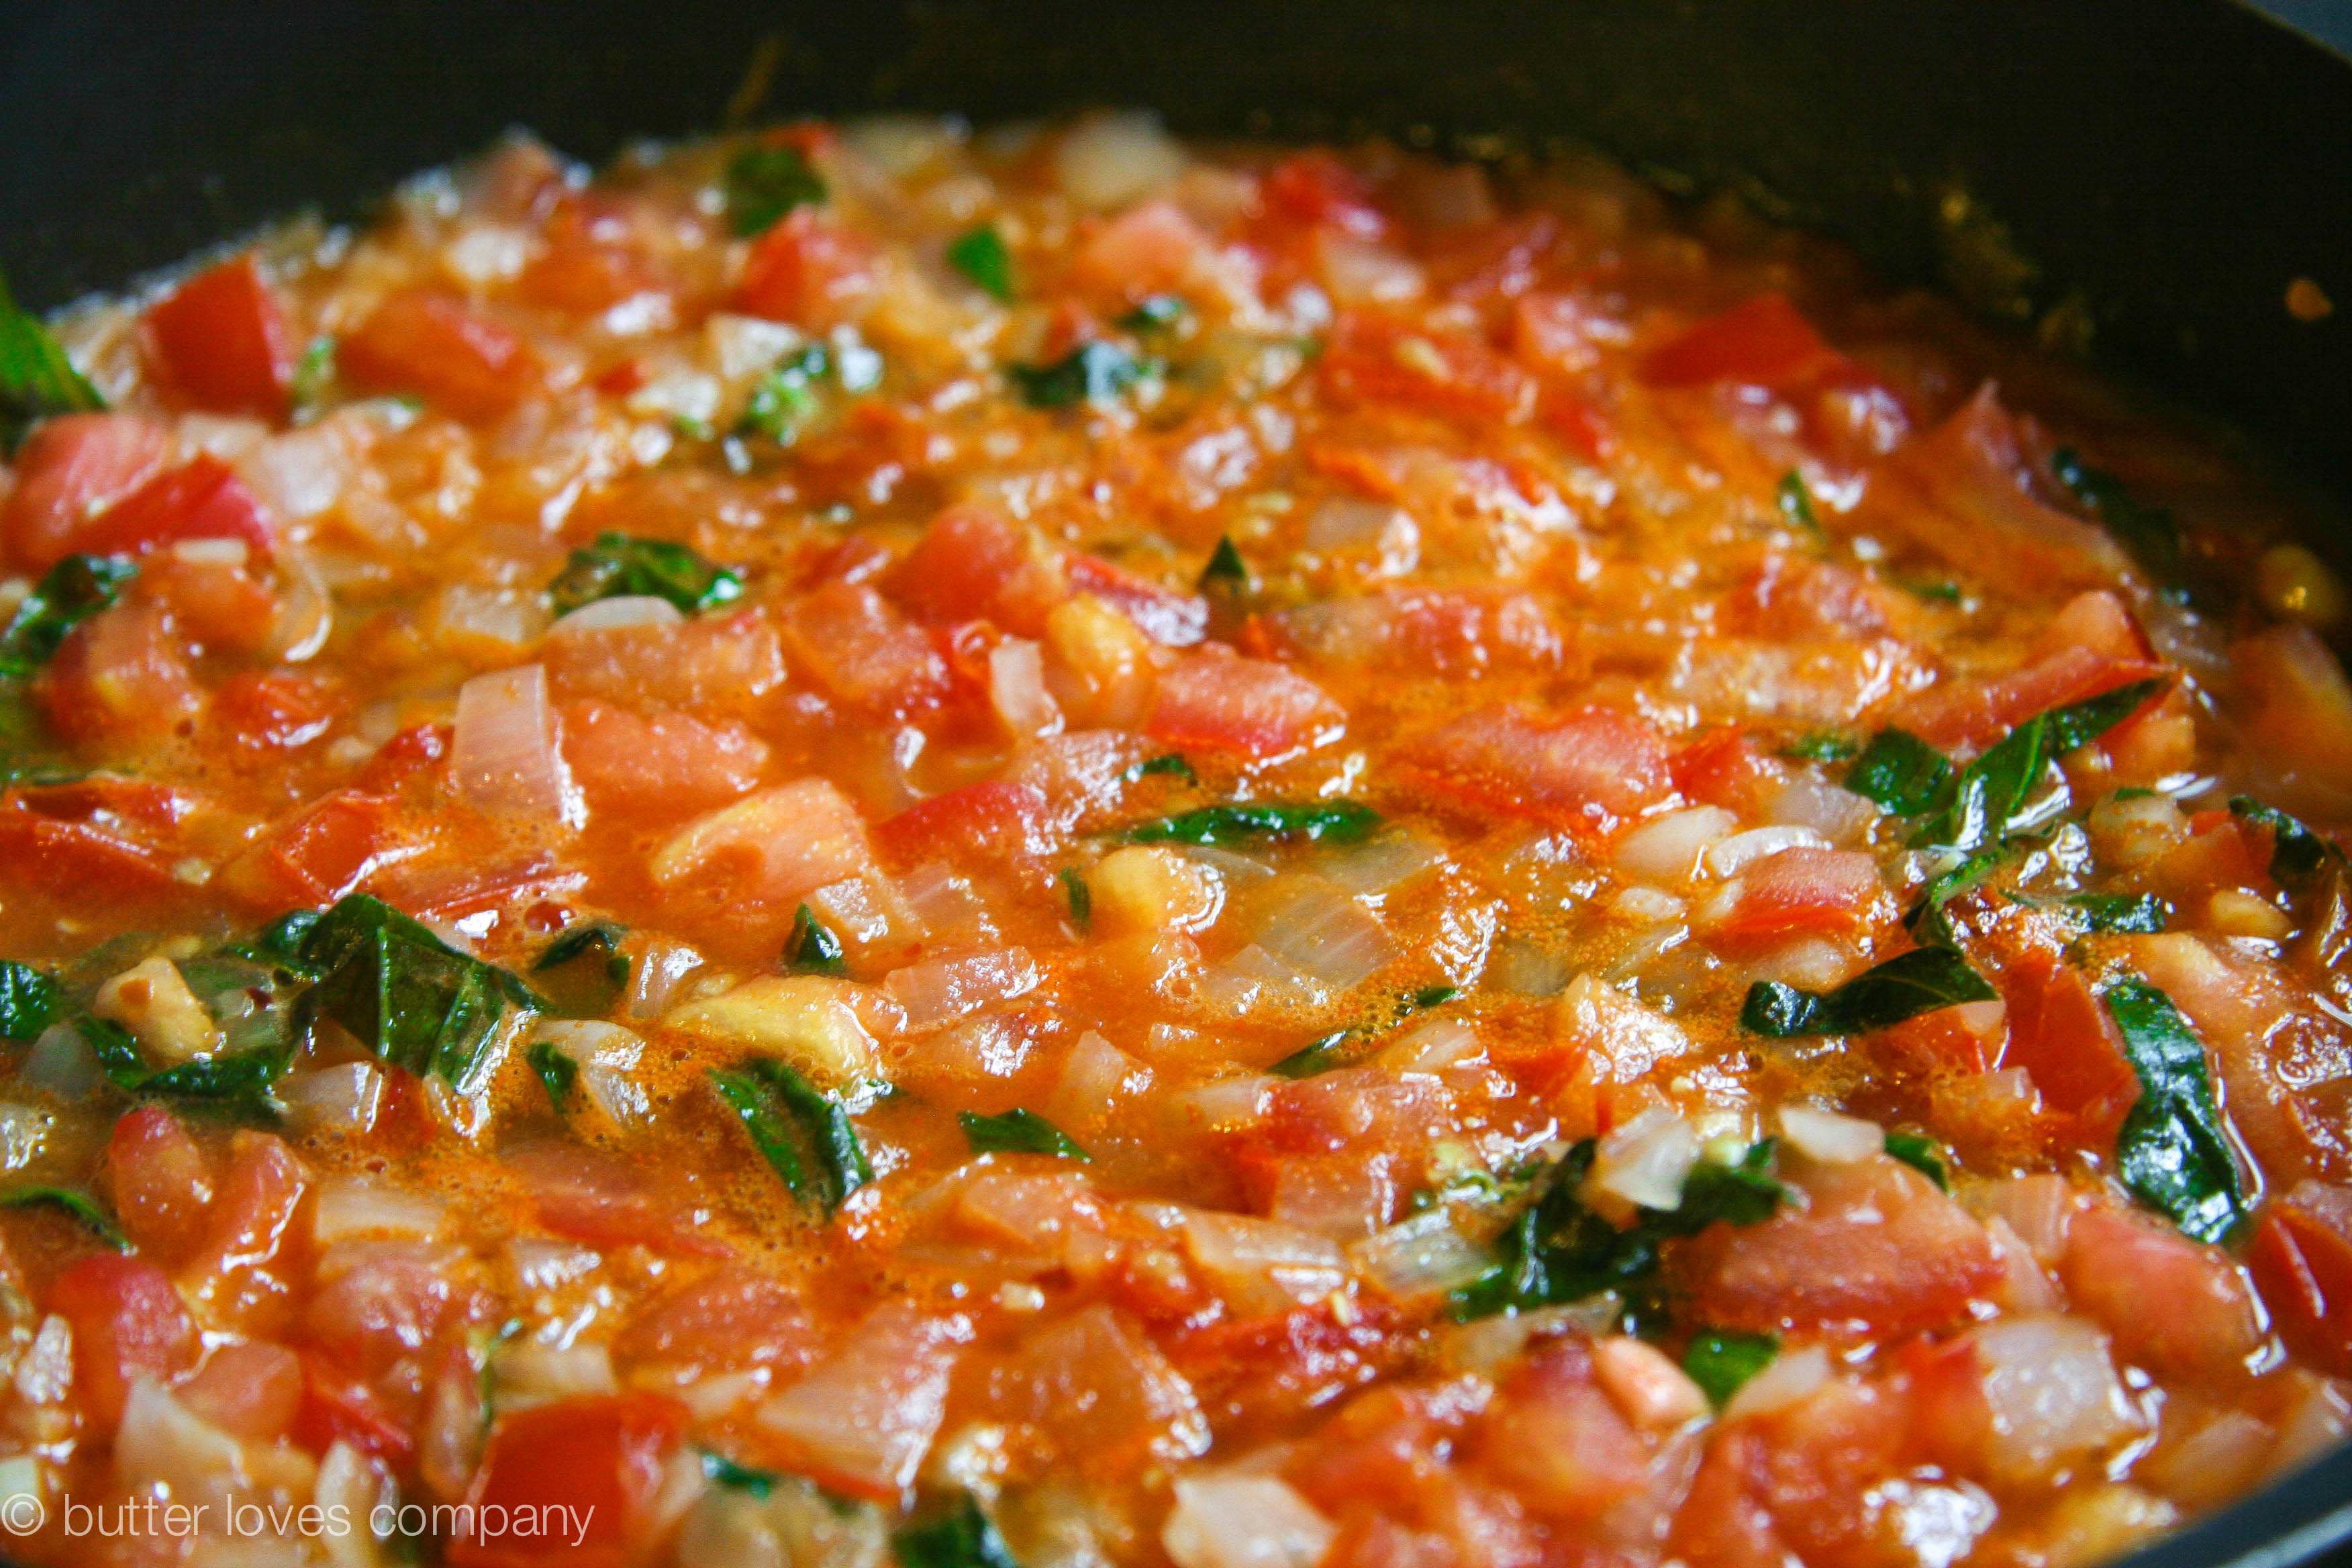
  1. Heat the oil in a medium saucepan on medium-low heat. Add garlic and onions and cook until the onions begin to become tender and translucent, about 6-7 minutes. Add the tomatoes to the pan and stir to combine. Cook for 2 minutes, then add the wine and cook for 1 minute. Add the salt, sugar, red pepper flakes, bouillion, if using, and basil and cook for a further 5 minutes. Reduce heat and simmer for 20 minutes. You can set the sauce aside and warm it up when needed.

homemade sweet corn polenta

Ingredients:

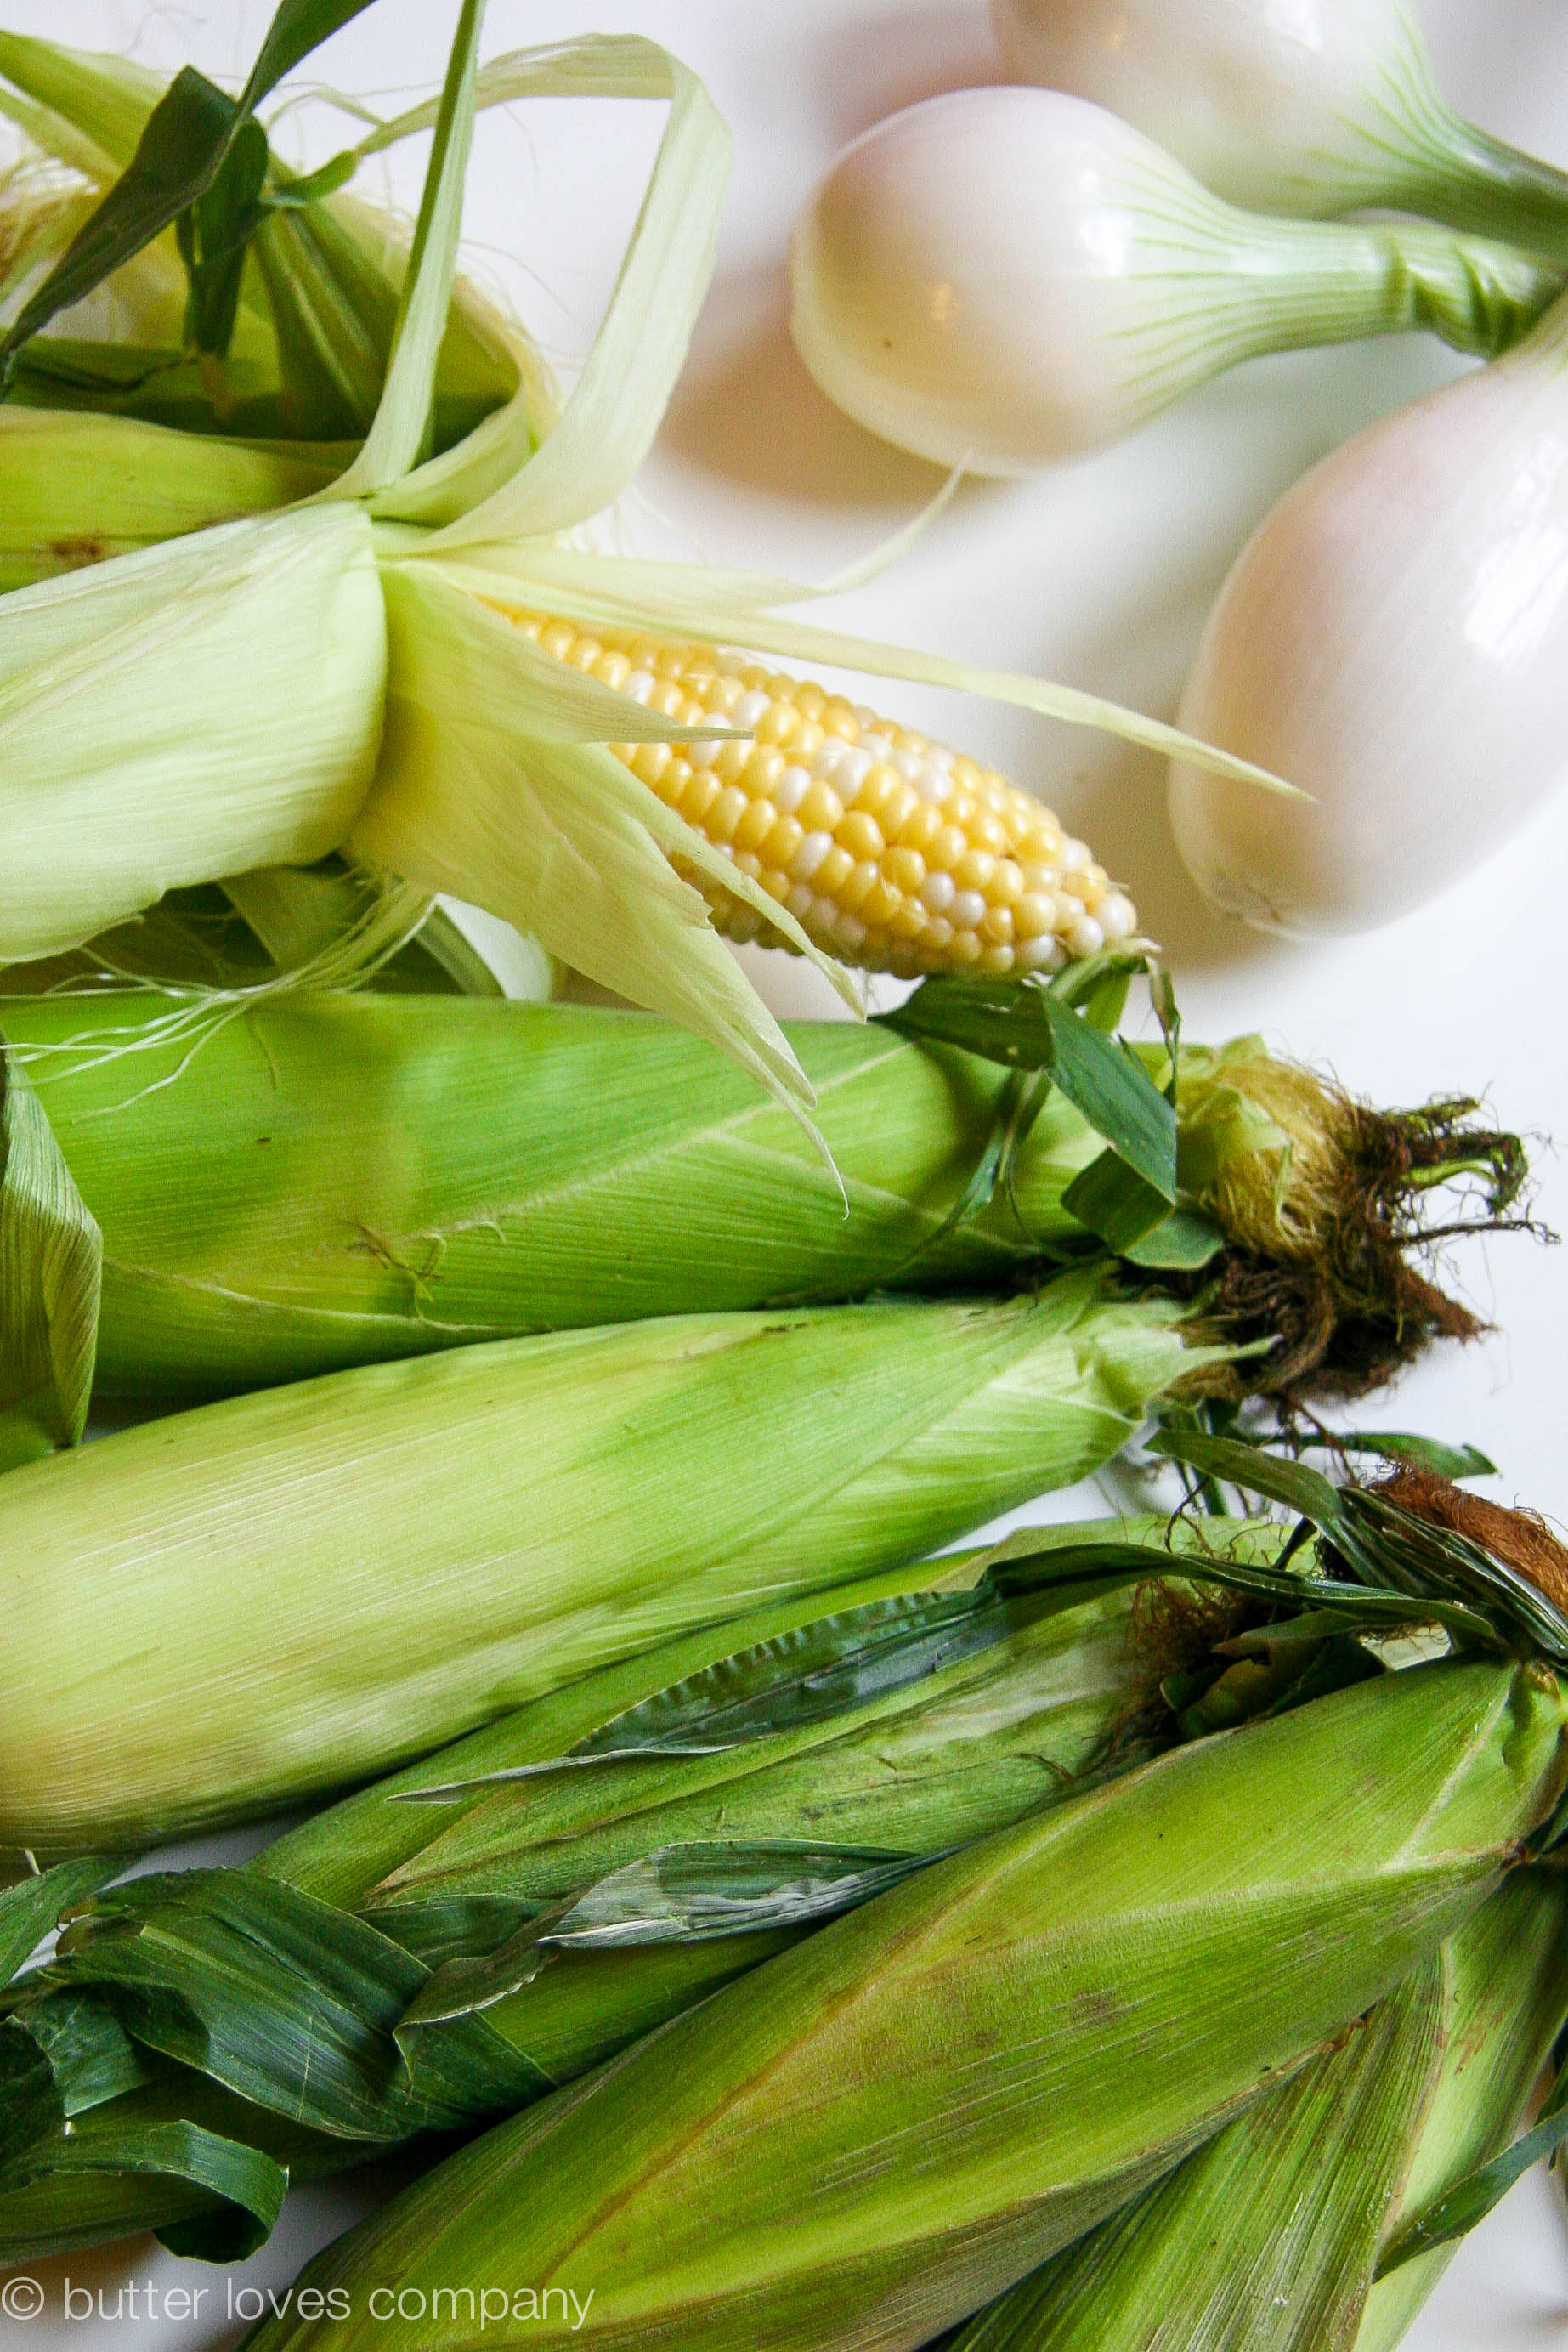
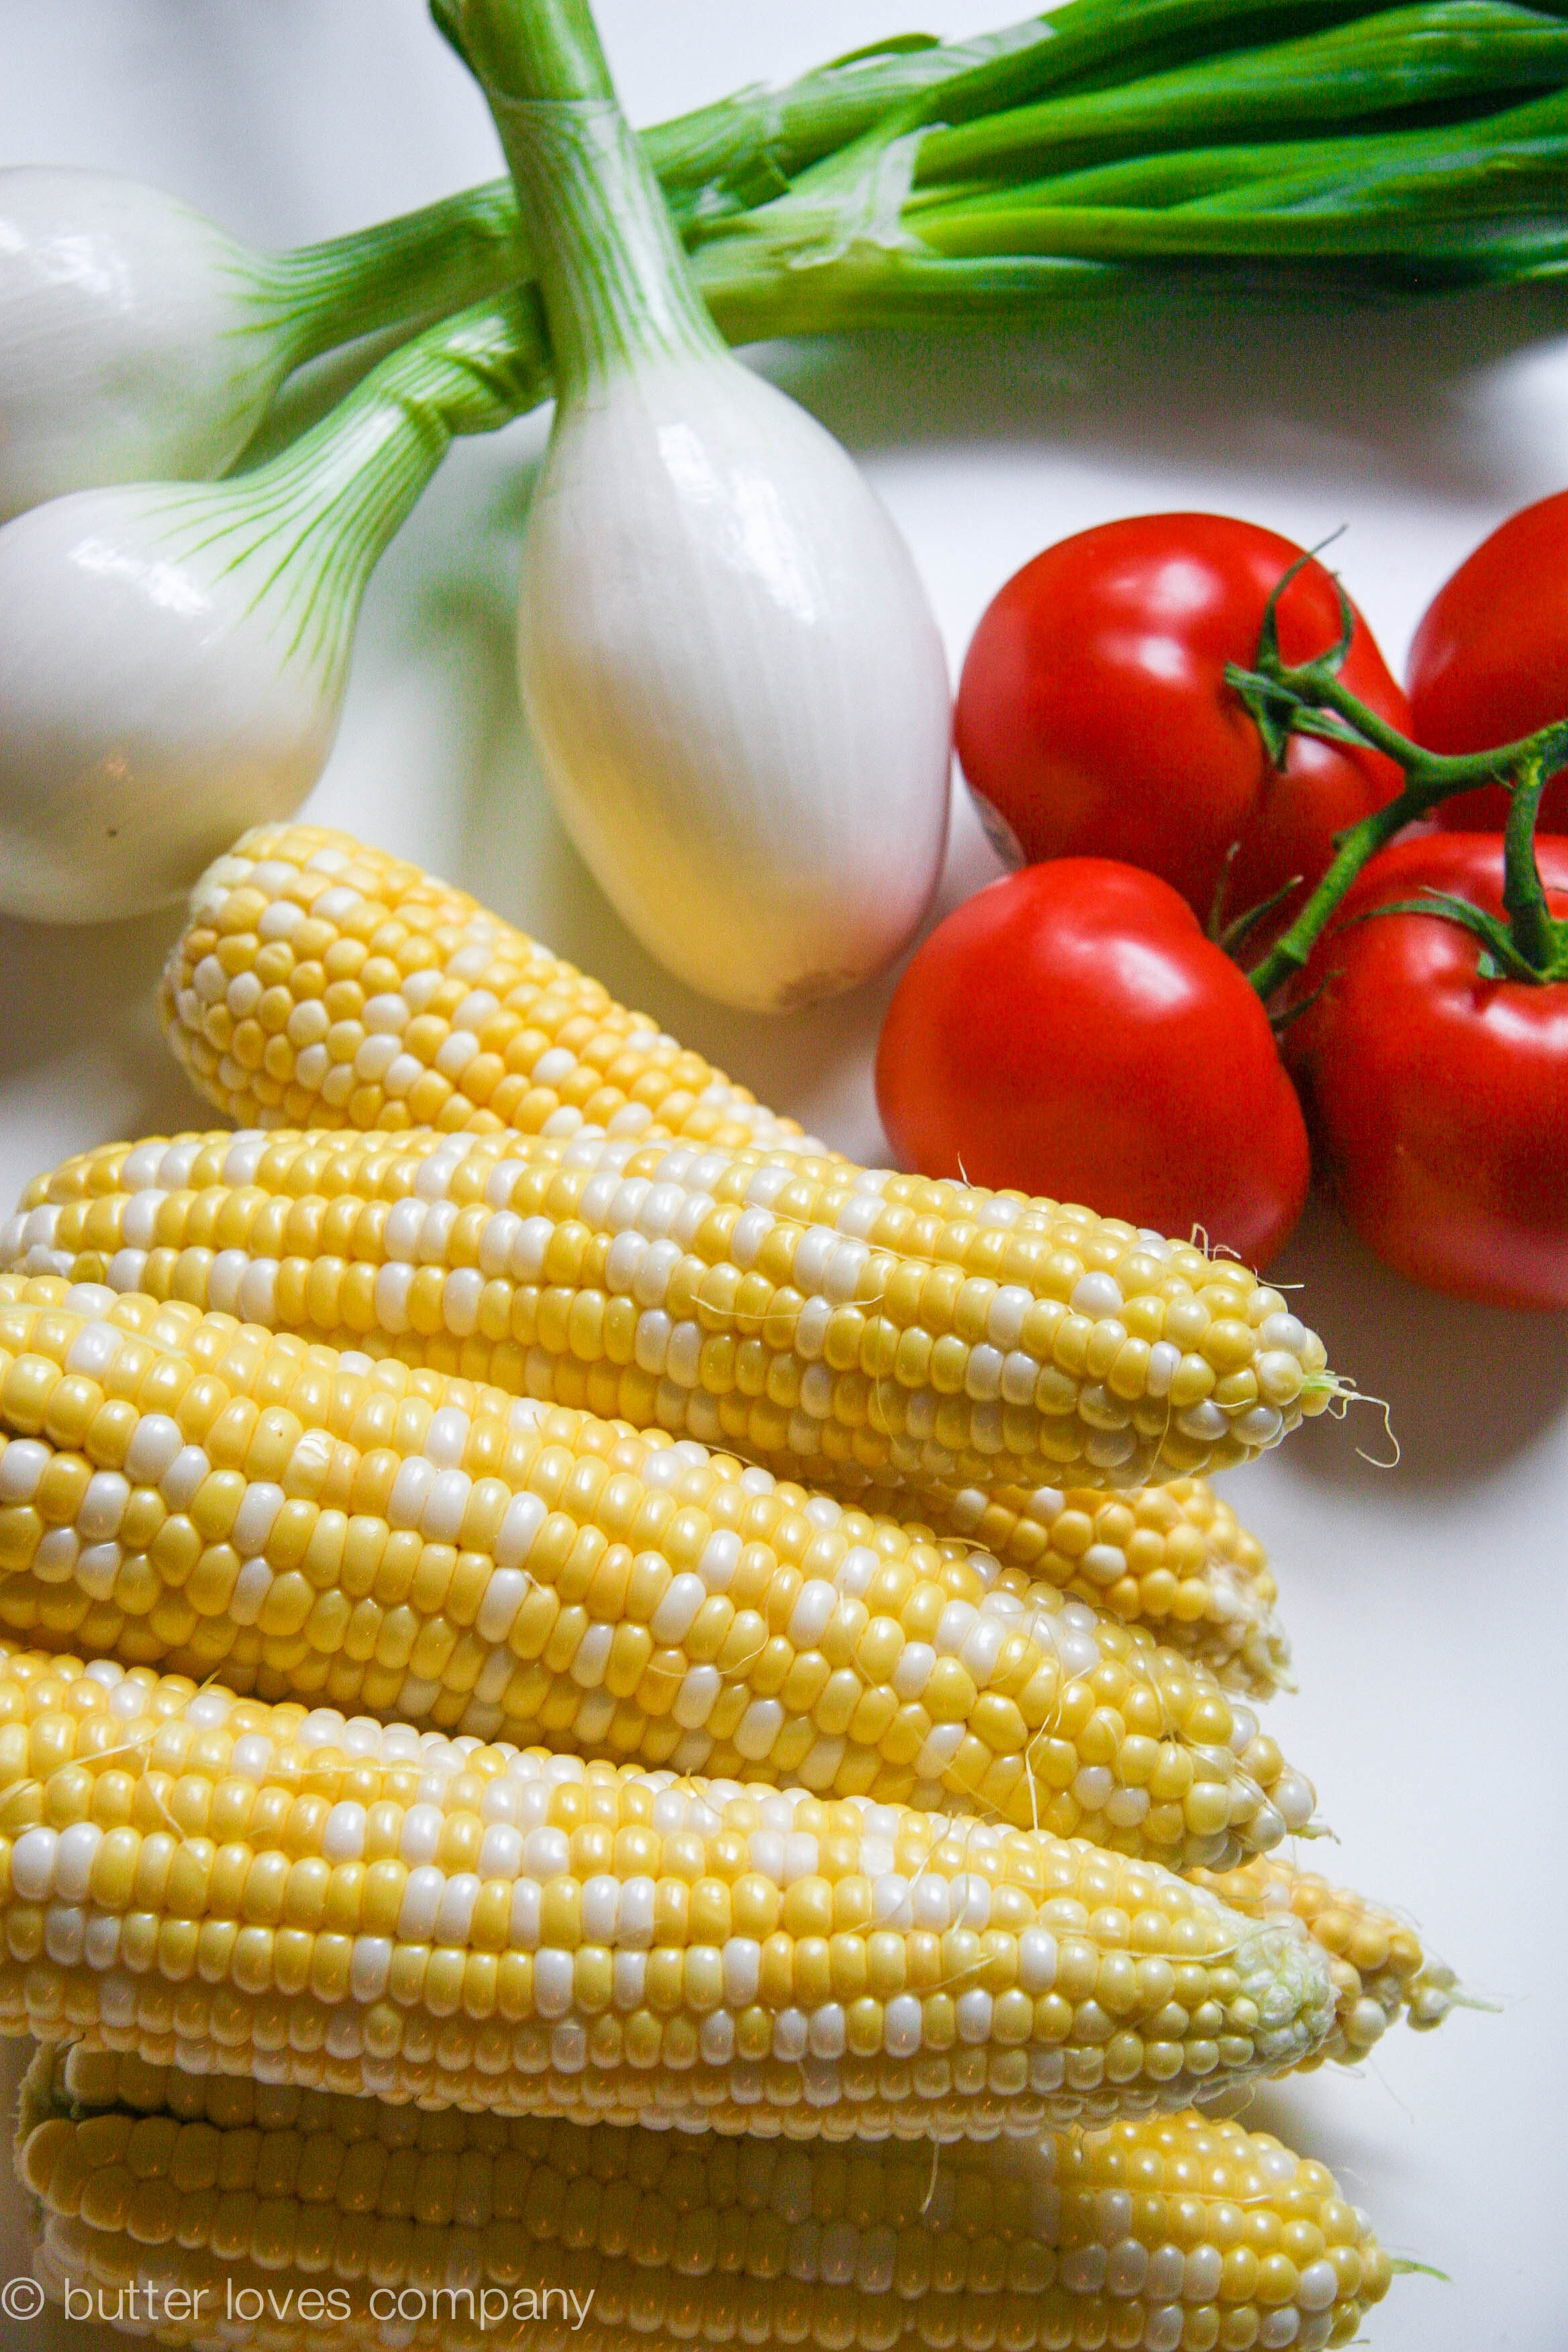
6 ears of corn, shucked
2 1/4 cups water, approximately
3 tablespoons butter, diced
7 ounces Parmesan or Feta cheese, grated or crumbled if using the latter
1/4 teaspoon salt
Black pepper

Instructions:

  1. Using a sharp knife, cut the kernels off each ear of corn. I find it easiest to do this with the ear standing up inside of a short wide bowl, which will catch any stray flying kernels. You can also just do it on a cutting board. You should end up with around 1 1/4 pounds kernels.
  2. Place the kernels in a medium saucepan and pour in water until you just barely cover them (you may not need the entire 2 1/4 cups. Cook for 12 minutes on a low simmer. Using a slotted spoon, lift the kernels from the water and transfer into a food processor; reserve the cooking liquid. I like to leave a handful of kernels in the saucepan with the liquid so the polenta will have some SURPRISE full corn kernel pops. You can choose to leave some or put them all in the food processor.
  3. Process the corn kernels in the food process until smooth. It will take a few minutes as you are trying to break up the kernel cases as much as possible. Add some of the cooking liquid if the mixture becomes too dry to process.
  4. Please read full step before beginning: Pour the cooking liquid you reserved in step 2 from the saucepan into a small bowl (you can leave any full kernels you decided not to puree in the saucepan). Scoop the corn paste from the food processor into the saucepan and cook, on low heat for 10 to 15 minutes, stirring in the cooking liquid in small increments until it reaches your desired consistency (many like it the consistency of thick mashed potatoes). NOTE: If you add too much of the cooking liquid to the pan, it can take a while to cook down the polenta, and it will splatter about. This is why I recommend beginning with no liquid and subtly adding in more. You may even like the consistency of the corn after processing in step 3, in which case you can skip directly from step 3 to step 5.
  5. Fold in the butter, the cheese, salt and some pepper and optionally cook for a further 2 minutes. Taste and add more salt if needed.


Filed Under: eat, mains, sides, soups and salads Tagged With: corn, dinner, homemade polenta, onion, polenta, ragout, sauce, tomato, vegetarian

blueberry buttermilk scones with cinnamon sugar butter

July 10, 2014 by Butter Loves Company

blueberry buttermilk scones with cinnamon sugar butter 20 copy

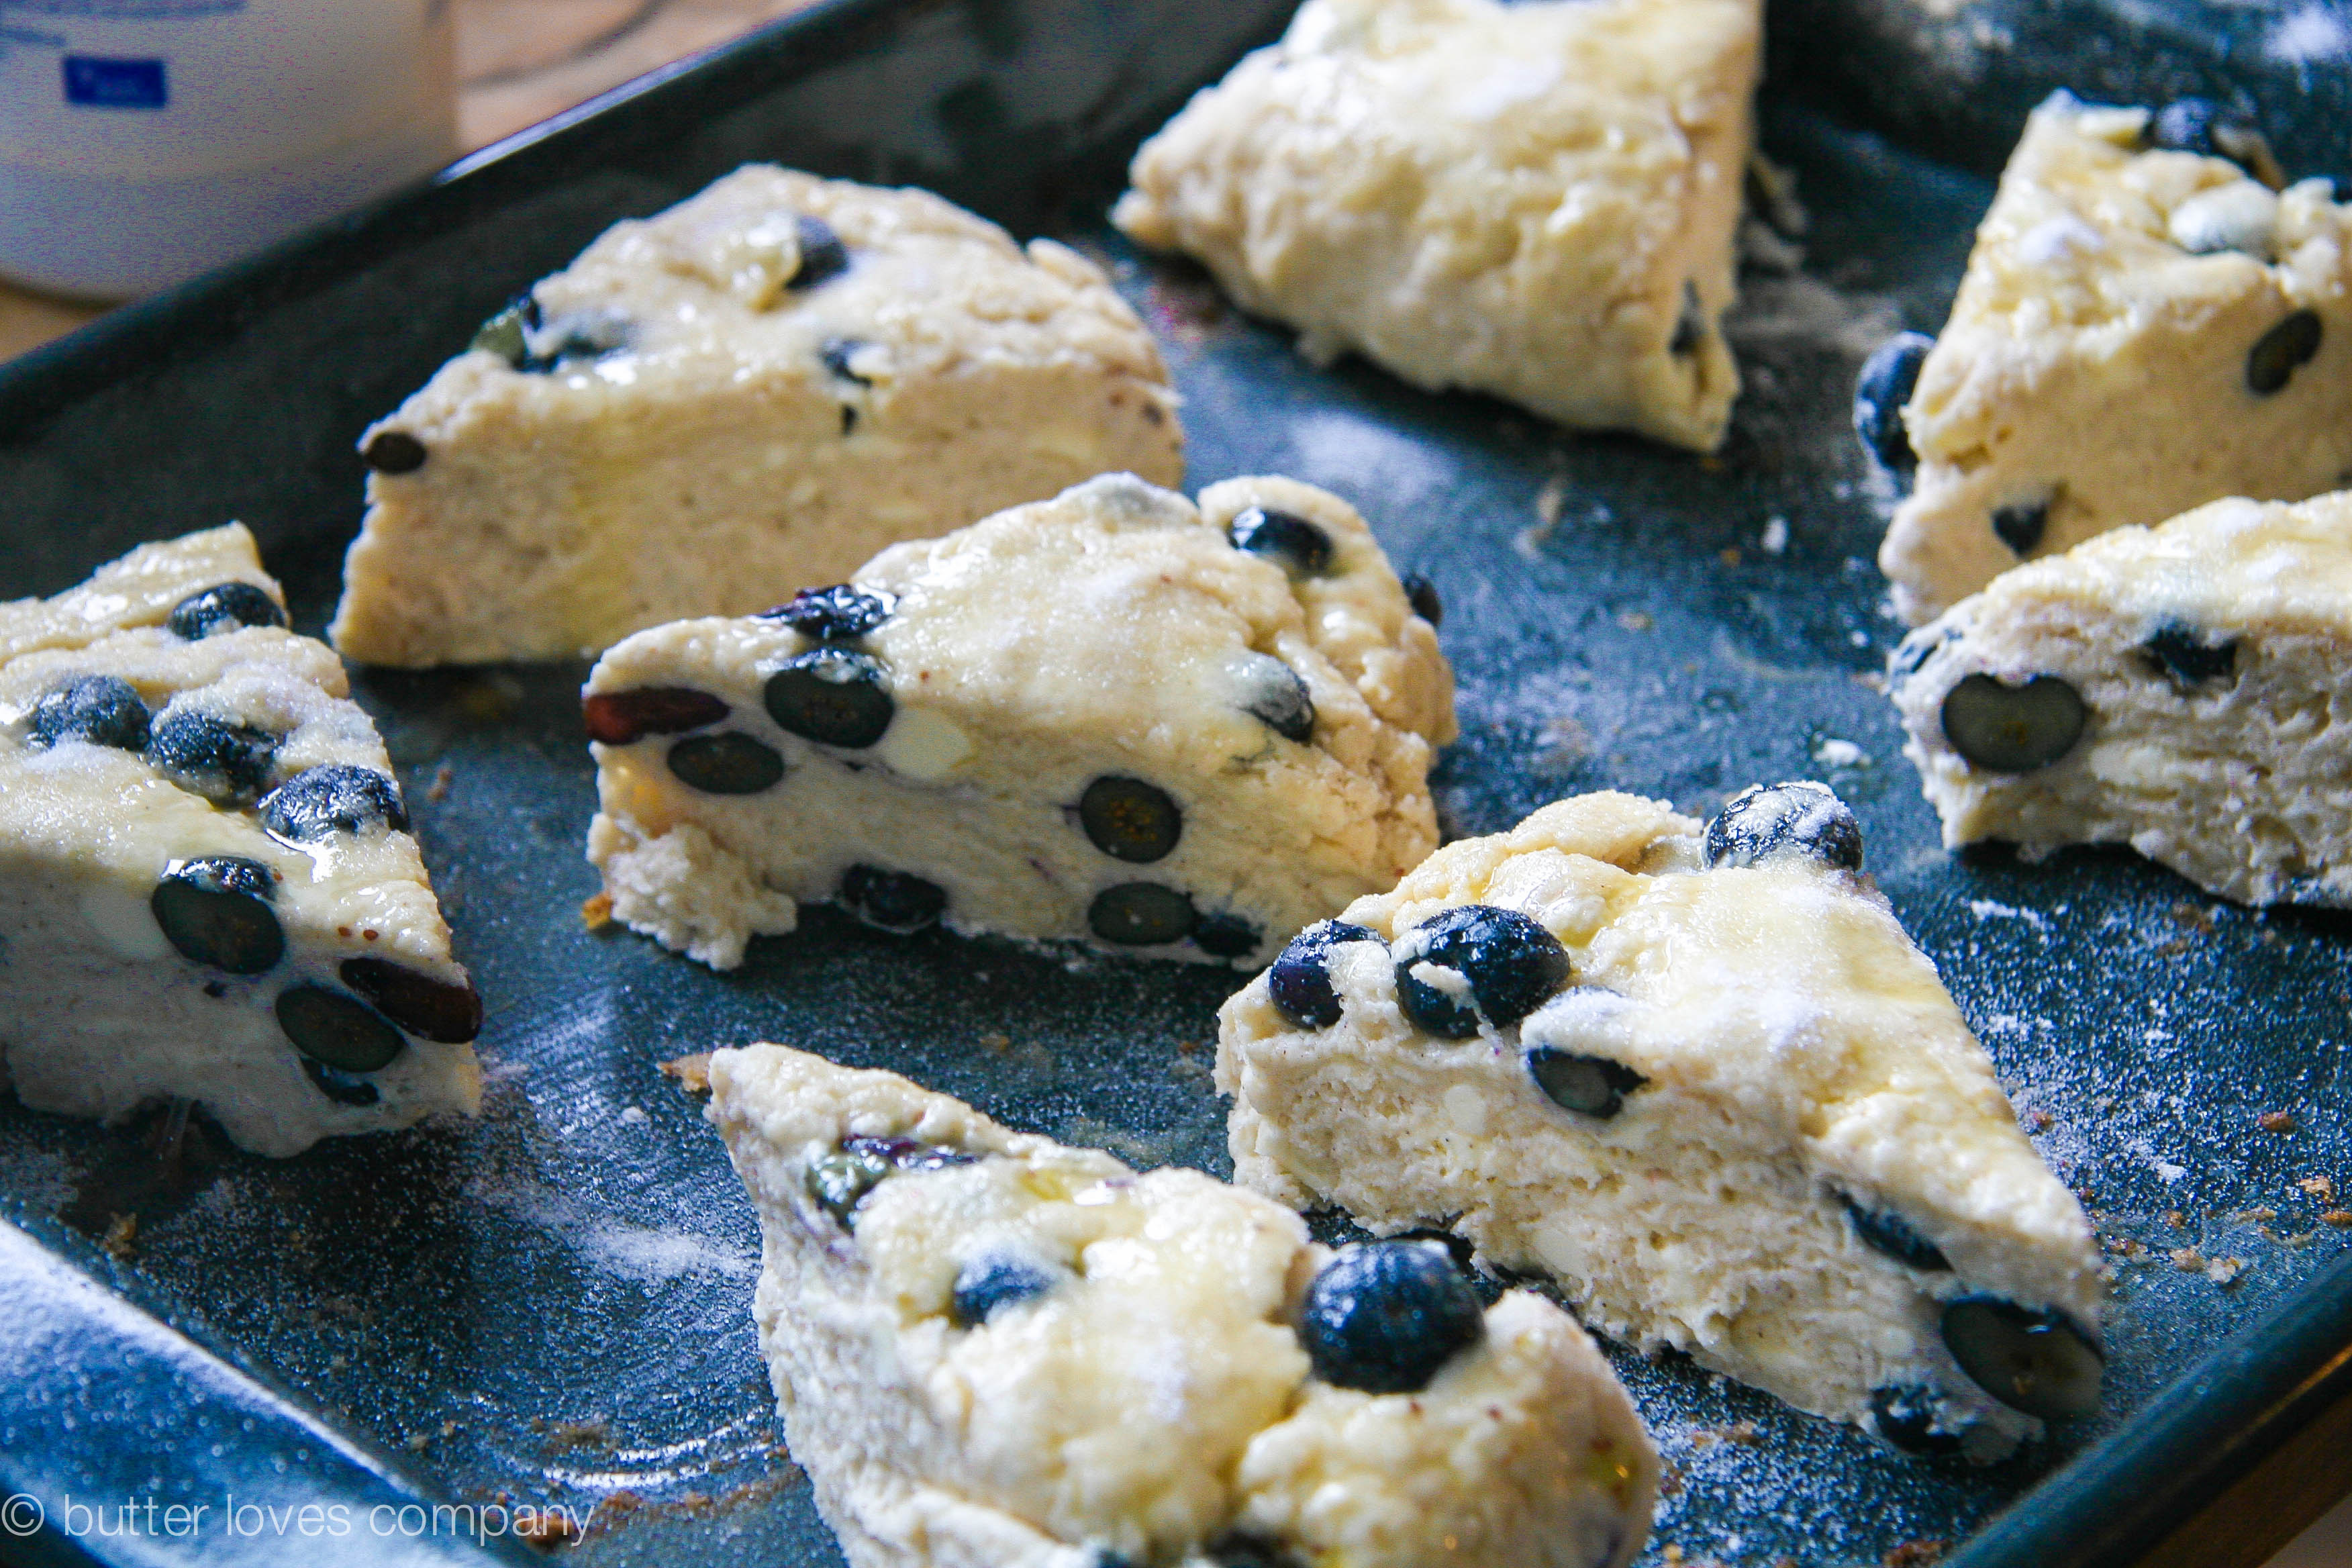
When spending your vacation at a house on the water, you’d better not forget to pack your bathing suit, sunscreen, aloe vera for when you inevitably get burned regardless of the sunscreen, boogie board, frisbee, Stephen King or Emily Griffin novel (pick your poison), kitchen tongs and measuring cups/spoons. You’re probably thinking those last two don’t scream ‘sand between the toes,’ but if you have access to a kitchen, these tools will make life much easier and breakfast much more delicious.

I learned from my mom that you should always travel with tongs.* The reason being, she told me, you never know what the kitchen supply situation will be. With this in mind, I decided that because of my baking obsession I should also always travel with measuring tools. You see, some vacation rentals are equipped for a chef, while others are equipped for a stack of take-out pizzas (no knock there, love me some take-out pizza). Luckily, even if you’re staying in the latter, you can make delicious homemade treats because, with just your hands, you can be quite the little bakeshop.

blueberry buttermilk scones with cinnamon sugar butter 1

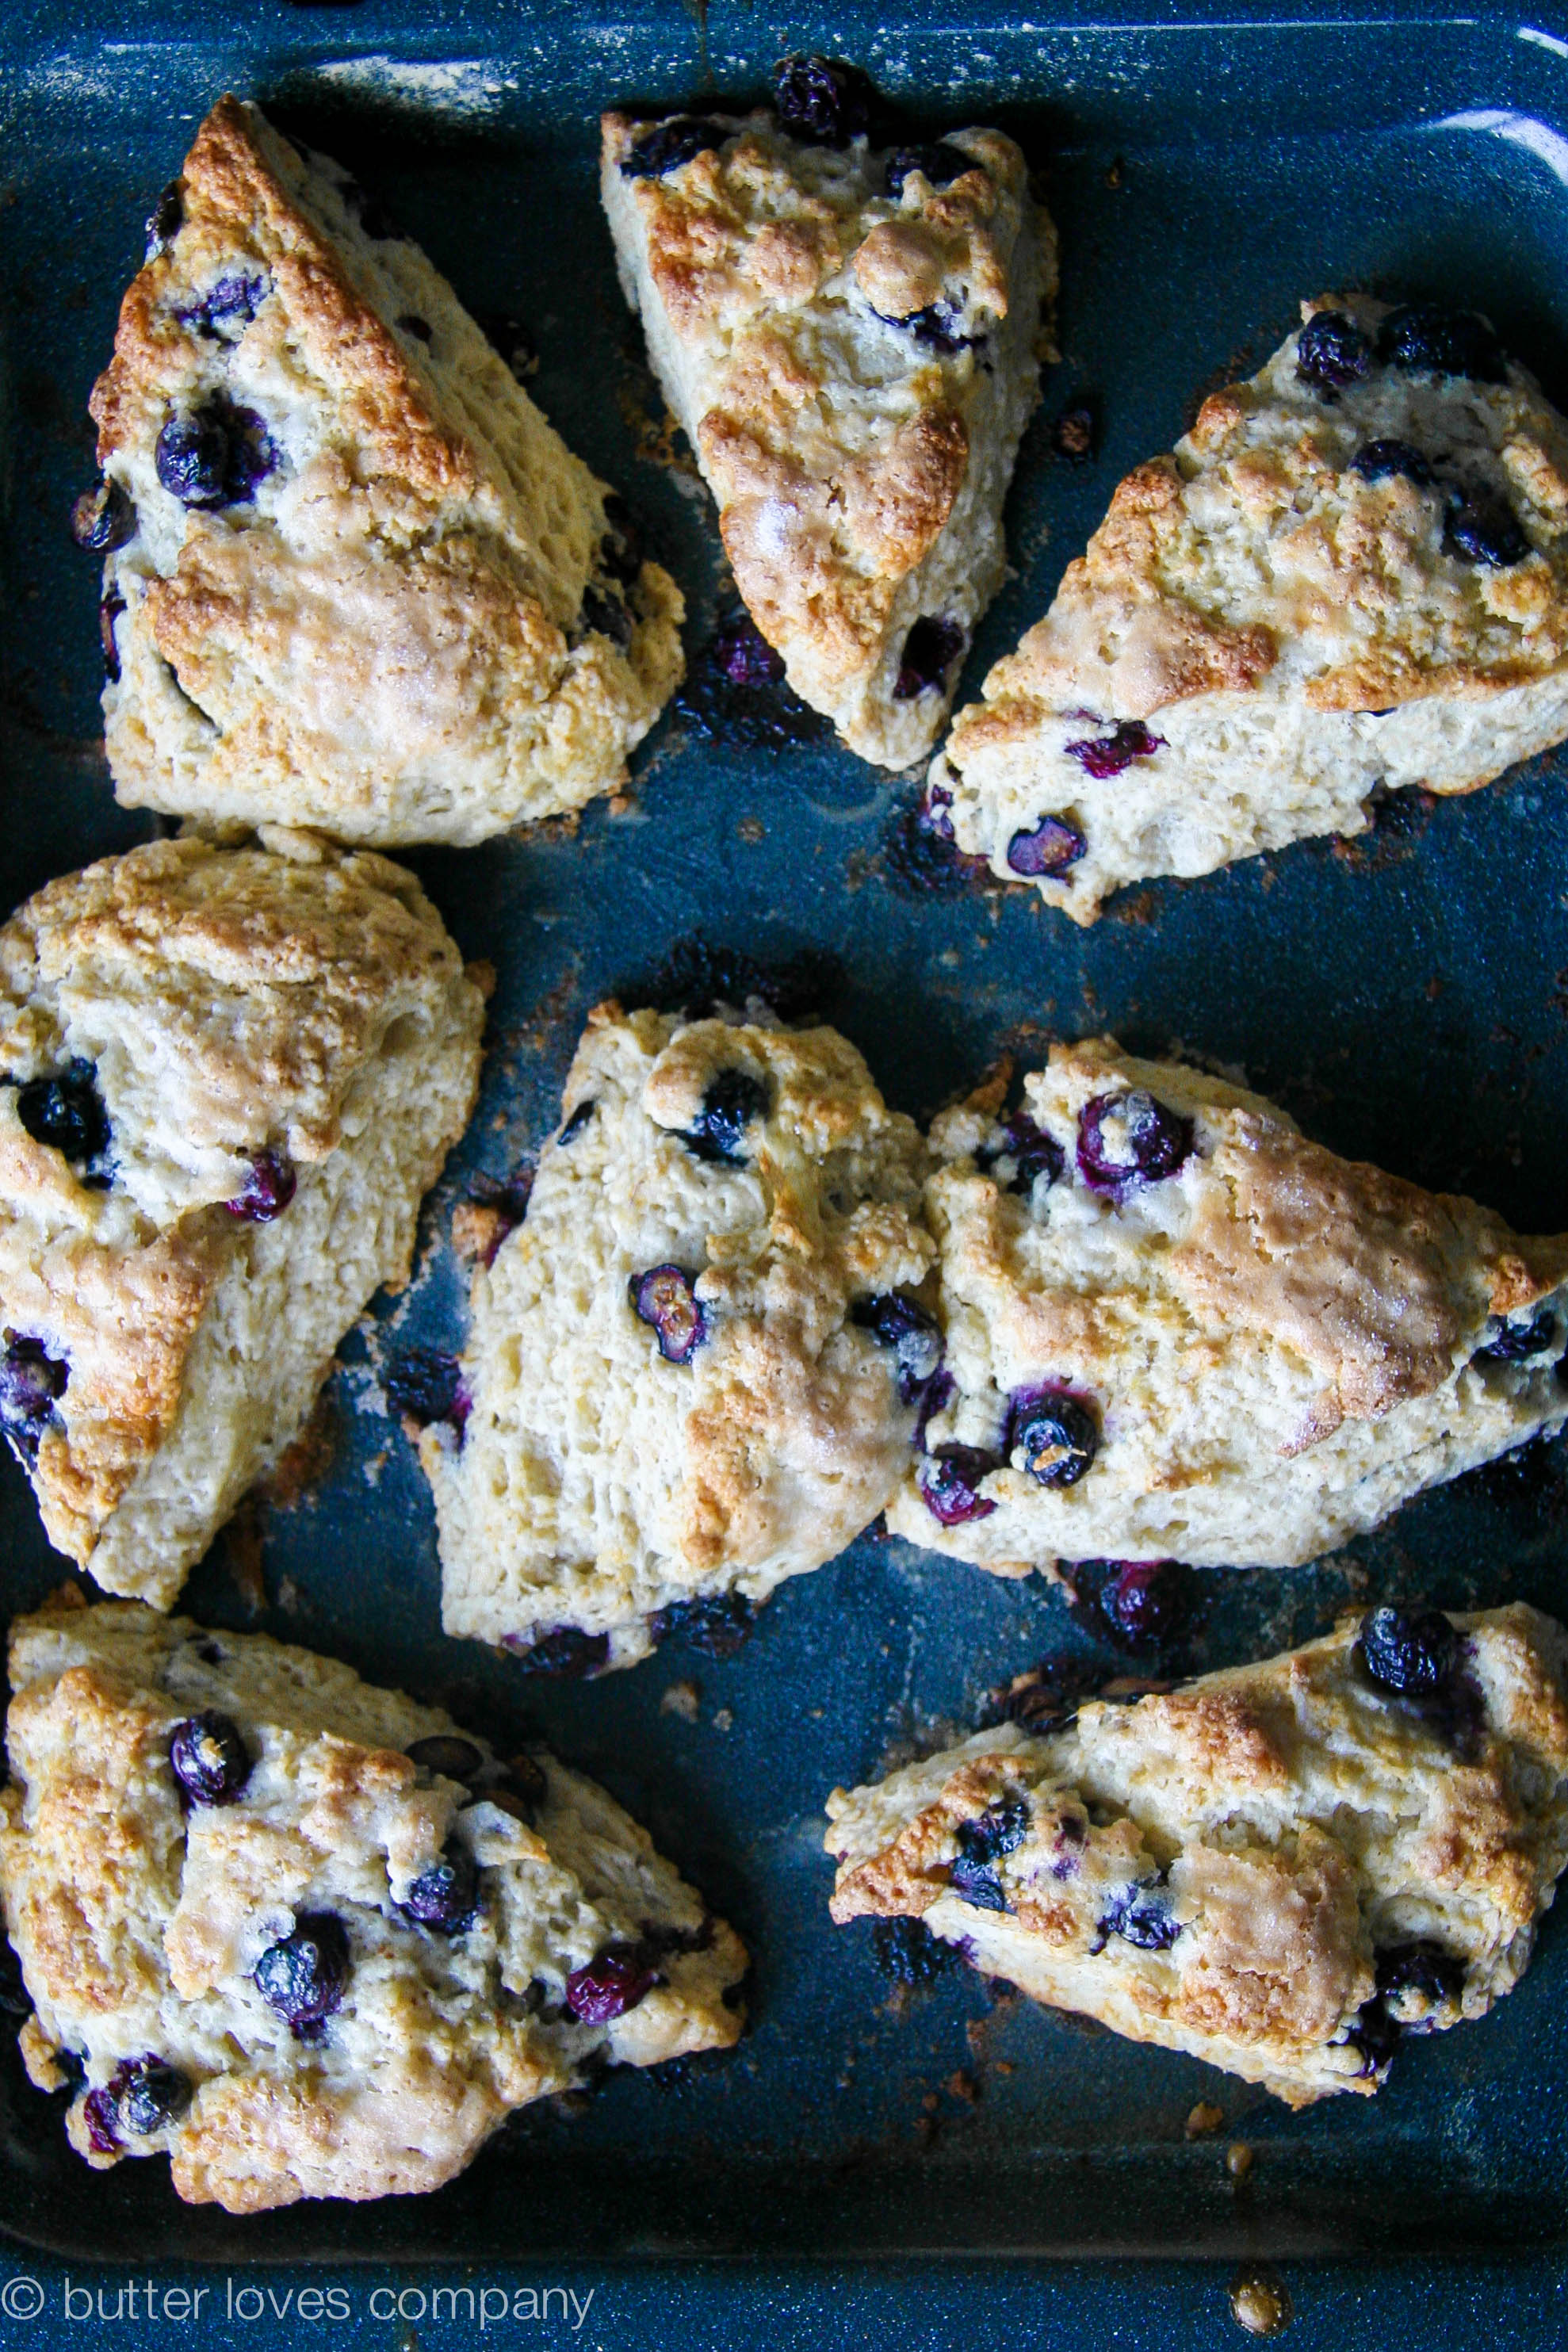
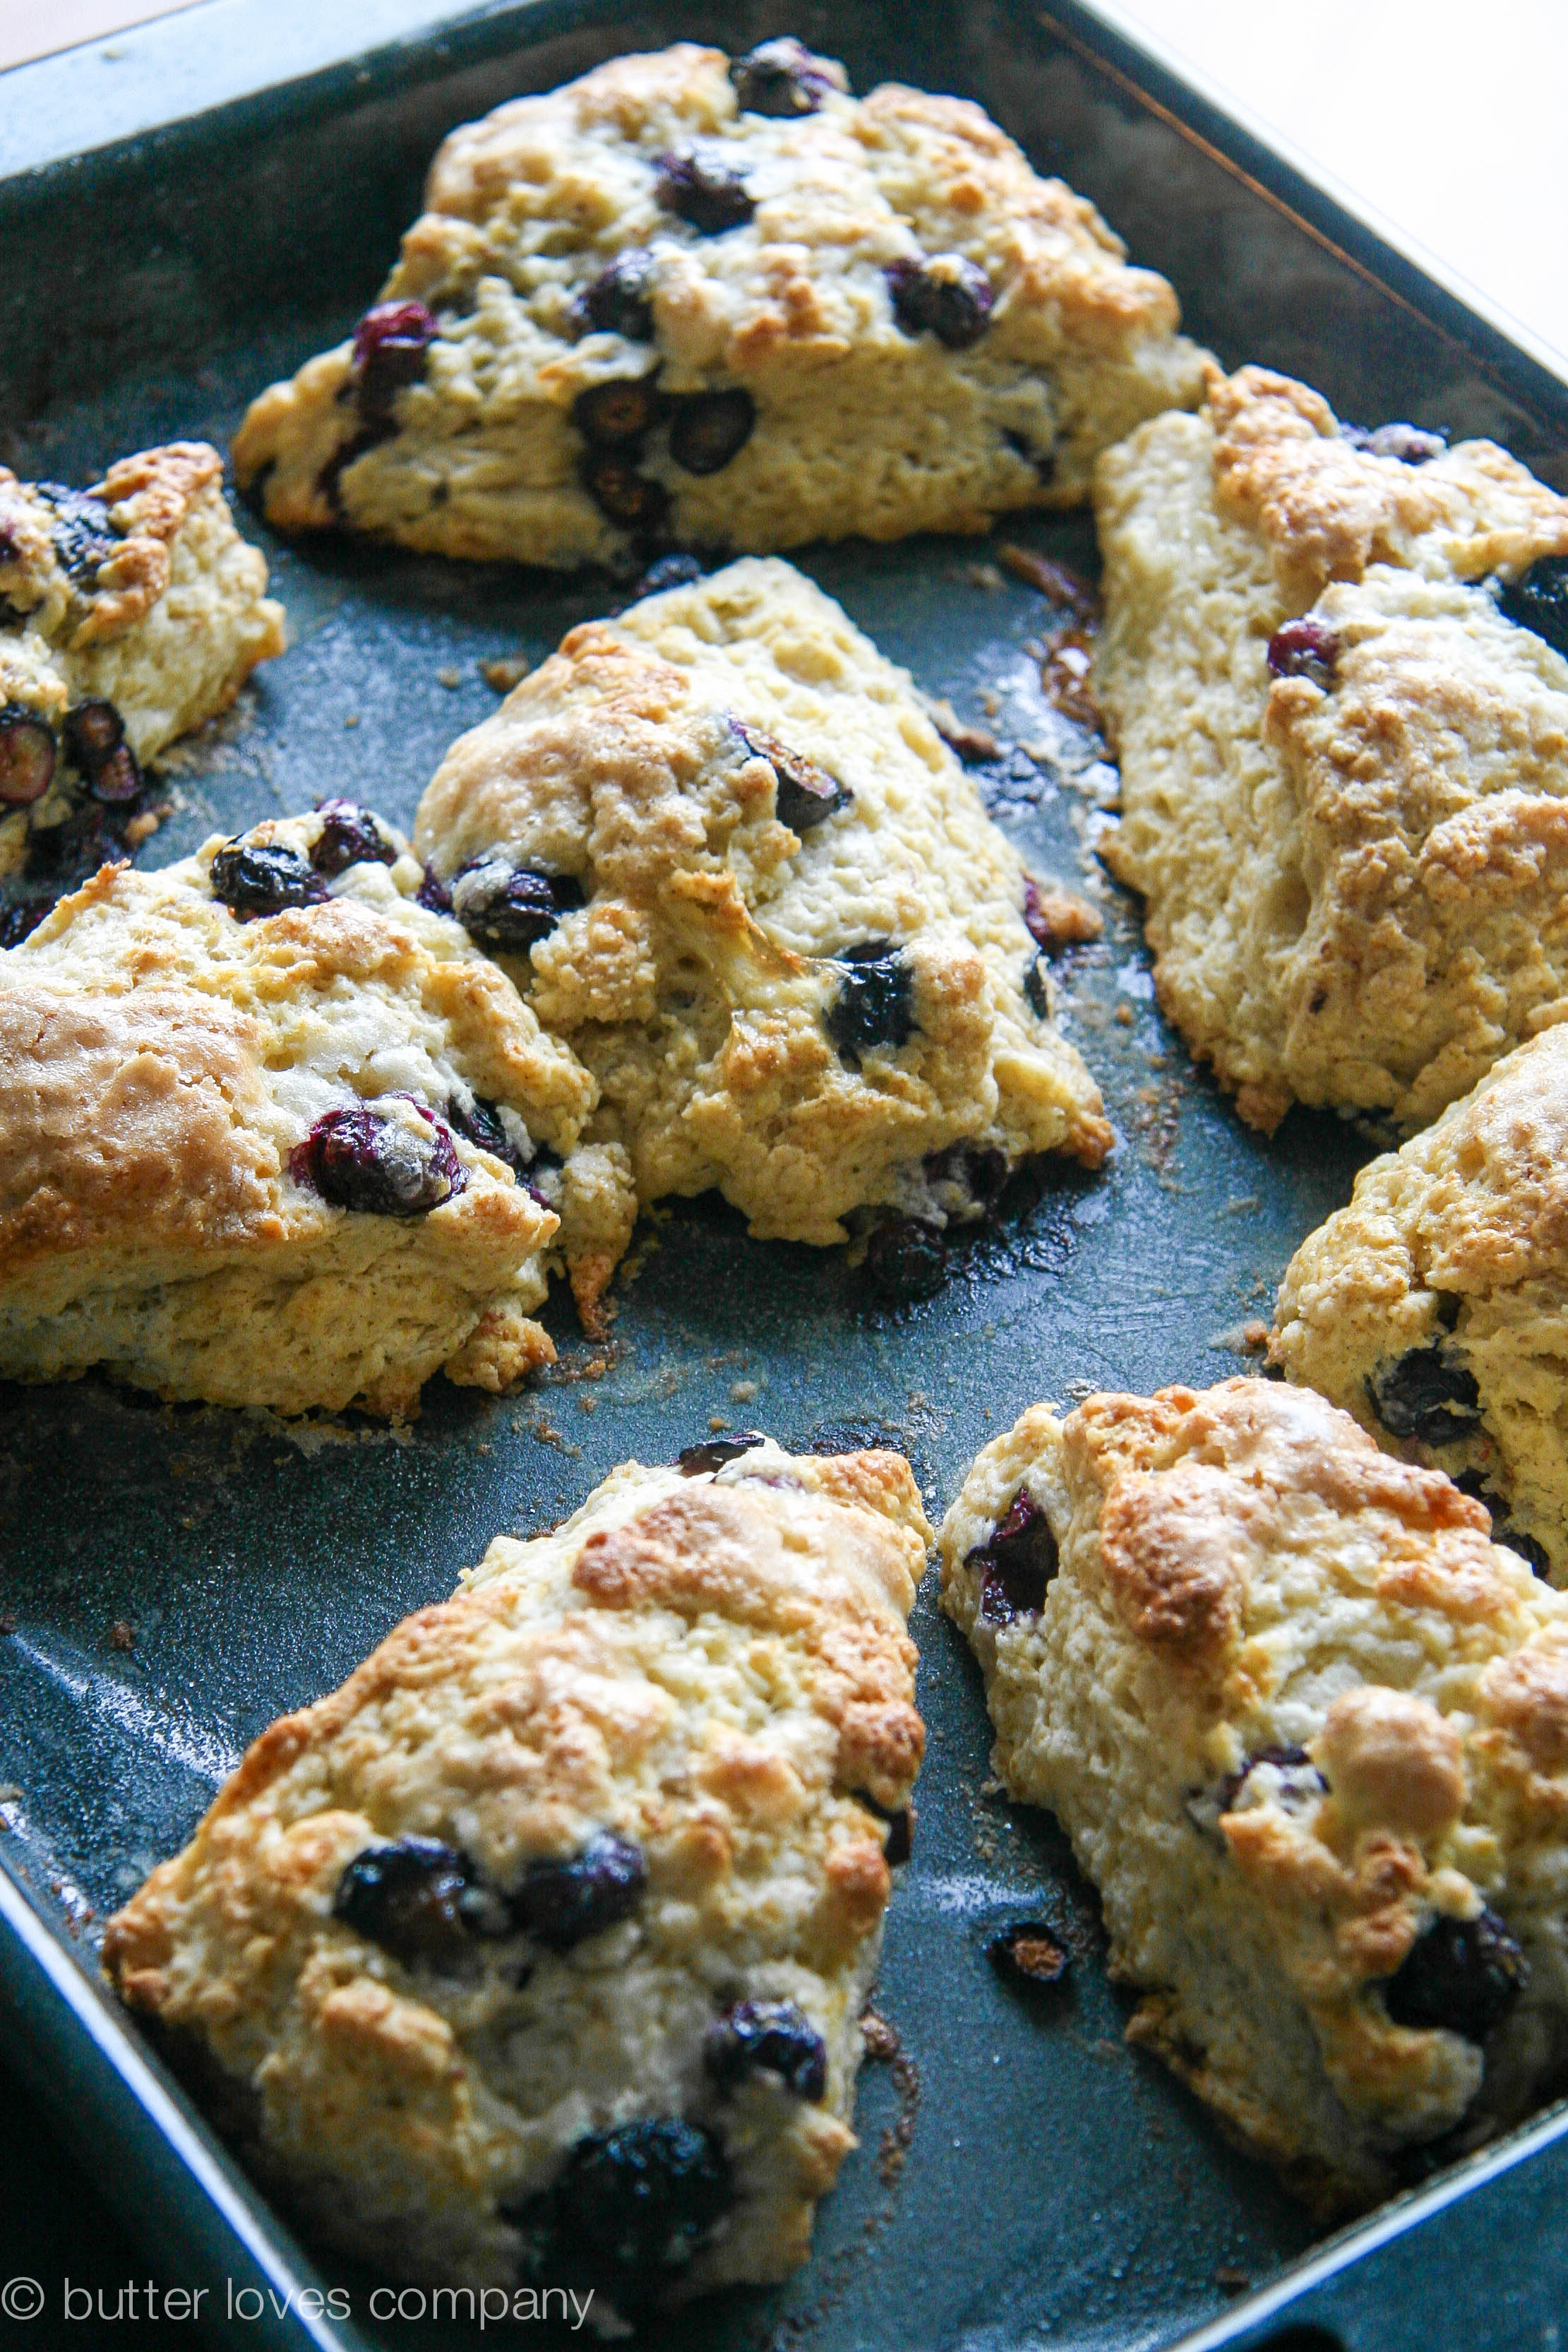
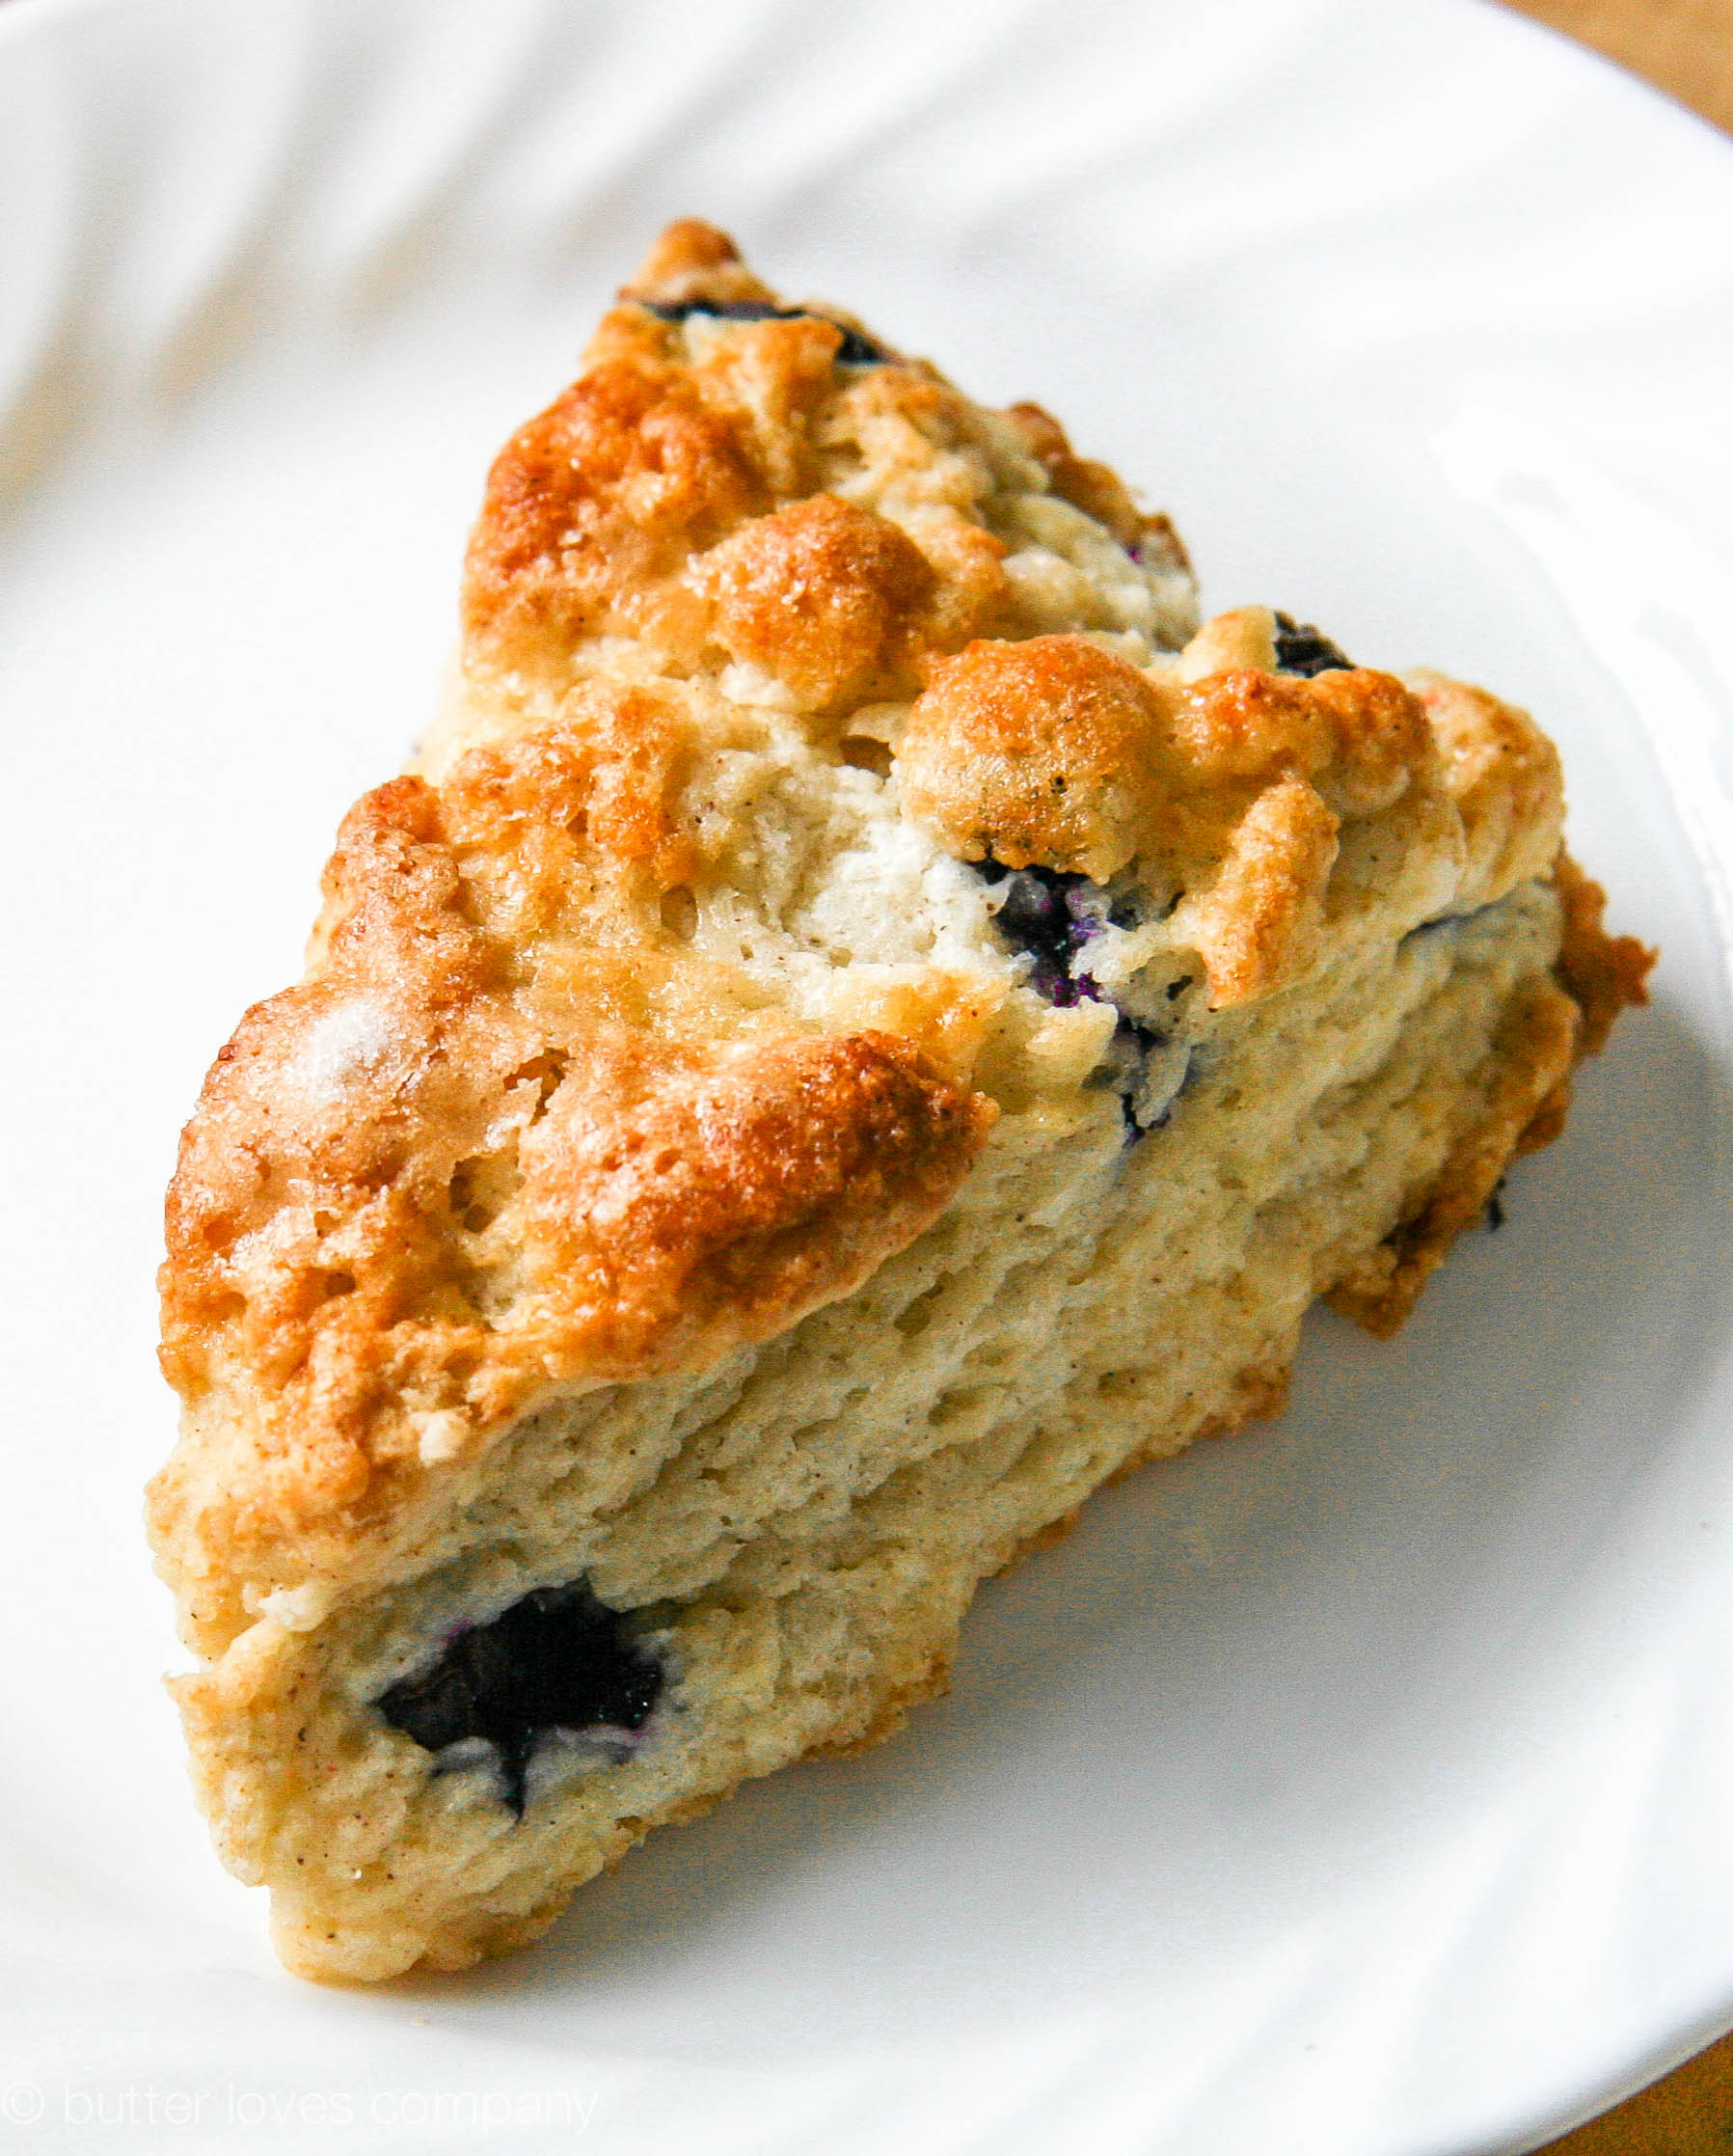
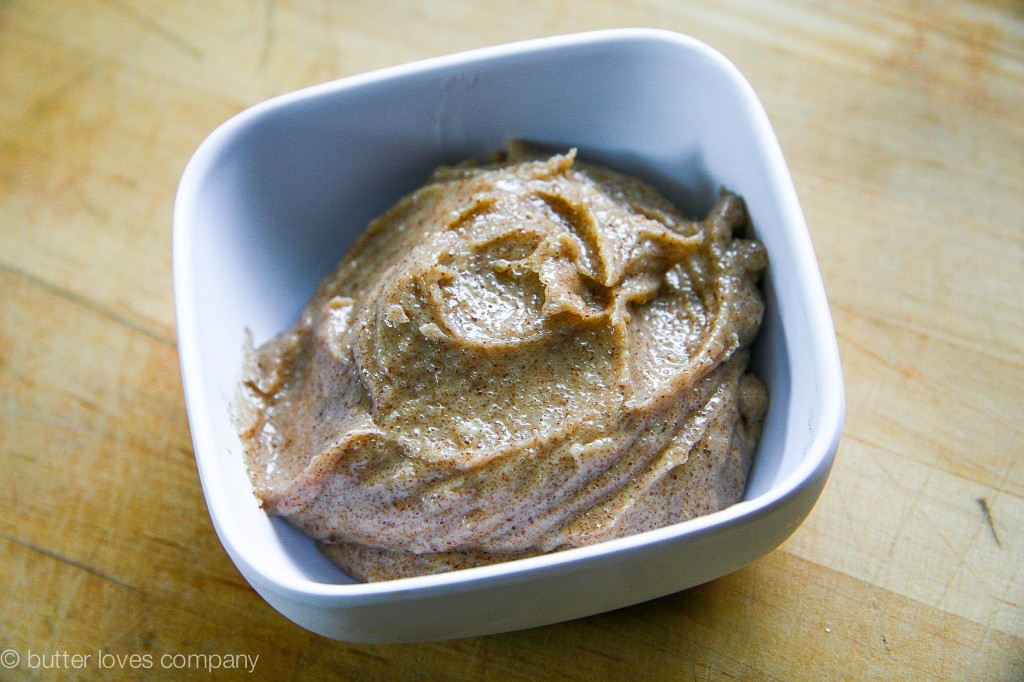
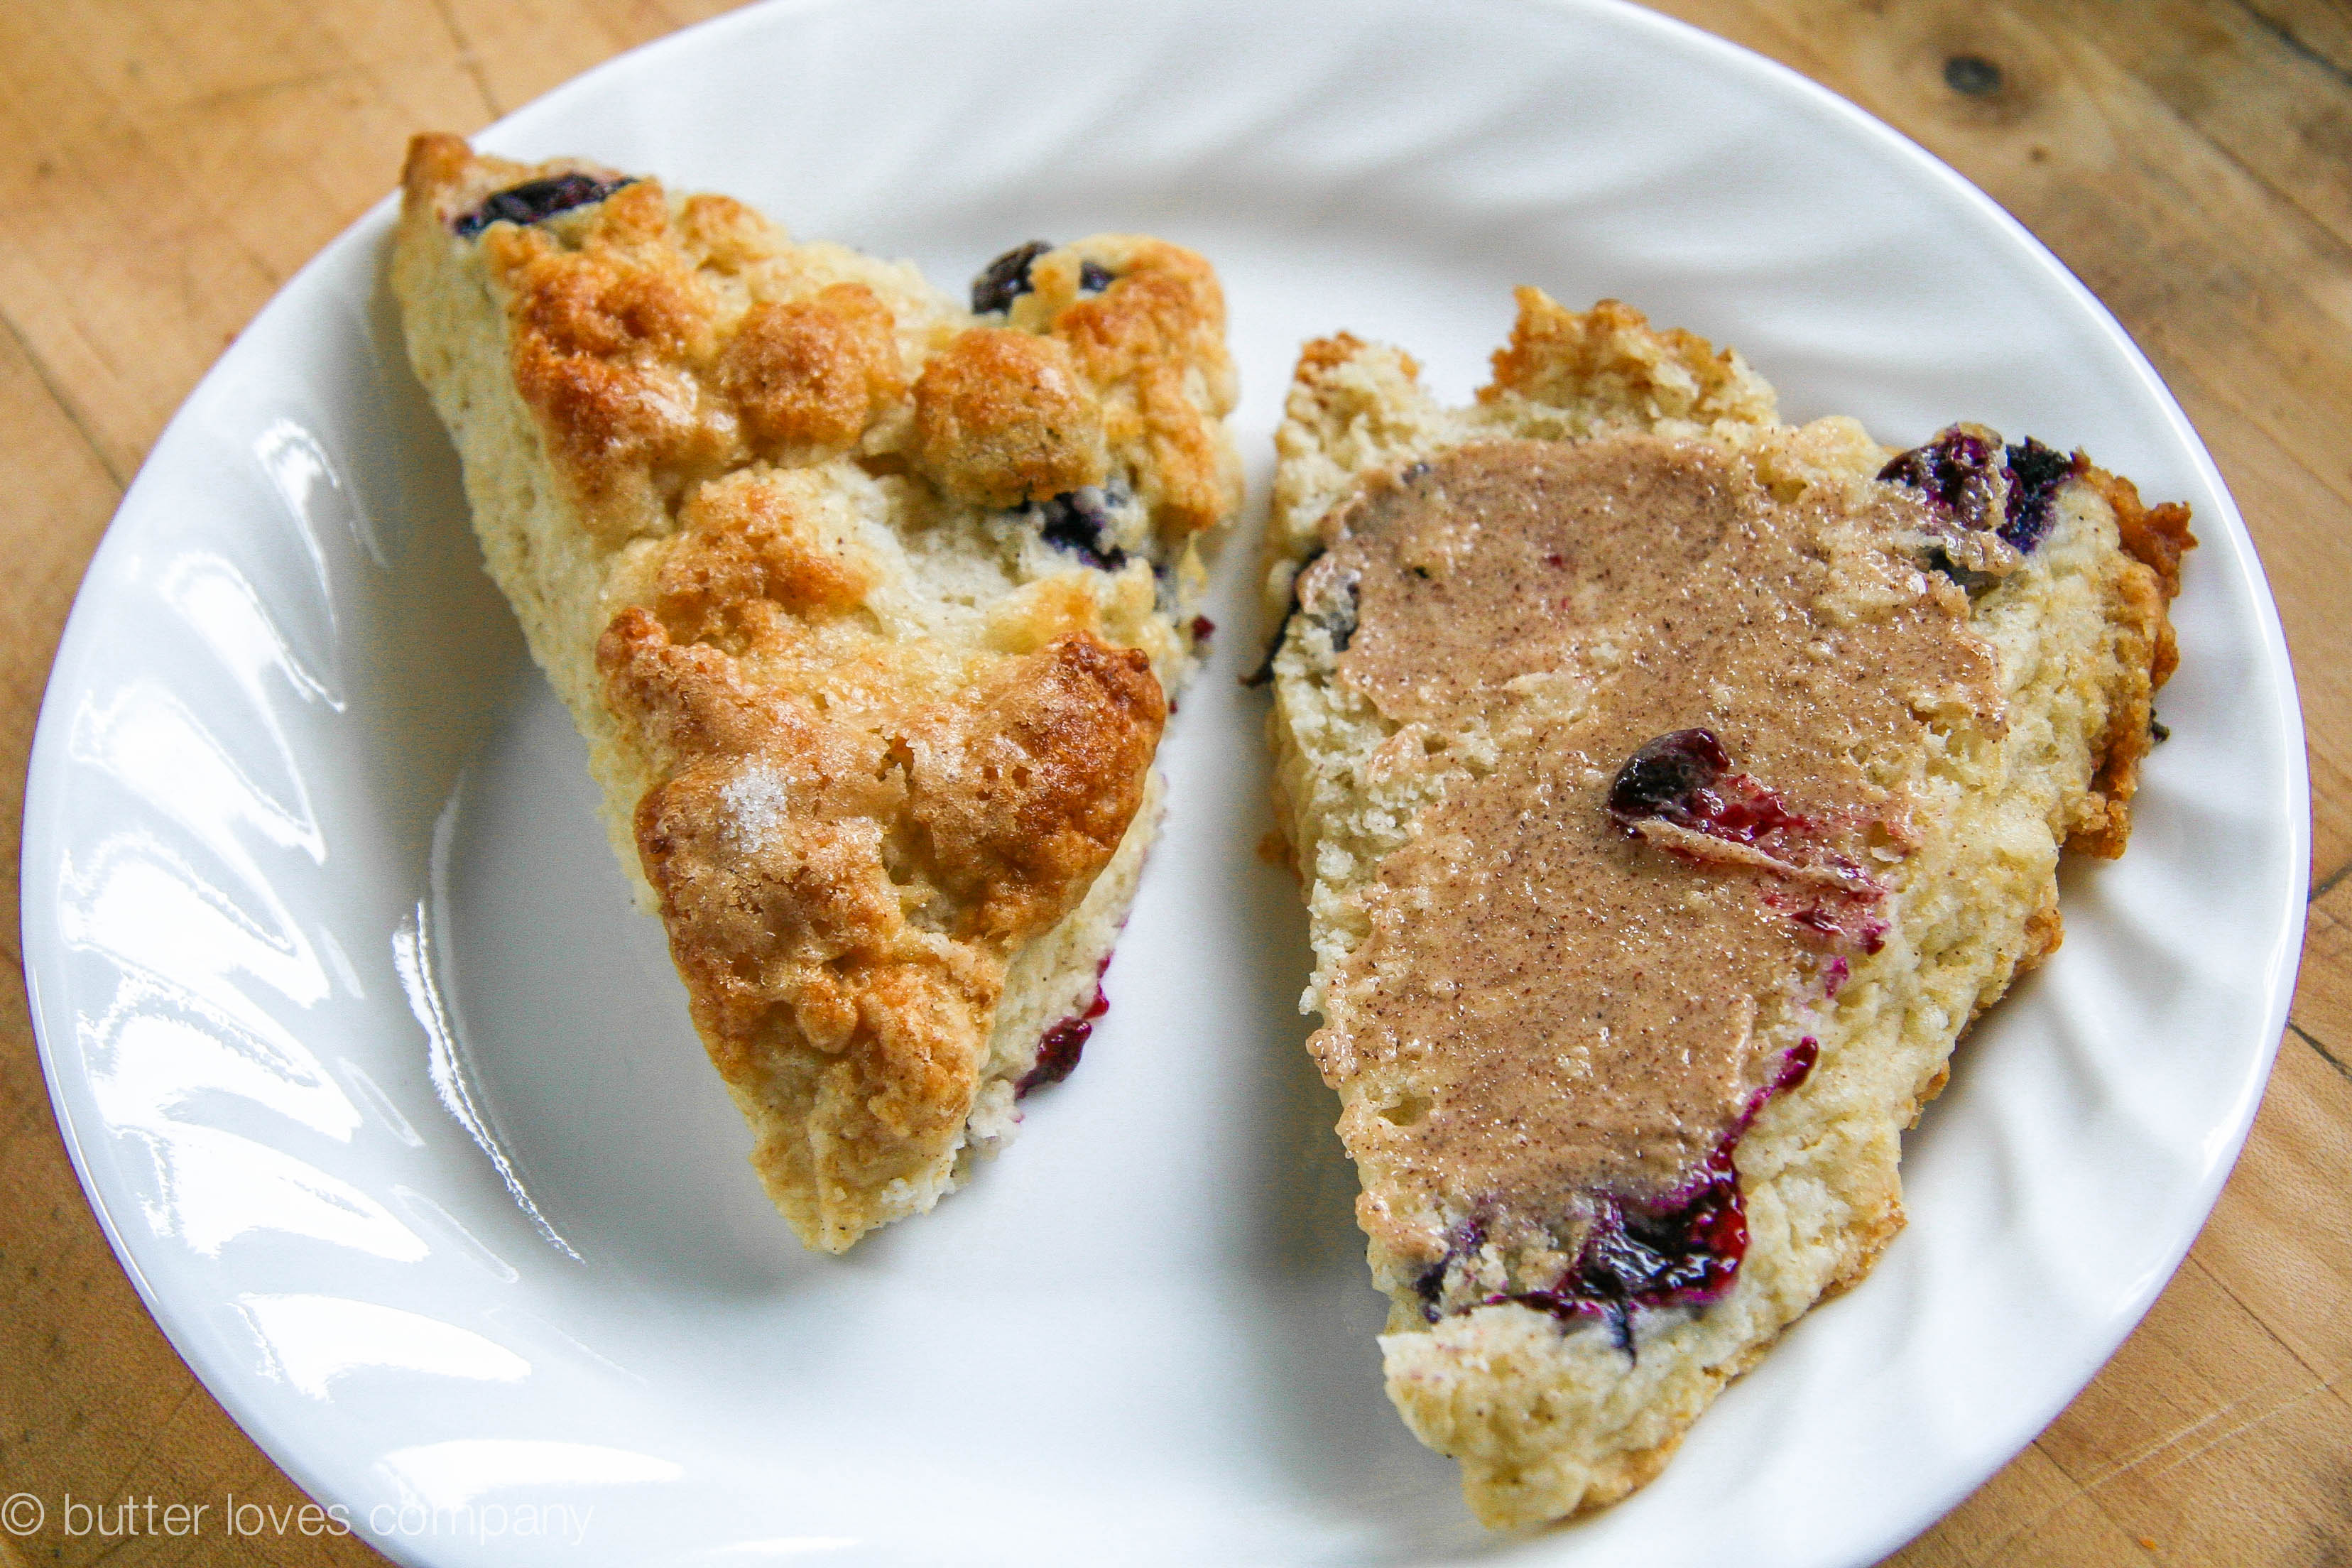
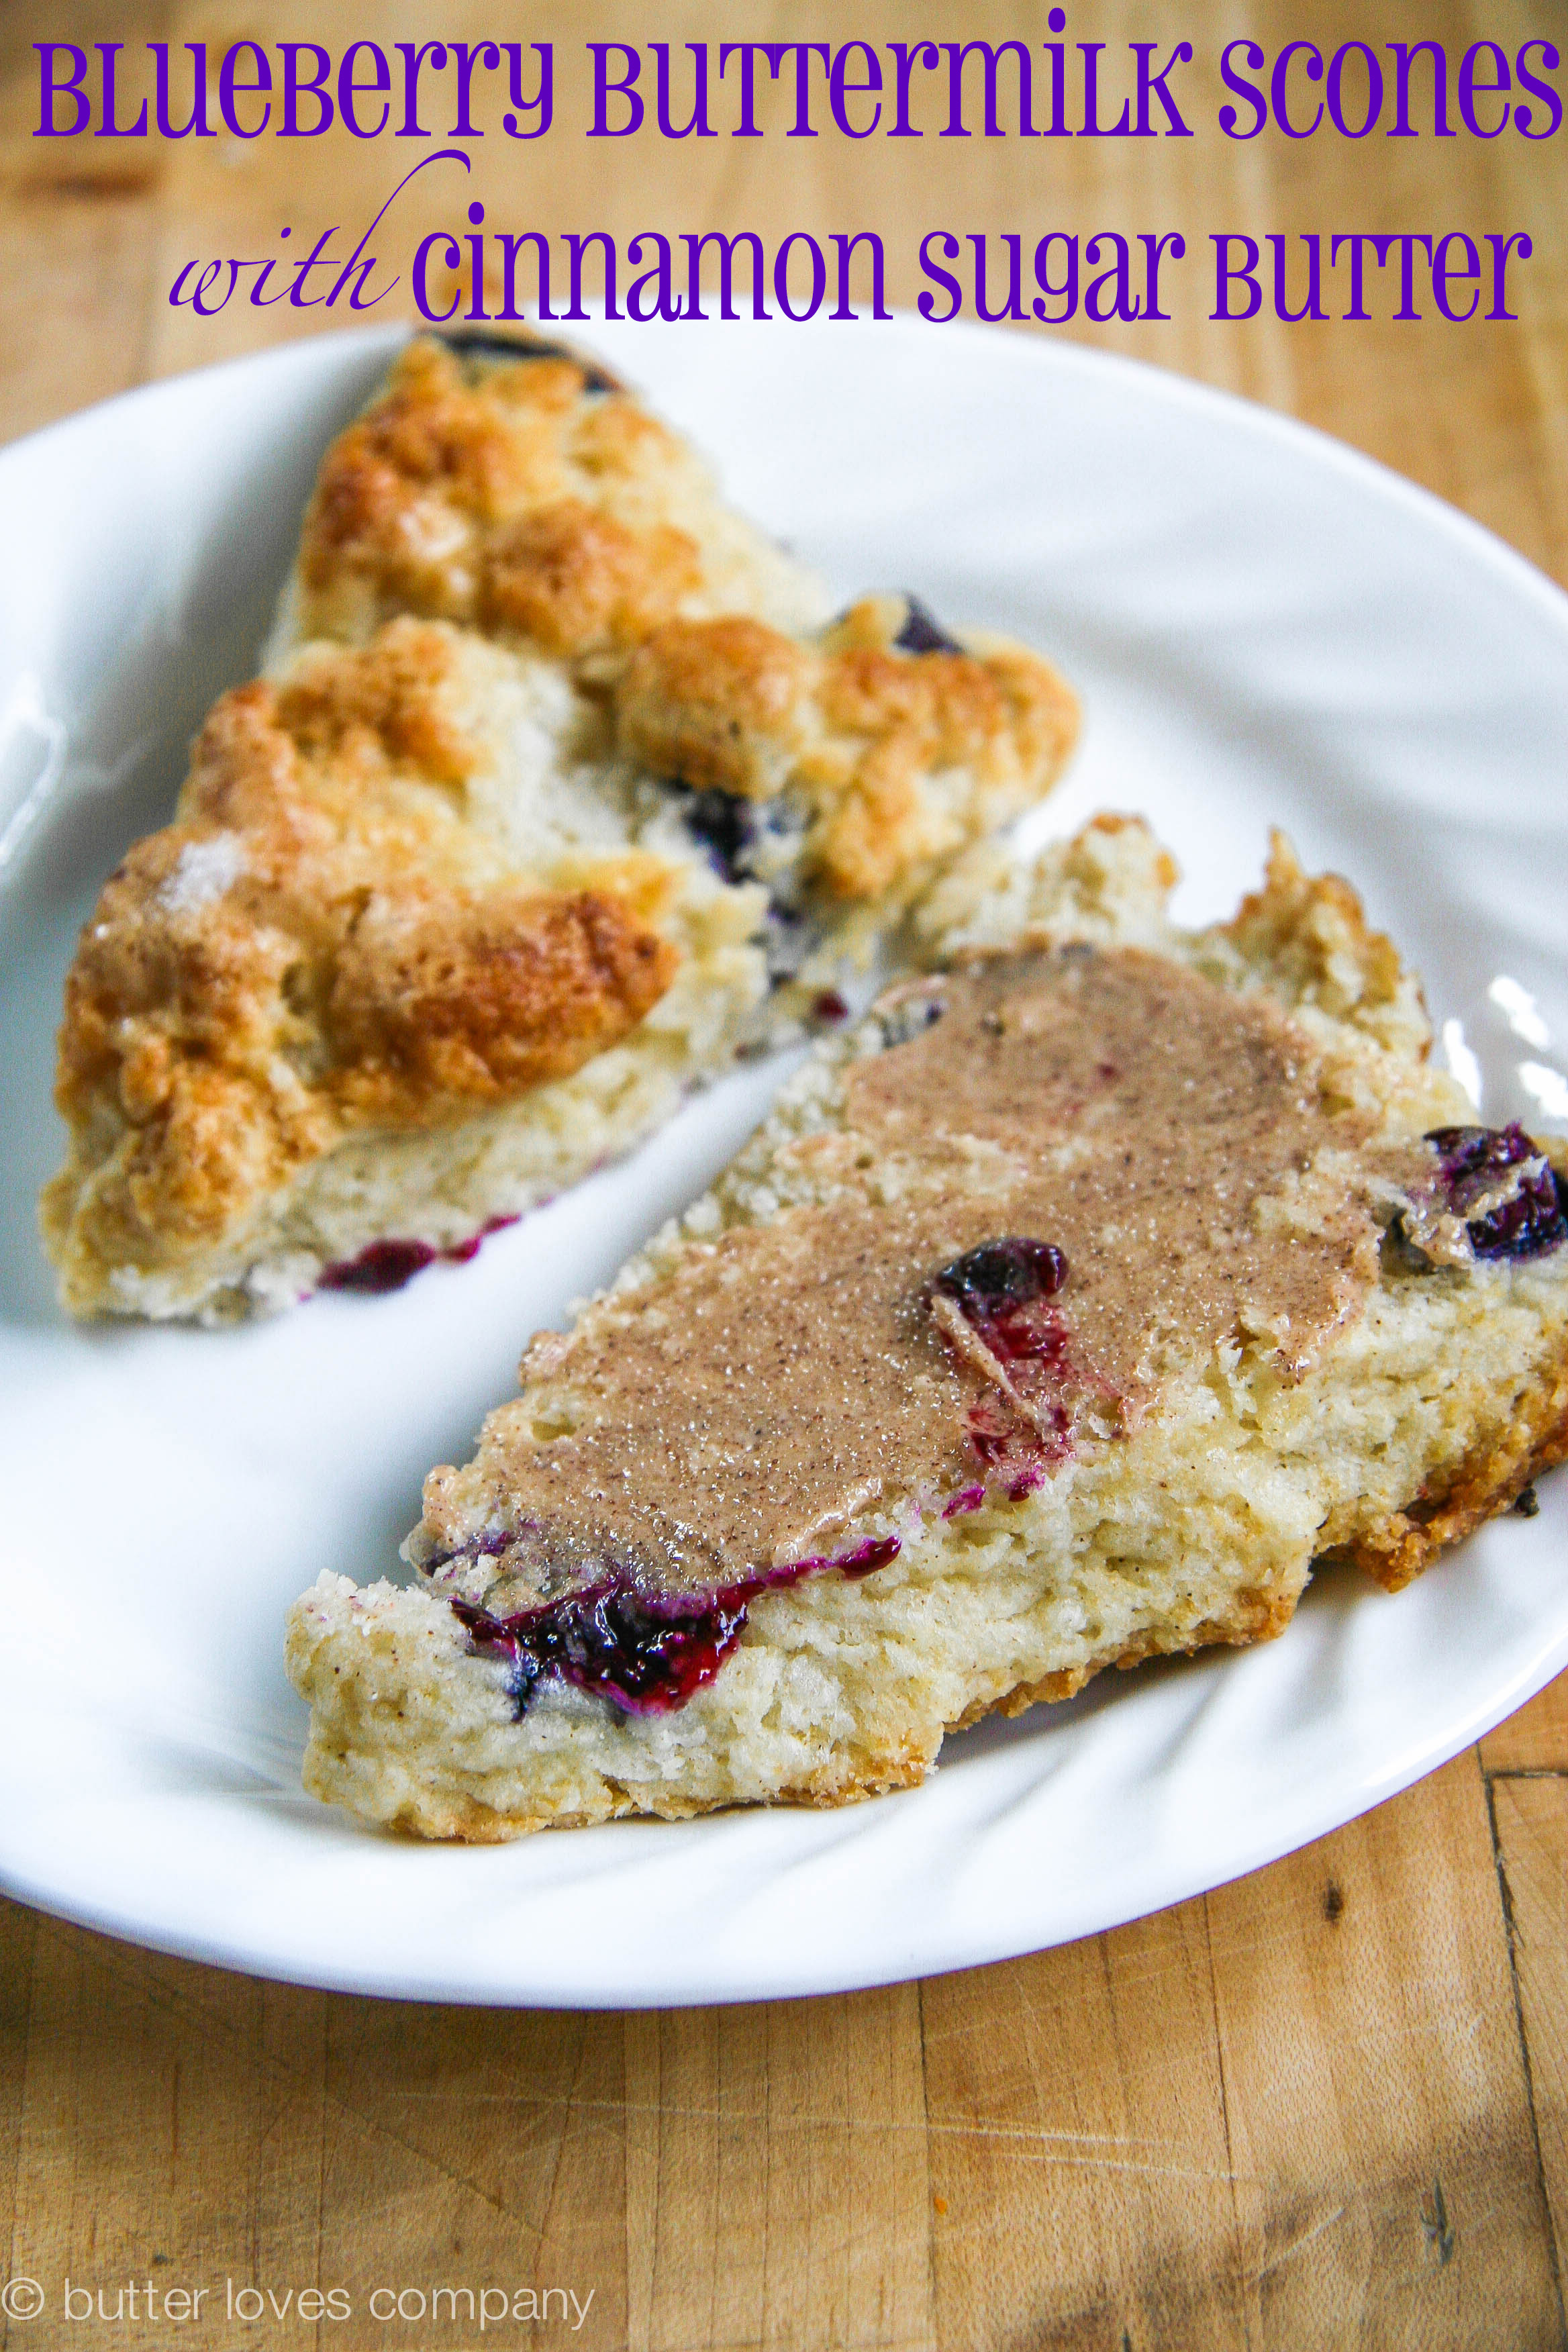
You’ll already be all sandy after the beach; why not also get a little flour on your hands while making some blueberry buttermilk scones with cinnamon sugar butter? The butter—oh the butter—may be my new little obsession. It is SO easy to make, and with just just three ingredients, you can have this addictive sweet spiced spread at your disposal in no time. I’m going to start making it by the pound.

blueberry buttermilk scones with cinnamon sugar butter 2

Your cohorts will thank you when they’re slicing through the sweet, juicy blueberries in the light, buttery scone and smearing it with the cinnamon sugar butter. They may actually volunteer to make you a piña colada for your hard work. (Our little secret will be how easy the ‘work’ was, but go on, accept that island drink reward ;-))

* For clarification: this applies when you have a kitchen to work with. I did not, for example, bring tongs to Las Vegas for a girl’s weekend. That would be strange. Probably not all that surprising, but definitely strange.

blueberry buttermilk scones with cinnamon sugar butter 4

blueberry buttermilk scones with cinnamon sugar butter 5

blueberry buttermilk scones with cinnamon sugar butter 9

blueberry buttermilk scones with cinnamon sugar butter 8

blueberry buttermilk scones with cinnamon sugar butter 17

blueberry buttermilk scones with cinnamon sugar butter 15

blueberry buttermilk scones with cinnamon sugar butter 16

blueberry buttermilk scones with cinnamon sugar butter 19

blueberry buttermilk scones with cinnamon sugar butter
Adapted from M.S. Milliken & S. Feniger, 2007

Prep Time: 15 minutes
Cook Time: 16–18 minutes
Total Time: 30–35 minutes
Makes 8 large or 16 medium-sized scones

Ingredients:

3 cups all-purpose flour
1/3 cup granulated sugar
1 teaspoon salt
2 1/2 teaspoons baking powder
1/2 teaspoon baking soda
1/2 teaspoon ground cinnamon
3/4 cup (1 1/2 sticks) unsalted butter
1 cup buttermilk
1 cup fresh blueberries
1 egg lightly whipped with 1 tablespoon water (for brushing)
A dash more granulated sugar for sprinkling
Cinnamon sugar butter (recipe follows)

Instructions:

  1. Preheat oven to 400 degrees F and lightly grease a cookie sheet or line with parchment paper. Combine the flour, sugar, salt, baking powder, baking soda and ground cinnamon in a large bowl. Add butter and mix with your fingertips or with a pastry blender until it reaches a coarse meal and the butter is in pea-sized pieces or just smaller. Add buttermilk and mix until almost combined. Mix in blueberries until everything is just combined.
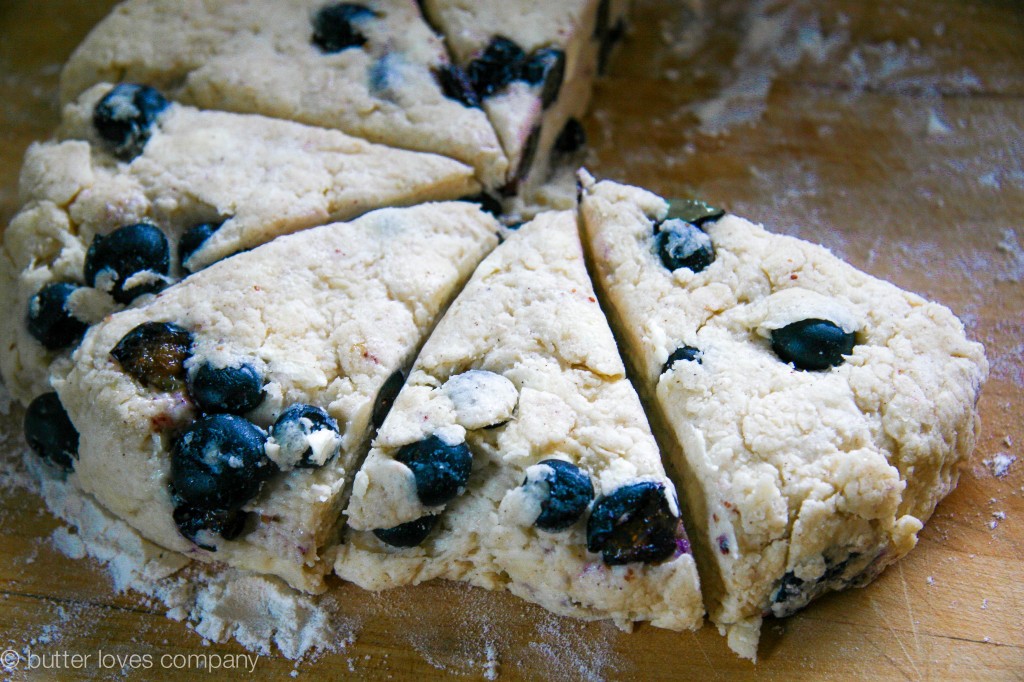
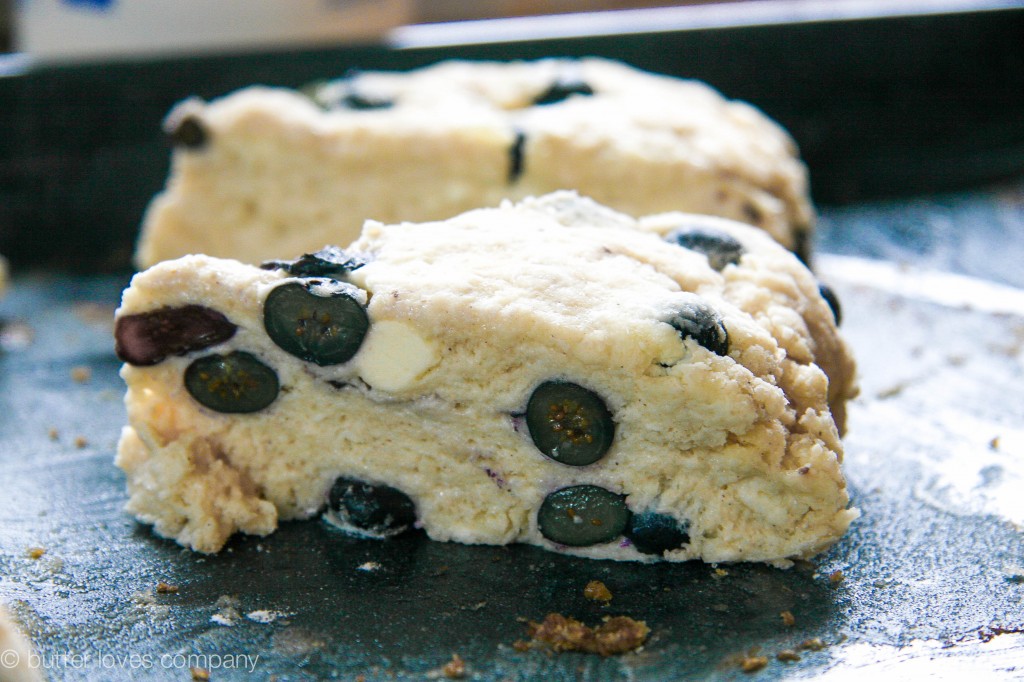
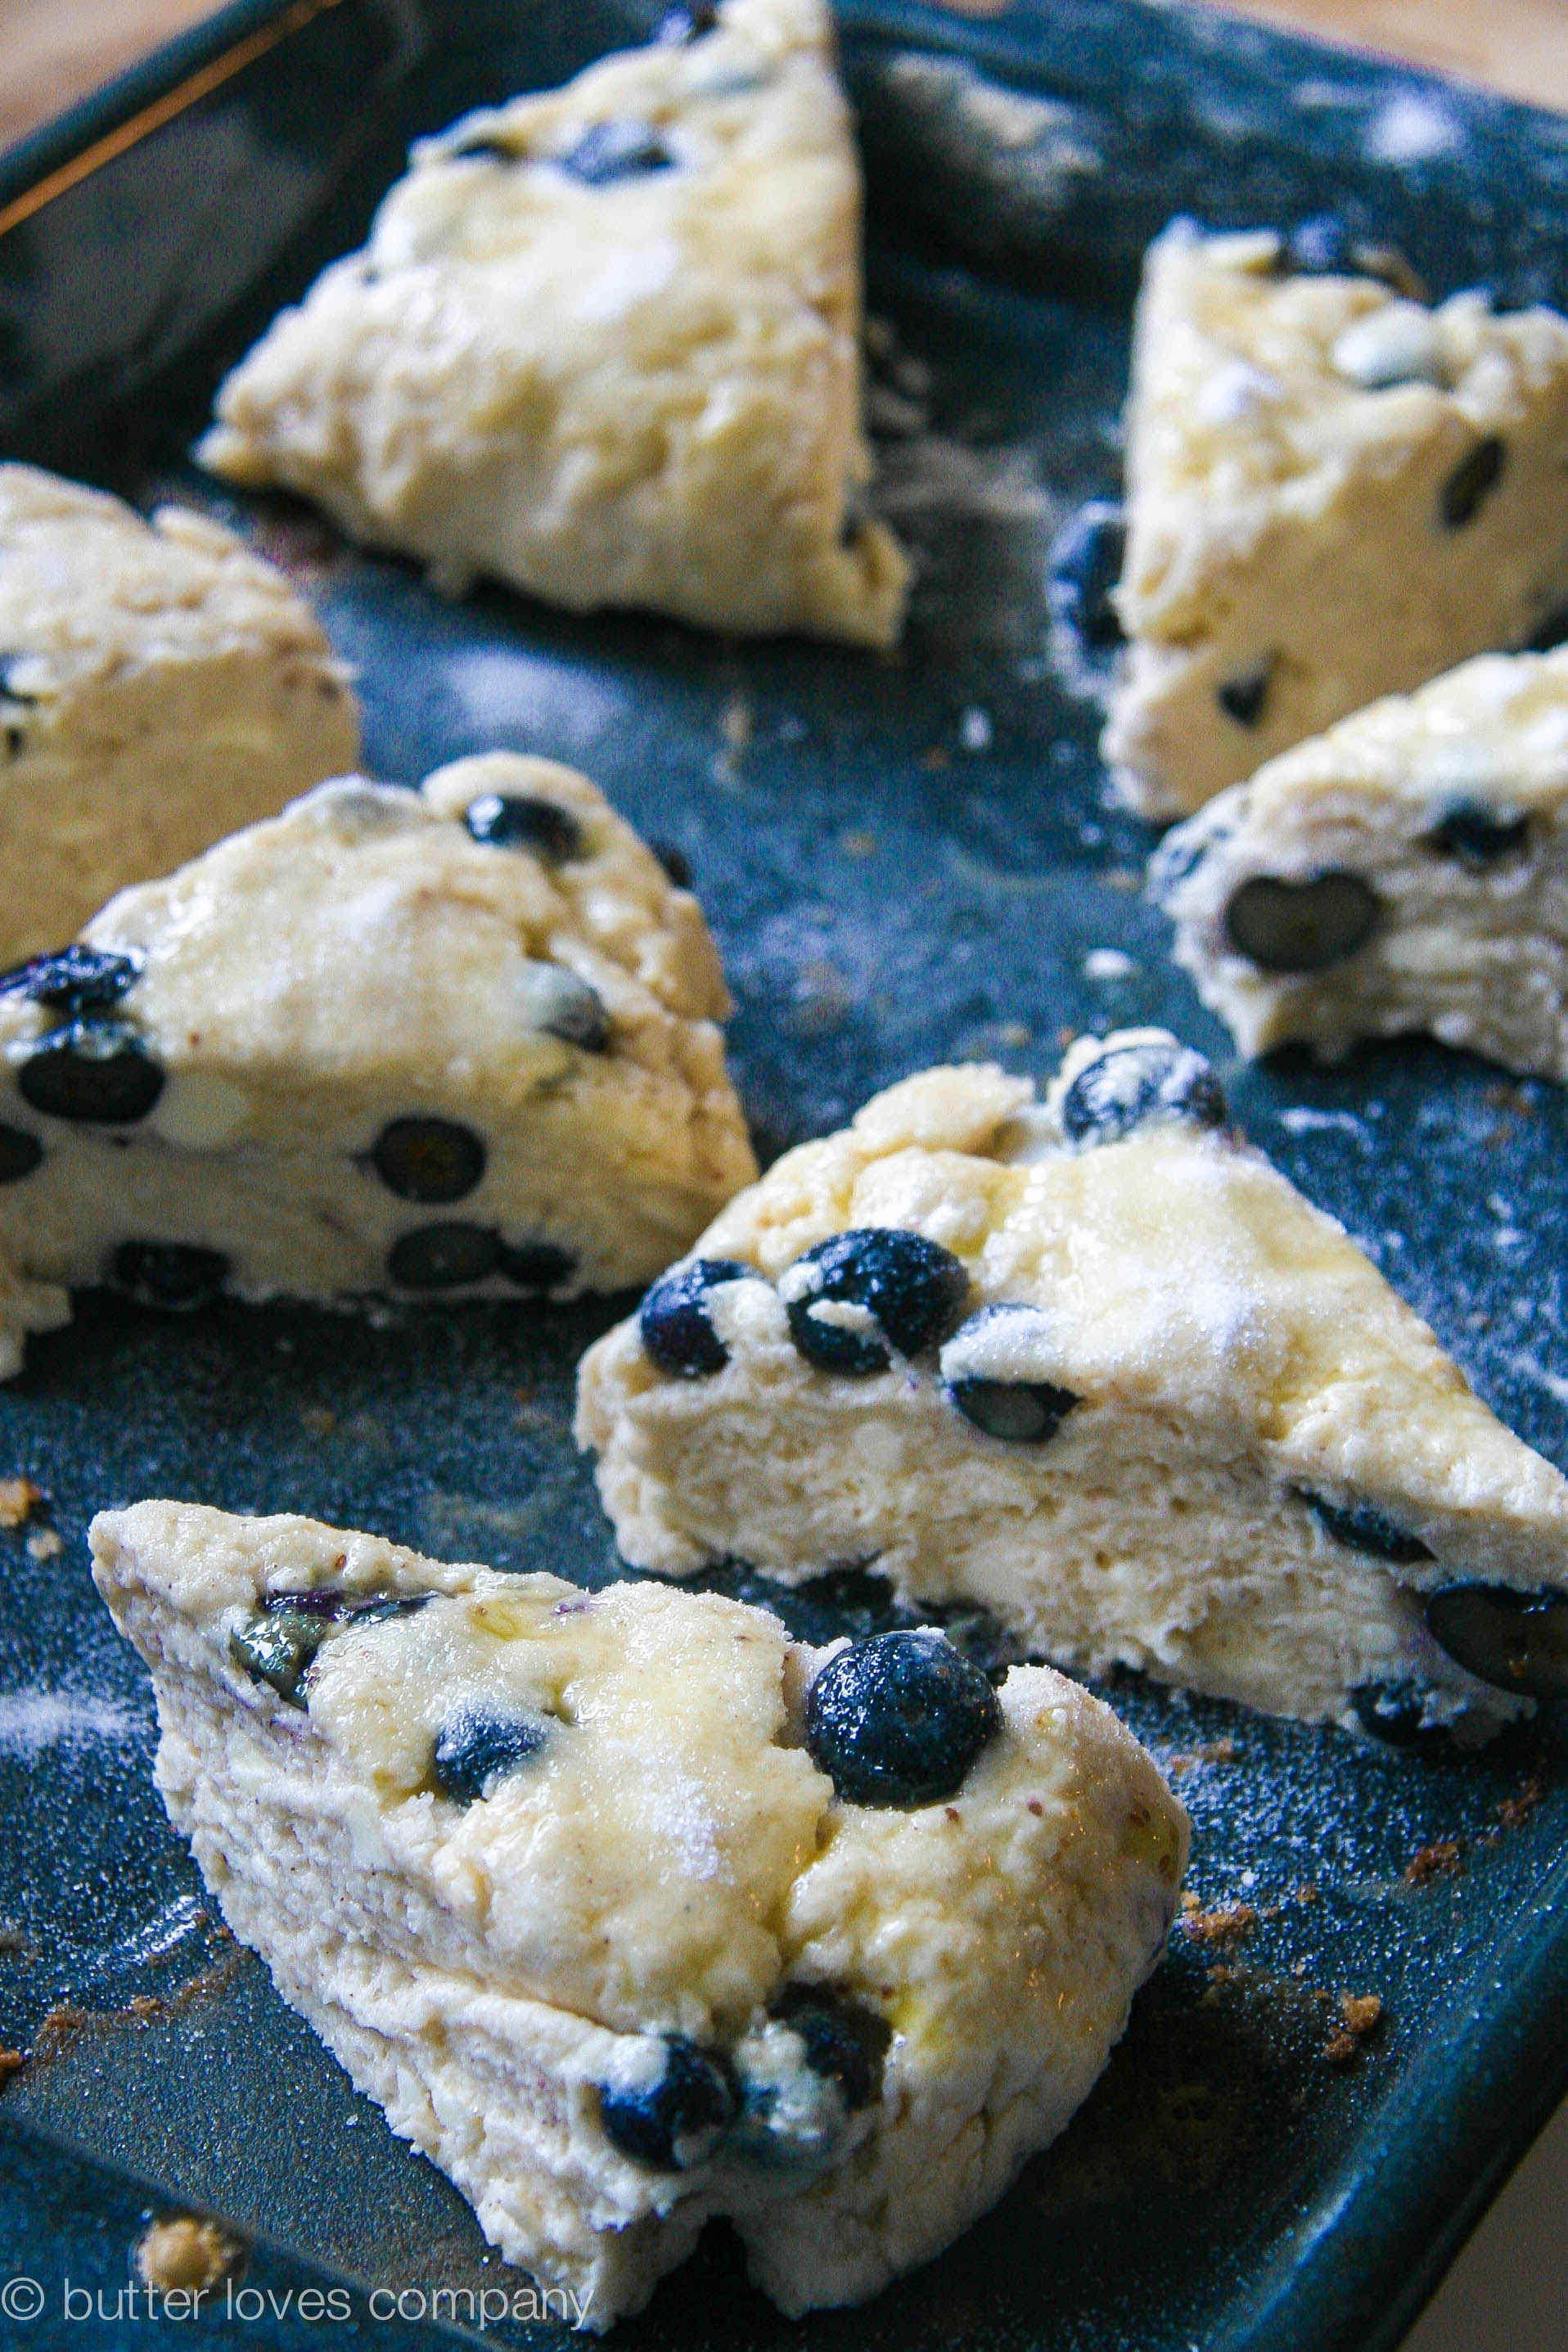
  2. Transfer dough to a floured board (divide into two parts if you’d like smaller scones). Roll into 1-inch thick rounds for larger scones or into 3/4-inch thick rounds if you divided the dough and are making smaller scones. Cut each round into 8 wedges and place slightly separated onto the prepared baking sheet. Brush the tops of the scones with the egg mixture, sprinkle each lightly with sugar and bake for 16–18 minutes, or until lightly browned. Serve warm, split in half with a smear cinnamon sugar butter.

cinnamon sugar butter

makes 1/4 cup

Ingredients:

1/4 cup butter, softened at room temperature (I use salted, but if you use unsalted, add a dash of salt)
2 tablespoons light brown sugar
3/4 teaspoon ground cinnamon

Instructions:

  1. In a small bowl, stir together butter, light brown sugar and ground cinnamon until completely combined and fluffy. Chill and serve.

Filed Under: breakfast and breads, eat Tagged With: blueberry, breakfast, butter, buttermilk, cinnamon, easy, scones, sugar

white bean, spinach and mushroom egg bake

July 3, 2014 by Butter Loves Company

white bean spinach mushroom egg bake 4 copy

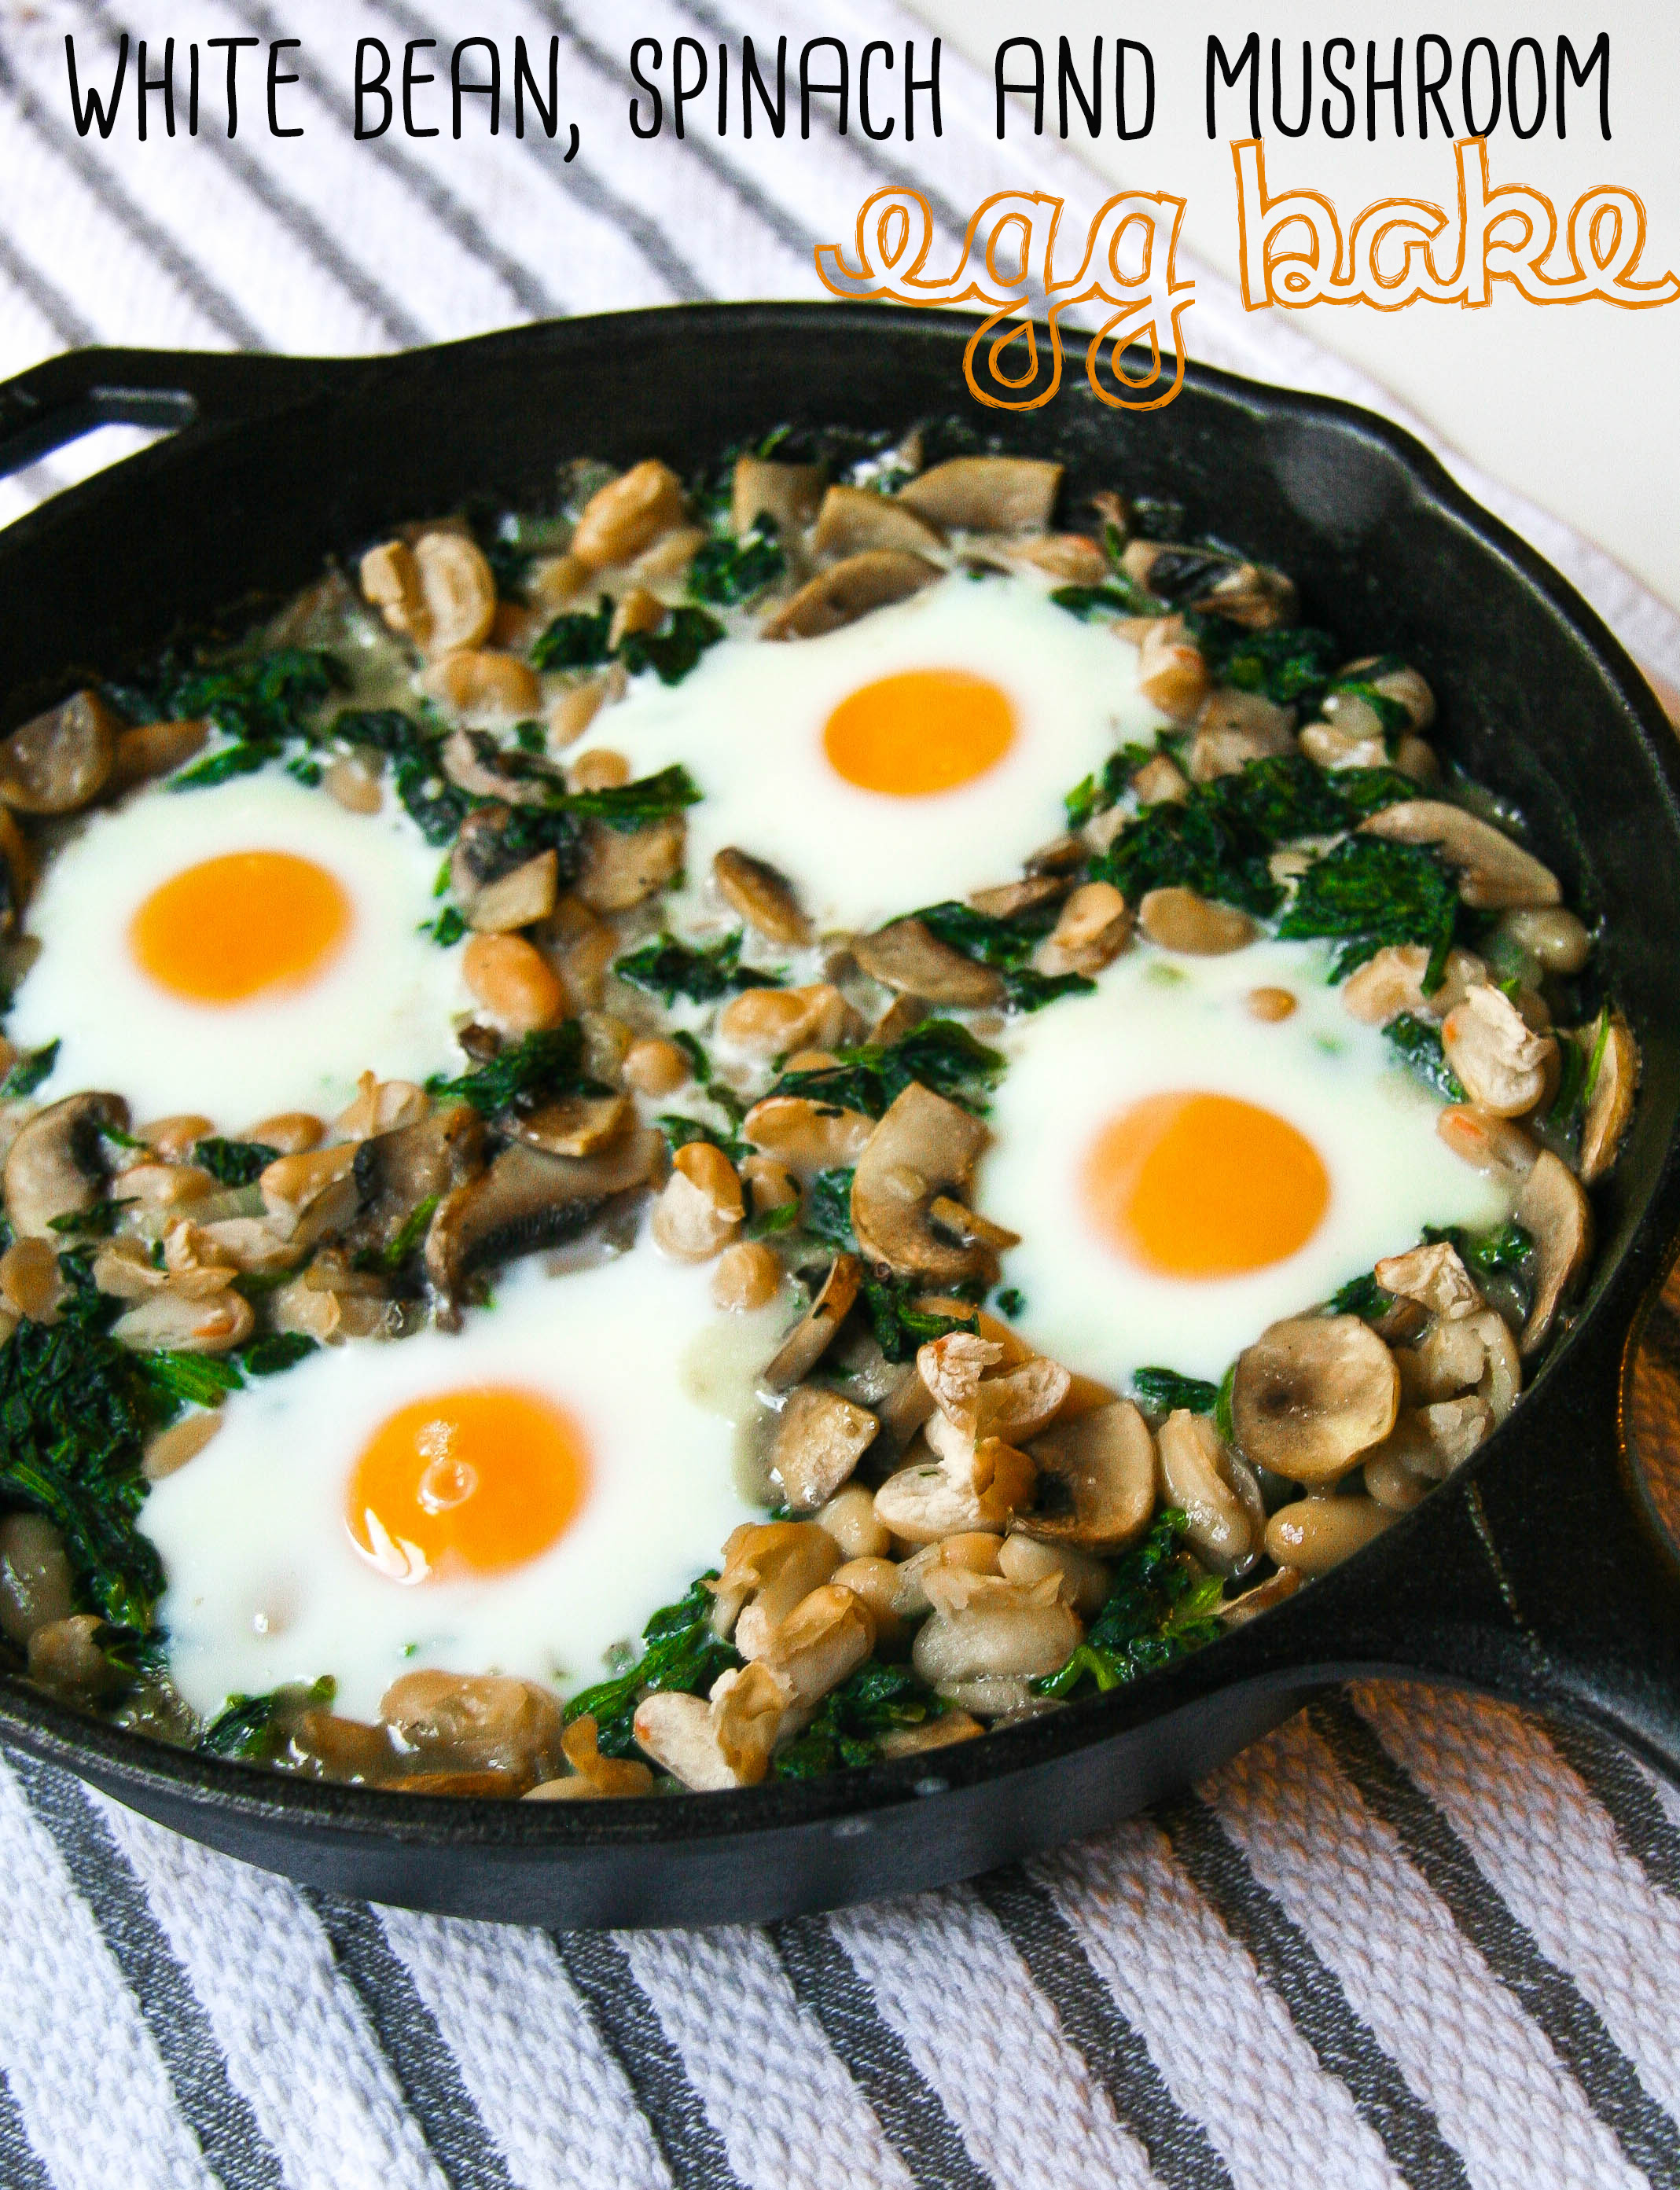
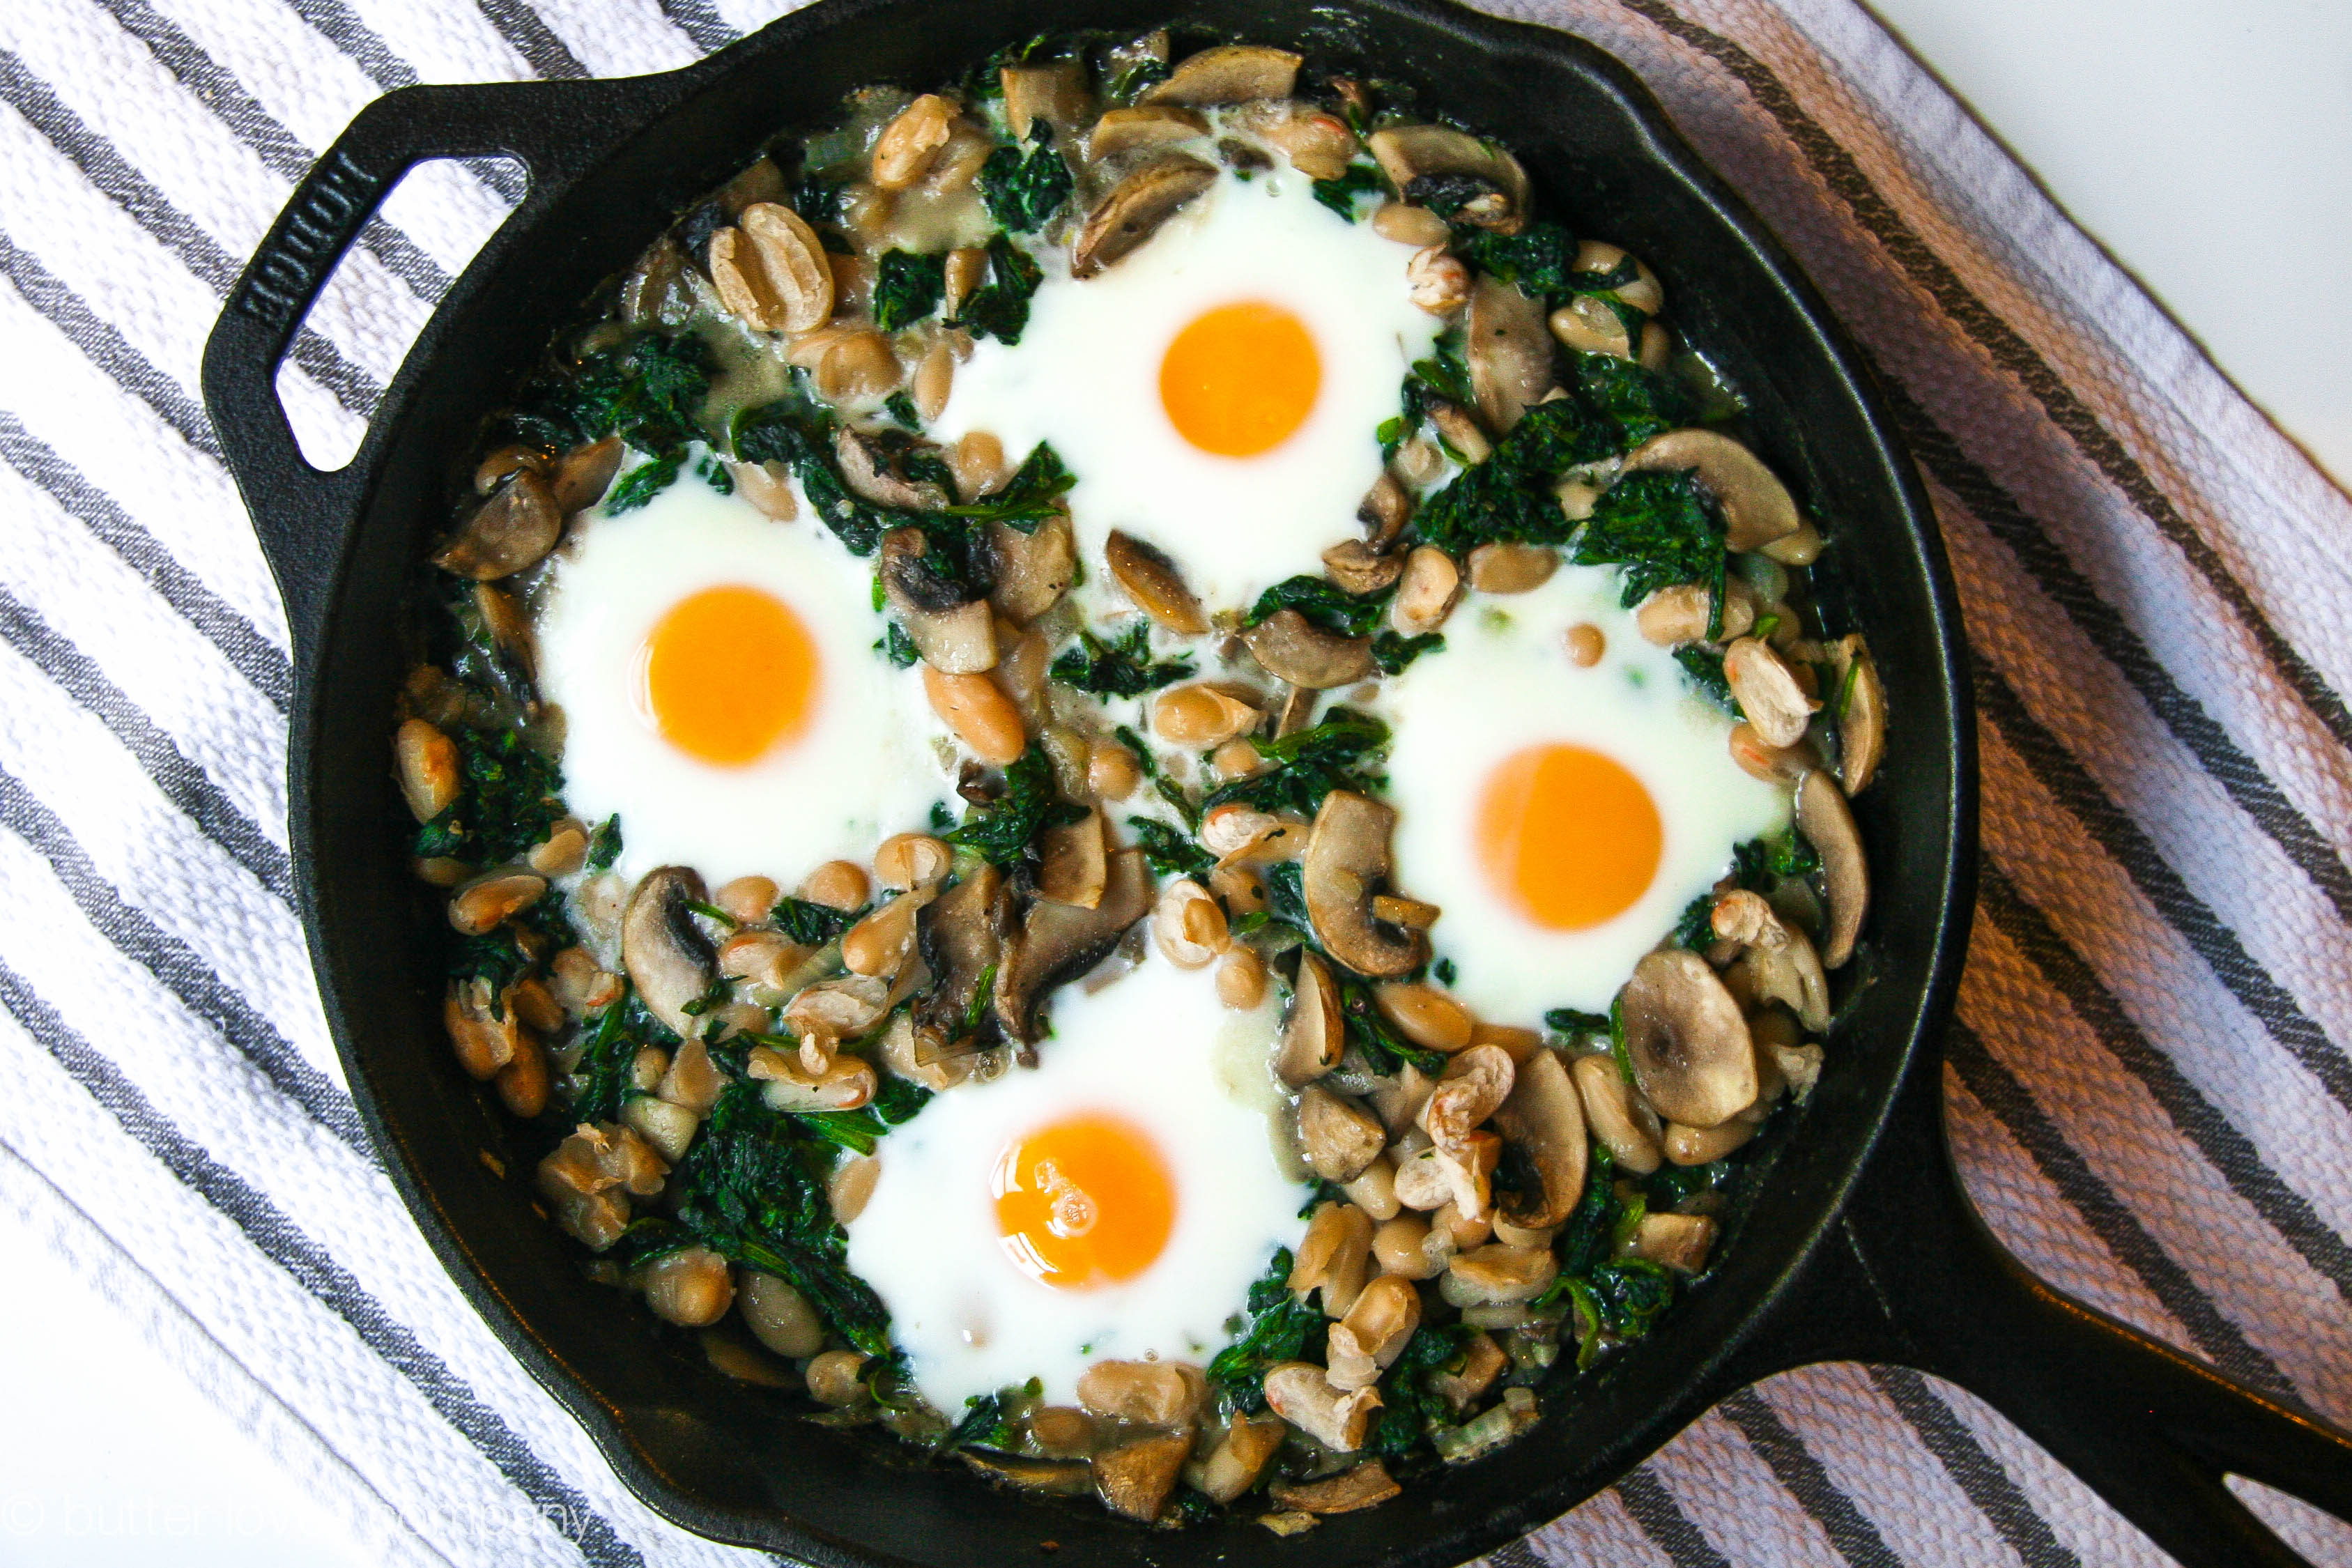
This recipe is amazing because it is a one-dish meal and who doesn’t love a one-dish meal? It’s also a breakfast, lunch or dinner meal, a fact that compels me to sing the Bagel Bites “pizza any time” commercial. But seriously, this is a wonderful option under almost any circumstance. You can easily adjust this recipe if you hate mushrooms, want to try it with black beans or just add some spice with a dash or two of red pepper flakes. If you don’t have a cast iron or oven-safe skillet, you can prepare everything in a pan on the stovetop and transfer it all into a regular baking dish, top with eggs and cook. In that case, it’s a two dish meal. Still not bad.

white bean spinach mushroom egg bake 9

I know all of you lucky ducks with dishwashers are thinking, “Why does this girl care so much about a one-dish meal.” Well, let me take you through what brought this recipe to Casa J + G. I call it a “get home from work cleaning rampage.”

Tell me if this sounds familiar: you come home from work, look around and realize “oh gosh, there is zero clear space and I’m worse than a toddler who leaves out every last one of their toys and I really should have put my laundry away as soon as it was done and did I really think I would finish that project I took everything out of my closet for and when did that Jenga stack of dishes get that high and when did I get so many* shoes and how did that one end up over there? These are the days I go on one of the aforementioned “get home from work cleaning rampages.” I’m a firm believer that physical clutter can have a tremendous effect on mental clutter.

white bean spinach mushroom egg bake 8

And how does all this relate to today’s recipe? Well, after the “get home from work cleaning rampage,” the absolute last thing I want to do is fill the sink with another full load of dishes after making dinner.

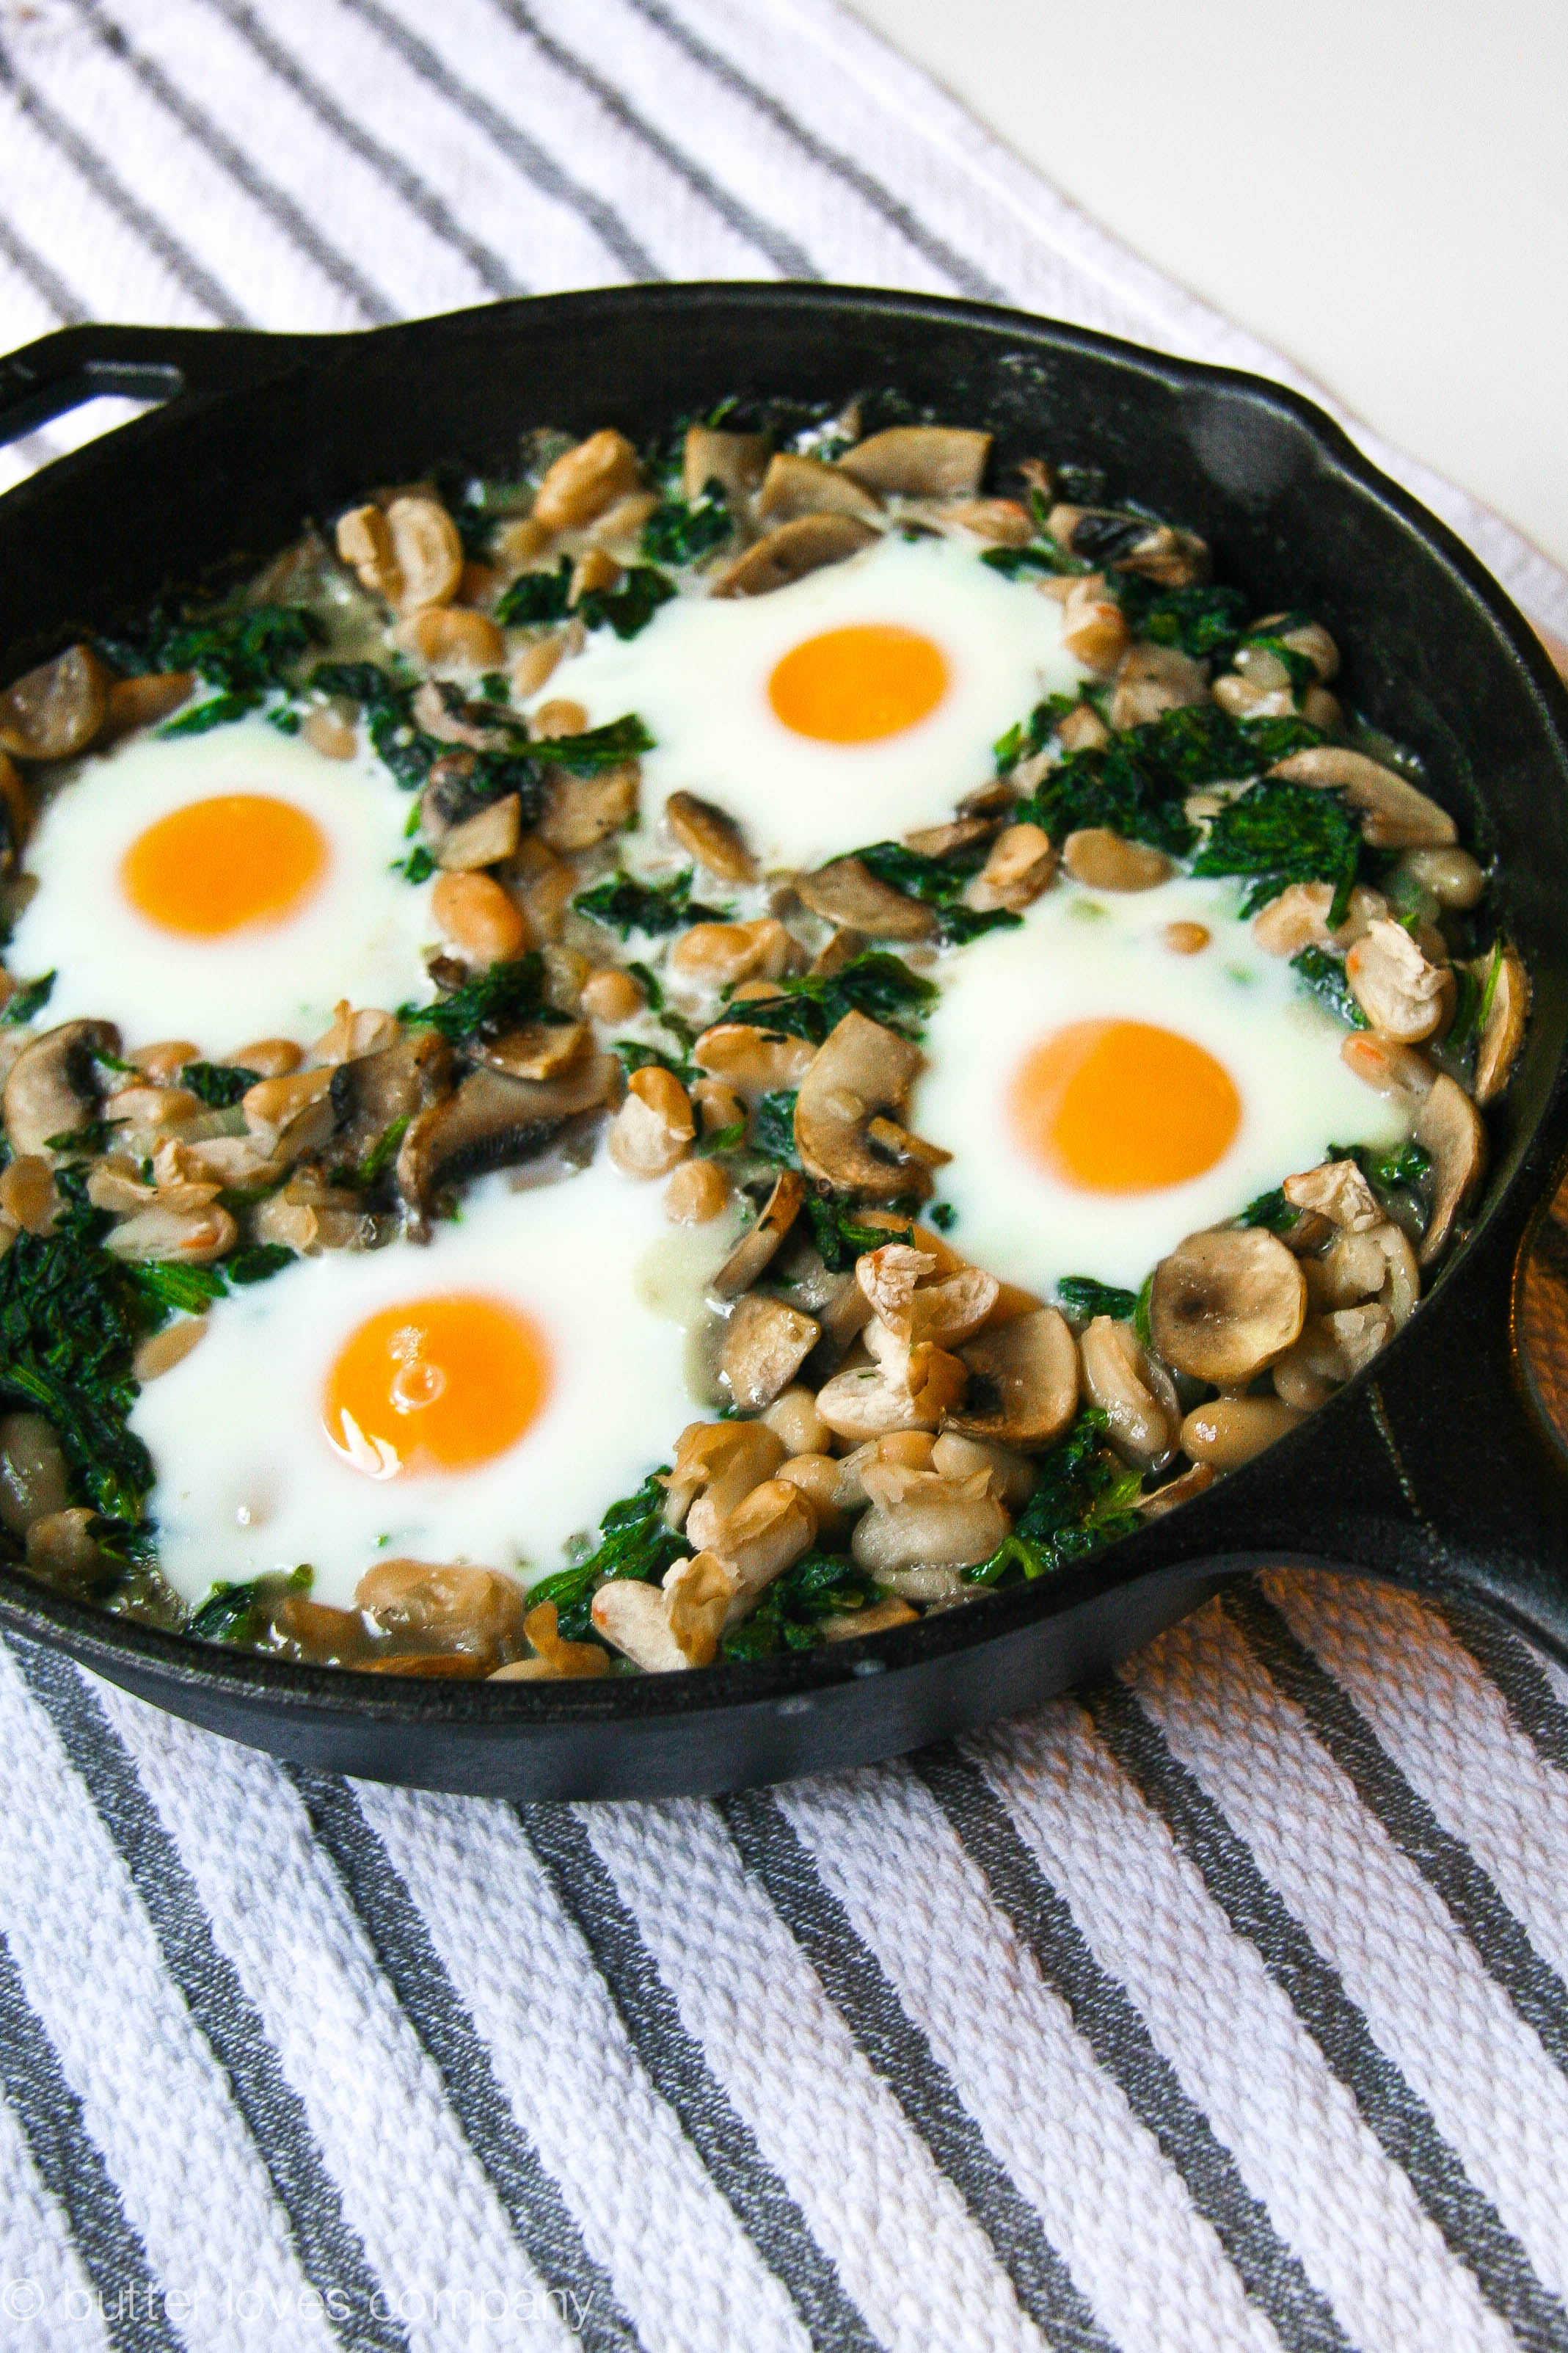
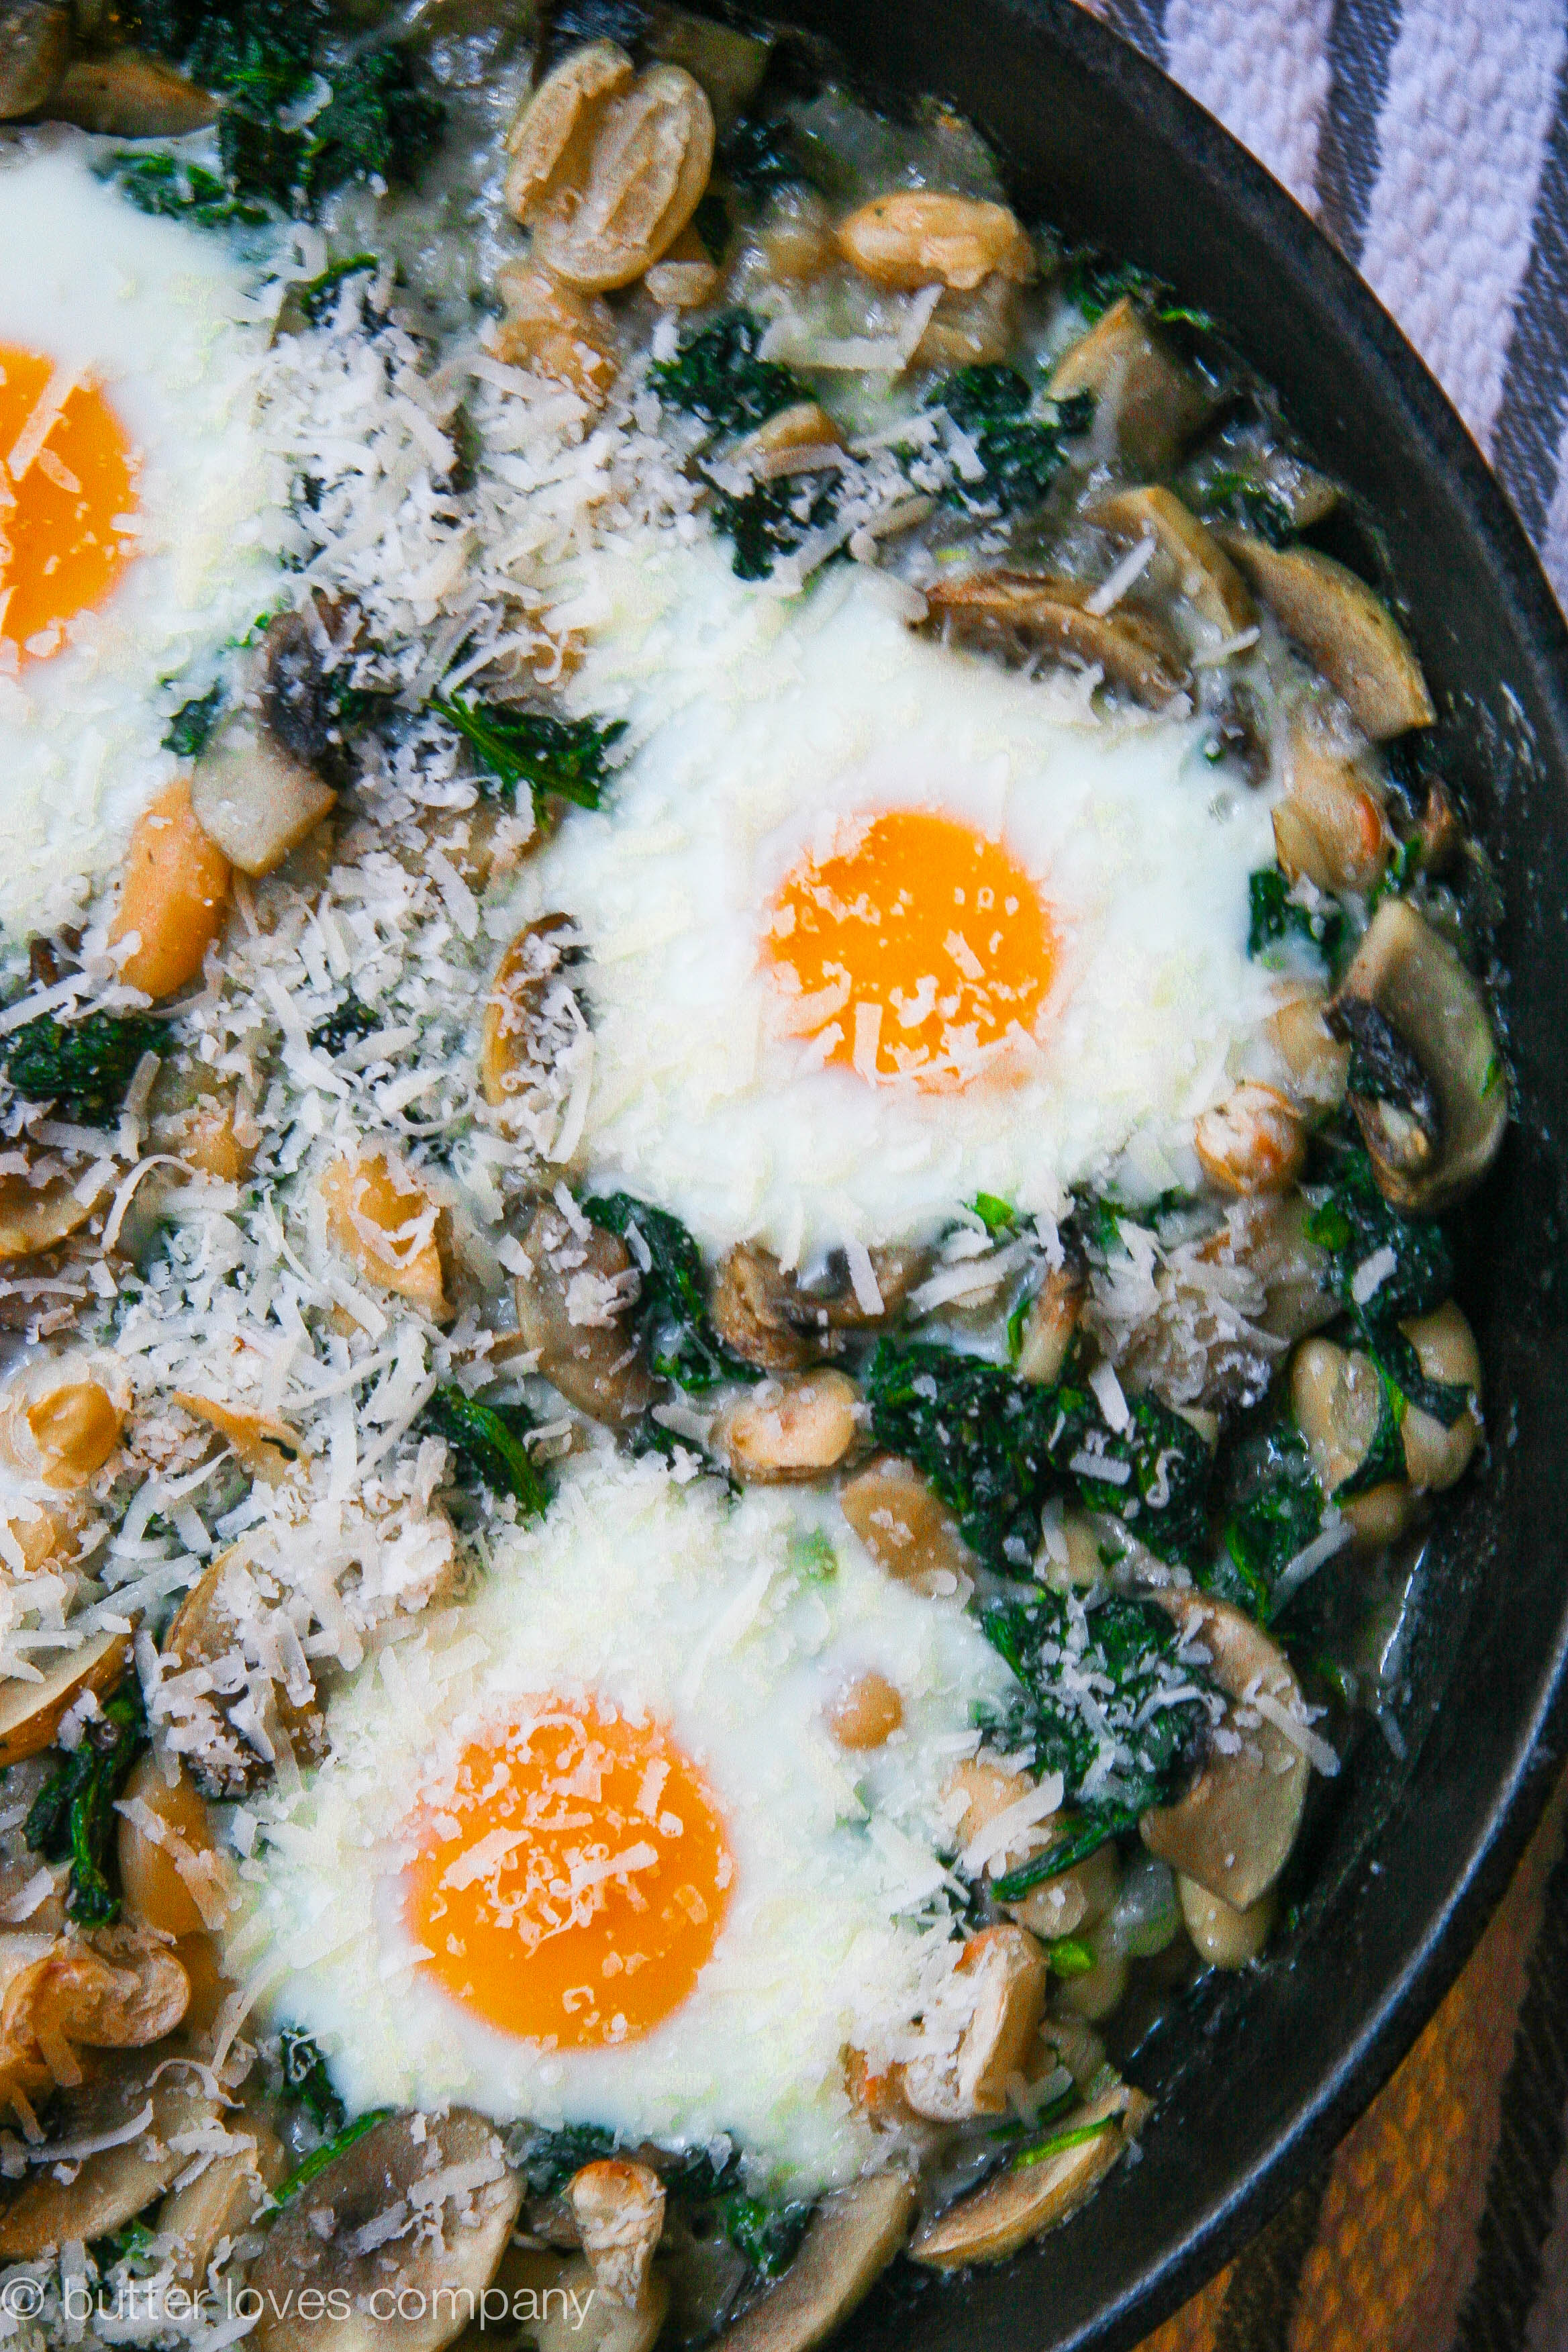
Enter: the glorious one-skillet White Bean, Spinach and Mushroom Egg Bake. The combination of creamy white beans, meaty mushrooms, iron-rich spinach and runny eggs really works here. I imagine a big dollop of this, egg and all, would be great on a piece of crusty bread. But really, what wouldn’t be good on a piece of crusty bread?

Happy Fourth of July, all!

*so many should never be confused with too many. Amen.

white bean spinach mushroom egg bake 7

white bean spinach mushroom egg bake 6

white bean spinach mushroom egg bake 5

white bean spinach mushroom egg bake 2

white bean spinach mushroom egg bake 4

white bean spinach mushroom egg bake 1

white bean, spinach and mushroom egg bake
Adapted from Gourmet magazine

Prep Time: 15 minutes
Cook Time: 15 minutes
Total Time: 30–40 minutes
Makes: 4 servings

Ingredients:

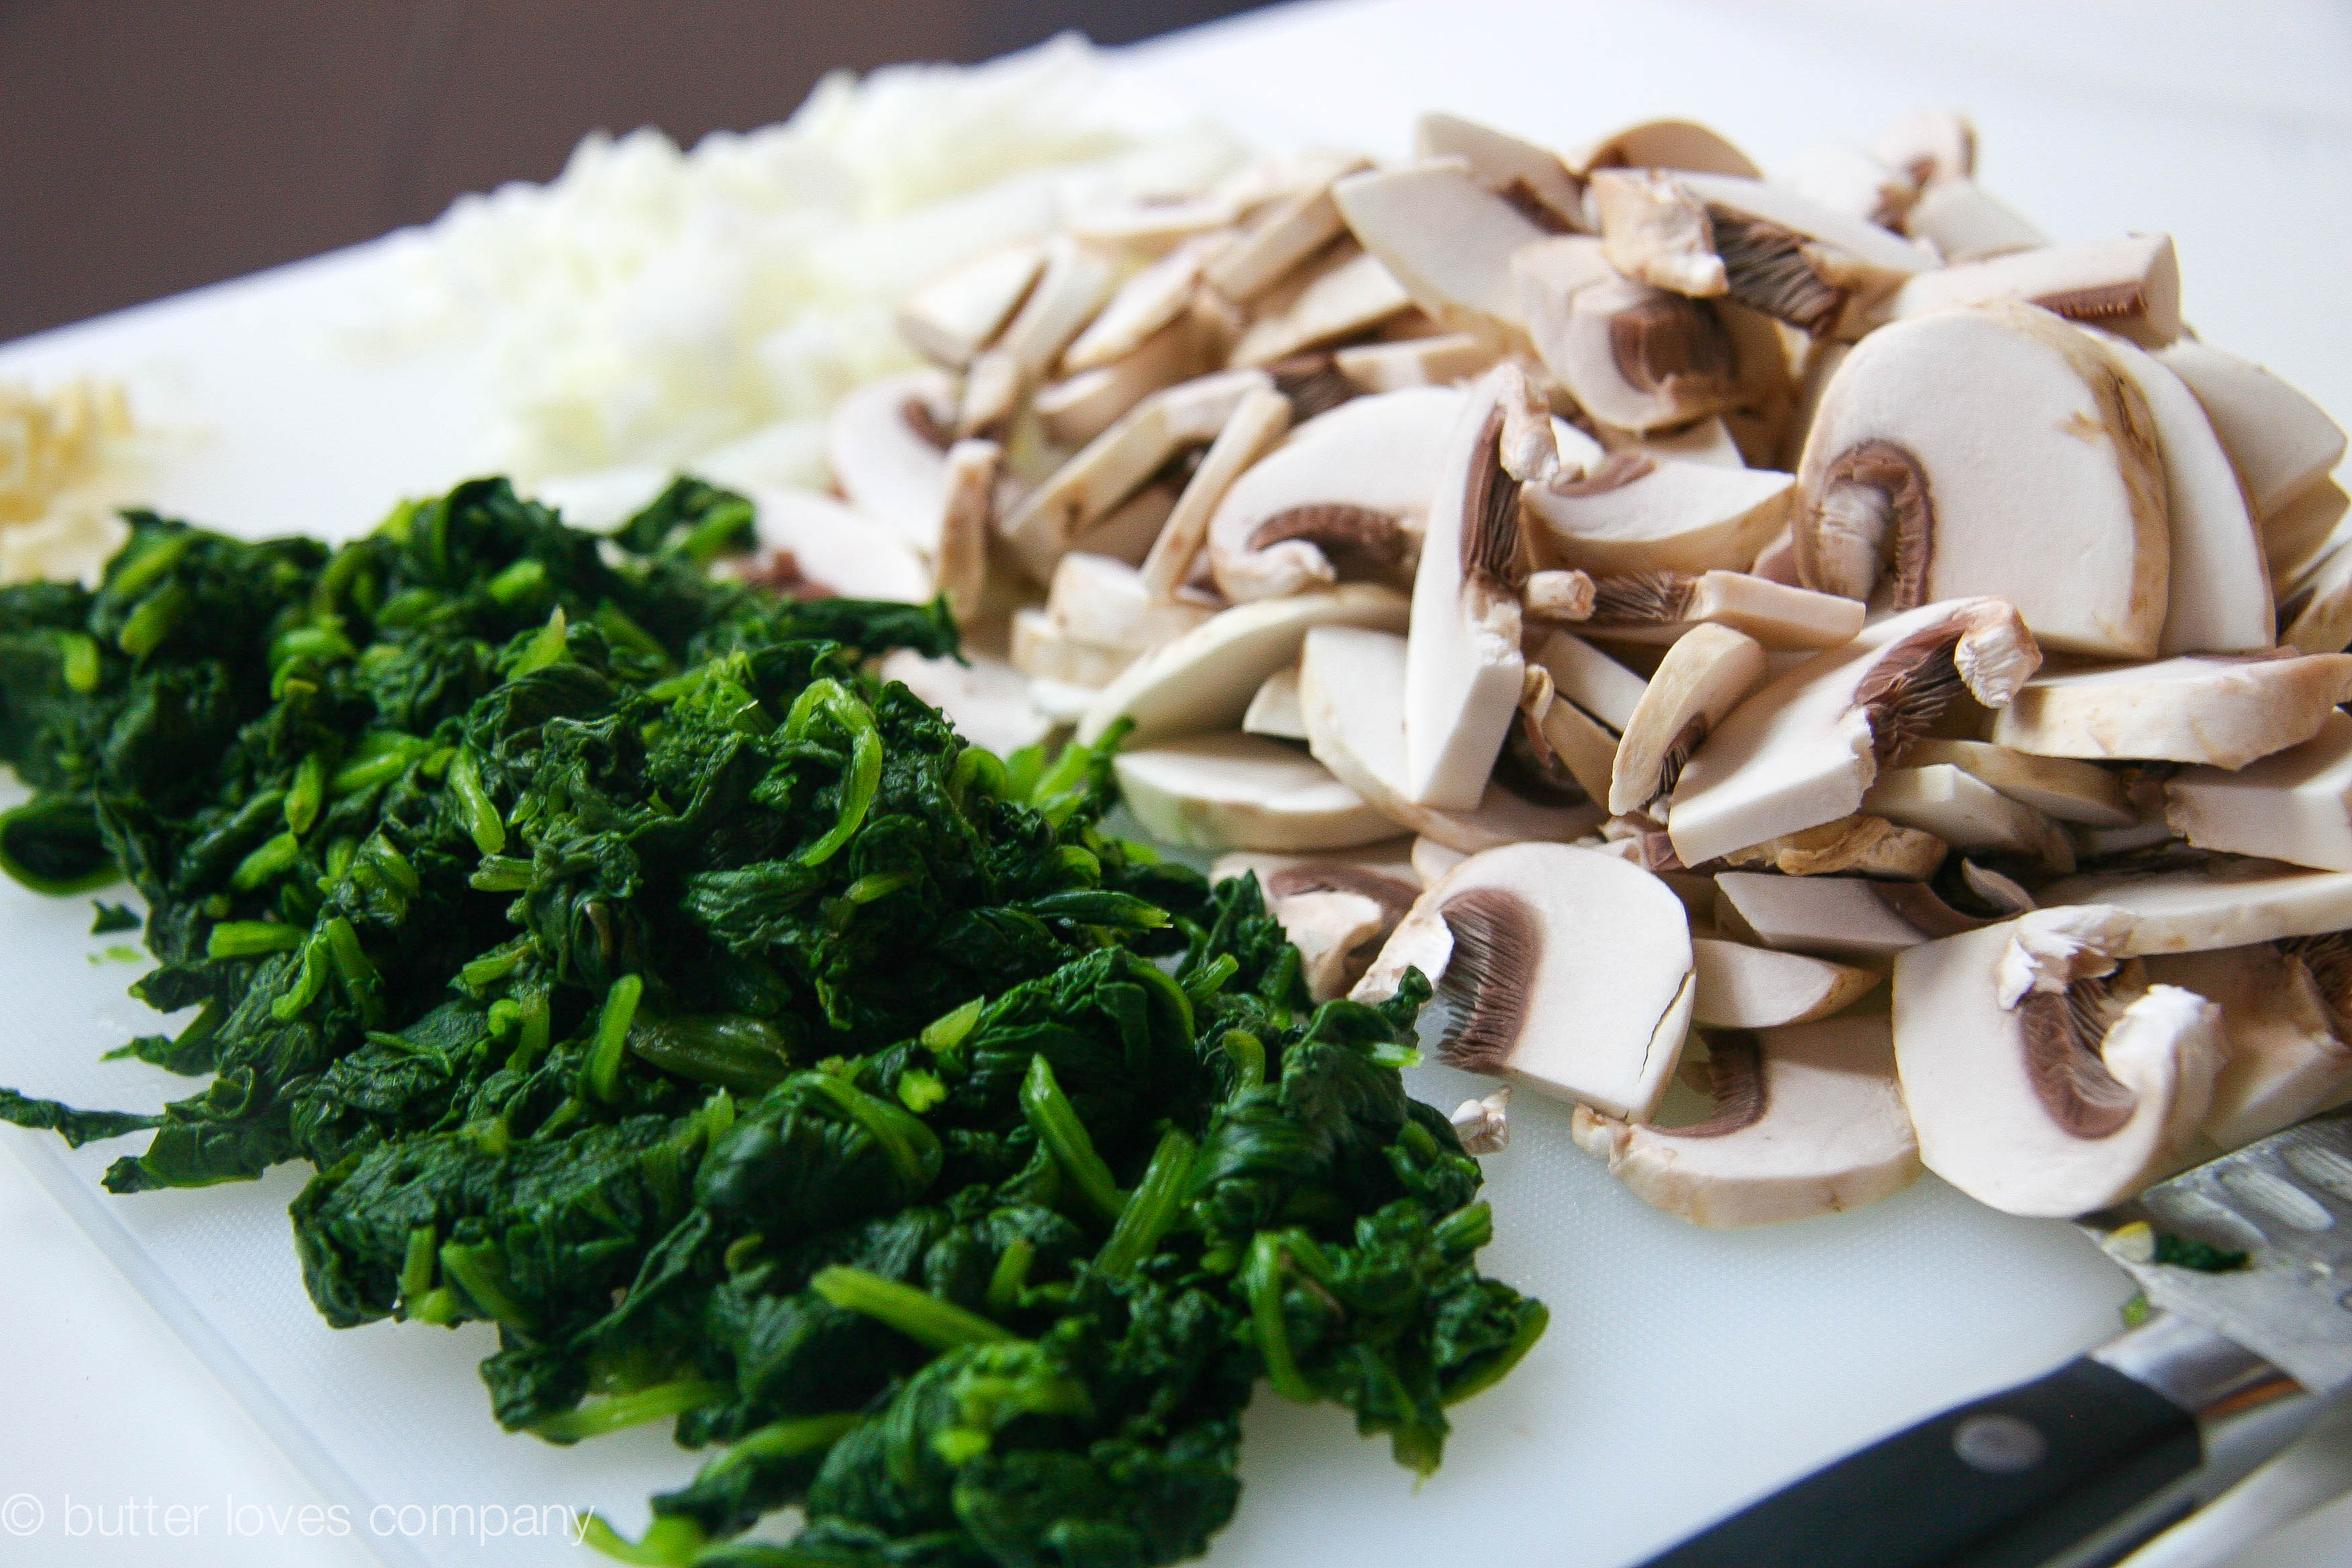
10 oz. fresh spinach
1/2 medium-sized white or yellow onion, finely diced
1 clove garlic, minced
3 tablespoons butter
2 cups (5–6 oz.) white button mushrooms, cut into 1/2-inch thick slices
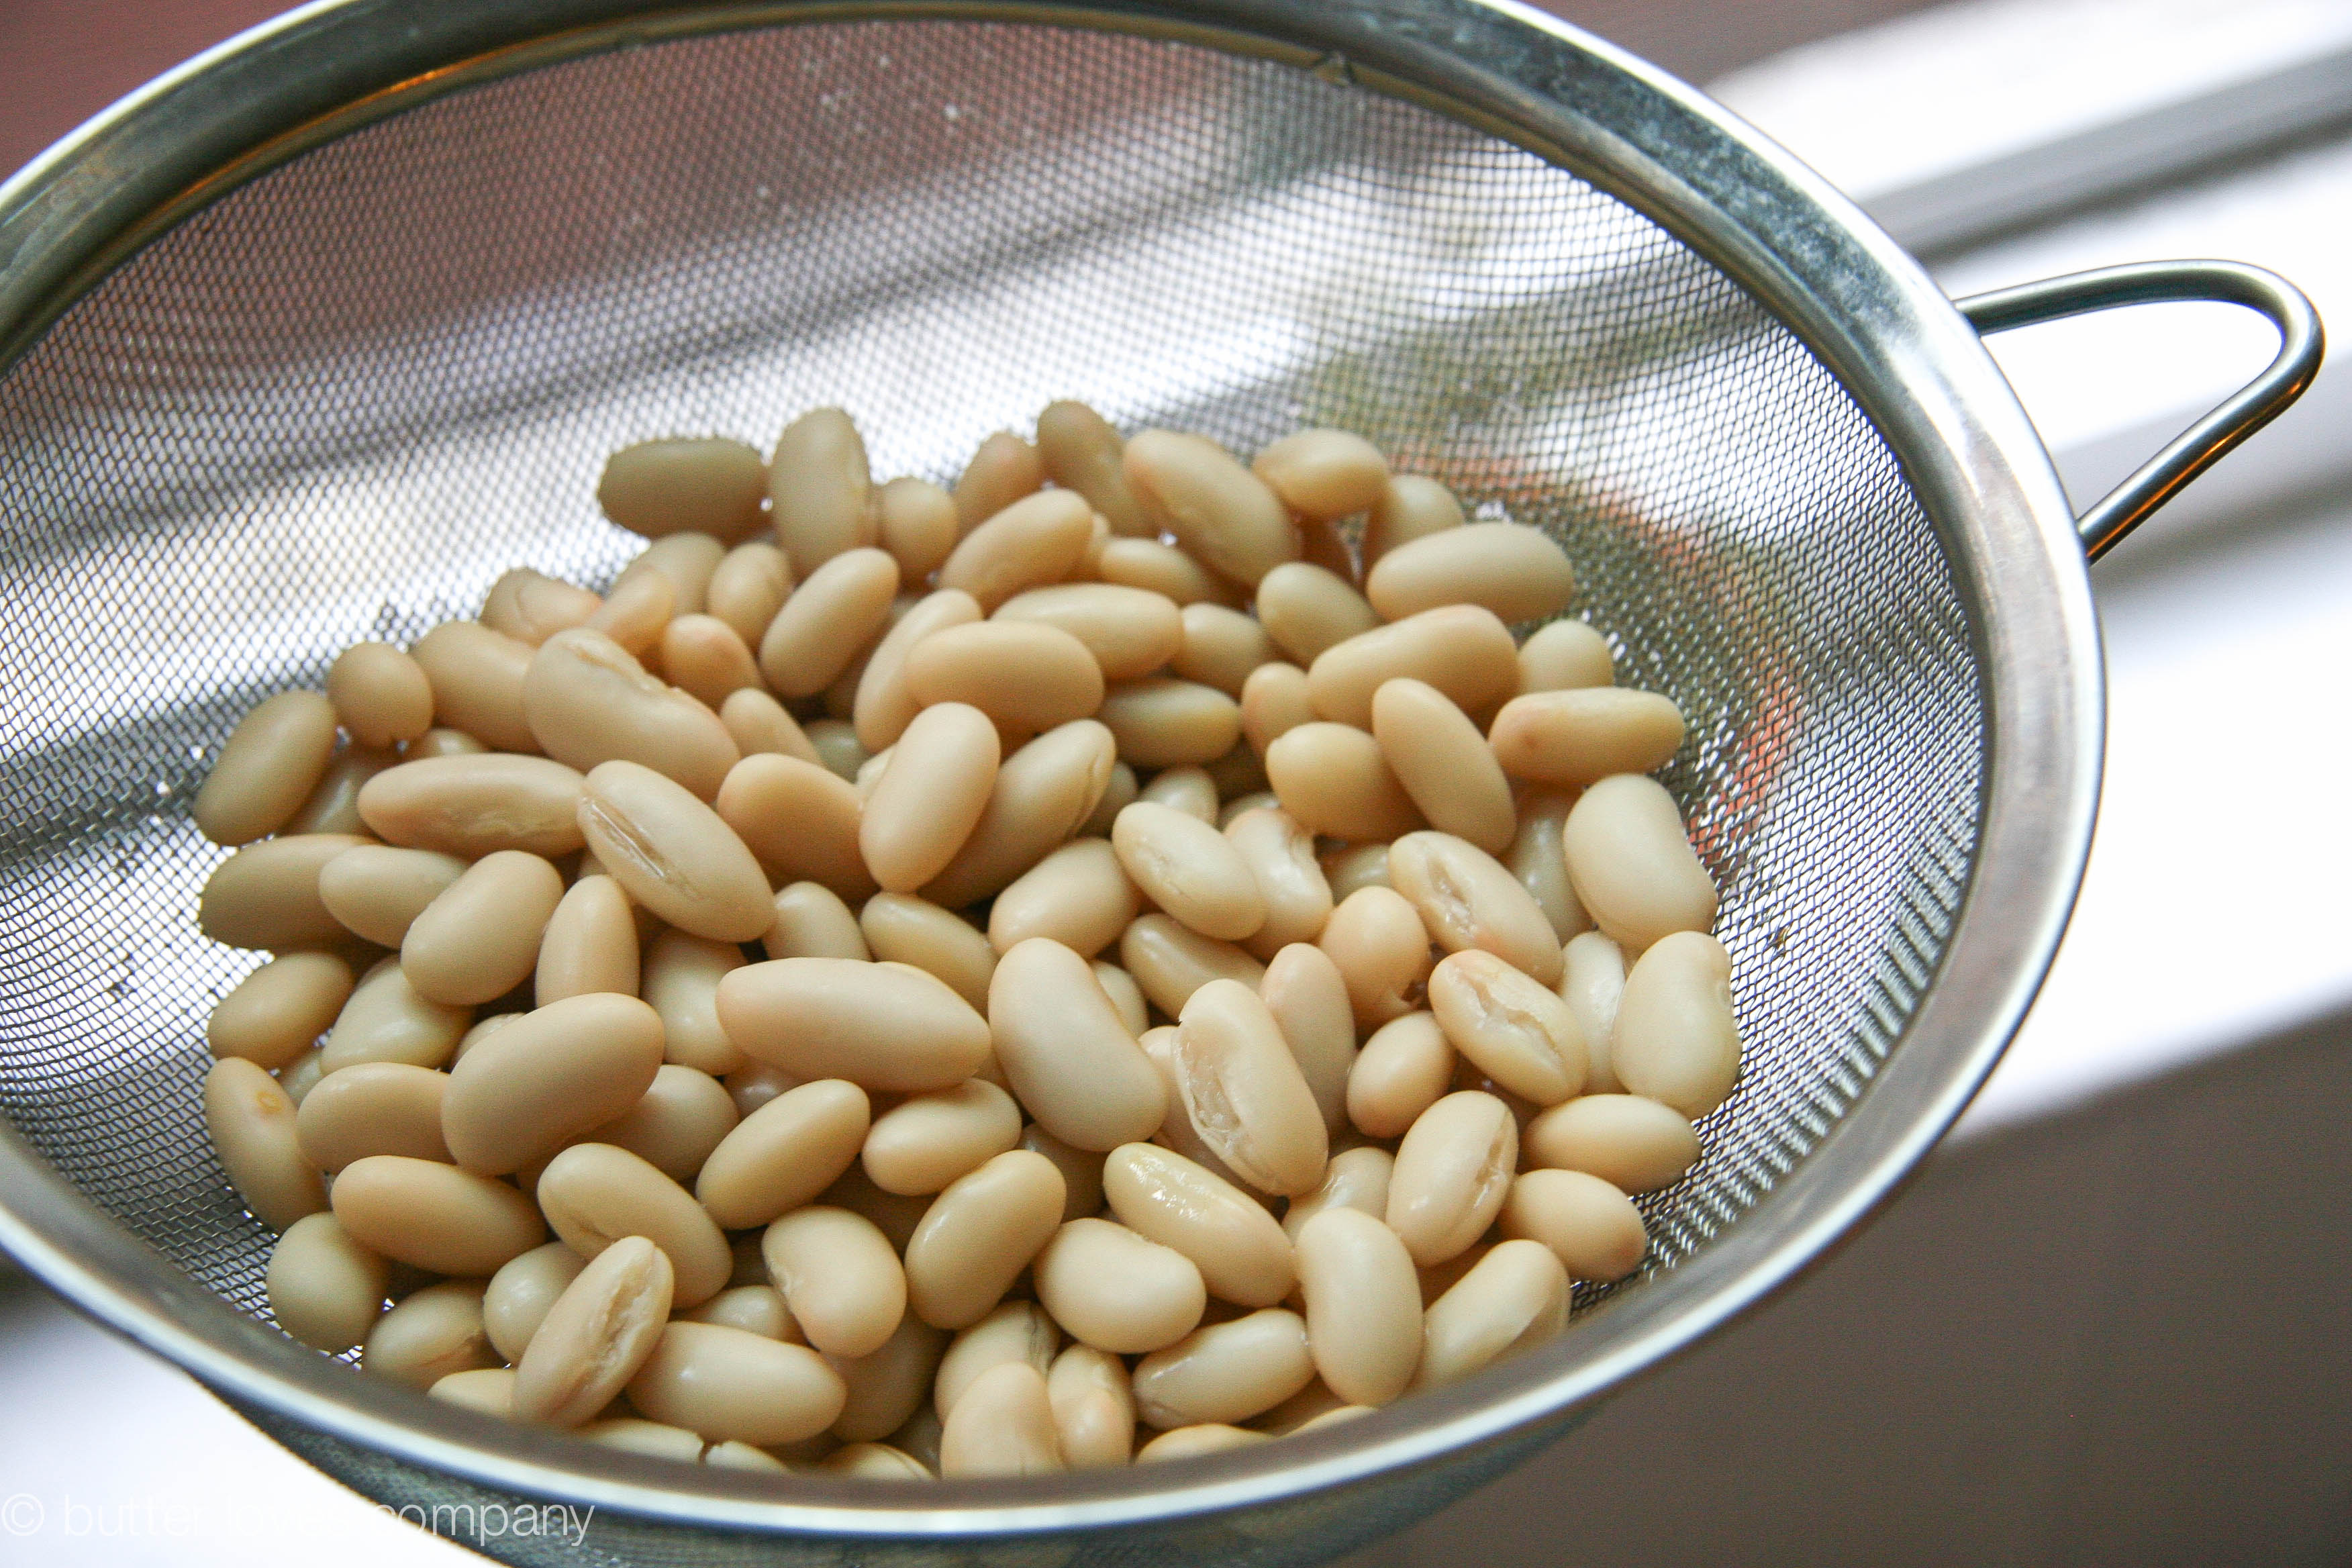
1 15 oz. can of cannellini beans, rinsed thoroughly
1/3 cup milk, whole is best
1 heaping tablespoon all purpose flour
1/4 teaspoon salt
1/4 teaspoon pepper
1/8 teaspoon grated nutmeg
4 large eggs
1/4 cup grated Parmesan cheese

Instructions:

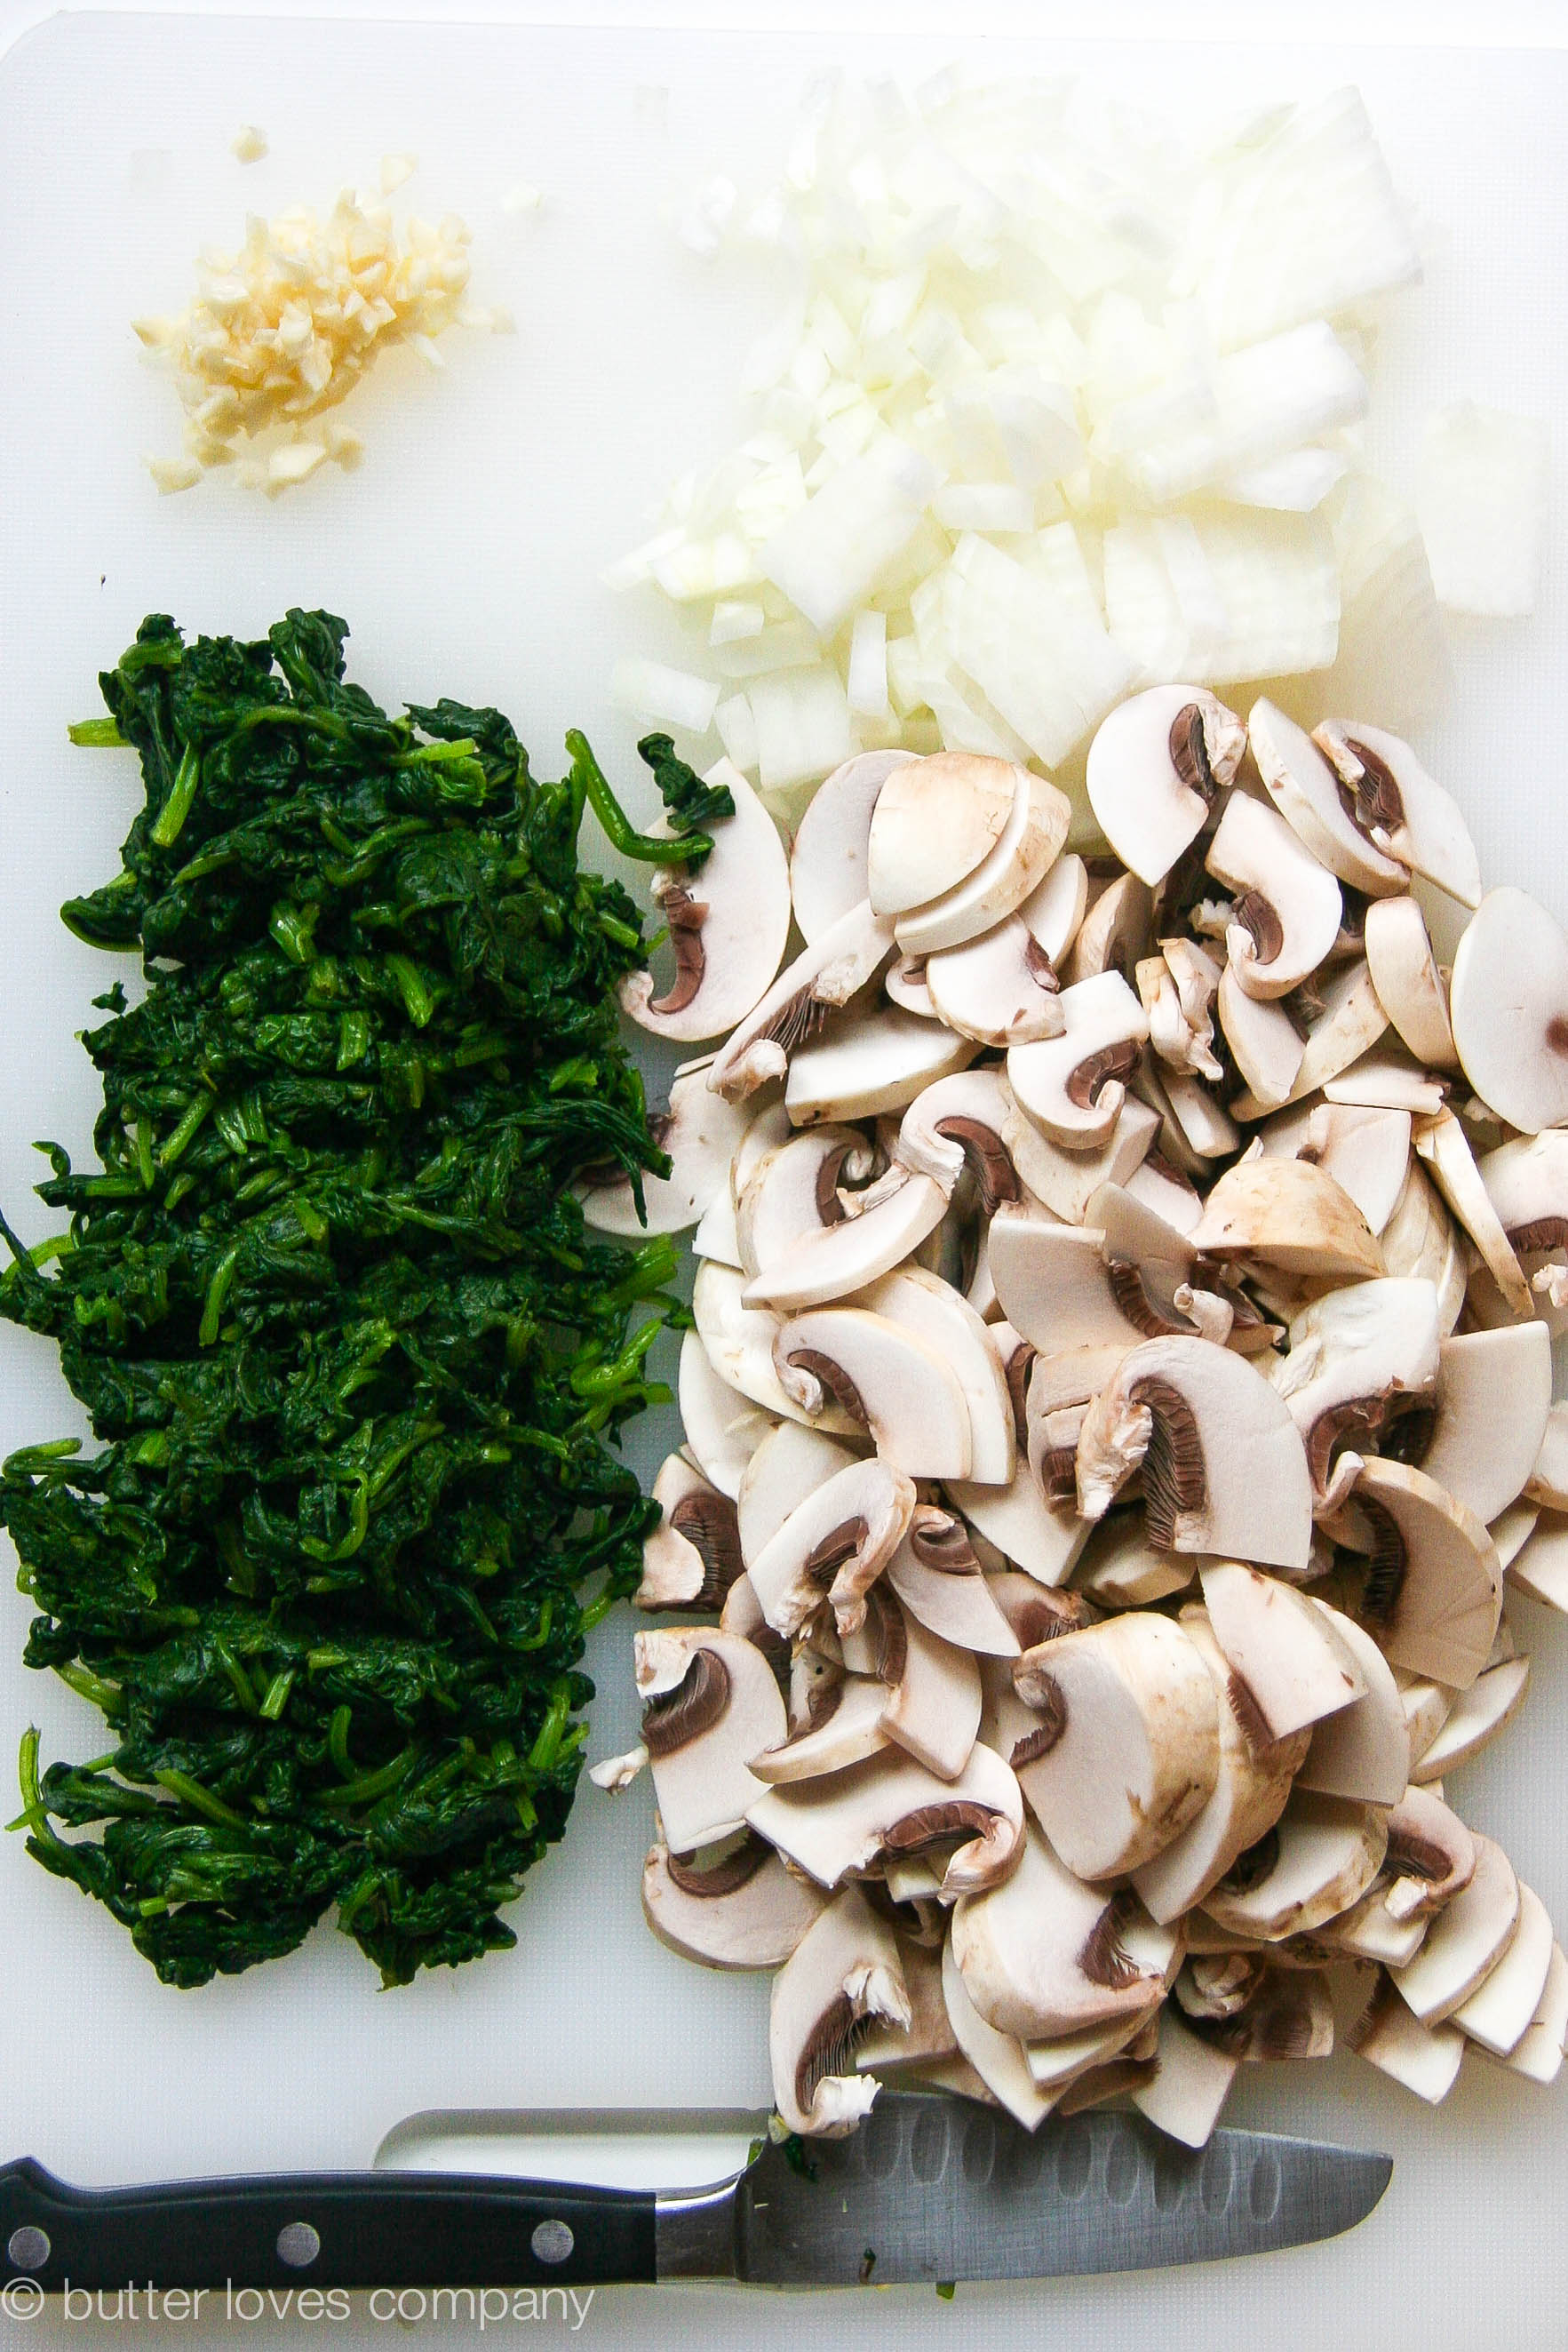
  1. Place rack in upper third of oven and preheat oven to 450°. Bring 1/2 inch water to a boil in a 10- to 12-inch ovenproof, cast iron or other heavy skillet. Add half of the spinach to the water and cook, stirring to flip the spinach, until it wilts and shrinks, about 30 seconds. Add remaining spinach and cook until it wilts, another 30 seconds. Continue to cook the spinach over medium-high heat until tender, about 1 more minute. Drain into a colander and immediately cool under cold running water. Gently squeeze handfuls of spinach to remove as much liquid as possible, transfer to a cutting board and coarsely chop.
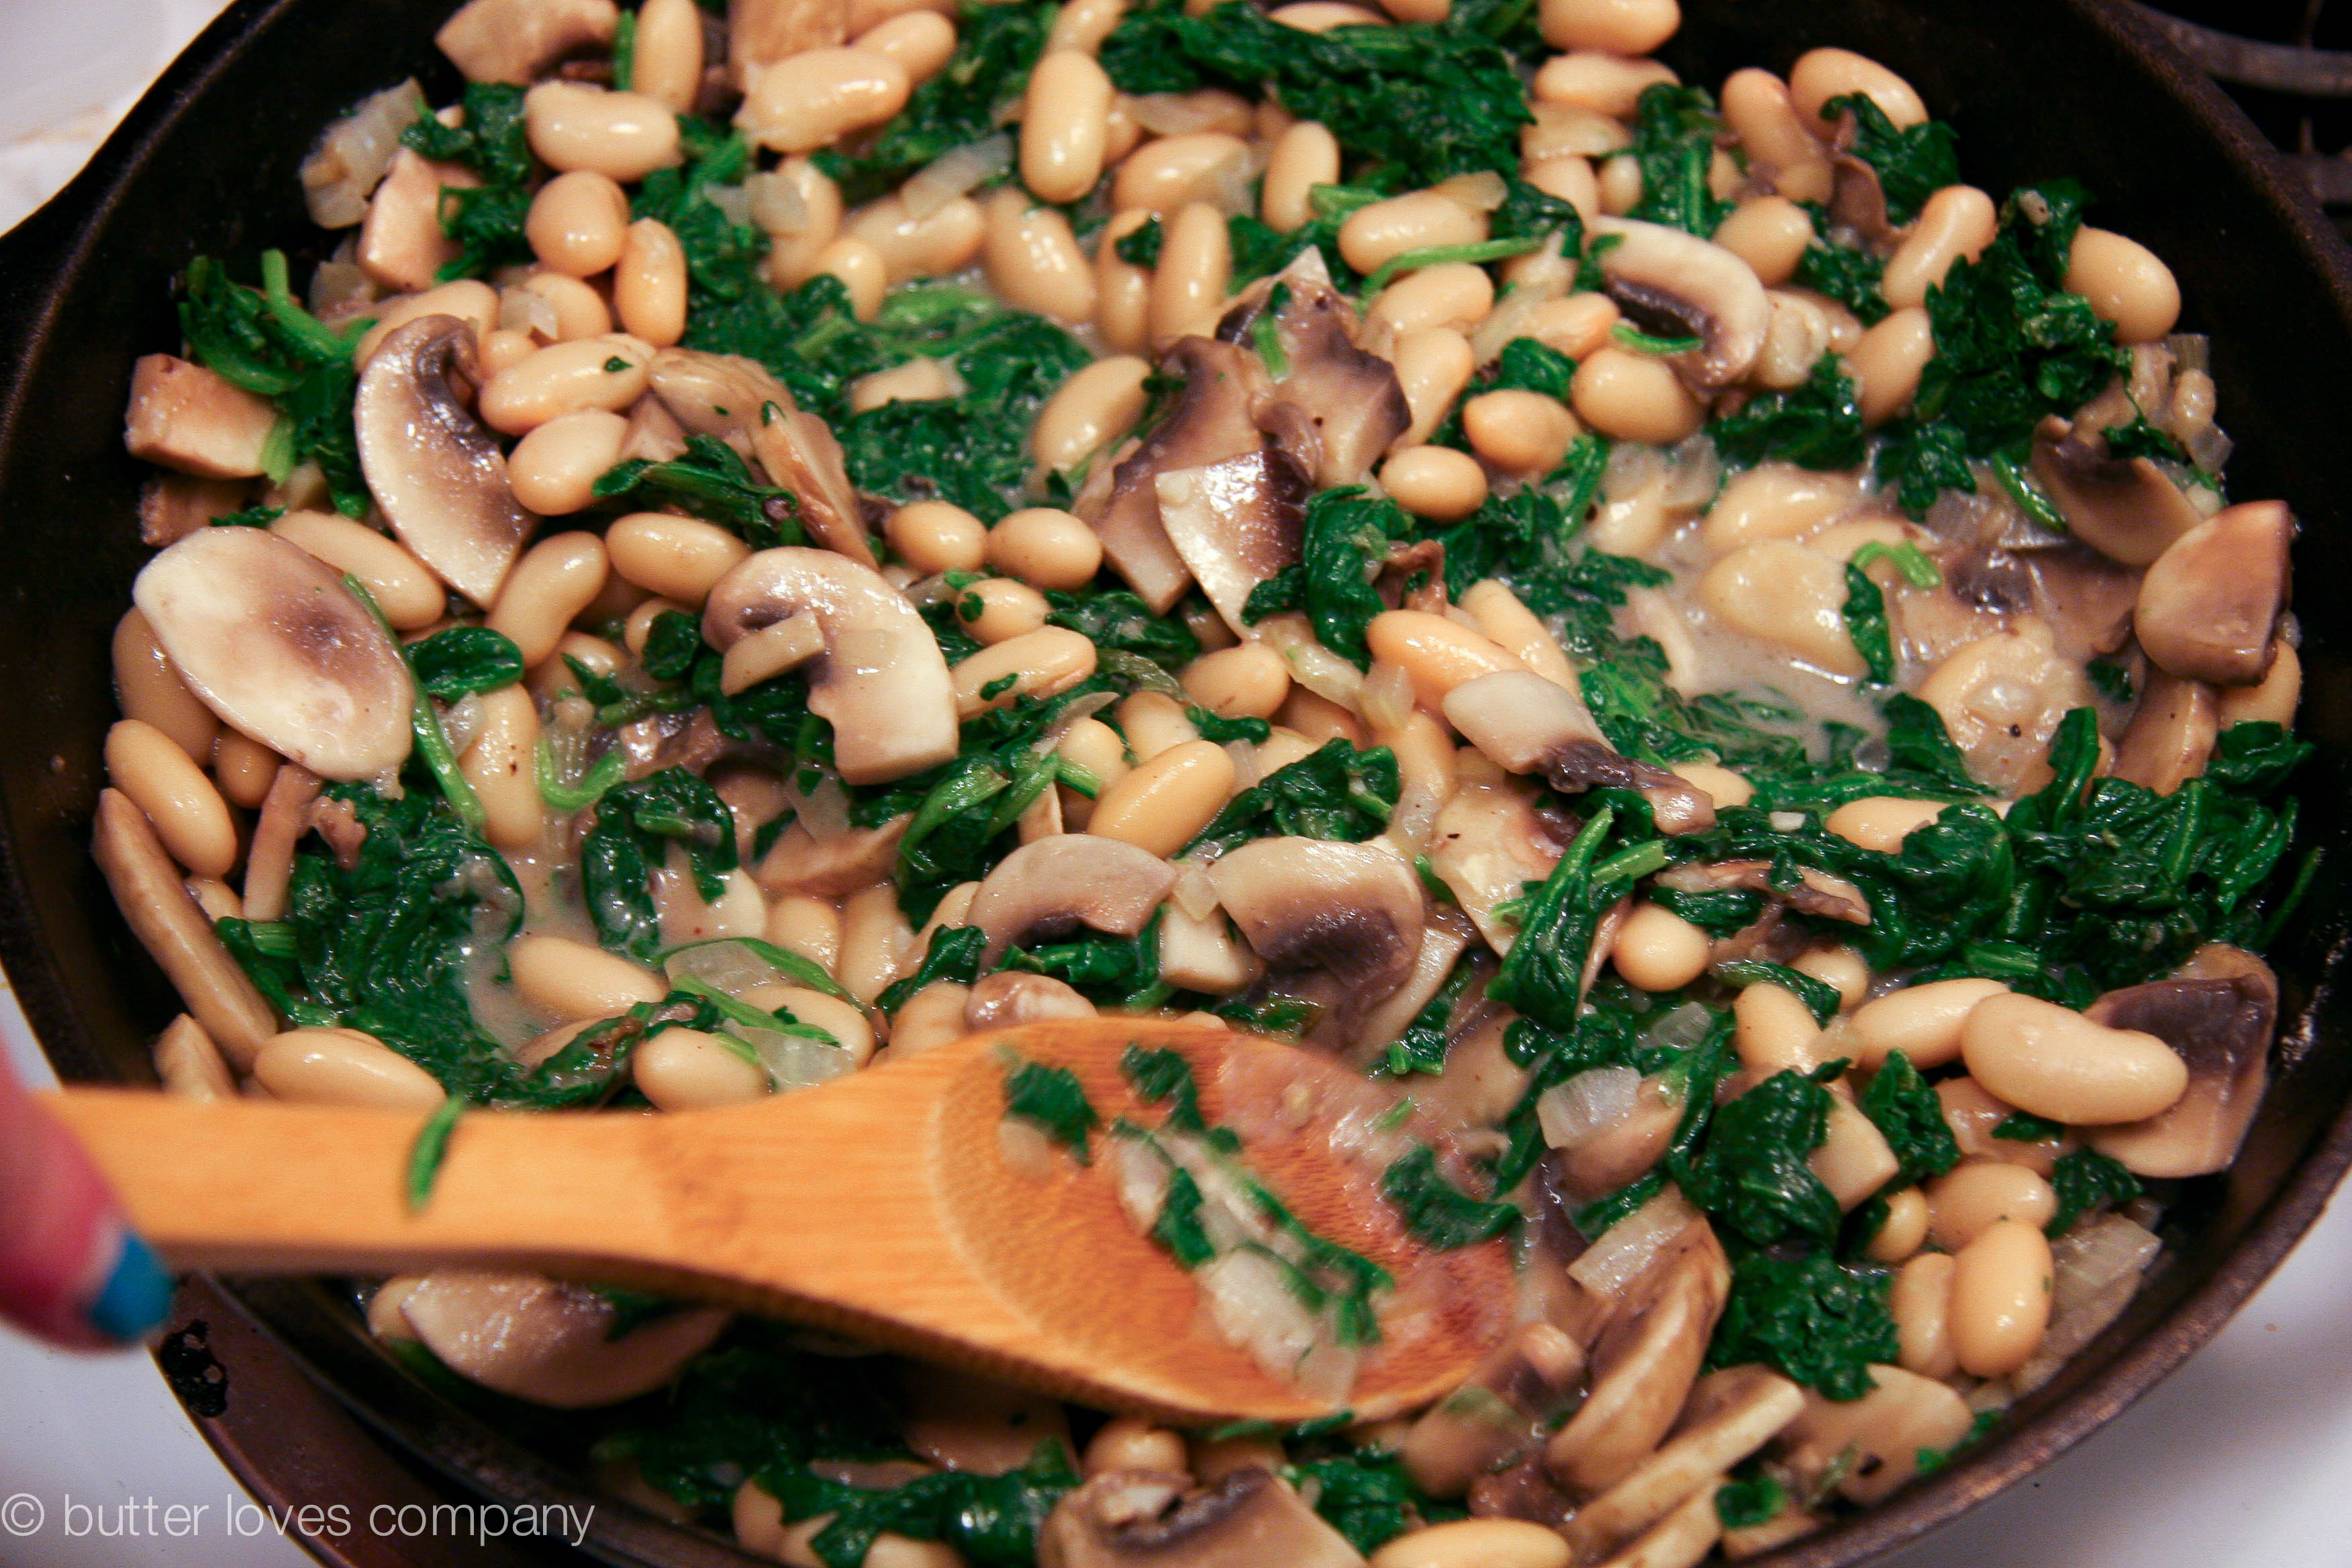
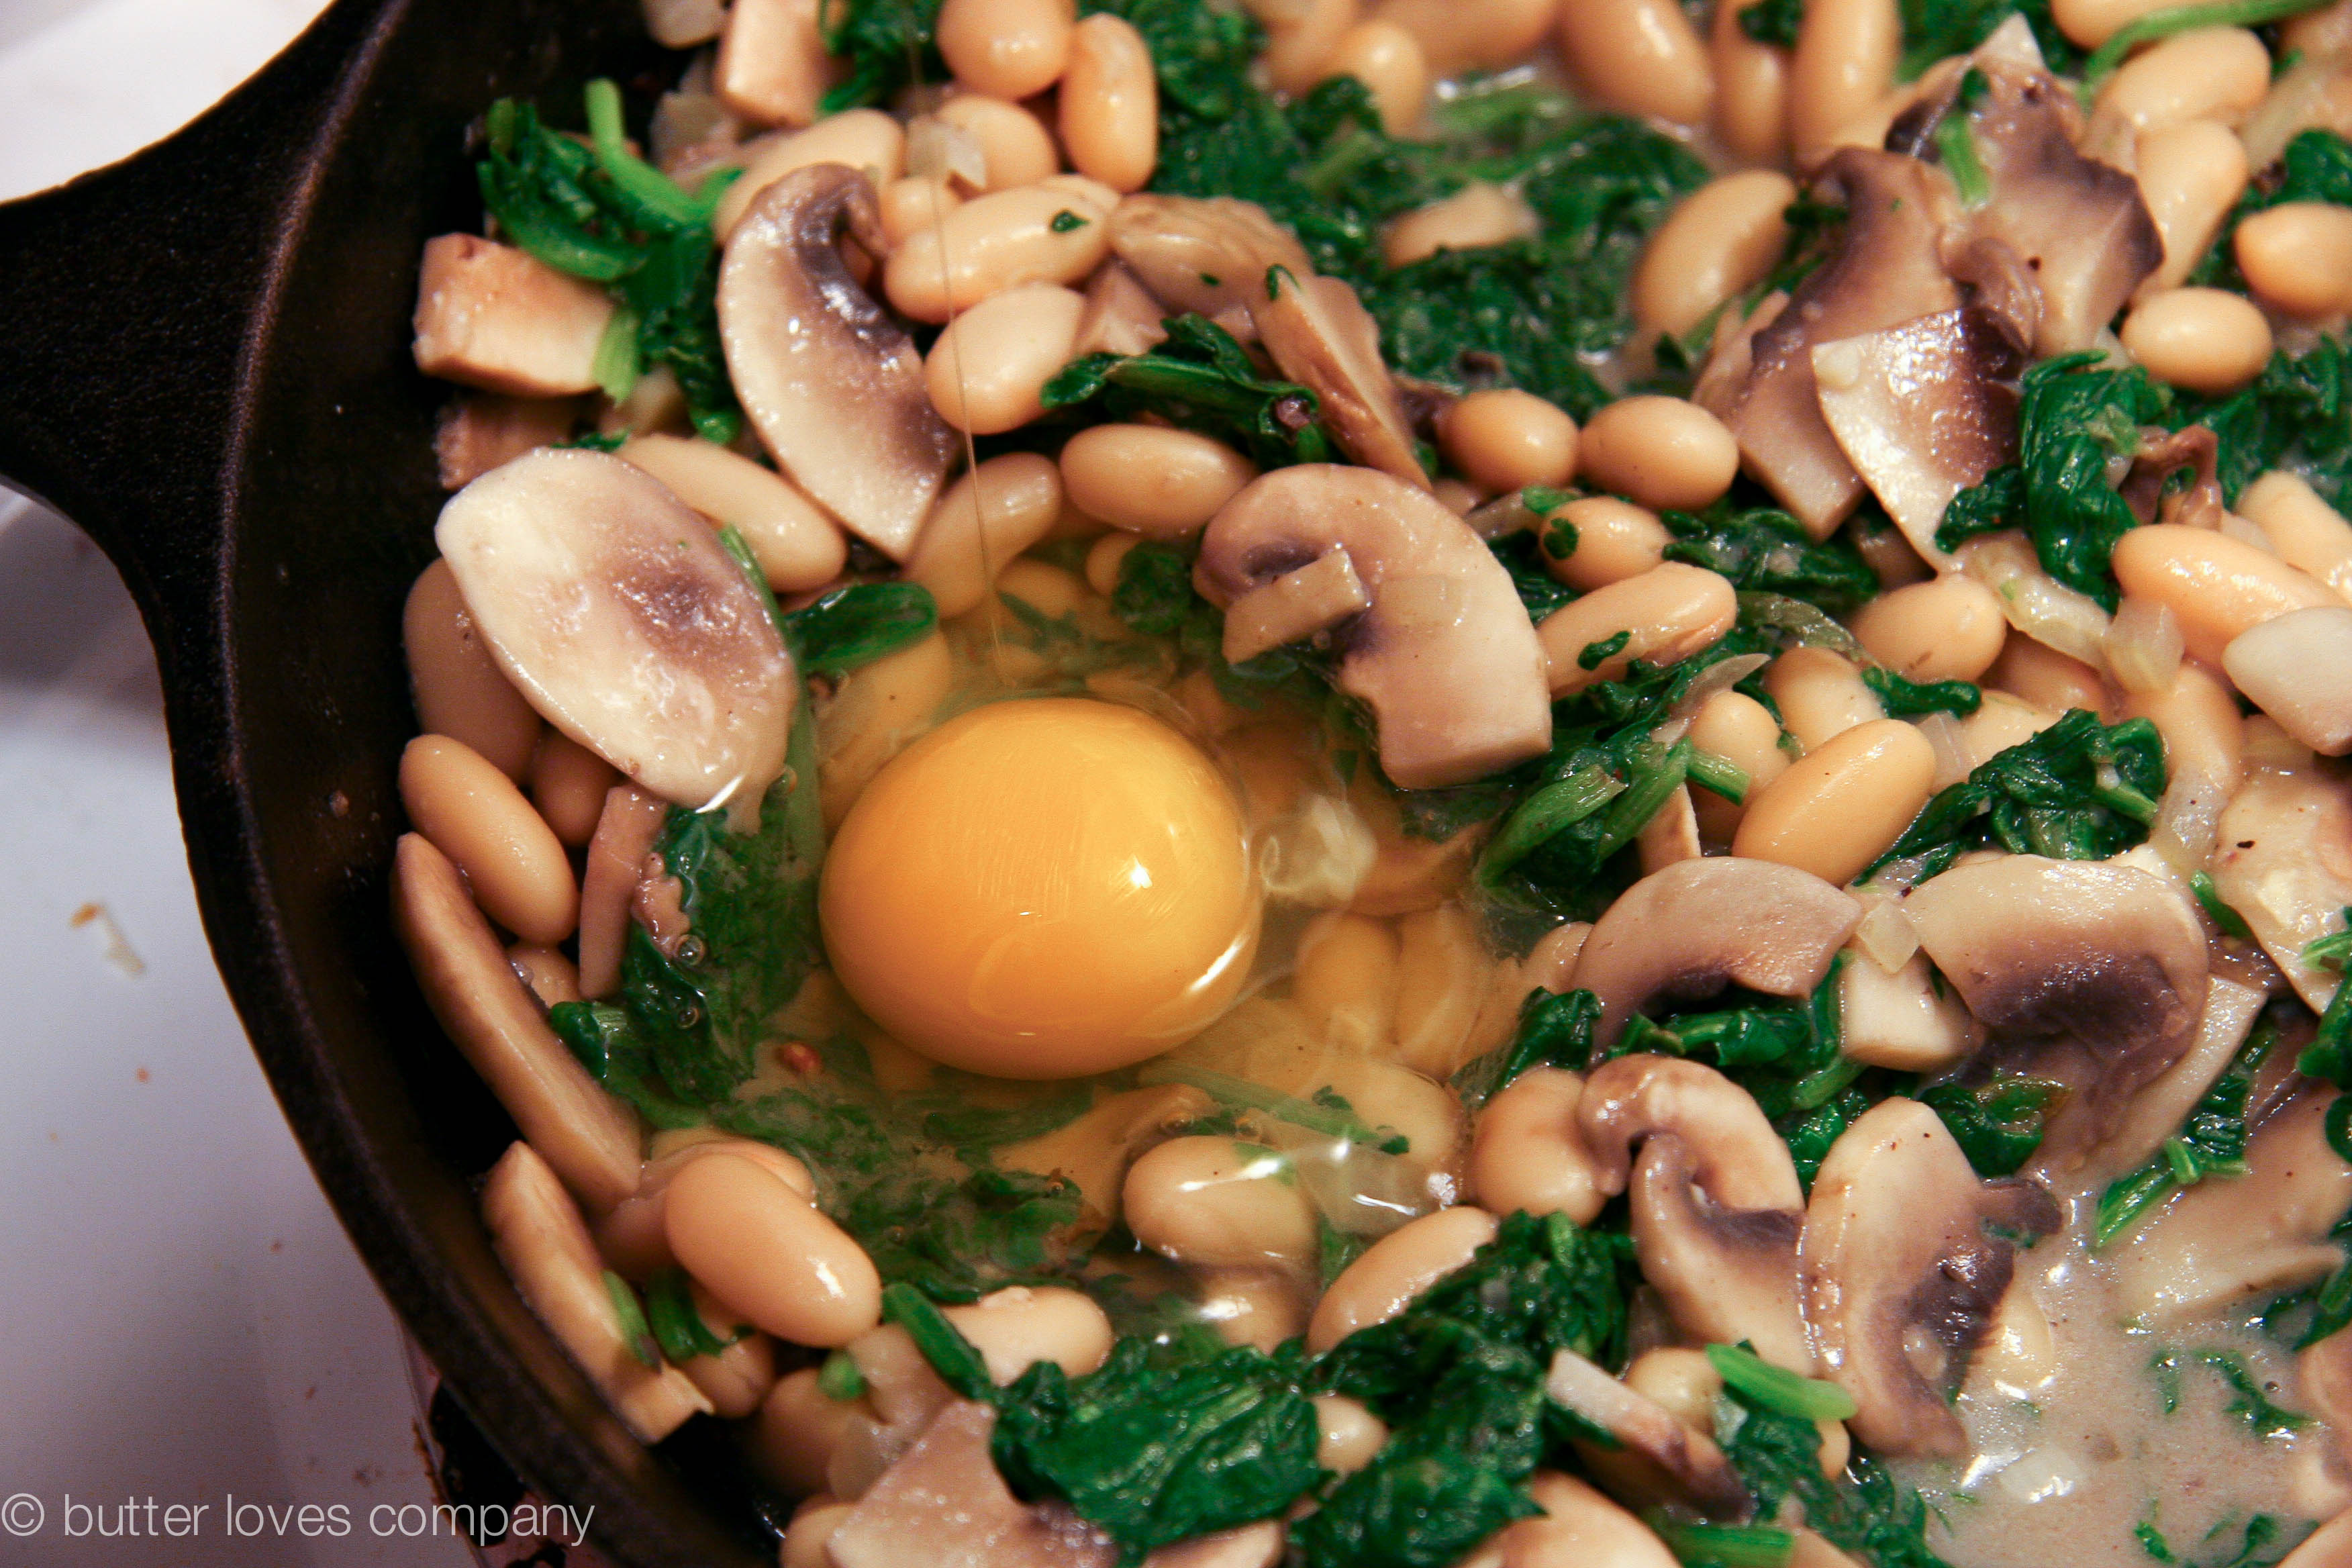
  2. Wipe the skillet dry, then melt the butter in the skillet over medium heat. Add the onion and garlic and cook, stirring frequently, until softened, 2 to 3 minutes. Add mushrooms and cook, stirring, until the mushrooms are softened and have released some of their juices, about 3 to 4 minutes. Stir in well-rinsed, canned cannellini beans until well distributed. Stir in milk, flour, salt, pepper, nutmeg and chopped spinach and cook for 1 to 2 minutes. Remove skillet from heat and make four large indentations in spinach mixture (like you’re making room for gravy in your Thanksgiving mashed potatoes). Crack an egg into each indentation and bake, uncovered, until egg whites are set but yolks are still runny, 7 to 10 minutes. Season eggs with salt and pepper if you like, then sprinkle with cheese.


Filed Under: breakfast and breads, eat, mains Tagged With: baked eggs, eggs, mushrooms, one pot, one skillet, spinach, white bean

« Previous Page
Next Page »

Welcome!

jenna of butterlovescompany

Pull up a chair

Hi! I’m Jenna. Story seeker, food lover, recipe developer based in NYC. Firm believer in making every day delicious! Read more…

looking for something?

  • Email
  • Facebook
  • Instagram
  • Pinterest
  • RSS
  • Twitter

Latest Posts

  • Freezer Meals to Make Before Baby: How We Meal Prepped Before Baby
  • mom’s famous spiced pecans
  • funfetti cookie dough truffles (no-bake)
  • maple coconut cookies
  • snickerdoodle blondies

popular now

fresh peach coffee cake
one skillet chicken and saffron rice
boston cream pie cake
apple galette or free form apple tart or lazy man's apple pie
raspberry lime buttermilk cake with coconut cream cheese frosting
plum hand pies

grammin’

Hi! I'm Jenna, founder of butter loves company. From holidays to Tuesdays, let's find a way to make every meal special.
  • Email
  • Facebook
  • Instagram
  • Pinterest
  • RSS
  • Twitter
a2f54ba1dcf0635e58c8be4aa2035ce84863a9d9606a428ab3

© 2013-2019 BUTTER LOVES COMPANY, LLC.

Copyright © 2026 · Foodie Pro Theme by Shay Bocks · Built on the Genesis Framework · Powered by WordPress