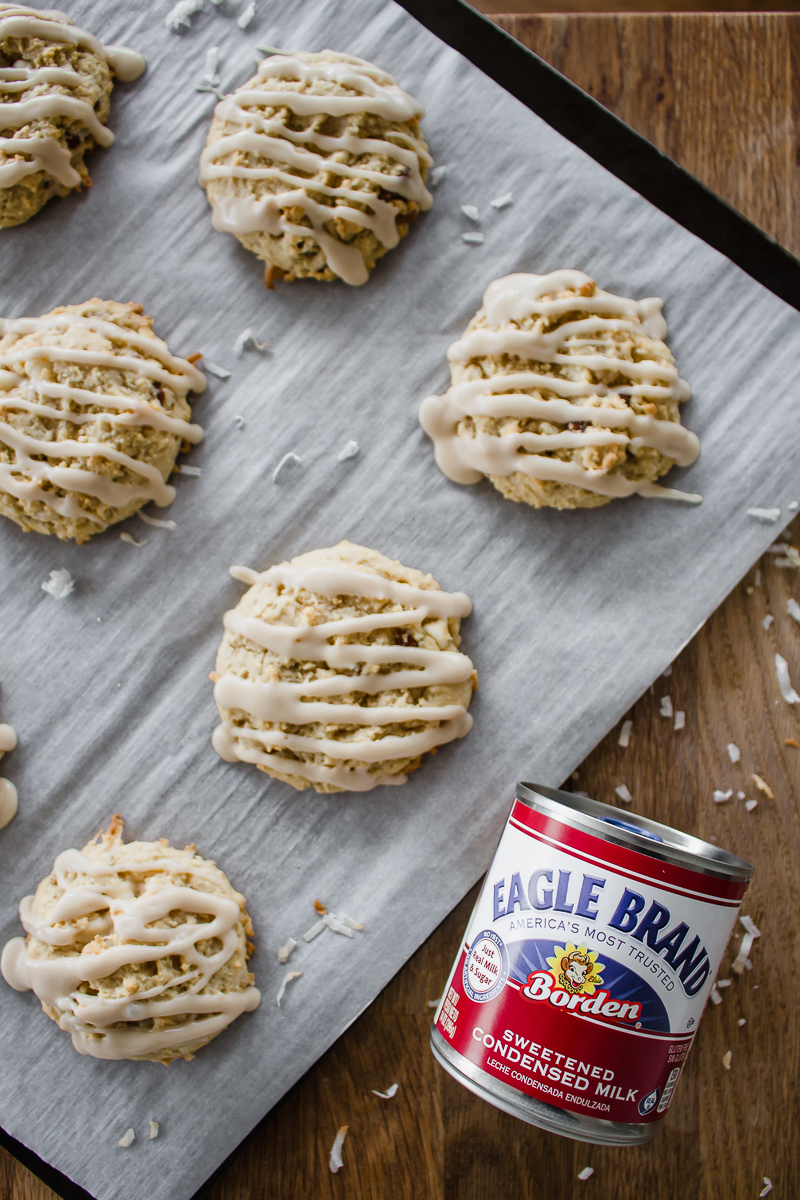
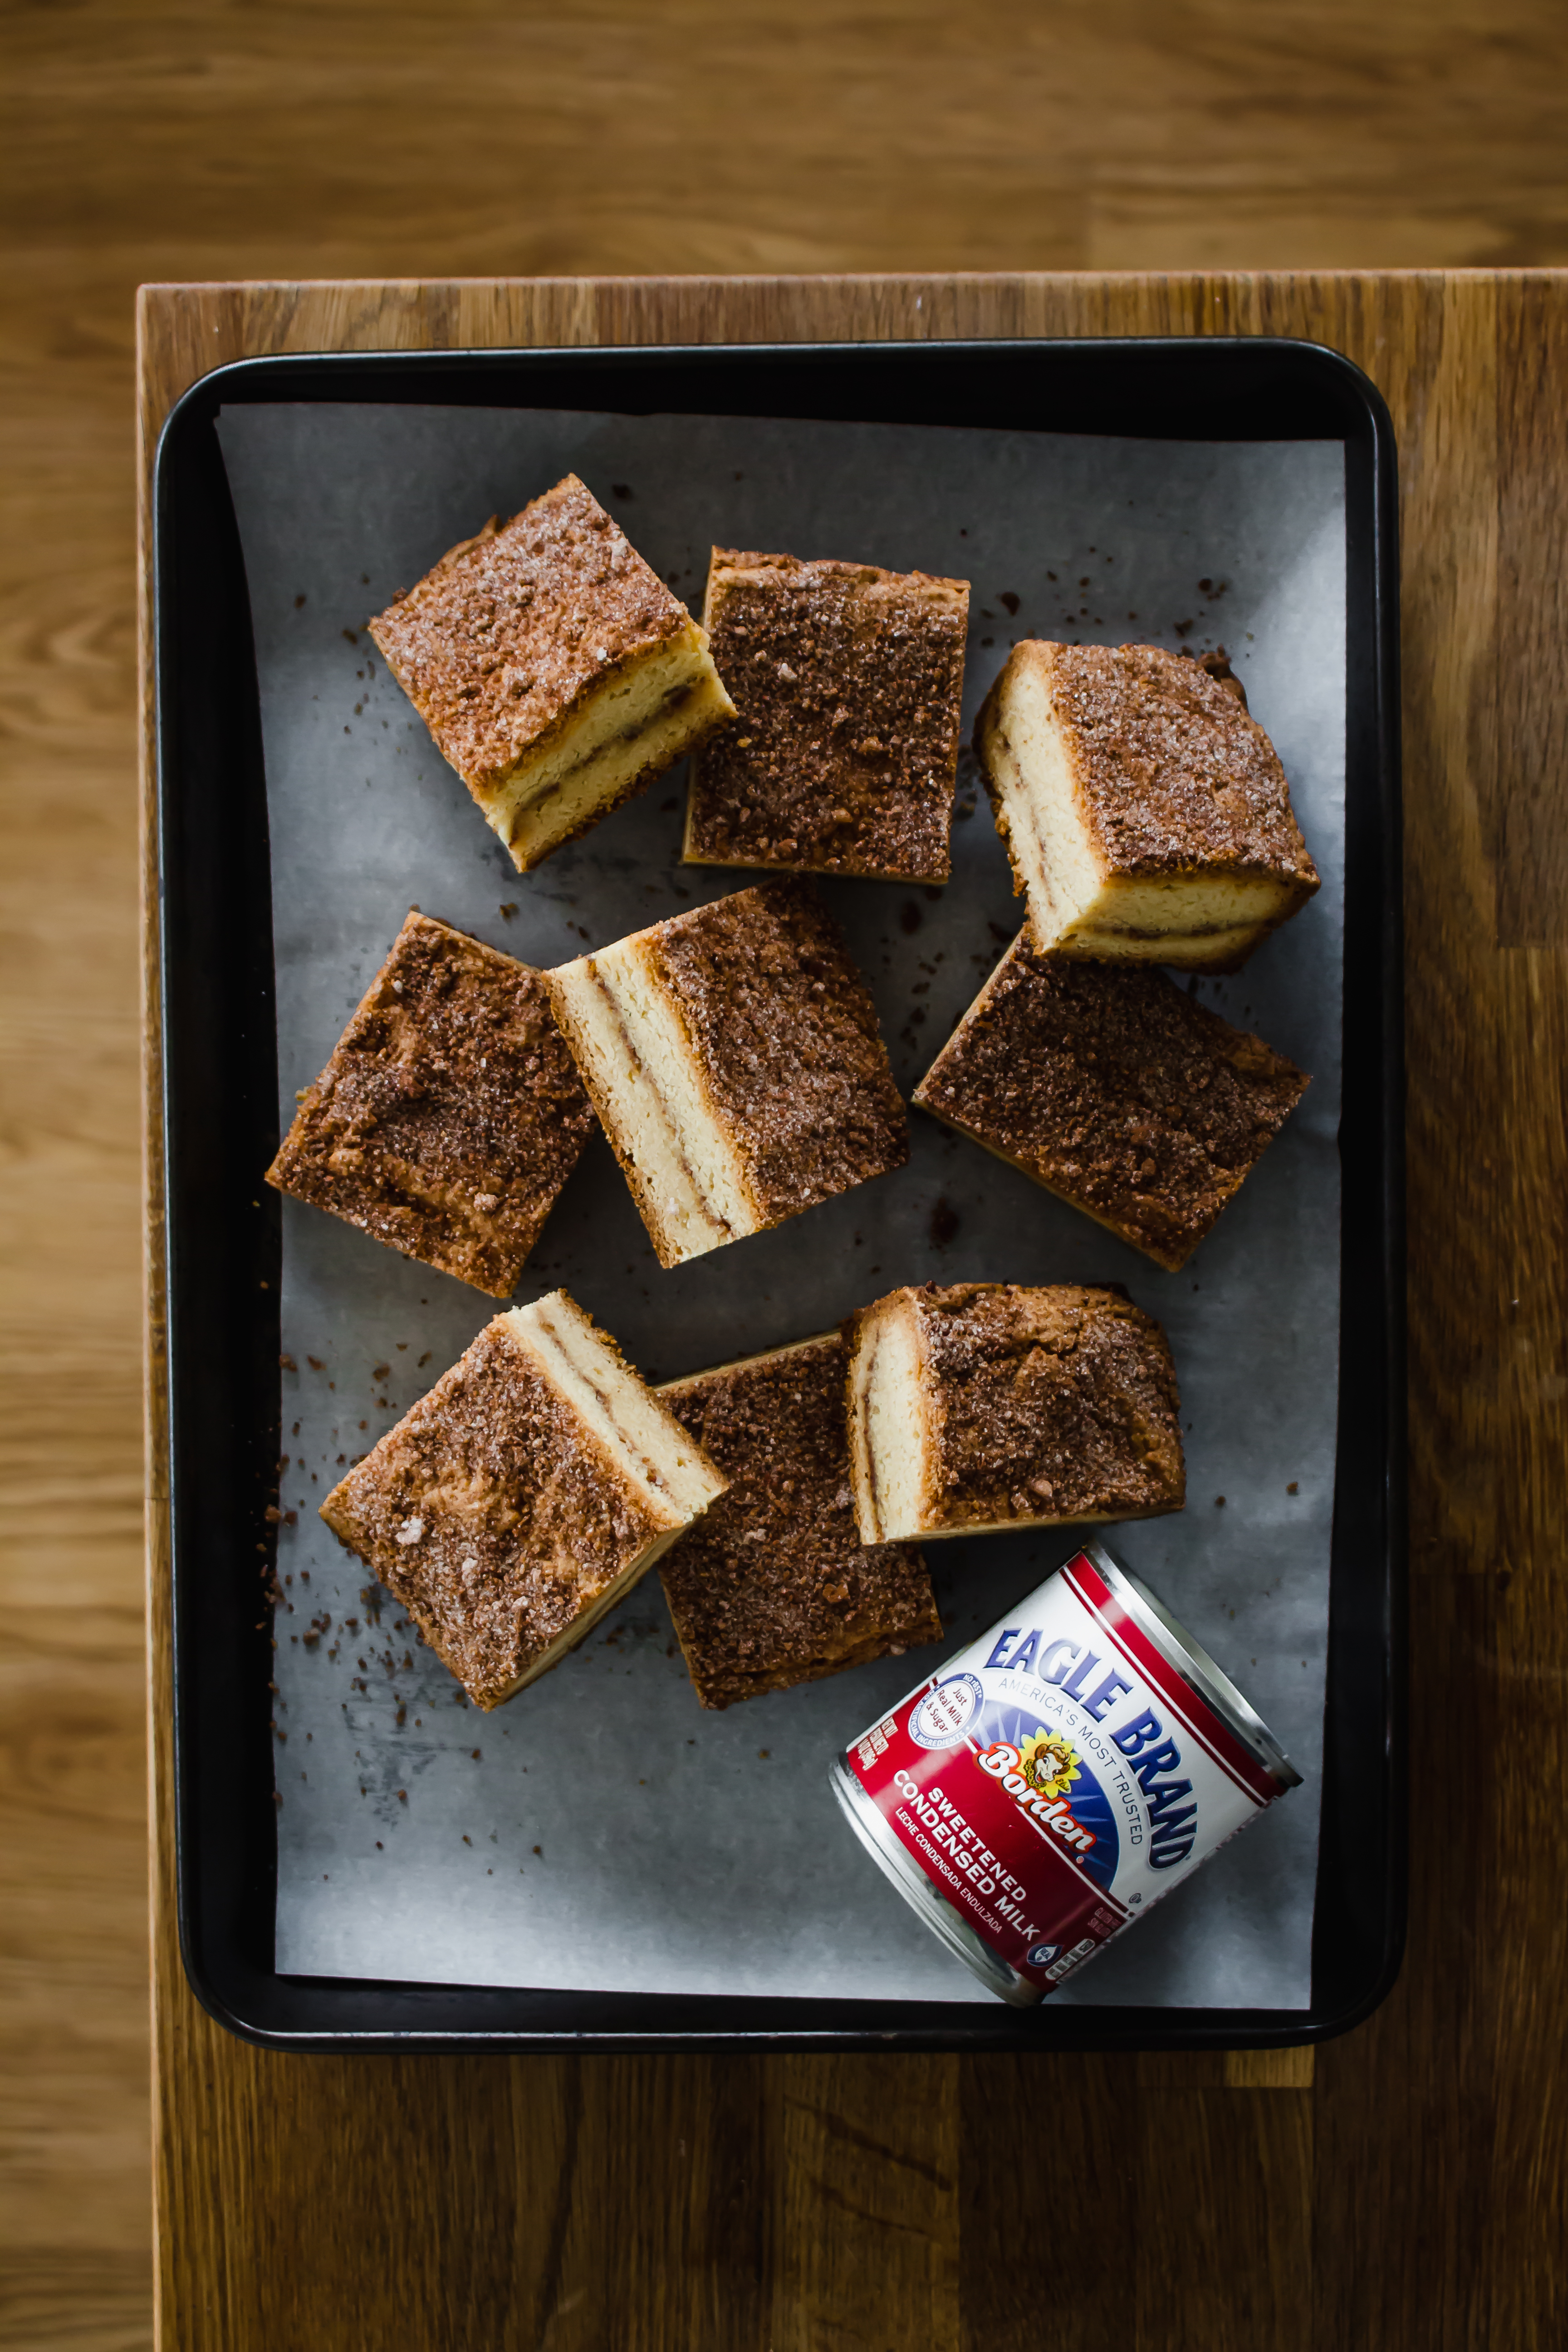
This post has been sponsored by Eagle Brand Sweetened Condensed Milk. All thoughts and opinions are my own.
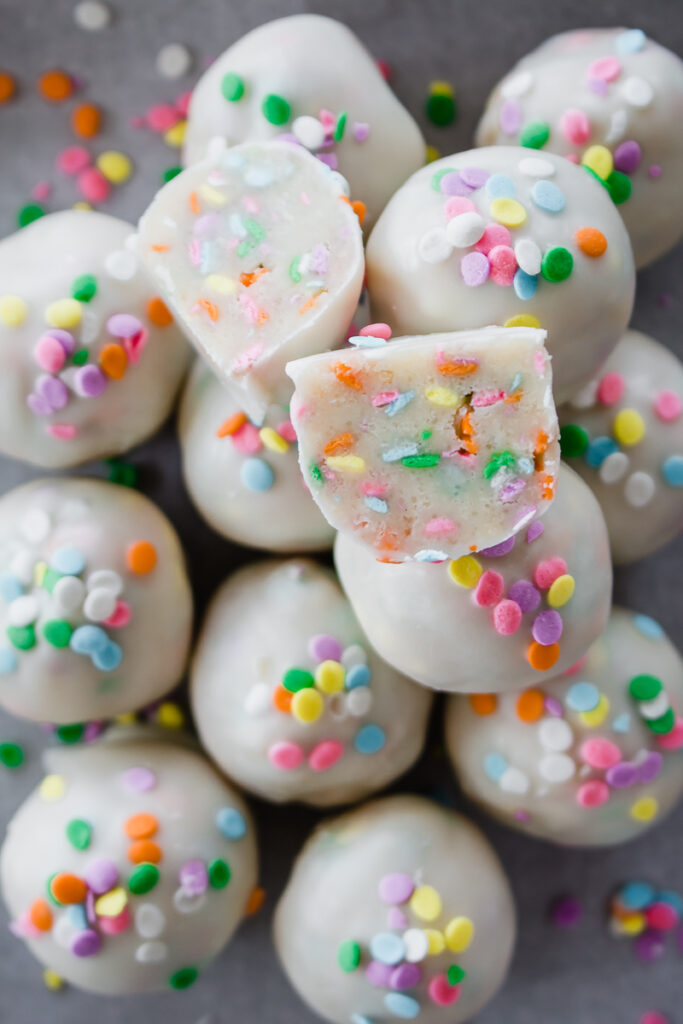
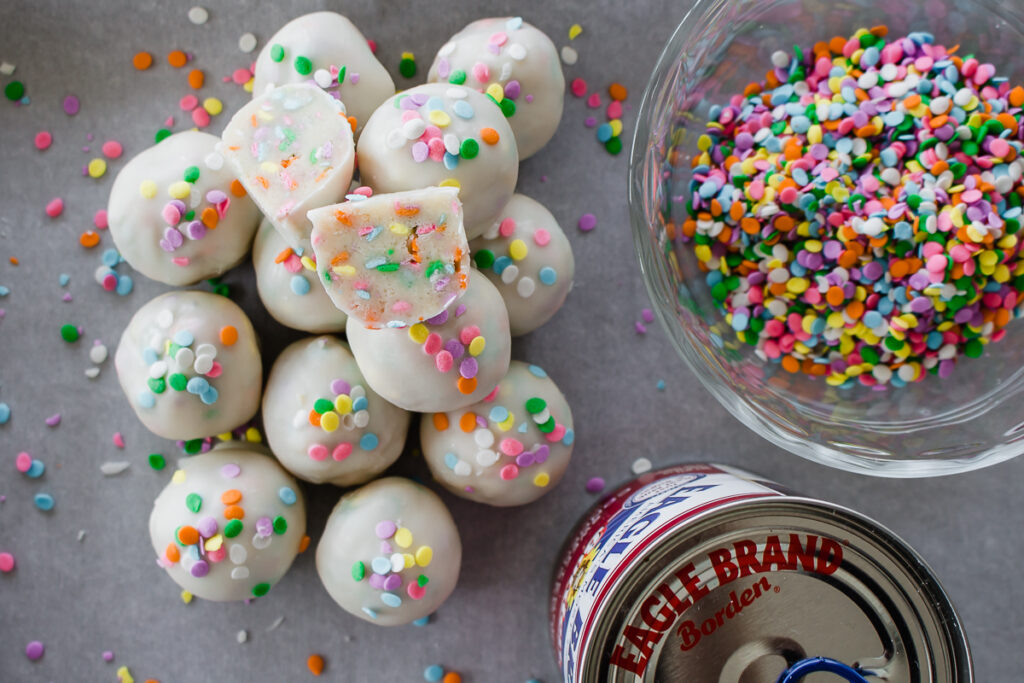
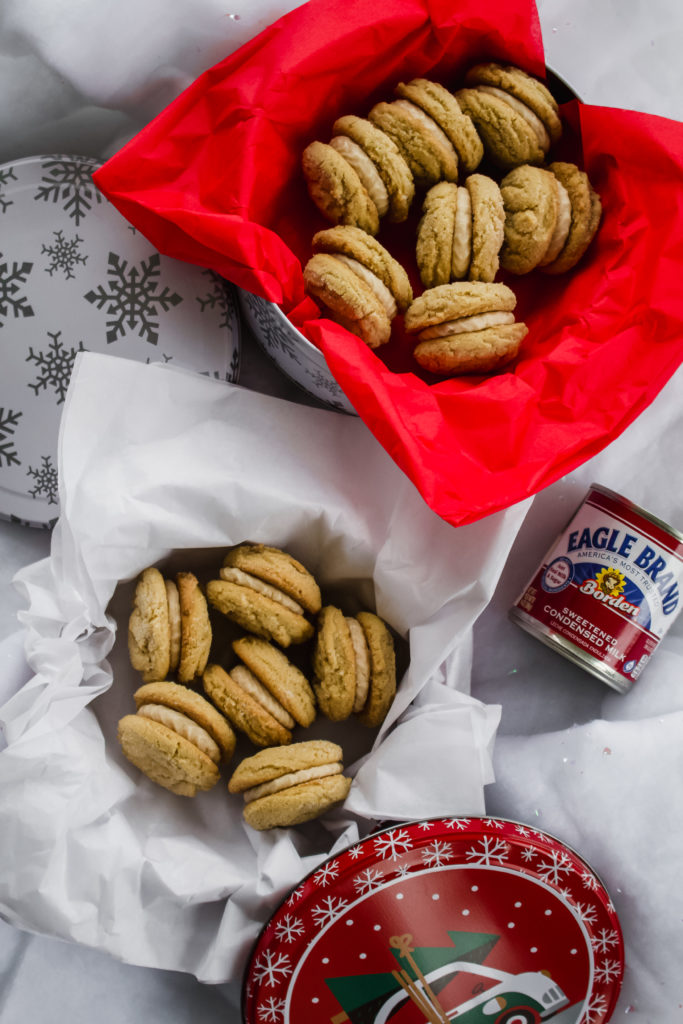
I think we can all use a little sprinkle in our life right now! Today we are making No-Bake Funfetti Cookie Dough Truffles. Yes, you read that right! Lots of colorful sprinkles, sweet edible funfetti cookie dough, and a smooth white chocolate coating come together in this easy treat.
These are perfect for anyone out there who likes to sneak a little cookie dough bite when they are baking cookies. I especially like sneaking funfetti cookie dough because of how sweet and vanilla-y it is and because I love the little sprinkle crunches.
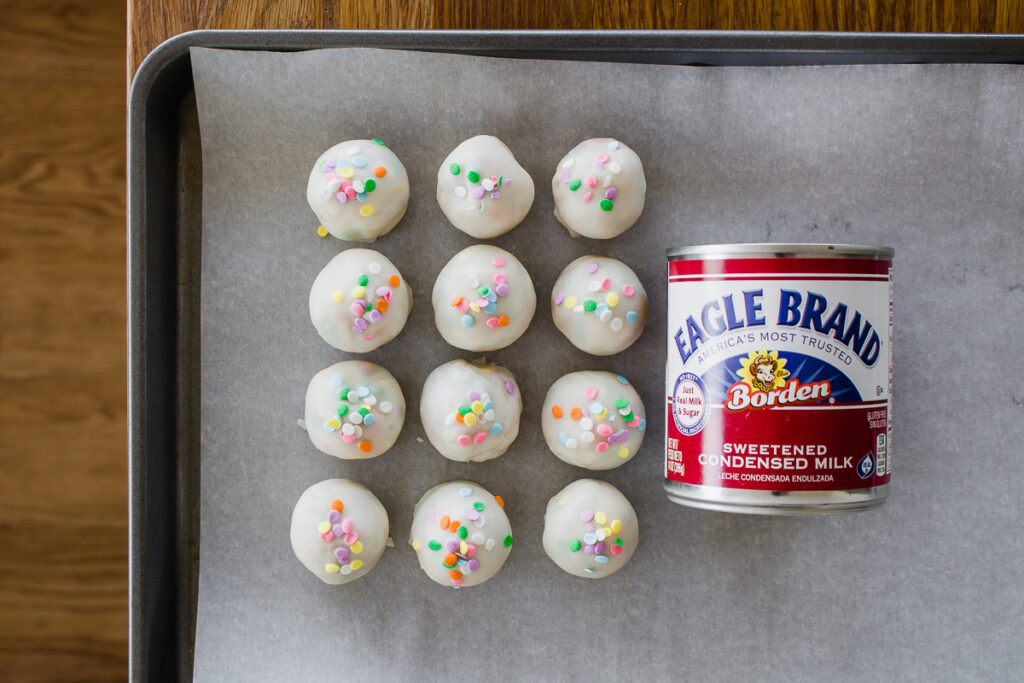
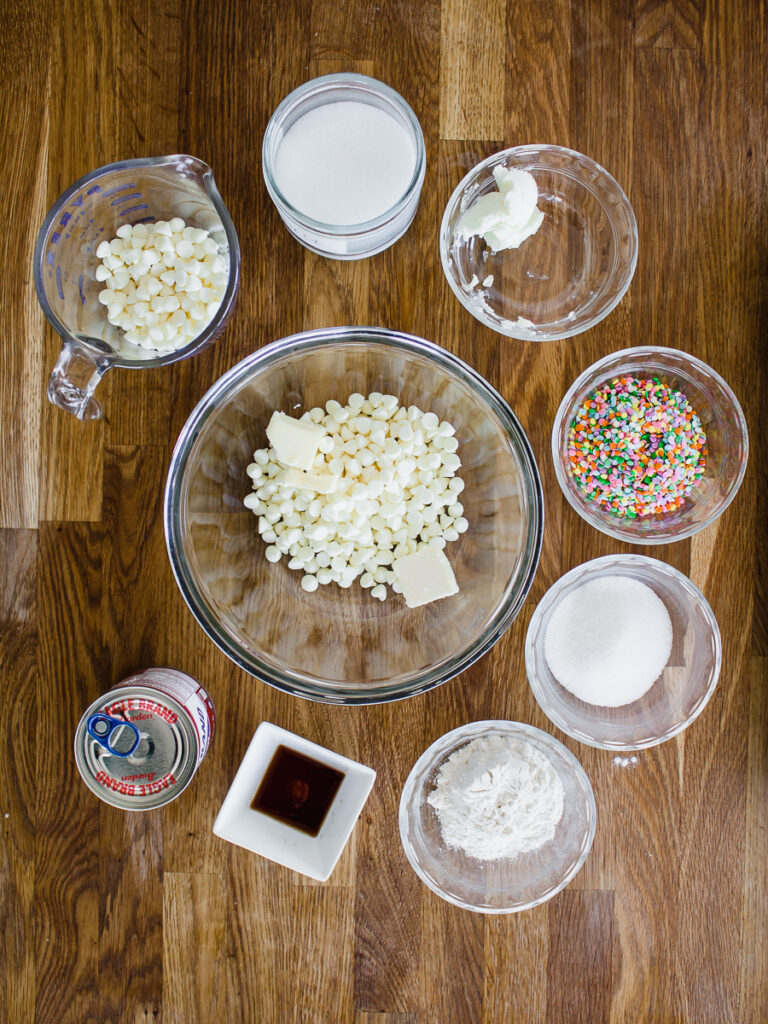
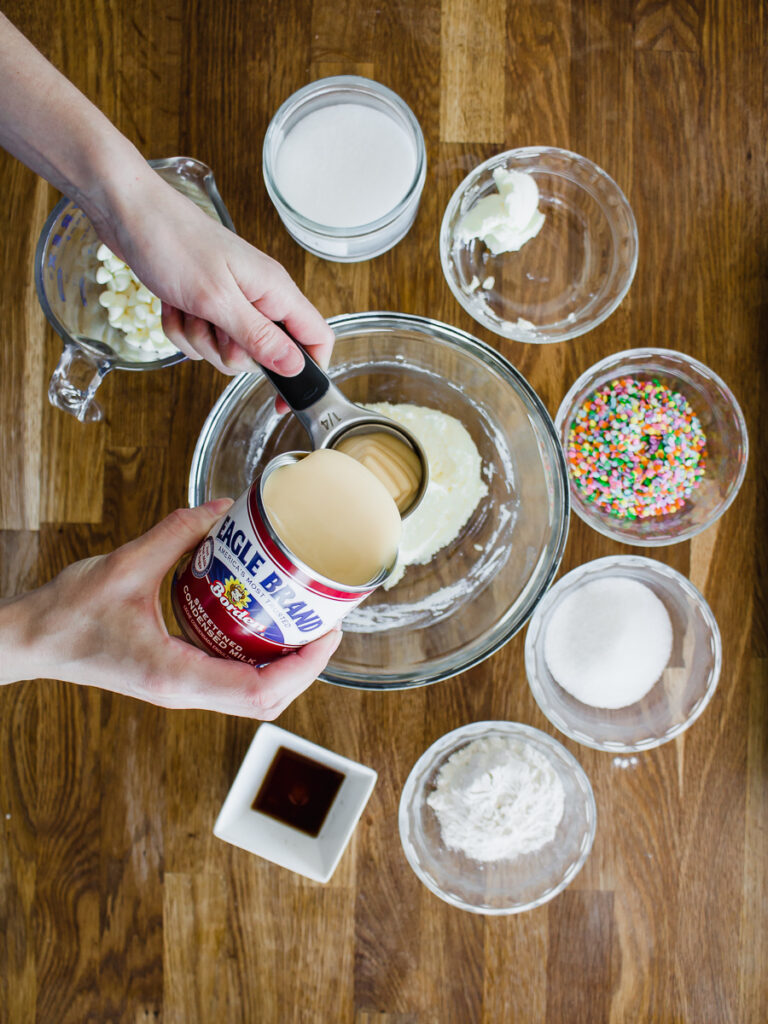
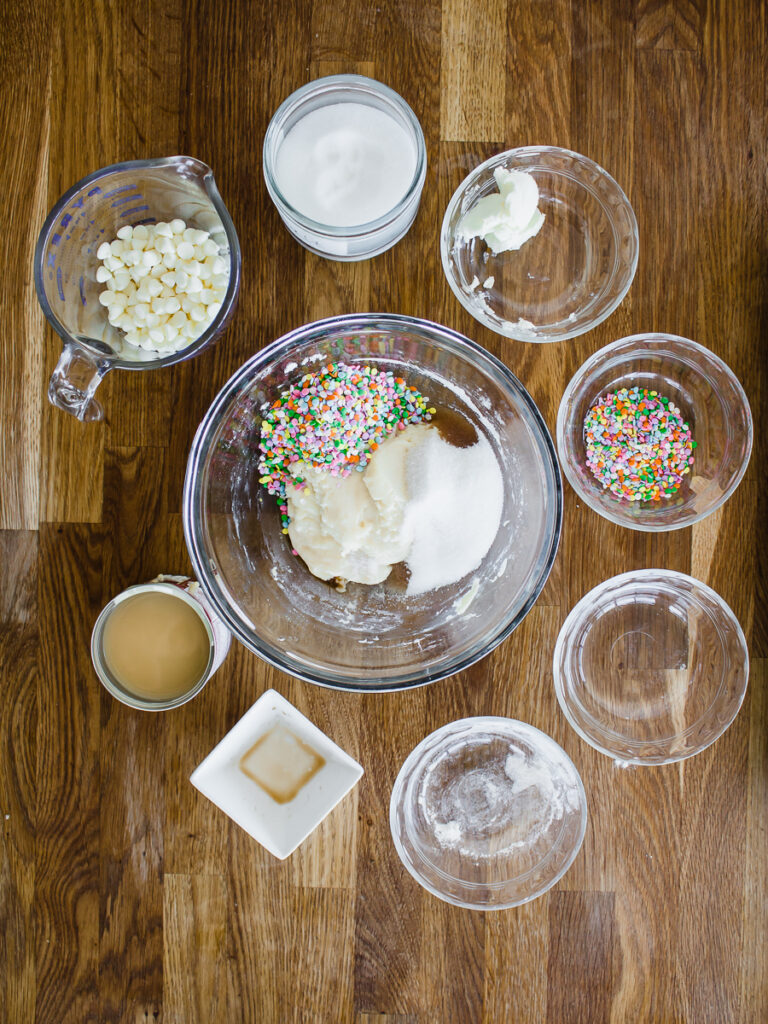
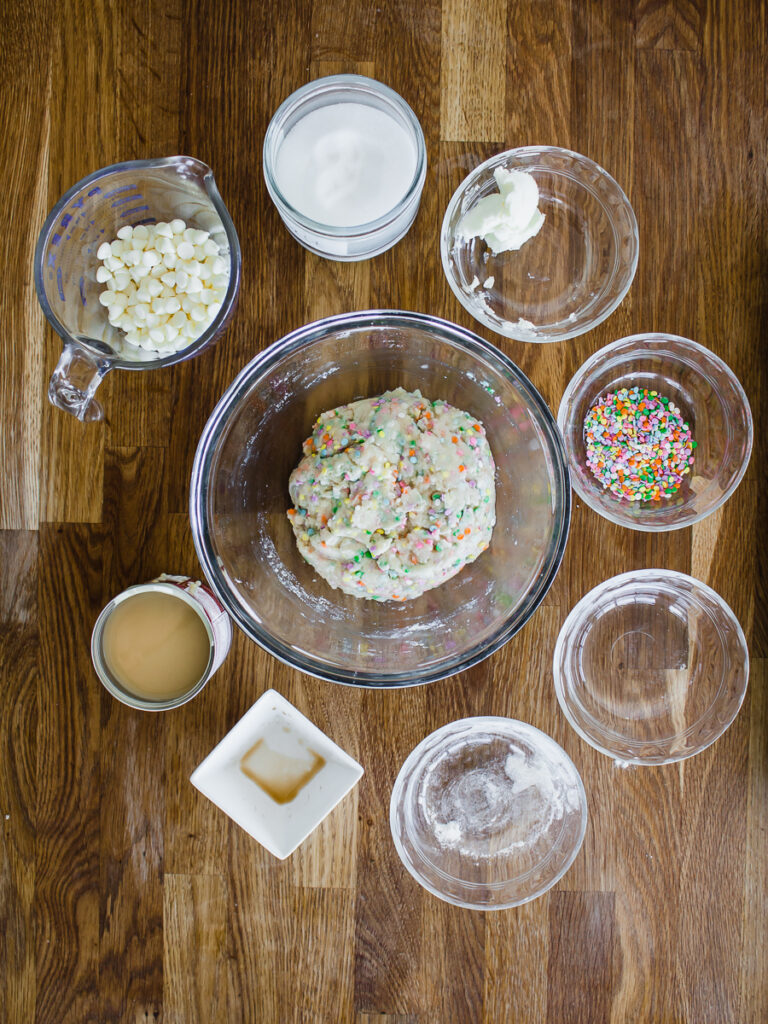
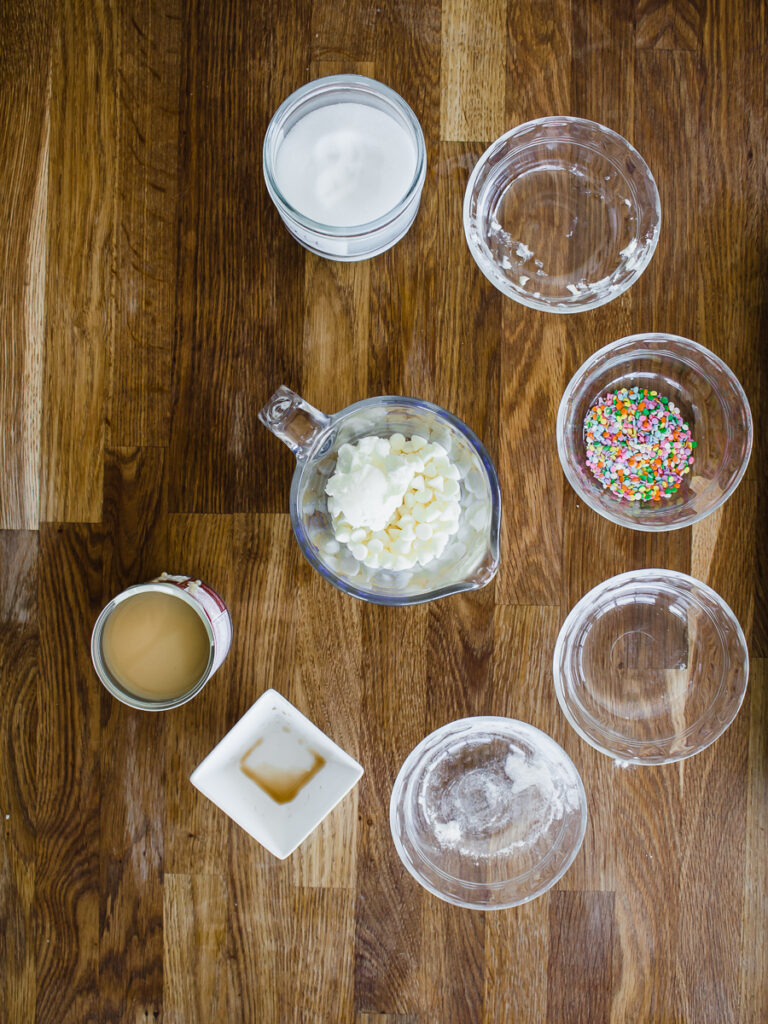
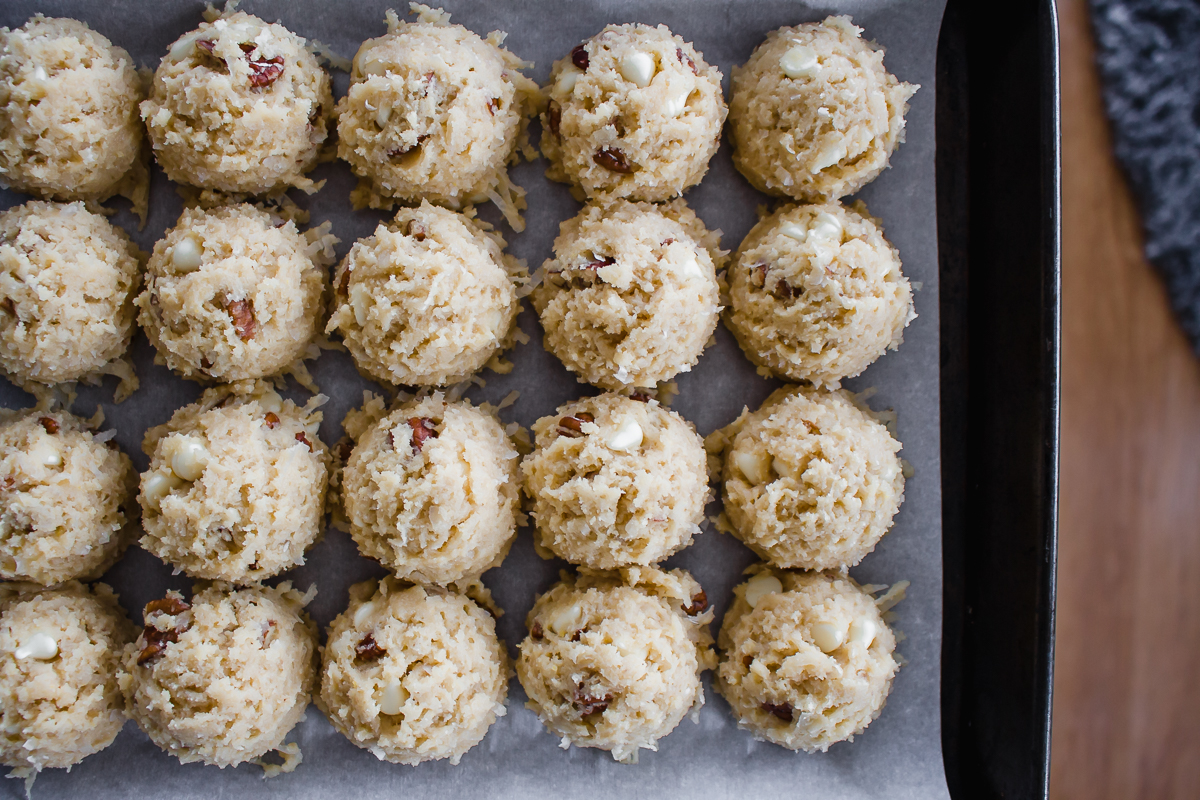
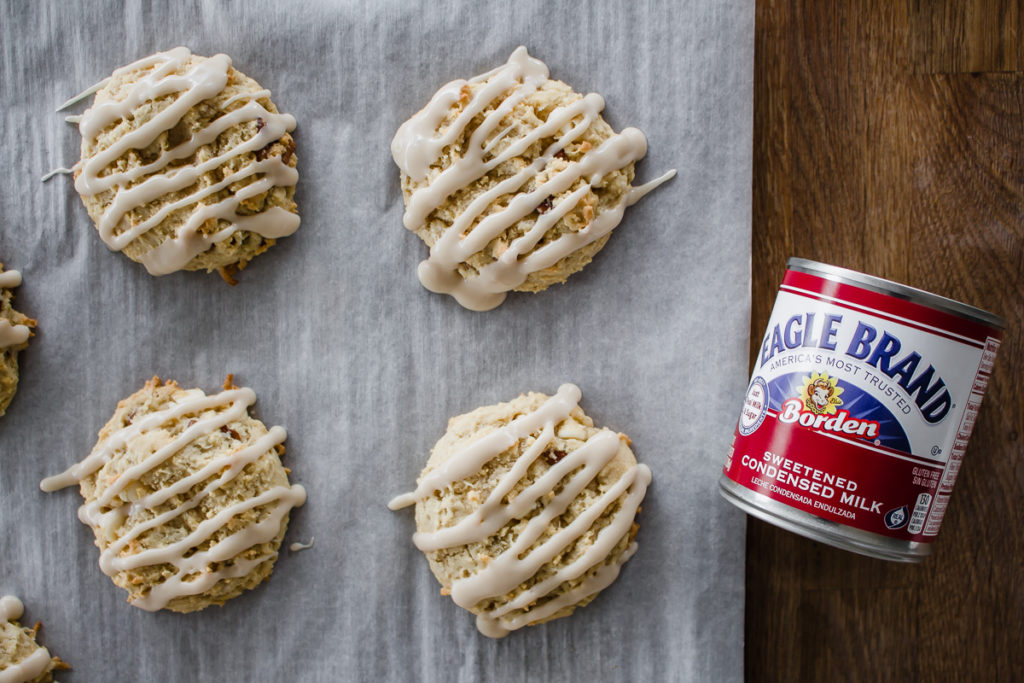
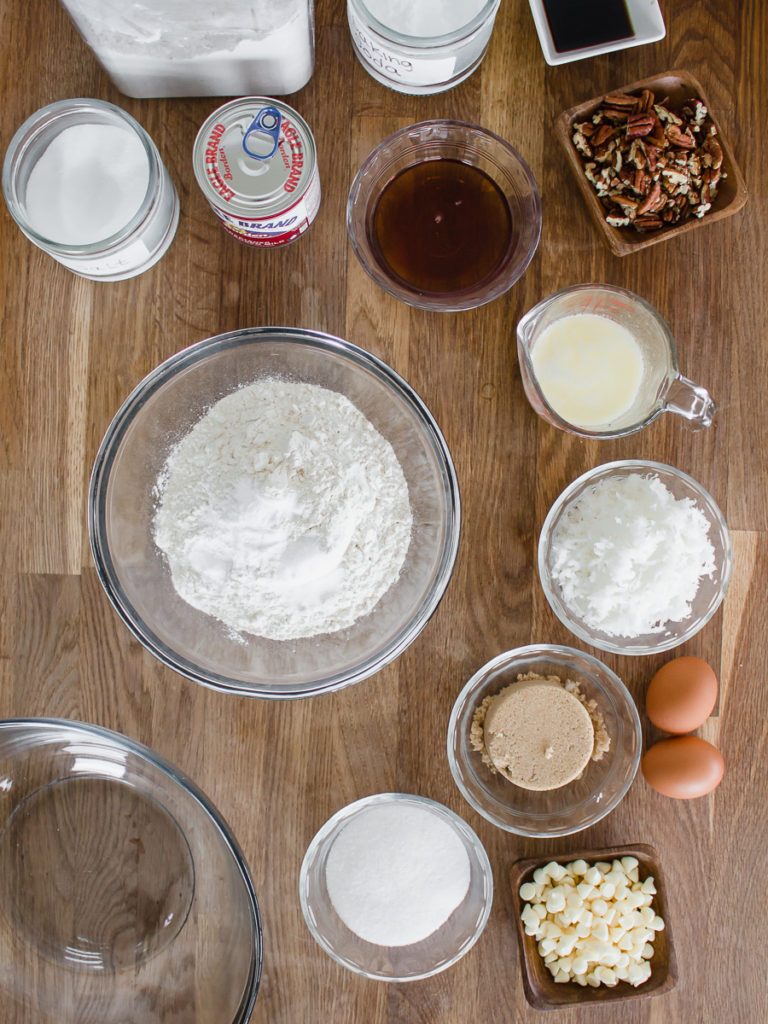
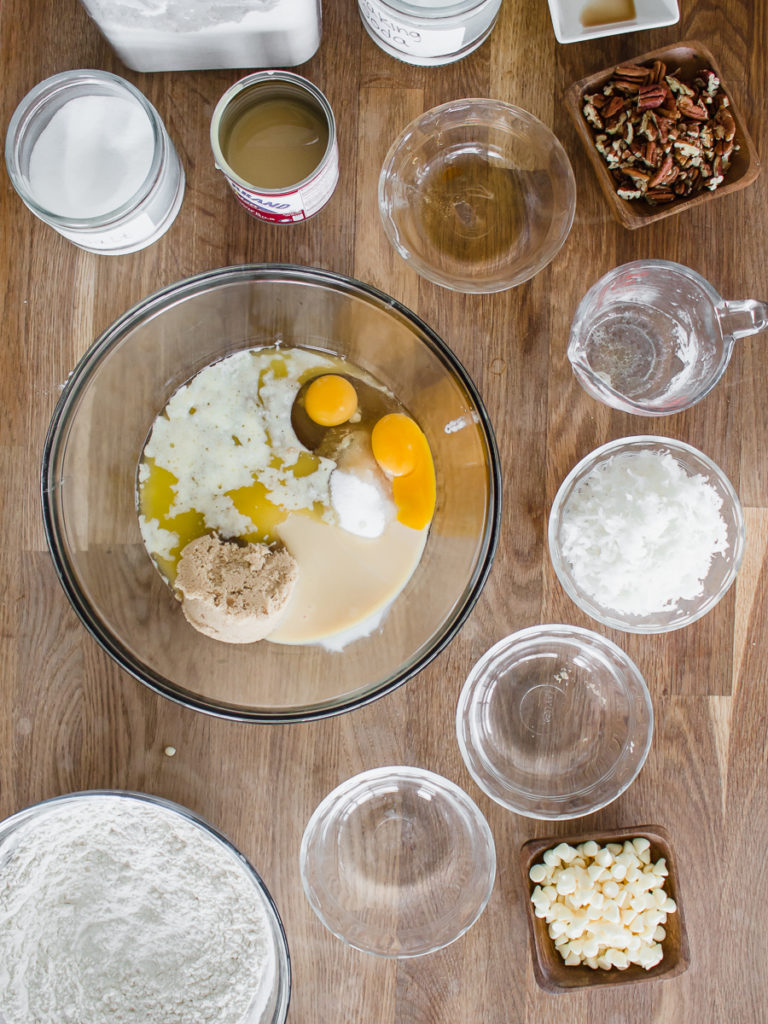
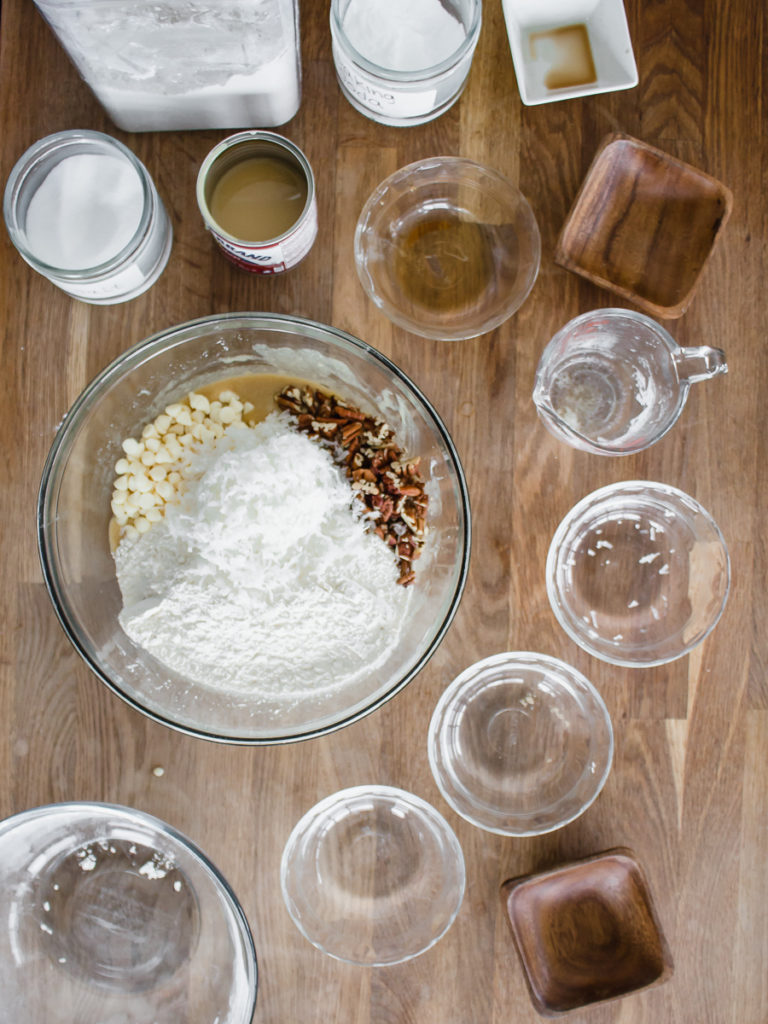
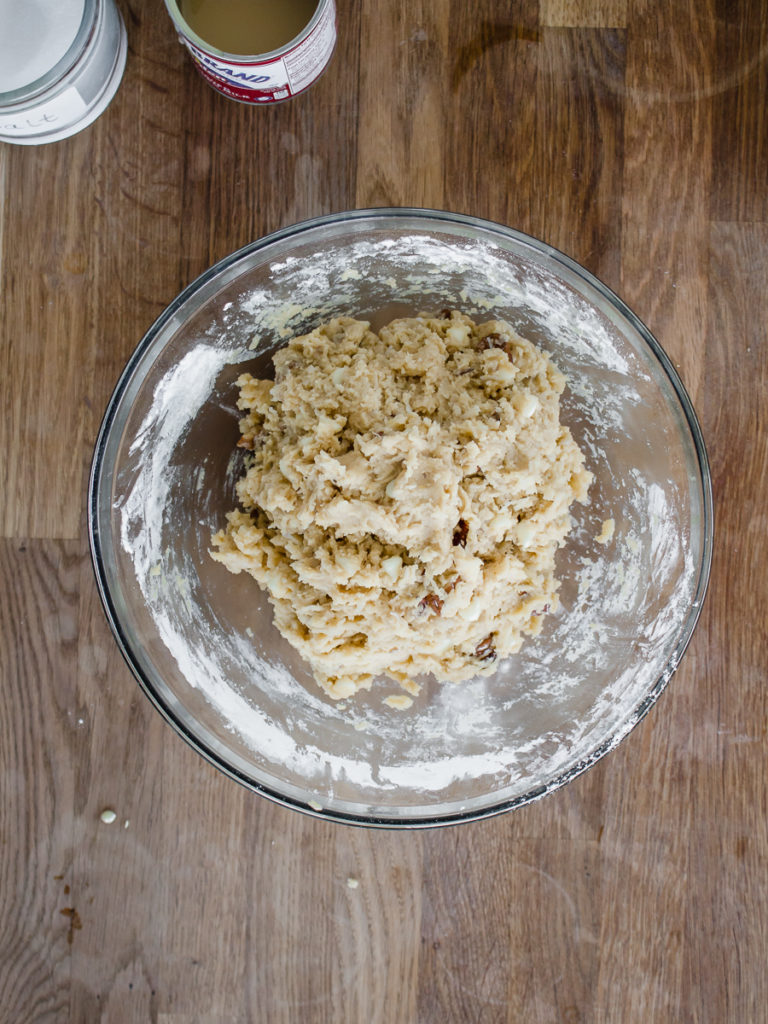
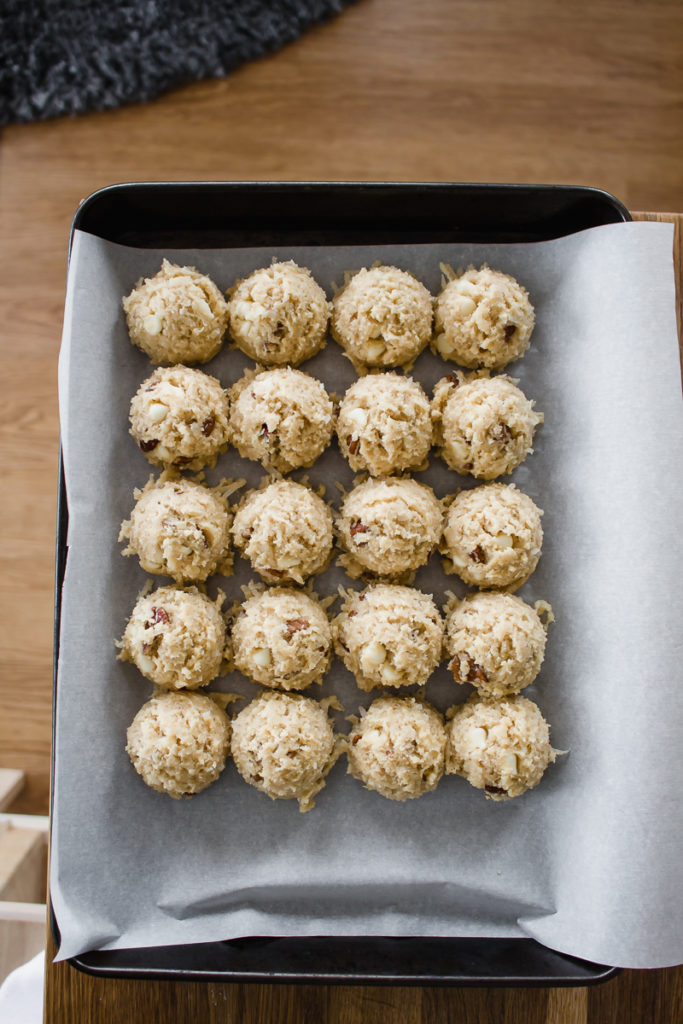
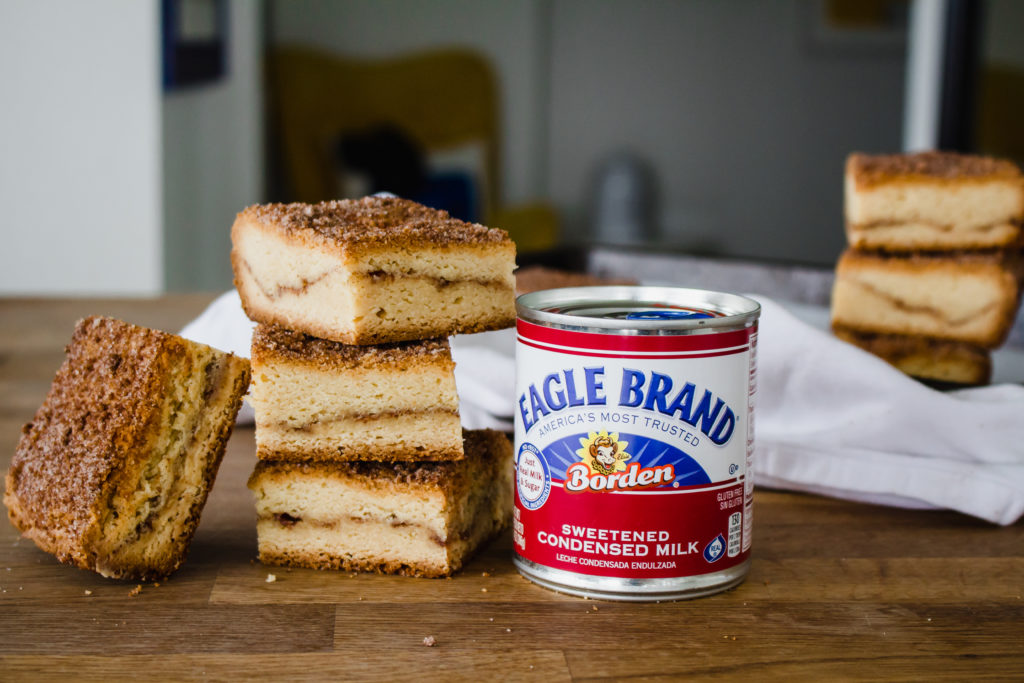
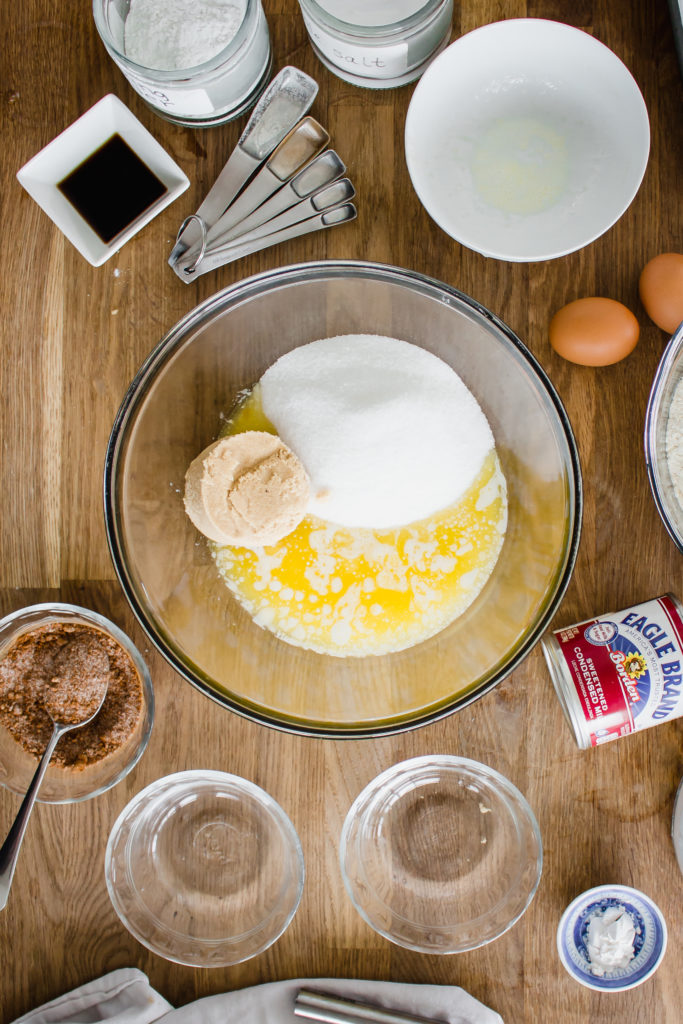
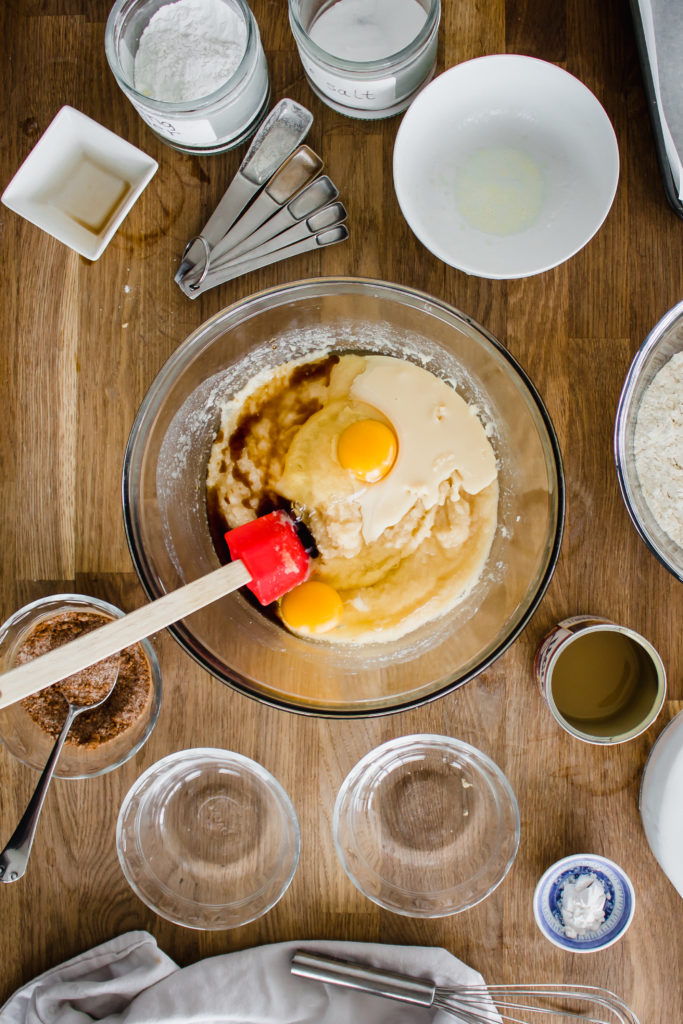
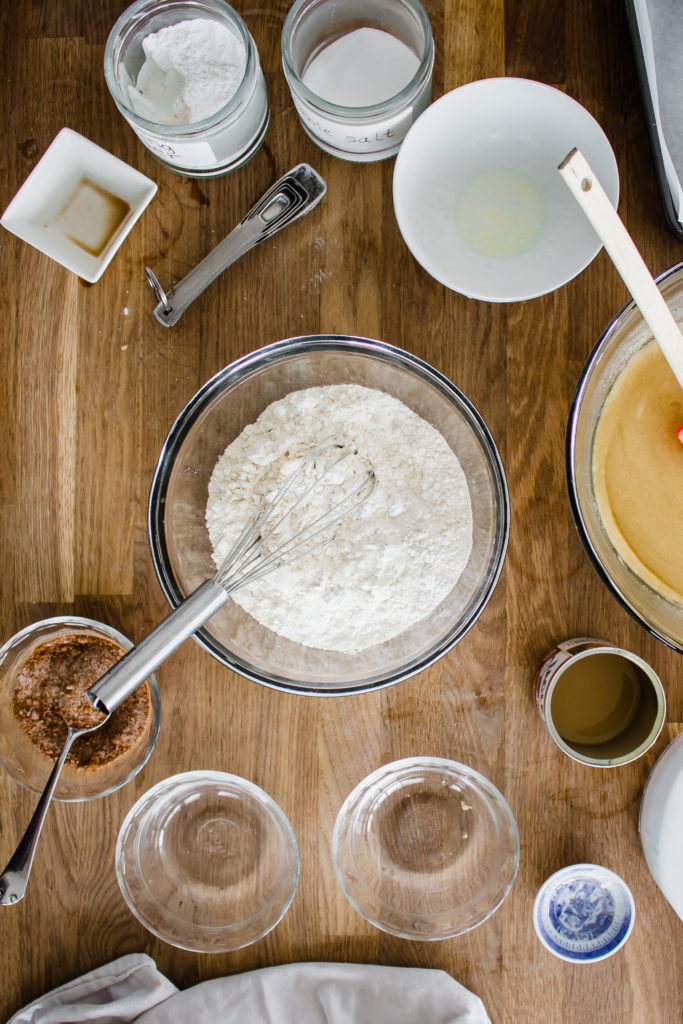
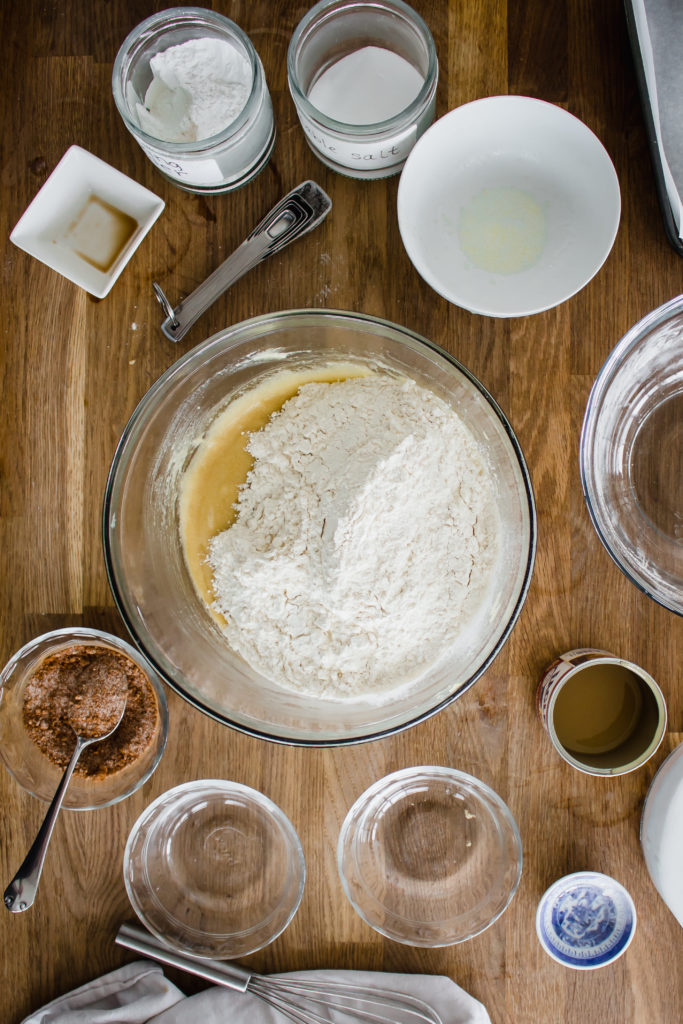
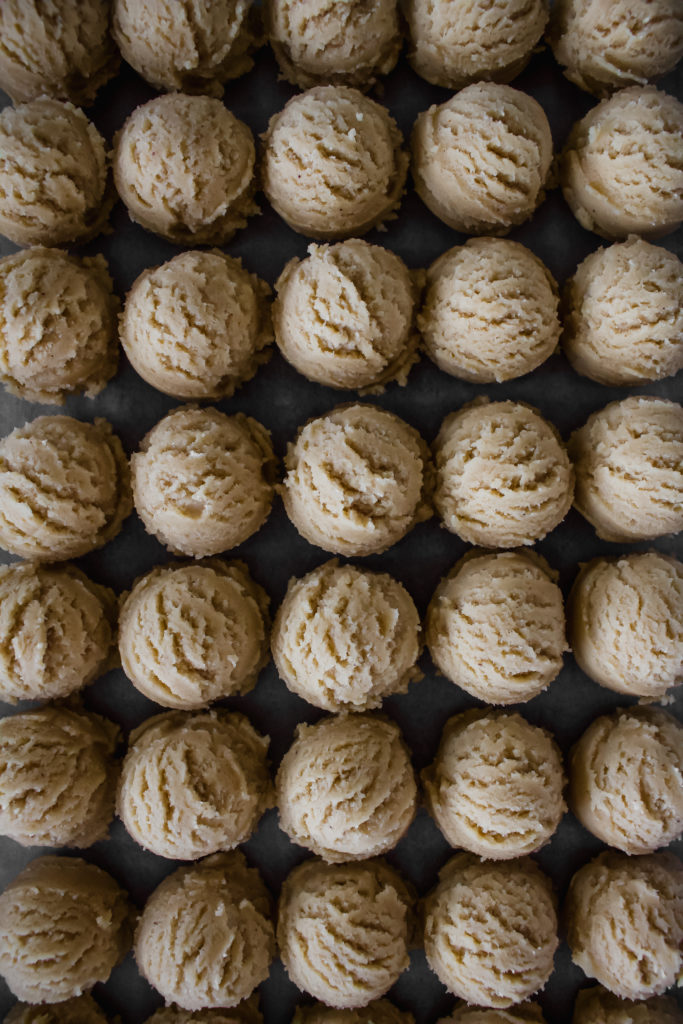
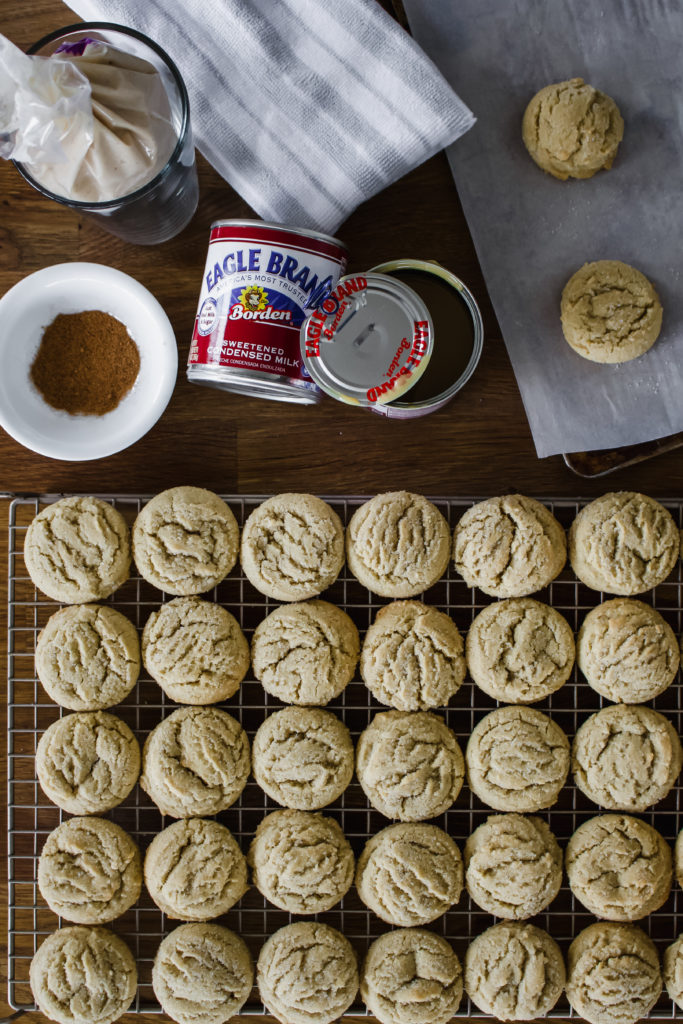
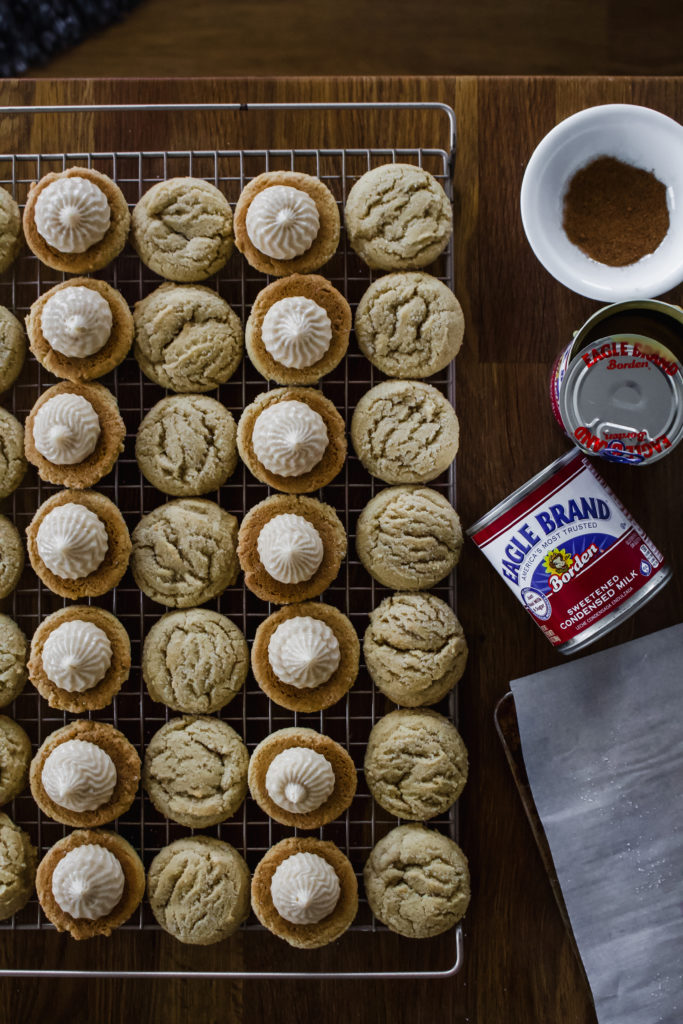
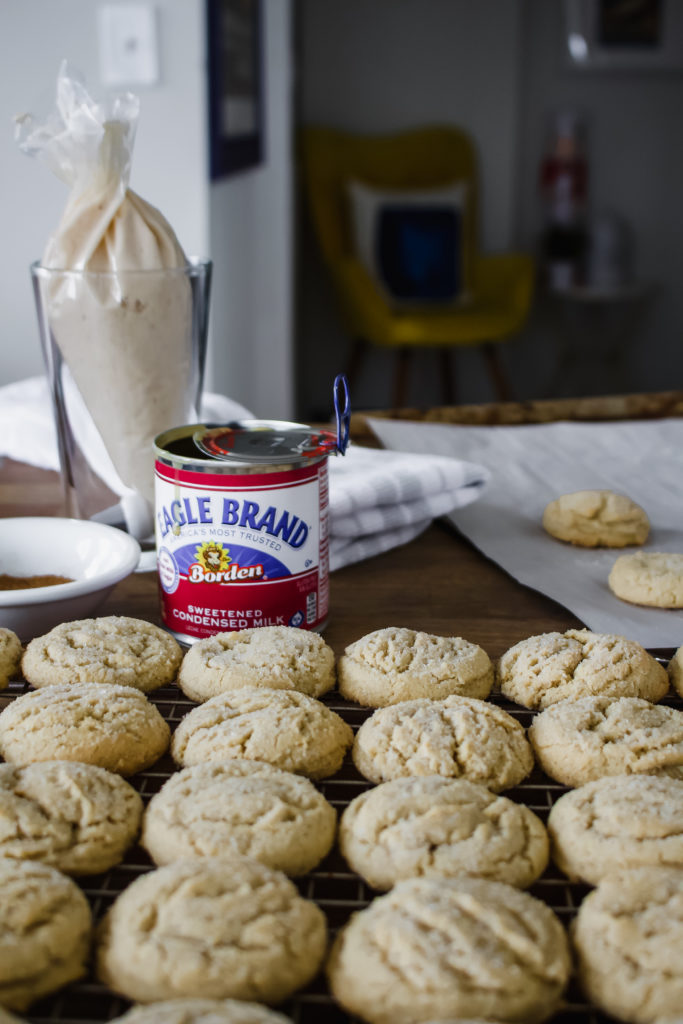
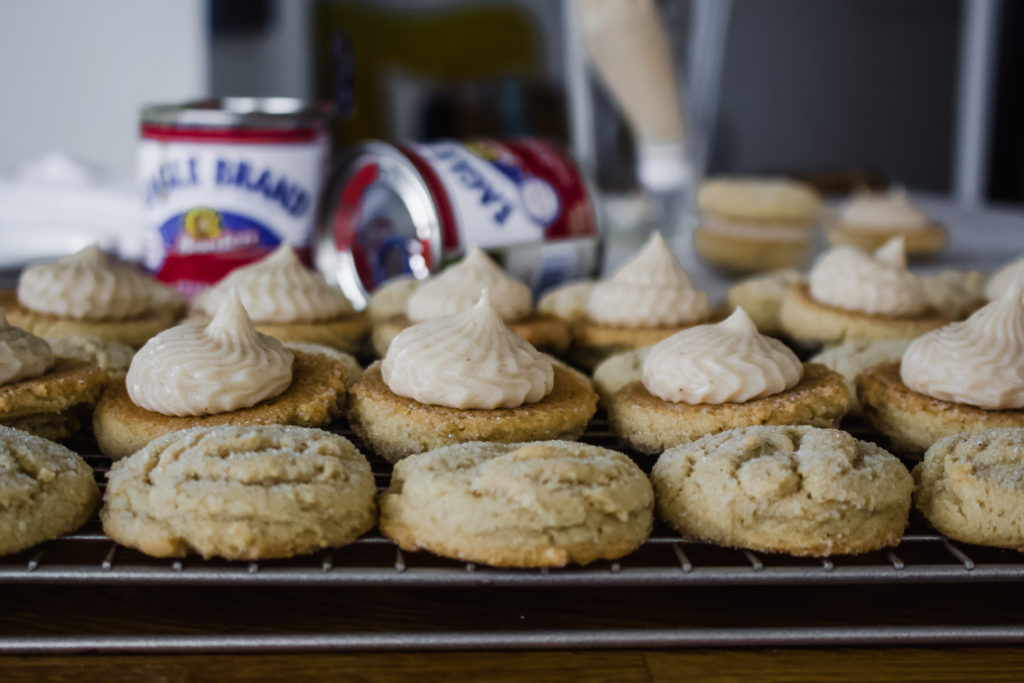
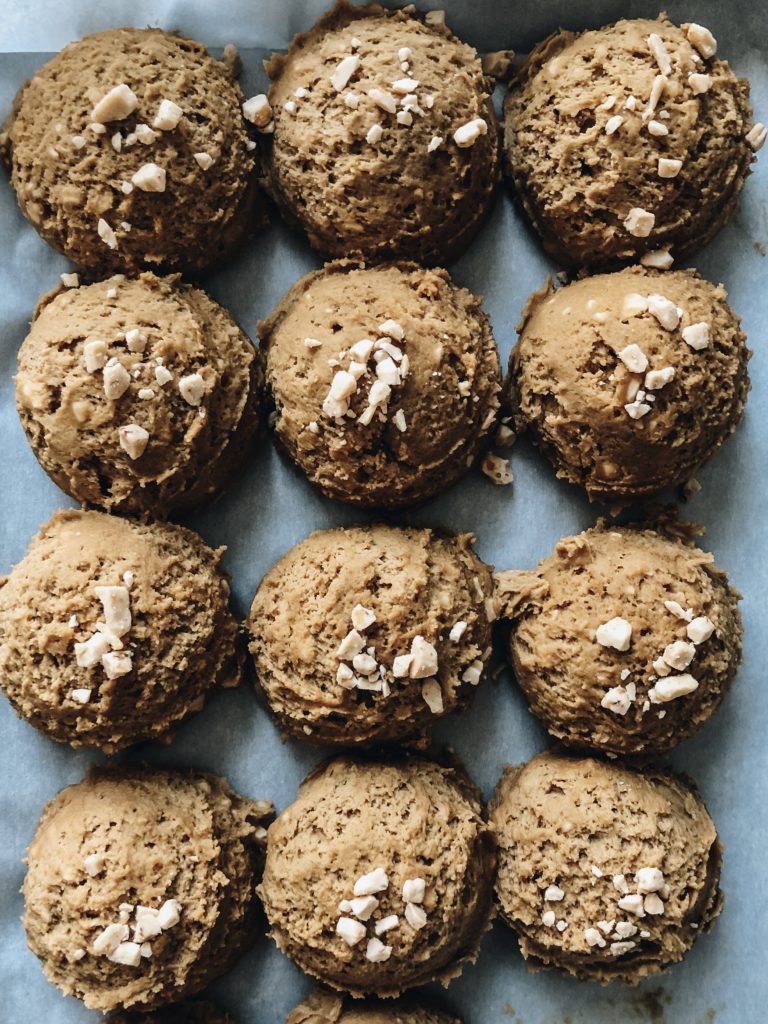
Since we aren’t baking these, we are making edible cookie dough for the truffle centers. We do this by omitting the raw ingredients you’d find in regular cookie dough, namely egg, and using Eagle Brand Sweetened Condensed Milk to act as a sweetener and binder. Since regular all-purpose flour found in cookie dough is also raw, to be extra cautious, we are using almond flour which is just ground almonds and can be eaten without heating. You can also easily use all purpose flour if you just heat treat it first. To heat treat it, I microwave my flour for a minute, stirring every 15 seconds, to heat off any potential bacteria. Do what works best for you!

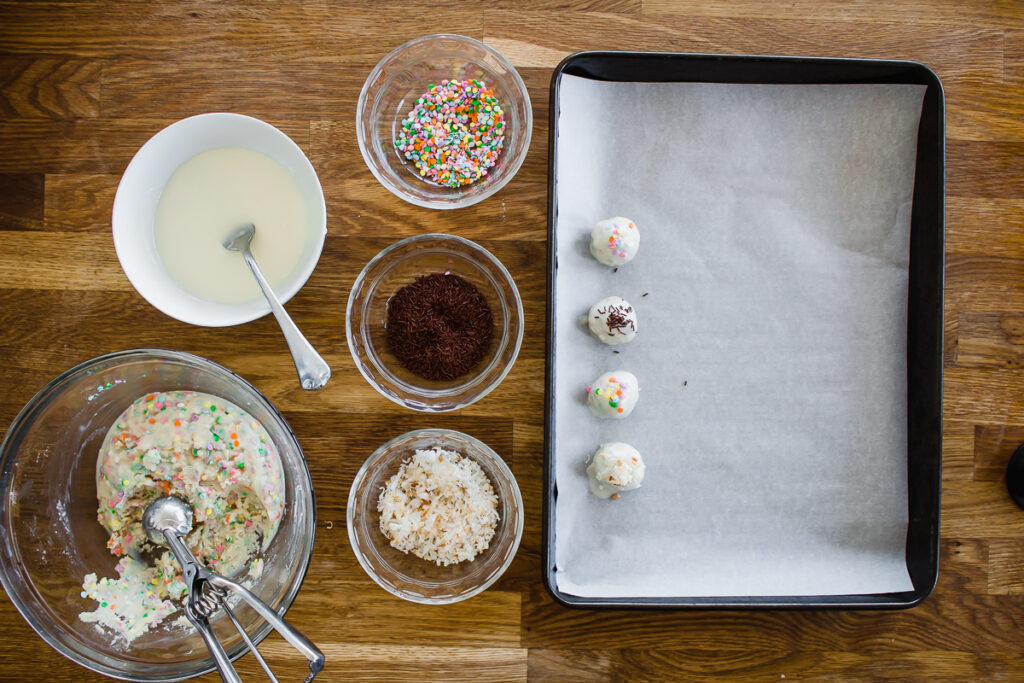
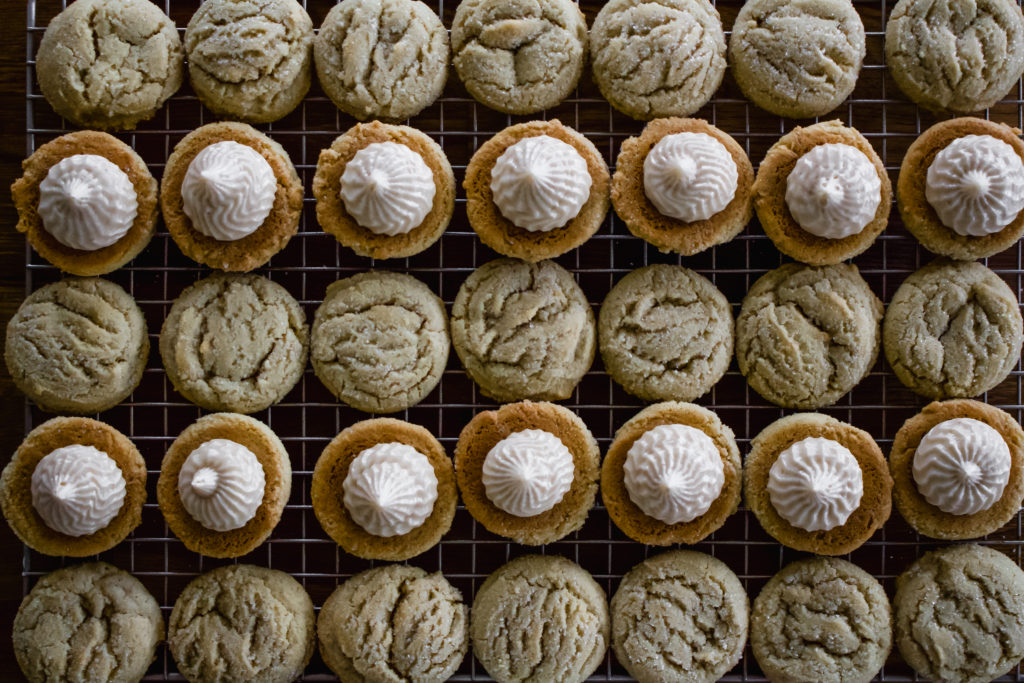
I grew up eating truffles that my mom made and she always coated them with a chocolate shell, so we are throwing it back to those days and doing the same here. Since these are funfetti on the inside, I stuck with that white chocolate flavor for the coating. You could also use milk or dark chocolate for the coating if you prefer. Use any sprinkles you have on hand to make them your own.

These truffles come together so quickly you could easily do it as a virtual video project with your loved ones and any kids in the family. I hope you enjoy these treats! If you make them, I would love to see how they turn out, be sure to tag me @butterlovescompany and @eaglebrandmilk so we can see!
Love, and be well.
Jenna