butter loves company

new york food blogger and lifestyle influencer

  • home
  • Recipes
  • travel
  • lifestyle
  • cookie orders
  • about
  • contact

kentucky butter cake

August 15, 2019 by Butter Loves Company

This butter cake will surprise you. I had never had Kentucky Butter Cake before the random Tuesday when I made this recipe and sat in awe of its deliciousness.

kentucky-butter-cake

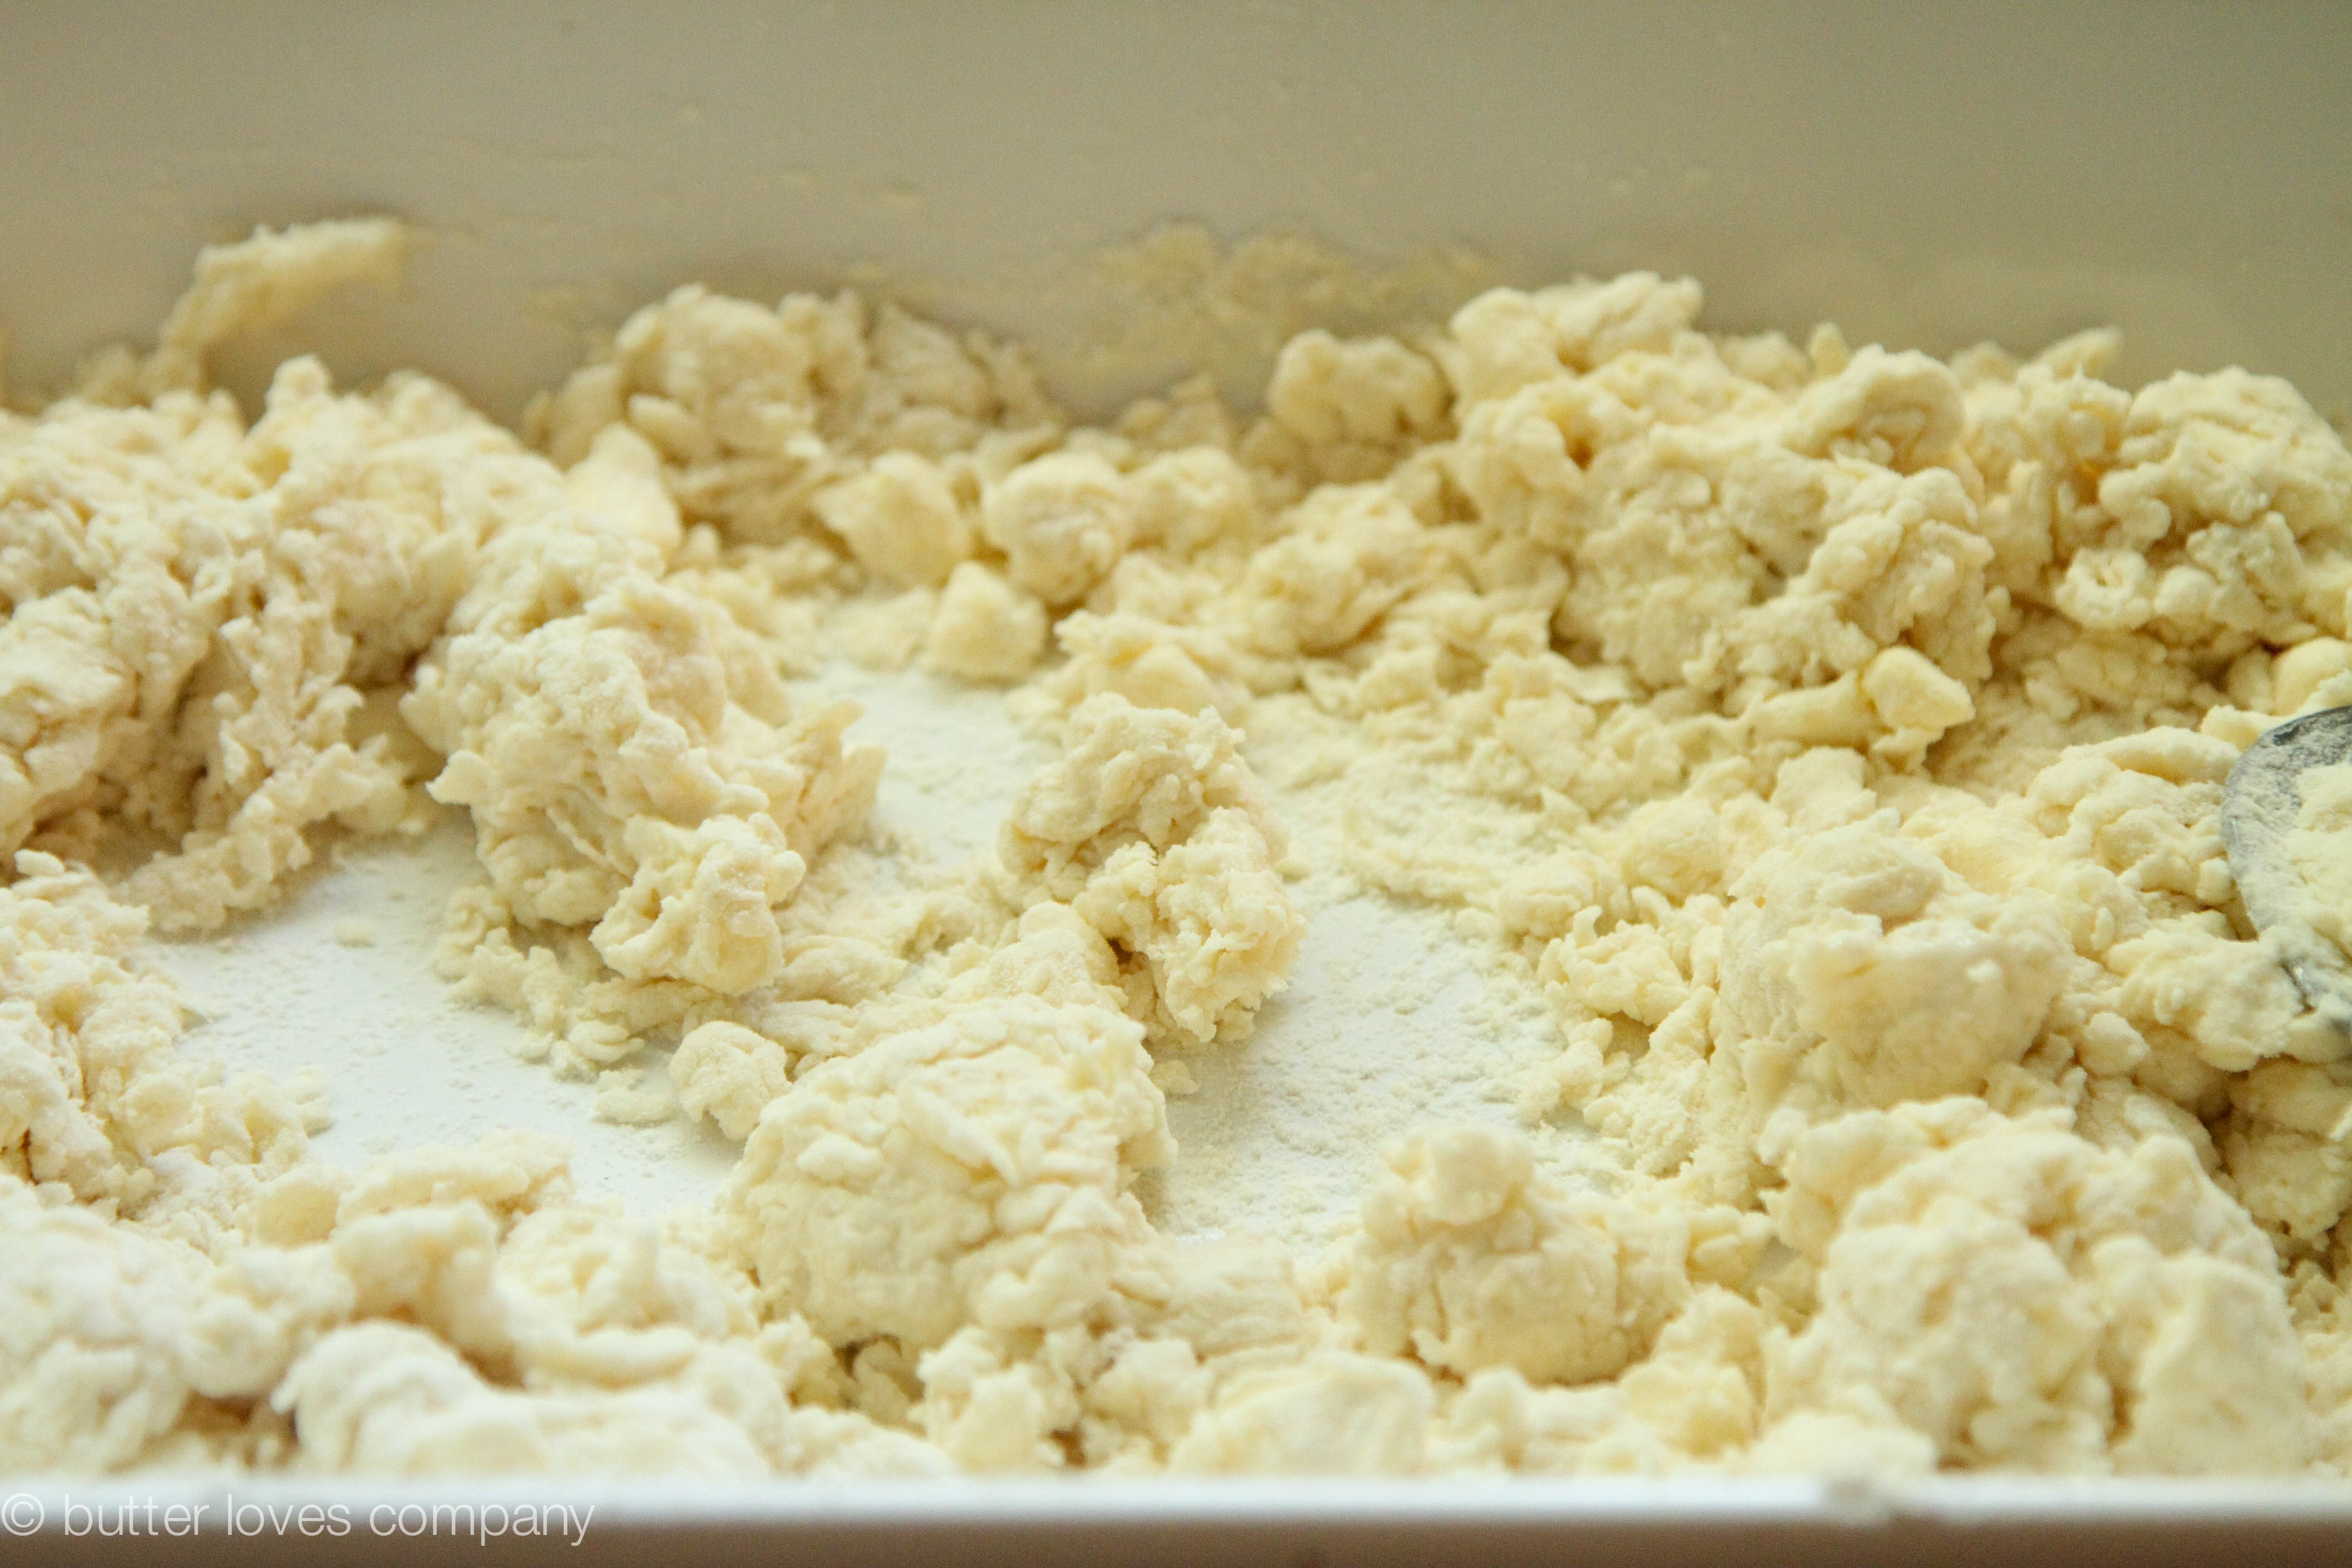
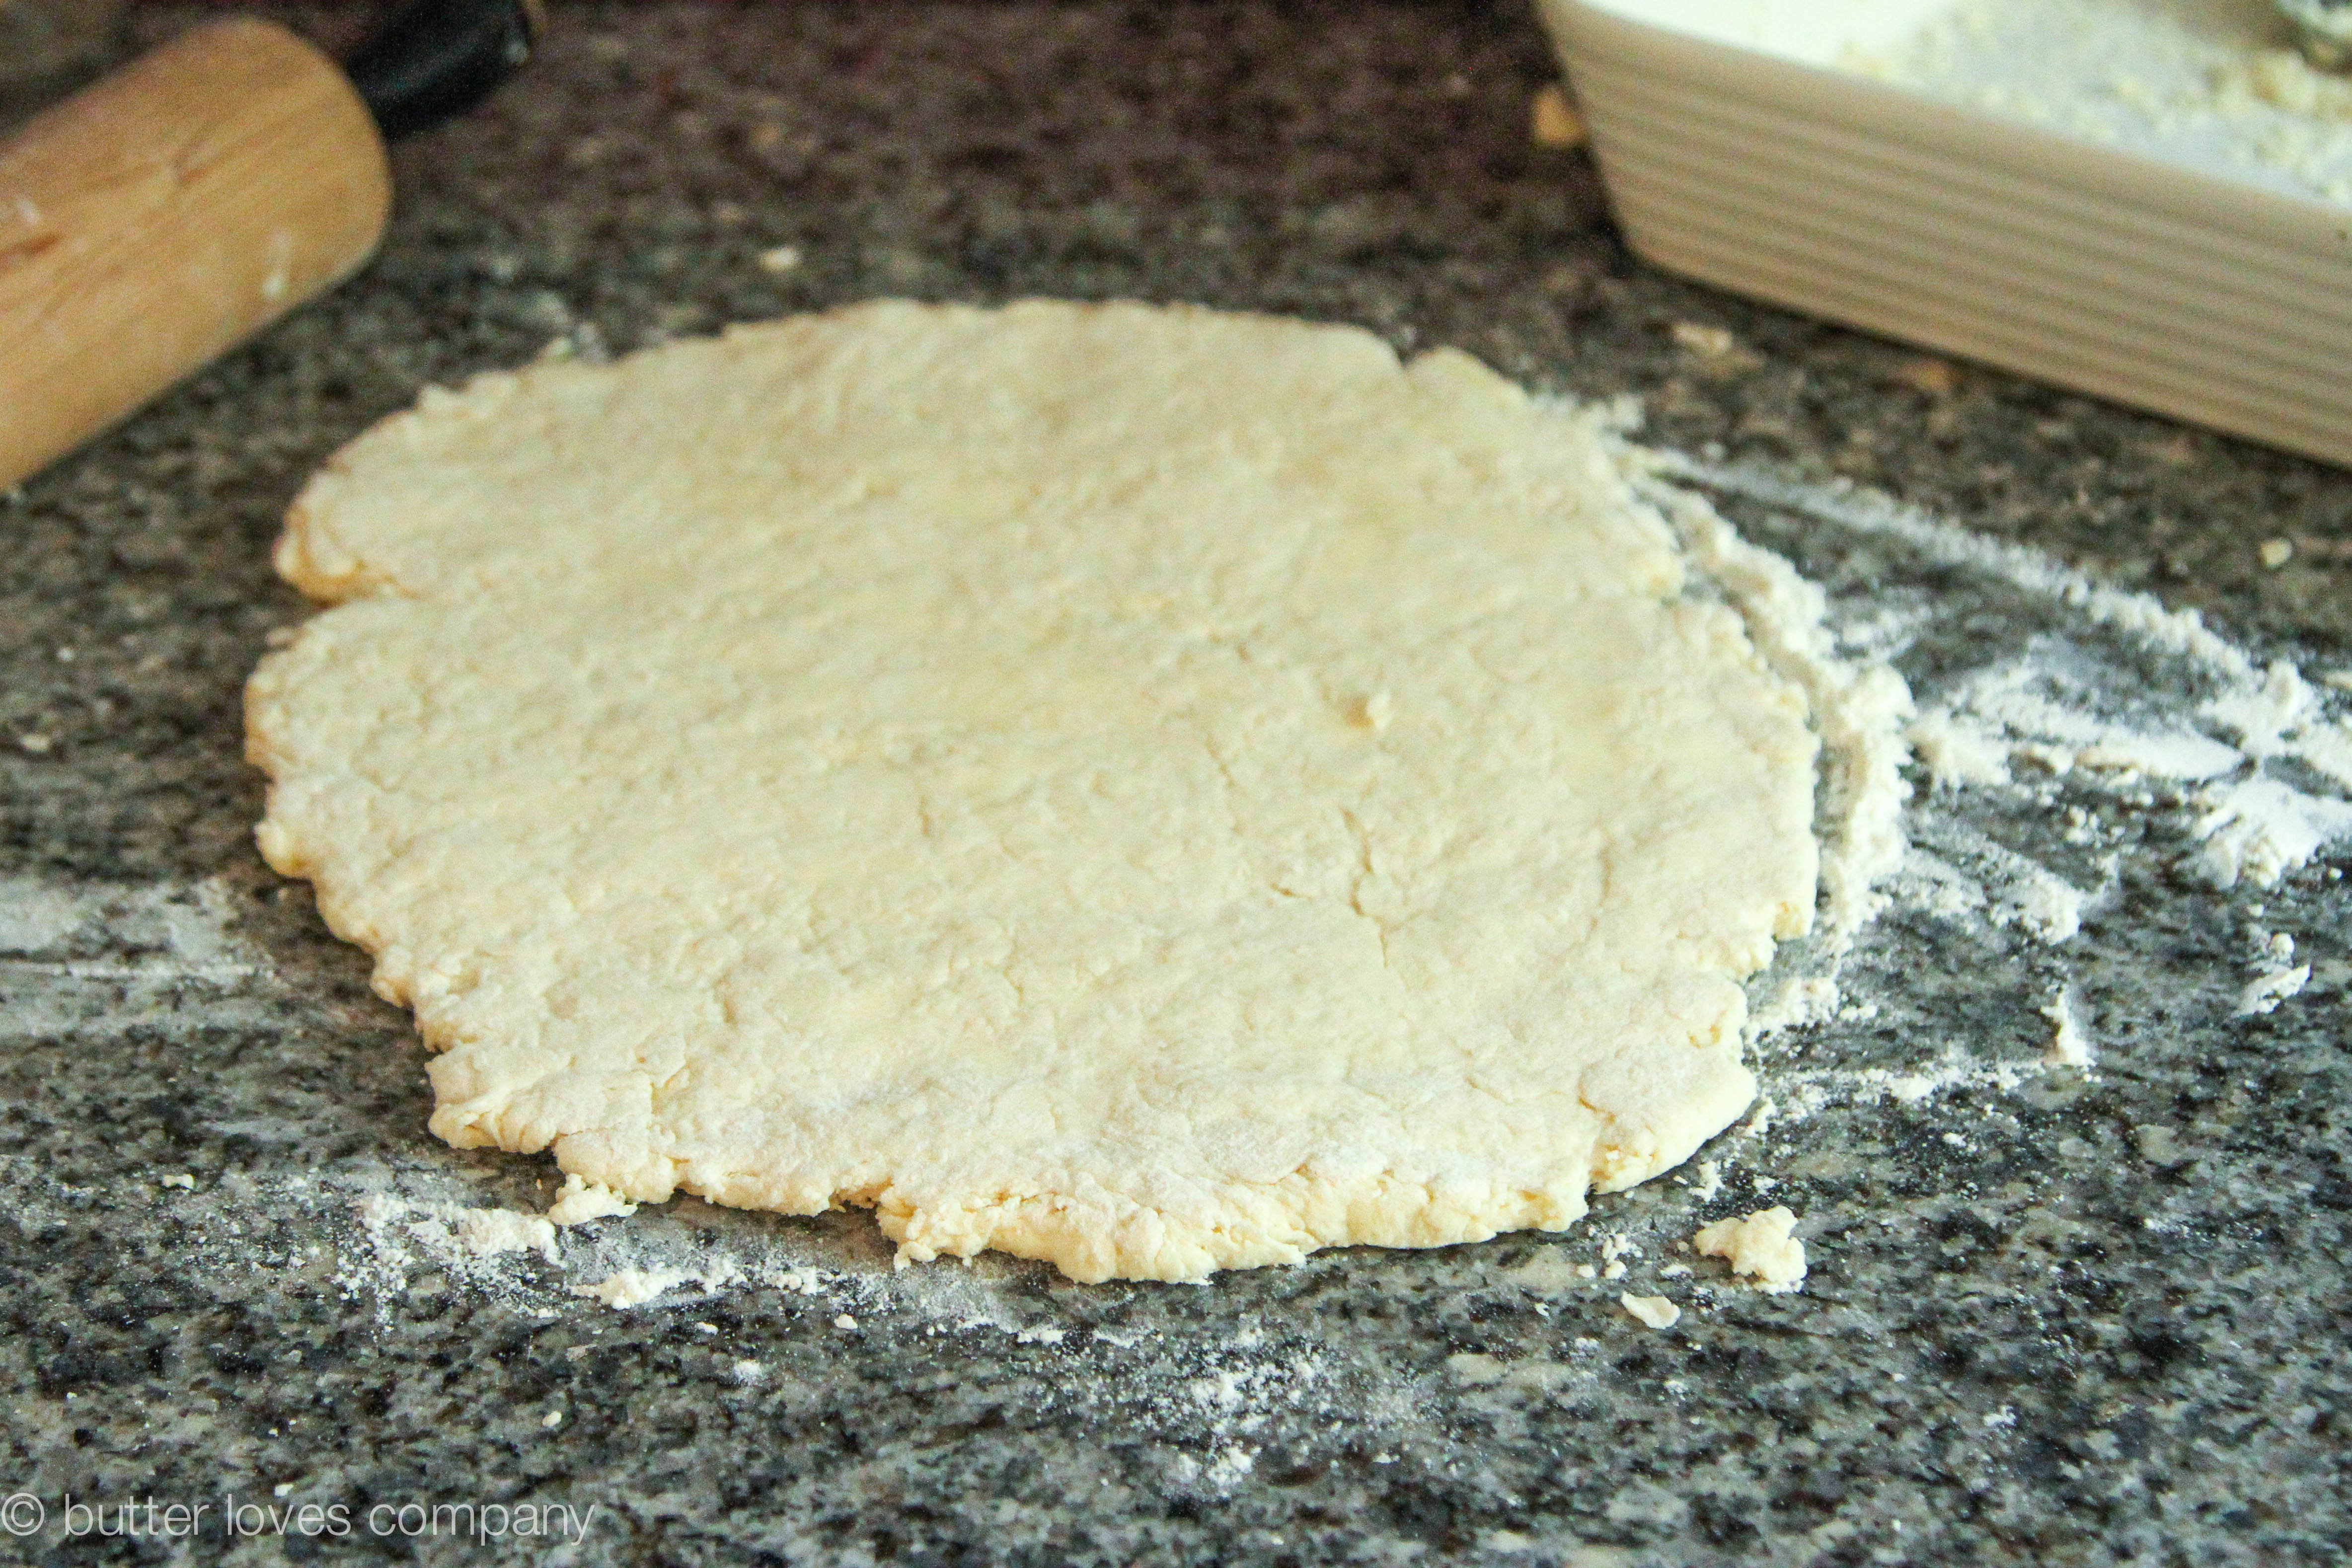
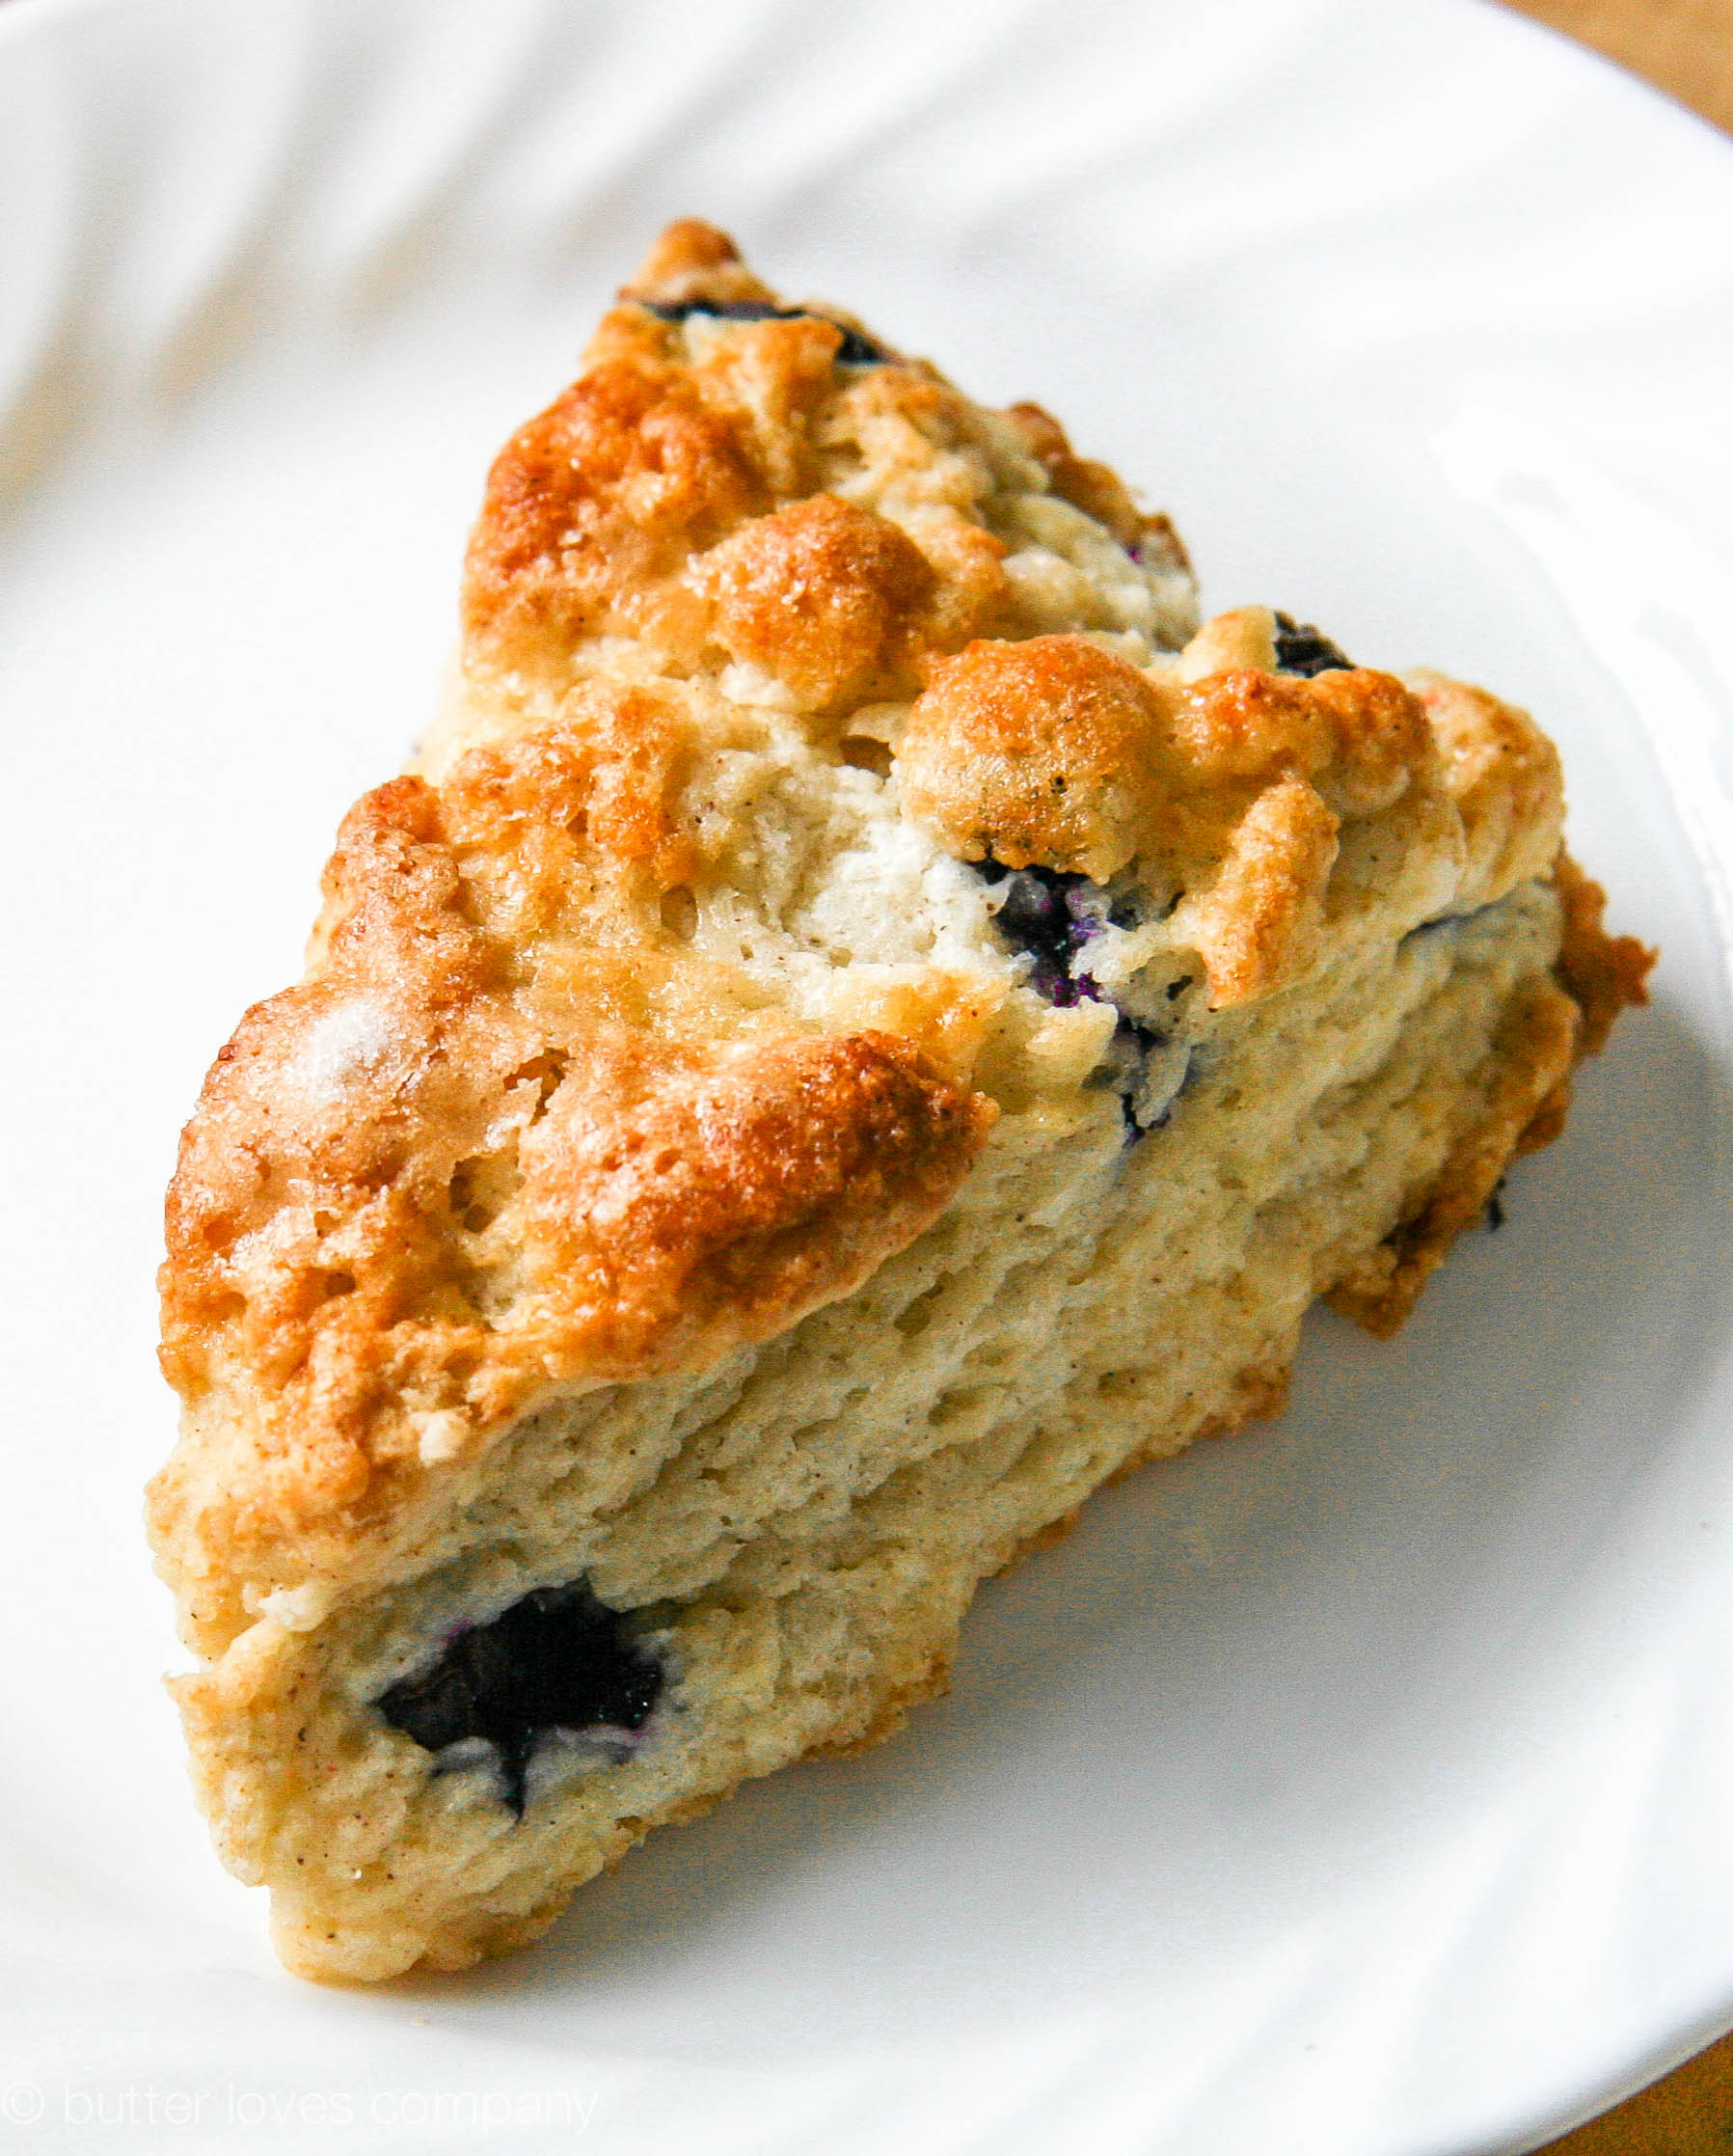
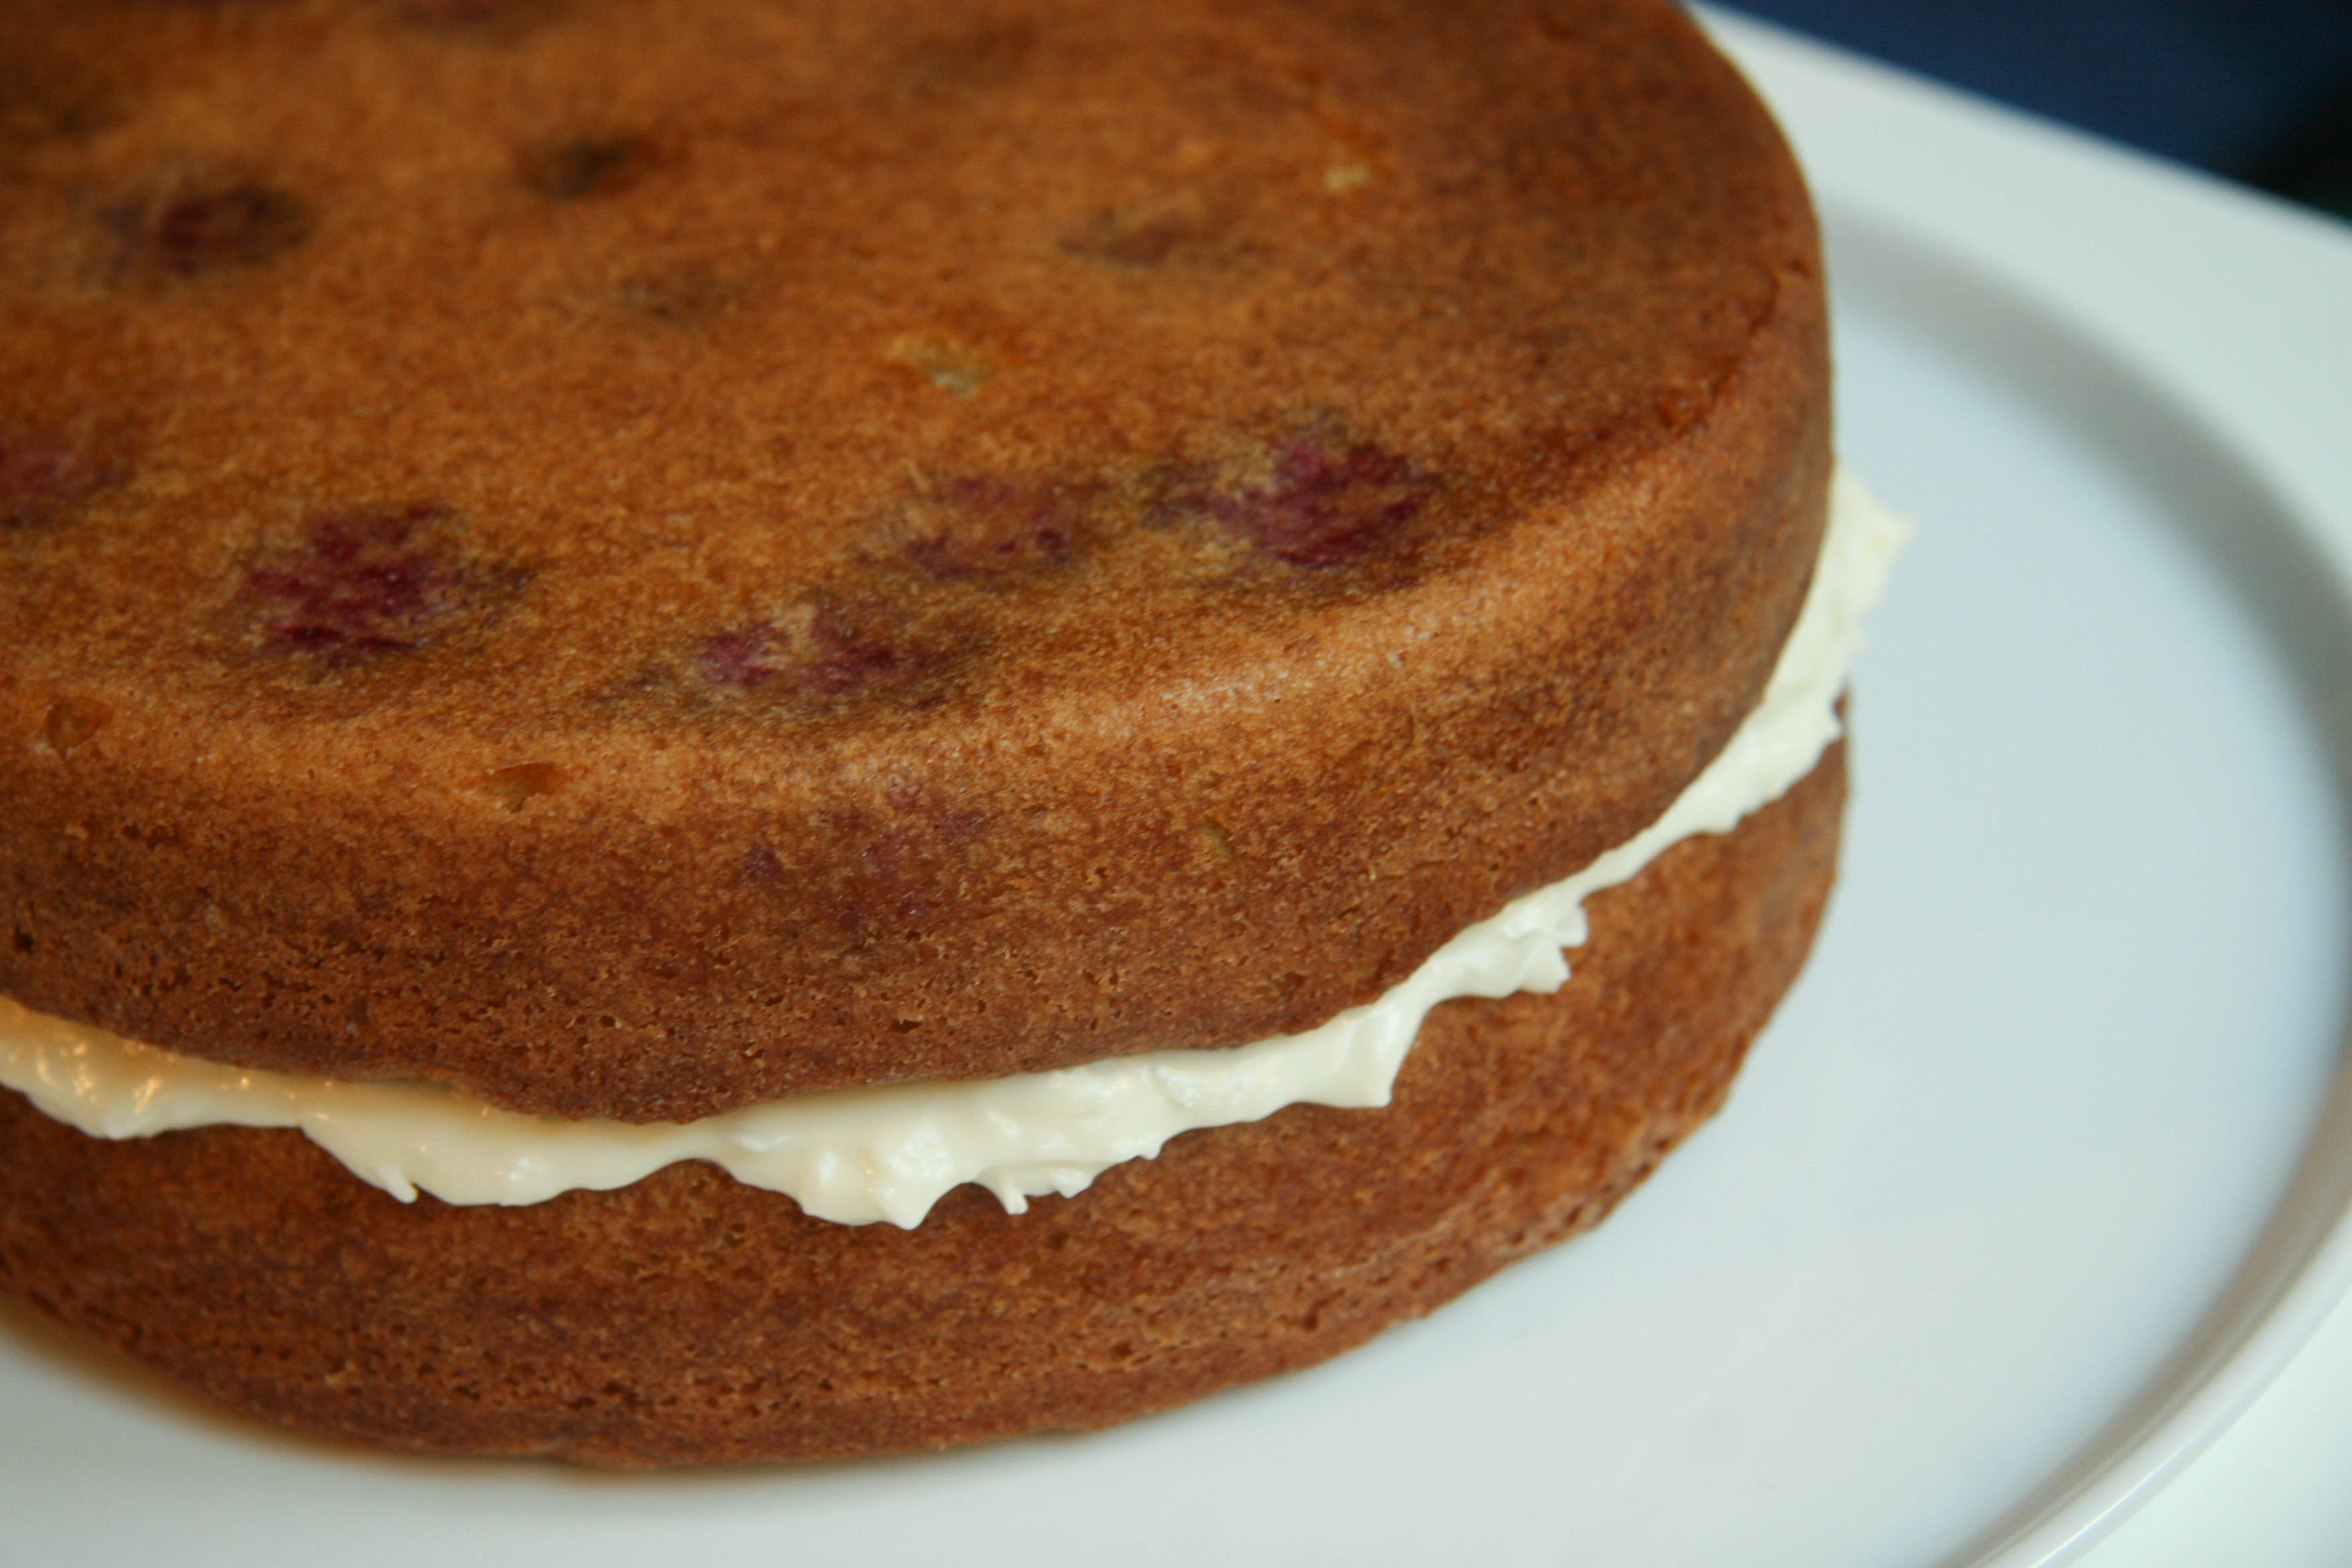
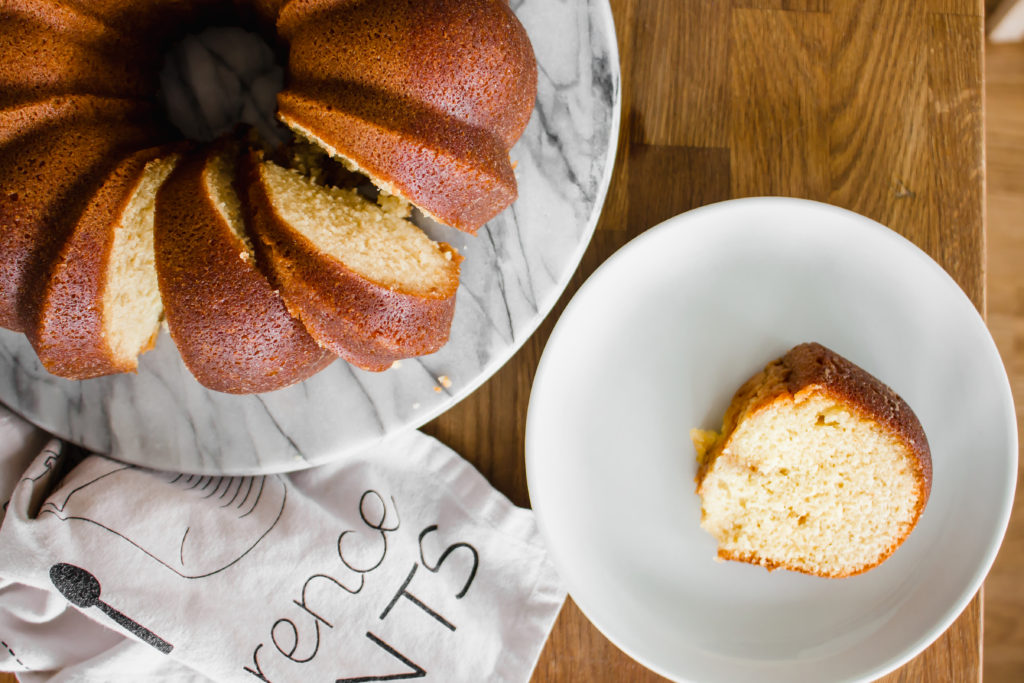
While the ingredients are uncomplicated, and the cake is seemingly simple with no icing or frosting, you’ll be surprised at the satisfying flavor the moment you take a bite. I officially want to make this Kentucky Butter Cake recipe a weekly occurrence. 

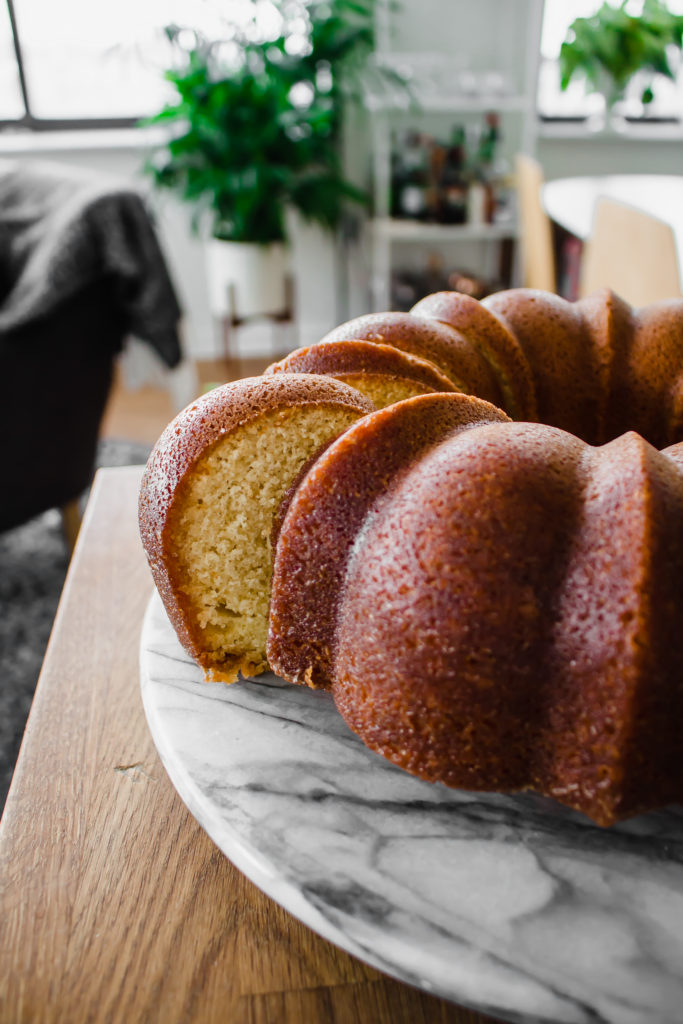
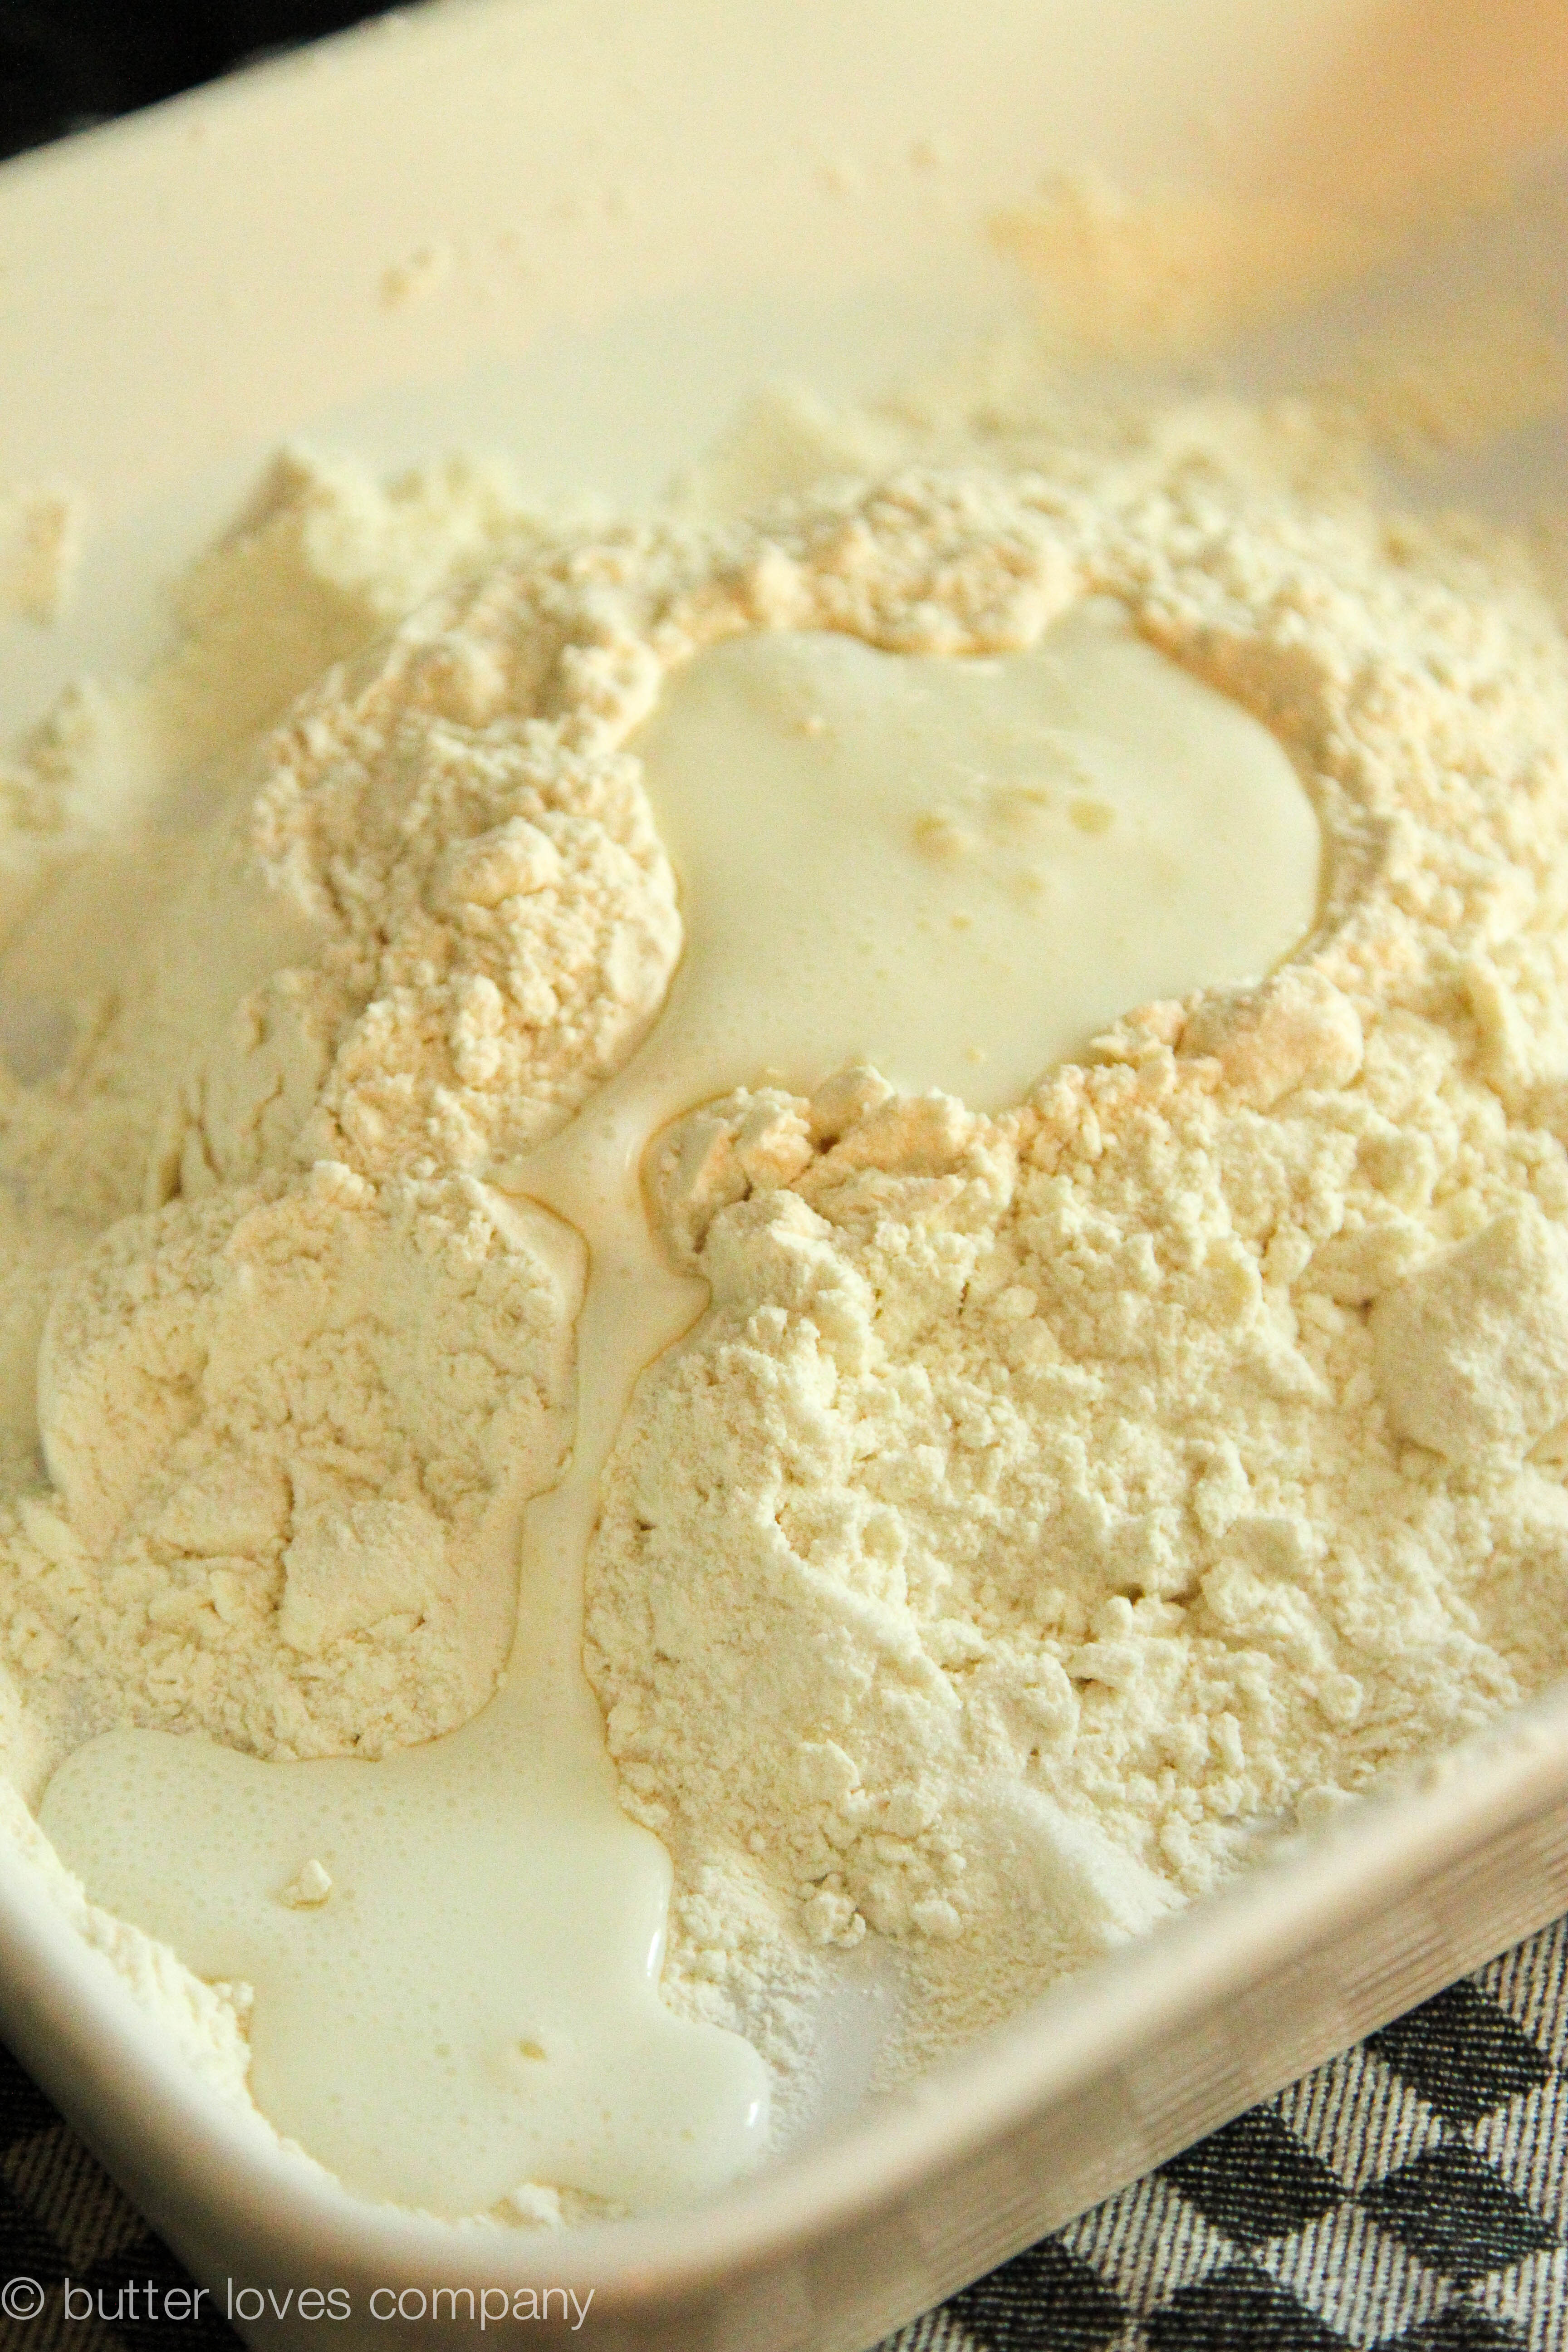
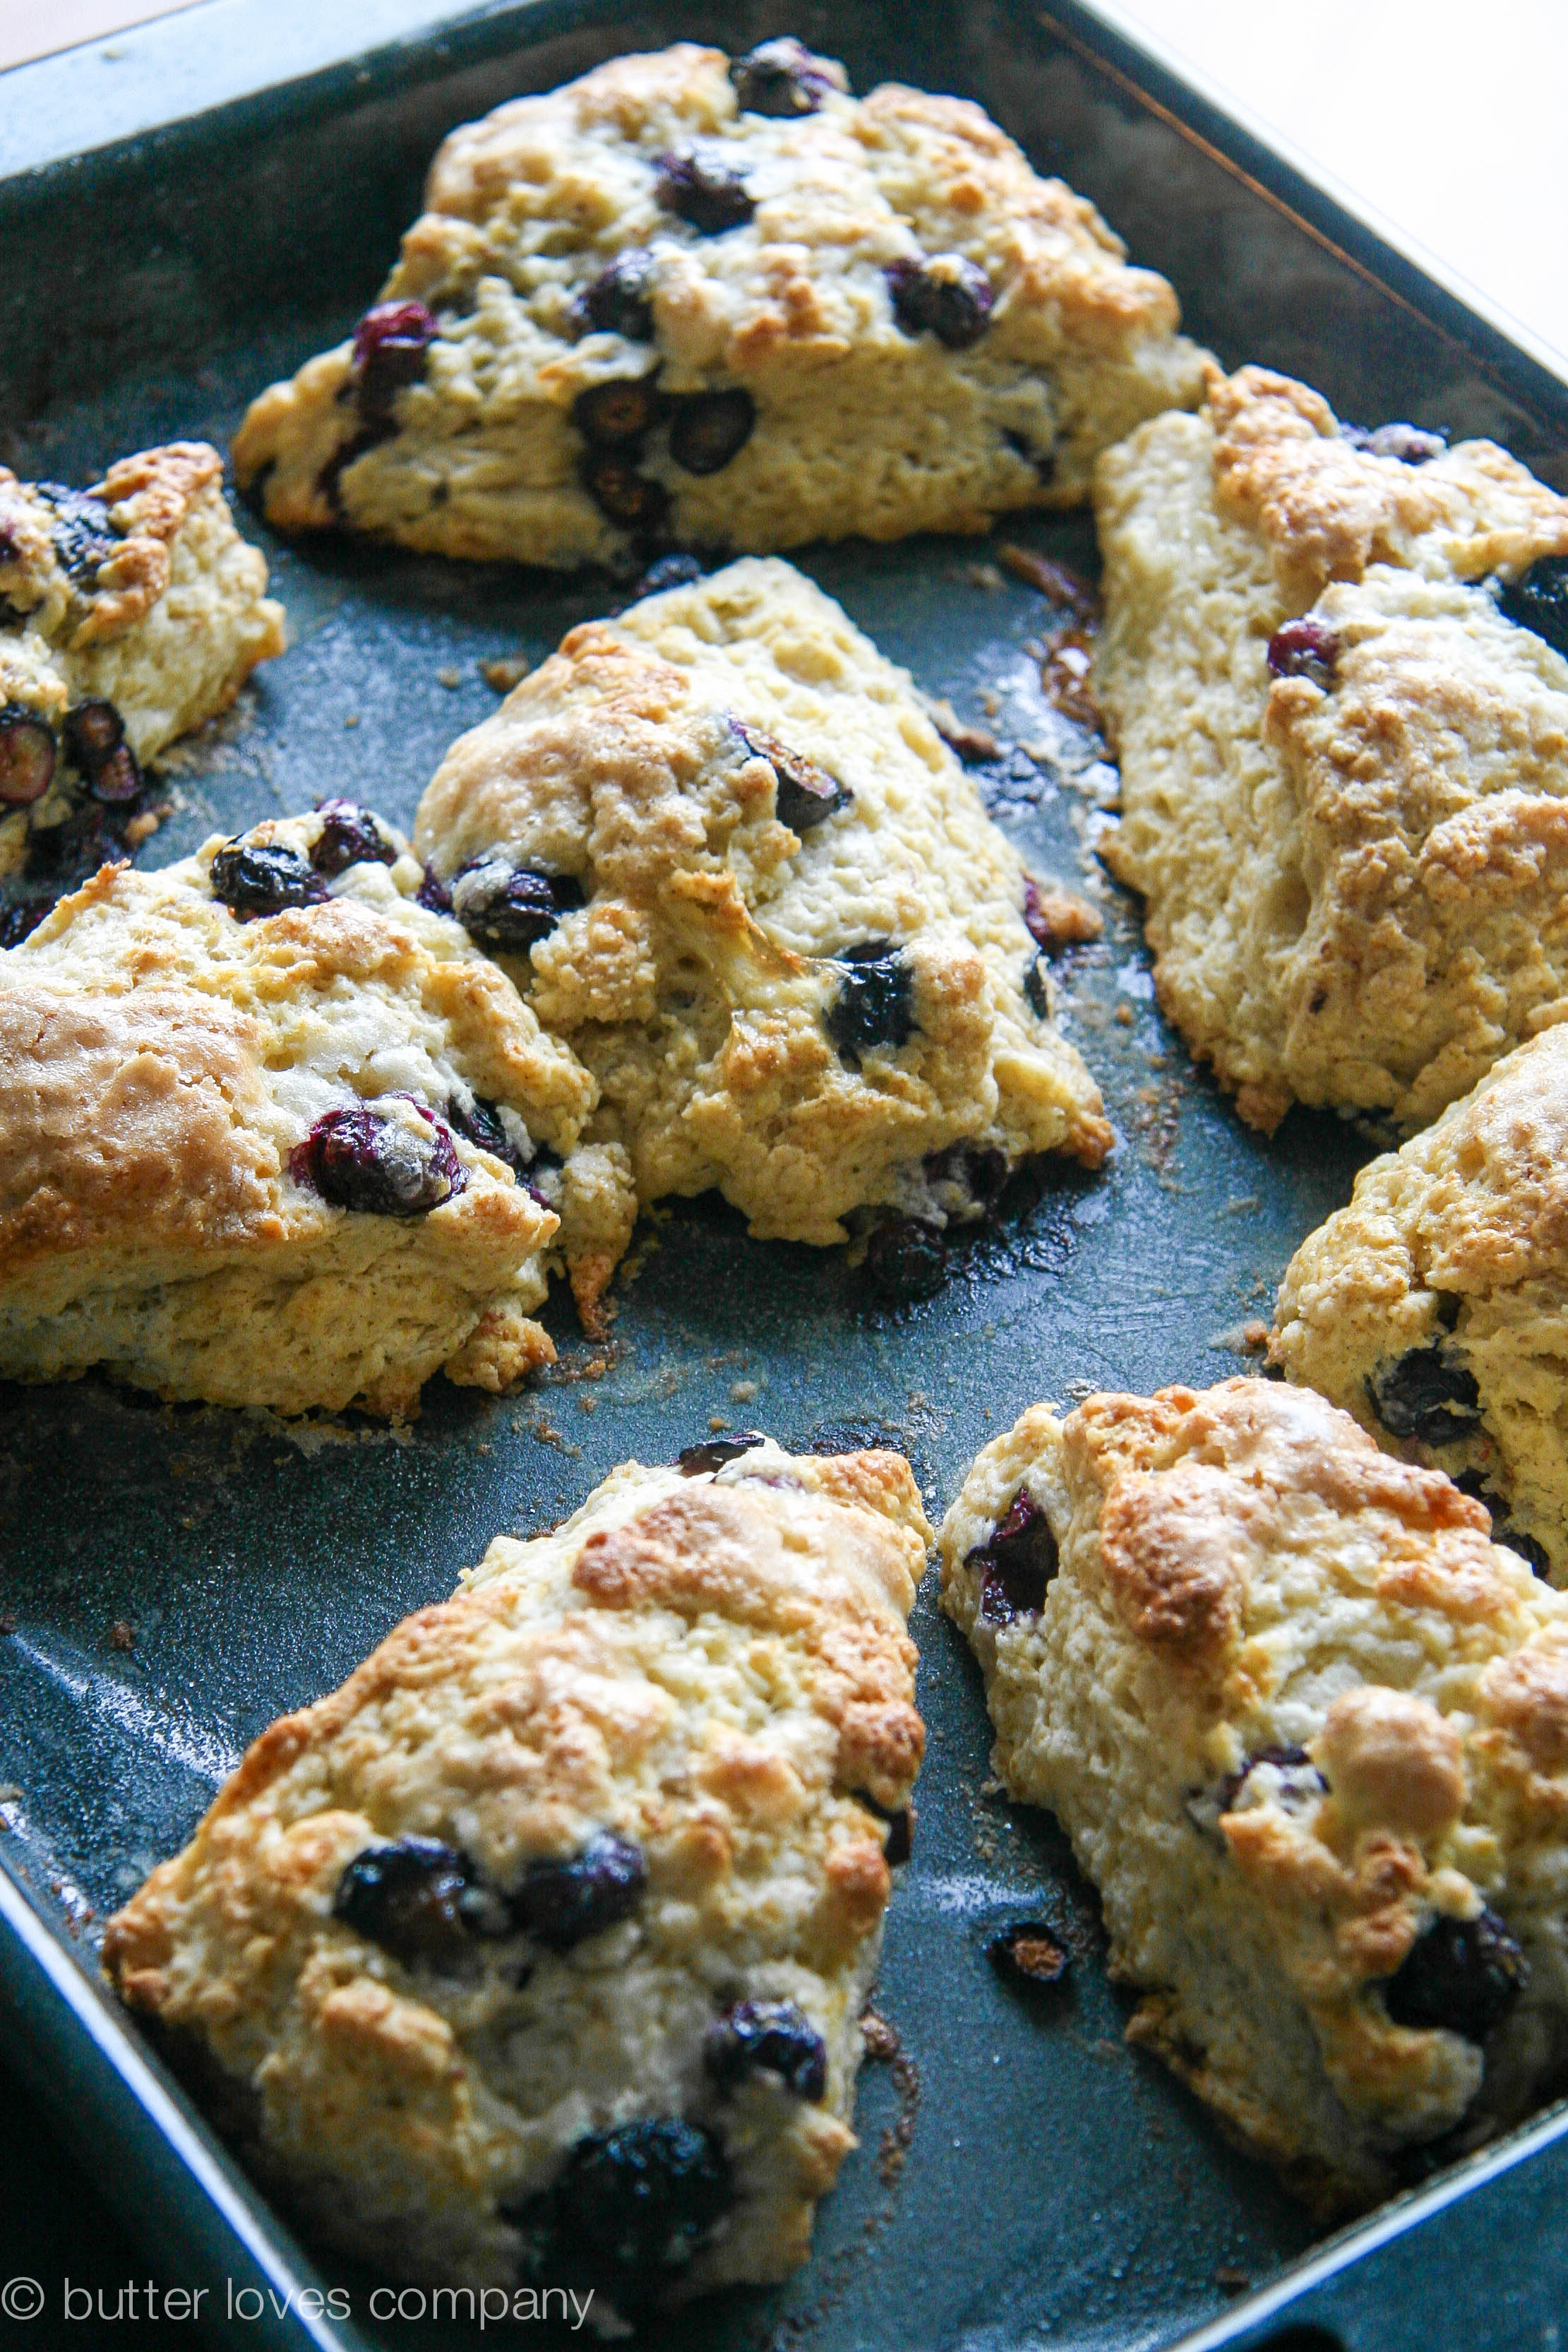
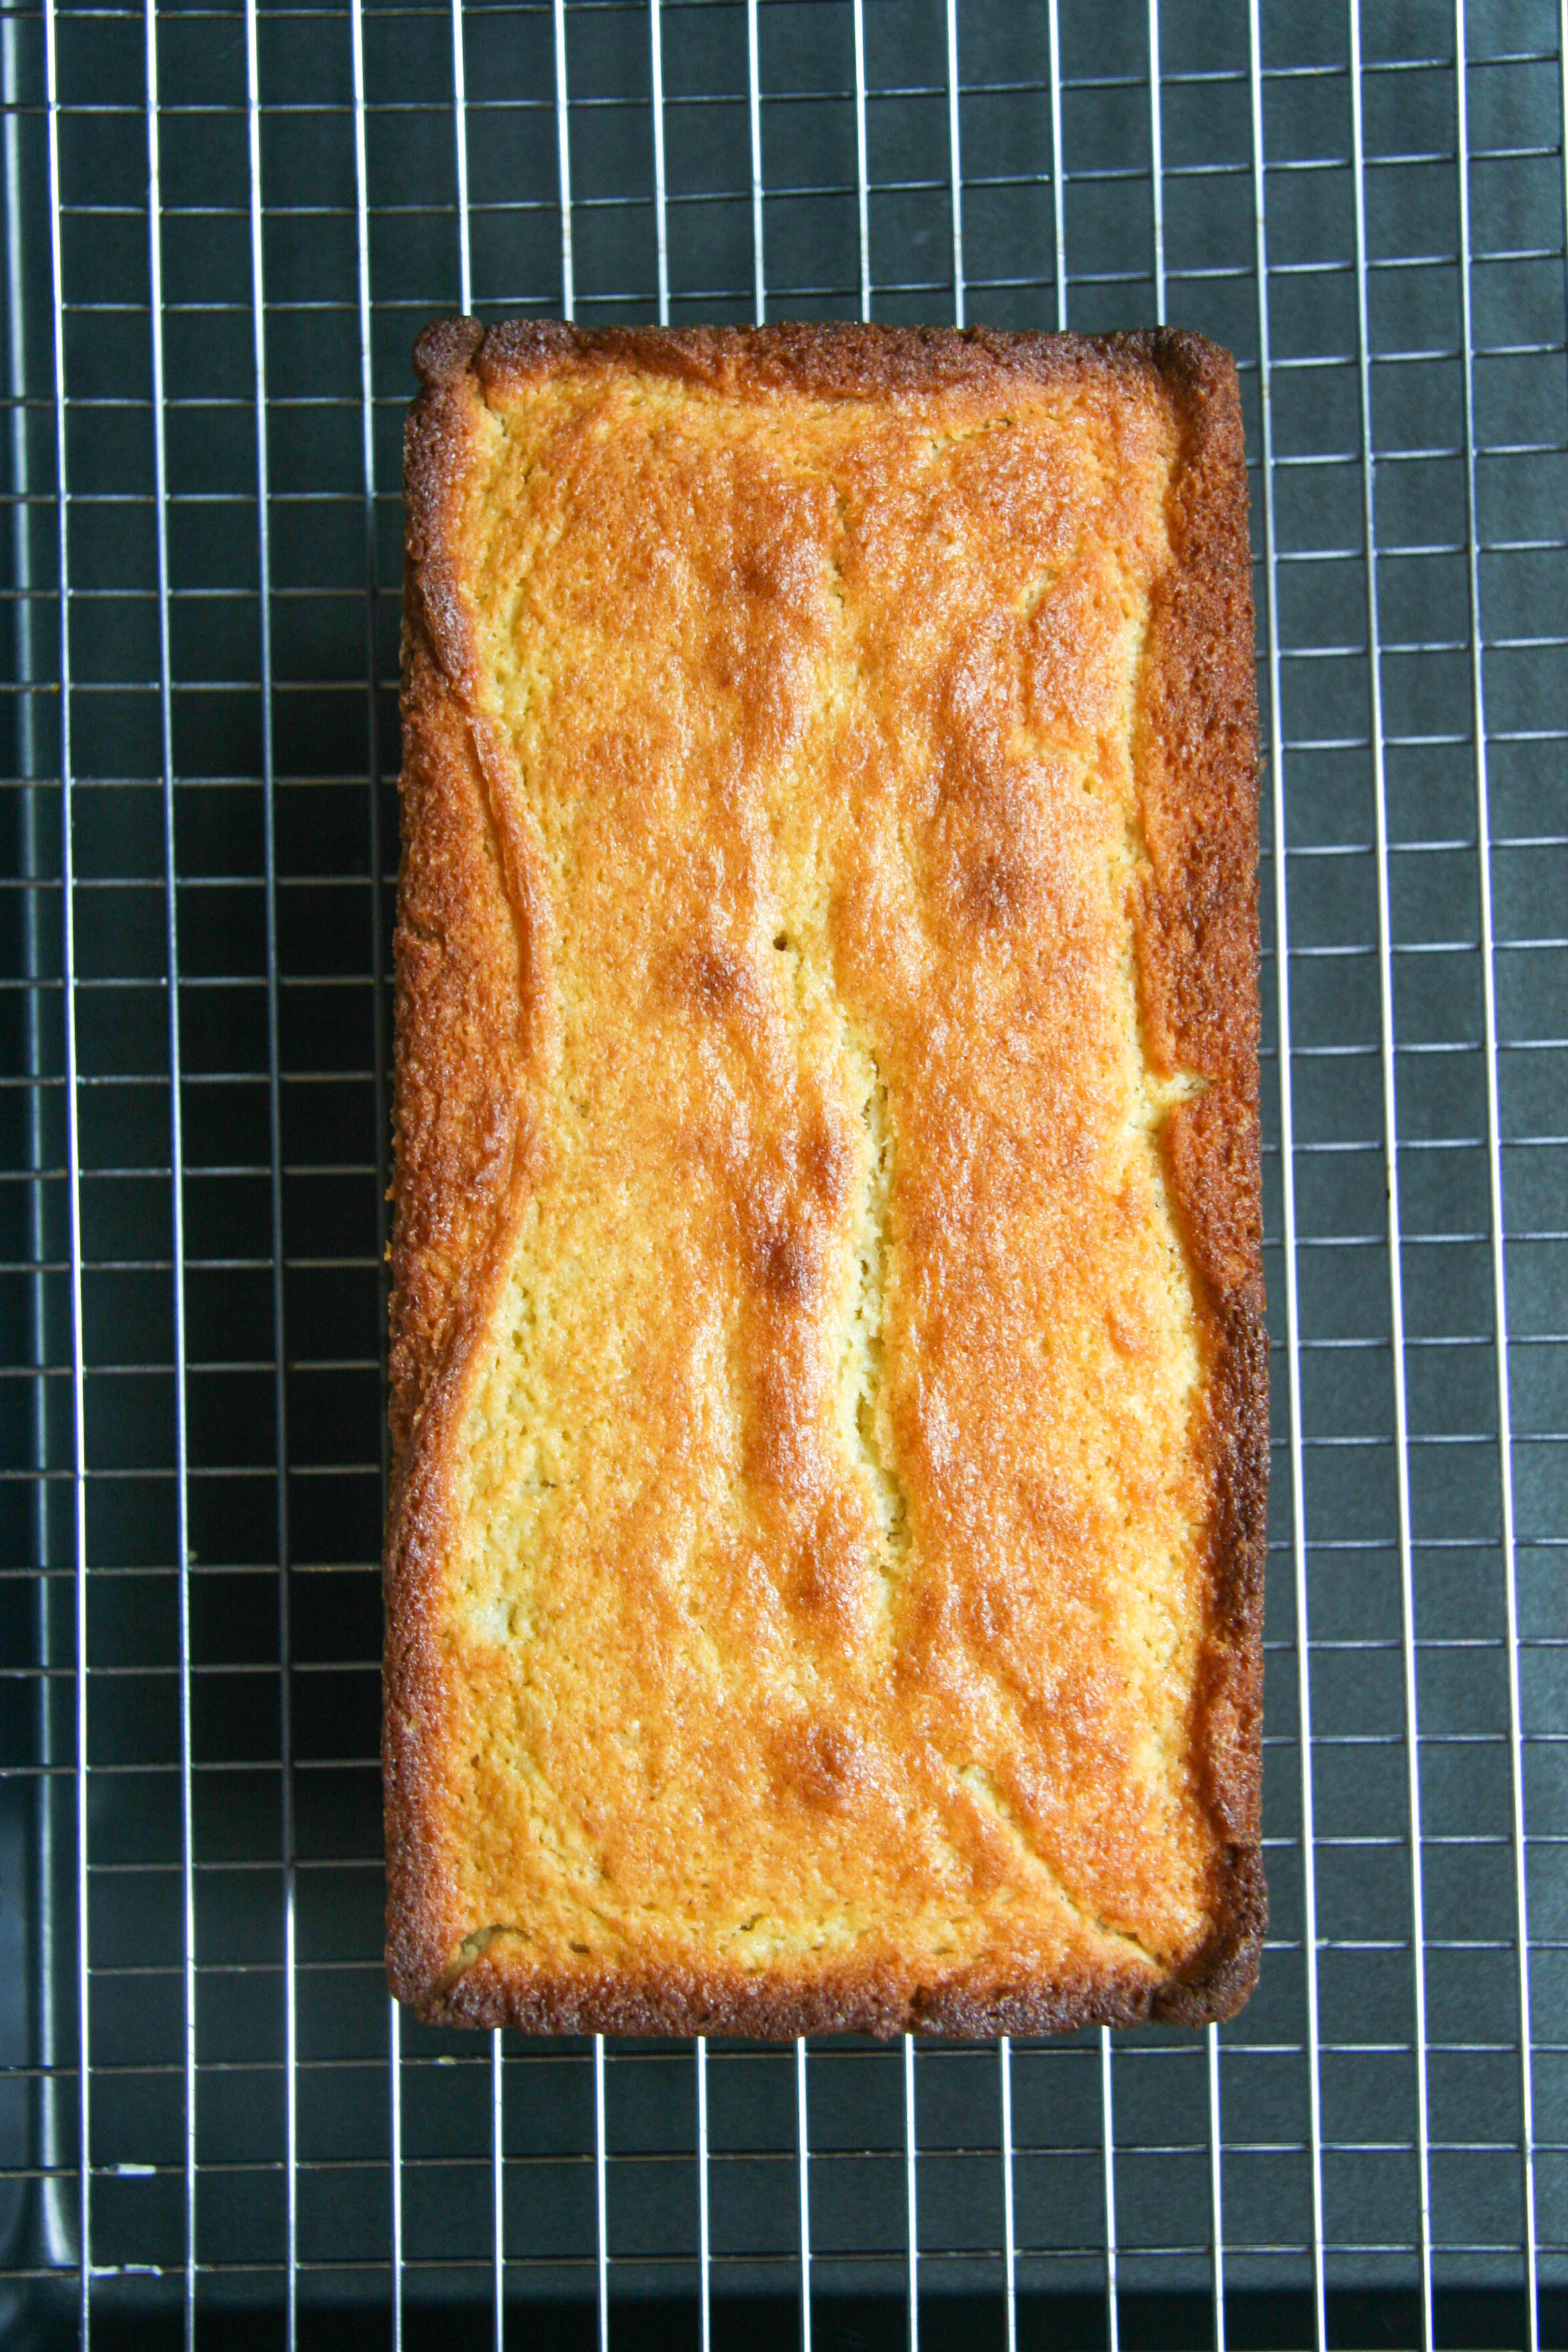
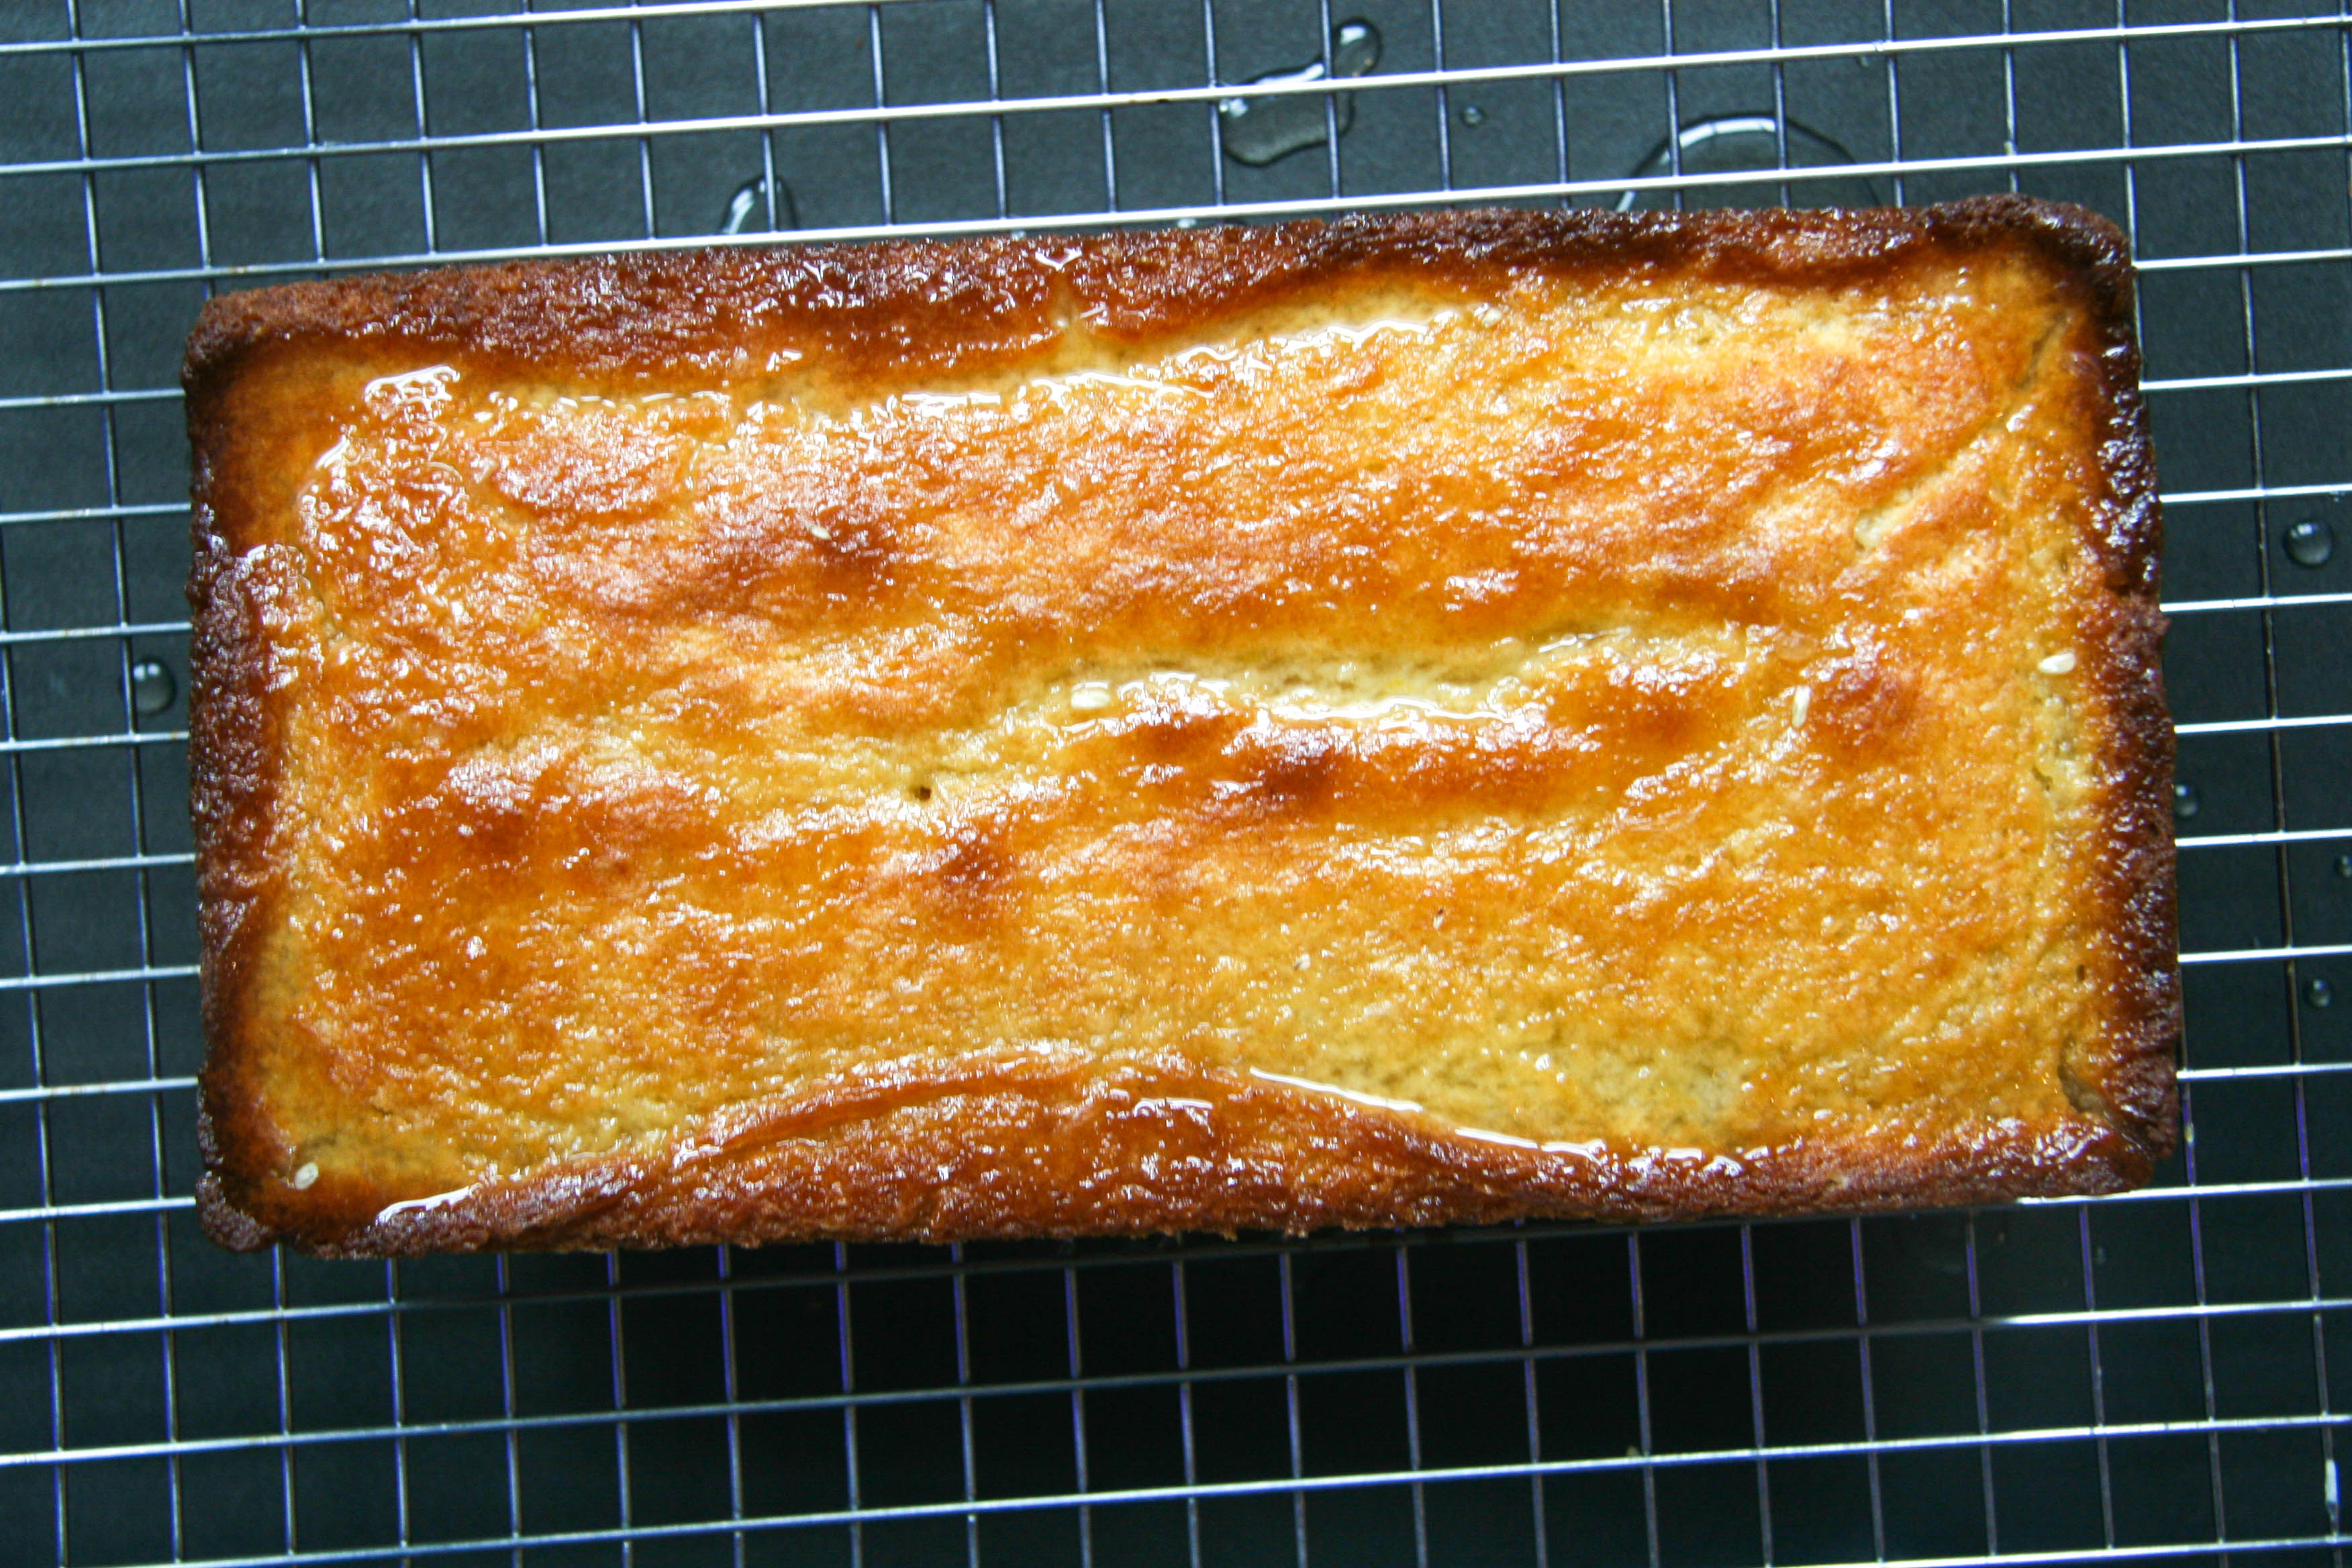
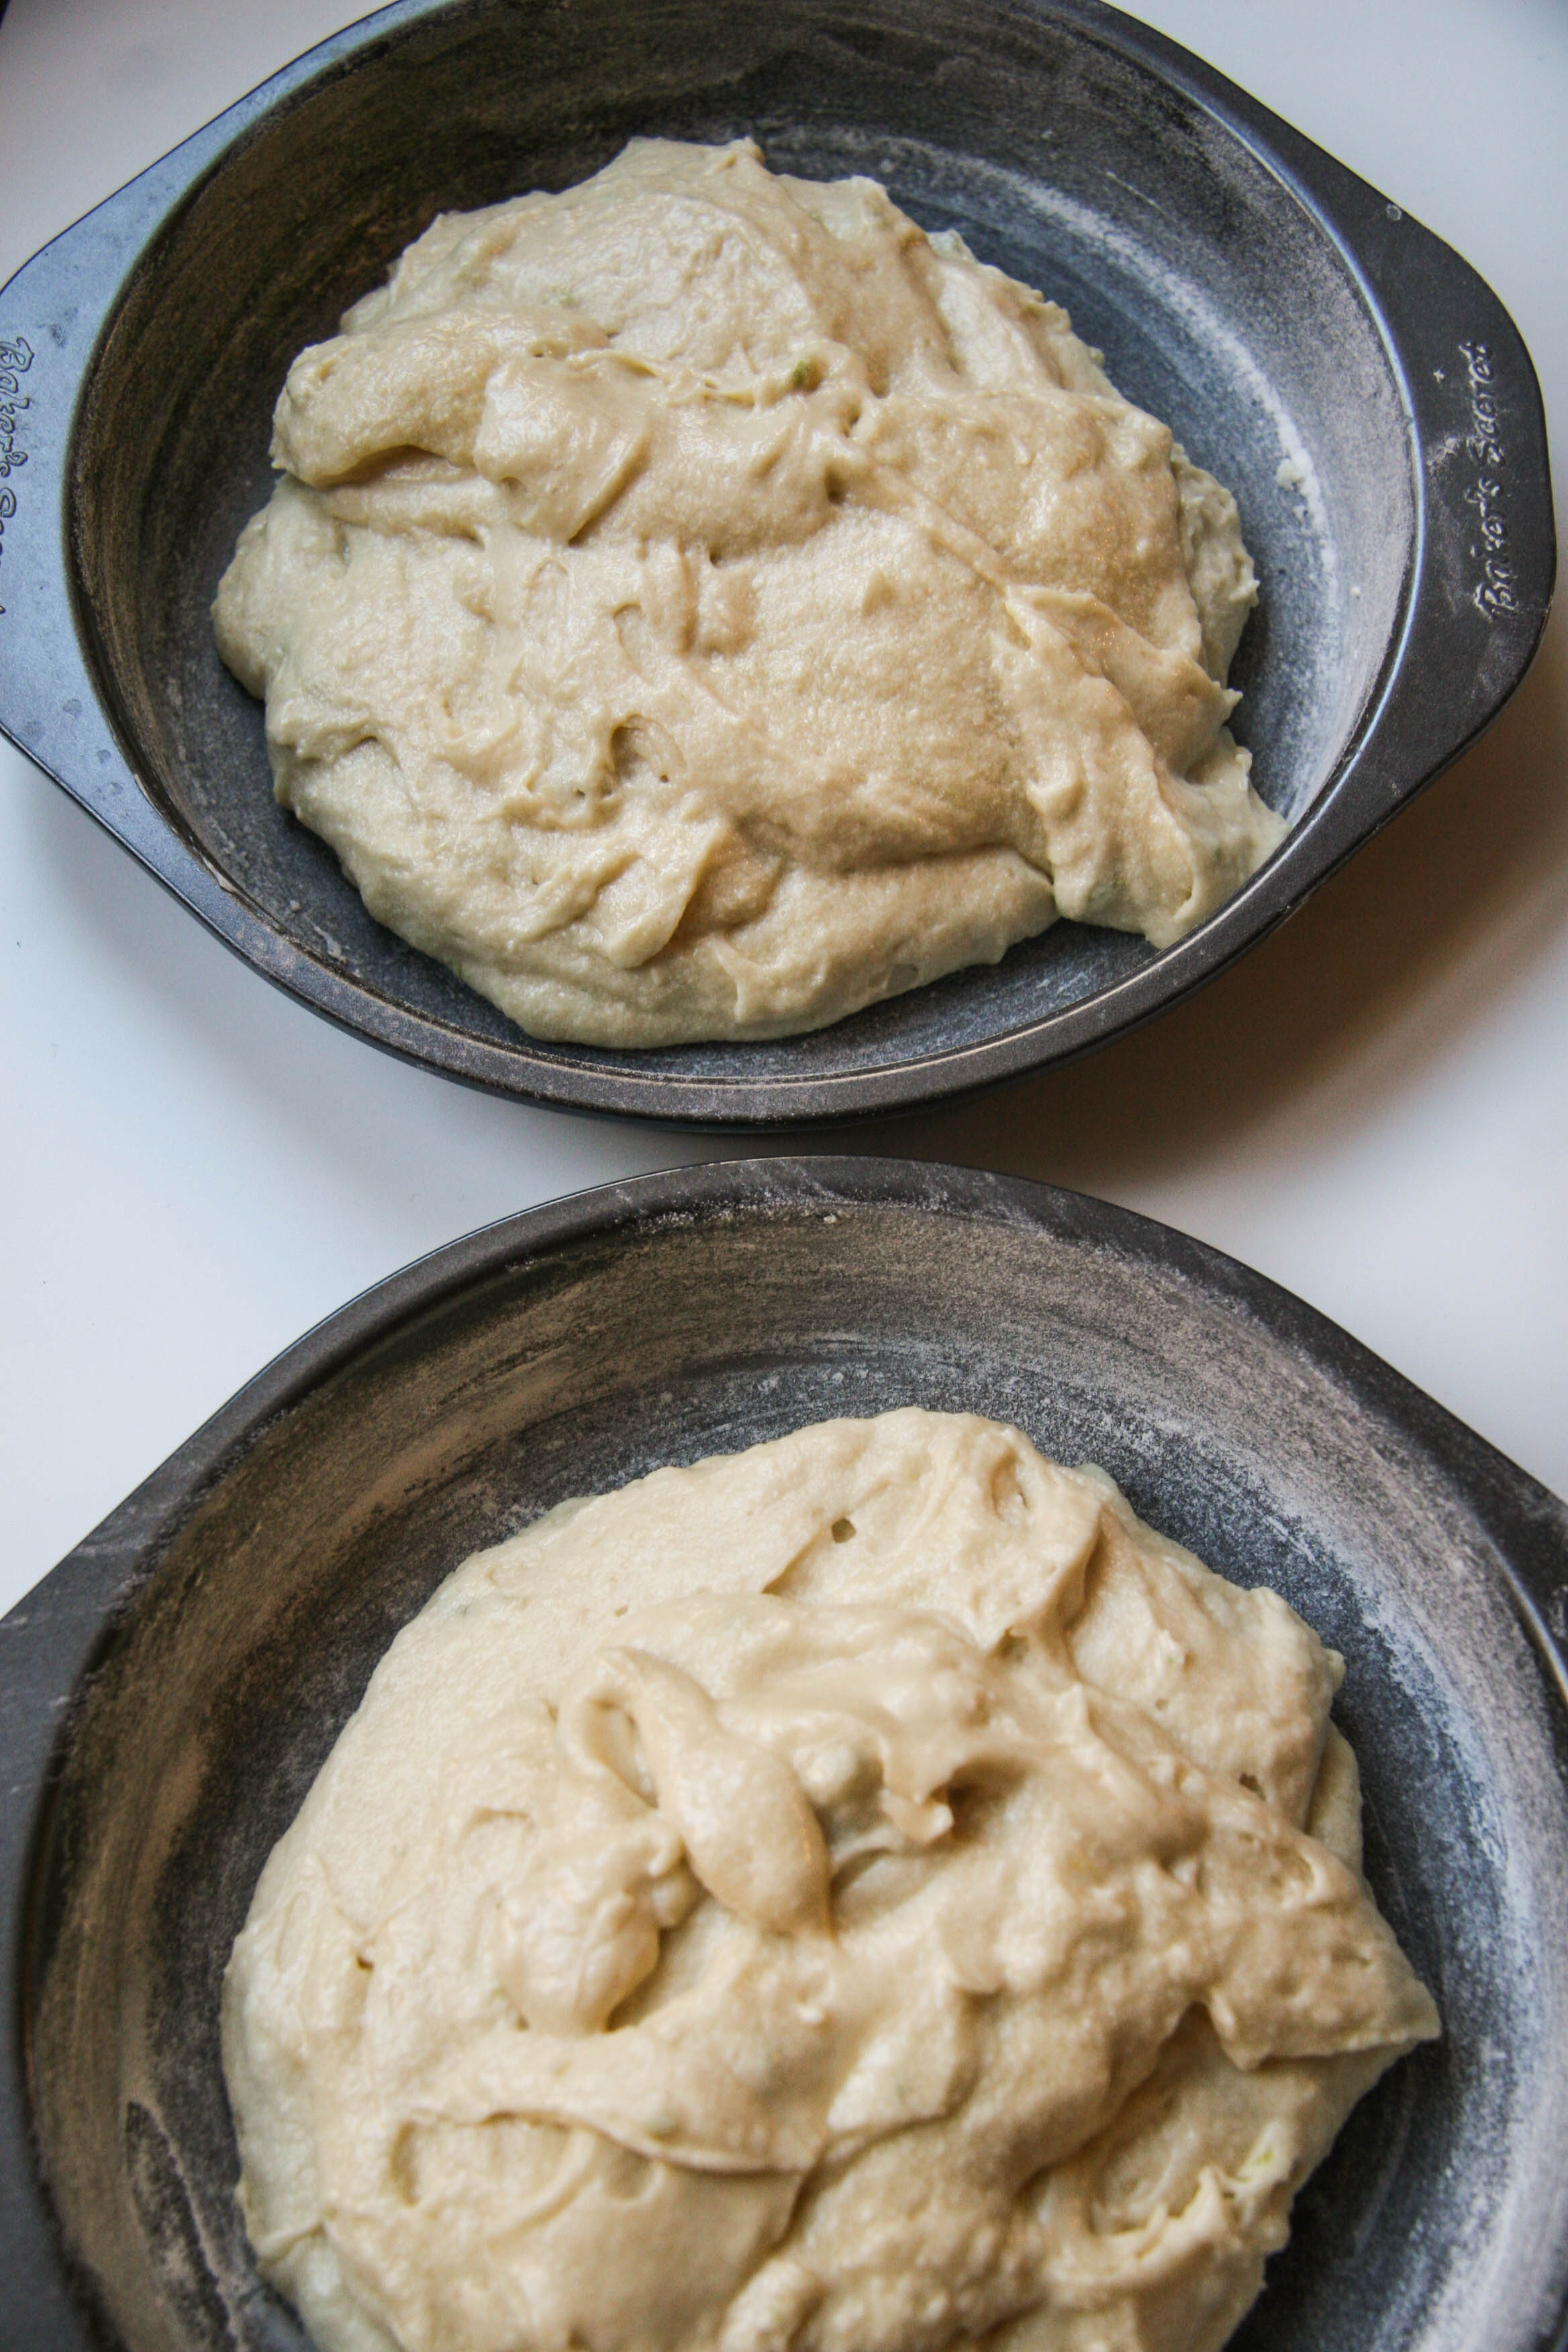
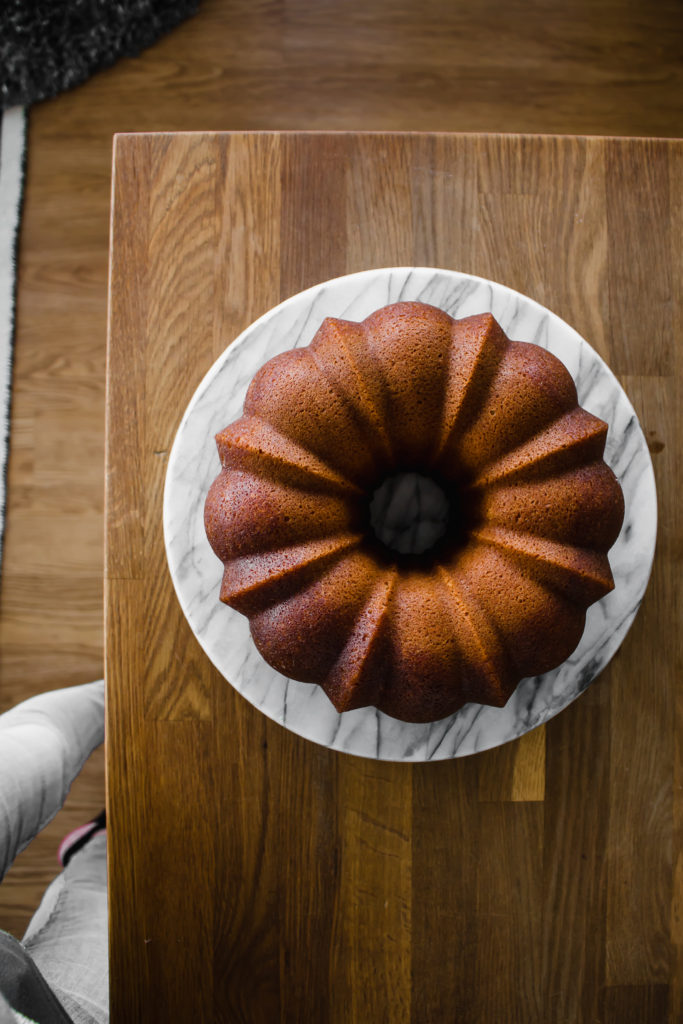
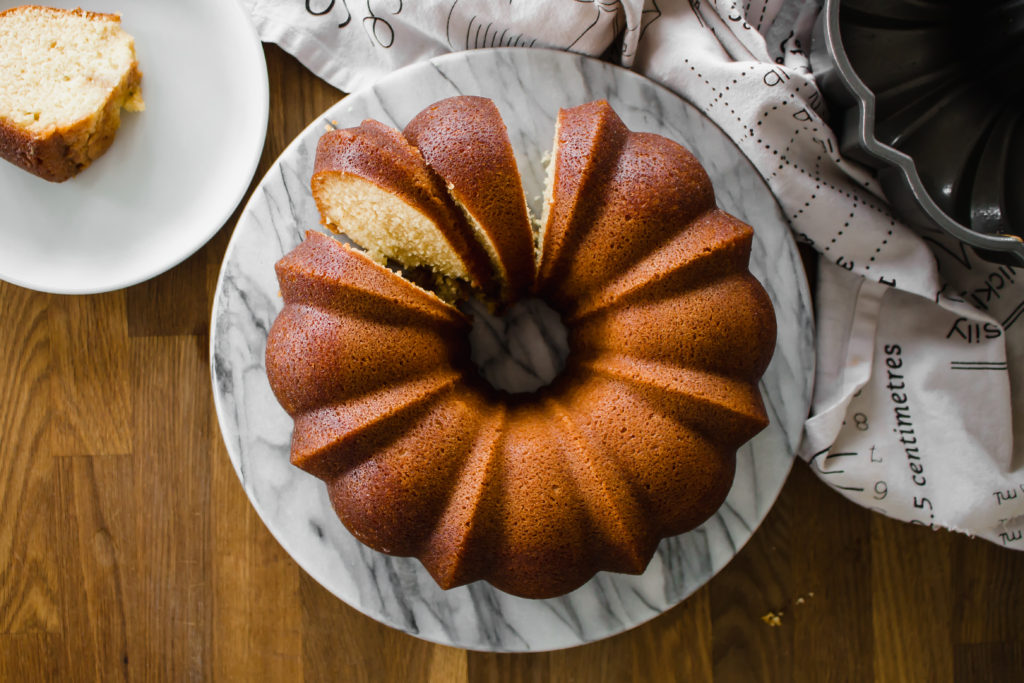
The butter and buttermilk in the cake give it moistness and body and baking it in a bundt pan leaves it with a sweet, thinly crisp exterior that reminds me of the top of a corn muffin from Dunkin’ Donuts. (Or, I guess just Dunkin’ now.) And, if you’ve had one of those, you know how good that flavor and texture is. 

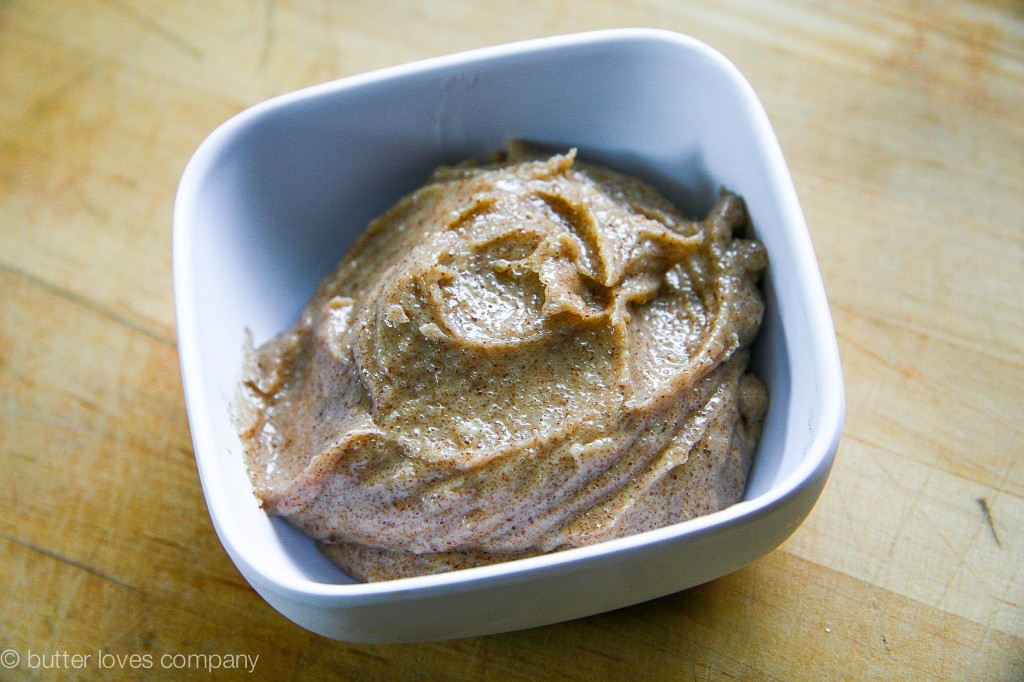
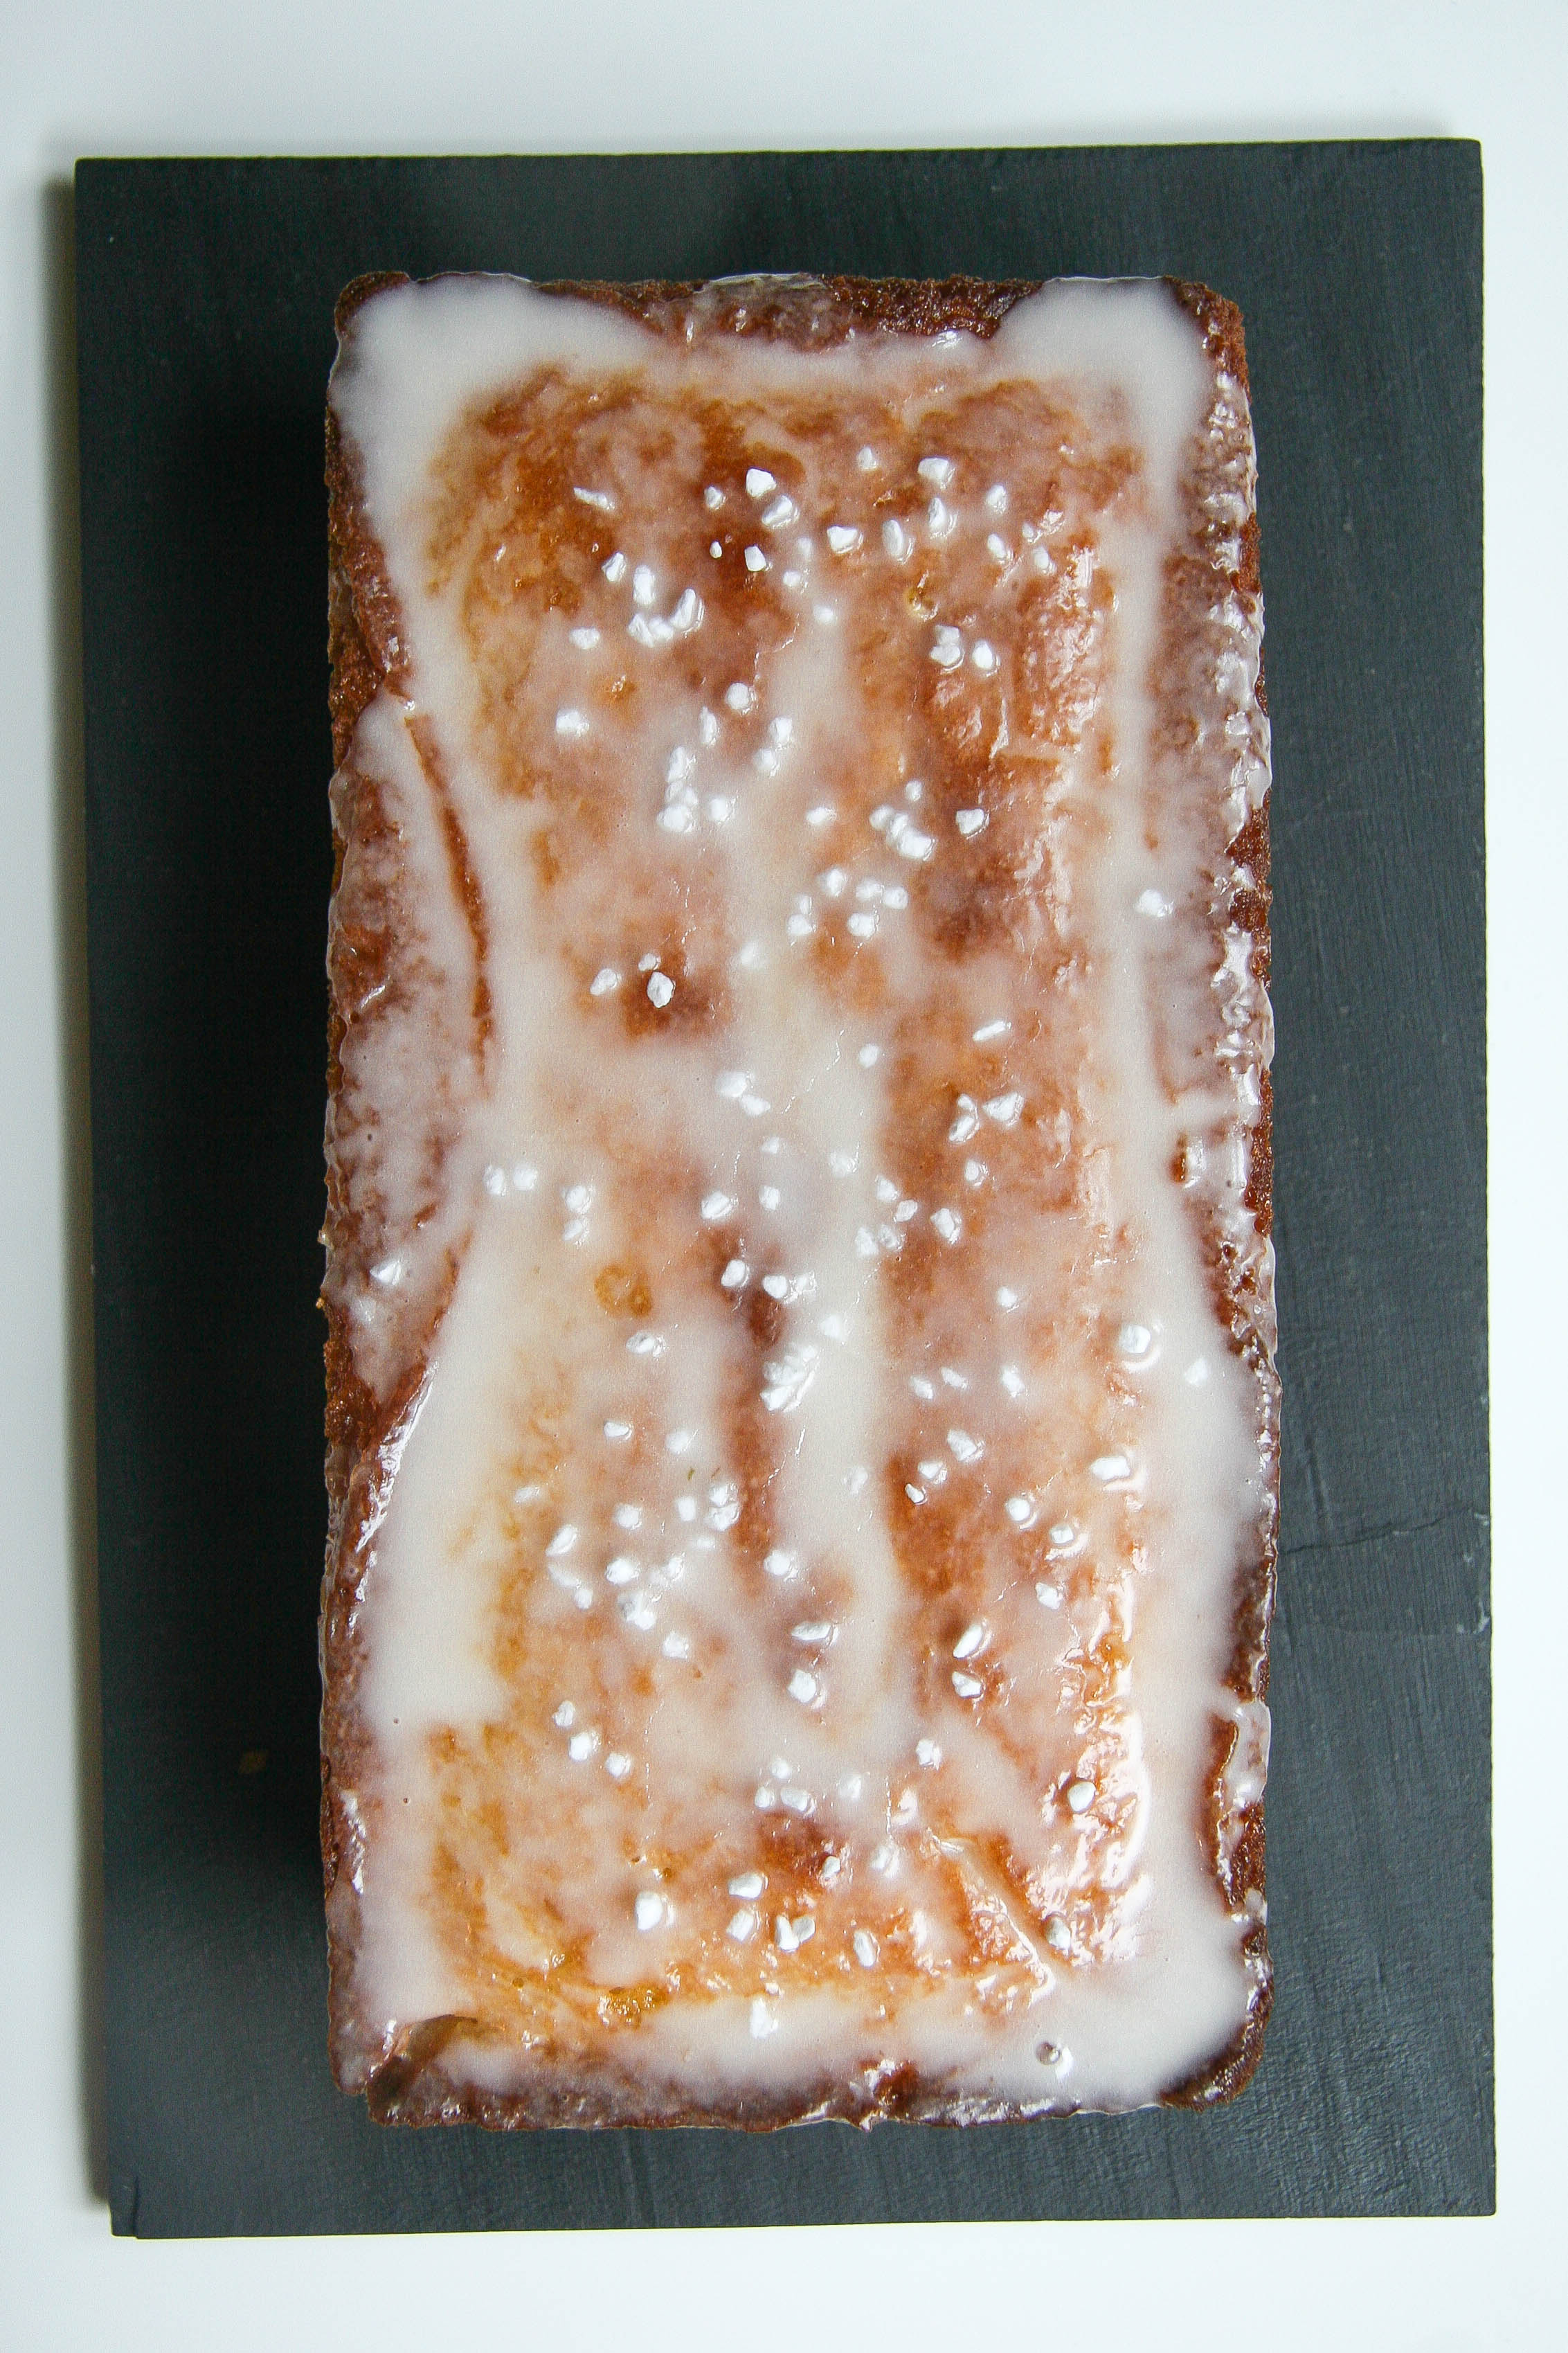
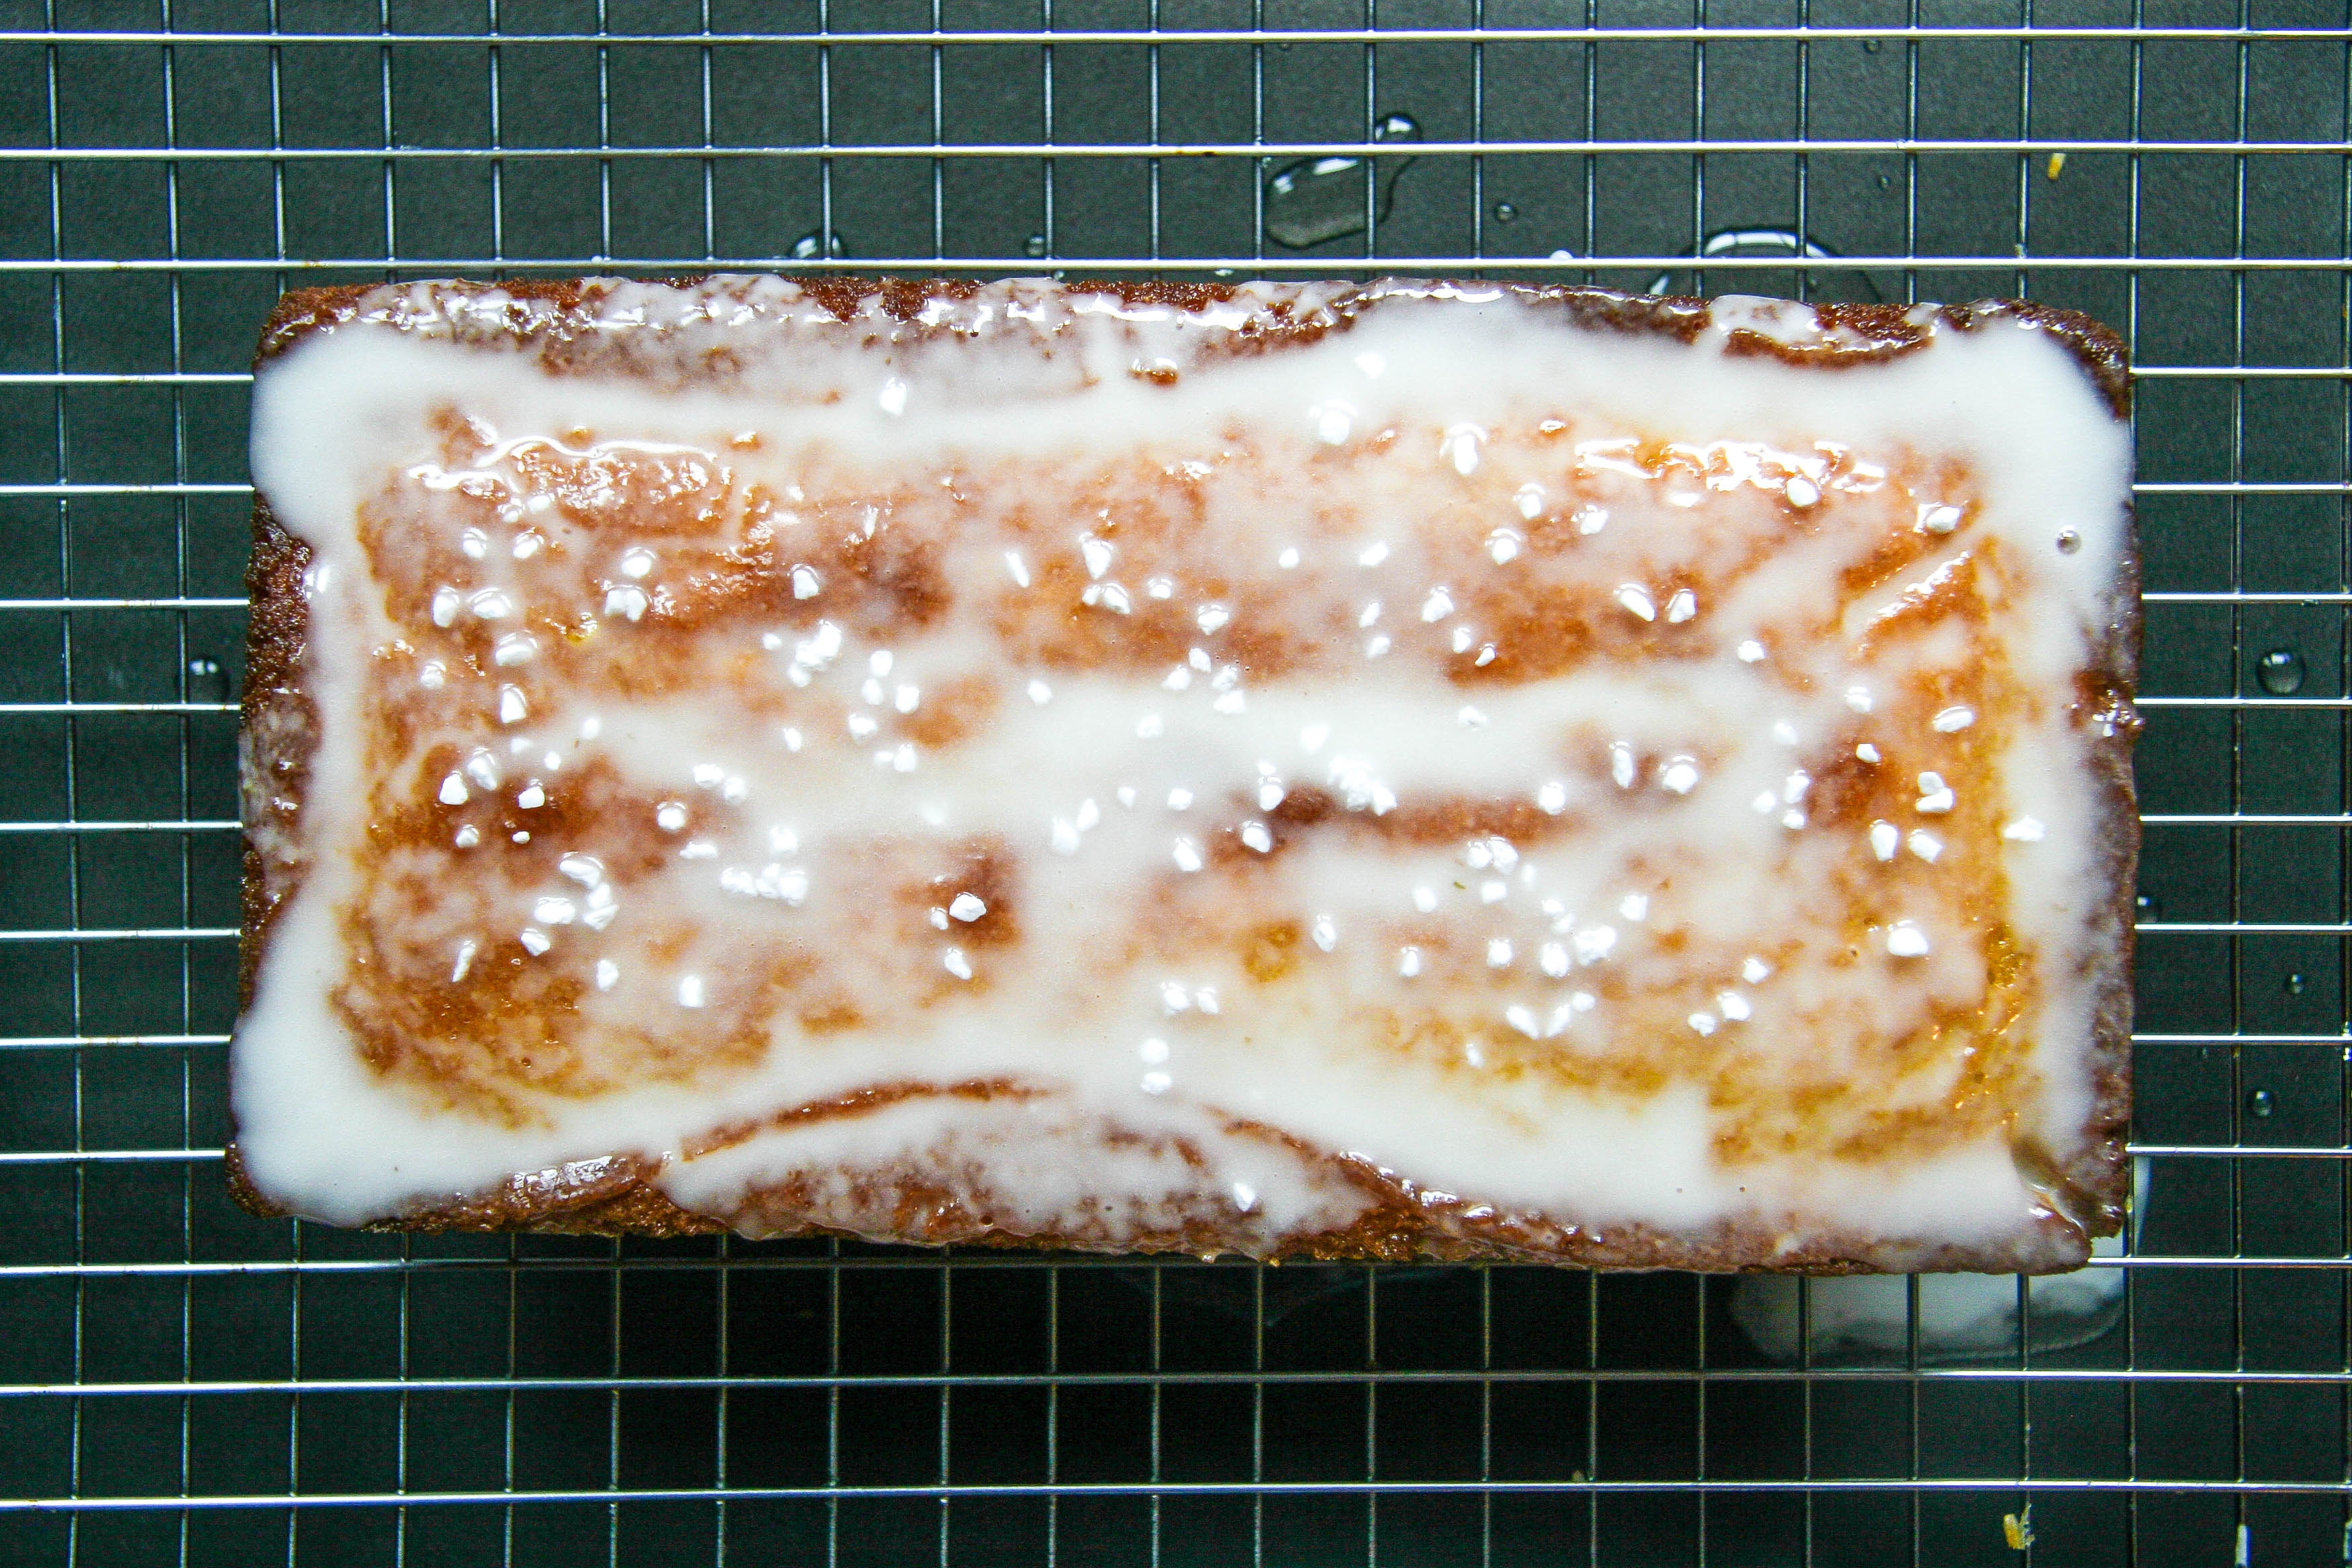
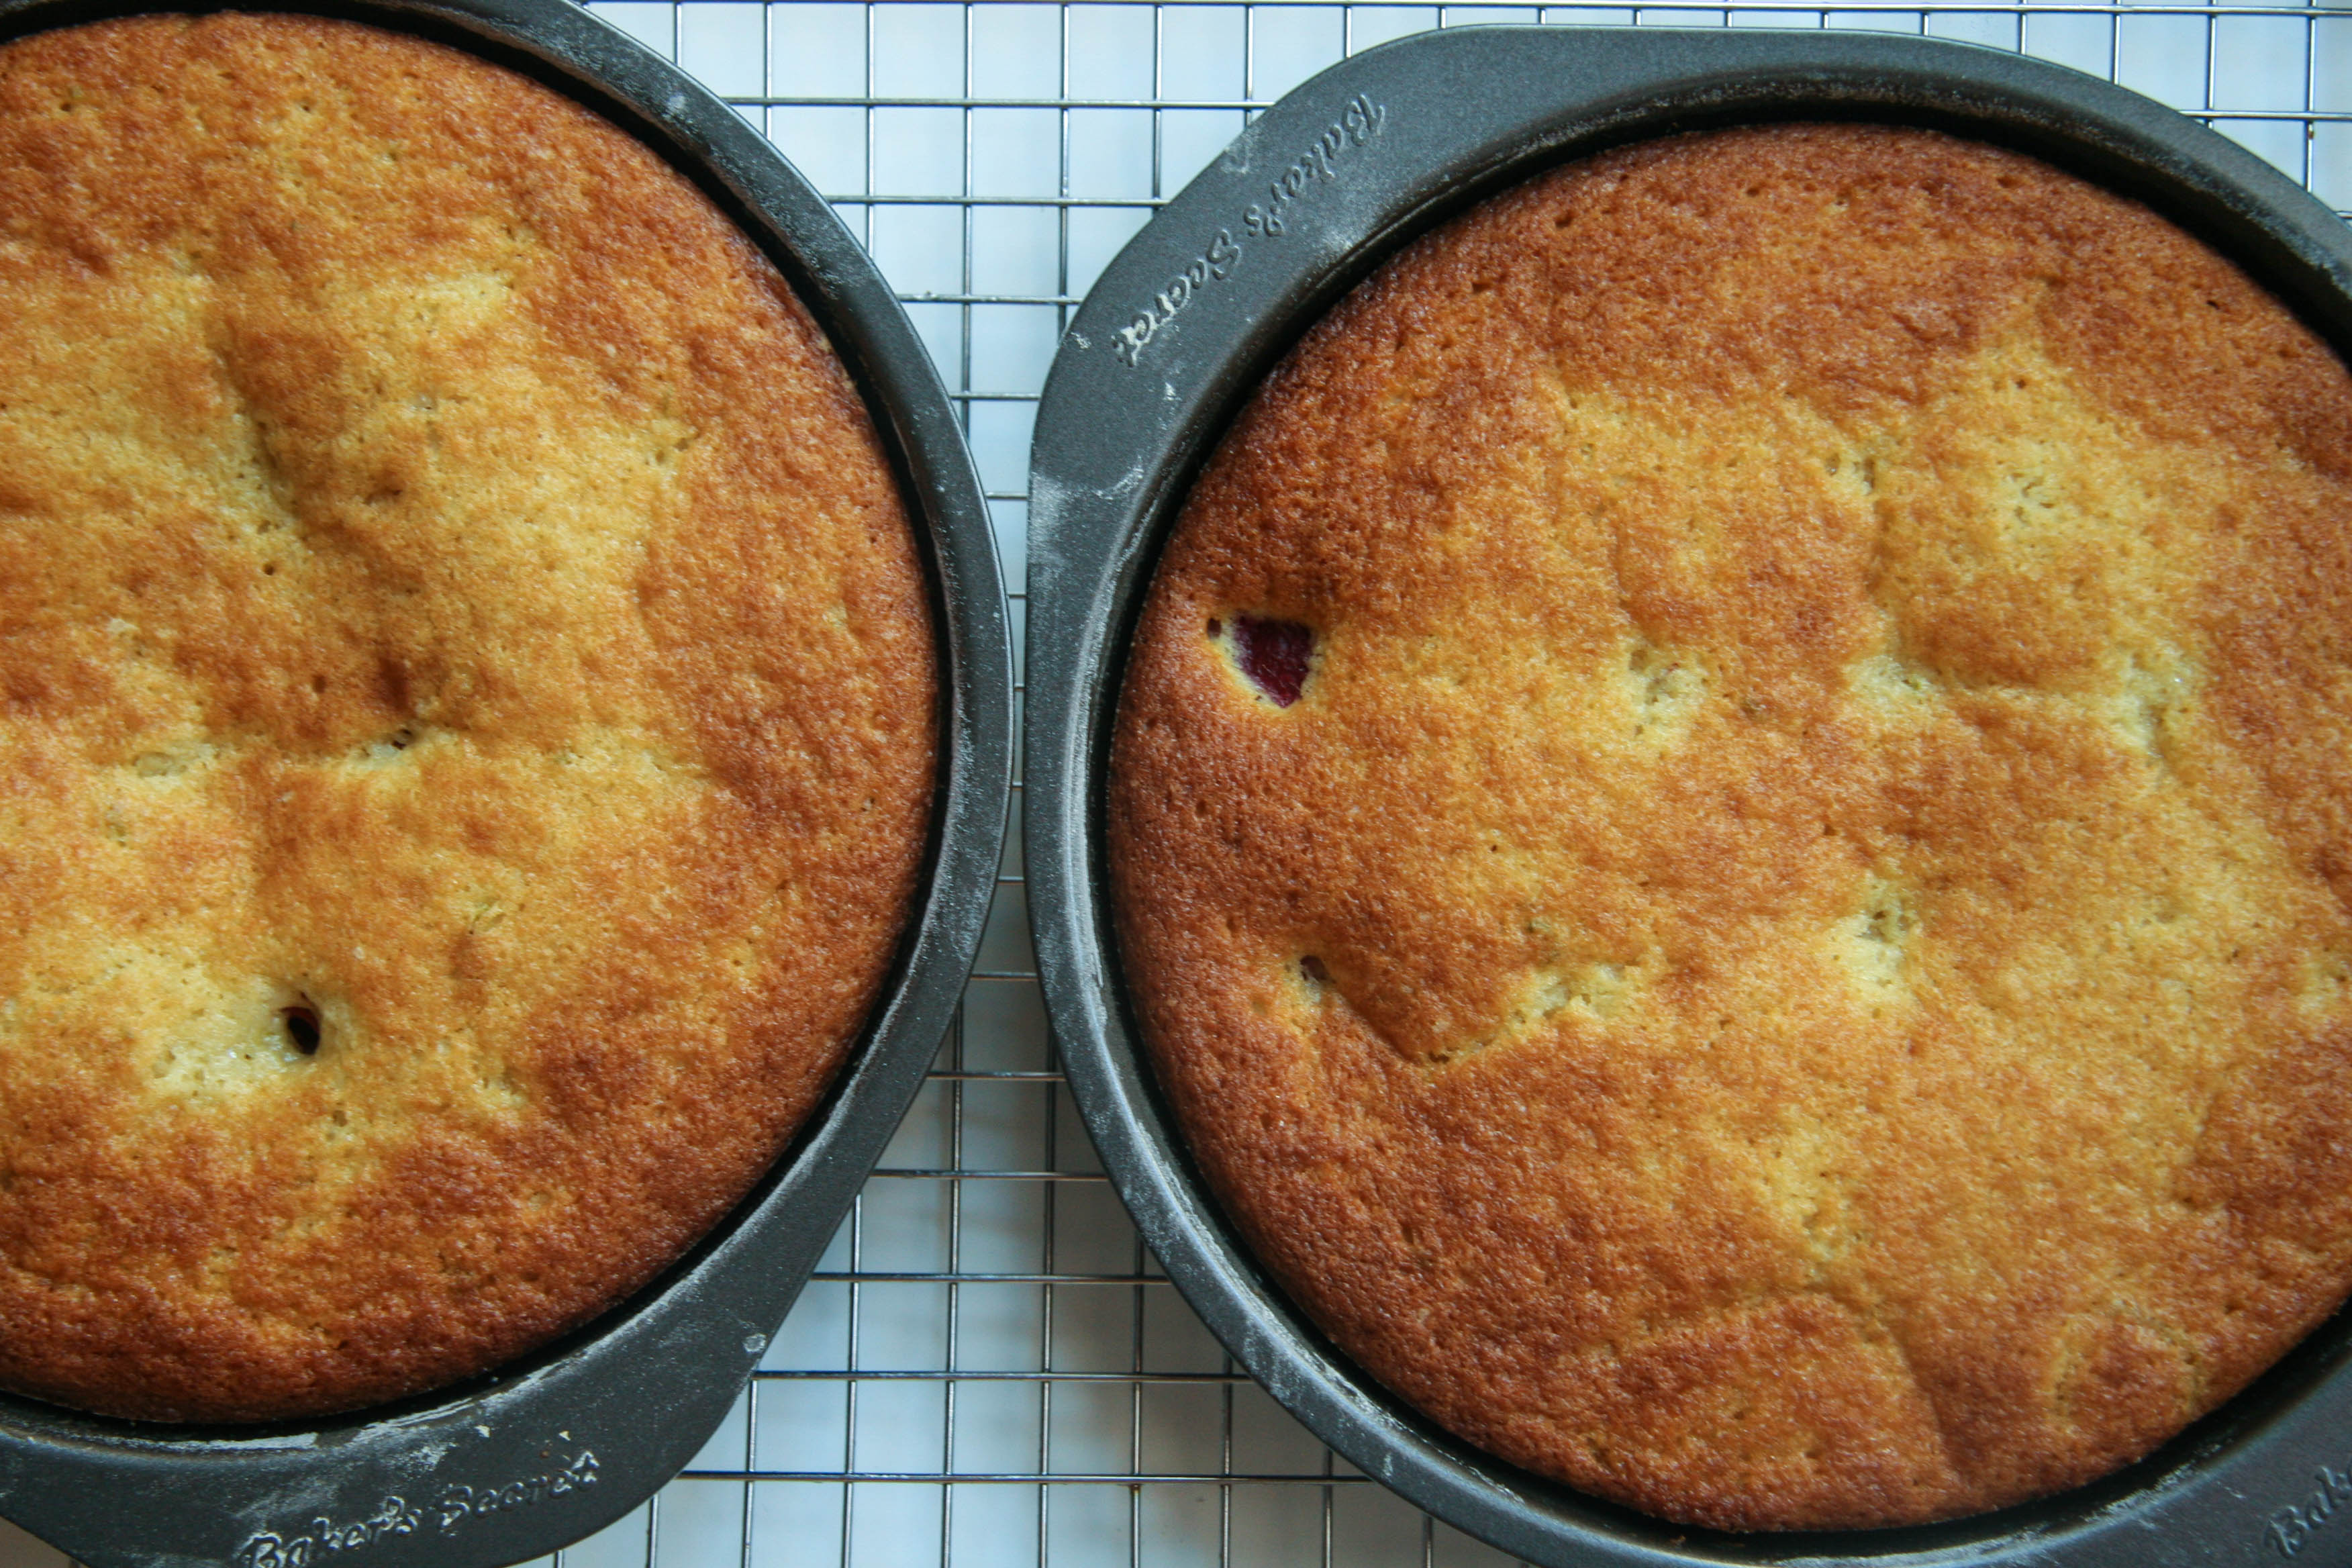
After you bake this rich butter cake, you pierce its warm top with a skewer or toothpick to make tiny little tunnels for your BUTTER SAUCE to seep in. I mean, enough said. The key is to pour the sauce, which you prepare while the bundt cake is baking, over the poked cake while it is still hot and in the pan. It soaks into the crumb of the cake to add flavor and moisture into its crevices.

  • kentucky-butter-cake

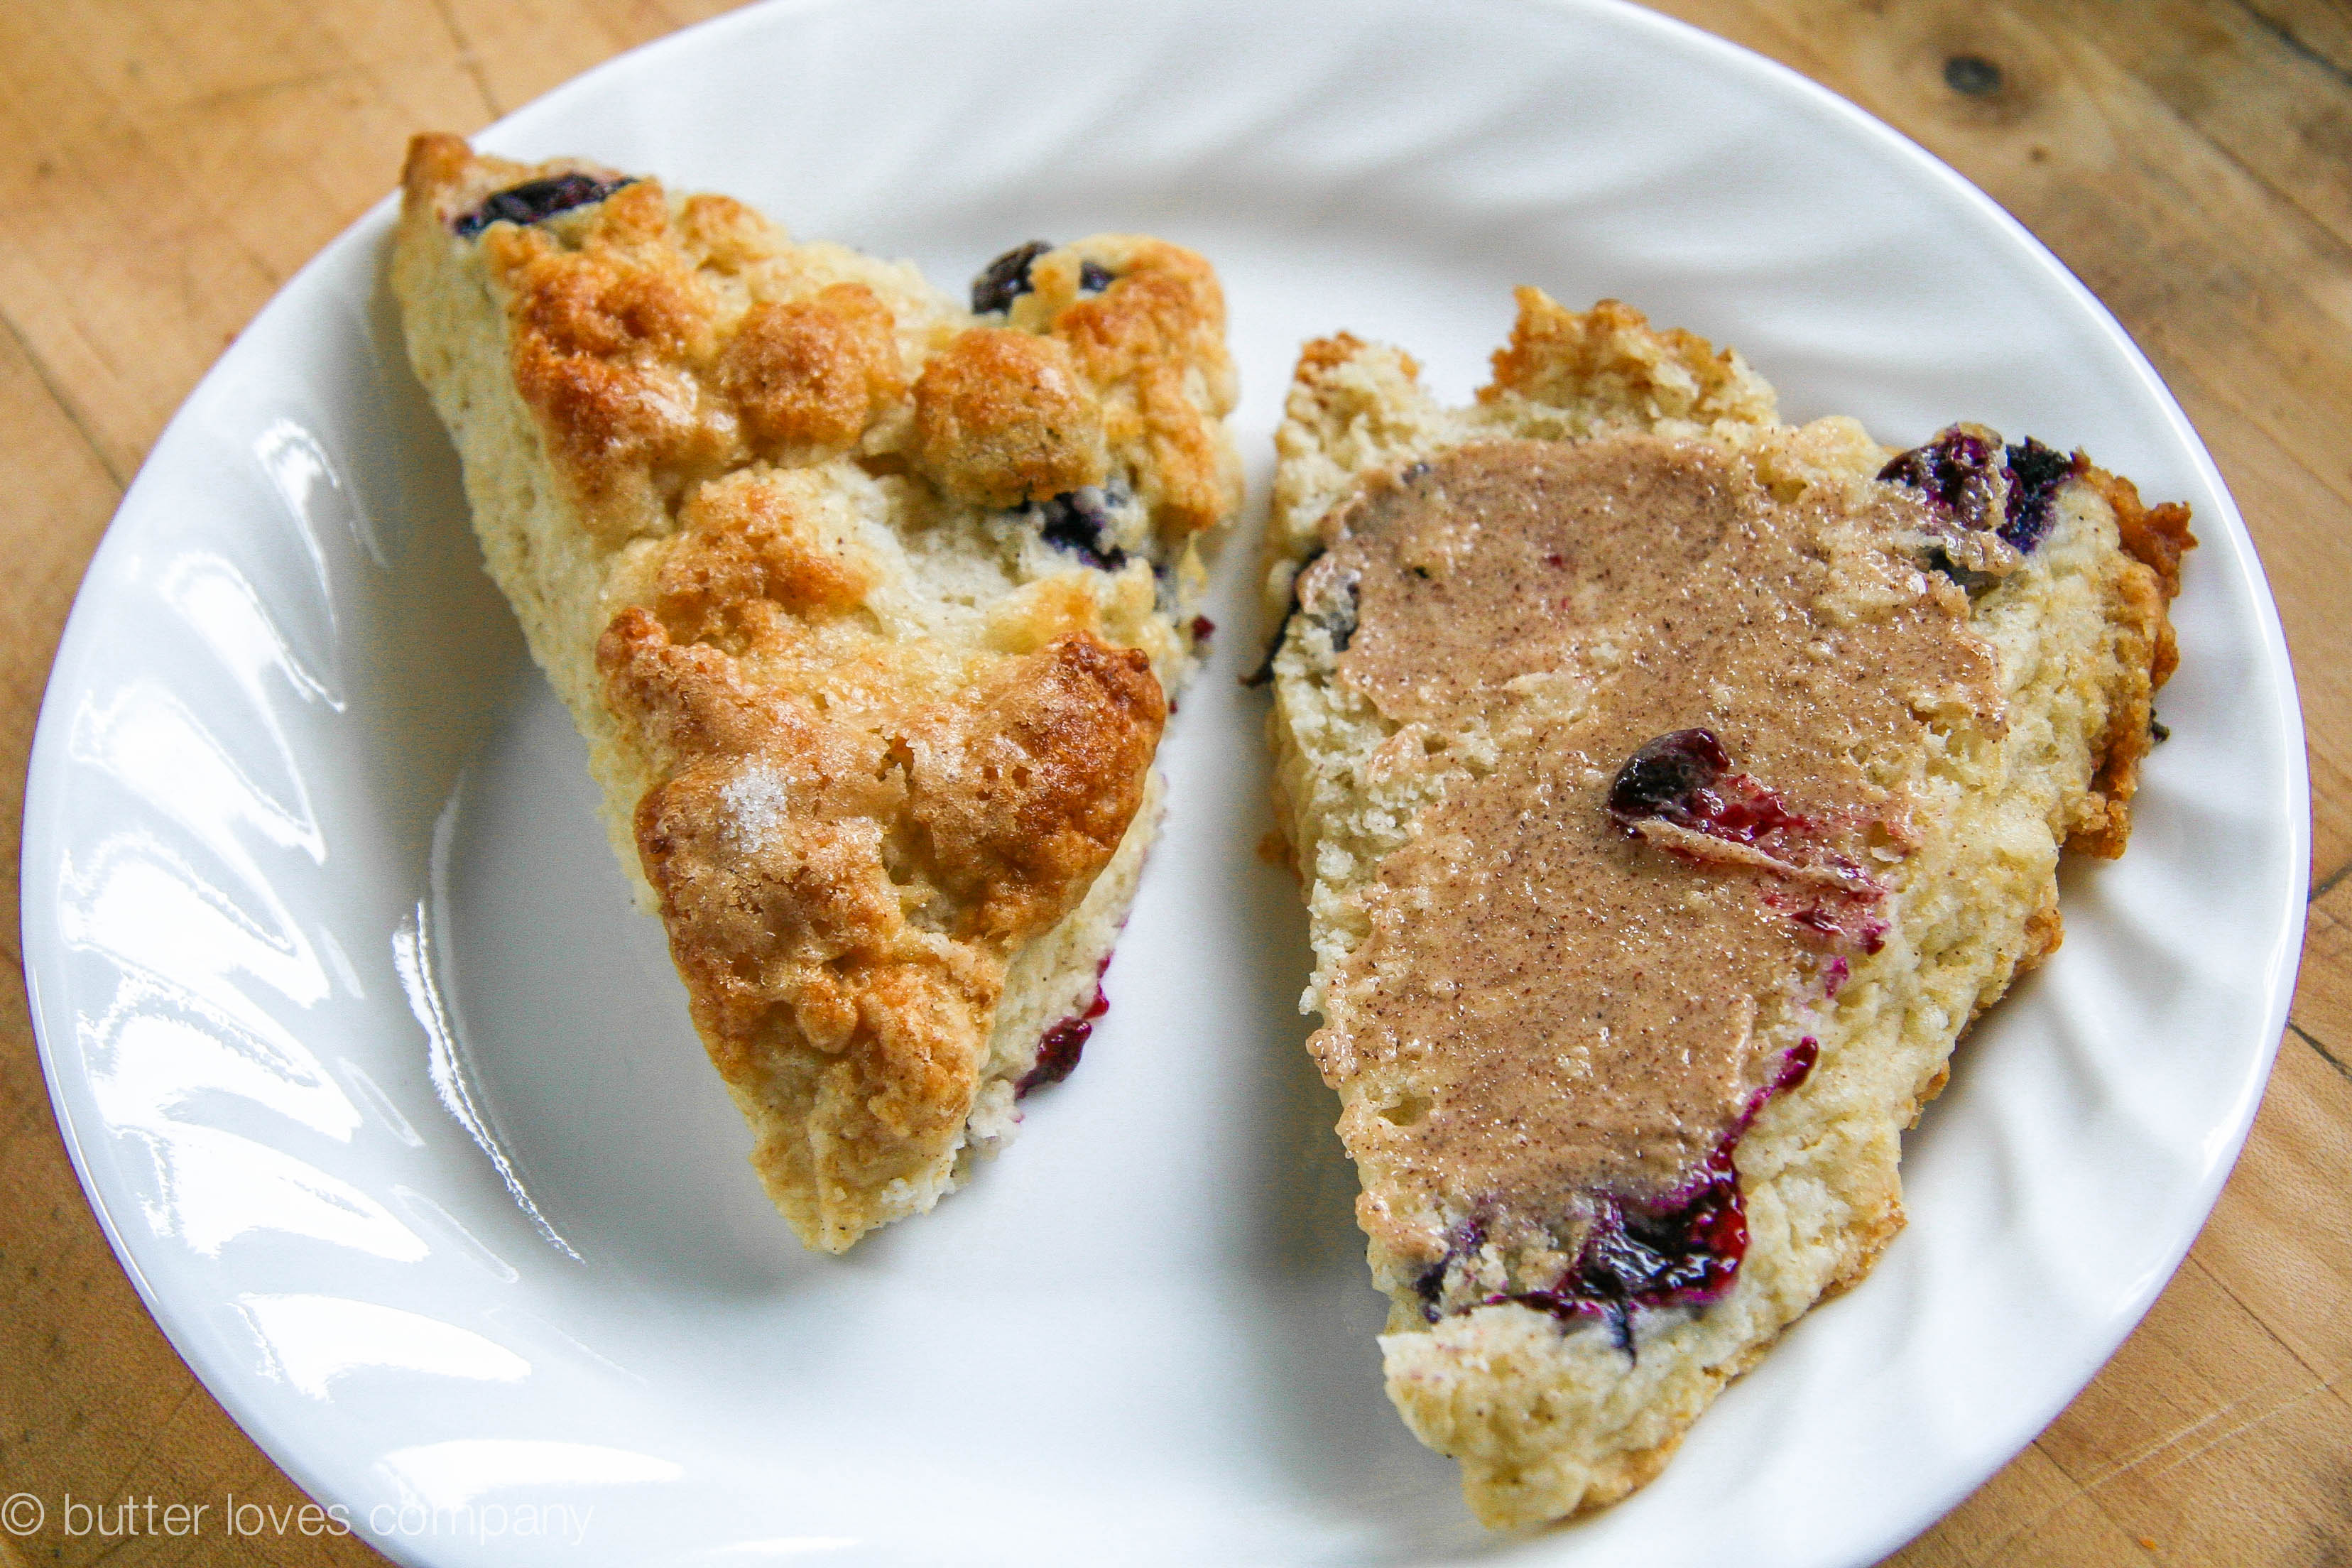
I’m not positive where Kentucky Butter Cake got its origin, having just stumbled across it when looking for a simple and delicious vanilla pound cake, but after doing some research it seems to me that the luxurious butter, sugar, vanilla sauce is what makes this butter cake an official Kentucky Butter Cake. Wherever it came from, I’m glad it’s here!

kentucky-butter-cake
Print
kentucky butter cake

Prep Time: 20 minutes

Cook Time: 1 hour

Total Time: 1 hour, 20 minutes

Category: Cake

Cuisine: Dessert

Servings: 1 bundt cake

kentucky-butter-cake-1

Ingredients

    For the Cake:
  • 3 cups/13 1/2 ounces all-purpose flour
  • 2 cups granulated sugar
  • 1 teaspoon salt
  • 1 teaspoon baking powder
  • 1/2 teaspoon baking soda
  • 1 cup buttermilk
  • 1 cup butter (room temperature)
  • 2 teaspoons vanilla
  • 4 large eggs
    For the Sauce
  • 3/4 cup sugar
  • 1/3 cup butter, room temperature
  • 3 tablespoons water
  • 2 teaspoons vanilla

Instructions

  1. Set your oven rack just below the center and preheat your oven to 325°F. Generously grease and flour a 12-cup bundt pan or spray it generously with a non-stick baking spray. This is important so the the cake will invert cleanly after it is baked.
  2. In a large bowl, or the bowl of your stand mixer fitted with the paddle attachment, combine the flour, 2 cups of sugar, salt, baking powder, baking soda, buttermilk, 1 cup of butter, 2 teaspoons of vanilla, and the eggs. Mix on low until the flour is absorbed and then increase the speed to medium to beat for an additional 3 to 4 minutes.
  3. Scrape the batter evenly into the prepared pan. Bake the cake in the preheated oven for 55 to 65 minutes, or until a toothpick inserted into the center comes out clean.
  4. While the cake is baking, place a small saucepan on the stovetop and add to it the 3/4 cup of sugar, 1/3 cup of butter, 3 tablespoons of water, and 2 teaspoons of vanilla. Turn the heat on to low and cook, stirring, just until butter melts but do not bring the mixture to a boil.
  5. When the cake is complete, remove from oven and place on a rack (keep in pan). While it is hot, pierce it all over with a toothpick or skewer to create little tunnels for the sauce.
  6. Pour the hot butter sauce over the warm cake and let the cake stand 5 to 10 minutes, or until sauce is absorbed.
  7. Carefully turn the cake out onto a serving plate and let cool completely (if you can wait that long) before slicing and serving

Notes

Recipe adapted slightly from The Spruce Eats

6.1.0
https://www.butterlovescompany.com/2019/08/15/kentucky-butter-cake/
butter loves company | jenna larsson

If you’re looking for other delicious cake recipes, might I suggest:

Berry Ricotta Cake

Pumpkin Bundt Cake

kentucky-butter-cake

Filed Under: breakfast and breads, desserts and sweets Tagged With: bundt cake, buttermilk, cake

chocolate buttermilk cake with tangerine curd and toasted meringue

March 9, 2017 by Butter Loves Company

chocolate buttermilk cake

It has been far too long since I’ve broken out one of my favorite culinary tools: the kitchen torch. This is the little flamethrower of flavor that elevates crème brulée to more than custard and makes snowy meringue frosting golden-tipped and tasting of toasted marshmallows.

chocolate buttermilk cake

This recipe for Chocolate Buttermilk Cake with Tangerine Curd and Toasted Meringue has what may seem like a lot of steps, but you can easily split them up as to not feel overwhelmed. Bake the cakes and prep the curd one day, then make the meringue and assemble the next. The cake is super moist from the buttermilk and lusciously chocolate-y from the cocoa (I used special dark). The tangerine curd is tangy and quite citrus-forward, but also so smooth and creamy. If you prefer, you could use any kind of oranges or stick to a traditional lemon only curd. Top with fluffy meringue fired up with your kitchen torch and you have yourself a super fun and delicious cake!

chocolate buttermilk cakeTorched desserts always make me think of my mom. Along her love of crème brulée for its toasted tops, I inherited my mom’s style inclination for black clothes and tailored fashion. This watch from JORD watches is a perfect example of that and served as the inspiration for this recipe and its deep chocolate color and golden meringue tips. The band is made from ebony wood so it’s lightweight, but bold in style and I absolutely love the large watch-face and gold accents. JORD makes these gorgeous wood women’s watches and men’s watches with all different wood materials and in a variety of colors. I can’t wait to wear it all spring long. It goes perfectly with my wardrobe and with this fun chocolate buttermilk cake if I do say so myself!

chocolate buttermilk cakeThe wonderful JORD team is also offering a giveaway to help you to grab your very own! Enter to win a $100 Gift code to use towards your own JORD watch. Click here to enter!

To make things more fun, everyone will automatically receive a $25 code just for entering! The contest will close on 3/26 at 11:59pm. Both the $100 and the $25 codes will expire on 5/31/2017. Best of luck everyone!

chocolate buttermilk cake

Print
chocolate buttermilk cake with tangerine curd and toasted meringue

Servings: Makes a two-layer 9-inch cake

chocolate buttermilk cake

Ingredients

    For the cake:
  • 1 3/4 cups all-purpose flour
  • 2 cups granulated sugar
  • 3/4 cups unsweetened cocoa powder (I used Special Dark)
  • 2 teaspoons baking soda
  • 1 teaspoon baking powder
  • 1 teaspoon salt
  • 1 cup buttermilk, room temperature (shake and measure first)
  • 1/2 cup unsalted butter, at room temperature
  • 3 large eggs, at room temperature
  • 1 1/2 teaspoons pure vanilla extract
  • 1 cup freshly brewed coffee, hot
    For the Curd:
  • 4 large egg yolks (reserve whites for meringue)
  • 1 large egg
  • 2/3 cup granulated sugar
  • 1 1/2 tablespoons cornstarch
  • 1/4 teaspoon salt
  • 2 packed teaspoon grated tangerine zest (or sub orange)
  • 1/2 cup fresh tangerine juice (or sub orange)
  • 1/4 cup fresh lemon juice
  • 1/4 cup unsalted butter (4 tablespoons or 1/2 stick), room temperature, diced into tablespoons
    For the Meringue:
  • 8 large egg whites (1 cup)
  • 2 cups granulated sugar
  • 1/4 teaspoon salt
  • 2 teaspoons pure vanilla extract
    Special Equipment: Kitchen Torch

Instructions

  1. Make the Cake: Preheat the oven to 350°F. Spray two 9-inch x 1.5-inch round cake pans with non-stick baking spray. Line bottoms with parchment paper and spray the paper.
  2. In a medium bowl, whisk together the flour, sugar, cocoa, baking soda, baking powder, and salt.
  3. In the bowl of an electric mixer fitted with a paddle attachment, combine the buttermilk, butter, eggs, and vanilla (all room temperature!). With the mixer on low speed, slowly add the flour mixture to the buttermilk mixture until just combined. With mixer still on low, add the coffee and stir just until combined, scraping the bottom of the bowl with a rubber spatula. Divide the batter into the prepared pans and bake for 35 to 40 minutes, until a toothpick inserted into the center of the cake comes out clean. Cool in the pans for 30 minutes, then turn them out onto a cooling rack and cool completely.
  4. Make the Curd: In a small bowl, whisk together the 4 egg yolks and 1 egg. Set aside.
  5. In a medium saucepan, whisk together the sugar, cornstarch, salt, tangerine zest and juice, and lemon juice. Bring mixture to a boil over medium heat, stirring frequently, and allow to boil for 1 minute. The mixture will become shiny and almost translucent. Turn the heat off, and very slowly and gradually pour about 1/2 cup of the orange mixture into the egg mixture, whisking constantly to avoid the heat of the mixture from cooking the eggs. Then, pour the egg/orange mixture into the saucepan with the rest of the orange mixture, turn the heat on to low and, stirring constantly, allowing the curd to cook until thickened, about 4 minutes. Remove from heat and whisk in the butter. Scrape into a bowl and cover with plastic pressed to the curd’s surface. Refrigerate until cooled.
  6. Make the Meringue: Whisk together the egg whites, sugar and salt in the bowl of your stand mixer. Grab a saucepan that your mixer bowl will sit on top of to form a double boiler. Fill the saucepan with an inch of water and bring to a simmer over medium heat. Place your egg white/sugar filled mixture bowl on top of the saucepan (make sure the simmering water does not touch the bottom of the bowl—just the residual heat). Stir the mixture until all the sugar is melted into the eggs and you no longer feel any graininess when rubbed between your fingers, about 5 minutes. Be careful not to let the mixture get too hot as the eggs will cook—stirring constantly will help prevent this. If you’re worried that the mixture is getting too hot, remove from above the saucepan and stir without heat for a little bit before returning.
  7. Place the bowl onto your mixer, add the vanilla extract, and whisk on high speed until the meringue is thick and glossy and the bowl is just warmer than room temperature, about 8 minutes.
  8. Assemble: Place 1 cake layer, flat side up, on a flat plate or cake pedestal. With a knife or offset spatula, spread the top with curd, leaving about 1/2 inch perimeter as the curd will spread once you place the second cake layer on top. Place the second layer on top. Spread the meringue evenly on the top and sides of the cake. Don’t worry about making it smooth—the meringue is extra pretty when it forms random peaks. Torch the peaks with a kitchen torch.
6.1.0
https://www.butterlovescompany.com/2017/03/09/chocolate-buttermilk-cake/
butter loves company | jenna larsson

chocolate buttermilk cake

chocolate buttermilk cake

A big thank you to JORD Watches for partnering with me on this post. All opinions are my own!
Luxury Wooden Watch

Filed Under: desserts and sweets, eat Tagged With: buttermilk, chocolate, citrus, curd, meringue, orange, tangerine

rosemary honey buttermilk biscuits

January 5, 2016 by Butter Loves Company

These rosemary honey buttermilk biscuits are what dreams are made of. From their soft, buttery layered centers and lightly crisp edges to earthy rosemary and sweet honey flavors, these biscuits are the real deal.

rosemary honey buttermilk biscuits recipes 9

Four and a half years ago, I bit into the best biscuit of my life. It was a Monday night, right after Greg and I began dating and we were perched at the bar of one of our favorite Boston restaurants, Island Creek Oyster Bar. We had made it a little tradition to go there for oysters and doughnuts. An odd pairing, yes, but doesn’t a meal that consists of the freshest, most cleanly shucked, perfectly chilled oysters on the planet and piping hot, homemade, seasonal doughnuts sound heavenly? We think so. How could it get better?

rosemary honey buttermilk biscuits recipes 1

Enter: The biscuits. A tip from a fellow diner led us there and, after one bite of the rosemary, honey coated buttermilk beauty, we were in dreamland. With crisp edges that balance the soft, buttery layers within, this is a biscuit you will definitely fall in love with.

rosemary honey buttermilk biscuits recipes 3

Many thanks to Saveur Magazine for sharing our love of “The Biscuit” and getting the Island Creek team to reveal the recipe. I could have sworn there was rosemary inside the biscuits as well as on top, so I adjusted the recipe to meet my memory. The real key here is shredding frozen butter into the dough with a box grater. It will give the biscuits their many layers. Get ready to fall in love.

rosemary honey buttermilk biscuits recipes 4

rosemary honey buttermilk biscuits recipes 5

Print
Rosemary Honey Buttermilk Biscuits

Prep Time: 10 minutes

Cook Time: 30 minutes

Servings: Makes 6 large, delicious biscuits

rosemary-honey-buttermilk-biscuits-recipes-8

Ingredients

  • 5 cups all purpose flour
  • 1 tablespoon table salt
  • 5 tablespoons sugar
  • 1 tablespoon baking powder
  • 16 tablespoons (2 sticks or 1 cup) unsalted butter, frozen
  • 1 3⁄4 cups buttermilk
  • 2 tablespoons honey
  • 1 tablespoon plus 1 teaspoon finely chopped rosemary

Instructions

  1. Center a rack in the oven and heat oven to 400°F. Line a baking sheet with parchment paper and set aside. In a medium bowl—preferably wide so you can get your hands in—whisk flour, salt, sugar, baking powder, and 1 teaspoon chopped rosemary.
  2. Using a box grater, grate 10 tbsp. butter into flour mixture, and mix with your hands to evenly distribute. Pour in the buttermilk and gently fold to combine to form a soft dough.
  3. Transfer dough to a lightly floured surface and shape into an 8" x 6" rectangle (about 2" thick). Cut into 6 squares and place each square on the prepared baking sheet, leaving 3" between each square. Bake until the biscuits are puffed and cooked through, about 20 minutes. Meanwhile, in a small saucepan, melt remaining 6 tablespoons butter in a small pan. Mix in the honey and remaining 1 tablespoon of rosemary. Brush the honey/butter mixture over the hot biscuits; return to the oven until golden brown, about another 10 minutes. They are amazing served warm.

Notes

Adapted from Island Creek Oyster Bar via Saveur

6.1.0
https://www.butterlovescompany.com/2016/01/05/rosemary-honey-buttermilk-biscuits-recipe/
butter loves company | jenna larsson

rosemary honey buttermilk biscuits recipes 8

rosemary honey buttermilk biscuits recipes 6

Filed Under: breakfast and breads, eat Tagged With: biscuits, buttermilk, honey, island creek oyster bar, rosemary

apple pie buttermilk biscuits

September 17, 2014 by Butter Loves Company

apple-pie-biscuits-joy-the-baker-bootcamp-14 copy

If you’ve ever found yourself craving apple pie for breakfast, these biscuits are for you. These fluffy treats are portable, completely 8am acceptable versions of apple pie with a sweet cinnamon apple filling folded into two fluffy, buttery buttermilk biscuit layers. Shopping for and making this recipe is extremely easy as it requires just one apple, one spice and no electric mixer of any sort. Let’s consider this our simple stepping stone into the various apple-ly pies and treats we make in the coming months. Prepare to have a super awesome smelling kitchen!

apple-pie-biscuits-joy-the-baker-bootcamp-1

I made these last Sunday as part two of the Joy the Baker and King Arthur Flour Baking Boot Camp series. The concept of the series is simple: four recipe challenges using four different King Arthur Flours + photos + Instagram #bakingbootcamp = a chance to win awesome baking prizes. If you’re interested in participating you can find out more details on Joy’s blog. Also, if you have an Instagram account, I would love to see your results. I’m @butterlc. Let’s be web buds!

apple-pie-biscuits-joy-the-baker-bootcamp-2

This challenge featured self-rising flour, which I learned is made using soft wheat flour rather than the hard wheat flour that goes into all-purpose flour. This causes it to have a lower protein content (8.5%) than all-purpose flour (11.7%) which aids in making the flour light, and resulting tender and fluffy biscuits. Apparently, this type of flour also already contains non-aluminum baking powder and a dash of salt. Whoop, whoop! Cheers to learning! Love this stuff.

apple-pie-biscuits-joy-the-baker-bootcamp-4

I don’t know about you but I had five types of flour on hand, but self-rising was not one of them. Luckily, you can make your own using this easy formula: 1 cup all-purpose flour + 1 1/2 teaspoons baking powder + 1/4 teaspoon salt. Whisk this mixture together until thoroughly combined. You will need a double batch of this for the recipe below.

Aside from having these on a casual Sunday, I can picture serving them with brunch on a crisp fall day, or even into the Thanksgiving holiday season.

*Truthfully, if you find yourself craving apple pie for breakfast, please also feel free to eat the stinkin’ pie. I know I have. That’s the beauty of being an “adult.”

apple-pie-biscuits-joy-the-baker-bootcamp-5

buttermilk lava!

apple-pie-biscuits-joy-the-baker-bootcamp-6

your dough will start coming together.

apple-pie-biscuits-joy-the-baker-bootcamp-7

roll out the dough

apple-pie-biscuits-joy-the-baker-bootcamp-8

add your sweet apple filling

apple-pie-biscuits-joy-the-baker-bootcamp-9

cut and place on a cookie sheet pan

apple-pie-biscuits-joy-the-baker-bootcamp-12

sprinkle tops with cinnamon sugar, because that can only make things better

apple-pie-biscuits-joy-the-baker-bootcamp-11

apple-pie-biscuits-joy-the-baker-bootcamp-13

biscuits.

apple-pie-biscuits-joy-the-baker-bootcamp-16

I love how the apple peeks out!

apple pie buttermilk biscuits
Joy the Baker

prep time: 15 minutes
cook time: 12–14 minutes
total time: 30–40 minutes
makes 12 biscuits

Ingredients:

For the Apples:
1 Fuji or other baking apple of choice, peeled, cored and sliced very thin
2 tablespoons unsalted butter
1 teaspoon ground cinnamon
2 tablespoons packed brown sugar (I was generous with this)
For the Biscuits:
2 cups King Arthur Unbleached Self-Rising Flour, or your own self-rising flour mixture (directions above)
1/4 cup cold unsalted butter, cut into small cubes
2 tablespoons granulated sugar
2/3 to 3/4 cup cold buttermilk
For the Topping:
1 large egg, beaten
2 tablespoons granulated sugar
1/2 teaspoon ground cinnamon
pinch of salt

Instructions:

  1. Place a rack in the center of the oven and preheat to 425°F. Line a baking sheet with parchment paper and set aside.
  2. Prepare the apples: Melt butter in a medium skillet over medium heat. Add the apples, cinnamon and brown sugar. Toss the apples until the sugar is melted and the mixture on the apples is warm and glossy. The apples will be coated but won’t be cooked through. Remove from the heat and set aside to cool.
  3. Prepare the biscuit dough: Place flour in a medium bowl. I used a baking dish with a nice flat bottom and wide top so I could get my hands in easily. Add the cold butter cubes and use your fingers to quickly break the butter down into the flour until some of the butter bits are oat-sized and others pea-sized. Stir in the granulated sugar.
  4. Create a well in the center of the flour mixture and pour in 2/3 cup buttermilk. Stir the mixture together until it is well moistened and holds together if you gently gather it together into a ball. Add the remaining buttermilk as needed. If you’re using your own homemade self-rising flour, you’ll want to add the full 3/4 cup of buttermilk.
  5. Lightly dust a work surface with all-purpose flour. Gently gather the dough into a ball and transfer it to the floured surface. Pat it into a small rectangle.
  6. Assemble: Use a rolling pin to gently roll the dough into a rectangle 1/2-inch thick, about 7-inches x 10-inches. Arrange the cooled apples in a single layer over one half of the rolled-out biscuit dough. Fold the empty side of the dough over the apples and gently seal in the apples by pressing the edges of the dough together. You can use your hands to pat the dough into a 6-inch x 8-inch rectangle and smooth the edges.
  7. Use a sharp knife to slice the dough into 12 squares. Use a spatula to place each biscuit onto the prepared baking sheet, about 2-inches apart.
  8. In a small bowl, whisk together sugar for topping, cinnamon and salt.
  9. Brush each biscuit top with beaten egg and sprinkle generously with the cinnamon sugar mixture.
  10. Bake for 12 to 14 minutes until the biscuits are risen and golden brown. Remove from the oven and serve warm, or cool completely before storing in an airtight container. Biscuits are best enjoyed within two days of baking.

apple-pie-biscuits-joy-the-baker-bootcamp-17

Filed Under: breakfast and breads, eat Tagged With: apple pie, apples, autumn, baking bootcamp, biscuits, breakfast, buttermilk, fall, king arthur flour

blueberry buttermilk scones with cinnamon sugar butter

July 10, 2014 by Butter Loves Company

blueberry buttermilk scones with cinnamon sugar butter 20 copy

When spending your vacation at a house on the water, you’d better not forget to pack your bathing suit, sunscreen, aloe vera for when you inevitably get burned regardless of the sunscreen, boogie board, frisbee, Stephen King or Emily Griffin novel (pick your poison), kitchen tongs and measuring cups/spoons. You’re probably thinking those last two don’t scream ‘sand between the toes,’ but if you have access to a kitchen, these tools will make life much easier and breakfast much more delicious.

I learned from my mom that you should always travel with tongs.* The reason being, she told me, you never know what the kitchen supply situation will be. With this in mind, I decided that because of my baking obsession I should also always travel with measuring tools. You see, some vacation rentals are equipped for a chef, while others are equipped for a stack of take-out pizzas (no knock there, love me some take-out pizza). Luckily, even if you’re staying in the latter, you can make delicious homemade treats because, with just your hands, you can be quite the little bakeshop.

blueberry buttermilk scones with cinnamon sugar butter 1

You’ll already be all sandy after the beach; why not also get a little flour on your hands while making some blueberry buttermilk scones with cinnamon sugar butter? The butter—oh the butter—may be my new little obsession. It is SO easy to make, and with just just three ingredients, you can have this addictive sweet spiced spread at your disposal in no time. I’m going to start making it by the pound.

blueberry buttermilk scones with cinnamon sugar butter 2

Your cohorts will thank you when they’re slicing through the sweet, juicy blueberries in the light, buttery scone and smearing it with the cinnamon sugar butter. They may actually volunteer to make you a piña colada for your hard work. (Our little secret will be how easy the ‘work’ was, but go on, accept that island drink reward ;-))

* For clarification: this applies when you have a kitchen to work with. I did not, for example, bring tongs to Las Vegas for a girl’s weekend. That would be strange. Probably not all that surprising, but definitely strange.

blueberry buttermilk scones with cinnamon sugar butter 4

blueberry buttermilk scones with cinnamon sugar butter 5

blueberry buttermilk scones with cinnamon sugar butter 9

blueberry buttermilk scones with cinnamon sugar butter 8

blueberry buttermilk scones with cinnamon sugar butter 17

blueberry buttermilk scones with cinnamon sugar butter 15

blueberry buttermilk scones with cinnamon sugar butter 16

blueberry buttermilk scones with cinnamon sugar butter 19

blueberry buttermilk scones with cinnamon sugar butter
Adapted from M.S. Milliken & S. Feniger, 2007

Prep Time: 15 minutes
Cook Time: 16–18 minutes
Total Time: 30–35 minutes
Makes 8 large or 16 medium-sized scones

Ingredients:

3 cups all-purpose flour
1/3 cup granulated sugar
1 teaspoon salt
2 1/2 teaspoons baking powder
1/2 teaspoon baking soda
1/2 teaspoon ground cinnamon
3/4 cup (1 1/2 sticks) unsalted butter
1 cup buttermilk
1 cup fresh blueberries
1 egg lightly whipped with 1 tablespoon water (for brushing)
A dash more granulated sugar for sprinkling
Cinnamon sugar butter (recipe follows)

Instructions:

  1. Preheat oven to 400 degrees F and lightly grease a cookie sheet or line with parchment paper. Combine the flour, sugar, salt, baking powder, baking soda and ground cinnamon in a large bowl. Add butter and mix with your fingertips or with a pastry blender until it reaches a coarse meal and the butter is in pea-sized pieces or just smaller. Add buttermilk and mix until almost combined. Mix in blueberries until everything is just combined.
  2. Transfer dough to a floured board (divide into two parts if you’d like smaller scones). Roll into 1-inch thick rounds for larger scones or into 3/4-inch thick rounds if you divided the dough and are making smaller scones. Cut each round into 8 wedges and place slightly separated onto the prepared baking sheet. Brush the tops of the scones with the egg mixture, sprinkle each lightly with sugar and bake for 16–18 minutes, or until lightly browned. Serve warm, split in half with a smear cinnamon sugar butter.

cinnamon sugar butter

makes 1/4 cup

Ingredients:

1/4 cup butter, softened at room temperature (I use salted, but if you use unsalted, add a dash of salt)
2 tablespoons light brown sugar
3/4 teaspoon ground cinnamon

Instructions:

  1. In a small bowl, stir together butter, light brown sugar and ground cinnamon until completely combined and fluffy. Chill and serve.

Filed Under: breakfast and breads, eat Tagged With: blueberry, breakfast, butter, buttermilk, cinnamon, easy, scones, sugar

lemon loaf with lavender glaze

April 30, 2014 by Butter Loves Company

lemon loaf with lavender glaze 6

Since, after three days, we’ve officially finished the final crumb of this bread, I thought it was time you all should know about it. Three days is actually a pretty impressive length of time, which I’ll attribute to my trying to be “good” about my sweet intake this week. I consider this a success even if only for the fact that each time I ate it I actually cut a slice and put it on a plate, rather than jabbing a fork into the loaf for a bite each time I passed its platter. (Does anyone else leave a fork on the serving plate ready for this move at any time?) If When I make this again, I’d estimate a one- to two-day counter life based on deliciousness alone.

lemon loaf with lavender glaze 1

This loaf was the result of yet another ‘Buttermilk Conundrum,’ as I like to call it. I often purchase buttermilk for a recipe that only requires a half-cup of it. Before I know it, the carton has taken up residence in my fridge until I finally realize expiration is approaching and google, “what to do with leftover buttermilk.” It’s a classic tale—a Buttermilk Conundrum.

lemon loaf with lavender glaze 2

Well my Google search was a little more targeted this time knowing I also had lemons in the fridge, it was early on a rainy Saturday morning and I much preferred to stay in pajamas than put on real-people-clothes to go to the store for anything. I found a well-reviewed Ina Garten lemon cake recipe as a starting point. Her recipe made two loaves, which we didn’t need in the apartment (see, I was being good!), so I started to tweak a little bit as I scaled the recipe down. It turned out to be quite good with a perfect bread loaf texture—moist with a tight but not-too-dense crumb. There was a noticeable citrus flavor—without it being too bitter or too tart—from the additions of lemon zest in the cake and lemon juice in a syrup spooned over the warm loaf after it comes out of the oven. I decided to call it a bread versus a cake solely to make Greg and me feel better about having it for breakfast.

Once the loaf cooled completely, I topped it with a lavender glaze to play around with some dried cooking lavender in my cabinet. It added a subtle floral note, which was a nice compliment to the citrus. If you don’t have lavender, a simple lemon glaze or powdered sugar and milk glaze would have also been super as the bread itself is the star here.

lemon loaf with lavender glaze 3

lemon loaf with lavender glaze 4

emon loaf with lavender glaze 5

lemon loaf with lavender glaze 8

Lemon Loaf with Lavender Glaze
Adapted from Ina Garten

Prep Time: 10 minutes
Cook Time: 45 minutes
Total Time: About 1 hour 30 minutes (including cool time)
Makes one 8-inch loaf

Ingredients:

For the Cake:

1 stick (¼ pound/8 tablespoons) unsalted butter, softened
1¼ cups granulated sugar, divided
2 extra-large eggs, at room temperature
¼ cup grated lemon zest (from about 3 lemons)
1½ cups flour
¼ teaspoon baking powder
¼ teaspoon baking soda
½ teaspoon table salt
¼ cup plus 2 tablespoons fresh lemon juice, divided (from about 2 lemons)
½ cup well-shaken buttermilk
½ teaspoon pure vanilla extract

For the Glaze:

½ cup milk
1 tablespoon dried lavender (from a food store, not a flower store)
1 cup confectioner’s sugar

Directions:

  1. Preheat the oven to 350 degrees F. Butter and flour an 8 x 4 x 3 inch loaf pan (or comparable size), or coat with a non-stick baking spray.
  2. Cream the butter and 1 cup granulated sugar in the bowl of an electric mixer fitted with the paddle attachment until light and fluffy, about 5 minutes. With the mixer on medium speed, add the eggs, 1 at a time, and then the lemon zest.
  3. In a small bowl, sift together the flour, baking powder, baking soda, and salt. In another bowl, combine 2 tablespoons lemon juice, the buttermilk and vanilla. Add the flour and buttermilk mixtures alternately to the batter—beginning and ending with the flour. Spoon into loaf pan, smooth the top and bake for 45–55 minutes, until a cake tester comes out clean. Allow the cake to cool for 10 minutes in the pan while you prepare the lemon syrup.
  4. To prepare the lemon syrup, combine ¼ cup granulated sugar with ¼ cup lemon juice in a small saucepan and cook over low heat until the sugar dissolves. Remove from heat.
  5. Remove the cake from the pan and set it on a rack set over a tray or sheet pan. Spoon the lemon syrup over it. Allow the cake to cool completely.
  6. To prepare the glaze, heat the milk in a saucepan over medium heat until it starts to boil. Remove the pan from heat and add the dried lavender. Let the mixture steep for 5–8 minutes then strain the milk into a small bowl or cup to remove the dried lavender. Whisk the confectioner’s sugar into the milk, a tablespoon at a time, until you get a smooth glaze. Pour or spoon over the cooled loaf.

Filed Under: breakfast and breads, desserts and sweets, eat Tagged With: bread, breakfast bread, buttermilk, cake, citrus, glaze, lavender, lemon

raspberry lime buttermilk cake with coconut cream cheese frosting

April 2, 2014 by Butter Loves Company

raspberry lime buttermilk cake with coconut cream cheese frosting-assembled cake4Light, moist buttermilk layers dotted with fresh raspberry bursts and swirled with lime zest; all topped with tropical coconut cream cheese frosting.

I’m pretty sure the red-eye home from sunny California last night made me crazy this morning. I mean, after indulging on SoCal treats like tacos, churros, baseball game fare, and a delicious key lime pie made by Greg’s cousin (to the entire family, we are so grateful!), I should’ve immediately banished all junk, hit the grocery store, and stocked up on every single green, crunchy vegetable available in preparation for a string of signature “post-vacation detox” salads.

Instead—in my red-eye haze—I made this Raspberry Lime Buttermilk Cake with Coconut Cream Cheese Frosting. I had most of the ingredients staring at me in the fridge; sad we had left them for the palm trees and Hollywood glam of the west coast. What was I supposed to do?

The layers of this cake are incredibly moist because of the buttermilk, and in every other bite you get juicy, tart bursts of raspberry with a citrusy lime undertone. The raspberries could easily be swapped out with any other berry you have on hand. In the past I’ve made it with diced strawberries and Greg and I enjoyed it unfrosted as a breakfast cake. In this case, I decided to layer it with coconut cream cheese frosting for a rich, sweet taste of the tropics—and one last bite of vacation.

raspberry lime buttermilk cake with coconut cream cheese frosting-raspberries

raspberry lime buttermilk cake with coconut cream cheese frosting-lime zest

raspberry lime buttermilk cake with coconut cream cheese frosting-batter1

aspberry lime buttermilk cake with coconut cream cheese frosting-batter2

raspberry lime buttermilk cake with coconut cream cheese frosting-batter3

raspberry lime buttermilk cake with coconut cream cheese frosting-cakes

raspberry lime buttermilk cake with coconut cream cheese frosting-cake4

raspberry lime buttermilk cake with coconut cream cheese frosting-assembled cake5


raspberry lime buttermilk cake with coconut cream cheese frosting-assembled cake3
Raspberry Lime Buttermilk Cake with Coconut Cream Cheese Frosting
Cake adapted from Smitten Kitchen, which was adapted from Gourmet, June 2009
Frosting, my own

Prep Time: 30 minutes
Cook Time: 20 minutes
Total Time: 50–60 minutes
Makes two 8-inch cakes and enough frosting for a “tom-boy” style* cake filling/topping

For the Raspberry Lime Buttermilk Cake:

2 cups all-purpose flour
1 teaspoon baking powder
1 teaspoon baking soda
½ teaspoon salt
1 stick (8 tablespoons) unsalted butter, at room temperature
1⅓ cup granulated sugar
1 teaspoon pure vanilla extract
1½ teaspoons finely grated lime zest (from about two limes)
2 large eggs
1 cup buttermilk, well shaken
1 cup fresh raspberries
¼ cup toasted sweetened shredded coconut, for garnishing (optional)

For the Coconut Cream Cheese Frosting:

8 oz cream cheese (1 standard package)
½ stick (4 tablespoons), unsalted butter at room temperature
½ cup sweetened shredded coconut
2–3 cups powdered sugar
½ teaspoon vanilla extract
⅛ teaspoon coconut extract

Instructions:

  1. Preheat oven to 400 degrees F with rack in middle. Butter and flour a 9-inch round cake pan. (If using toasted coconut for garnishing the cake, you can now spread the ¼ cup sweetened shredded coconut onto a baking sheet or sheet pan and bake in the oven as it heats to 400 degrees until edges are lightly golden, about 5 minutes. Remove from oven and let cook completely).
  2. In a medium bowl, whisk together flour, baking powder, baking soda, and salt and set aside. In a large bowl with a hand mixer or the bowl of an electric mixer fitted with a paddle attachment, beat the butter and sugar at medium-high speed until pale and fluffy. Reduce to low speed and add vanilla and lime zest. Then, beat in the eggs, one at a time, scraping the bowl between additions.
  3. At low speed, mix in flour mixture in three batches, alternating with buttermilk, beginning and ending with flour, and mixing until just combined. Scoop batter into prepared cake pans, smoothing top (batter will be thick). Drop raspberries evenly over top (it won’t matter if they land face up or face down).
  4. Bake until cake is golden and a wooden pick inserted into center comes out clean, 20 to 25 minutes. Cool in pan 10 minutes, then turn out onto a rack and cool completely.
  5. While the cake is cooling, prepare the frosting. In a large bowl, or the bowl of an electric mixer fitted with a paddle attachment, cream the butter and cream cheese on medium speed until light and fluffy. Add the shredded coconut, vanilla, and coconut extracts and mix until combined. With the mixer on low speed, add the 2 to 3 cups of powdered sugar until combined into a light, creamy frosting that is thick enough to spread and hold its form.
  6. To assemble: Place 1 cake layer, flat side up, on platter. Spread just under ½ the frosting over top of cake. Top with second cake layer, flat side up. Spread remaining frosting over the top (you may have enough frosting to cover the sides, if desired). Top with extra fresh raspberries and toasted coconut, if desired. Enjoy! (If not serving immediately, cover with plastic wrap and refrigerate. Remove from refrigerator and bring to room temperature 45 minutes before serving).

*Tom-boy style is with the frosting just between the layers and on top, leaving the sides bare.


raspberry lime buttermilk cake with coconut cream cheese frosting-assembled cake7

Filed Under: desserts and sweets, eat Tagged With: buttermilk, cake, cake recipe, citrus, coconut, cream cheese, dessert, fruit, layer cake, lime, raspberry, tropical

Welcome!

jenna of butterlovescompany

Pull up a chair

Hi! I’m Jenna. Story seeker, food lover, recipe developer based in NYC. Firm believer in making every day delicious! Read more…

looking for something?

  • Email
  • Facebook
  • Instagram
  • Pinterest
  • RSS
  • Twitter

Latest Posts

  • Freezer Meals to Make Before Baby: How We Meal Prepped Before Baby
  • mom’s famous spiced pecans
  • funfetti cookie dough truffles (no-bake)
  • maple coconut cookies
  • snickerdoodle blondies

popular now

strawberry cinnamon rolls
braised short rib pasta sauce (short rib ragu)
peach blueberry pie
rosemary honey buttermilk biscuits
bourbon banana bread
crunchy chewy bakery-style sugar cookies

grammin’

Let’s get ready to bake throughout the holidays! Let’s get ready to bake throughout the holidays! I’ve teamed up with @lucky_leaf_fruit_filling, @diamondnuts and #Kids360 to give away some delicious baking ingredients to make your spirits bright this season. 

To enter:
-Follow @lucky_leaf_fruit_filling, @diamondnuts and @butterlovescompany
-Comment and tag a friend and the name of your favorite holiday dessert
-Enter by December 1. Winner will be selected at random and DM’d! 

You’ll win: 
•(1) Can of Lucky Leaf Premium Blueberry Filling
•(1) Can of Lucky Leaf Premium Apple Filling
•(1) Can of Lucky Leaf Premium Cherry Filling
•(1) Can of Lucky Leaf Premium Strawberry Filling
•(1) Can of Lucky Leaf Premium Peach Filling
•(1) Recipe Book
•(2) Dish Towels
•(1) Pot-Holder
•(1) Picnic Basket

#ad NO PURCHASE NECESSARY. Open to legal residents of the United States (including its commonwealths, territories, and possessions) who are legal age of majority. Enter by 11:59 pm ET on December 1, 2021. Odds of winning depend on # of entries received. Void where prohibited. This is not sponsored or endorsed by Instagram or Facebook.
This was the best photo we could get with an alway This was the best photo we could get with an always moving toddler. 🥸 Happy Thanksgiving to you and yours! ♥️
Something that the past year or so has taught me: Something that the past year or so has taught me: stock your pantry! Having a stocked kitchen has made it super easy to cook and bake without having to run out to the store. Crucial when you get a craving for an Apple Walnut Cake and need to make one stat. With @lucky_leaf_fruit_filling and @diamondnuts, you can put together a delicious cake SO easily with no peeling and slicing of apples. 🍎🌰You get all the beautiful warm spice flavor with sweet, tart apples, and crunchy, hearty walnuts. #ad Get the recipe below: 

Apple Walnut Cake

* 1 box (15.25 oz.) spice cake mix
* 1 can (21 oz.) Lucky Leaf® Premium Apple Fruit Filling
* 2 large eggs
* 1 tbsp. pure vanilla extract
* 1/4 cup whole milk
* 1/4 cup brown sugar
* 1 tsp. ground cinnamon
* 1/2 cup finely chopped Diamond of California® Shelled Walnuts
* 1 container (8 oz.) whipped topping, thawed

Instructions
1. Preheat oven to 350° F and grease 9x13-inch pan. 
2. Combine dry cake mix, apple filling, eggs, vanilla & milk in large bowl. Beat for 2 minutes. Spread half of the batter in the pan. 
3. Make the Walnut Cinnamon filling: Combine brown sugar, cinnamon and walnuts. Sprinkle half the mixture on top of batter. Top with remaining batter and then sprinkle remaining walnut mixture on top.
4. Bake cake for 28-33 minutes. Cool cake. Top with whipped topping and sprinkle with walnut pieces.

Don’t miss my upcoming chance to W I N with #kids360, Diamond and Lucky Leaf!
Spiced pecans, wedding cookies, chocolate turtles, Spiced pecans, wedding cookies, chocolate turtles, pecan pie, sticky buns…just a few of the treats on my standard holiday baking agenda. What do they have in common? NUTS! @diamondnuts are a staple around here for the holidays (and all year, let’s be honest) and I want to share the love. Thanks to Diamond and #kids360, we are giving someone ✨15 FREE product coupons for @diamondnuts ✨to help you bake your holiday treats this year. Go nuts!

To enter:
* Follow @diamondnuts and @butterlovescompany
* Comment and tag a friend who deserves a day off to go nuts! 
* Enter by end of day November 25th. Winner will be selected at random and DM’d! 

#ad NO PURCHASE NECESSARY. Open to legal residents of the United States (including its commonwealths, territories, and possessions) who are the legal age of majority. Enter by 11:59 pm ET on November 25, 2021. Odds of winning depend on # of entries received. Void where prohibited. This is not sponsored or endorsed by Instagram or Facebook.
No gimmicks, no “just for the ‘gram” razzle No gimmicks, no “just for the ‘gram” razzle dazzle here. Just really good chocolate chip cookies.🍪
Fun fact: Layered Magic Cookie Bars were one of th Fun fact: Layered Magic Cookie Bars were one of the first things I ever baked. Making them again with @diamondnuts makes me super nostalgic. Brought me directly back to middle school. Watch out or you may find me in butterfly clips doodling I <3 SOS on my binder soon. There is a reason this recipe is awesome: first, the cookie bars are incredibly delicious. And, second, they are SO easy to put together. Honestly, they are the PERFECT treat to make with your kids. Pecans and walnuts give the bars the best crunch, nuttiness, and heartiness. You could totally customize if there is a certain kind of jam you love, or a combination of nuts that the family loves. #ad Get the recipe below: 

Seven Layer Magic Cookie Bars

* 1/2 cup (1 stick) butter, melted
* 2 cups graham cracker crumbs
* 1 cup raspberry jam
* 1 cup shredded coconut
* 1 cup Diamond of California® walnuts
* 1 cup Diamond of California® pecans
* 1 cup semi-sweet or bittersweet chocolate chips
* 1 (14-ounce) can sweetened condensed milk

Instructions
1. Preheat oven to 350°F. To toast walnuts and pecans, spread evenly on a baking sheet or in a shallow pan. Bake, stirring once or twice, until lightly browned and fragrant, 7 to 10 minutes. Line a 9×13-inch pan with parchment paper.
2. In a medium bowl, combine the melted butter and graham cracker crumbs; mix well. Transfer the crumbs to the prepared pan and using your finger tips, or the flat bottom of a small measuring cup, press firmly and evenly on the bottom of the pan. Spread the raspberry jam evenly over the crumbs. Sprinkle coconut in an even layer over the jam, followed by the chocolate chips, walnuts and pecans. Drizzle the condensed milk evenly over the top.
3. Bake until bubbling and golden brown, 30-35 minutes. Let cool completely in the pan. If lined with parchment, lift out and place on a cutting board. With a sharp knife, cut into bars.

Look out for an upcoming chance to ✨ w i n ✨with @diamondnuts and #kids360!
Raise your hand if you could use a cup of coffee. Raise your hand if you could use a cup of coffee. 🙋 We are giving away some @timhortonsus coffee goodies so you can get your cozy cool morning on with Canada’s favorite cup of joe. Make my Pumpkin Coffee Coffee Cake for a buzzy morning snack or just brew a strong cup for a little pep in your step (as tired parents over here, we could surely use it). 🍂

To enter:
● Follow @butterlovescompany and @timhortonsus
● Comment and tag a friend you would love to grab coffee with ☕ (each comment=1 entry)
● Enter by midnight November 18. Winner will be selected at random and DM’d!
 
You’ll win:
•(1) Colombian Ground Coffee
•(1) Dark Roast Ground Coffee
•(1) Decaf Ground Coffee
•(1) Whole Bean Original Blend Coffee
•(1) Keurig Variety 30-Pack
•(1) Mug
•(1) Branded Notebook
•(1) Branded Baseball Cap
 
 
ad #timhortons #kids360 NO PURCHASE NECESSARY. Open to legal residents of the United States (including its commonwealths, territories, and possessions) who are legal age of majority. Enter by 11:59 pm ET on November  18, 2021. Odds of winning depend on # of entries received. Void where prohibited. This is not sponsored or endorsed by Instagram or Facebook.
Can’t beat a classic. 🥧 Apple streusel pie fo Can’t beat a classic. 🥧 Apple streusel pie for yesterday’s friendsgiving.🥰 Grateful for time with friends enjoying great food. Remy had so much fun playing that he slept until 7am so we are hopefully out of the 4am daylight savings nightmare (knock on wood). 

Sunday includes a farmers market bop, movies, and cooking for the week. Wouldn’t change a thing. 🥳
Cannot. Get. Enough. Fall. Baking. Who’s with me Cannot. Get. Enough. Fall. Baking. Who’s with me? 🍁  This coffee cake packs a punch because it is made with @timhortonsus brewed coffee in the batter and the glaze. A true *coffee* cake. The texture is dreamy and the coffee is perfectly balanced and smooth. It is goood. #ad Get the recipe below:
 
Pumpkin Coffee Coffee Cake
 
Topping
● 2/3 cup granulated sugar
● pinch of salt
● 2/3 cup flour
● 1 teaspoon cinnamon
● 4 tablespoons butter, melted

Filling
● 1/3 cup brown sugar, packed
● 1 teaspoon cinnamon
● 1 teaspoon unsweetened cocoa powder, optional

Cake
● 1/3 cup vegetable oil
● 2 large eggs, at room temperature
● 1 cup granulated sugar
● 1 cup pumpkin purée
● 1 teaspoon pumpkin pie spice
● 1 teaspoon salt
● 1 teaspoon baking powder
● 1/2 cup brewed @timhortonsus Coffee
● 2 cups flour

Glaze
● 1 cup powdered sugar
● 2 tablespoons brewed @timhortonsus coffee
 
Instructions
1. Preheat the oven to 350°F and grease an 8 inch square pan and line with parchment.
2. Make topping: Stir together the sugar, salt, flour, cinnamon, and melted butter until combined into pea sized lumps. Stirring just until well combined. Set aside.
3. Make filling: Mix together the brown sugar, spice, and cocoa powder. Set it aside.
4. Make cake: Beat together the oil, eggs, sugar, pumpkin, pie spice, salt, and baking powder until smooth. Add the brewed coffee followed by the flour, alternating in two additions, and stir until combined.
5. Spread half the batter into the prepared pan. Sprinkle the filling evenly on top of the batter. Top with the remaining batter. Sprinkle the topping over the batter in the pan.
6. Bake until a toothpick inserted into the center comes out clean, about 40 to 45 minutes. Let cool.
7. Make glaze: Combine the powdered sugar and brewed coffee until smooth and thick but drizzle-able. Using a fork, drizzle it over the cake.

Don’t miss our upcoming chance to ⚡️W I N⚡️ thanks to @timhortonsus and #Kids360!

#timhortons #kids360fanclub
One of the hardest parts about being a working mom One of the hardest parts about being a working mom is how little time you get to spend with your sweet bean during the week. Between wake up and getting to daycare, to pickup and bedtime it’s often an hour at best (which is also filled with making dinner, bath time, etc). I soak up ALL the minutes and the weekends are an absolute snuggle and play fest. It’s so tough though! If you are in the same boat, know that you aren’t alone and you’re doing a good job!! ♥️

This photo has nothing to do with this but I made the cookies for our neighbors and regretting not keeping one for myself right now. 😬🤣
✨W I N !✨ I’ve teamed up with @nielsenmassey ✨W I N !✨ I’ve teamed up with @nielsenmassey and #Kids360 to give away some seriously amazing ingredients to make your desserts sing. 🎶 I love their products and have been using them for years—the vanilla is 💯!!
 
To enter:
● Follow @nielsenmassey and @butterlovescompany 
● Comment and tag a friend you’d love to bake with
● Enter by Thursday November 11th. Winner will be selected at random and DM’d!
 
You’ll win:
•(1) Madagascar Bourbon Pure Vanilla Powder
•(1) Madagascar Bourbon Pure Vanilla Sugar
•(1) Ugandan Pure Vanilla Extract
•(1) Pure Coffee Extract
•(1) Pure Peppermint Extract
•(1) Rose Water
•(1) Pure Lemon Extract
•(1) Tahitian Two Vanilla Beans
•(1) Tahitian Pure Vanilla Extract
•(1) Mexican Two Vanilla Beans
•(1) Mexican Pure Vanilla Extract
•(1) Madagascar Bourbon Two Vanilla Beans
•(1) Madagascar Bourbon Pure Vanilla Extract
•(1) Madagascar Bourbon Pure Vanilla Bean Paste
•(1) Orange Blossom Water
•(1) Pure Orange Extract
•(1) Pure Almond Extract
•(1) Pure Chocolate Extract
.
#ad NO PURCHASE NECESSARY. Open to legal residents of the United States (including its commonwealths, territories, and possessions) who are legal age of majority. Enter by 11:59 pm ET on November  11, 2021. Odds of winning depend on # of entries received. Void where prohibited. This giveaway is not sponsored or endorsed by Instagram or Facebook.
Brainstorming dessert recipes for Thanksgiving and Brainstorming dessert recipes for Thanksgiving and it’s hard not to think about this Black Forest Pie. 🍒🍫 It was such an indulgent tart-sweet chocolate-y treat. It has a chocolate all butter pie crust, a layer of dark chocolate ganache, a layer of chocolate pudding, a cherry topping, and whipped cream. Oh, and a cherry on top! Recipe is from @emcdowell #thebookonpie! 

This one *might* be too rich for the menu but there WILL be pie (duh)🥧. What kind of pie do you need to have on your Thanksgiving table?
This error message is only visible to WordPress admins
Hi! I'm Jenna, founder of butter loves company. From holidays to Tuesdays, let's find a way to make every meal special.
  • Email
  • Facebook
  • Instagram
  • Pinterest
  • RSS
  • Twitter
a2f54ba1dcf0635e58c8be4aa2035ce84863a9d9606a428ab3

© 2013-2019 BUTTER LOVES COMPANY, LLC.

Copyright © 2025 · Foodie Pro Theme by Shay Bocks · Built on the Genesis Framework · Powered by WordPress