butter loves company

new york food blogger and lifestyle influencer

  • home
  • Recipes
  • travel
  • lifestyle
  • cookie orders
  • about
  • contact

Freezer Meals to Make Before Baby: How We Meal Prepped Before Baby

October 24, 2020 by Butter Loves Company

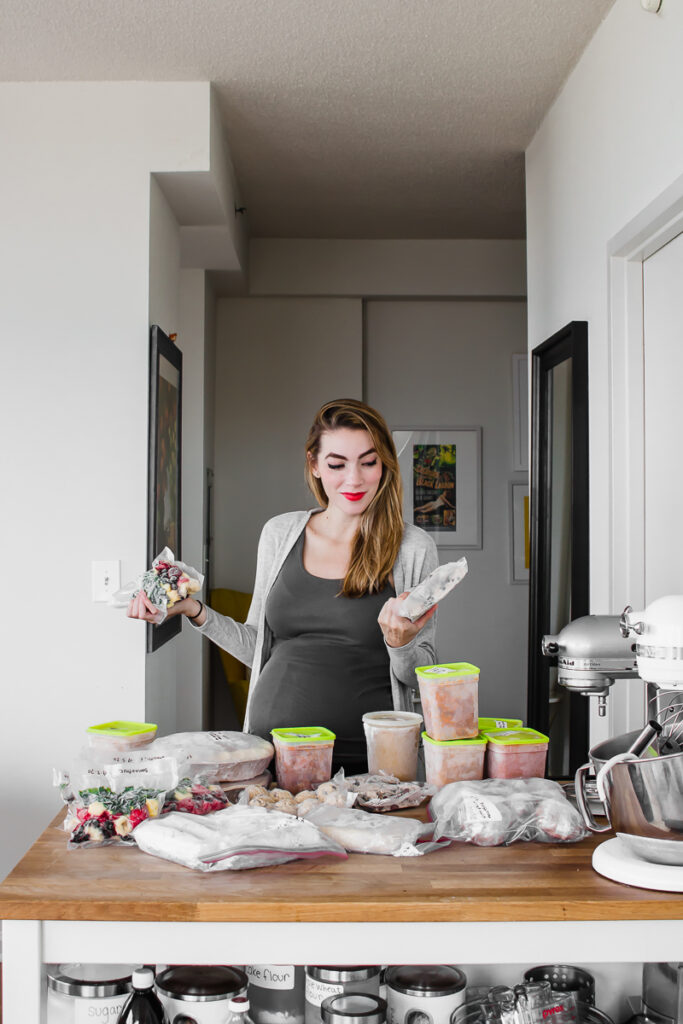
Everyone warns you that the first few weeks with a newborn are a whirlwind between feedings, diaper changes, and getting to know your little bundle’s needs and personality. You all know how much I love cooking, but I wanted to be realistic with myself and eliminate any pressure to get a meal together in those first weeks. I’m sure we will be doing plenty of takeout or quick meals to supplement, but I feel a little more prepared knowing we have a slew of fresh, home-cooked meals in the freezer ready to go when we feel drained!

For our meal prep, I wanted to focus on a good mix of lunches/dinners, breakfast and snacks since some days I’m sure we will be more tired in the morning or more in the evening so I wanted a balance. I prepped a mix of healthier meals, along with some hearty meals that I know will be soul-soothing (like mac and cheese or bolognese sauce).

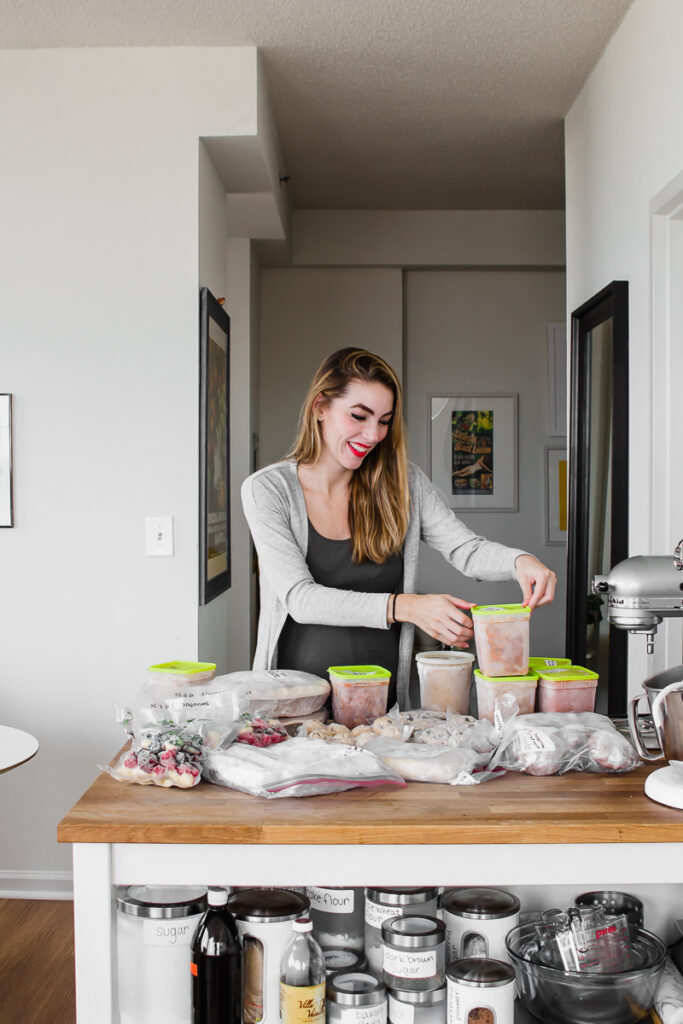
Since the baby really could have arrived any day since I was 37 weeks, I did most of the meal prepping between 34–36 weeks. Here I am at almost 41 weeks pregnant and the baby is still cozy in my belly, but I’m glad I got a head start on this prep when I had a little more energy and mobility!

If you are expecting a new baby or know someone who is, here are a couple of tips for meal prepping before baby, along with the list of items I decided to prep.

baby-meal-prep-2

Tips for Meal Prepping Before Baby

When I was researching what to prep ahead of having a baby there were some common tips for preparing and storage. I’ve added my own here as well!

  • Don’t forget to prep some for breakfast and lunch in addition to dinner.
  • Foods you can eat with one hand are almighty (e.g. the breakfast burritos on this list).
  • Clean out and/or use up the goods in your freezer before you start so you have plenty of room.
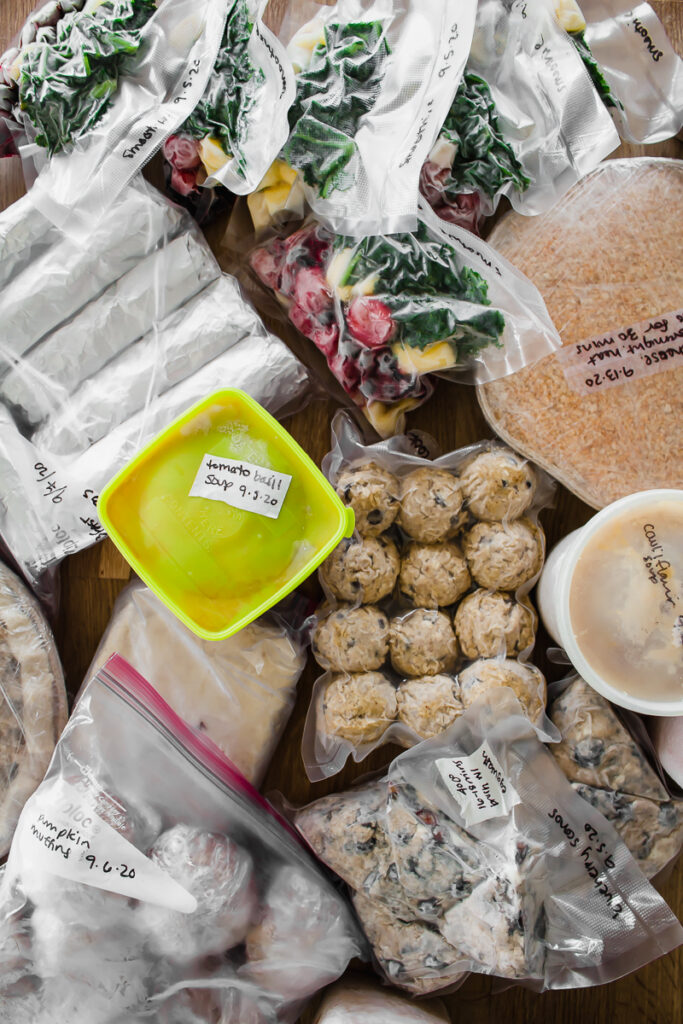
  • Freeze in smaller portions: Instead of putting all of the soup in one giant container, I froze the meals in smaller portions so we can just grab enough for a meal and keep alternating so we don’t get bored of something. 
  • Label every meal with: 
    • Name of the dish
    • Date you prepared it
    • How you should reheat. (Don’t assume you will remember when the time comes to eat.)
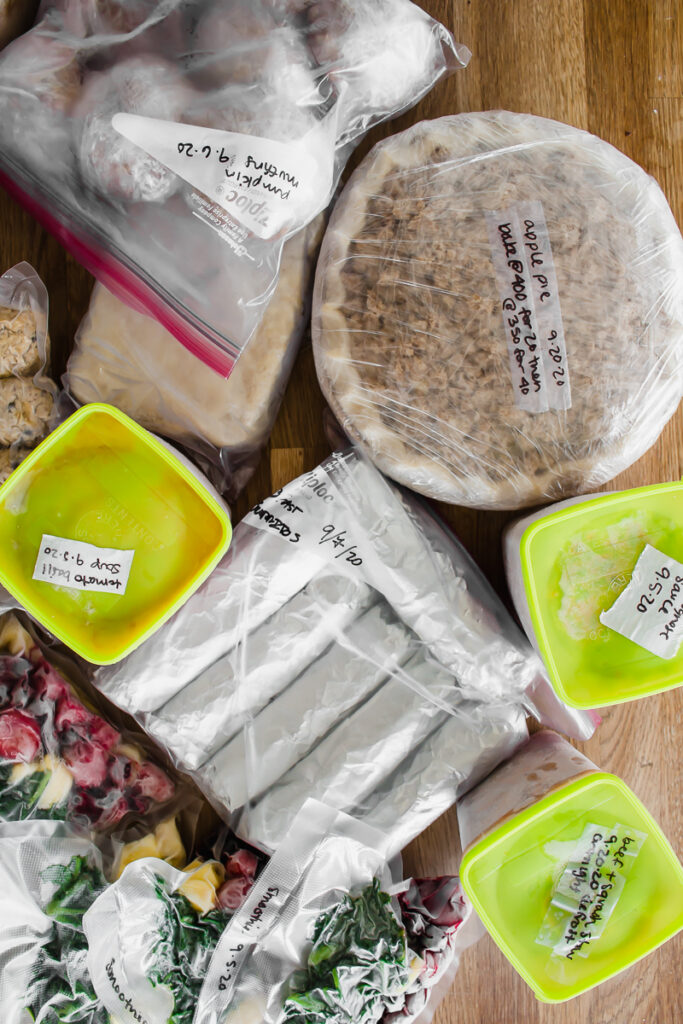
      • For example, “Mac and Cheese, 9/30/20, Defrost overnight in the fridge and bake 350°F for 40–50 mins.”
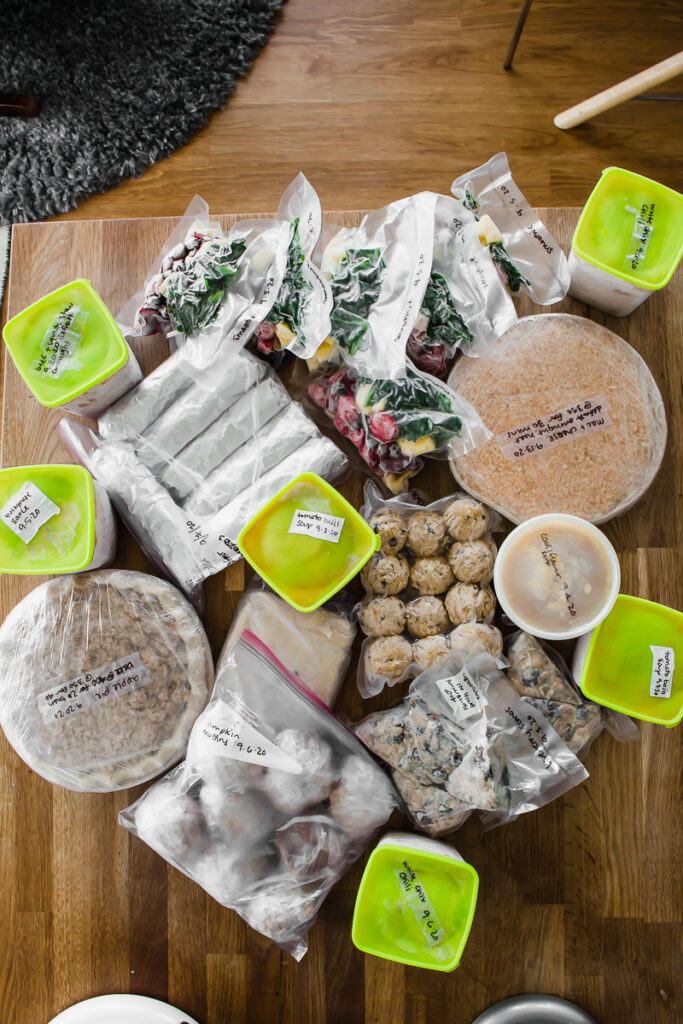
  • Storage containers: Some freezers, like ours, don’t have the best seal, making things prone to freezer burn, so storage is key. Use what works best for you but the more you can seal the meals from air the better. I used our vacuum sealer, some quart containers, and some parchment dishes, as well as plastic wrap and zip top bags. 
baby-meal-prep-8

What We Meal-Prepped Before Baby

Lunches or Dinners

Bolognese Sauce: I love to make and freeze a hearty bolognese sauce any time of year, but especially during the winter. It freezes super well and makes for a hot gourmet meal on a cool day. All we will have to do is boil some pasta and toss with the sauce and we are in business for an easy post-baby meal. I’ll plan to thaw the frozen sauce overnight in the fridge when we want to use it. My favorite bolognese sauce is filled with slowly sauteed vegetables and a combination of ground pork and beef. I loosely go by this recipe by Marcella Hazan via Leites Culinaria. 

Cauliflower Soup: Soups are a great freezer option especially when they are vegetable-based. They are healthy and warm and couldn’t be easier to heat up. I imagine we will love this cauliflower soup when we are tired and want something with nutritional value but without the effort. I used this Roasted Cauliflower Soup recipe from Cookie and Kate.

Tomato Basil Soup: I used Ina Garten’s recipe which I’ve made a number of times. This will be a nutritious option on its own for a cool day, or we may make grilled cheese sandwiches to dunk into it as well (depending on our exhaustion levels).

White Chicken Chili: I used this White Chicken Chili recipe from Cooking Classy because it seemed easy to put together and sounded like it would have a great flavor combination between the shredded chicken, green chilis, white beans and spices like cumin, paprika, and coriander.

Beef and Butternut Squash Stew: Having the baby in the fall season, I wanted to have something on hand that would feel very seasonal. I made this Beef and Butternut Squash Stew Recipe via Giada De Laurentiis and it was so good and unctuous. I decided to freeze the leftovers so we can enjoy it when baby is here (And light a fall candle to set the mood!).

Mac and Cheese: The ultimate comfort food. I loosely used this recipe because I love the combination of sharp cheddar and gruyere in mac and cheese. I feel like the panko breadcrumbs on top will help protect it a little from freezer burn. And who doesn’t love a good crispy topping?

Veggie Burgers: I wanted to try to keep some of the freezer meals packed with vegetables so when making these veggie burgers for dinner one night, I made some extra to freeze. They are filled with so many goodies: broccoli, carrot, mushroom, spinach, onion, black beans, a little brown rice and spices. We may eat them with or without a bun for an easy lunch or dinner. Heads up: there are a lot of steps for these veggie burgers from Inspired Taste so this isn’t a super quick one but they came out tasty with a nice texture!

Other items we have ready in the freezer: 

  • Chicken Breasts and Thighs: if we order some fresh vegetables, we can create a really easy meal by searing up some chicken breasts or making shredded chicken thighs. 
  • Chicken Sausage: Super fast to make for a lunch or dinner and serve with some fresh vegetables or salad.
  • Nuts: A great snack.
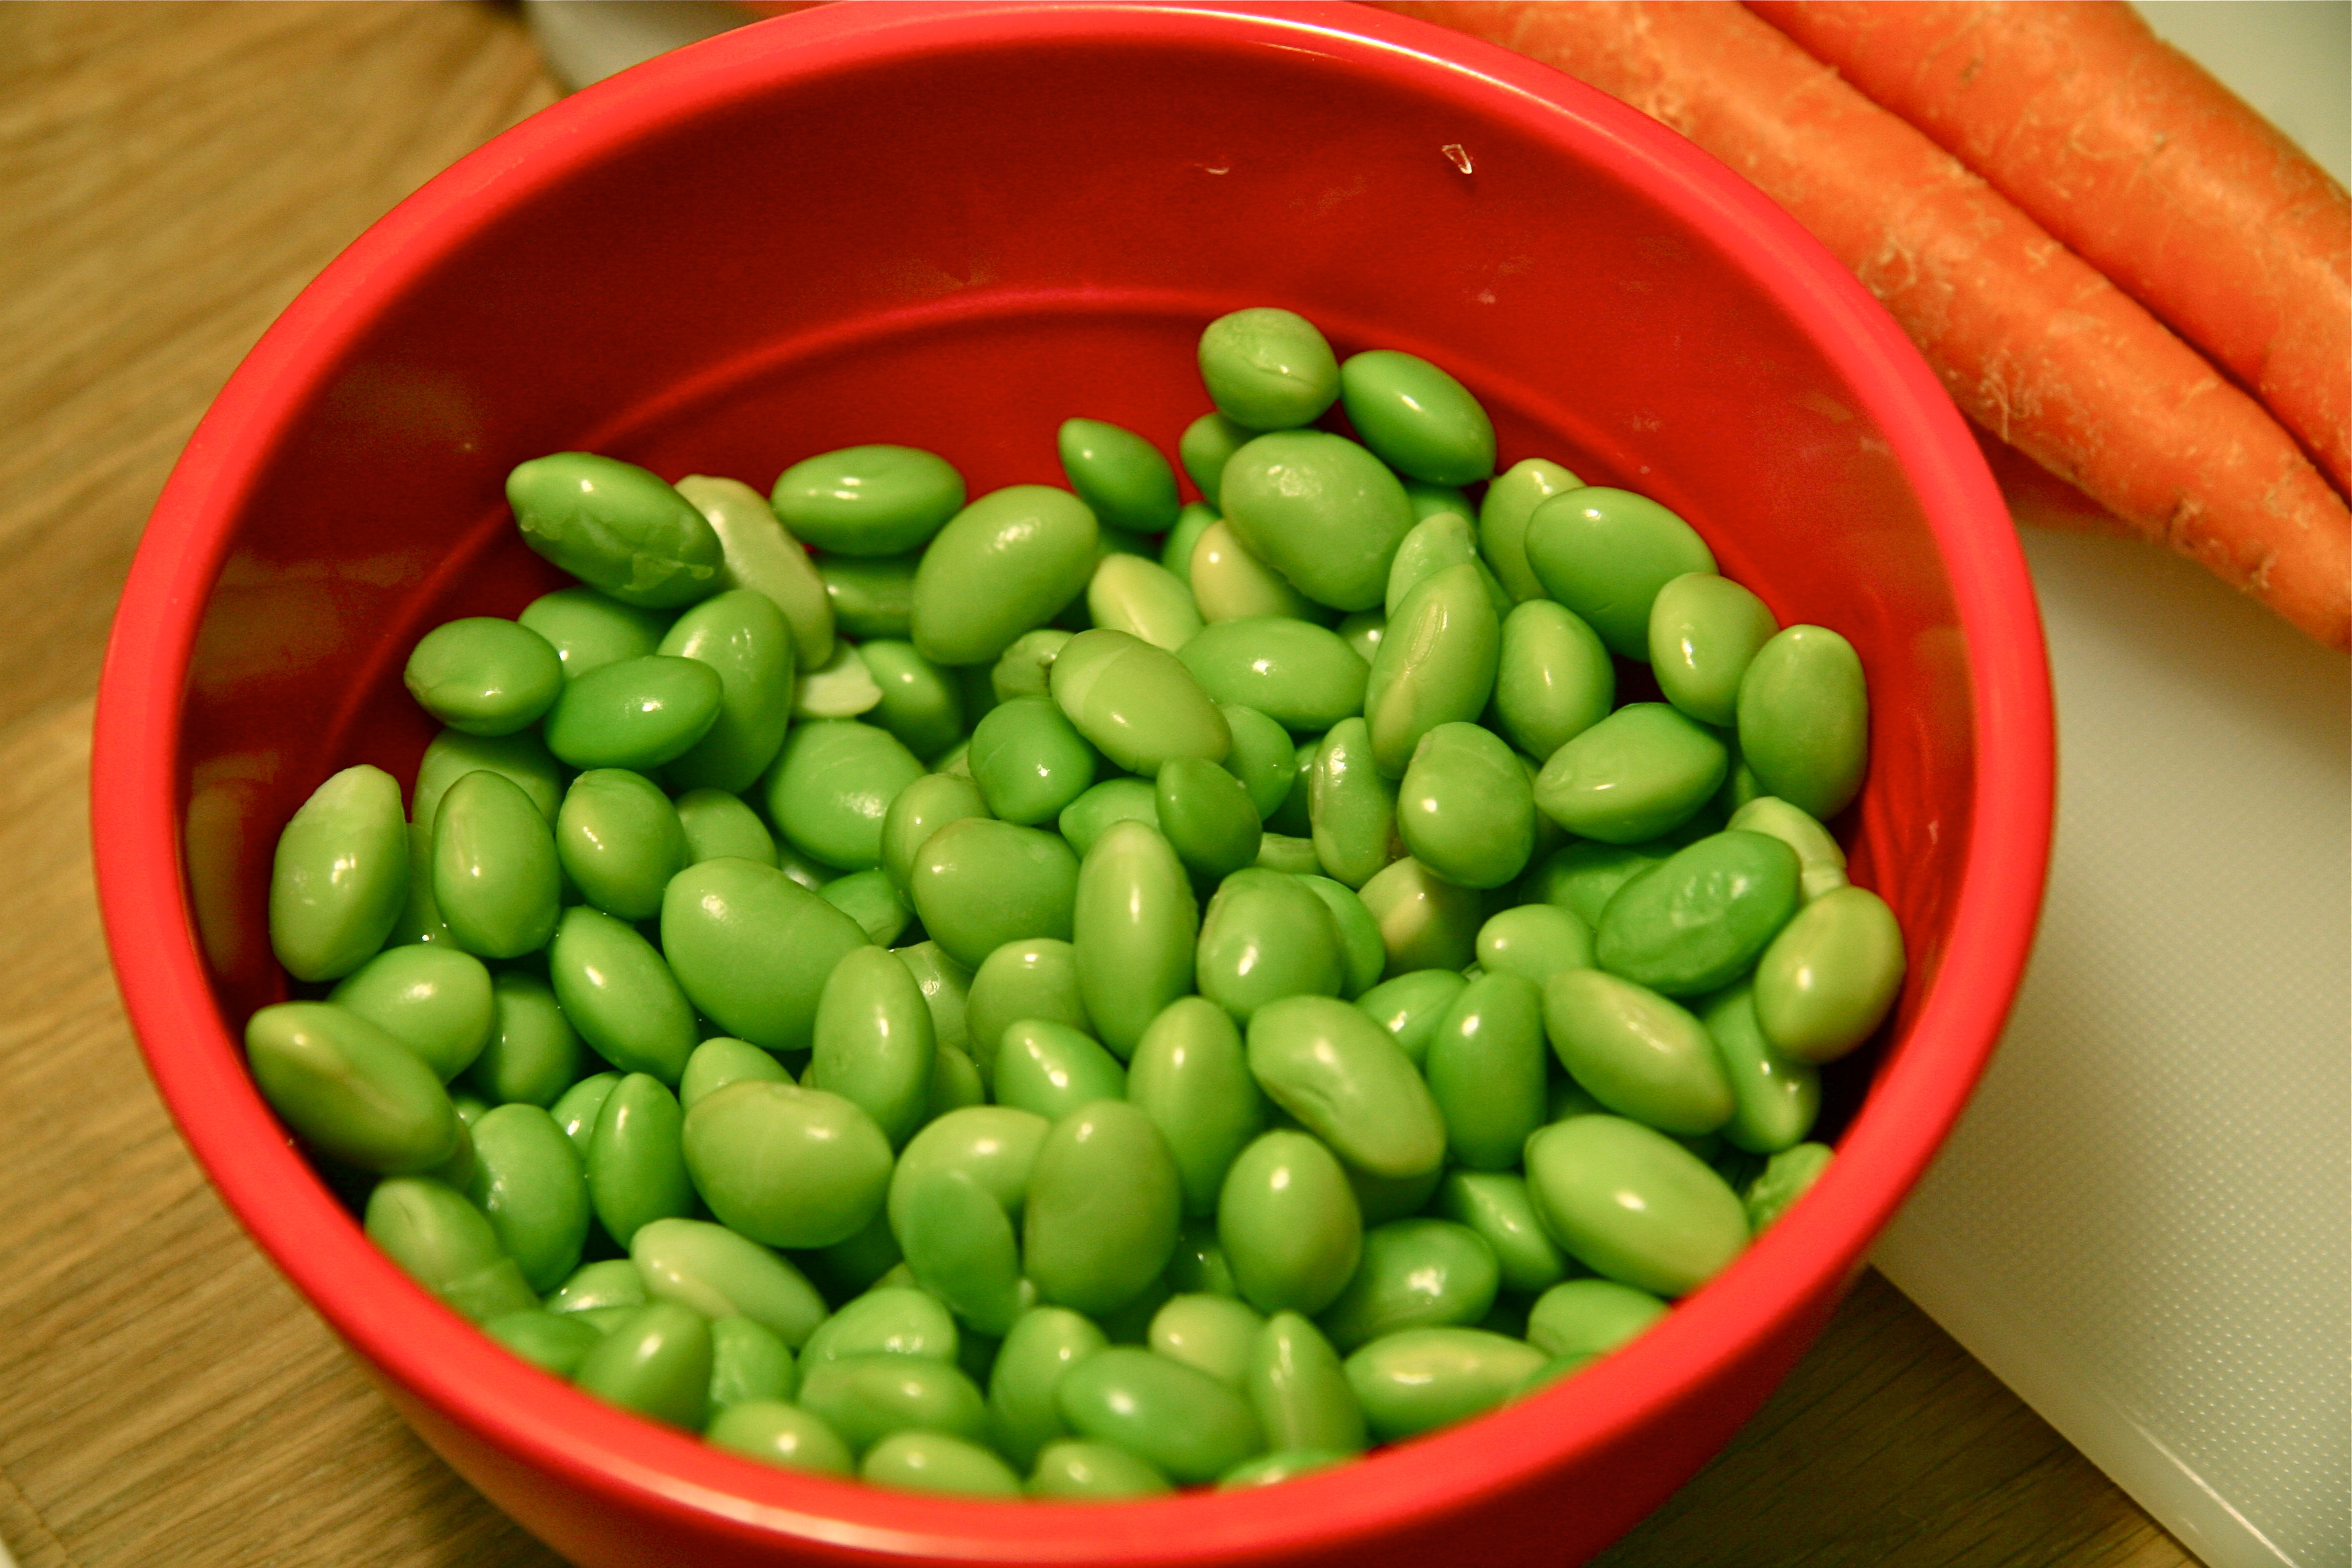
  • Edamame: Love to boil a pot of edamame pods to snack on with a little sea salt
baby-meal-prep-10

Breakfast and Snacks

Lactation Cookies: This Lactation Cookie recipe from How Sweet Eats seemed like a popular choice among new Moms and seems like it would taste like an oatmeal chocolate chip cookie.

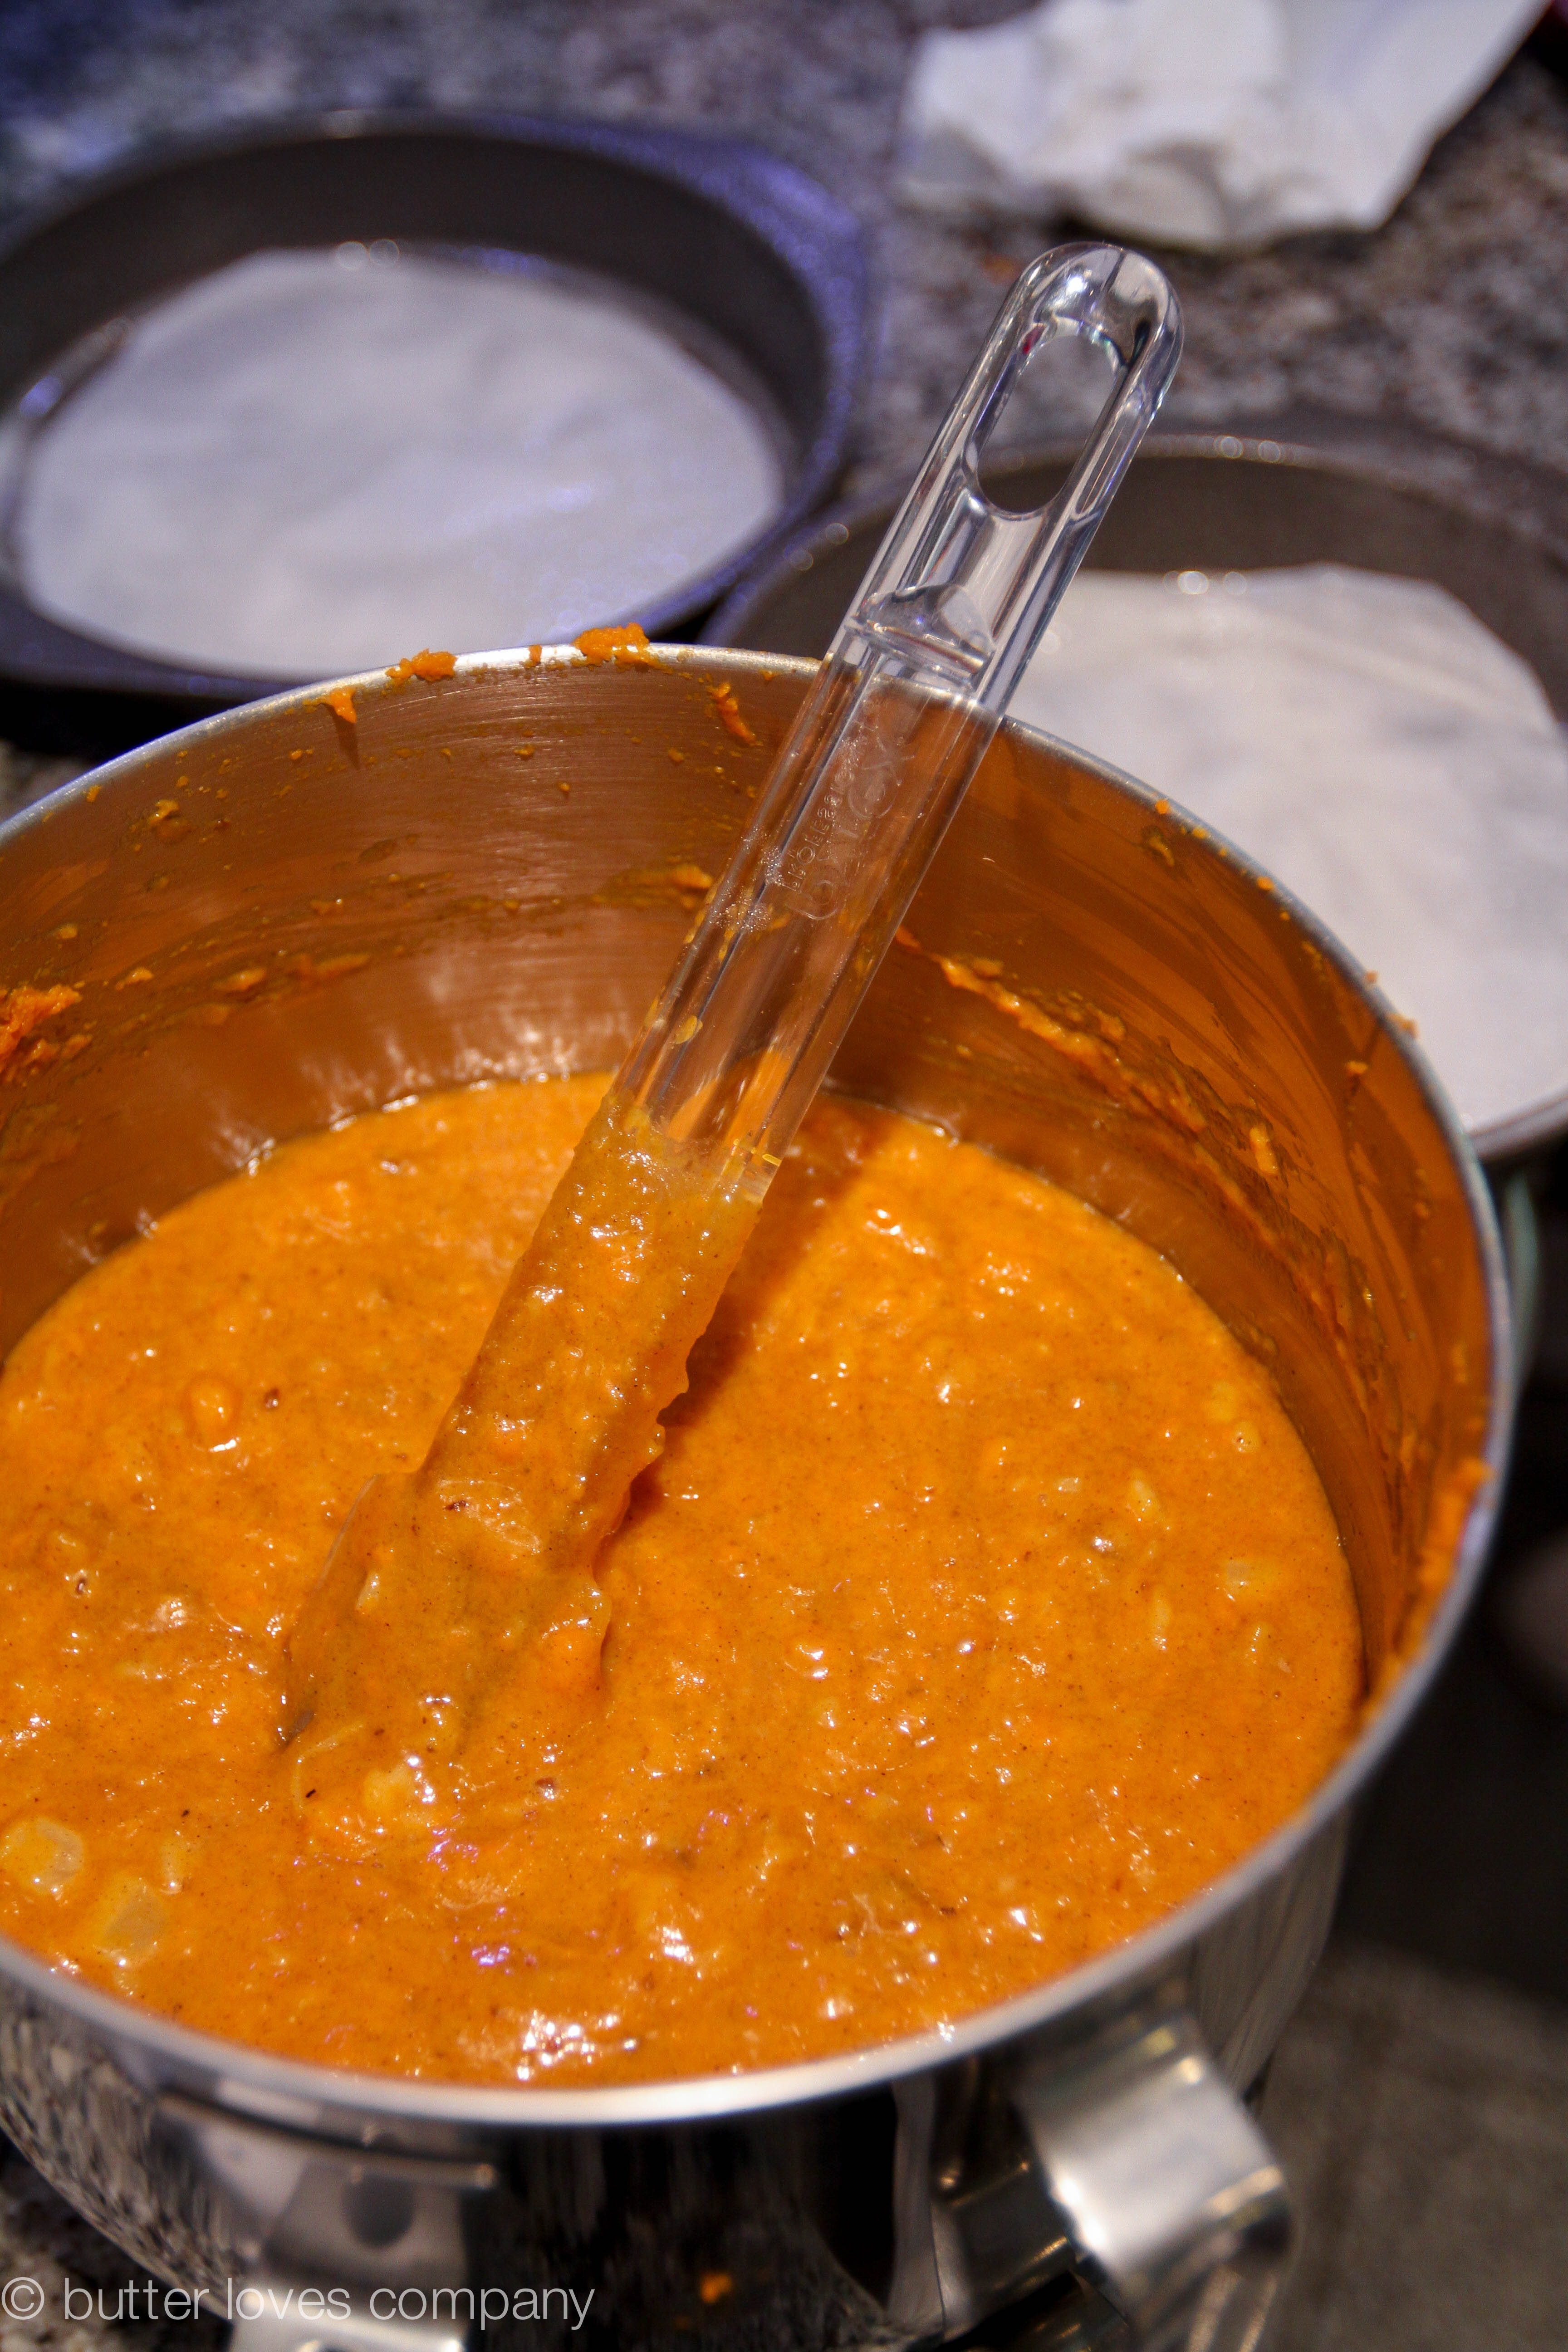
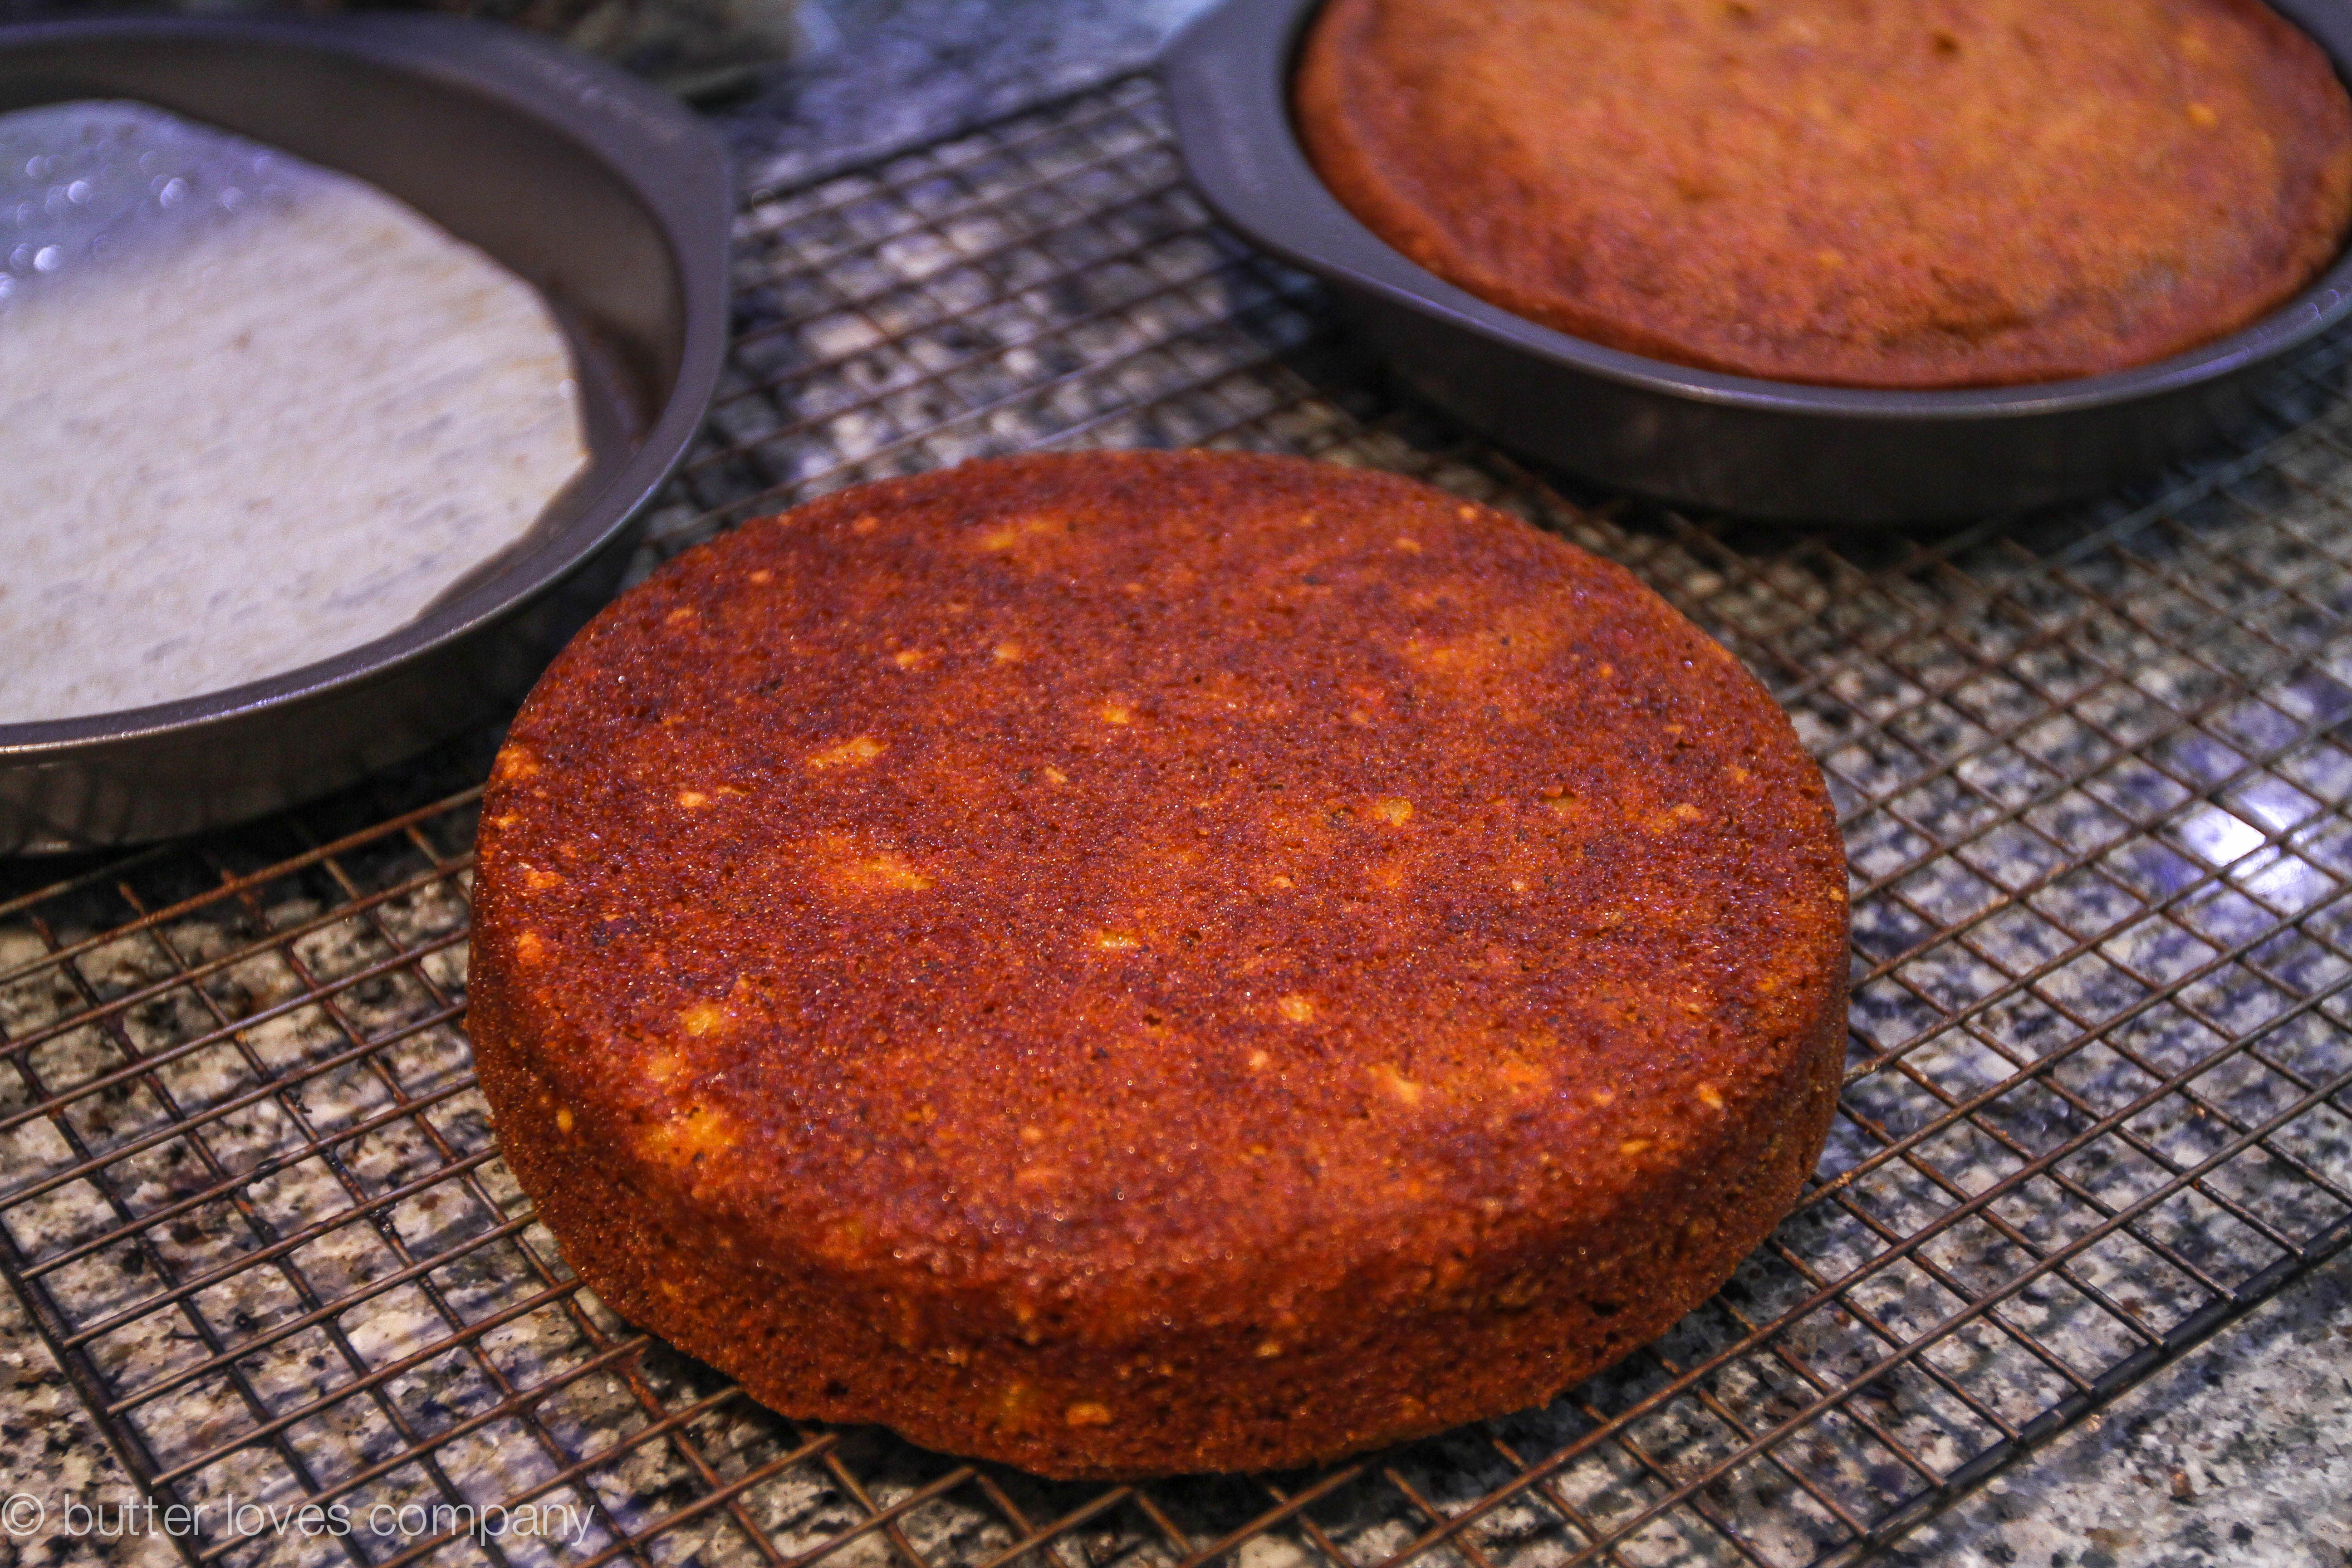
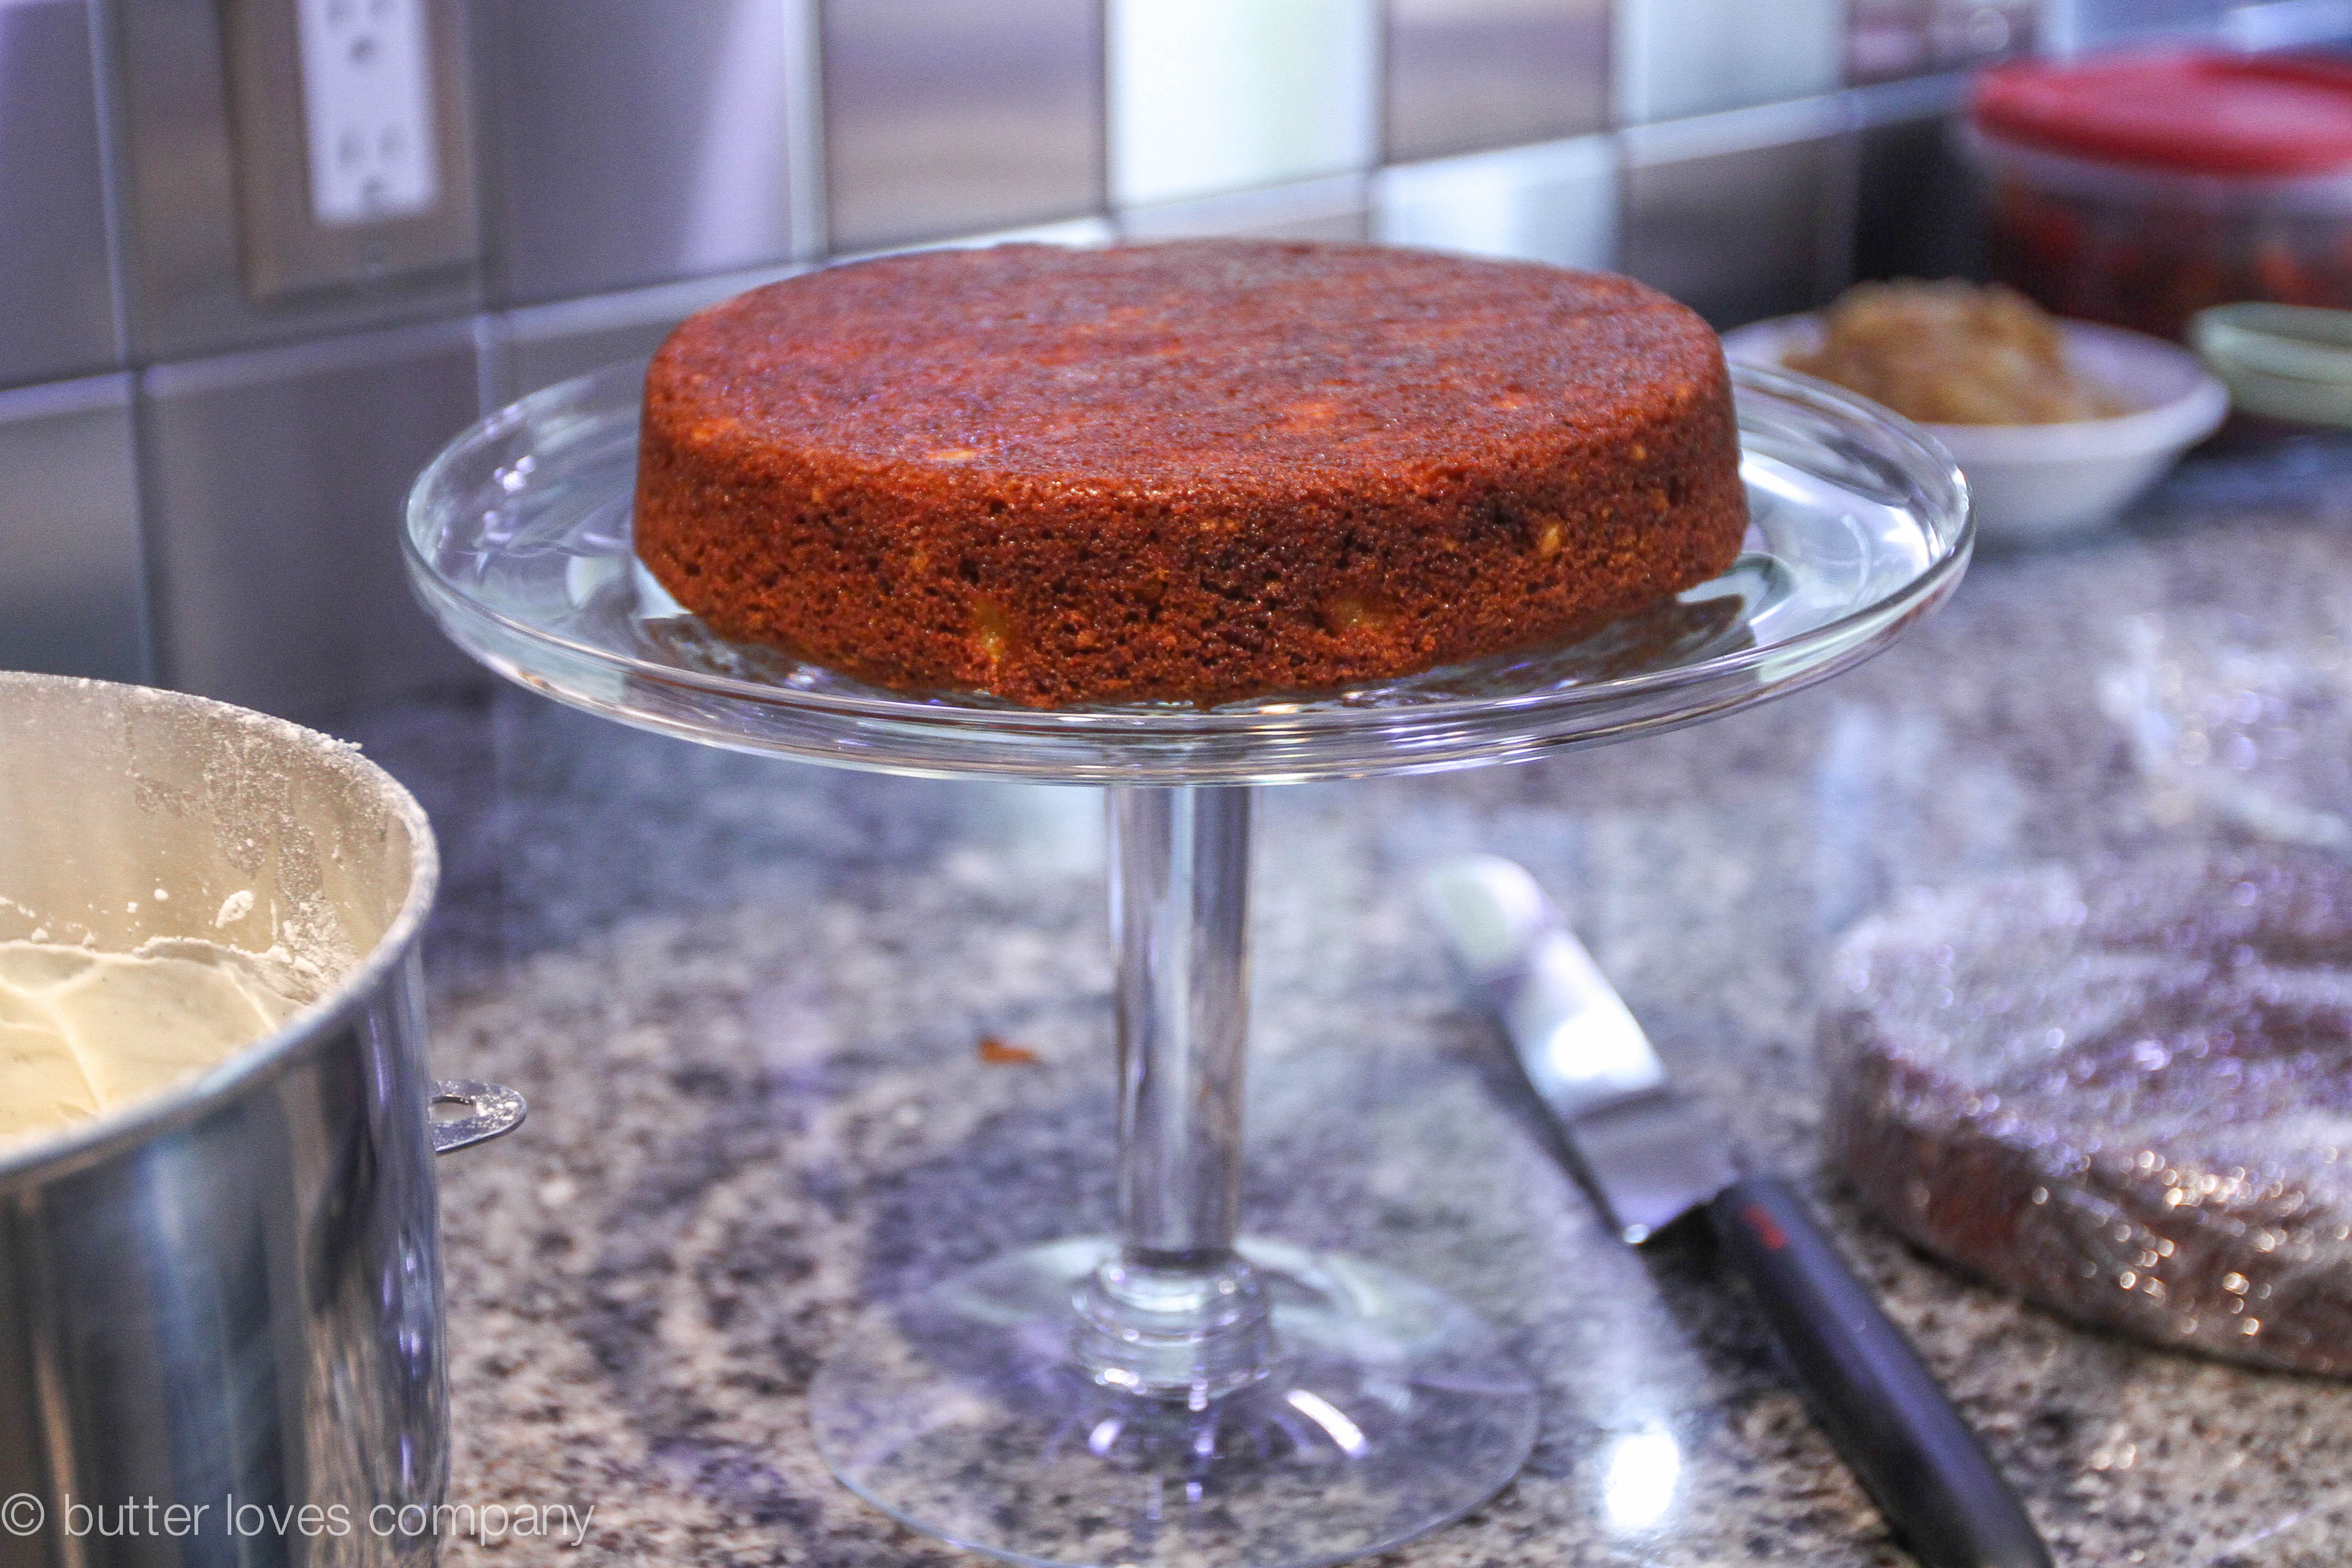
Pumpkin Muffins: Knowing that we will be up and down throughout the night, I imagine that we will have little energy to prepare breakfast. Muffins freeze well and defrost quickly for a one-hand treat. I used my recipe for pumpkin muffins and added some leftover crumble I had in the freezer for a crunch element. 

Blueberry Buttermilk Scones: I love scones and surprisingly they freeze really well; I freeze them uncooked and bake straight from frozen, adding a minute or two to the baking time. It tends to work well since the layers of butter and dough need to be cold to create a flakey scone. I usually just use fresh blueberries but this time I also swirled in a little blueberry preserves for added flavor.

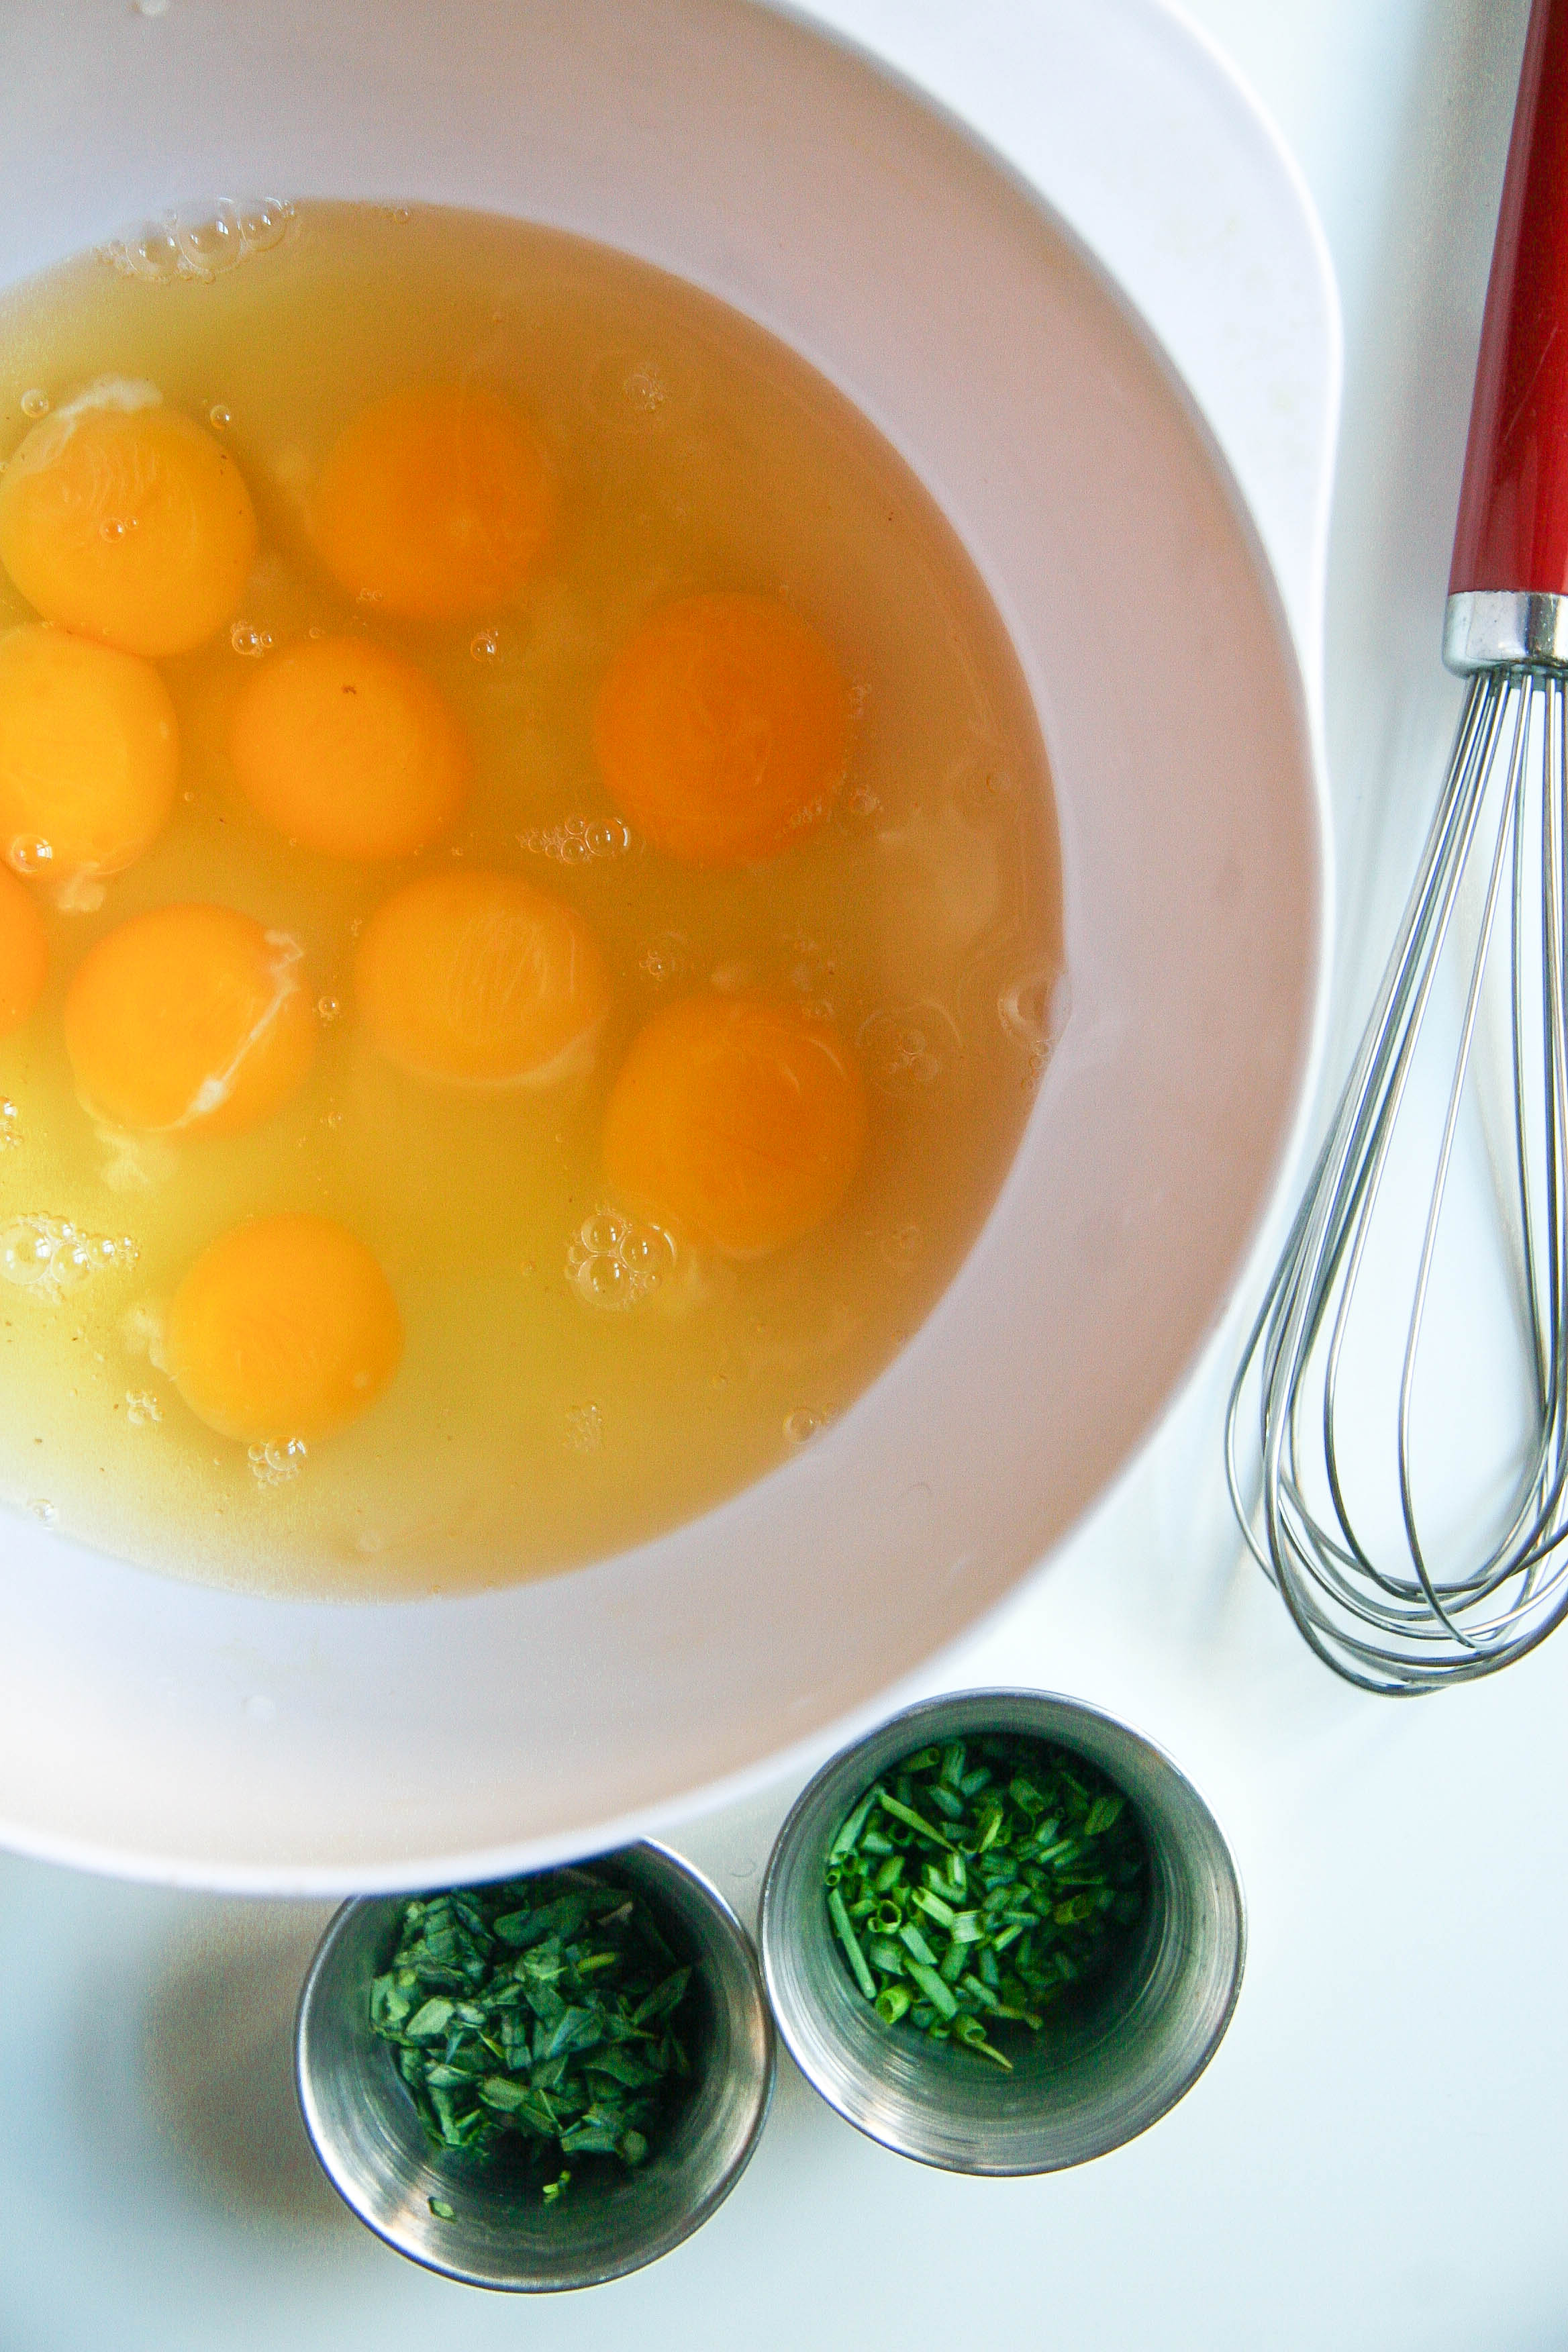
Breakfast Burritos: Greg made about a dozen breakfast burritos that we can grab and reheat in the convection oven. We didn’t use a recipe for these but just grab some flour tortillas and make whatever filling you want. We did bacon, shredded cheddar, and scrambled eggs with spinach. Just like at a take out burrito spot, we wrap them in foil to help protect from freezer burn and also so the burritos can steam in the packet when reheated.

Smoothie Packs: We didn’t use a formal recipe for these but each has some combination of bananas, strawberries, pineapples, blueberries, kale, and ginger. We freezed them in packs that will make two smoothies. We’ll just take the pack out of the freezer, pop it in the blender, top with almond milk, and blend!

Mom’s Famous Spiced Pecans: Okay, technically we didn’t prep these for at home post-baby, but to bring with us to the hospital instead. These are such a good snack and the perfect combination of sweet, salty, spicy, and crunchy. They do freeze really well if you make a big batch.

Desserts

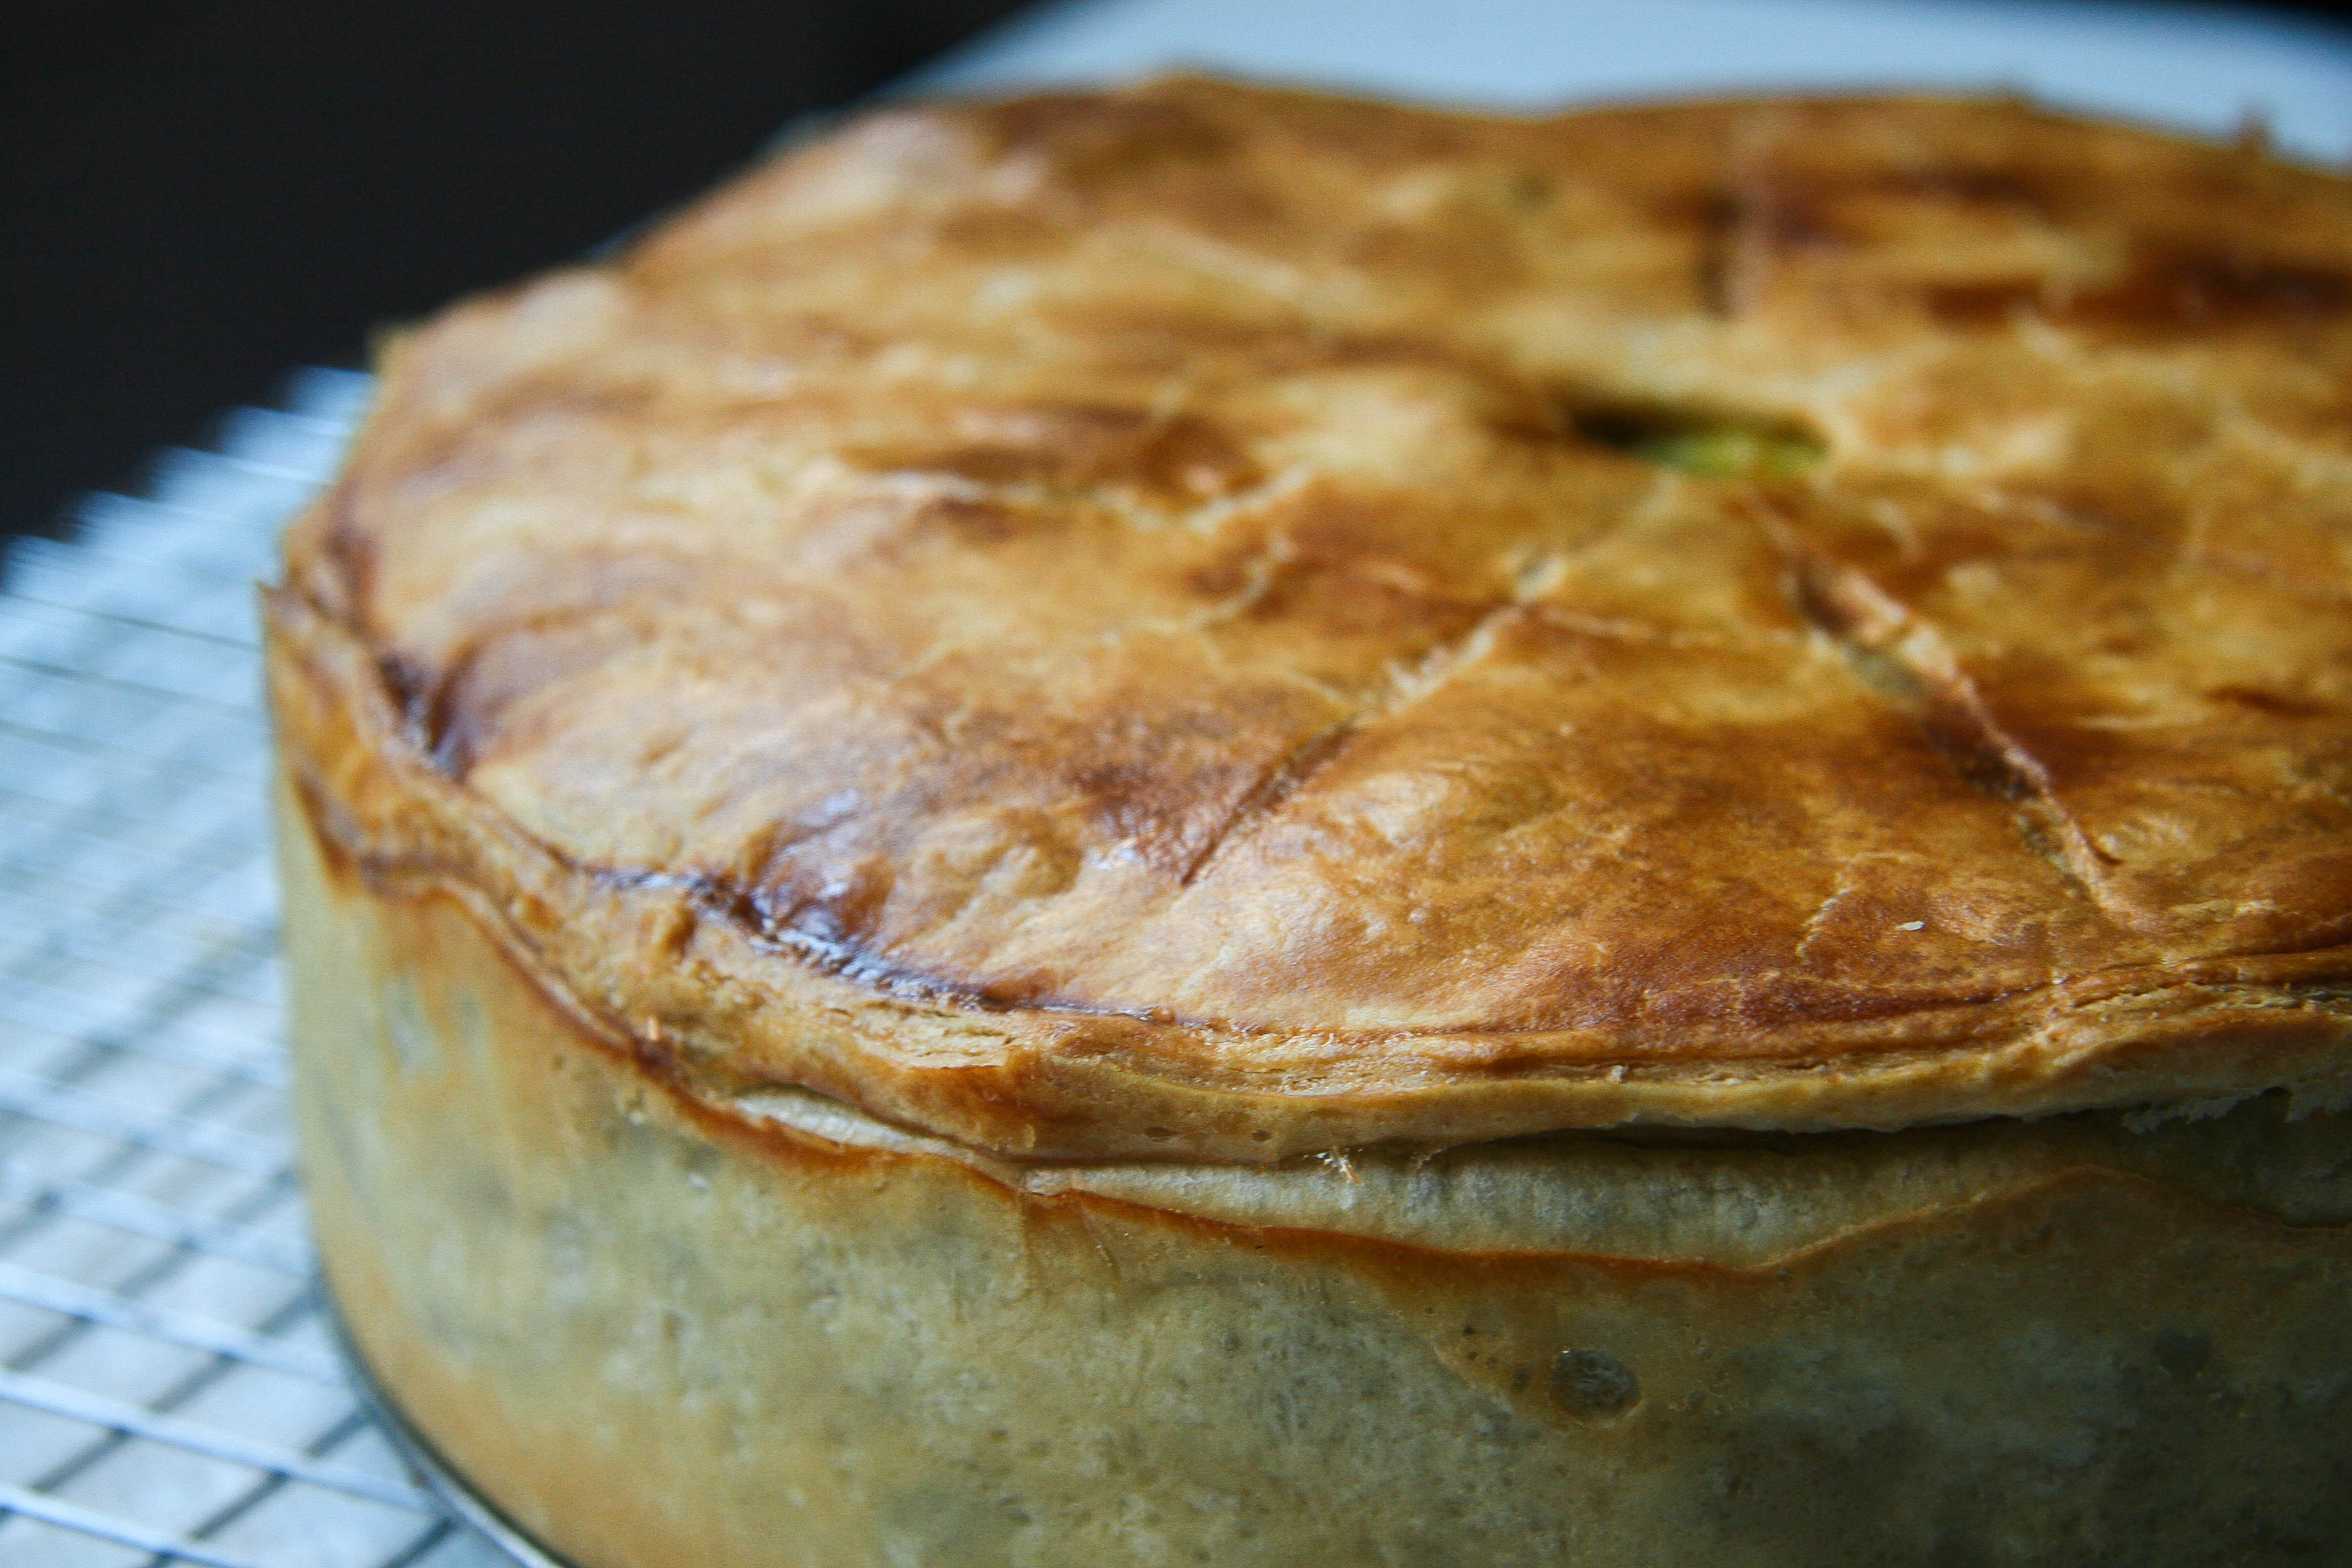
Apple Pie: This seems to be a trend but leading up to the baby, whenever I baked something, I made a little extra to freeze. That was the case with this apple pie. I figured we won’t be mad at a fresh pie baking in the oven while we rest and enjoy baby snuggles on the couch!

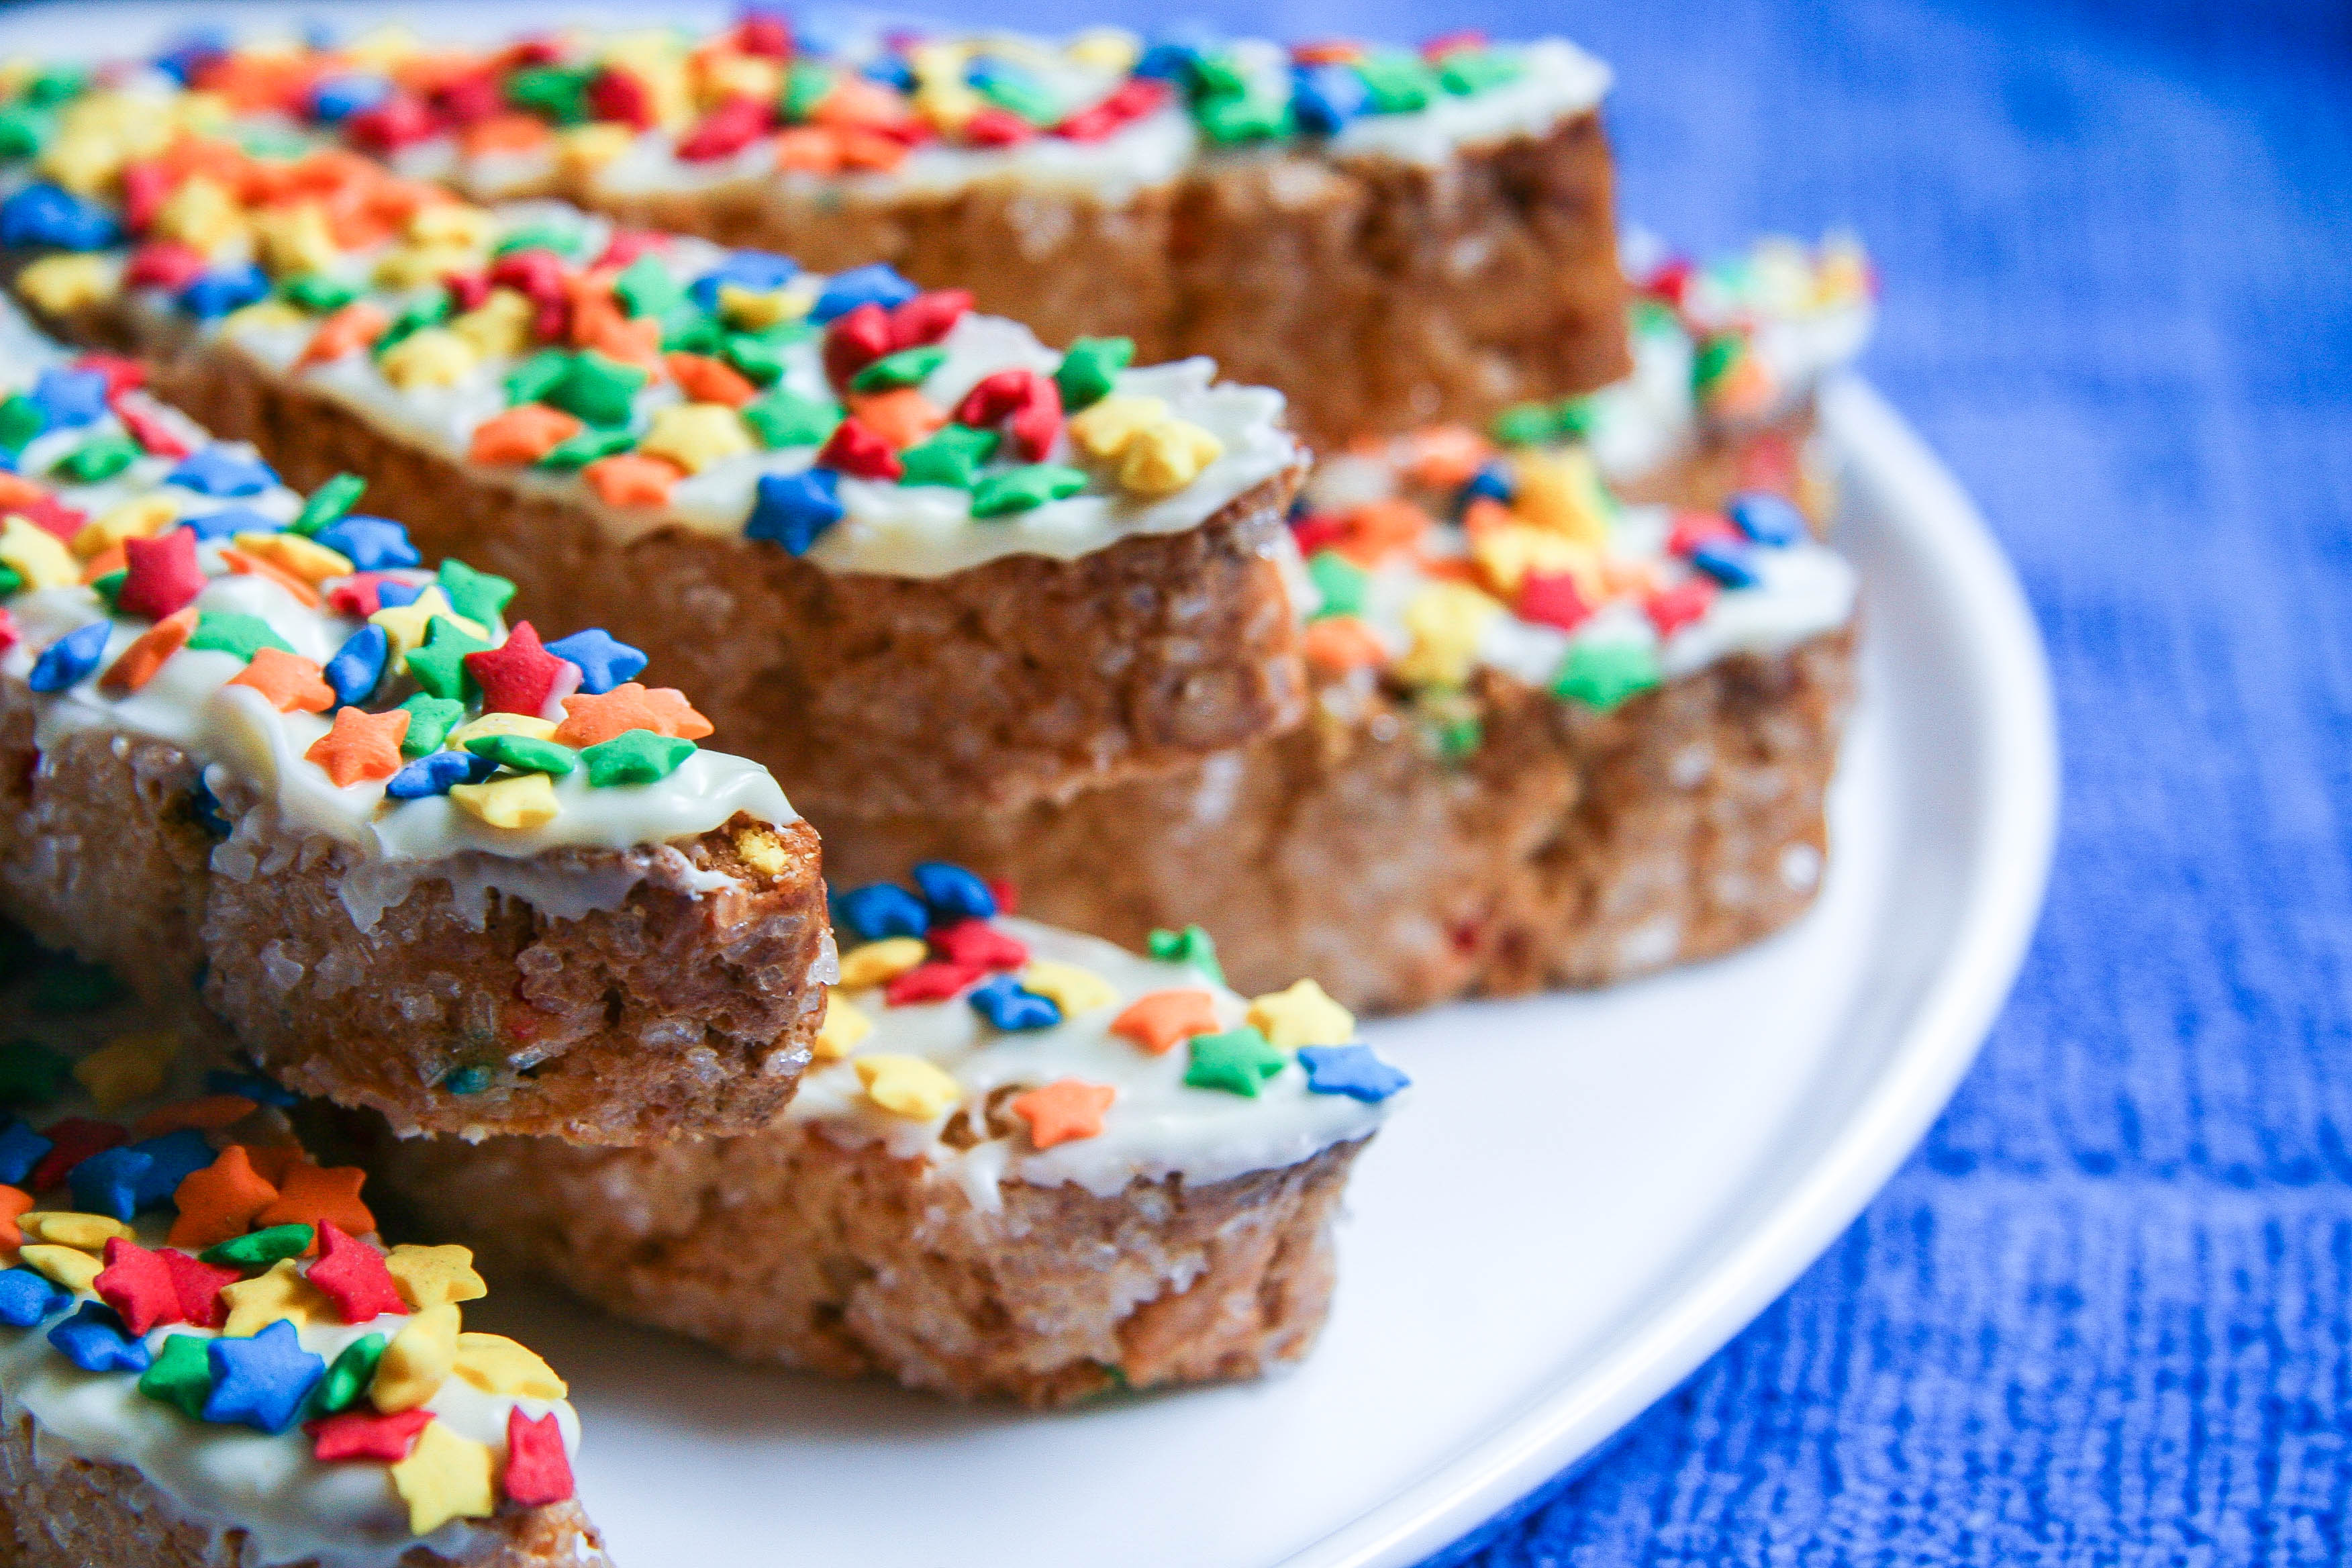
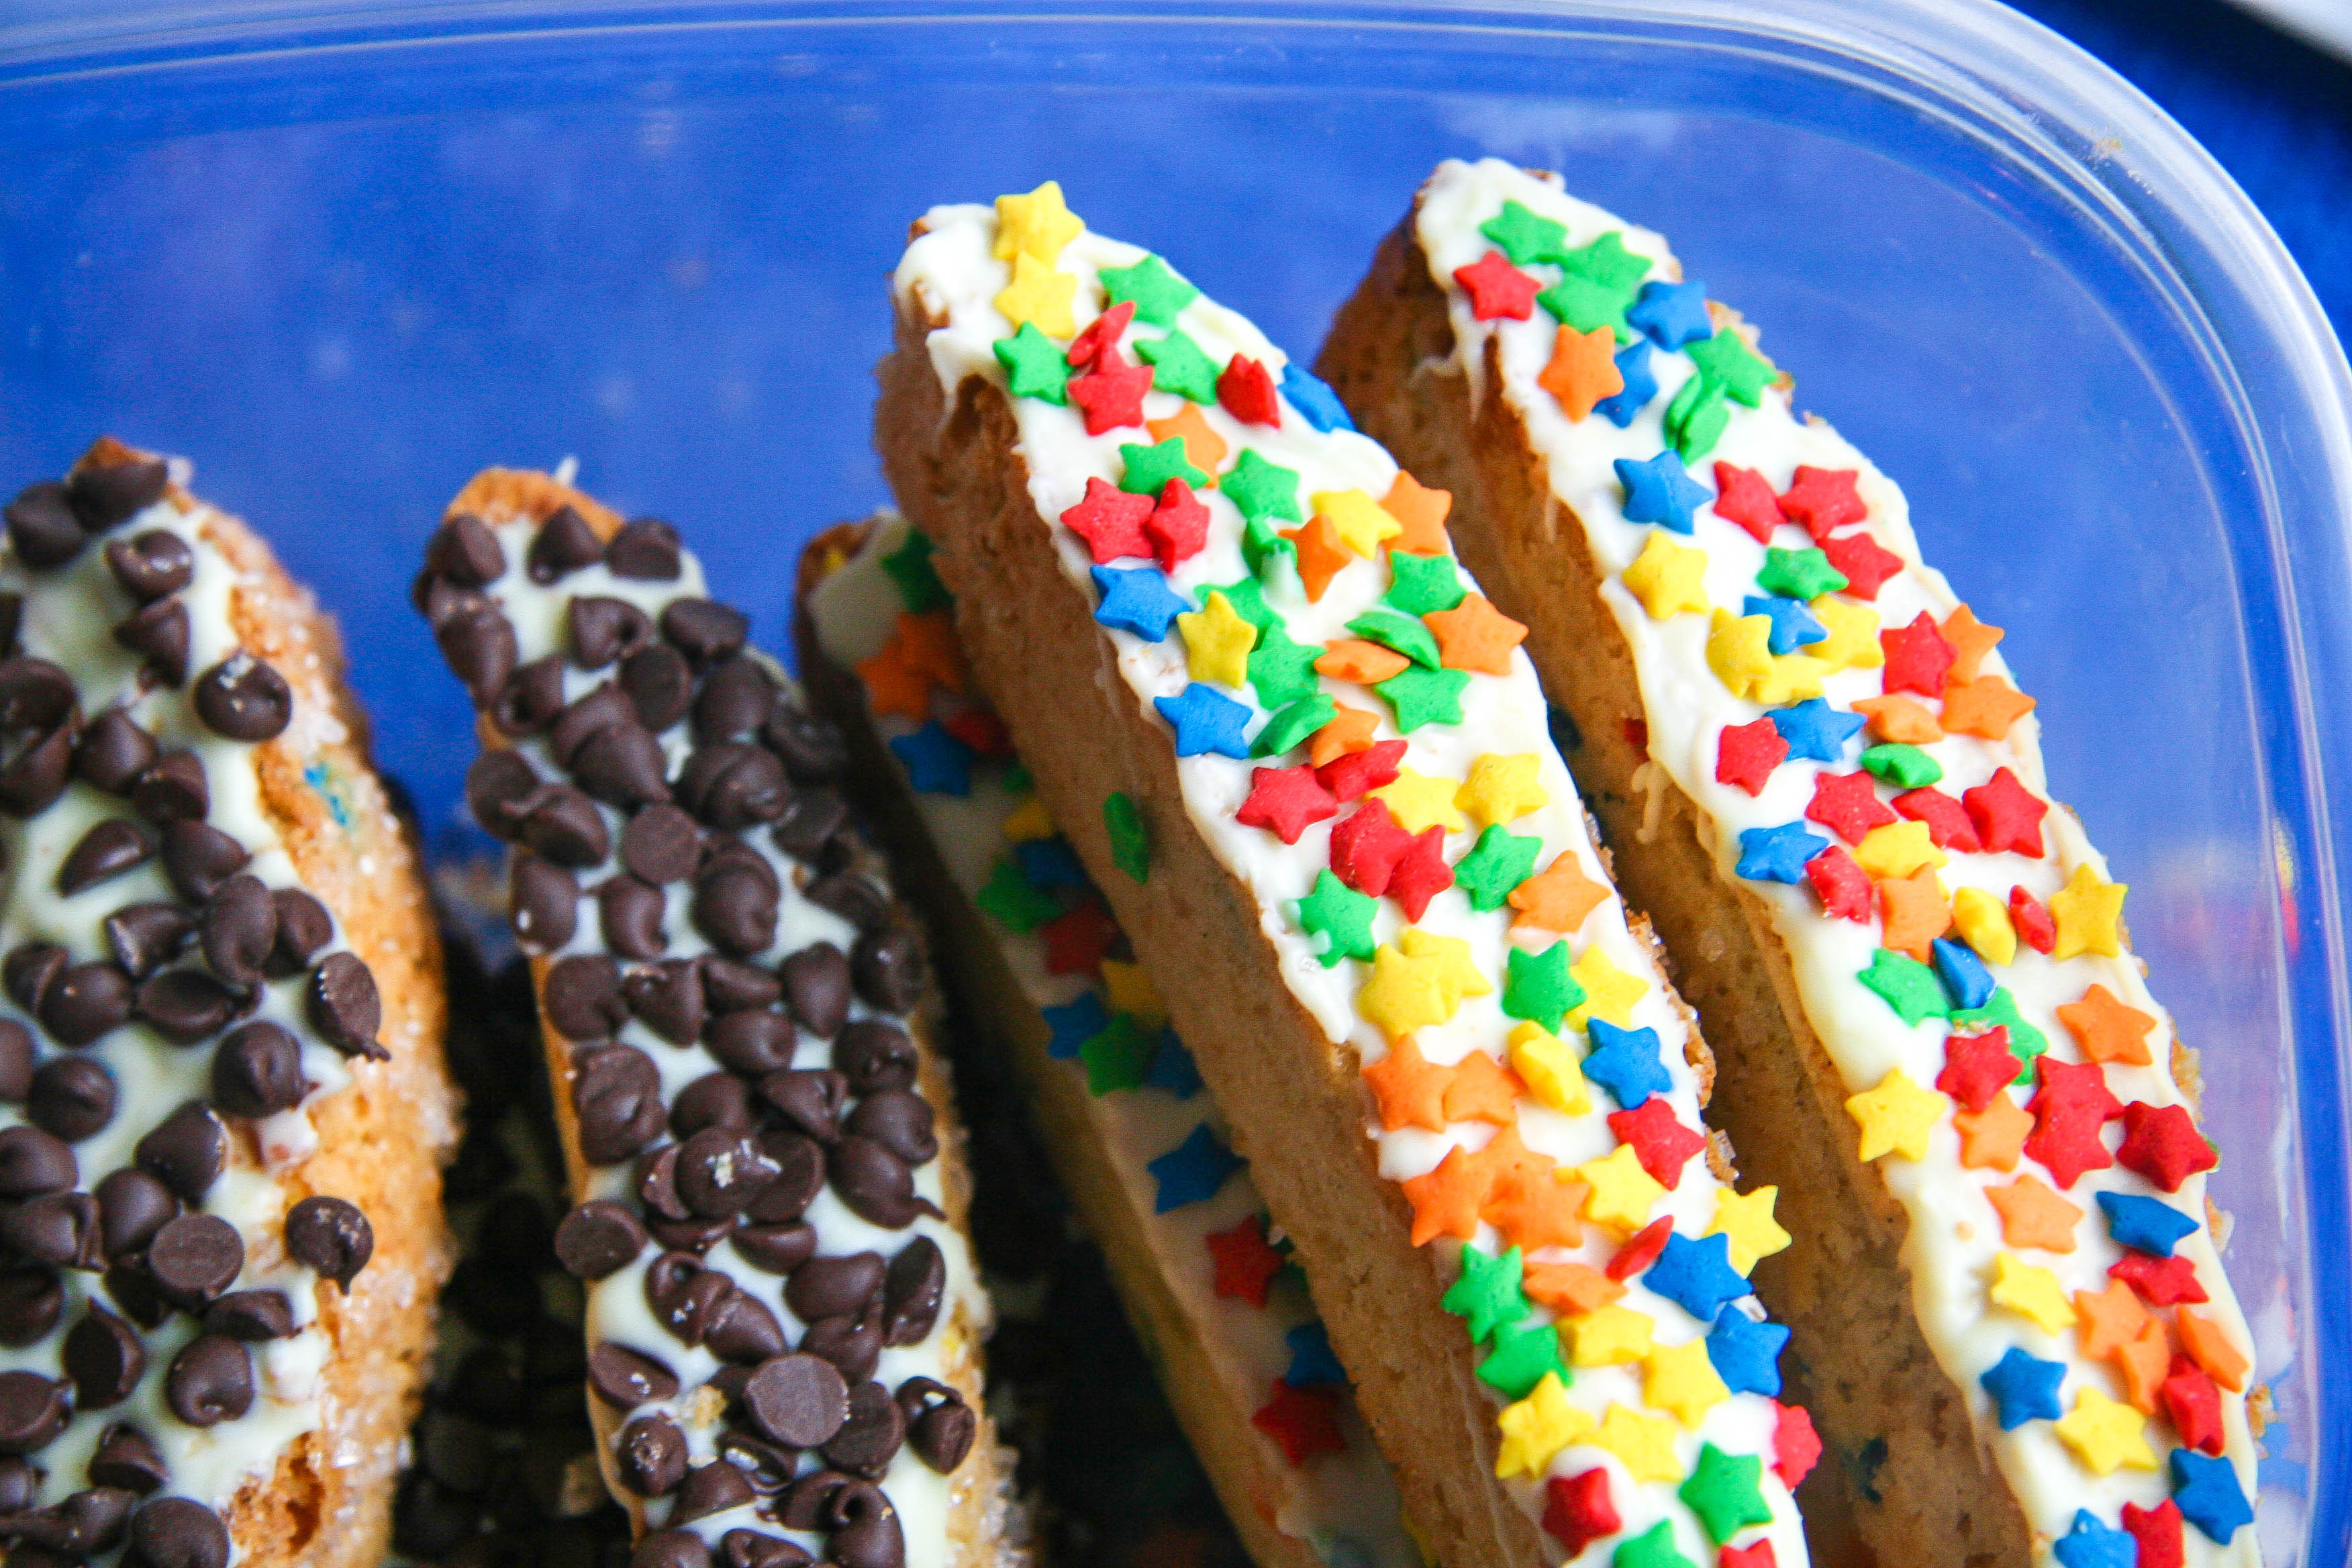
Assorted Cookies: I didn’t necessarily prep these for post-baby, but my freezer is always stocked with various types of cookie dough. I freeze them in scoops and vacuum seal them so they stay fresh for months. Currently in there I have confetti cookies, molasses cookies, oatmeal raisin cookies, white chocolate macadamia cookies, nutella toffee cookies, and chocolate chip cookies ready for baking. These will come in handy for a last minute dessert craving. I’ll just preheat the oven before I (hopefully) put baby to sleep and then bake straight from frozen.

Pie Crust: I always keep some homemade pie crust in the freezer (often the NY Times base dough) so I made sure to re-stock pre-baby. Since this recipe doesn’t use any sugar, you can use the crust for both savory and sweet things. For example, you can use it for a veggie quiche, savory galette or a sweet pie.

Parents or expecting moms, I would love to hear what you meal prepped and found most helpful in the early days!

Filed Under: lifestyle Tagged With: make ahead, meal prep

holiday sparkler champagne cocktail (perfect for winter brunch!)

December 22, 2017 by Butter Loves Company

holiday-champagne-cocktail-1It may come as no surprise that one of my favorite things to do is feed my friends and family. For the past few years, we have hosted a holiday brunch here in Los Angeles to celebrate the season before we take flight back to the East Coast. Despite the overall chaos that was December hustle and bustle, foregoing Christmas brunch is not an option. I mean, if Greg couldn’t spend the year talking about the famous (according to him) sausage gravy he makes every holiday brunch to accompany these buttermilk biscuits I don’t know how he’d pass the time 😉

Because we always make quite a few food items, some of which require day-of preparation, e.g. baking the sticky bun bundt cake, crisping up salty bacon, scrambling a vat of eggs, and so on, we try to keep the beverages as easy (but still special) as possible.

holiday-champagne-cocktail-2

This year, a make-ahead cocktail bar worked perfectly. We mixed up a few simple cocktails that could easily be topped with sparkling wine—brunch’s favorite babe—and voila! You have brunch elevated without needing to shake or stir while your guests are mingling.

Simply prepare the base of the cocktails a day or two before your brunch and store them in the fridge in carafes or jars. Set them out before your event, next to a chilled bottle of your favorite sparkling wine—we go with Korbel’s Brut or the Brut Rosé for a pretty twist.

Our three make-ahead holiday cocktails—each to be topped with champagne—included:

  1. The classic orange juice punched up with a splash of citrus vodka (3:1 ratio of OJ to Vodka).
  2. A berry punch which combines equal parts Chambord and pure pomegranate juice.
  3. A gorgeous Holiday Sparkler with rich, tart cranberry juice and mango-flavored vodka. Grab the recipe for this make-ahead batch cocktail below!

Sparkling wine and fruit is a match made in heaven, which is why we loved this Holiday Sparkler Champagne Cocktail. The cranberry juice adds a little tartness, while the mango offers a welcome sweet hint, but not too much since it carried the potency of vodka with it. We all know bubbles scream celebration, so these sparkling wine cocktails are perfect for really any gathering or brunch, during the holidays or otherwise!

holiday-champagne-cocktail-3

Filed Under: drinks Tagged With: champagne, cocktails, cranberry, make ahead

Holiday Brunch and 3 Festive (and Sparkly) Cocktail Recipes

December 22, 2016 by Butter Loves Company

champagne cocktails

This past Sunday, Greg and I hosted some lovely friends and family at our place for a very merry holiday brunch. I’m not sure if there’s anything I enjoy more than getting people together over food and drink, and the holidays always seem to make it feel extra special. I love learning about people’s holiday traditions past and present: whether it is matching family Christmas pajamas, take-out with friends, going to an early movie, caroling or having fruitcake.

This holiday brunch is a new tradition for us (2nd Annual this year!) and incorporates a few of our favorite things: cooking, eating, music, and champagne. 😉

What is brunch without a little bubbly? My go-to sparkly sipper for celebrations big and small is Korbel. It is delicious on it’s own—love those shimmering bubbles—and also a great champagne for cocktails. For brunch, we went the festive champagne cocktails route with a few different varieties. There was a Cranberry Rosemary Spritz—tart, herbaceous, and effervescent, a Sparkling Raspberry Lime Royale—sweetened with the delicious deep raspberry flavor of Chambord, and a Fig Sparkler, using a super easy house-made fig vodka as the base. All three use Korbel’s Brut Champagne but you could substitute with their Brut Rosé for an extra pop of color and flavor variety.

champagne cocktails

The rest of the menu included Greg’s famous sausage gravy, biscuits, Ottolenghi’s veggie tart, a sticky-bundt, gravlax and fixings, crepes, hasselback potatoes gratin (Which I undercooked…oh well!), bacon and eggs. We did everything in advance aside from making the eggs and baking the already-prepared biscuits and sticky bundt. I also made cookies the weekend before–and froze them in pre-measured (I realize I’m a little nuts) dough balls so I could just grab and bake once I had time.

Because we had prepped the food in advance, when everyone arrived on Sunday morning, I was stress-free and ready to welcome everyone a sparkly cocktail. If you’re ever looking to immediately put your guests in a fun and festive mood, pop a bottle of champagne. The sound alone will be enough to make everyone feel cheery right when they walk through the door. I think that’ll be a new holiday brunch tradition of ours—what’s yours?

Happiest Holidays to you and your families. Wishing you all a safe and warm time. All the hugs your way!

champagne cocktails

Cranberry Rosemary Spritz
Makes 1 drink

1 ounce Cranberry Rosemary Purée (recipe below)
4 ounces Korbel Brut Champagne
Sugared cranberries, for garnish (recipe below)
Rosemary sprig, for garnish

Instructions:

  1. Pour the Cranberry Rosemary Purée into a champagne flute. Top with Champagne. Garnish with a skewer of sugared cranberries and a rosemary sprig. Stir gently with the skewer if the purée begins to settle. Enjoy!

To make the Cranberry Rosemary Purée: In a medium saucepan, combine 1/2 cup fresh cranberries, 1 8-inch rosemary sprig, 1/2 cup granulated sugar, and 1/2 cup water. Bring to a boil over medium heat and then reduce to low heat and simmer for about 15 minutes, or until the cranberries burst and the liquid has reduced slightly. Turn off heat and remove rosemary with a fork and discard. Transfer cranberry mixture to a blender, allowing to cool a little beforehand if it is too hot. Blend until completely smooth. Transfer to a bowl or container for later use.

To make the Sugared Cranberries: Line a baking sheet with parchment and set aside. In a small saucepan over medium heat, bring 1/2 cup granulated sugar and 1/2 cup water to a simmer, stirring to dissolve sugar. Add 1/2 cup fresh cranberries and cook until barely starting to soften, about 1 minute. Using a slotted spoon, transfer cranberries to the prepared baking sheet. Allow to cool until no longer sticky, about 20 minutes. Pour 1/2 cup granulated sugar into a small bowl. Toss cranberries in the sugar to coat. Return to the baking sheet until ready to use.

champagne cocktails

Sparkling Raspberry Lime Royale
Makes 1 drink

1/4 cup granulated sugar, for glass rim
1 teaspoon lime zest, for glass rim
1 ounce Chambord
1/2 ounce fresh lime juice
ice
3 1/2 ounces Korbel Brut Champagne or Brut Rose

Instructions:

  1. In a wide shallow bowl or plate, combine the granulated sugar and lime zest with your hands, until the sugar is fragrant with lime. Use the cut side of a lime to moisten the rim of your coupe glass or champagne flute and press it into the lime sugar to rim the glass. Set aside.
  2. In a cocktail shaker, combine Chambord, lime juice, and ice. Shake vigorously for 15 seconds and strain into a coupe glass or champagne flute. Top with champagne. Enjoy!

champagne cocktails

Fig Sparkler
Makes 1 drink

1 1/2 ounces fig vodka (recipe below)
1/2 ounce lemon juice
ice
3 ounces Korbel Brut Champagne

Instructions:

  1. In a cocktail shaker, combine fig vodka and ice. Shake vigorously for 15 seconds and strain into a coupe glass or champagne flute. Top with champagne. Enjoy!

To make the fig vodka: Combine 1 1/2 cups vodka and 5-6 dried mission figs, each sliced in half (10-12 halves total, into a medium sealable jar or container. Seal jar and shake. Refrigerate for at least 2 days and, if you have time, a week or two, shaking the container every day. The longer you allow it to marinade, the more ‘figgy’ it’ll become. Strain out the dried figs, if desired, or save them to use as garnish on your figgy cocktails!

champagne cocktails

Filed Under: drinks, eat Tagged With: brunch, champagne, cocktails, holiday, make ahead

cheddar cheese gougères

December 27, 2015 by Butter Loves Company

cheese-gougere-recipe-16

These cheddar cheese gougères are the perfect nibble for a New Year’s Eve gathering. They are flavorfully cheesy, yet light and uncomplicated—allowing you to really appreciate the flavor of any champagne or bubbly you might be sipping on for the festivities.

cheese-gougere-recipe-1

Gougères might seem fancy, with their golden crust, eggy insides, and distinctly hollow cores. However, they do most of the work on their own—the dough is simply spooned or piped onto baking sheets and the cores are a natural result of the dough puffing up during the baking process…an example of baking magic if you ask me! You could easily turn these into a heartier appetizer by piping a savory filling into the baked puffs, just as you would pipe sweet cream into their spherical cousins, cream puffs or profiteroles (both made using the same magical pâte à choux dough).

cheese-gougere-recipe-6

These are undeniably cheesy thanks to a generous addition of extra sharp cheddar cheese—while untraditional, I like how they create a flavor reminiscent to that of a Cheez-It cracker. For a more traditional version of the French gougère, feel free to substitute grated gruyère cheese. You could even sprinkle a little nutmeg or cayenne into to the batter, or top the uncooked scoops with a little fresh cracked pepper to make them your own.

cheese-gougere-recipe-9

Grab a glass of champagne, laugh about the year’s (sometimes failed) resolutions, and grab a light and fluffy gougère. Now you’re ready to ring in the New Year!

NOTE: You can make the dough and freeze the uncooked, shaped mounds ahead of time and bake right before eating. Hot, cheesy gougères on demand? Nothing wrong with that!

cheese-gougere-recipe-14

cheese-gougere-recipe-12

Cheddar cheese gougères recipe perfect for a New Year’s Eve gathering (make ahead optional). Undeniably cheesy and seemingly fancy, with their golden crust, eggy insides, and distinctly hollow cores. Add a glass of champagne and you're in business!

cheese-gougere-recipe-17

Filed Under: appetizers, eat Tagged With: champagne, cheddar, cocktail party, gougeres, make ahead, new years eve

sticky bundt (sticky bun bundt cake)

January 27, 2015 by Butter Loves Company

sticky bun bundt cake 9 copy

This is a sticky bun/bundt cake hybrid which I’ve aptly named a sticky ‘bun’dt (Get it, get it?). I made a batch of fluffy sticky buns and baked them in a bundt pan literally for the sole purpose of saying sticky bundt all day. Lucky for me, the resulting sticky-sweet, pecan-studded cake tasted amazing, so I’m excited to share the recipe with you while I humbly pat myself on the back. 😉

sticky bun bundt cake 1

look at these sweet dough pinwheels getting personal! they love each other!

If you are a fan of sticky buns, you’re definitely open to a bit of butter and sugar. Plenty of pecans adhere to a sticky-sweet—but more of a mature not-too-sweet, sweet—dark brown sugar topping, all of which jumps aboard a nutty, buttery cinnamon roll train. Hopefully, the train is headed for a brunch table near you!

Making sticky buns requires a bit of patience as you’ve got to proof the dough twice; first, right after preparing the yeasted sweet dough, and second, after filling and rolling the dough into pinwheeled buns. I promise you this sticky bun bundt cake cake is worth the extra effort as the bundt is as tasty as it is visually stunning.

sticky bun bundt cake 2

There are three main elements to this sticky bun bundt cake: the dough, the filling, and the topping. Broken down into three parts it is totally manageable and you can even prepare and assemble the buns a day ahead of time so you will be able to sleep in and still impress your family and friends at Sunday brunch. Just allow the chilled buns to get to room temperature about an hour and a half before baking in the morning.

sticky bun bundt cake 4

the pecan cinnamon rolls will rise up into these layers and you will feel like a superhero for making this happen.

sticky bun bundt cake 5

sticky bun bundt cake 12

you’ll flip the sticky bundt out of its pan and smell the nuts and sweet butter combined with the warm spices and rich topping.

sticky bun bundt cake 10

sticky bun bundt cake 6

sticky bun bundt cake 11

sticky bundt
Adapted from Bon Appetit, April 2012

prep time: 30–40 minutes (plus time to chill and rise)
cook time: 50 minutes
total time: 5 hours (includes minimum time to chill and rise)
Makes: One 10-inch bundt cake or 10 individual sticky buns prepared in an 8x8x2″ metal baking pan

Ingredients:

Sweet dough:

2/3 cup whole milk
5 tablespoons sugar, divided
1 3/4 teaspoons active dry yeast (from one 1/4-ounce envelope)
2 large eggs, room temperature
2 3/4 cups all-purpose flour
1 teaspoon salt
1/2 cup (1 stick) unsalted butter, cut into 1″ pieces, room temperature, plus 1 tablespoon melted butter for greasing bowl

Topping:

2 cups chopped pecans (I like to keep about 1/2 cup whole to top the bundt, but up to you.)
1/2 cup (1 stick) unsalted butter
3/4 cup (packed) dark brown sugar
1 tablespoon vanilla extract
3/4 cup heavy cream
1/3 cup honey
1/4 teaspoon salt
1/4 teaspoon finely grated orange zest (optional)
2 teaspoons orange liqueur or rum (optional)

Filling/bun assembly:

1/2 cup (1 stick) unsalted butter, room temperature
1/2 cup (packed) dark brown sugar
1 teaspoon vanilla bean paste or extract
3/4 teaspoon ground cinnamon
1/2 teaspoon freshly grated nutmeg
1/8 teaspoon salt
1 large egg (for egg washing buns)
Coarse sea salt (such as Maldon) for finishing

Instructions:

Make the sweet dough:

  1. In a small, microwave-safe bowl, heat milk in microwave until an instant-read thermometer registers 110–115°F. Stir in 1 tablespoon sugar. Sprinkle yeast over milk and whisk to blend. Let sit until yeast is foamy, about 5 minutes. Whisk in eggs until smooth.
  2. Combine remaining 4 tablespoons of sugar, flour, and salt in the bowl of a stand mixer fitted with a dough hook. Add milk mixture and combine on low speed. With mixer still running, add the room-temperature butter, 1 piece at a time, incorporating each piece fully before adding the next one. After you’ve added the last piece, mix on medium speed for 1 minute. Increase speed to medium-high and knead until dough is soft and silky, about 10 minutes.
  3. Brush a medium bowl with melted butter; place dough in bowl. Brush top of dough with remaining melted butter; cover with plastic wrap and let sit room temperature until about doubled in size, about 45 minutes to 1 hour. Transfer to refrigerator and chill dough for 2 hours.

Meanwhile, make the topping:

  1. Preheat oven to 350°F. Toast pecans on a rimmed baking sheet until fragrant and slightly darkened, 10–12 minutes. Let cool completely. Set 1 1/2 cups nuts aside for inside the buns.
  2. Melt butter in a small, heavy saucepan over medium heat. Stir in brown sugar, vanilla, cream, honey, salt, orange zest and liqueur, if using. Bring to a boil, reduce heat to medium, and simmer until glaze is golden brown, glossy, and slightly thickened, 3–4 minutes. Pour a third of the glaze into your bundt pan, tilting to coat bottom and sides. Set aside remaining glaze. Sprinkle 1/2 cup toasted pecans over bottom of pan and let cool.

Make the filling and assemble:

  1. Using an electric mixer on medium speed, beat butter, sugar, cinnamon, nutmeg, and salt in a medium bowl until light and fluffy, 2–3 minutes. Set filling aside.
  2. Remove dough from refrigerator and transfer to a floured work surface. Lightly dust top with flour and roll out the dough into a 12×16″ rectangle about 1/4″ thick. Spread the cinnamon-sugar mixture over dough with a knife or your hands. Sprinkle 1 cup chopped pecans over the cinnamon-sugar mixture.
  3. Beginning with the long edge closest to you, roll the dough tightly into a log. Once you finish rolling, arrange the log seam-side-down on the work surface.
  4. Using a sharp knife (you can wet the knife slightly to help make a clean cut), cut the log crosswise into 10 equal pieces. Don’t worry about making perfect rolls especially if you’ll be putting into a bundt pan. Turn the buns cut-side-up and gently tuck the end of each roll under the bun so it won’t unroll while baking. Place the buns in prepared pan; space them evenly apart. If making the sticky bundt, the buns will touch. If making individual buns in a 8x8x2″ metal baking pan the buns will likely not touch each other. At this point, you can cover and chill buns and remaining glaze separately. Store remaining pecans airtight at room temperature.
  5. Loosely cover pan with plastic wrap or a kitchen towel. Let buns rise in a warm, draft-free area until doubled in size, 45 minutes to 1 hour, or 1 1/2–2 hours if dough has been chilled overnight.
  6. Arrange a rack in middle of oven; preheat to 350°F. Whisk egg with 1/2 teaspoon water in a small bowl. Brush tops of buns with egg wash. Bake, rotating pan halfway through and tenting with foil if browning too quickly, until buns are golden brown, filling is bubbling, and an instant-read thermometer inserted into center of buns registers 185°F, about 50 minutes. Let cool for 5 minutes and then invert onto a platter. Spoon remaining glaze over sticky bundt. Sprinkle with 1/2 cup pecans. Lightly sprinkle with sea salt. Serve sticky bundt warm or at room temperature.

Filed Under: breakfast and breads, desserts and sweets, eat Tagged With: brunch recipes, bundt cake, make ahead, pecans, sticky bundt, sticky buns, sweet dough

go-to carrot cake with cream cheese frosting

October 29, 2014 by Butter Loves Company

carrot-cake-silver-palate-cream-cheese-frosting-10 copy

This carrot cake recipe has been in my family for longer than I can remember. It makes regular appearances at Easter and is often requested in the fall when it seems like just about everyone in my family was born. Let me tell you, it has spoiled many bakery carrot cakes for me. It’s not that the bakery cakes are so bad; it’s just that they aren’t this good. If you’ve ever had a carrot cake that was too dry, too bland, too dense, too light or any of the other “too’s,” you should try this one out. It may be your new go-to.

carrot-cake-silver-palate-cream-cheese-frosting-1

One of the keys to this recipe from the Silver Palate Cookbook is that the carrots are cooked and puréed before they are mixed into the batter. The result is an extremely moist cake that is sturdy and rich but not too dense. The cake is sweet with a cinnamon spice and textured with coconut and walnuts (if you desire, which I always do). I doubled the cream cheese frosting recipe from the original recipe, because…just because. It can never hurt to have a little extra, but not having enough would be sinful. Put cream cheese frosting on anything and you won’t make any enemies.

carrot-cake-silver-palate-cream-cheese-frosting-2

We’ve eaten this twice in the last month; the first for my brother’s birthday and more recently for my grandmother’s. Because my grandmother doesn’t care for coconut, I made hers—the one pictured— without it. You’ll see notes about my adjustments following the recipe.

carrot-cake-silver-palate-cream-cheese-frosting-3

carrot-cake-silver-palate-cream-cheese-frosting-4

carrot-cake-silver-palate-cream-cheese-frosting-5

some people definitely only like carrot cake for the cream cheese frosting…and that’s okay.

carrot-cake-silver-palate-cream-cheese-frosting-6

carrot-cake-silver-palate-cream-cheese-frosting-7

carrot-cake-silver-palate-cream-cheese-frosting-8

carrot-cake-silver-palate-cream-cheese-frosting-13

pardon the poor lighting, but that’s a face that likes this cake!

go-to carrot cake with cream cheese frosting
From the Silver Palate Cookbook

prep time: 20 minutes
cook time: 35–50 minutes
total time: 1 hour, plus another 2 for cooling
makes one 2-layer 9-inch cake or 3-layer 8-inch cake

Ingredients:

CAKE:
Butter, for greasing the pan
3 cups unbleached all-purpose flour
3 cups granulated sugar
1 teaspoon salt
1 tablespoon baking soda
1 tablespoon ground cinnamon
1-1⁄2 cups canola or vegetable oil
4 large eggs
1 tablespoon vanilla extract
1-1/2 cups shelled walnuts, chopped
1-1/2 cups shredded coconut*
1-1/3 cups puréed cooked carrots (to cook: Chop peeled carrots into chunks and boil in water until a knife can cut through a chunk with little resistance)
3/4 cup drained crushed pineapple

CREAM CHEESE FROSTING:
16 ounces cream cheese, at room temperature (2 standard packages)
12 tablespoons unsalted butter, room temperature
6 cups confectioners’ sugar
2 teaspoons vanilla extract
1 tablespoon lemon juice (optional)

Instructions:

  1. Preheat the oven to 350°F. Grease two 9-inch pans or three 8-inch pans. Line the bottom of each pan with parchment paper and then grease the top of the parchment paper.
  2. In a large bowl, or the bowl of your electric mixer fitted with the paddle attachment, sift together the flour, sugar, salt, baking soda and ground cinnamon. Add the oil and vanilla followed by the eggs, one at a time, mixing to combine after each addition. With the mixer on low speed add the walnuts, coconut, carrots and pineapple (fold them in gently if you are not using a stand mixer).
  3. Divide the batter among the prepared pans. Set on the center rack of the oven and bake until the edges have pulled away from the sides and a cake tester inserted in the center comes out clean, 45–50 minutes for 9-inch cakes and 35–40 minutes for 8-inch cakes. Cool on a cake rack for 2 hours. Fill and frost the cake with the cream cheese frosting (recipe below).
  4. Make cream cheese frosting by creaming together the cream cheese and butter in a large bowl, or the bowl of your electric mixer fitted with the paddle attachment. With the mixer on low speed, slowly sift in the confectioners’ sugar and continue beating until fully incorporate. Slowly is the key word here, unless you want to be wearing a LOT of confectioner’s sugar. Once the sugar has been incorporated, increase the speed to medium until the mixture is smooth and free of lumps. Stir in the vanilla, and lemon juice (if using).

*To make the cake with no coconut: Omit shredded coconut and up the amount of pureed cooked carrots from 1-1/3 cups to 2 cups. That’s it!

**You can make the cake layers two days in advance. Let cook completely and then wrap in two layers of plastic wrap and refrigerate until you are ready to assemble. The assembled cake also keeps well in the refrigerator for a solid few days (I can vouch for at least 5).

Filed Under: desserts and sweets, eat Tagged With: cake, carrot cake, celebration cake, cream cheese, frosting, make ahead

chewy homemade granola bars

July 29, 2014 by Butter Loves Company

chewy-homemade-granola-nature-bars-recipe-13

Raise your hand if you’re the sleep in until the last minute, get ready quick, eat a grab-and-go breakfast type. Like the “if I wear that thing that needs no ironing, I can stay in bed for exactly 7 minutes more” type. Or even the “eh, shower schmower…I’ll skip for the extra 10 minutes of rest” type. If you’re hand is up, take that hand and go ahead, hit that snooze button one more time. I’ve got you covered with this homemade granola bars recipe.

Granola bar for you, and you, and you, and you! Granola bar for me, for sure!

These chewy, wholesome, customizable, homemade breakfast bars are dreamy. Not only because they’re a cinch to make and also freeze and store well to save you precious Zs for weeks to come. But also, on top of that, they’re delicious and can be studded with any combination of your favorite nuts, fruits, chocolate chips, seeds, sprinkles or candies!

chewy-homemade-granola-nature-bars-recipe-1

After spending too much money—on my walk to work—on granola bars to satisfy my ‘I-didn’t-have-time-to-eat-breakfast’ appetite—and only half enjoying their taste, no less—I decided I needed to tackle making my own. I was so excited—as I hope you’ll be too—when I realized how easy they were to make and how many different flavor combinations could result from one basic recipe. Think of this more as a guide than a recipe. 

chewy-homemade-granola-nature-bars-recipe-3

As a heads up, these bars do call for butter, but when you think about the amount of butter in the recipe divided across an entire tray, the butter content in one bar is really not that bad. A super-healthy version will come your way soon. Promise.

chewy-homemade-granola-nature-bars-recipe-2

For this batch, I chose to use dried cranberries, golden raisins, lightly chopped walnuts, sunflower seeds, flax seeds and shredded coconut.

chewy-homemade-granola-nature-bars-recipe-4

chewy-homemade-granola-nature-bars-recipe-5

chewy-homemade-granola-nature-bars-recipe-7

chewy-homemade-granola-nature-bars-recipe-8

chewy-homemade-granola-nature-bars-recipe-11

chewy-homemade-granola-nature-bars-recipe-12

chewy-homemade-granola-nature-bars-recipe-9

chewy homemade granola bars
adapted from the smitten kitchen recipe which is adapted from king arthur flour

prep time: 10 minutes
cook time: 35 minutes
total time: 45 minutes (not including cool time after baking)
makes 12 to 16 bars

Ingredients:

1 2/3 cups 1-minute rolled oats (aka instant oats; I used old fashion oats for 1/3 cup of this because I had them on hand and was interested in the texture. Feel free to try that combination or use all instant.)
1/2 to 3/4 cup granulated sugar (less for mild sweetness, more for sweeter bars)
1/3 cup oat flour (or 1/3 cup oats, ground into a powdery texture in a food processor or blender)
1/2 teaspoon salt
1/4 teaspoon ground cinnamon
2 to 3 cups assorted dried fruits, nuts, seeds, chocolate chips, sprinkles or candies (pick any of your favorites until they total 10 to 15 ounces)
1/3 cup peanut butter or another nut butter (optional)
1 tablespoon vanilla extract (optional)
6 tablespoons melted butter
1/4 cup honey or maple syrup
2 tablespoons light corn syrup
1 tablespoon water

Instruction:

  1. Preheat the oven to 350°F. Line an 8″ x 8″ x 2″ baking pan with a piece of parchment paper to cover the bottom and two opposite sides (you are creating “handles” that will help you remove the granola bars later). Lightly grease, with butter or a non-stick spray, the parchment paper and the exposed pan.
  2. In a large bowl, stir together the rolled oats, sugar, oat flour, salt, cinnamon and desired fruits and nuts. Set aside.
  3. In a small bowl, whisk together the vanilla, melted butter, honey or syrup, corn syrup and water. If using peanut butter, toss that in with the wet ingredients now.
  4. Pour the wet ingredients into the bowl with the dry and stir until all of the oats have been coated with the wet ingredients and the mixture starts coming together in chunks. Spread mixture into the prepared pan and press firmly across the top and into all corners and edges. Smooth down the top for a flat, even final product.
  5. Bake the bars for 25 to 35 minutes until they’re brown around the edges and a deep golden color on top. They may seem soft and almost under-baked in the center, but they’ll set completely once fully cooled.
  6. Cool the bars—in the pan—completely on a cooling rack. Once cool, lift the bars out of the pan using the parchment paper “handles” and then double check that they are totally cool in the middle. If yes, use a serrated knife to cut the bars into squares or rectangles—or triangles if you’re so inclined. To store, wrap the bars individually in plastic or stack them in an airtight container and leave at room temperature or in the refrigerator. The bars will seem hard when you take them right out of the fridge, but they come back to their chewy state in about 10 minutes. Remember, they also freeze well.

Filed Under: breakfast and breads, eat Tagged With: breakfast, dried fruit, easy, granola, make ahead, nature bars, nuts, oats, on the go

party biscotti

May 8, 2014 by Butter Loves Company

party biscotti cake batter biscotti 4

You might be sitting there thinking “Ugh, she’s posting about biscotti? How lame!”

And, in some cases, you might be right. Biscotti doesn’t have a reputation for being a fun food. No childhood birthday party has ended with a “Happy Birthday! Time for dessert! Bring out the biscotti!” (Maybe it has ended that way, actually . . . “Did they say biscotti? Sorry Suzy, I need to go home . . . and . . . um . . . clean my fish tank.) I think this is just because biscotti hasn’t shown up to the party wearing sprinkles—Until now!

Maybe my eyes were still blinking sparkly lights after my recent girls’ weekend in Las Vegas, but when I decided to make biscotti this week I wanted something a little more fun than the average fruits and nuts. I wanted something that was colorful and would be welcomed for a celebration or just with a cup of coffee. And for whatever reason, I also wanted something reminiscent of birthday cake batter.

I mixed up biscotti with a combination of vanilla bean, touches of almond and lemon zest, creamy white chocolate chips and sprinks (yes, I did that) both inside and out.

And after a few test batches, “party biscotti” was born.

The word “Biscotti” comes from the Italian roots ‘bis’ and ‘cotti,’ meaning twice-baked. As its name suggests, the dough hits the oven twice: first in logs and second sliced into rectangles after the logs have been partially cooked. Because these are supposed to be crunchy and somewhat dry they’re long lasting making them a perfect cookie jar cookie. As a note, biscotti is the plural term for biscotto. In the U.S. I tend to hear the cookie referred to as biscotti whether referring to one or a full platter.

Fun fact: In Italy, Biscotti is also the generic term for any cookie. So, in Italy, if you bring a plate of biscotti to a kid’s party, you’re always super cool. Well played, Italy.

party biscotti cake batter biscotti 3

party biscotti cake batter biscotti 1

party biscotti cake batter biscotti 6

party biscotti cake batter biscotti 5

party biscotti cake batter biscotti 7

party biscotti
Adapted from Giada de Laurentiis

Prep Time: 30 minutes
Cook Time: 45 minutes
Total Time: 1 hr. 45 minutes (including cool time)
Makes: About 2 dozen biscotti

Ingredients:

2¼ cups all-purpose flour
1½ teaspoons baking powder
½ cup (1 stick) unsalted butter, softened
¾ cup sugar
1 teaspoon grated lemon zest
¼ teaspoon salt
2 large eggs
1 teaspoon vanilla bean paste or vanilla extract
¼ teaspoon almond extract
1 cup white chocolate chips or coarsely chopped white chocolate (I tried both and actually preferred the chips)
¼ cup rainbow sprinkles
1 egg, lightly beaten, for egg wash
¼ cup sparkling sugar, for topping egg wash (granulated sugar will also work)
1 cup white chocolate chips or coarsely chopped white chocolate, for garnish (optional)
Additional sprinkles or small candies for garnish (optional)

Instructions:

  1. Preheat the oven to 350 degrees F and line a baking sheet with parchment paper.
  2. In a small bowl, whisk together the flour and baking powder to blend. In a large bowl or the bowl of an electric mixer fitted with the paddle attachment, on medium speed, beat the butter and sugar together until light and fluffy. Add the lemon zest and salt until blended. Beat in the eggs 1 at a time, followed by the vanilla and almond extracts.
  3. With the mixer on low, add the flour mixture to the butter and sugar mixture and beat just until blended. Mix in the white chocolate and sprinkles with the mixer on low, or by hand.
  4. Form the dough into two 8-inch long, 3-inch wide logs on the prepared baking sheet. Brush with egg wash and sprinkle tops with sugar. Bake until lightly golden, about 35 minutes. Cool on sheet for 20 minutes.
  5. Place the logs on the cutting board. Using a sharp serrated knife cut the logs into ¾-inch-thick slices. Place the biscotti, cut side down, back onto the baking sheet. Bake the biscotti until they are pale golden, about 6 minutes. Gently flip the biscotti over and cook with the other side facing up until pale golden, another 4–6 minutes. Transfer the biscotti to a rack and cool completely.
  6. In a bowl set over a saucepan of simmering water stir the white chocolate with a rubber spatula or metal spoon until the chocolate melts. Dip one side of the biscotti into the melted chocolate. Gently shake off the excess chocolate. Dip or sprinkle with desired topping and place the biscotti on the baking sheet for the chocolate to set. Allow the chocolate to harden before serving or storing.

Filed Under: breakfast and breads, desserts and sweets, eat Tagged With: birthday cake, biscotti, biscotti recipe, cake batter, coffee cookie, cookies, make ahead, sprinkles, white chocolate

tourte milanese

April 23, 2014 by Butter Loves Company

tourte milanese 9

While brunching out is one of my favorite things to do—give me eggs ‘beni’ and a spicy bloody and I’m on cloud nine—there is something lovely about having brunch at home on a lazy weekend morning. It forces you and your company to slow down, catch up, and laugh into the afternoon with no real agenda.

Brunch, whether out or at home, often includes some sort of egg dish; a quiche, an omelet, the aforementioned eggs benedict, or, if you rewind to our apartment a few days ago, this Tourte Milanese. When flipping through cookbooks Saturday morning looking for a cookie recipe to make for Easter Sunday, I saw this tourte and said out loud “Oh!!! PRETTY! I’m making this!” Layers of herbed eggs, ham, cheese, spinach, and roasted red peppers all wrapped in a buttery puff pastry: it is a bold, beautiful thing. Little did Greg know, when I said I was making this, I meant I was making this this minute (not uncommon), and he was tasked as sous chef. The cookies had to wait.

This is a perfect recipe for brunch entertaining because you can prep and cook the entire tourte a day ahead and just bring it to room temperature or lightly warm in your oven before guests arrive. It saves you morning stress with the additional perks of extra shuteye, a tasty meal, and impressed friends.

At first glance, this tourte may look complicated, but it is really not hard to make at all. It has a few simple components that need to be prepared separately before assembly: scramble the eggs, sauté the spinach, and blister the red peppers under a broiler. The long instructions are only an illusion of difficulty, though I would suggest budgeting yourself a bit of time for the prep, chilling, and cook time.

tourte milanese 1

tourte milanese 2

tourte milanese 3

tourte milanese 4

tourte milanese 5

tourte milanese 6

tourte milanese 8

tourte milanese 10

Tourte Milanese
Adapted from Michel Richard’s recipe in Baking with Julia

Prep Time: 40 minutes
Chill Time: 30 minutes
Cook Time: 1 hour 10 minutes
Serves: 6–8

Ingredients:

1 pound puff pastry, homemade or store bought (If using store bought, it’s often sold in 1.1 pound packages. This works great.)
4 large red bell peppers
salt and ground black pepper, to taste
4 tablespoons unsalted butter, divided
1 tablespoon olive oil
1½ to 2 pounds fresh spinach, trimmed
2 cloves garlic, minced
3 tablespoons heavy cream (optional)
½ teaspoon grated nutmeg
11 large eggs
1 tablespoon chopped scallions
2 teaspoons chopped chives
1 teaspoon chopped fresh tarragon
½ pound thinly sliced Swiss cheese
½ pound thinly sliced ham
1 egg beaten with 1 tablespoon water, for egg wash

Instructions:

Coat an 8-inch round spring form pan with butter or non-stick baking spray. Roll out ¾ of the puff pastry ¼-inch thick and line bottom and sides of pan leaving a 1-inch overhang. Roll out the remaining pastry into a ¼-inch thick circle (this will be the top of the tourte). Transfer onto a plate. Keep both pastries refrigerated while preparing the filling.

Prep Peppers: Turn on your oven broiler and fill a large bowl with cold water. Place the whole red peppers on a baking sheet and cook under broiler until skin begins to blister. Rotate peppers until all sides have blistered and then transfer peppers to the bowl of cold water. Using your hands, peel the skin off the peppers and discard. Remove the peppers to a cutting board, cut into flat 1 to 2 inch wide flat strips, trimming inside veins and discarding seeds. Set aside.

Prep Spinach: Heat oil and 1 tablespoon butter in a large skillet. Add spinach and garlic and sauté until spinach just wilts, about 3 minutes. Stir in heavy cream, if using. Season to taste with salt, pepper, and nutmeg. Remove from heat, set aside.

Prepare Eggs: In a large bowl, lightly beat all 11 eggs. Add the scallions, chives, tarragon, and salt to taste. Melt remaining 3 tablespoons butter in a large skillet over medium heat (you can use the spinach skillet, just remove spinach to a bowl, discarding extra liquid). Pour the egg mixture and stir briefly. As eggs start to set, lift edges so liquid can run under. Continue lifting and pushing the eggs to scramble until eggs are completely set but still moist (keep in mind they will be cooking further in the tourte). Transfer to a bowl, cover with plastic and let cool completely.

Assemble Tourte: Remove the lined pan from the refrigerator. Layer ingredients in following order: half of the eggs, half of the spinach, half of the cheese, half of the ham, all of the red bell peppers. Repeat layering in reverse order using the remaining ingredients. It need not be perfect. Fold the 1-inch overhang of puff pastry onto the top of the tourte and then brush the top of the pastry with egg wash. Remove the other circular pastry from refrigerator and place on top of tourte and seal edges with your fingers. Brush top with egg wash. With a sharp knife, cut a small hole in the center of the tourte as a vent. Cut any additional desired designs into the pastry, careful not to pierce through the dough entirely. Refrigerate assembled tourte for 30 minutes.

Cook Tourte: Position rack in lower third of oven, preheat to 350 degrees F. Remove tourte from refrigerator, place on a rimmed baking sheet, and bake until deep golden brown, about 1 hour 10 minutes to 1 hour 25 minutes (we I was impatient and took it out after 1 hour. It definitely needed a little more time to full cook all sides of the pastry). Cool for 30 minutes, release from pan. Slice and serve warm or at room temperature. *Can be made one day ahead, refrigerated. Bring to room temperature before serving.

Filed Under: breakfast and breads, eat Tagged With: brunch, cheese, eggs, ham, make ahead, milanese, quiche, spinach, tourte

asian quinoa salad

February 24, 2014 by Butter Loves Company

No matter how much rest and relaxation I get over a weekend, when Monday comes, I feel like I always have a tough time kicking it into gear. I wonder if there has been any scientific research done on the physical affects of Mondays?

I knew I’d feel like a slug bug today after a weekend that consisted of lots of heavy, not the best for me, food (think fried chicken, tacos, movie theater popcorn, lots of homemade marshmallows). My body was craving something fresh and crisp in a serious way.

To pick me up, dinner tonight was this tasty Asian Quinoa Salad filled with crunchy veggies—a light, fresh, meat-free salad that won’t leave you bored after a few bites.

I’ll definitely be making it again to keep in the fridge for lunches throughout a busy week. I can also see myself making it as a side dish at a party because it meets a range of dietary guidelines; it’s vegetarian, vegan, and gluten-free (if made with tamari rather than soy sauce).

asian quinoa salad2

The "it" girl of 2013: Quinoa!

The “it” girl of 2013: Quinoa!

asian quinoa salad4

asian quinoa salad1

asian quinoa salad
Recipe Type: salad
Author: adapted from Two Peas and Their Pod
Prep time: 10 mins
Cook time: 20 mins
Total time: 30 mins
Serves: 4
Ingredients
  • 1 cup quinoa
  • 2 cups water
  • 1/4 teaspoon salt
  • 1 cup chopped red cabbage
  • 1 cup shelled and cooked edamame
  • 1 red bell pepper, chopped in thin strips
  • 1/2 cup shredded carrots
  • 1 cup shredded or diced cucumber
  • 1/2 cup sliced almonds
  • 1/4 cup low sodium soy sauce or tamari sauce
  • 1 tablespoon sesame oil
  • 1 tablespoon rice vinegar
  • 2 tablespoons chopped green onion
  • 1 tablespoon sesame seeds
  • 1/4 teaspoon grated fresh ginger (dried will work fine too)
  • 1/8 teaspoon red pepper flakes
  • Salt and black pepper, to taste
Instructions
  1. Add water, quinoa, and salt to a medium saucepan and bring to a boil over medium heat. Boil for 5 minutes. Turn the heat to low and simmer for about 15 minutes, or until water is absorbed. Remove from heat and fluff with a fork.
  2. Place the quinoa in a large bowl and add the cabbage, edamame, red pepper, carrots, cucumber, and almonds. Set aside.
  3. In a small bowl, whisk together the soy sauce, sesame oil, rice wine vinegar, green onions, sesame seeds, ginger, red pepper flakes, salt, and pepper.
  4. Pour the dressing over the quinoa salad and stir to combine. Enjoy at room temperature or chilled.
3.2.1275


Filed Under: eat, sides, soups and salads Tagged With: edamame, gluten-free, healthy, make ahead, quinoa, salad, sesame, vegan, vegetarian

Next Page »

Welcome!

jenna of butterlovescompany

Pull up a chair

Hi! I’m Jenna. Story seeker, food lover, recipe developer based in NYC. Firm believer in making every day delicious! Read more…

looking for something?

  • Email
  • Facebook
  • Instagram
  • Pinterest
  • RSS
  • Twitter

Latest Posts

  • Freezer Meals to Make Before Baby: How We Meal Prepped Before Baby
  • mom’s famous spiced pecans
  • funfetti cookie dough truffles (no-bake)
  • maple coconut cookies
  • snickerdoodle blondies

popular now

tourte milanese
crunchy chewy bakery-style sugar cookies
pecan sticky bun babka recipe
dutch-processed vs. natural cocoa powder
chocolate pecan torte with strawberry buttercream
thai chili coconut cream doughnuts

grammin’

Hi! I'm Jenna, founder of butter loves company. From holidays to Tuesdays, let's find a way to make every meal special.
  • Email
  • Facebook
  • Instagram
  • Pinterest
  • RSS
  • Twitter
a2f54ba1dcf0635e58c8be4aa2035ce84863a9d9606a428ab3

© 2013-2019 BUTTER LOVES COMPANY, LLC.

Copyright © 2026 · Foodie Pro Theme by Shay Bocks · Built on the Genesis Framework · Powered by WordPress